# Set up a cloaking domain with Cloudflare
Source: https://skro.eu/docs/cloaking-domain/cloudflare-and-skro
Configure a custom cloaking subdomain in Cloudflare, add the CNAME record required by Skro, and verify the connection.
A cloaking domain controls the referrer information passed to an affiliate network or offer page. This guide uses `go.example.com` and points it to `skrocloak.com`.
You need access to your domain’s DNS settings and the **Settings → Domains** section in Skro. Use a subdomain, such as `go.example.com`, for this setup.
## Step 1. Add the domain in Skro [#step-1-add-the-domain-in-skro]
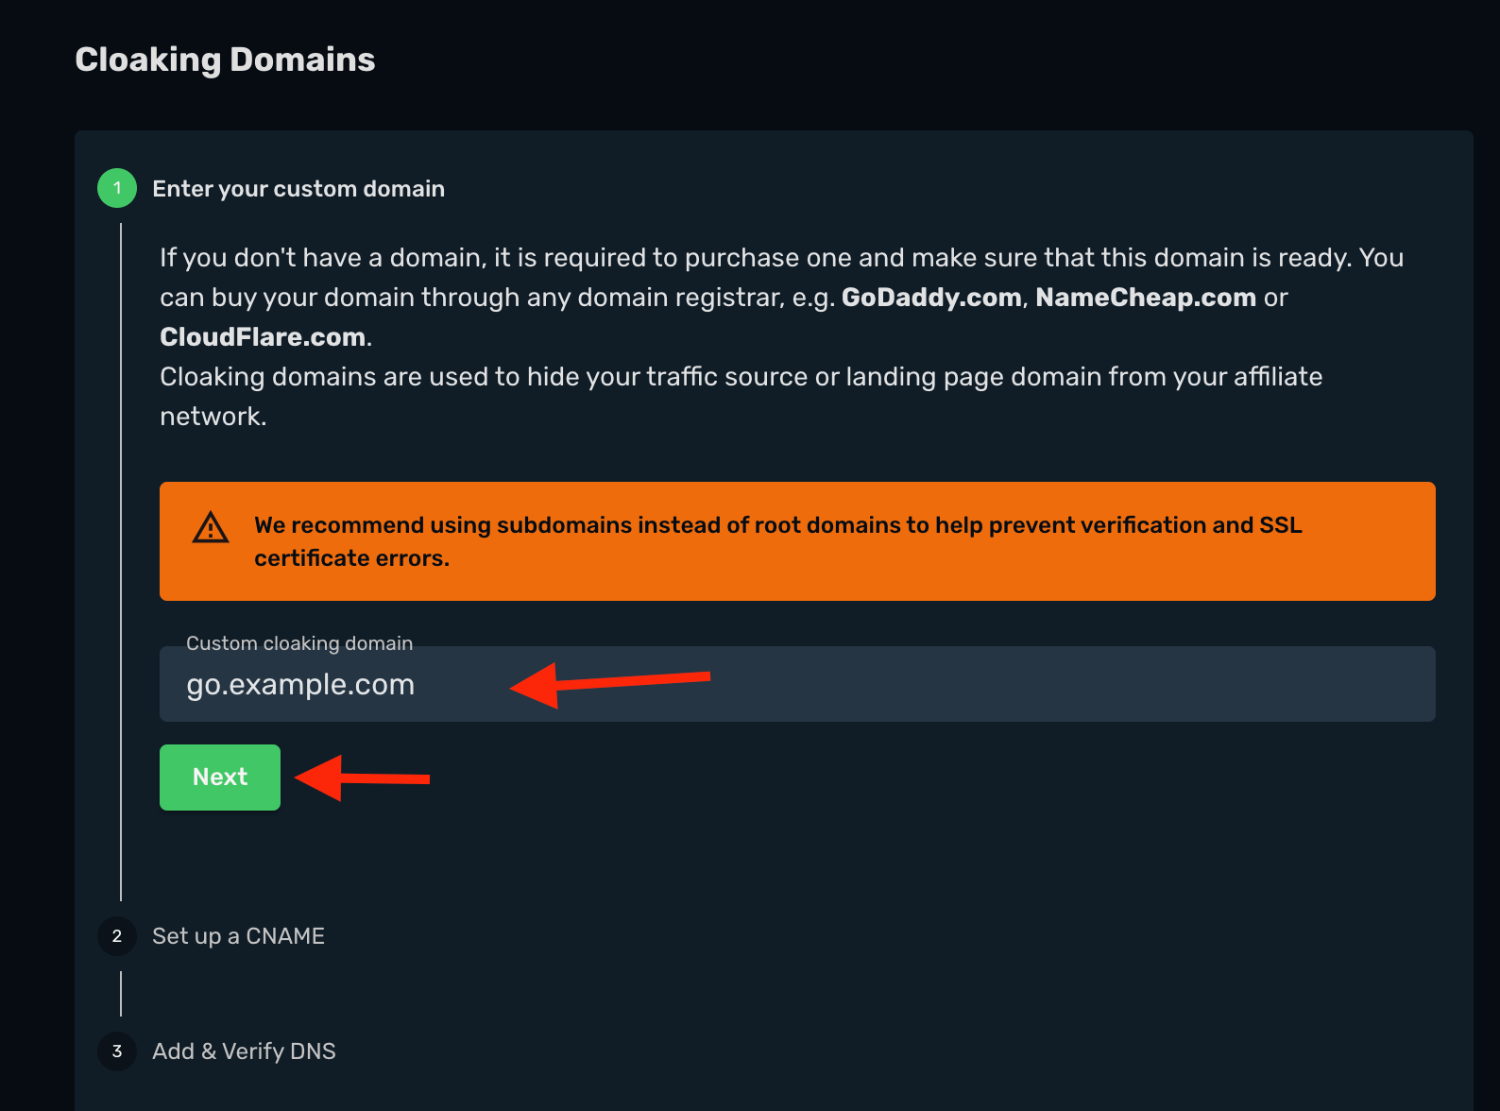
1. In Skro, open **Settings → Domains**.
2. Find **Cloaking Domains** and add `go.example.com`.
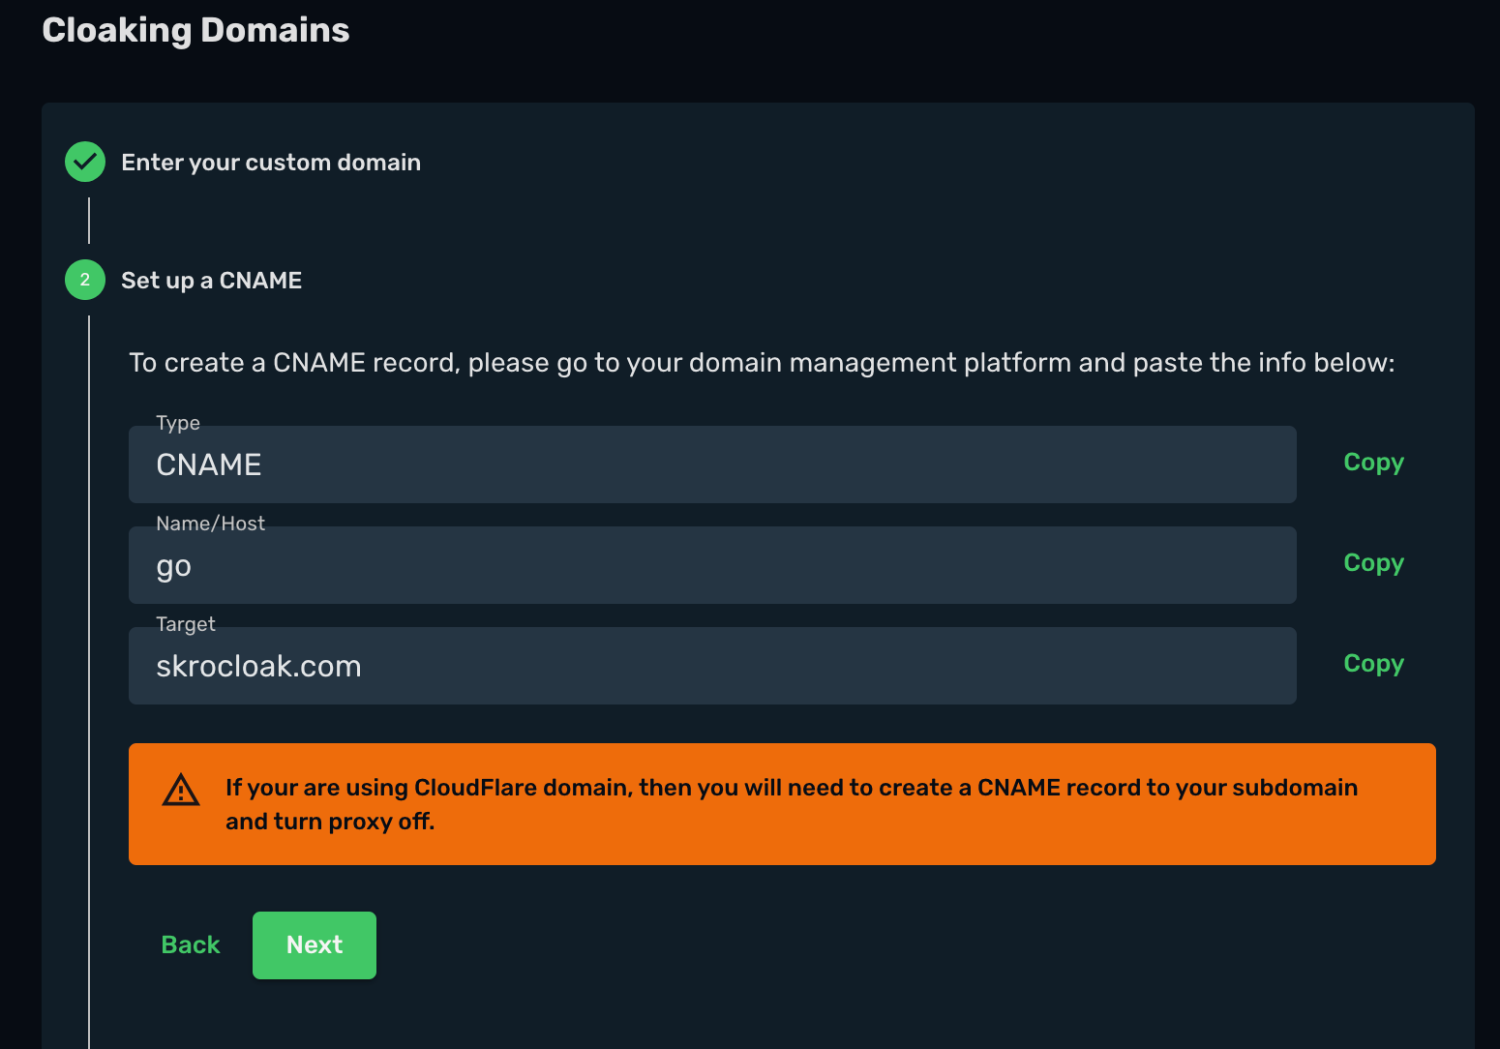
3. Review the CNAME configuration shown for your domain.
## Step 2. Create the CNAME record in Cloudflare [#step-2-create-the-cname-record-in-cloudflare]
1. Sign in to Cloudflare and select the domain.
2. Open **DNS → Records → Add Record**.
3. Enter these values:
| Field | Value |
| --- | --- |
| **Type** | CNAME |
| **Name** | `go` |
| **Target** | `skrocloak.com` |
| **Proxy status** | Off / DNS only |
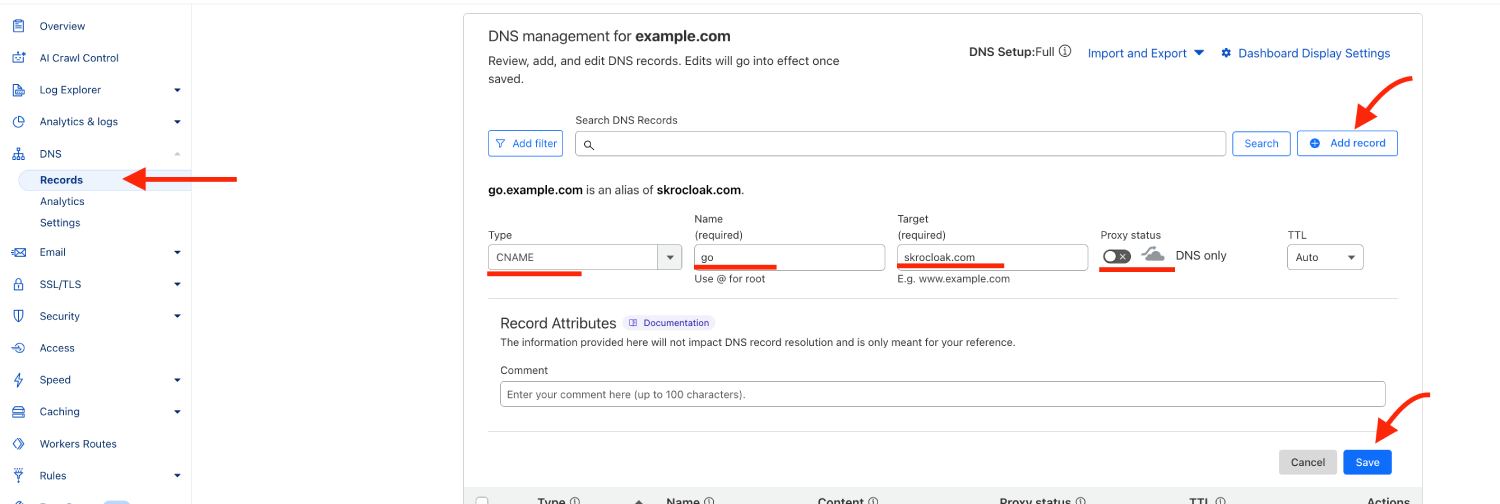
4. Save the DNS record.
## Step 3. Verify the domain [#step-3-verify-the-domain]
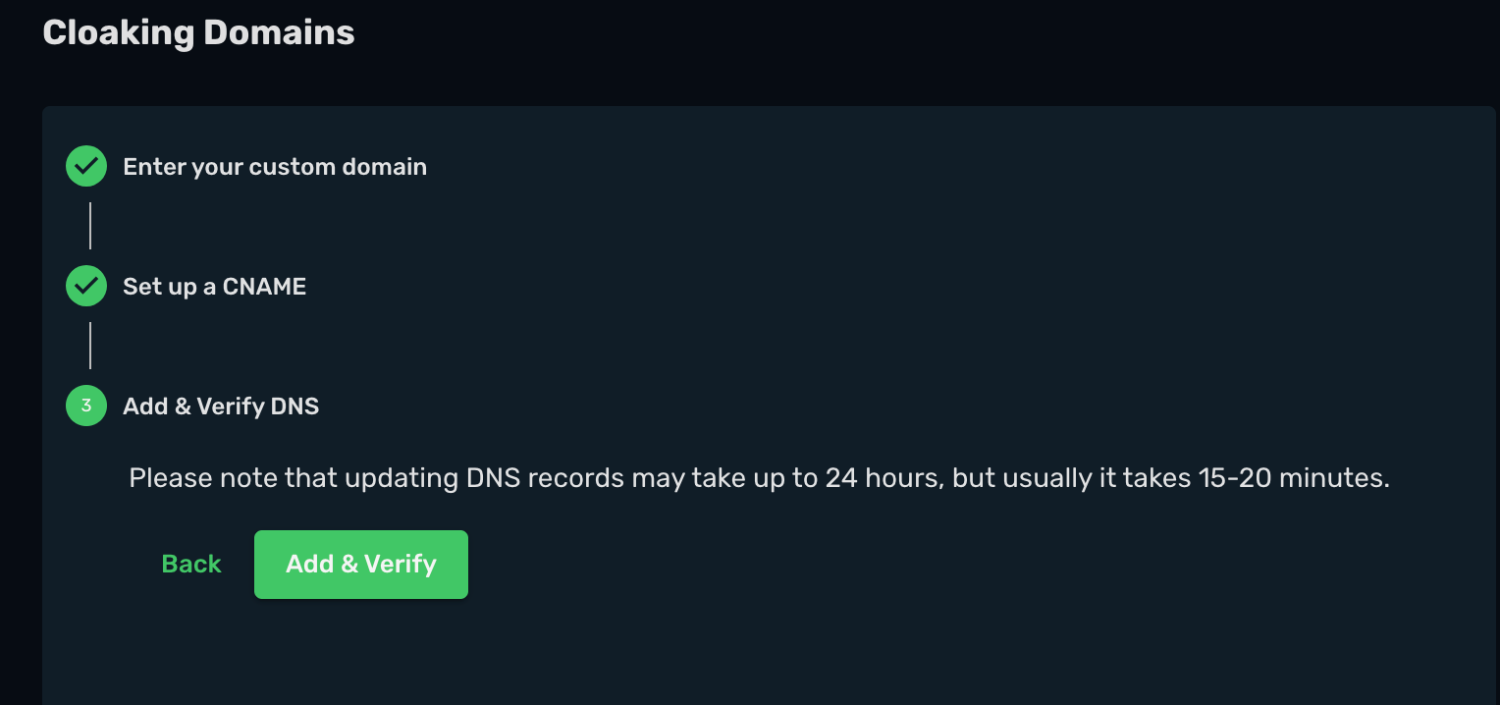
Allow time for the DNS change to propagate, then return to **Cloaking Domains** in Skro and verify the domain.
## Troubleshooting [#troubleshooting]
Check that the record uses the correct subdomain and CNAME target. Keep the Cloudflare proxy disabled for this record. If verification fails immediately after saving, wait for DNS propagation and try again.
## Related guides [#related-guides]
# Set up a cloaking domain with Namecheap
Source: https://skro.eu/docs/cloaking-domain/namecheap-and-skro
Configure a custom cloaking subdomain in Namecheap, add the CNAME record required by Skro, and verify the connection.
A cloaking domain controls the referrer information passed to an affiliate network or offer page. This guide uses `go.example.com` and points it to `skrocloak.com`.
You need access to your domain’s DNS settings and the **Settings → Domains** section in Skro. Use a subdomain, such as `go.example.com`, for this setup.
## Step 1. Add the domain in Skro [#step-1-add-the-domain-in-skro]
1. In Skro, open **Settings → Domains**.
2. Find **Cloaking Domains** and add `go.example.com`.
3. Review the CNAME configuration shown for your domain.


## Step 2. Create the CNAME record in Namecheap [#step-2-create-the-cname-record-in-namecheap]
1. Sign in to Namecheap.
2. Open **Domain List** and select **Manage** for your domain.
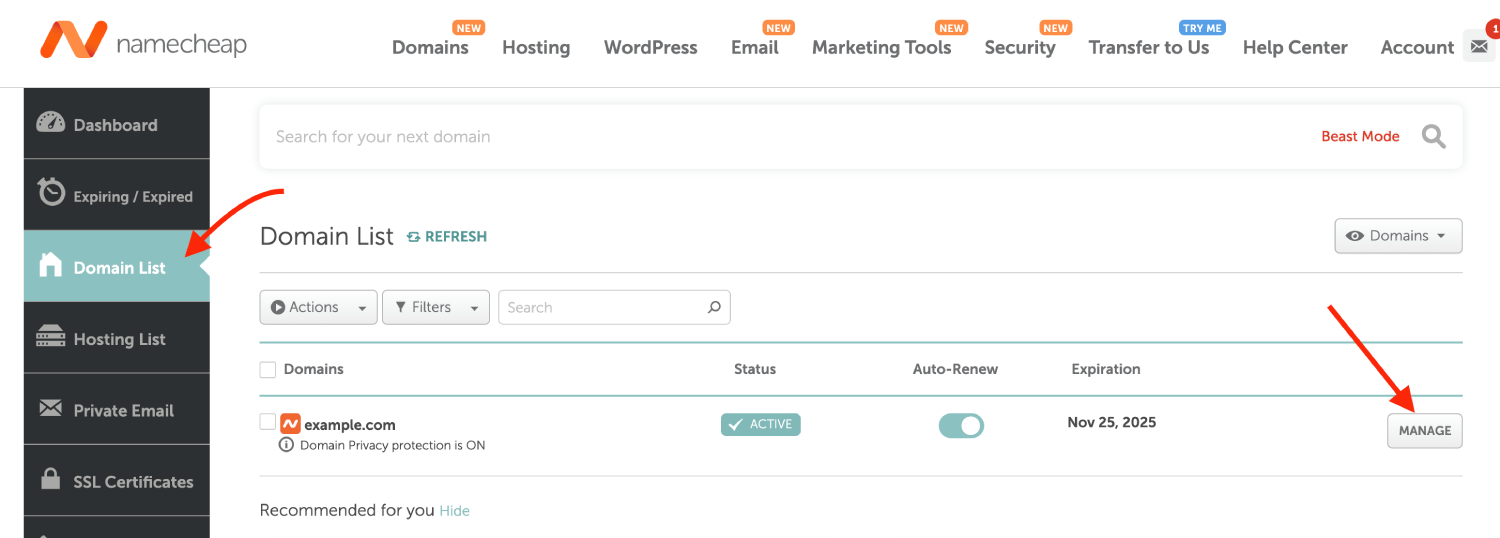
3. Open **Advanced DNS** and add a CNAME record:
| Field | Value |
| --- | --- |
| **Type** | CNAME Record |
| **Host** | `go` |
| **Value** | `skrocloak.com` |
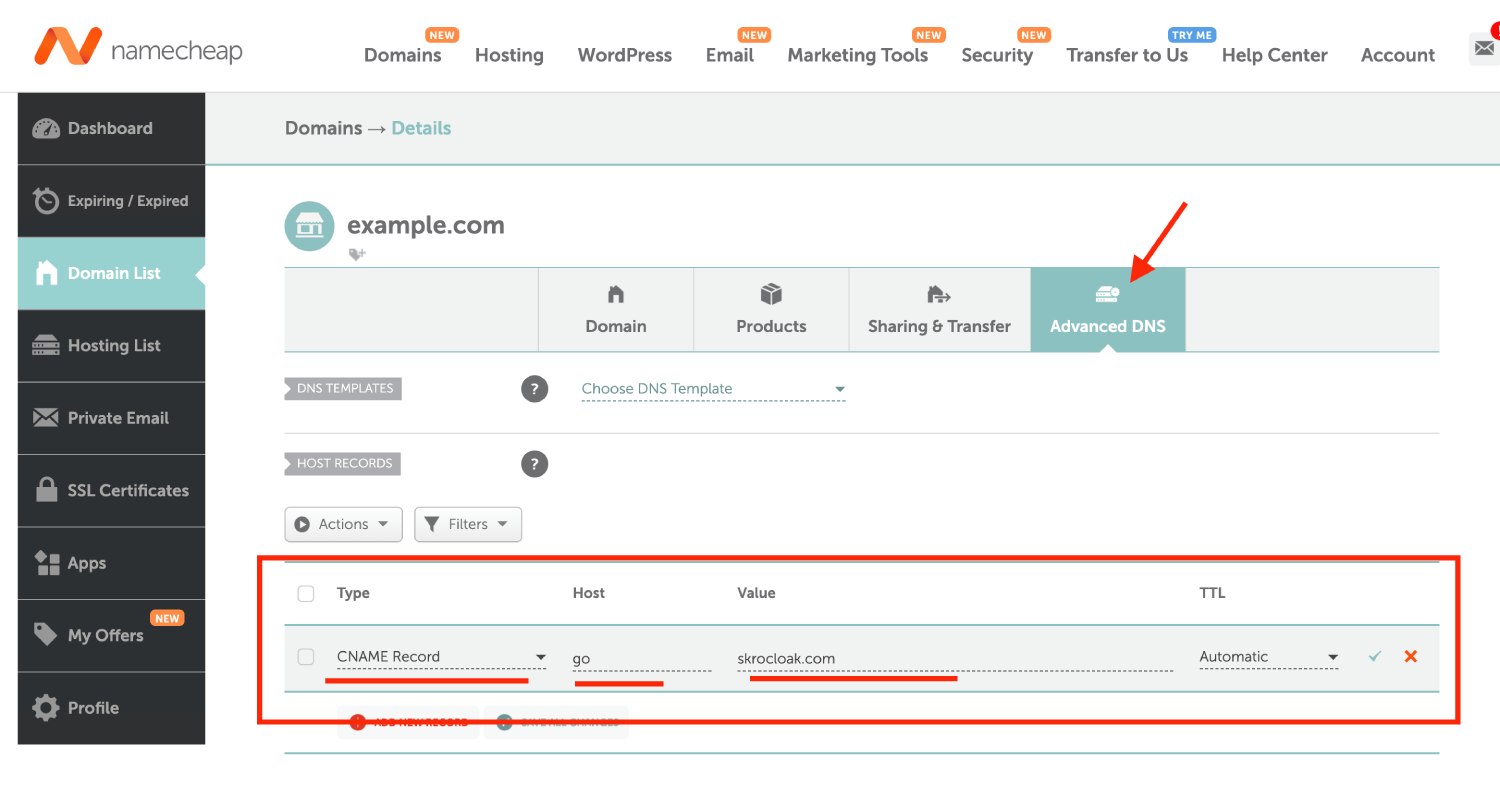
4. Save the DNS record.
## Step 3. Verify the domain [#step-3-verify-the-domain]
Allow time for the DNS change to propagate, then return to **Cloaking Domains** in Skro and verify the domain.

## Troubleshooting [#troubleshooting]
Check that the record uses the correct subdomain and CNAME target. If verification fails immediately after saving, wait for DNS propagation and try again.
## Related guides [#related-guides]
# Website deployment on AWS
Source: https://skro.eu/docs/deploy-website/about-aws-deployment
Understand how Skro uses Amazon S3, CloudFront, and Certificate Manager to deploy static websites on AWS.
As a marketer, you need a hosting solution for your static websites that’s not only cost-effective but also scalable, secure, and easy to manage. That’s where Skro comes in. We've seamlessly integrated with AWS to provide you with a powerful, serverless solution that leverages Amazon S3, CloudFront, and AWS Certificate Manager.
## 1. Amazon S3: Reliable and Scalable Storage [#1-amazon-s3-reliable-and-scalable-storage]
Amazon S3 is a highly durable and scalable object storage service that is perfect for hosting static websites. It offers several benefits:
- **Simplicity:** S3 allows you to host static files (HTML, CSS, JavaScript, images, etc.) directly from the storage bucket. It’s straightforward to set up and manage.
- **Scalability:** S3 automatically scales to handle any amount of traffic, ensuring your website is available even during sudden traffic spikes.
- **Durability and Reliability:** S3 provides 99.999999999% durability, meaning your website's files are stored redundantly across multiple locations to prevent data loss.
- **Cost-Effective:** You only pay for the storage and the amount of data transferred out of S3, making it a budget-friendly option.
## 2. Amazon CloudFront: Global Content Delivery with Low Latency [#2-amazon-cloudfront-global-content-delivery-with-low-latency]
While S3 is excellent for storage, Amazon CloudFront, a content delivery network (CDN), complements it by accelerating the delivery of your website content globally:
- **Low Latency:** CloudFront caches your content at edge locations around the world, ensuring fast delivery to users, regardless of their location.
- **Scalability:** Like S3, CloudFront scales automatically with your traffic. It handles large spikes in demand seamlessly.
- **DDoS Protection:** CloudFront provides built-in protection against DDoS attacks, adding an extra layer of security to your website.
- **Custom SSL/TLS Support:** With CloudFront, you can easily configure SSL/TLS certificates, ensuring secure data transmission between your users and your website.
## 3. AWS Certificate Manager: Easy and Free SSL/TLS Certificates [#3-aws-certificate-manager-easy-and-free-ssltls-certificates]
Security is crucial for any website, and using HTTPS is a standard practice. AWS Certificate Manager (ACM) simplifies the process of obtaining and managing SSL/TLS certificates:
- **Automated Certificate Management:** ACM handles the provisioning, renewal, and management of certificates, so you don’t have to worry about manual updates.
- **No Cost for Public Certificates:** ACM provides SSL/TLS certificates for free, reducing your costs while ensuring secure data transmission.
- **Seamless Integration with CloudFront:** ACM integrates seamlessly with CloudFront, allowing you to deploy secure certificates with just a few clicks.
## Pricing Examples [#pricing-examples]
To illustrate the cost-effectiveness of using AWS S3, CloudFront, and Certificate Manager, let’s look at two pricing examples. These estimates are based on AWS pricing as of 2024. Note that actual costs may vary depending on your specific usage patterns and AWS region.
**Example 1: Hosting a Single Website with 1 Million Requests per Month**
- Amazon S3:
- - **Storage:** 50 MB (0.05 GB) of website content stored in S3.
- **Data Transfer Out:** Let’s assume 10 GB of data is transferred out of S3 to CloudFront.
- **Estimated Cost:**
- - **Storage:** 0.05 GB * $0.023/GB = $0.00115 per month.
- **Data Transfer:** 10 GB * $0.90/GB = $0.90 per month.
- Amazon CloudFront:
- - **Data Transfer:** Assuming all 10 GB of data is delivered through CloudFront to users.
- **Requests:** 1 million GET requests.
- **Estimated Cost:**
- - **Data Transfer:** 10 GB * $0.085/GB = $0.85 per month.
- **Requests:** 1,000,000 / 10,000 * $0.0075 = $0.75 per month.
- AWS Certificate Manager:
- - **SSL/TLS Certificate:** Free.
- Total Estimated Cost:
- - **S3:** $0.00115 + $0.90 = $0.90115
- **CloudFront:** $0.85 + $0.75 = $1.60
- **Grand Total:** $0.90115 + $1.60 = $2.50115 per month.
**Example 2: Hosting 5 Landing Pages, Each with 100,000 Requests per Month**
- Amazon S3:
- - **Storage:** 50 MB per landing page, totaling 250 MB (0.25 GB) for all 5 landing pages.
- **Data Transfer Out:** 10 GB of data transferred out (2 GB per landing page).
- **Estimated Cost:**
- - **Storage:** 0.25 GB * $0.023/GB = $0.00575 per month.
- **Data Transfer:** 10 GB * $0.09/GB = $0.90 per month.
- Amazon CloudFront:
- - **Data Transfer:** 10 GB of data delivered through CloudFront.
- **Requests:** 5 * 100,000 = 500,000 requests.
- **Estimated Cost:**
- - **Data Transfer:** 10 GB * $0.085/GB = $0.85 per month.
- **Requests:** 500,000 / 10,000 * $0.0075 = $0.375 per month.
- AWS Certificate Manager:
- - **SSL/TLS Certificate:** Free.
- Total Estimated Cost:
- - **S3:** $0.00575 + $0.90 = $0.90575
- **CloudFront:** $0.85 + $0.375 = $1.225
- **Grand Total:** $0.90575 + $1.225 = $2.13075 per month.
## Summary [#summary]
With smaller storage requirements (50 MB per site), the costs associated with S3 storage become almost negligible. In both scenarios, the major costs are driven by data transfer and request handling through CloudFront, making this combination of services not only efficient but also very affordable for small to moderately trafficked static websites.
## Related guides [#related-guides]
# Connect AWS
Source: https://skro.eu/docs/deploy-website/aws-api-integration
Connect an AWS account to Skro for static website deployment using Amazon S3, CloudFront, and Certificate Manager.
The AWS integration lets Skro deploy static websites to your AWS account. Before connecting it, review the [website deployment overview](/docs/deploy-website/about-aws-deployment) and prepare credentials for the integration.
## Before you begin [#before-you-begin]
You need an AWS account and an administrator who can configure programmatic access. Skro’s integration form requires an access key ID and secret access key.
Use a dedicated IAM user with permissions limited to the deployment operations you require. AWS recommends avoiding root-user access keys and applying least-privilege permissions. See [AWS access key guidance](https://docs.aws.amazon.com/IAM/latest/UserGuide/securing_access-keys.html) and [IAM best practices](https://docs.aws.amazon.com/IAM/latest/UserGuide/best-practices.html).
## Step 1. Prepare AWS access [#step-1-prepare-aws-access]
1. Sign in to the [AWS Management Console](https://console.aws.amazon.com/).
2. Have your administrator configure a dedicated IAM user for the Skro integration, with access to the resources used for website deployment.
3. In **IAM → Users**, select that user and open **Security credentials**.
4. Create an access key and securely save the access key ID and secret access key.
Follow [AWS’s instructions for managing an IAM user’s access keys](https://docs.aws.amazon.com/IAM/latest/UserGuide/access-keys-admin-managed.html). The secret access key is available when the key is created.
## Step 2. Add the integration in Skro [#step-2-add-the-integration-in-skro]
1. In Skro, open **Settings → Integrations**.
2. Find the **Servers - Deploy Websites** section and select **Add**.
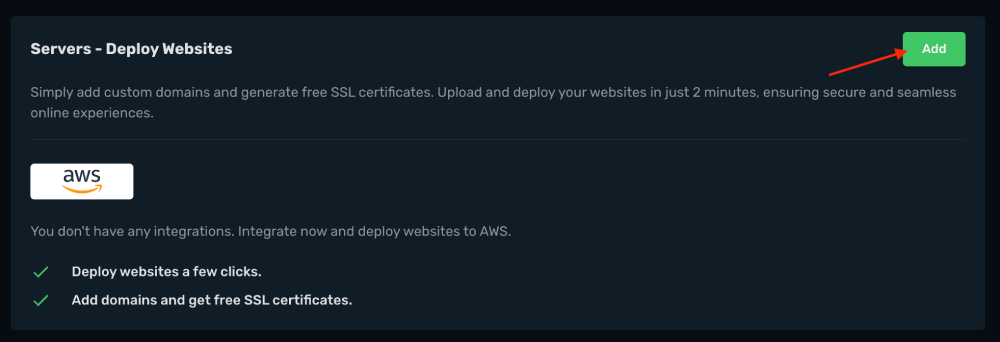
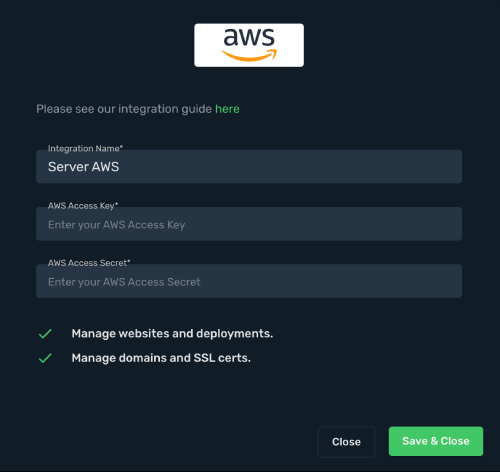
3. Select **AWS**.
4. Enter the AWS access key ID and secret access key prepared for the integration.
5. Select **Save & Close**.
## Step 3. Configure a website domain [#step-3-configure-a-website-domain]
After saving the integration, add the domain you want to use and complete the SSL certificate setup.
## Troubleshooting [#troubleshooting]
If AWS rejects an operation, check the IAM permissions for the deployment resources and confirm that the key is active. If the required policy is unclear, contact Skro support with the failed operation and error message. Keep the secret access key out of support messages and screenshots.
# Connect Cloudflare for website deployment
Source: https://skro.eu/docs/deploy-website/cloudflare-integration
Connect Cloudflare to Skro for domain verification and DNS configuration during website deployment.
This API integrations gives you the ability to create DNS records automatically for domain verification and website distribution.
## Step 1. Log in to your Cloudflare account or create a new one [#step-1-log-in-to-your-cloudflare-account-or-create-a-new-one]
1. Go to the [https://cloudflare.com](https://cloudflare.com) web-page.
2. Log in to your account or create a new one.
## Step 2. Generate API Token [#step-2-generate-api-token]
1. Now you are able to sign in to your Cloudflare Console.
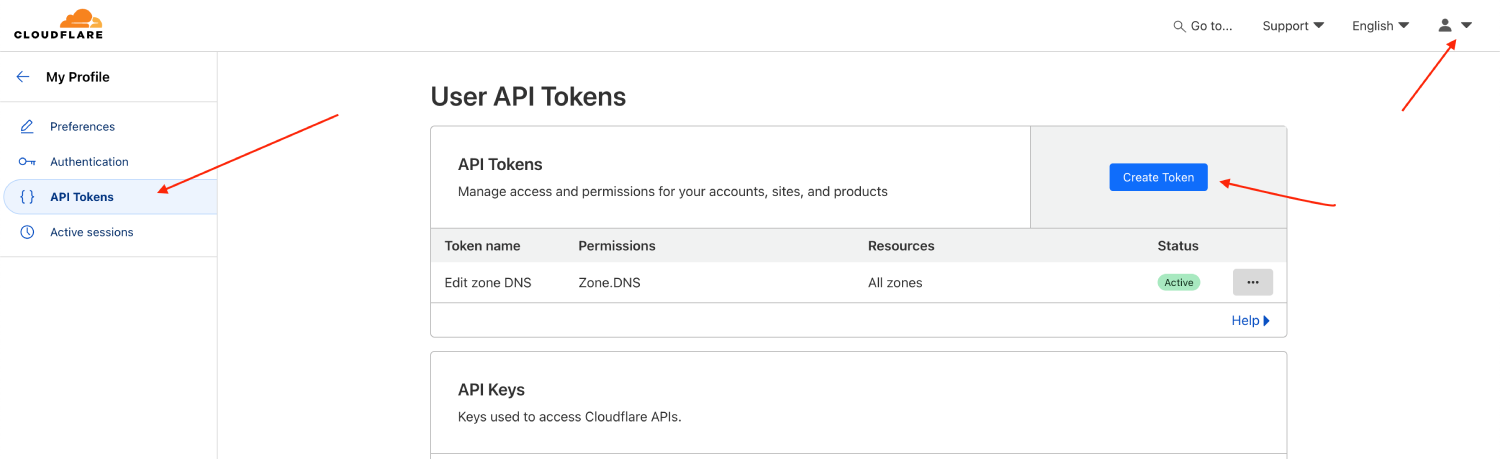
2. On the top right corner click **Profile** icon and navigate to the **My Profile** → **API Tokens** and click **Create Token** to generate new API Token.
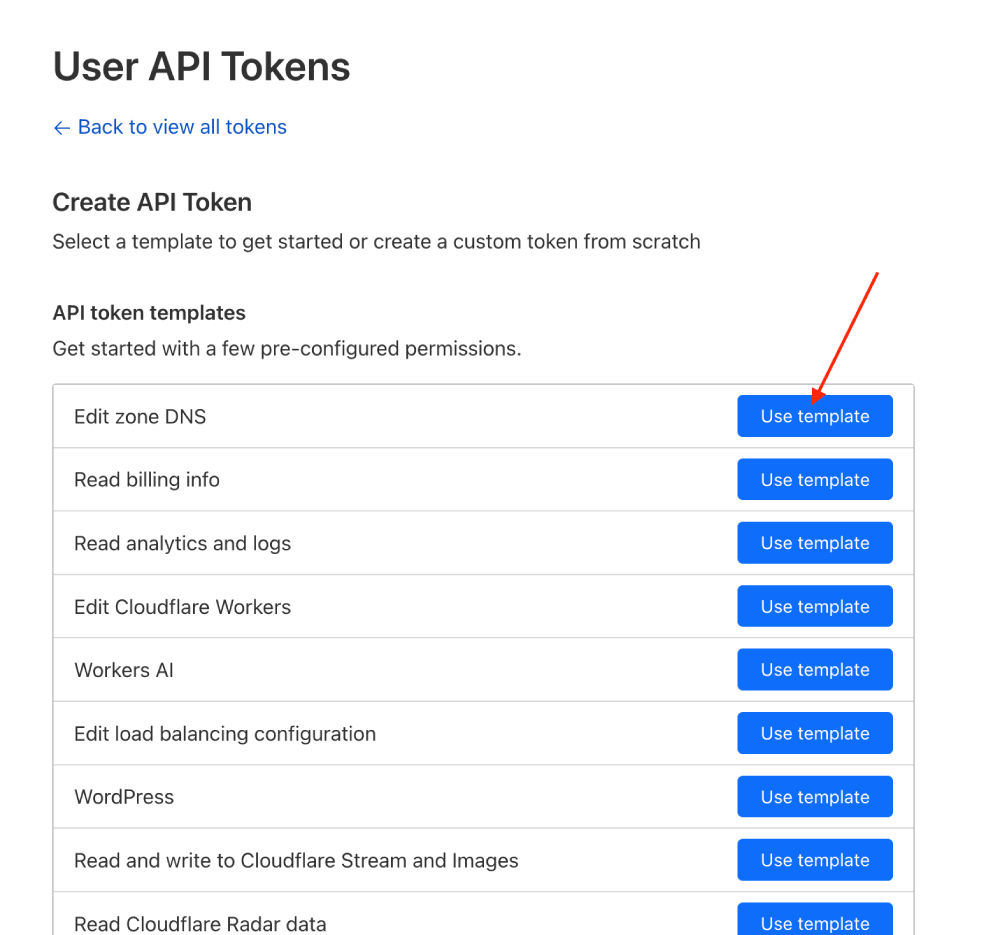
3. Find **Edit Zone DNS** row and click **Use template**.
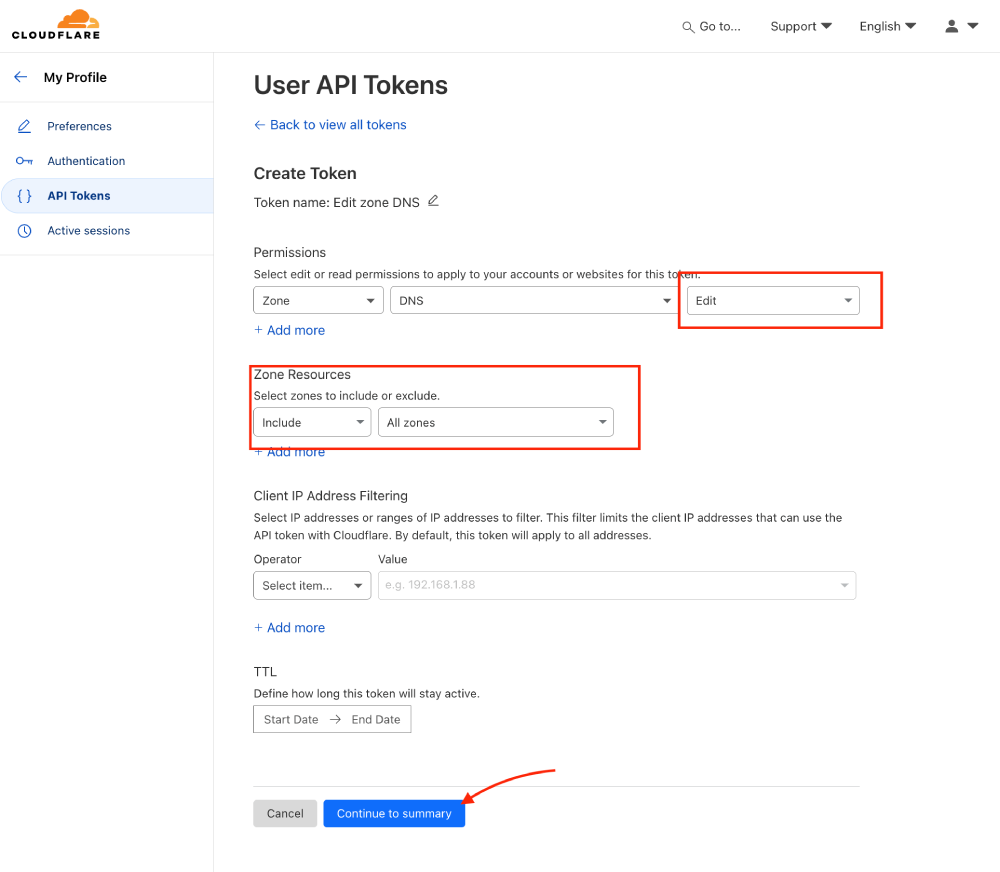
4. Under permissions section select **Edit** and from Zone Resources section choose **All Zones** and click **Continue to summary**.
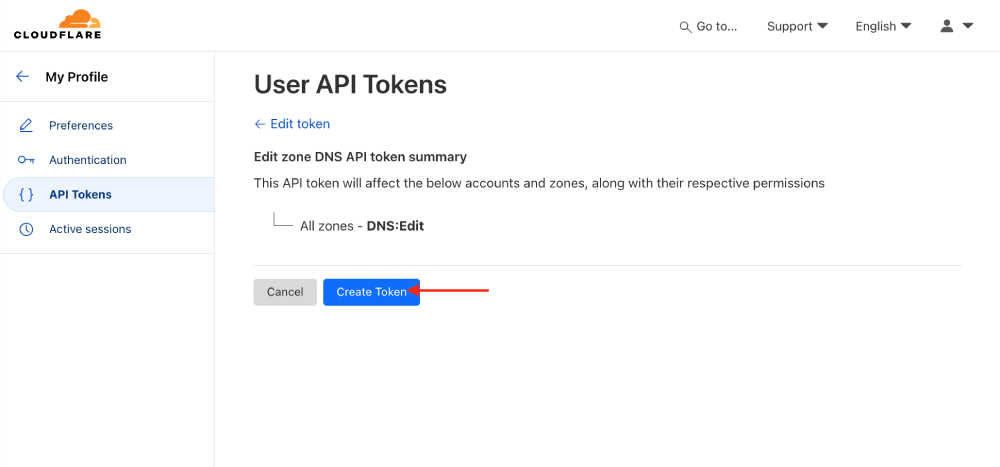
5. On this step you will see overview of your API token permissions and then click **Create Token**.
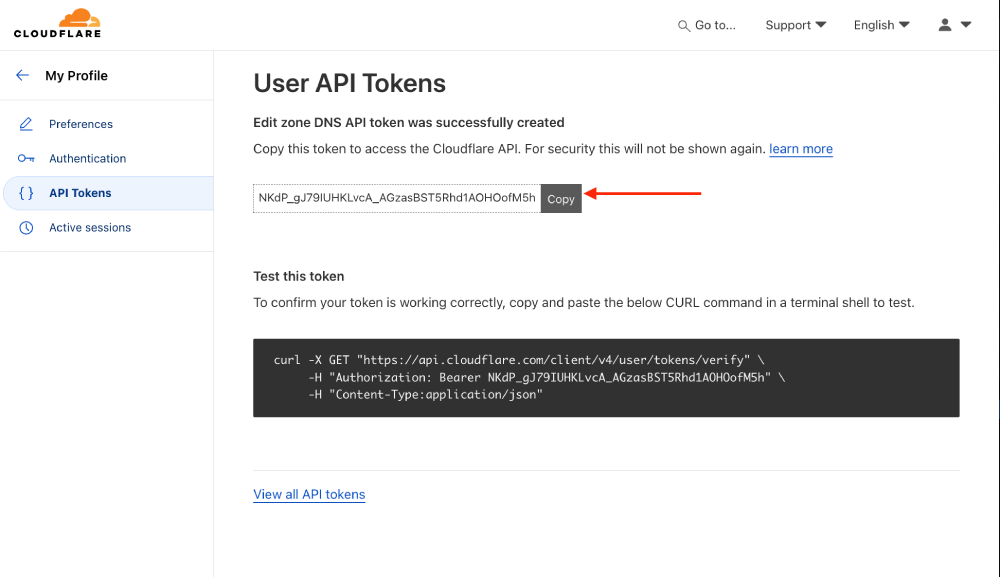
6. Your API Token is now generated. Copy the value to clipboard.
## Step 3. Add integration to Skro [#step-3-add-integration-to-skro]
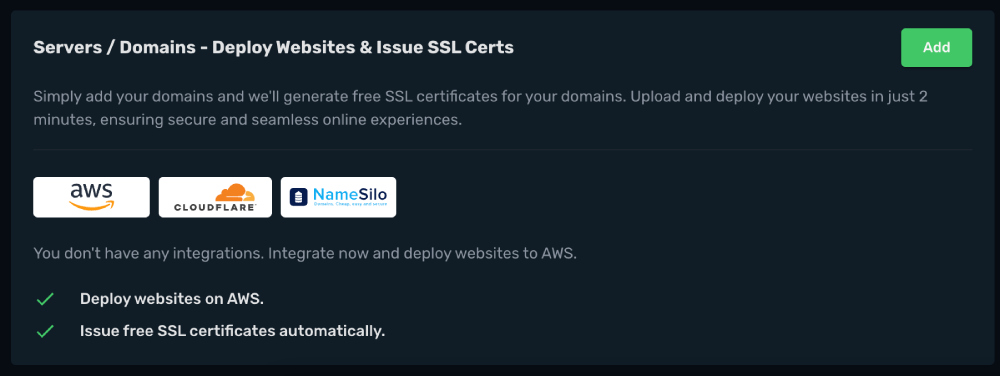
1. Log in to Skro and navigate to the **Settings** → **Integrations** and scroll down to **Servers / Domains - Deploy Websites & Issue SSL Certs** section and click **Add**.
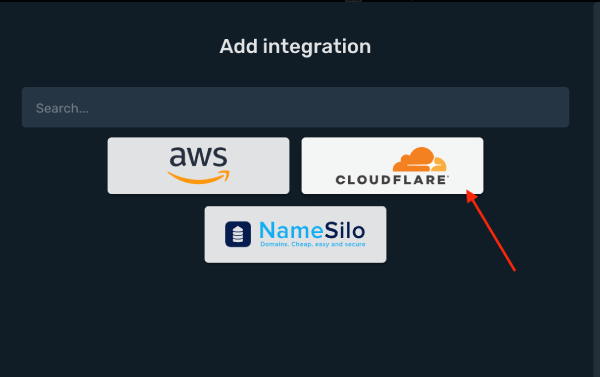
2. Click **Cloudflare** logo.
3. Add your Cloudflare API Token and click **Save & Close**.
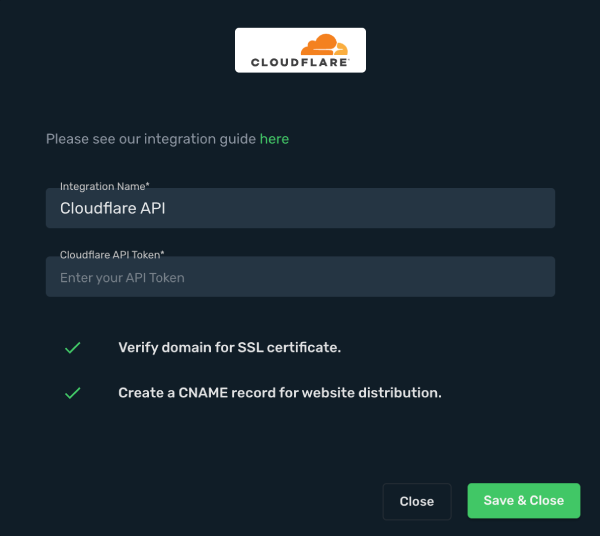
4. Your Cloudflare API integration is connected.
## Related guides [#related-guides]
# Deploy a website
Source: https://skro.eu/docs/deploy-website/how-to-deploy-website
Prepare your static website files, choose a domain, and deploy your website to AWS through Skro.
## Step 1. Create bucket and upload website [#step-1-create-bucket-and-upload-website]
1. Go to the **Websites** → **S3 Buckets** and click **Create**.
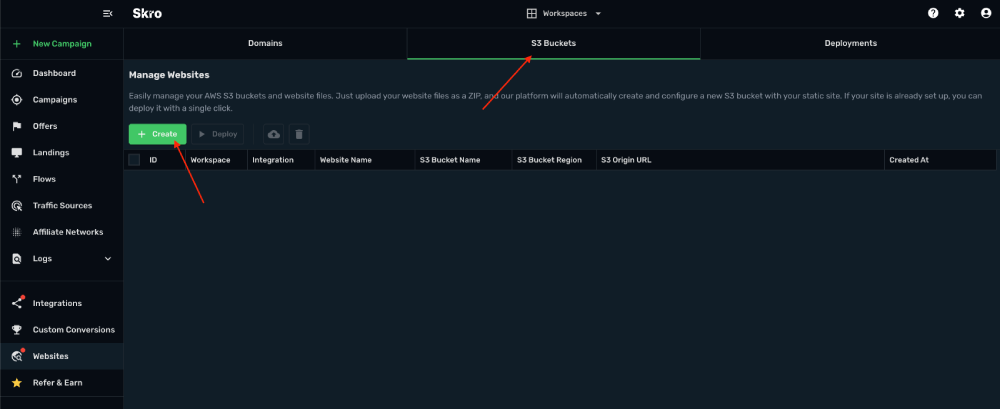
2. Complete the form.
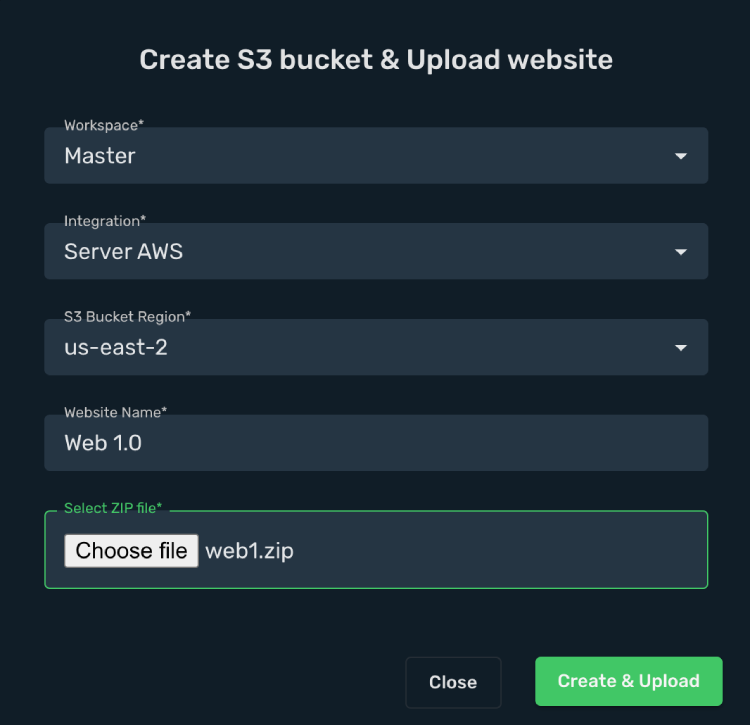
- **Workspace** - Select your workspace.
- **Integration** - Select your AWS integration.
- **S3 Bucket Region** - Select the location where you want to upload your website. It does not affect your website distribution.
- **Website Name** - Type your website name.
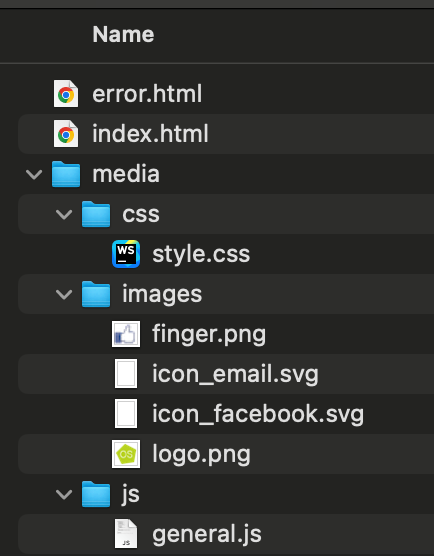
- **Select ZIP File** - Your website must be compressed into **ZIP** file to upload it to Skro. ZIP file can contain the following files.
- index.html - **Mandatory file**
- error.html - **(Optional)**
- Image files can be **.jpg** **.jpeg** **.png** **.ico**
- Javascript files **.js**
This is an example of website file structure:
3. Click **Create & Upload**.
4. Copy the **S3 Origin URL** to test, if you can see your website.
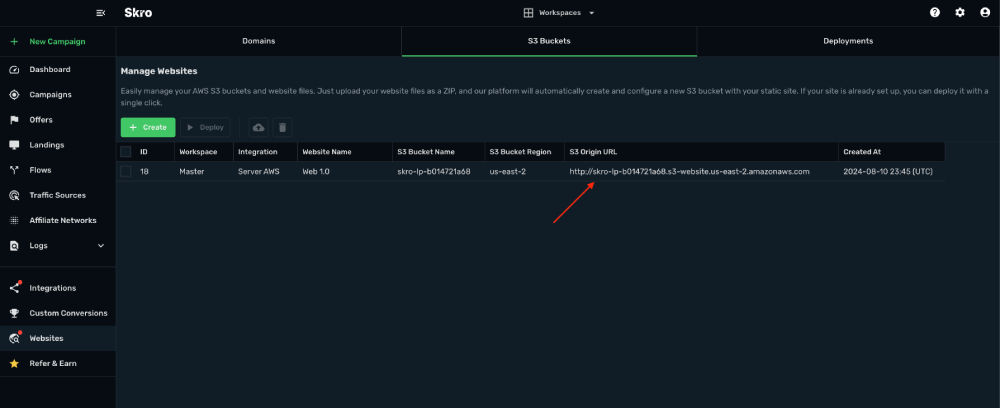
## Step 2. Deploy website [#step-2-deploy-website]
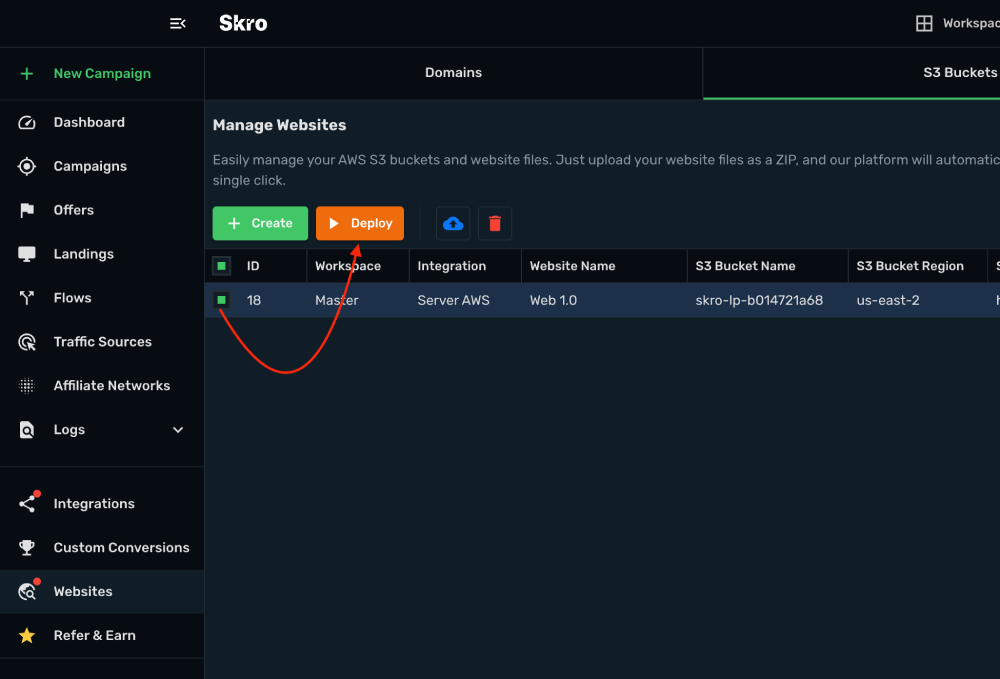
1. Select your website and click **Deploy**.
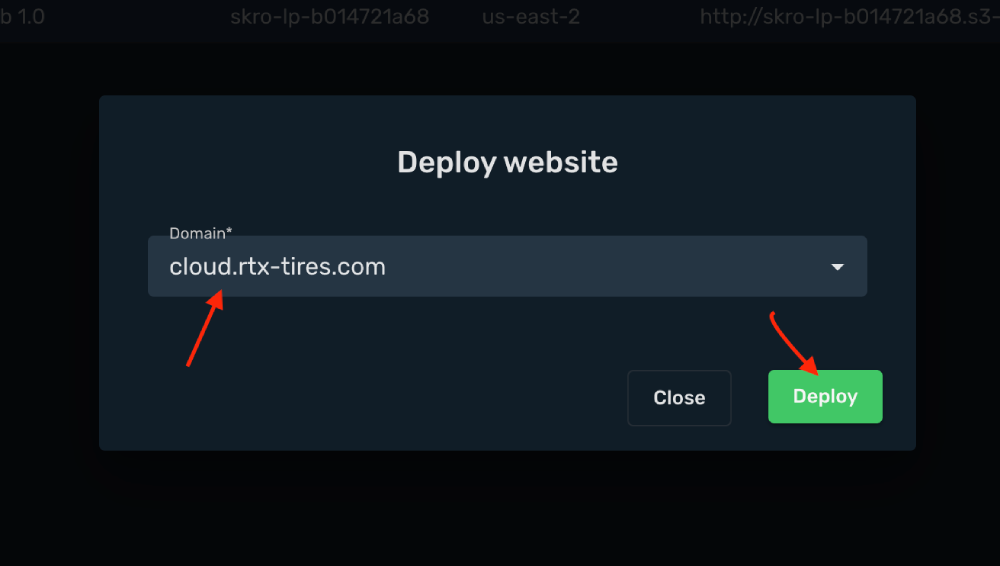
2. Select your domain and click **Deploy**. Then we will deploy your website to all available regions through AWS Cloudfront.
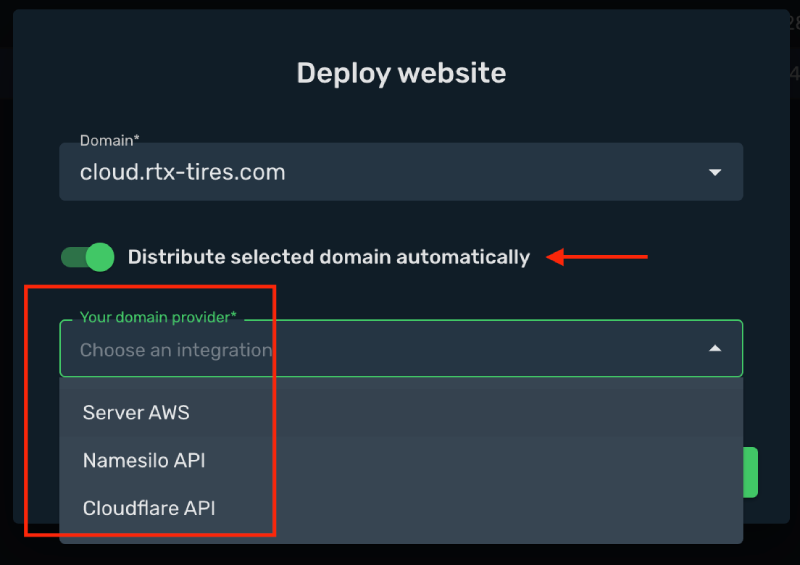
2.1. To automatically distribute your website on your chosen domain, you'll need to select your domain provider integration. This will enable Skro to create a CNAME record for you, simplifying the process.
Automated verification are supported with **AWS (Route53)**, **Cloudflare** and **Namesilo**.
- [Cloudflare integration](/docs/deploy-website/cloudflare-integration)
- [Namesilo integration](/docs/deploy-website/namesilo-integration)
3. Skro opens the **Deployments** view and you will see the deployment info.
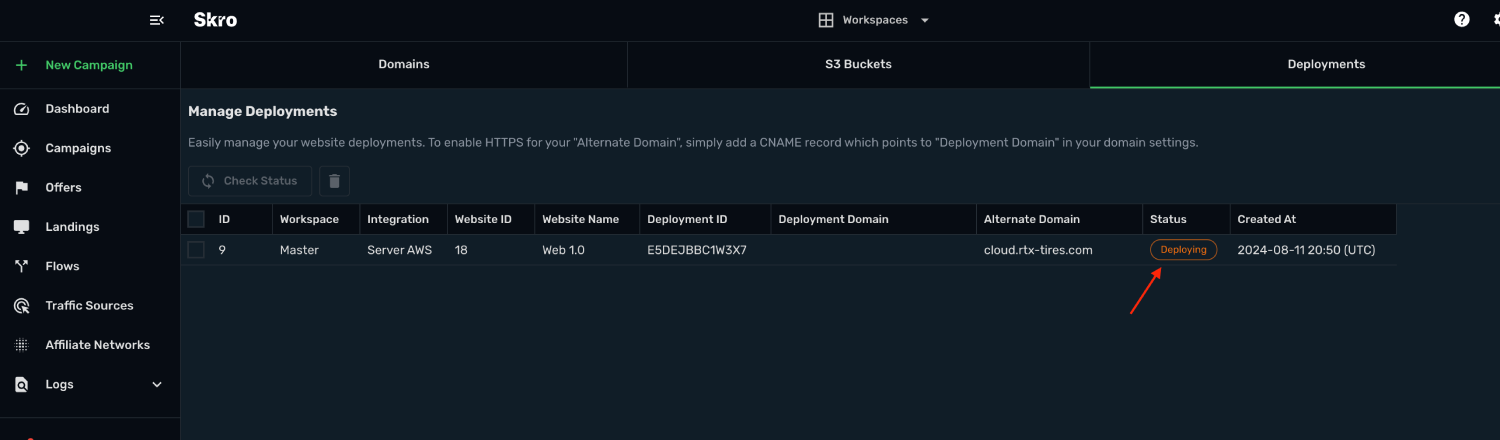
4. Select your **Deployment** and click **Check Status** to get your distributed website domain.
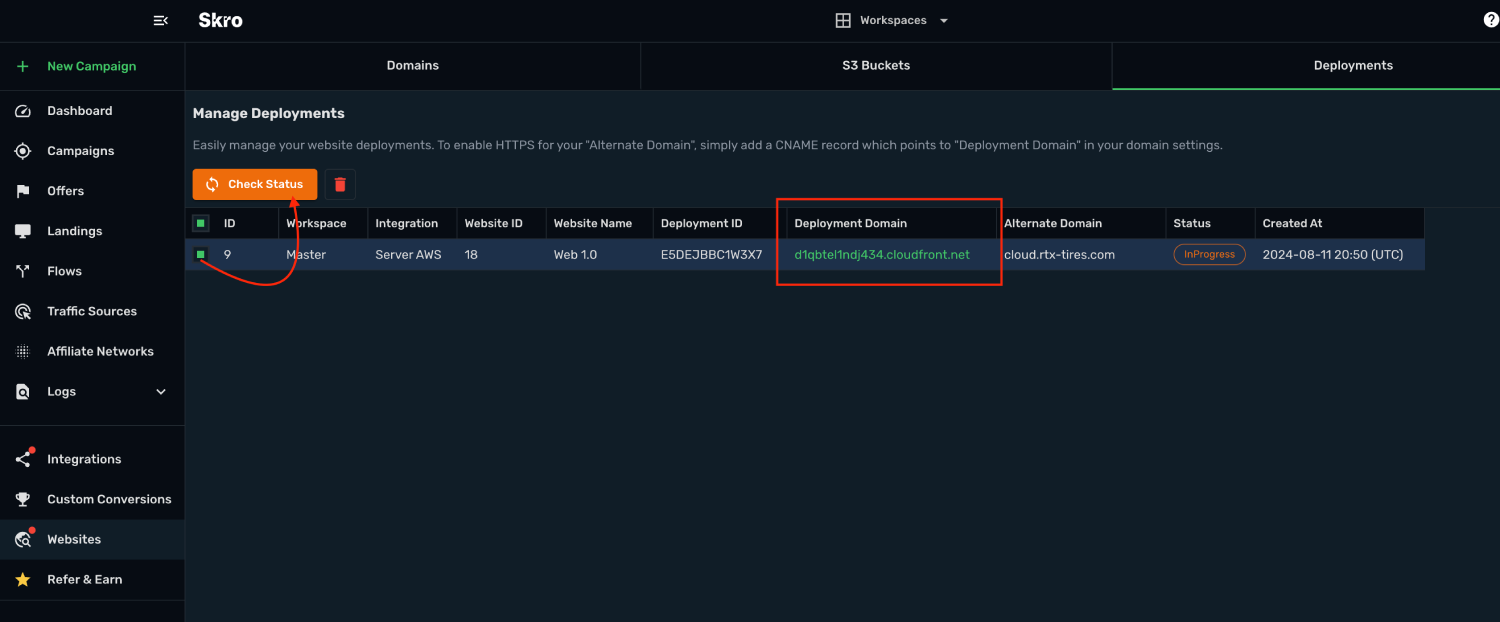
## Step 3. Set CNAME record to your domain [#step-3-set-cname-record-to-your-domain]
1. Go back to **Namecheap**
2. Create a new **CNAME record** to your domain which points to the **Deployments Domain**, which in our example is **d1qbtel1ndj434.cloudfront.net**
- Host: **cloud**
- Value: **d1qbtel1ndj434.cloudfront.net**
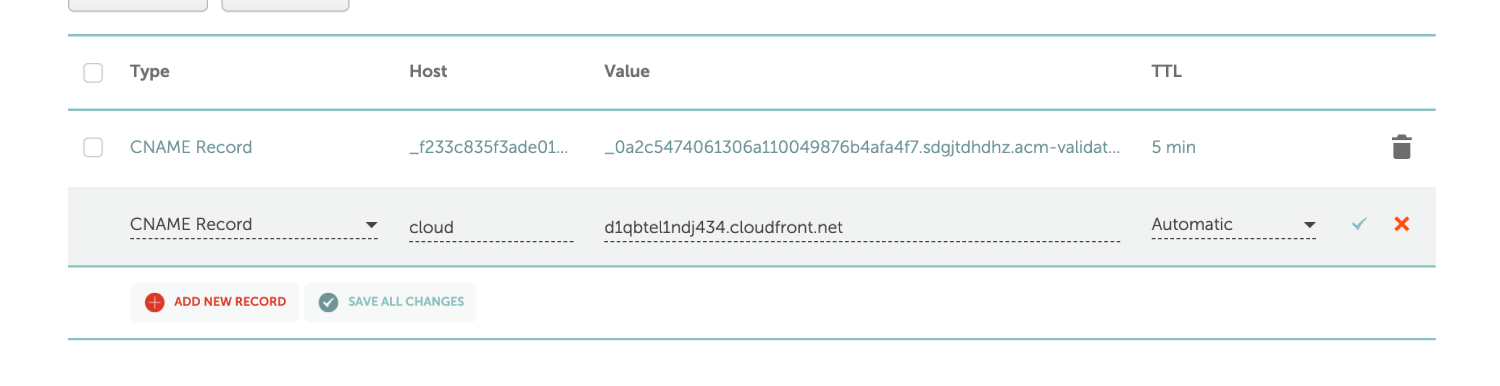
Typically, DNS changes take 5-15 minutes to propagate, but in some cases, they may take up to 48 hours.
3. Your site is now accessible via HTTPS using your custom domain.
## How to update my website? [#how-to-update-my-website]
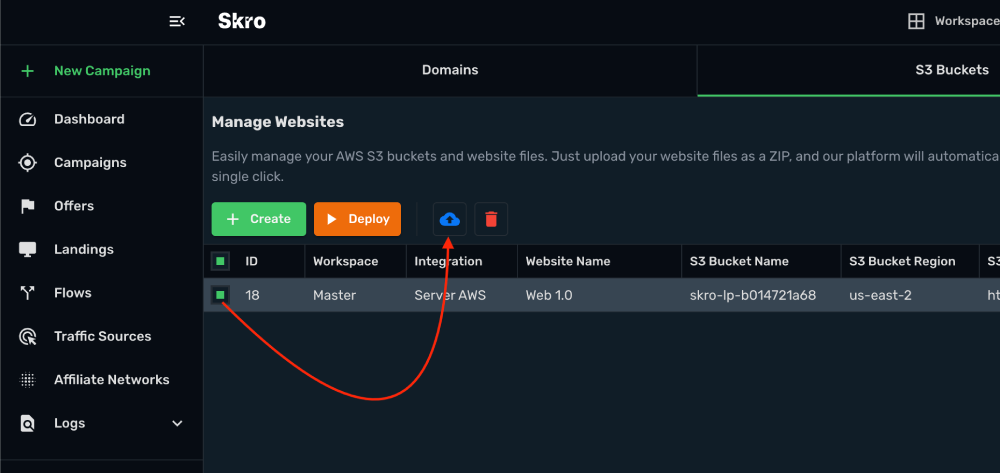
1. If you want to upload a new version of your website, then simply go to **Websites** → **S3 Buckets** and select your website and click **Upload** icon.
2. Select a new version of your website (ZIP file) and click **Upload**.
## How to delete my website? [#how-to-delete-my-website]
If you want to delete your website, then first you will need to delete **Deployments** for your website and after that you will be able to delete a website.
## Related guides [#related-guides]
# Configure a domain and SSL certificate
Source: https://skro.eu/docs/deploy-website/how-to-setup-domain-to-get-ssl-certificate
Add a website domain in Skro, configure DNS records, and verify the domain for an SSL certificate.
## Step 1. Add your domain [#step-1-add-your-domain]
1. Go to the **Websites** and click **Add**.
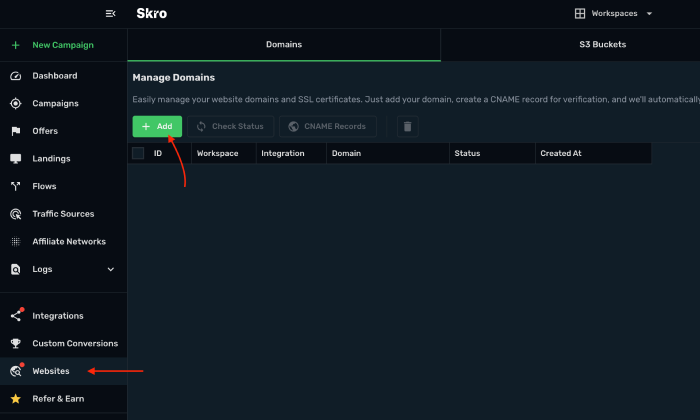
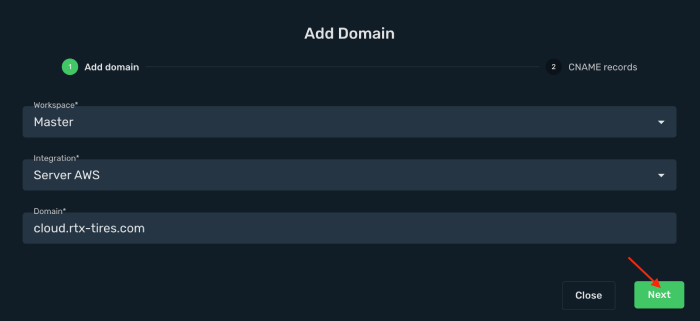
2. Select your workspace and AWS integration, and type your domain name what you want to use your website deployment. Click **Next**. (Loading might take up to 10 sec). In my example I'm using subdomain.
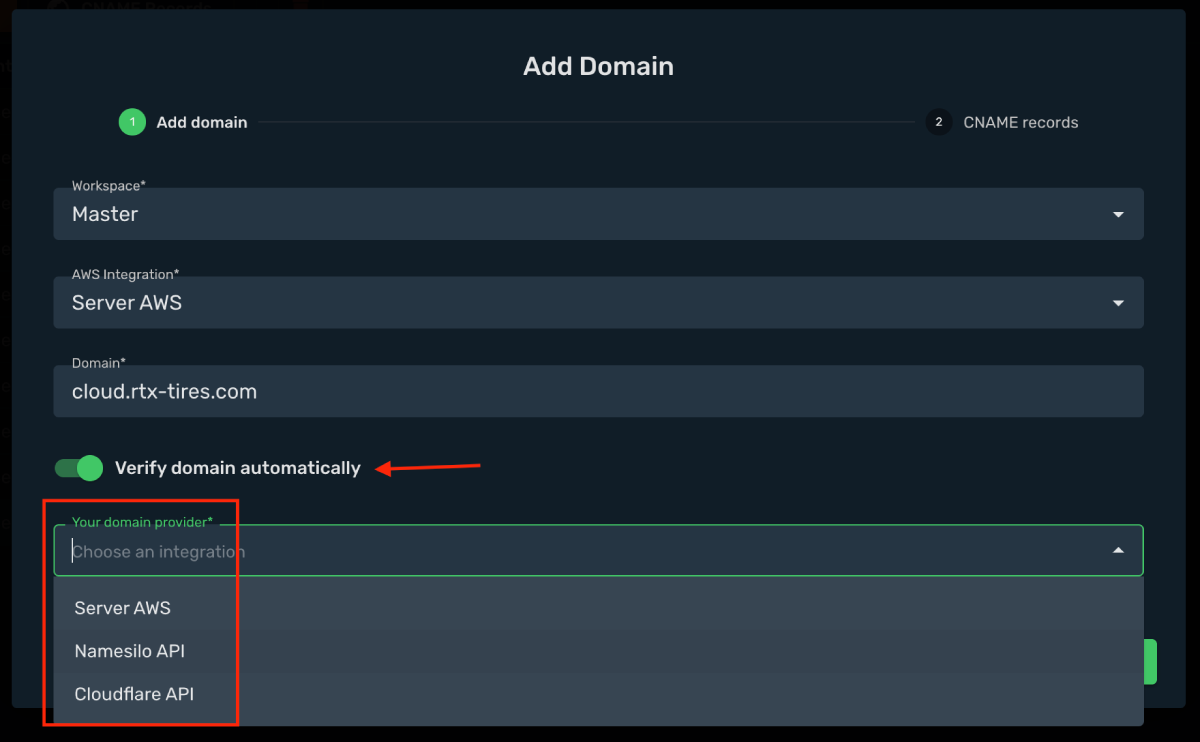
2.1.To automatically verify your domain ownership, add your domain provider integration. This will allow Skro to generate a CNAME record for seamless domain verification.
Automated verification are supported with **AWS (Route53)**, **Cloudflare** and **Namesilo**.
- [Cloudflare integration](/docs/deploy-website/cloudflare-integration)
- [Namesilo integration](/docs/deploy-website/namesilo-integration)
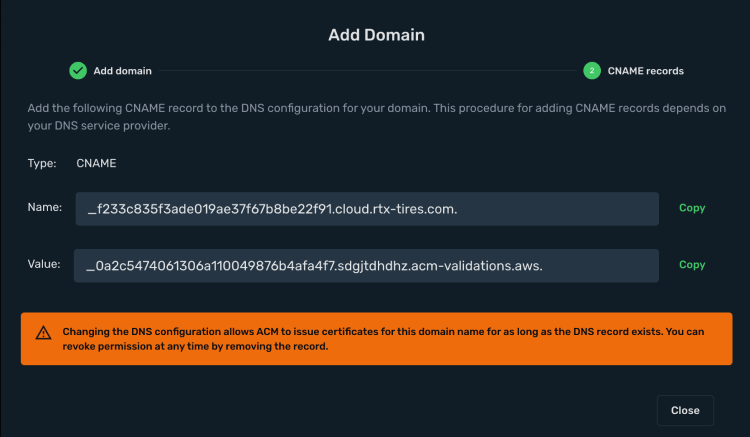
3. On the next step you will get CNAME record **Name** and **Value** to verify your domain ownership.
## Step 2. Add CNAME record. [#step-2-add-cname-record]
1. In our example we use **Namecheap**. Log in to **Namecheap** account.
2. Select your domain and click **Manage DNS** and click **Add new record**.
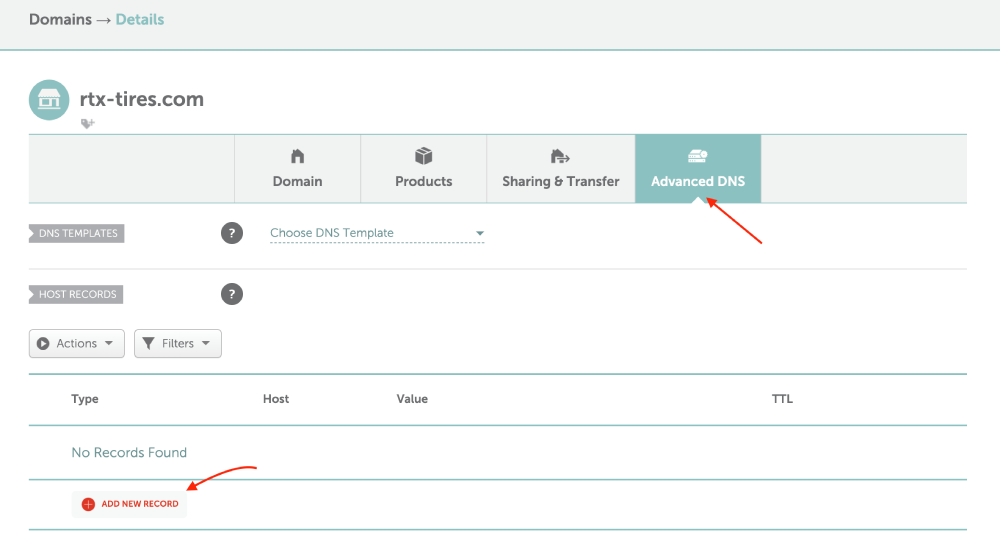
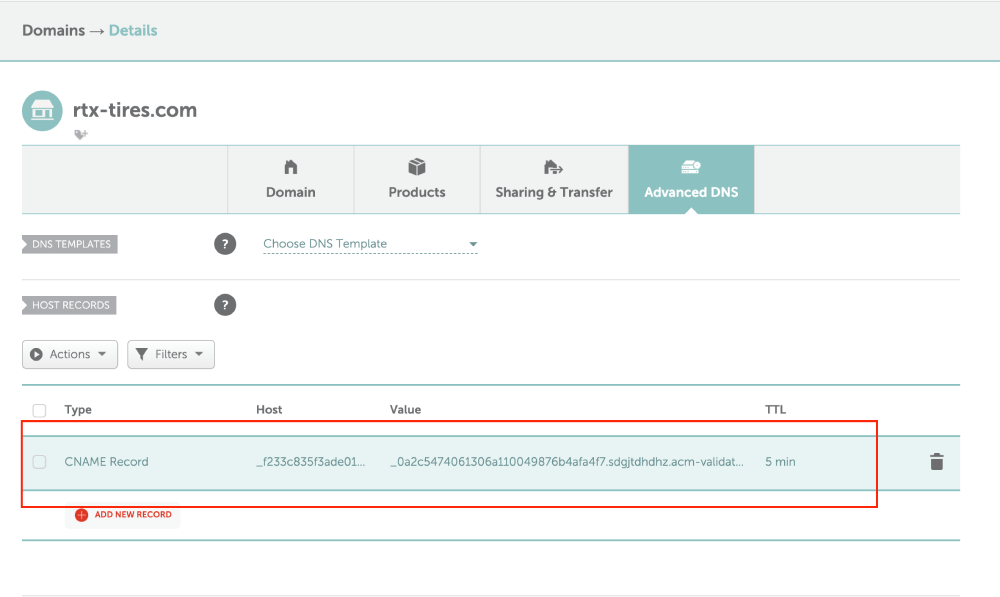
**Host:** is **_f233c835f3ade019ae37fs7b8be22f91.cloud**. As you see I do not add **.rtx-tires.com** at the end because Namecheap will add that automatically.
**Value:** is **_0a2c5474061306a110049876b4afa4f7.sdzjtdhdhz.acm-validations.aws.**
## Step 3. Verify domain ownership and generate free SSL cert. [#step-3-verify-domain-ownership-and-generate-free-ssl-cert]
1. Go back to Skro and click **Close**.
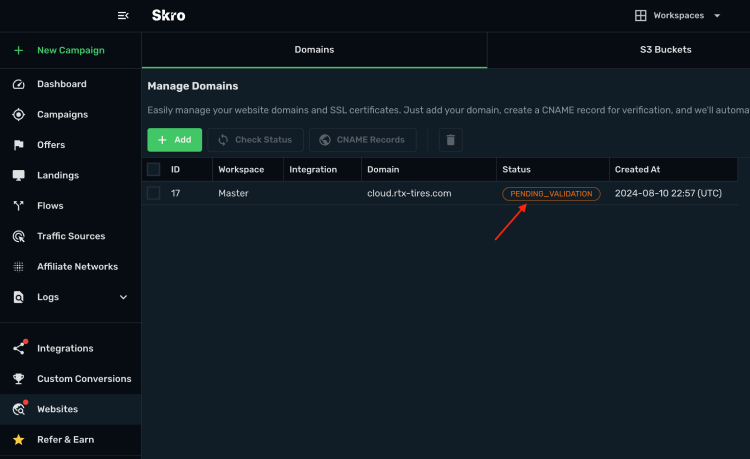
2. As you see your domain is in **PENDING_VALIDATION** status. DNS changes will take some time to update and generate SSL for your domain. Usually it will take up to 5-15 minutes, but it can take up to 48 hours.
3. After 5 minutes, you can select your domain and click **Check Status** to see if your domain is verified and SSL cert issued.
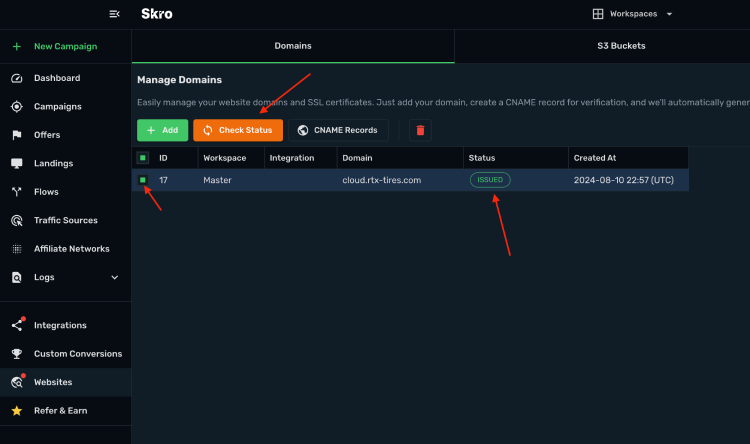
Domain is ready for deployment.
## Related guides [#related-guides]
# Connect NameSilo for website deployment
Source: https://skro.eu/docs/deploy-website/namesilo-integration
Connect NameSilo to Skro for domain verification and DNS configuration during website deployment.
This API integrations gives you the ability to create DNS records automatically for domain verification and website distribution.
## Step 1. Log In to Your NameSilo Account or Create a New One [#step-1-log-in-to-your-namesilo-account-or-create-a-new-one]
1. Go to the [https://namesilo.com](https://namesilo.com) web-page.
2. Log in to your account or create a new one.
## Step 2. Generate Your Access Keys [#step-2-generate-your-access-keys]
1. Now you are able to sign in to your NameSilo Console.
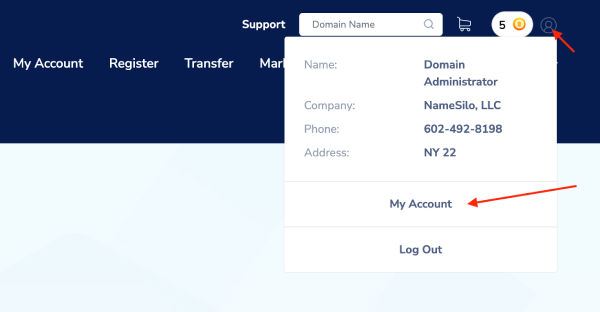
2. On the top right corner click **My Profile** icon and then click **My Account**.
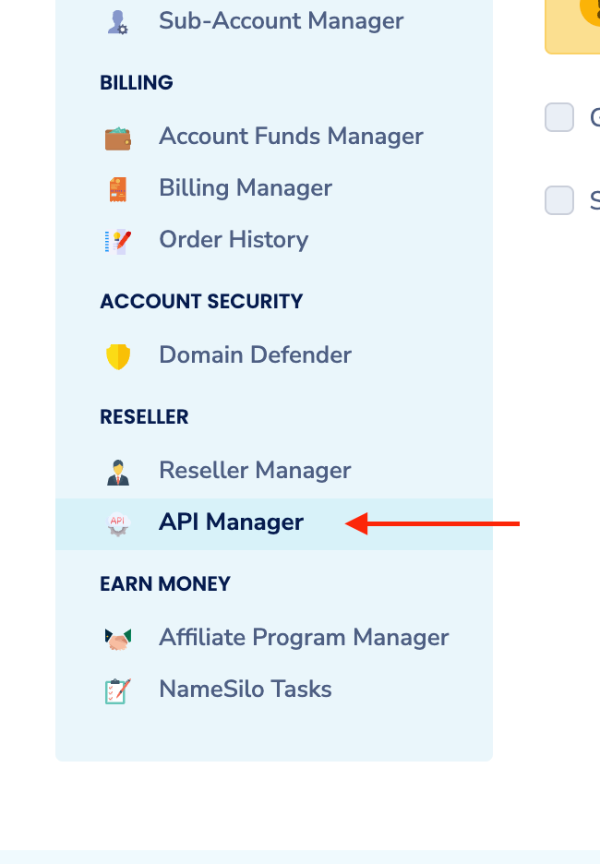
3. Find **API Manager** from the left sidebar and click it.
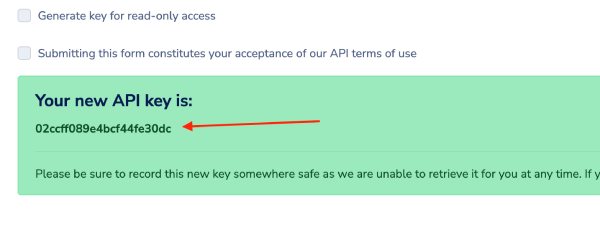
4. You will need to accept their terms and then click **Generate** to get API token.
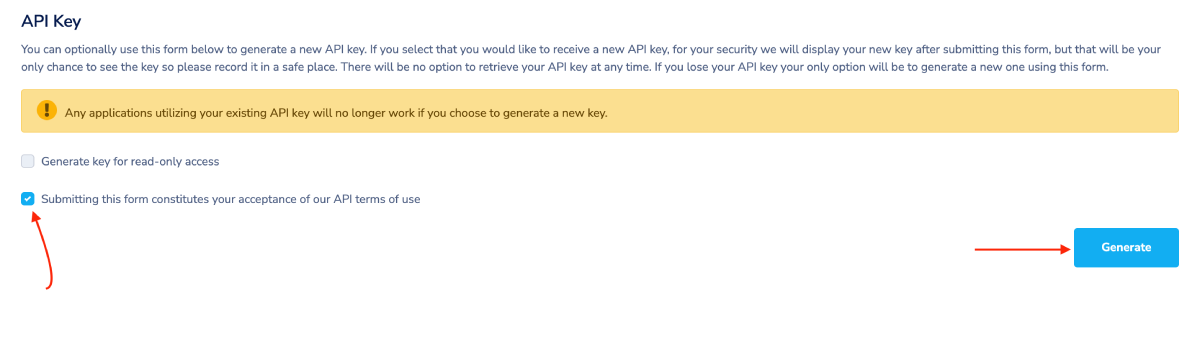
5. Copy **API Token** to the clipboard.
## Step 3. Add integration to Skro [#step-3-add-integration-to-skro]
1. Log in to Skro and navigate to the **Settings** → **Integrations** and scroll down to **Servers / Domains - Deploy Websites & Issue SSL Certs** section and click **Add**.

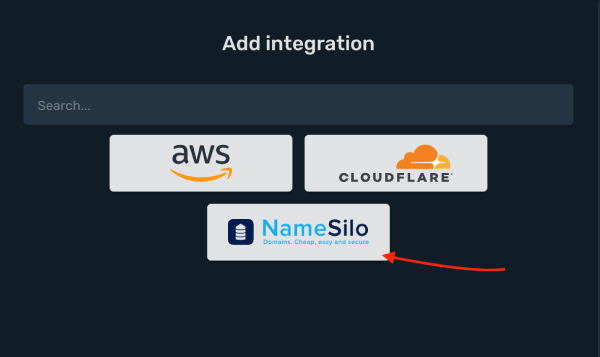
2. Click **NameSilo** logo.
3. Add your Namesilo API Token and click **Save & Close**.
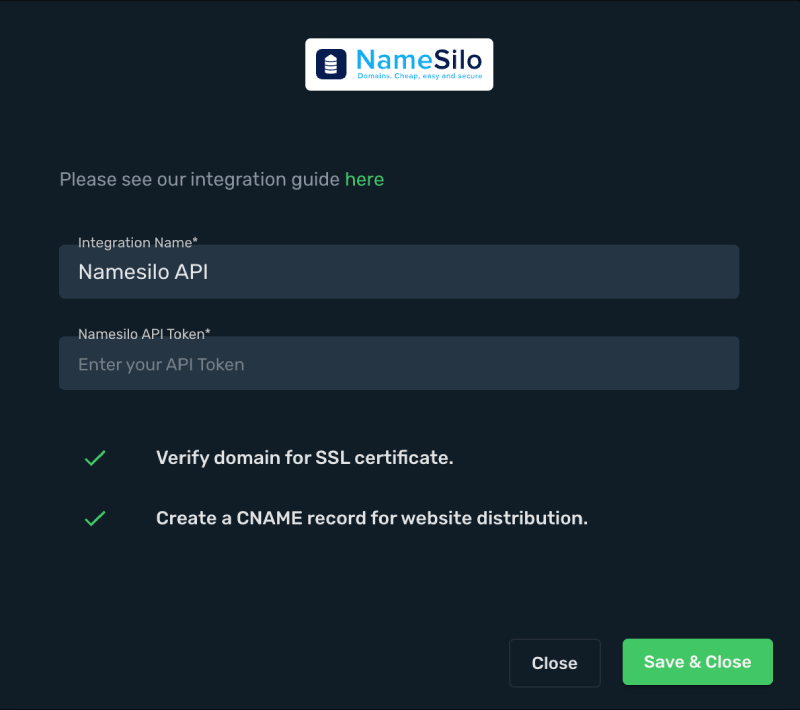
4. Your Namesilo API integration is connected.
## Related guides [#related-guides]
# Set up Meta Conversions API
Source: https://skro.eu/docs/facebook/how-to-integrate-facebook-capi
Enable Meta Conversions API in Skro, configure conversion events and pixels, and connect them to your campaigns.
Meta Conversions API sends conversion events from Skro to your connected Meta ad account. Complete the [Meta Ads integration](/docs/integrations/facebook-meta-ads-integration) before configuring conversion reporting.
## Step 1. Enable the conversion integration [#step-1-enable-the-conversion-integration]
1. In Skro, open **Settings → Integrations**.
2. Edit your existing Facebook (Meta) integration.
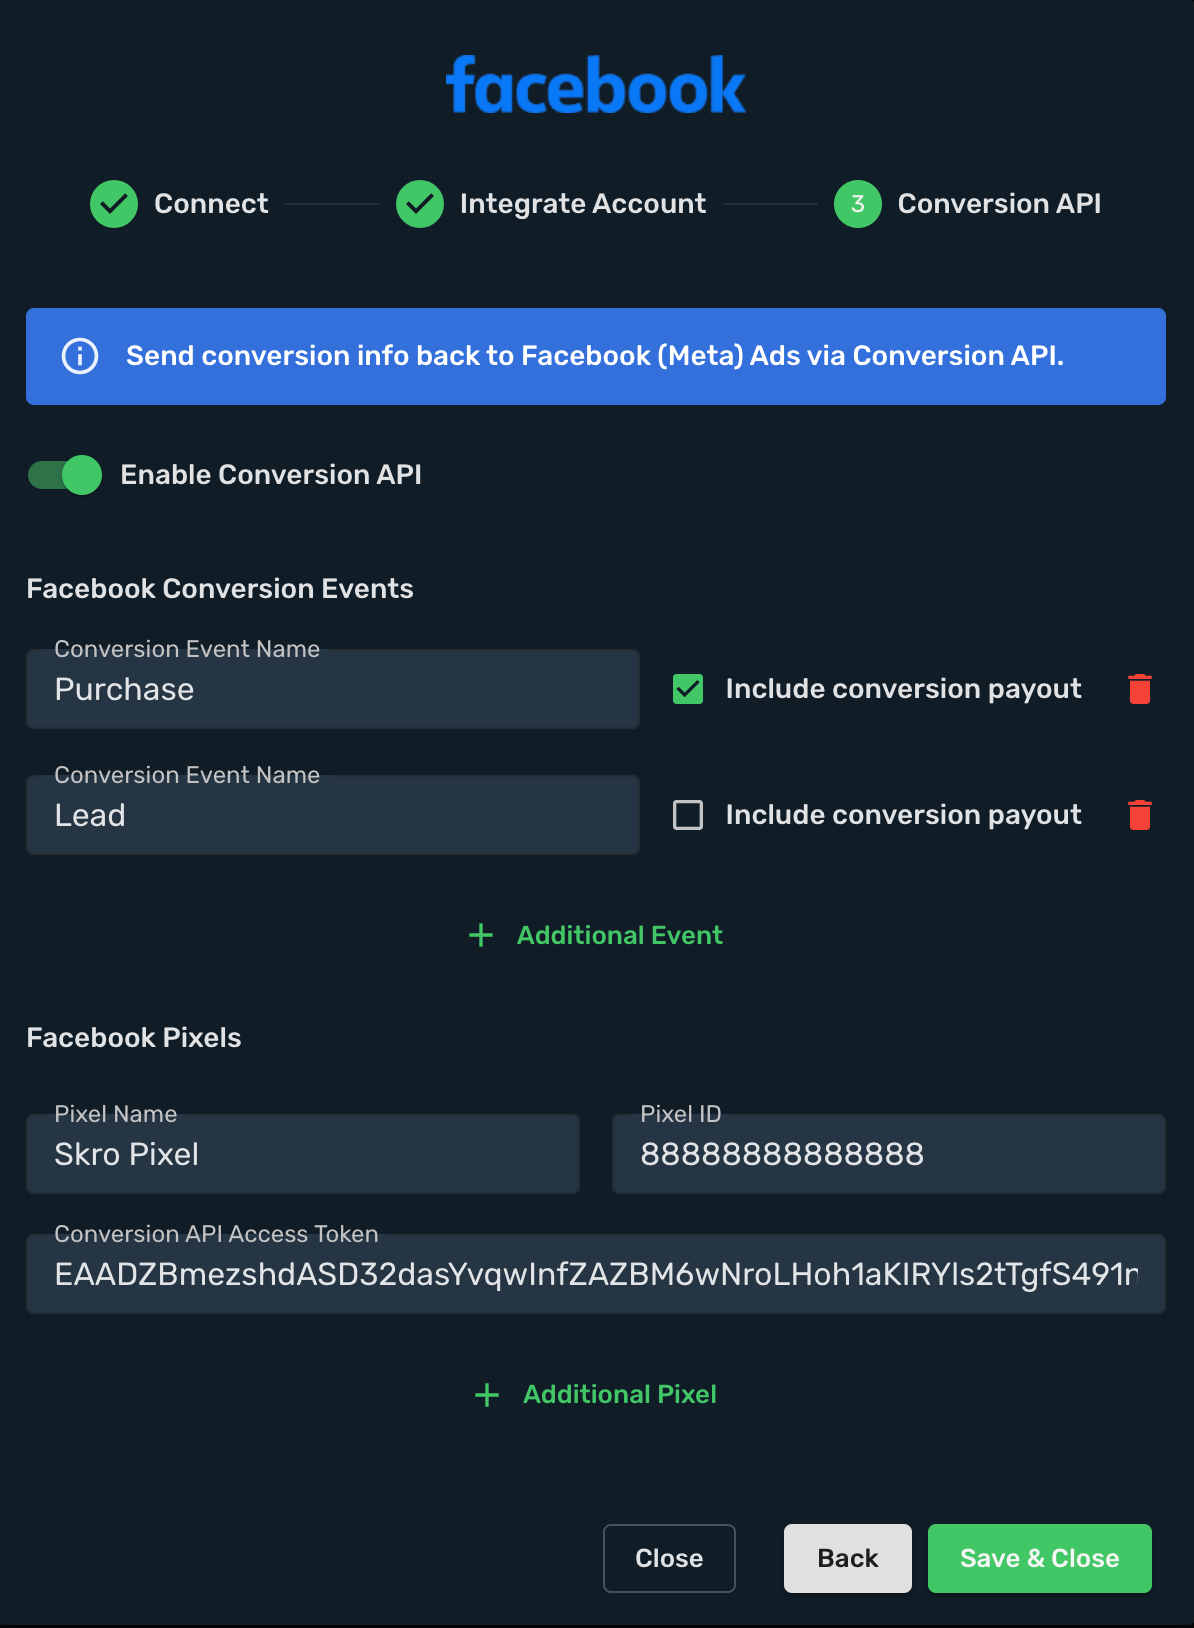
3. Open the **Conversion API** step and enable **Conversion API**.
## Step 2. Configure conversion events [#step-2-configure-conversion-events]
| Field | Configuration |
| --- | --- |
| **Conversion Event Name** | Add the events you want to send, such as `Lead`, `Purchase`, or `Subscribe`. |
| **Include Conversion Payout** | Enable this option to send the event’s revenue and currency to Meta. |
Select the appropriate conversion event when creating a campaign in Skro. To track multiple event types, such as `AddToCart` and `ViewContent`, configure [custom conversions](/docs/postback/custom-conversions).
## Step 3. Add your pixel [#step-3-add-your-pixel]
1. Enter a descriptive **Pixel Name**.
2. Enter the **Pixel ID** used for your Meta and Skro campaigns.
3. In Meta Events Manager, select the pixel and open **Settings**.
4. Find the Conversions API settings and generate an access token.
5. Paste it into **Conversion API Access Token** in Skro.
6. Select **Save & Close**.
## Step 4. Review the saved integration [#step-4-review-the-saved-integration]
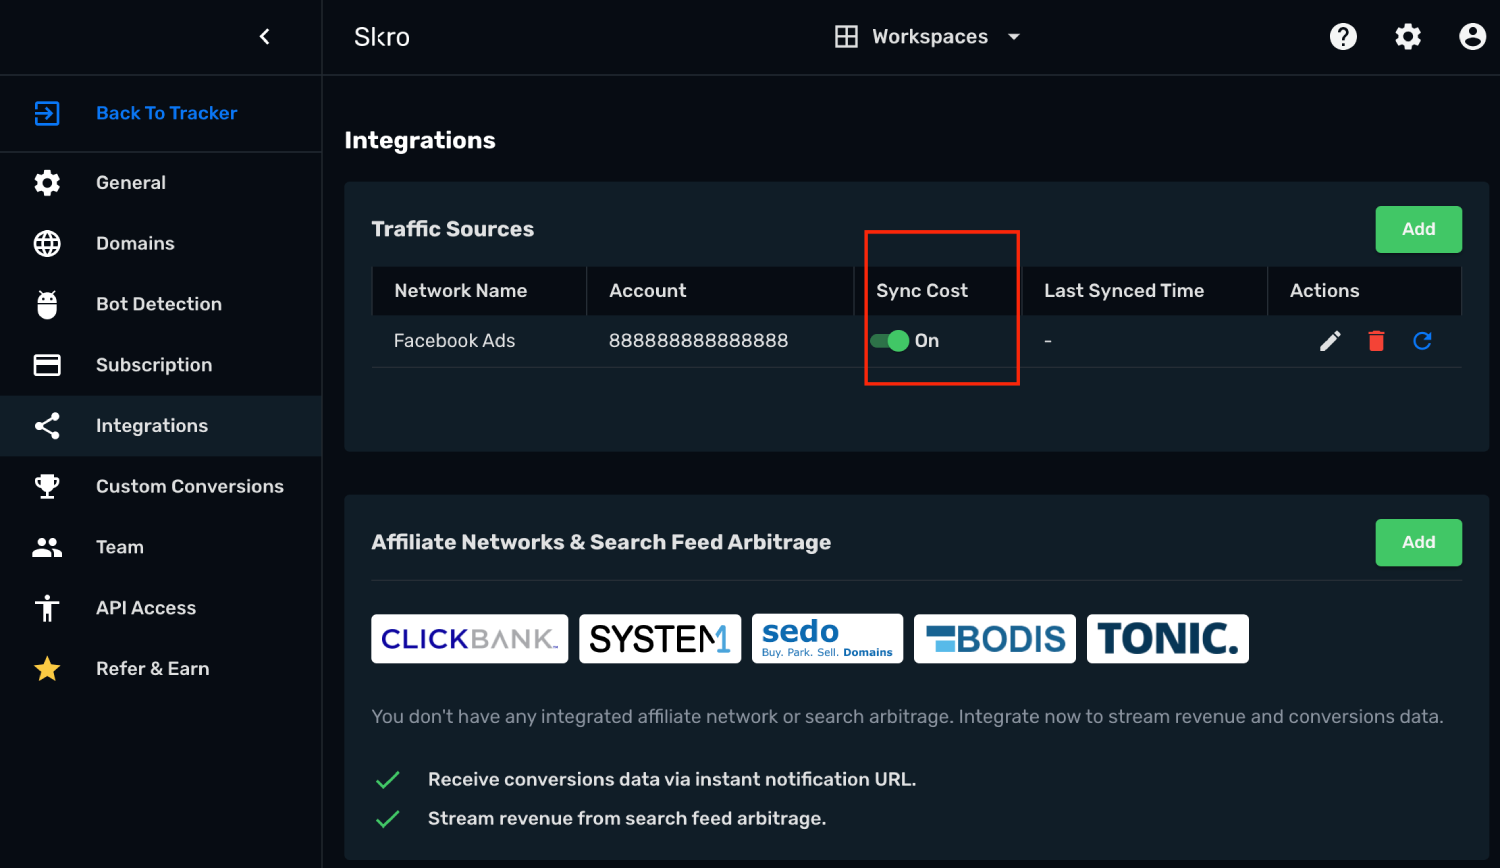
Confirm the connected ad account and select the integration in the relevant traffic source. The integration view also provides cost synchronization controls and options to edit or renew access.
## Verify conversion reporting [#verify-conversion-reporting]
Trigger a test conversion from a tracked campaign. Confirm the event appears in Skro and reaches the intended Meta pixel with the configured event name.
If reporting stops, check the selected integration and pixel, event mapping, and access token. Renew access when the token is revoked or no longer valid.
## Related guides [#related-guides]
# Optimize Meta ads in Skro
Source: https://skro.eu/docs/facebook/how-to-optimize-facebook-meta-ads-directly-from-skro
Manage Meta campaign, ad set, and ad status and budgets from Skro reporting views.
## Optimize Facebook (Meta) Campaigns, AdSets and Ads [#optimize-facebook-meta-campaigns-adsets-and-ads]
**Requirements:** Facebook (Meta) Ad Account Integration.
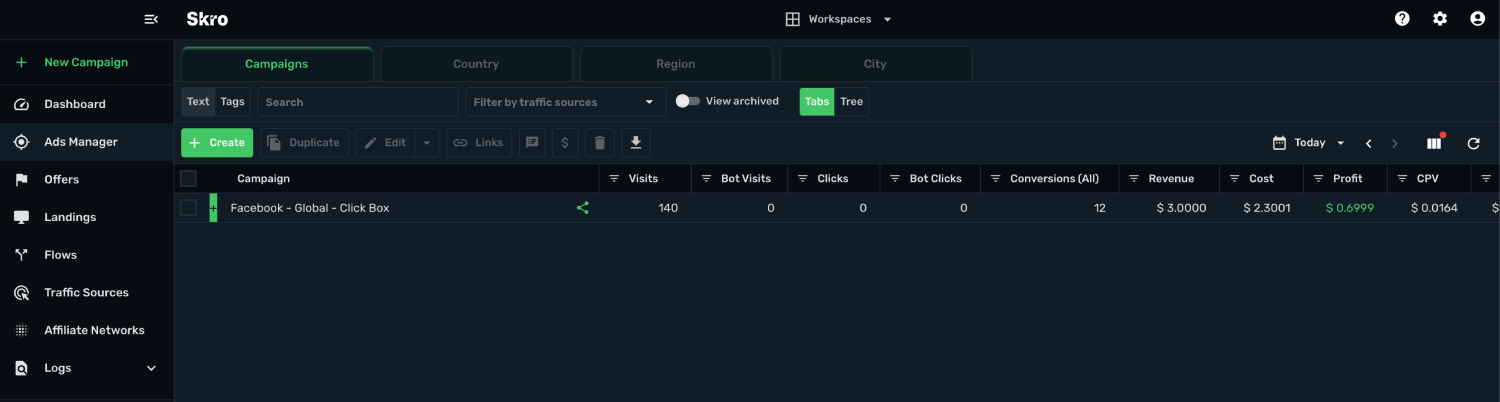
1. Go to **Ads Manager**.
2. Double-click your campaign name.
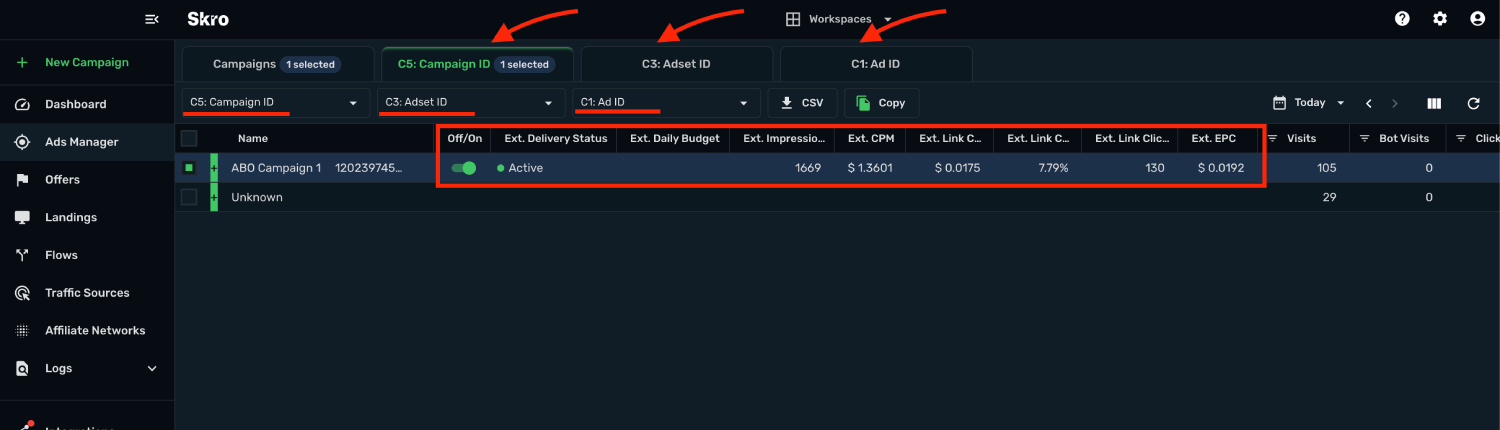
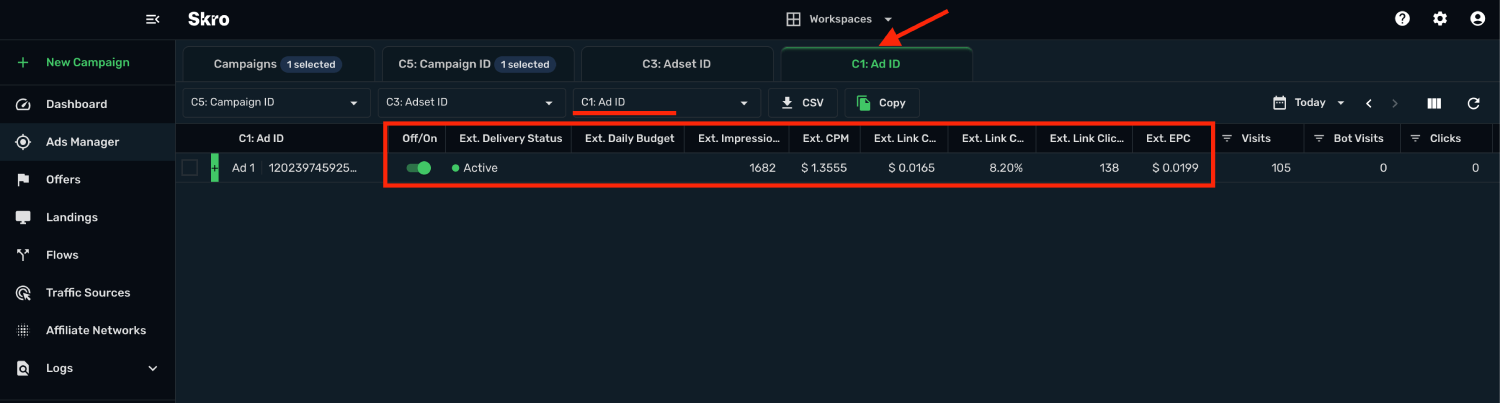
3. Use **Group By** select boxes and select the following values:
- Group By 1: **C5: Campaign ID**
- Group By 2: **C3: AdSet ID**
- Group By 3: **C1: Ad ID**
4. In the current view you can now optimize your Facebook campaigns directly from Skro UI. It means that you can turn ON/OFF Facebook campaigns, change campaign budget and see dynamic columns from Facebook in real-time.
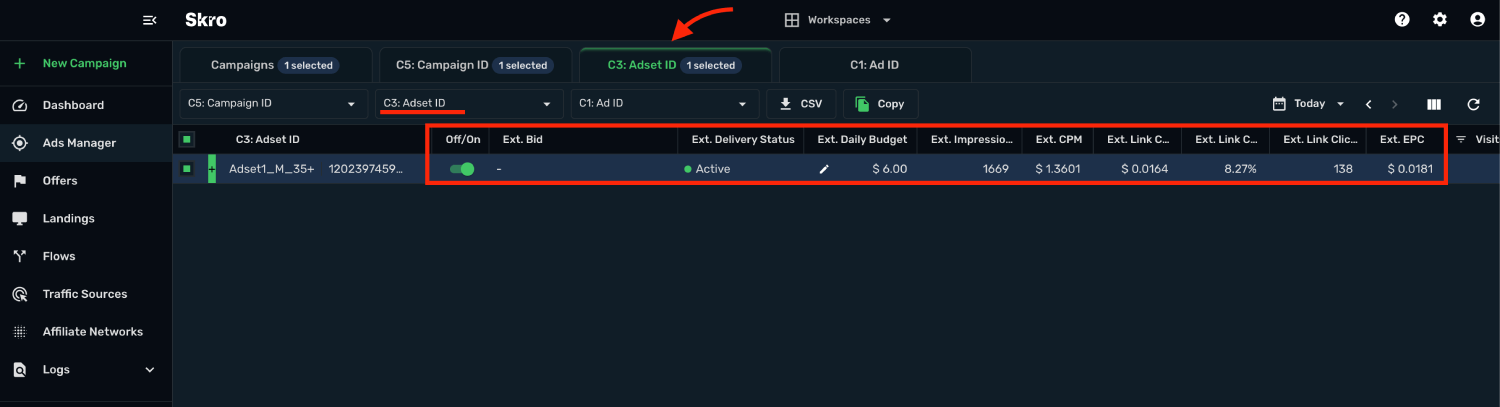
5. Double-click your **campaign name** or use tab above the table to move into the **Adset** view.
6. Now you can manage your Facebook **AdSets**, so that you can turn ON/OFF adset, change budget and see dynamic columns from Facebook in real-time.
7. Double-click your **adset name** or use tabs above to table to move to the **Ads** view. Also multi-select is supported.
8. Now you can manage your Facebook **Ads**, so that that you can turn ON/OFF ads and see dynamic columns from Facebook in real-time.
### Manage multiple campaigns [#manage-multiple-campaigns]
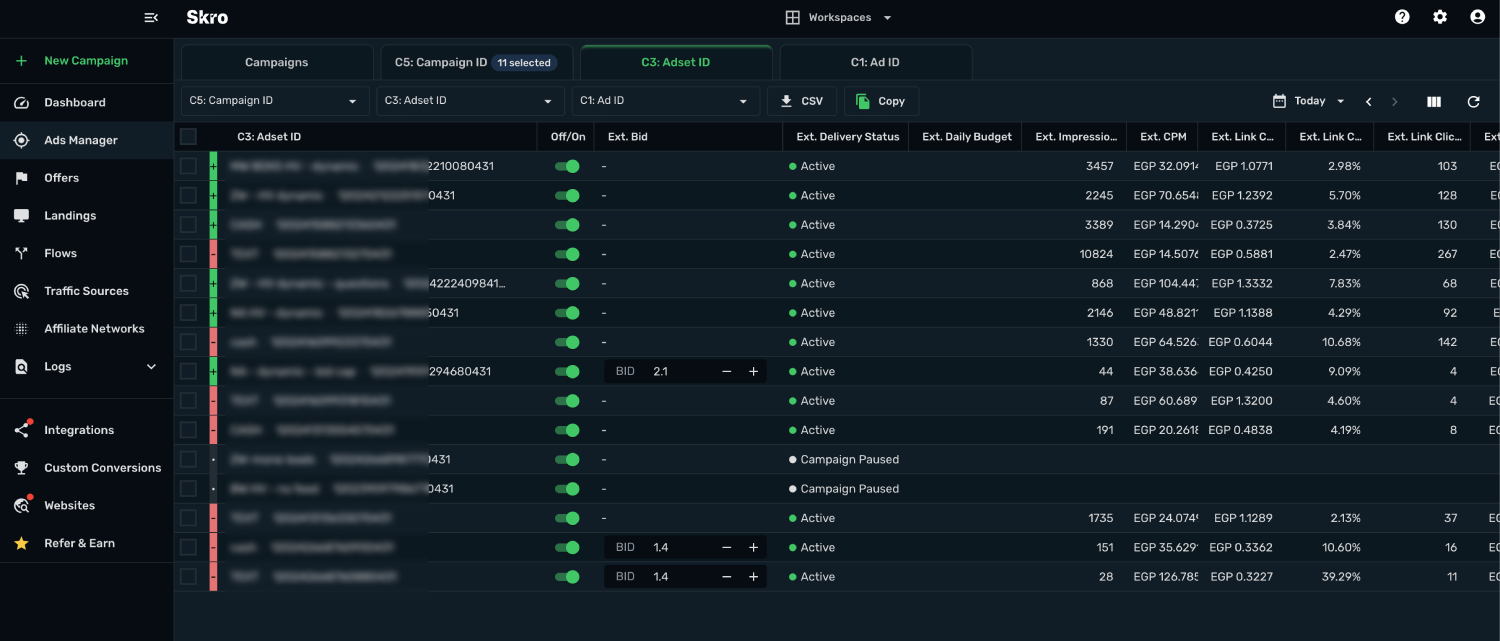
1. For example, if you have multiple ad accounts and running like 50 campaigns on each. Then you can optimize all campaigns in 1 single view, if you select **1 traffic source** from toolbar.
2. Do not select any campaign from **Ads Manager** view. Just click the **C5: Campaign ID** tab (or any other tab) above the table to move into that view.

3. Optimize all your AdSets in one view.
### Tree view optimization [#tree-view-optimization]
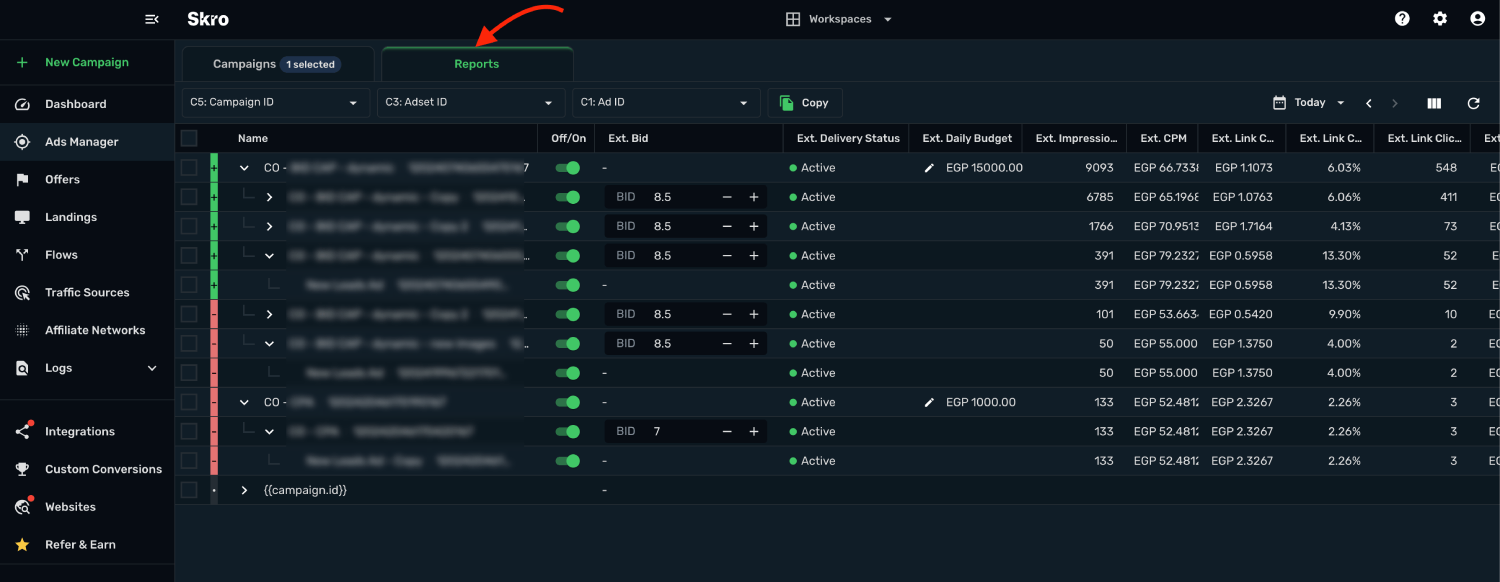
1. Go to **Ads Manager** and select **Tree** on toolbar.
2. Double-click your campaign and you will be redirected to **Reports** view.
3. Use **Group By** select boxes and select the following values:
- Group By 1: **C5: Campaign ID**
- Group By 2: **C3: AdSet ID**
- Group By 3: **C1: Ad ID**
4. Just drill-down your campaigns and adsets and start optimizing.
## Related guides [#related-guides]
Create metric-based or scheduled rules with budget limits, notifications, and action logs.
# Send additional Meta conversion parameters
Source: https://skro.eu/docs/facebook/how-to-send-additional-parameters-via-facebook-meta-conversion-api
Include customer details, browser identifiers, and an event ID in Skro postbacks for Meta conversion matching and deduplication.
Add supported customer and event fields to your Skro postback URL to pass additional information through the Meta Conversions API integration. First connect your [Meta ad account](/docs/integrations/facebook-meta-ads-integration) and [enable Conversions API](/docs/facebook/how-to-integrate-facebook-capi).
## Supported parameters [#supported-parameters]
| Parameter | Value |
| --- | --- |
| `firstName` | Customer’s first name; Roman alphabet characters are recommended. |
| `lastName` | Customer’s last name; Roman alphabet characters are recommended. |
| `email` | Customer’s email address. |
| `phone` | Customer’s phone number. |
| `zip` | Postal code in lowercase, without spaces or dashes. Use five digits for US ZIP codes; use the area, district, and sector for UK codes. |
| `fbLoginId` | Meta app-scoped login ID. |
| `fbp` | Browser identifier from the `_fbp` cookie on your domain. |
| `sourceDomain` | Overrides the source domain sent to Meta; Skro uses the landing or offer domain by default. |
| `eventId` | Identifies the same event across browser and server tracking for deduplication. |
## Example postback [#example-postback]
```text
https://skrotrack.com/postback?clickId=REPLACE&payout=10&firstName=John&lastName=Doe&email=john@example.com&zip=12345&fbLoginId=APP_SCOPED_ID&fbp=fb.1.1596403881668.1116446470&sourceDomain=example.com&eventId=EVENT_ID
```
Replace the example values with the data for the conversion being reported. The `clickId` must identify the original visit in Skro. Use your custom tracking domain in place of `skrotrack.com` if one is configured.
## Match browser and server events [#match-browser-and-server-events]
If your browser pixel and Skro report the same conversion, use the same event identifier for both copies of that event. A different conversion should have its own event identifier.
## Verify the setup [#verify-the-setup]
Send a test conversion and compare the click ID and event ID in your tracking setup. Check that the event reaches the intended Meta pixel and contains the fields your integration supplies.
## Related guides [#related-guides]
# Meta Ads automation
Source: https://skro.eu/docs/facebook/meta-ads-automation
Create performance-based or scheduled rules for Meta campaigns, ad sets, and ads. Configure conditions, budget limits, notifications, and action logs.
Meta Ads automation applies repeatable campaign controls using the conditions and schedules you configure in Skro. Use it to pause or enable entities, adjust daily budgets, or notify your team when a rule matches.
Automation is currently only for Meta Ads**. It requires a paid Skro plan and an integrated Meta traffic source. Owners and managers can create and edit rules.
## Before you begin [#before-you-begin]
1. Complete the [Meta Ads integration](/docs/integrations/facebook-meta-ads-integration).
2. Link the integration to your Meta traffic source in Skro.
3. Confirm that your campaign tracking, cost synchronization, and conversion reporting work correctly.
4. Open **Automation** in the Ads Manager navigation.
Rules depend on the data available in your reports. Allow for delayed costs or conversions when choosing periods and thresholds.
## Create your first rule [#create-your-first-rule]
### 1. Name the rule and select a traffic source [#1-name-the-rule-and-select-a-traffic-source]
Select **Create** in the Automation toolbar. Enter a recognizable **Rule name**, such as `Notify about spend without conversions`.
Choose an integrated Meta **Traffic Source**. Review the displayed **Ad account**, **Reporting timezone**, and **Currency** to confirm that you selected the correct account.
A rule name must contain between 4 and 100 characters.
### 2. Choose the targets [#2-choose-the-targets]
Select the **Entity type** you want the rule to evaluate:
| Entity type | What it controls |
| --- | --- |
| **Campaigns** | Meta campaign entities associated with the selected scope. |
| **Ad sets/groups** | Ad set entities within the selected scope. |
| **Ads** | Individual ads within the selected scope. |
Then choose **Apply this rule to**:
- **All campaigns with traffic**: applies to the eligible campaigns associated with the selected traffic source.
- **Selected Skro campaigns**: limits the scope to the campaigns you select. You can select up to 50.
Start with a small, explicit scope so that you can review the behavior of the rule before expanding it.
### 3. Choose the trigger [#3-choose-the-trigger]
Choose **When metric conditions are met**. Add up to five conditions, each containing a **Metric**, **Operator**, **Value**, and **Period**.
With multiple conditions, choose:
- **Match ALL conditions (AND)**: every condition must match.
- **Match ANY condition (OR)**: one matching condition is enough.
For example, use **AND** to require both `Cost > 50` and `Conversions Approved = 0`. Using **OR** would also match entities with zero approved conversions regardless of their spend.
Select the **Check frequency** and **Run window** as described below.
Choose **On a schedule**, select the weekdays, and set the time when the rule should run.
Scheduled rules run without metric conditions. Use this trigger for actions that should occur at a specific time, rather than actions that depend on campaign performance.
Review the account’s displayed timezone before selecting the time.
### 4. Choose the action [#4-choose-the-action]
Select one action from the **Actions** section.
| Action | Configuration |
| --- | --- |
| **Pause** | Pauses the matching campaign, ad set, or ad. |
| **Enable** | Enables the matching campaign, ad set, or ad. |
| **Increase daily budget** | Choose a percentage or fixed increase, enter the amount, and set a **Maximum daily budget**. |
| **Decrease daily budget** | Choose a percentage or fixed decrease, enter the amount, and set a **Minimum daily budget**. |
| **Send notification only** | Reports the rule result through an in-app notification without changing Meta entities. |
Budget actions are available for **Campaigns** and **Ad sets/groups**. They are not available for individual **Ads**. Budget change values and the required maximum or minimum must be greater than zero.
For your first rule, choose **Send notification only**. Review whether its conditions and scope identify the entities you intended before switching to an action that changes their status or budget.
### 5. Configure notifications and save [#5-configure-notifications-and-save]
Enable **In-app notification** if you want updates in your workspace’s notification inbox. This option is required and remains enabled for notification-only rules.
Select **Create rule**. For an existing rule, select **Save changes**.
Back in the Automation list, review the rule’s scope and enabled status. Use the status switch to control whether it should run.
## Metric reference [#metric-reference]
The metric selector includes the following reporting values:
| Category | Metrics |
| --- | --- |
| Traffic | Visits, Clicks |
| Financial results | Revenue, Cost, Profit |
| Conversions | Conversions Approved, Conversions All |
| Return | ROI %, ROAS, ROAS % |
| Unit economics | CPA, EPC, CPC, CPV |
| Rates | LP CTR %, CR % |
| Custom conversion events | Revenue and conversion count for each available custom event |
Choose the operator **is greater than**, **is less than**, **is equal to**, or **is not equal to**.
### ROAS and ROAS % [#roas-and-roas-]
**ROAS** uses the ratio `revenue / cost`. **ROAS %** uses `revenue / cost × 100`. For example, revenue of 200 and cost of 100 corresponds to ROAS `2` or ROAS `200%`. Enter the threshold in the unit used by the selected metric.
### Reporting periods [#reporting-periods]
Each condition can use **Today**, **Yesterday**, **Last 24 hours**, or **Last 3, 5, 7, 14, or 30 days**. The period determines the data evaluated by the condition; it does not determine how often the rule runs.
## Check frequency and run windows [#check-frequency-and-run-windows]
For metric-based rules, the available check frequencies are:
- Every 15 or 30 minutes.
- Every 1, 3, 6, or 12 hours. The form defaults to 12 hours.
- Daily, or every 3, 5, 7, or 14 days.
The **Run window** controls when the metric rule is allowed to run:
| Window | Use |
| --- | --- |
| **Continuously** | Evaluates at the selected frequency without an additional time restriction. |
| **Date range** | Restricts the rule to a start and end date and time. |
| **Weekly time range** | Restricts the rule to selected weekdays and time ranges. |
The frequency, run window, and reporting period are separate settings. A rule can check every hour during a weekly window while evaluating today’s metrics.
## Example: monitor spend without conversions [#example-monitor-spend-without-conversions]
The following values illustrate a rule configuration. Choose thresholds and periods that suit your own reporting and campaign goals.
| Setting | Example |
| --- | --- |
| **Rule name** | Notify about spend without conversions |
| **Entity type** | Ads |
| **Scope** | Selected Skro campaigns |
| **Match conditions** | ALL (AND) |
| **Condition 1** | Cost is greater than 50; period Today |
| **Condition 2** | Conversions Approved is equal to 0; period Today |
| **Check frequency** | Every 1 hour |
| **Run window** | Continuously |
| **Action** | Send notification only |
The cost threshold uses the currency displayed for the selected ad account. After reviewing results, you can edit the rule and choose **Pause** if that is the behavior you want.
## Review action logs [#review-action-logs]
Select a rule and choose **View logs**, or use the log icon in its row. The list shows external action results, including the time in **UTC**, campaign, action, status, and duration.
Open a row’s details to inspect the entity, HTTP status, request, and response. Results can be **Success**, **Failed**, or **Skipped**. Review the recorded details to understand a particular outcome.
A notification can open the associated execution. Use **Show all executions** to return to the full history for the rule.
Notification-only rules do not change Meta entities. An execution with no recorded external actions does not, by itself, indicate an error. Check the notification and execution details alongside the action log.
## Manage existing rules [#manage-existing-rules]
- Use the **Enabled** switch to control a rule’s status.
- Select one rule and choose **Edit** to change its settings.
- Use **Refresh** to reload the list or action history.
- Use **Delete** only when you want to permanently remove the rule.
## Troubleshooting [#troubleshooting]
### The traffic source is rejected [#the-traffic-source-is-rejected]
Confirm that the traffic source has an integration and that its integration is for Meta Ads. A traffic source template without a connected account is not sufficient.
### The rule matches more entities than expected [#the-rule-matches-more-entities-than-expected]
Check **Entity type**, campaign scope, the condition periods, and **AND/OR** logic. Use selected campaigns and notification-only actions while reviewing the configuration.
### A budget action is unavailable [#a-budget-action-is-unavailable]
Select **Campaigns** or **Ad sets/groups**. Individual ads do not have the budget actions in the rule editor. For an available budget action, fill in the positive change value and the required maximum or minimum daily budget.
### Results differ from a report you are viewing [#results-differ-from-a-report-you-are-viewing]
Compare the same reporting period and account currency. Check for delays in synchronized cost or conversion data, and review the displayed reporting timezone. Action-log timestamps are shown in UTC.
### An action failed or was skipped [#an-action-failed-or-was-skipped]
Open the action details and review the recorded response. Check the connected Meta account and integration access, along with any budget limit you configured, before changing or re-enabling the rule.
## Related guides [#related-guides]
# Skro documentation
Source: https://skro.eu/docs
Set up campaign tracking, connect traffic sources and affiliate networks, and turn conversion data into actionable reports.
Skro connects your advertising campaigns with the visits, conversions, and revenue they generate. Use these guides to configure tracking, connect your accounts, and check that data flows correctly between platforms.
## Start with your tracking setup [#start-with-your-tracking-setup]
### 1. Configure your domain [#1-configure-your-domain]
Use your own tracking domain for campaign links. Add the CNAME record at your DNS provider, then configure the domain in Skro.
Configure DNS in Cloudflare.
Configure DNS in Namecheap.
### 2. Connect a traffic source [#2-connect-a-traffic-source]
Follow the guide for the platform where you buy traffic. Configure the traffic source template and any account integration, then use the generated tracking URL or direct tracking pixel in your campaign.
Connect your ad account, tracking, and conversion events.
Configure campaign tracking and conversion reporting.
Set up traffic parameters and conversion reporting.
Find traffic sources, affiliate networks, search feeds, and call tracking.
### 3. Configure conversion tracking [#3-configure-conversion-tracking]
Pass the Skro click ID to your offer or store and return it with the conversion event. Use custom conversions when you need separate events such as registrations, purchases, or upsells.
Understand required fields, revenue, currencies, and event identifiers.
Create events and map their names for each traffic source.
### 4. Test before sending traffic [#4-test-before-sending-traffic]
Open your campaign link, confirm the visit in Skro, and complete a test conversion. Compare the click ID, event name, revenue, currency, and reporting date range across the connected platforms.
## Choose a workflow [#choose-a-workflow]
Create metric-based or scheduled rules with budget limits, notifications, and action logs.
Connect your store and track the purchase journey.
Understand Related Search on Content and revenue synchronization.
Attribute calls and call conversions with Retreaver.
Review bot detection and choose how suspicious traffic is handled.
Manage ad status and budgets from Skro.
Connect AWS and publish a static website through Skro.
## Find what you need [#find-what-you-need]
Browse the sections in the left navigation or use search to find a platform, parameter, or task. On longer guides, use the page outline to jump directly to a step. Screenshots can be enlarged, and code examples can be copied from their code blocks.
Use **Copy Markdown** or **Open in** at the top of a guide to work with its content in your preferred tools. A [documentation index](/llms.txt) and [complete Markdown reference](/llms-full.txt) are also available.
# Related Search on Content (RSOC)
Source: https://skro.eu/docs/integrations/about-rsoc
Understand the RSOC campaign flow, the identifiers used for revenue reporting, and the provider integrations available in Skro.
Related Search on Content (RSOC) displays search terms on a publisher’s content page. Selecting a term takes the visitor to a search results page where relevant search ads can appear. Google offers related search for content through AdSense for Search; it is distinct from suggestions displayed on Google Search itself. See [Google’s related search overview](https://support.google.com/adsense/answer/10233819?hl=en).
## Campaign flow [#campaign-flow]
A typical setup connects an advertising campaign, a content page, and a search feed:
1. A visitor clicks your advertisement and opens the content page.
2. The visitor selects a related search term on that page.
3. The search results page displays relevant ads.
4. The provider reports monetization data that can be synchronized with Skro.
Your feed provider determines the available campaign identifiers, postback events, and revenue reports. Complete the provider’s account and website setup before configuring its integration in Skro.
## Track visits, events, and revenue [#track-visits-events-and-revenue]
Track the incoming visit with the campaign URL or direct tracking method configured in Skro. Where supported, use postbacks to report search interactions or conversion events.
Revenue synchronization is a separate part of the setup. Map the channel, campaign, brand, or offer identifier requested by your provider’s integration. Some integrations use aggregate identifiers rather than a click-level revenue breakdown. Follow the provider guide to choose the correct value.
The value entered in Skro must match the identifier in the provider’s offer URL and reporting account. For example, the Inuvo Prism guide explains how to map TKID, while other integrations use different fields.
## Provider setup guides [#provider-setup-guides]
## Verify revenue reporting [#verify-revenue-reporting]
Confirm the mapped identifiers, account currency, and selected custom conversion event. After a synchronization completes, compare Skro and provider reports using the same date range. Allow for the synchronization schedule and any later revenue adjustments described in the provider’s guide.
## Related guides [#related-guides]
# AdCash integration
Source: https://skro.eu/docs/integrations/adcash-and-skro-integration
Set up AdCash tracking in Skro, configure traffic source parameters, and connect your advertising campaigns.
Integration enables you to track all your campaigns, zones, ads, etc. Additionally, it provides a comprehensive overview of your cost and conversions for the optimization.
## Step 1. Create a AdCash traffic source and configure the postback URL [#step-1-create-a-adcash-traffic-source-and-configure-the-postback-url]
1. Navigate to **Traffic Sources**.
2. Click the **Create**.
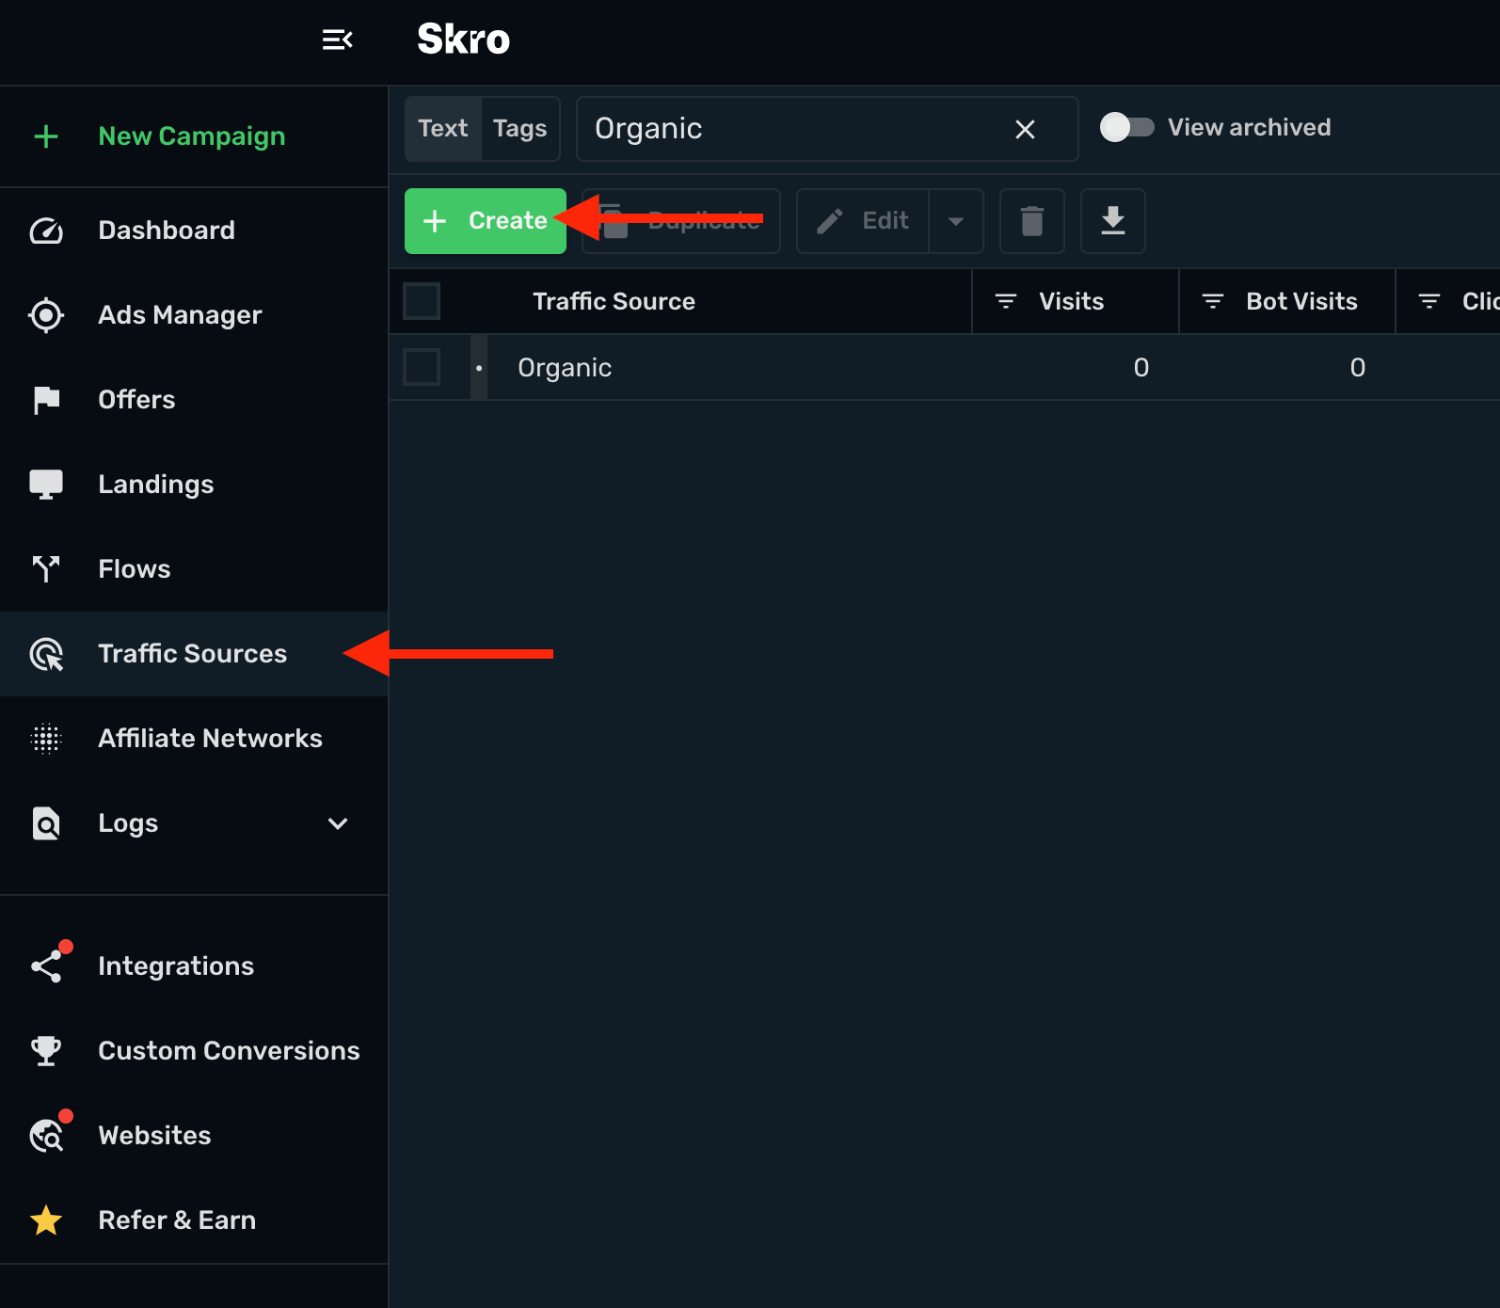
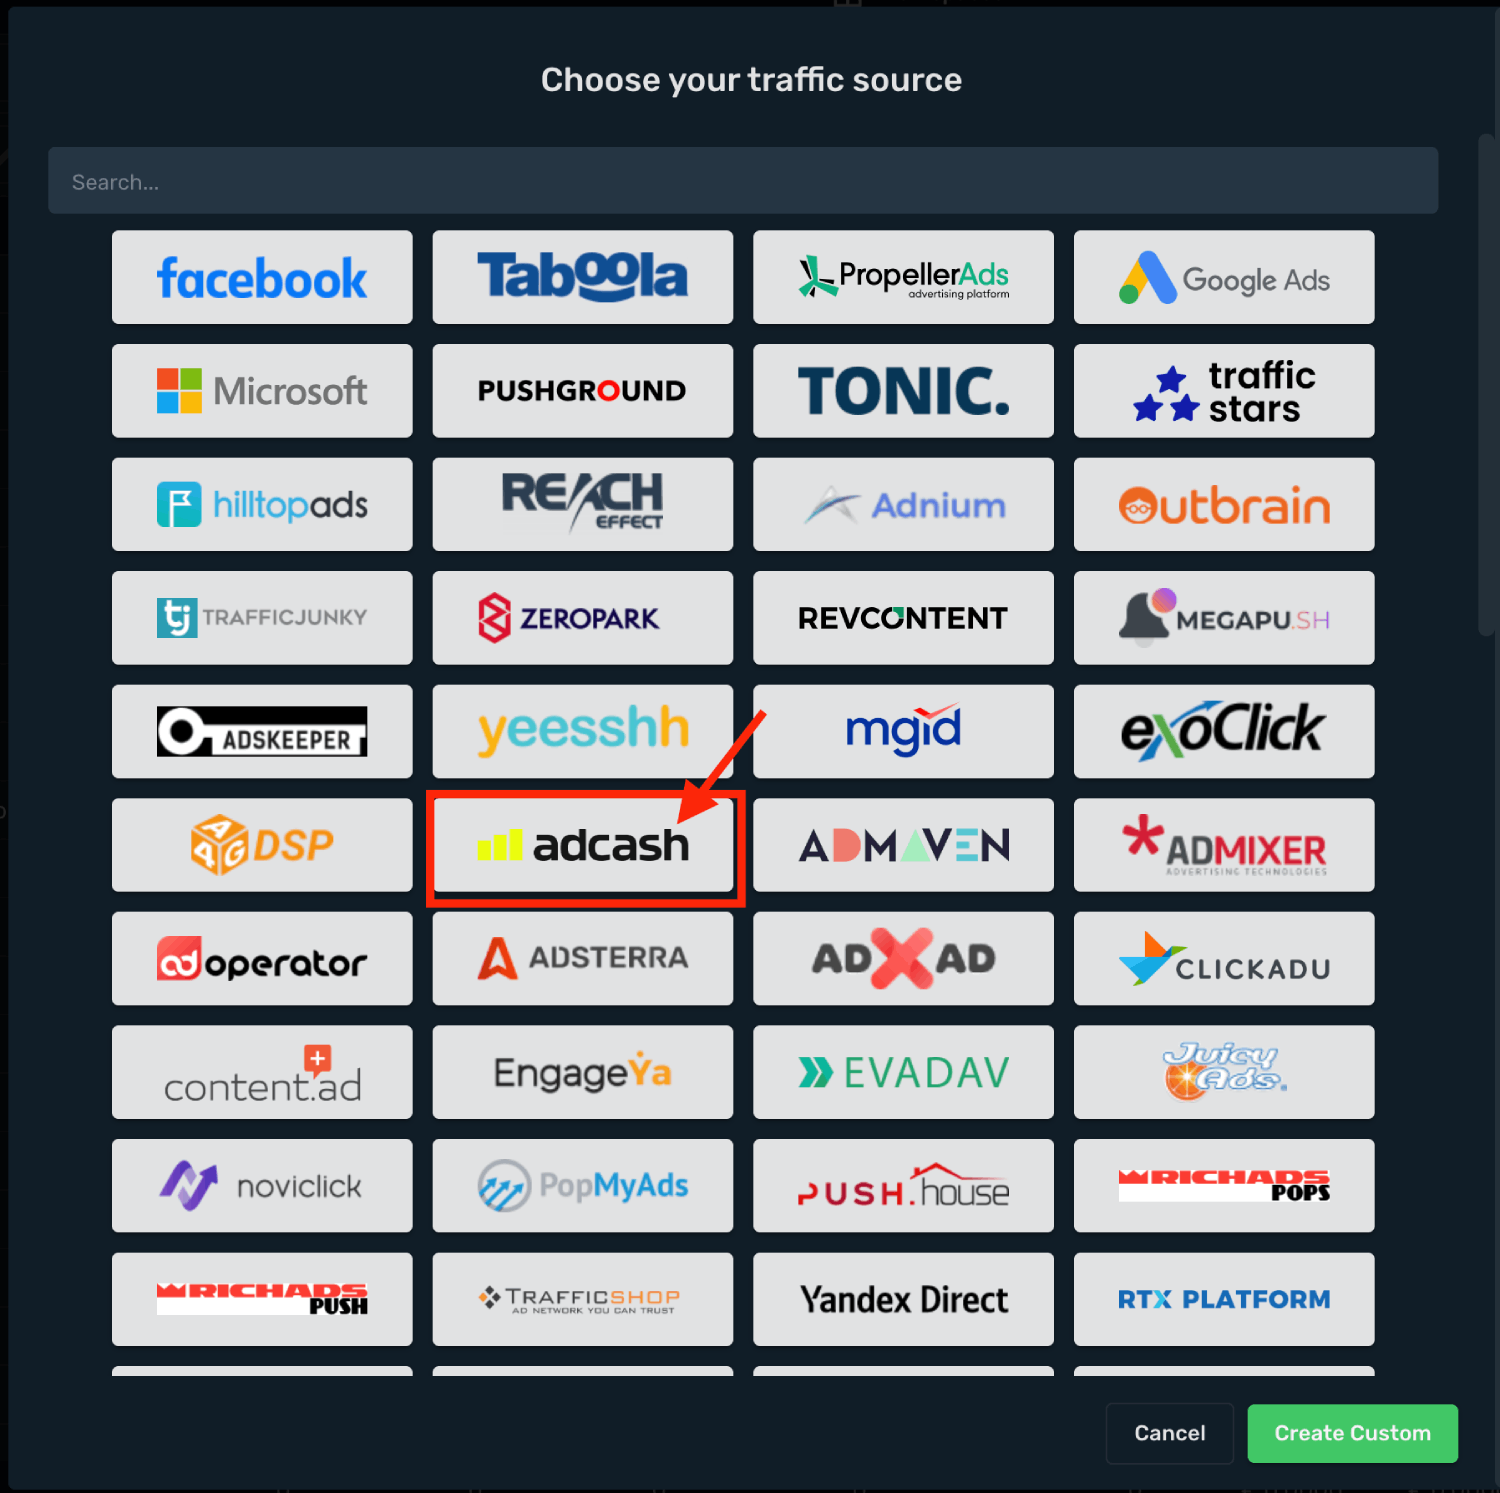
3. Search for **AdCash** and click the **AdCash** template.
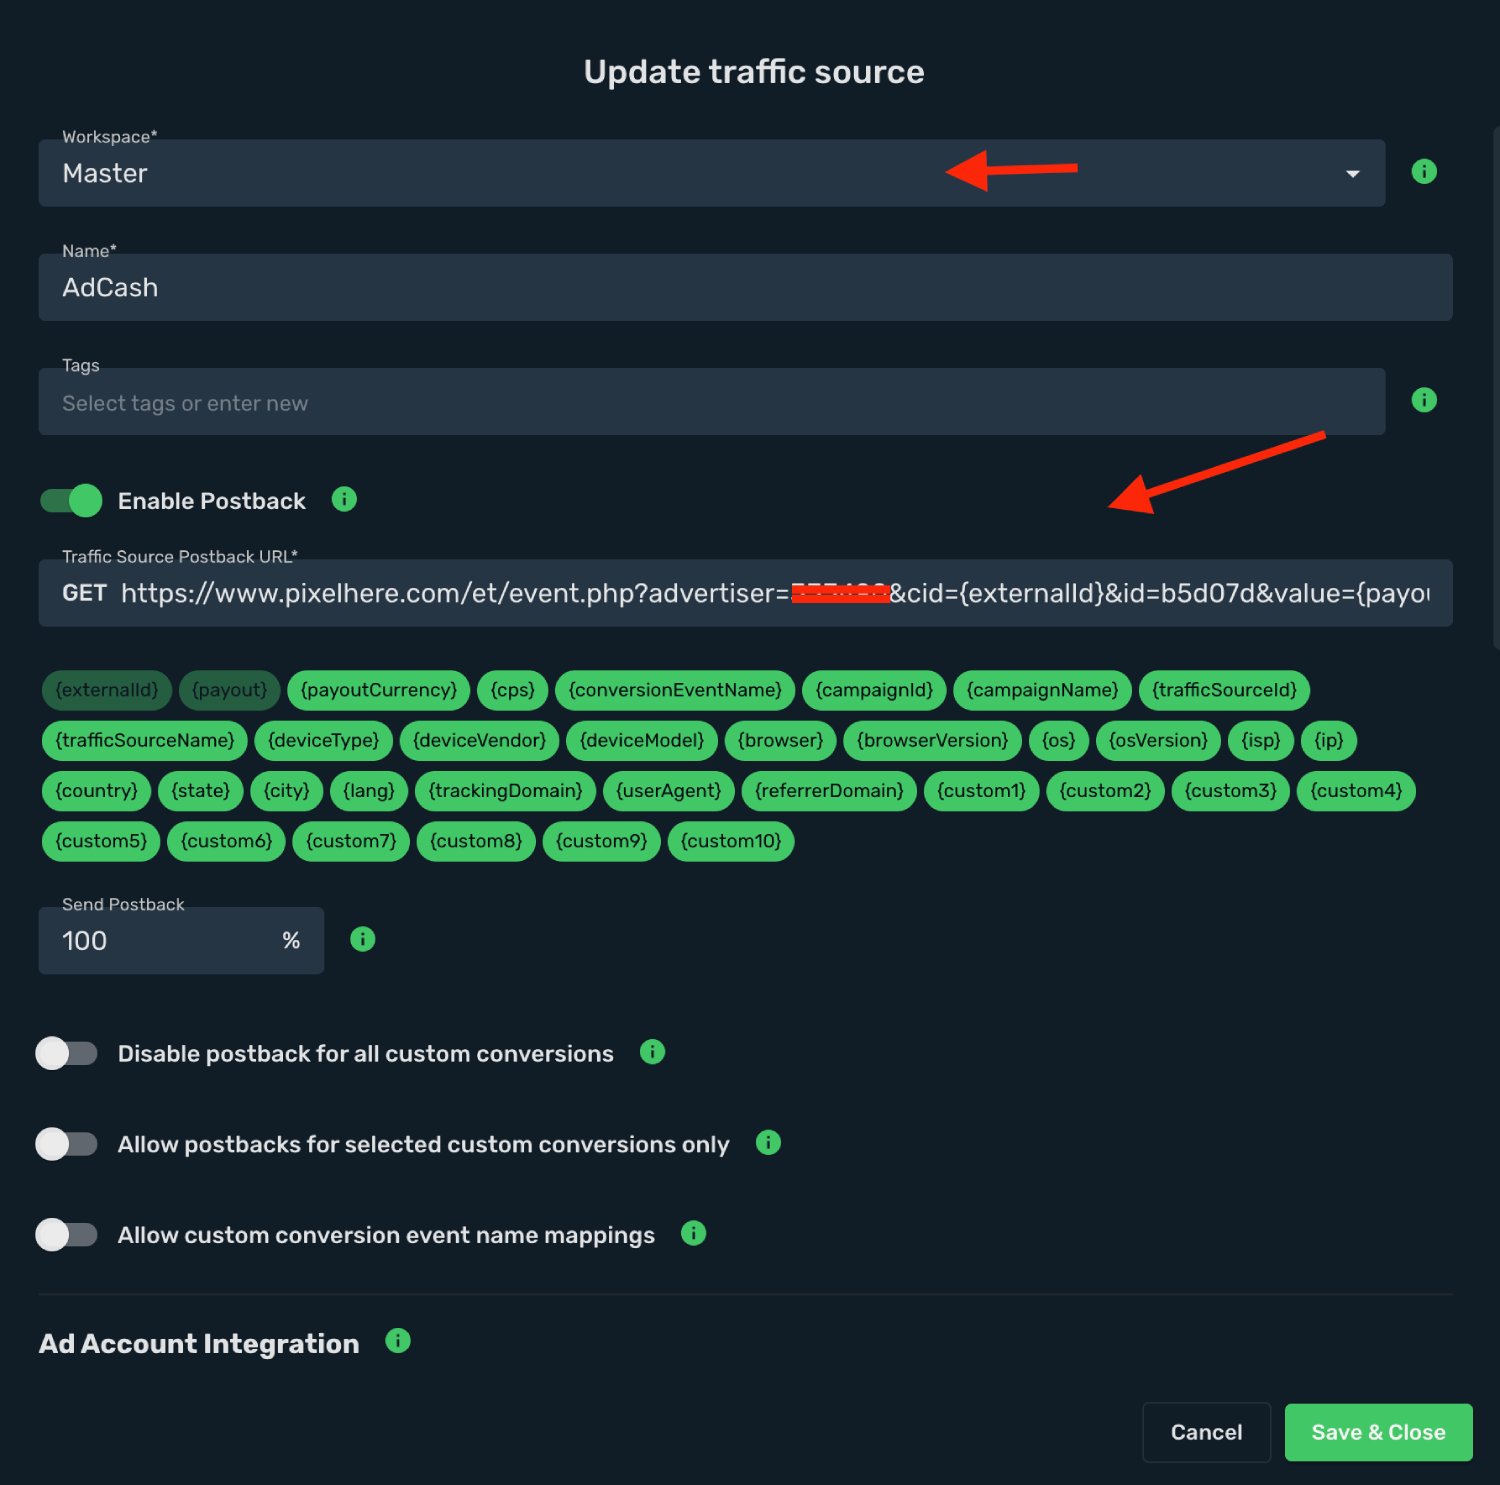
4. You need to modify **Traffic Source Postback URL** field.
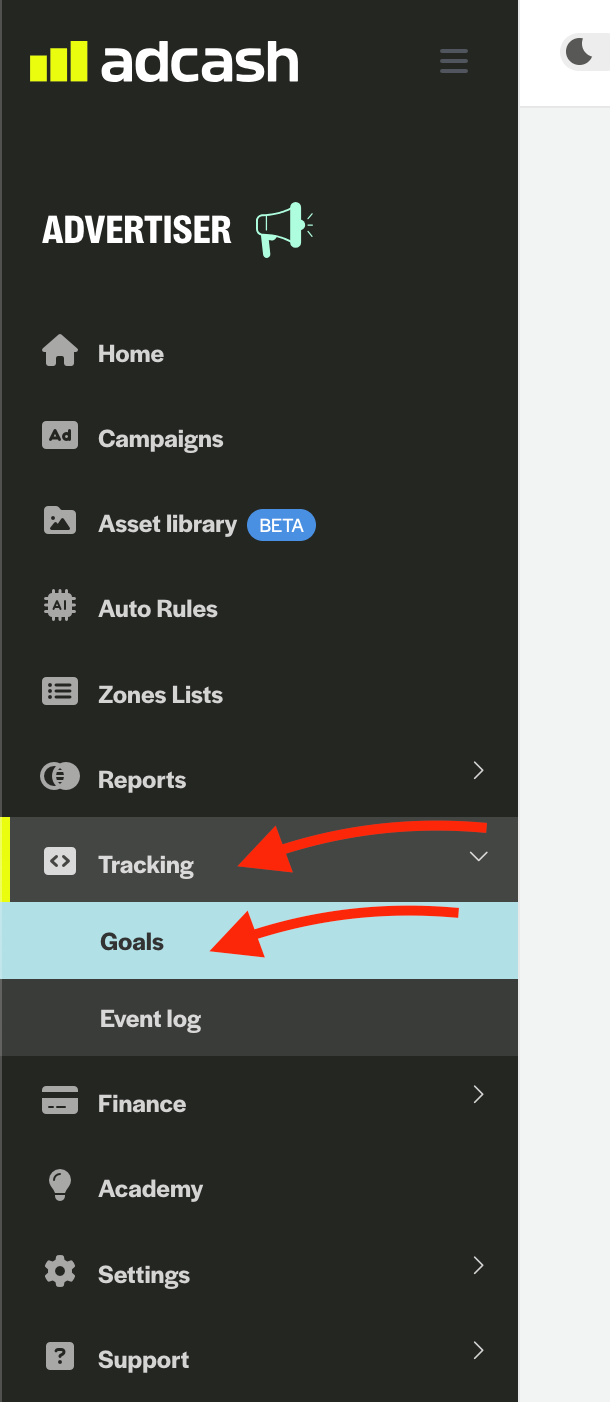
5. Log in to your **AdCash account**.
6. Go to **Tracking** → **Goals**.
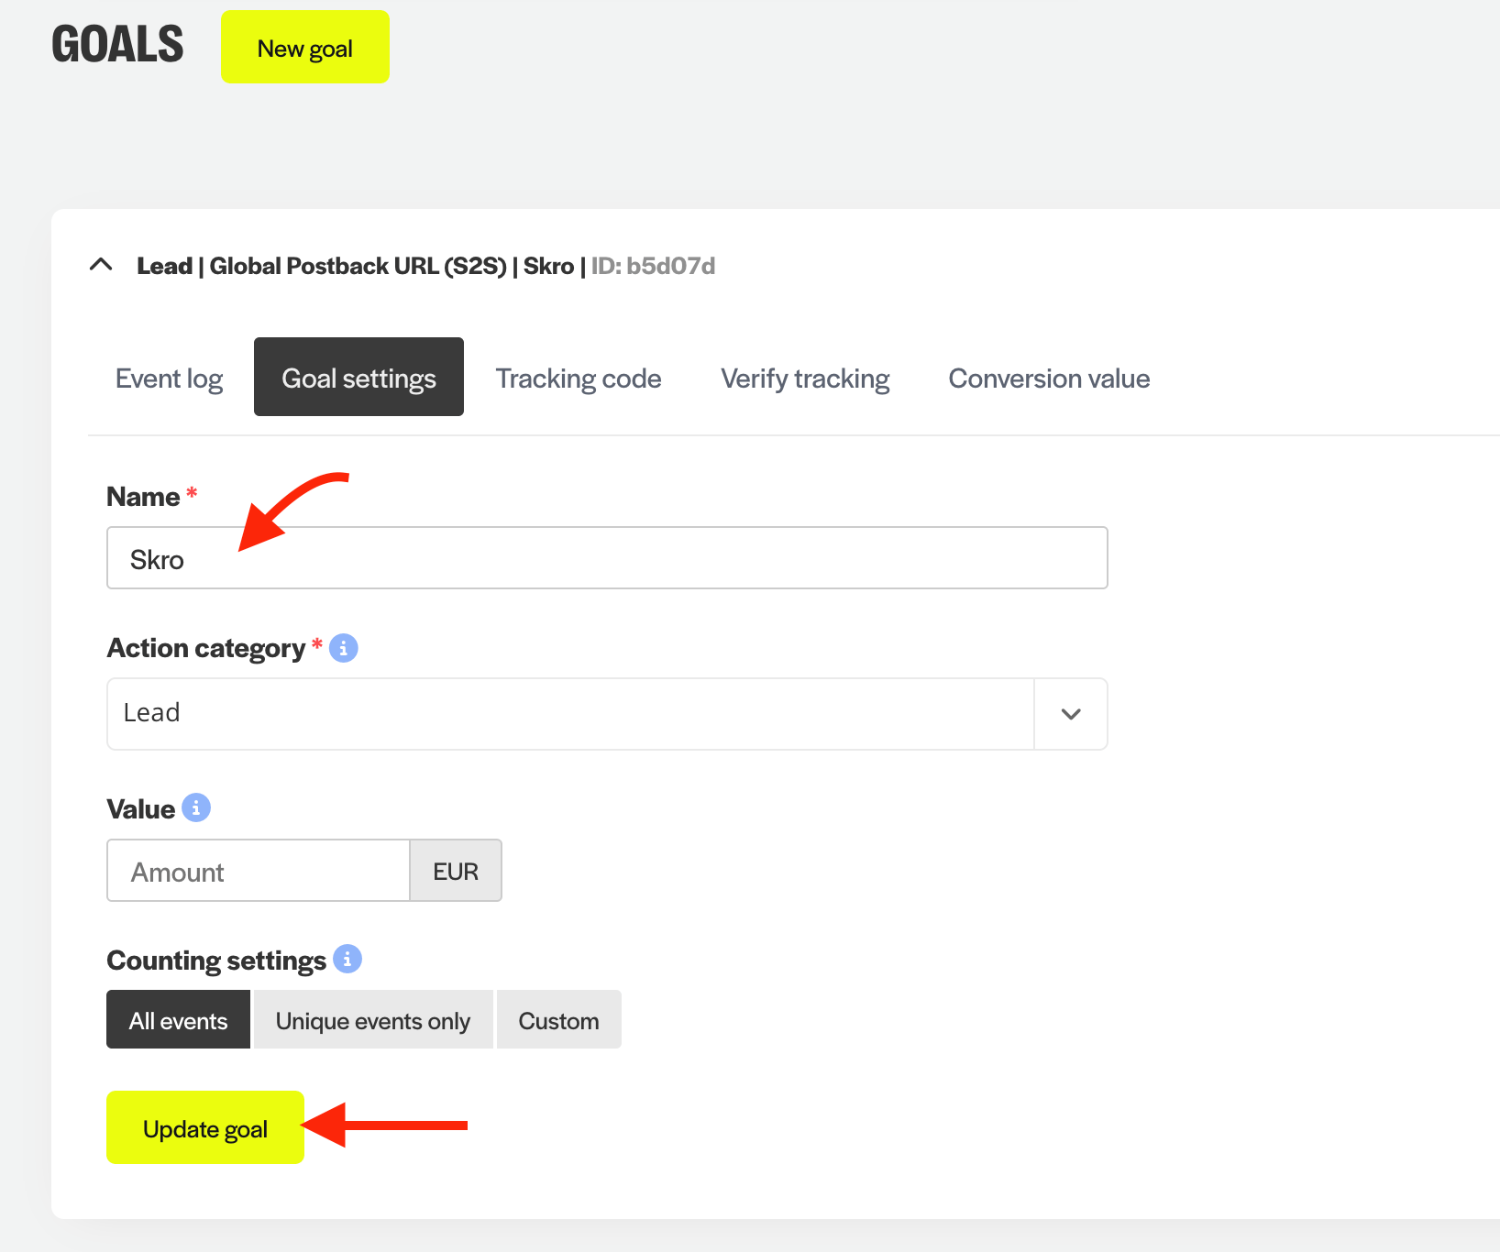
7. Click the **New Goal** and navigate to the **Goal Settings** section.
8. Give a name to your goal.
9. Select your **Action category**.
10. Click the **Update goal**.
11. Go to the **Tracking code** section.
12. Add event parameter **Click ID** macro **`{externalId}`**
13. Add **Dynamic price value** macro **`{payout}`**
14. Click the **Copy to clipboard**.
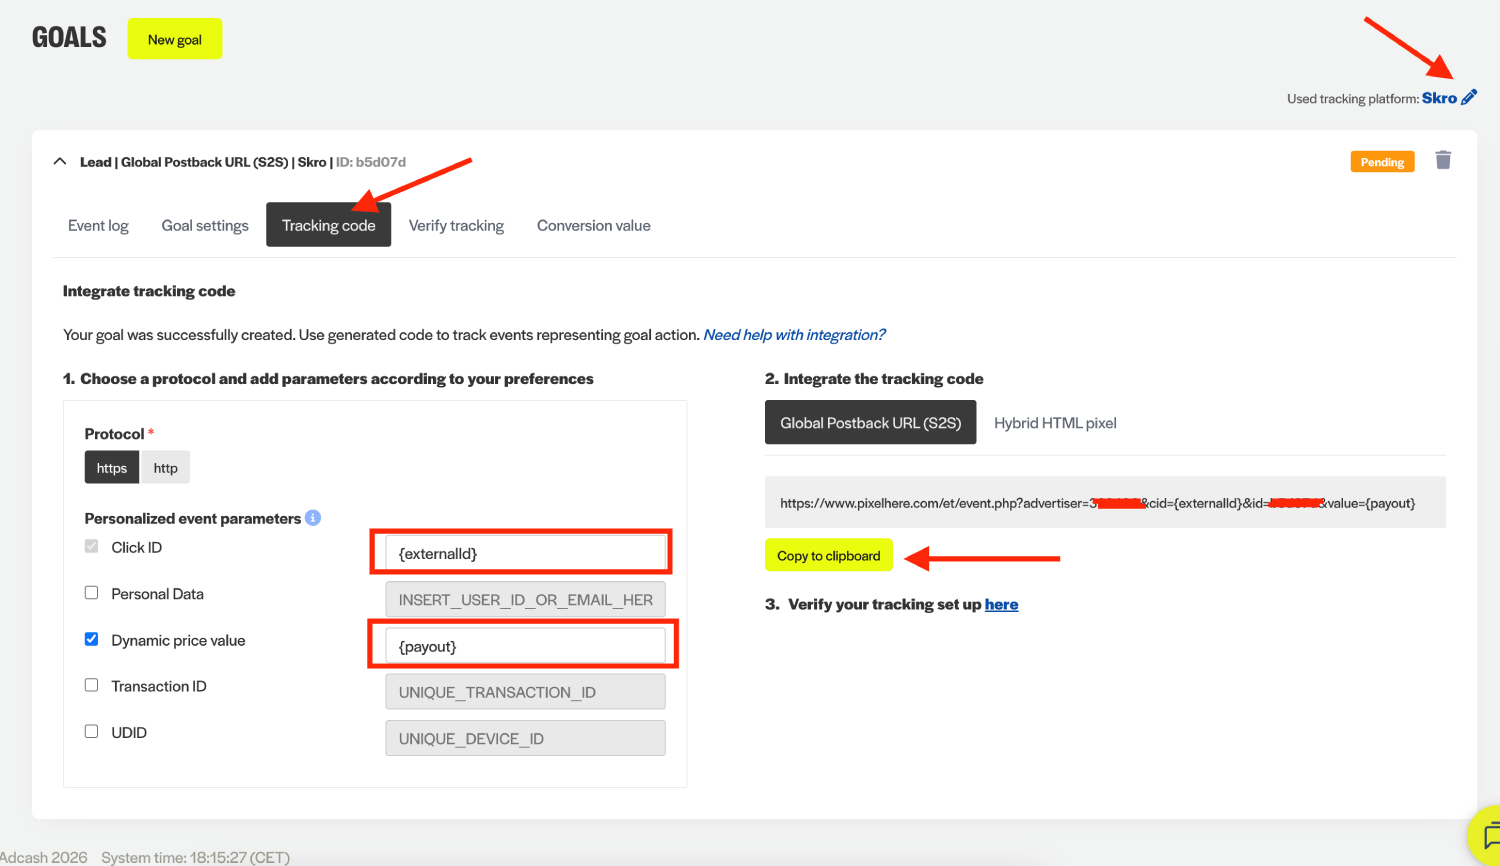
15. Go back to **Skro** and replace the postback URL with the updated values.
16. Final postback URL must look similar to this:
`https://www.pixelhere.com/et/event.php?advertiser=12345&cid={externalId}&id=d4343&value={payout}`
17. All tracking parameters are already prefilled for you.
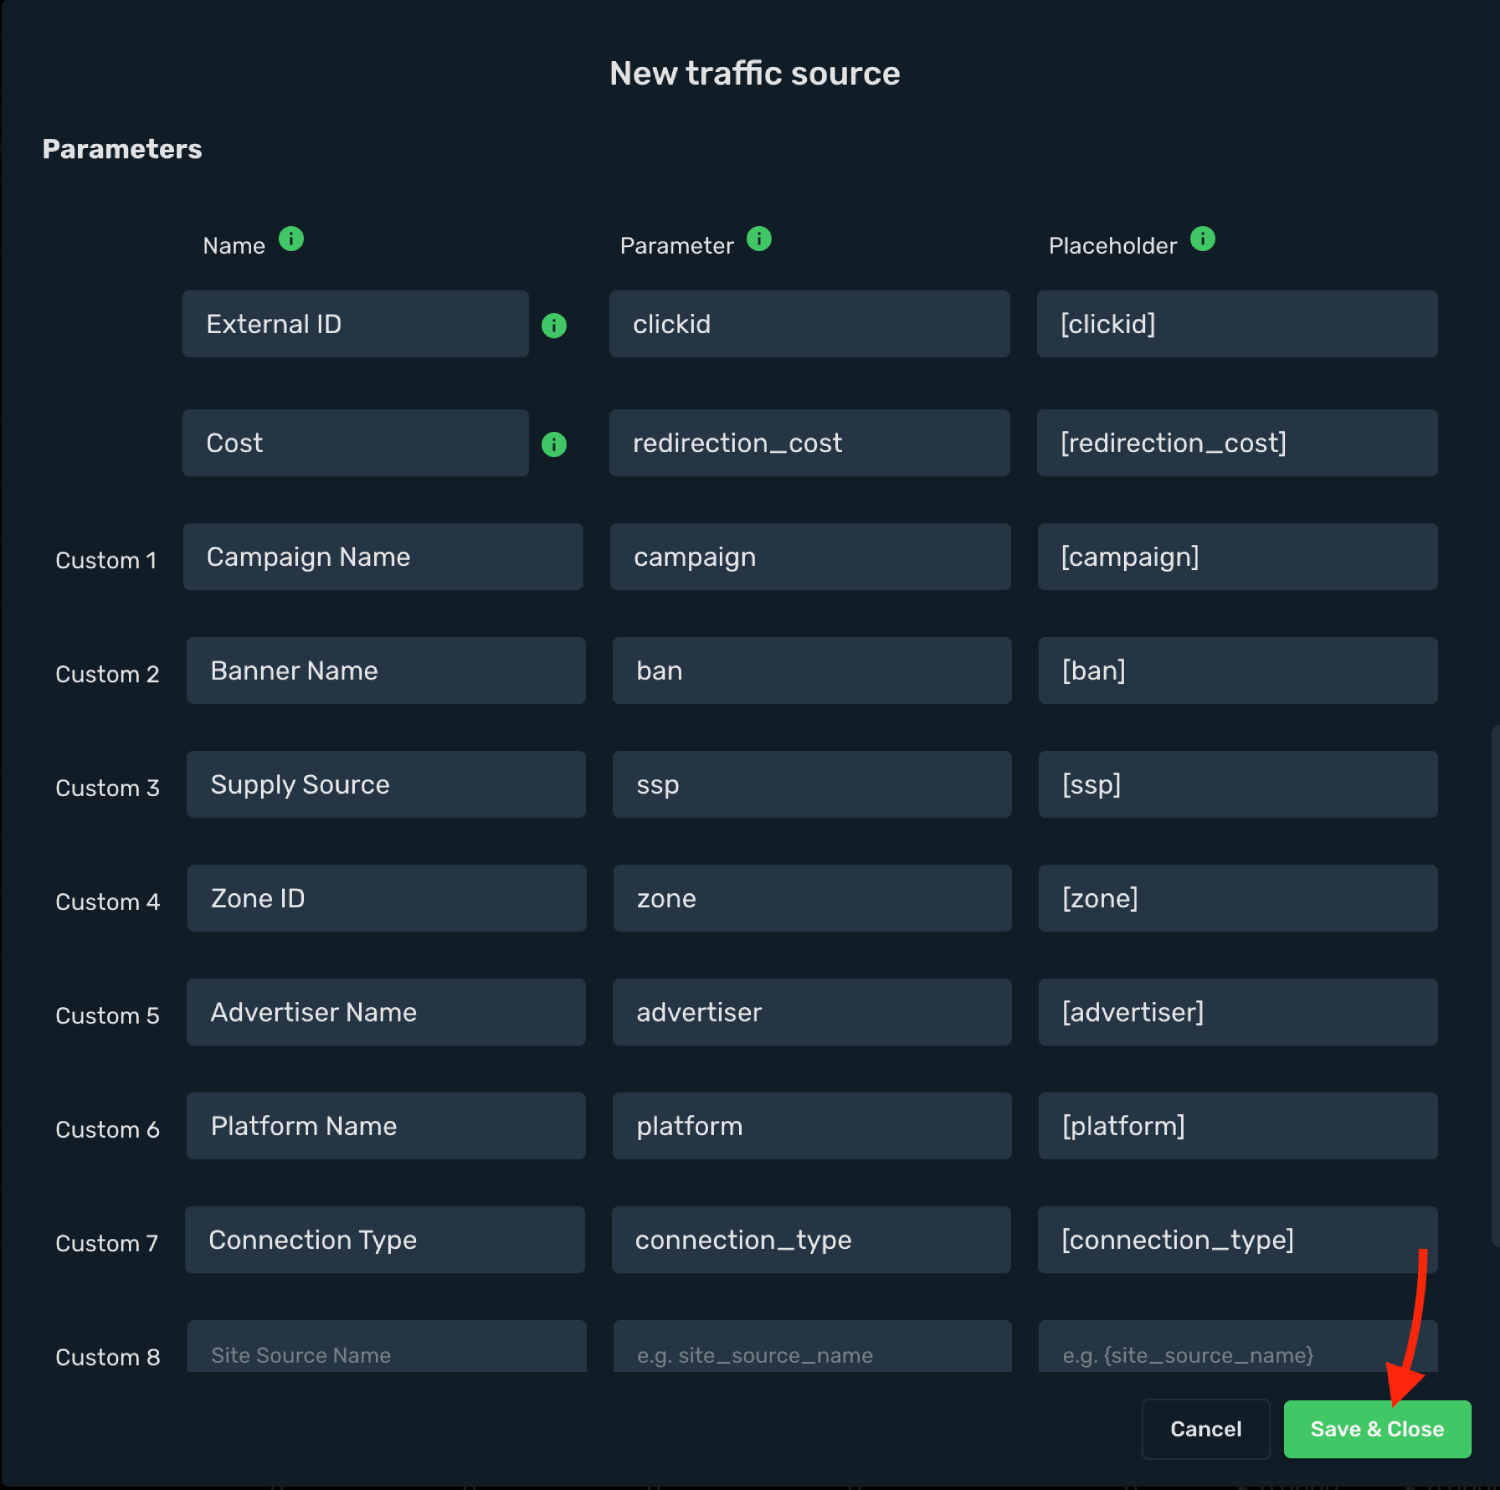
18. Click the **Save & Close**.
Integration setup is complete, and you are now ready to create your first campaign.
## Step 2. Create a campaign on Skro [#step-2-create-a-campaign-on-skro]
1. Go to **Ads Manager** and click the **Create**.
2. Select your **Traffic source** and click **Next**.
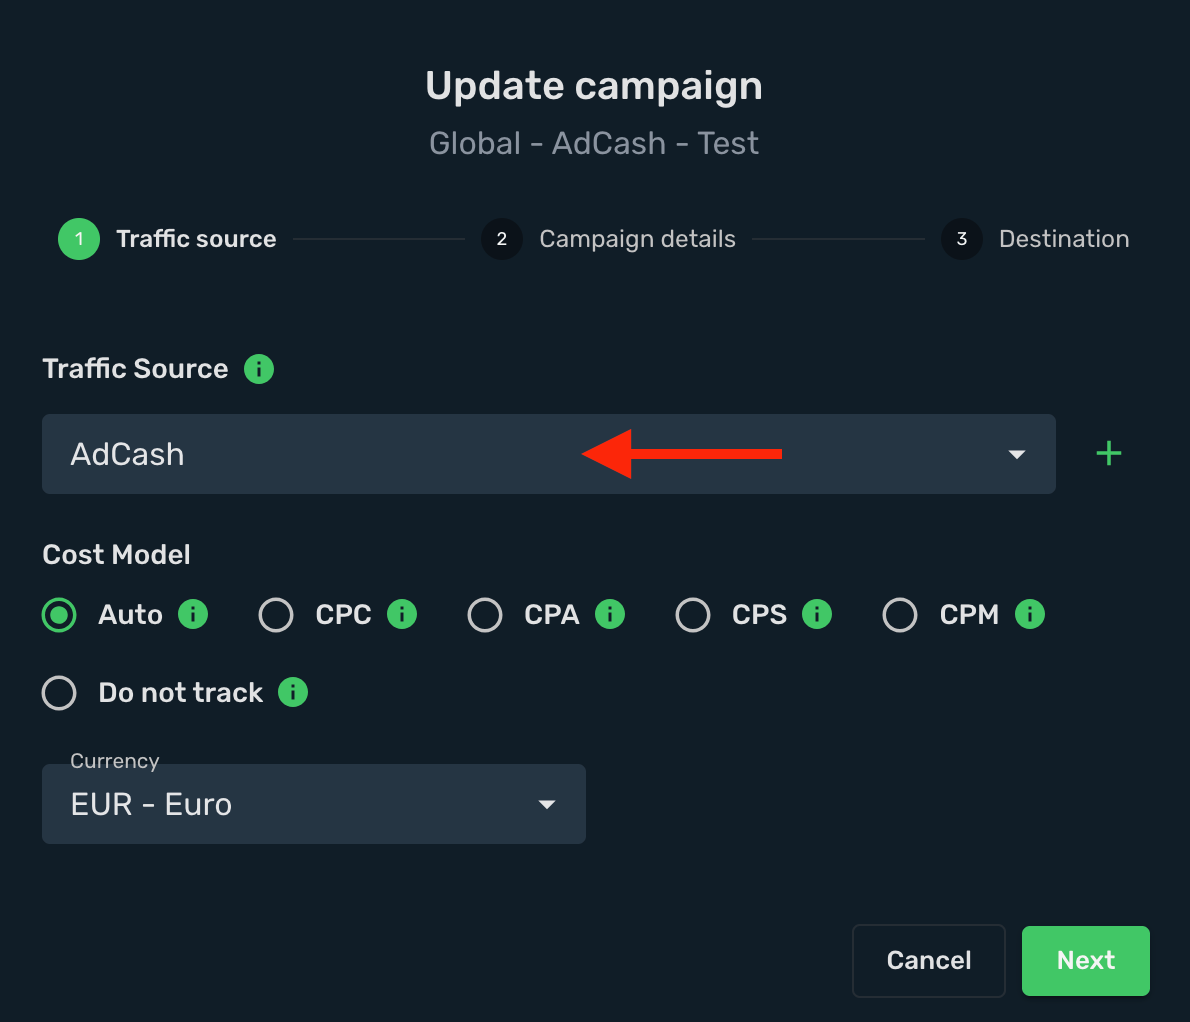
3. Select your campaign **Workspace**.
4. Enter a descriptive campaign name.
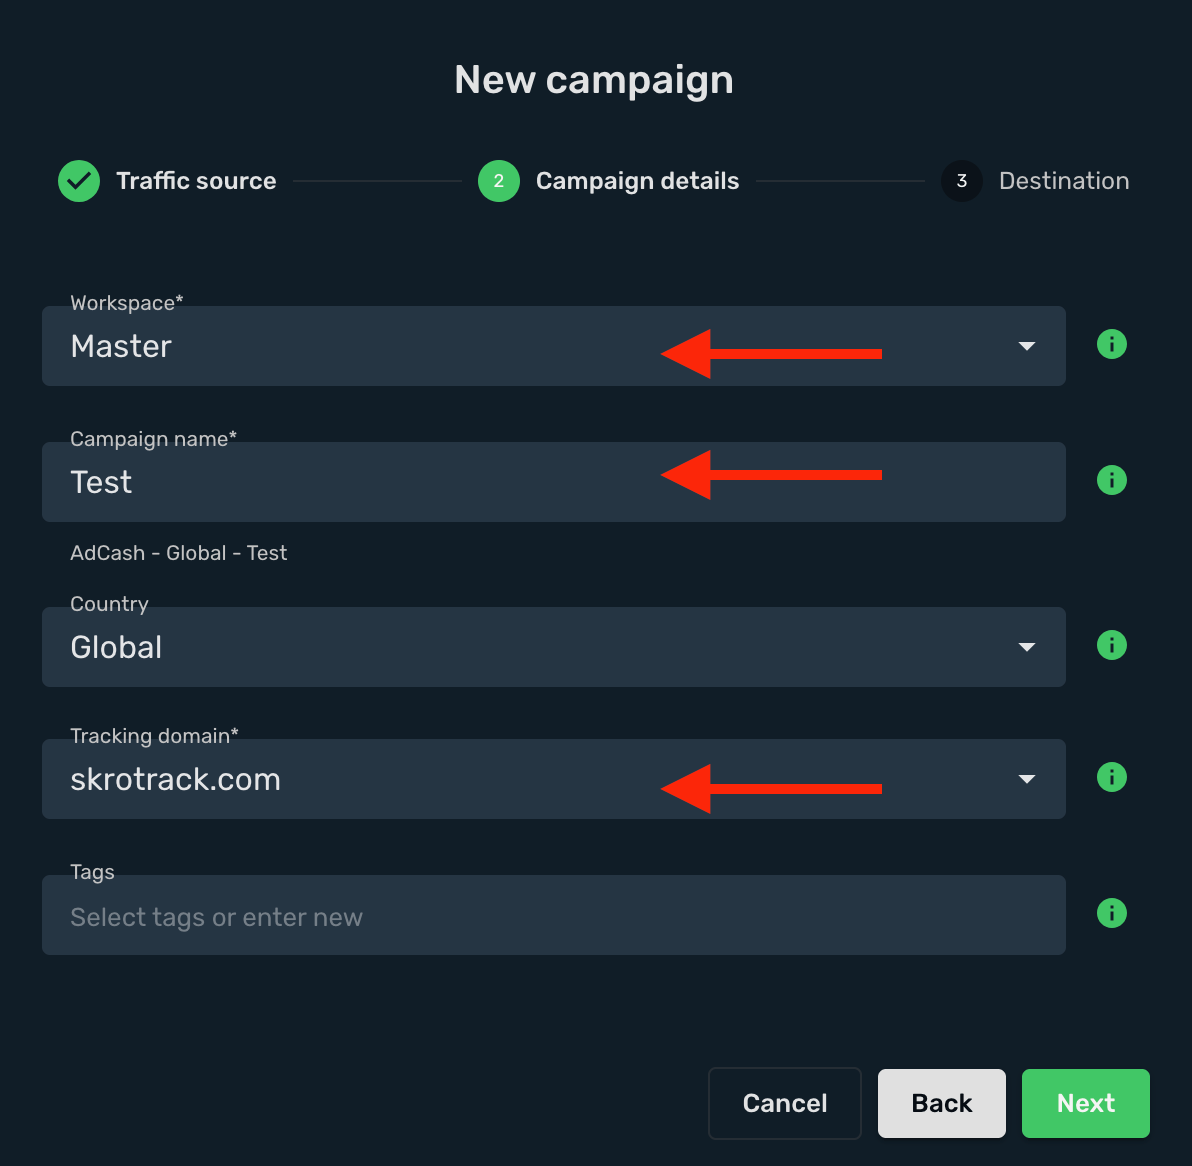
5. Select or create all your **landings** and **offers**.
6. Click the **Save**.
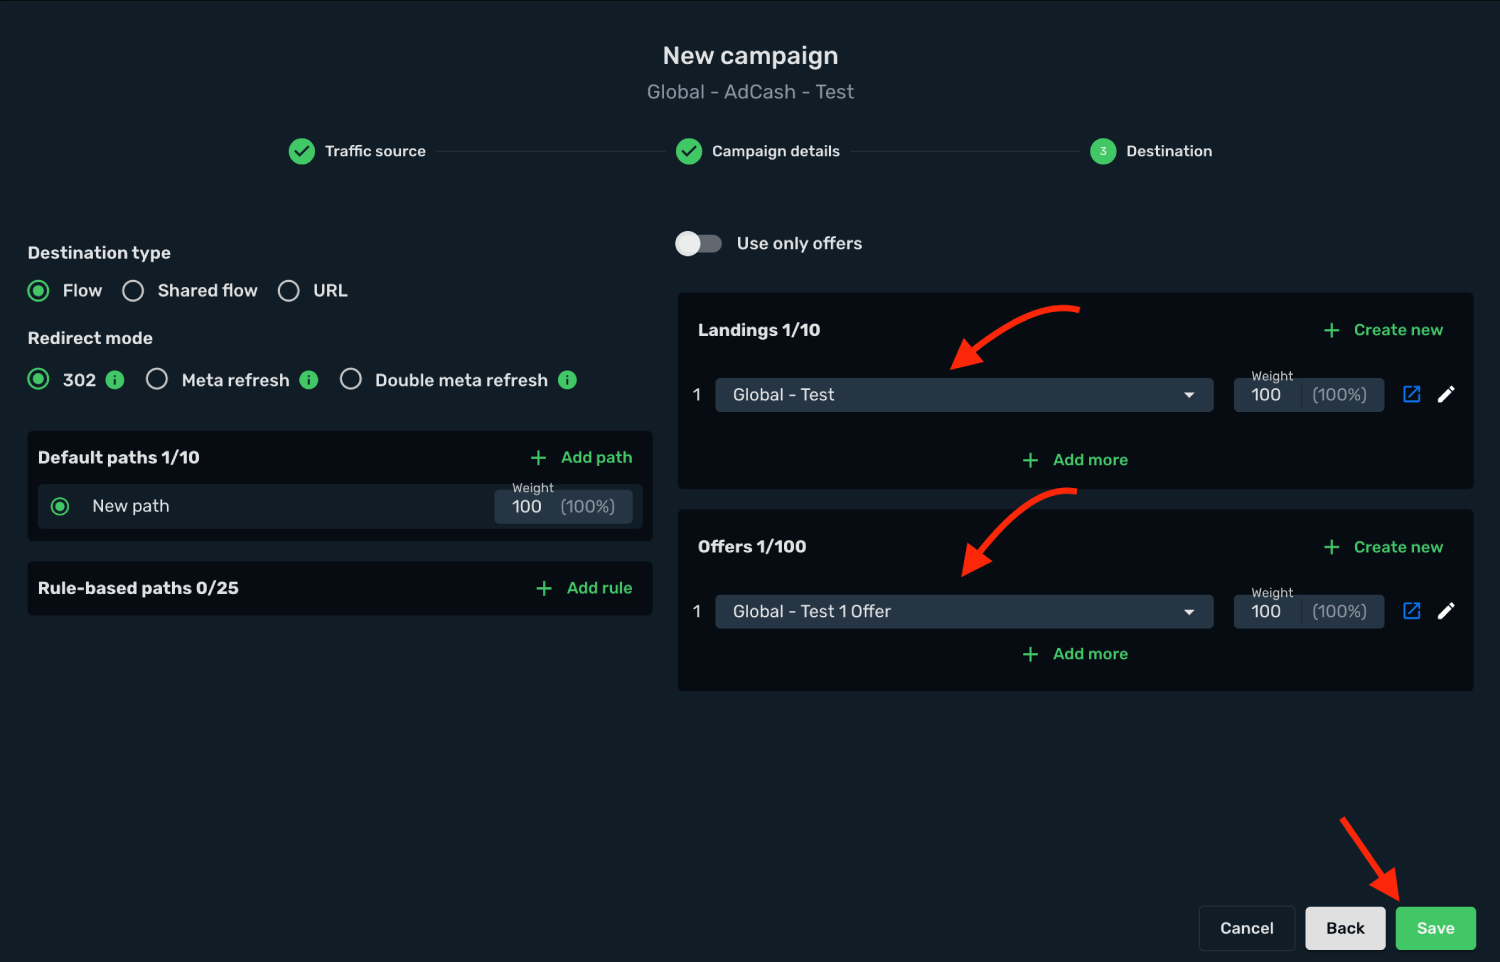
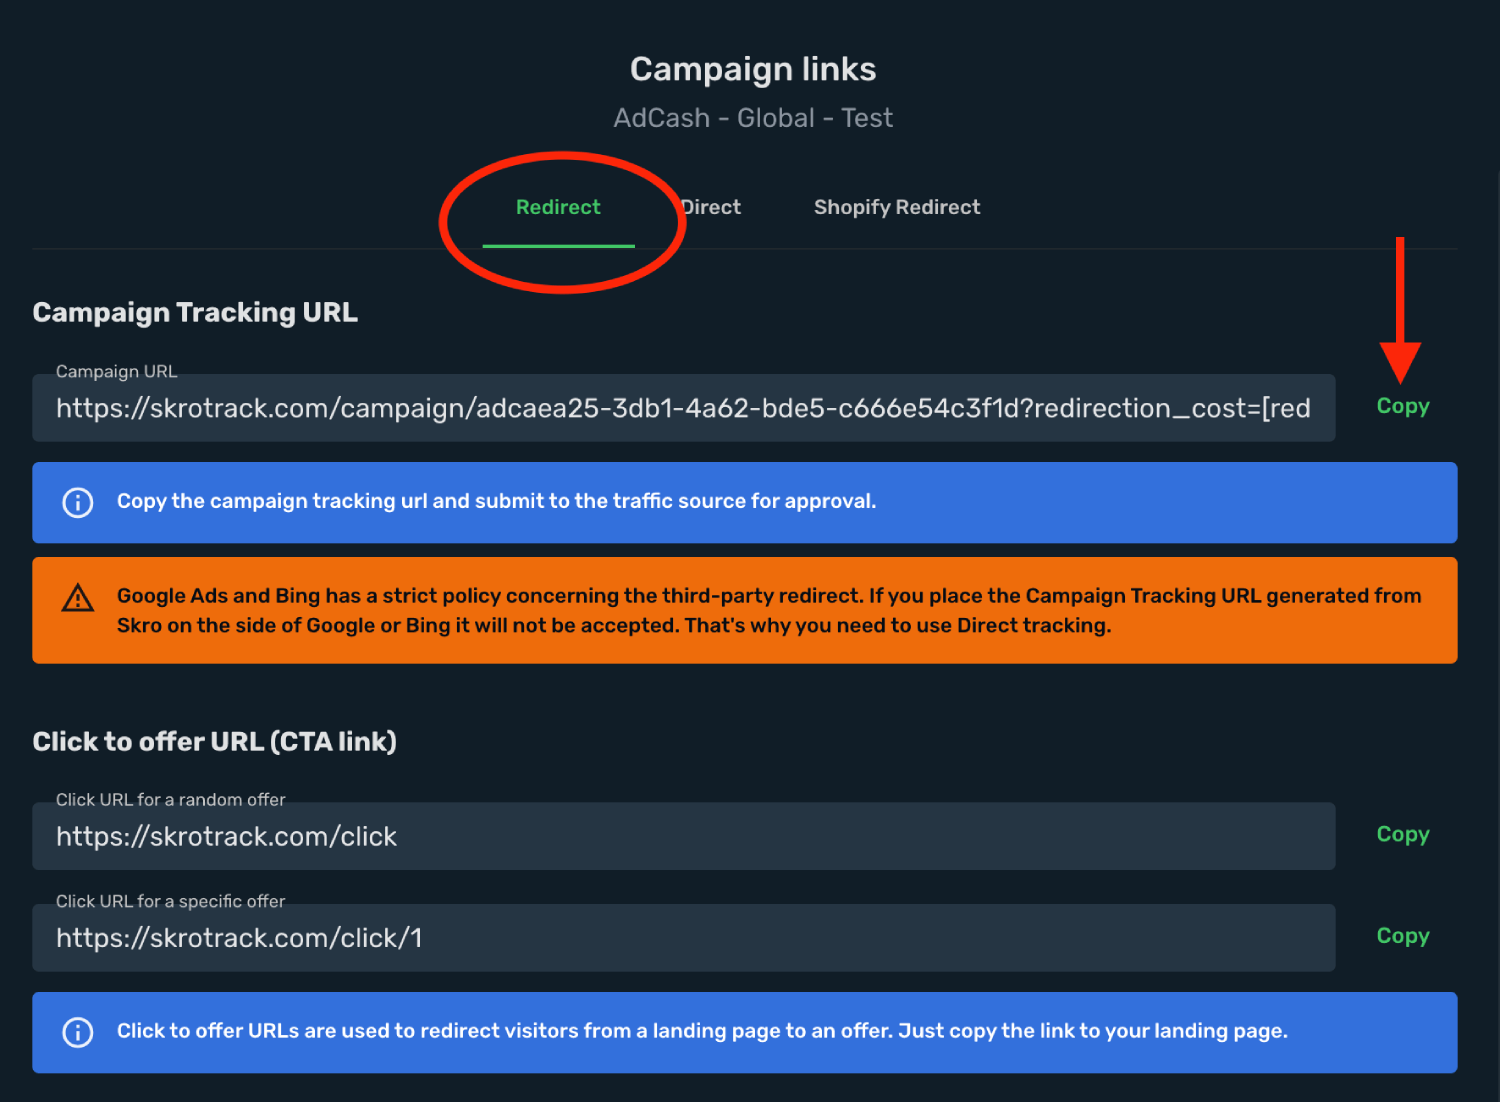
7. Copy the **Campaign Tracking URL** to clipboard.
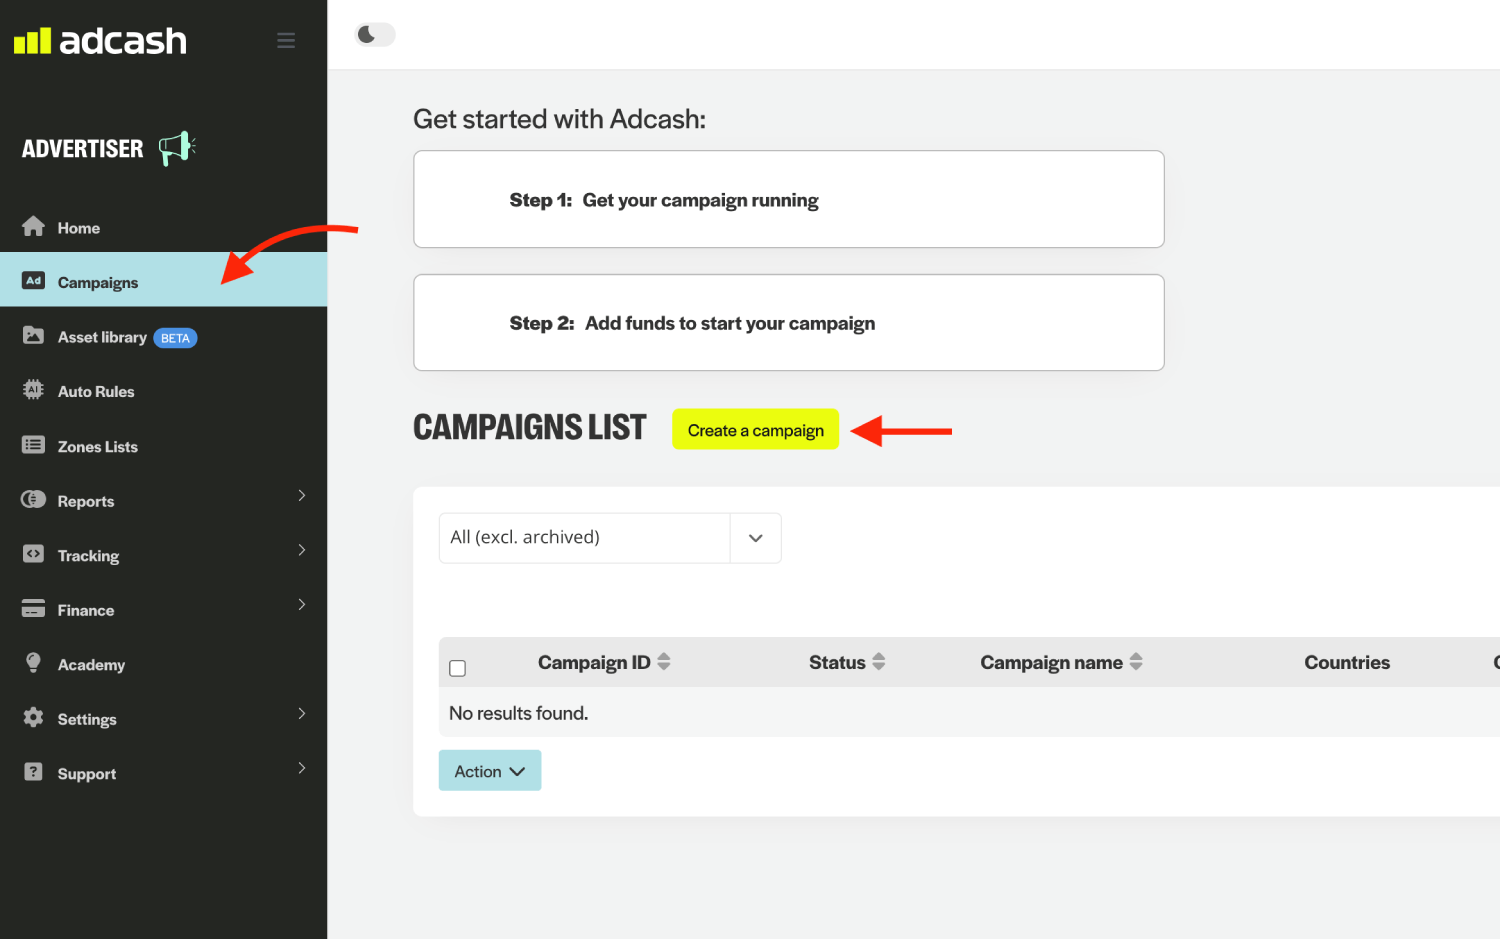
## Step 3. Create a campaign on AdCash [#step-3-create-a-campaign-on-adcash]
1. Log in to your **AdCash account**.
2. Go to the **Campaigns** section and click the **Create a campaign**.
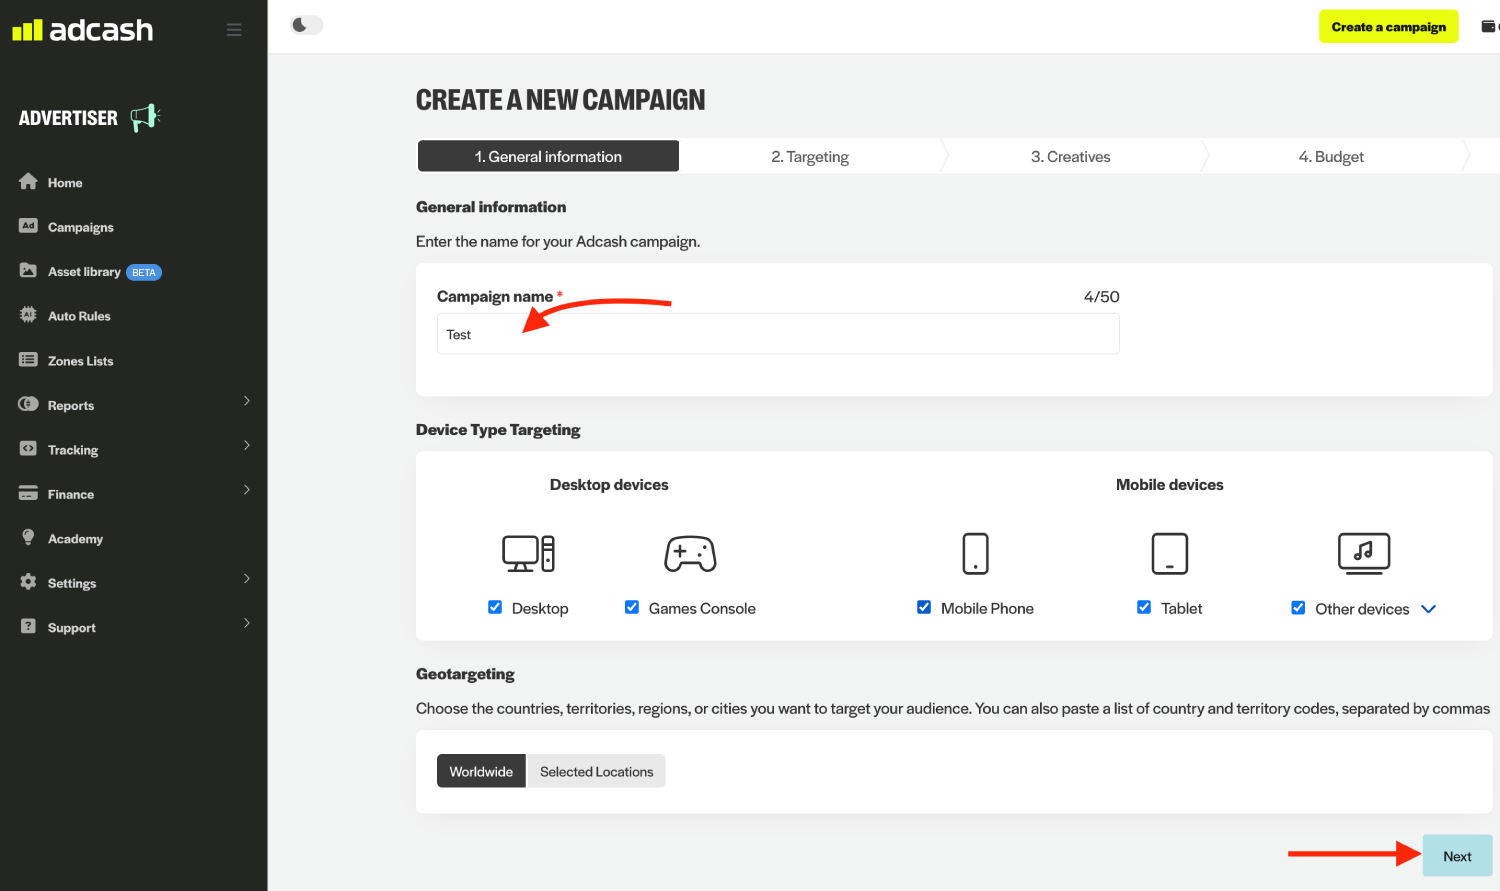
3. Add your **Campaign Name**, select the **Device type targeting**, and add **Geolocation** if needed and click the **Next**.
4. Create your **Creatives** and fill all other fields where needed.
5. Paste the **Skro campaign tracking link** into the **Creative URL** field, including all tracking parameters.
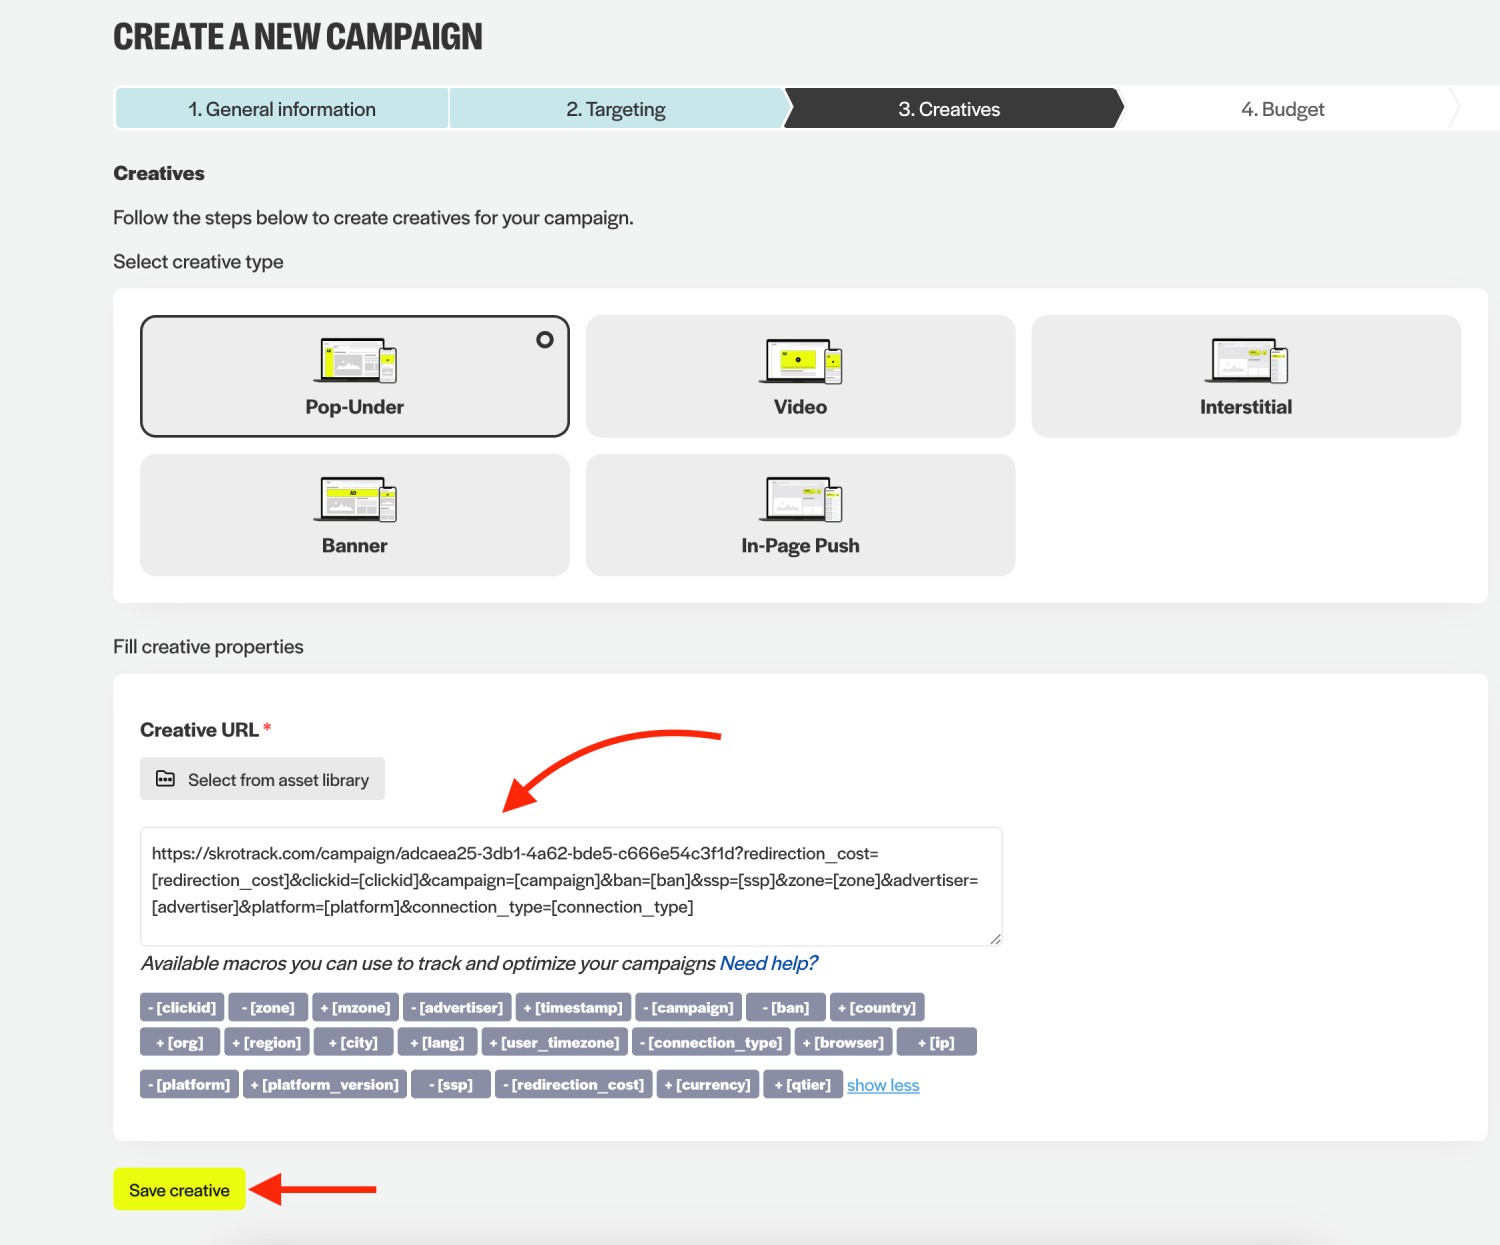
6. Set your campaign **Budget** and click **Next**.
7. When you are done, click the **Run**.
## Verify the setup [#verify-the-setup]
Open the generated campaign URL and check that the visit appears in Skro. Confirm that traffic source macros resolve to actual values. If you send conversions back to the source, verify a test conversion in both systems.
If data is missing, check the selected workspace, integration, campaign, and reporting date range. Compare parameter names and macro values with the examples in this guide before repeating the test.
## Related guides [#related-guides]
# AdCombo integration
Source: https://skro.eu/docs/integrations/adcombo-integration
Connect AdCombo to Skro, map click IDs, and configure postbacks to attribute conversions and revenue to your campaigns.
## Step 1. Add affiliate network to Skro [#step-1-add-affiliate-network-to-skro]
1. Go to **Affiliate Networks** and click **Create**.
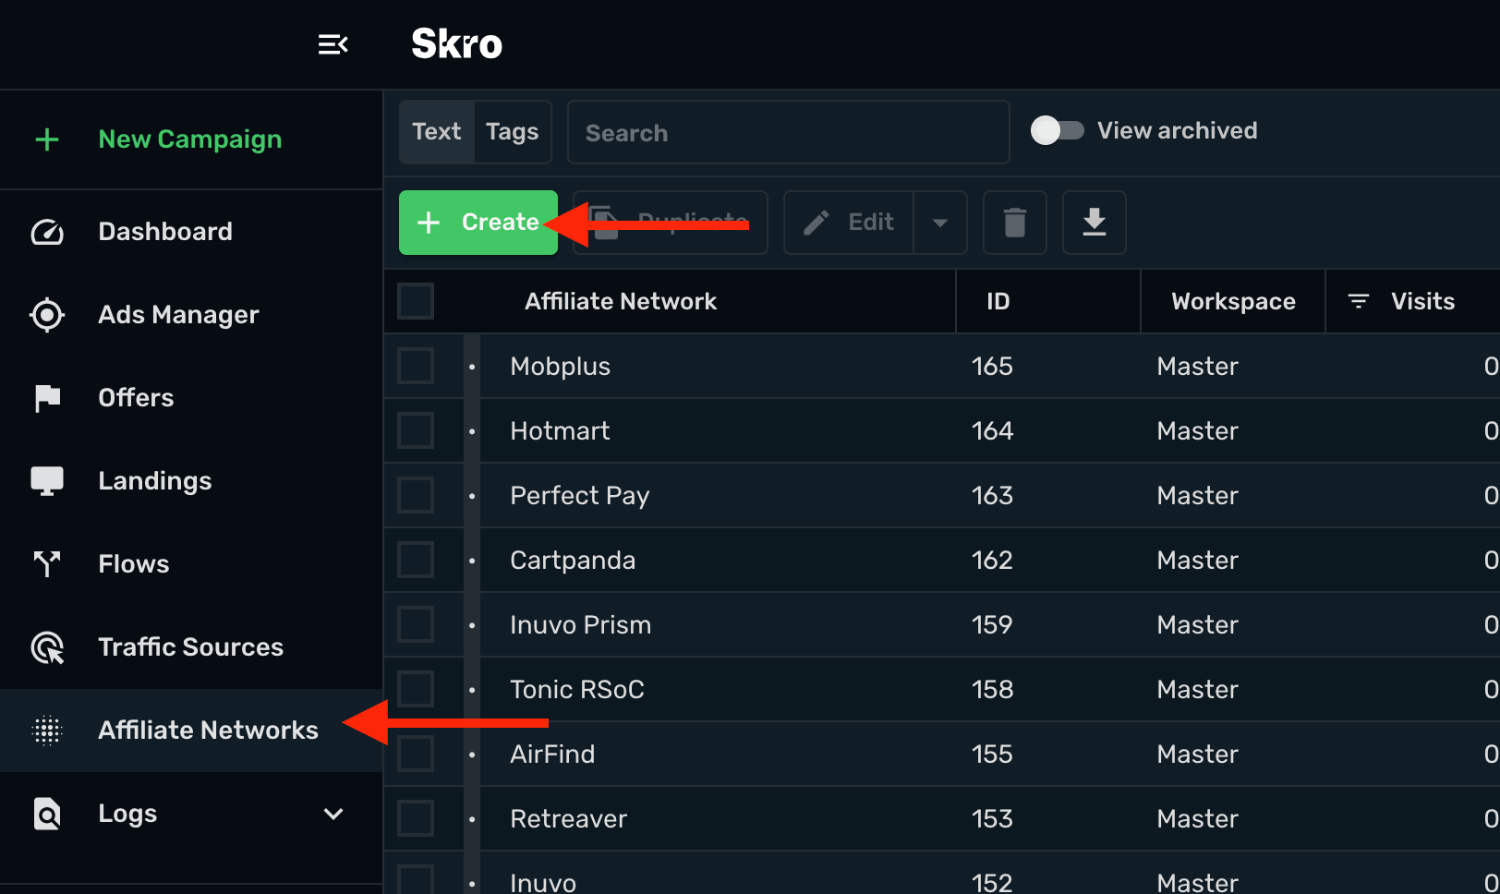
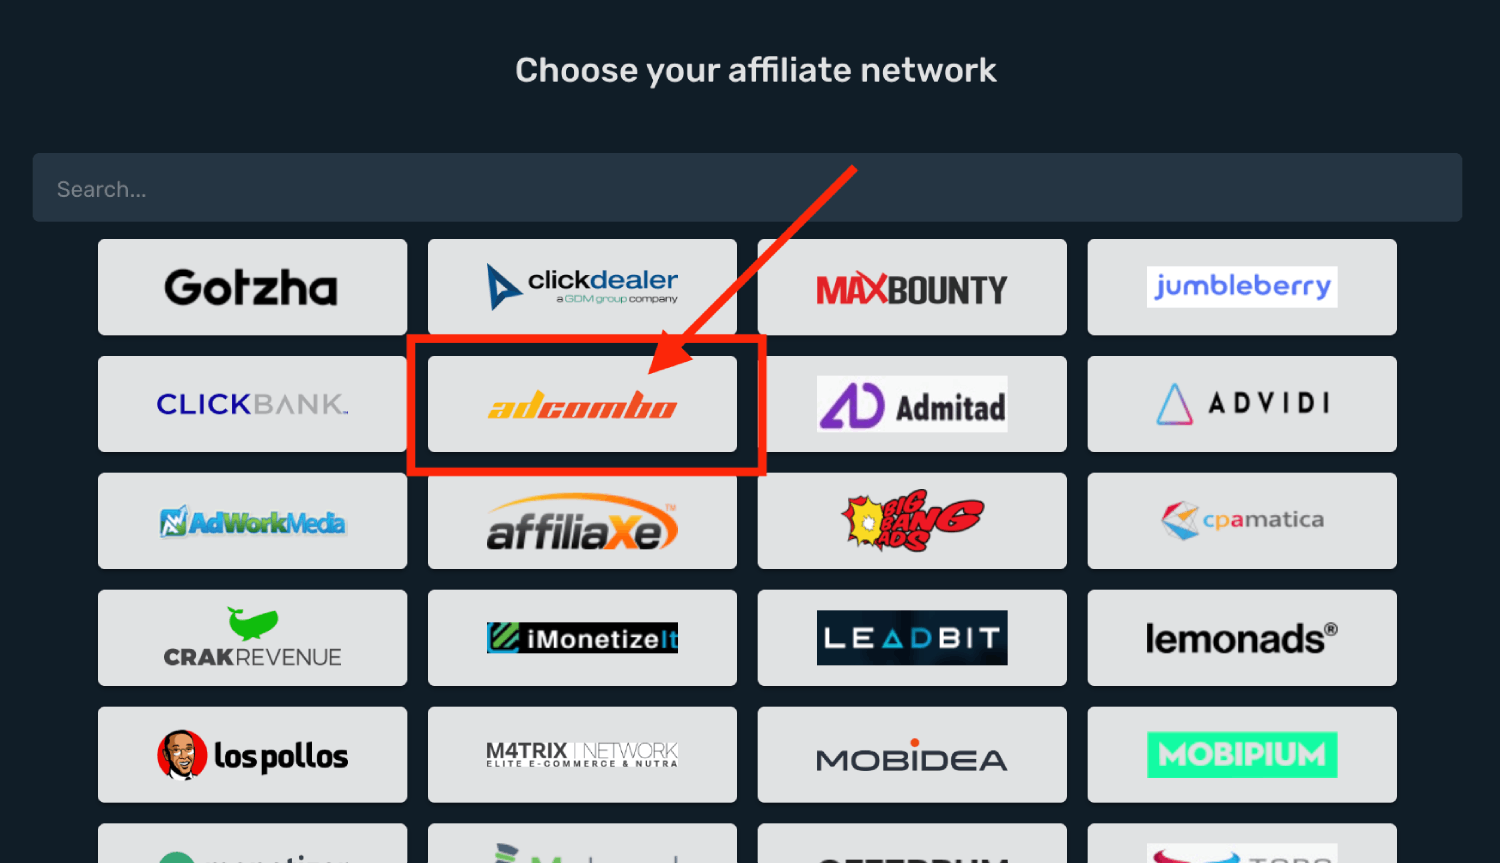
2. Search Adcombo and select the **Adcombo** template.
3. Select your **Workspace** and **Copy** postback URL to your clipboard.
4. Click **Save & Close**.
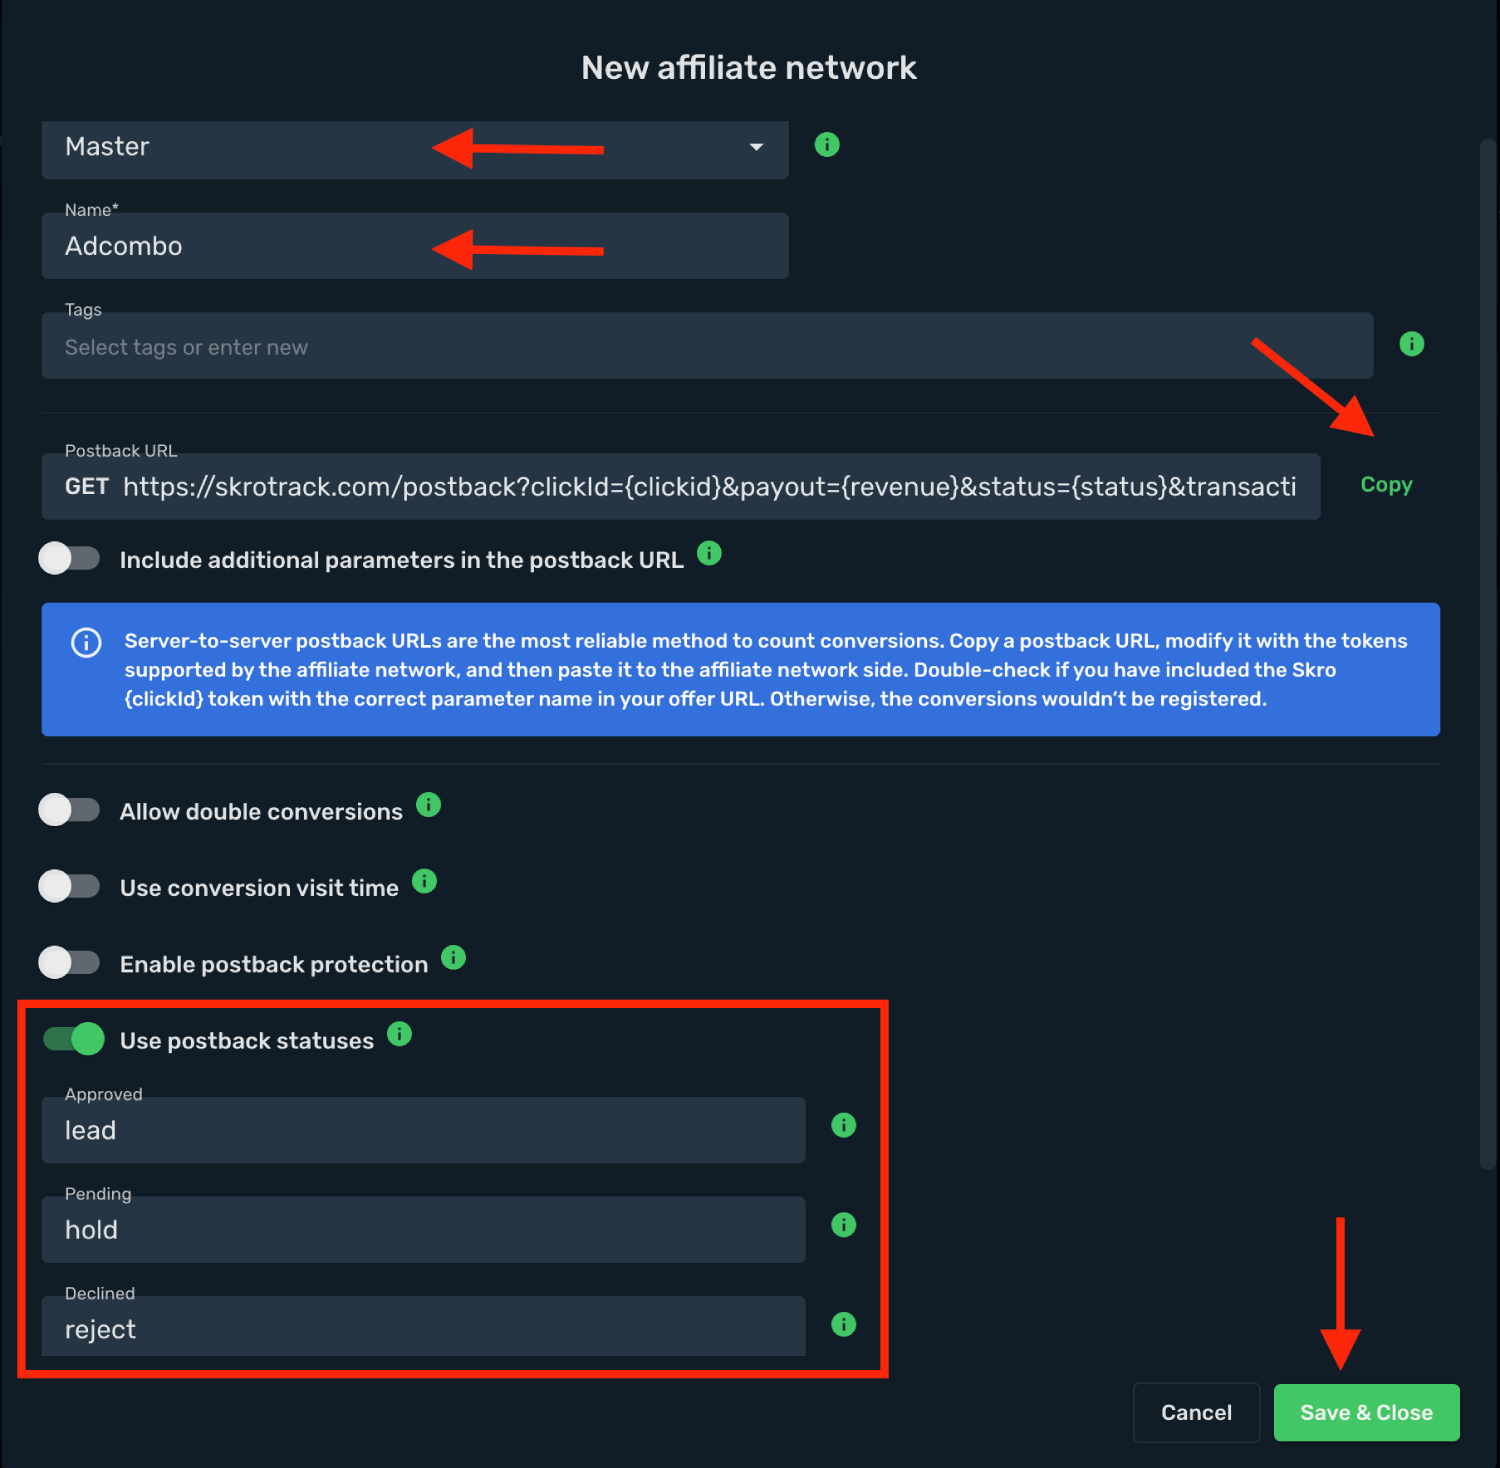
The Adcombo affiliate network is now saved in Skro. Use the copied postback URL in Adcombo in the next step.
## Step 2. Setting up a postback URL [#step-2-setting-up-a-postback-url]
1. Log in to **Adcombo** account.
2. Go to **Postbacks** on the side of **AdCombo**.
3. Access **Settings** section.
4. Paste **Postback URLs** for different statuses in the corresponding fields.
5. Press **Save** to store the settings.
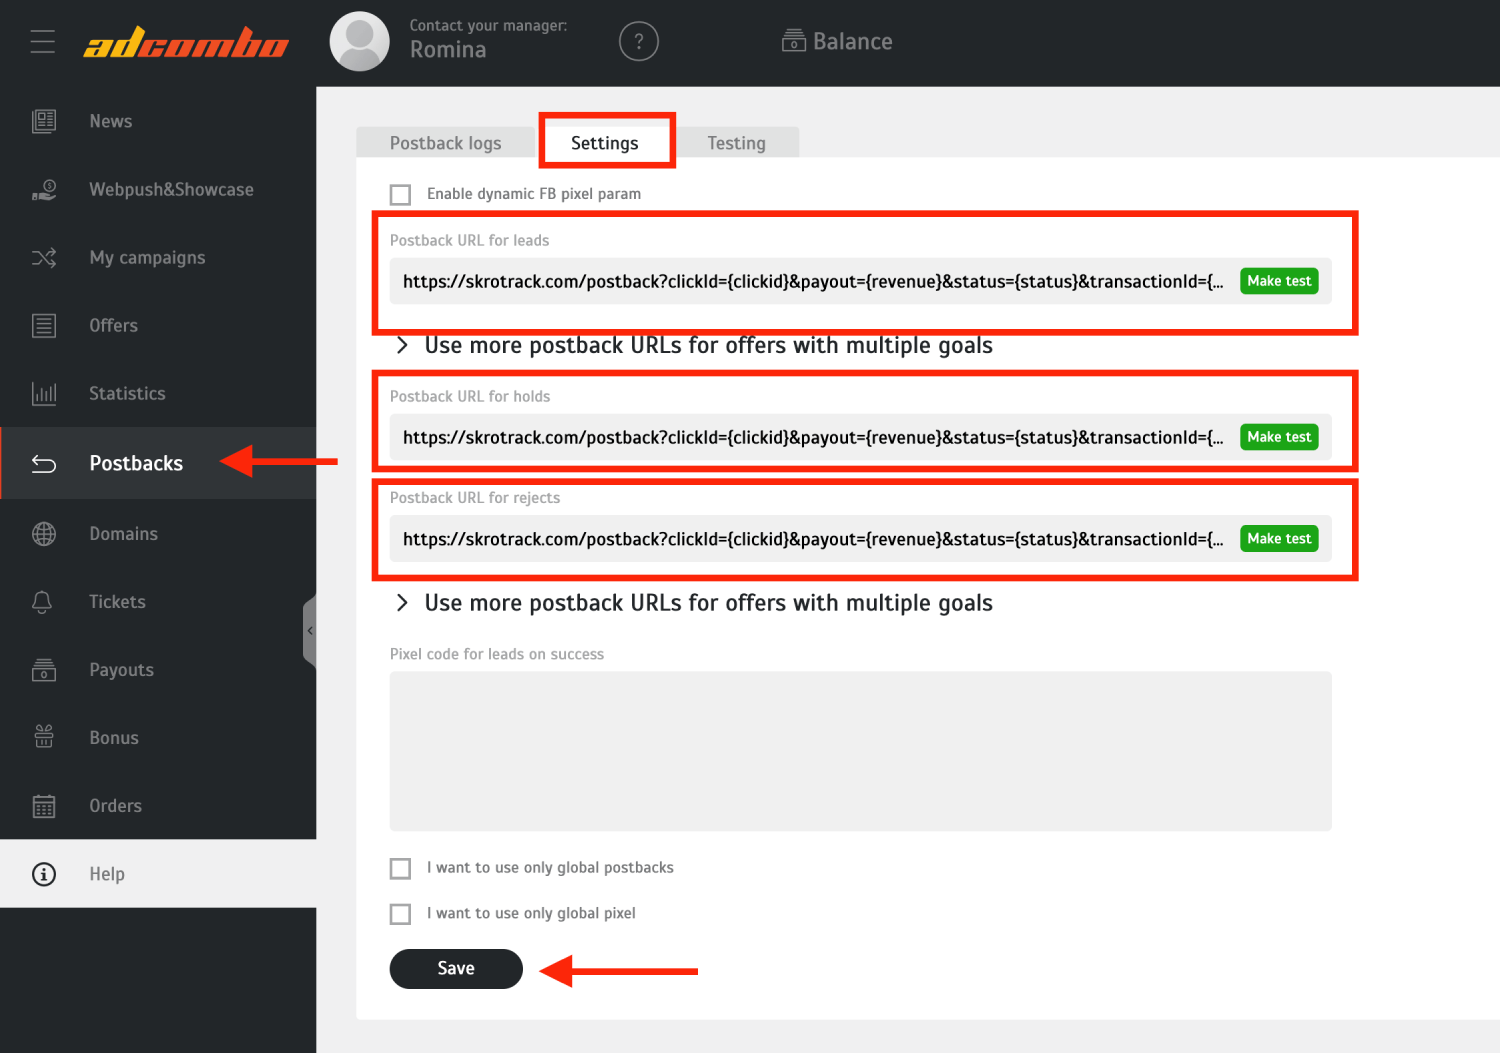
**Postback URL for leads**
`https://skrotrack.com/postback?clickId={clickid}&payout={revenue}&status={status}&transactionId={trans_id}`
**Postback URL for holds**
`https://skrotrack.com/postback?clickId={clickid}&payout={revenue}&status={status}&transactionId={trans_id}`
**Postback URL for rejects**
`https://skrotrack.com/postback?clickId={clickid}&payout={revenue}&status={status}&transactionId={trans_id}`
## Step 3. Get an offer from Adcombo [#step-3-get-an-offer-from-adcombo]
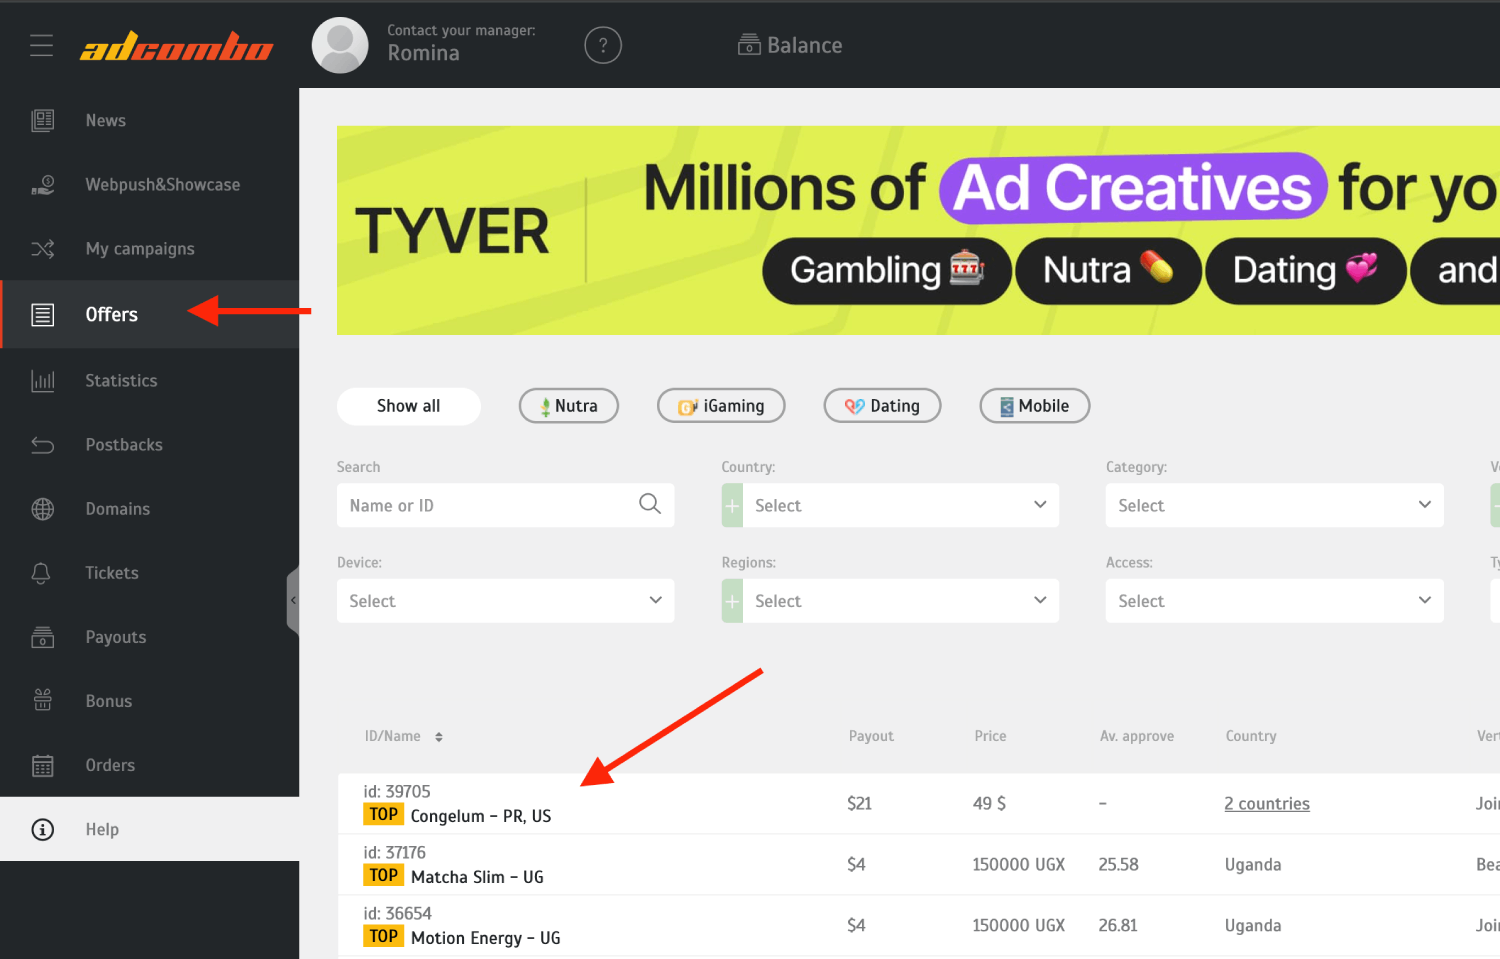
1. To get offer link on the side of Adcombo go to **Offers** page on the panel.
2. Select the desired offer from the list and click its name.
3. Press **Request approval** to get the offer link.
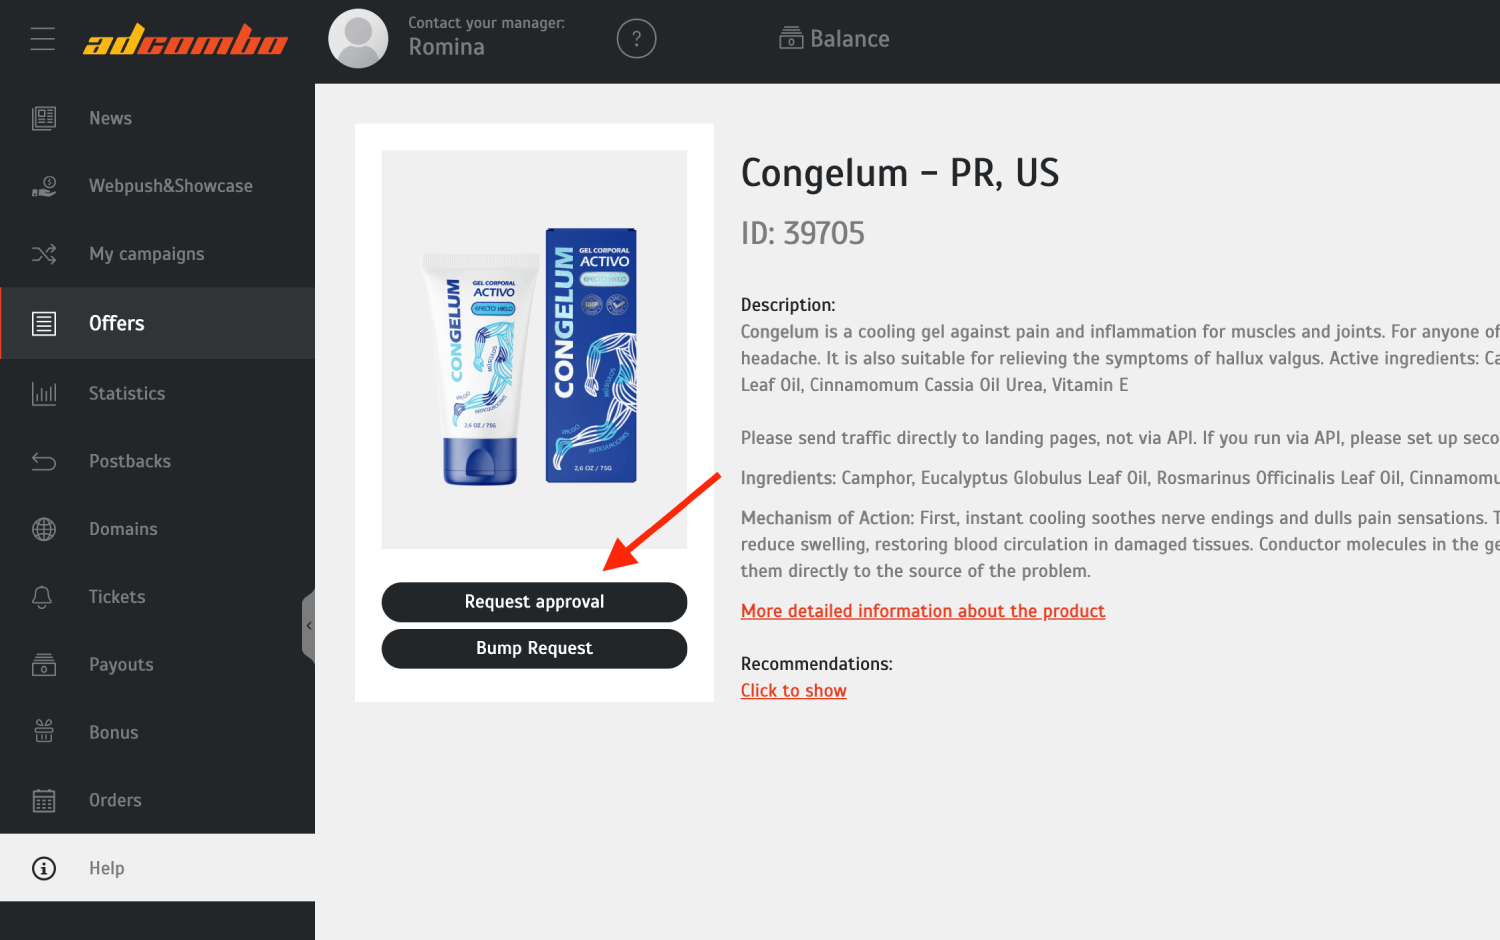
6. Copy **Offer link** after the selected offer is approved by Adcombo.

## Step 4. Add offer to Skro [#step-4-add-offer-to-skro]
1. Go back to Skro and navigate to the **Offers** and click **Create**.
2. Choose your workspace.
3. Give a name to your offer.
4. Grab the offer link from Adcombo and add it to Offer URL field and change the macros to this **`&clickid={clickId}`**
**`{clickId}`** - The Skro click ID macro for conversion tracking.
**Example Offer URL:**
`https://uh89493594uh.exdsx.pro/?target=-343mdsJDKLKDJSLKADJALSKDJLK&al=34343&clickid={clickId}`
5. Choose Adcombo from the **Affiliate Network** select box.
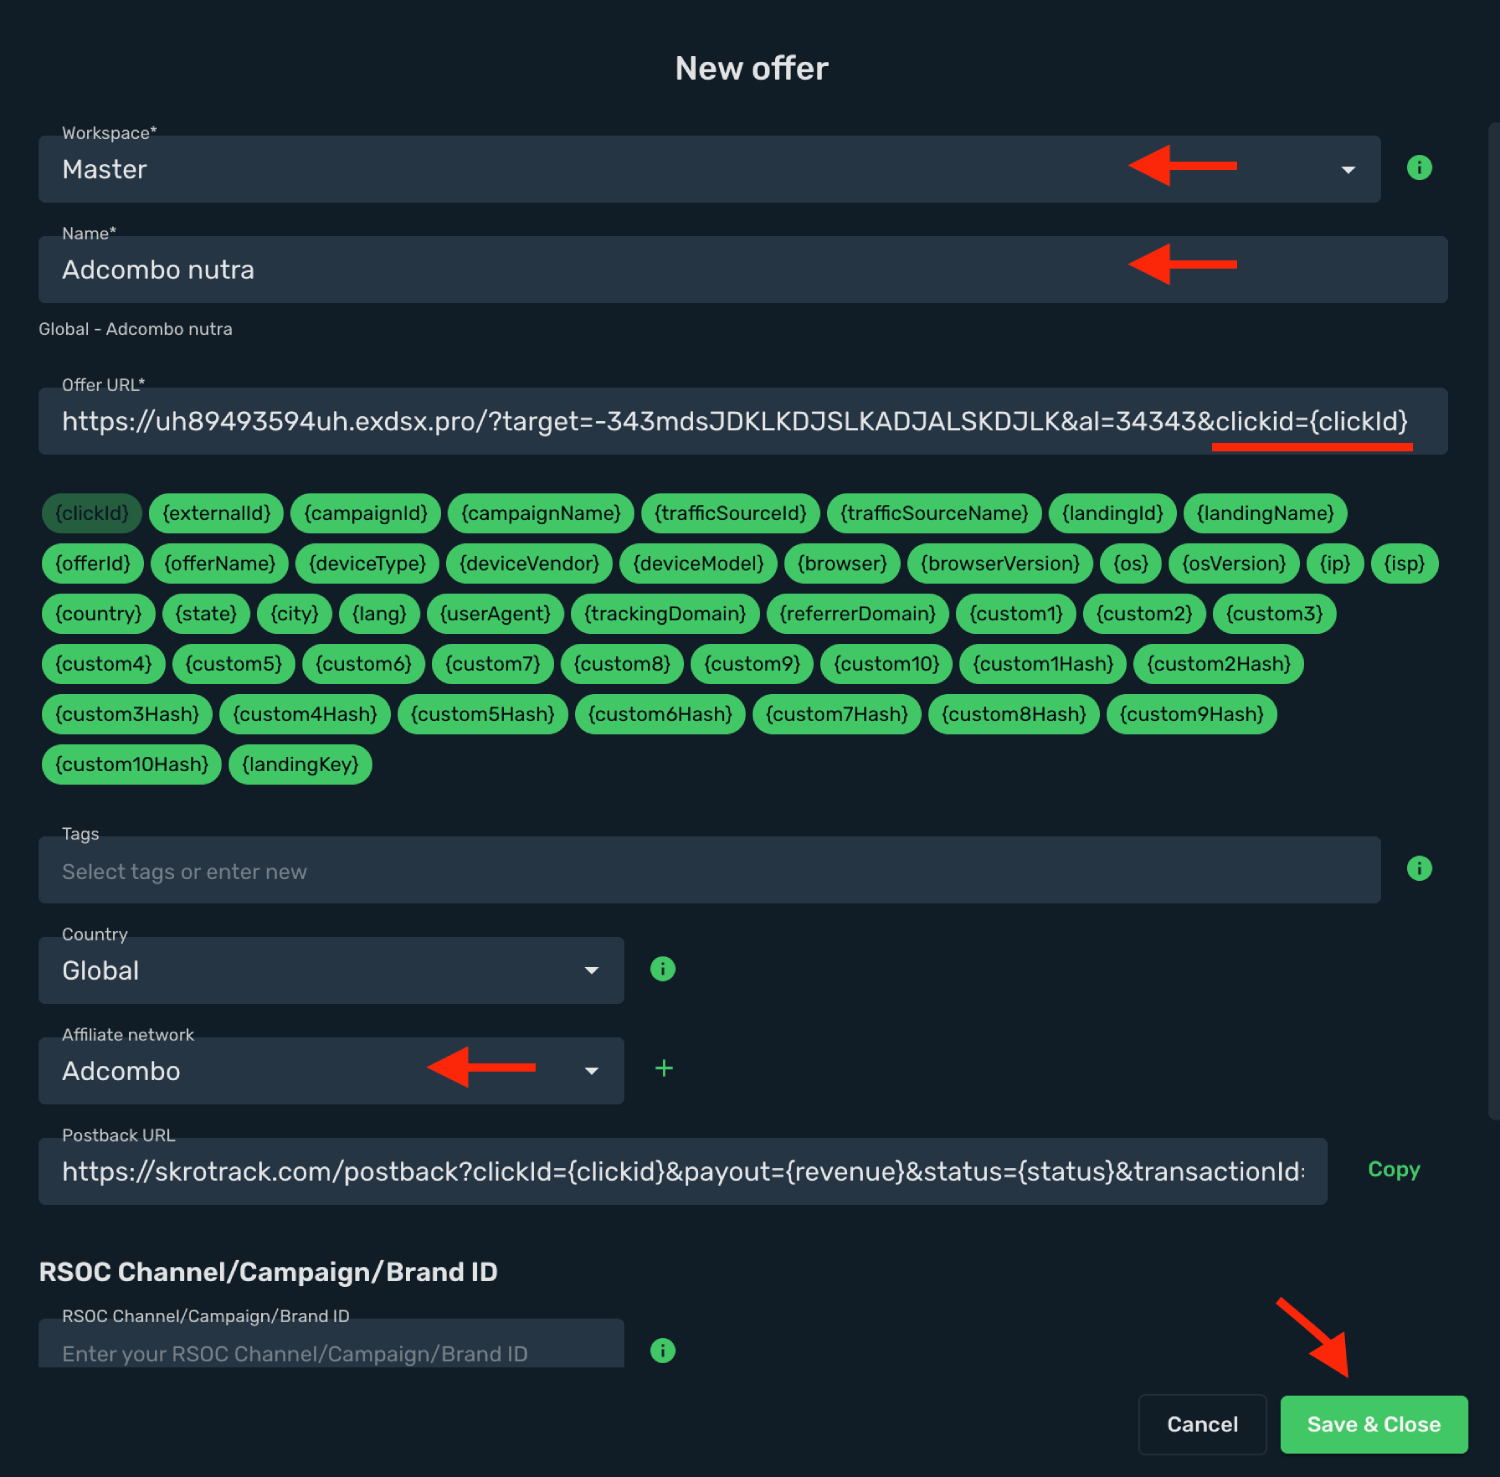
6. Click **Save & Close**.
## Step 5. Create a campaign on Skro [#step-5-create-a-campaign-on-skro]
1. Start with the following guide:
## Verify the setup [#verify-the-setup]
Follow a campaign link and complete a test conversion using your provider’s test workflow. Confirm that the original click ID reaches the provider and is returned to Skro, then check the event and revenue in your campaign report.
If data is missing, check the selected workspace, integration, campaign, and reporting date range. Compare parameter names and macro values with the examples in this guide before repeating the test.
## Related guides [#related-guides]
# AdMaven integration
Source: https://skro.eu/docs/integrations/admaven-and-skro-integration
Set up AdMaven tracking in Skro, configure traffic source parameters, and connect your advertising campaigns.
## Step 1. Create a AdMaven traffic source and configure the postback URL [#step-1-create-a-admaven-traffic-source-and-configure-the-postback-url]
1. Go to **Traffic Sources** and click **+ Create**.
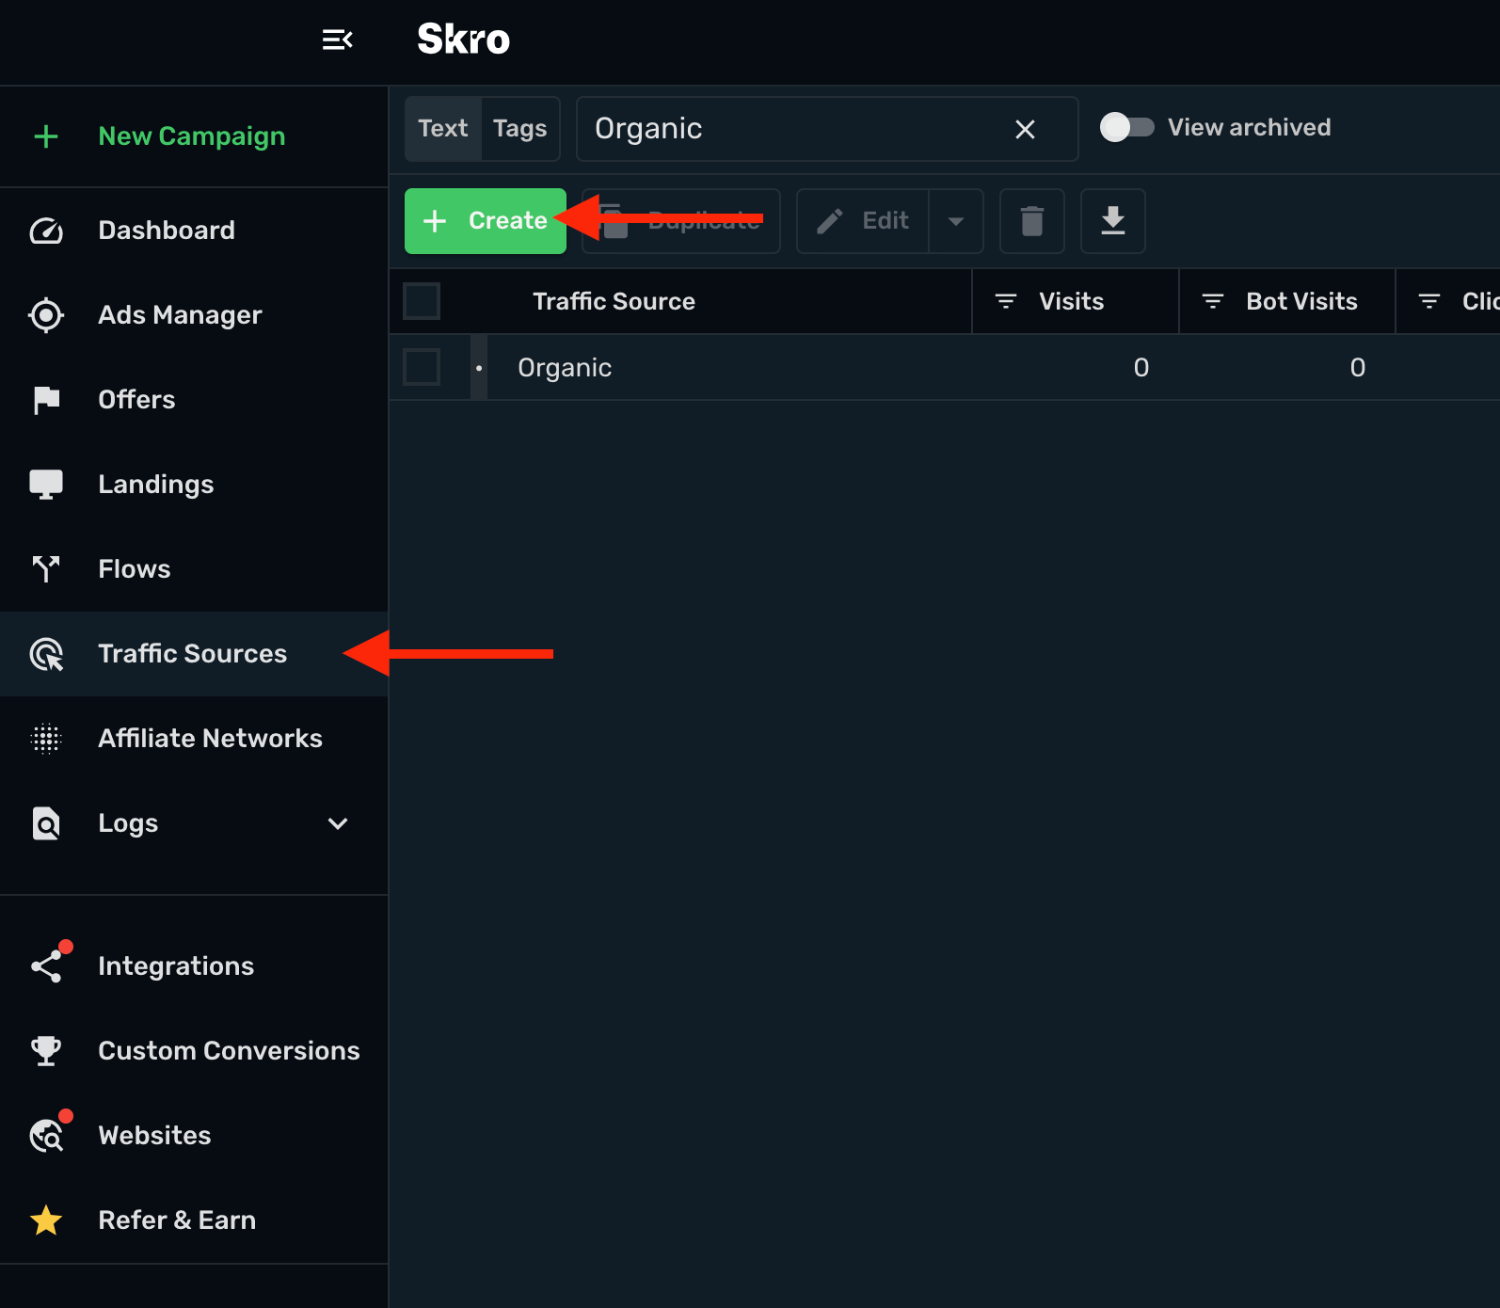
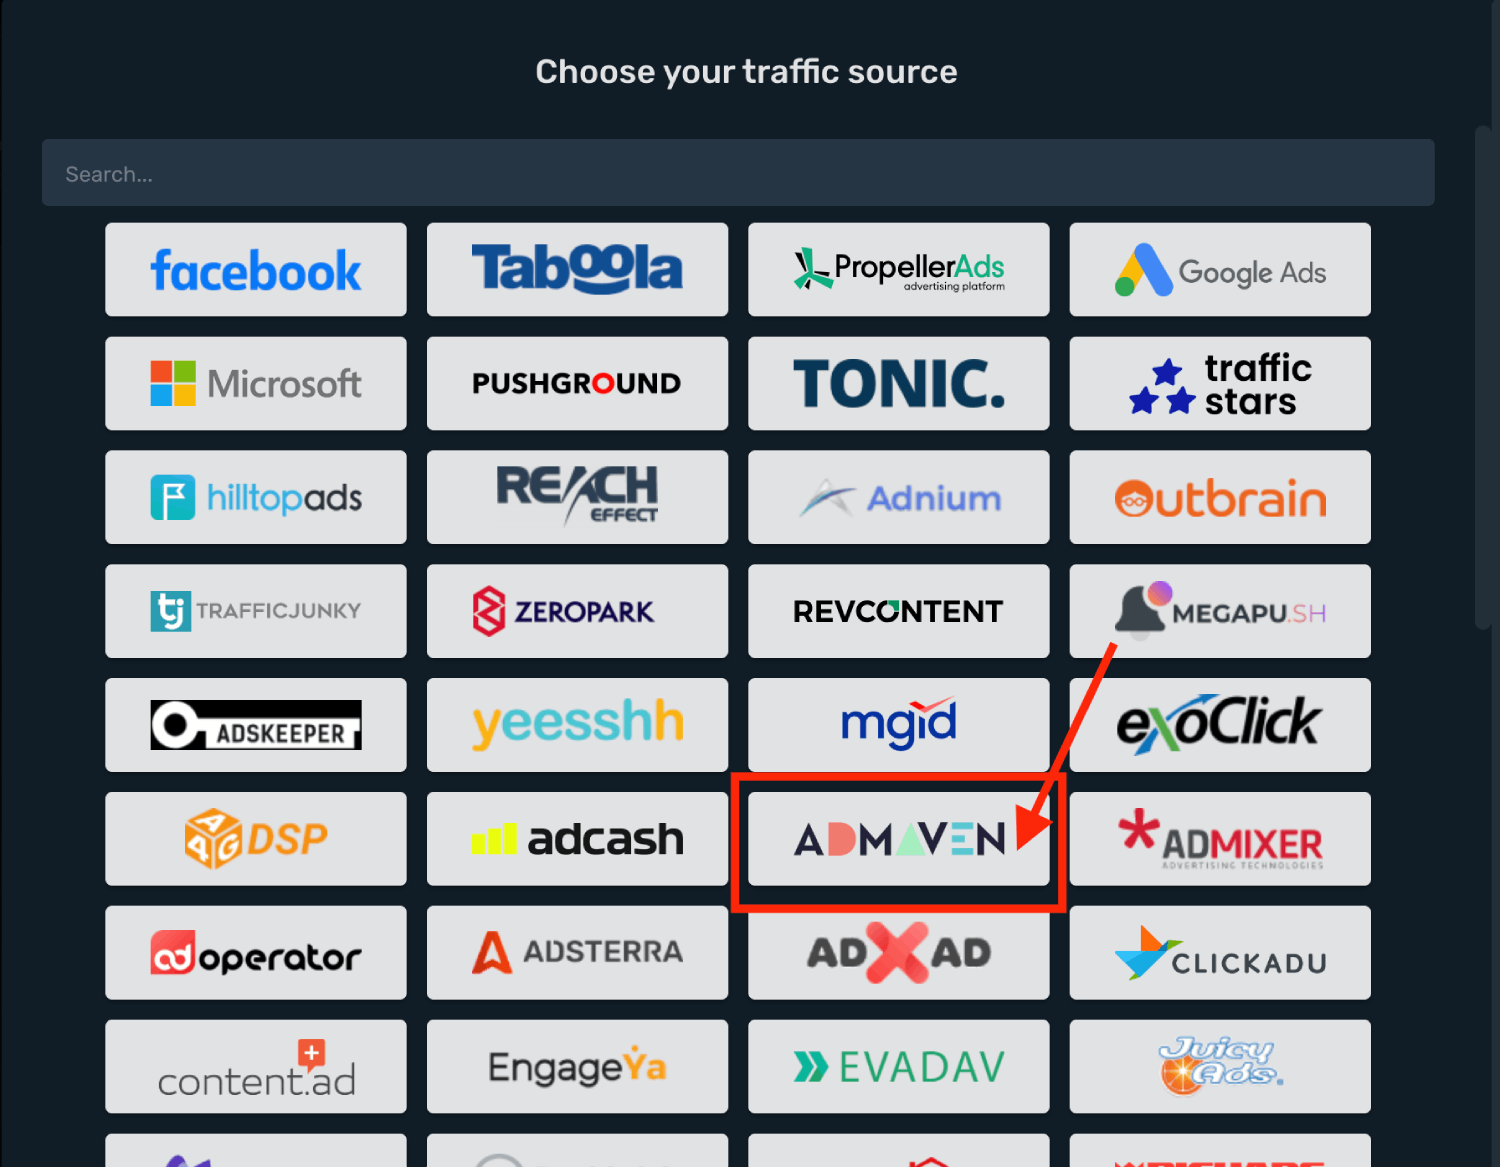
2. Search for **admaven** and click the **AdMaven** template.
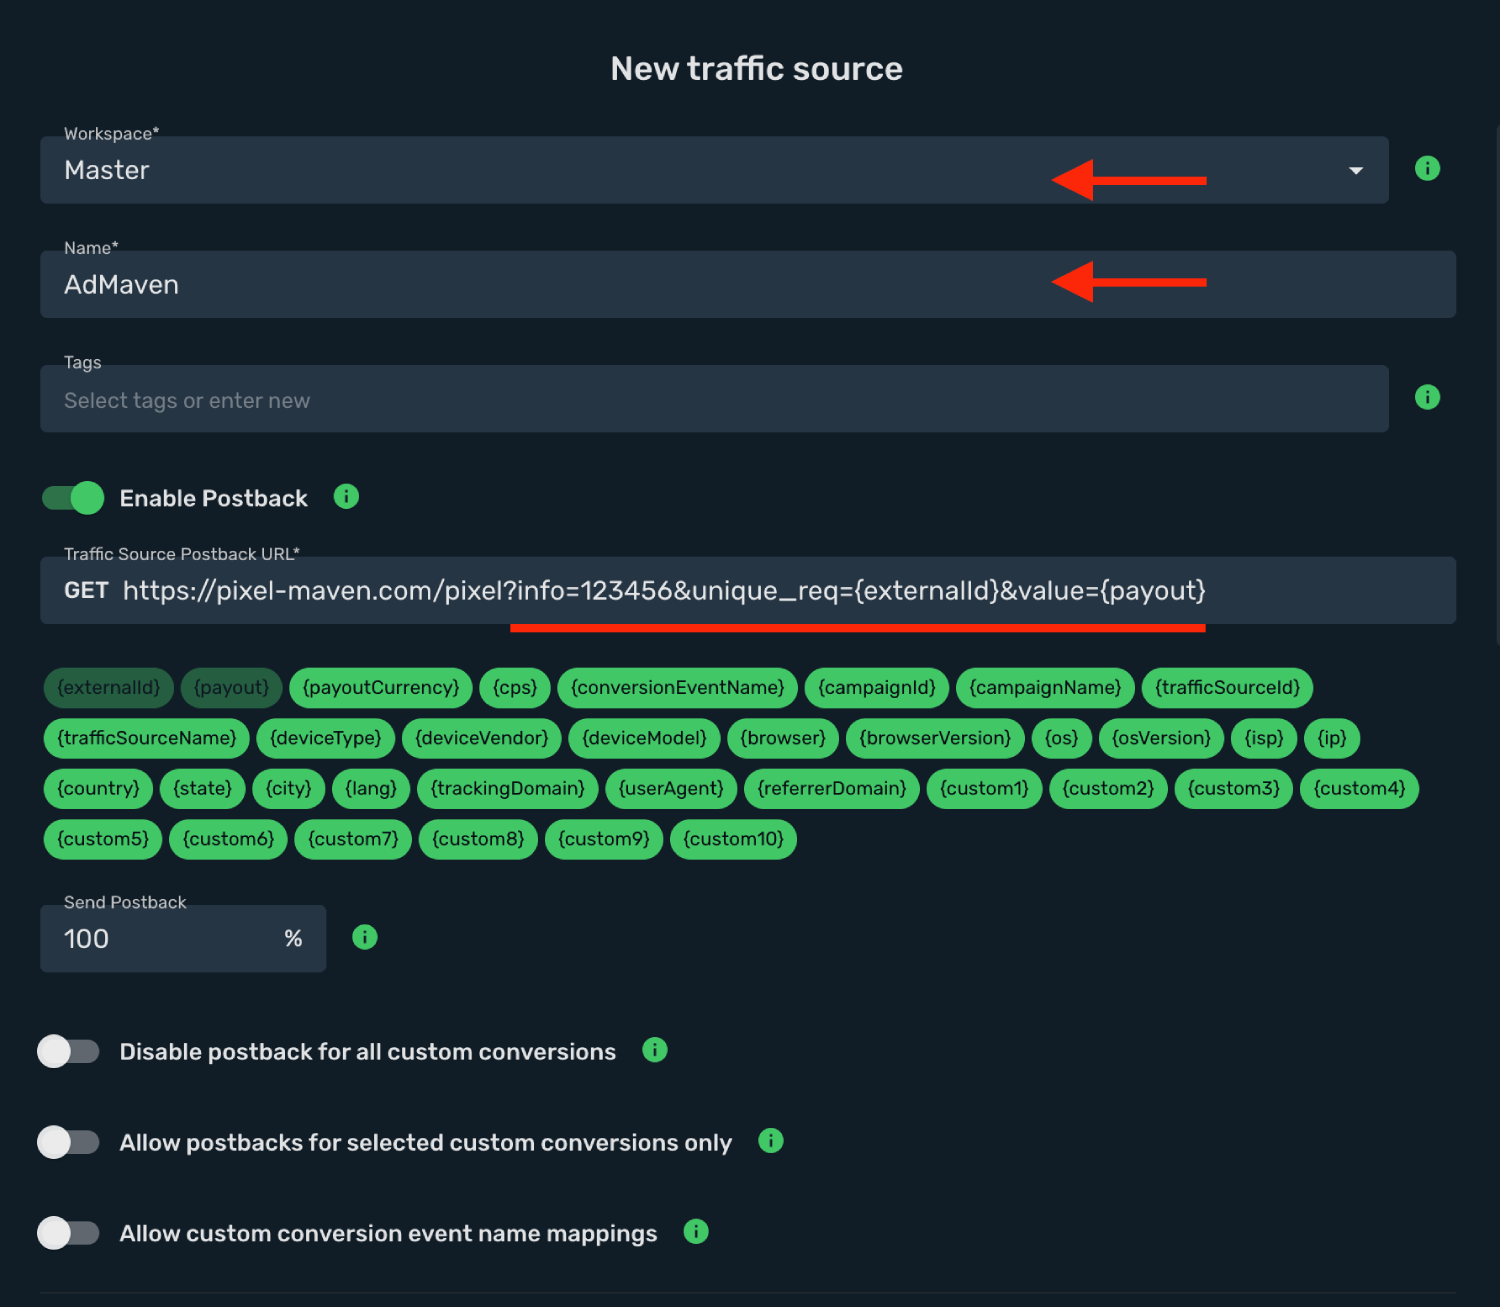
3. You need to modify **Traffic Source Postback URL**.
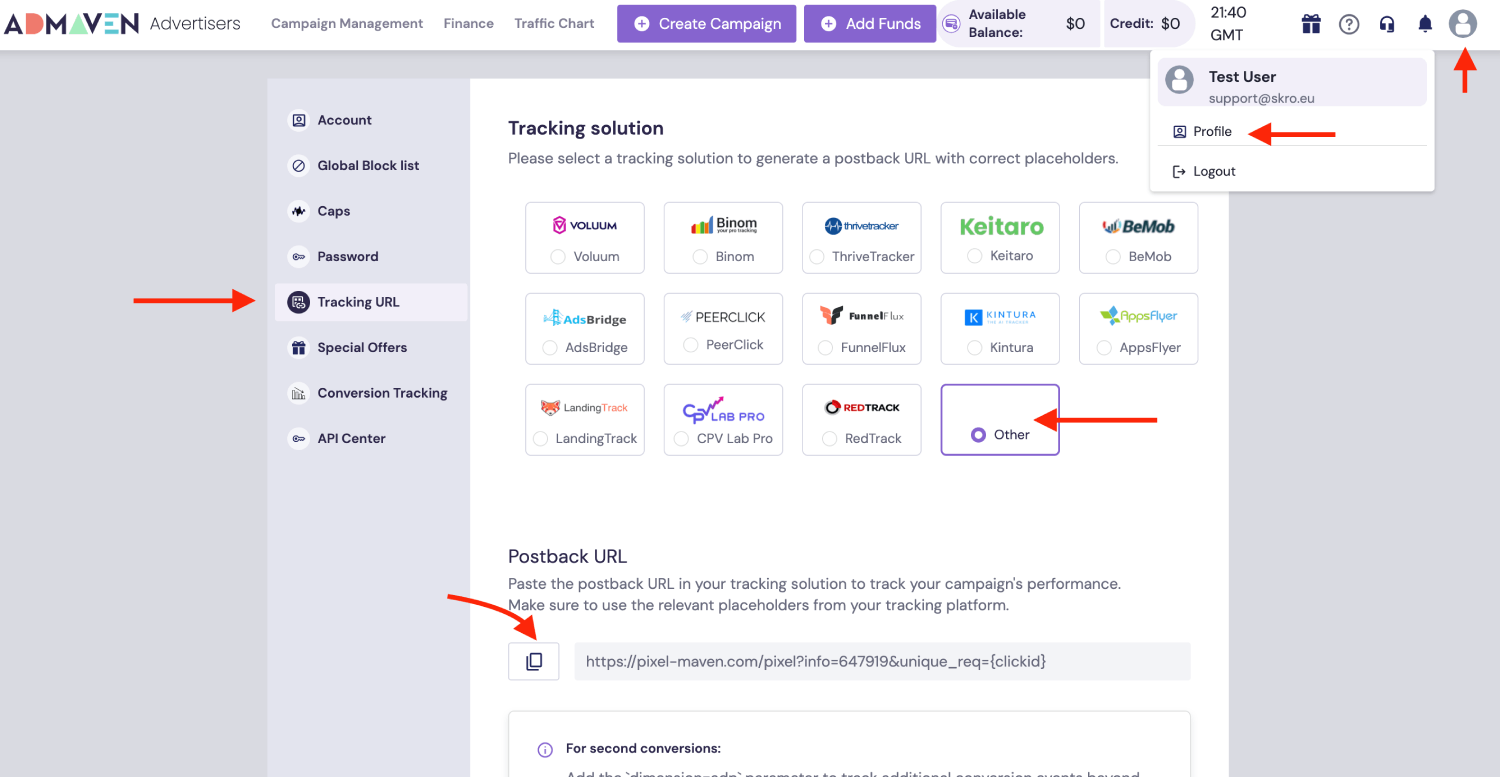
4. Log in to your **AdMaven account**.
5. Go to **Profile** → **Tracking URL**.
6. Choose **Other** because Skro isn't listed yet.
7. Copy the **Postback URL** to your clipboard
8. Go back to **Skro** and replace the postback URL with the updated values.
9. Replace the **info** parameter value with real token value **`?info=123456`**
10. Final postback URL must look similar to this:
`https://pixel-maven.com/pixel?info=123456&unique_req={externalId}&value={payout}`
**`unique_req={externalId}`** - AdMaven Click ID.
**`value={payout}`** - Conversion Payout.
11. All tracking parameters are already prefilled for you.
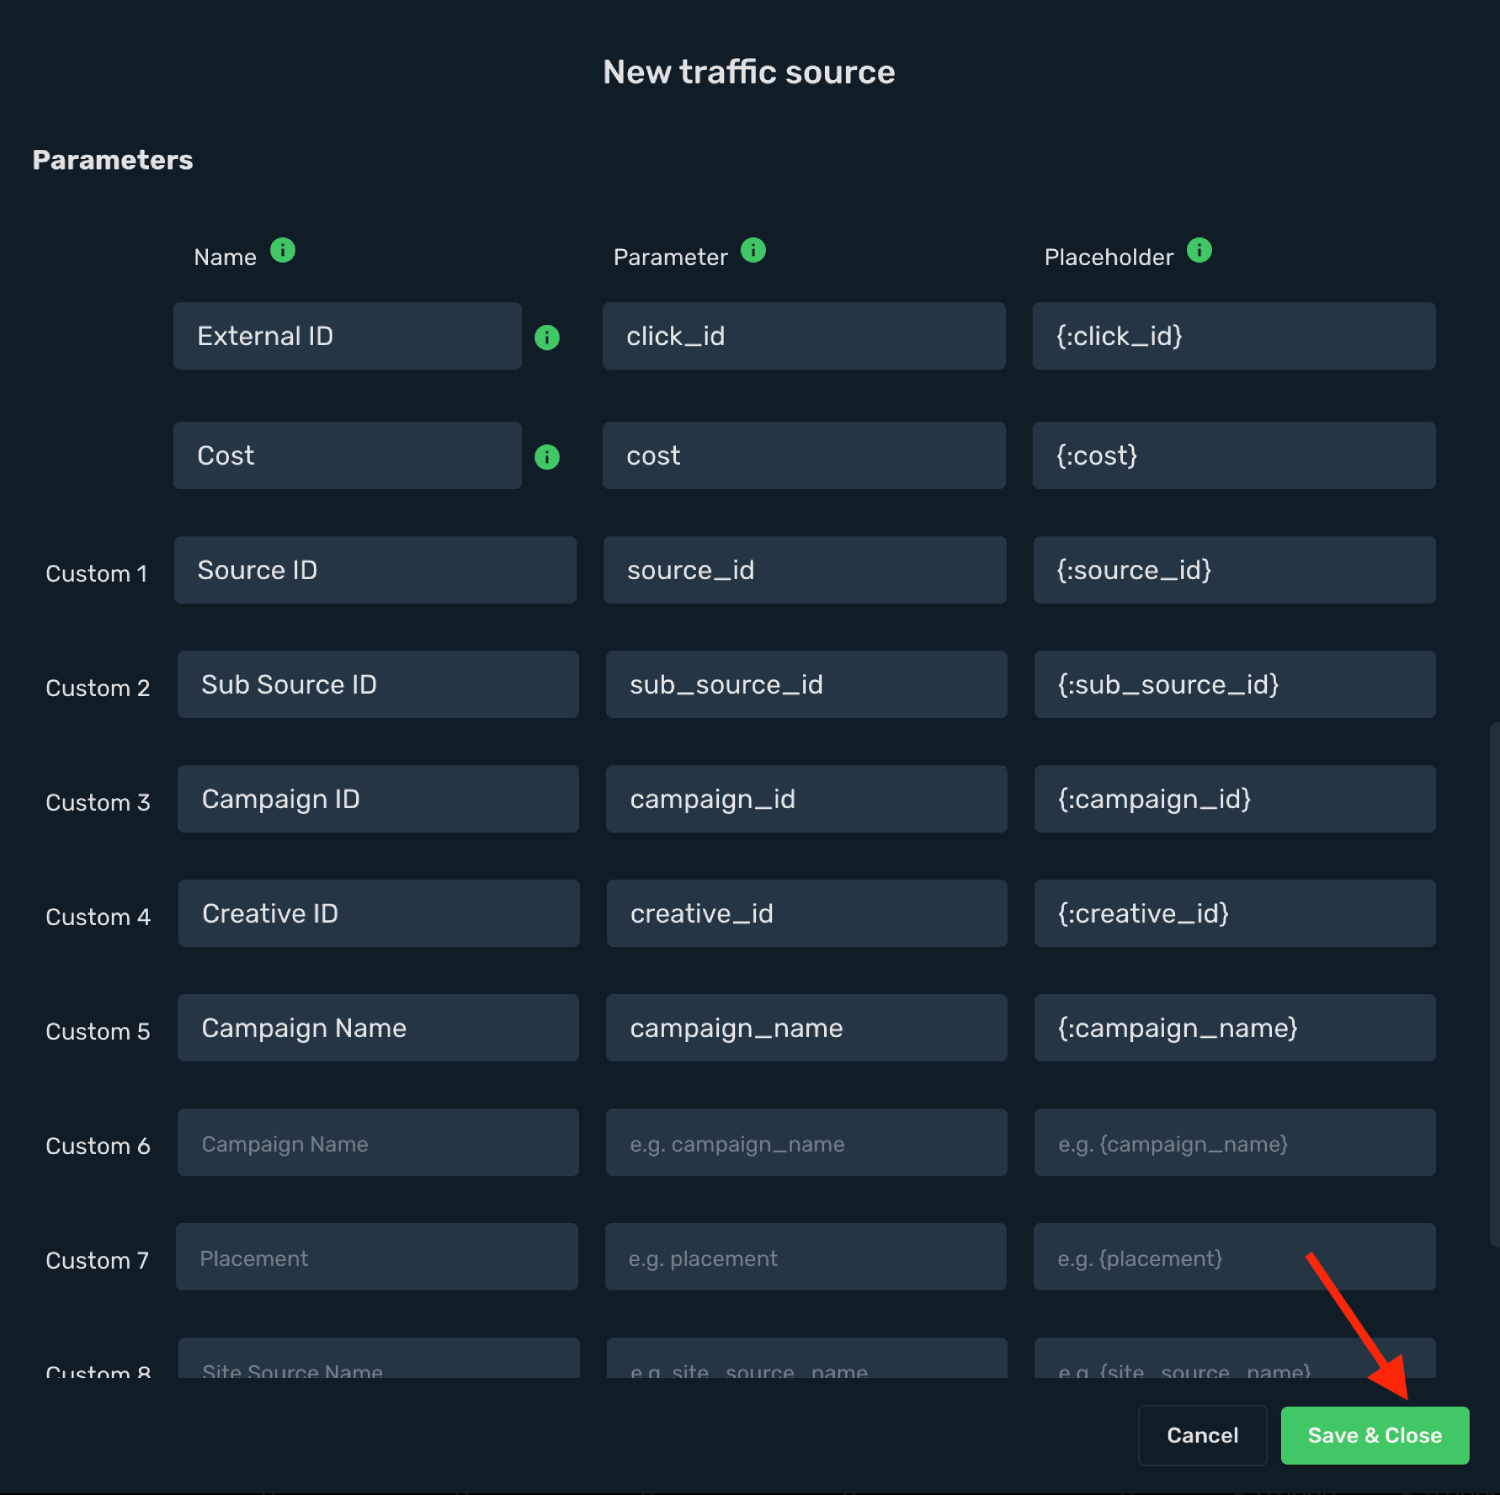
12. Click **Save & Close**.
Integration setup is complete, and you are now ready to create your first campaign.
## Step 2. Create a campaign in Skro [#step-2-create-a-campaign-in-skro]
1. Go to **Ads Manager** and click the **Create**.
2. Select your **Traffic source** and click **Next**.
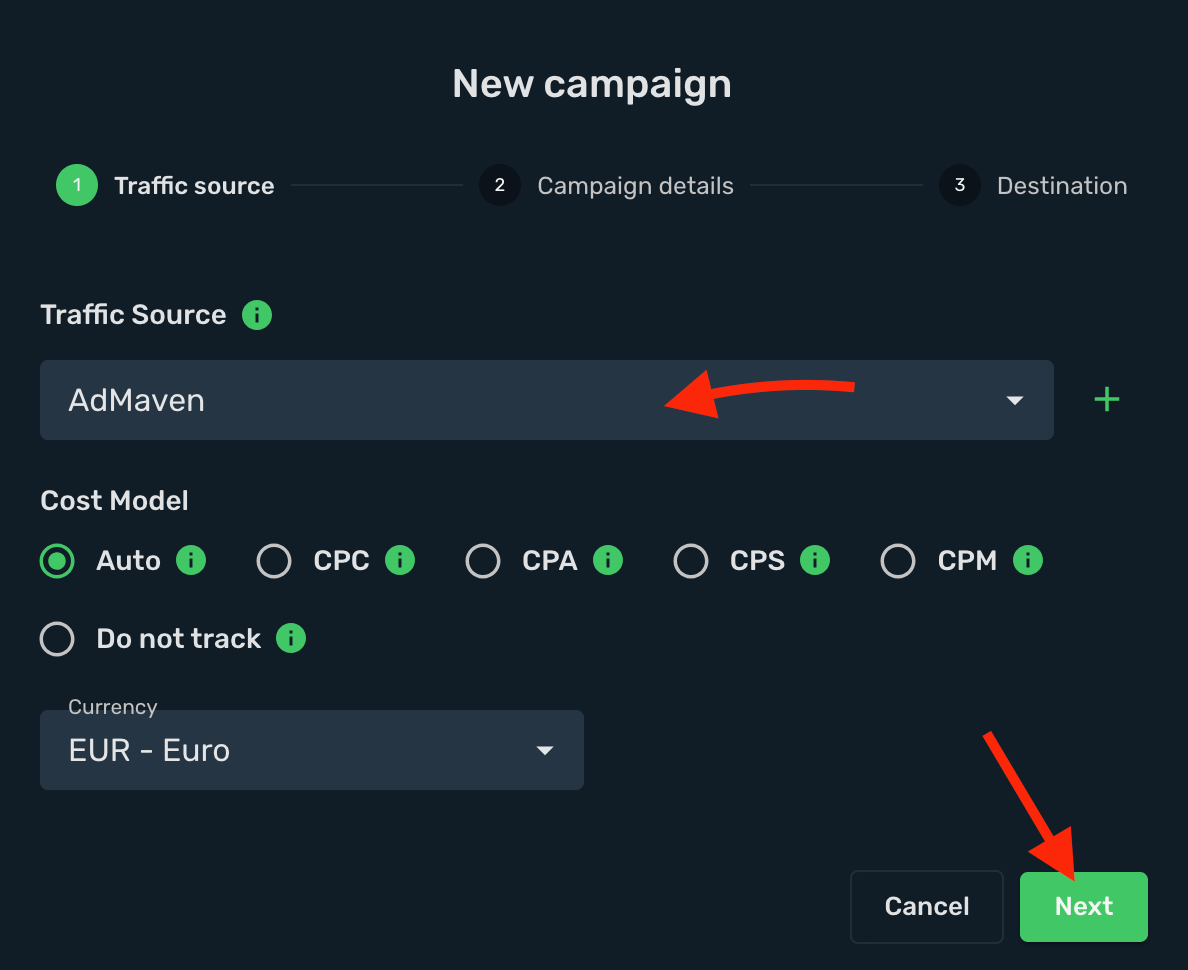
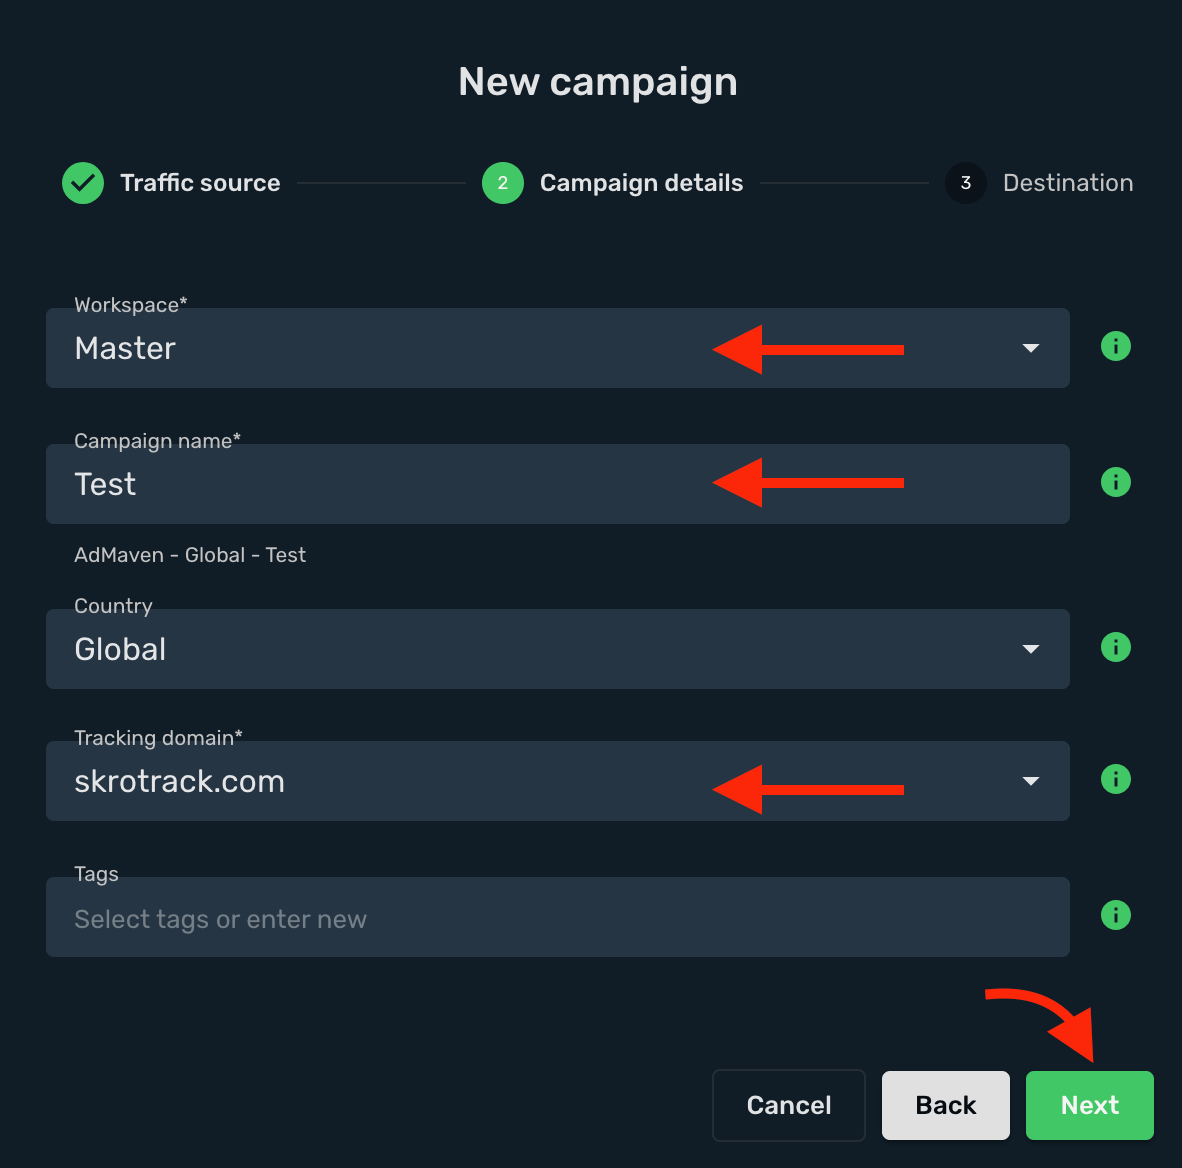
3. Select a **Workspace** for your campaign.
4. Give a **name** and click **Next**.
5. Select or create all your **landings** and **offers**.
6. Click the **Save**.
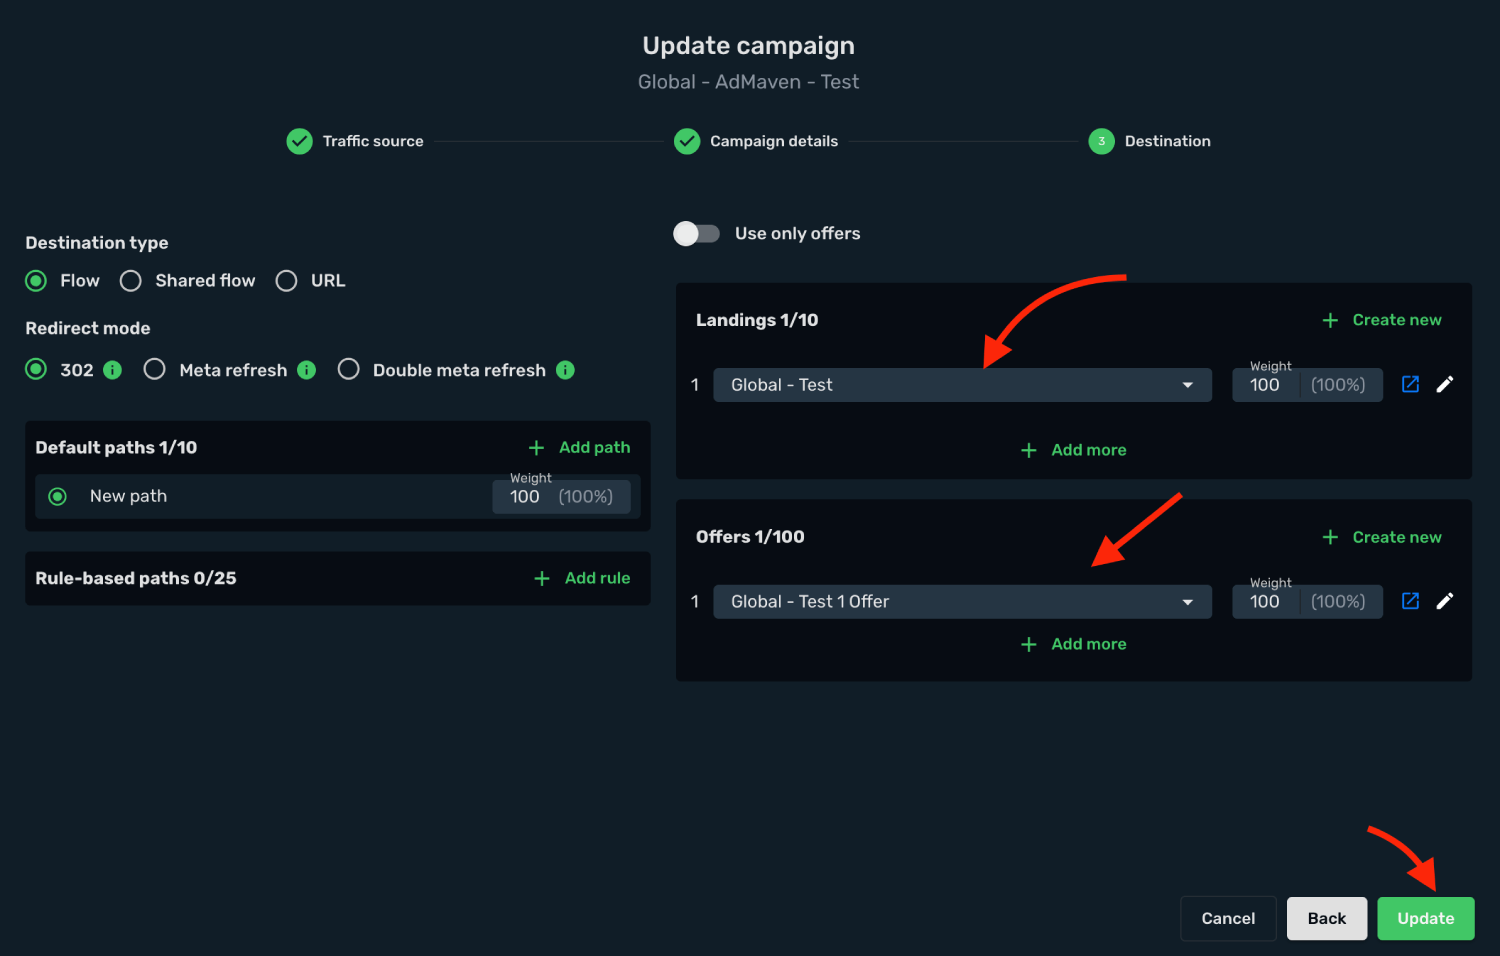
7. Copy the **Campaign Tracking URL** to clipboard.
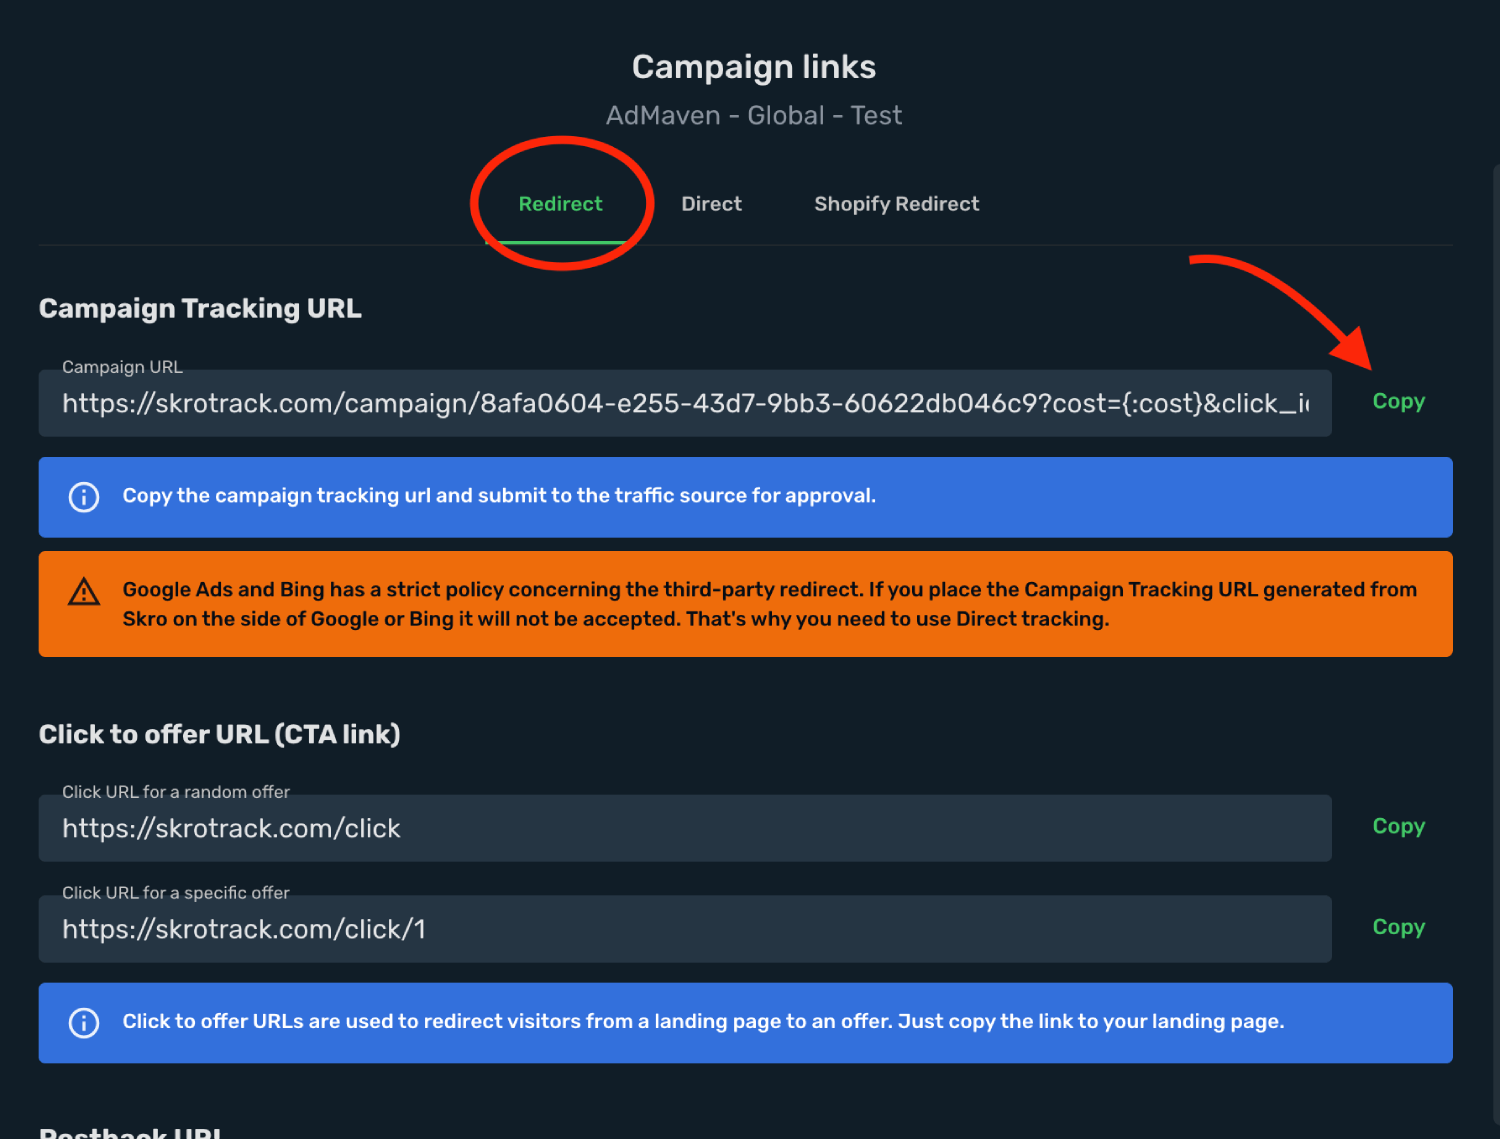
## Step 3. Create a campaign in AdMaven [#step-3-create-a-campaign-in-admaven]
1. Log in to your **AdMaven** account.
2. Go to the **Campaign Management** section and click the **Create Campaign**.
3. Add your **Campaign Name** and select the **Ad Format** and click **Next**.
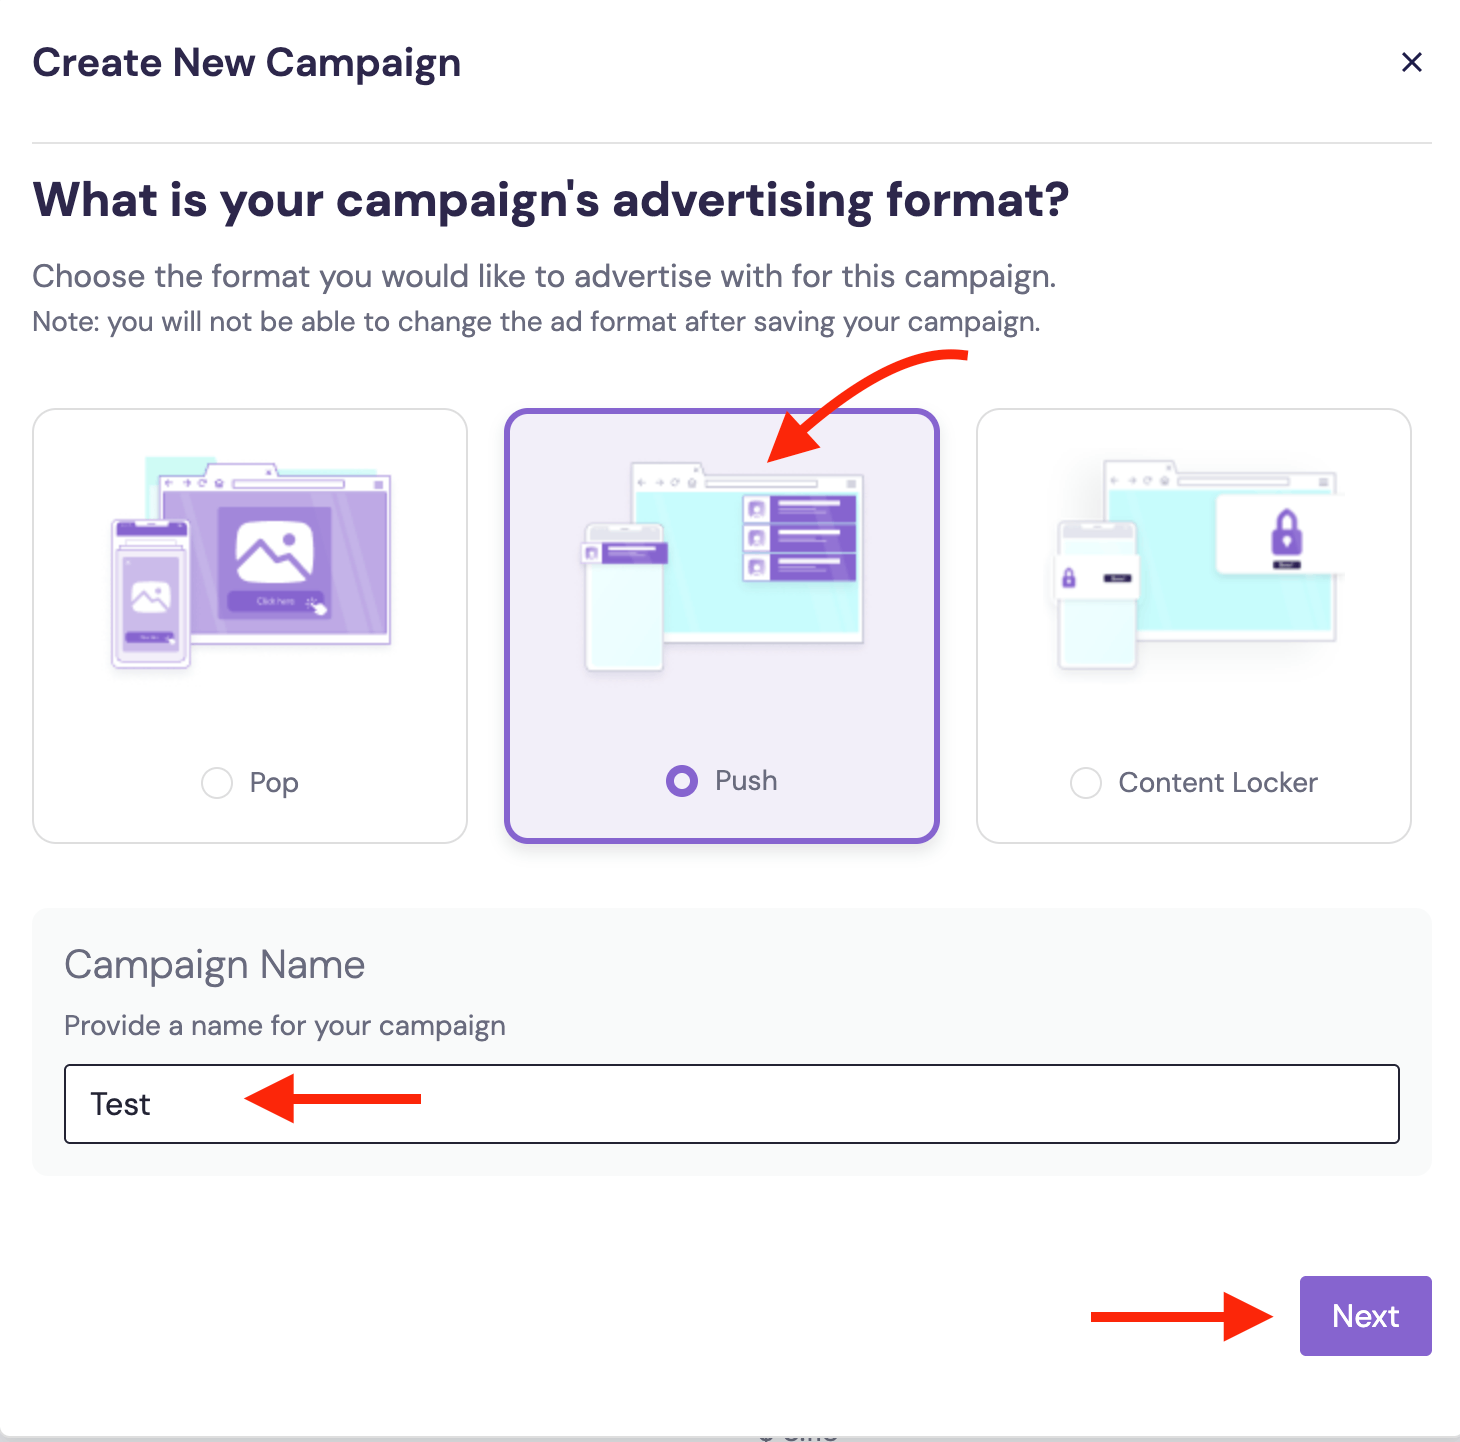
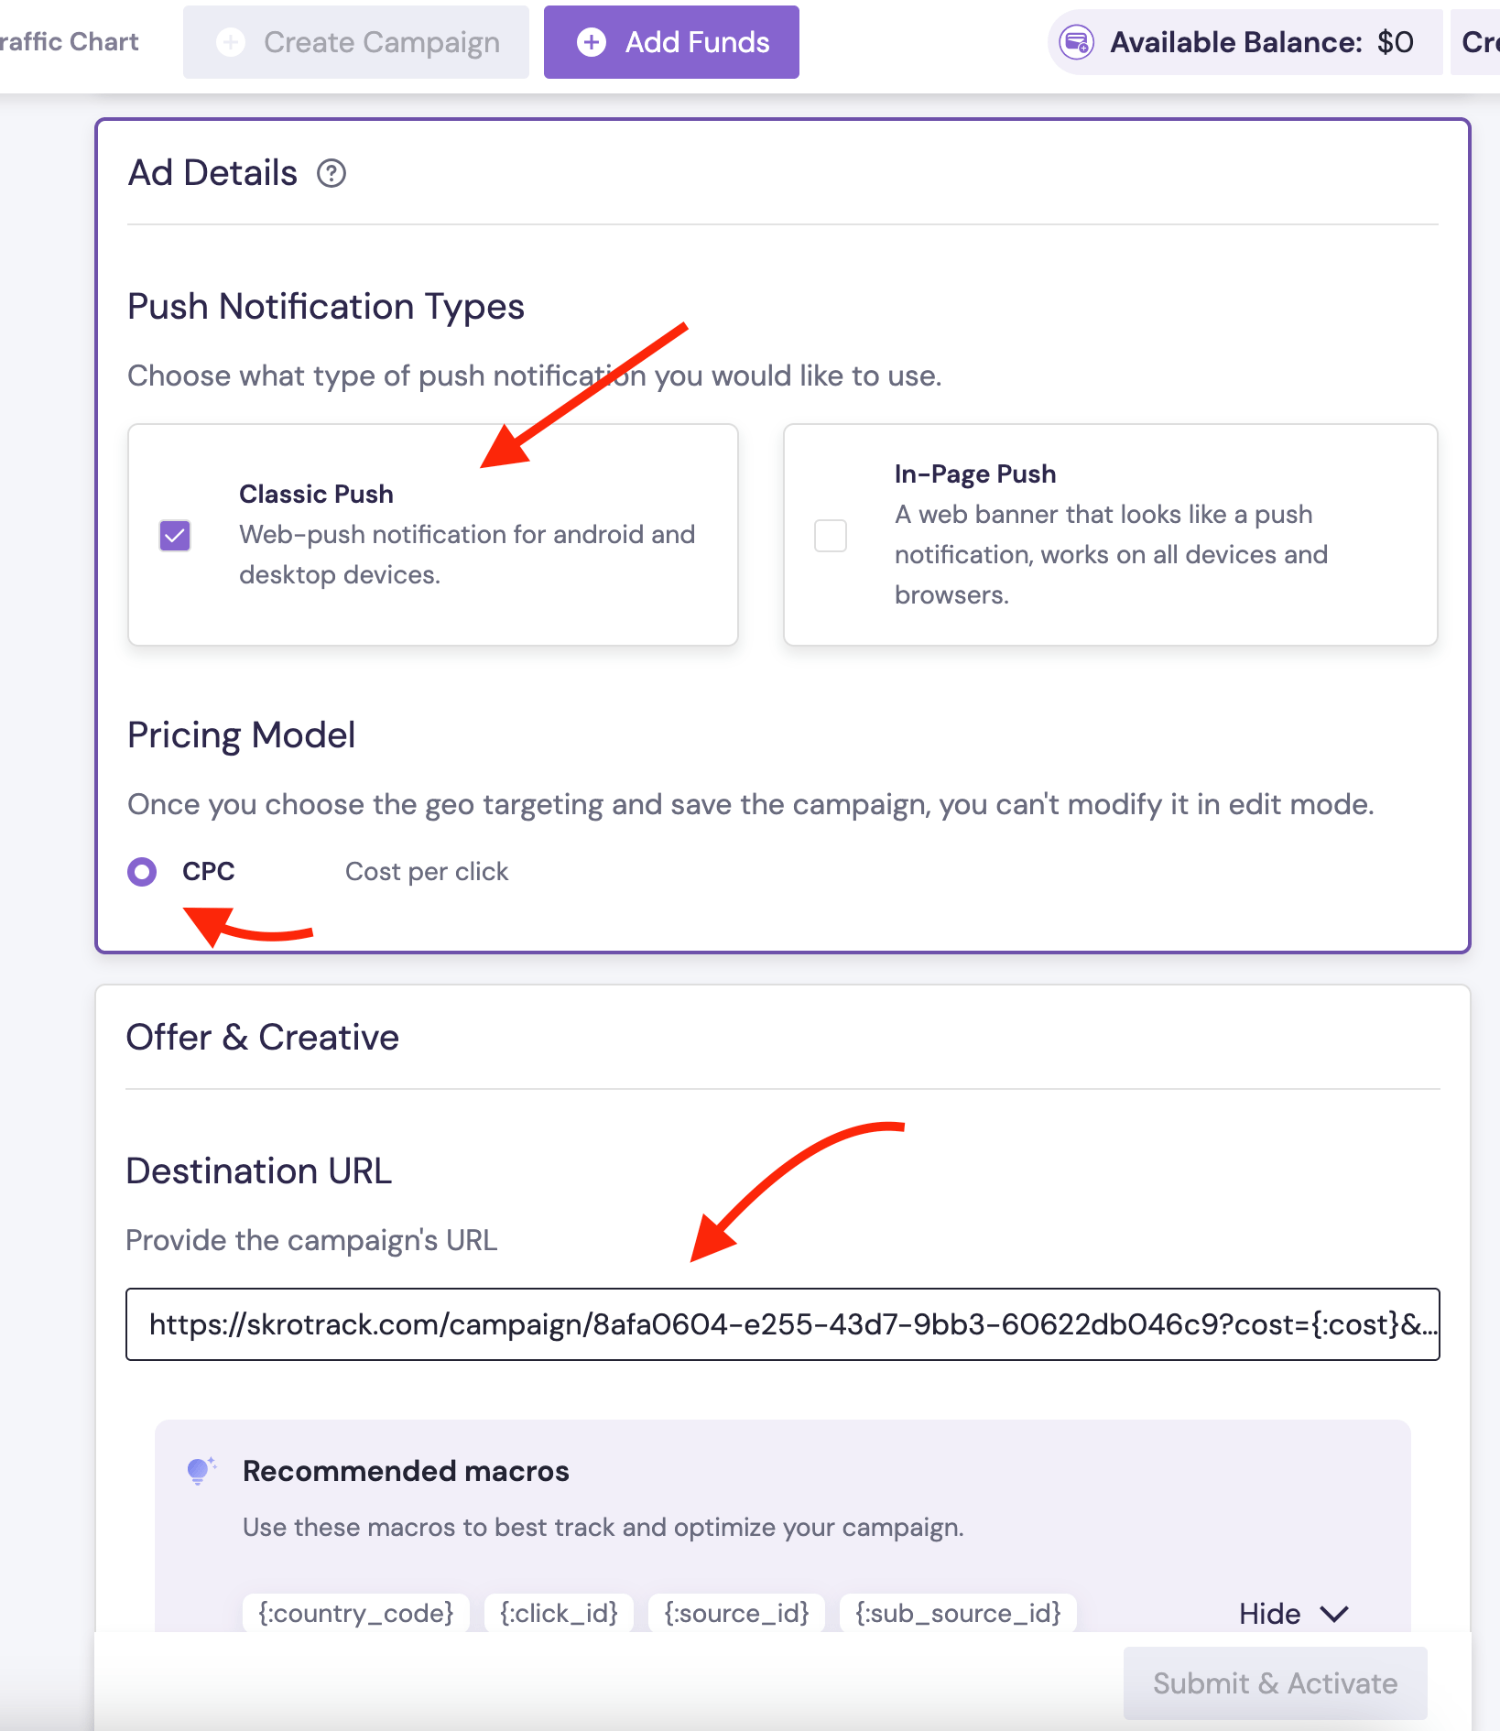
4. Select **Ad Details** and **Pricing Model**.
5. Paste the **Skro campaign tracking link** into the **Destination URL** field, including all tracking parameters.
6. Complete the remaining campaign settings, then click **Submit & Activate**.
## Verify the setup [#verify-the-setup]
Open the generated campaign URL and check that the visit appears in Skro. Confirm that traffic source macros resolve to actual values. If you send conversions back to the source, verify a test conversion in both systems.
If data is missing, check the selected workspace, integration, campaign, and reporting date range. Compare parameter names and macro values with the examples in this guide before repeating the test.
## Related guides [#related-guides]
# Admitad integration
Source: https://skro.eu/docs/integrations/admitad-integration
Connect Admitad to Skro, map click IDs, and configure postbacks to attribute conversions and revenue to your campaigns.
## Step 1. Add affiliate network to Skro [#step-1-add-affiliate-network-to-skro]
1. Go to **Affiliate Networks** and click **Create**.
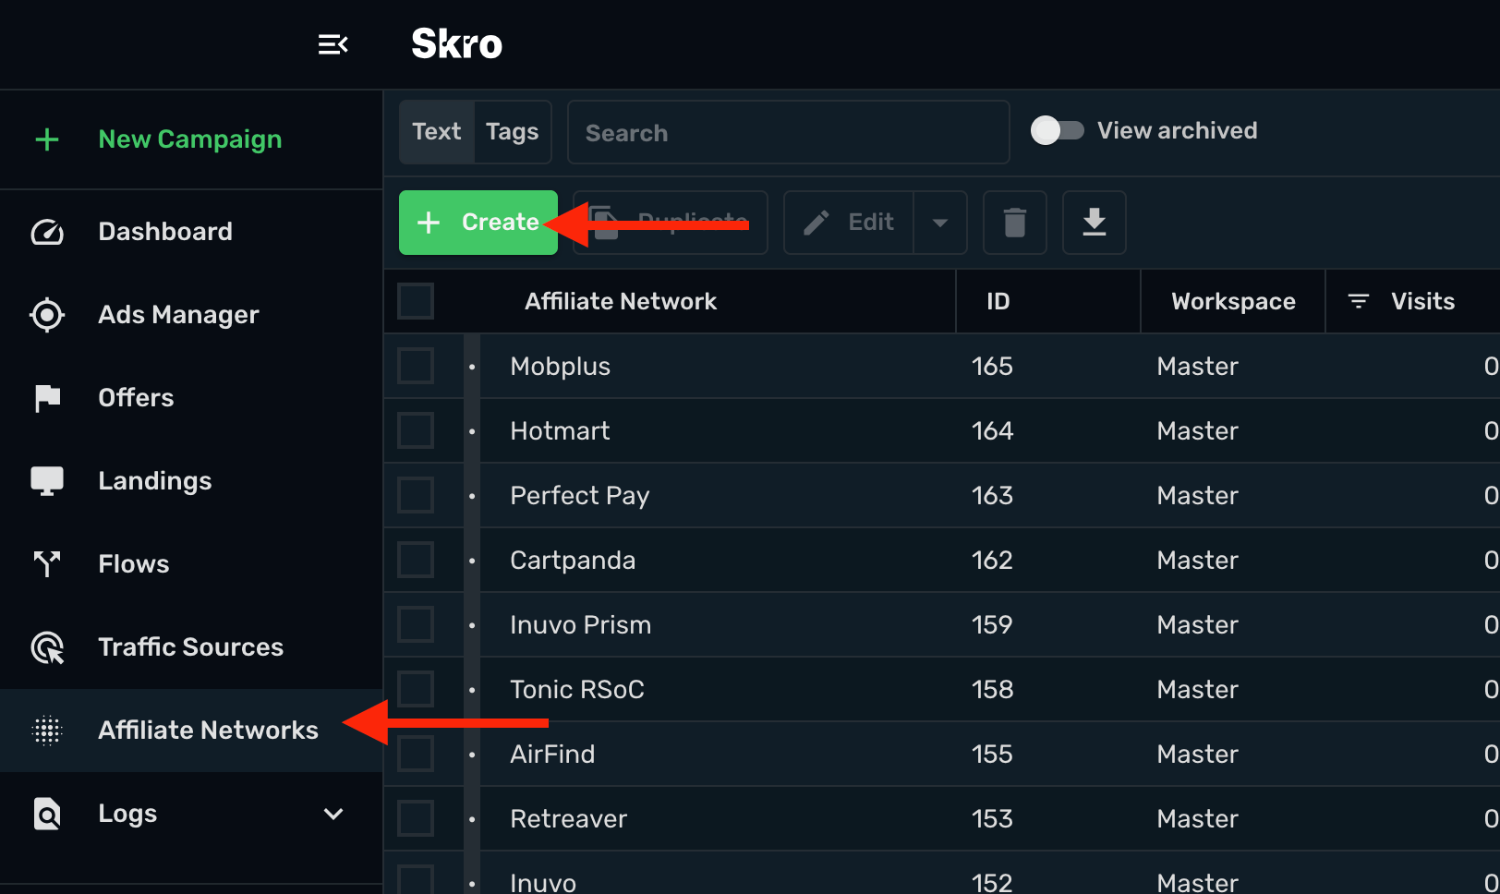
2. Search Admitad and select the **Admitad** template.
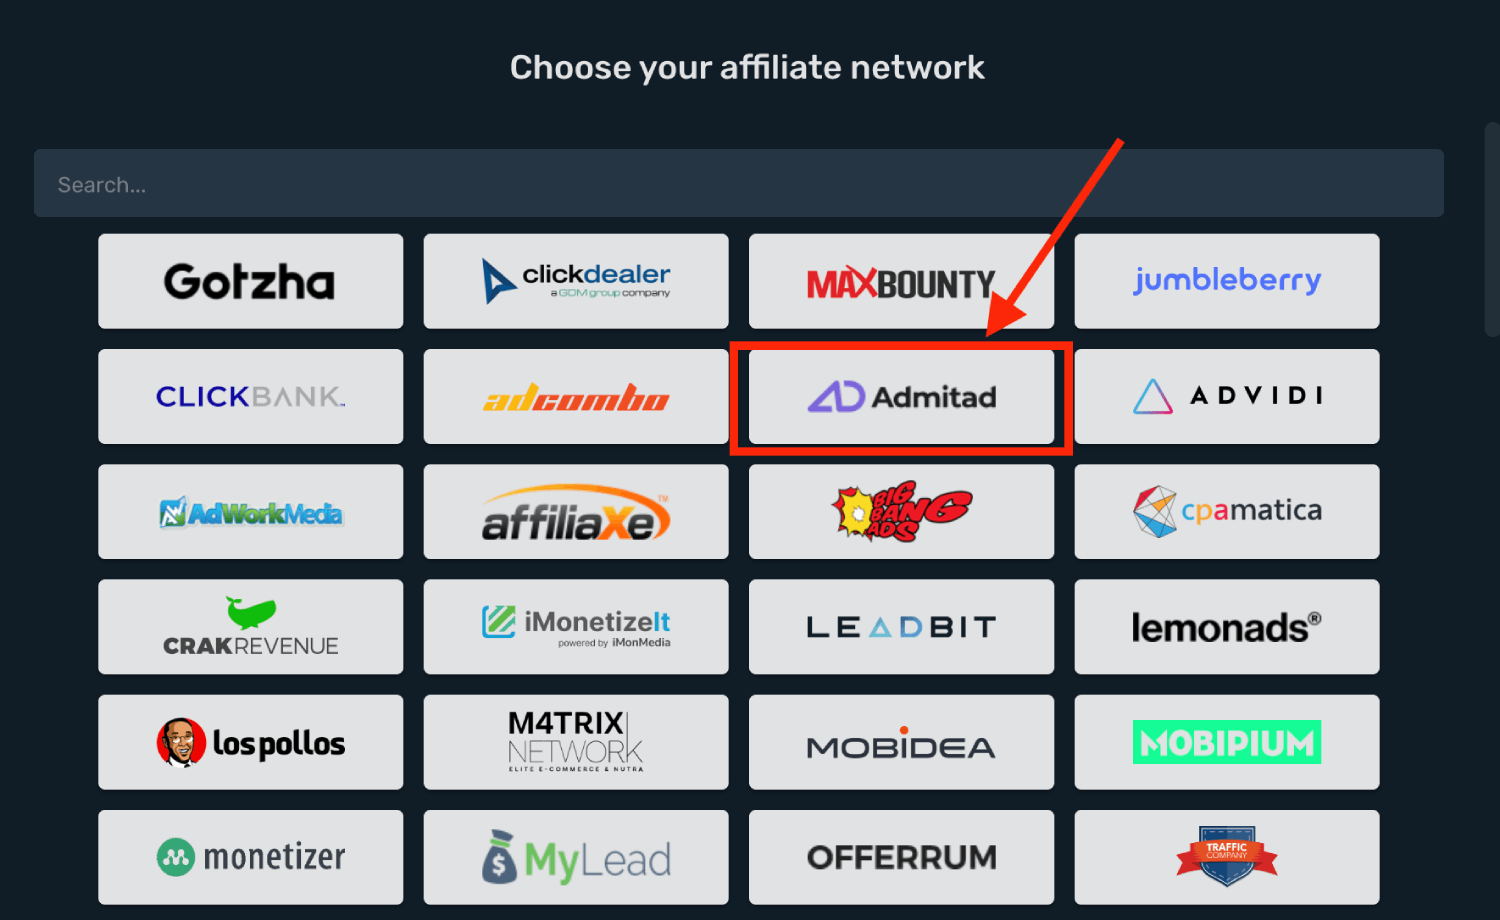
3. Select your **Workspace** and **Copy** postback URL to your clipboard.
4. Click **Save & Close**.
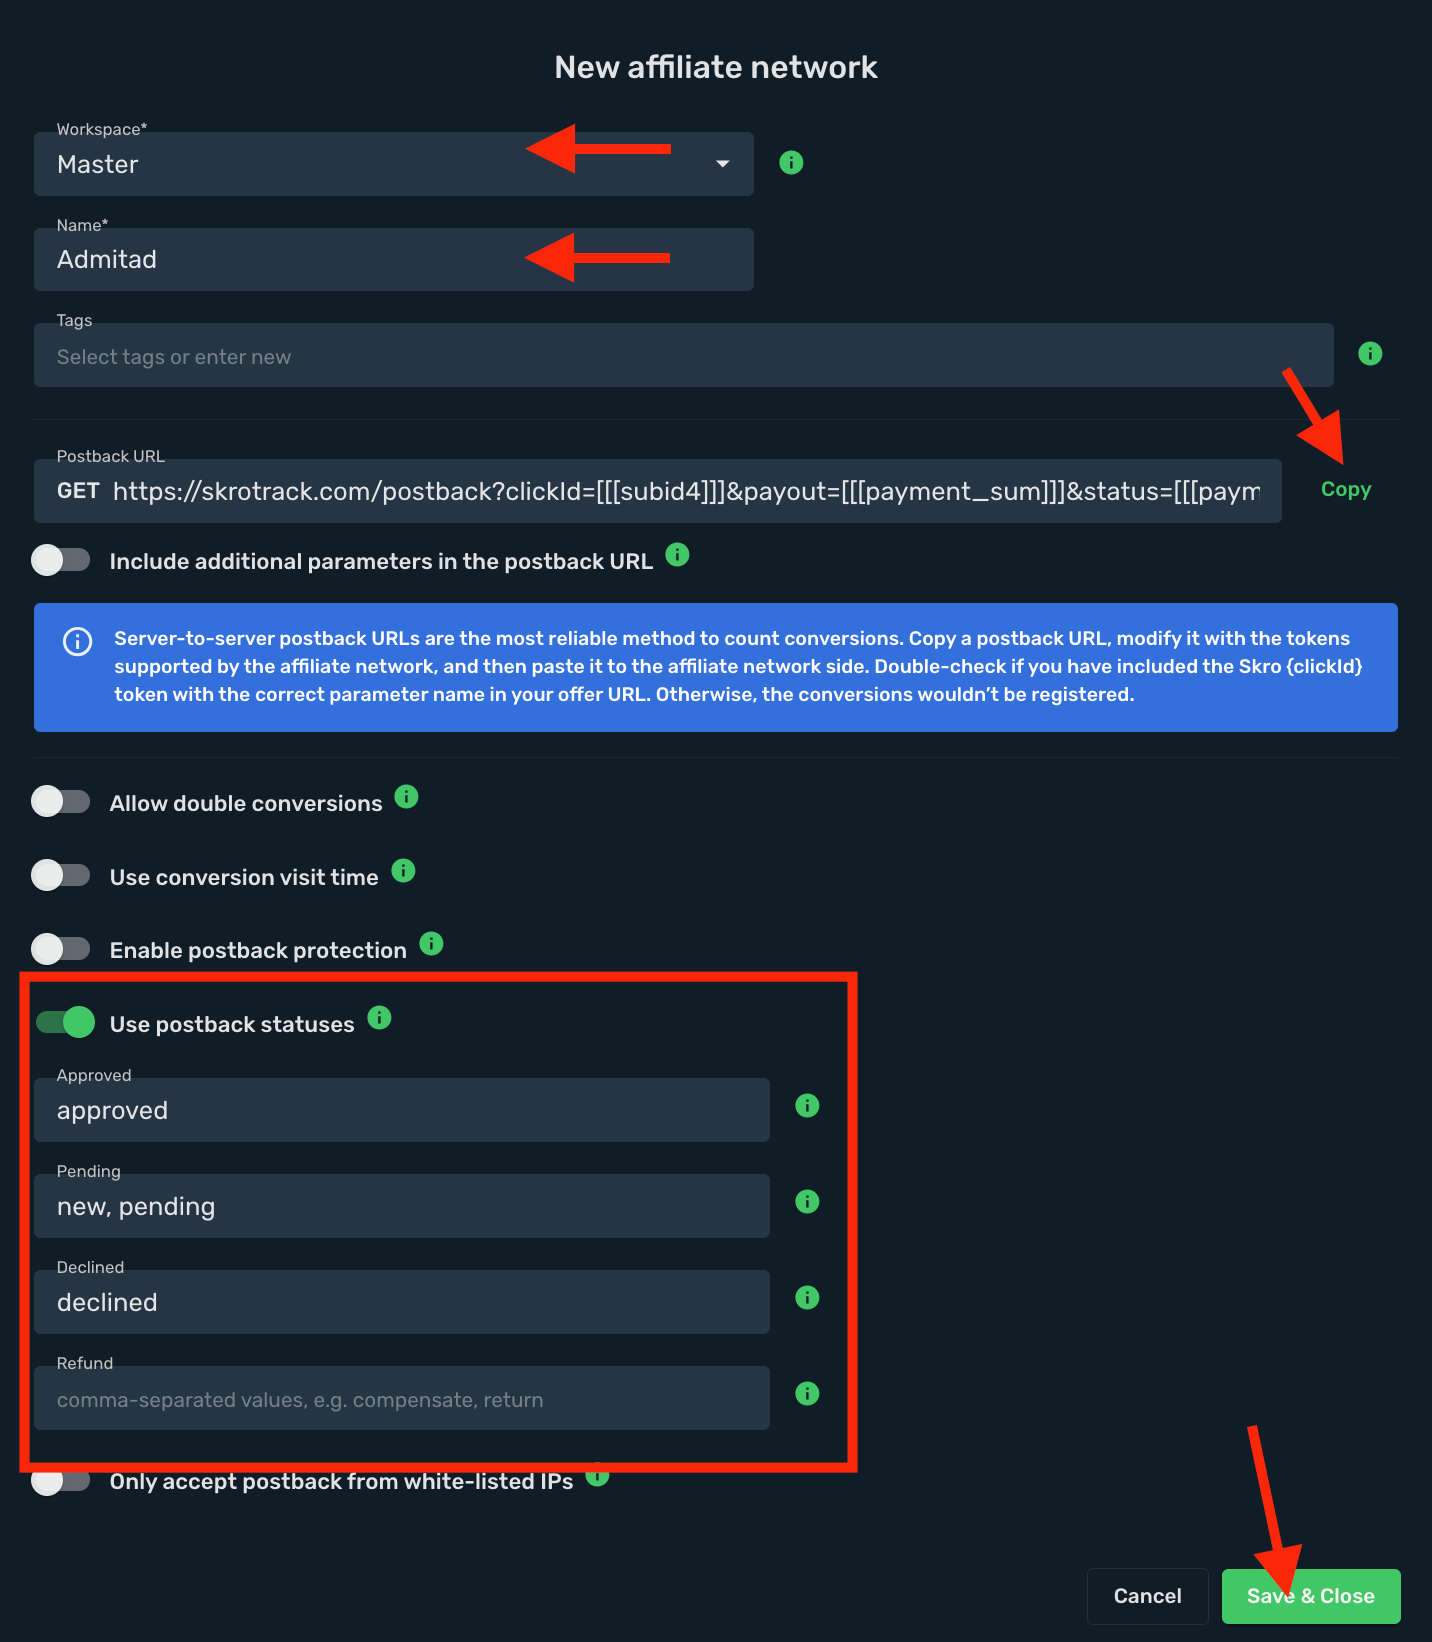
The Admitad affiliate network is now saved in Skro. Use the copied postback URL in Admitad in the next step.
## Step 2. Setting up a postback URL [#step-2-setting-up-a-postback-url]
1. Log in to **Admitad** account.
2. Go to **Tools** → **Postback URL**.
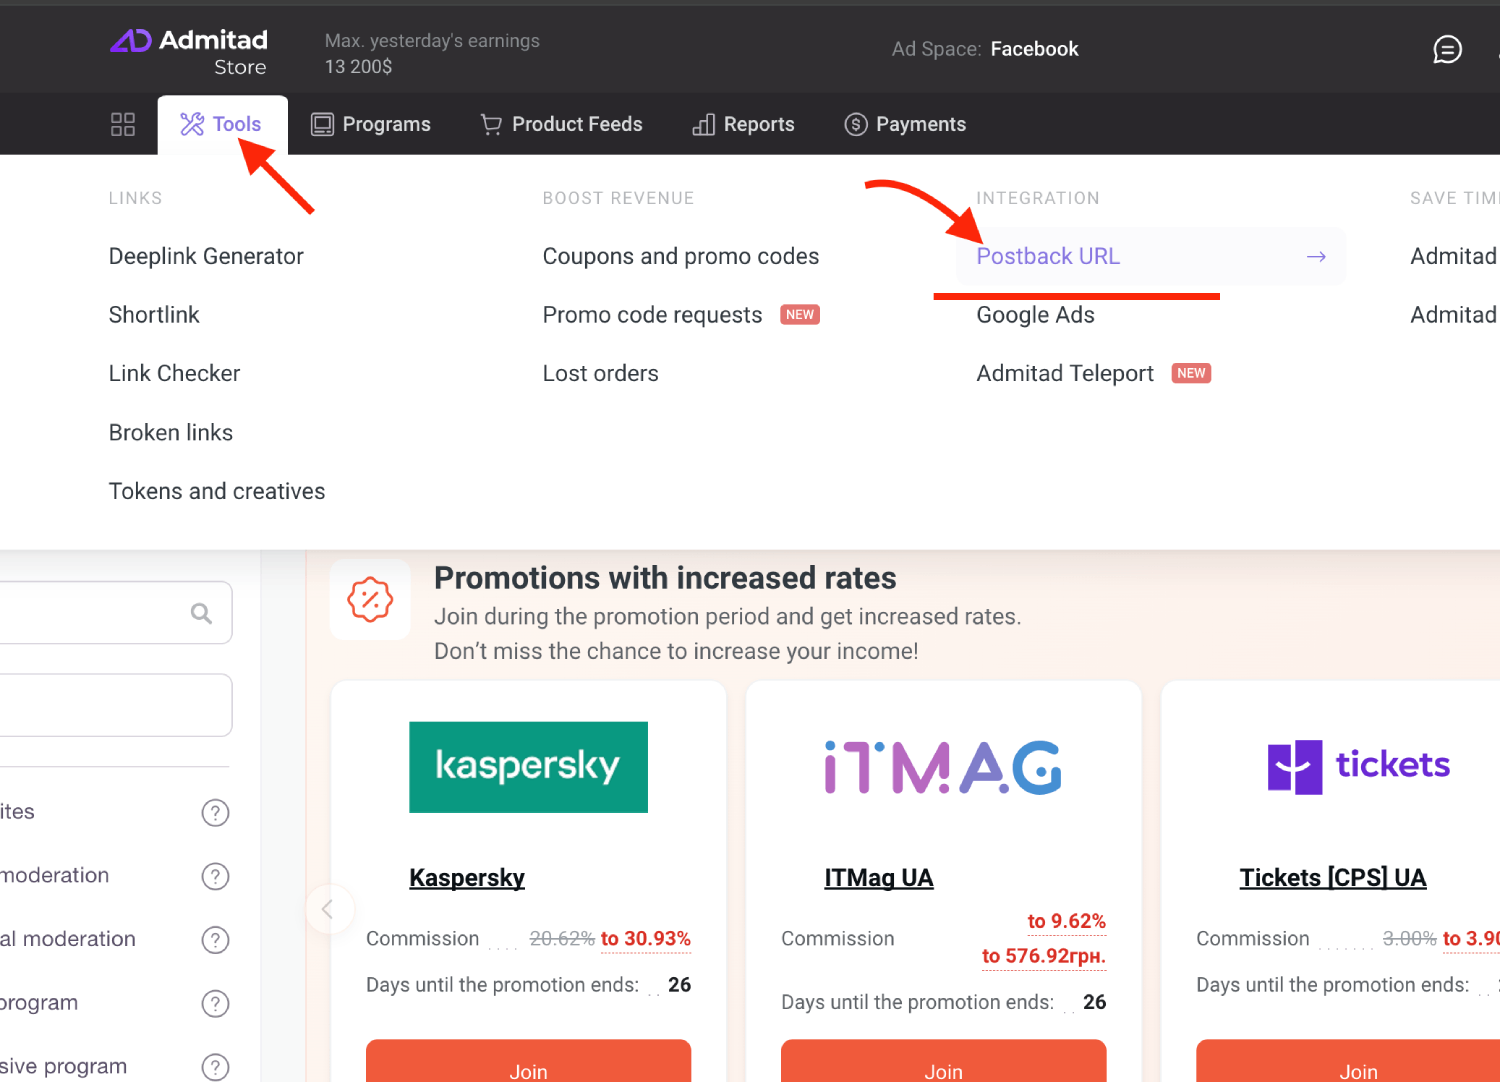
3. Click **Add postback URL**.
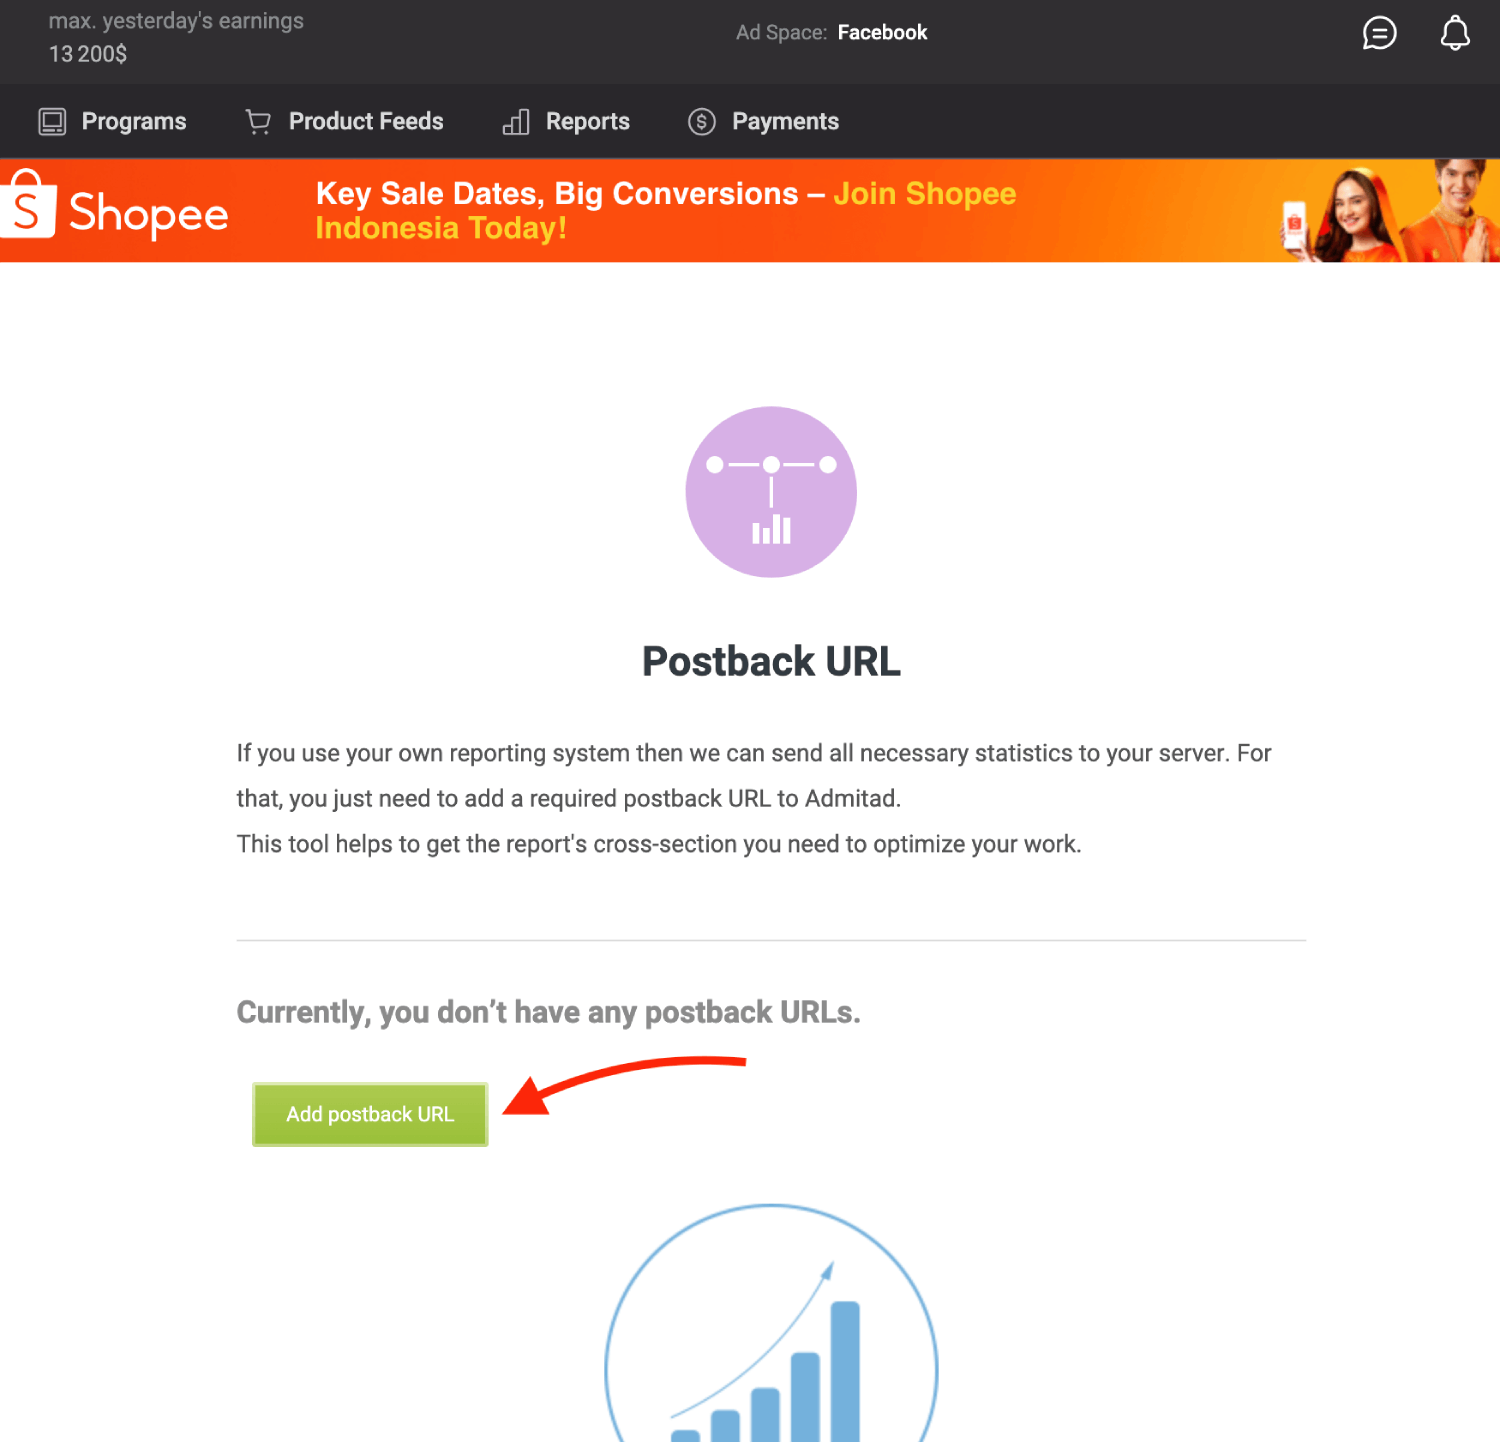
4. Thick all the events that you want to track and paste your **Postback URL** into the **Link** field.
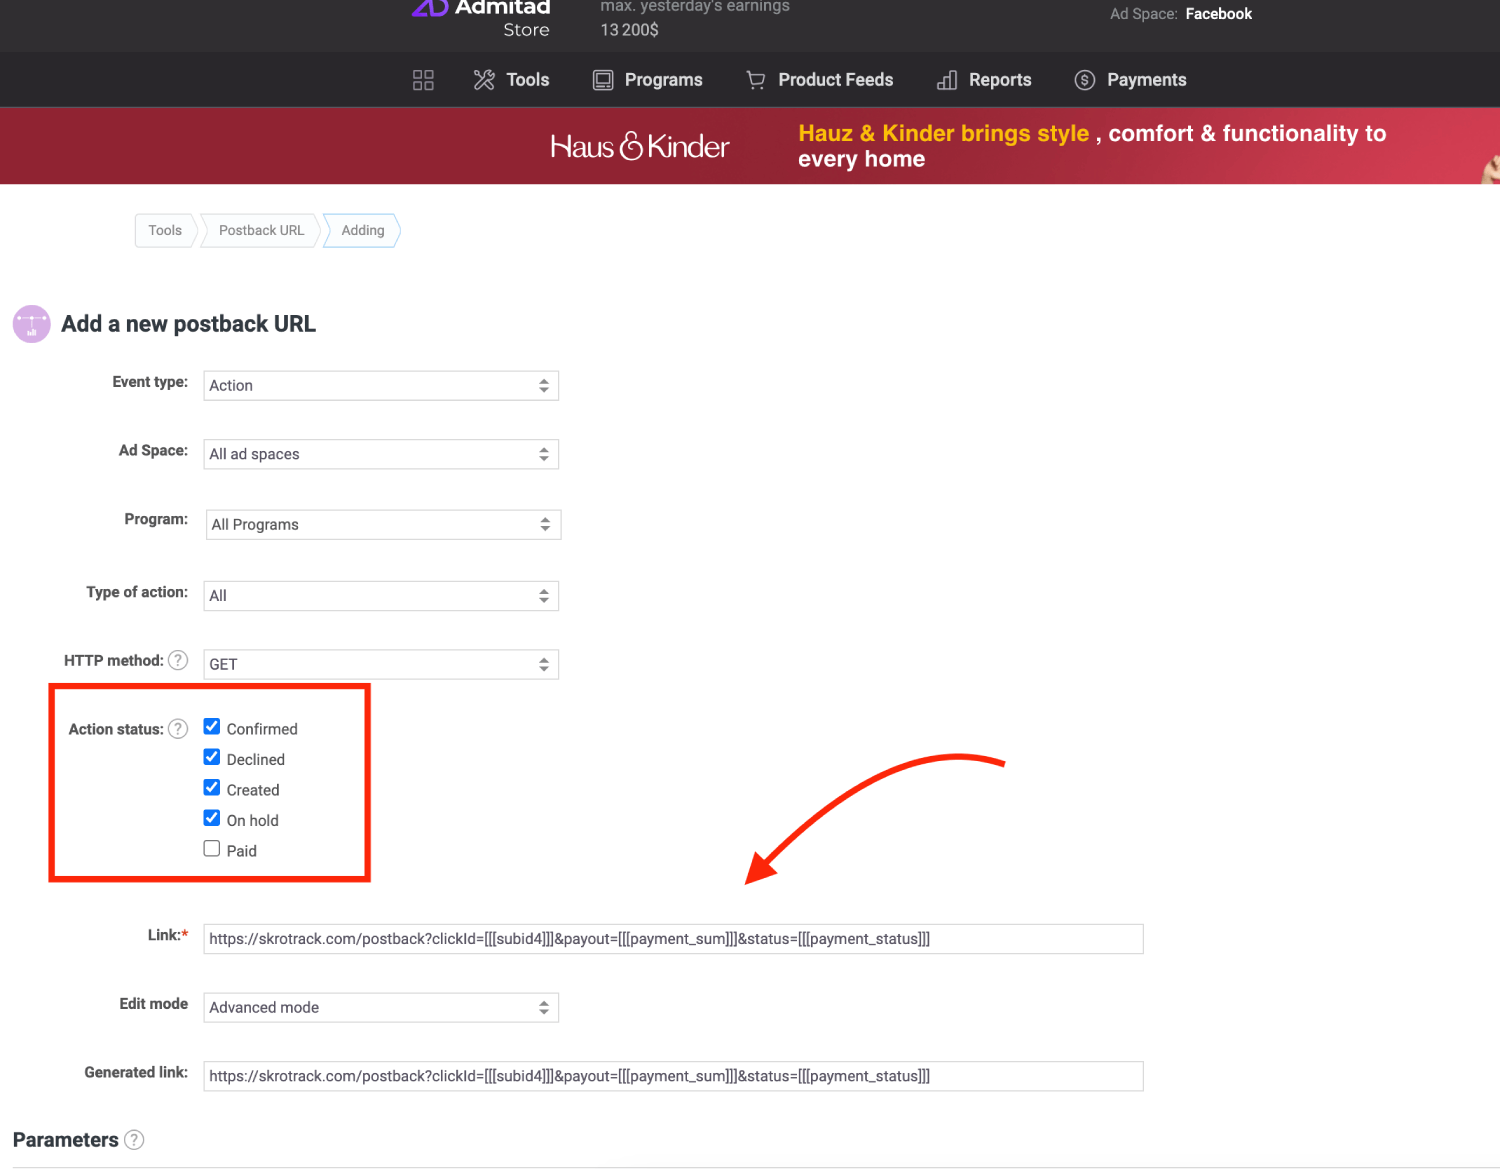
5. Scroll down and click **Save**.
**Global Postback**
```text
https://skrotrack.com/postback?clickId=[[[subid4]]]&payout=[[[payment_sum]]]&status=[[[payment_status]]]&transactionId=OPTIONAL
```
## Step 3. Get an offer from Admitad [#step-3-get-an-offer-from-admitad]
1. Go to **Programs** → **All affiliate programs**.
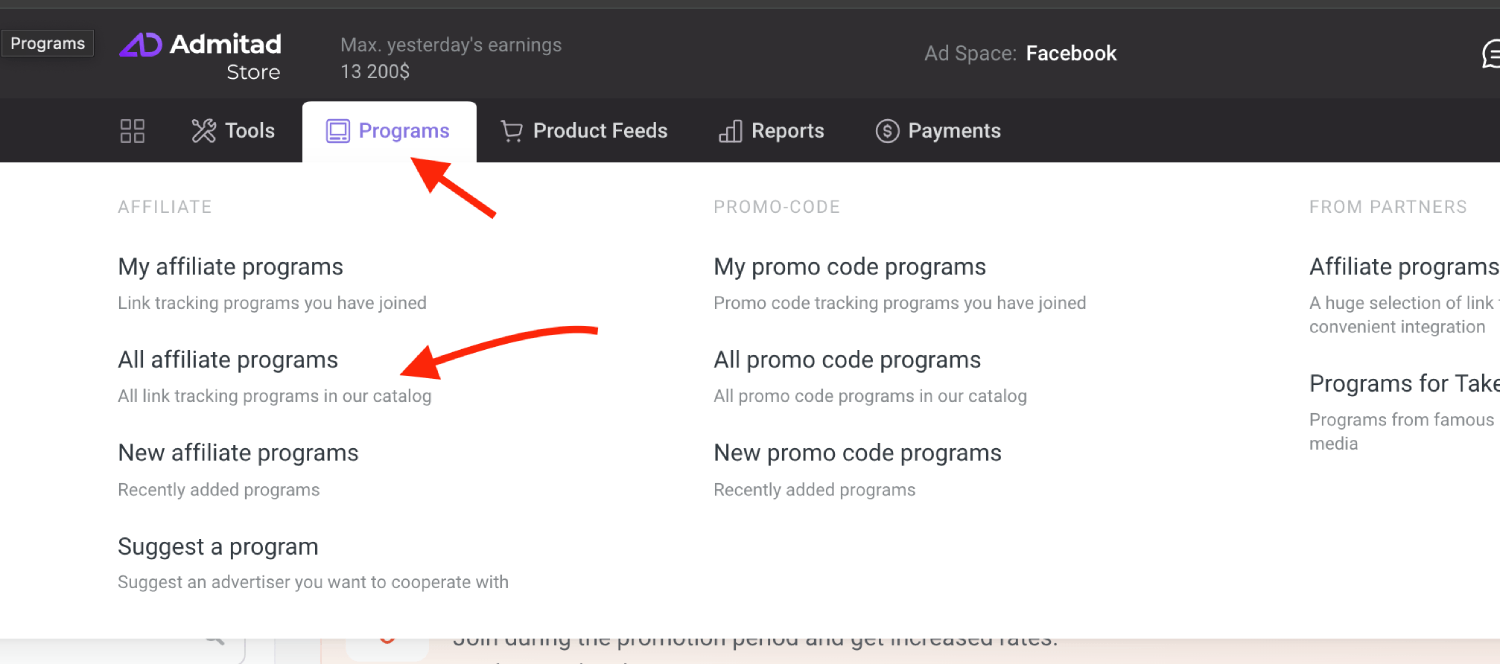
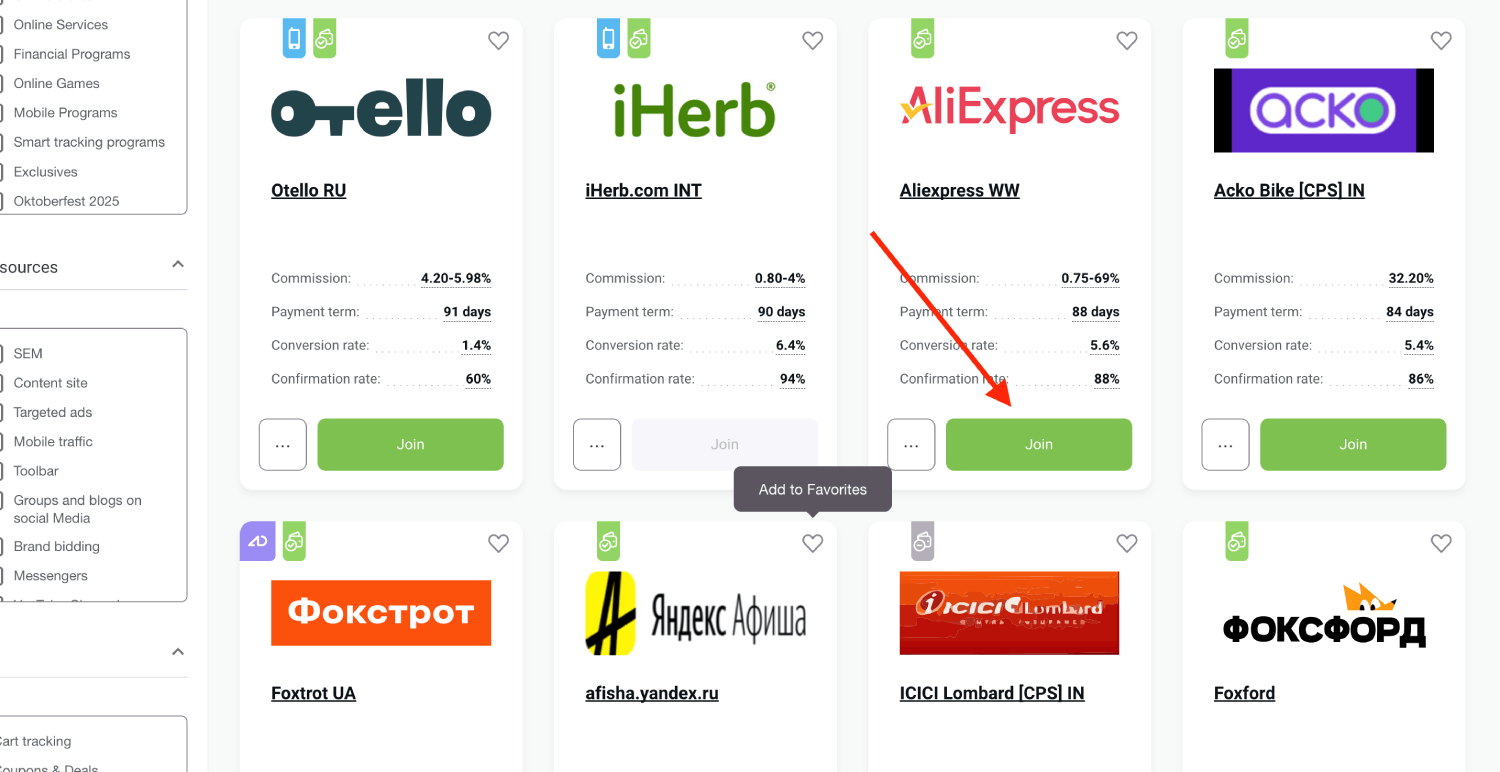
2. Select your offer from the list and click **Join**.
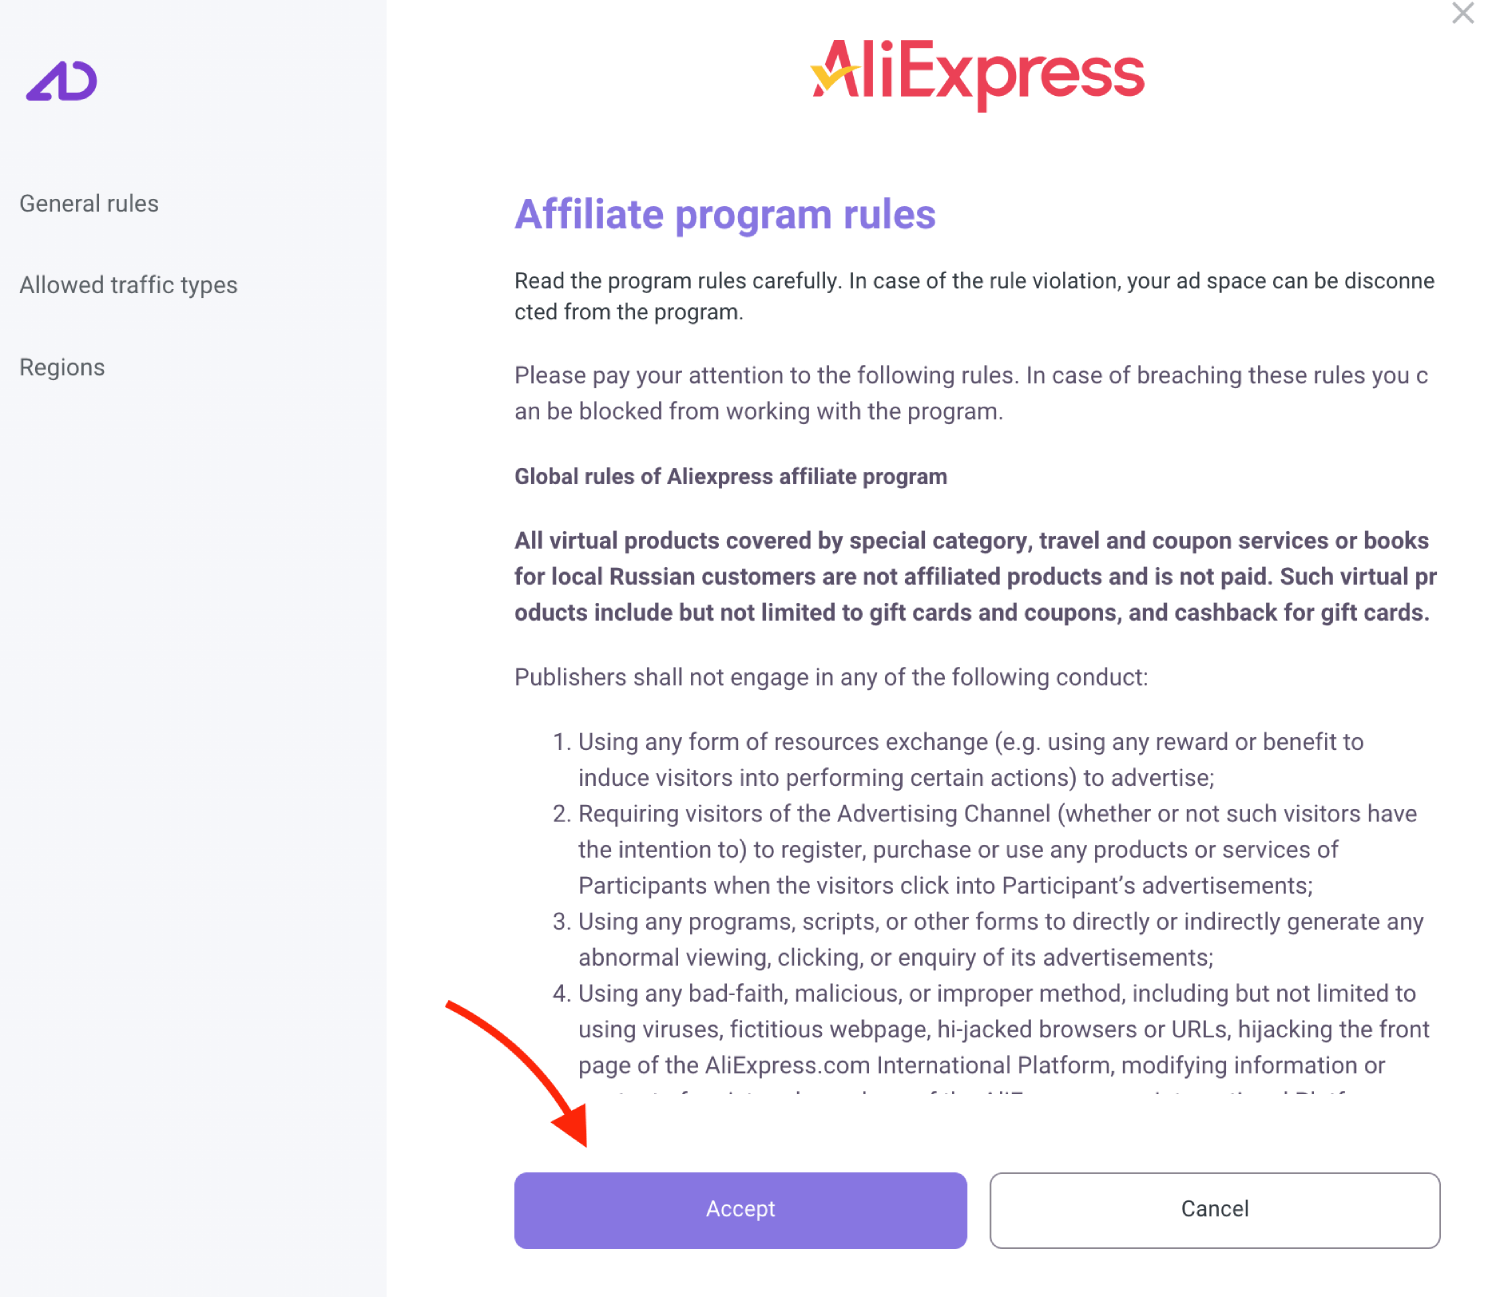
3. Read the rules and click **Accept**.
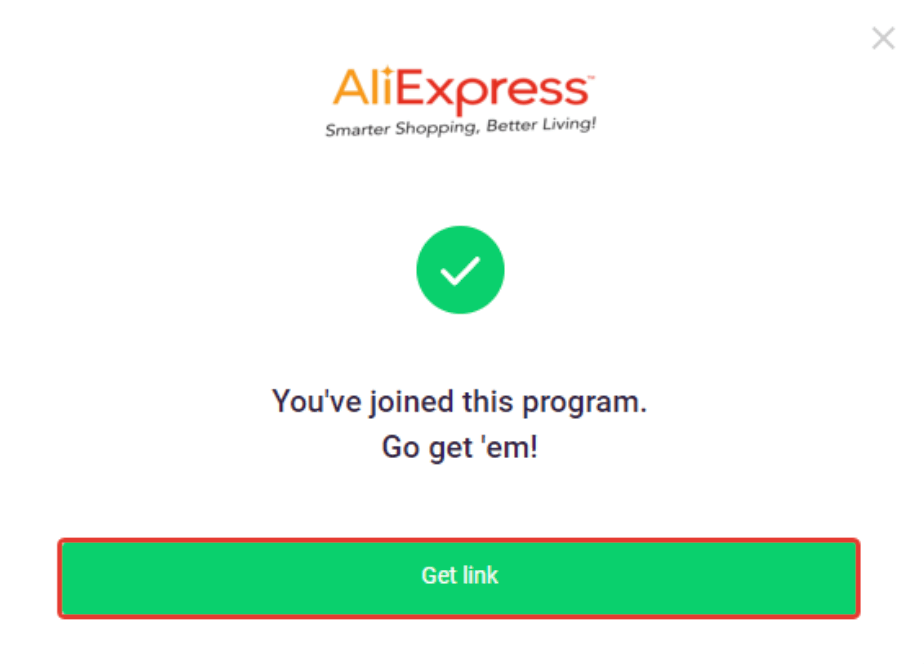
4. Once your request has been approved you can click **Get link**.
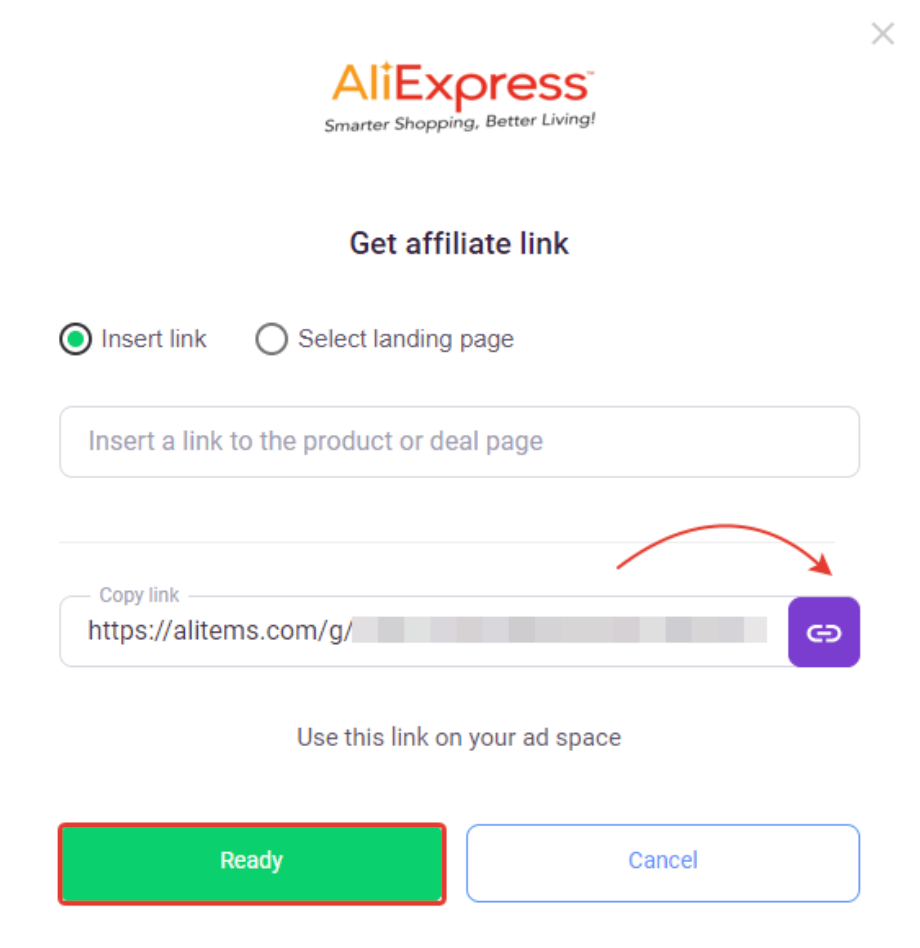
4. Copy your **Offer link** to clipboard and click **Ready**.
## Step 4. Add offer to Skro [#step-4-add-offer-to-skro]
1. Go back to Skro and navigate to the **Offers** and click **Create**.
2. Choose your workspace.
3. Give a name to your offer.
4. Grab the offer link from Admitad and add it to Offer URL field and change the macros to this **`&subid4={clickId}`**
**`{clickId}`** - The Skro click ID macro for conversion tracking.
**Example Offer URL:**
`https://alitems.com/g/78dysa7d8asy7dsa8y8das?subid4={clickId}`
5. Choose Admitad from the **Affiliate Network** select box.
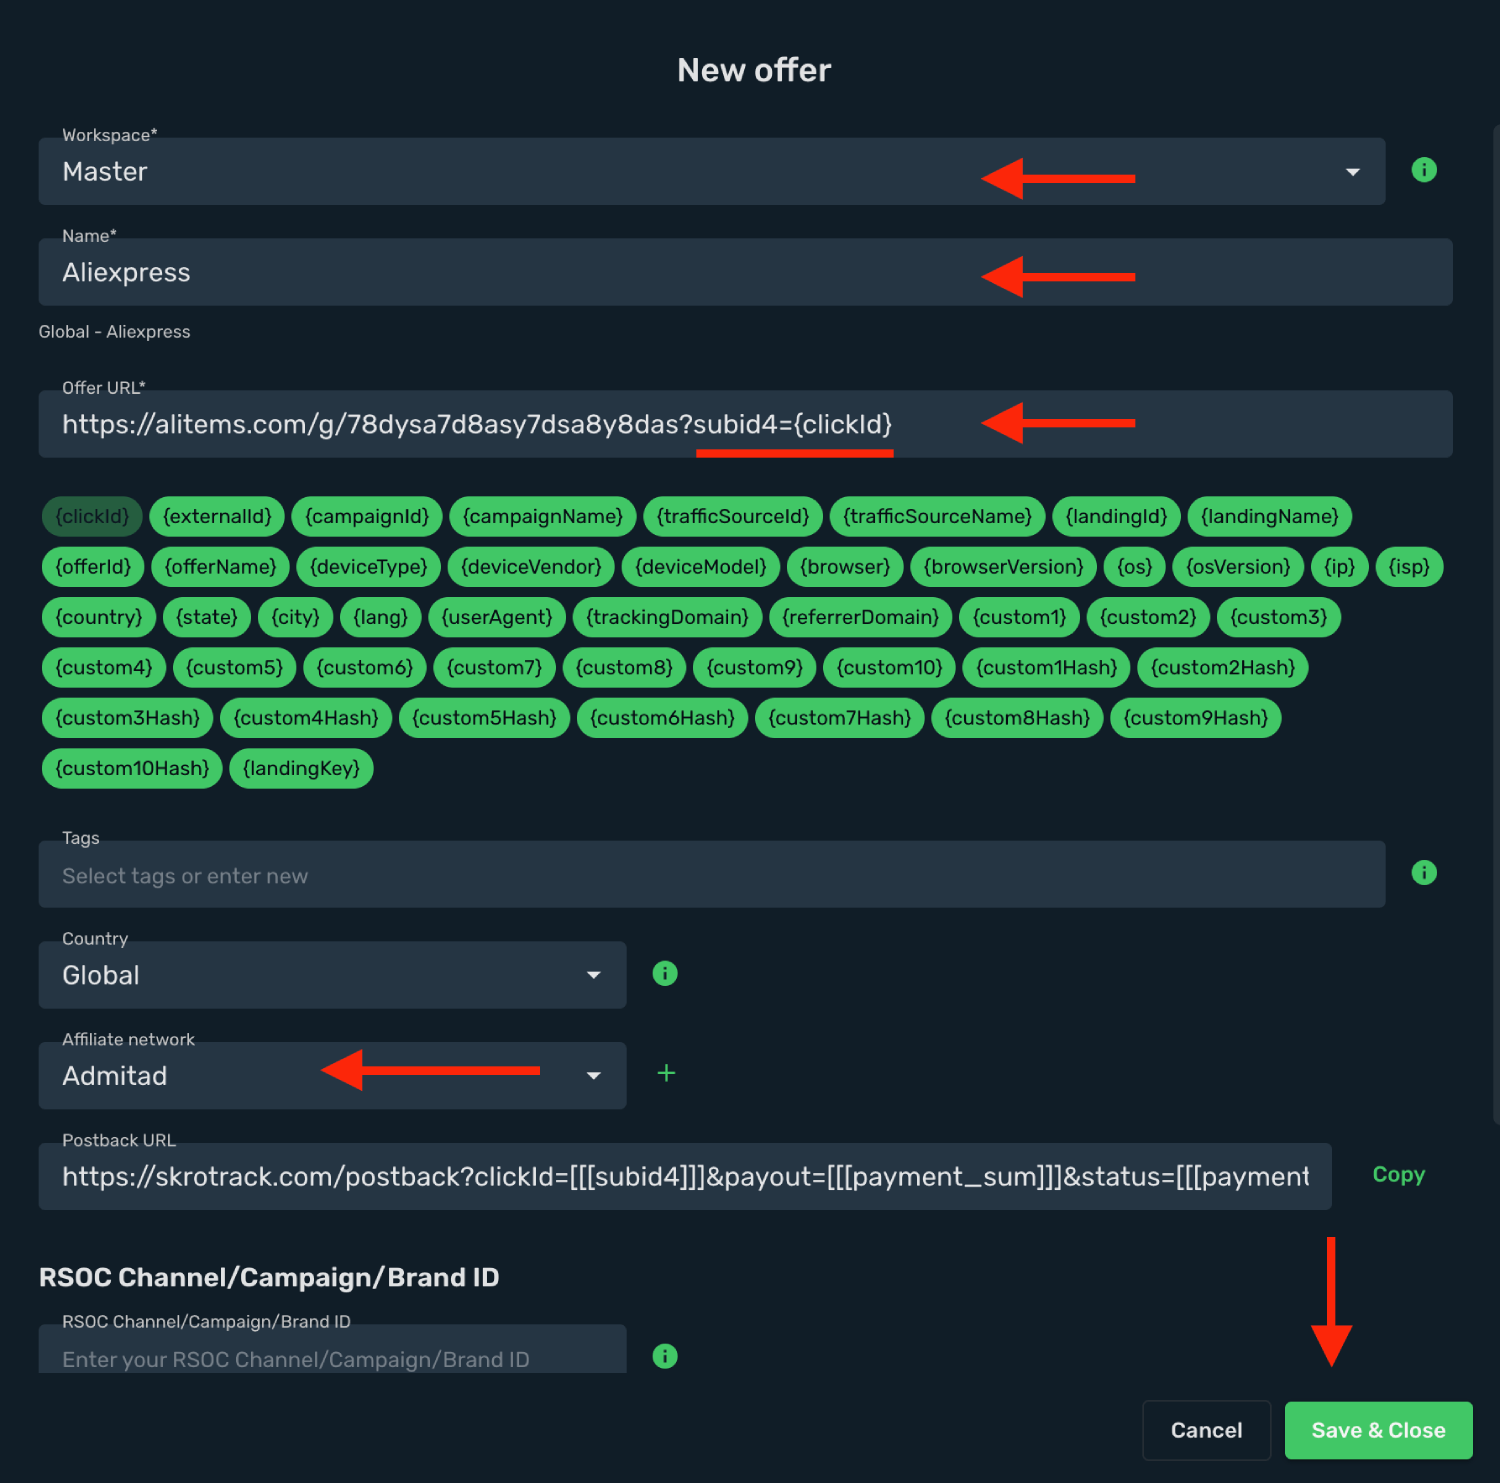
6. Click **Save & Close**.
## Step 5. Create a campaign on Skro [#step-5-create-a-campaign-on-skro]
1. Start with the following guide:
## Verify the setup [#verify-the-setup]
Follow a campaign link and complete a test conversion using your provider’s test workflow. Confirm that the original click ID reaches the provider and is returned to Skro, then check the event and revenue in your campaign report.
If data is missing, check the selected workspace, integration, campaign, and reporting date range. Compare parameter names and macro values with the examples in this guide before repeating the test.
## Related guides [#related-guides]
# AdOperator integration
Source: https://skro.eu/docs/integrations/adoperator-and-skro-integration
Set up AdOperator tracking in Skro, configure traffic source parameters, and connect your advertising campaigns.
## Step 1. Create an AdOperator traffic source and configure the postback URL [#step-1-create-an-adoperator-traffic-source-and-configure-the-postback-url]
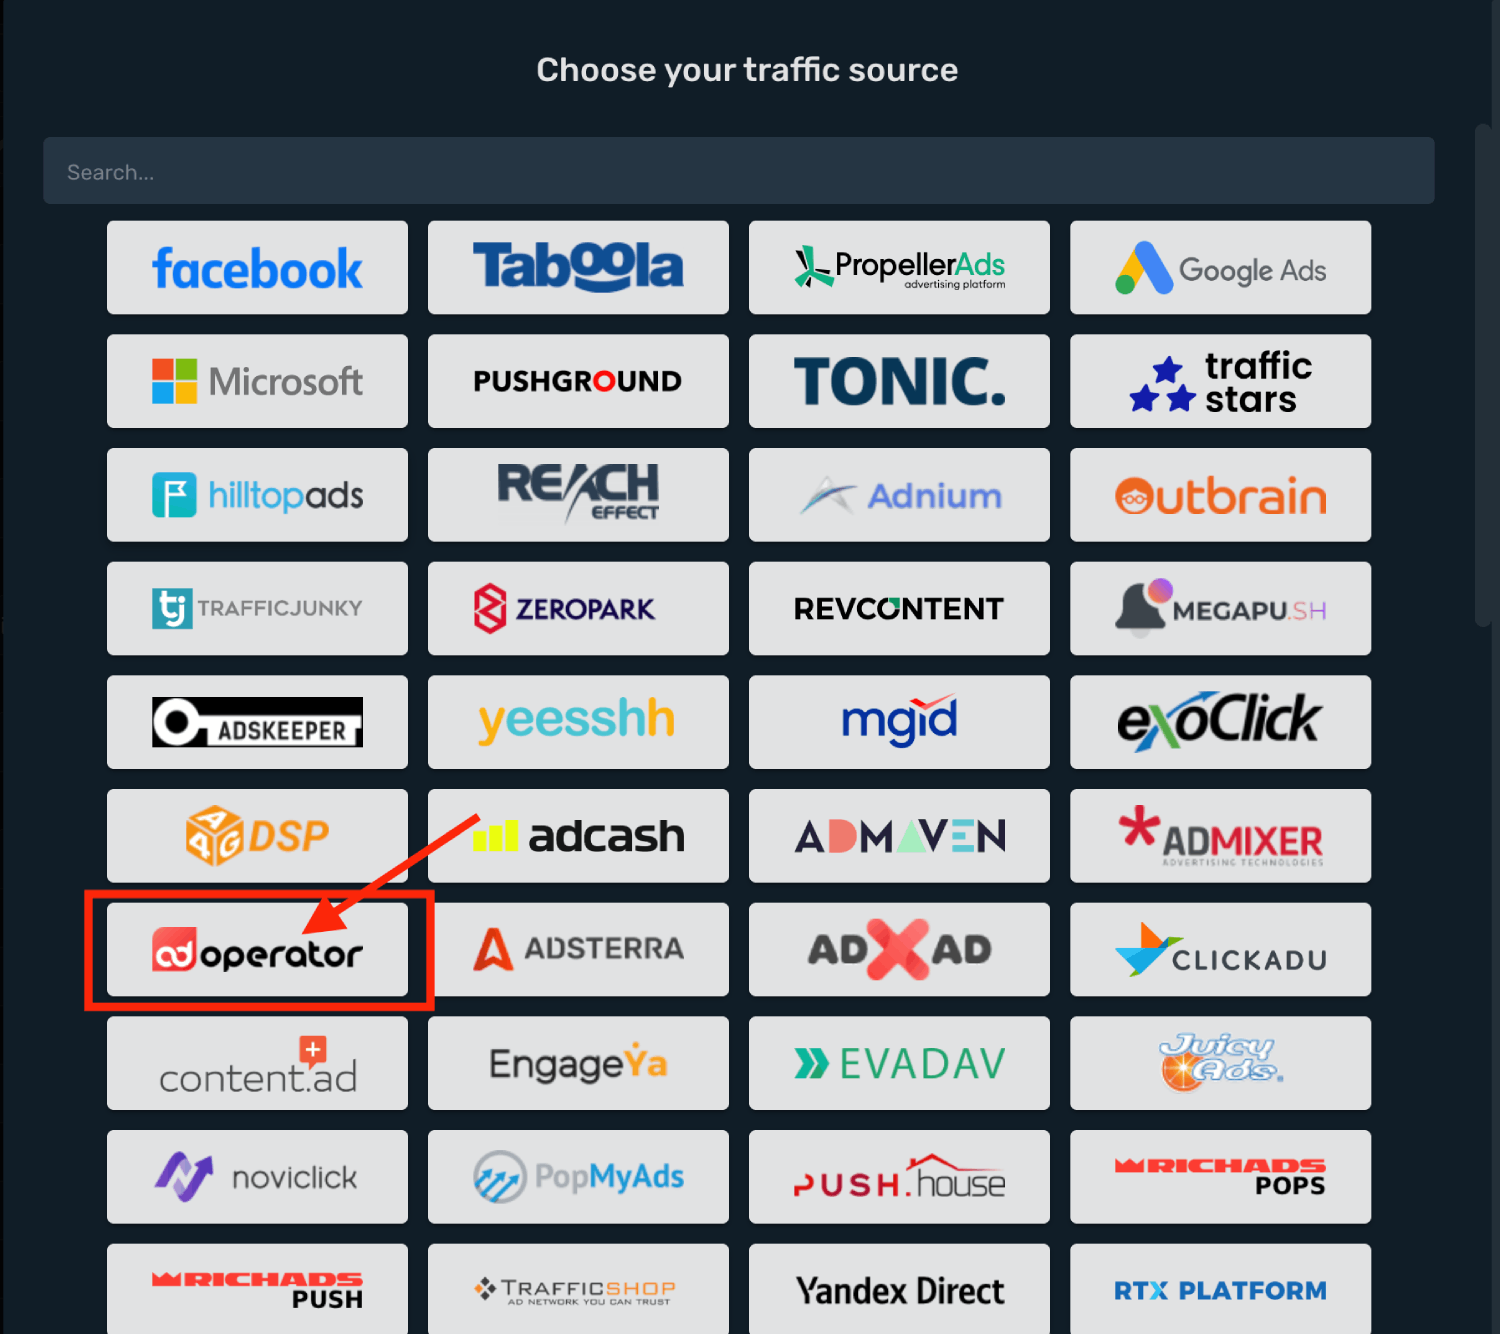
1. Go to **Traffic Sources** and click **+ Create**.
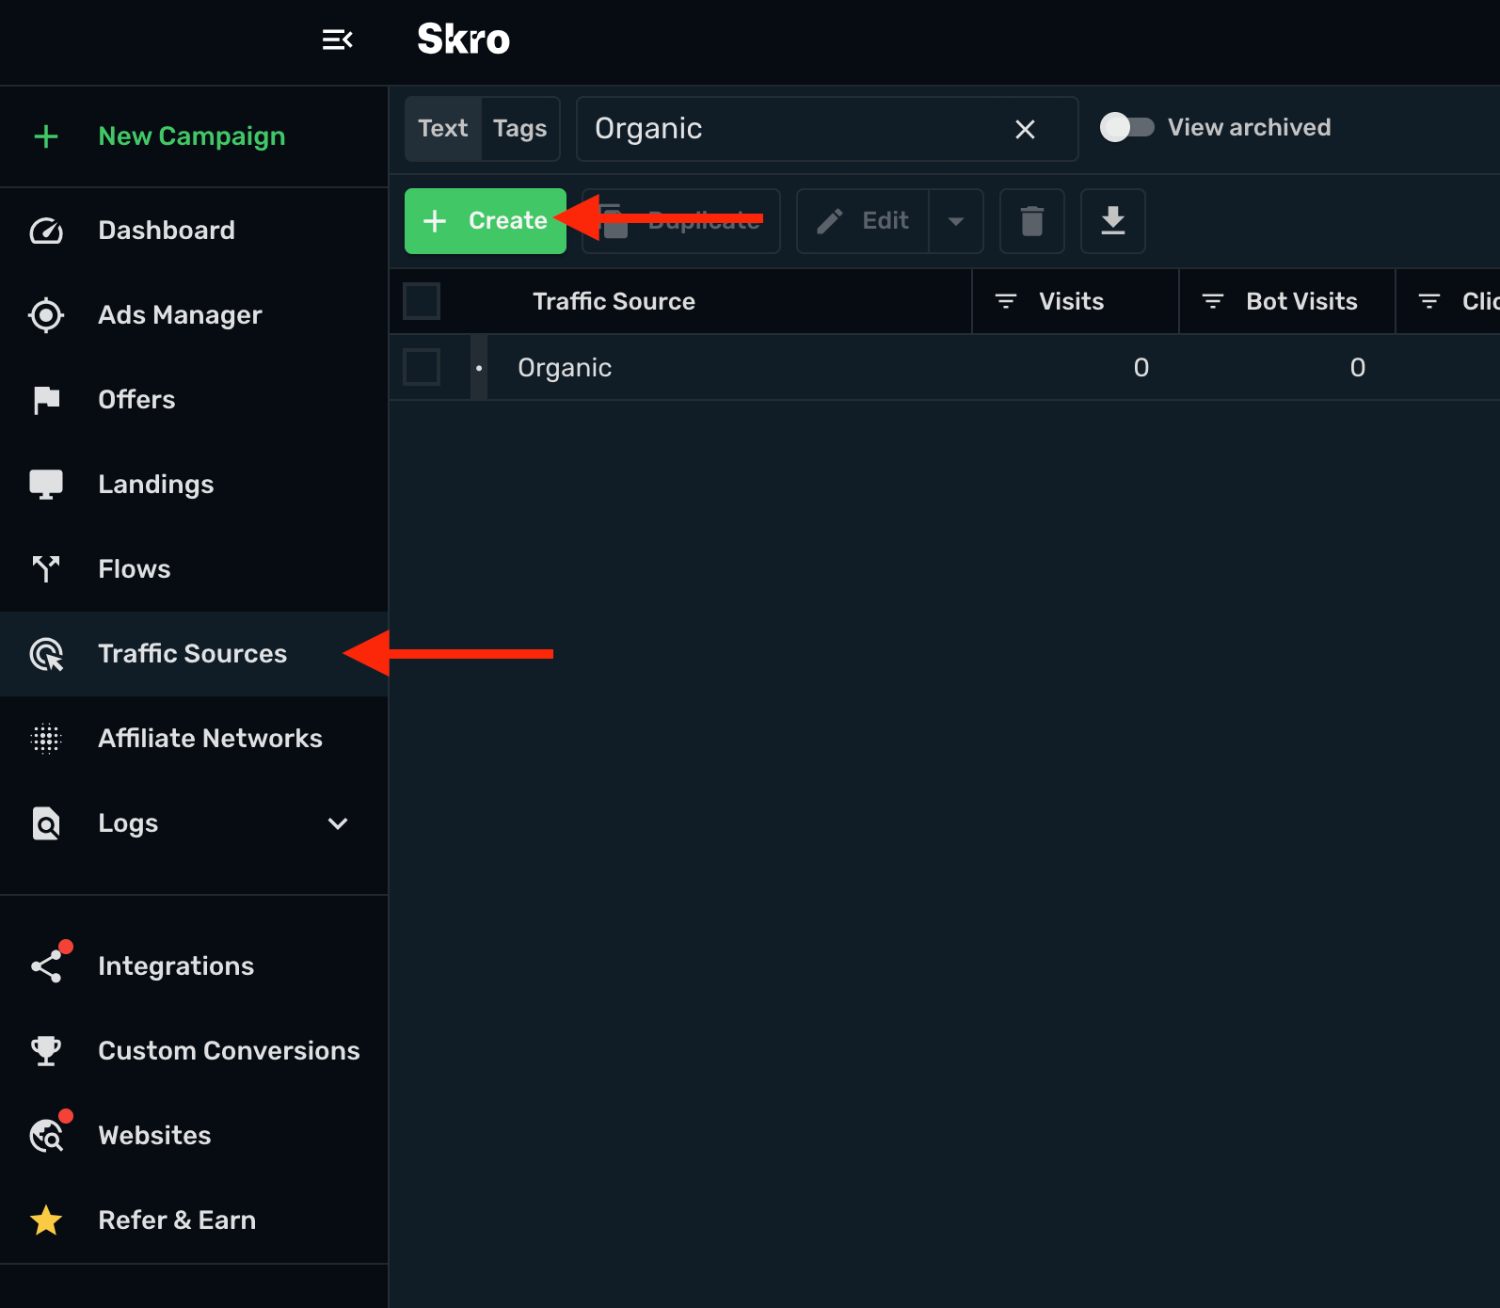
2. Search for **adoperator** and click the **AdOperator** template.
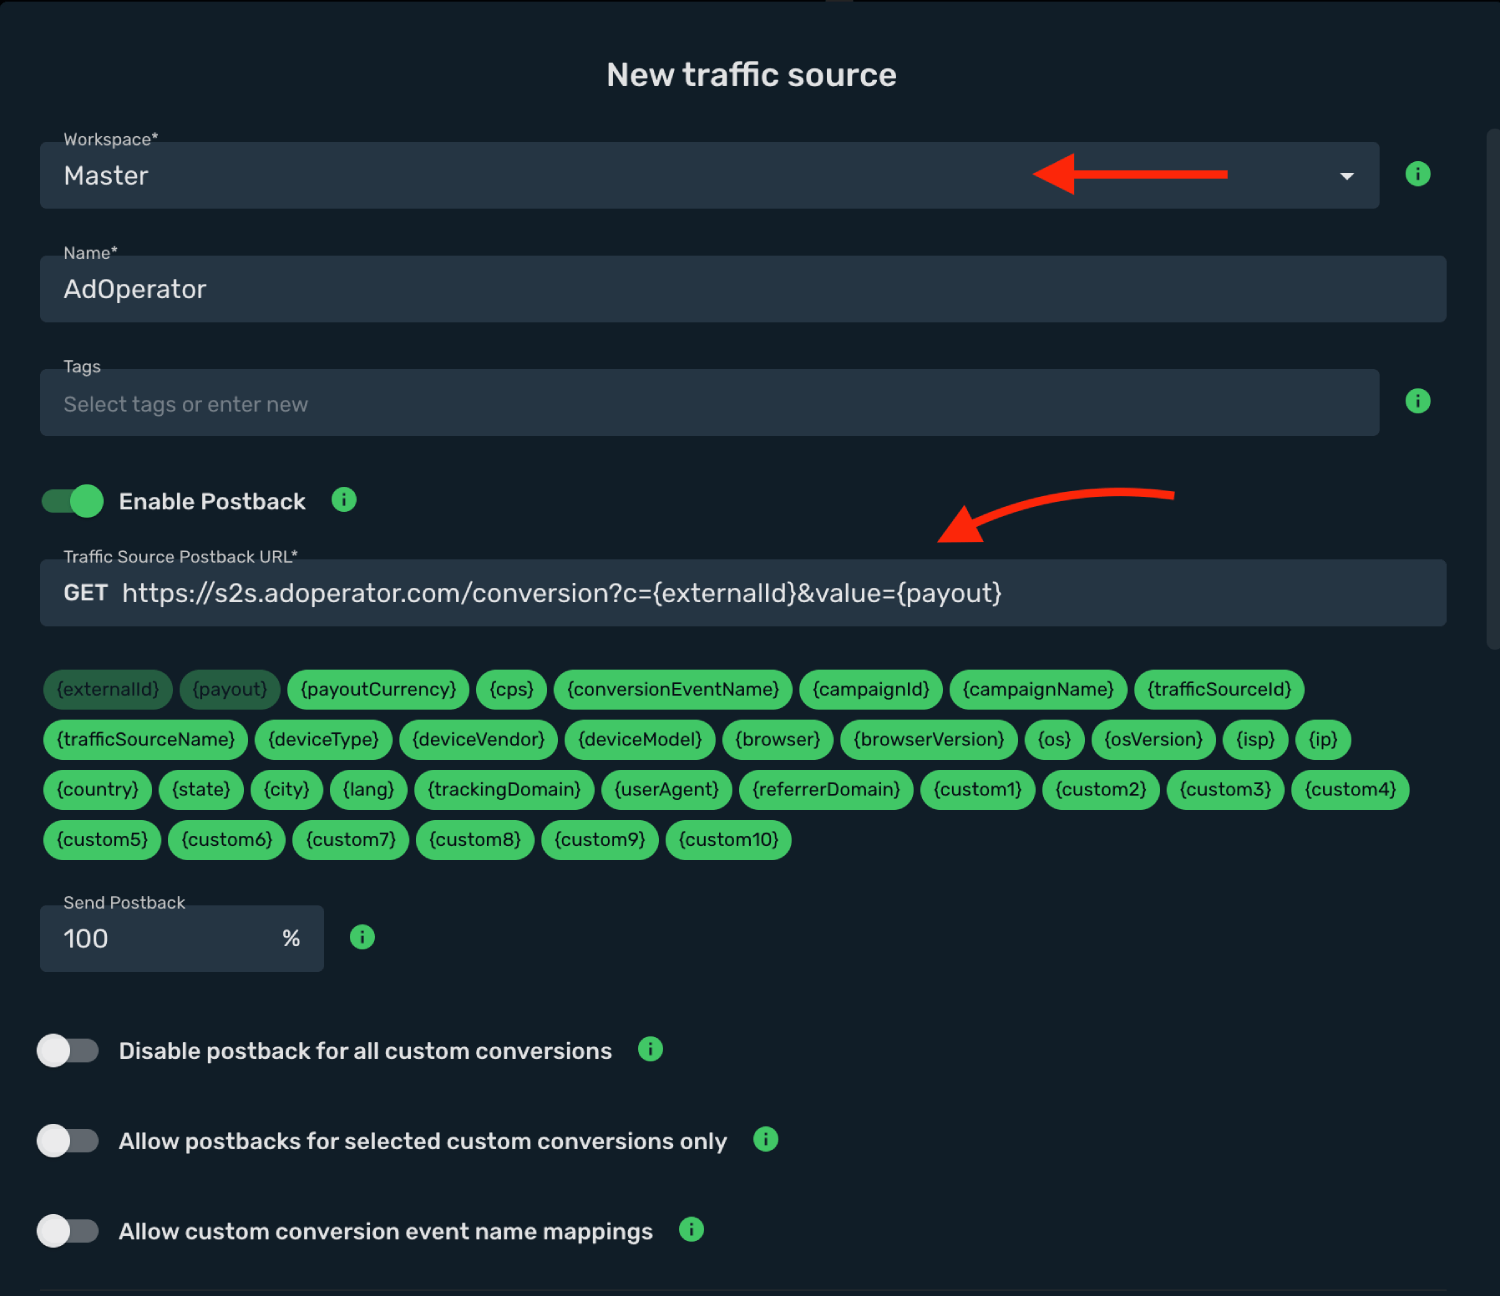
3. Select the target **Workspace**.
4. **Traffic Source Postback URL** is already prefilled for you but you can double-check it.
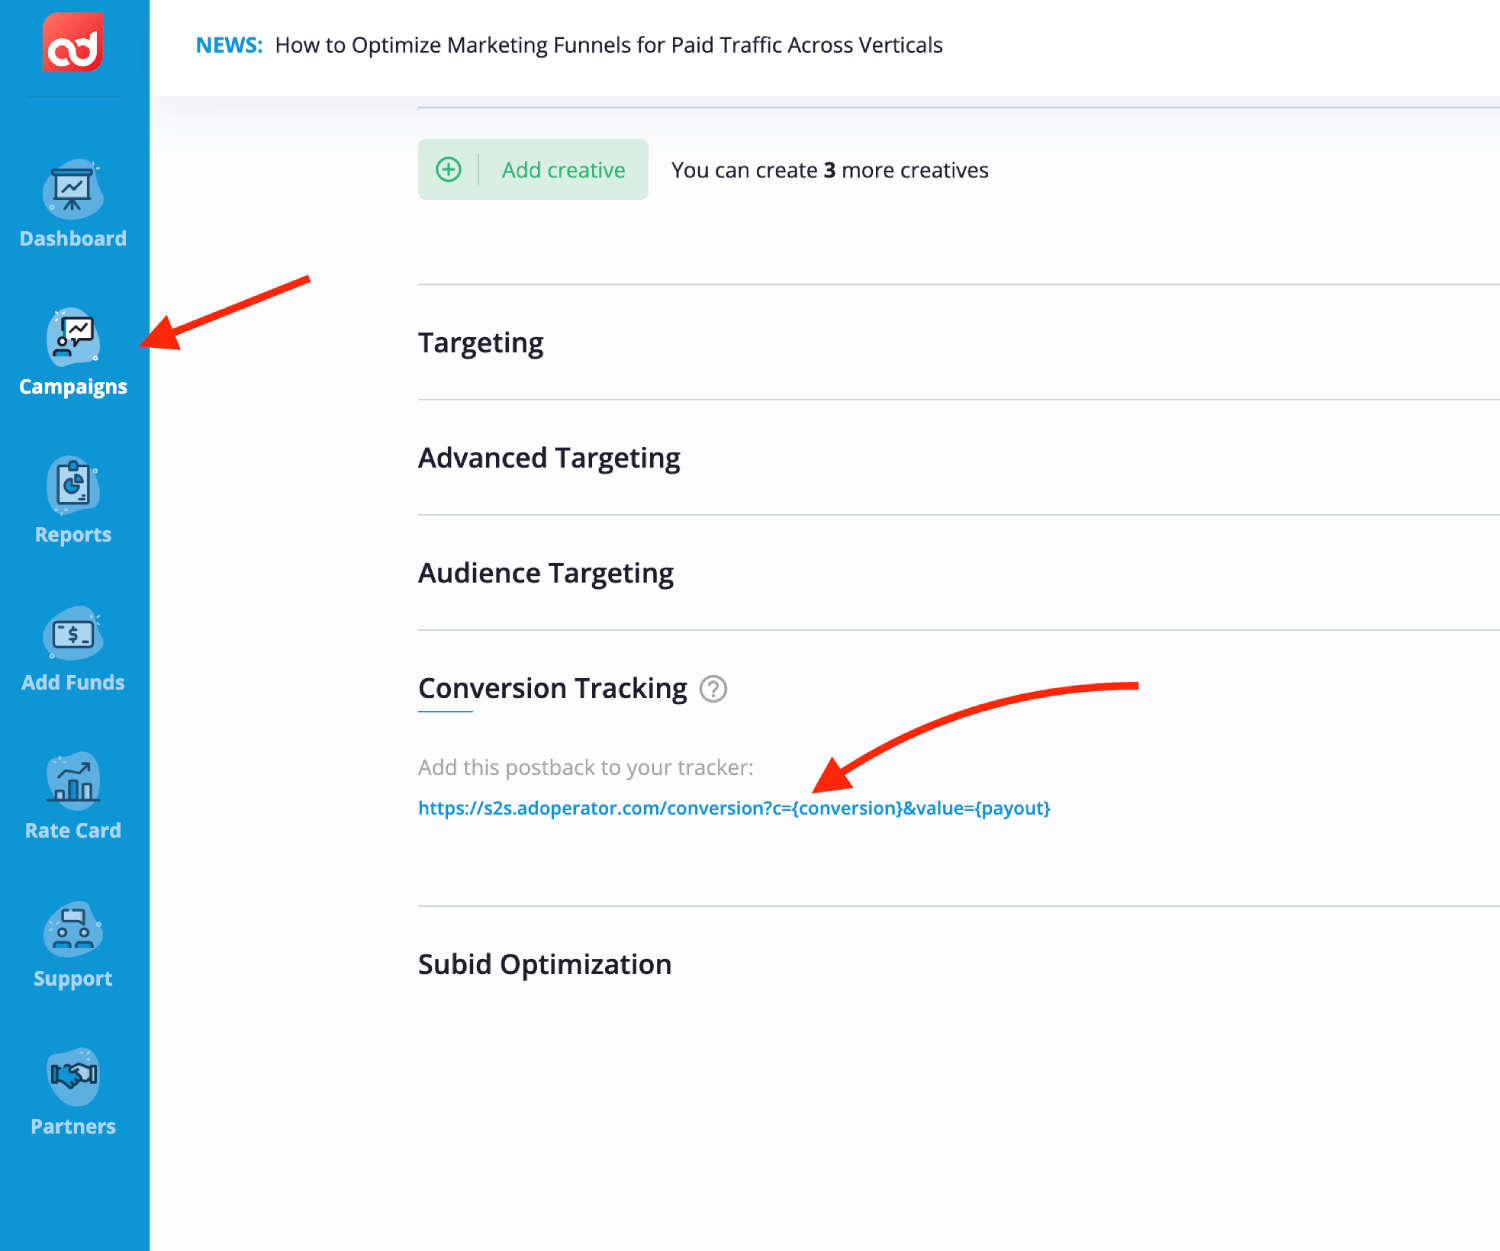
5. Log in to your **AdOperator** account.
6. Go to **Campaigns** → **Create Campaign** → **Conversion Tracking** section and you will see there your postback URL.
7. Final postback URL must look similar to this:
`https://s2s.adoperator.com/conversion?c={externalId}&value={payout}`
**`c={externalId}`** - AdOperator Click ID parameter with Skro macro.
**`value={payout}`** - AdOperator Payout parameter with Skro macro.
8. All tracking parameters are already prefilled for you.
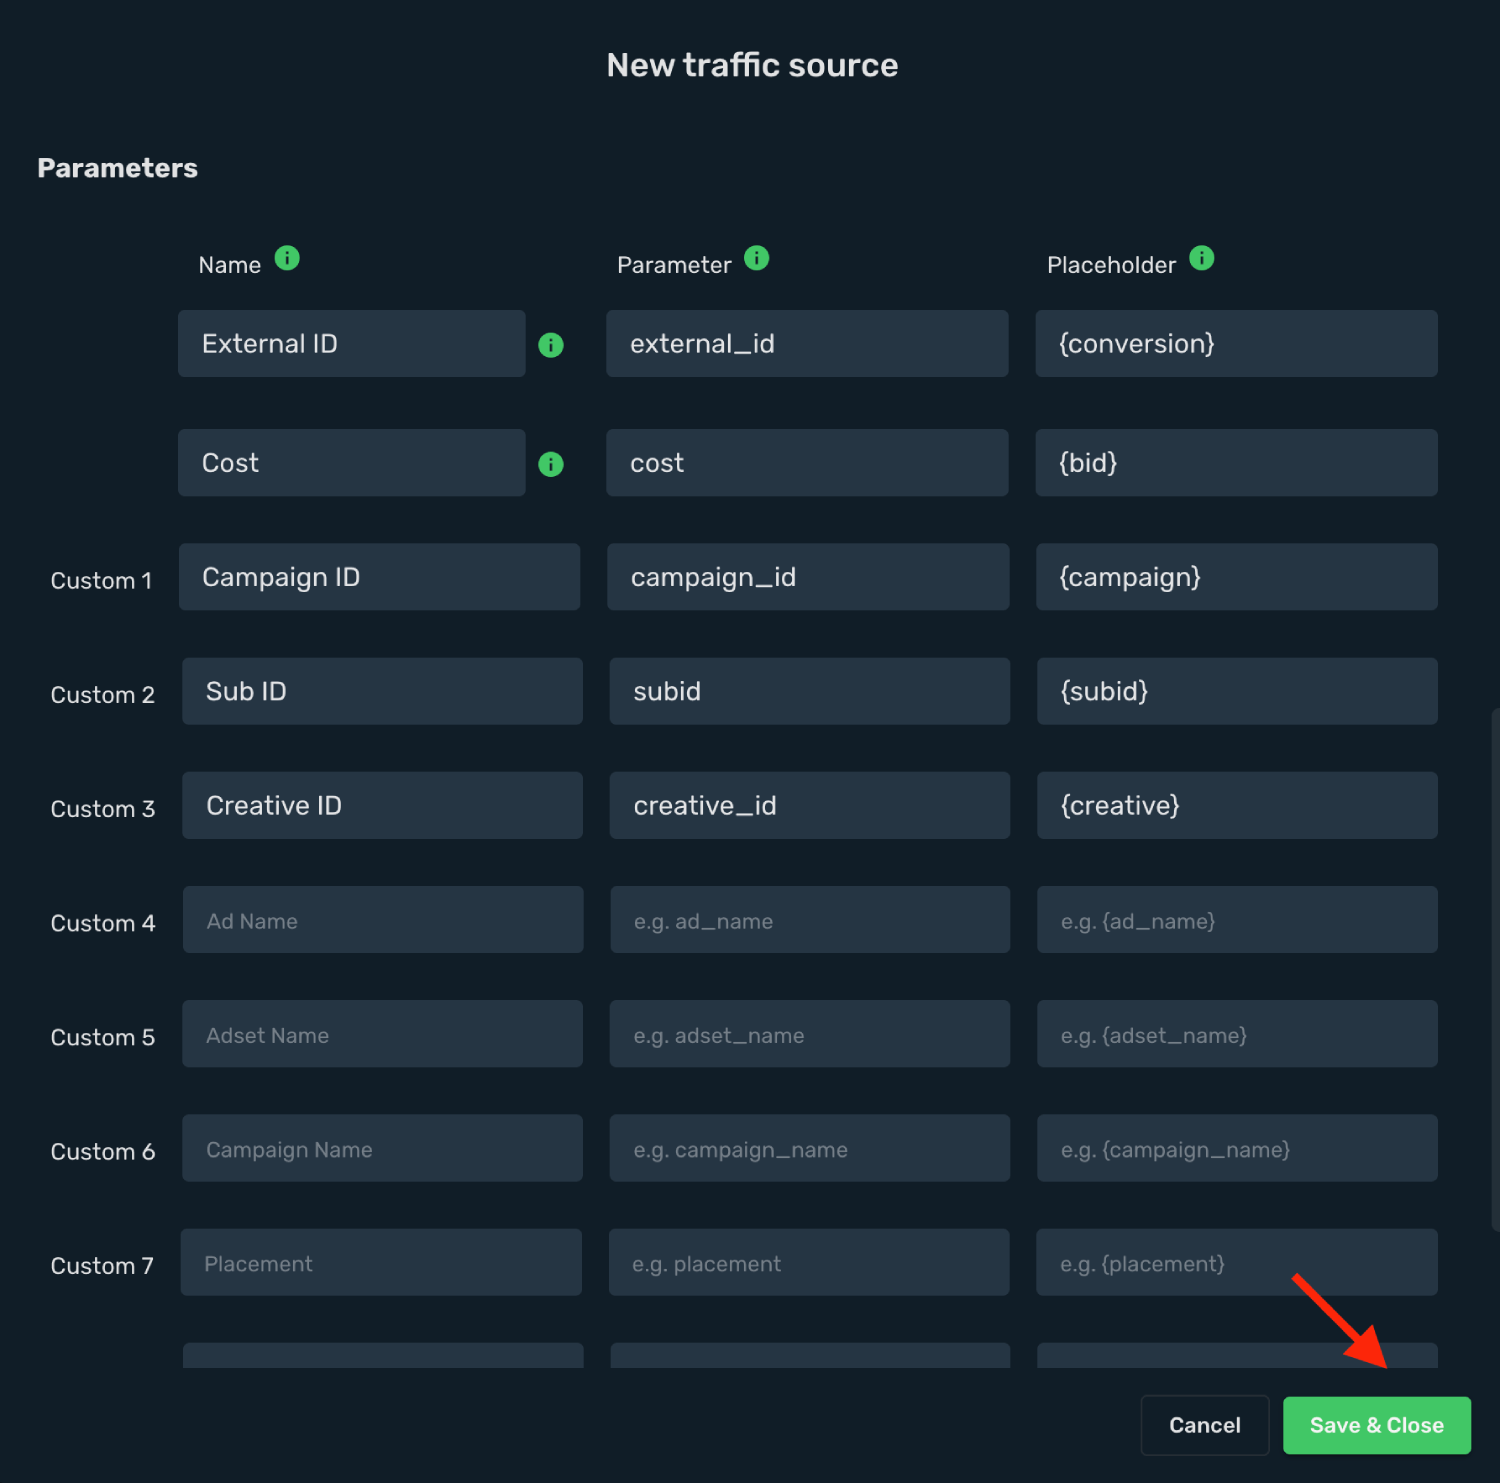
9. Click **Save & Close**.
Integration setup is complete, and you are now ready to create your first campaign.
## Step 2. Create a campaign in Skro [#step-2-create-a-campaign-in-skro]
1. Go to **Ads Manager** and click the **Create**.
2. Select your **Traffic source** and click **Next**.
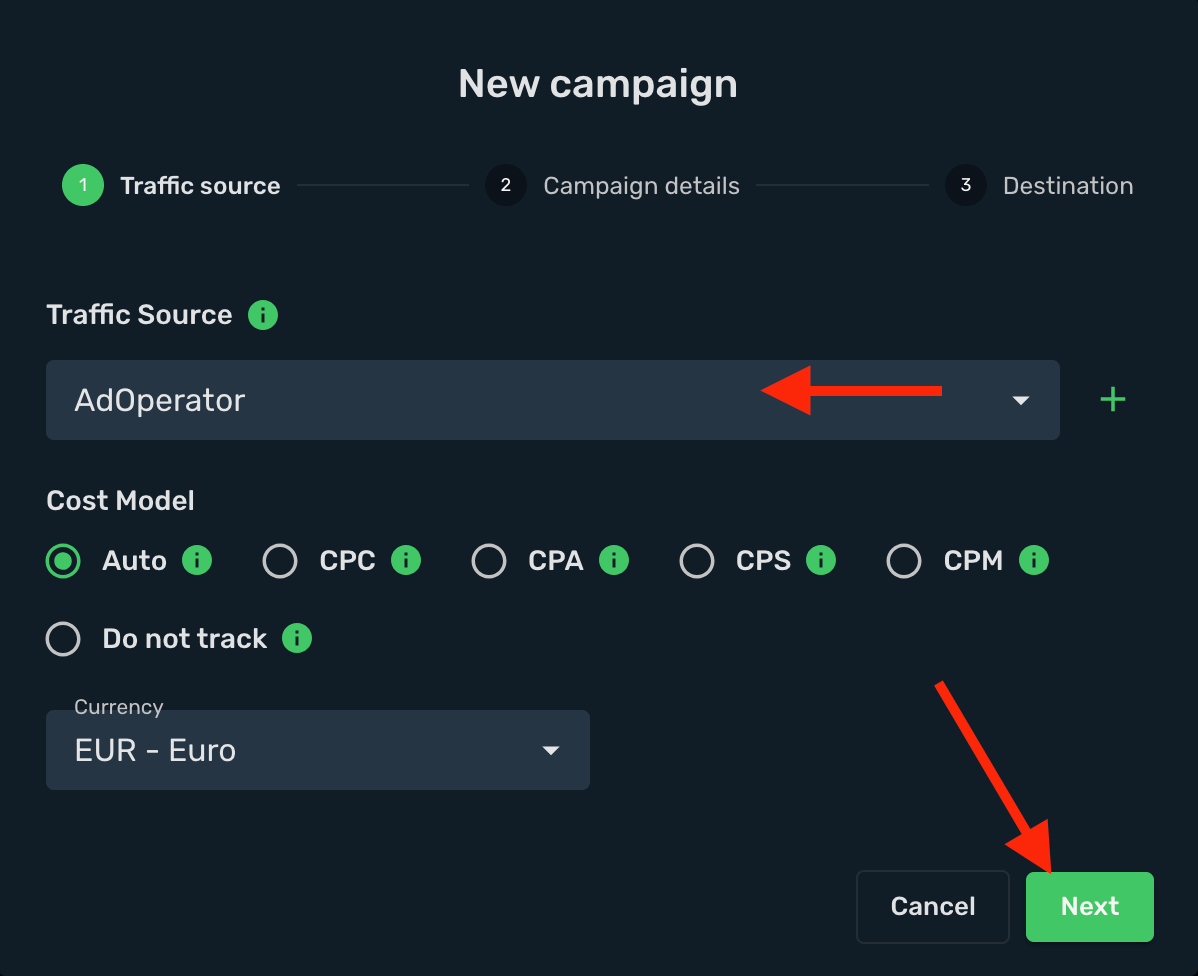
3. Select your target **Workspace** for your campaign.
4. Give a **name** to your campaign and click **Next**.
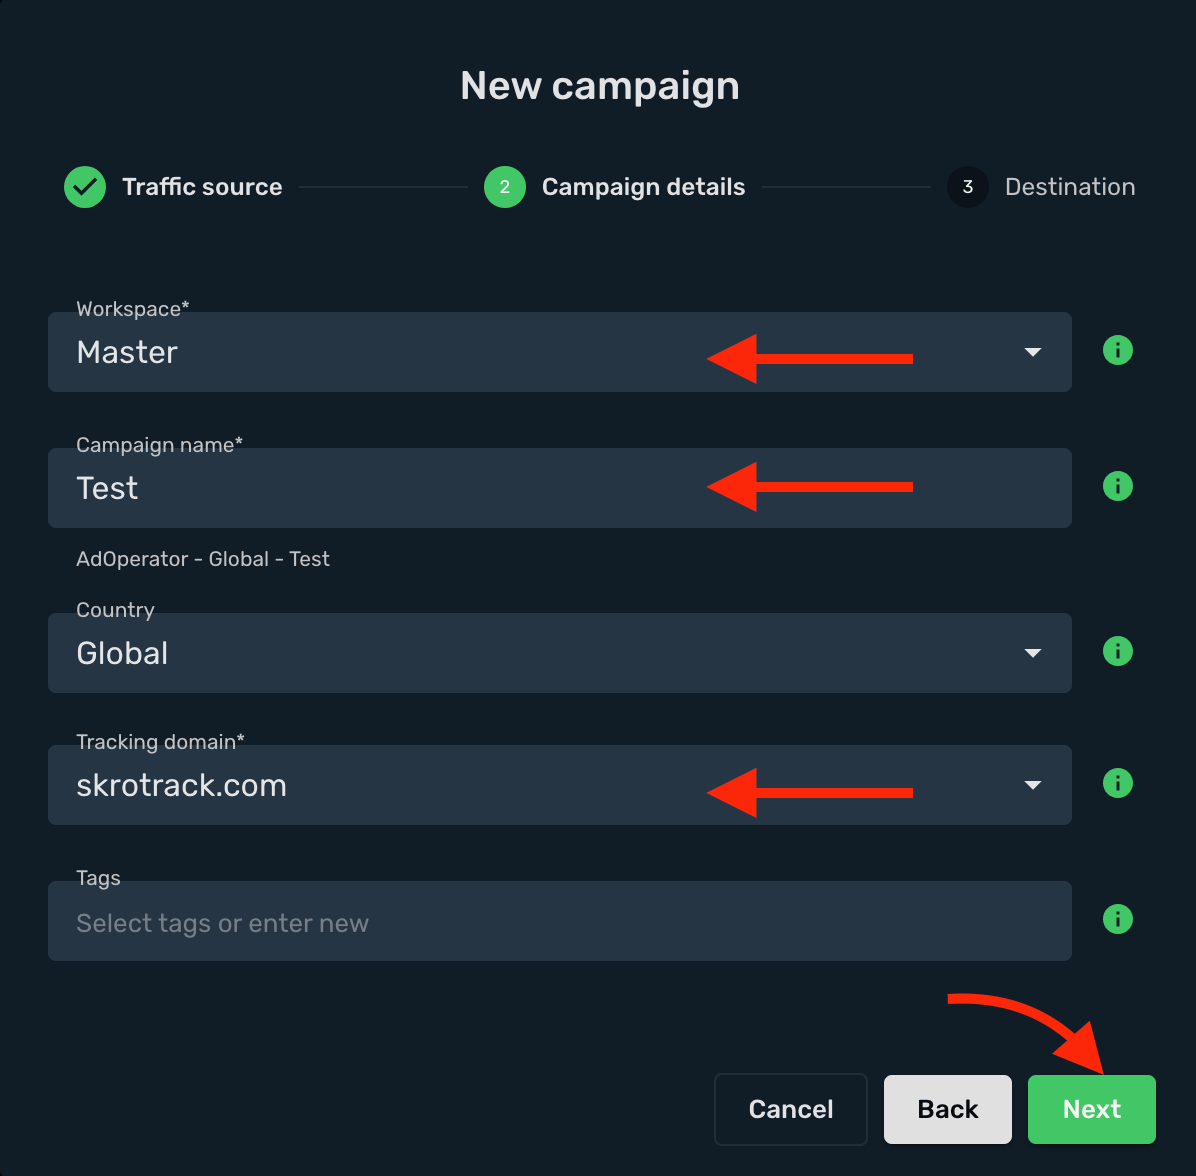
5. Select or create all your **landings** and **offers**.
6. Click **Save**.
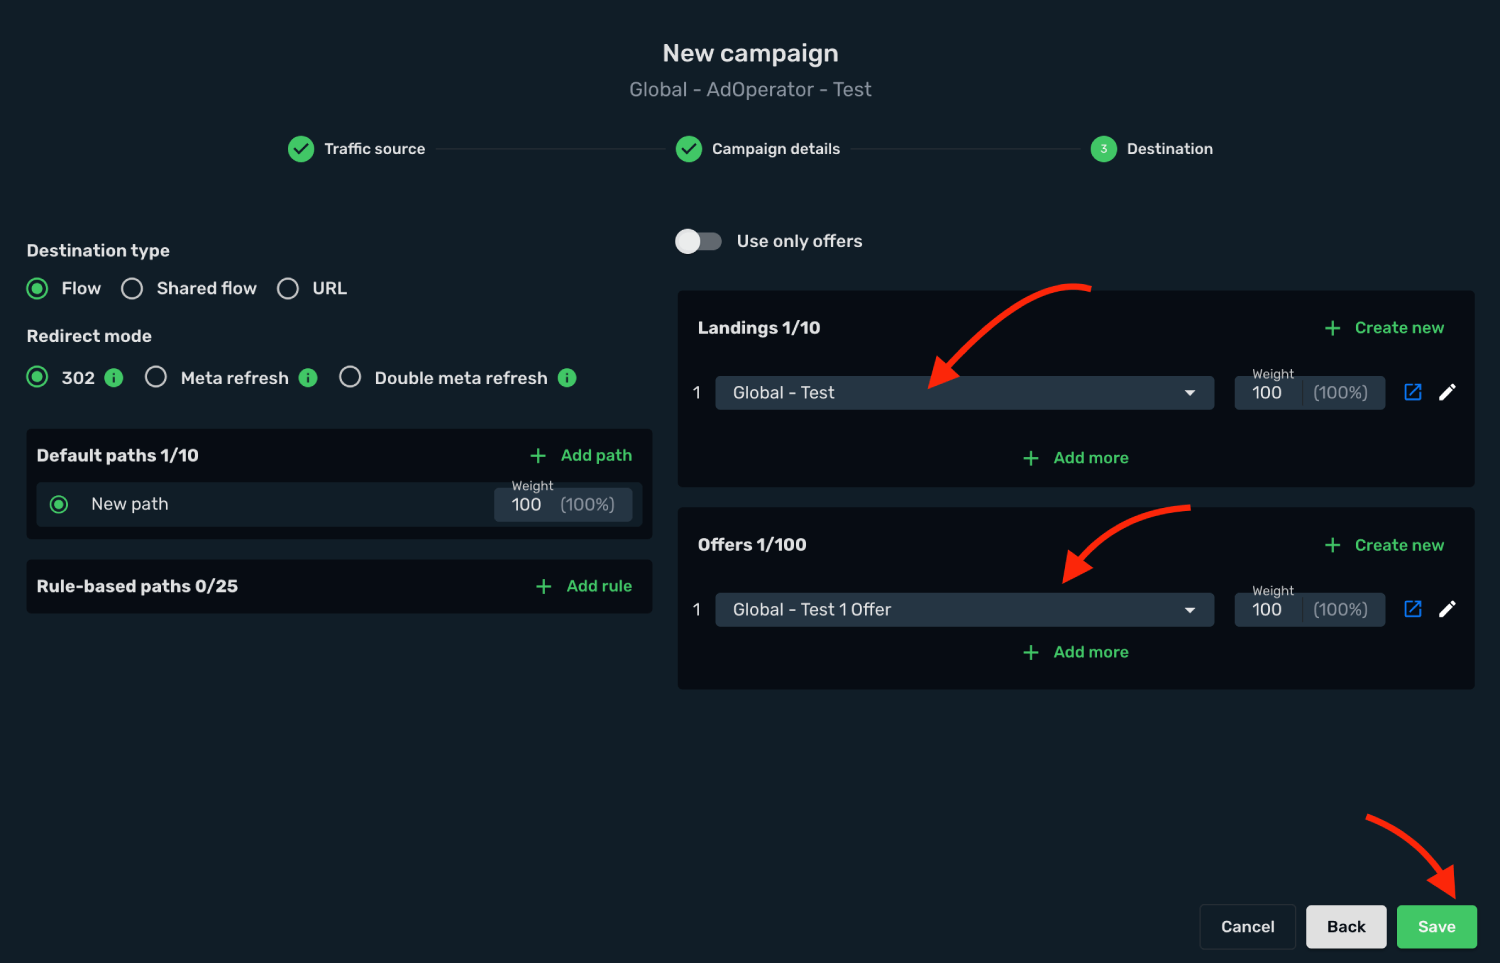
7. Copy the **Campaign Tracking URL** to clipboard.
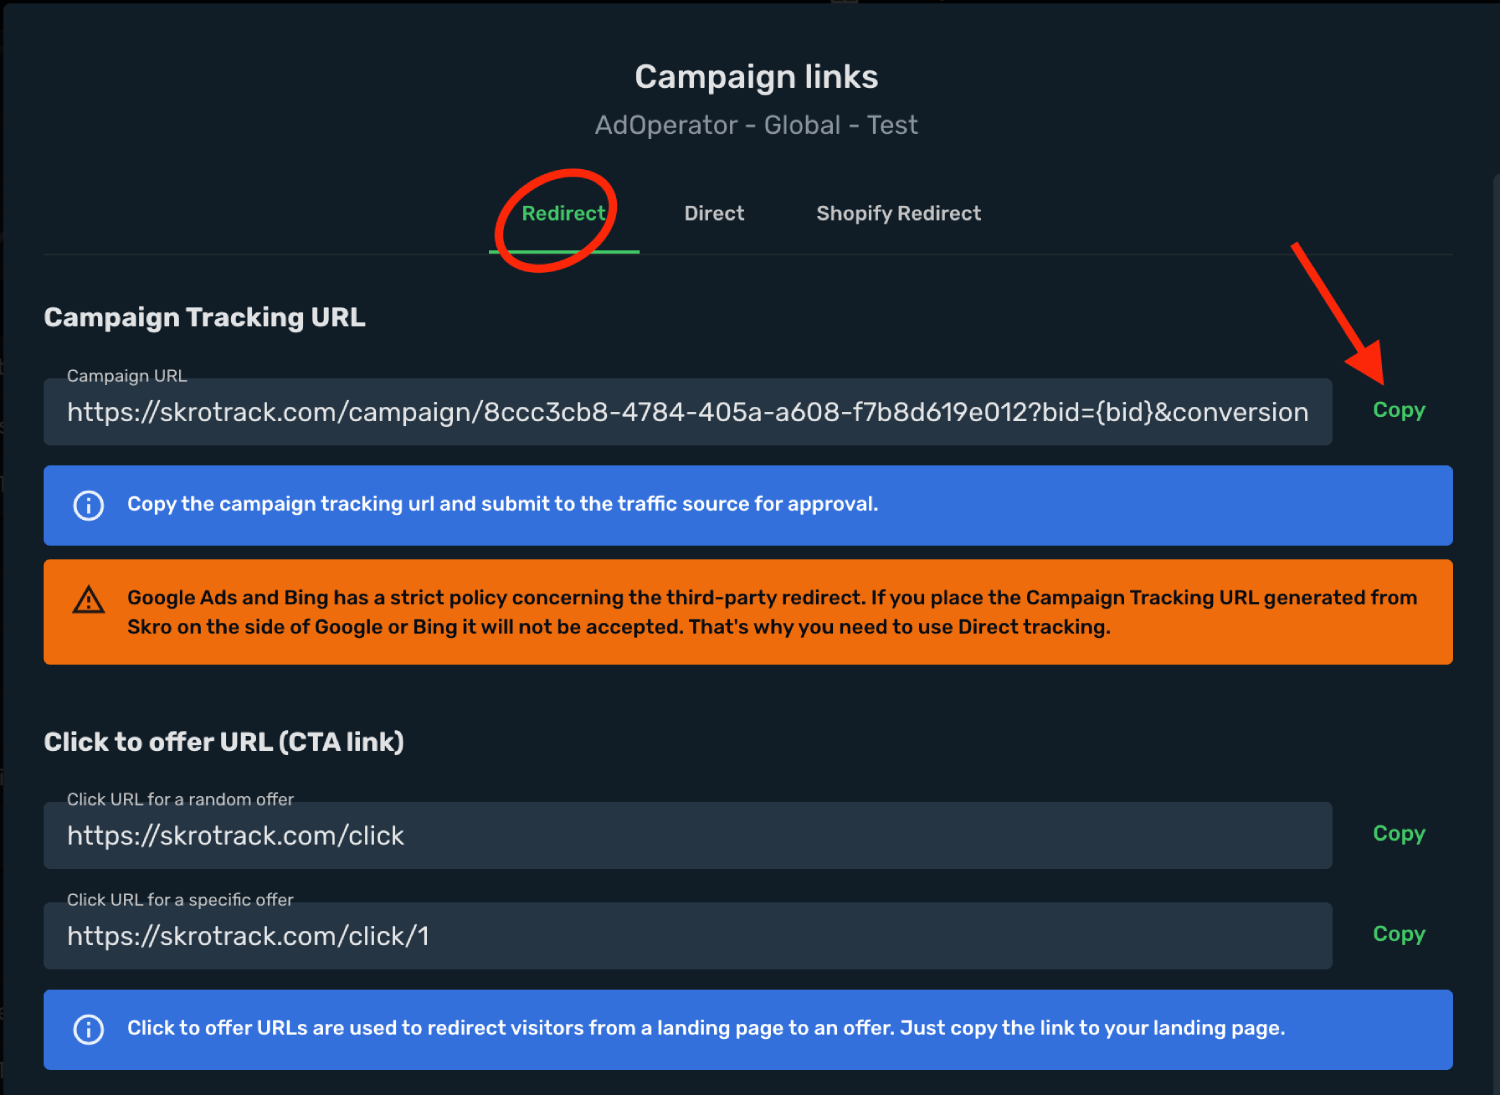
## Step 3. Create a campaign in AdOperator [#step-3-create-a-campaign-in-adoperator]
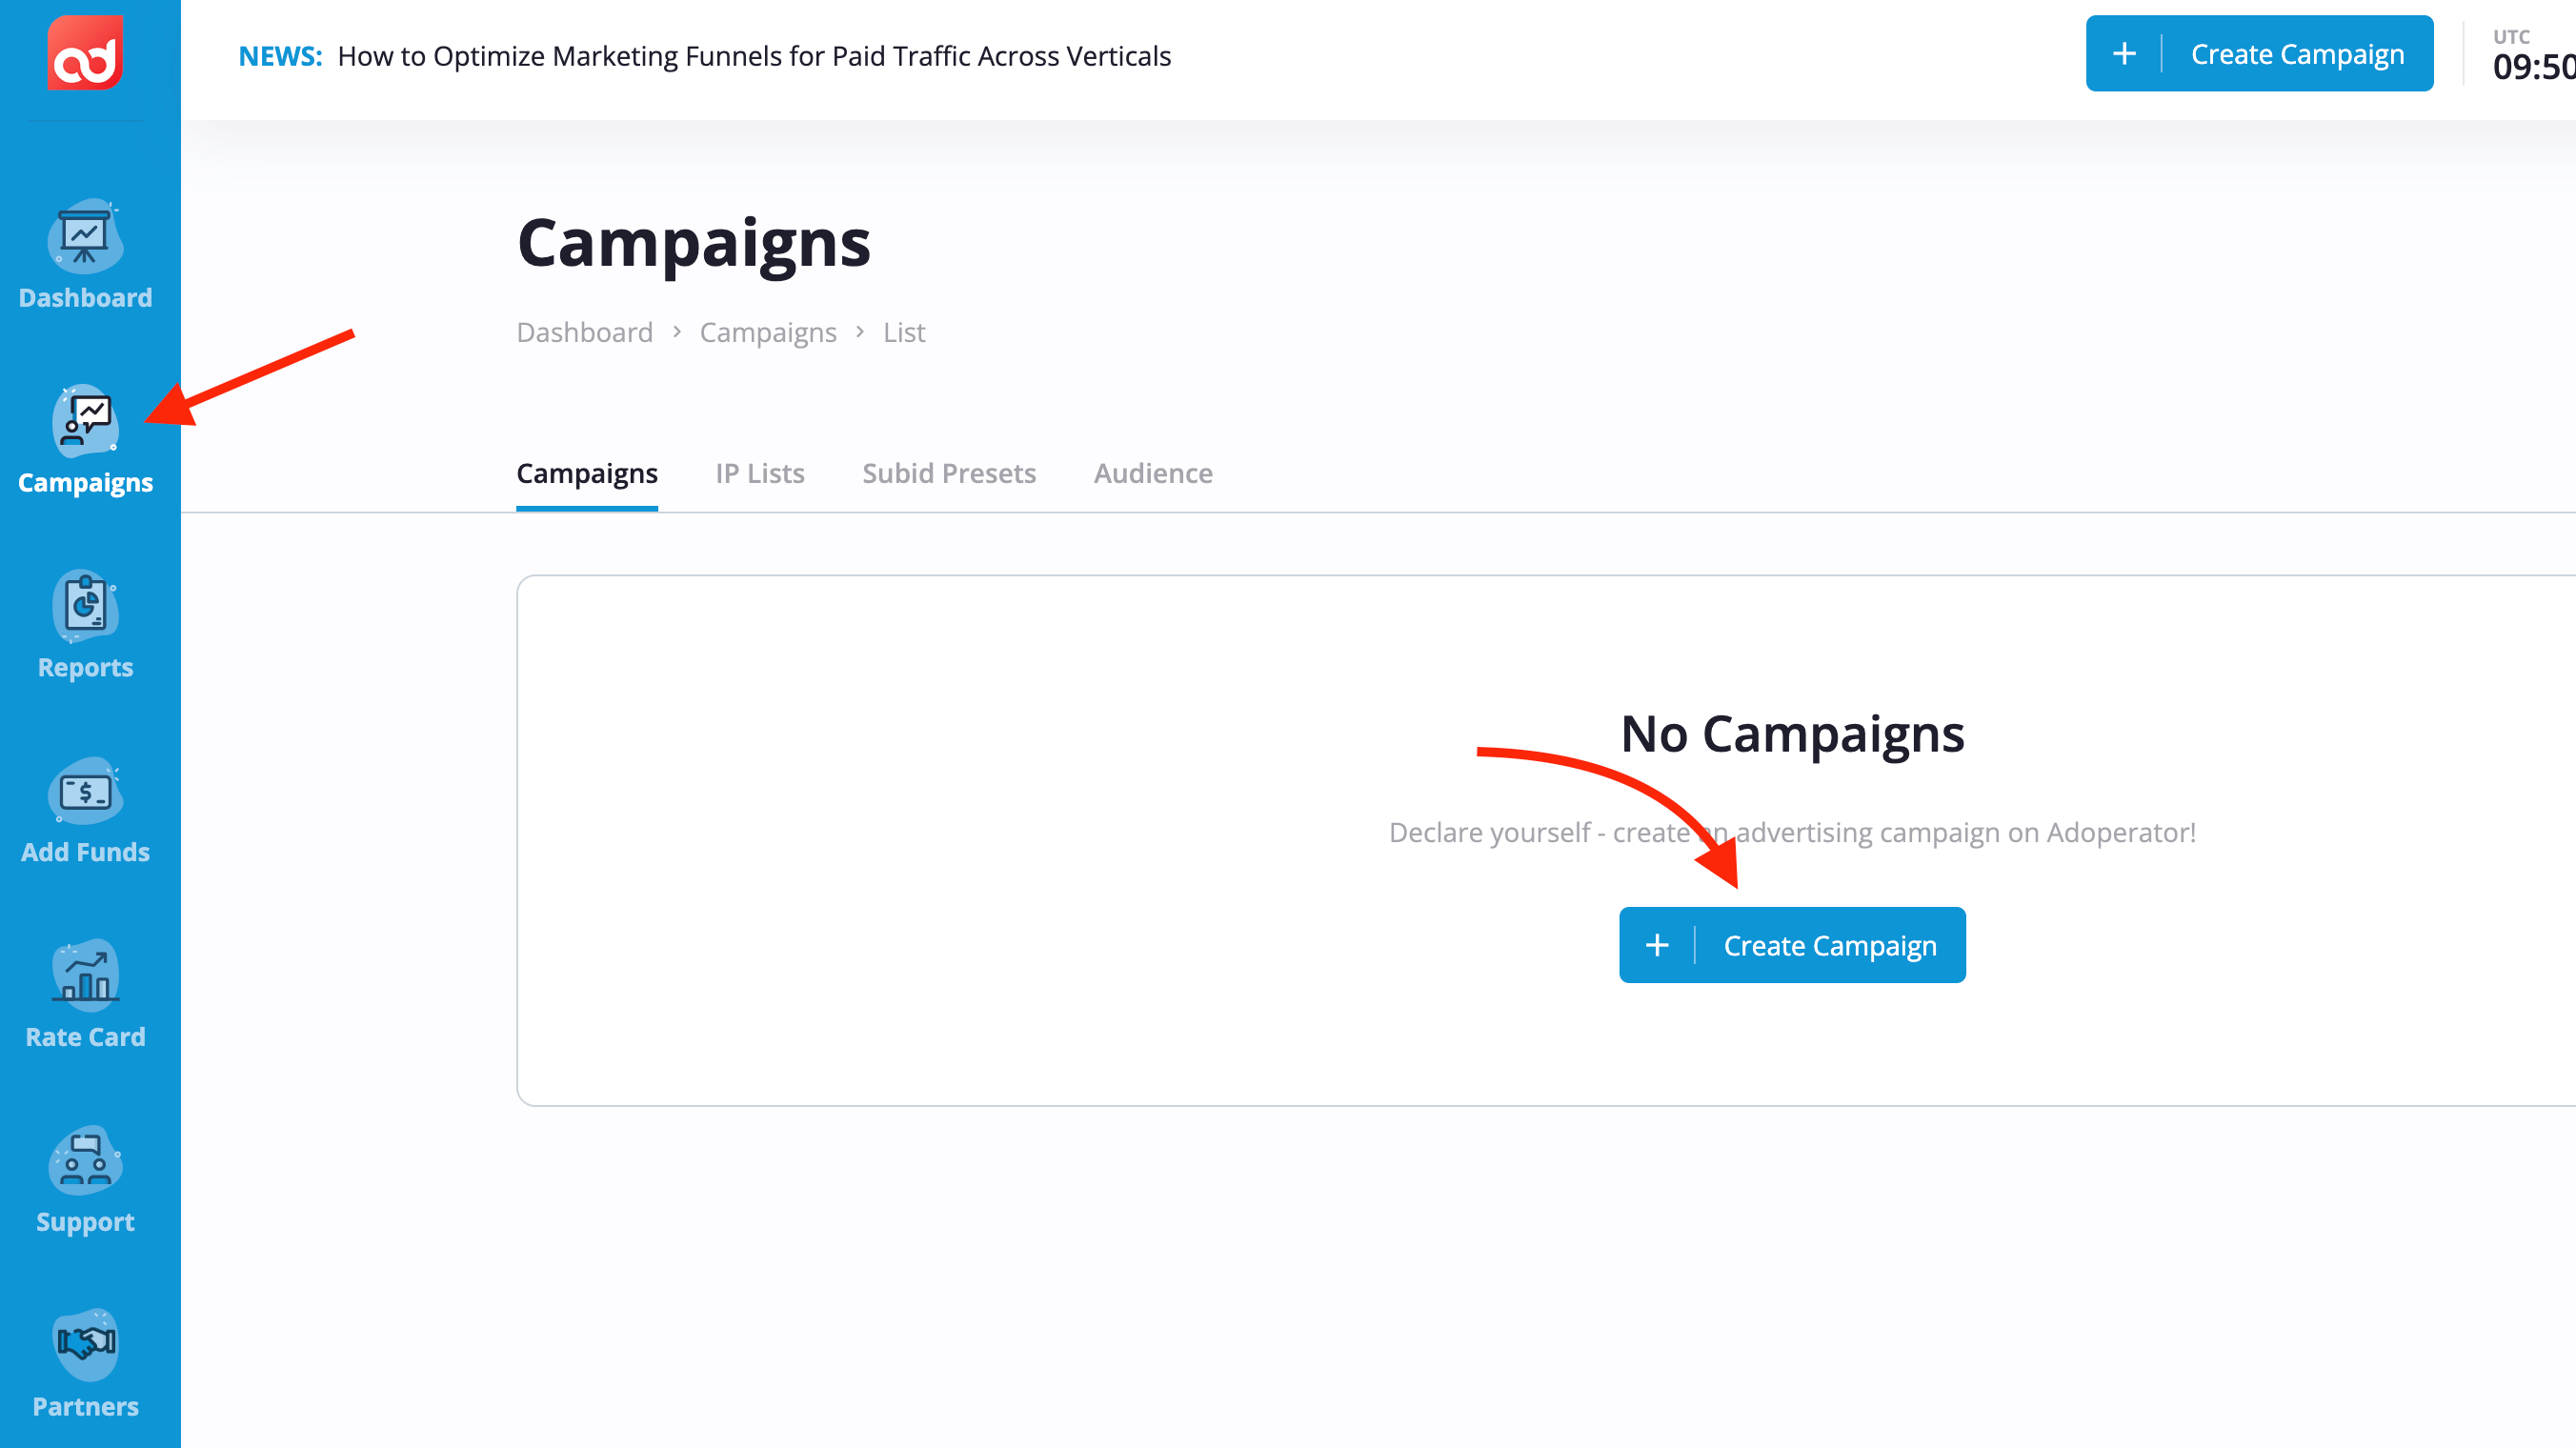
1. Log in to your **AdOperator** account.
2. Go to the **Campaigns** and click the **Create Campaign**.
3. Give a **Name** to your campaign and select **ad type**.
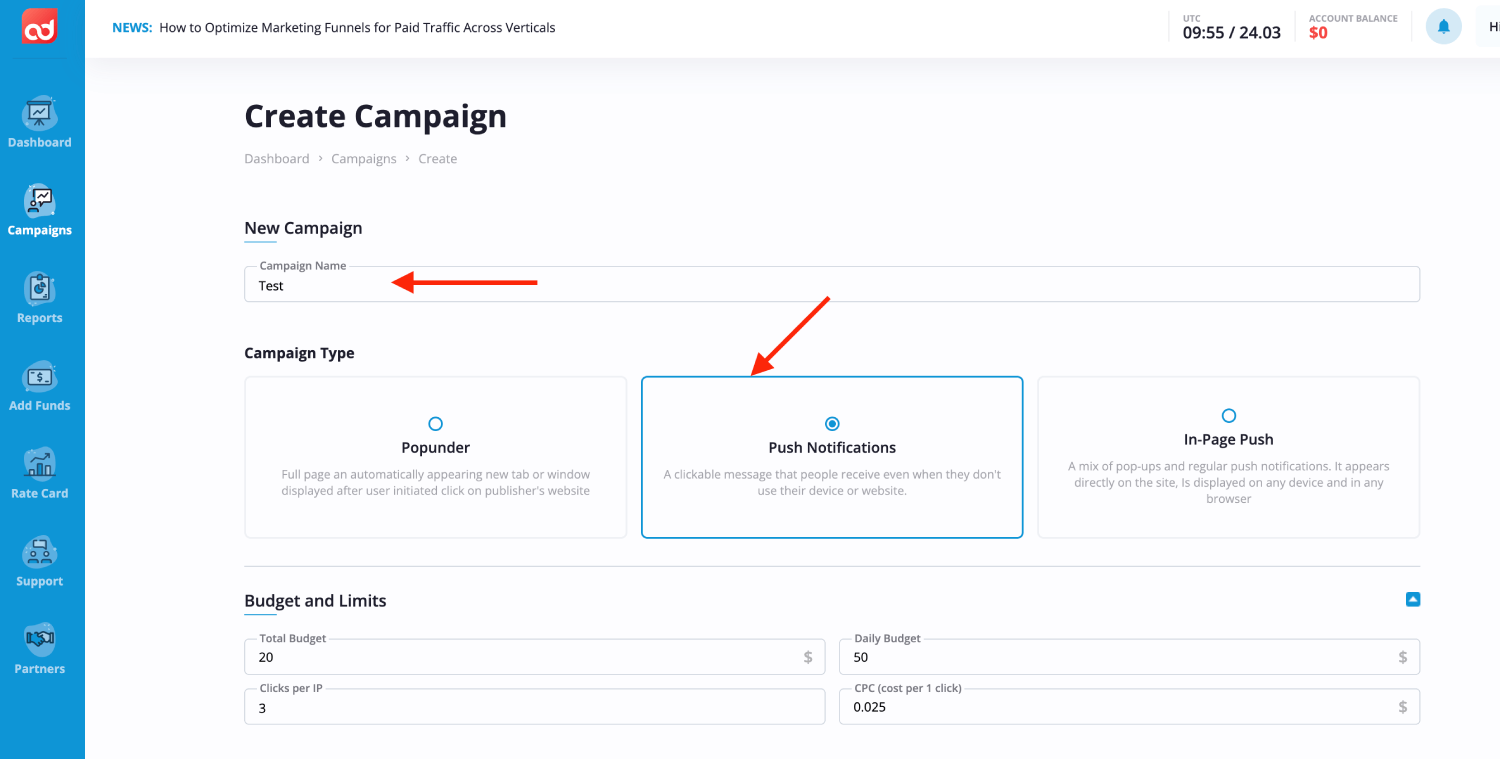
4. Fill all other fields where needed.
5. Paste the **Skro campaign tracking link** into the **Target URL** field, including all tracking parameters.
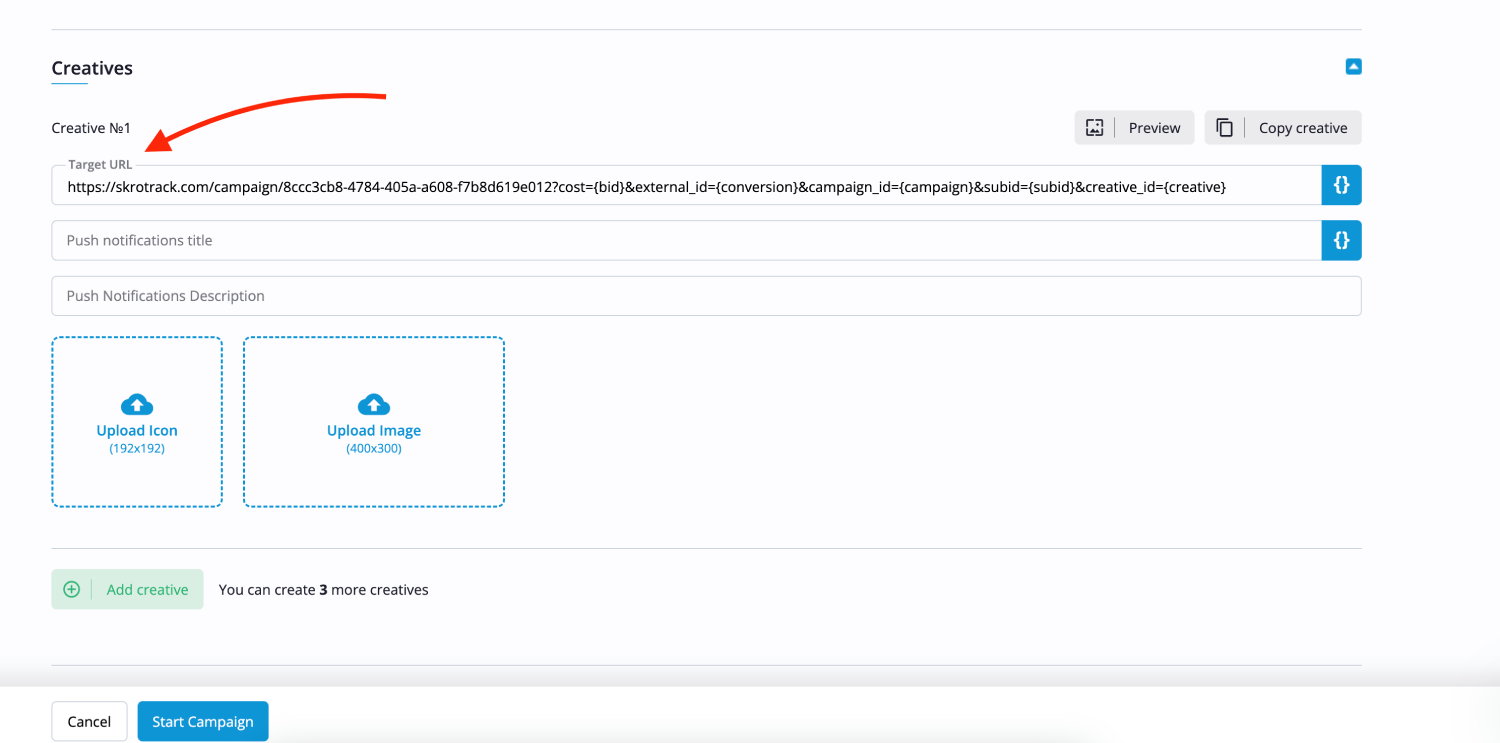
6. Complete the remaining campaign settings, then click **Start Campaign**.
7. After your campaign is approved on the side of AdOperator, you can start driving traffic to your campaign and track all the data with Skro.
## Verify the setup [#verify-the-setup]
Open the generated campaign URL and check that the visit appears in Skro. Confirm that traffic source macros resolve to actual values. If you send conversions back to the source, verify a test conversion in both systems.
If data is missing, check the selected workspace, integration, campaign, and reporting date range. Compare parameter names and macro values with the examples in this guide before repeating the test.
## Related guides [#related-guides]
# Ads.com Integration
Source: https://skro.eu/docs/integrations/ads-com-integration
Connect Ads.com Integration with Skro and configure the identifiers used to synchronize search arbitrage revenue.
## Integration [#integration]
Skro integration with Ads.com gives you the ability to sync revenue data that has been adjusted after different traffic sources.
- Update revenue and conversions every hour.
## Step 1. Add integration [#step-1-add-integration]
- Log in to your **Skro** account.
- Navigate to **Settings** → **Integrations**.
- Click **Add** in Affiliate Networks & Search Feed Arbitrage section.
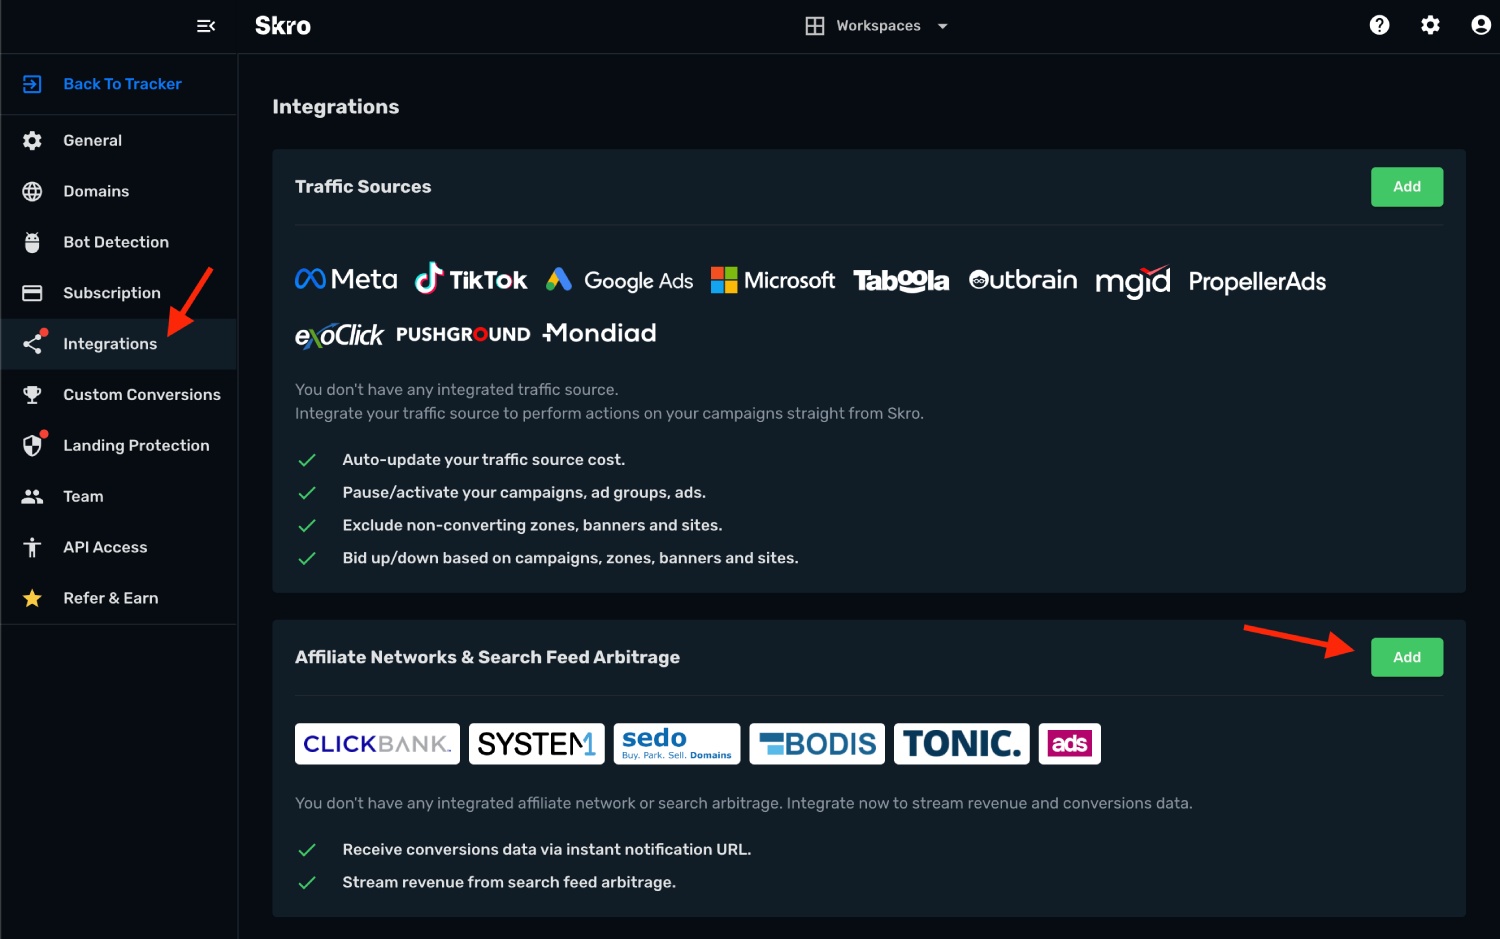
- Click **Ads.com** logo.
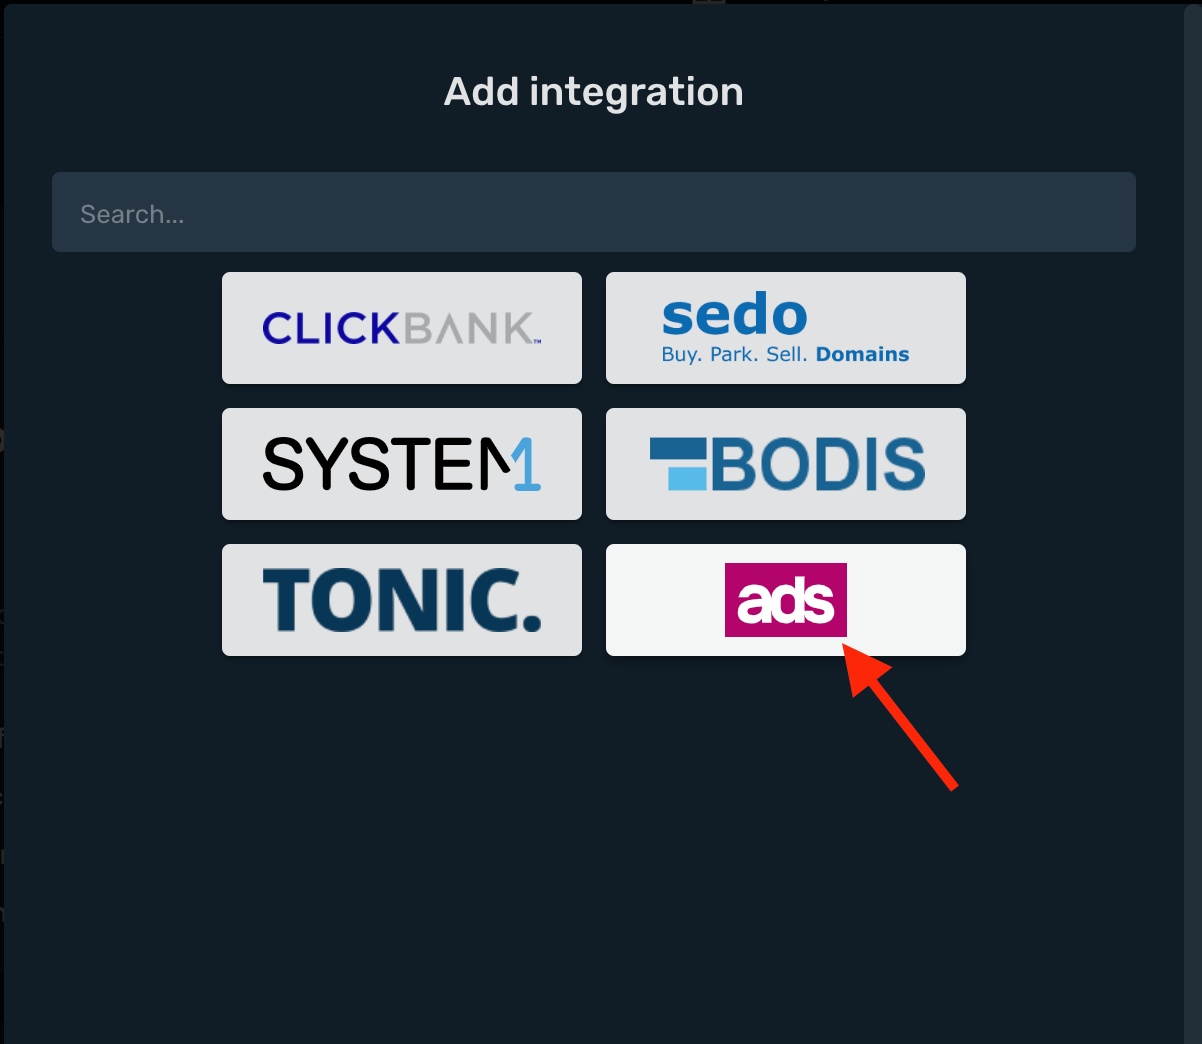
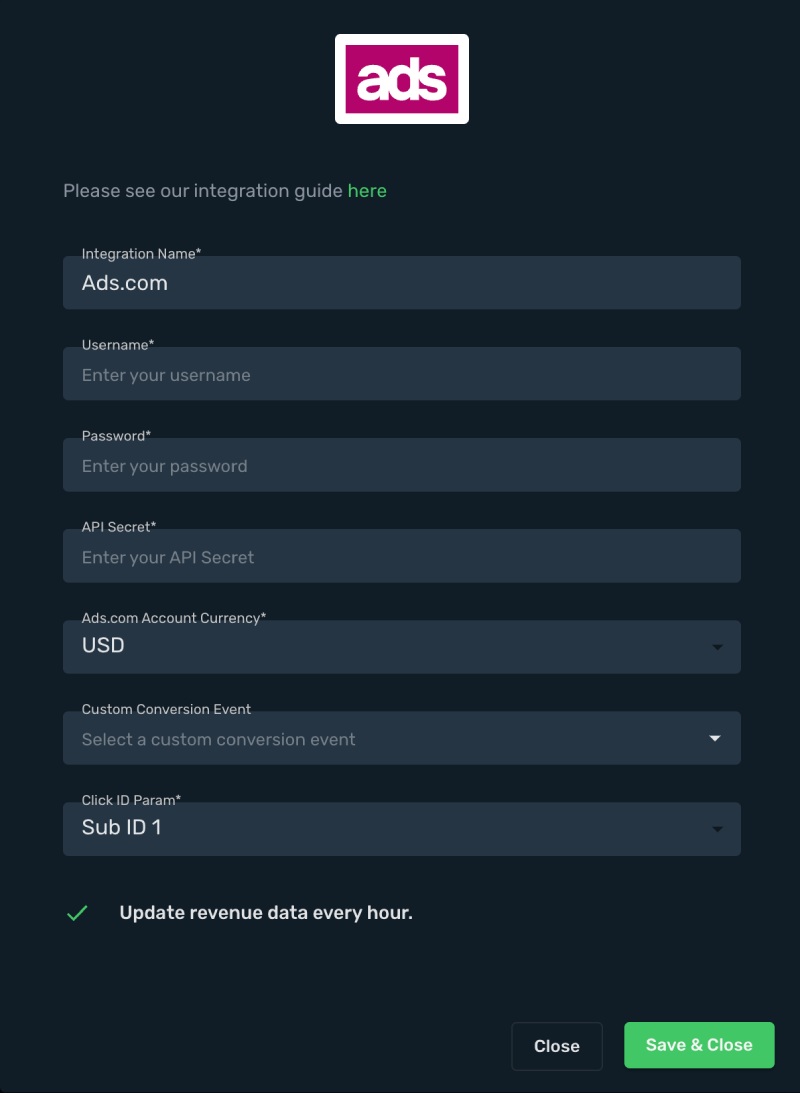
- **Name** is a title for your integration.
- **Username** - Enter your account username not email.
- **Password** - Enter your account password.
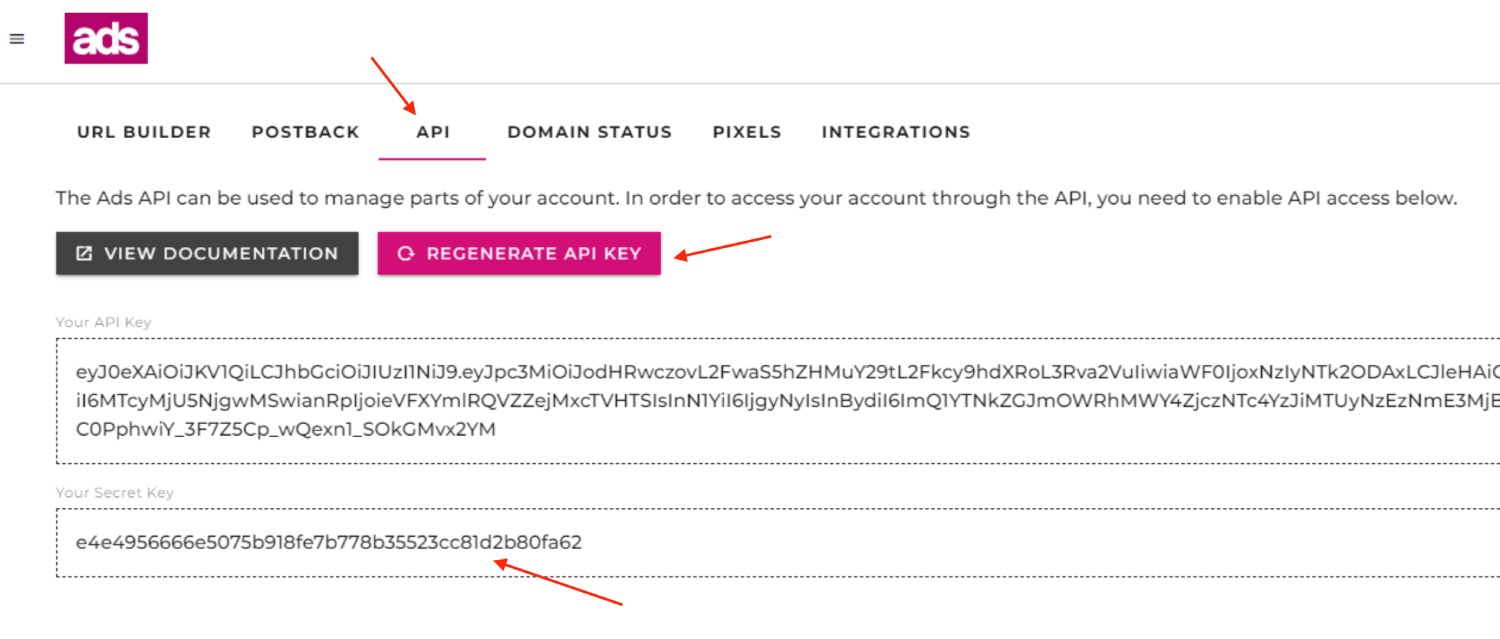
- Logging in into your Ads.com Account.
- Go to the **Tracking** section, which you can access from the left-side menu.
- Click **API** tab.
- Click **Generate API Key** and copy the **Secret Key** and paste it to Skro.
- **Ads.com Account Currency** is the currency of the earnings.
- **Custom Conversion Event** is optional, but you can see a revenue and conversions info in a separate columns in your Skro reports. To use that you will need to use Custom Conversions in Skro.
- **Click ID Param** is the parameter what you use in your offer URL to send Skro Click ID. There are available 5 Sub IDs (subid1 - subid5). Once you have selected a Sub ID, remember to consistently use it when passing the Click ID while creating offers for this feed.
- If you are done, then click **Save & Close**.
## Step 2. Offer URL Params [#step-2-offer-url-params]
Example of the offer URL with Skro click ID macro:
**`https://domain.com/?subid1={clickId}`**
More info about Sub ID tracking is [here](https://refdocs.ads.com/cs/sub-id-tracking)
## Step 3. Postback URL [#step-3-postback-url]
Example of the Postback URL setup on Ads.com:
Log in to your **Ads.com** account and navigate to the **Tracking** → **Postback** and create new postback.
Event Type: Ad Click
Postback URL: `https://your-tracking-domain.com/postback?clickId={subid1}&p1={click_term}`
Revenue data coming through the API integration.
If you want to track different events like views, ad click a separate columns, then you will need to use Custom Conversions in Skro.
To fire custom conversion then you will need to append **&ce=YOUR_EVENT_NAME** to your postback URL.
**`https://your-tracking-domain.com/postback?clickId={subid1}&p1={click_term}&ce=YOUR_EVENT_NAME`**
More info about Postback (S2S) tracking is [here](https://refdocs.ads.com/cs/s2s-tracking)
The integration is ready to synchronize earnings data.
## Verify the setup [#verify-the-setup]
Confirm that the offer identifiers match the values in your integration. After the next revenue synchronization, compare the same date range and currency in Skro and your provider account.
If data is missing, check the selected workspace, integration, campaign, and reporting date range. Compare parameter names and macro values with the examples in this guide before repeating the test.
## Related guides [#related-guides]
# Adsterra integration
Source: https://skro.eu/docs/integrations/adsterra-and-skro-integration
Set up Adsterra tracking in Skro, configure traffic source parameters, and connect your advertising campaigns.
## Step 1. Create an Adsterra traffic source and configure the postback URL [#step-1-create-an-adsterra-traffic-source-and-configure-the-postback-url]
1. Go to **Traffic Sources** and click **+ Create**.
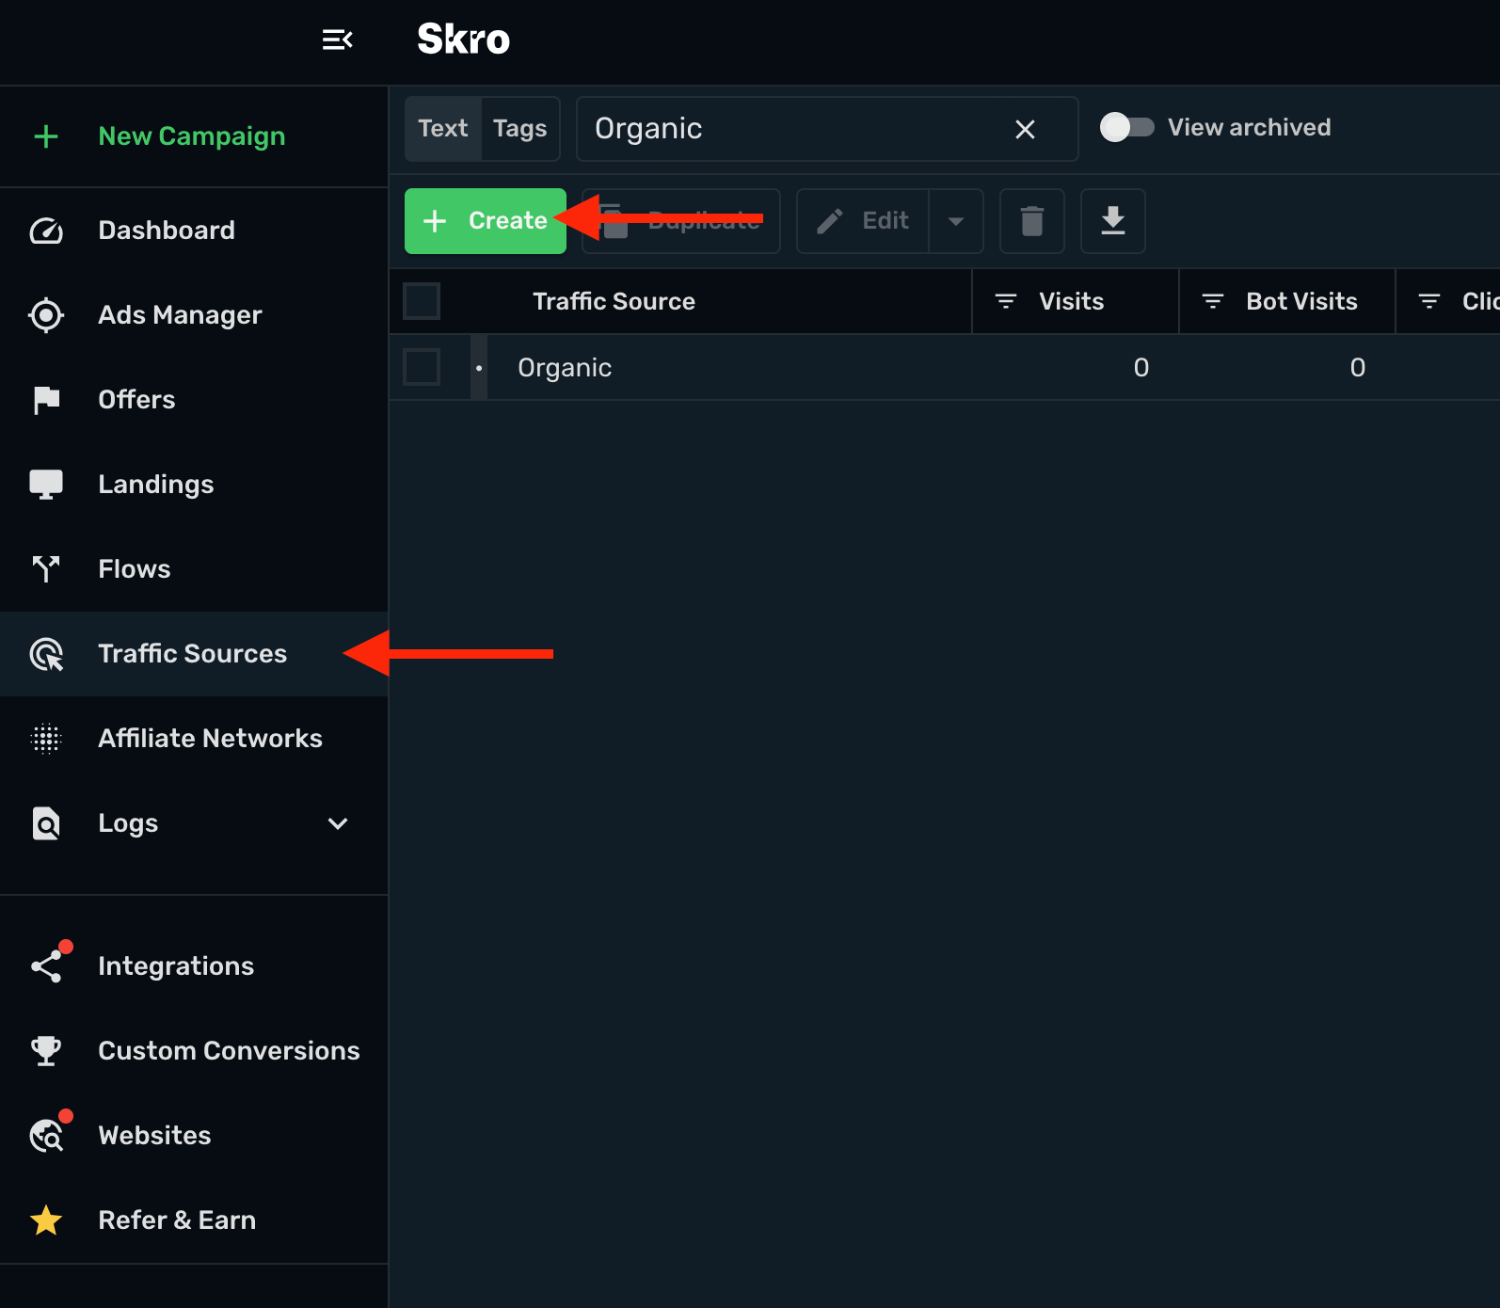
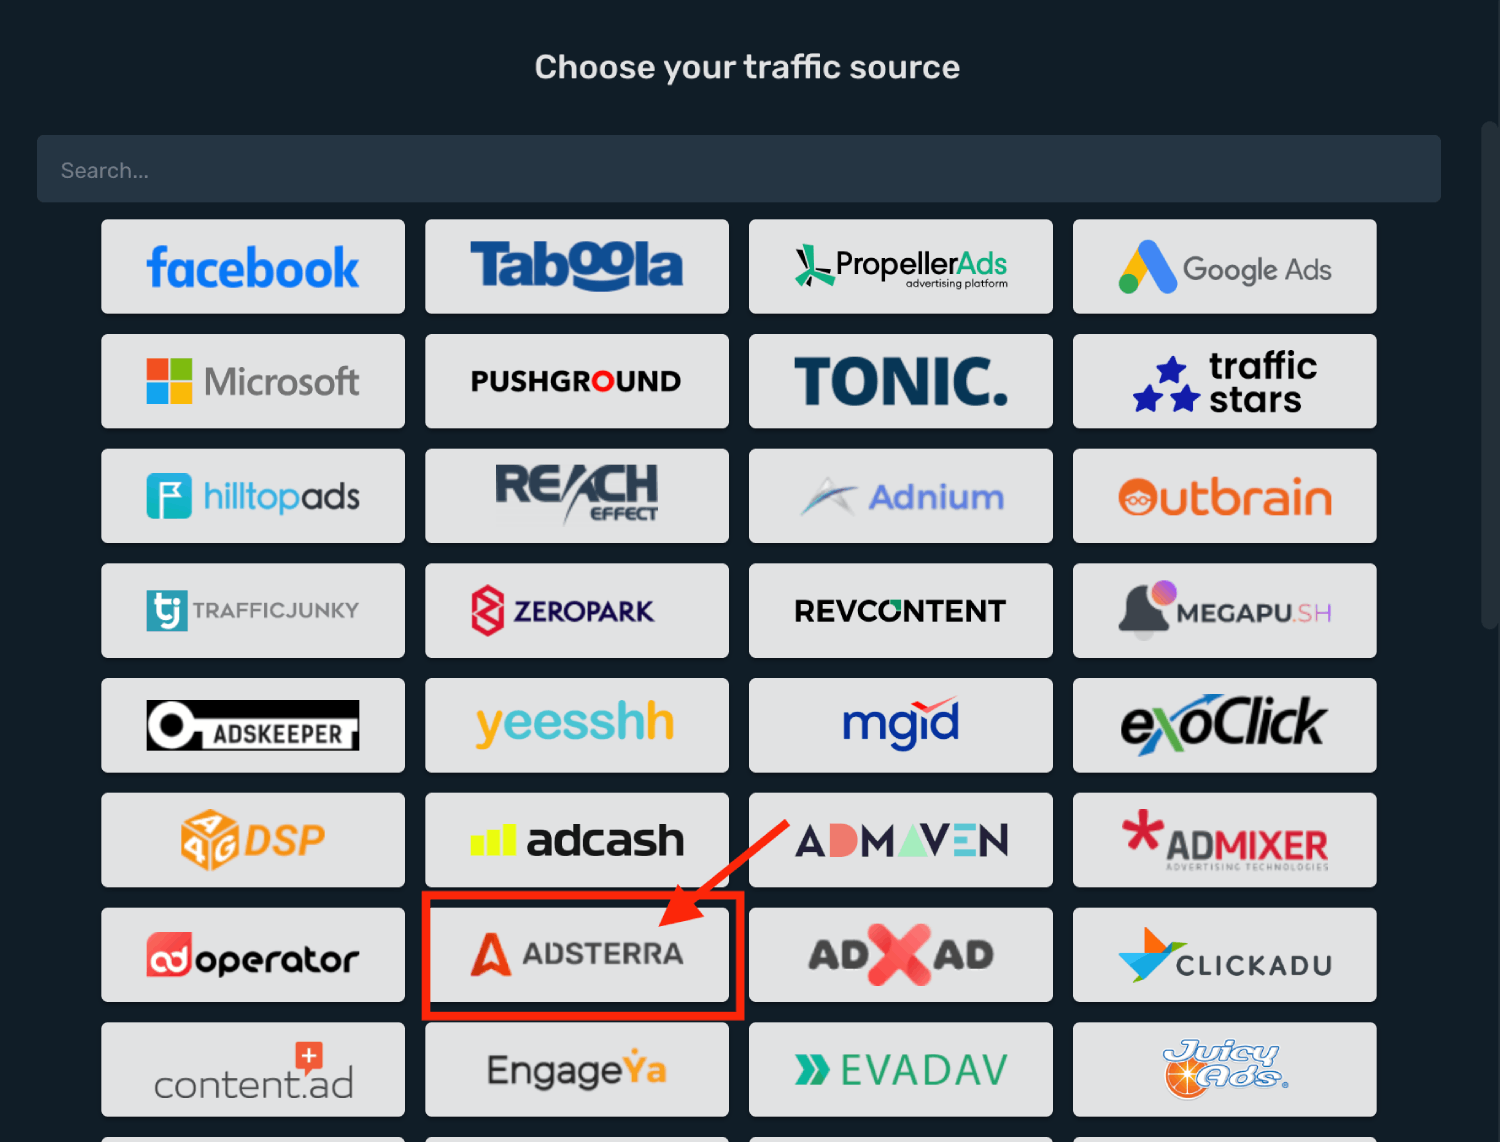
2. Search for **adsterra** and click the **Adsterra** template.
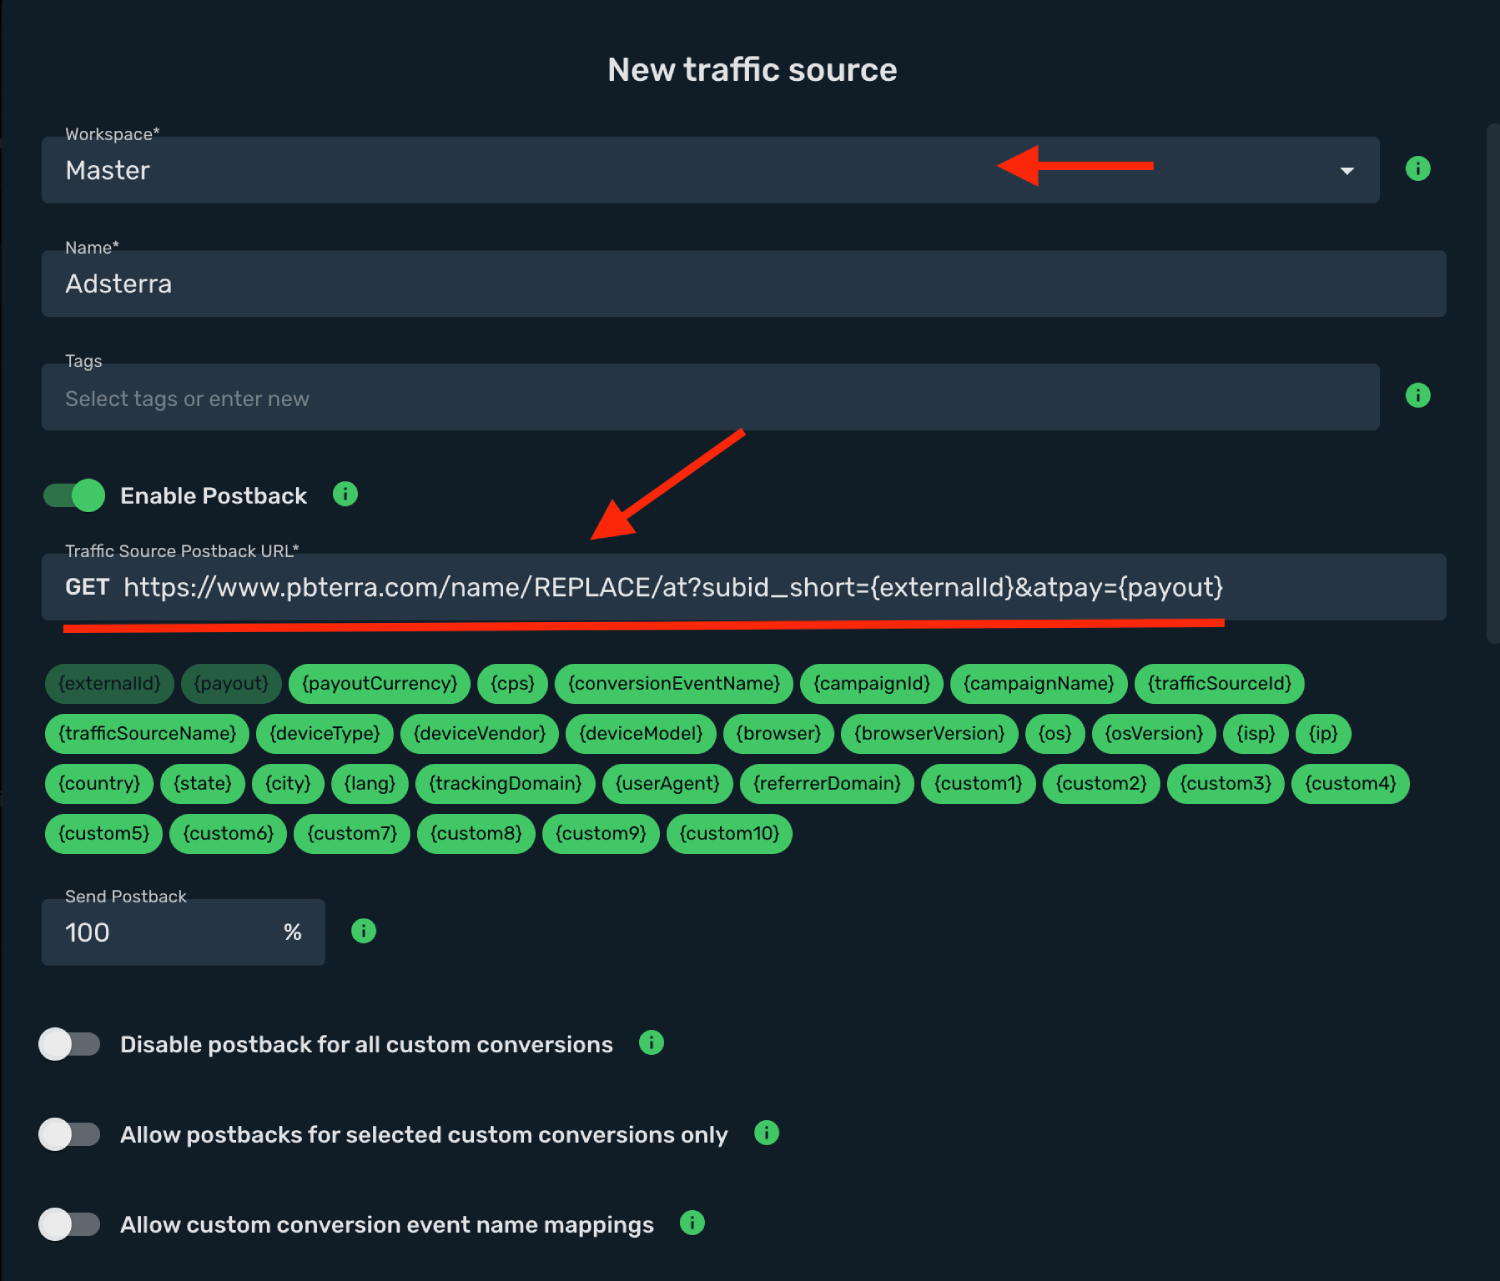
3. Select the target **Workspace** and you need to modify your **Traffic Source Postback URL**.
4. Log in to your **Adsterra** account.
5. Go to the **Conversion Tracking** section.
6. Click **Custom**.
7. Select postback type as **Postback for variable payouts**.
8. Copy the generated **Postback URL**.
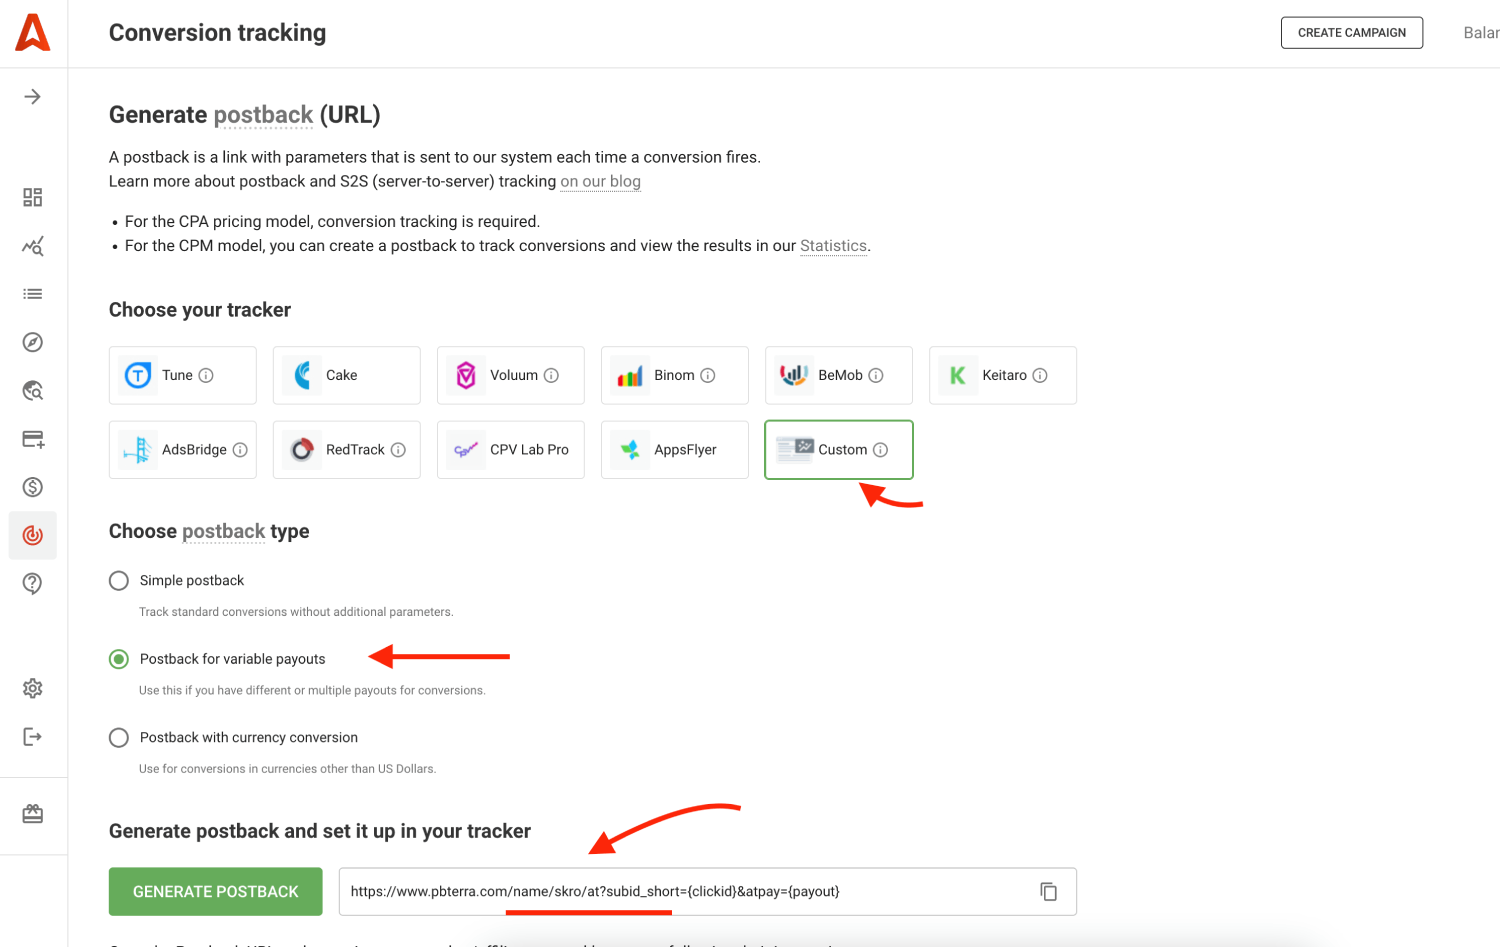
9. Final postback URL must look similar to this:
`https://www.pbterra.com/name/skro/at?subid_short={externalId}&atpay={payout}`
**`/name/skro/at`** - Adsterra Advertiser ID unique value.
**`subid_short={externalId}`** - Adsterra Click ID parameter with Skro macro.
**`atpay={payout}`** - Adsterra Payout parameter with Skro macro.
10. All tracking parameters are already prefilled for you.
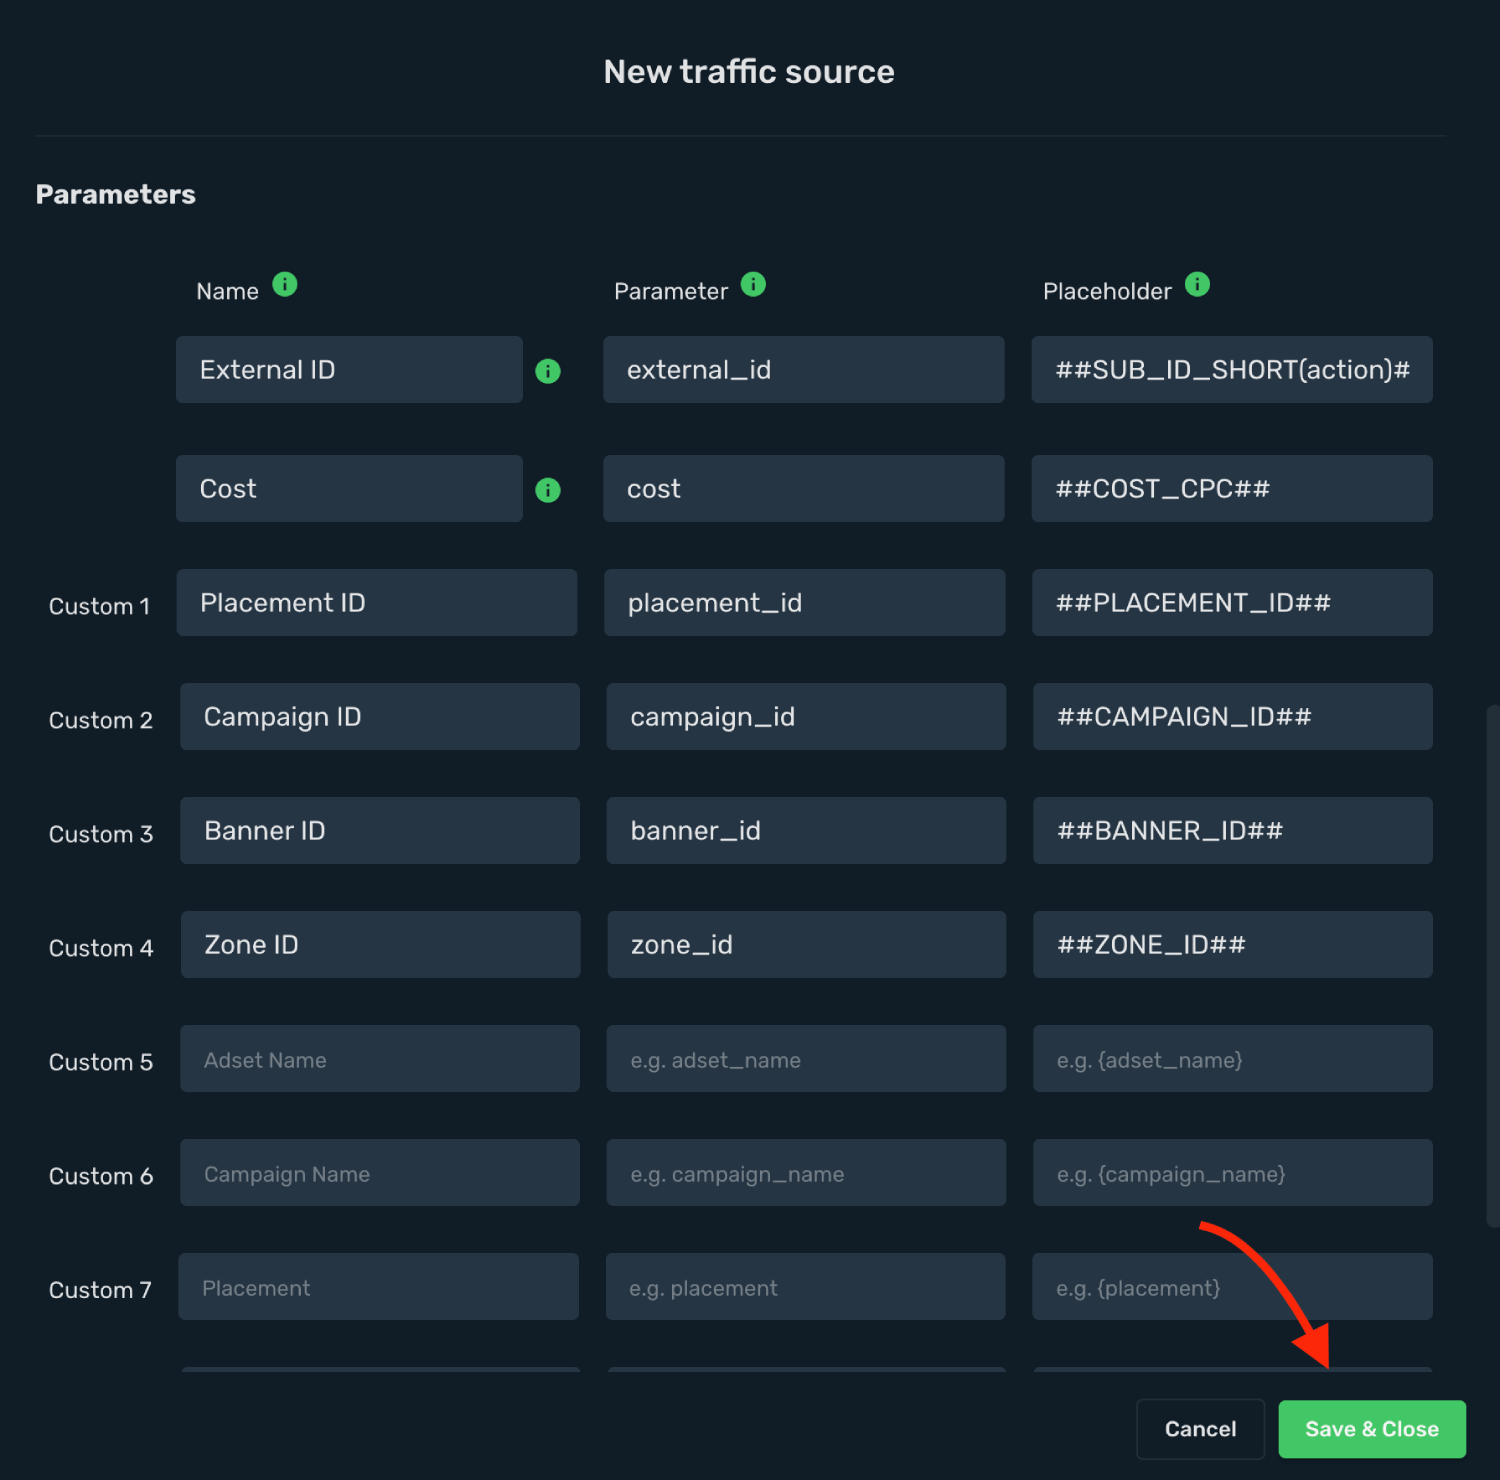
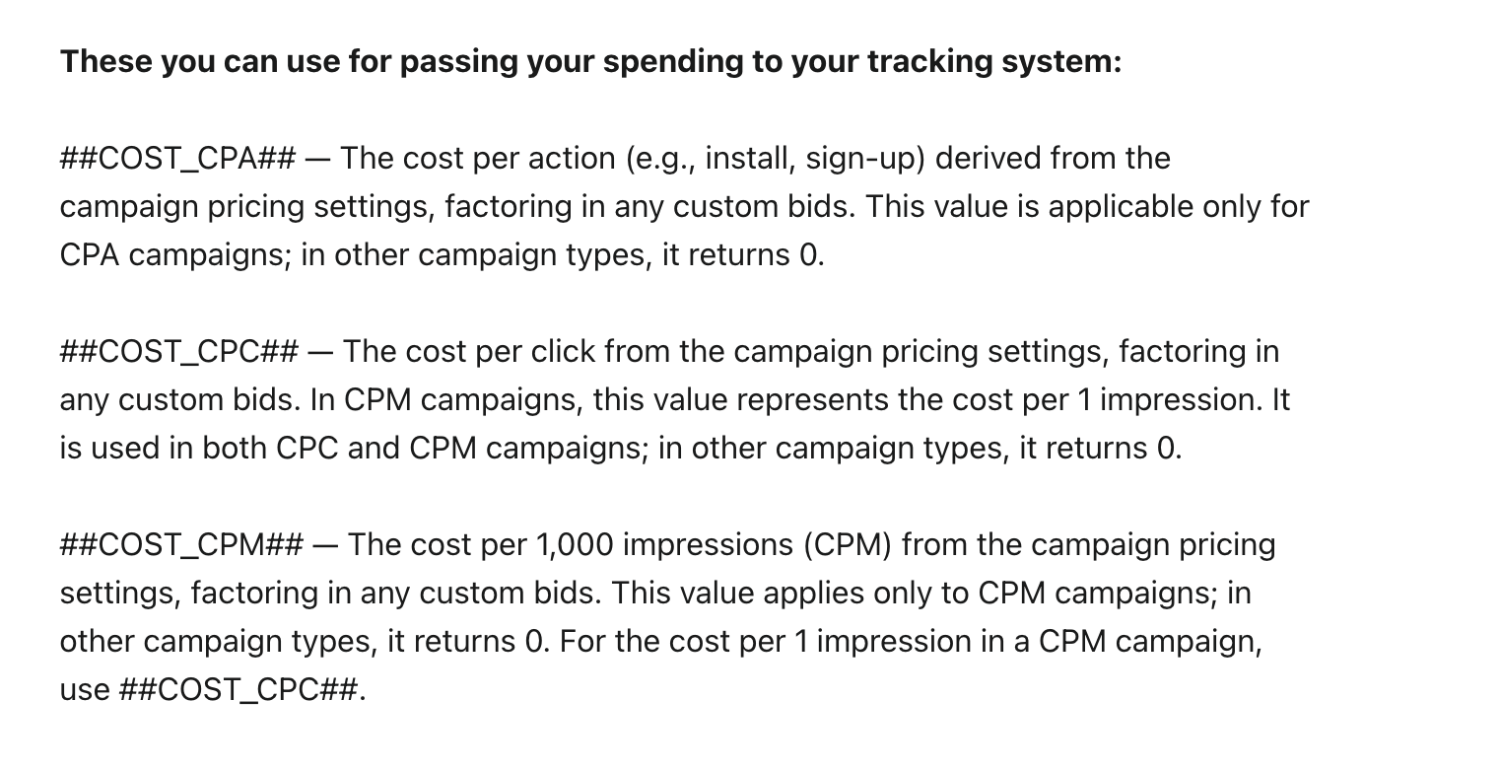
11. Here is list of different **Cost** macros. It depends on your campaigns setup.
12. Click **Save & Close**.
Integration setup is complete, and you are now ready to create your first campaign.
## Step 2. Create a campaign in Skro [#step-2-create-a-campaign-in-skro]
1. Go to **Ads Manager** and click the **Create**.
2. Select your **Traffic source** and click **Next**.
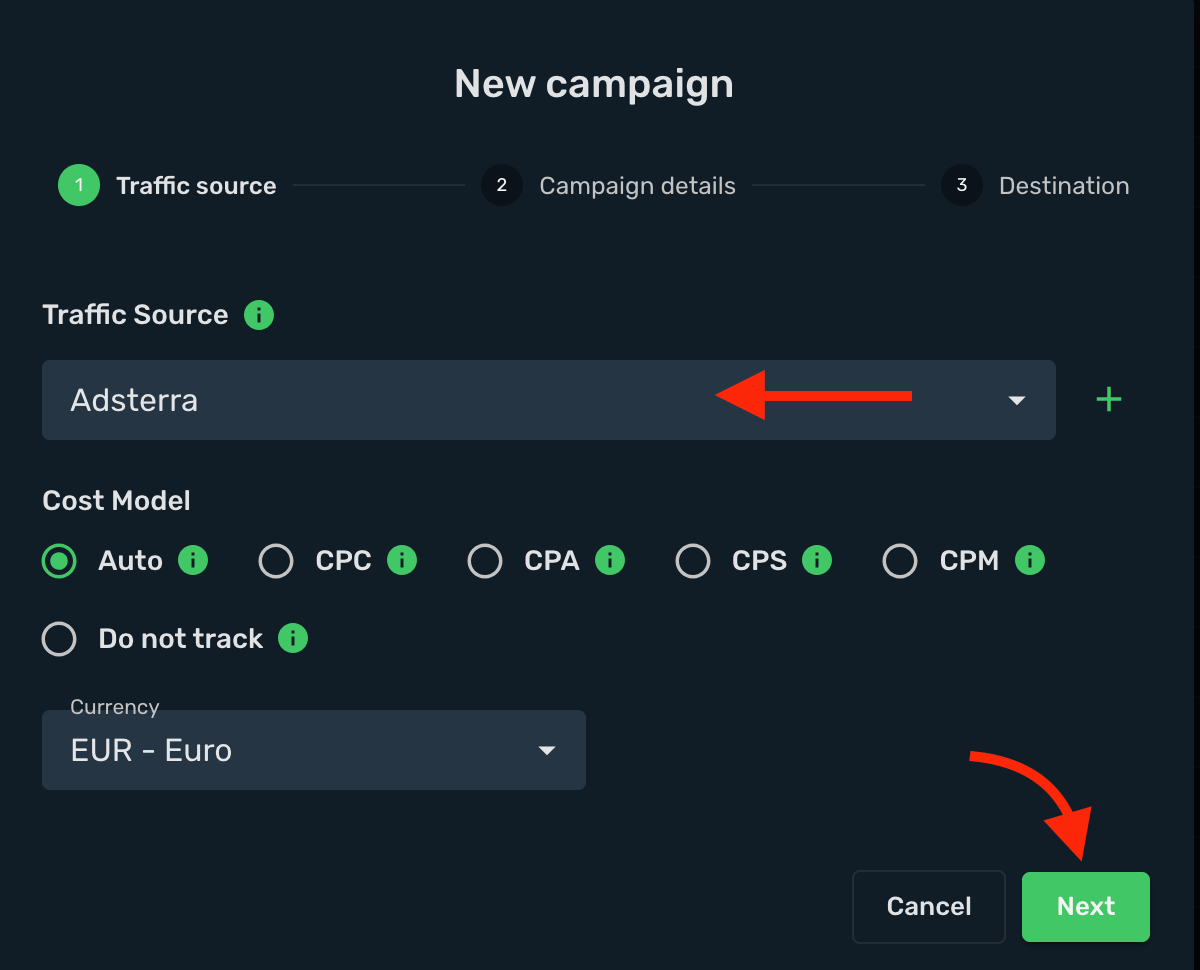
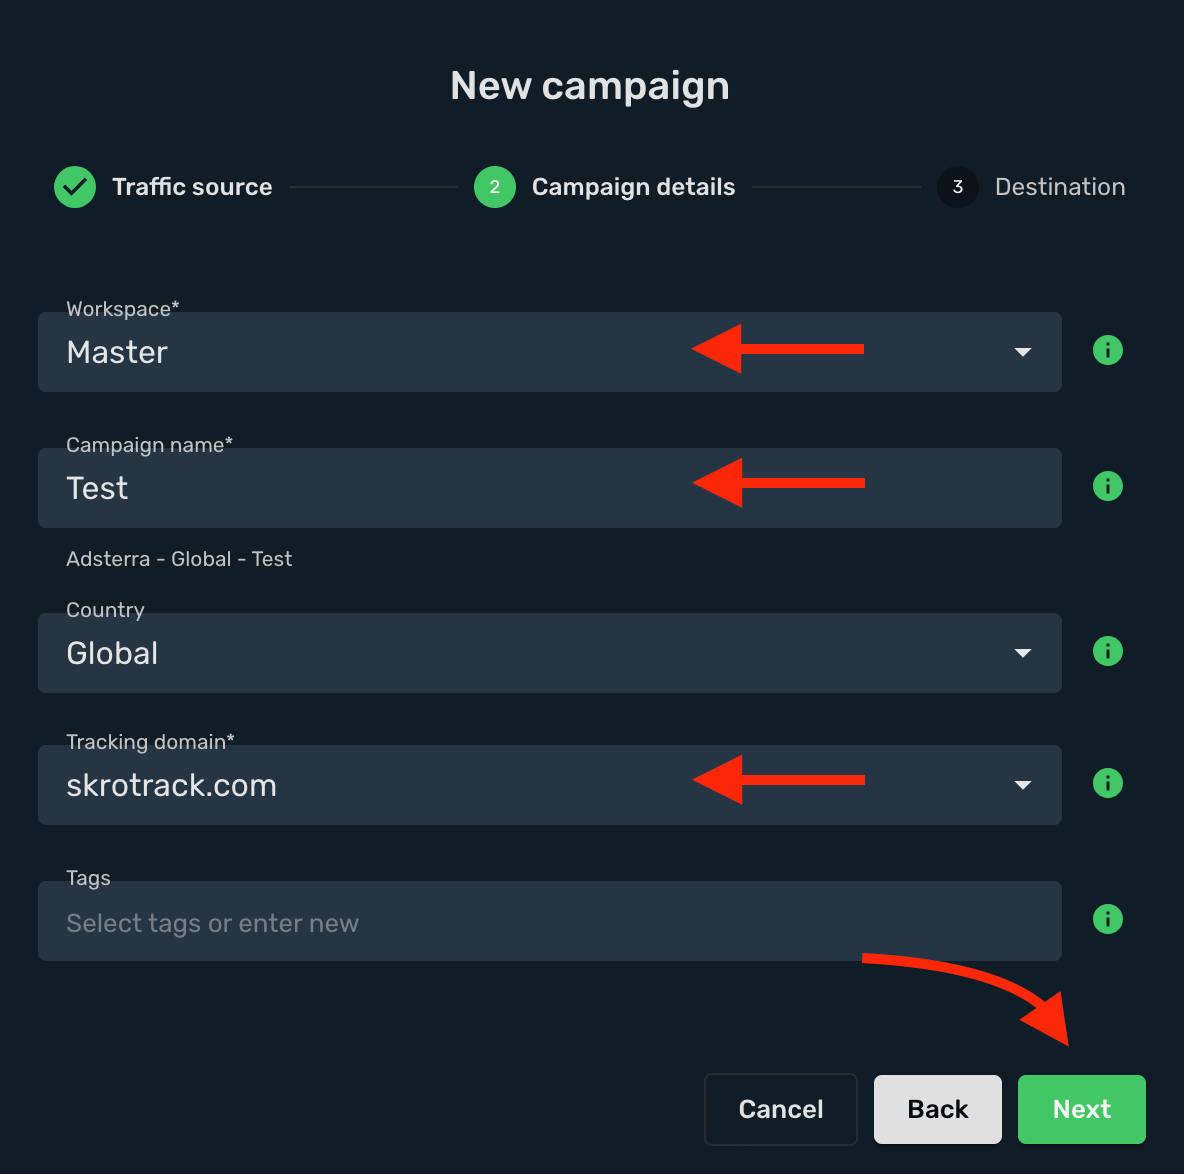
3. Select your target **Workspace** for your campaign.
4. Give a **name** to your campaign and click **Next**.
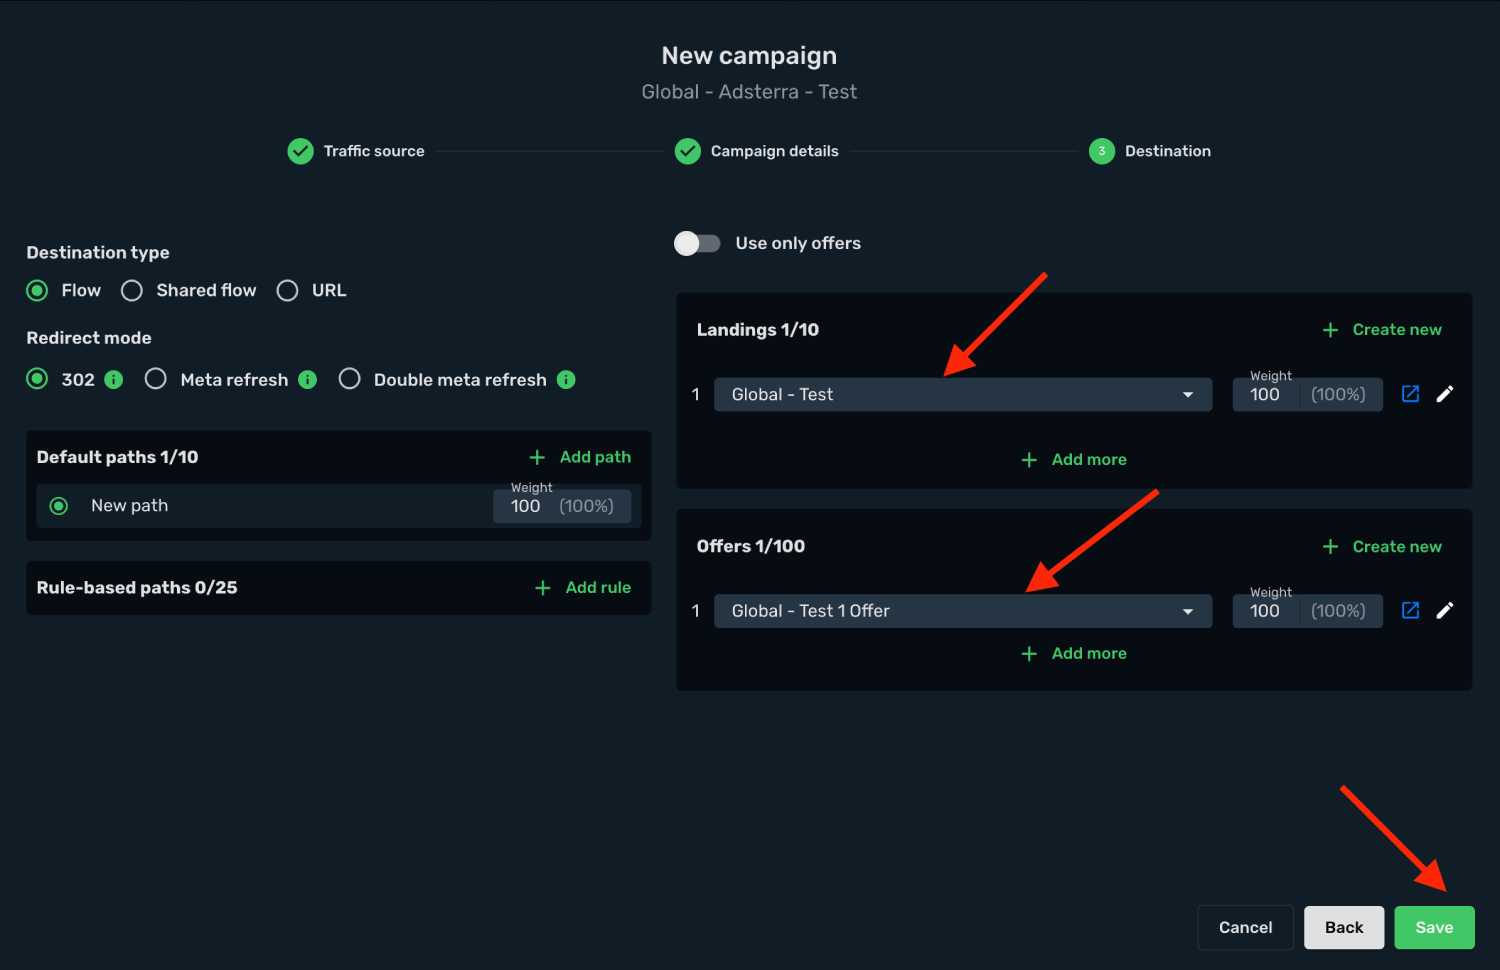
5. Select or create all your **landings** and **offers**.
6. Click **Save**.
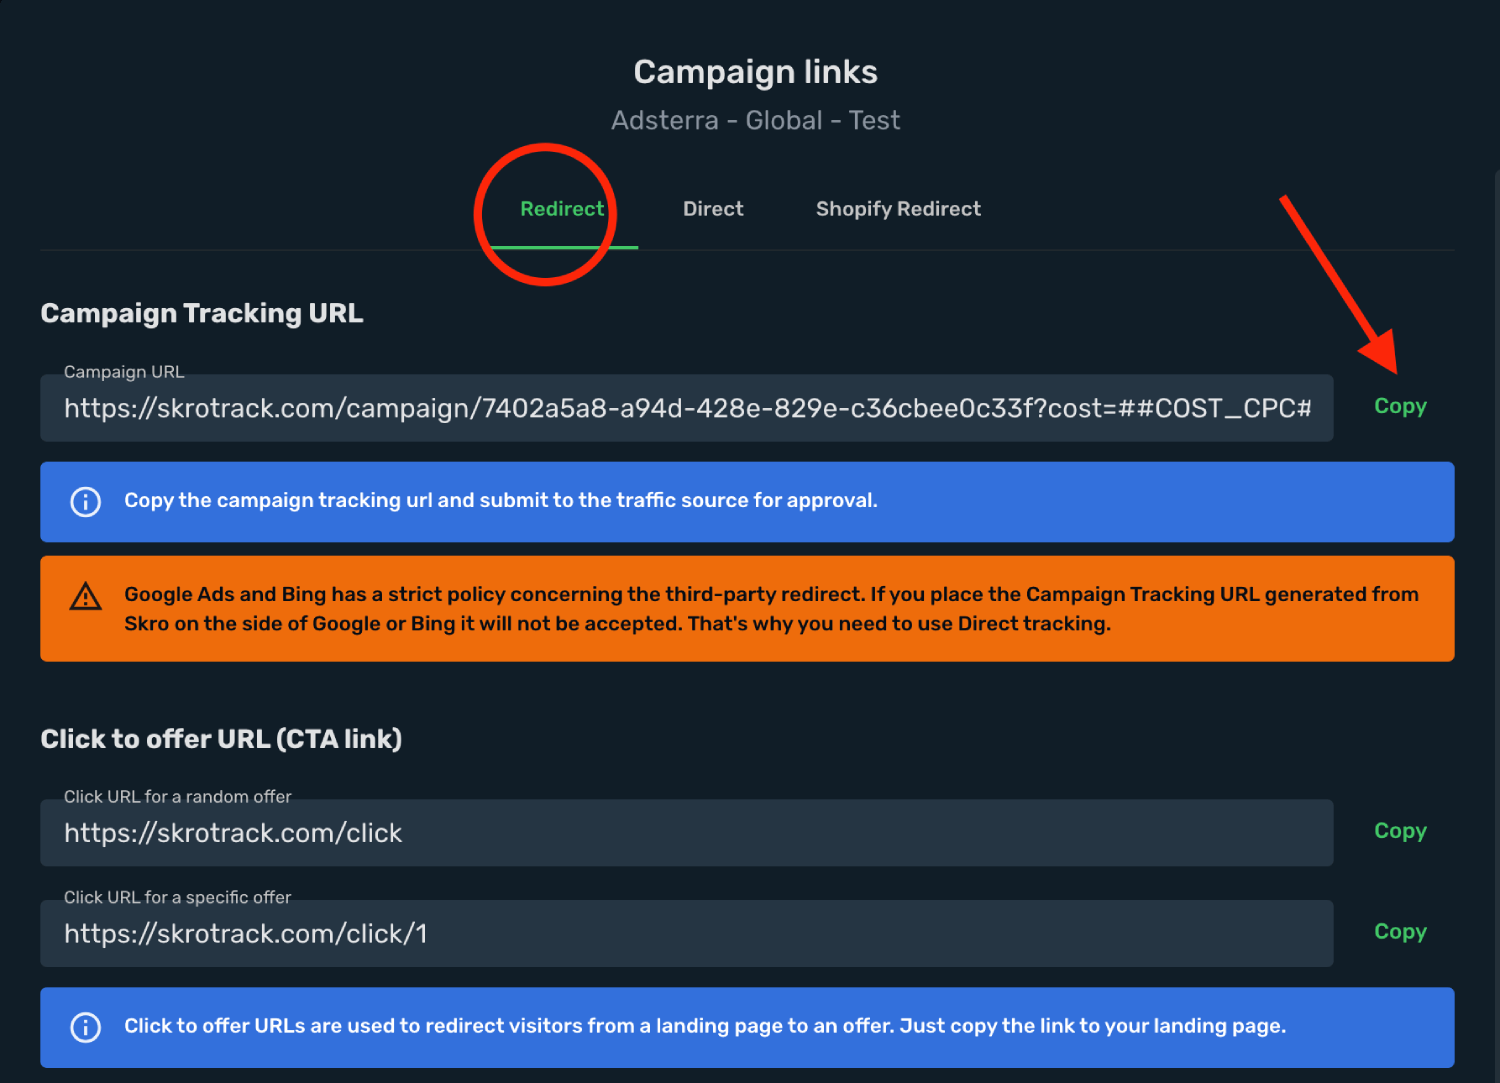
7. Copy the **Campaign Tracking URL** to clipboard.
## Step 3. Create a campaign in Adsterra [#step-3-create-a-campaign-in-adsterra]
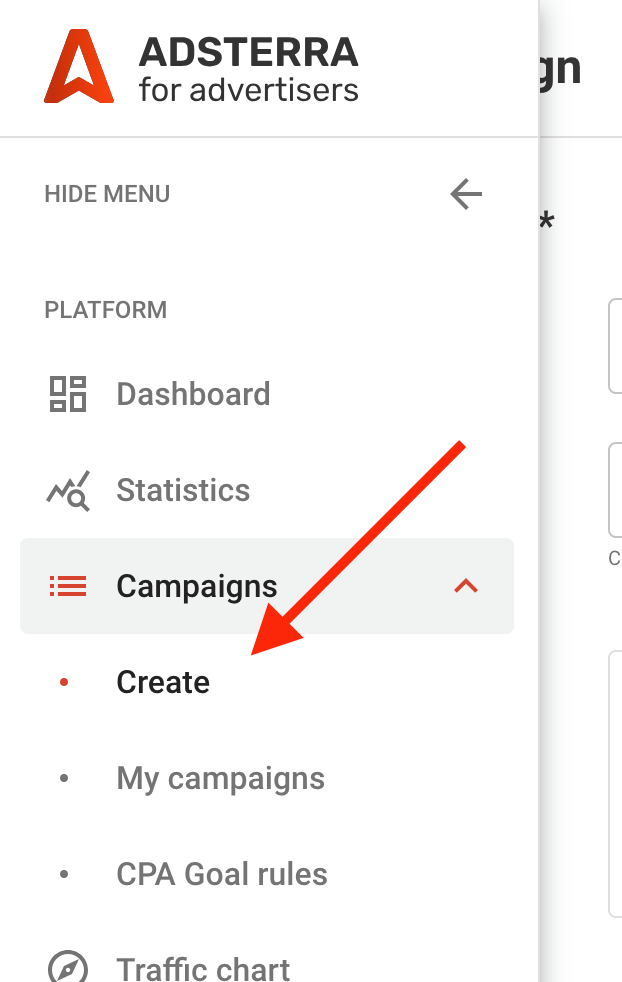
1. Log in to your **Adsterra** account.
2. Go to the **Campaigns** → **Create**.
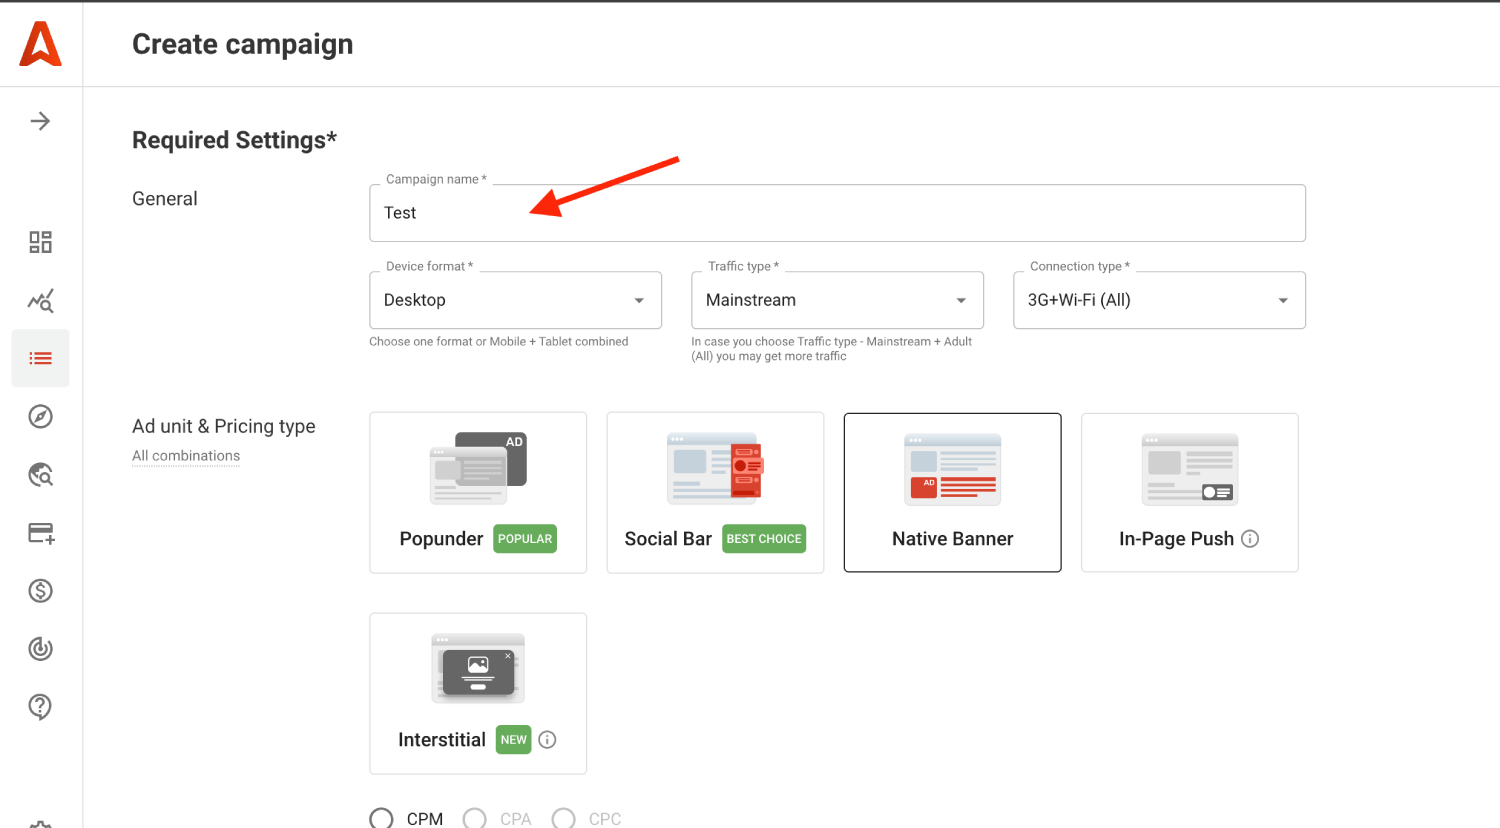
3. Give a **Name** to your campaign.
4. Select your **Ad format**.
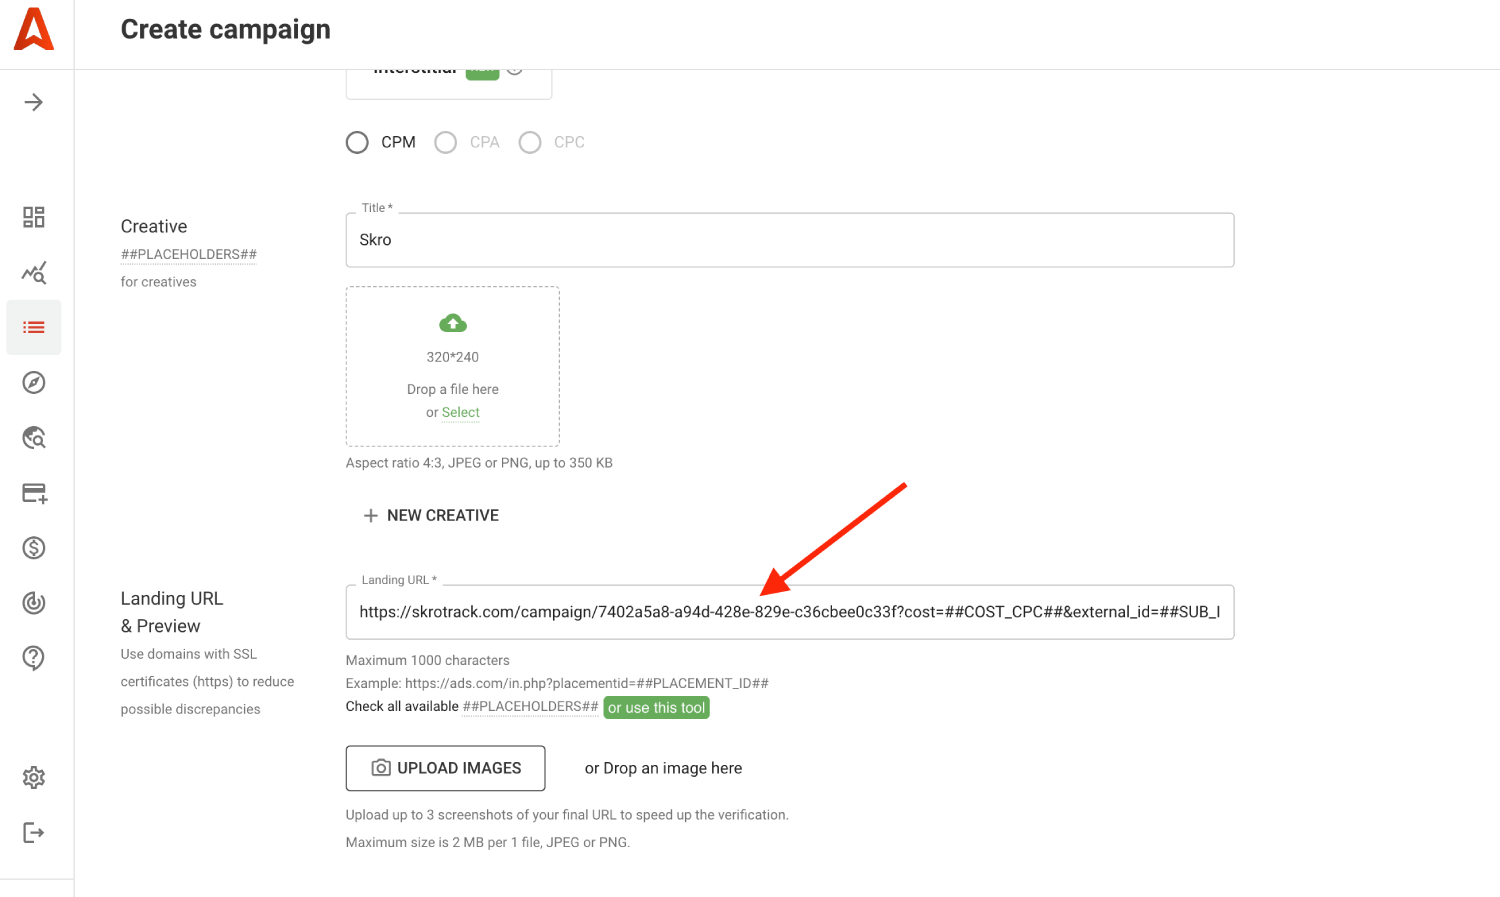
4. Paste the **Skro campaign tracking link** into the **Landing URL** field, including all tracking parameters.
5. Complete the remaining campaign settings, then click **Proceed to review**.
6. After your campaign is approved on the side of Adsterra, you can start driving traffic to your campaign and track all the data with Skro.
## Verify the setup [#verify-the-setup]
Open the generated campaign URL and check that the visit appears in Skro. Confirm that traffic source macros resolve to actual values. If you send conversions back to the source, verify a test conversion in both systems.
If data is missing, check the selected workspace, integration, campaign, and reporting date range. Compare parameter names and macro values with the examples in this guide before repeating the test.
## Related guides [#related-guides]
# Advidi integration
Source: https://skro.eu/docs/integrations/advidi-integration
Connect Advidi to Skro, map click IDs, and configure postbacks to attribute conversions and revenue to your campaigns.
## Step 1. Add affiliate network to Skro [#step-1-add-affiliate-network-to-skro]
1. Go to **Affiliate Networks** and click **Create**.
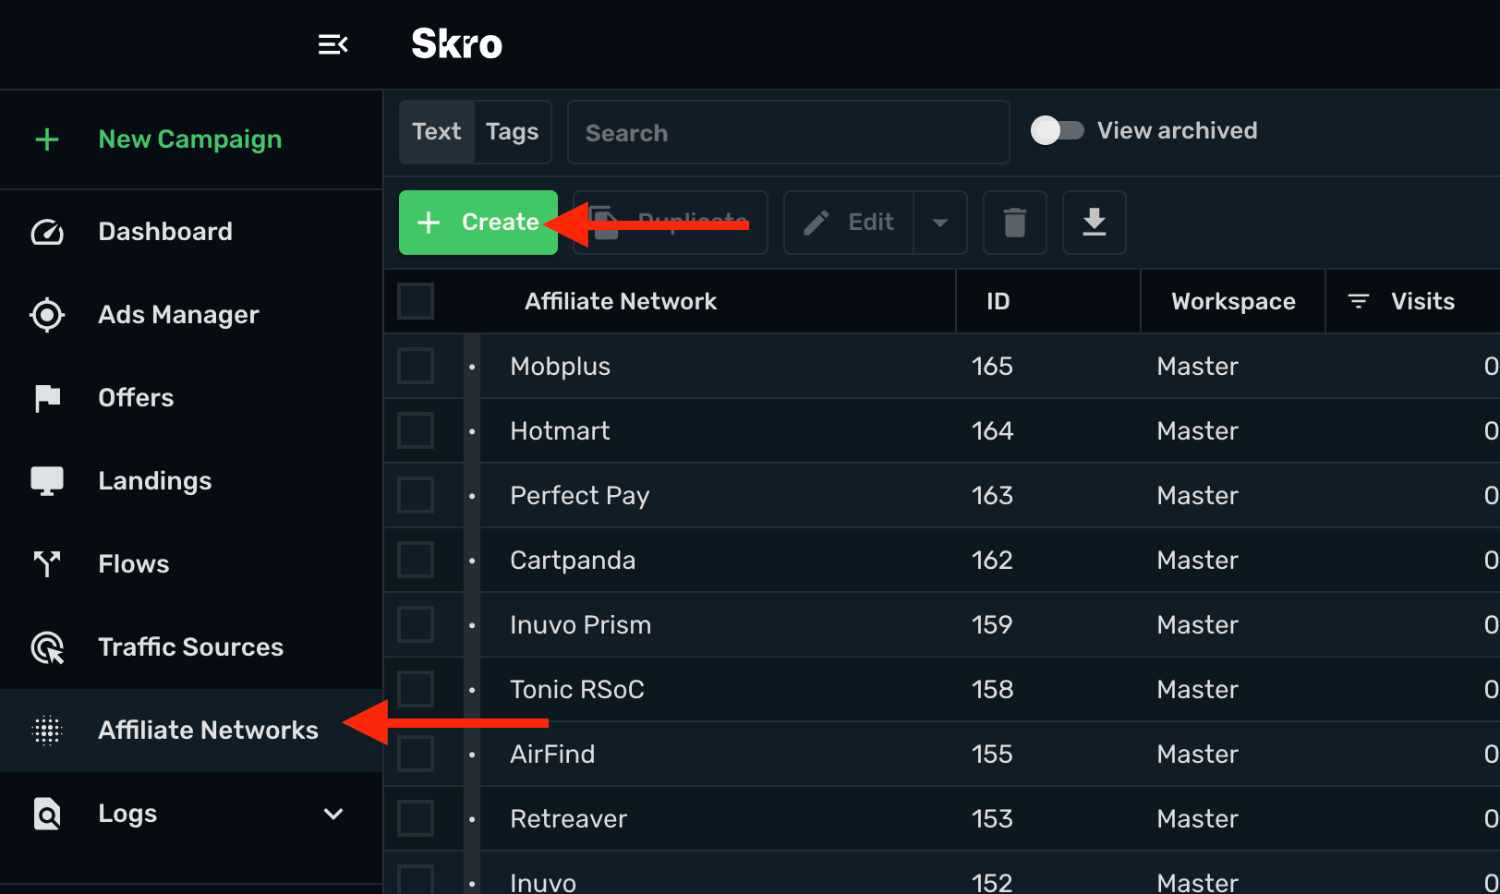
2. Search Advidi and select the **Advidi** template.
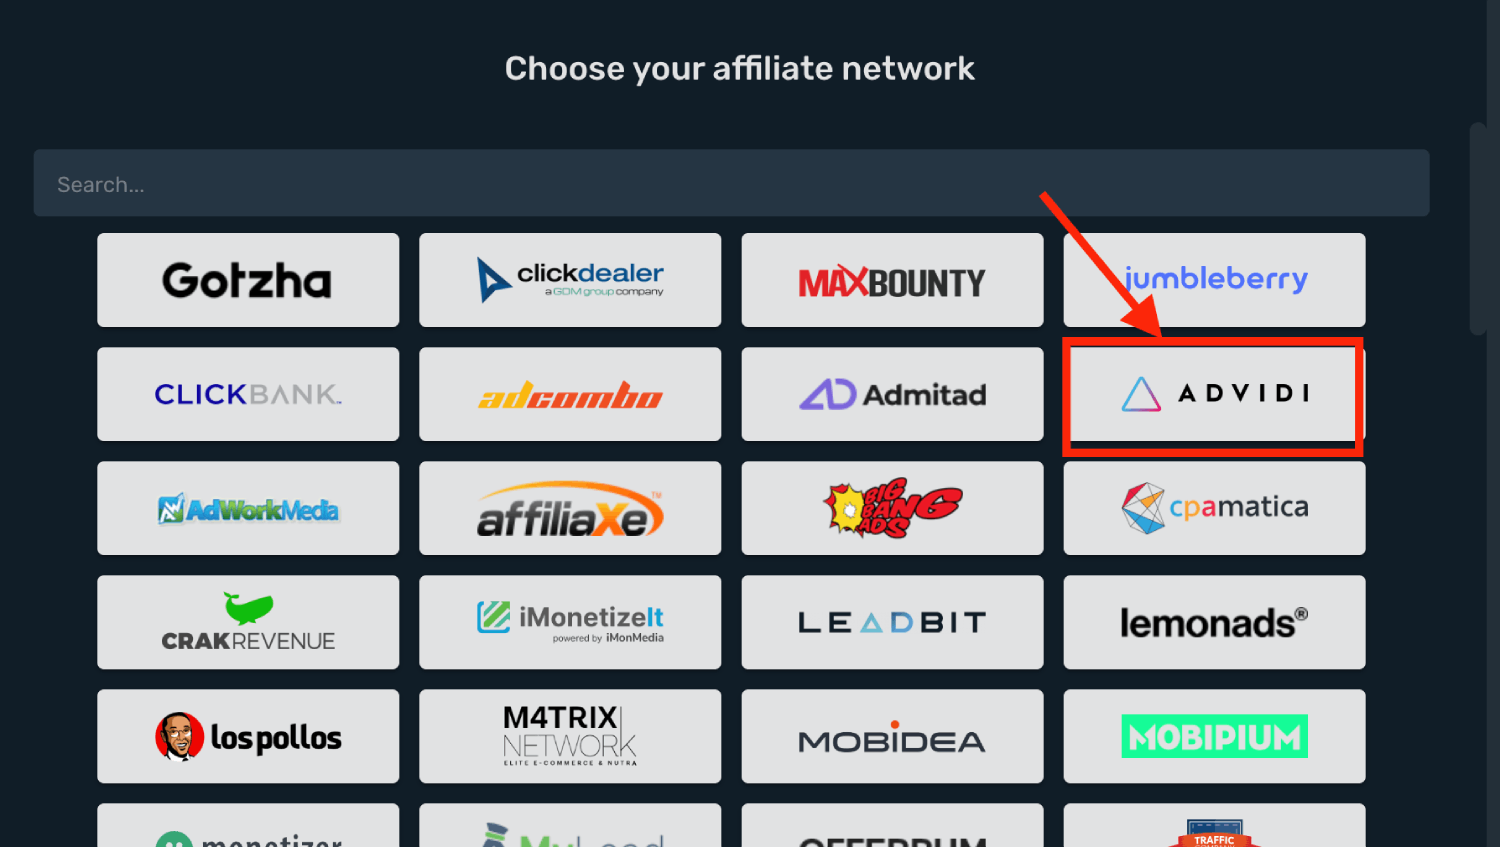
3. Select your **Workspace** and **Copy** postback URL to your clipboard.
4. Click **Save & Close**.
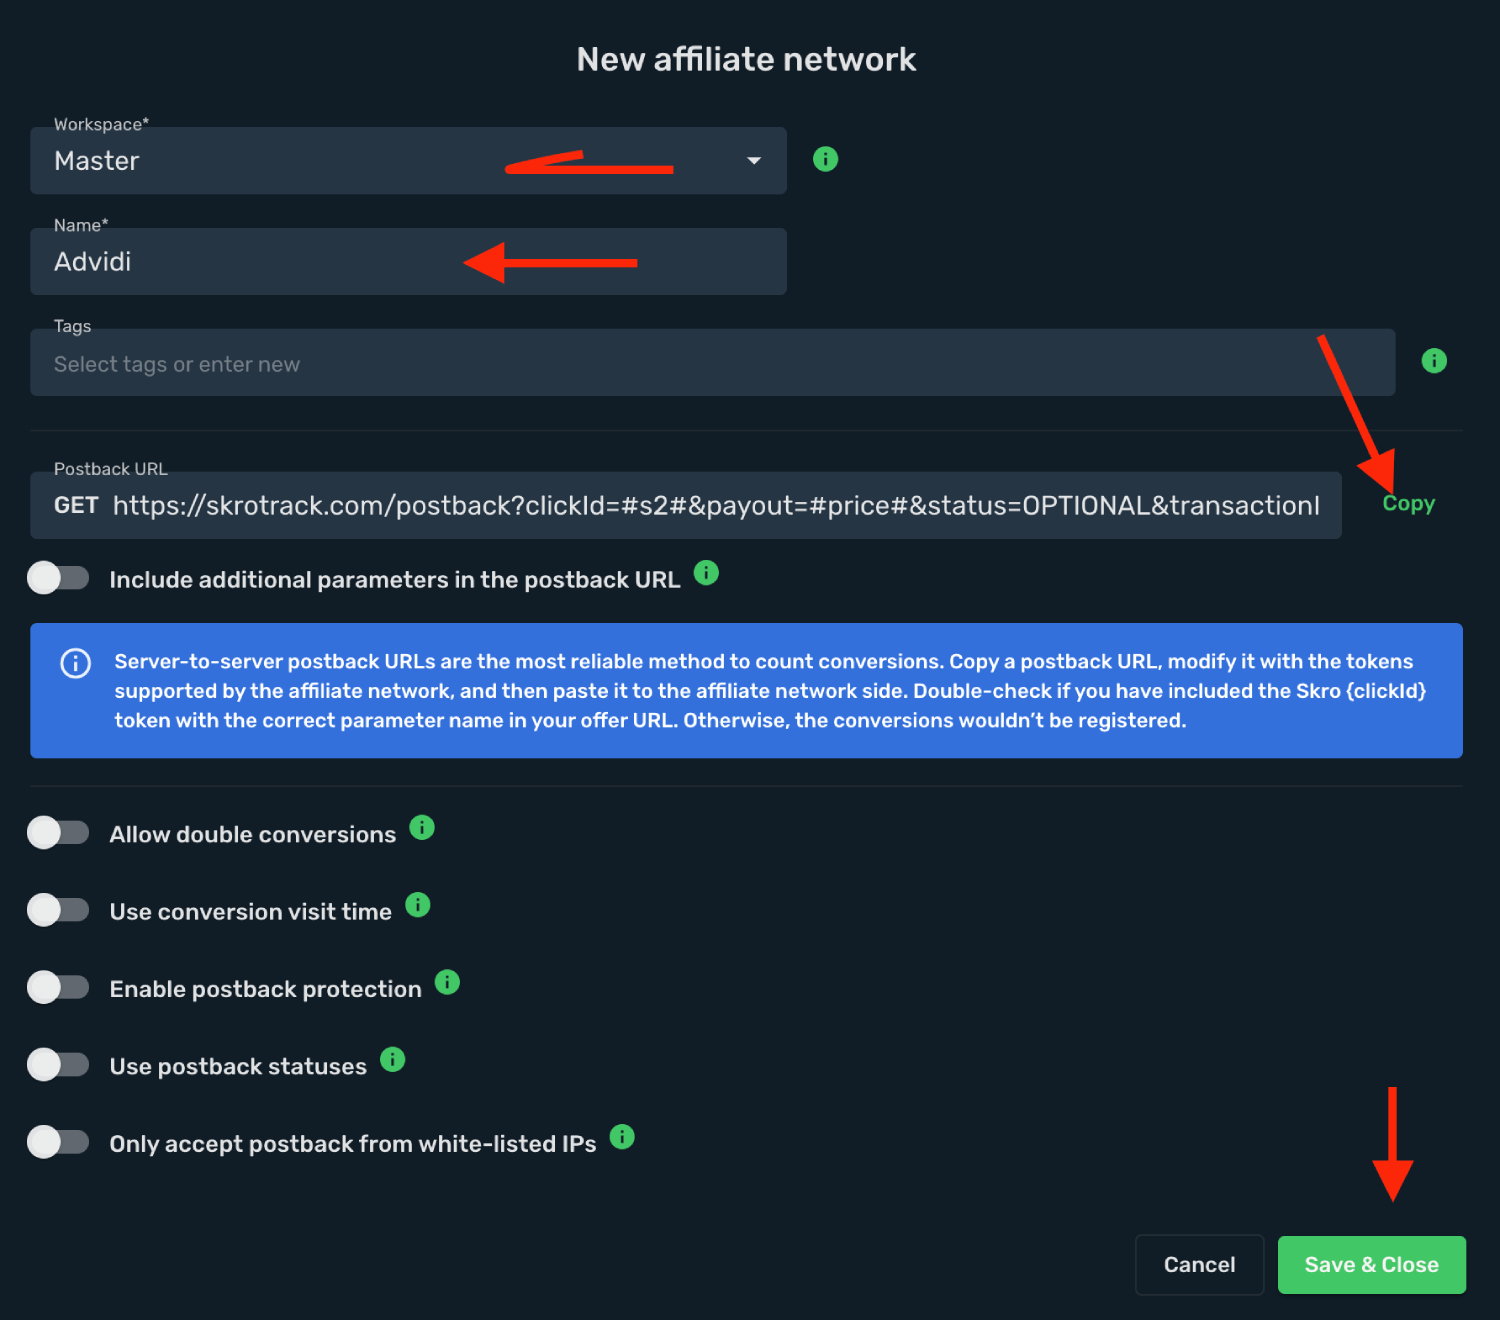
The Advidi affiliate network is now saved in Skro. Use the copied postback URL in Advidi in the next step.
## Step 2. Setting up a postback URL [#step-2-setting-up-a-postback-url]
1. Log in to **Advidi** account.
2. Go to **Offers**.
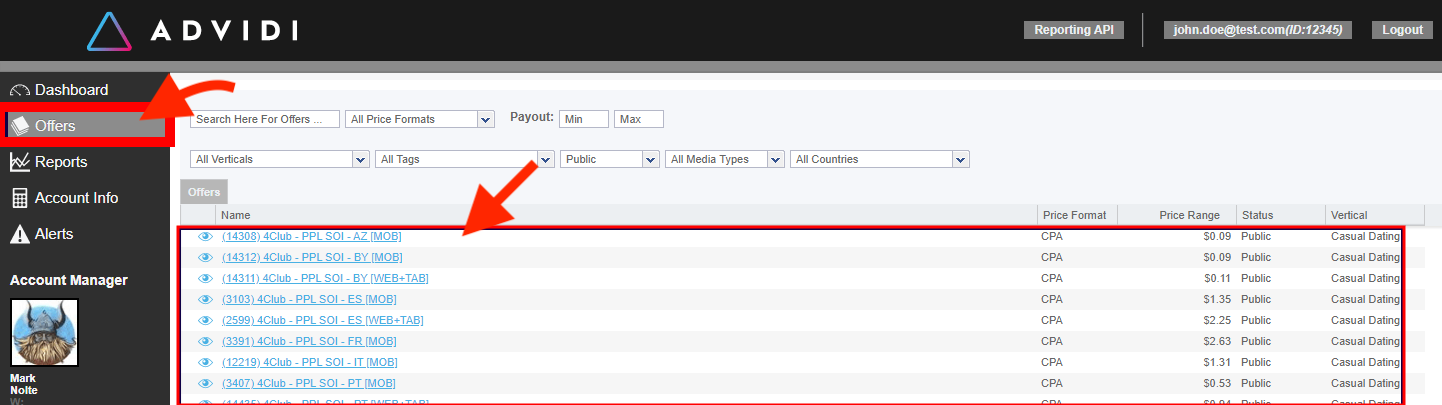
3. Choose your offer and click it.
4. Go to the **Testing & Tracking tab** and paste your postback URL.
5. Click **Save** to store the settings.
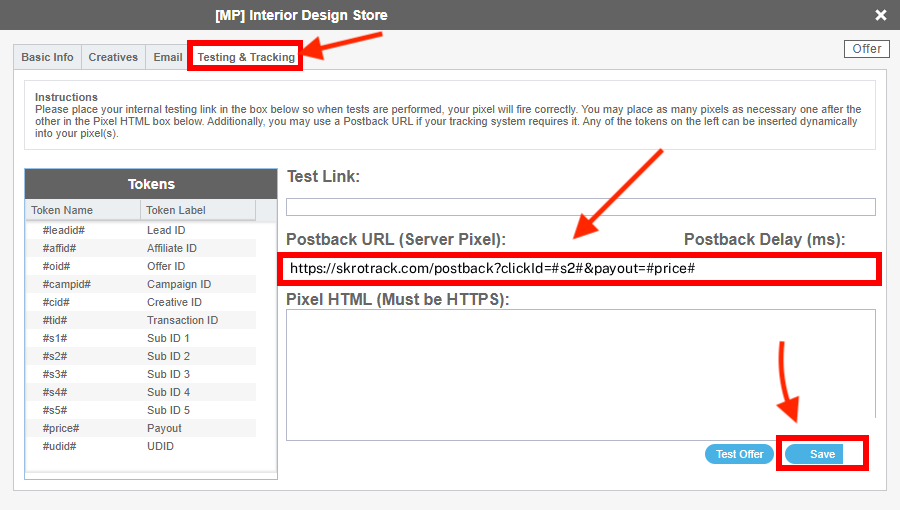
**Global Postback**
`https://skrotrack.com/postback?clickId=#s2#&payout=#price#`
## Step 3. Get an offer from Advidi [#step-3-get-an-offer-from-advidi]
1. Go to **Offers** section on the panel.
2. Select your offer from the list and click it.

3. Go to the **Creatives** tab and copy your offer link.
## Step 4. Add offer to Skro [#step-4-add-offer-to-skro]
1. Go back to Skro and navigate to the **Offers** and click **Create**.
2. Choose your workspace.
3. Give a name to your offer.
4. Grab the offer link from Advidi and add it to Offer URL field and change the macros to this **`&s2={clickId}`**
**`{clickId}`** - The Skro click ID macro for conversion tracking.
**Example Offer URL:**
`https://cmsa.trck.com/?a=12345&c=12345&s2={clickId}`
5. Choose Advidi from the **Affiliate Network** select box.
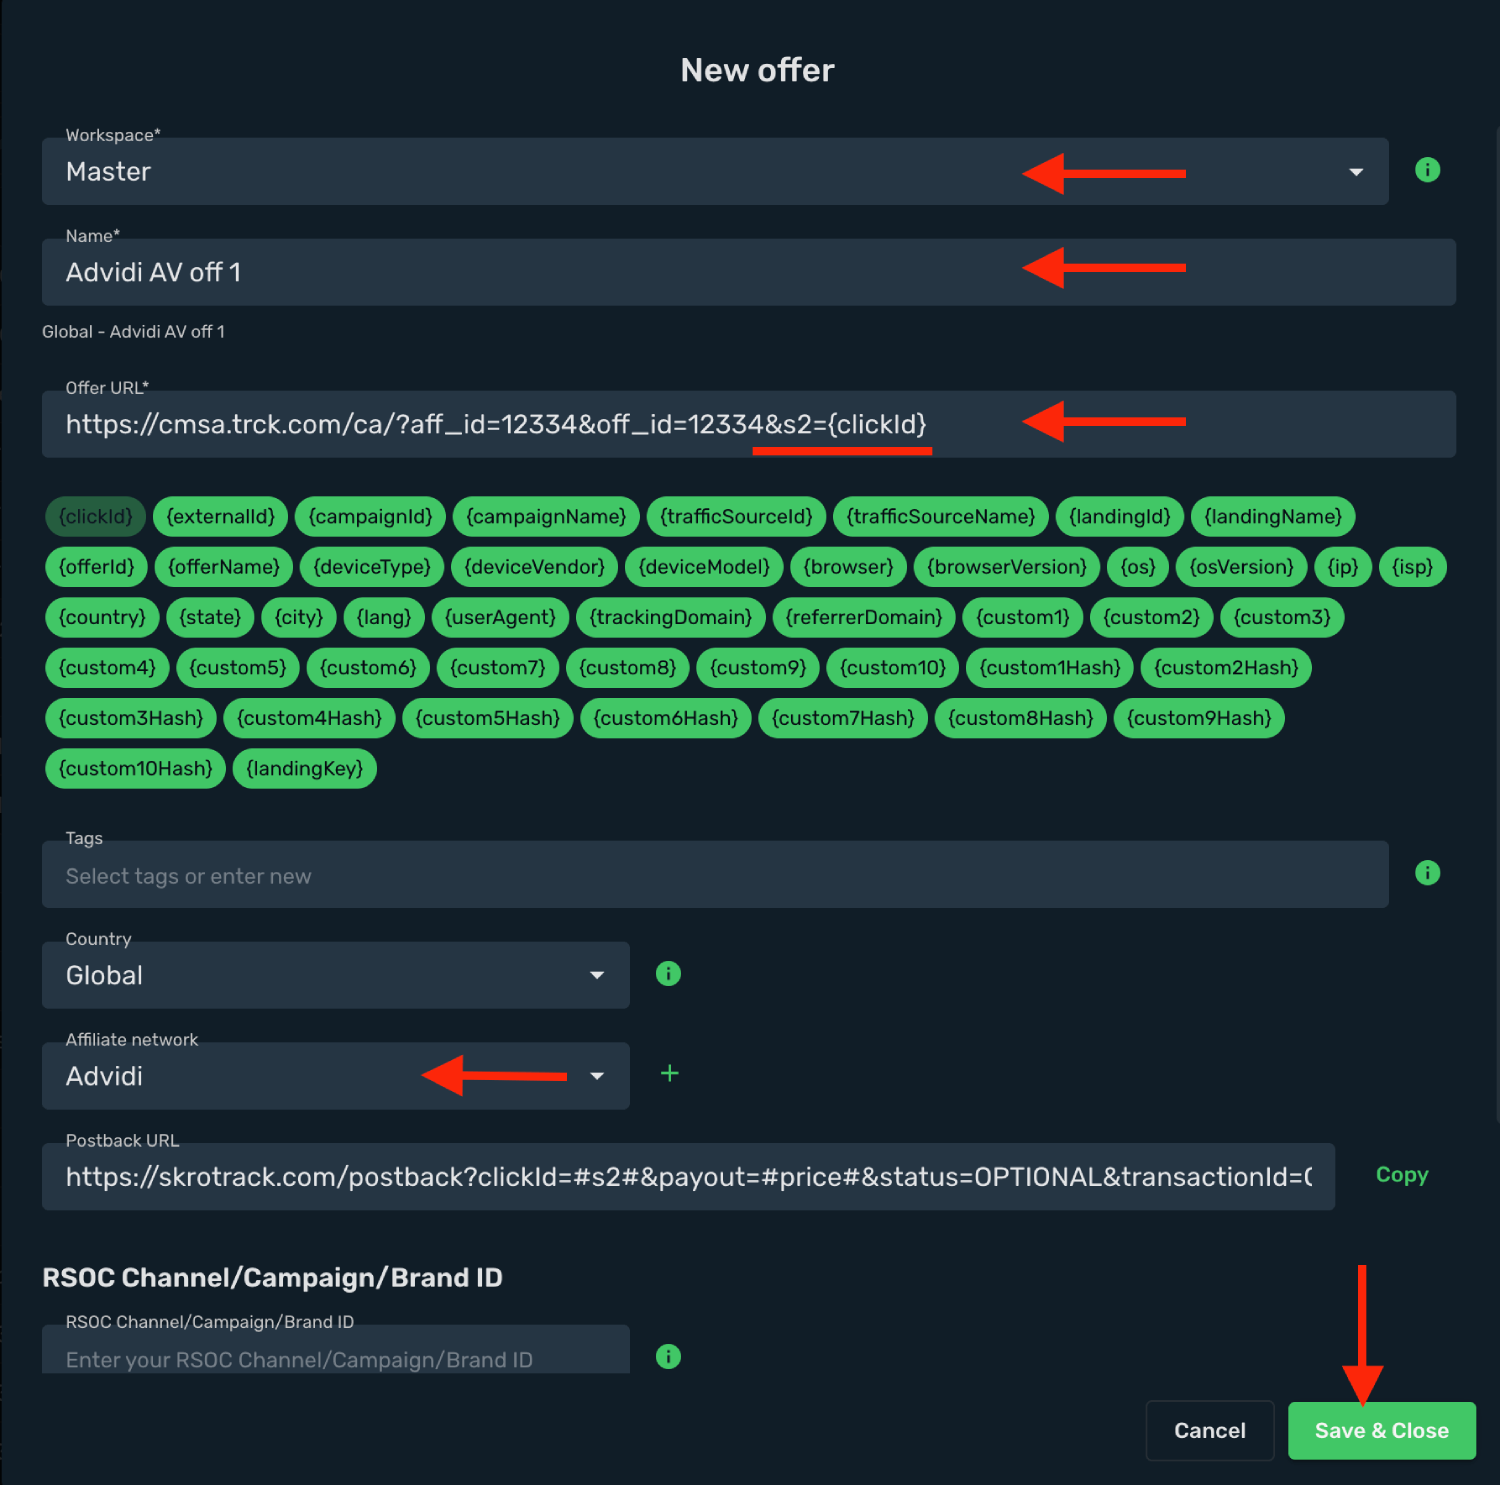
6. Click **Save & Close**.
## Step 5. Create a campaign on Skro [#step-5-create-a-campaign-on-skro]
1. Start with the following guide:
## Verify the setup [#verify-the-setup]
Follow a campaign link and complete a test conversion using your provider’s test workflow. Confirm that the original click ID reaches the provider and is returned to Skro, then check the event and revenue in your campaign report.
If data is missing, check the selected workspace, integration, campaign, and reporting date range. Compare parameter names and macro values with the examples in this guide before repeating the test.
## Related guides [#related-guides]
# BidVertiser integration
Source: https://skro.eu/docs/integrations/bidvertiser-and-skro-integration
Set up BidVertiser tracking in Skro, configure traffic source parameters, and connect your advertising campaigns.
## Step 1. Create an BidVertiser traffic source and configure the postback URL [#step-1-create-an-bidvertiser-traffic-source-and-configure-the-postback-url]
1. Go to **Traffic Sources** and click **+ Create**.
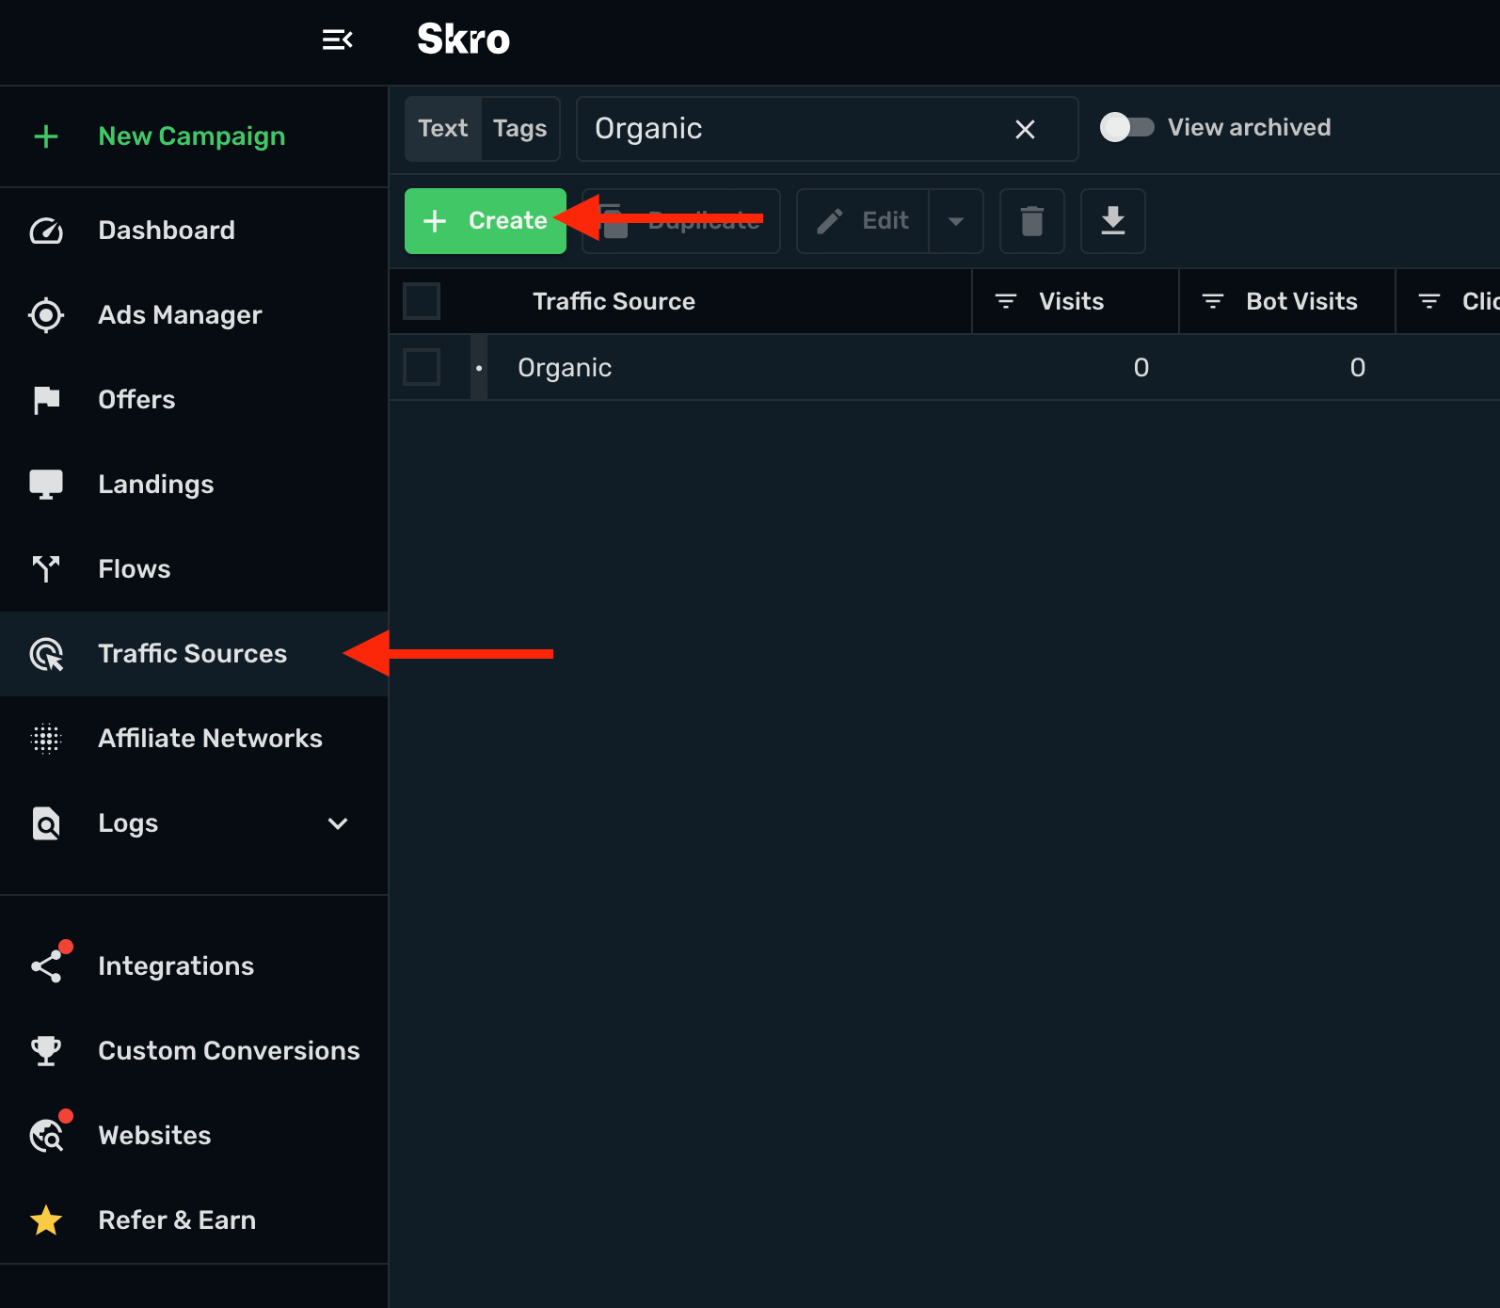
2. Search for **bidvertiser** and click the **BidVertiser** template.
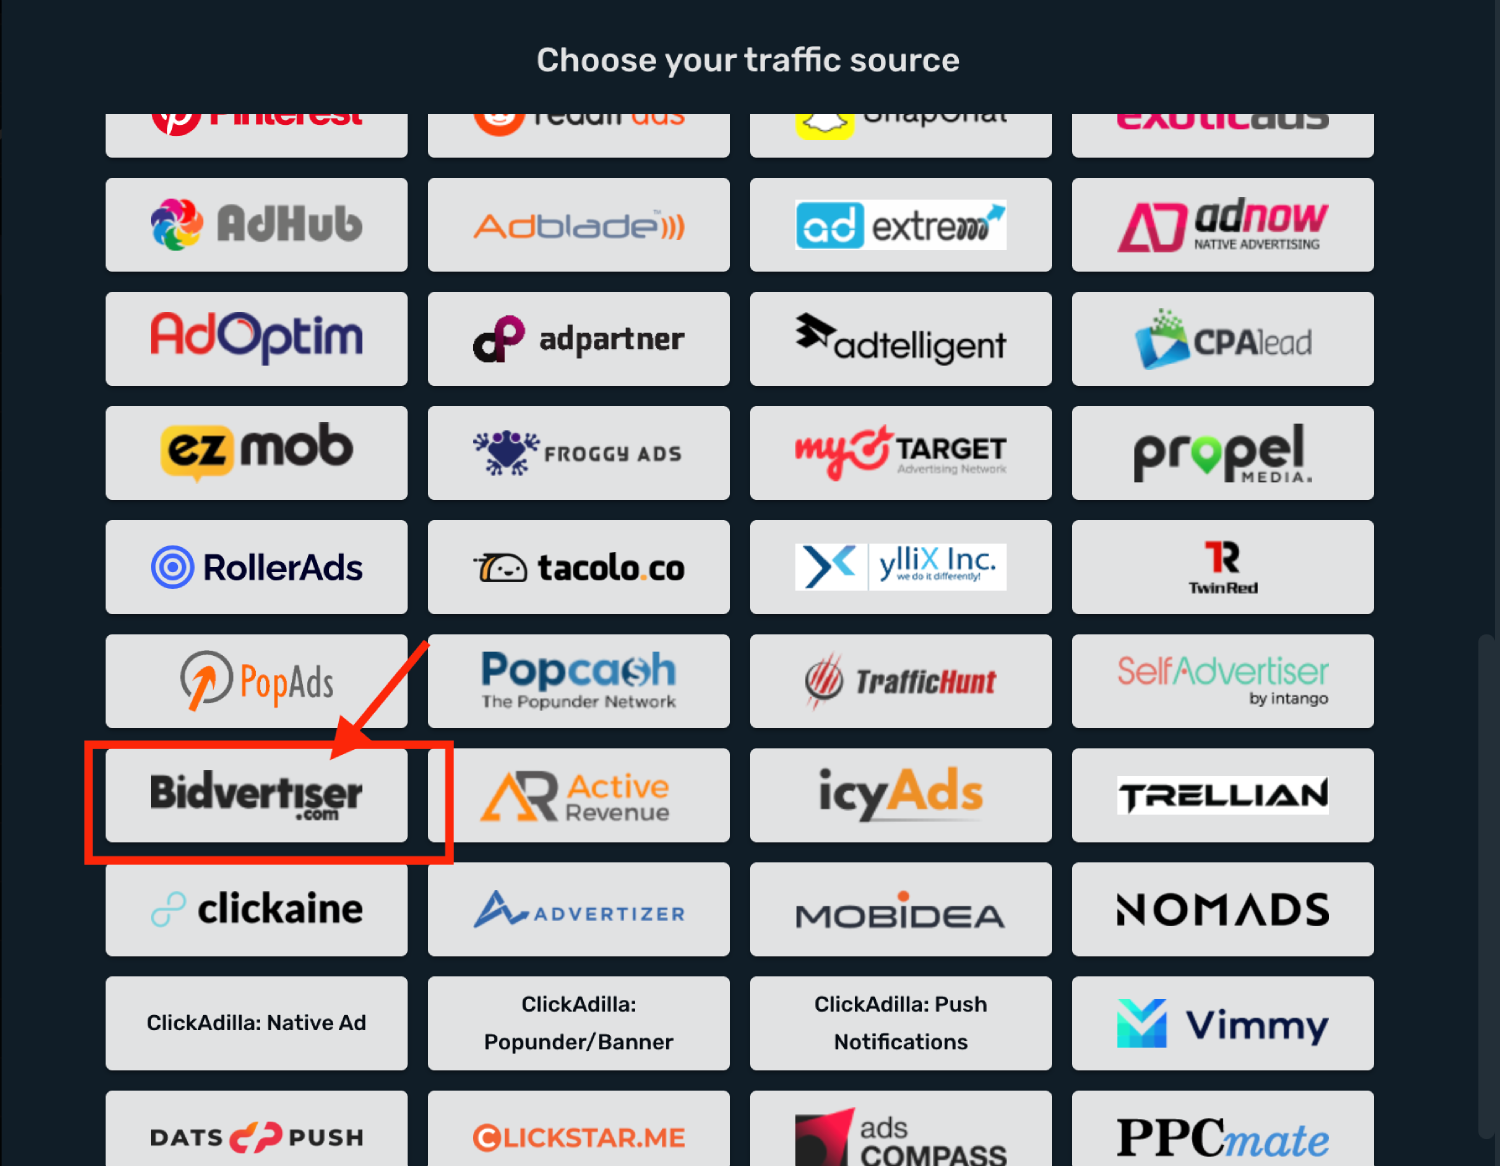
3. You need to modify **Traffic Source Postback URL**.
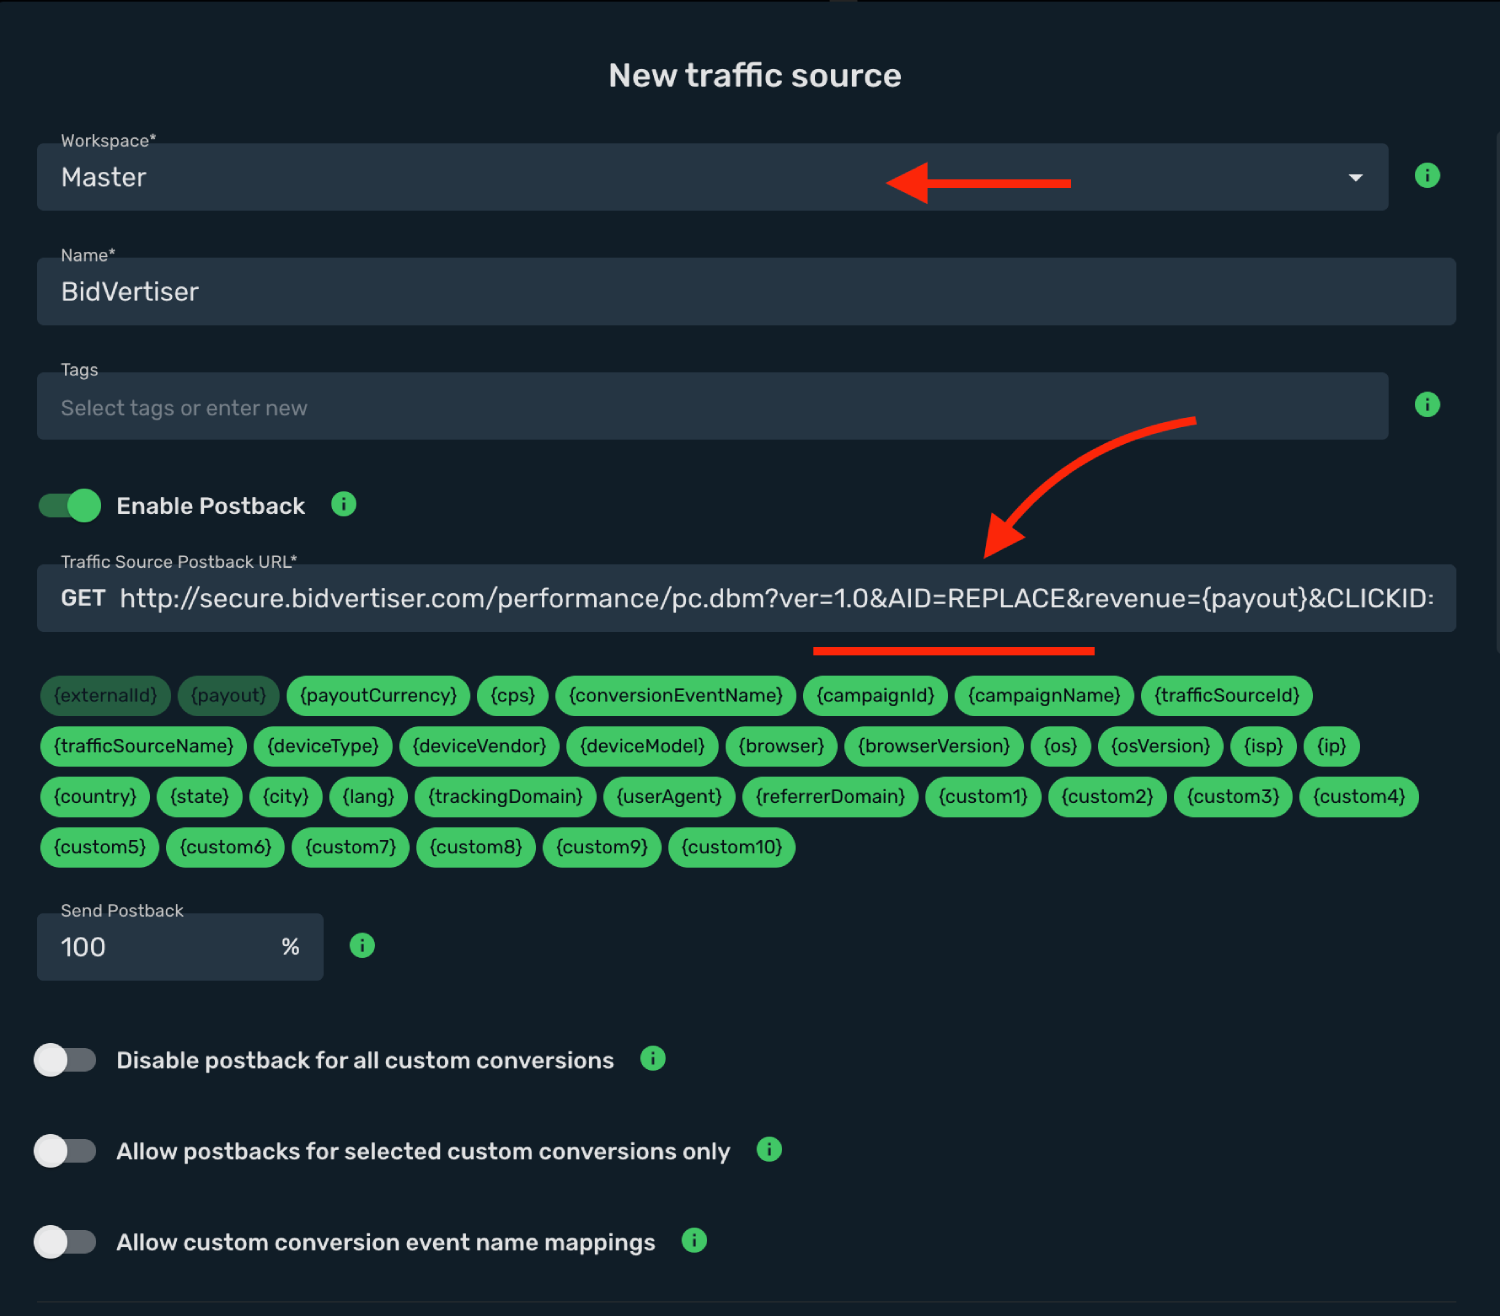
4. Log in to your **BidVertiser** account.
5. Go to **Global Postback** → **Activate Postback** → **Manage Postbacks**.
6. Copy the **Postback URL** to your clipboard
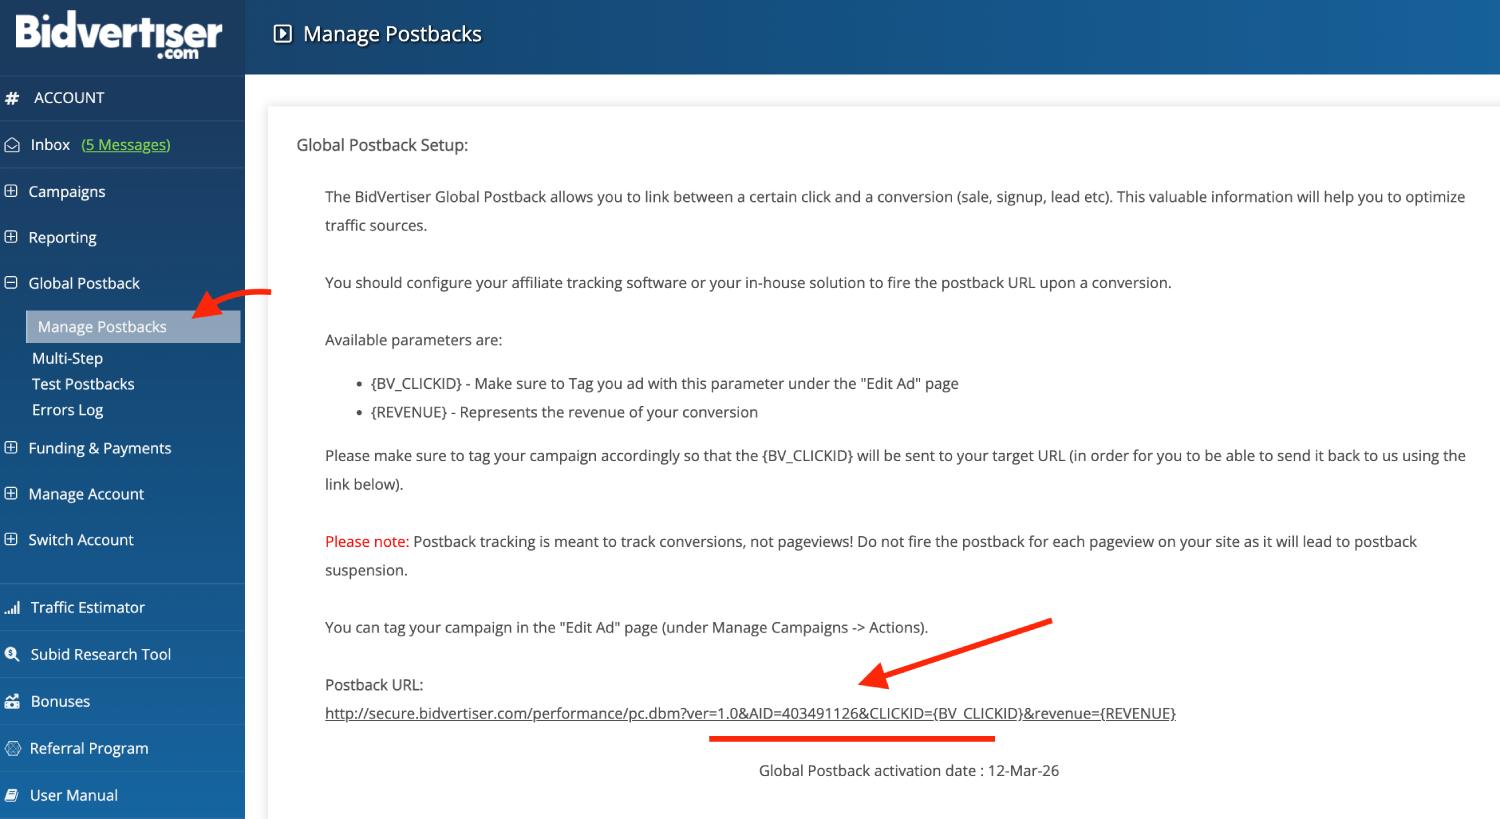
7. Go back to **Skro** and replace the postback URL with the updated values.
8. Replace the **AID** parameter value with real token value **`?AID=12345`**
9. Final postback URL must look similar to this:
`http://secure.bidvertiser.com/performance/pc.dbm?ver=1.0&AID=12345&revenue={payout}&CLICKID={externalId}`
**`CLICKID={externalId}`** - BidVertiser Click ID.
**`revenue={payout}`** - Conversion Payout.
10. All tracking parameters are already prefilled for you.
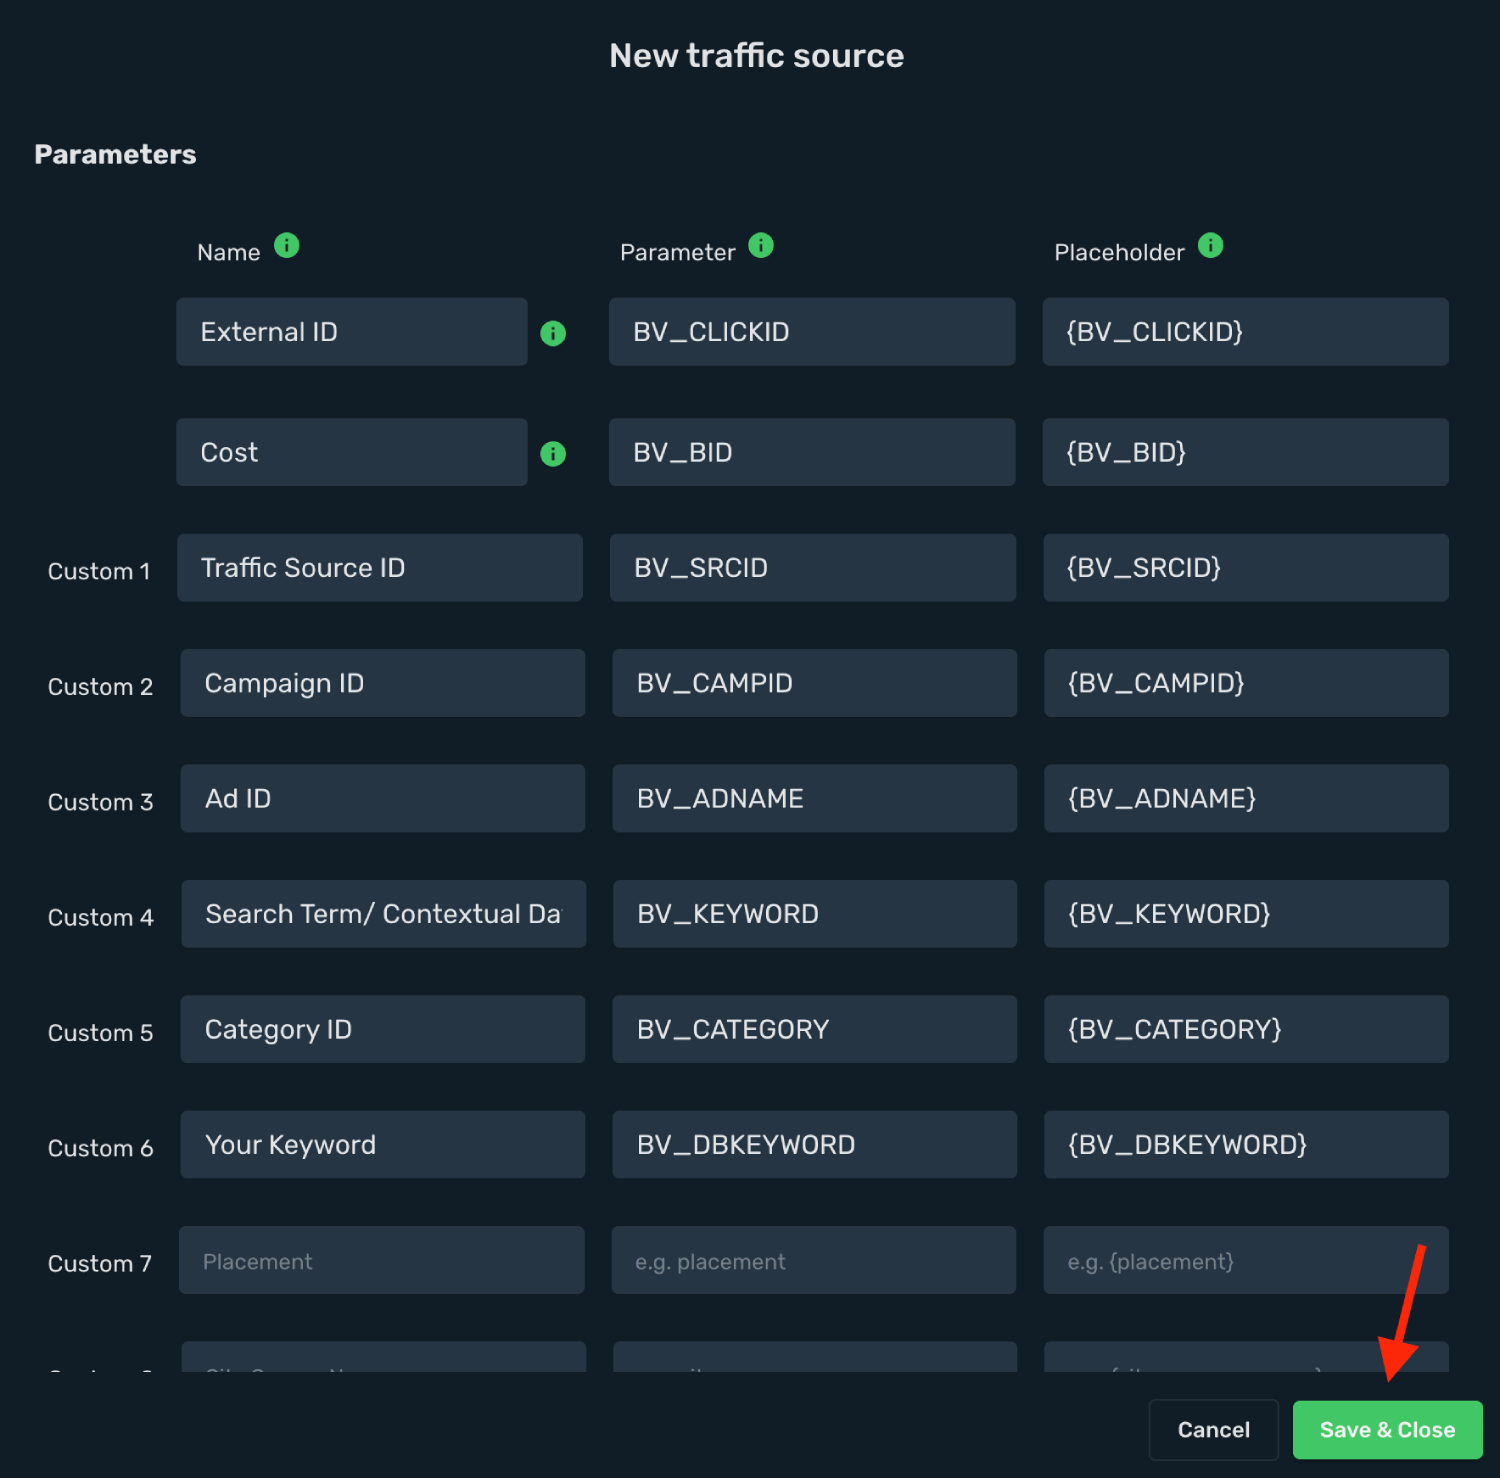
11. Click **Save & Close**.
Integration setup is complete, and you are now ready to create your first campaign.
## Step 2. Create a campaign in Skro [#step-2-create-a-campaign-in-skro]
1. Go to **Ads Manager** and click the **Create**.
2. Select your **Traffic source** and click **Next**.
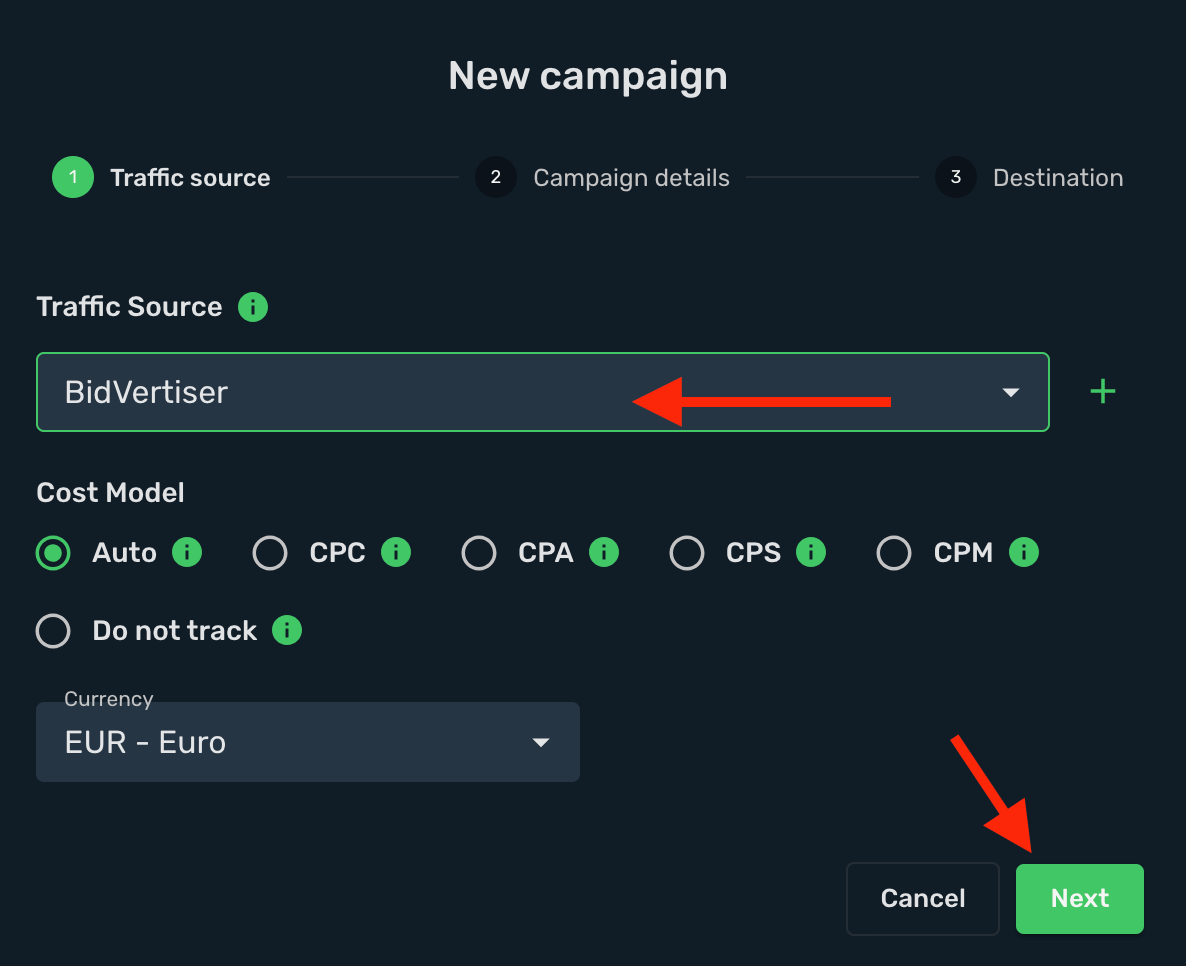
3. Select a **Workspace** for your campaign.
4. Give a **name** and click **Next**.
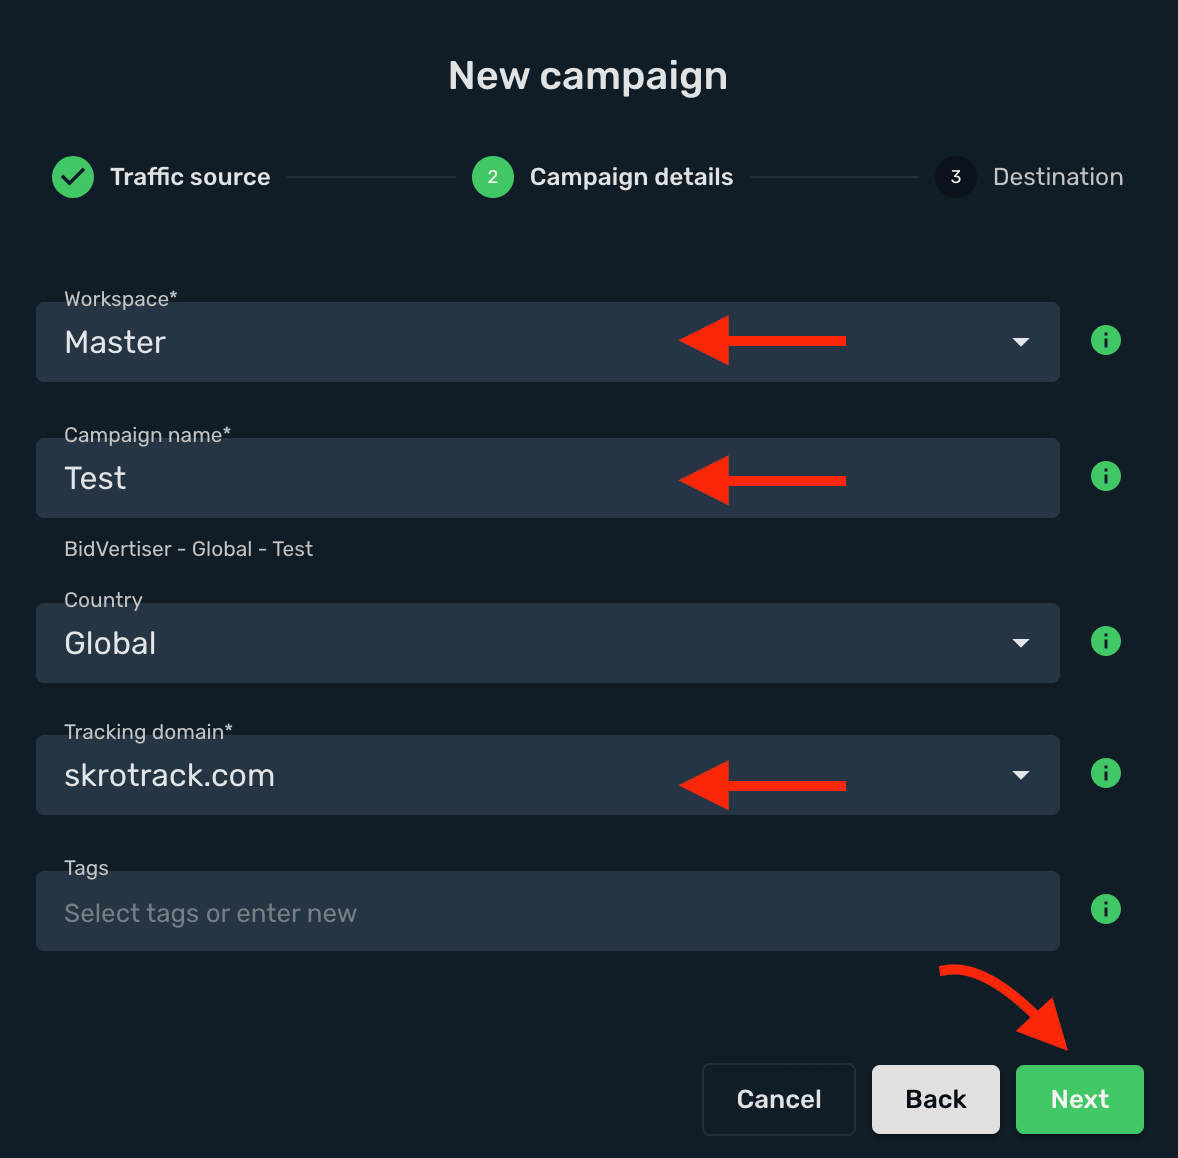
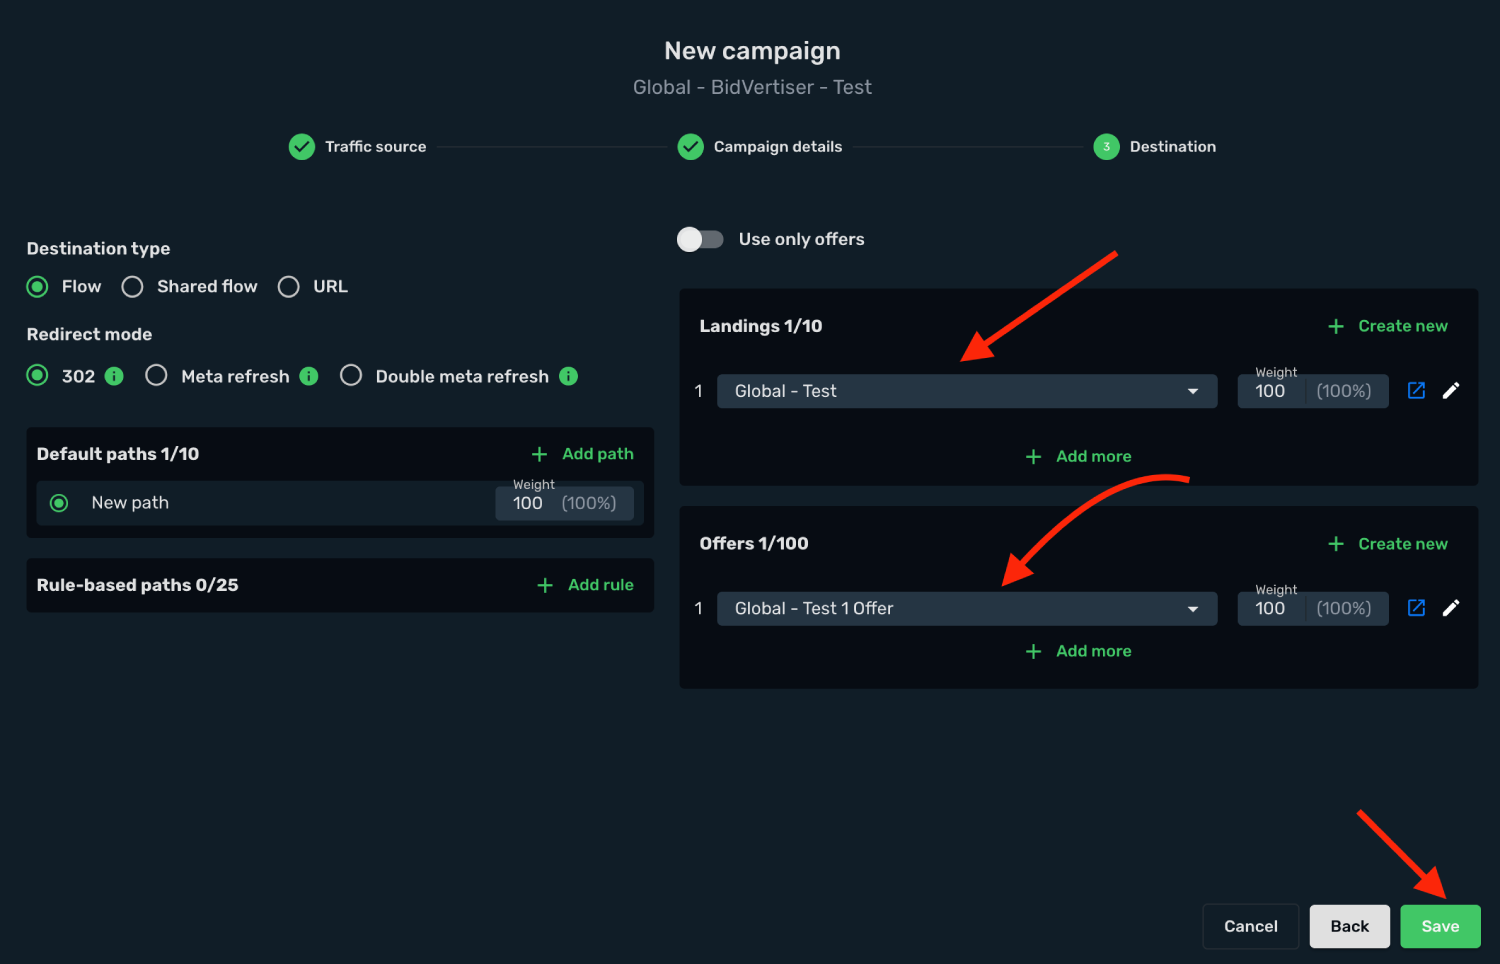
5. Select or create all your **landings** and **offers**.
6. Click the **Save**.
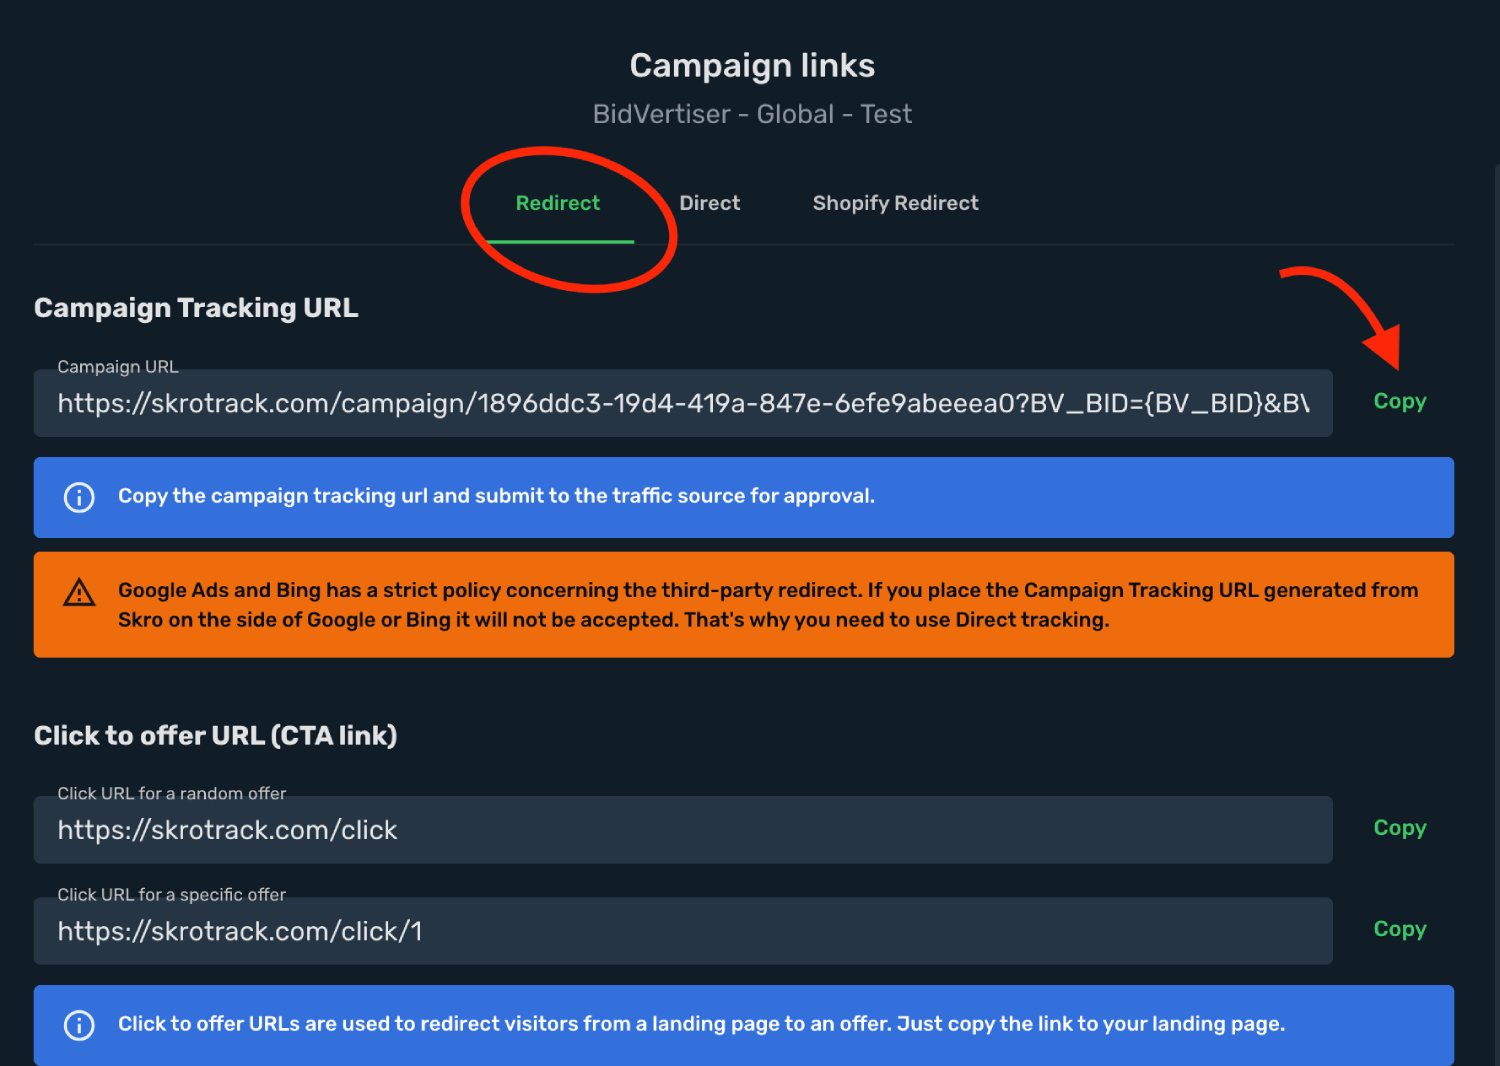
7. Copy the **Campaign Tracking URL** to clipboard.
## Step 3. Create a campaign in BidVertiser [#step-3-create-a-campaign-in-bidvertiser]
1. Log in to your **BidVertiser** account.
2. Go to the **Campaigns** section and click the **Create New Campaign**.
3. Select your **Ad Format** and click **Create ...**.
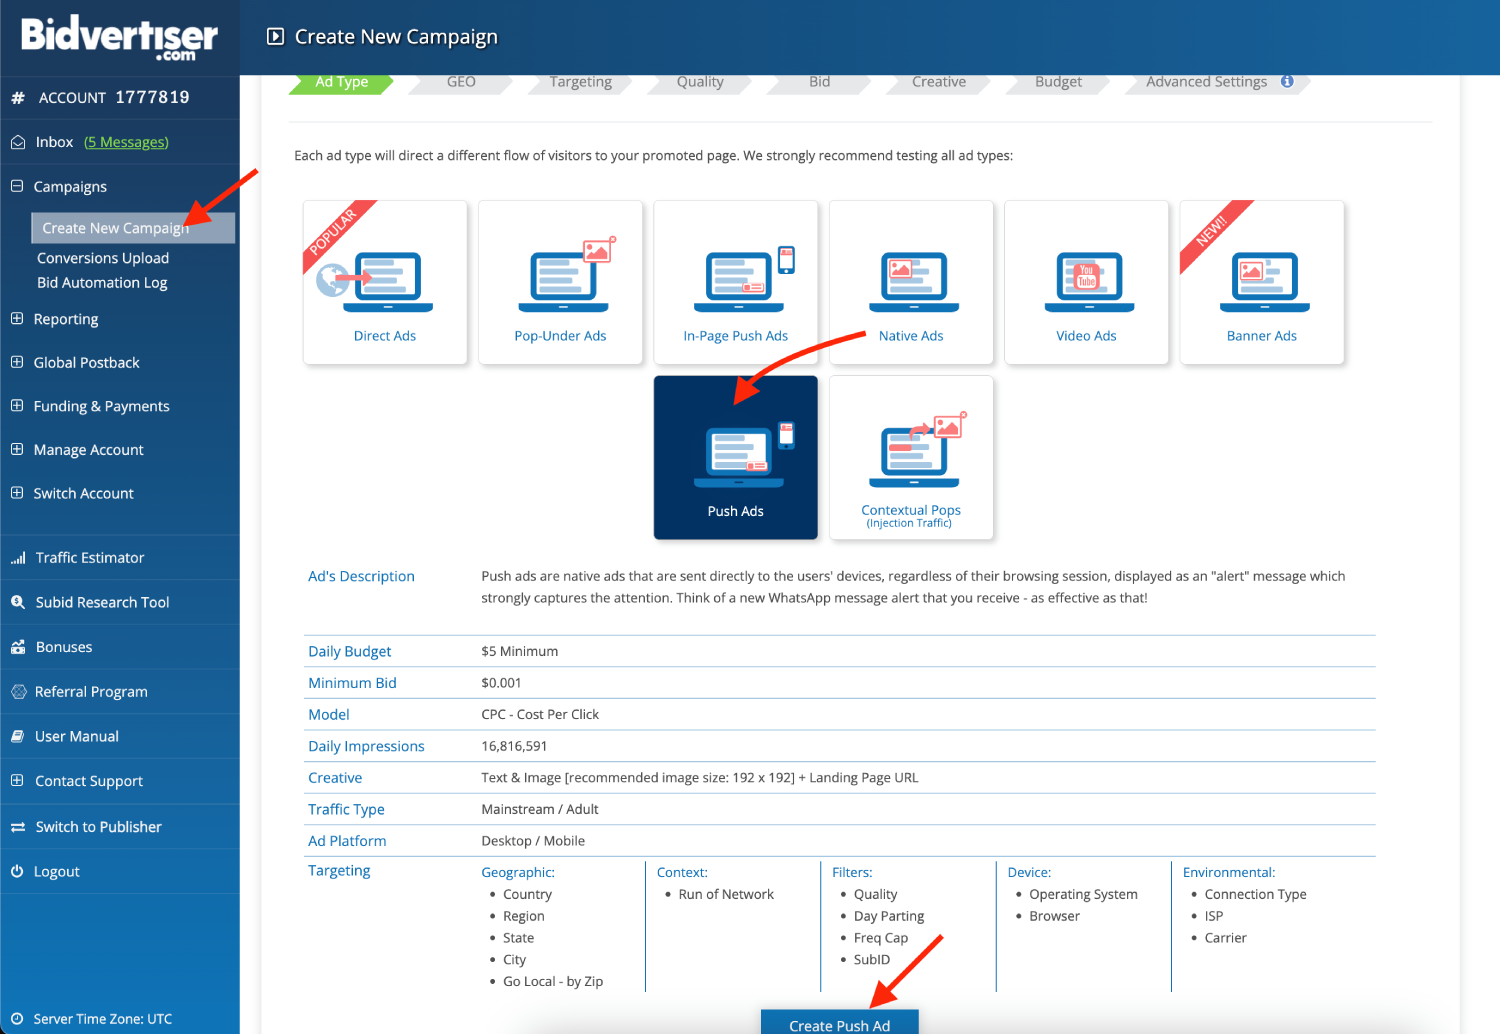
4. Fill all fields for **GEO** → **Quality** → **Bid**.
5. Paste the **Skro campaign tracking link** into the **Destination URL** field, including all tracking parameters.
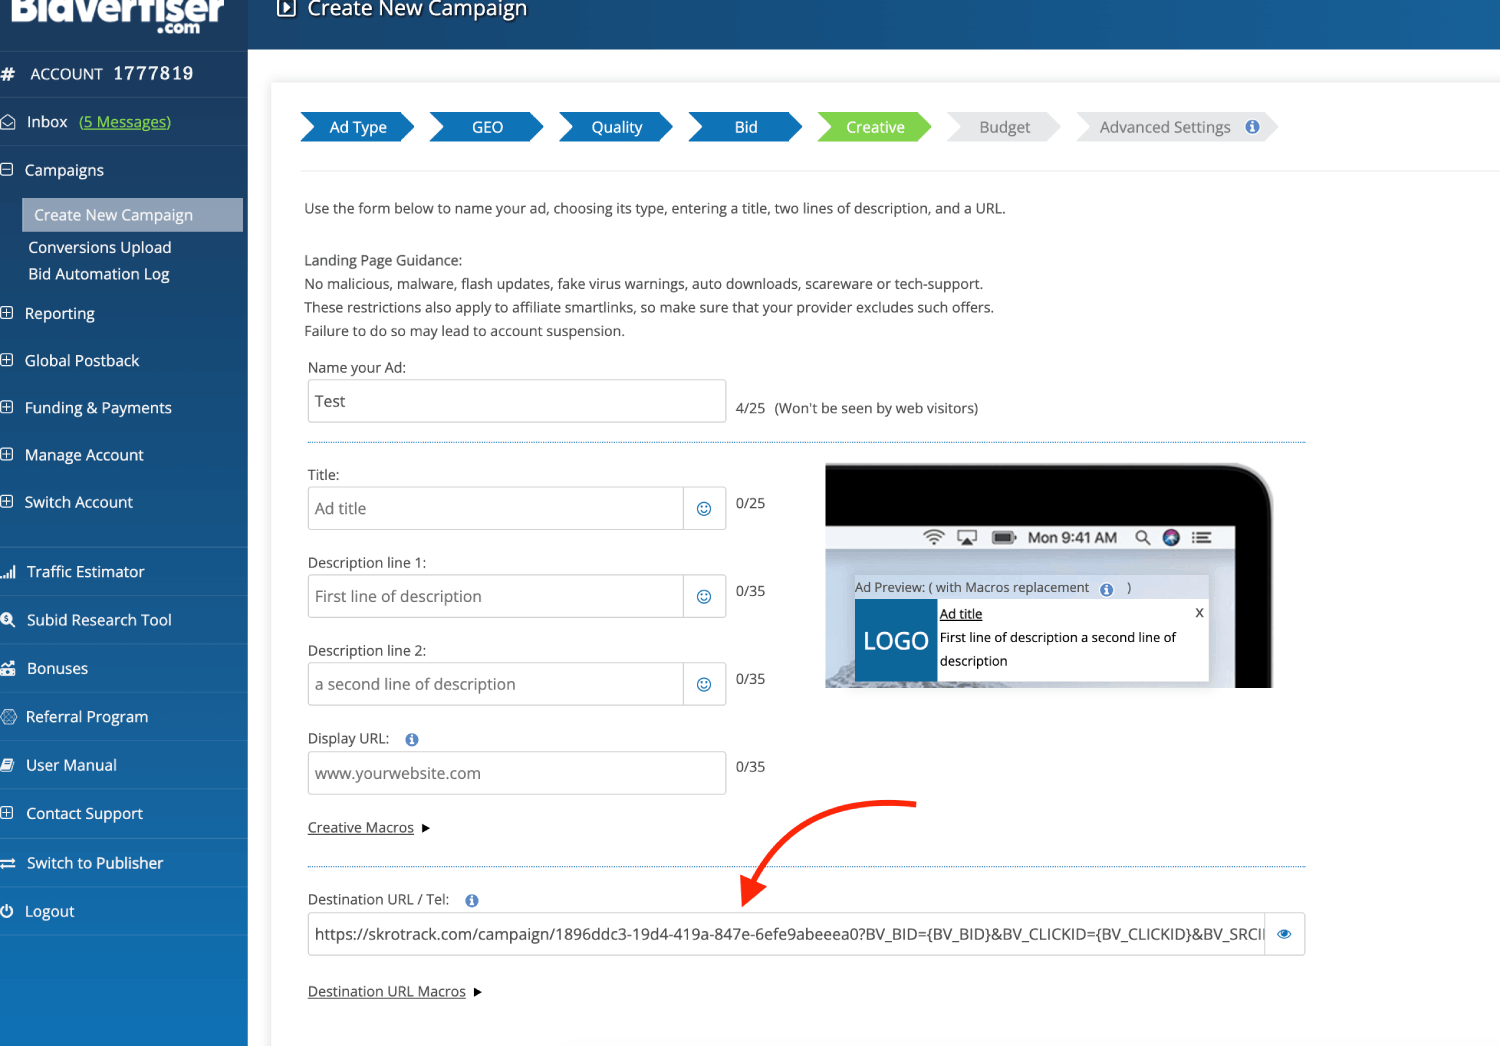
6. Complete the remaining campaign settings, then click **Create Campaign**.
7. After your campaign is approved on the side of BidVertiser, you can start driving traffic to your campaign and track all the data with Skro.
## Verify the setup [#verify-the-setup]
Open the generated campaign URL and check that the visit appears in Skro. Confirm that traffic source macros resolve to actual values. If you send conversions back to the source, verify a test conversion in both systems.
If data is missing, check the selected workspace, integration, campaign, and reporting date range. Compare parameter names and macro values with the examples in this guide before repeating the test.
## Related guides [#related-guides]
# Big Bang Ads integration
Source: https://skro.eu/docs/integrations/big-bang-ads-integration
Connect Big Bang Ads to Skro, map click IDs, and configure postbacks to attribute conversions and revenue to your campaigns.
## Step 1. Add affiliate network to Skro [#step-1-add-affiliate-network-to-skro]
1. Go to **Affiliate Networks** and click **Create**.
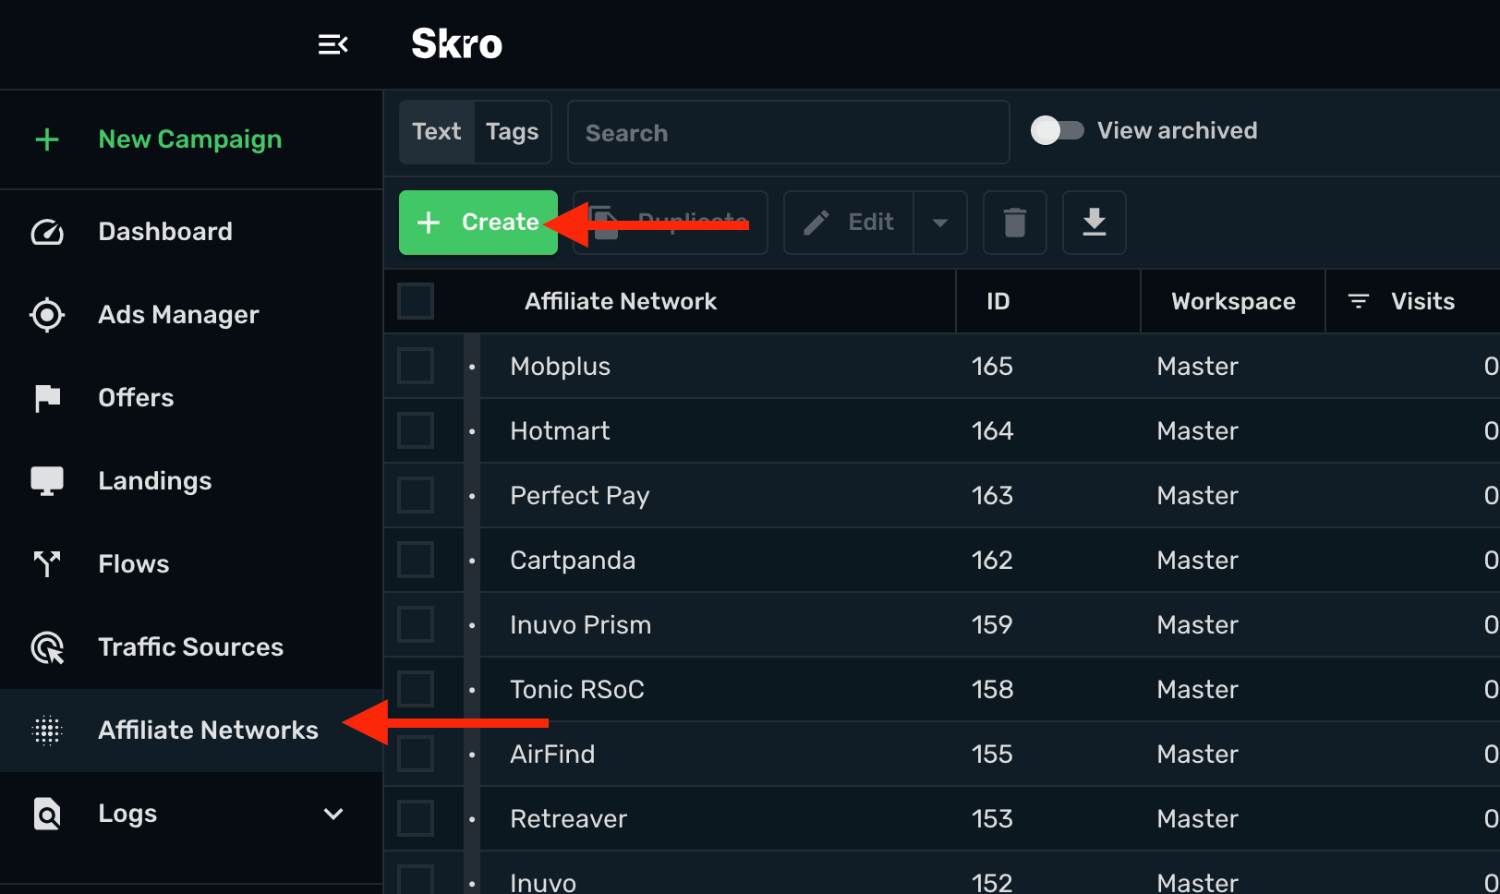
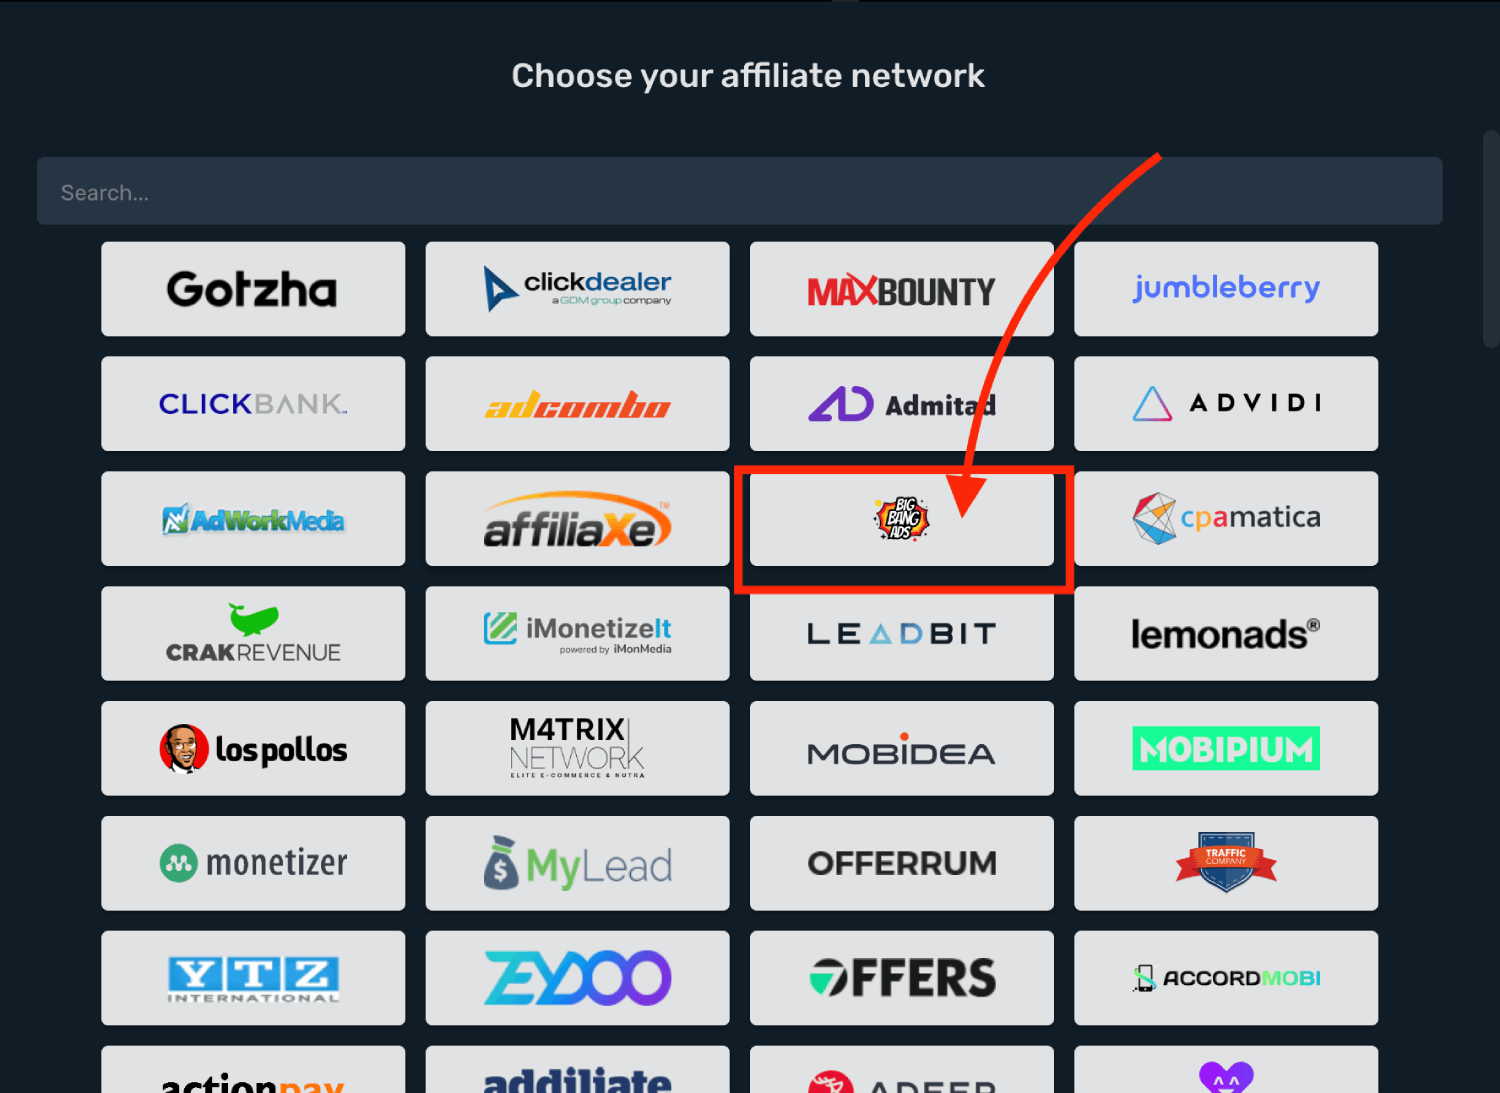
2. Search Big Bang Ads and select the **Big Bang Ads** template.
3. Select your **Workspace** and **Copy** postback URL to your clipboard.
4. Click **Save & Close**.
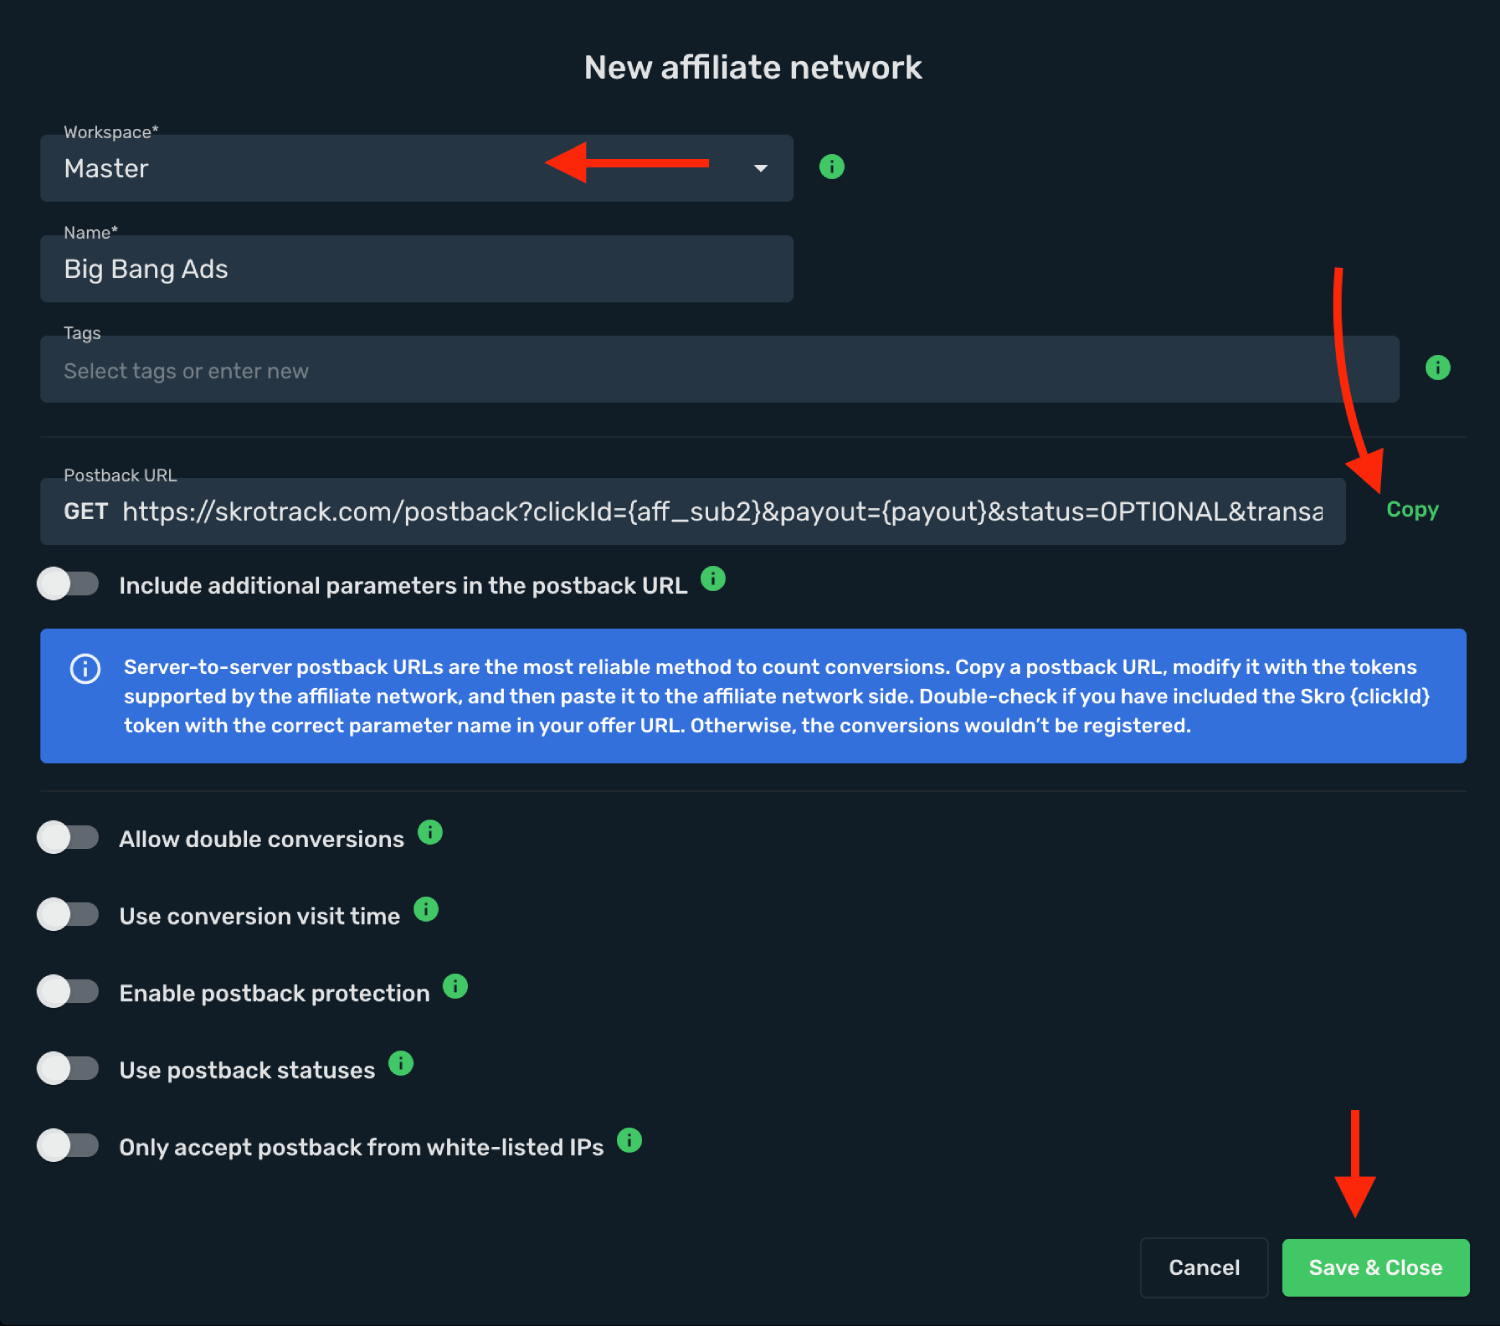
The Big Bang Ads affiliate network is now saved in Skro. Use the copied postback URL in Big Bang Ads in the next step.
## Step 2. Setting up a postback URL [#step-2-setting-up-a-postback-url]
1. Log in to **Big Bang Ads** account.
2. Go to **Offers** → **All Offers**.
3. Select your offer from the list and click it and **request approval**.
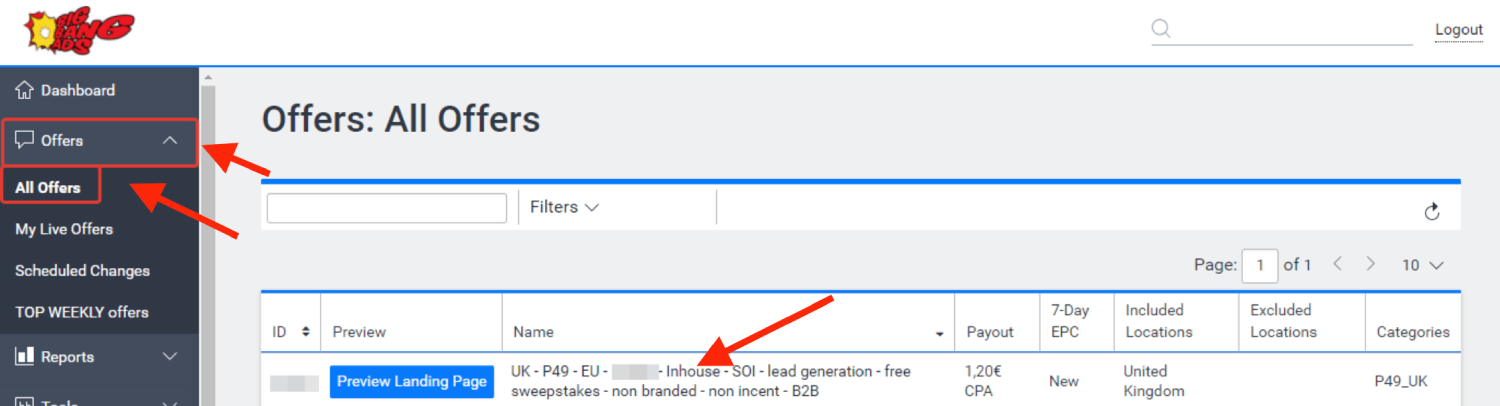
4. Once your offers is approved, you can find your offer from **My Live Offers** page.
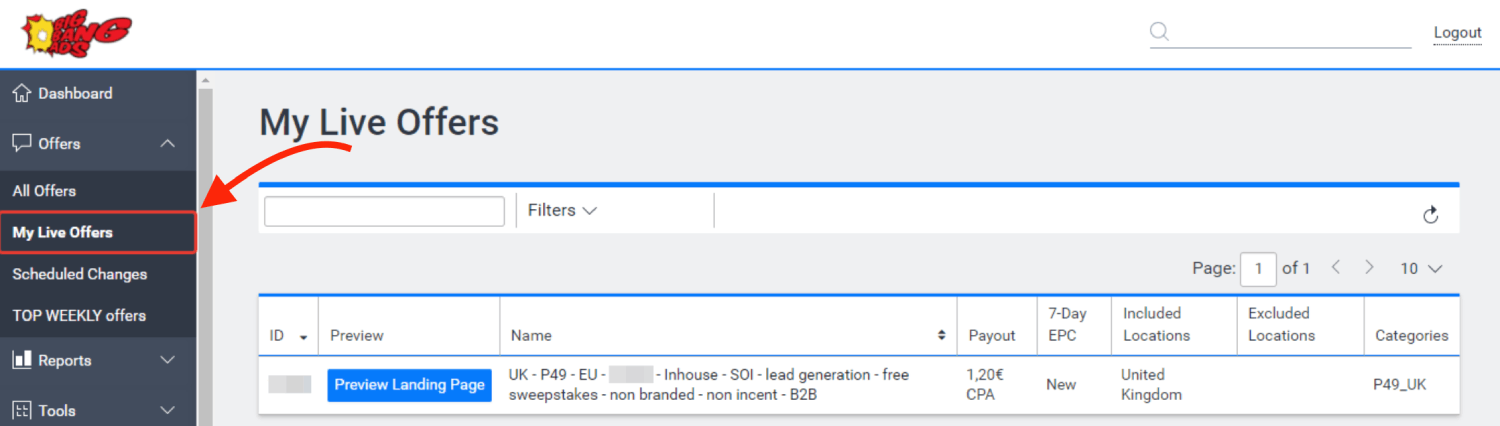
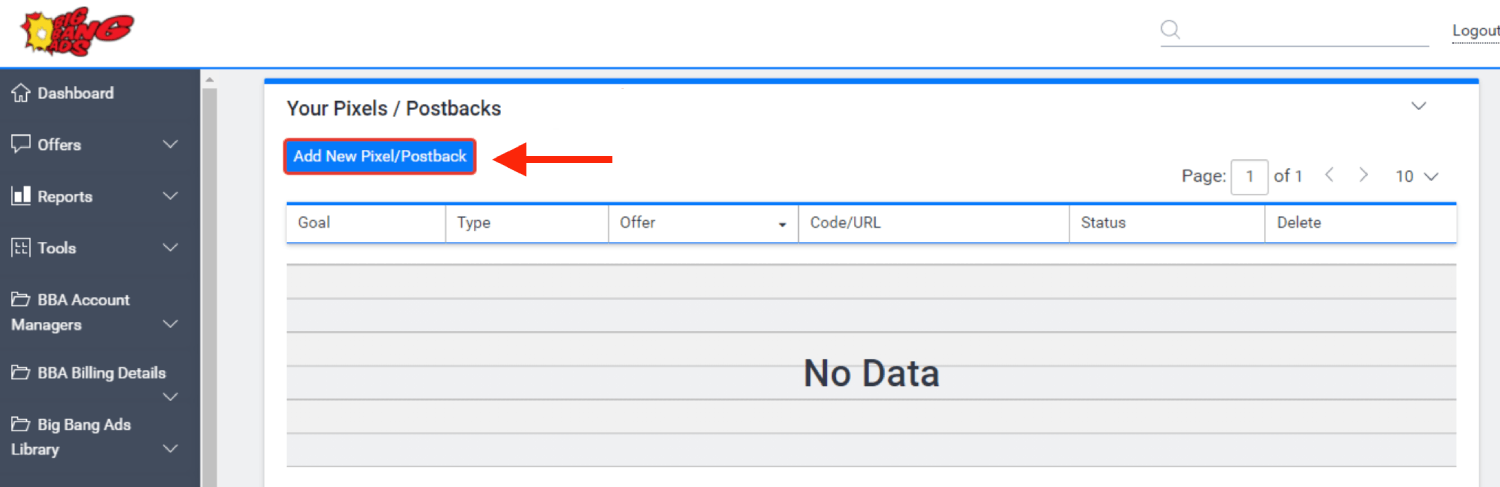
5. Go to offer **settings**s and scroll down to **Your Pixels / Postbacks** section.
6. Click **Add New Pixel/Postback**.
7. Select Postback URL as the code type.
8. Paste Postback URL in the code field.
9. Click **Create**.
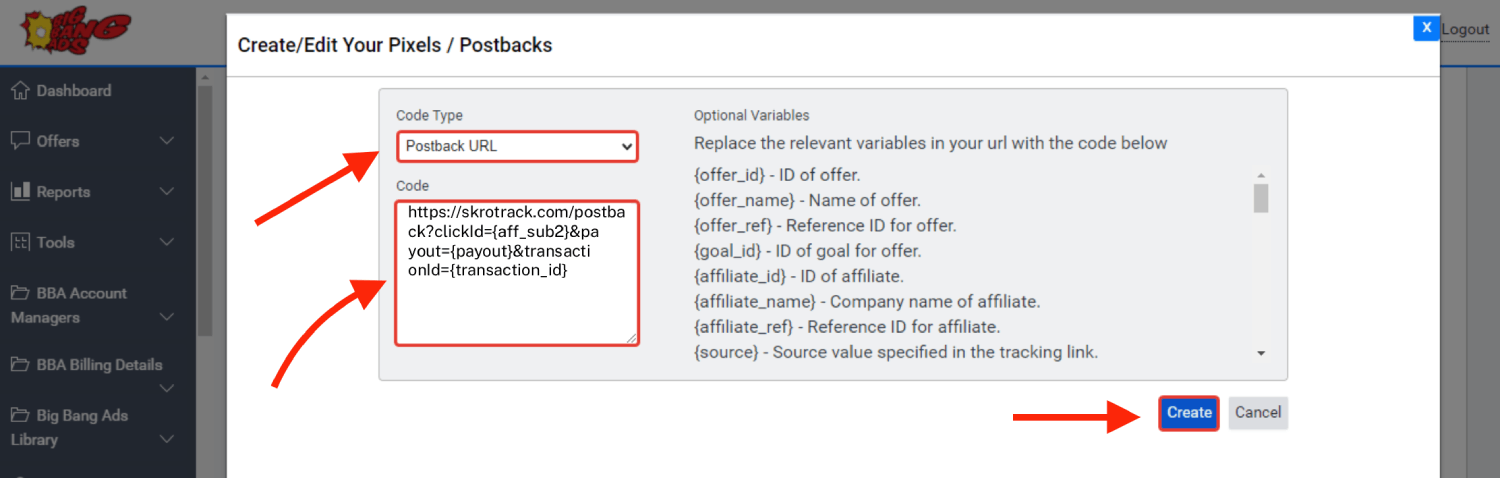
**Global Postback**
`https://skrotrack.com/postback?clickId={aff_sub2}&payout={payout}&transactionId={transaction_id}`
## Step 3. Get an offer from Big Bang Ads [#step-3-get-an-offer-from-big-bang-ads]
1. Go to **Offers** → **My Live Offers** → **Settings**.
2. Copy the offer URL from the **Your Tracking Link** field.
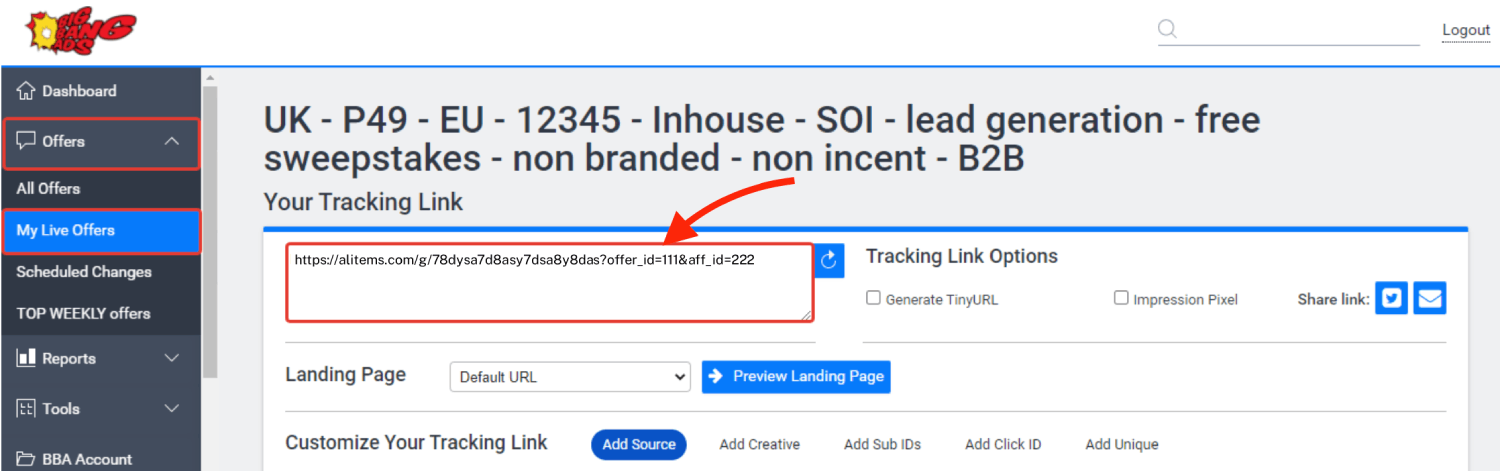
## Step 4. Add offer to Skro [#step-4-add-offer-to-skro]
1. Go back to Skro and navigate to the **Offers** and click **Create**.
2. Choose your workspace.
3. Give a name to your offer.
4. Grab the offer link from Big Bang Ads and add it to Offer URL field and change the macros to this **`&aff_sub2={clickId}`**
**`{clickId}`** - The Skro click ID macro for conversion tracking.
**Example Offer URL:**
`https://alitems.com/g/78dysa7d8asy7dsa8y8das?offer_id=111&aff_id=222&aff_sub2={clickId}`
5. Choose Big Bang Ads from the **Affiliate Network** select box.
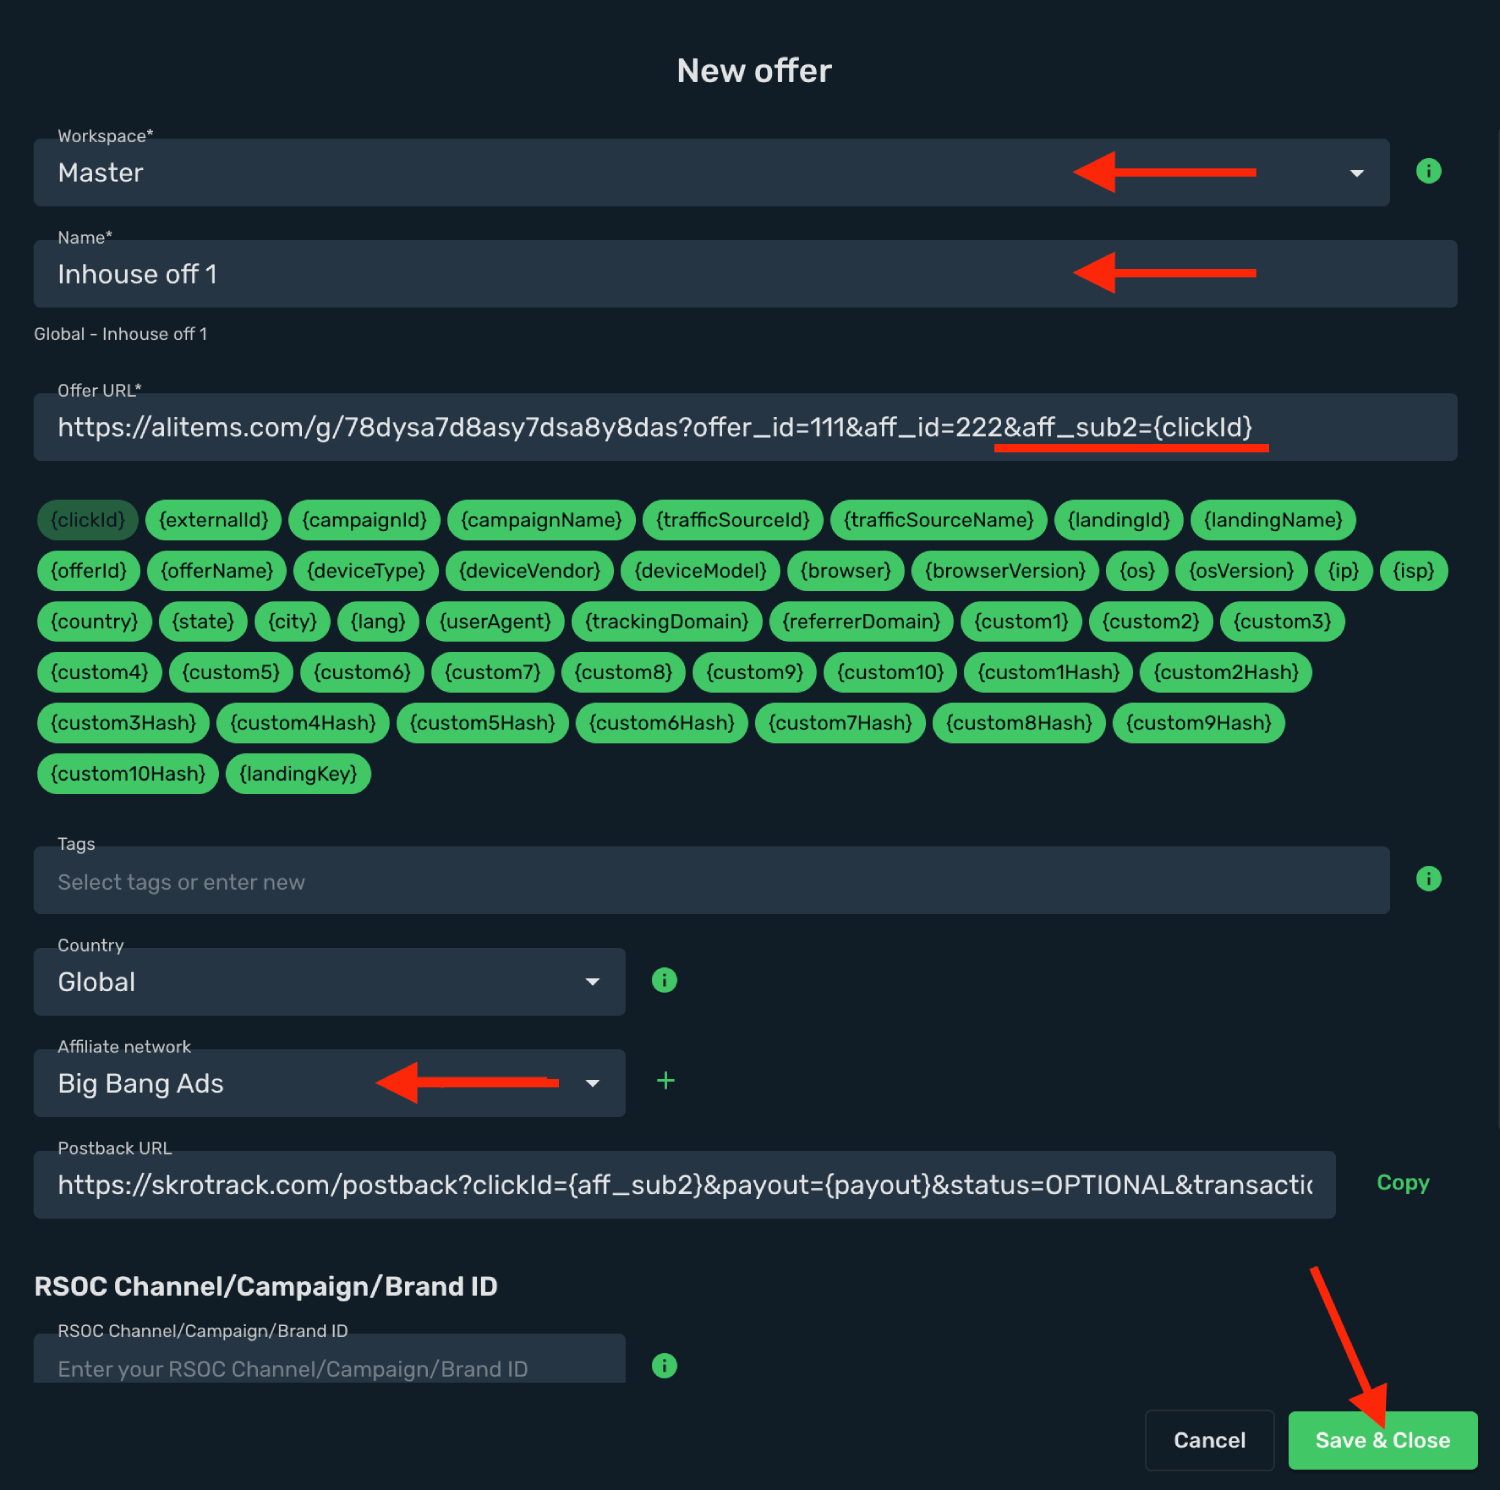
6. Click **Save & Close**.
## Step 5. Create a campaign on Skro [#step-5-create-a-campaign-on-skro]
1. Start with the following guide:
## Verify the setup [#verify-the-setup]
Follow a campaign link and complete a test conversion using your provider’s test workflow. Confirm that the original click ID reaches the provider and is returned to Skro, then check the event and revenue in your campaign report.
If data is missing, check the selected workspace, integration, campaign, and reporting date range. Compare parameter names and macro values with the examples in this guide before repeating the test.
## Related guides [#related-guides]
# Bodis integration
Source: https://skro.eu/docs/integrations/bodis-integration
Connect Bodis with Skro and configure the identifiers used to synchronize search arbitrage revenue.
## Integration [#integration]
Skro integration with Bodis gives you the ability to sync revenue data that has been adjusted after different traffic sources.
- Update revenue and conversions every hour for today.
- Update revenue and conversions 5 times a day for the last 2 days.
## Add integration [#add-integration]
- Log in to your **Skro** account.
- Navigate to **Settings** → **Integrations**.
- Click **Add** in Affiliate Networks & Search Feed Arbitrage section.
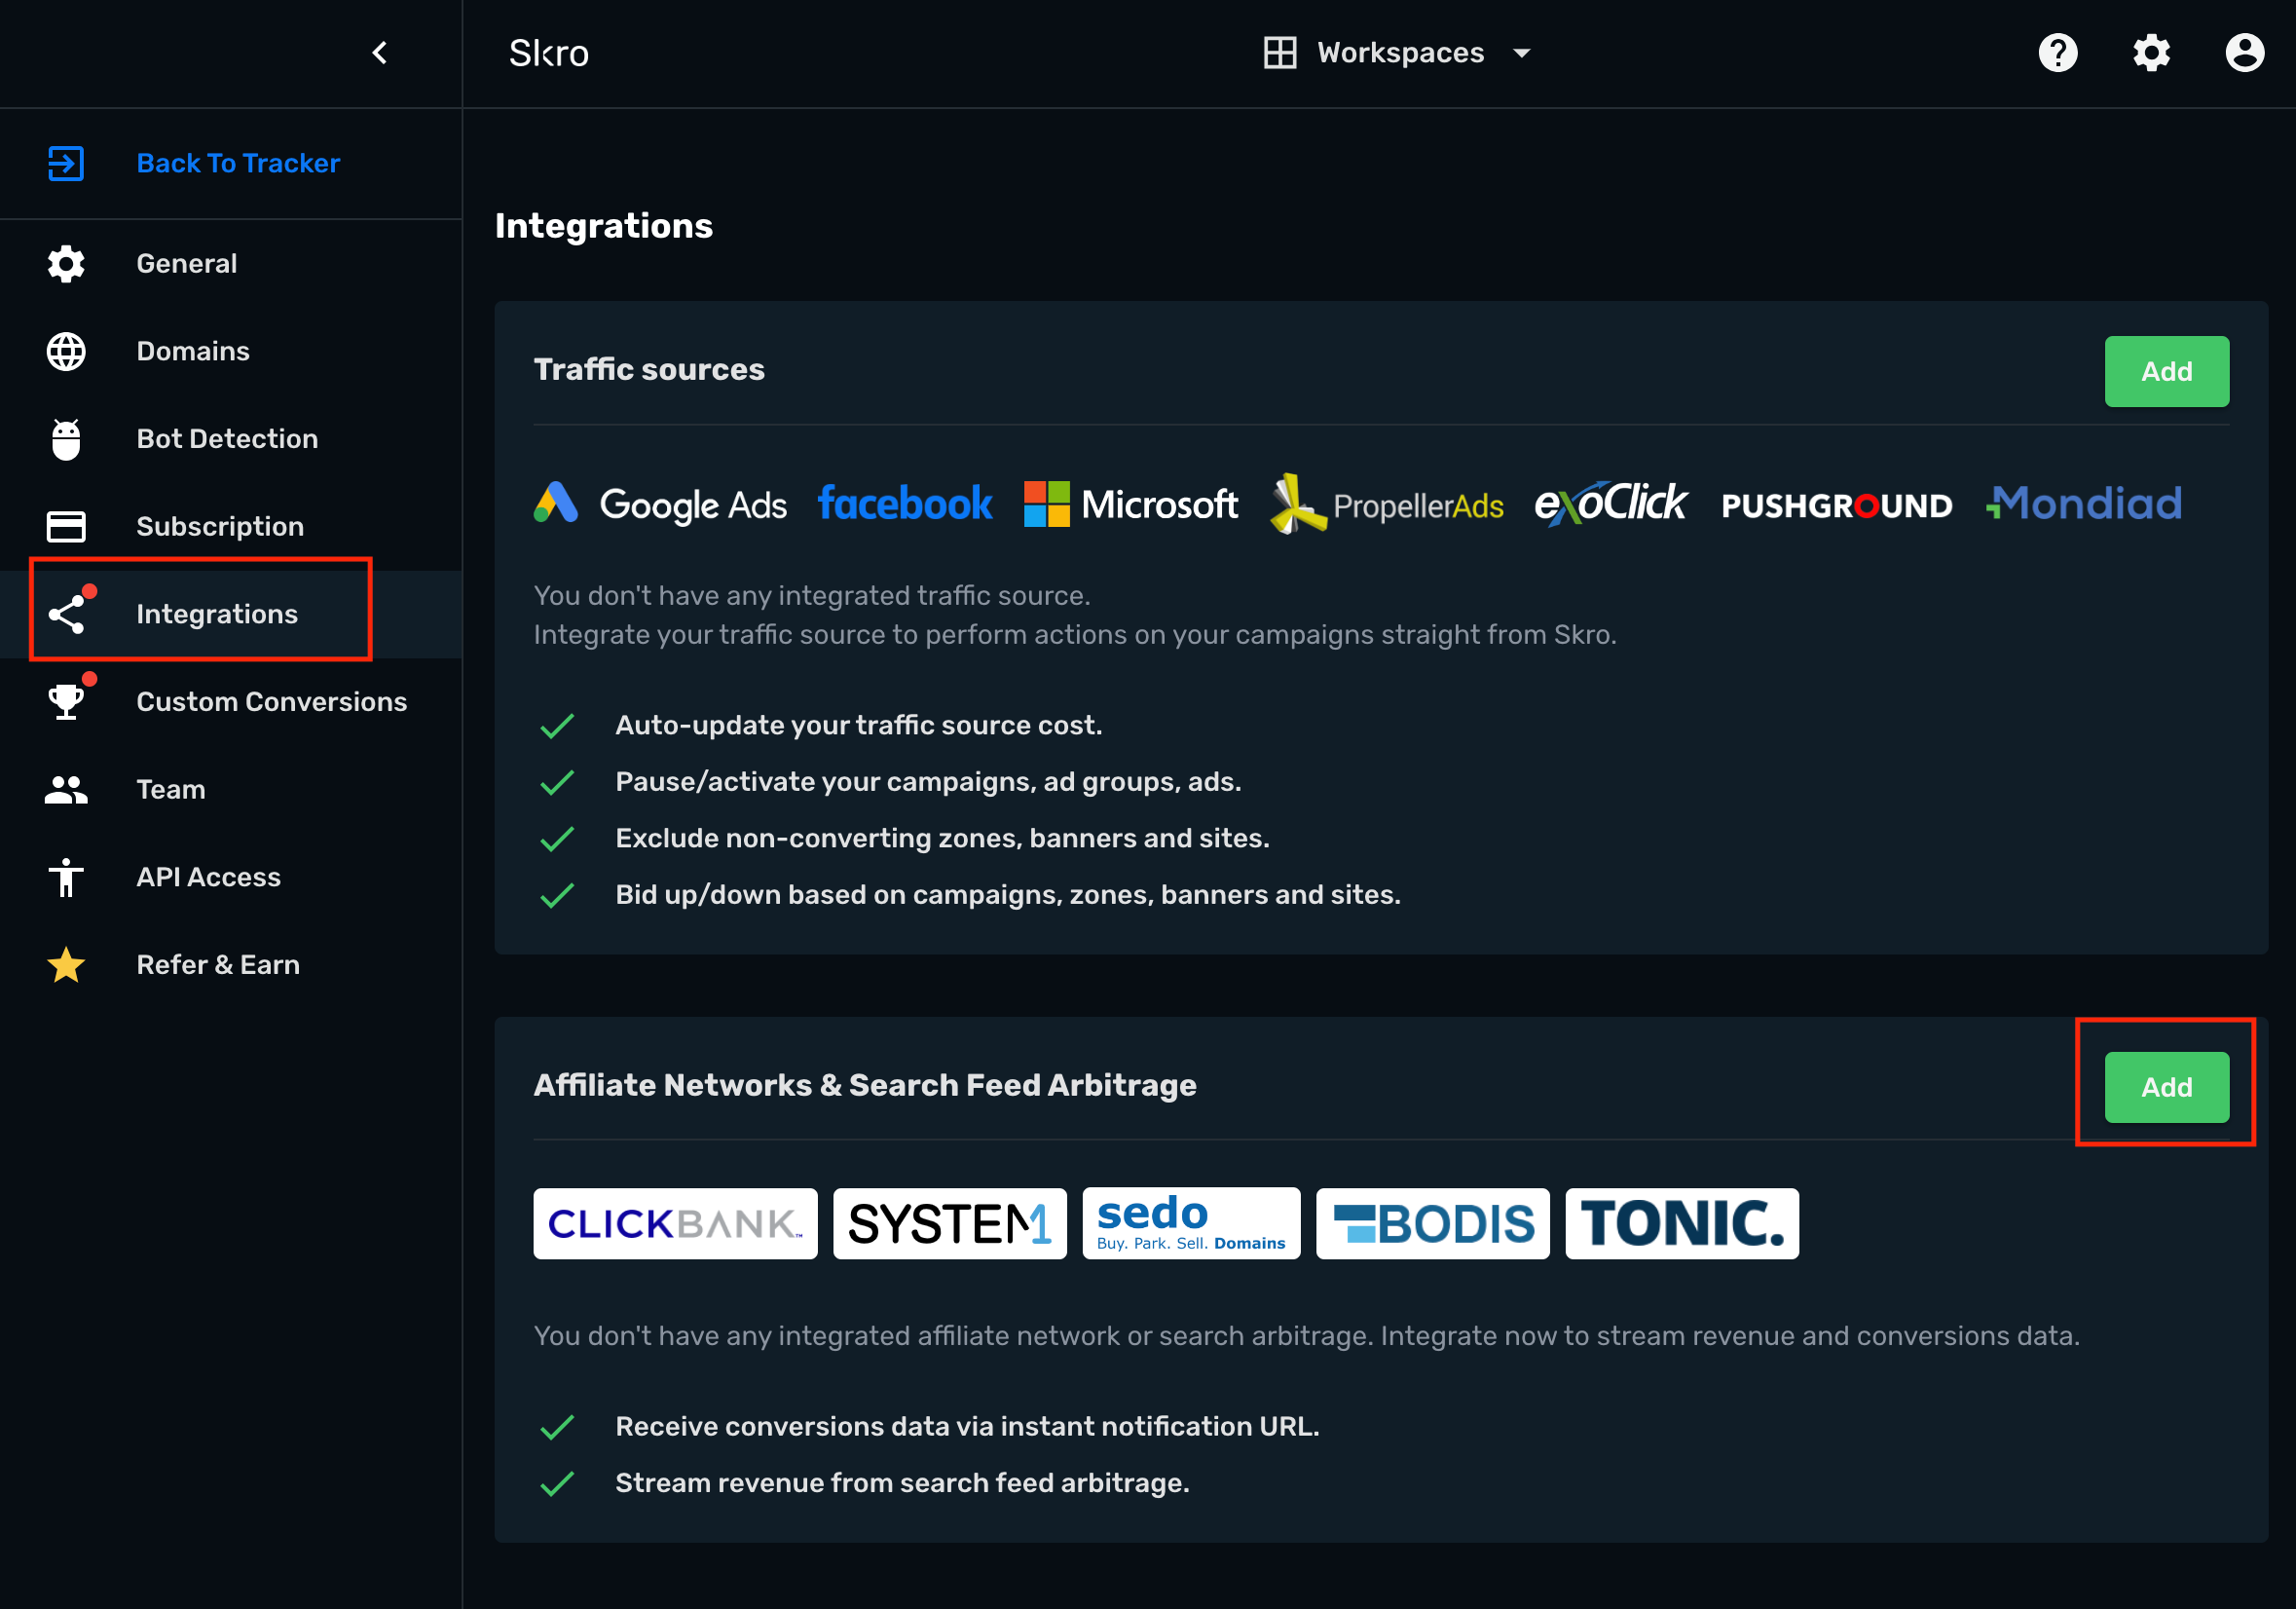
- Click **Bodis** logo.
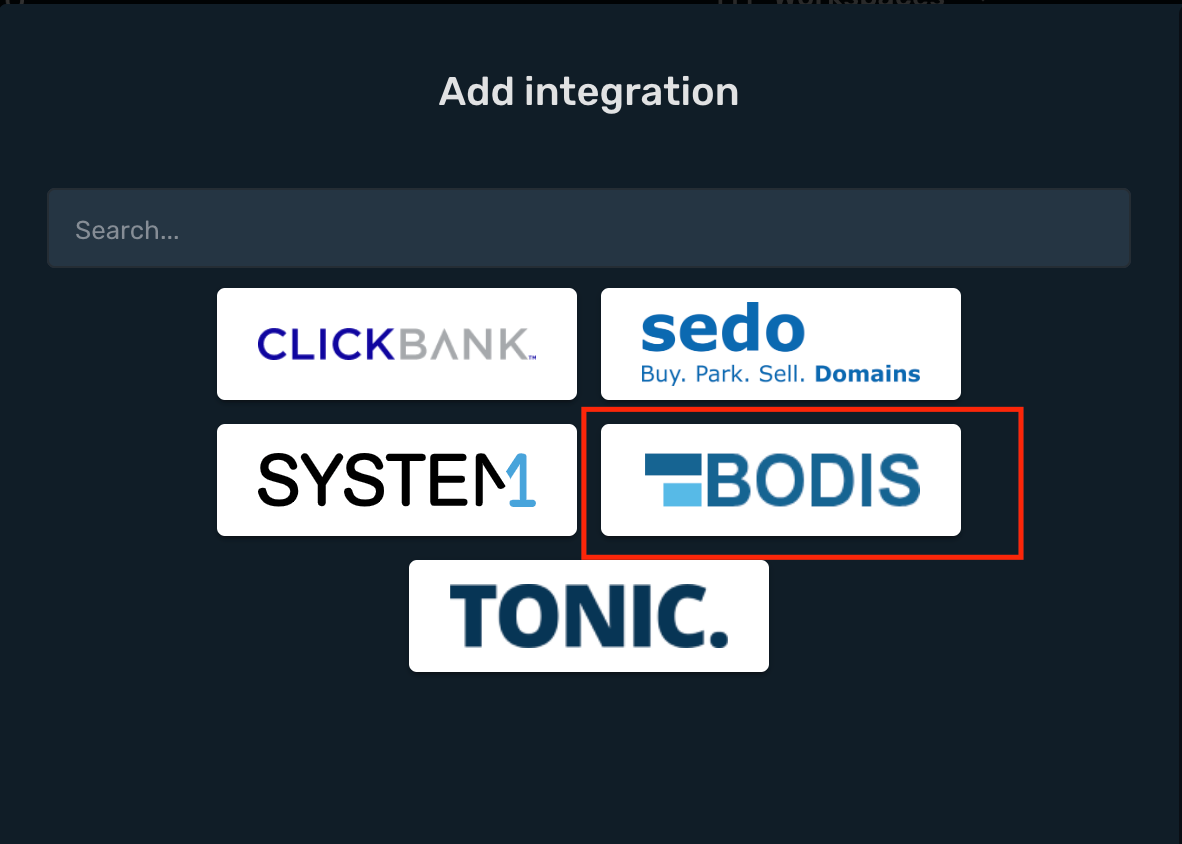
- **API Key** info you must ask from your Bodis account manager or write to Bodis support.
- **Bodis Account Currency** is the currency of the earnings.
- **Custom Conversion Event** is optional, but you can see a revenue and conversions info in a different columns in your Skro reports.
- **Click ID Param** is the parameter what you use in your offer URL to send Skro Click ID.
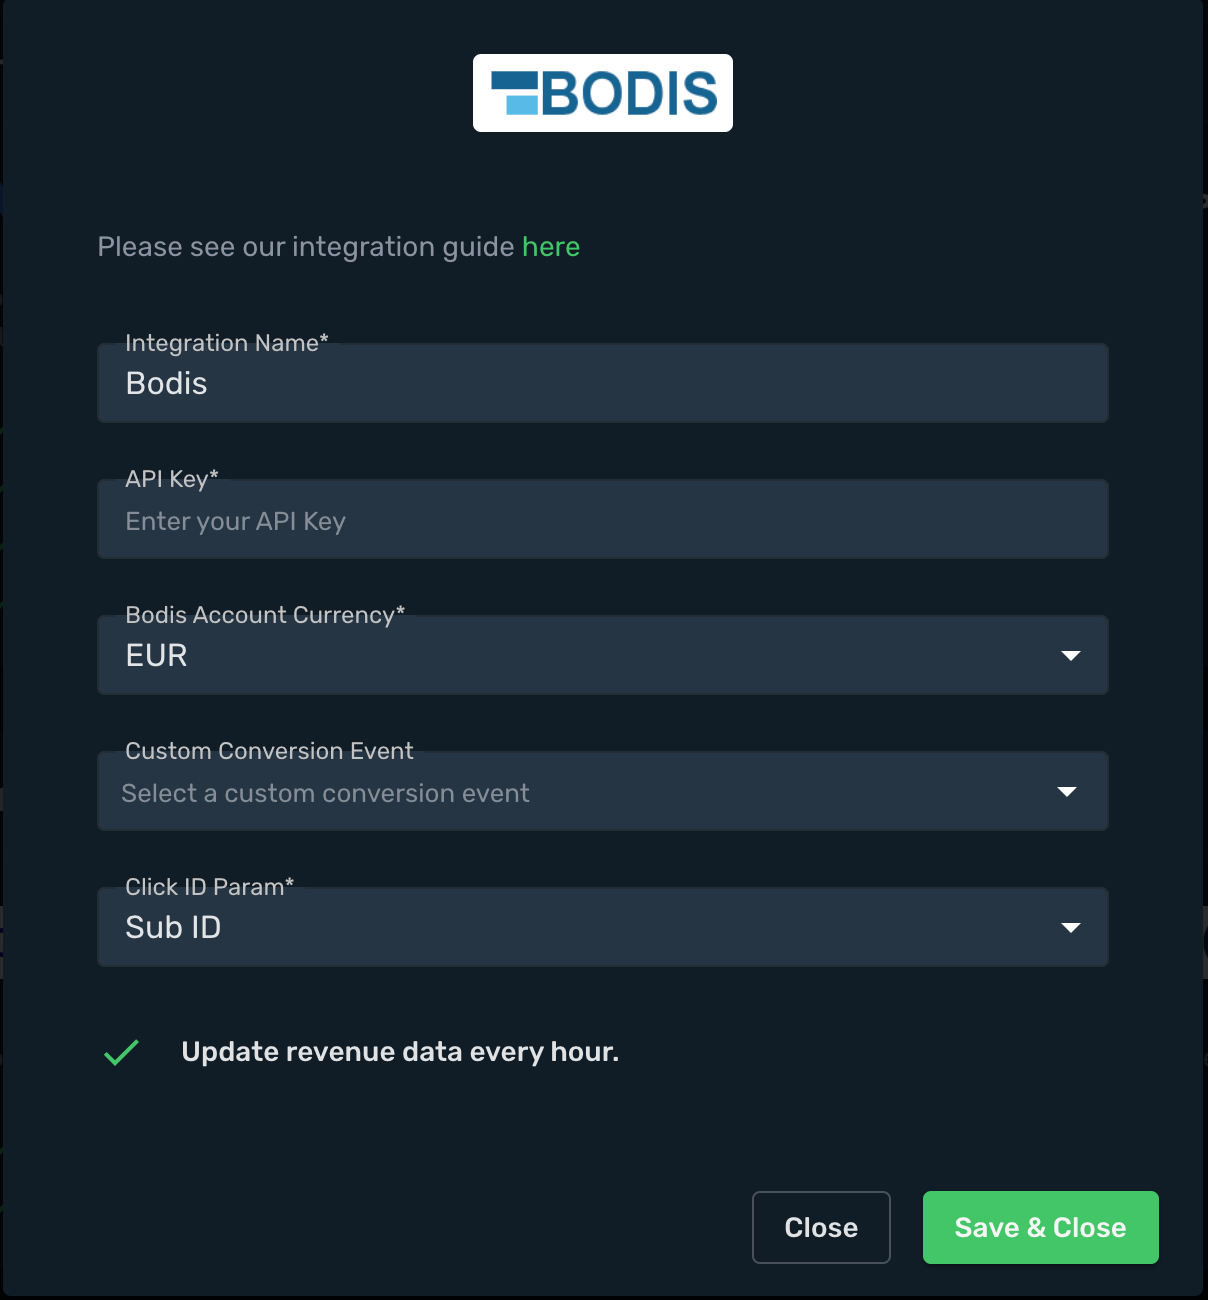
- Complete the form and click **Save & Close**
The integration is ready to synchronize earnings data.
## Verify the setup [#verify-the-setup]
Confirm that the offer identifiers match the values in your integration. After the next revenue synchronization, compare the same date range and currency in Skro and your provider account.
If data is missing, check the selected workspace, integration, campaign, and reporting date range. Compare parameter names and macro values with the examples in this guide before repeating the test.
## Related guides [#related-guides]
# BuyGoods integration
Source: https://skro.eu/docs/integrations/buygoods-integration
Connect BuyGoods to Skro, map click IDs, and configure postbacks to attribute conversions and revenue to your campaigns.
Integration gives you the ability to track sales, upsell and initiate checkout events and send postback back to your traffic source.
## Step 1. Add custom conversions to Skro [#step-1-add-custom-conversions-to-skro]
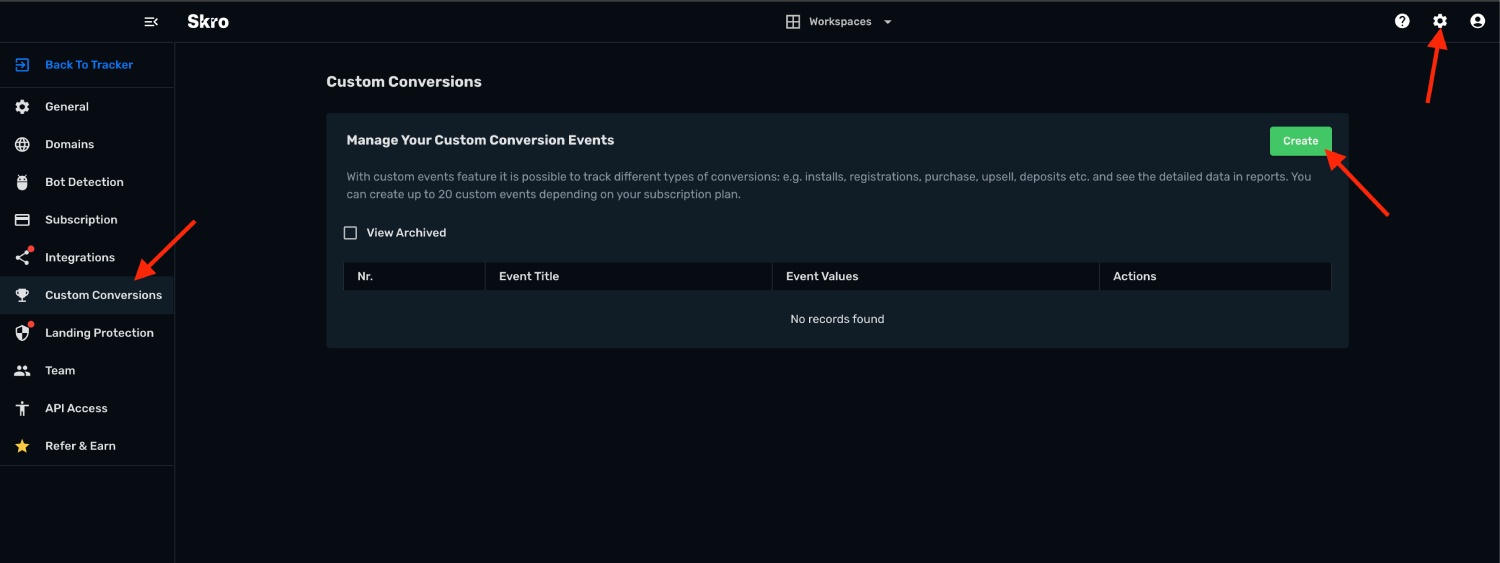
1. Go to Settings → Custom Conversions → Create
2. Create event named **Initiate Checkout**
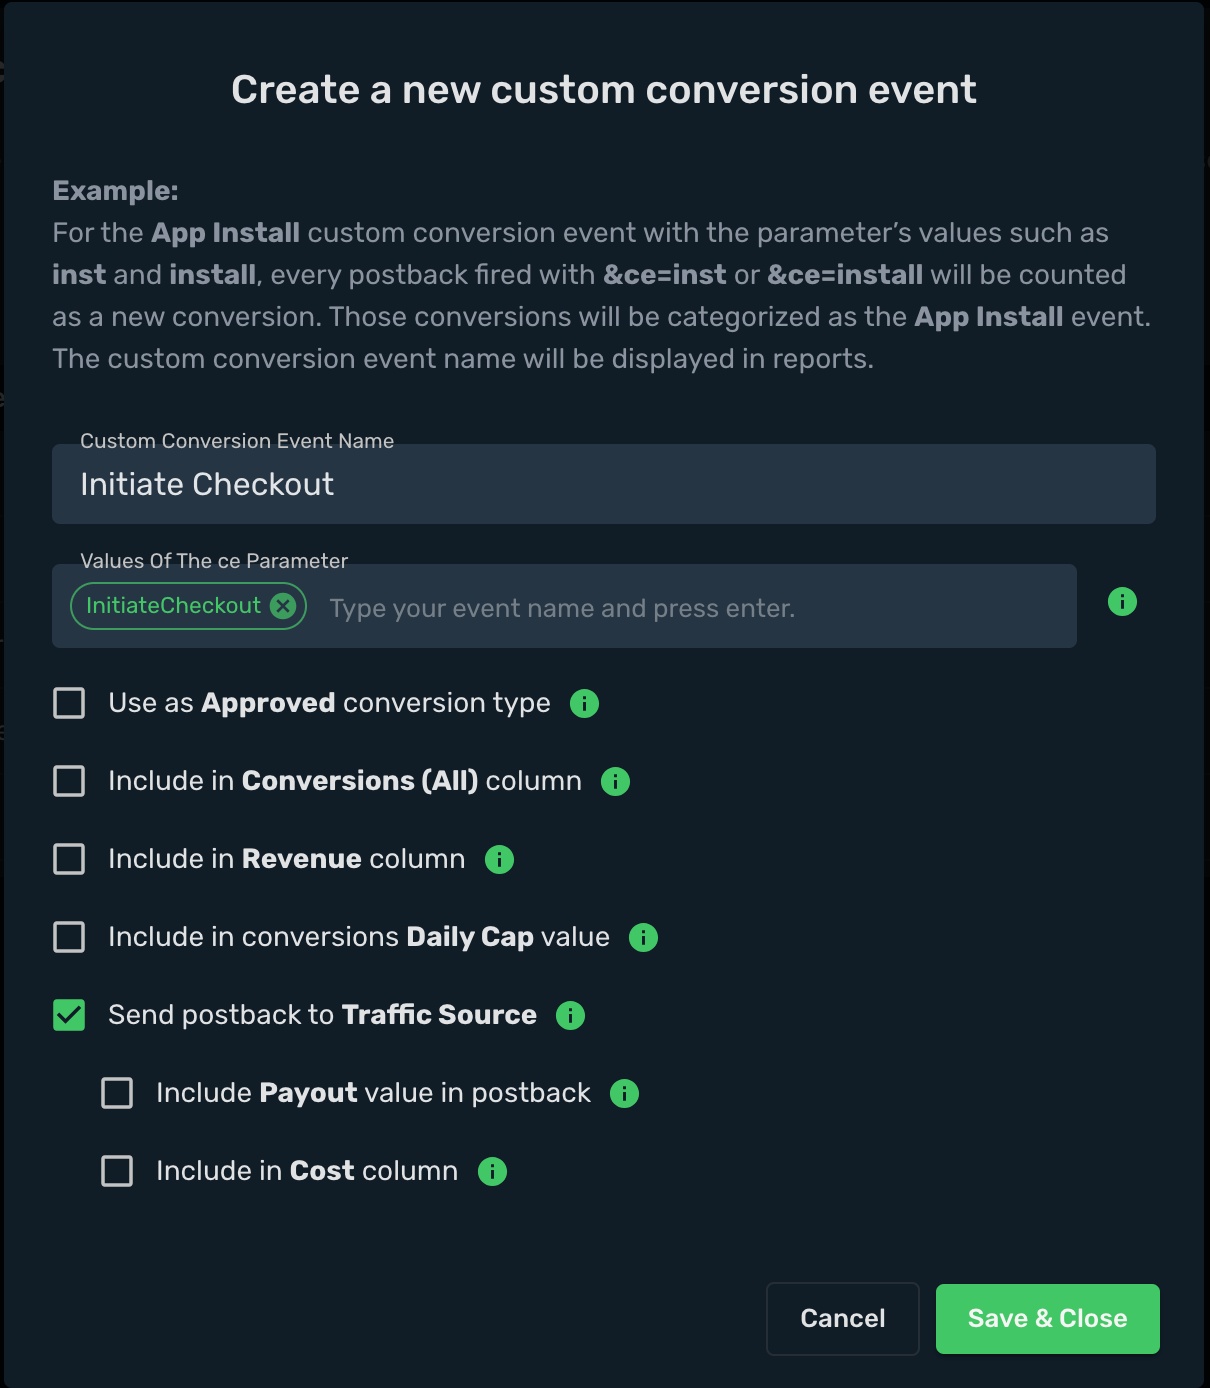
3. Copy the Postback pixel for **Initiate Checkout**.
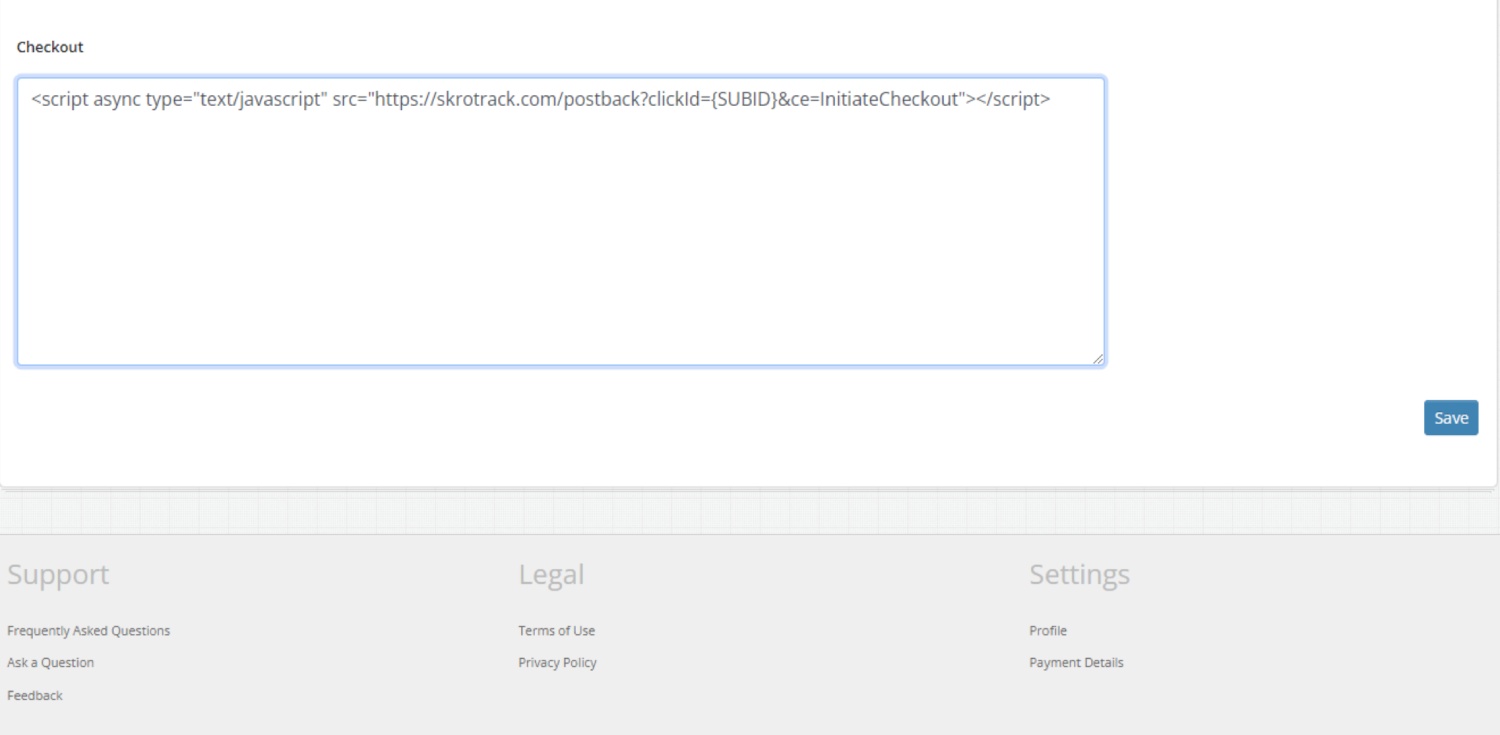
4. Log in to your BuyGoods account and go to Settings → My Profile → Funnel pixels.
5. Paste code to **Checkout** field.
```text
```
If you are using your own custom domain, then please replace skrotrack.com
## Step 2. Add BuyGoods affiliate network to Skro [#step-2-add-buygoods-affiliate-network-to-skro]
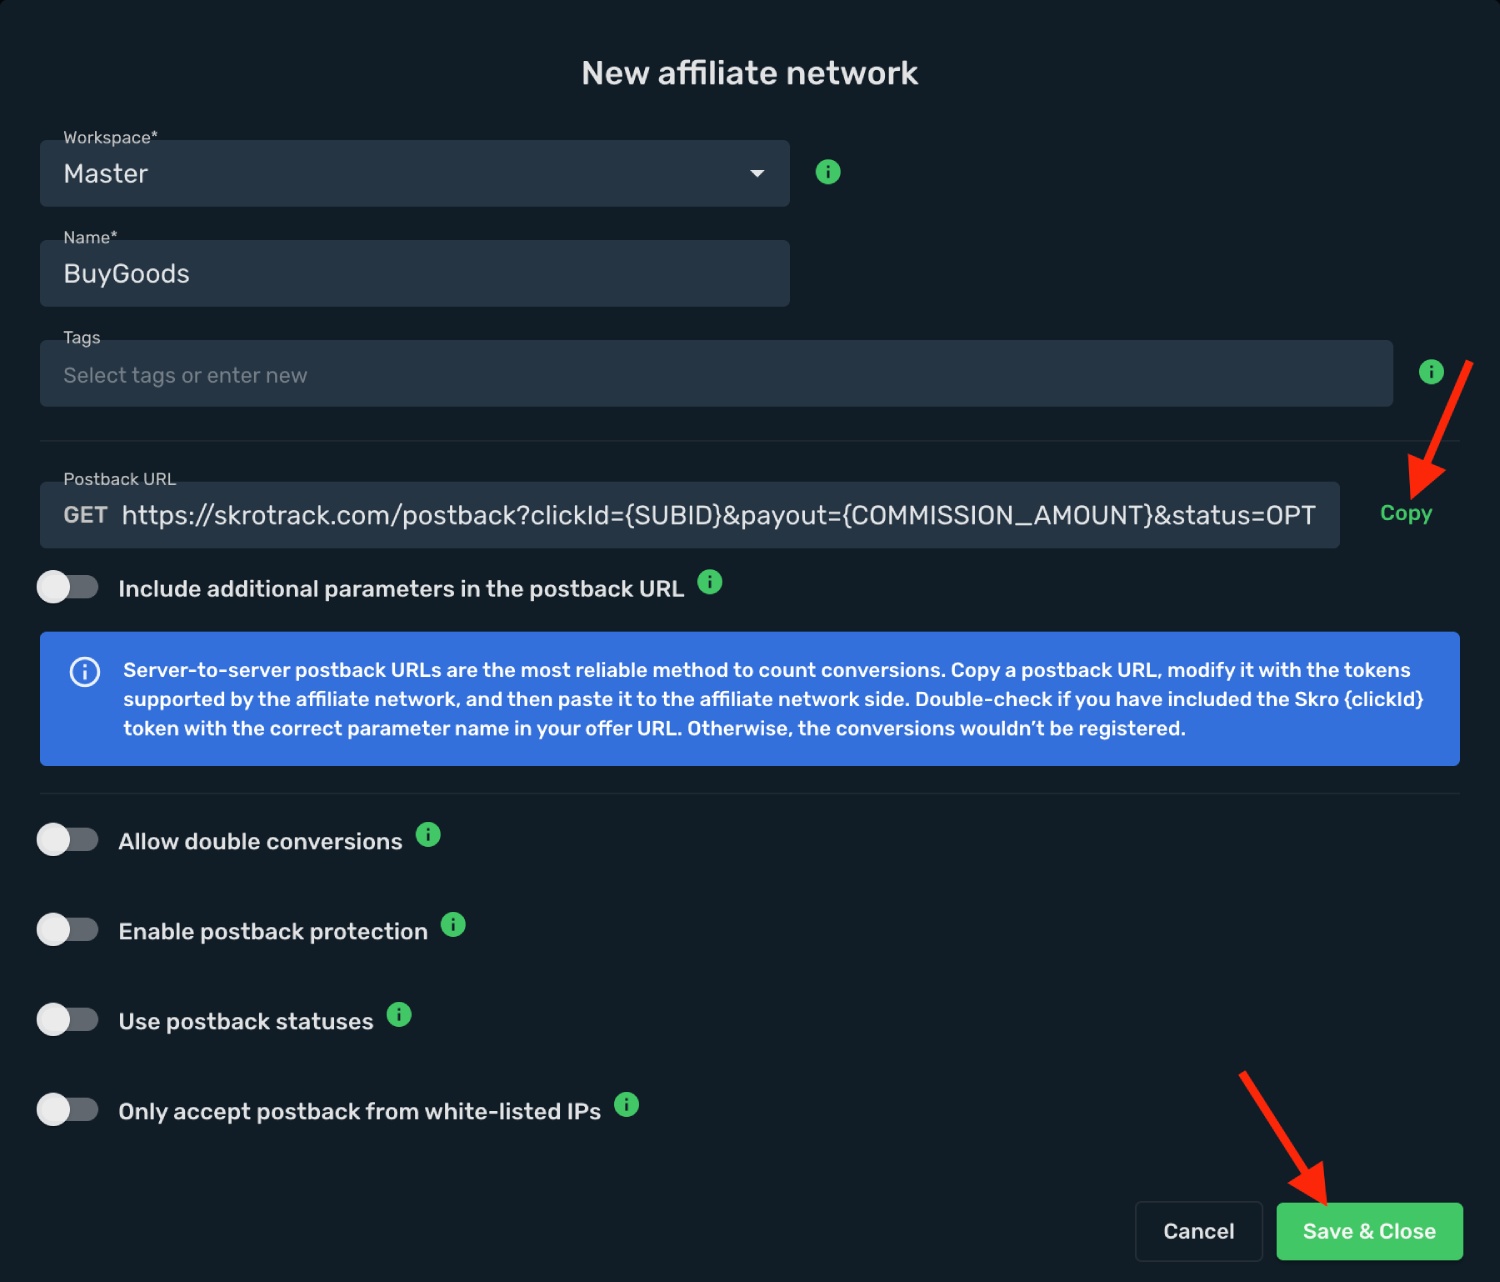
1. Go to Affiliate Networks → Create → Find BuyGoods logo and click it.
2. Select workspace.
3. Copy postback URL.
4. Click **Save & Close**
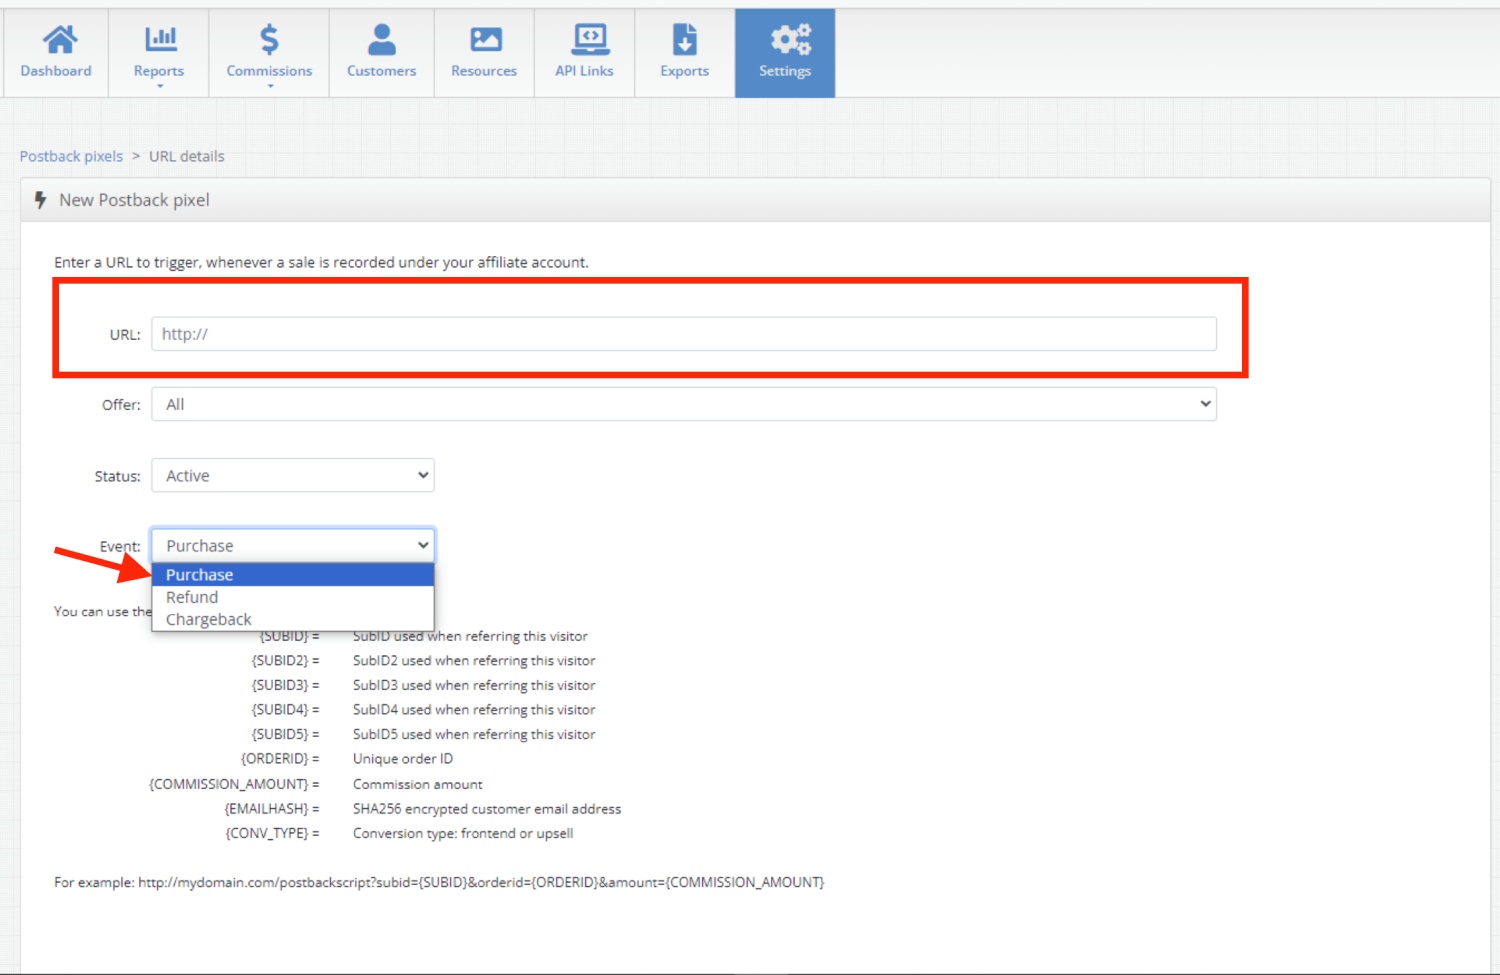
5. Log in to Buygoods → Settings → Postback Pixels → New
6. Paste postback URL to BuyGoods.
`https://skrotrack.com/postback?clickId={SUBID}&payout={COMMISSION_AMOUNT}&transactionId={ORDERID}`
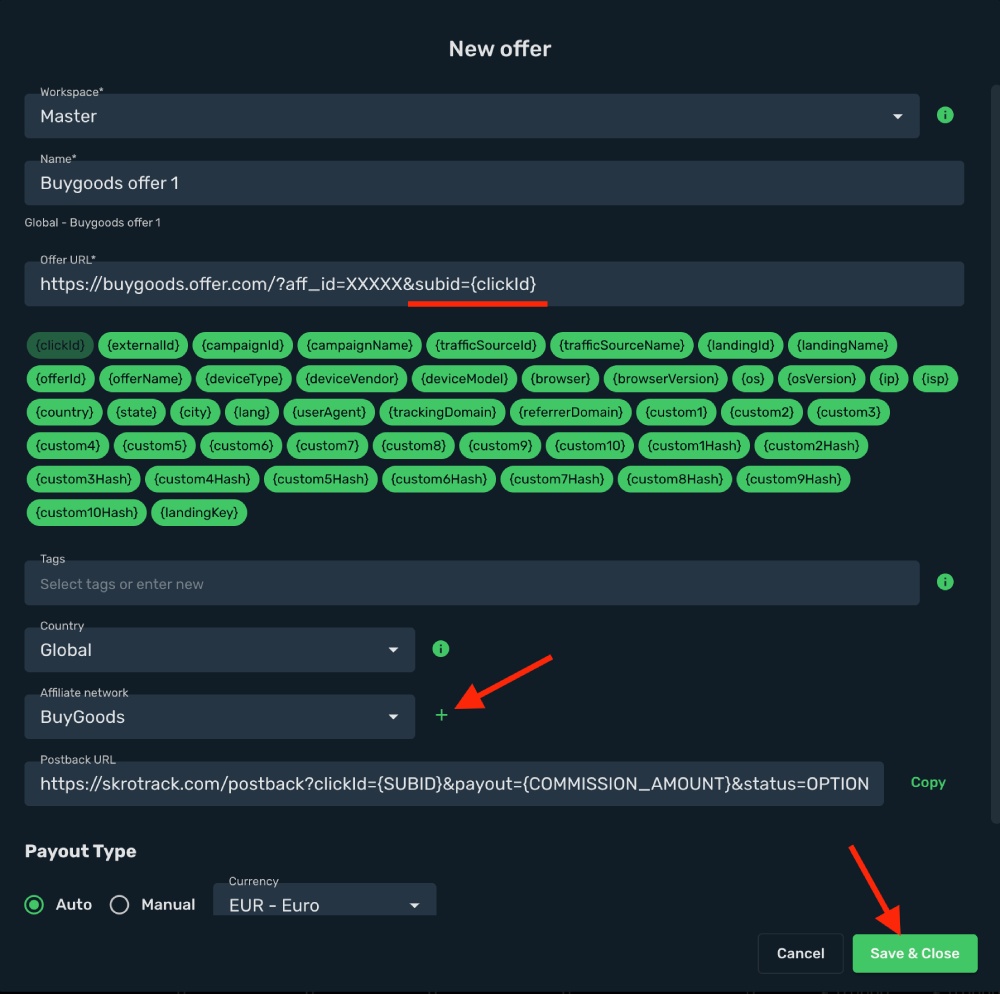
## Step 3. Add BuyGoods Offer to Skro [#step-3-add-buygoods-offer-to-skro]
1. Go to **Offers** → **Create**
2. Choose your workspace.
3. Add name.
4. Grab the offer link from BuyGoods and add it to offer URL field and append **`&subid={clickId}`** to the end of your offer URL.
5. Choose BuyGoods Affiliate Network.
## Step 4. Create campaign [#step-4-create-campaign]
1. Go to Campaigns → Create.
2. Complete the required fields.
3. On the final step you will get tracking link for your traffic source.
## Verify the setup [#verify-the-setup]
Follow a campaign link and complete a test conversion using your provider’s test workflow. Confirm that the original click ID reaches the provider and is returned to Skro, then check the event and revenue in your campaign report.
If data is missing, check the selected workspace, integration, campaign, and reporting date range. Compare parameter names and macro values with the examples in this guide before repeating the test.
## Related guides [#related-guides]
# Cartpanda integration
Source: https://skro.eu/docs/integrations/cartpanda-and-skro
Connect Cartpanda with Skro to track store events, attribute purchases, and report campaign revenue.
Cartpanda is an e-commerce platform for merchants based in Brazil. It enables smaller sellers, including creators and entrepreneurs, to sell and promote their digital goods, services, events, and physical items with an online store solution, checkout, and payment gateway.
Use this guide to connect your Cartpanda with Skro and attribute store events to your advertising campaigns.
- See the true ROI of every ad
- Track every initiate checkout, purchase and upsell event
- Compare advertising costs with attributed revenue
- Send supported conversion events to Facebook and TikTok
This guide will teach you how to set up Custom Conversions, set up Cartpanda postbacks, and track campaigns for paid ads. Please note: this guide does not cover every option available in Skro or your traffic source. You should already have basic knowledge of creating campaigns in both Skro and your traffic source.
## Step 1. Set up custom conversion events [#step-1-set-up-custom-conversion-events]
Let’s create three custom conversion events that are compatible with both Facebook and TikTok ads. (Note: Skro’s custom conversions are not the same as Facebook’s Custom Conversions. You can use standard events as custom conversions in Skro.)
1. In **Skro**, go to **Custom Conversions** → **Create**.
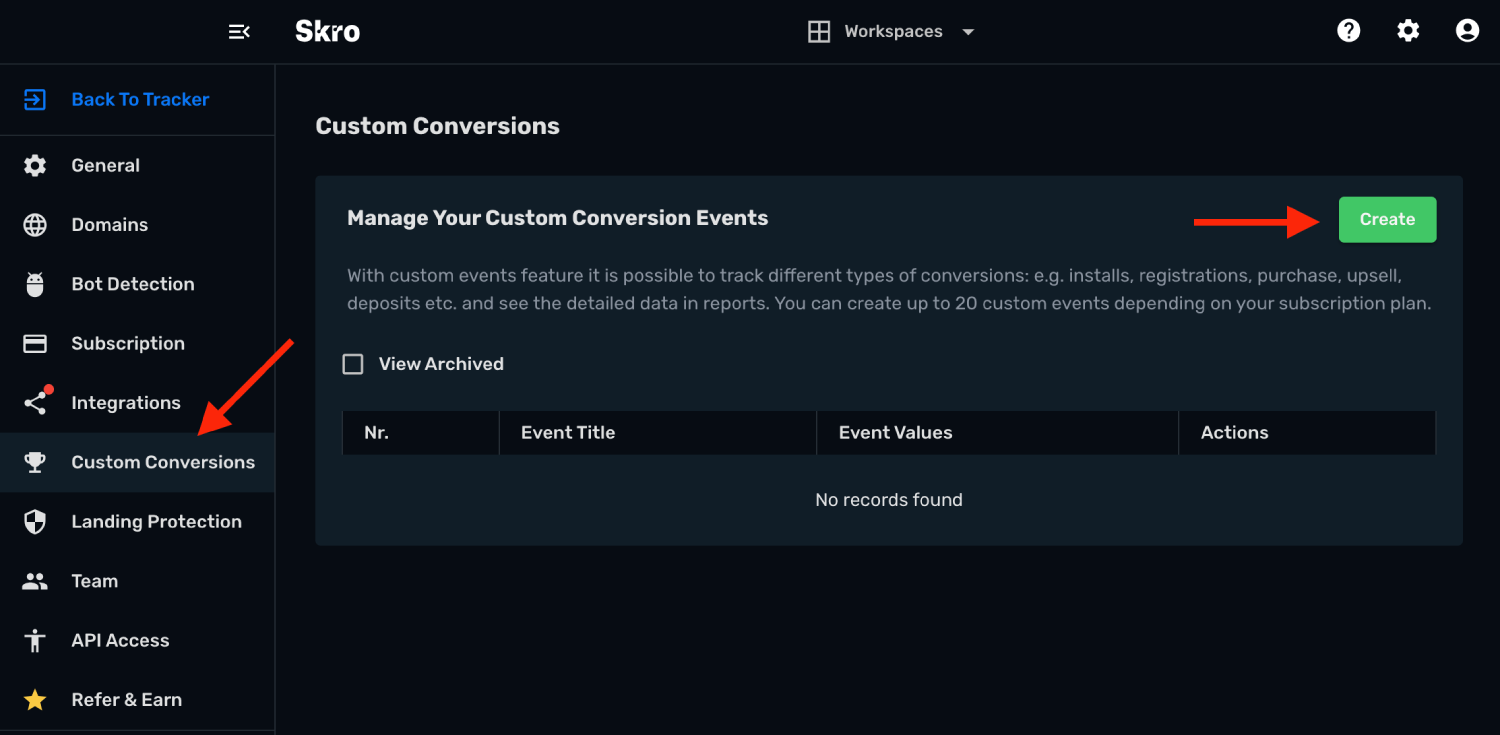
1. Create first event **InitiateCheckout**
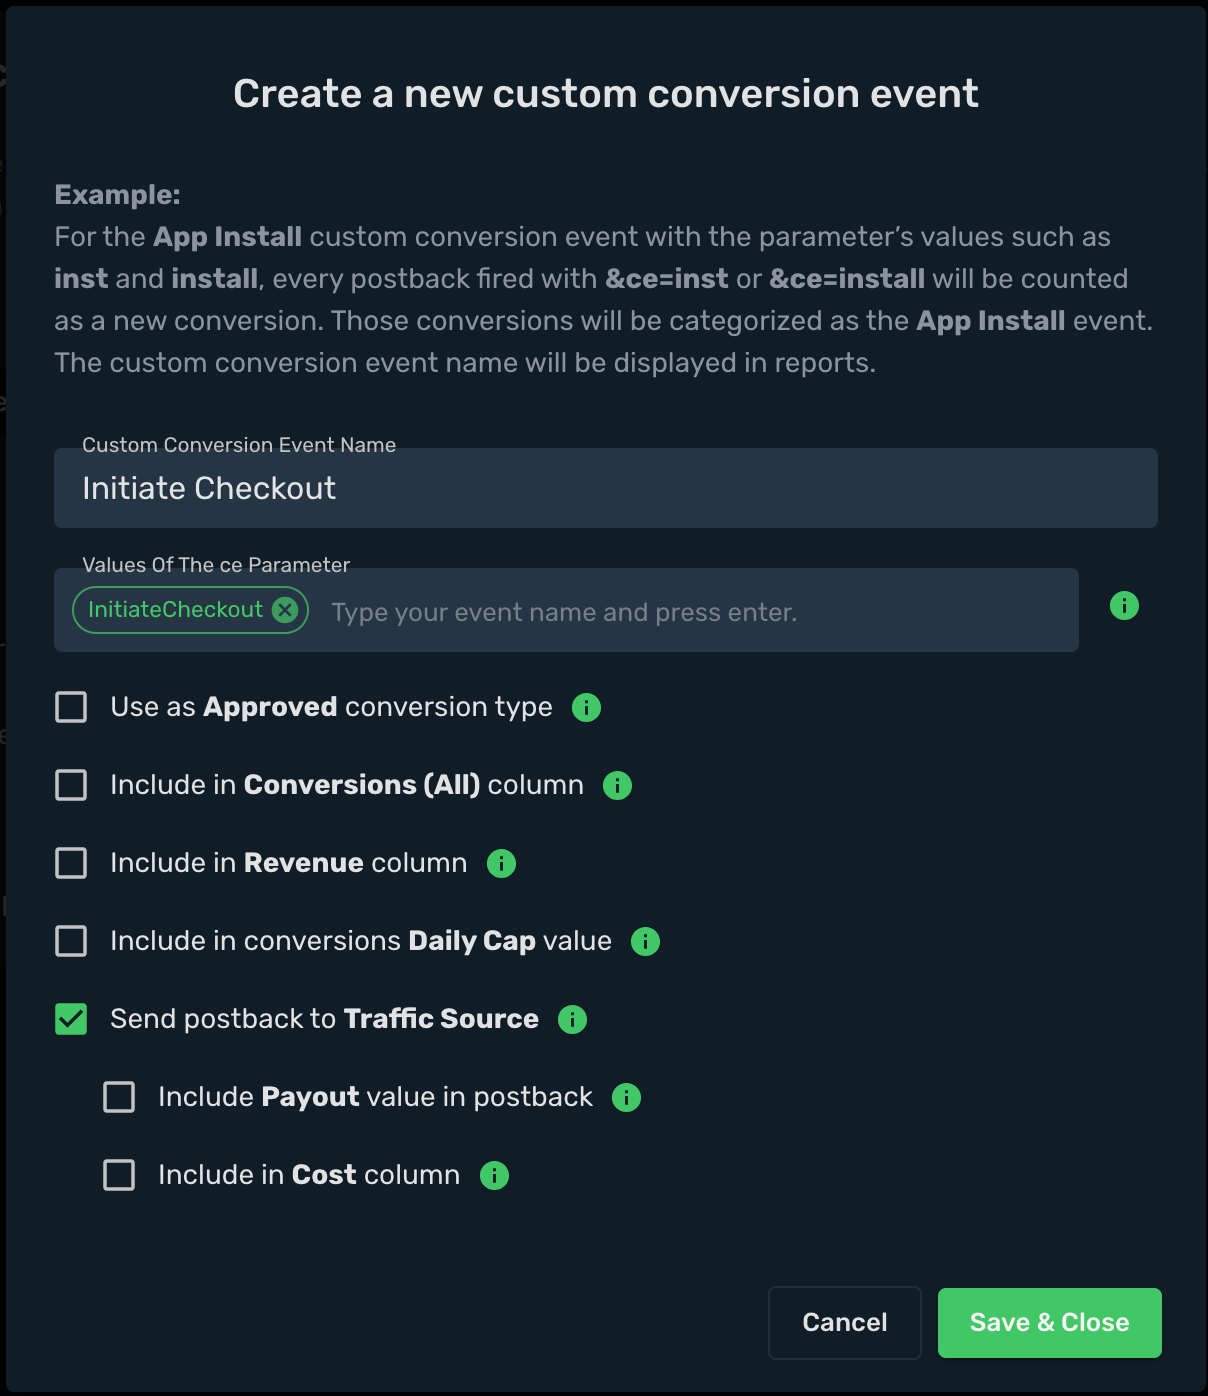
2. Create second event **Purchase**
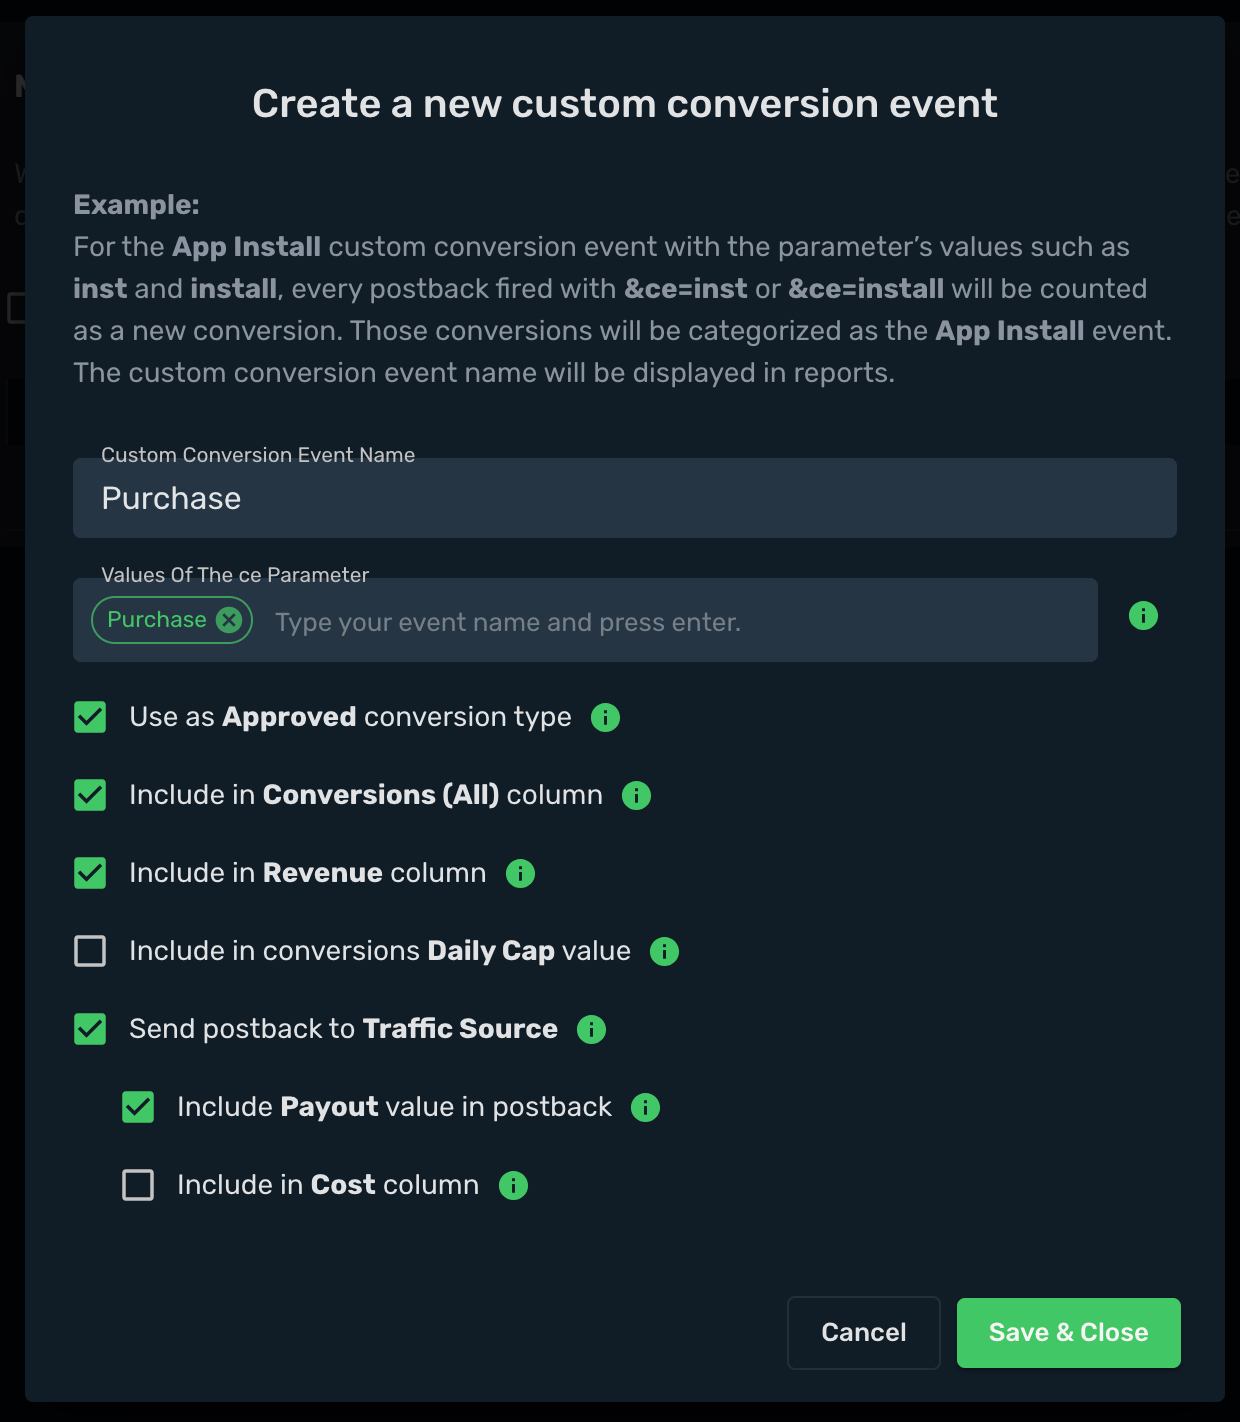
3. Create third event **Upsell**
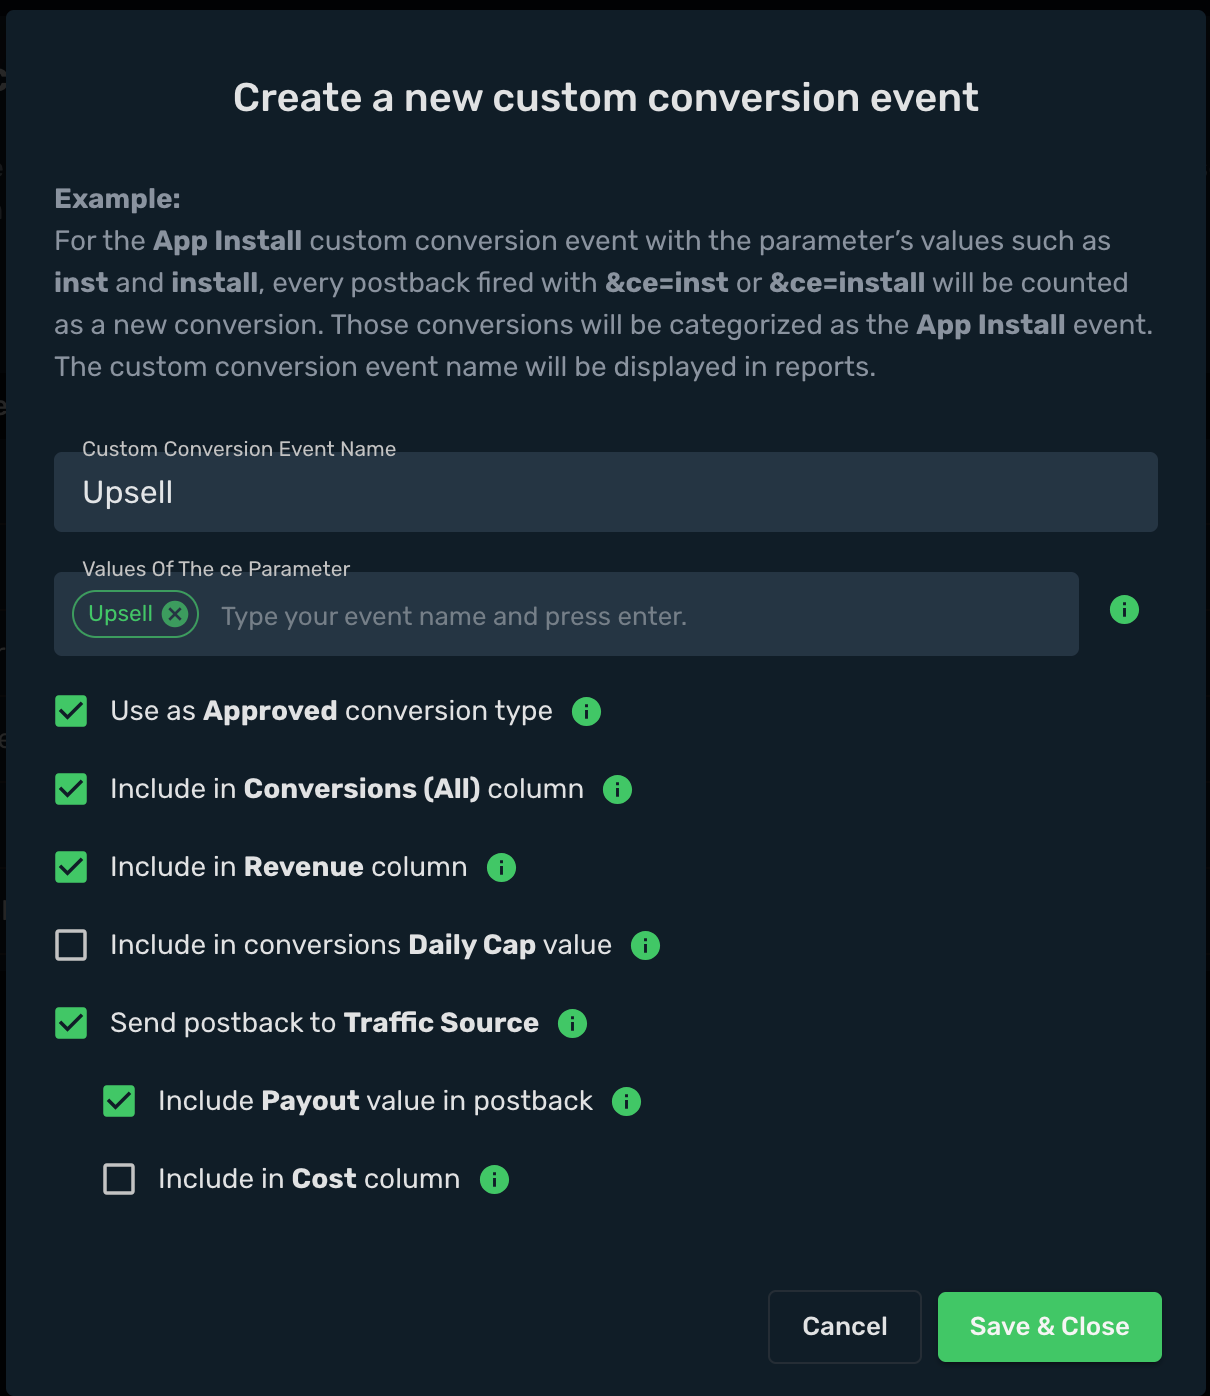
You can use different event names if your traffic source requires them. For example, instead of **Purchase** you might use **PaymentCompleted**. Keep in mind that event names are case-sensitive and must match in Skro and your traffic source.
## Step 2. Set up Cartpanda S2S postbacks [#step-2-set-up-cartpanda-s2s-postbacks]
1. Go to your **Cartpanda → Admin → Settings → Tracking and Scripting → S2S Tracking** and click **New Integration**.
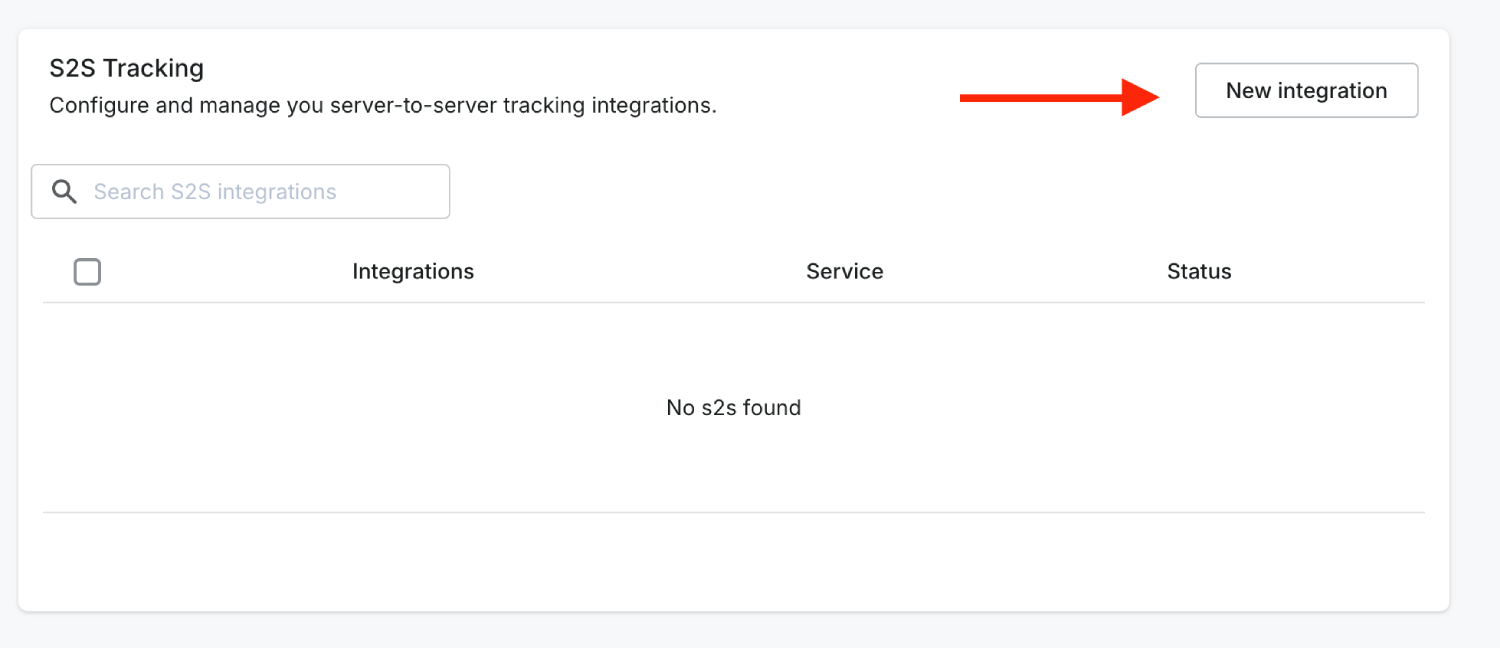
2. Add postback for **InitiateCheckout** event:
`https://skrotrack.com/postback?clickId={cid}&ce=InitiateCheckout`
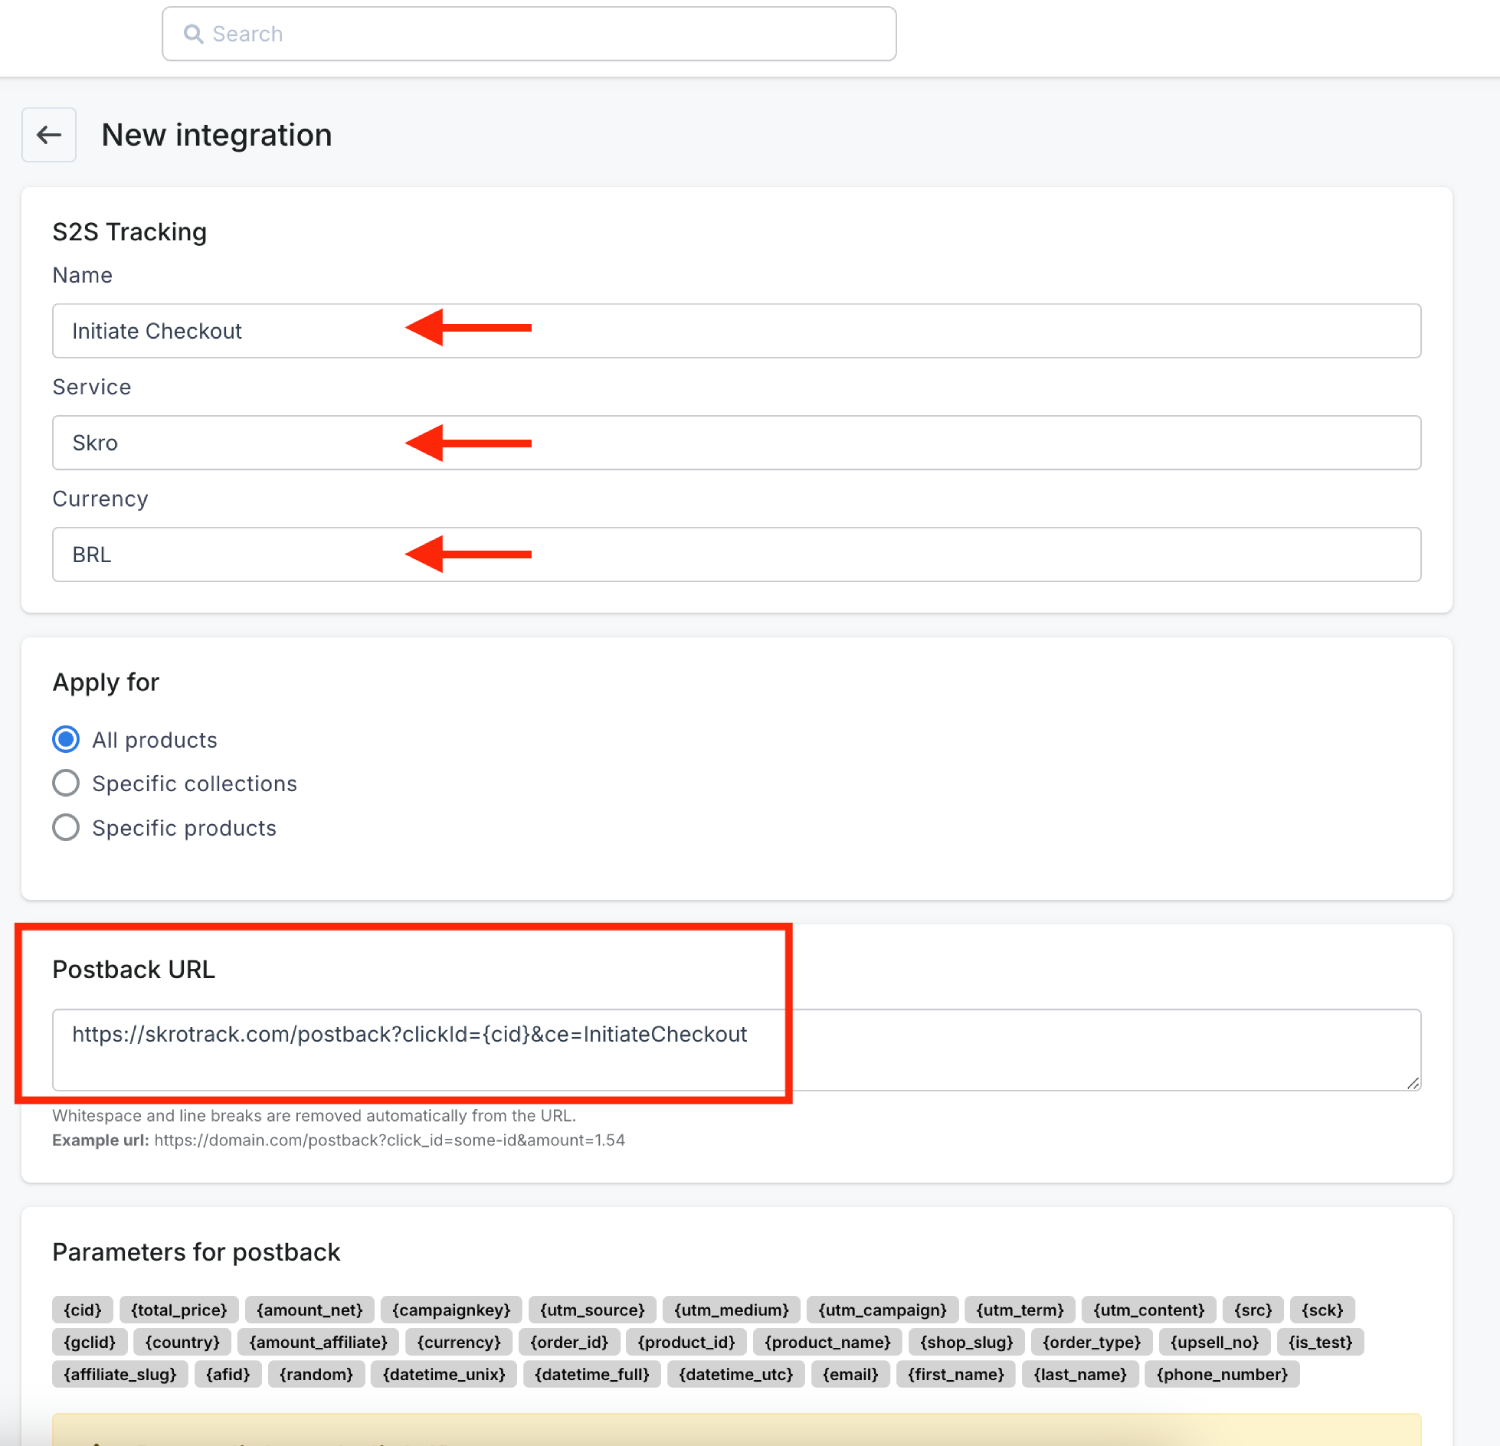
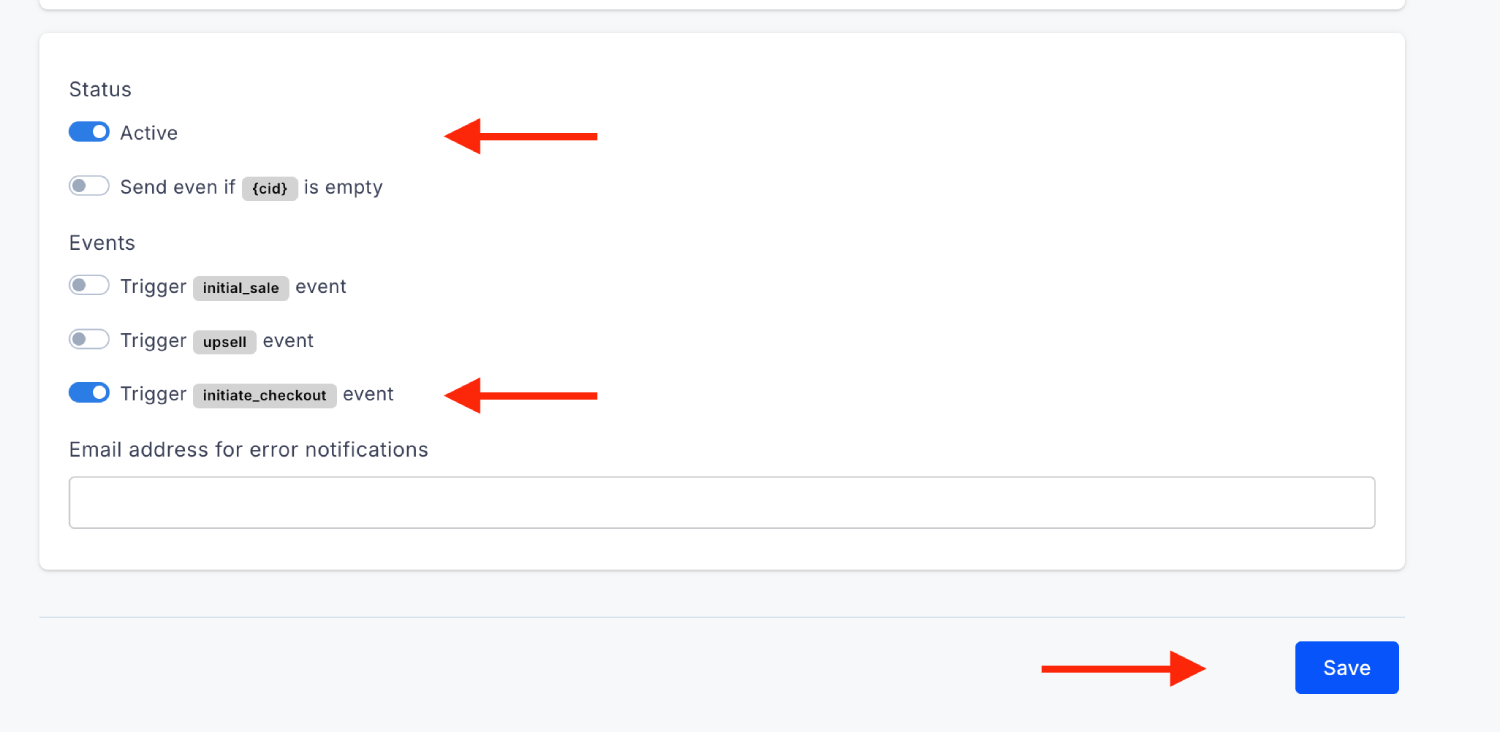
3. Add postback for **Purchase** event:
```text
https://skrotrack.com/postback?clickId={cid}&payout={total_price}&transactionId={order_id}&firstName={first_name}&lastName={last_name}&email={email}&phone={phone_number}&ce=Purchase
```
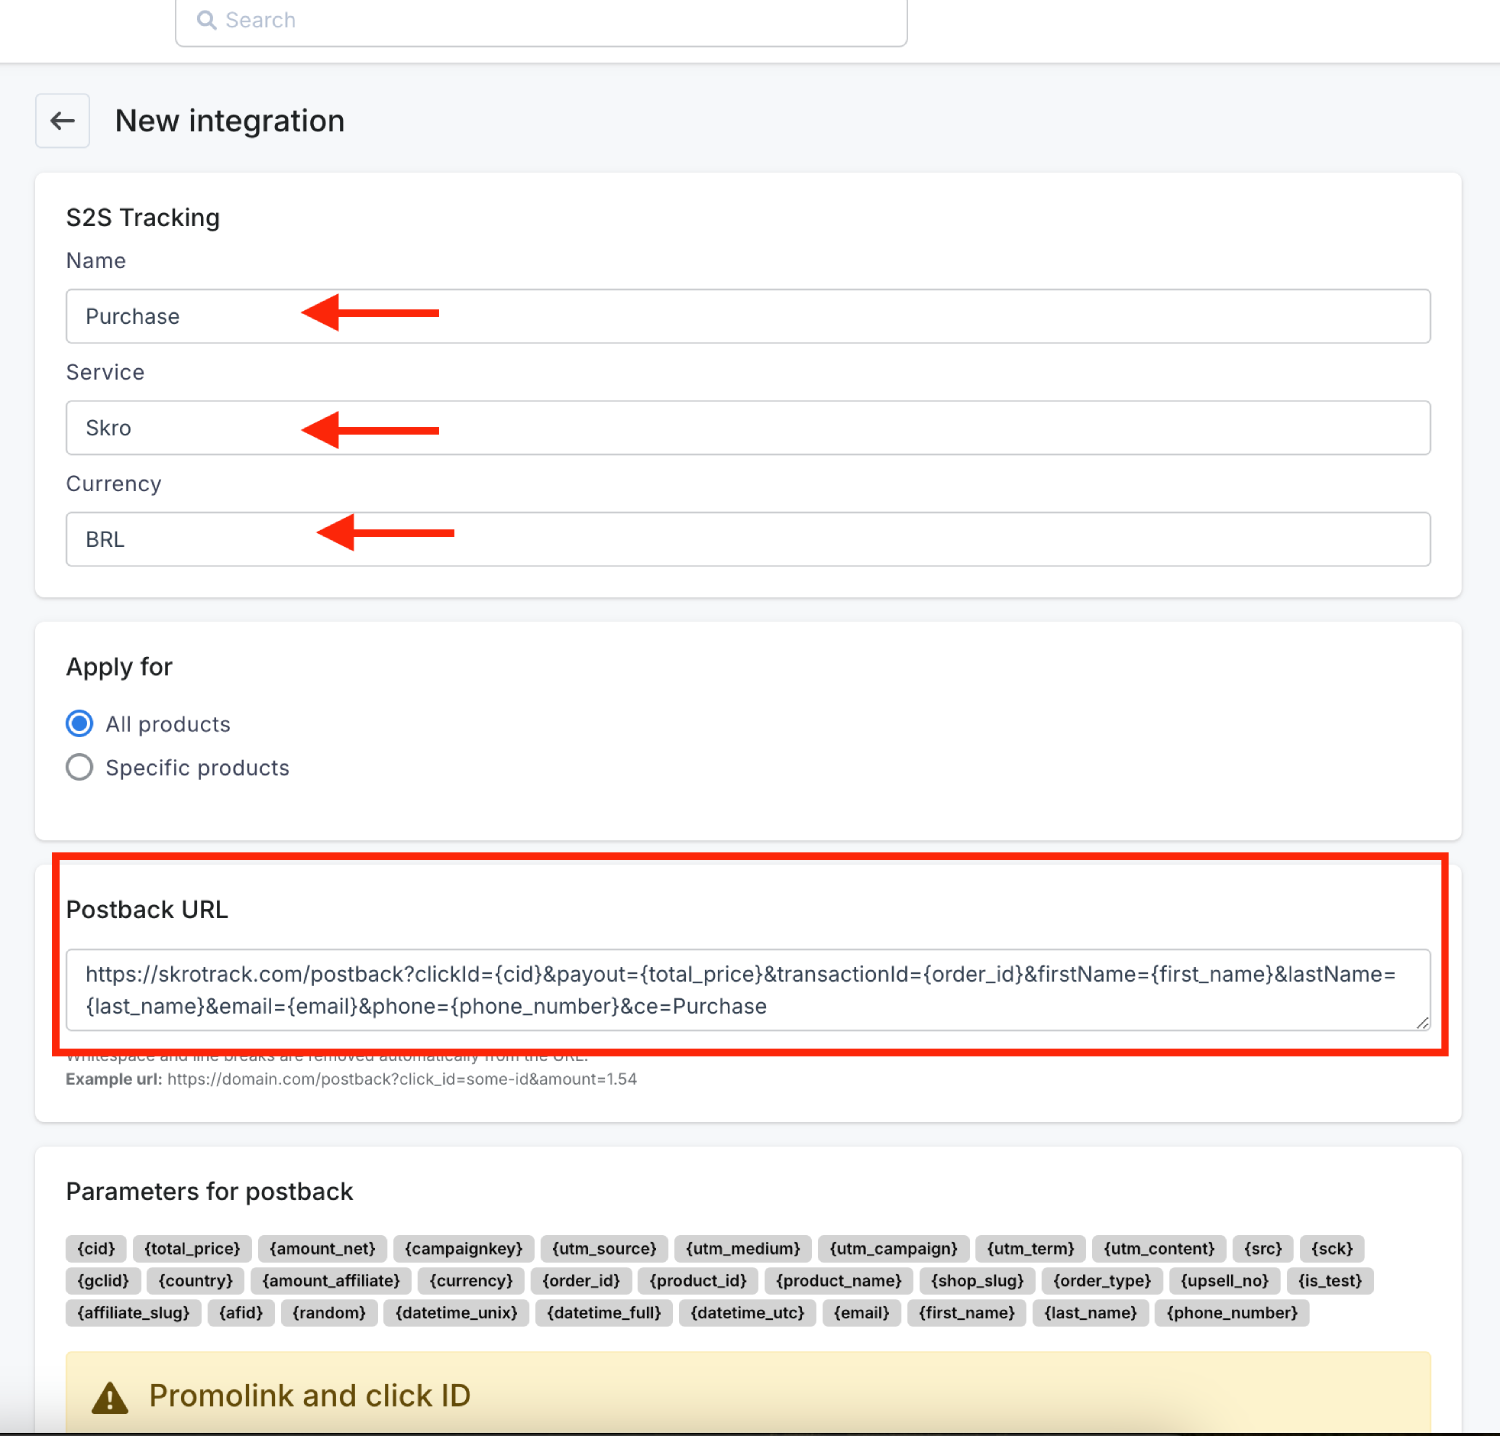
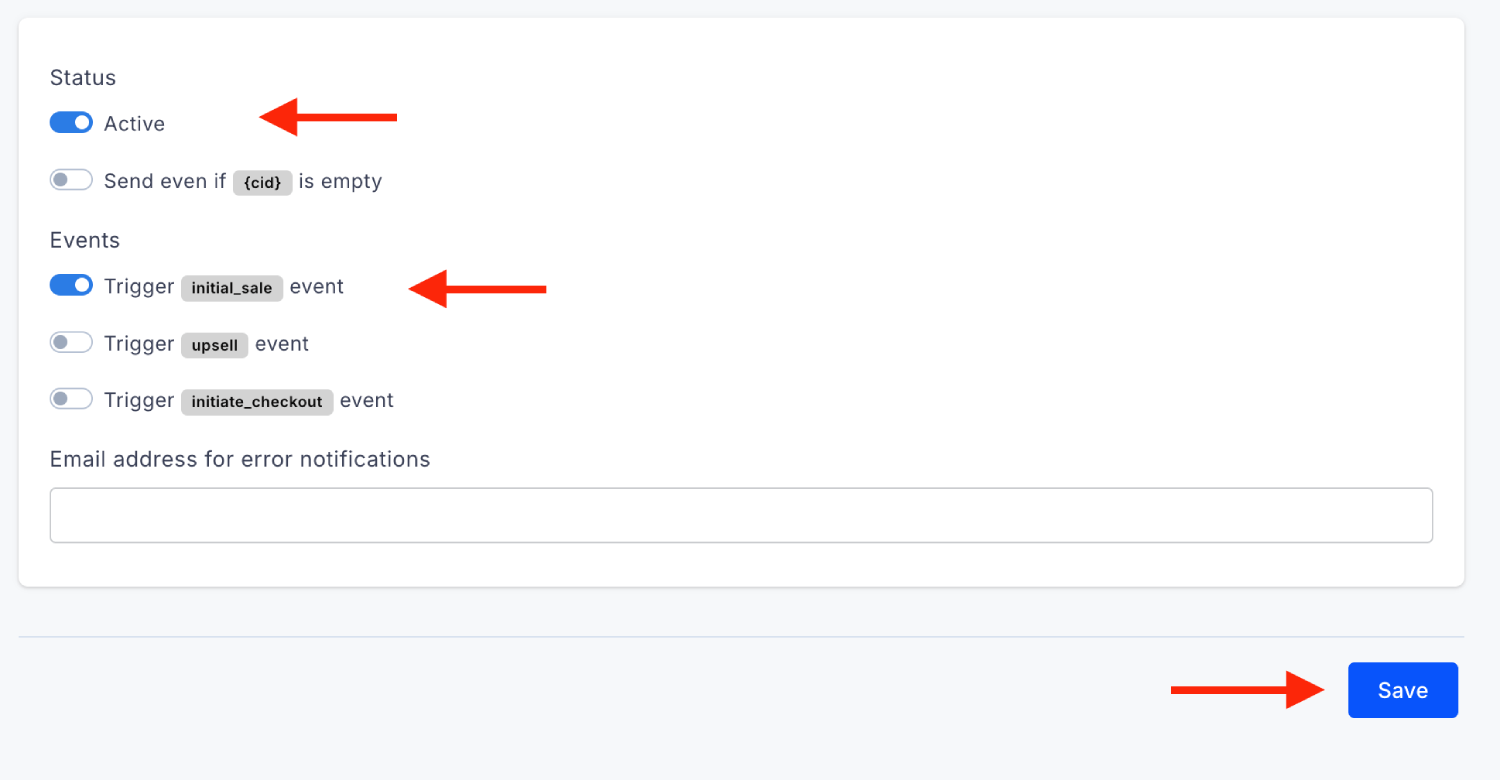
4. Add postback for **Upsell** event:
```text
https://skrotrack.com/postback?clickId={cid}&payout={total_price}&transactionId={order_id}&firstName={first_name}&lastName={last_name}&email={email}&phone={phone_number}&ce=Upsell
```
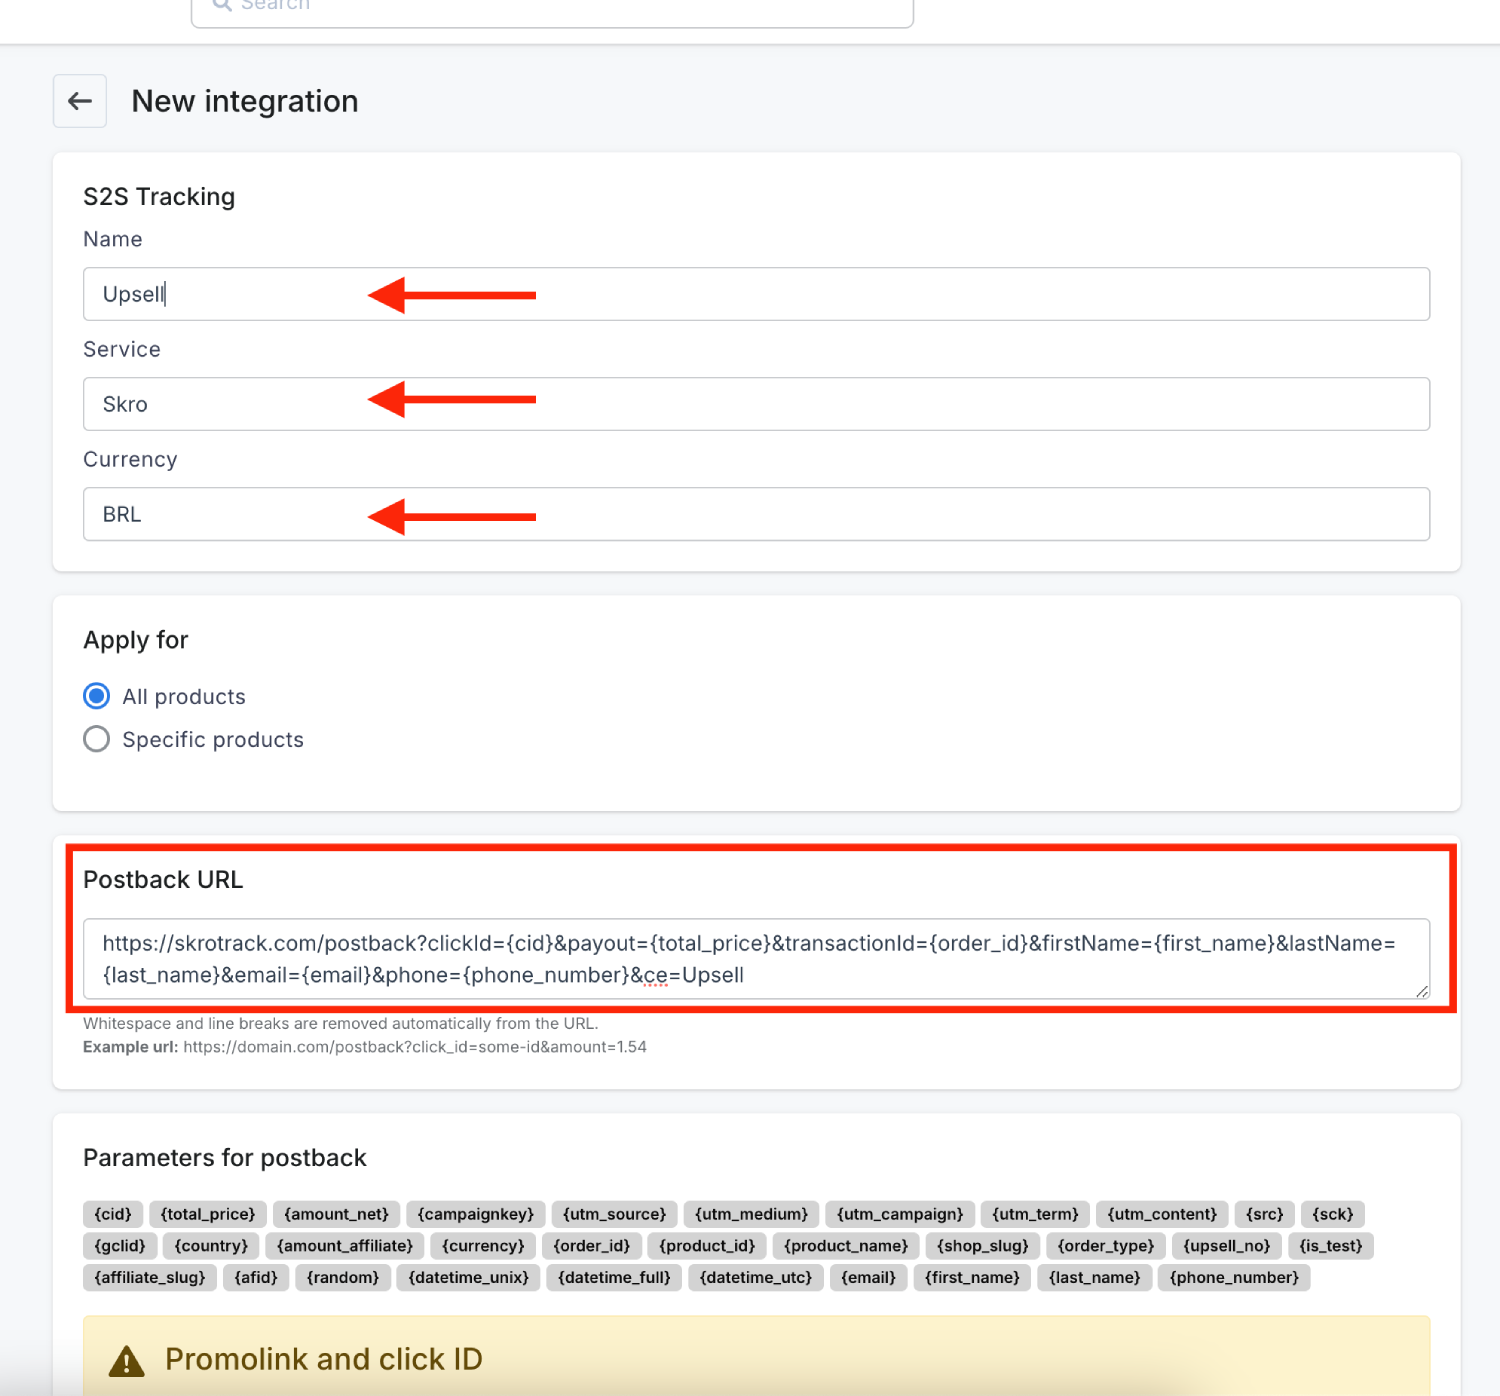
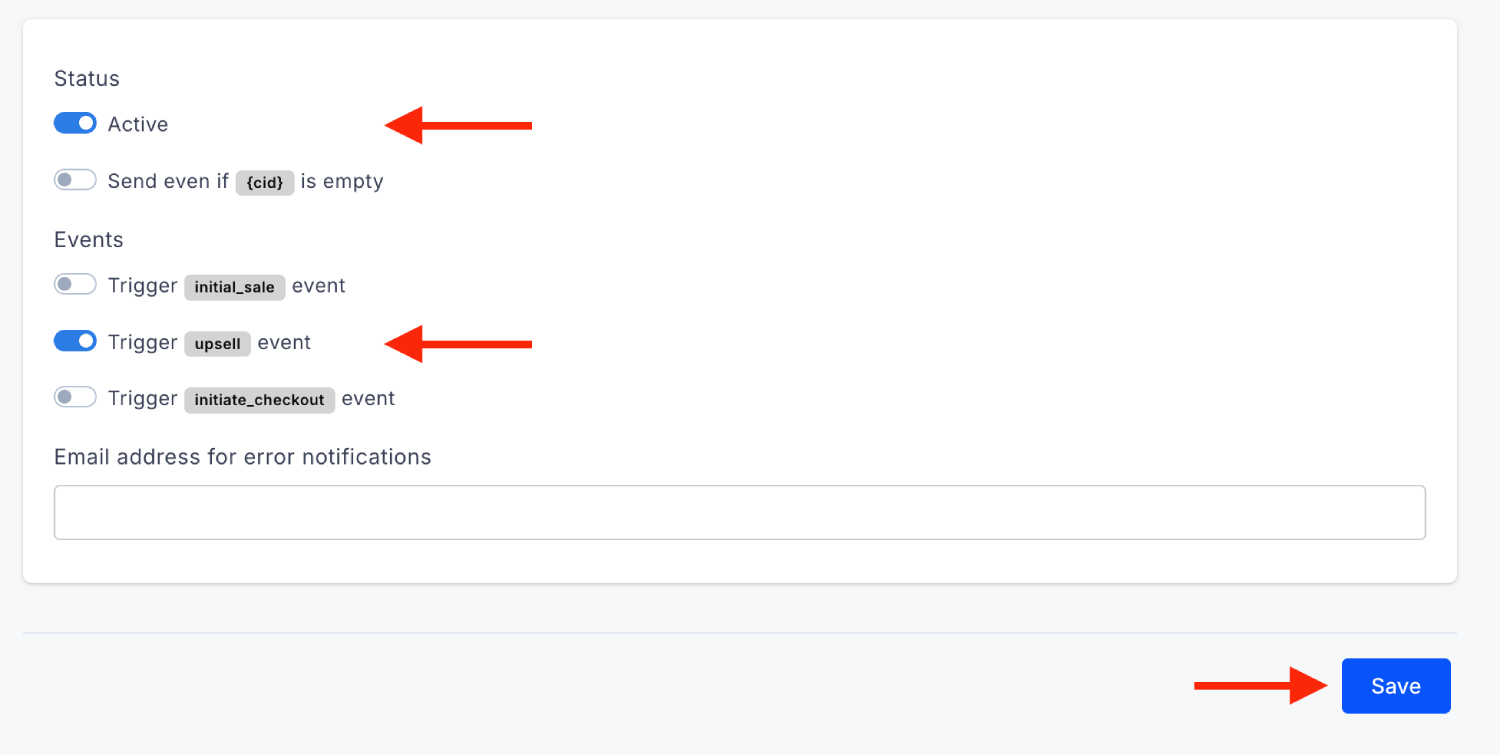
Postback URLs are successfully integrated.
## Step 3. Create an Affiliate Network as Cartpanda [#step-3-create-an-affiliate-network-as-cartpanda]
1. In Skro, go to the **Affiliate Networks** view, click **Create**, select **Cartpanda**.
2. Select a workspace.
3. Enter a different name if you want.
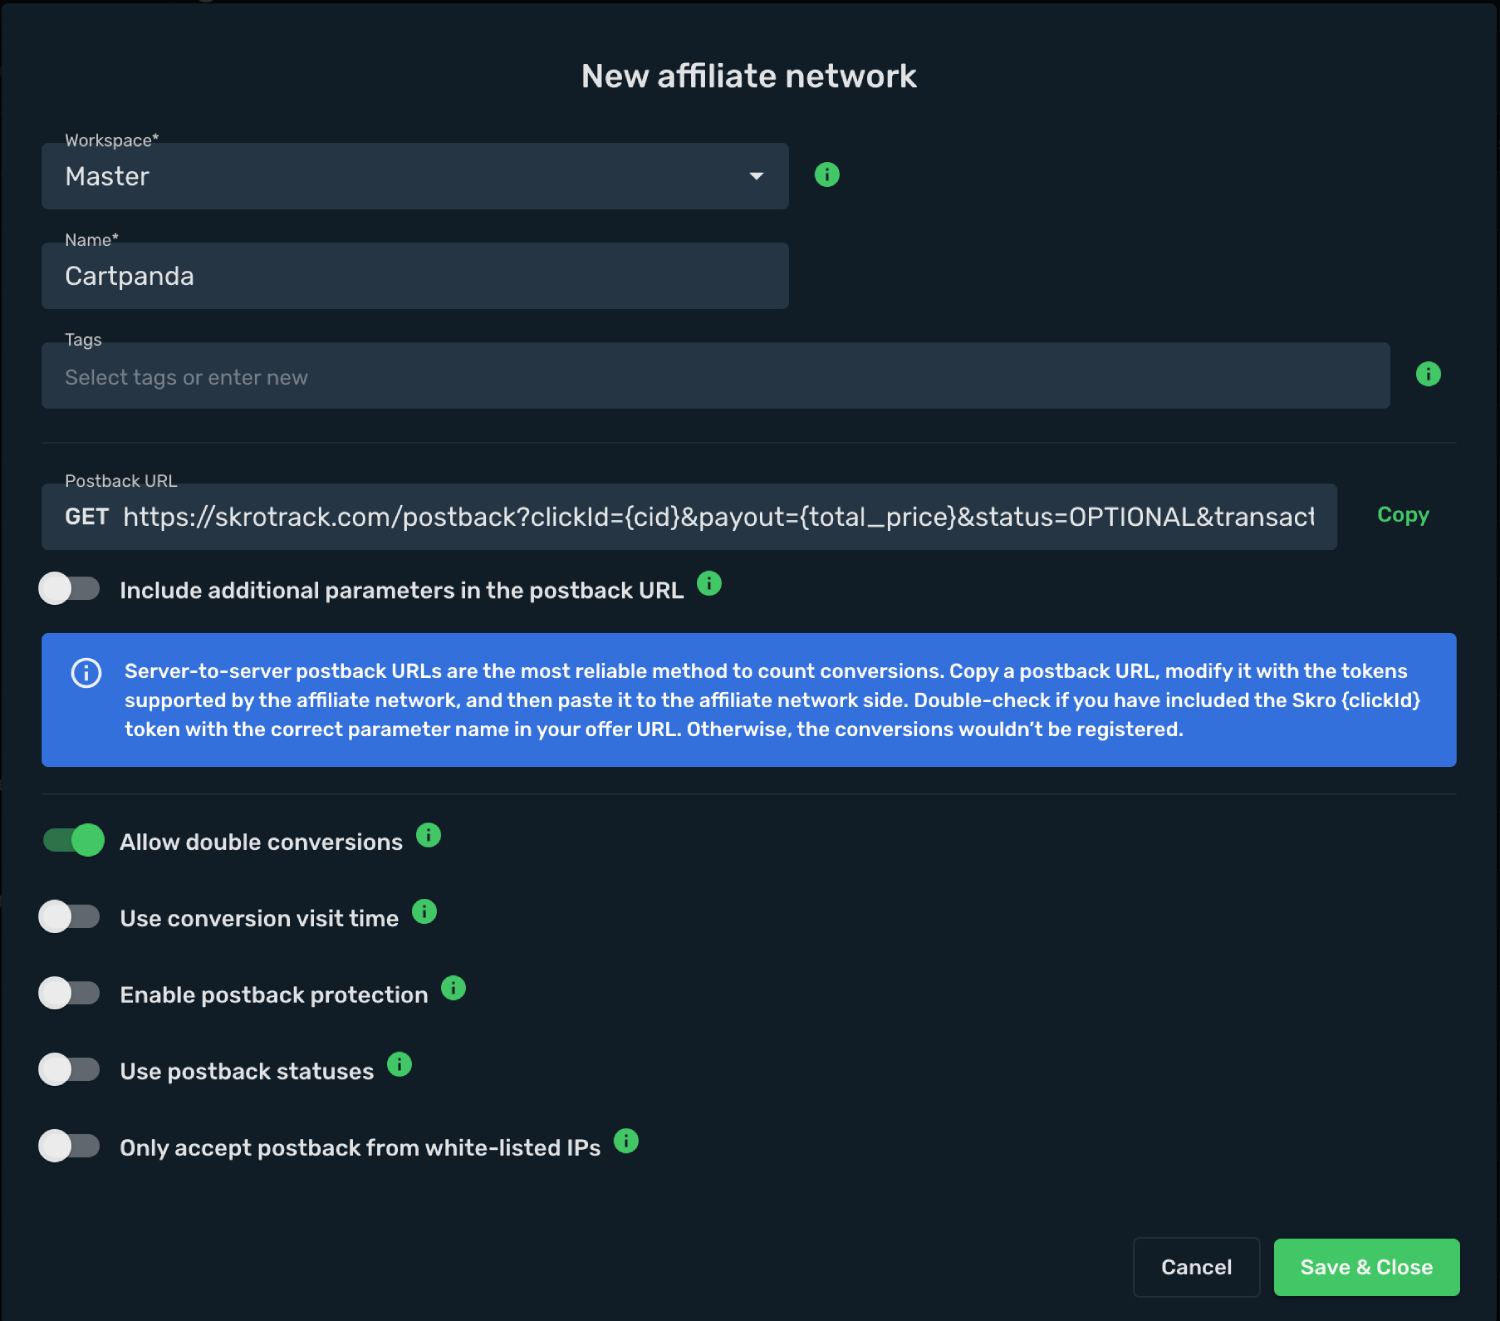
2. Click **Save & Close**.
## Step 4. Add Cartpanda checkout links [#step-4-add-cartpanda-checkout-links]
Offers are your **Cartpanda checkout links** in Skro. For example, if you have multi-pot checkout links and you want to track them separately, then add them 1-by-1 into Skro. Later, you can list them under your single campaign and send traffic to specific offer.
1. Add your checkout link as offer. Go to the **Offers** view, click **Create**.
2. Select a workspace.
3. Enter a name for your offer.
4. Enter your offer URL with the Skro Click ID parameter: **`?cid={clickId}`**
`https://my-cartpanda-checkout-link/?cid={clickId}`
5. Select **Cartpanda** as an affiliate network.
6. **Payout Type** - Make sure you select correct currency for your payouts, it must be same as you put on your Purchase event S2S Postback in Cartpanda.
7. When you are done, then click **Save & Close**.
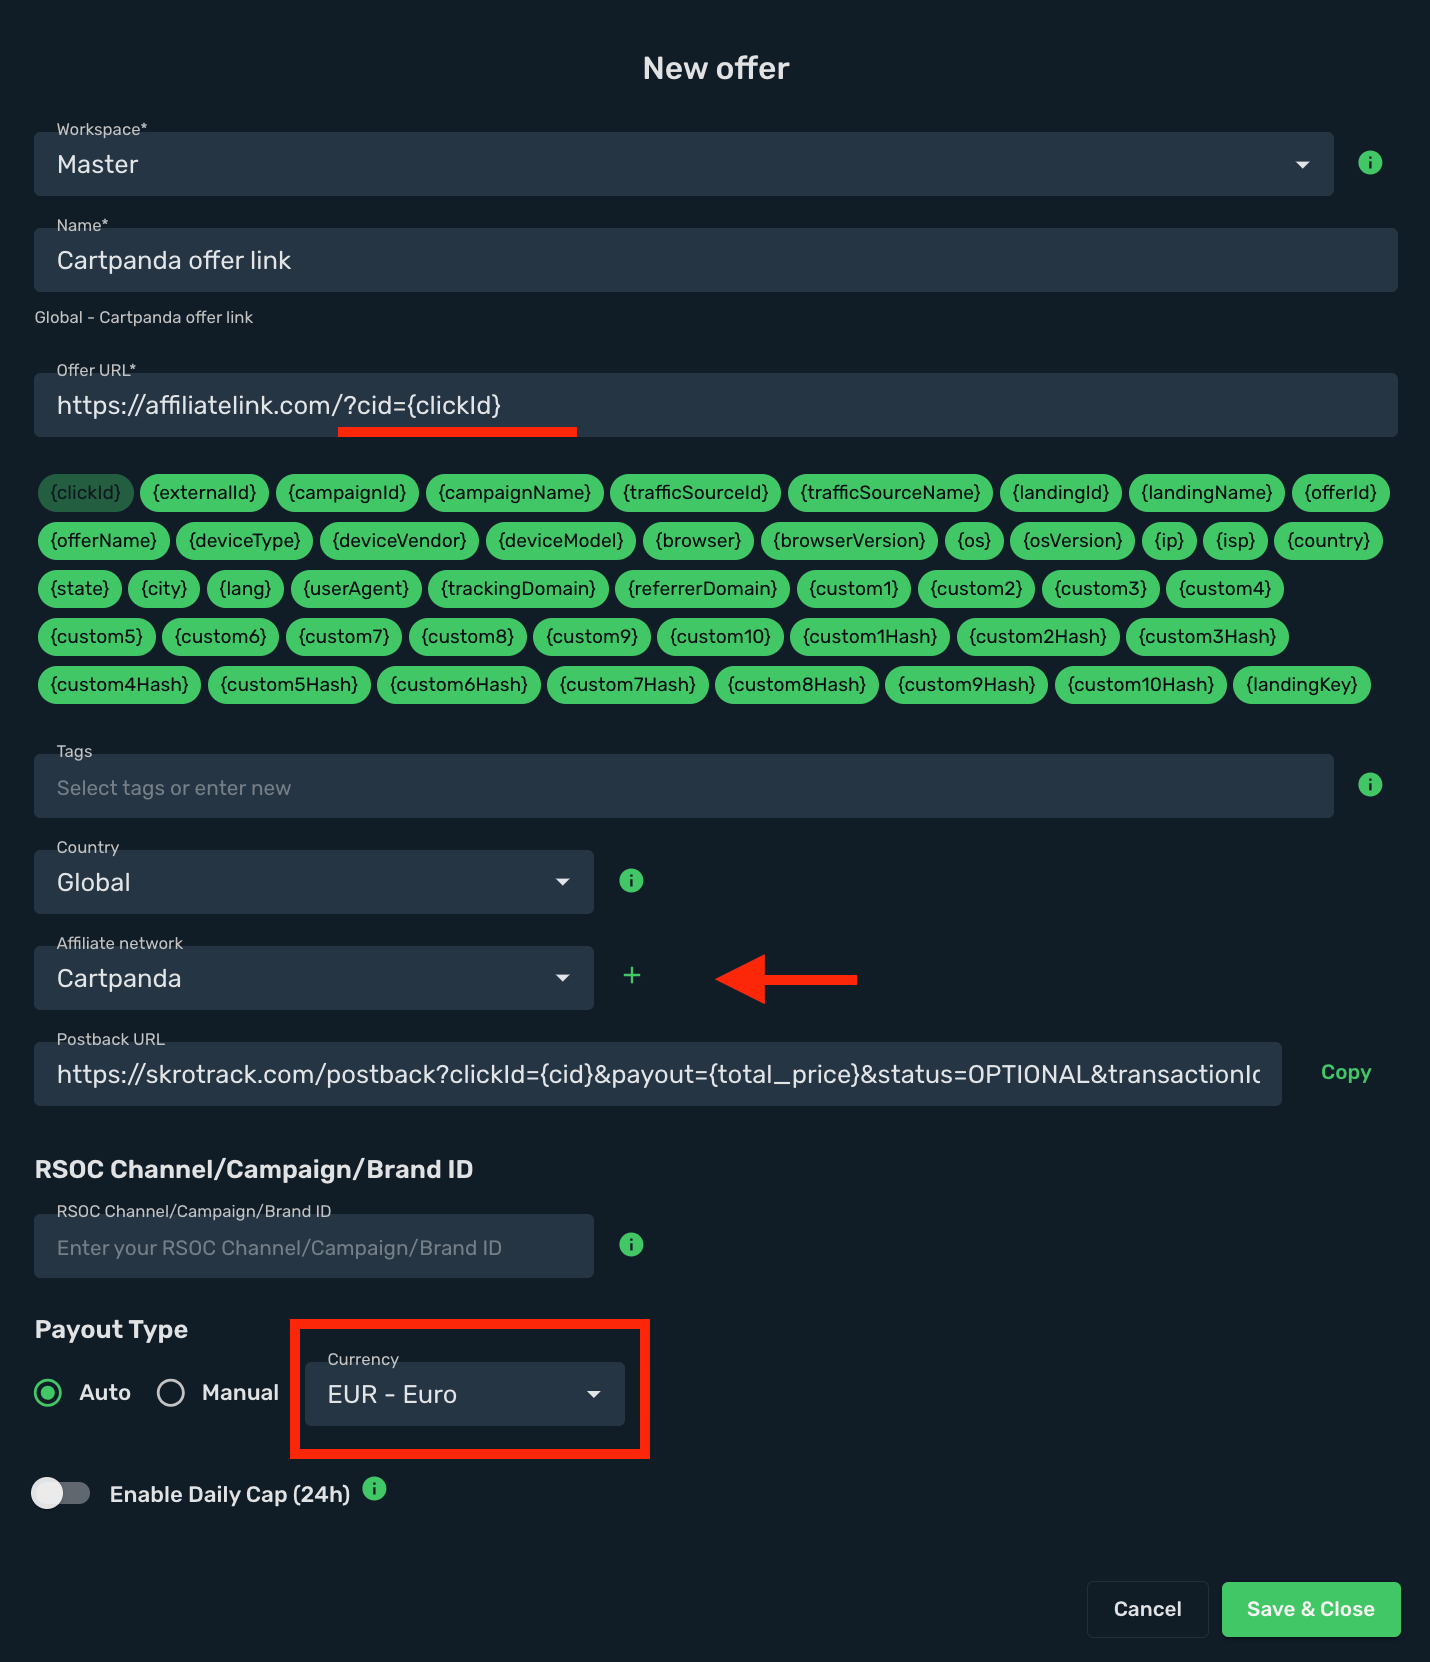
## Step 5. VSL page set up in Skro [#step-5-vsl-page-set-up-in-skro]
(Optional) If you use a sales page or pre-lander before your Cartpanda checkout page, go to the **Landings** view and click **Create**.
Here are listed different flows to track:
### Flow1: Meta Ad → VSL → Cartpanda [#flow1-meta-ad--vsl--cartpanda]
1. Add your **VSL page** as **Landing** in Skro.
2. Add workspace
3. Give it a name.
4. Add your VSL page URL.
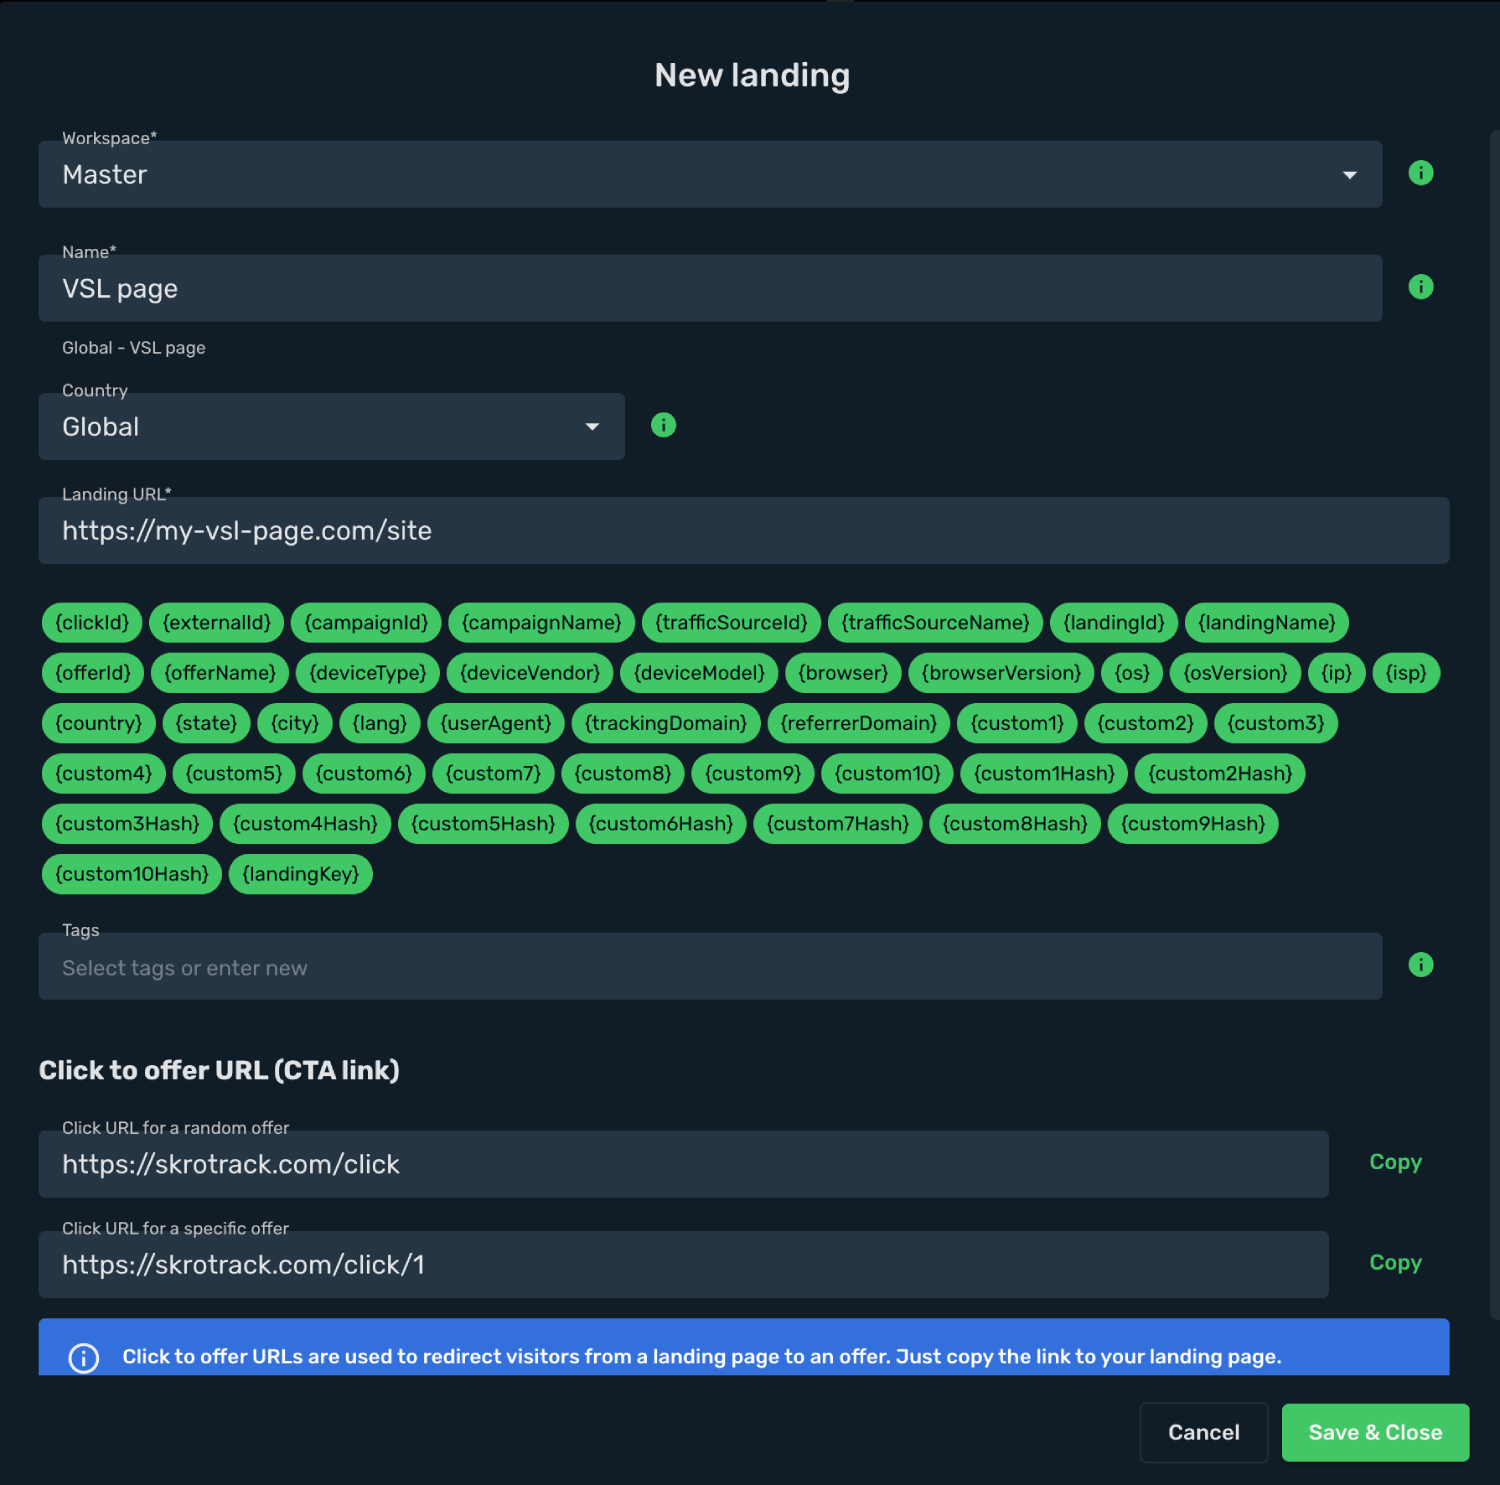
5. As you need to send your customers from your VSL page to Cartpanda checkout page you will need to add Skro CTA link to your VSL page.
`https://skrotrack.com/click`
6. For example, if you have multi-pot offers and each of them has unique checkout link, then you will need to use specific offer links. The numbers at the very end of these links are sequence numbers that coming from campaign setup in Step 3.
Offer 1: `https://skrotrack.com/click/1`
Offer 2: `https://skrotrack.com/click/2`
Offer 3: `https://skrotrack.com/click/3`
A view of campaign setup in step 3.
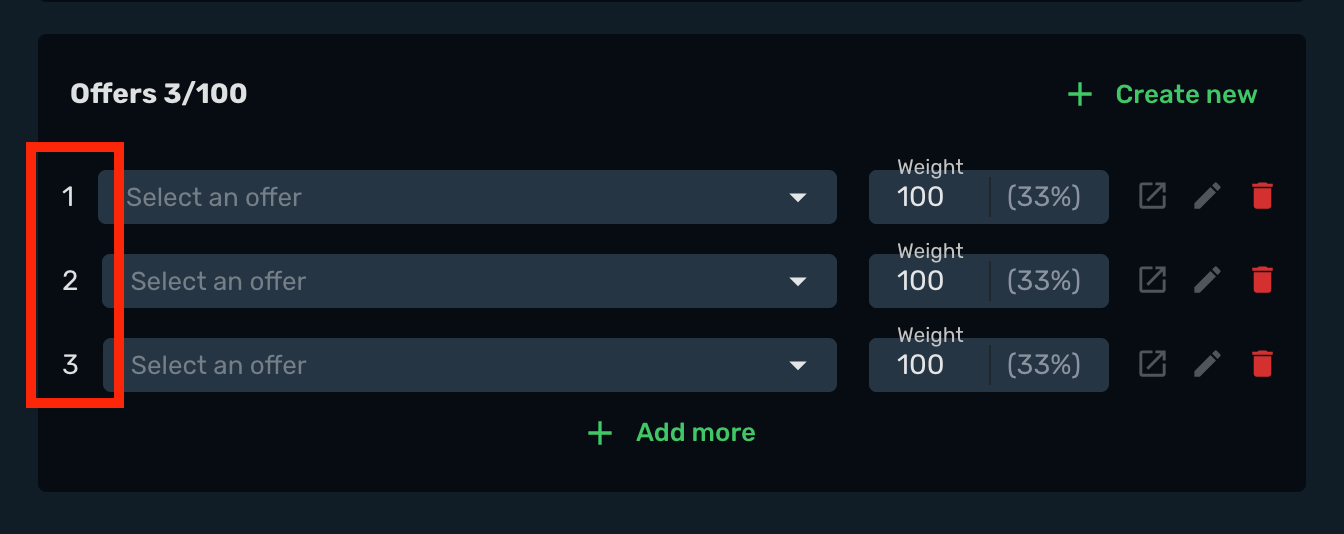
Please note that skrotrack.com is the default tracking domain provided by Skro.
If you’re using your own custom tracking domain (recommended for higher traffic volumes), make sure to use that domain instead.
It’s important that the tracking domain is the same in both your Skro campaign tracking link and in your CTA links on your VSL page.
### Flow2: Meta Ad → The White Rabbit Cloaker → VSL → Cartpanda [#flow2-meta-ad--the-white-rabbit-cloaker--vsl--cartpanda]
If you are using **The White Rabbit** cloaker and **VTurb** video link on your VSL page, then you need to forward your **UTM parameters** to your VSL page to track video views on VTurb dashboard.
VSL Page URL with UTM params: (Meta ads compliant)
```text
https://my-vsl-page.com/site?utm_source={custom8}&utm_medium={custom7}&utm_campaign={custom6}&utm_content={custom2}&utm_term={custom4}
```
These macros what are used in UTM params, are Skro specific and coming from **Traffic Source** parameters mapping.
## Step 6. Create a Campaign in Skro [#step-6-create-a-campaign-in-skro]
1. Navigate to the **Ads Manager** view and click **Create**.
2. Select your integrated **Traffic Source** (e.g. Facebook). [Meta ads integration guide](/docs/integrations/facebook-meta-ads-integration)
3. Select your **Conversion Event Name**. This must match exactly (case-sensitive) between Skro and your traffic source.
4. Select your **Conversion Pixel**. This is required for sending conversion data back to your traffic source.
5. Set **Cost Model** to **Auto**.
6. Select your cost currency.
7. Click **Next**.
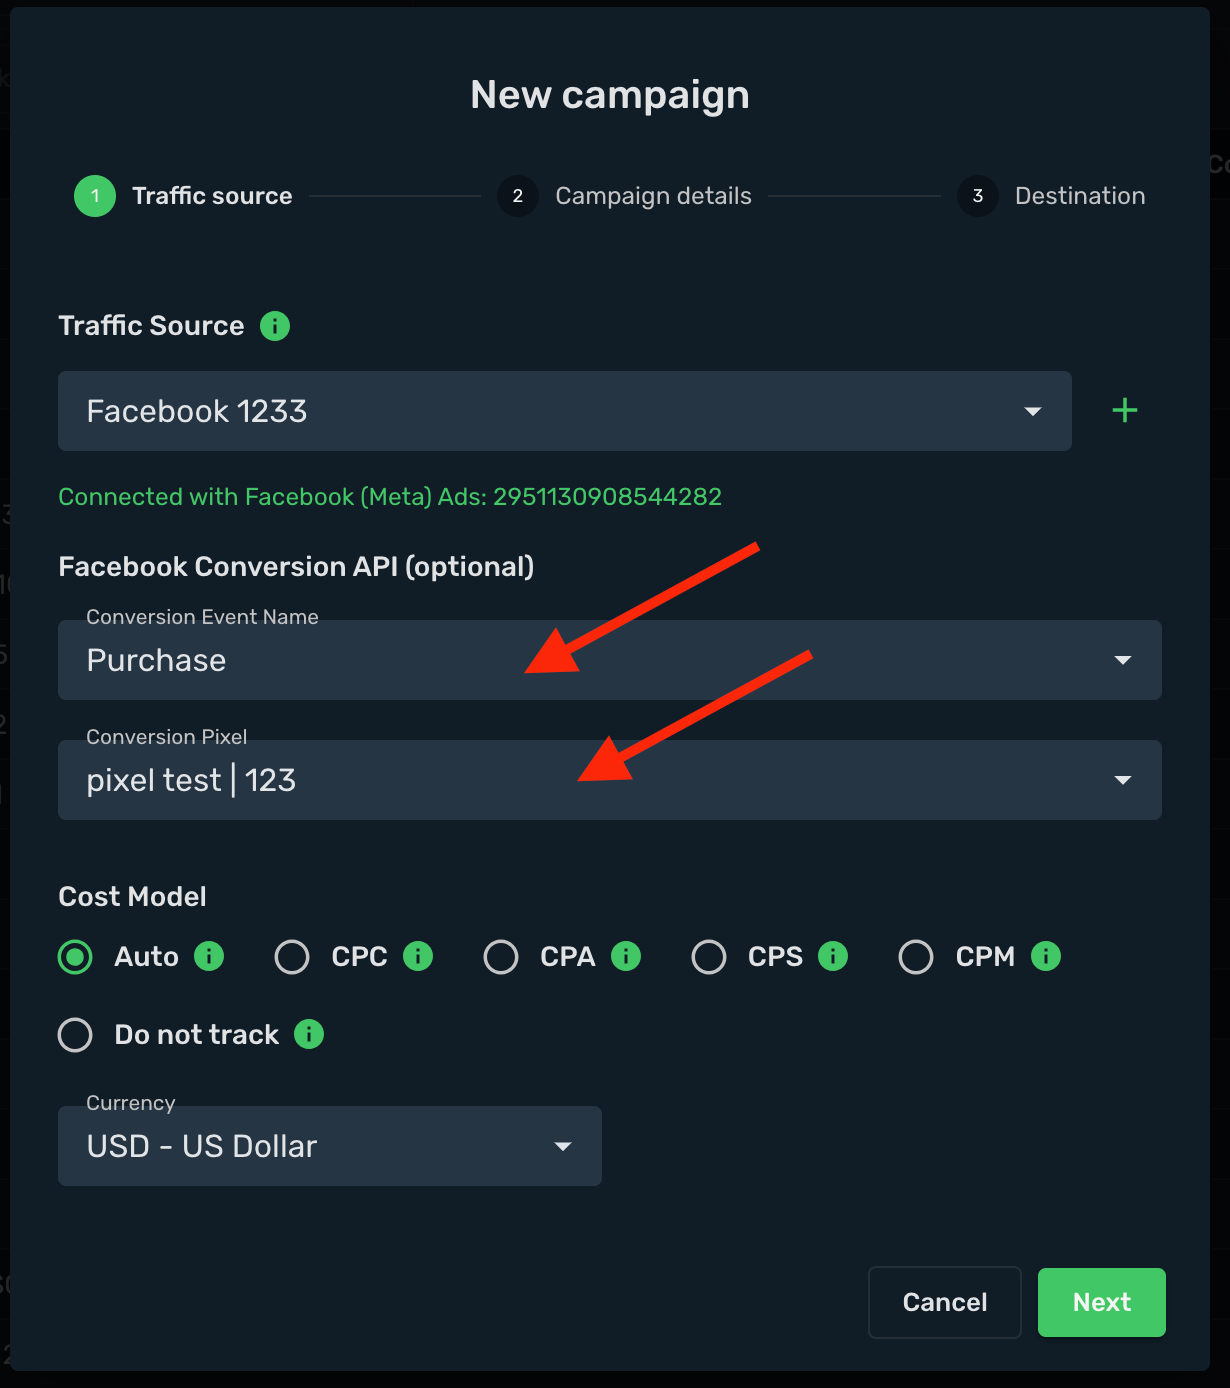
8. Choose a workspace.
9. Add a descriptive campaign name.
10. Click **Next**.
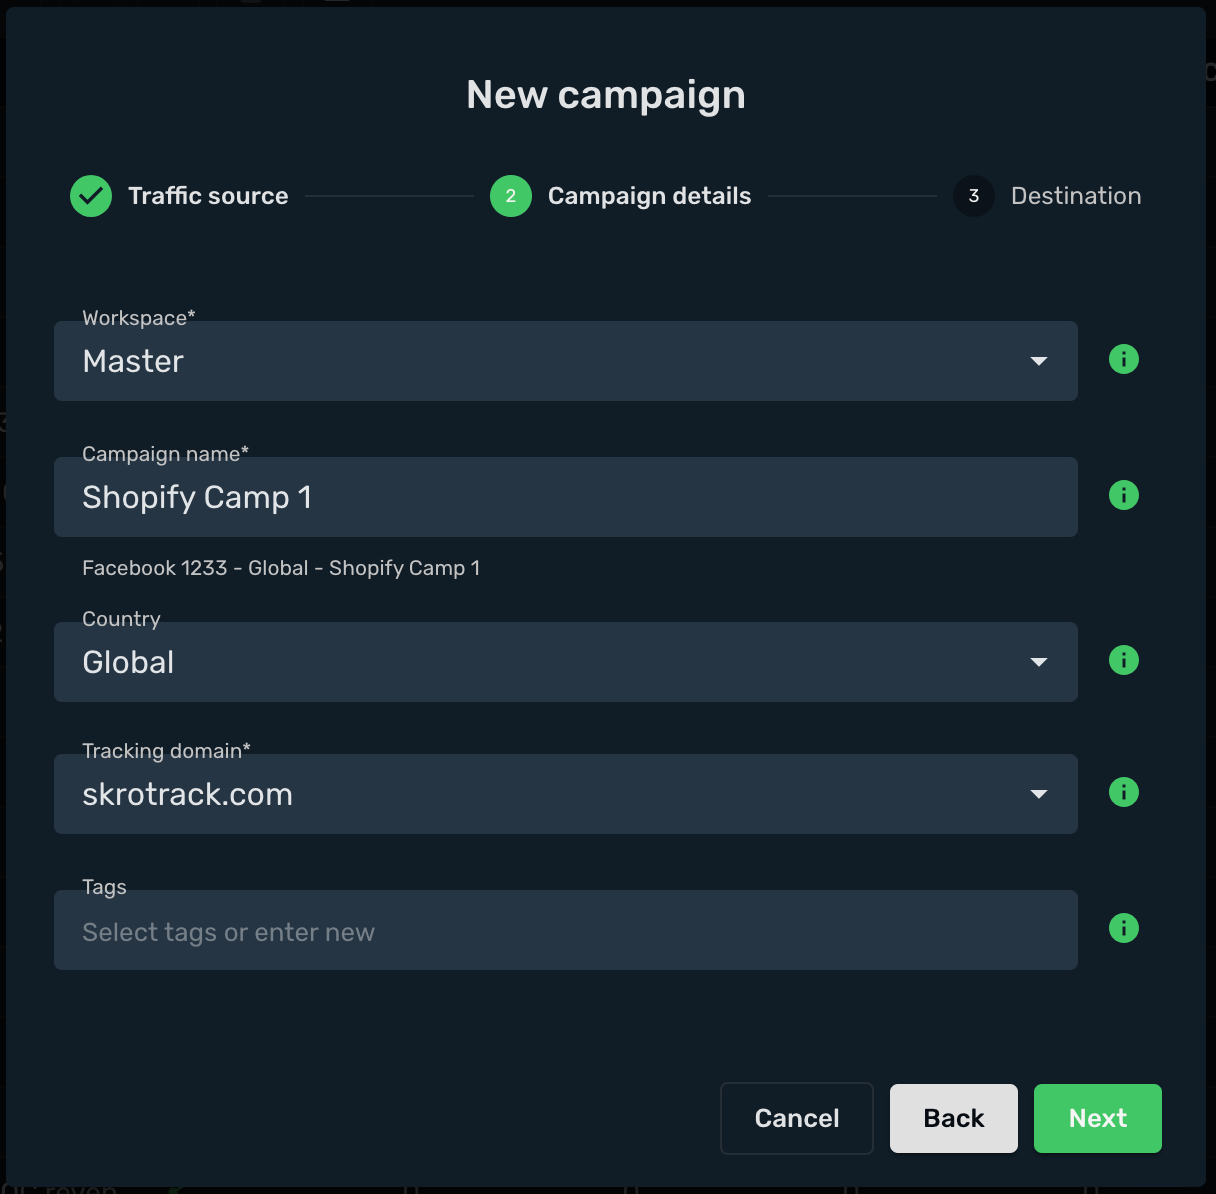
11. Choose your **Destination Type** (in this example: **flow**).
12. Select your redirect mode (in this example: **302 redirect**).
13. Select your **VSL page** as Landing.
14. Select your Cartpanda offer / offers.
15. Click **Save**.
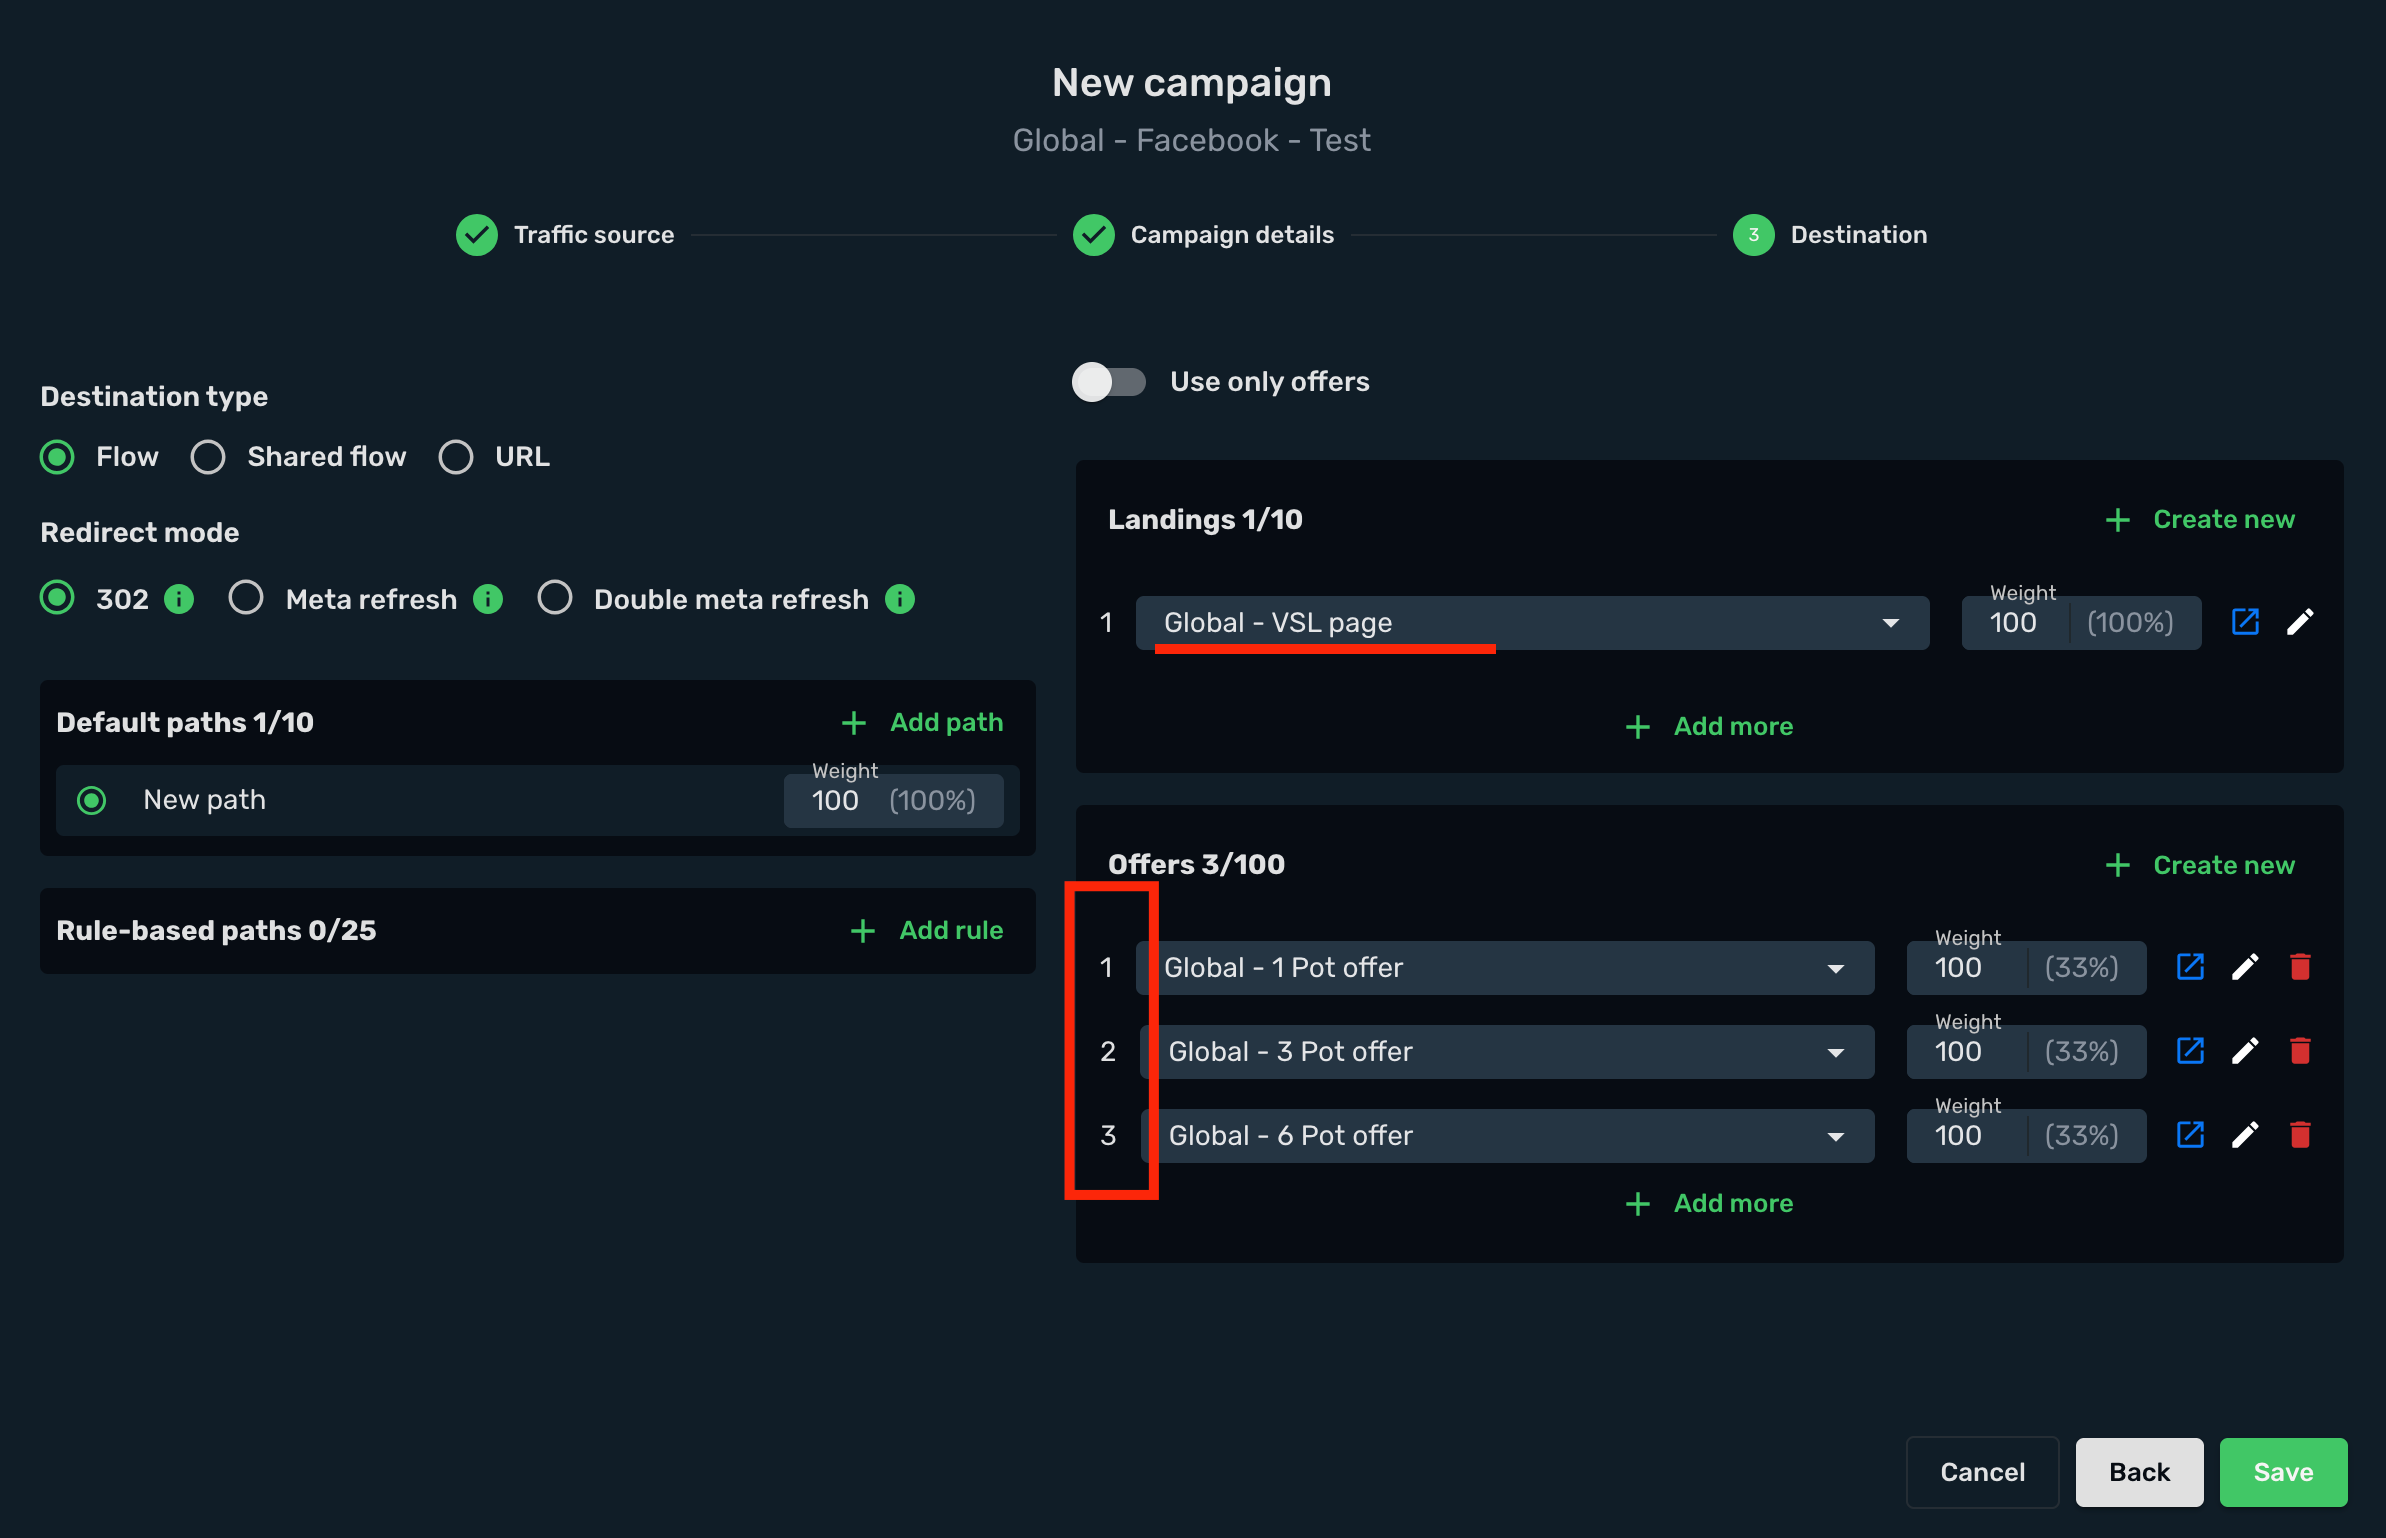
16. Choose your tracking method: **Redirect** or **Direct**. (In this example we use **Redirect**.)
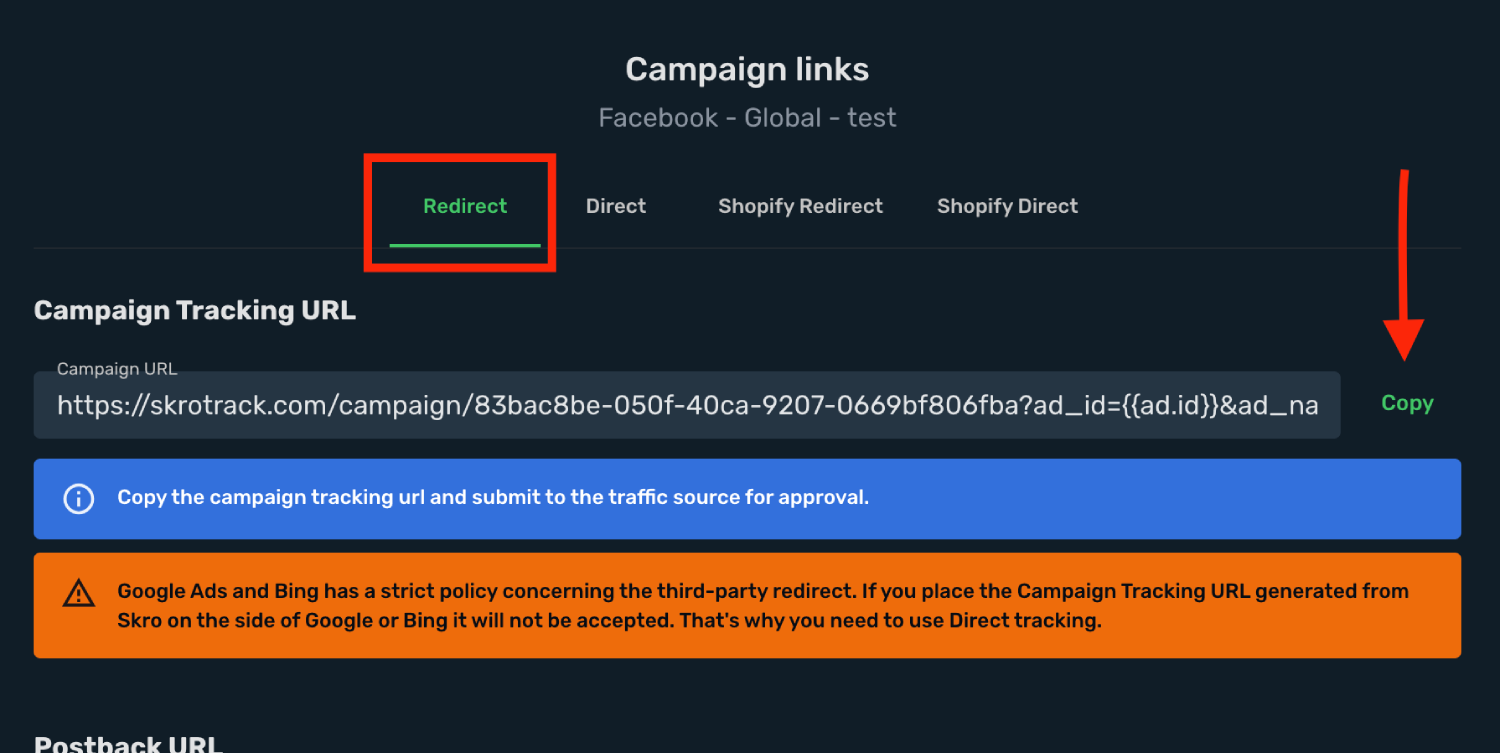
## Step 7. Set up The White Rabbit (TWR) and Skro tracking link [#step-7-set-up-the-white-rabbit-twr-and-skro-tracking-link]
For example, this is your Skro Campaign tracking link. Usually this link goes to Meta ads and you are done.
```text
https://skrotrack.com/campaign/83bac8be-050f-40ca-9207-0669bf806fba?ad_id={{ad.id}}&ad_name={{ad.name}}&adset_id={{adset.id}}&adset_name={{adset.name}}&campaign_id={{campaign.id}}&campaign_name={{campaign.name}}&placement={{placement}}&site_source_name={{site_source_name}}
```
But if you are using **The White Rabbit** cloaker, then this set up is a little different.
1. This part of the URL goes to Cloaker:
`https://skrotrack.com/campaign/83bac8be-050f-40ca-9207-0669bf806fba`
2. These URL parameters goes to **The White Rabbit** tracking link which goes to Meta ads. It means that you must include these params to your **The White Rabbit** generated parameters.
```text
ad_id={{ad.id}}&ad_name={{ad.name}}&adset_id={{adset.id}}&adset_name={{adset.name}}&campaign_id={{campaign.id}}&campaign_name={{campaign.name}}&placement={{placement}}&site_source_name={{site_source_name}}
```
3. Final URL with params will be similar to these params:
```text
https://twr-trackinglink.site/?cwr={{campaign.id}}&cname={{campaign.name}}&domain={{domain}}&placement={{placement}}&adset={{adset.name}}&adname={{ad.name}}&site={{site_source_name}}&xid=4b3gtc4x&ad_id={{ad.id}}&ad_name={{ad.name}}&adset_id={{adset.id}}&adset_name={{adset.name}}&campaign_id={{campaign.id}}&campaign_name={{campaign.name}}&placement={{placement}}&site_source_name={{site_source_name}}
```
Your Cartpanda integration is complete! Remember: all traffic must go through your Skro campaign link, otherwise the tracking will not work.
## Verify the setup [#verify-the-setup]
Follow a campaign link and complete a test conversion using your provider’s test workflow. Confirm that the original click ID reaches the provider and is returned to Skro, then check the event and revenue in your campaign report.
If data is missing, check the selected workspace, integration, campaign, and reporting date range. Compare parameter names and macro values with the examples in this guide before repeating the test.
## Related guides [#related-guides]
# ClickAdilla integration
Source: https://skro.eu/docs/integrations/clickadilla-and-skro-integration
Set up ClickAdilla tracking in Skro, configure traffic source parameters, and connect your advertising campaigns.
## Step 1. Create an ClickAdilla traffic source and configure the postback URL [#step-1-create-an-clickadilla-traffic-source-and-configure-the-postback-url]
1. Go to **Traffic Sources** and click **+ Create**.
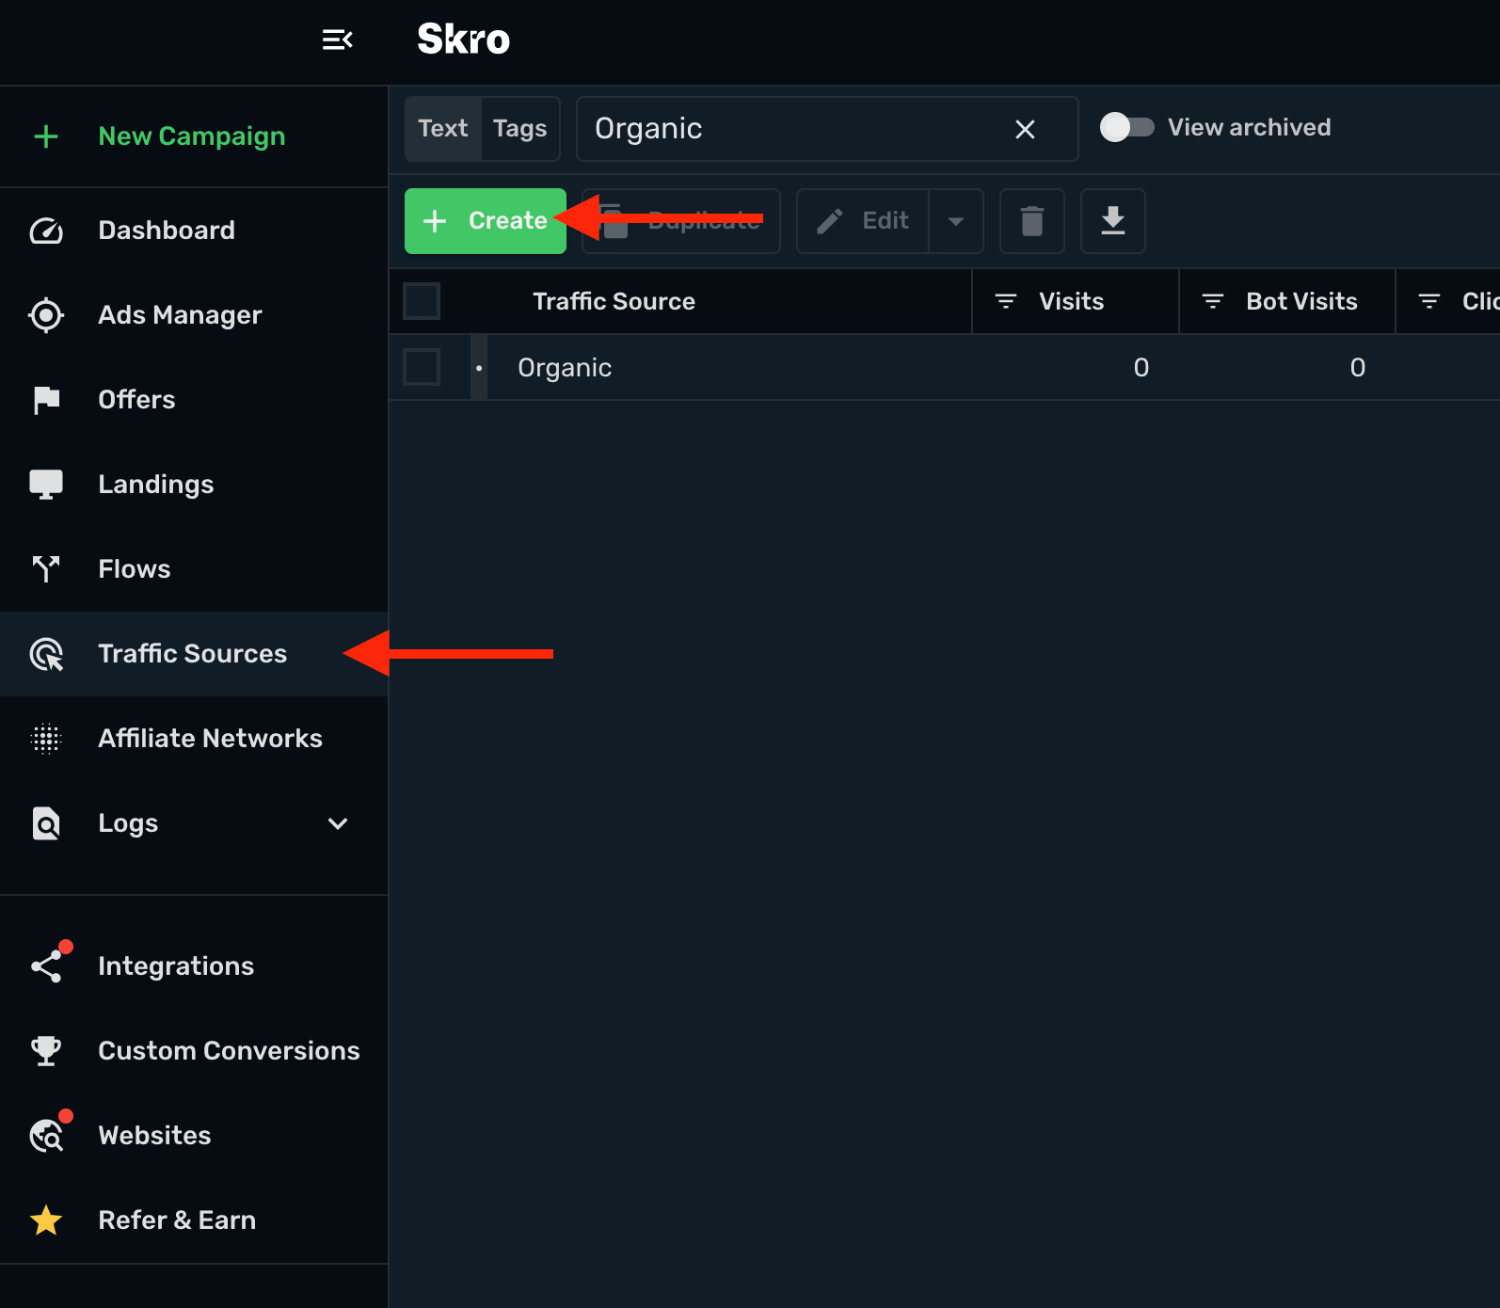
2. Search for **clickadilla** and click the **ClickAdilla** template.
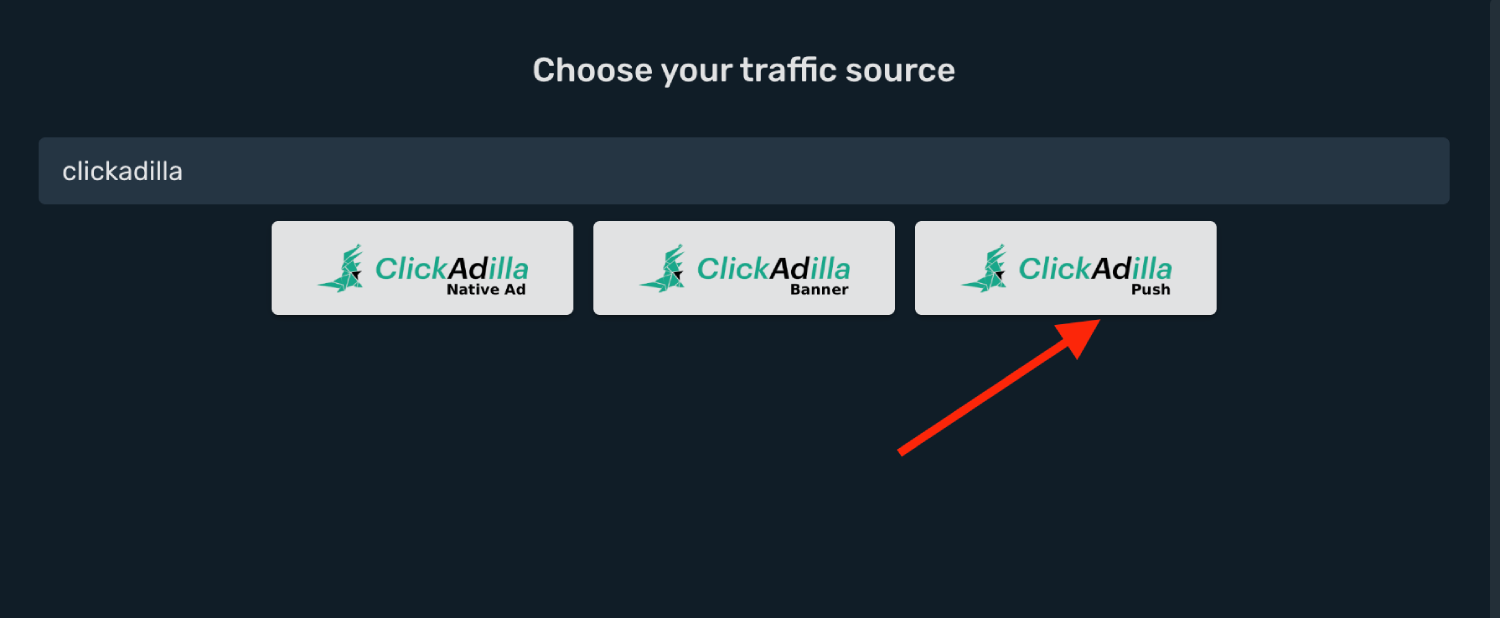
3. You need to modify **Traffic Source Postback URL**.
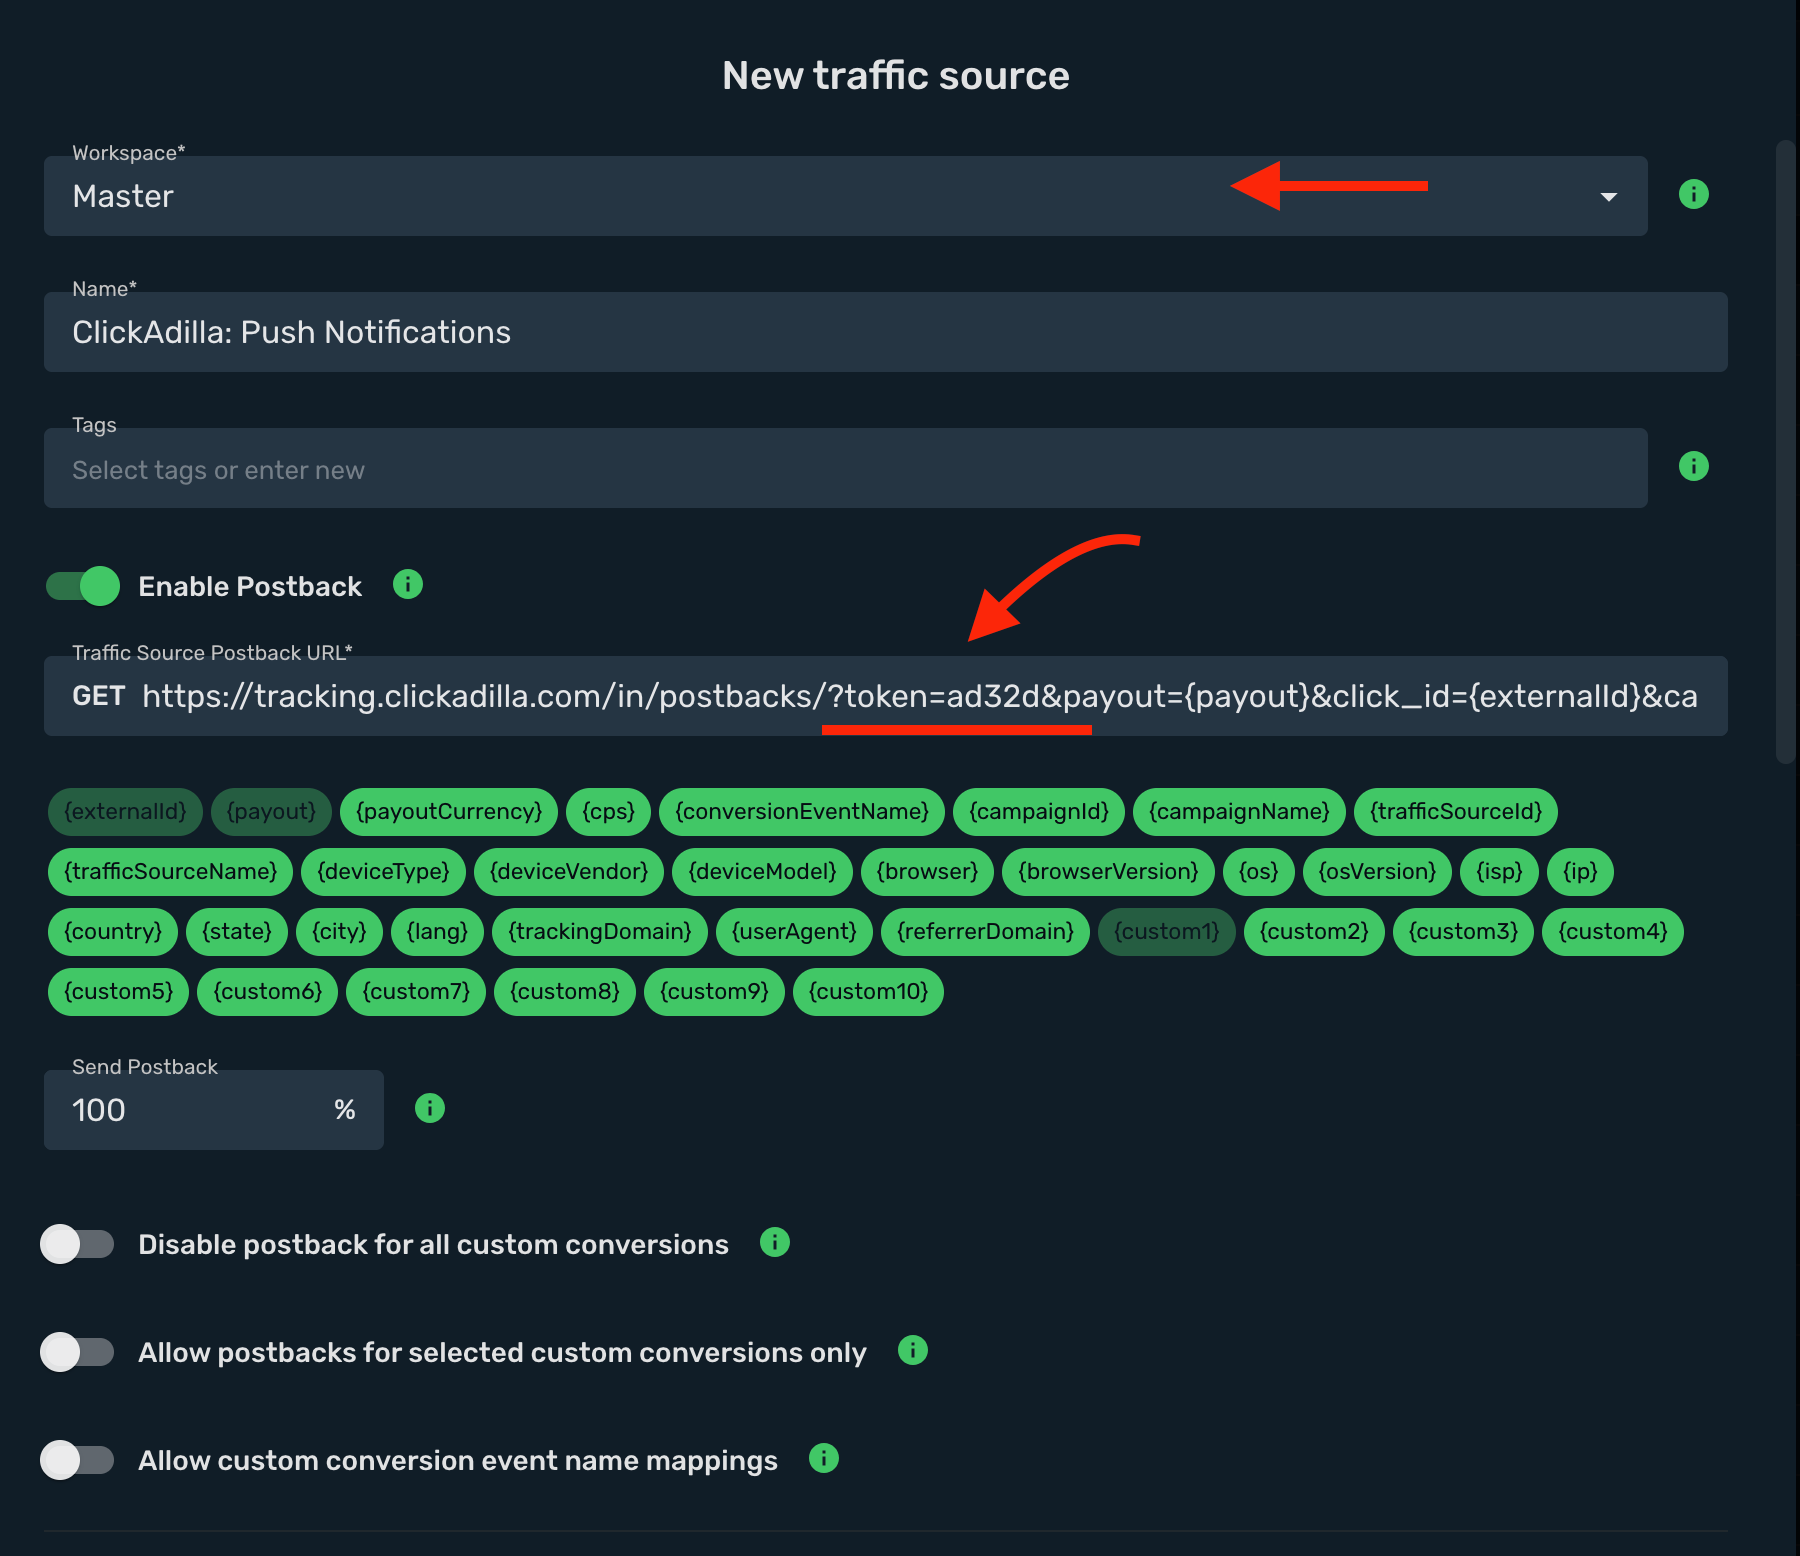
4. Log in to your **ClickAdilla** account.
5. Go to **Tracking** → **Conversion Tracking** section.
6. Copy the **Postback URL** to your clipboard
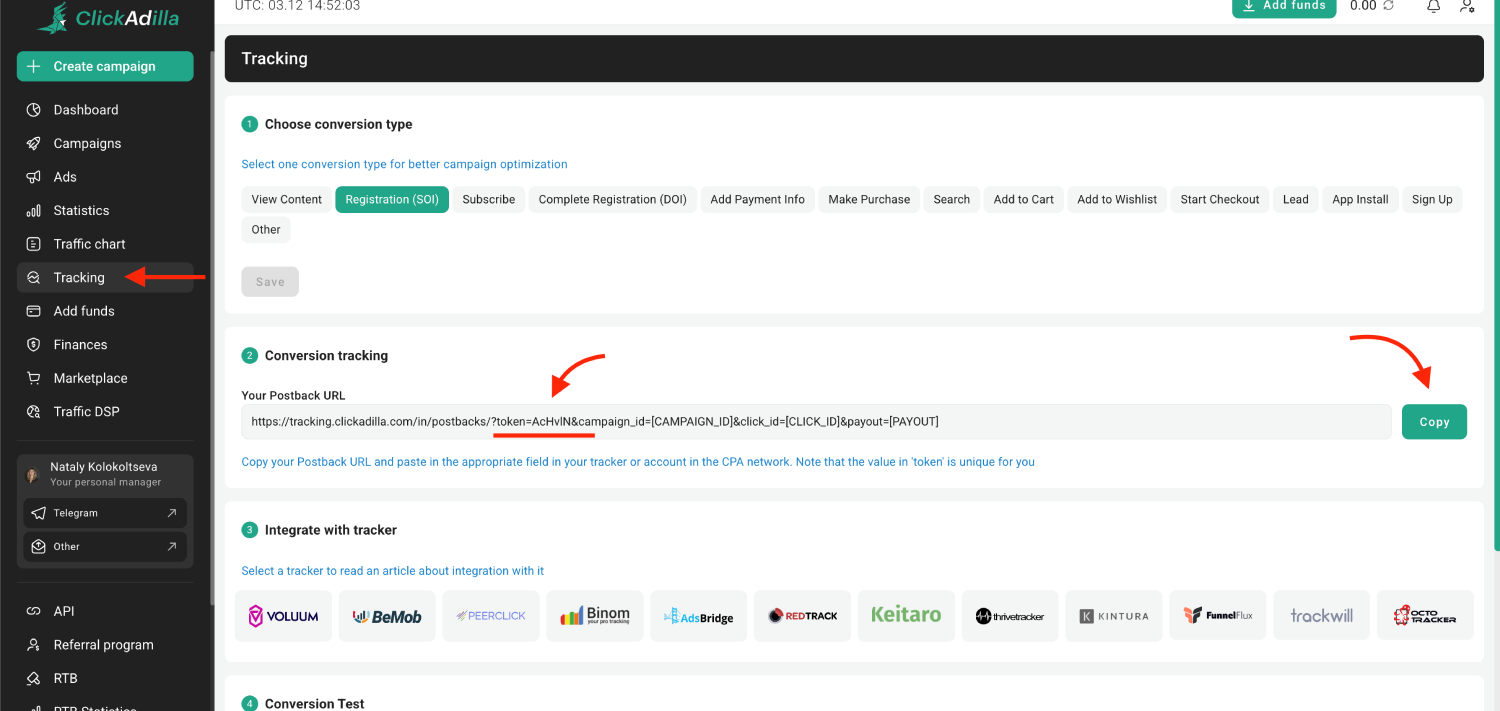
7. Go back to **Skro** and replace the postback URL with the updated values.
8. Replace the **AID** parameter value with real token value **`?AID=12345`**
9. Final postback URL must look similar to this:
`http://secure.clickadilla.com/performance/pc.dbm?ver=1.0&AID=12345&revenue={payout}&CLICKID={externalId}`
**`CLICKID={externalId}`** - ClickAdilla Click ID parameter with Skro macro.
**`revenue={payout}`** - Conversion Payout parameter with Skro macro.
10. All tracking parameters are already prefilled for you.
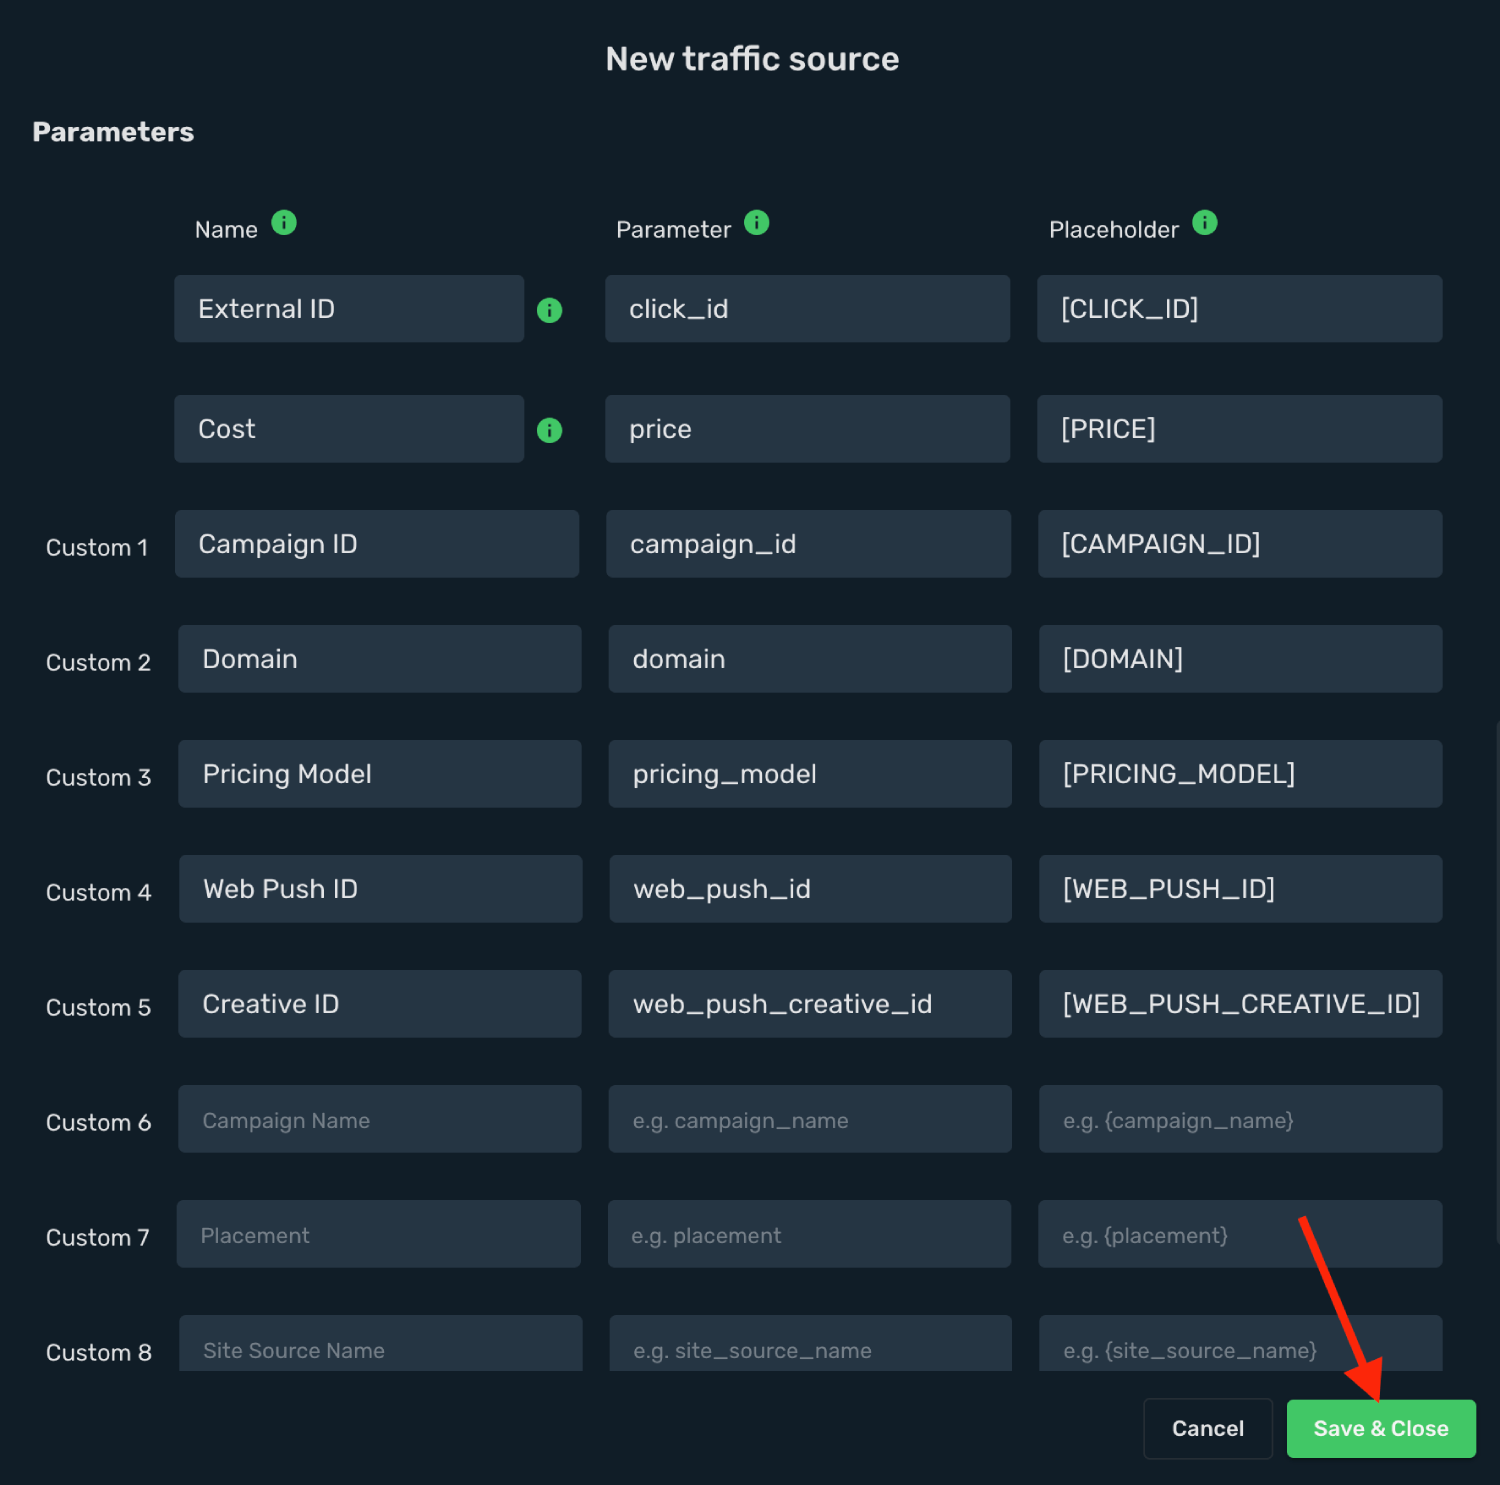
11. Click **Save & Close**.
Integration setup is complete, and you are now ready to create your first campaign.
## Step 2. Create a campaign in Skro [#step-2-create-a-campaign-in-skro]
1. Go to **Ads Manager** and click the **Create**.
2. Select your **Traffic source** and click **Next**.
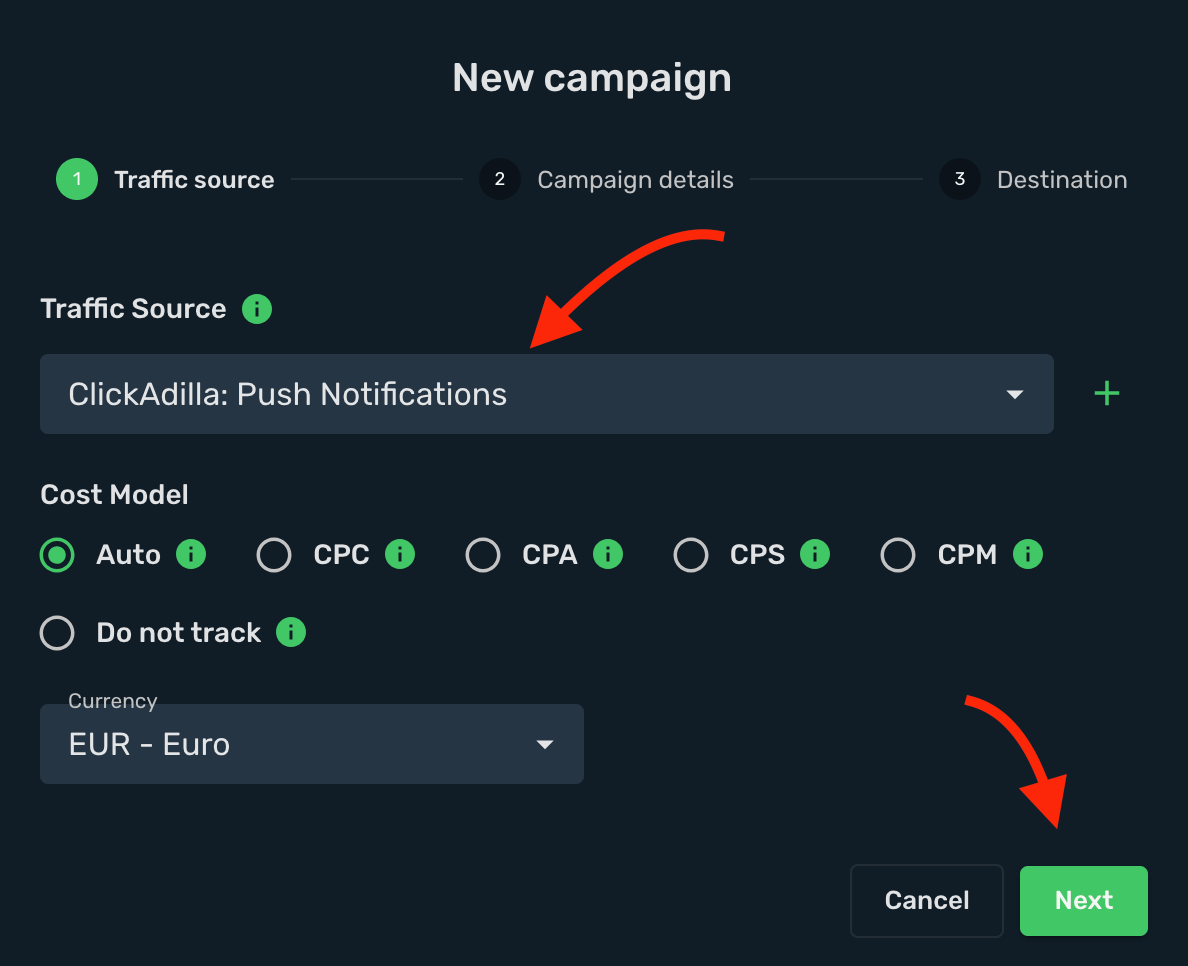
3. Select a **Workspace** for your campaign.
4. Give a **name** and click **Next**.
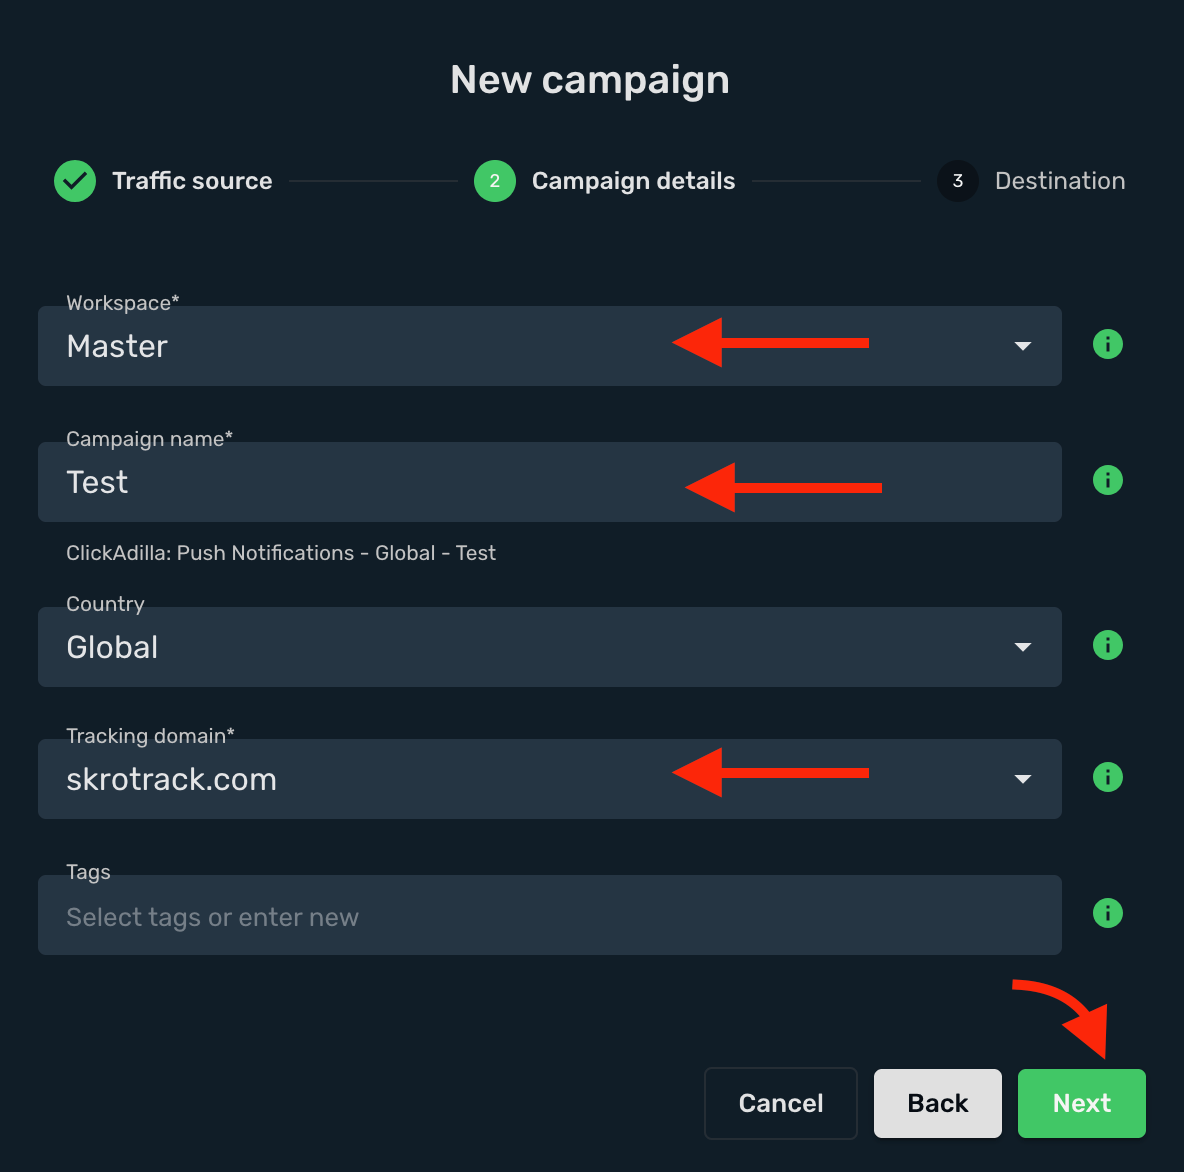
5. Select or create all your **landings** and **offers**.
6. Click the **Save**.
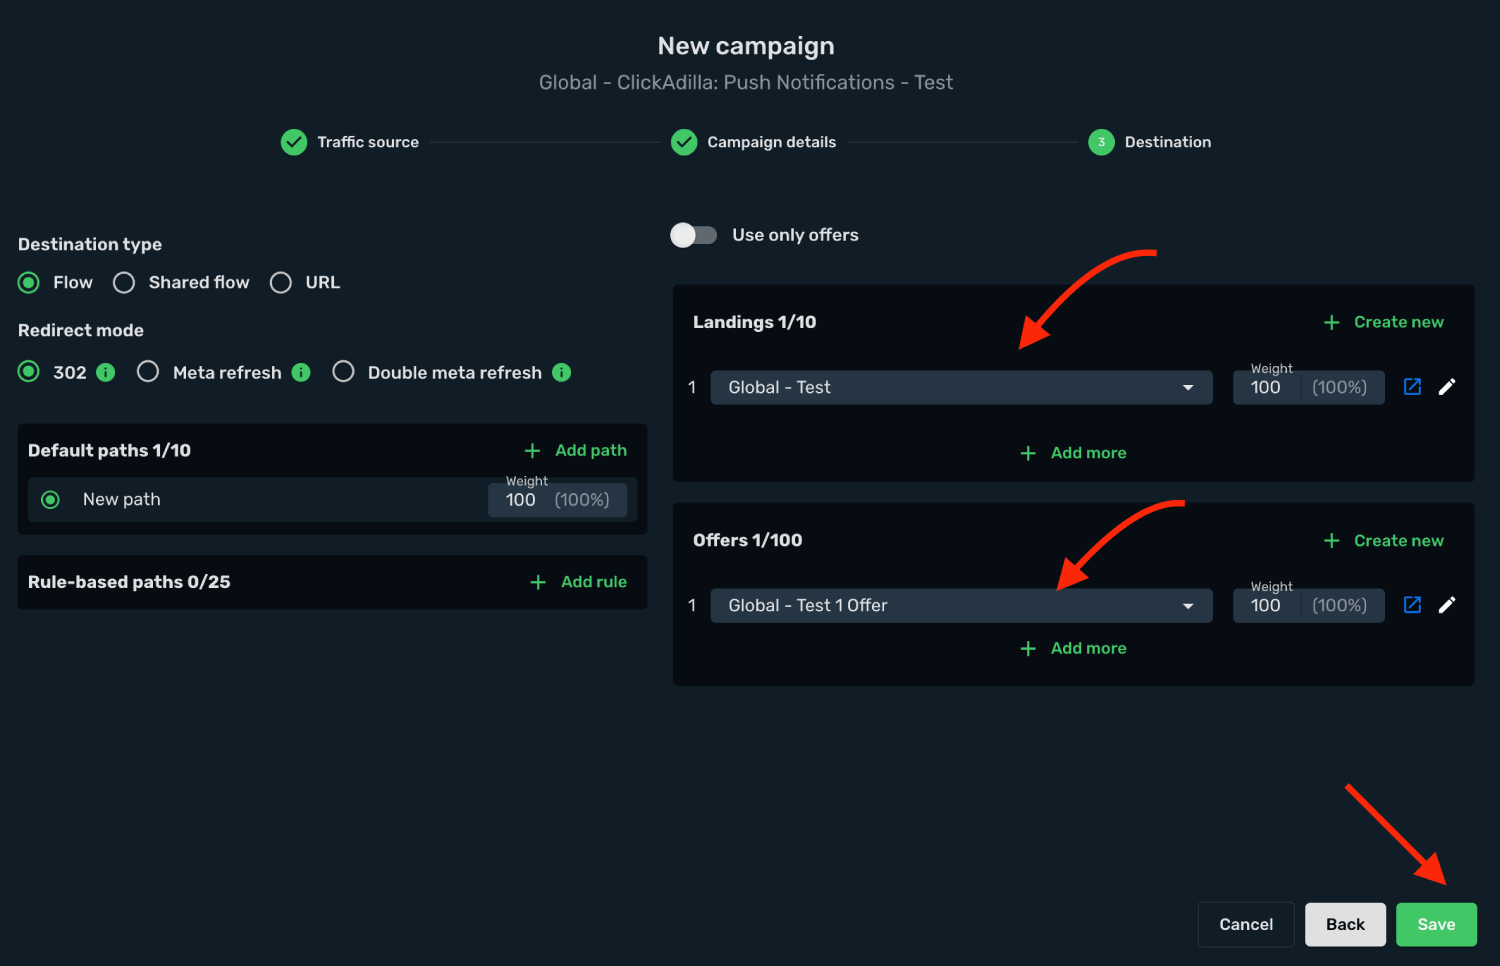
7. Copy the **Campaign Tracking URL** to clipboard.
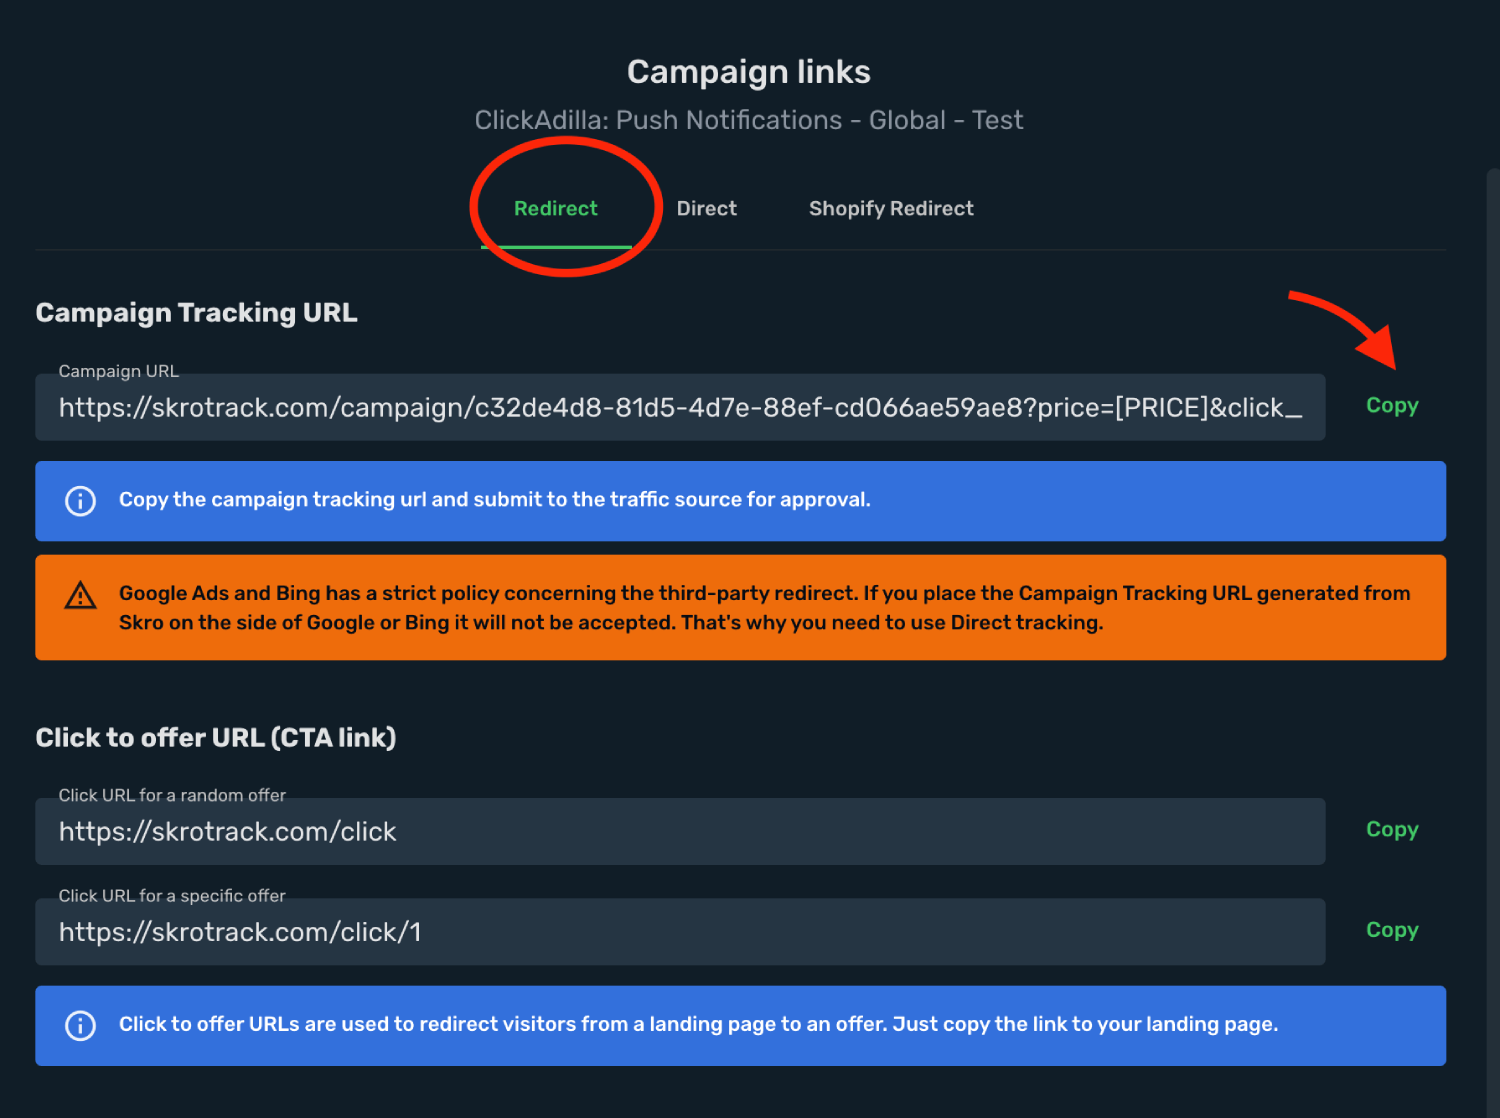
## Step 3. Create a campaign in ClickAdilla [#step-3-create-a-campaign-in-clickadilla]
1. Log in to your **ClickAdilla** account.
2. Go to the **Campaigns** section and click the **+ Create Campaign**.
3. Select your **Ad Format** and set **Pricing**
4. Fill all other fields where needed.
5. Paste the **Skro campaign tracking link** into the **Common URL** field, including all tracking parameters.
6. Complete the remaining campaign settings, then click **Create Campaign**.
7. After your campaign is approved on the side of ClickAdilla, you can start driving traffic to your campaign and track all the data with Skro.
## Verify the setup [#verify-the-setup]
Open the generated campaign URL and check that the visit appears in Skro. Confirm that traffic source macros resolve to actual values. If you send conversions back to the source, verify a test conversion in both systems.
If data is missing, check the selected workspace, integration, campaign, and reporting date range. Compare parameter names and macro values with the examples in this guide before repeating the test.
## Related guides [#related-guides]
# Clickadu integration
Source: https://skro.eu/docs/integrations/clickadu-integration
Set up Clickadu tracking in Skro, configure traffic source parameters, and connect your advertising campaigns.
### **Supported Ad Formats** [#supported-ad-formats]
- **Popunder Ads** – Ads that open in a new window/tab behind the main browser, ideal for broad reach.
- **Banner Ads** – Standard graphic display ads in sizes like 300×250 and 300×100.
- **Instant Text Message (ITM)** – Clickable text messages often used for mobile engagement.
- **In-Page Push Ads** – Native-style notifications that appear within a webpage without subscription requirements.
- **Video Pre-Roll** – Video ads shown before the main video content, using IAB VAST protocol.
- **SKIM Ads** – Ads triggered by clicks on selected text or links, often yielding high CTR.
Integration enables you to track all your campaigns, zones, ads, etc. Additionally, it provides a comprehensive overview of your cost and conversions for the optimization.
## Step 1. Create a Clickadu traffic source and configure the postback URL [#step-1-create-a-clickadu-traffic-source-and-configure-the-postback-url]
1. Navigate to **Traffic Sources**.
2. Click **Create**.
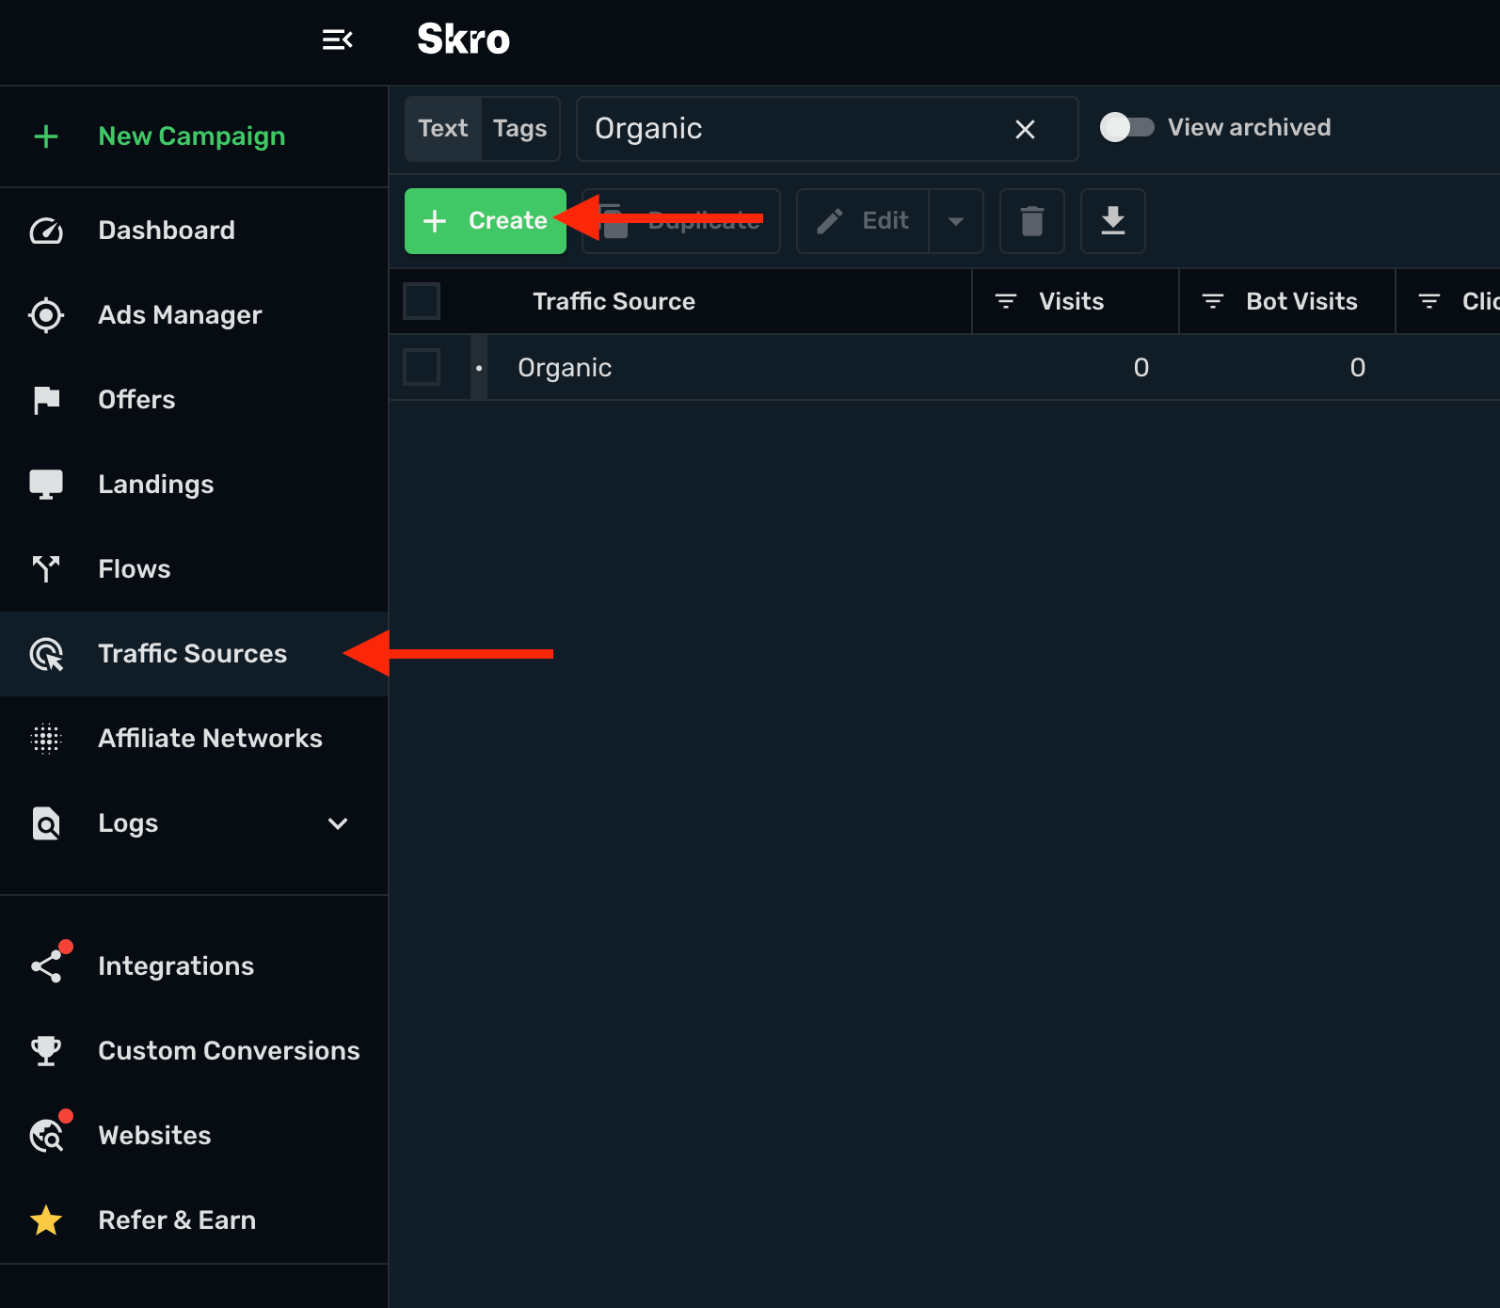
3. Search clickadu and select the **Clickadu** template.
4. You need to change 2 values on your postback URL.
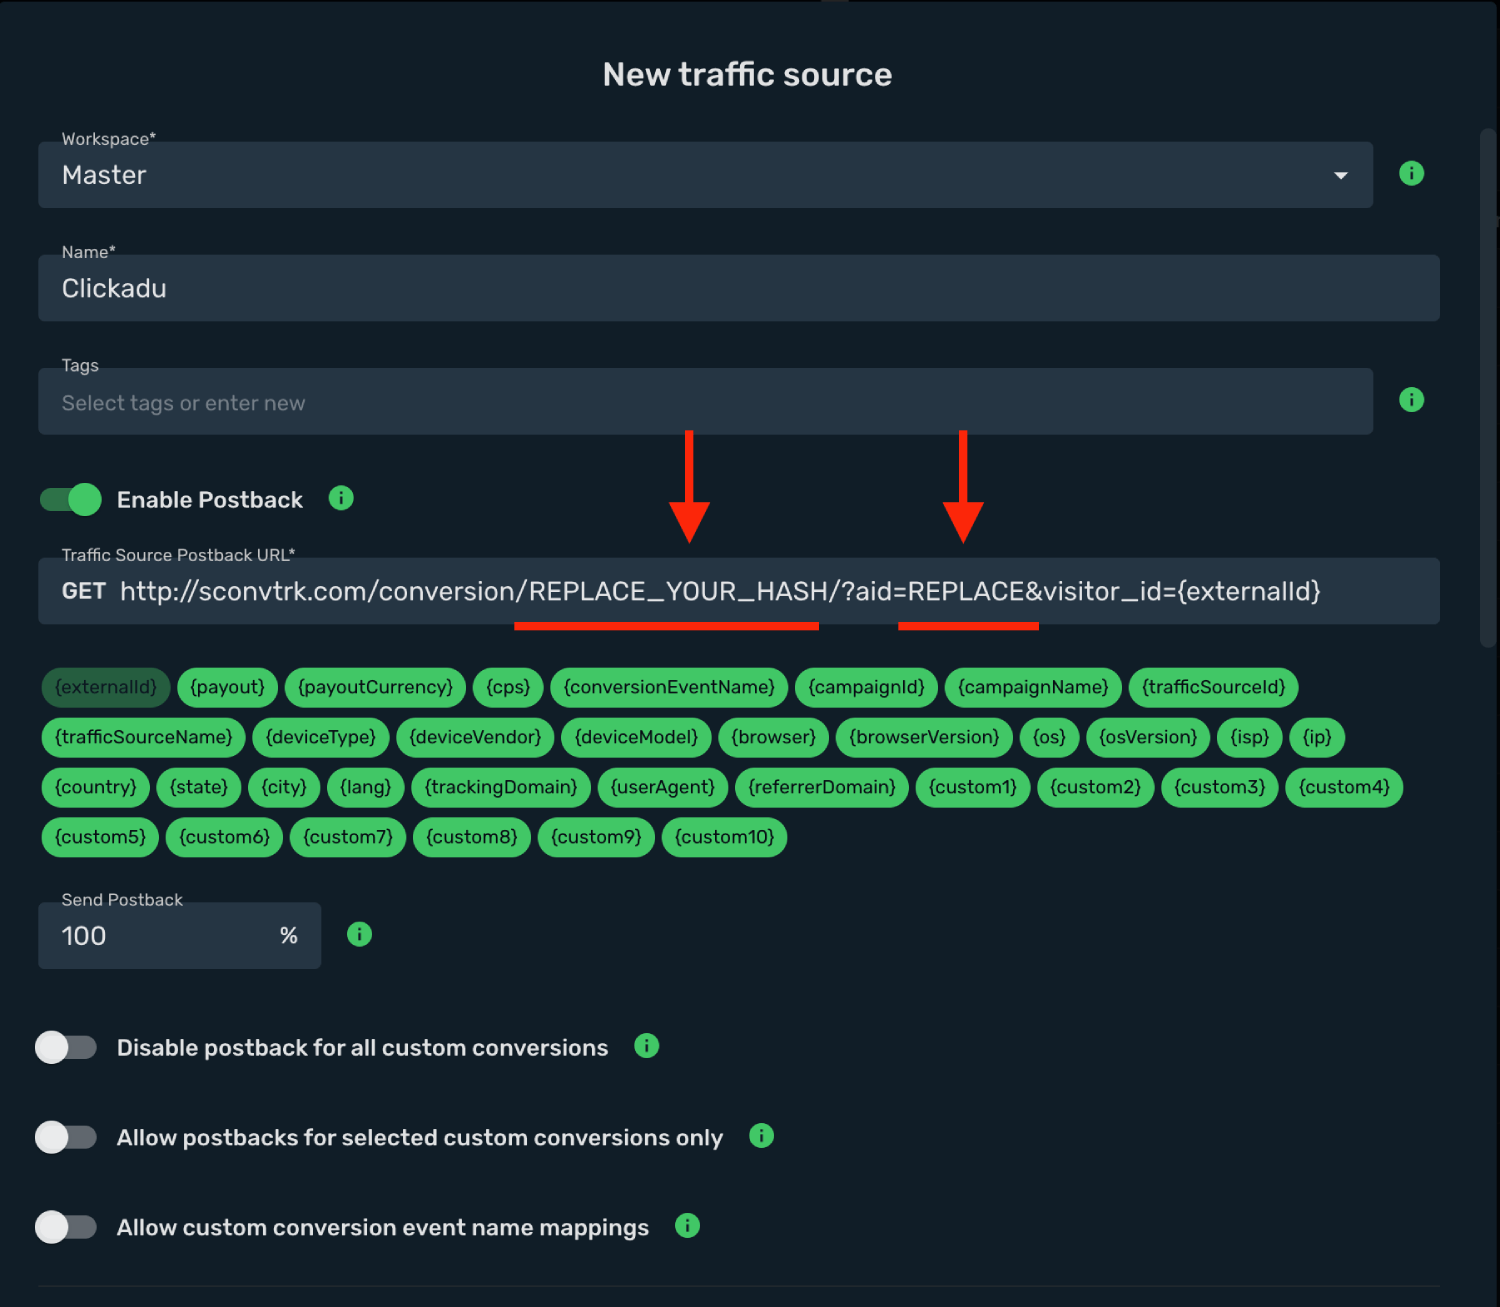
5. Log in to your **Clickadu account**.
6. Go to **Tracking** section and click **Skro logo**, then copy the Postback URL to your clipboard.
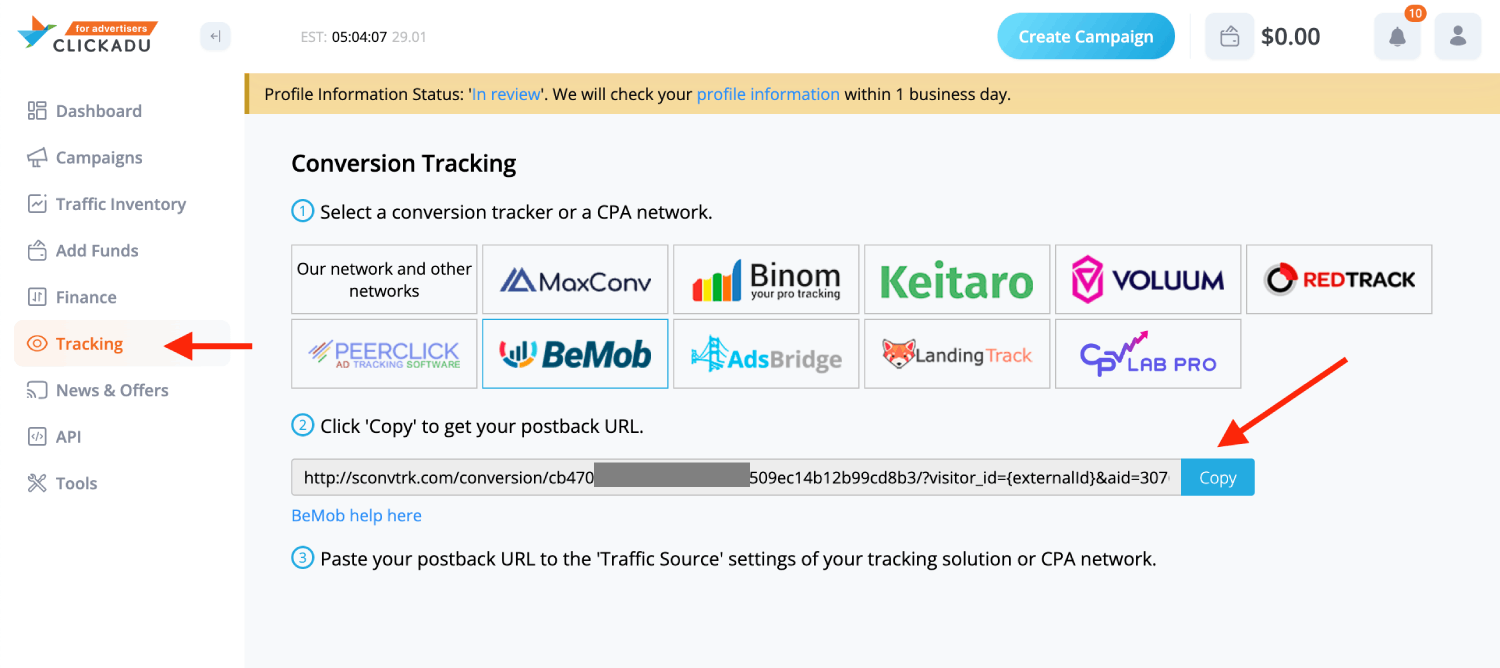
7. Go back to Skro and replace the postback URL.
8. Final postback URL must look like this:
`http://sconvtrk.com/conversion/cb4705c0bda444444409ec14b12b99cd8b3/?visitor_id={externalId}&aid=111111`
9. All tracking parameters are already prefilled for you.
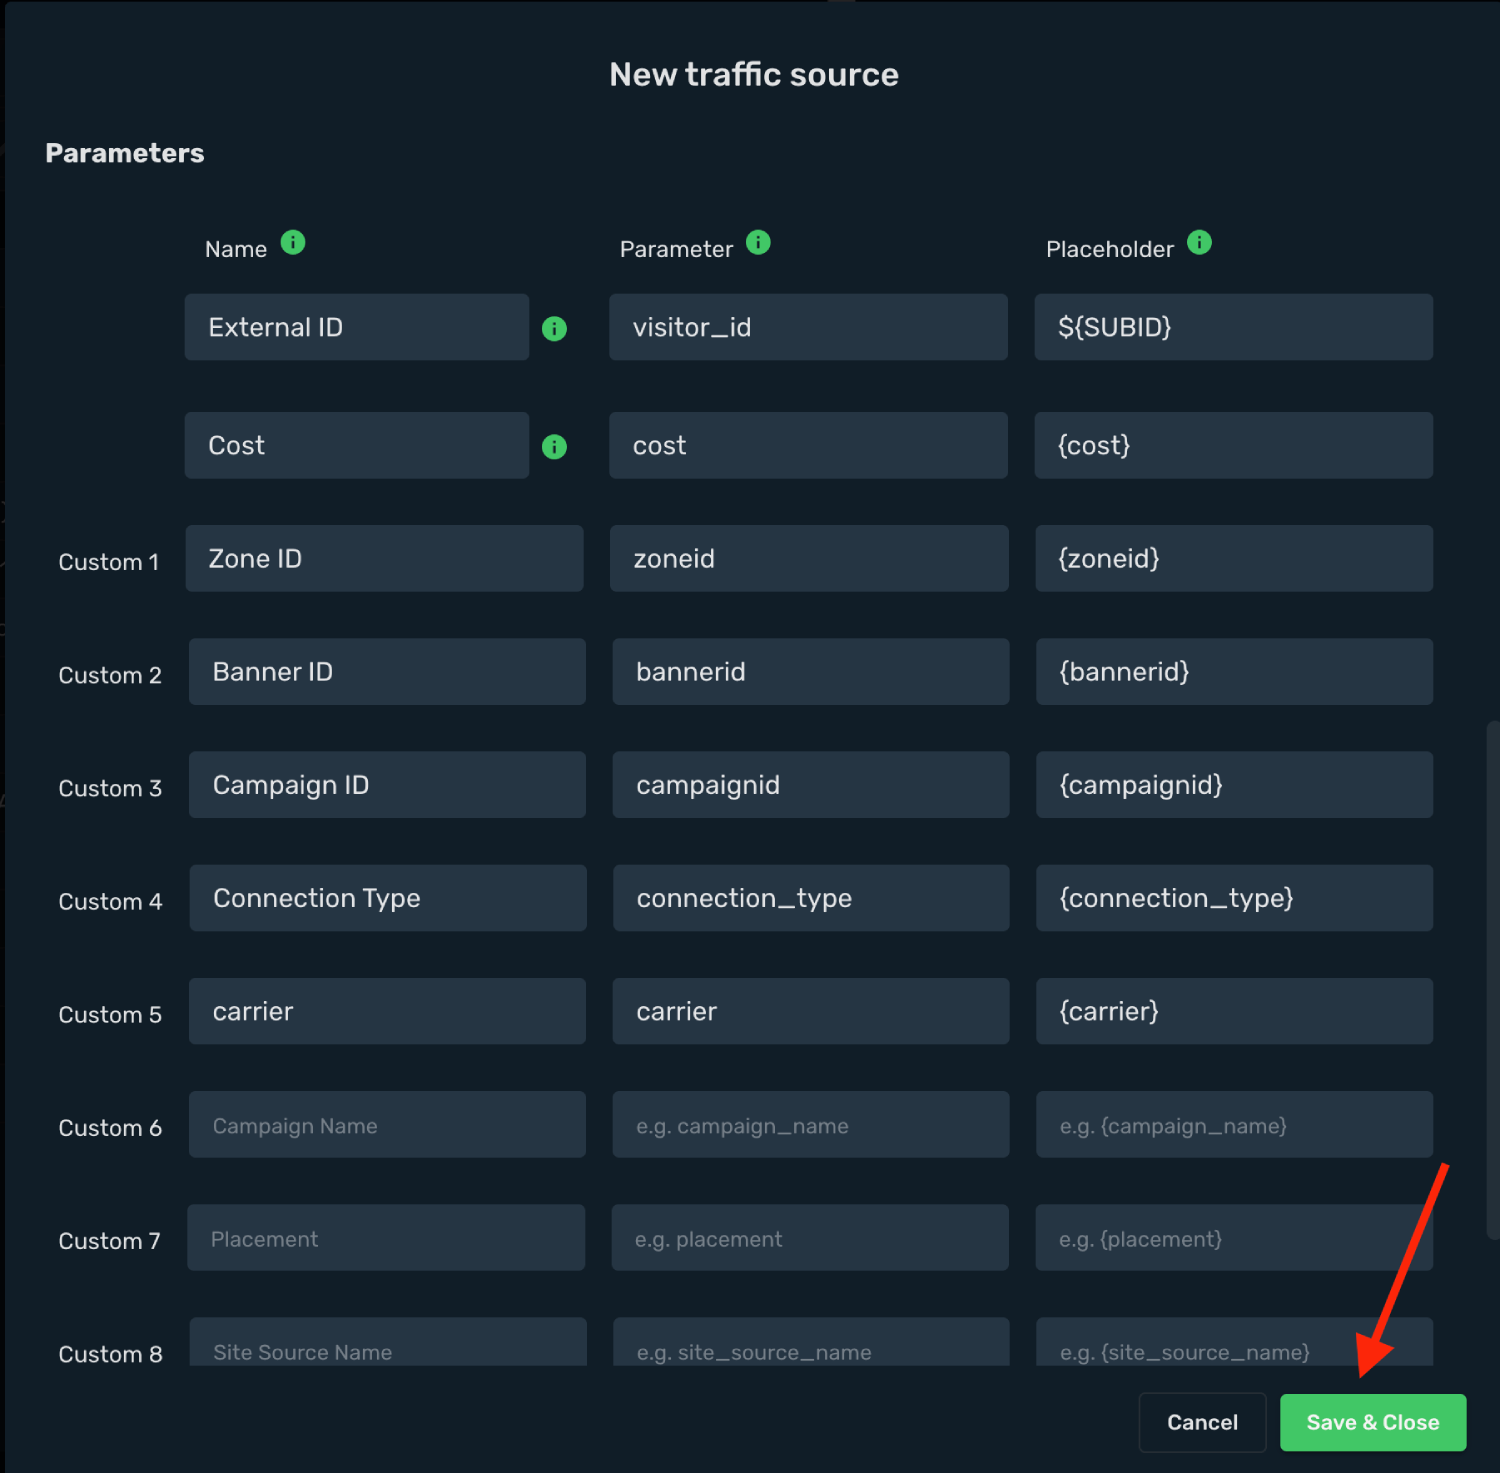
10. Click **Save & Close**.
The integration is ready. Continue by creating a campaign.
## Step 2. Create a campaign on Skro [#step-2-create-a-campaign-on-skro]
1. Go to **Ads Manager** and click **Create**.
2. Select your **Traffic source** and click **Next**.
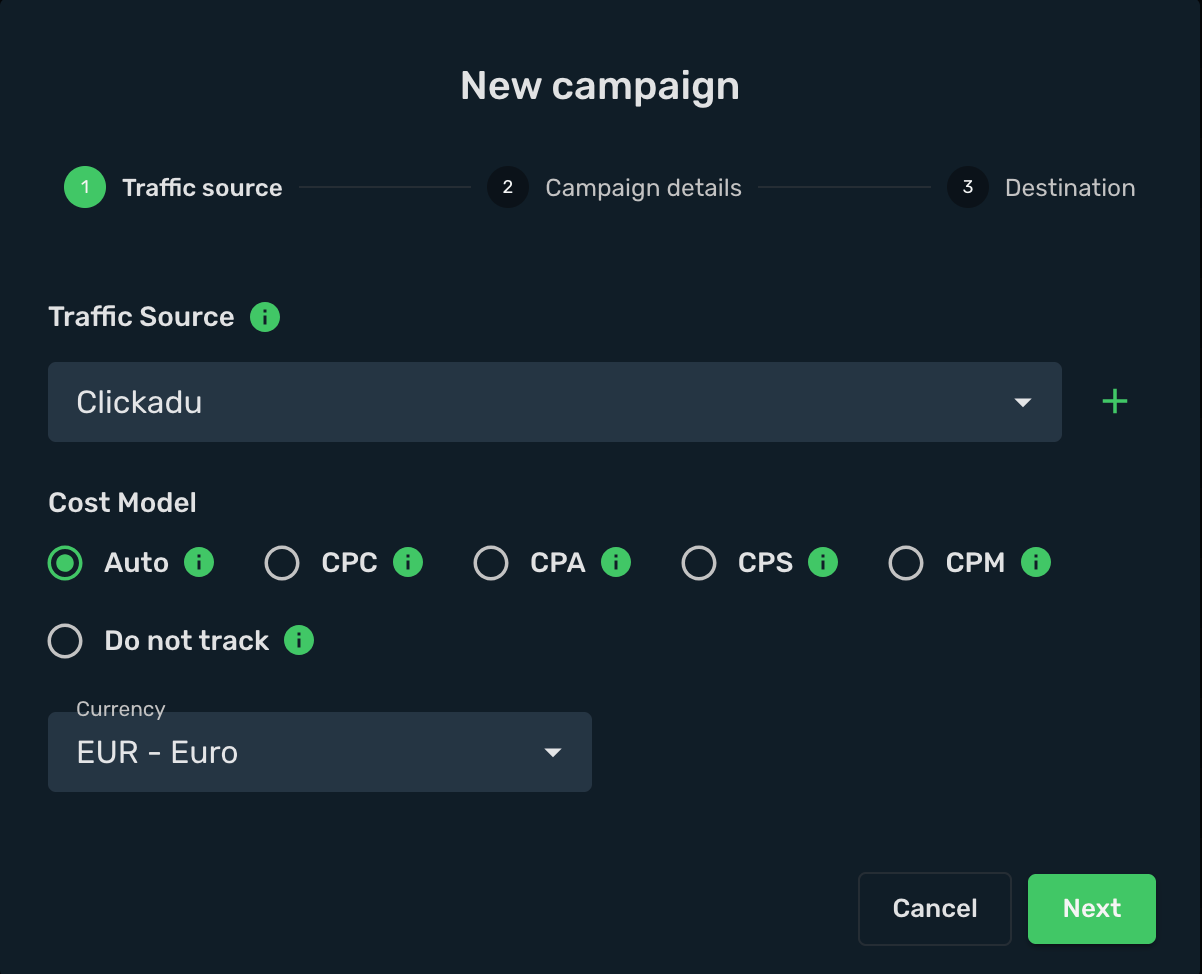
3. Select your campaign **Workspace**.
4. Enter a descriptive campaign name.
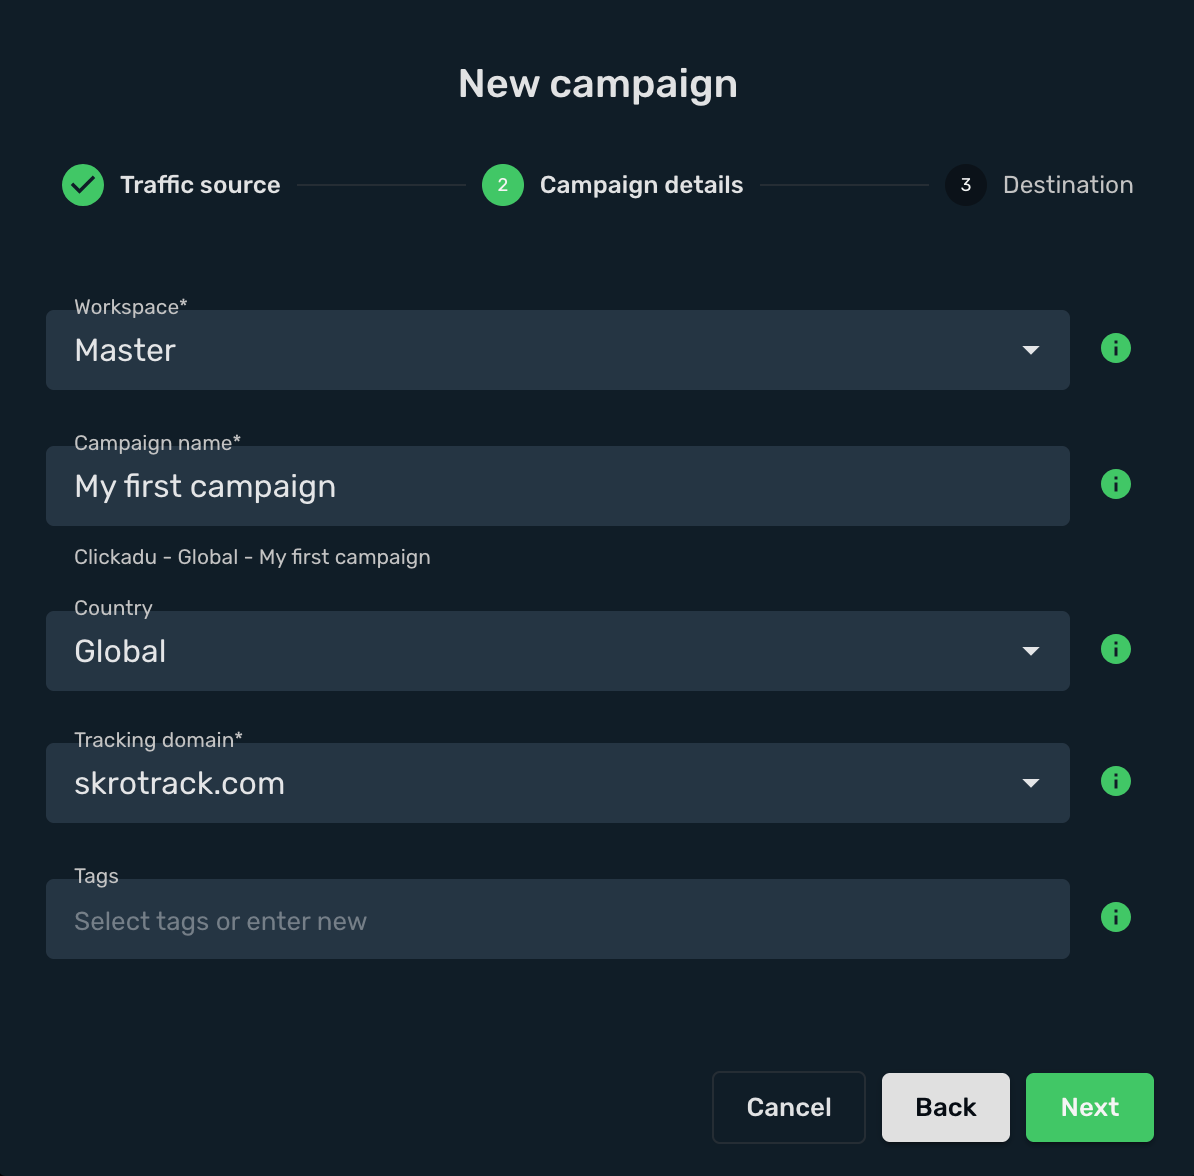
5. Select or create your **landings** and **offers**.
6. Click **Save**.
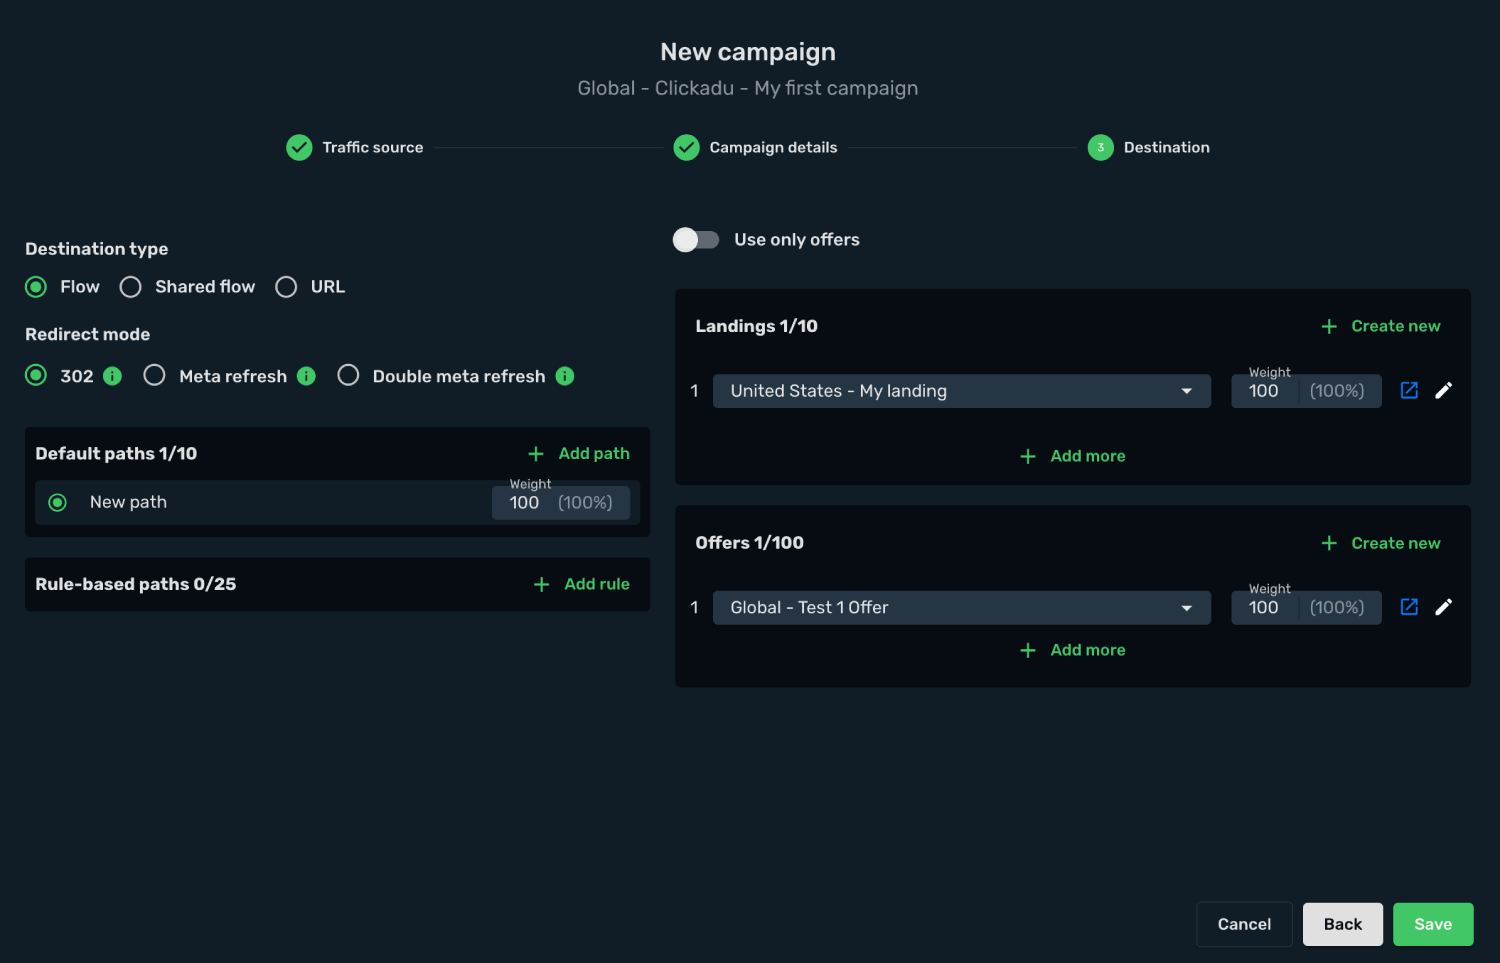
7. Copy the **Campaign Tracking URL** to clipboard.
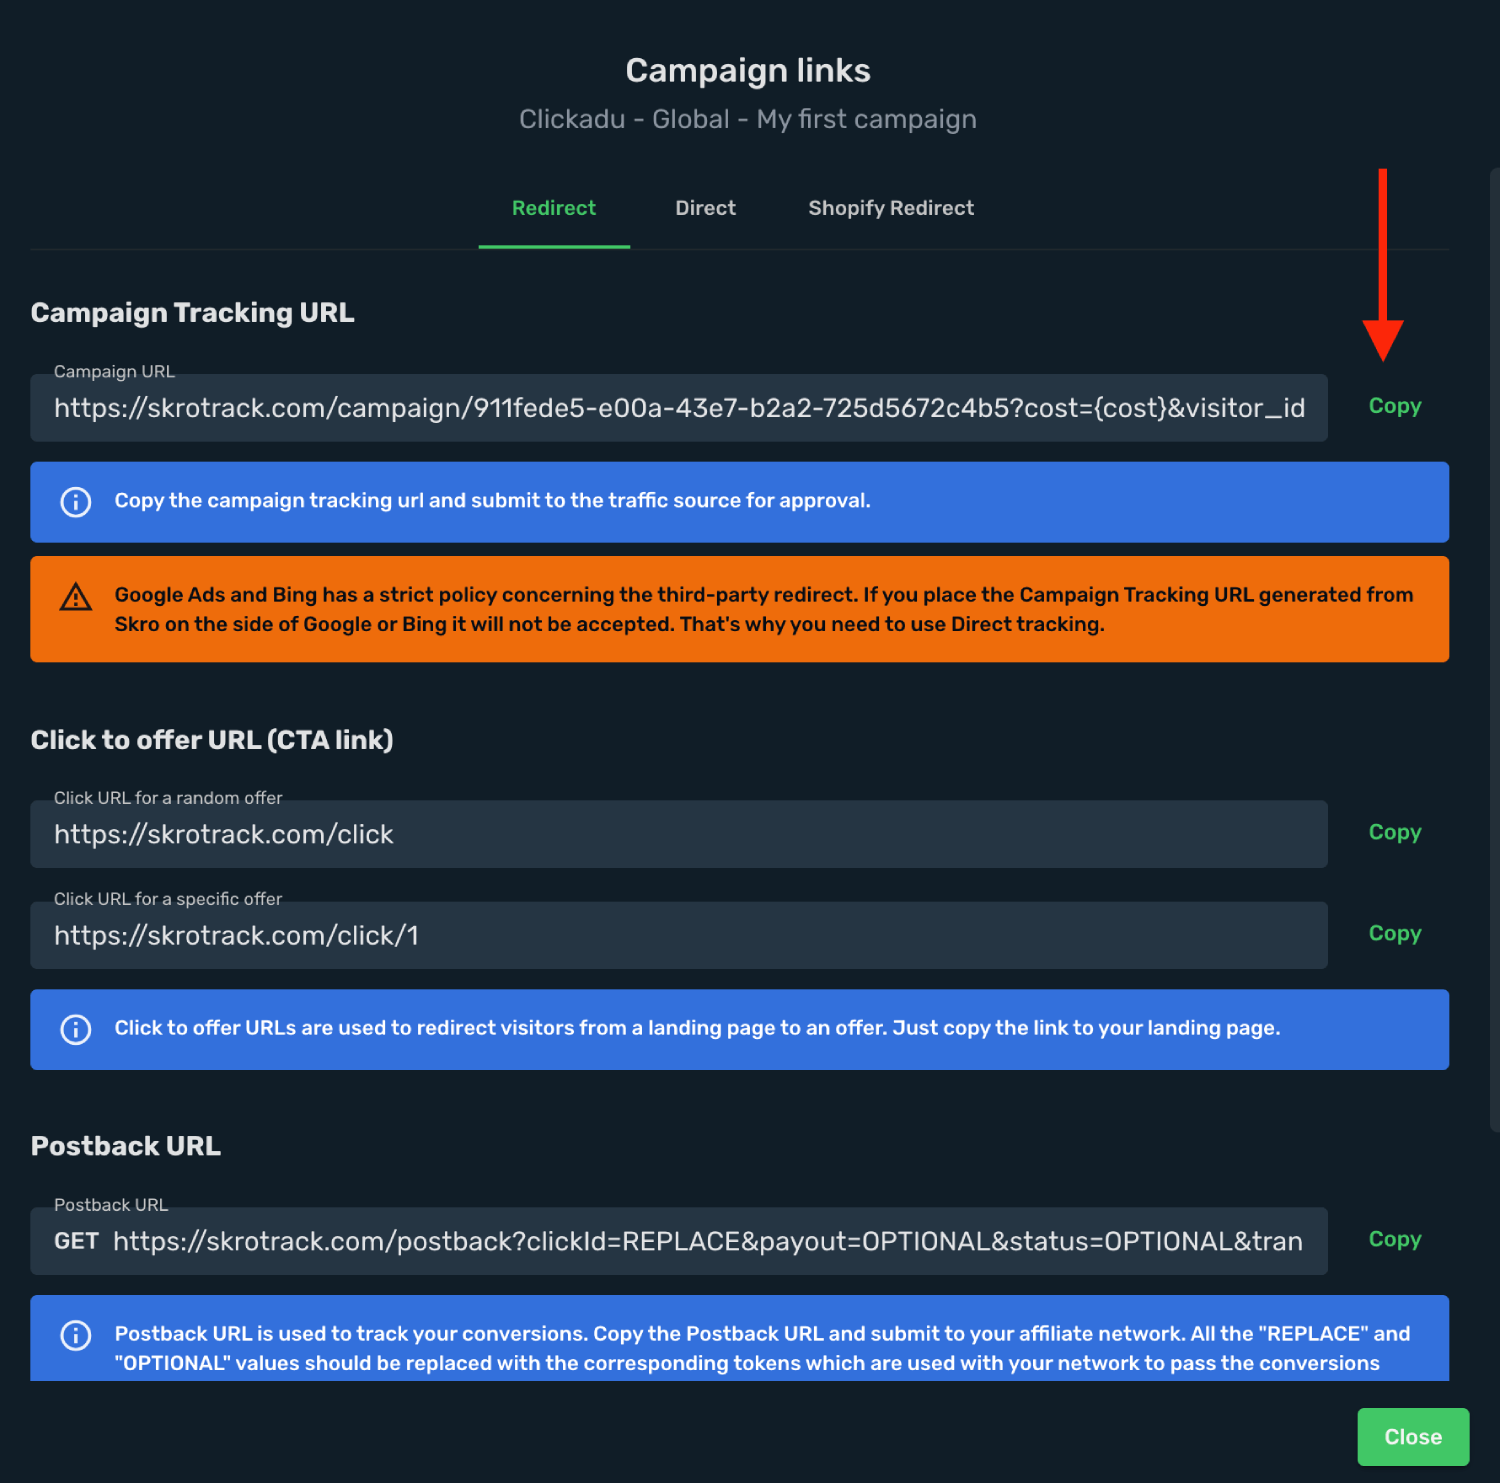
## Step 3. Create a campaign on Clickadu [#step-3-create-a-campaign-on-clickadu]
1. Log in to your Clickadu account.
2. Navigate to the **Campaigns** view and click **Create Campaign**.
3. Click **Target URL** field.
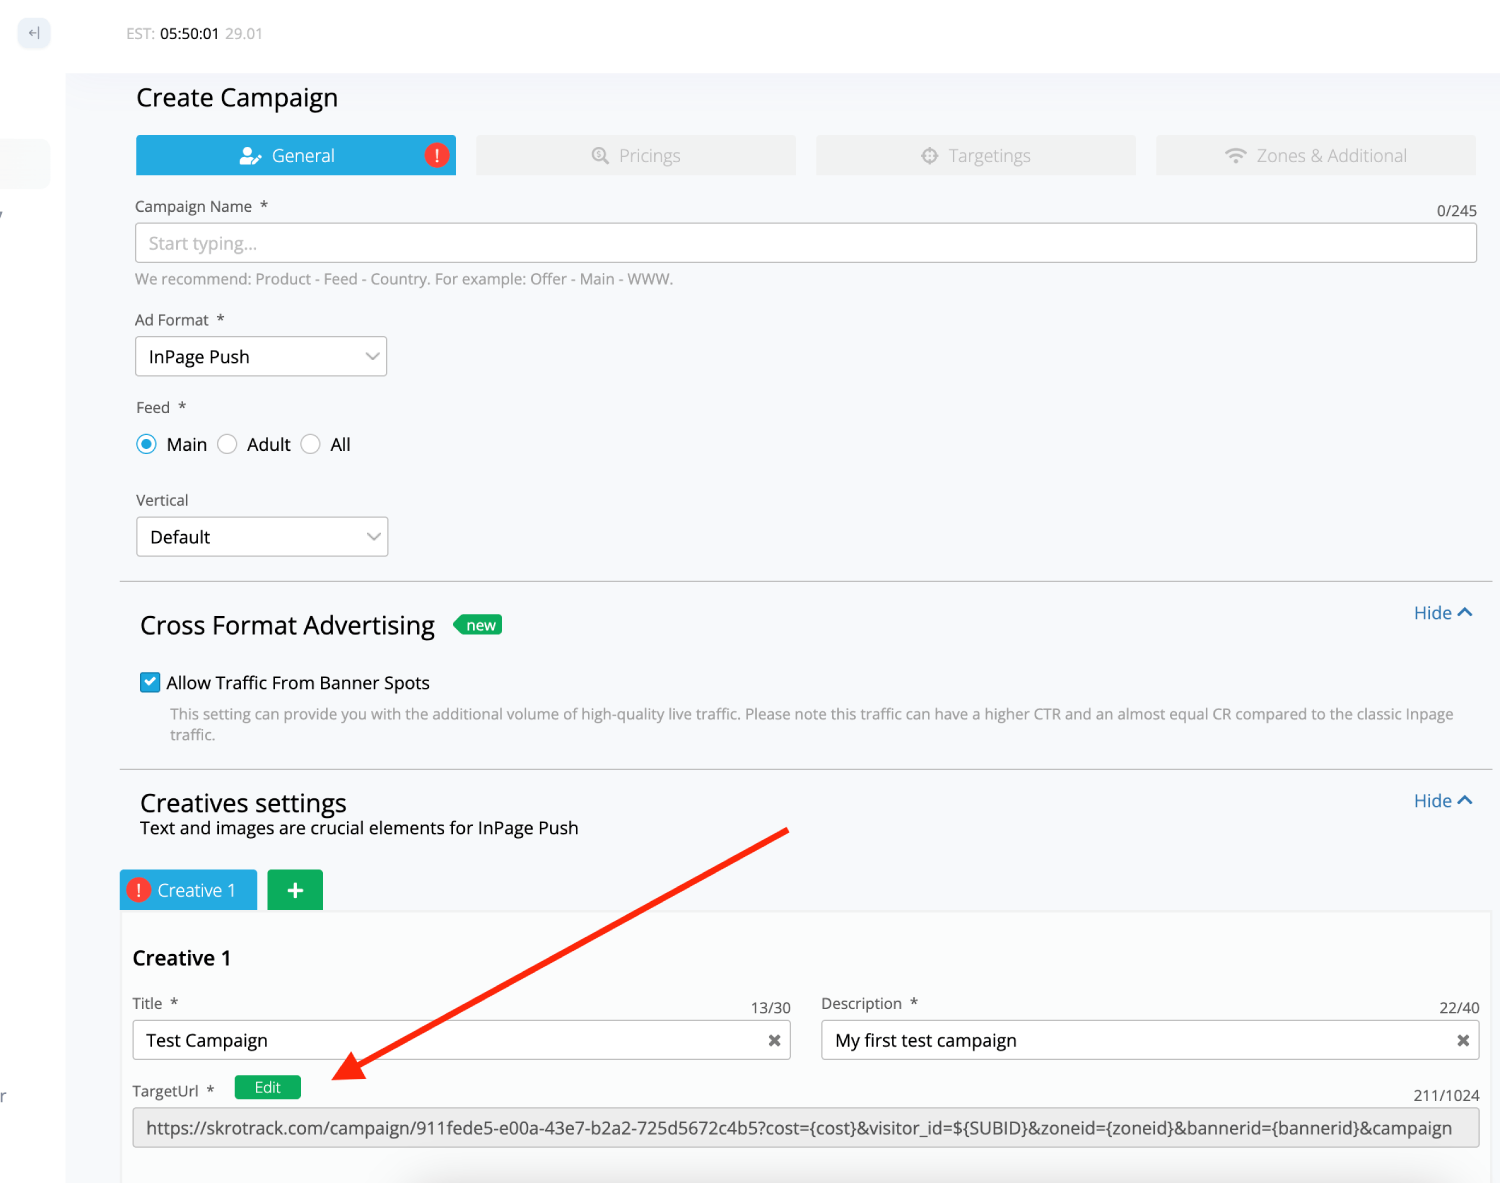
4. Paste the **Skro campaign tracking link** to that Target URL field with tracking parameters.
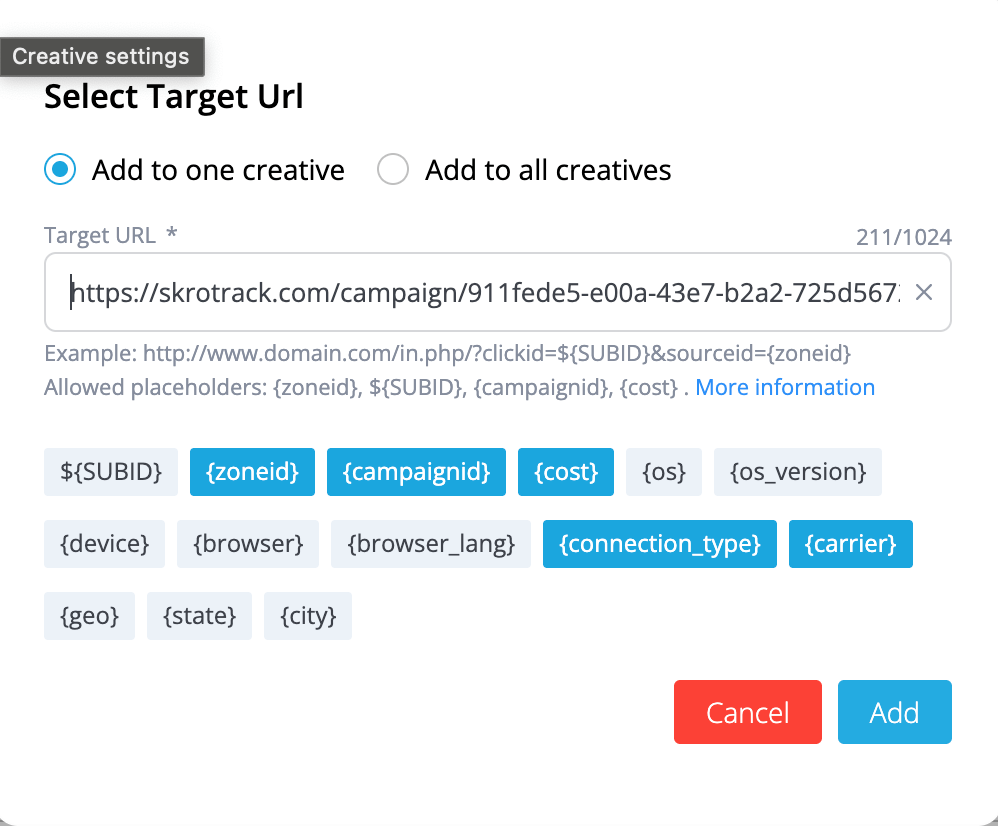
5. Fill all other fields where needed and start your campaign.
## Verify the setup [#verify-the-setup]
Open the generated campaign URL and check that the visit appears in Skro. Confirm that traffic source macros resolve to actual values. If you send conversions back to the source, verify a test conversion in both systems.
If data is missing, check the selected workspace, integration, campaign, and reporting date range. Compare parameter names and macro values with the examples in this guide before repeating the test.
## Related guides [#related-guides]
# ClickBank integration
Source: https://skro.eu/docs/integrations/clickbank-integration
Connect ClickBank to Skro, map click IDs, and configure postbacks to attribute conversions and revenue to your campaigns.
This guide uses ClickBank’s global server-to-server (S2S) postback integration.
## Step 1. ClickBank (S2S) global postback [#step-1-clickbank-s2s-global-postback]
1. Log in to your Skro account and go to **Custom Conversions** and add 3 different events there.
2. First event name is **Upsell**.
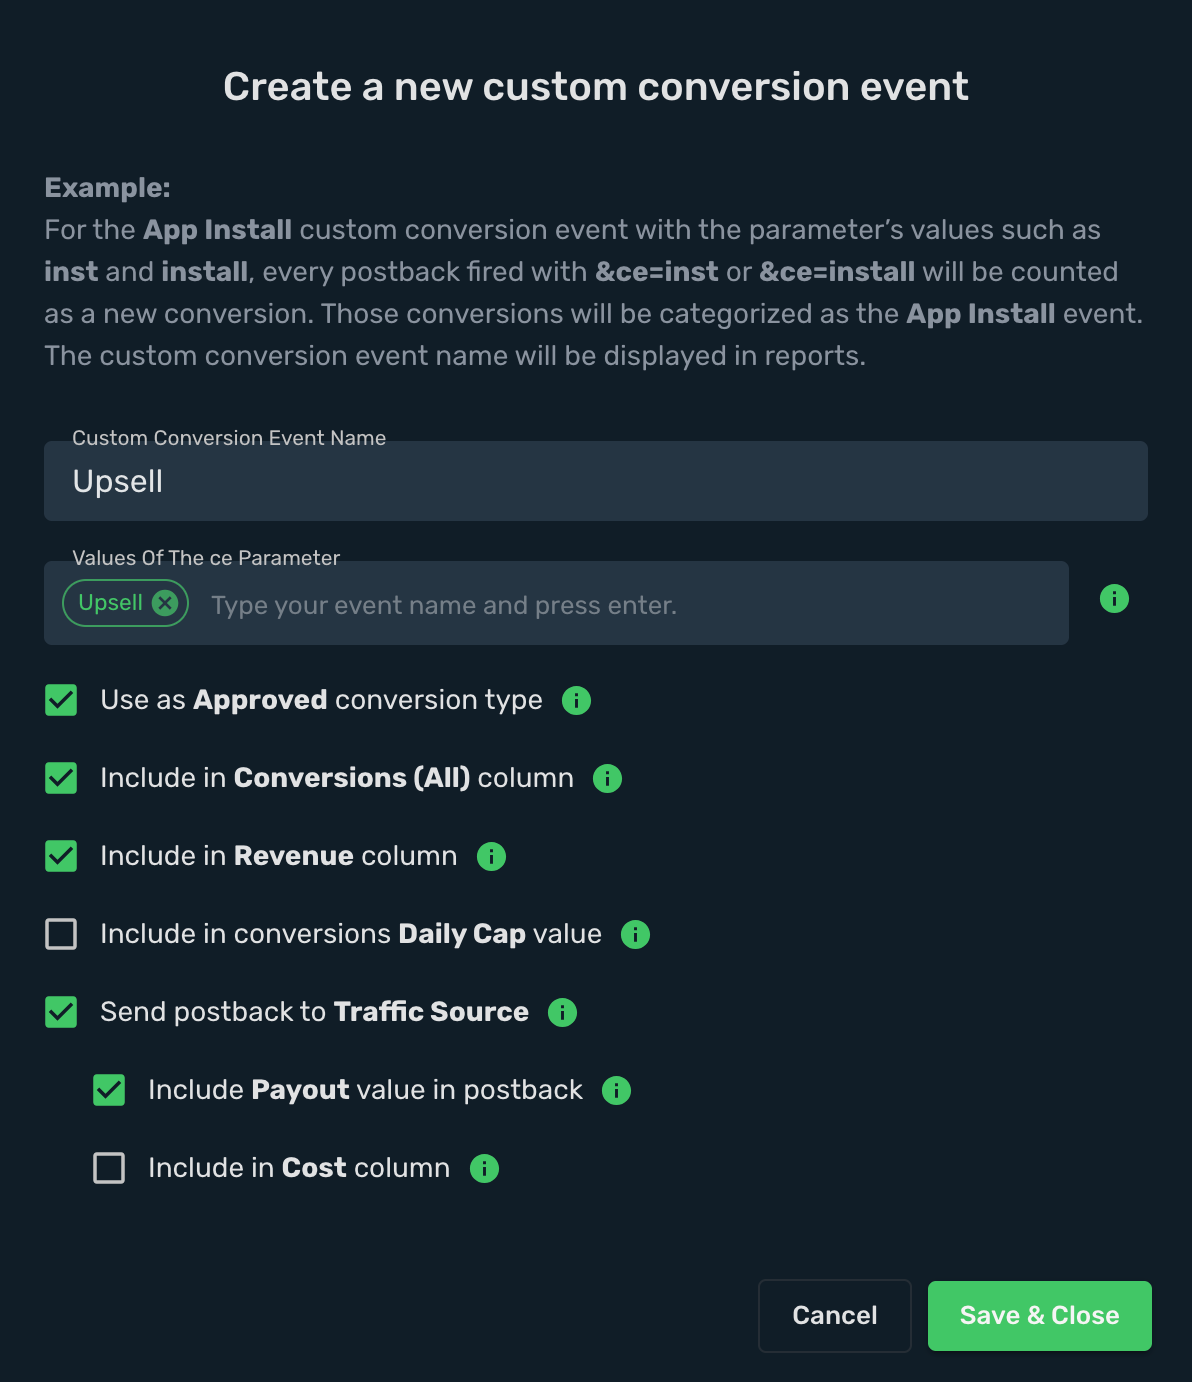
3. Second event name is **InitiateCheckout**.
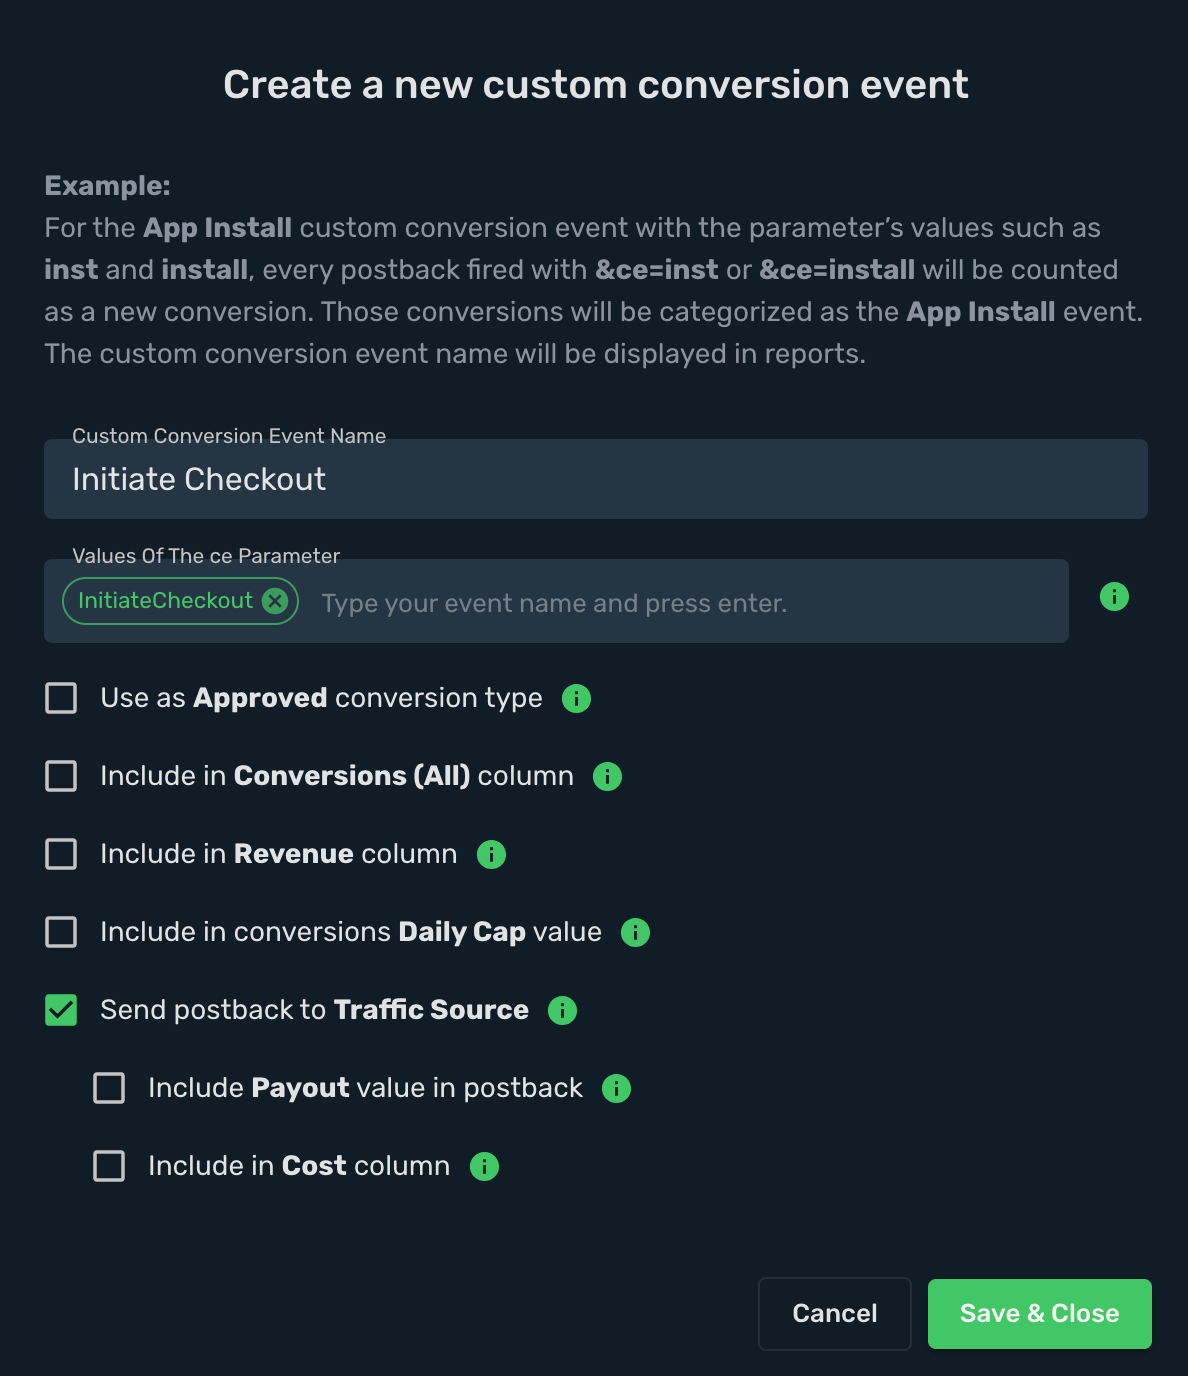
4. Third event name is **Purchase**.
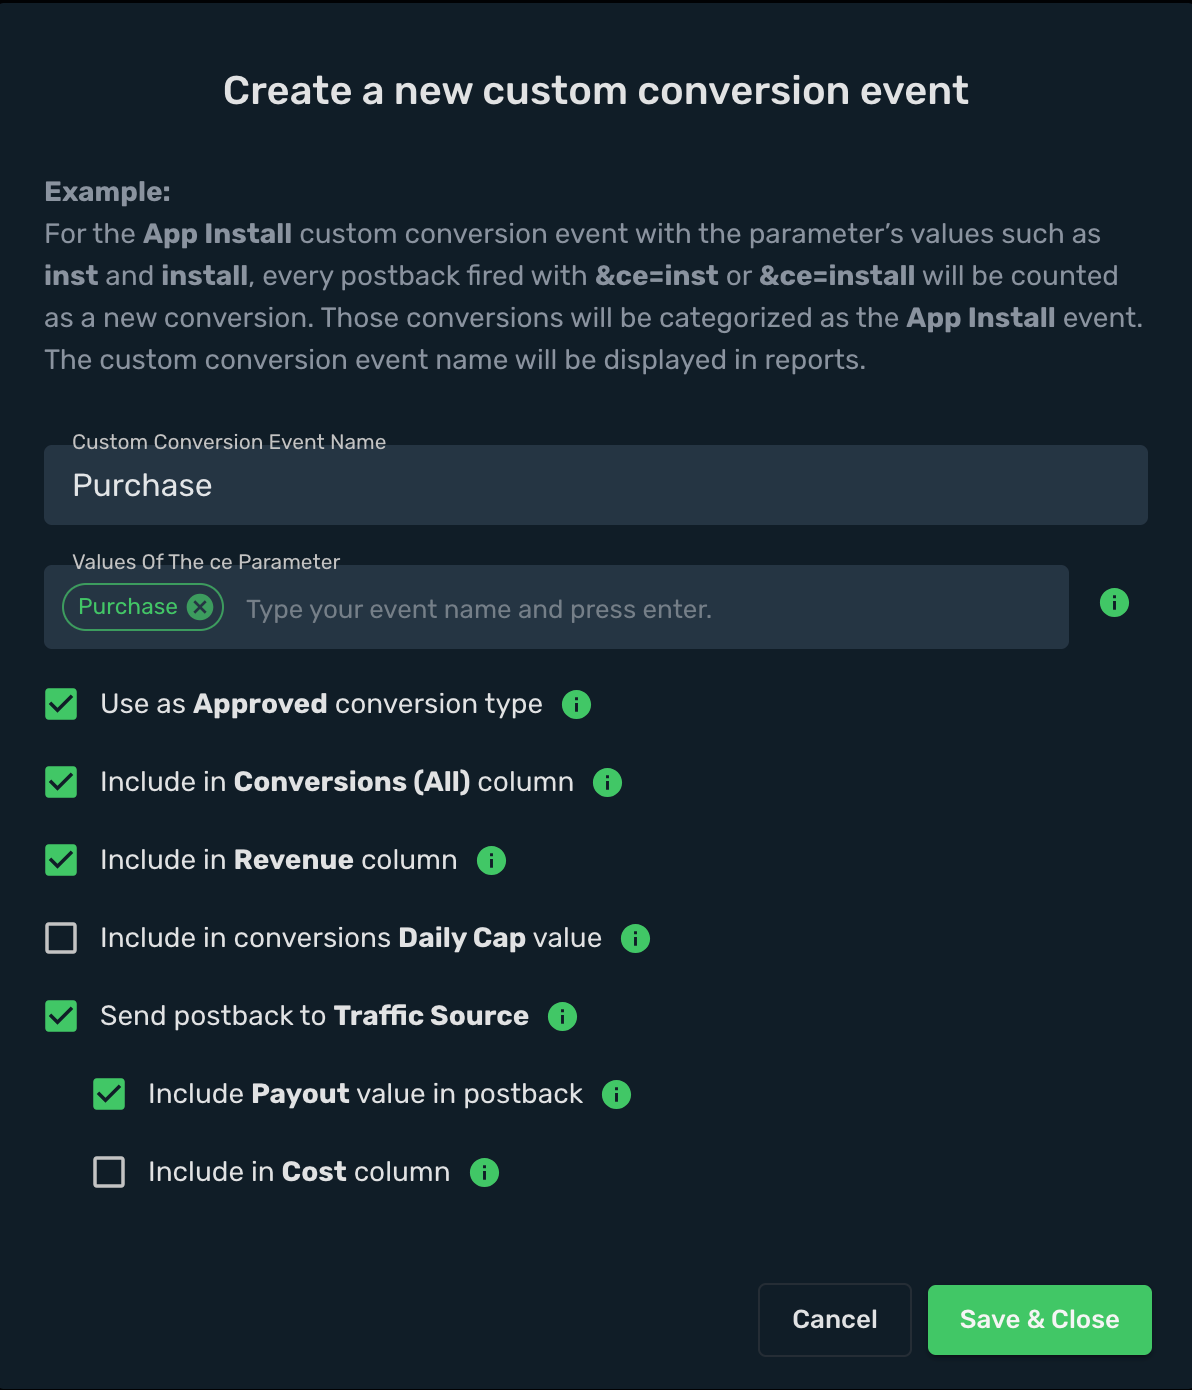
5. Now, go back to Clickbank and set up Postback URL and customize it as per the target event types.
6. In your ClickBank account go to **Integrations** → **Postback/Pixels** → **Add Integrations** → **Custom Postback/Pixel**
7. In the **Event Types** drop-down select **Upsell Purchase**, **Initial Purchase**, **Initial Order Form Impression** and enable the **Customize URL per event type** toggle → add Skro Postback URL's and add &ce=eventname to each Postback URL with the event name you want to track and then click **Save**.
Upsell Purchase Postback URL:
**`https://skrotrack.com/postback?clickId={tid}&payout={affiliate_earnings}&transactionId={order_id}&ce=Upsell`**
Initial Order Form Impression Postback URL:
**`https://skrotrack.com/postback?clickId={tid}&ce=InitiateCheckout`**
Initial Purchase Postback URL:
**`https://skrotrack.com/postback?clickId={tid}&payout={affiliate_earnings}&transactionId={order_id}&ce=Purchase`**
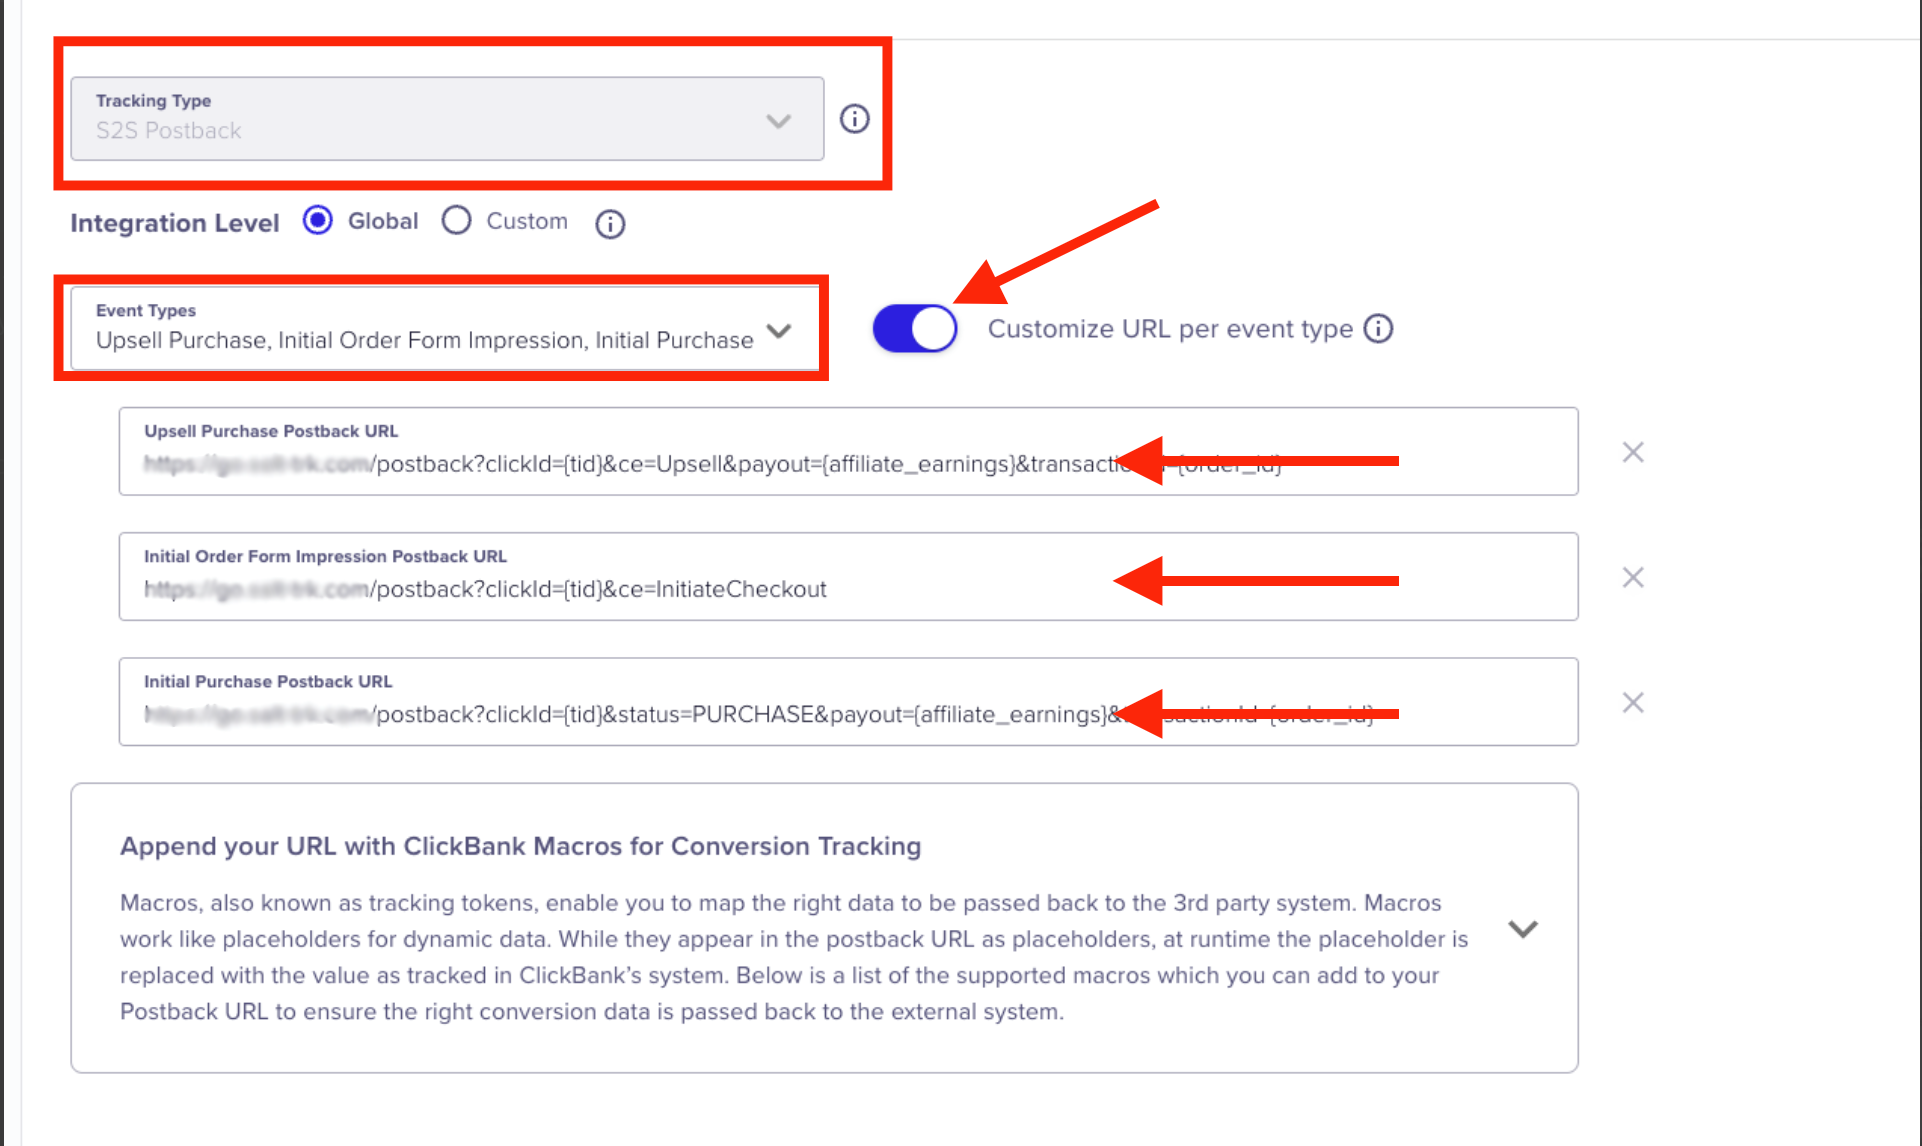
## Step 2. Add ClickBank offer to Skro [#step-2-add-clickbank-offer-to-skro]
1. Navigate to **Offers** and press **Create**.
2. Enter your offer name.
3. Copy the offer link from ClickBank to the **Offer URL** field and append `&tid={clickId}` parameter to the end of the offer URL.
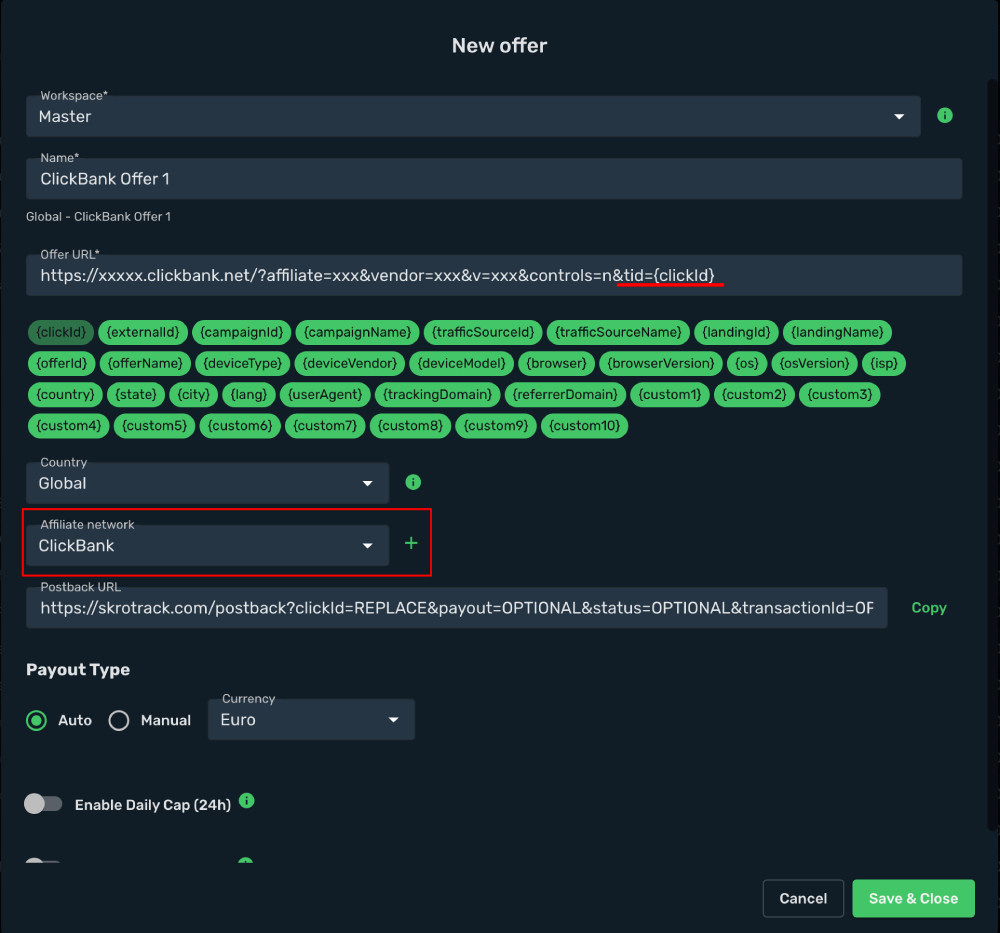
4. Choose **ClickBank** from the Affiliate Network dropdown menu or create new.
5. Clickbank setup as **Affiliate Network** on Skro.
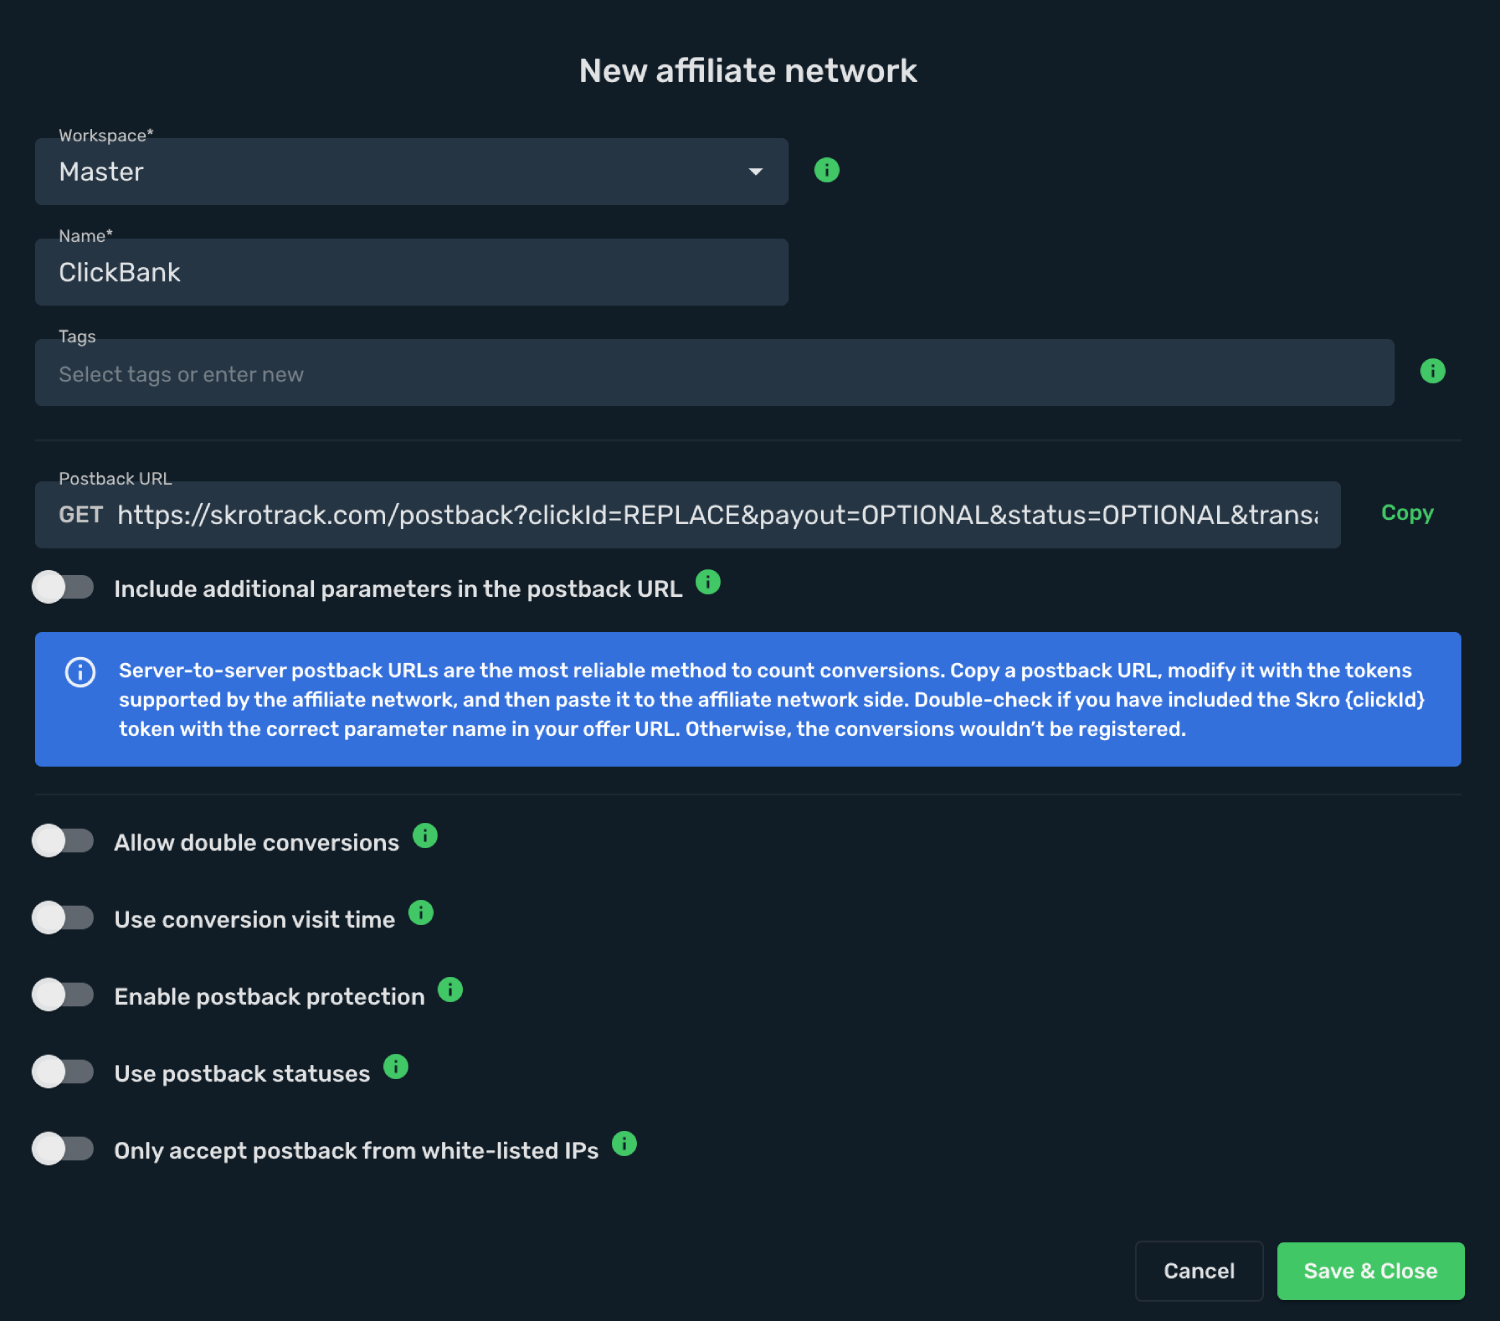
The integration is ready. Continue by creating a campaign.
## Verify the setup [#verify-the-setup]
Follow a campaign link and complete a test conversion using your provider’s test workflow. Confirm that the original click ID reaches the provider and is returned to Skro, then check the event and revenue in your campaign report.
If data is missing, check the selected workspace, integration, campaign, and reporting date range. Compare parameter names and macro values with the examples in this guide before repeating the test.
## Related guides [#related-guides]
# Clickdealer integration
Source: https://skro.eu/docs/integrations/clickdealer-integration
Connect Clickdealer to Skro, map click IDs, and configure postbacks to attribute conversions and revenue to your campaigns.
### Platform Features [#platform-features]
- Smartlink technology — automatic routing of traffic to top-performing offers.
- In-house tracking and advanced analytics.
- Dedicated affiliate managers and support in multiple languages.
- Global reach across 180+ countries with tailored campaigns.
## Step 1. Add affiliate network to Skro [#step-1-add-affiliate-network-to-skro]
1. Go to **Affiliate Networks** and click **Create**.
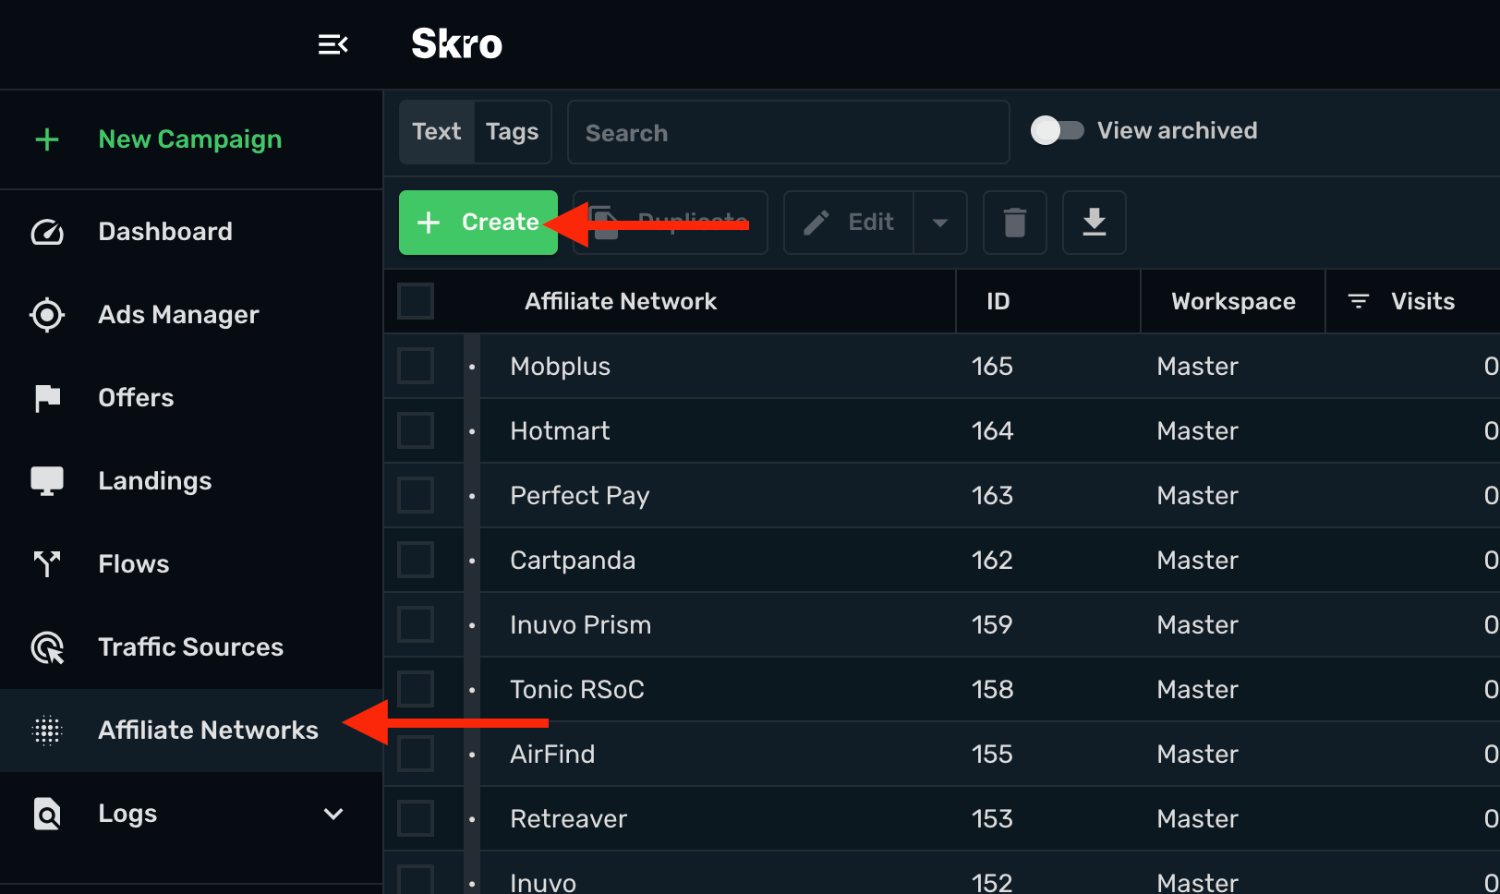
2. Search Clickdealer and select the **Clickdealer** template.
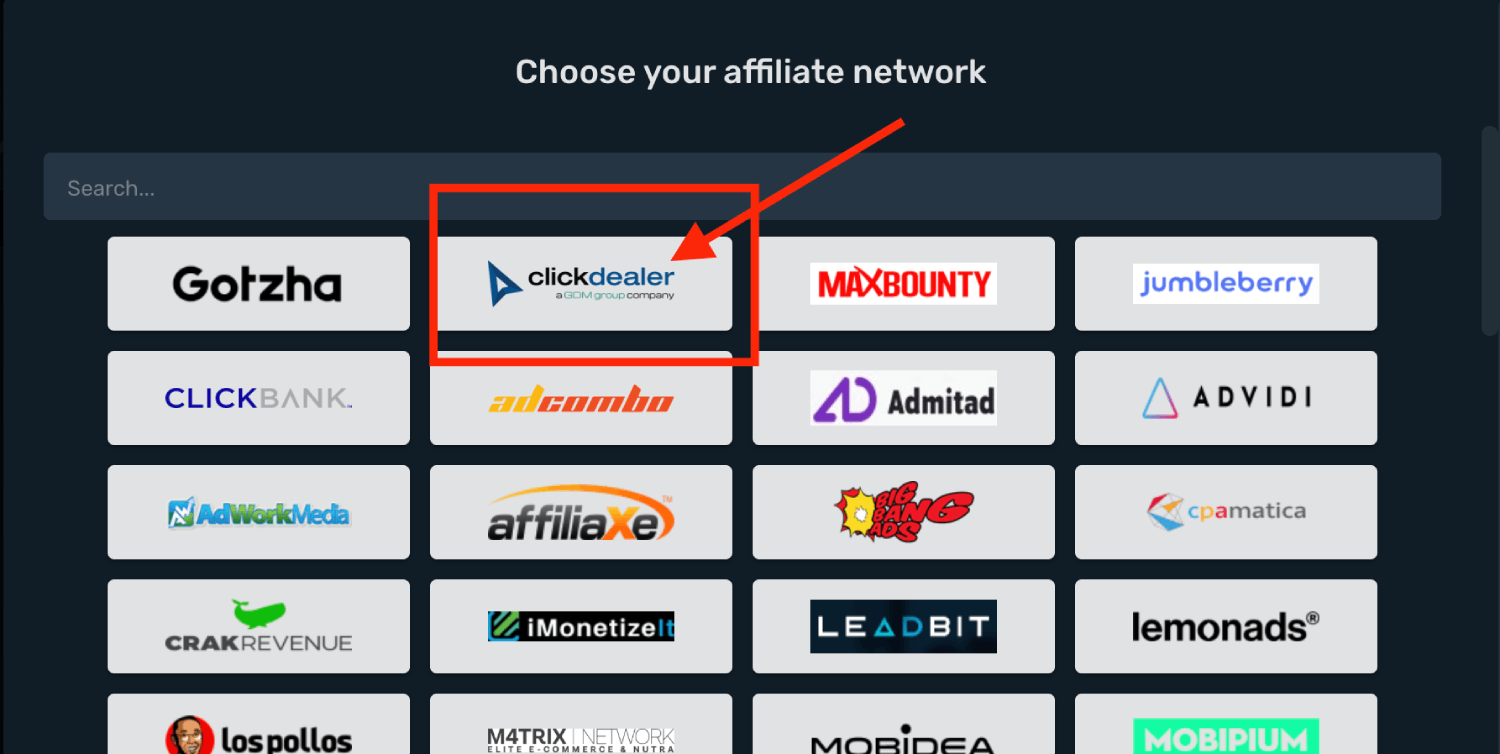
3. Select your **Workspace** and **Copy** postback URL to your clipboard.
4. Click **Save & Close**.
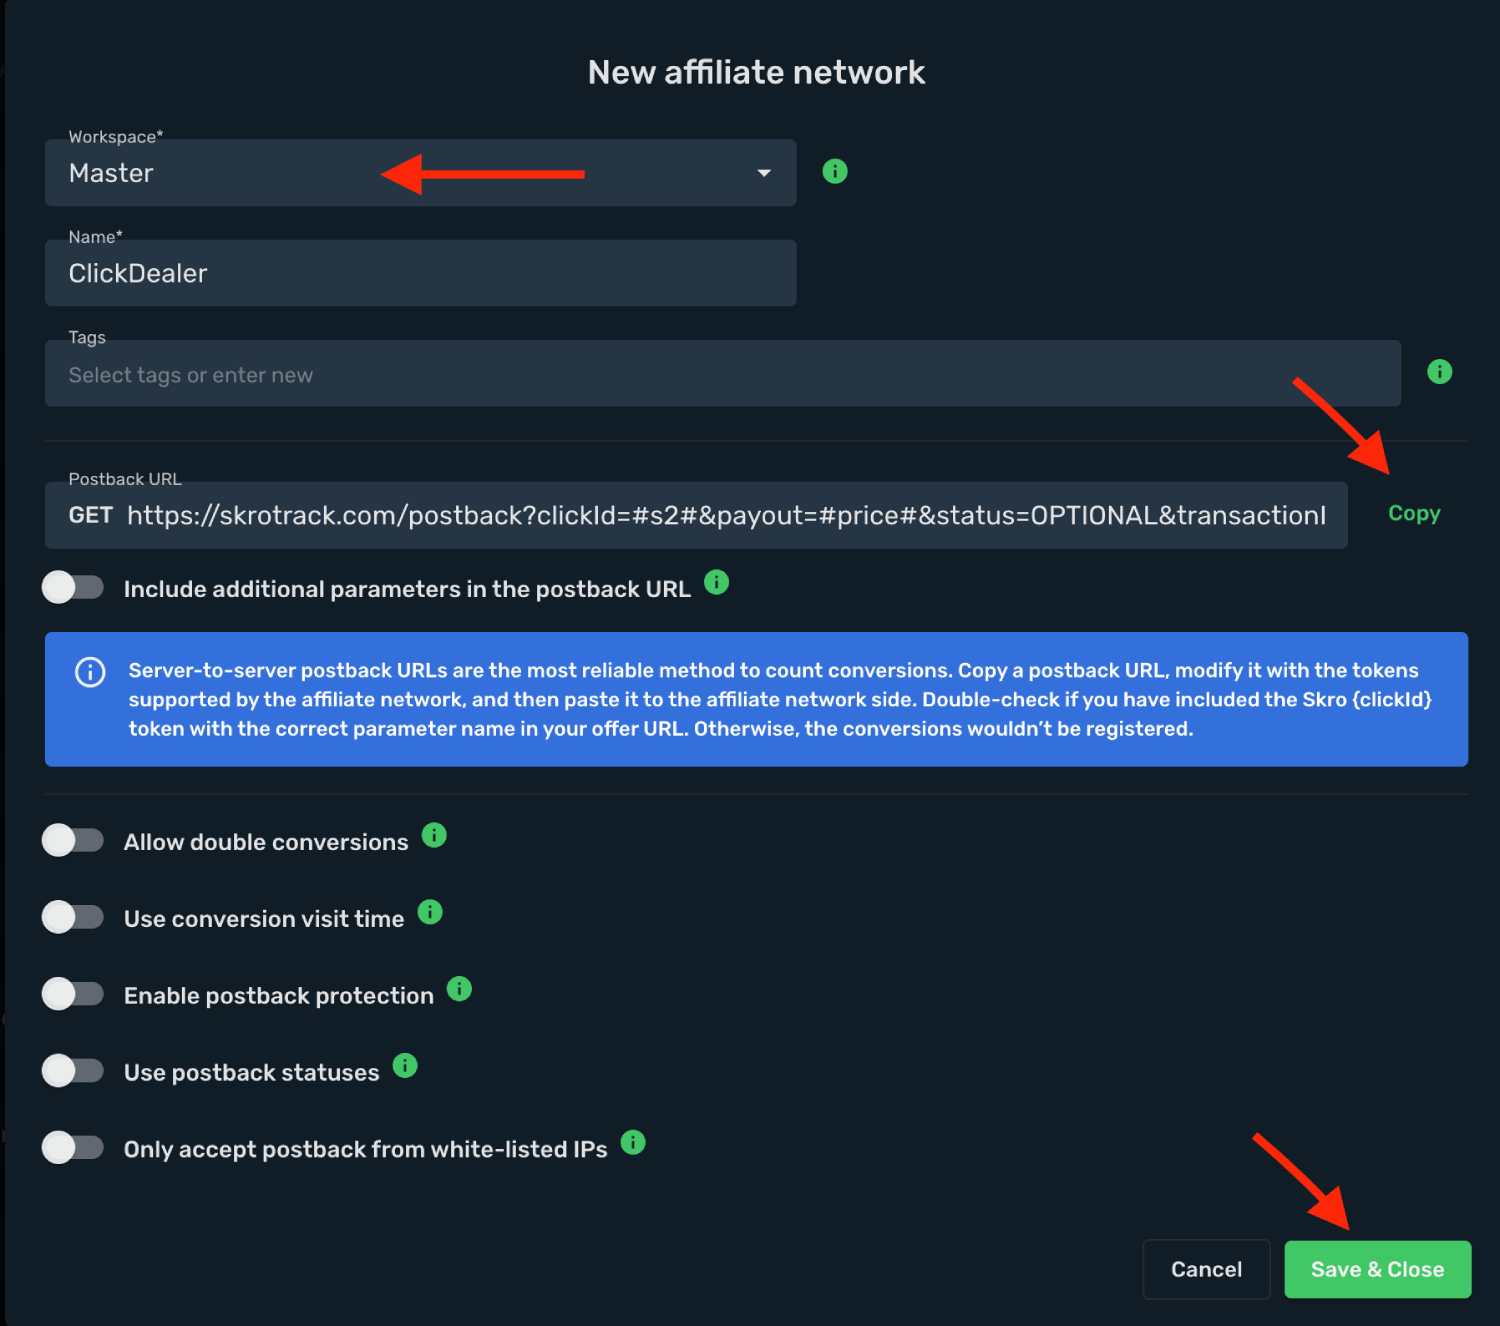
The Clickdealer affiliate network is now saved in Skro. Use the copied postback URL in Clickdealer in the next step.
## Step 2. Setting up a postback URL and getting an offer from Clickdealer [#step-2-setting-up-a-postback-url-and-getting-an-offer-from-clickdealer]
1. Log in to your **Clickdealer account**.
2. Go to the **Tools** → **Global postback**.
3. Add your Global postback URL.
4. Paste the Postback URL that you have copied from Skro to the **Global S2S Postback URL** text field.
5. Click the **Save**.
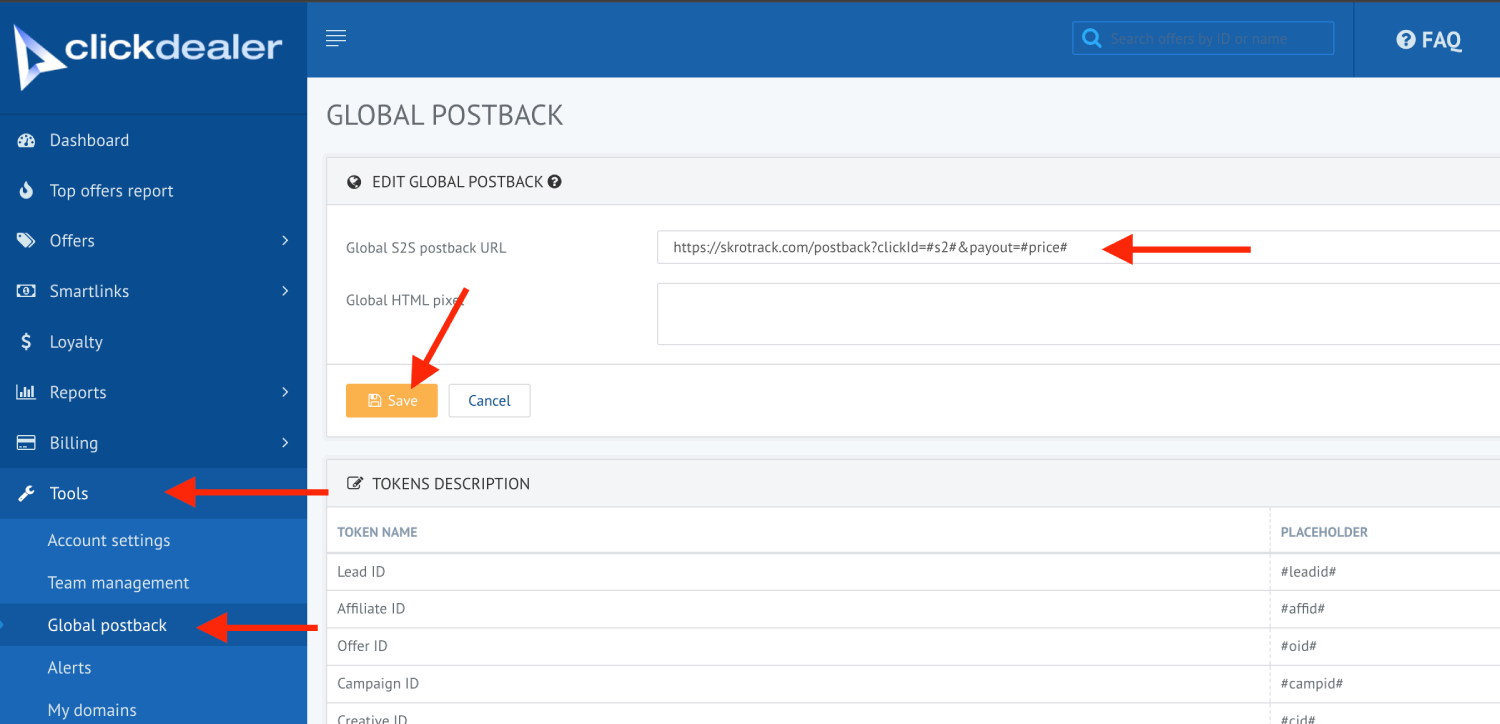
6. Go to **Offers** and find an offer you want to promote. Note that you have to be approved before you will be able to run some offers.
7. If you open an offer, then scroll down to **Get Tracking Links** section.
8. Select your **Creative**.
9. Select your **Media Type**.
10. Type into **Sub ID2** field Skro Click ID macro, which is **`{clickId}`**
11. Click **Get URL to Clipboard**.
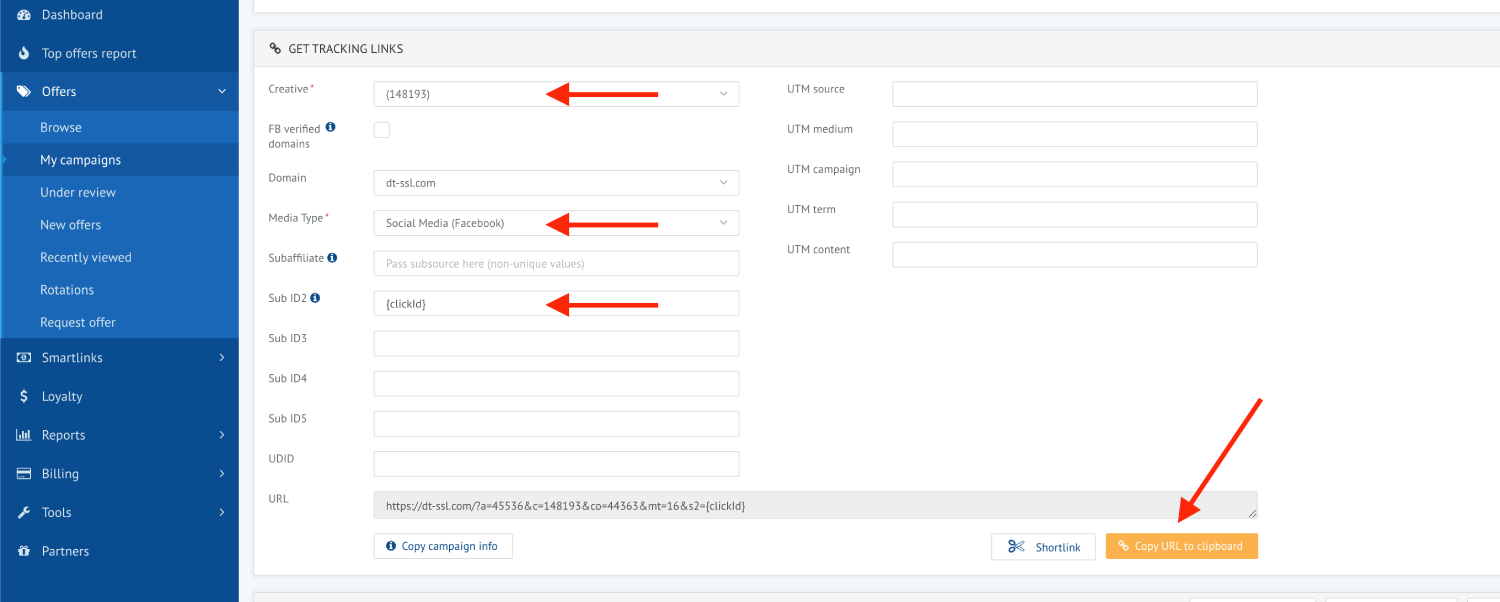
## Step 3. Add offer to Skro [#step-3-add-offer-to-skro]
1. Go back to Skro and navigate to the **Offers** and click **Create**.
2. Choose your workspace.
3. Give a name to your offer.
4. Grab the offer link from Clickdealer and add it to Offer URL field and change the macros to this **`&s2={clickId}`**
**`{clickId}`** - The Skro click ID macro.
5. Choose Clickdealer from the **Affiliate Network** select box.
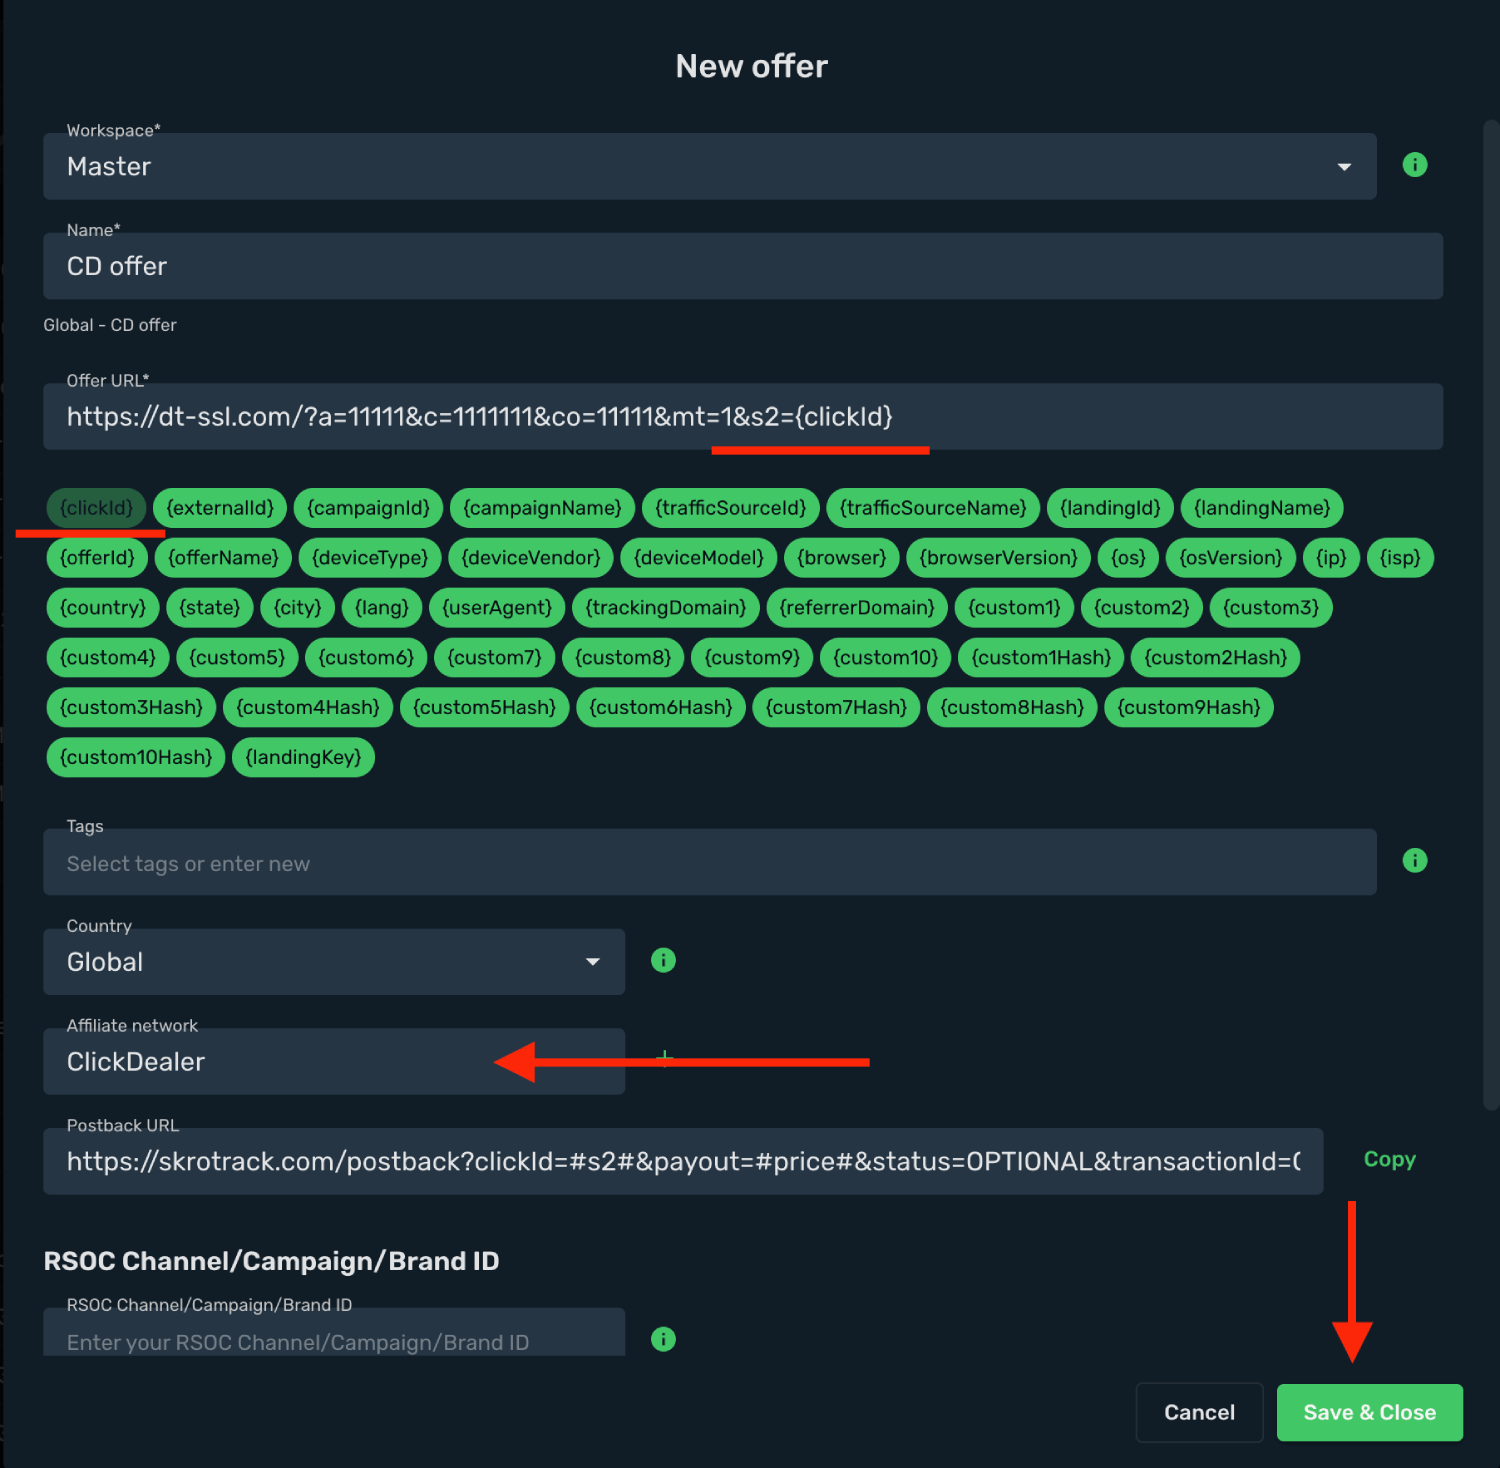
6. Click **Save & Close**.
## Step 4. Create a campaign on Skro [#step-4-create-a-campaign-on-skro]
1. Start with the following guide:
## Verify the setup [#verify-the-setup]
Follow a campaign link and complete a test conversion using your provider’s test workflow. Confirm that the original click ID reaches the provider and is returned to Skro, then check the event and revenue in your campaign report.
If data is missing, check the selected workspace, integration, campaign, and reporting date range. Compare parameter names and macro values with the examples in this guide before repeating the test.
## Related guides [#related-guides]
# CPAGrip integration
Source: https://skro.eu/docs/integrations/cpagrip-integration
Connect CPAGrip to Skro, map click IDs, and configure postbacks to attribute conversions and revenue to your campaigns.
## Step 1. Add affiliate network to Skro [#step-1-add-affiliate-network-to-skro]
1. Go to **Affiliate Networks** and click **Create**.
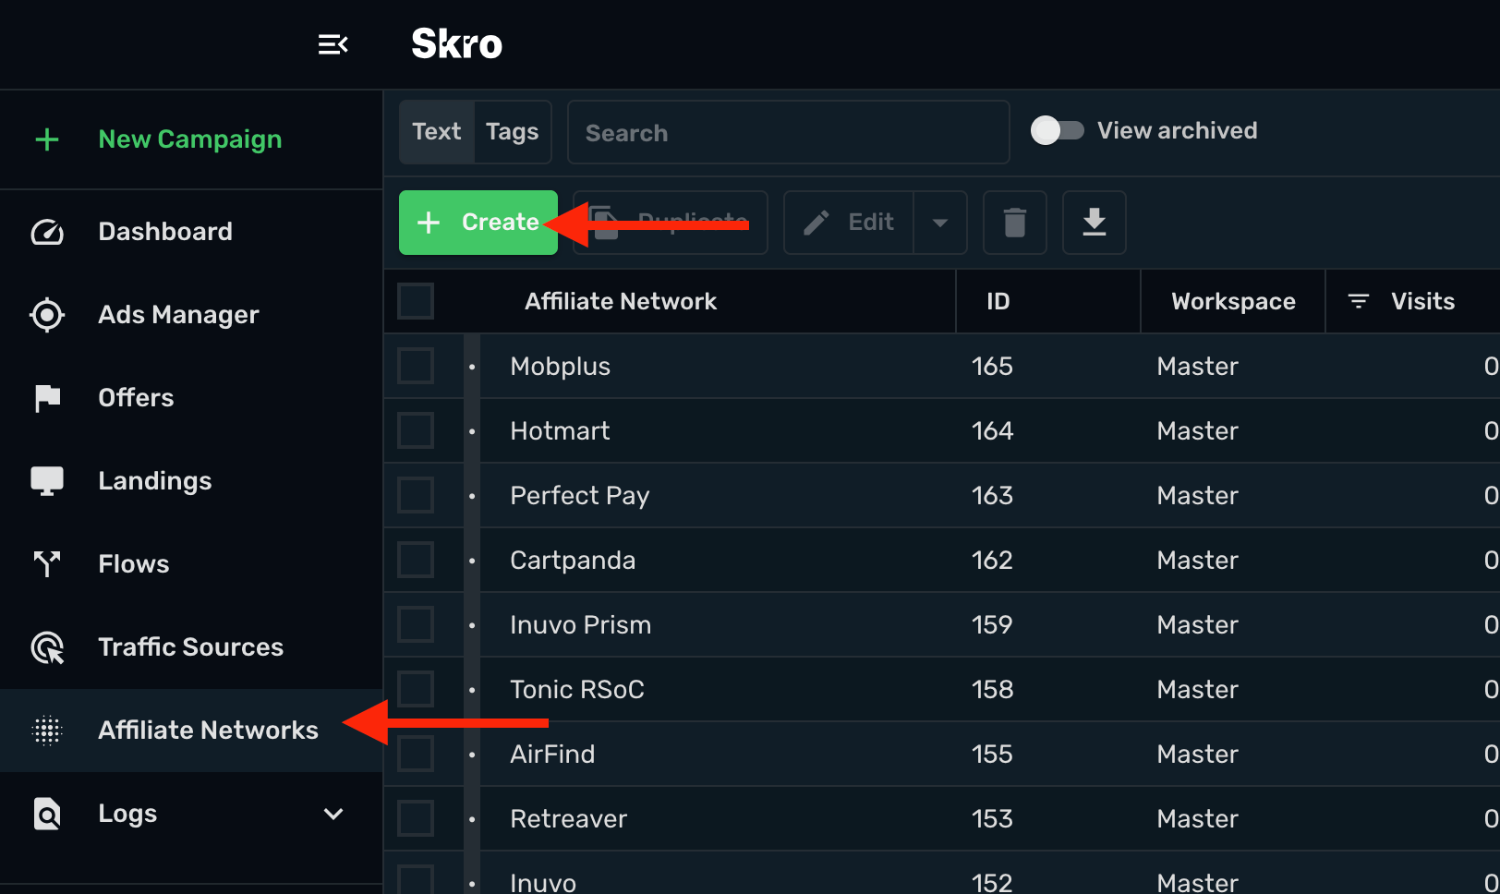
2. Search CPAGrip and select the **CPAGrip** template.
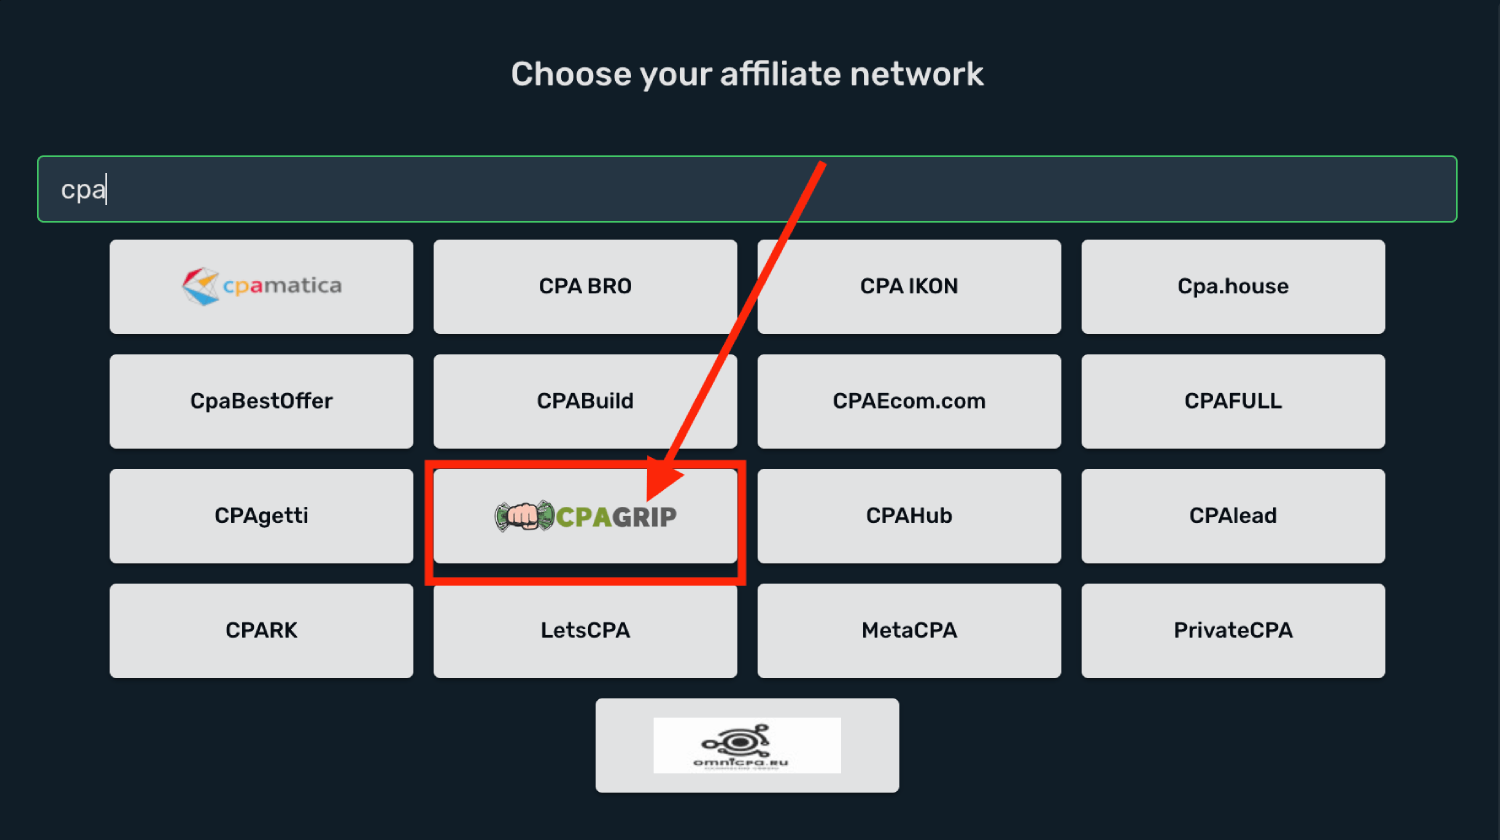
3. Select your **Workspace** and **Copy** postback URL to your clipboard.
4. Click **Save & Close**.
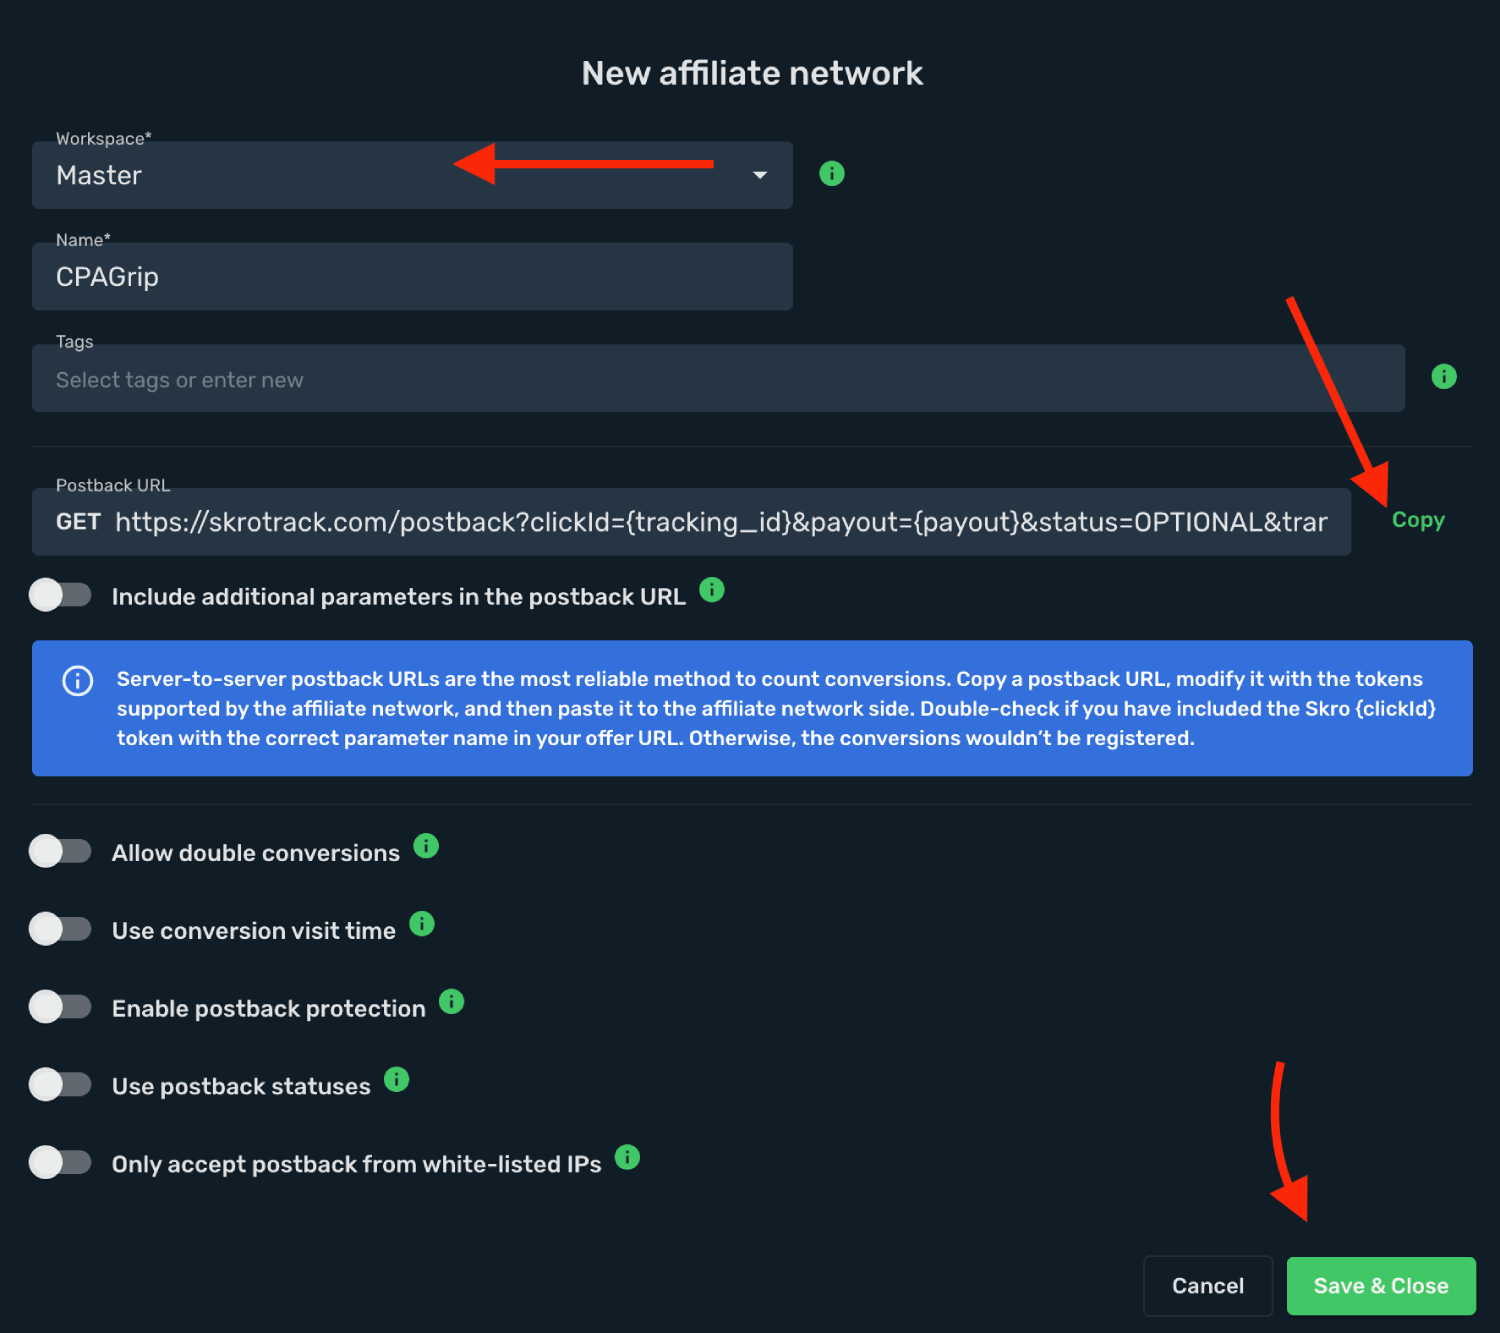
The CPAGrip affiliate network is now saved in Skro. Use the copied postback URL in CPAGrip in the next step.
## Step 2. Setting up a postback URL [#step-2-setting-up-a-postback-url]
1. Log in to **CPAGrip** account.
2. Go to **Postback Tools** → **Global Postback** on the side of **CPAGrip**.
3. Paste **Postback URL** in the corresponding field and **Enable** that postback.
4. Click **Save Settings**.
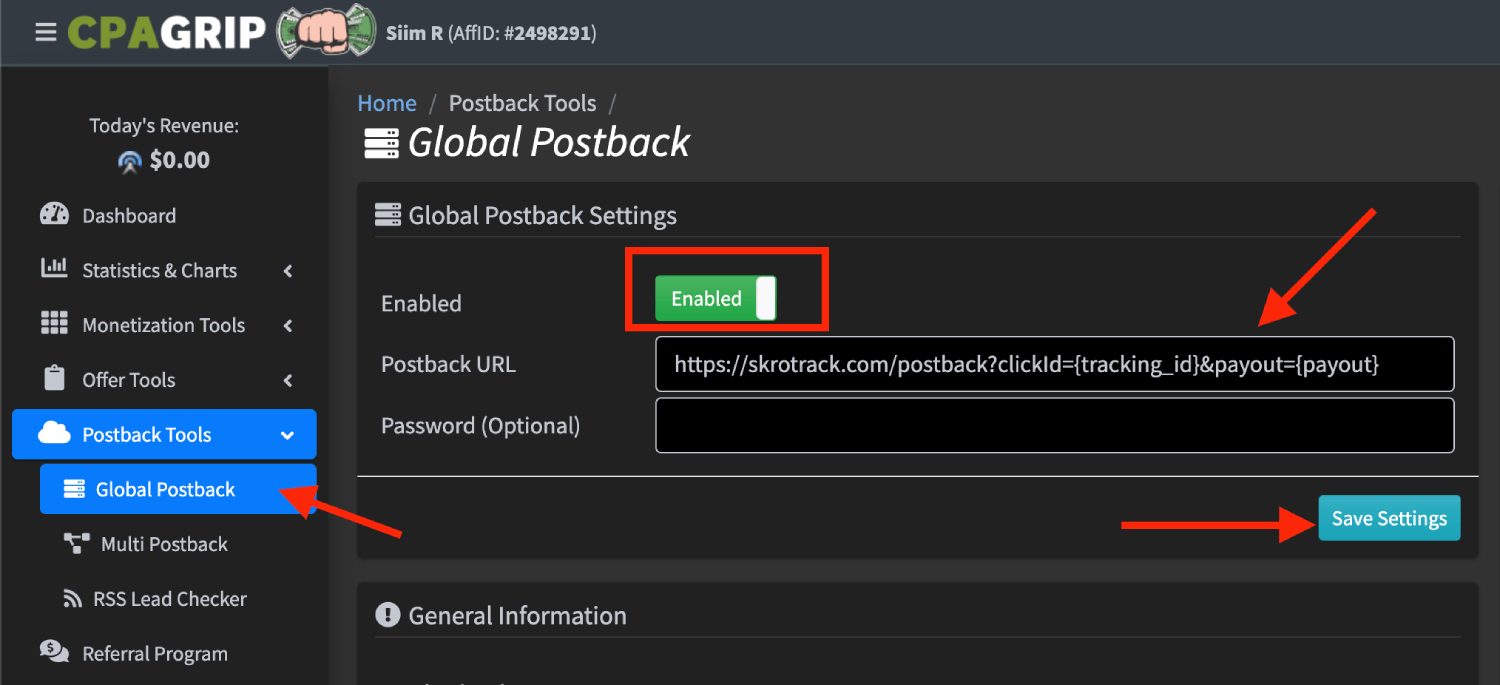
**Global Postback URL:**
`https://skrotrack.com/postback?clickId={tracking_id}&payout={payout}`
## Step 3. Get an offer from CPAGrip [#step-3-get-an-offer-from-cpagrip]
1. To get offer link on the side of CPAGrip go to **Offer Tools** → **My Offers** page on the panel.
2. Select the desired offer from the list and click its name.
6. Copy **Offer link** after the selected offer is approved by CPAGrip.
## Step 4. Add offer to Skro [#step-4-add-offer-to-skro]
1. Go back to Skro and navigate to the **Offers** and click **Create**.
2. Choose your workspace.
3. Give a name to your offer.
4. Grab the offer link from CPAGrip and add it to Offer URL field and change the macros to this **`&tracking_id={clickId}`**
**`{clickId}`** - The Skro click ID macro for conversion tracking.
**Example Offer URL:**
`https://yourofferdomain.com/show.php?l=0&u=11111&id=11111&tracking_id={clickId}`
5. Choose CPAGrip from the **Affiliate Network** select box.
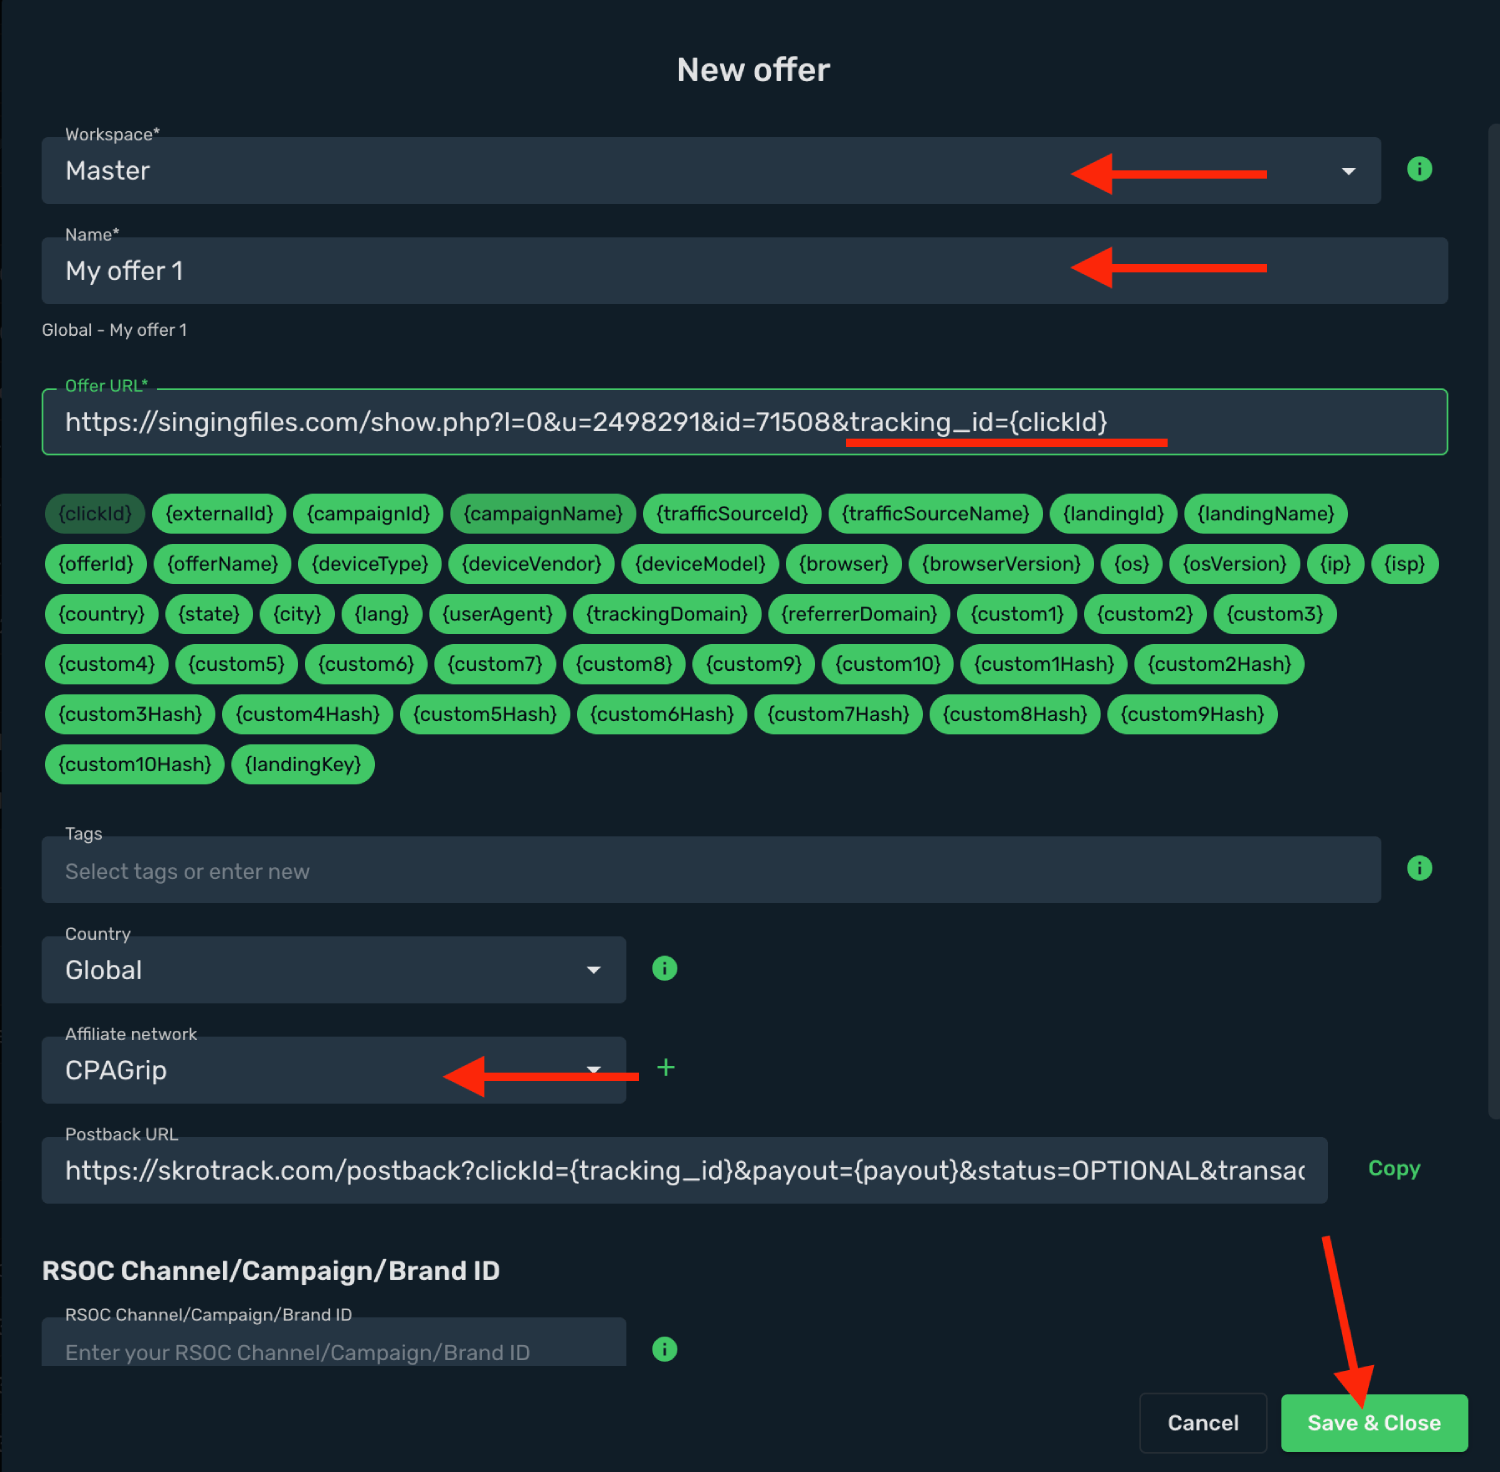
6. Click **Save & Close**.
## Step 5. Create a campaign on Skro [#step-5-create-a-campaign-on-skro]
1. Start with the following guide:
## Verify the setup [#verify-the-setup]
Follow a campaign link and complete a test conversion using your provider’s test workflow. Confirm that the original click ID reaches the provider and is returned to Skro, then check the event and revenue in your campaign report.
If data is missing, check the selected workspace, integration, campaign, and reporting date range. Compare parameter names and macro values with the examples in this guide before repeating the test.
## Related guides [#related-guides]
# CPALead integration
Source: https://skro.eu/docs/integrations/cpalead-and-skro-integration
Set up CPALead tracking in Skro, configure traffic source parameters, and connect your advertising campaigns.
## Step 1. Create an CPALead traffic source and configure the postback URL [#step-1-create-an-cpalead-traffic-source-and-configure-the-postback-url]
1. Go to **Traffic Sources** and click **+ Create**.
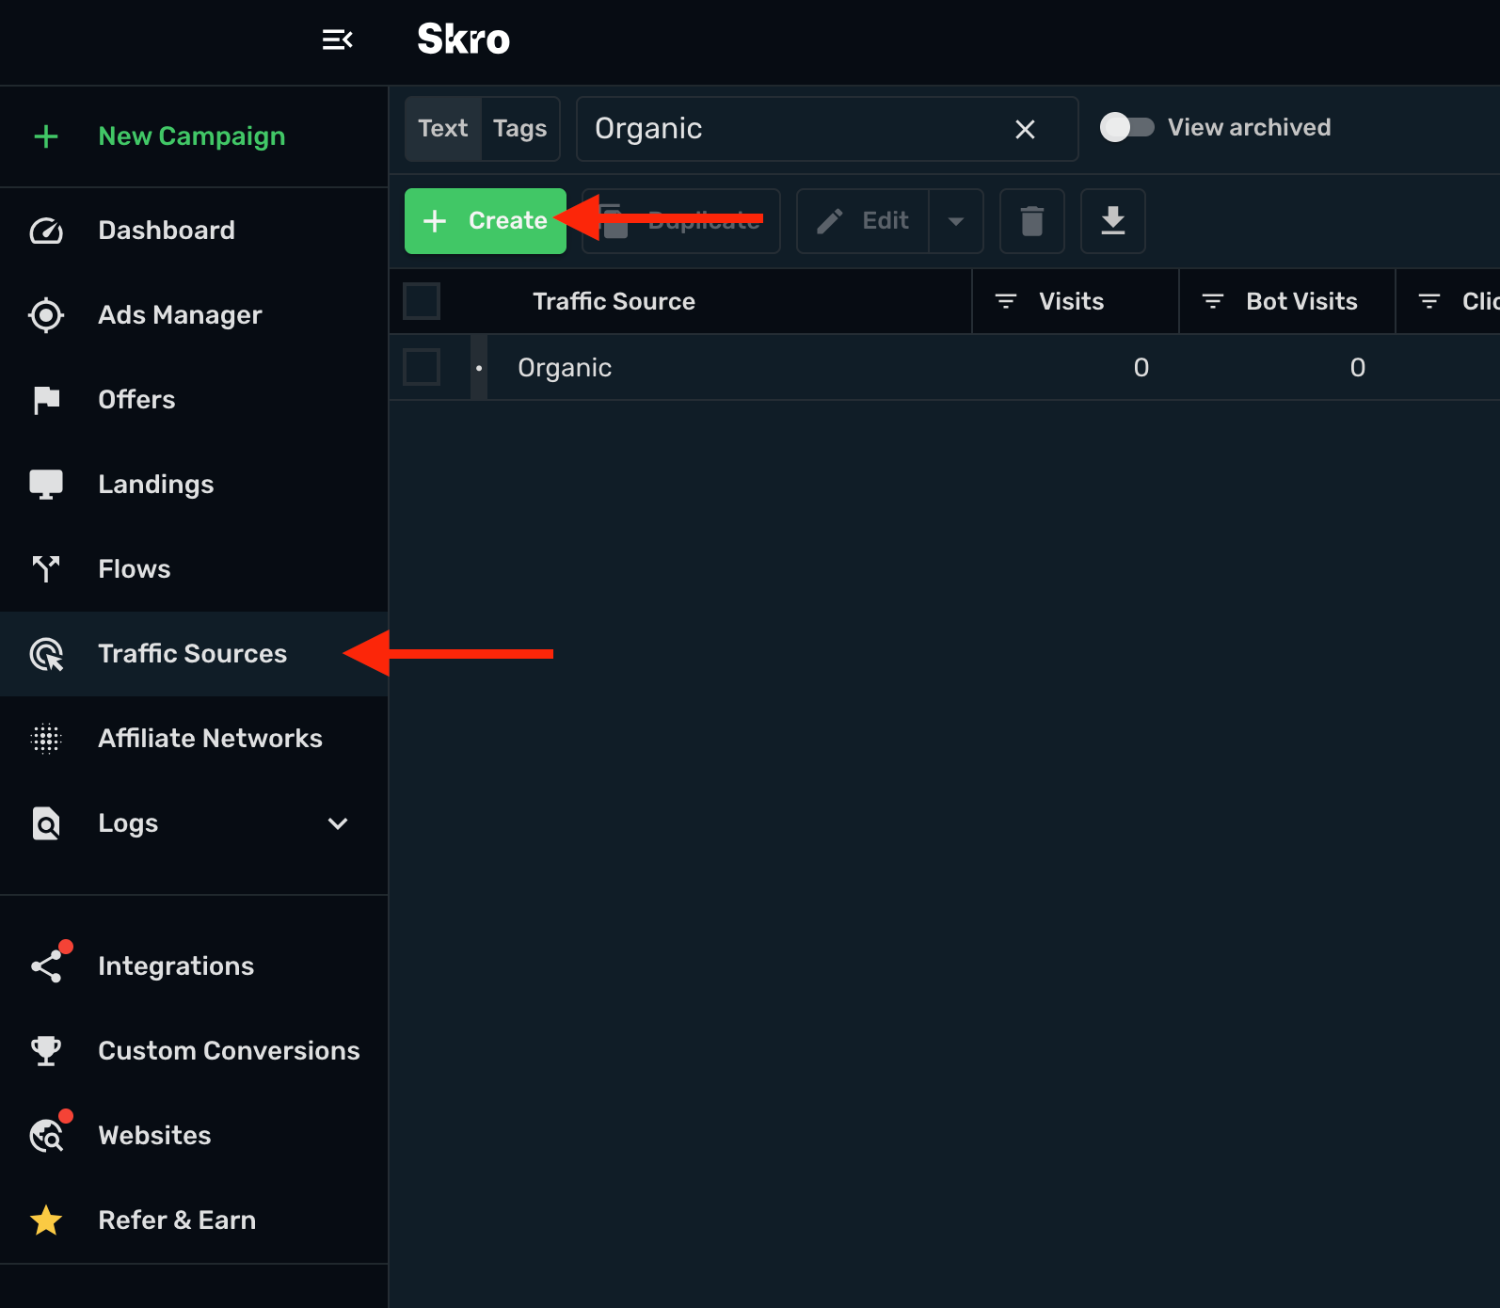
2. Search for **cpalead** and click the **CPALead** template.
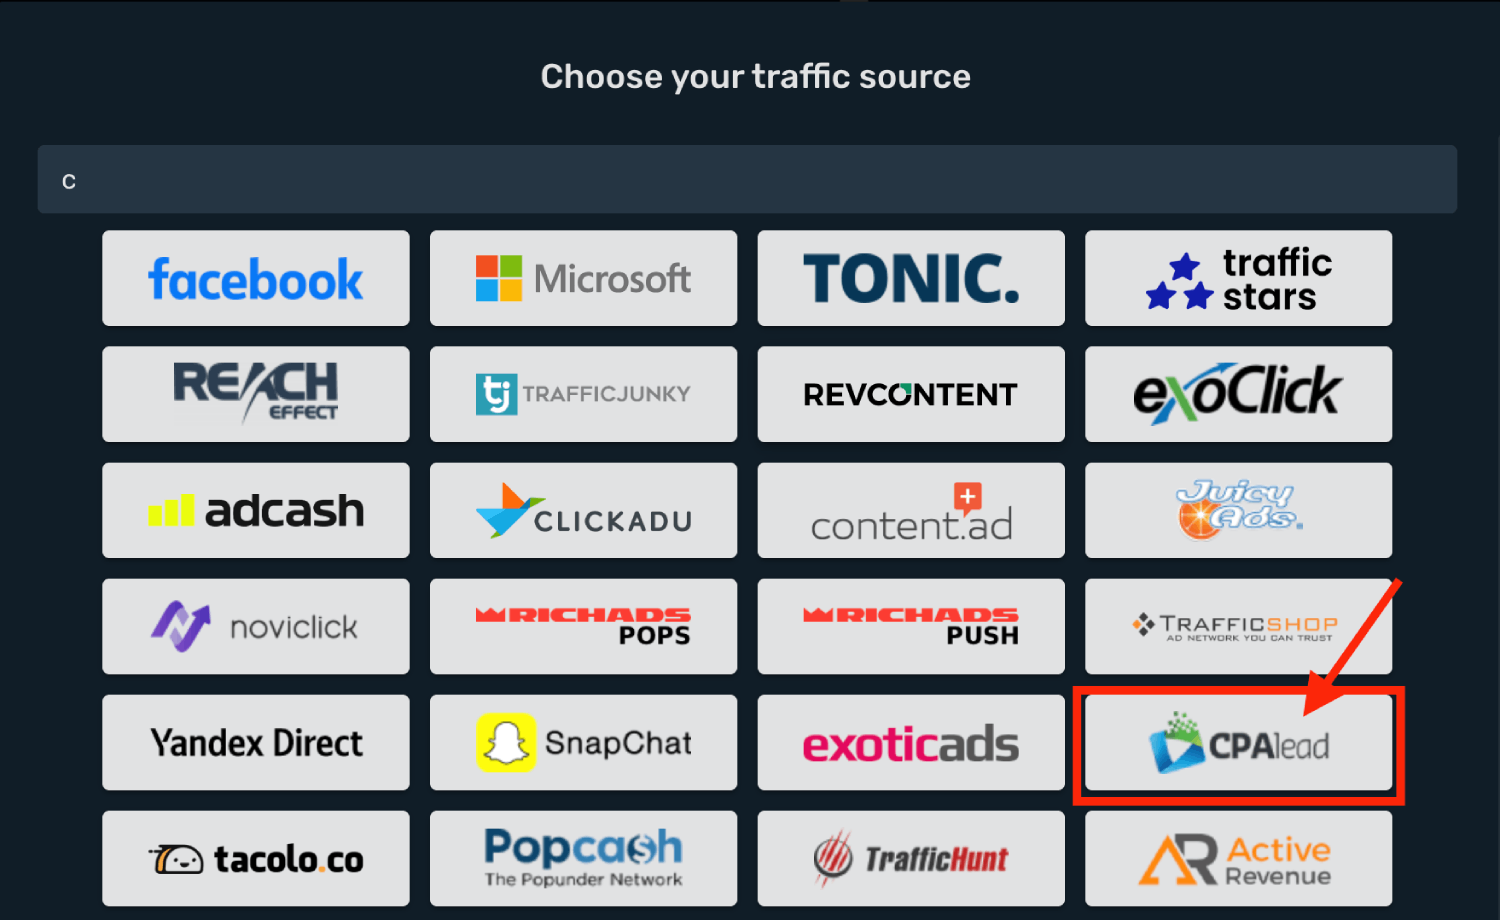
3. You need to modify **Traffic Source Postback URL**.
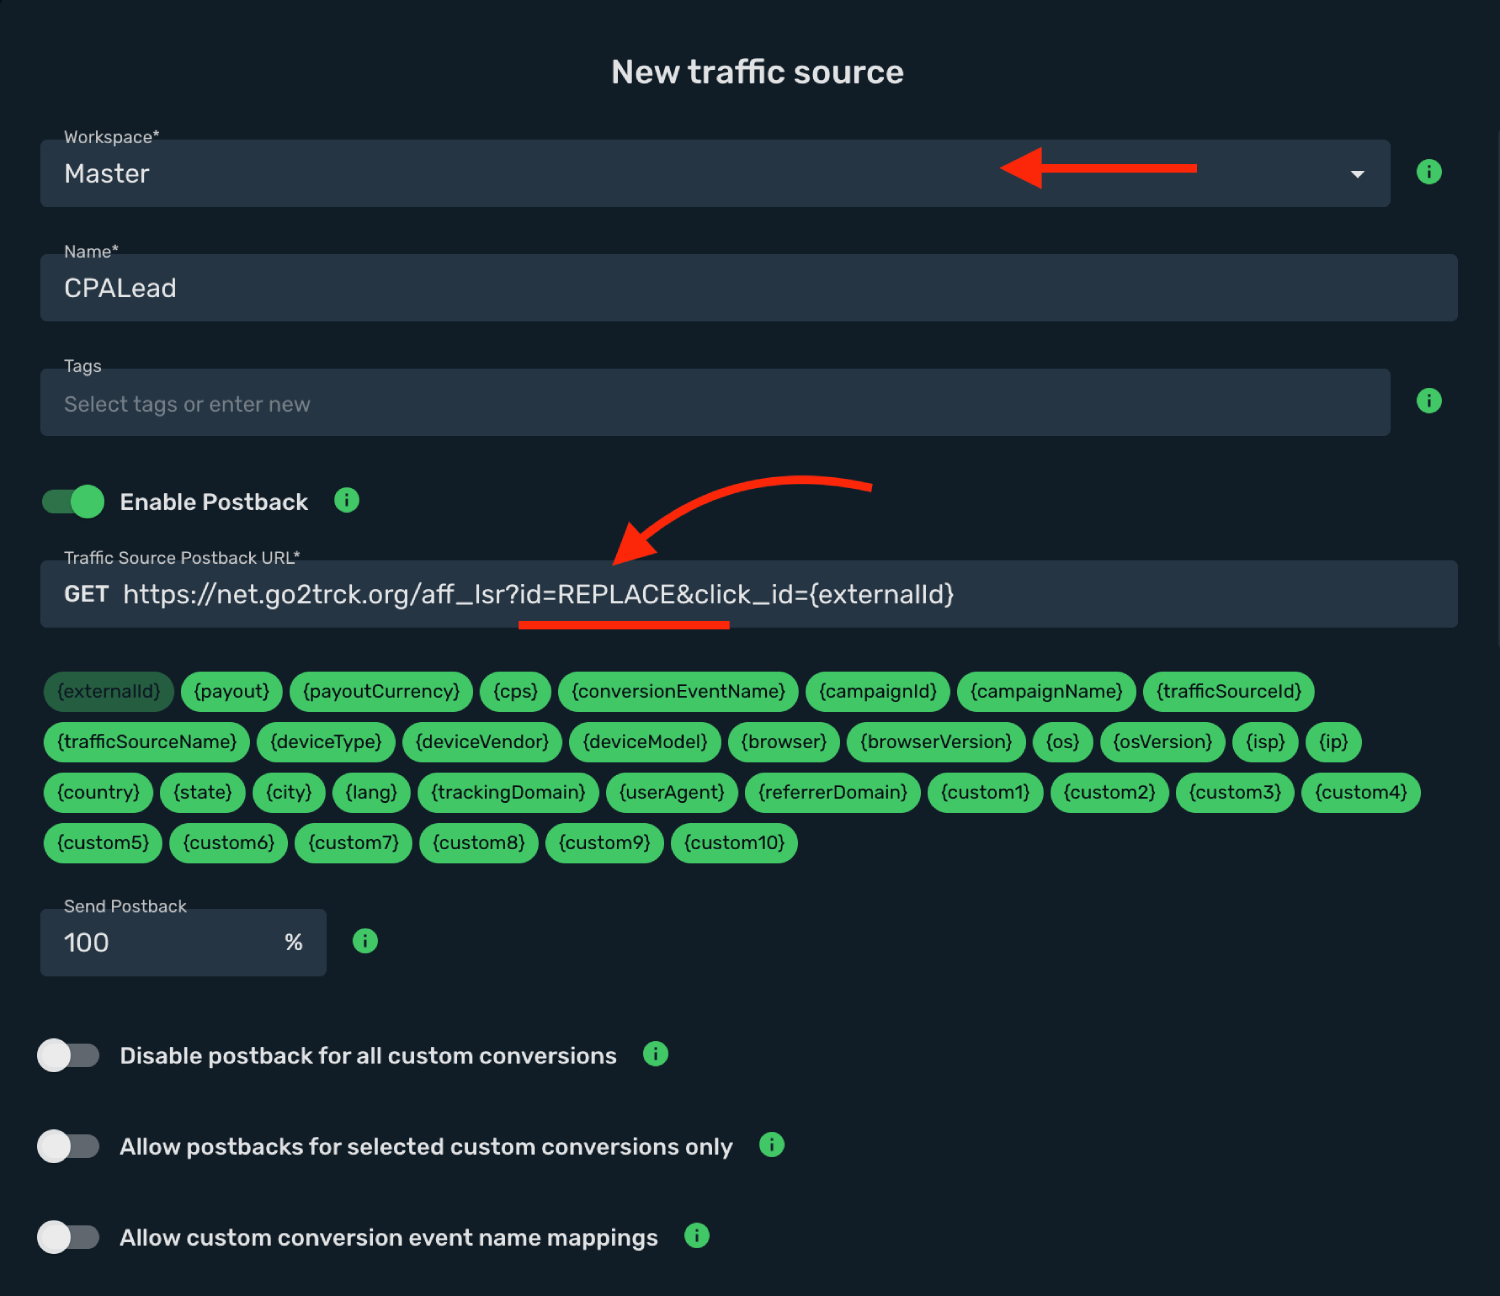
4. Log in to your **CPALead** account.
5. Go to **Campaigns** and click **Add Campaign**.
6. Postback URL is supported for **CPI** and **CPA** ad types.
7. Click **Tracking information** tab and copy the **Postback URL** to your clipboard.
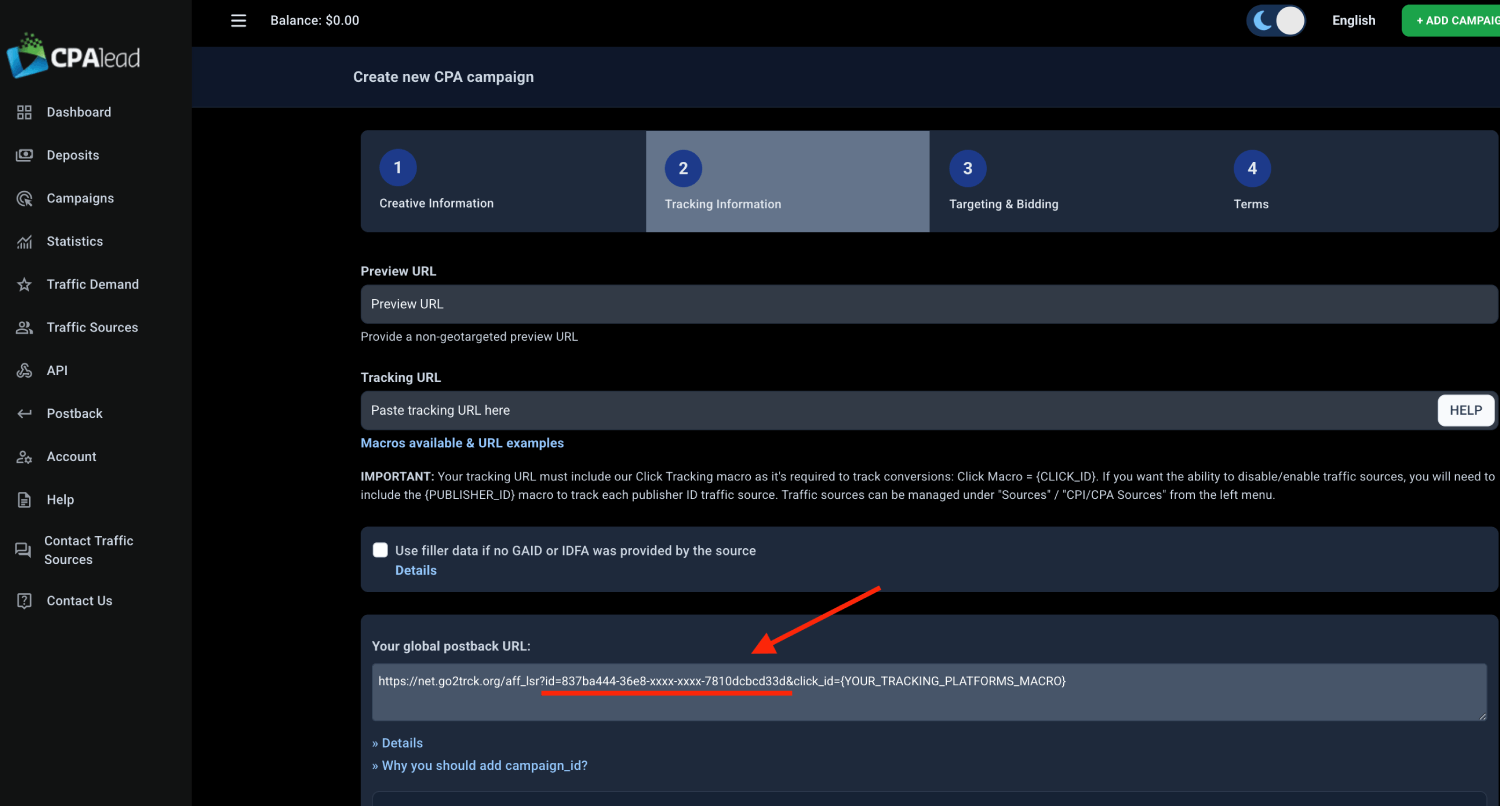
8. Go back to **Skro** and replace the postback URL with the updated values.
9. Replace the **id** parameter value with real token value **`?id=xxxxx-xxxx-xxxx-xxxxx`**
10. Final postback URL must look similar to this:
`https://net.go2trck.org/aff_lsr?id=xxxxx-xxxx-xxxx-xxxxx&click_id={externalId}`
**`id=xxxxx-xxxx-xxxx-xxxxx`** - CPALead ID parameter with Skro macro.
**`click_id={externalId}`** - CPALead Click ID parameter with Skro macro.
11. All tracking parameters are already prefilled for you.
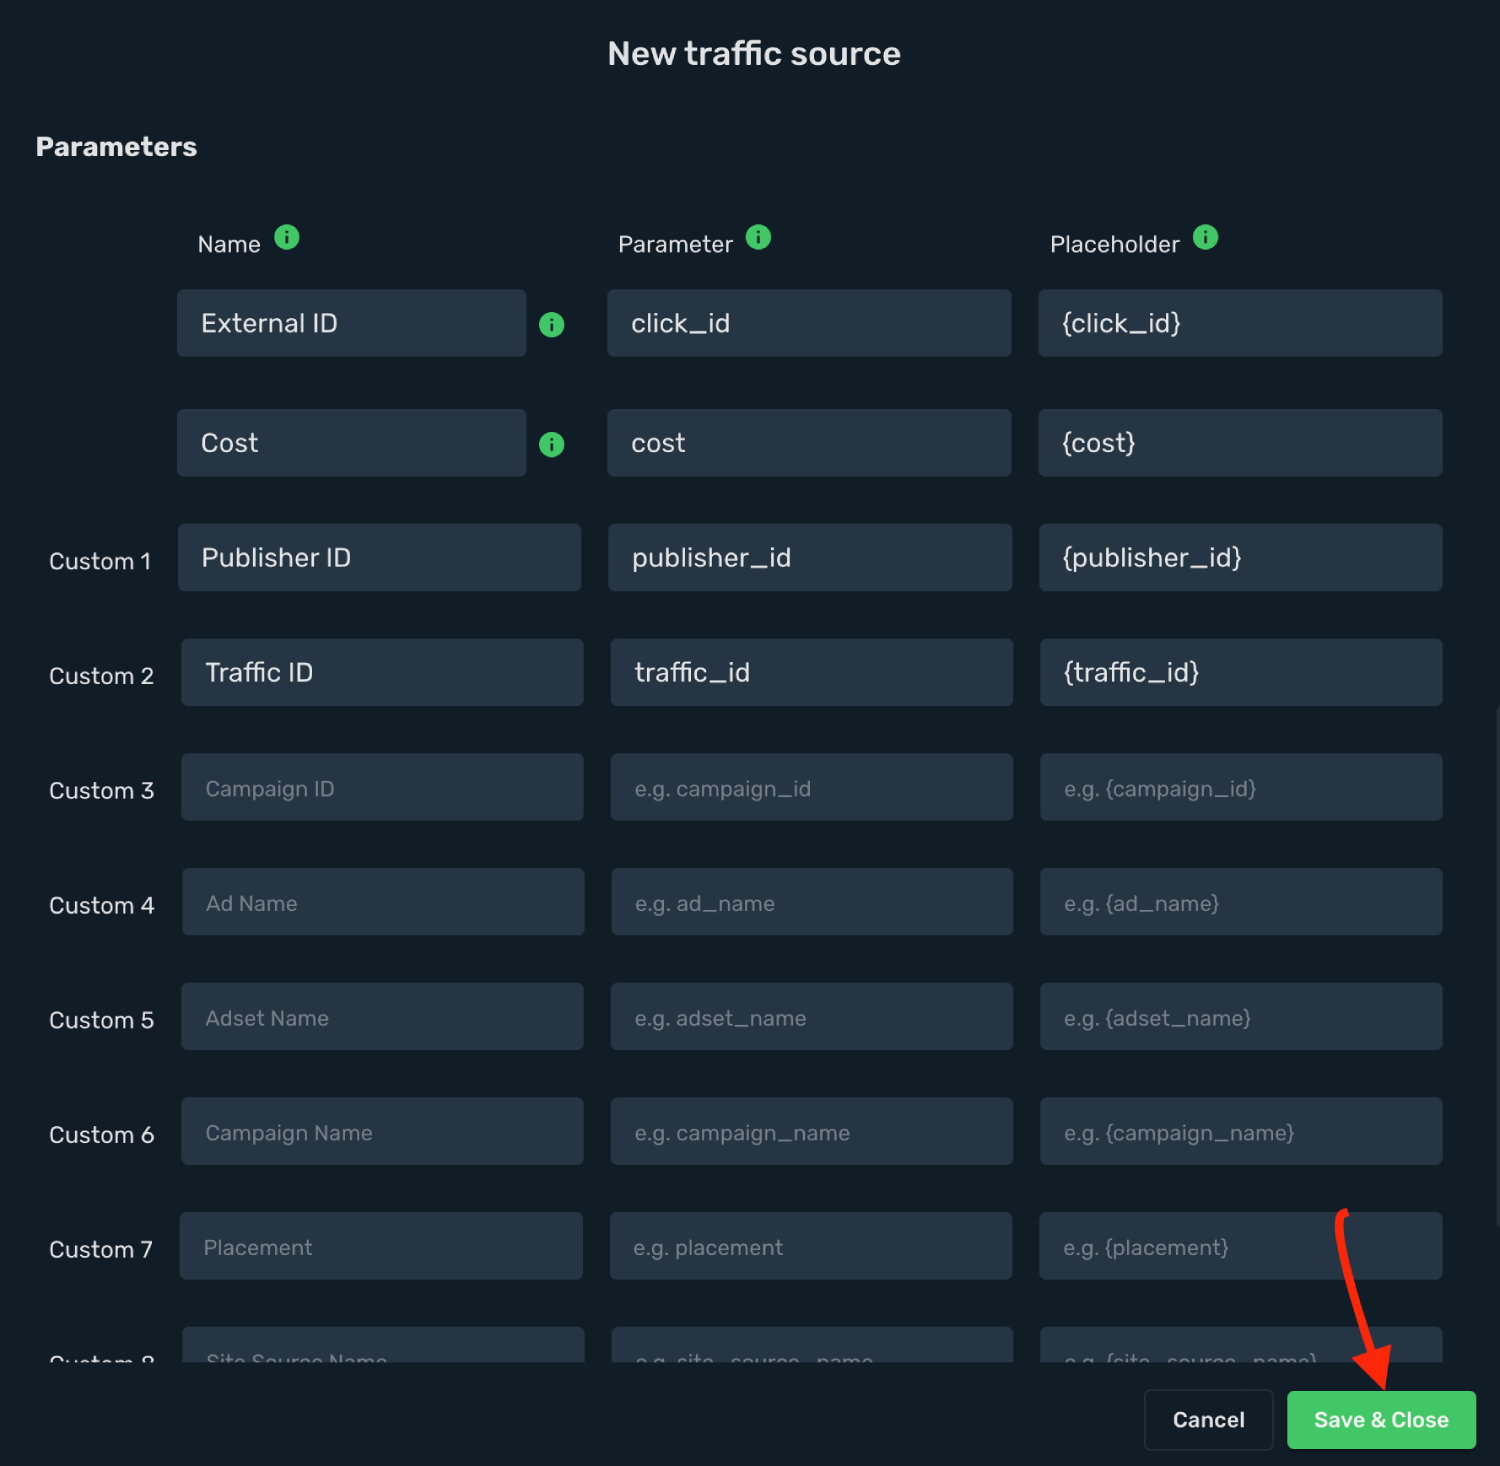
12. Click **Save & Close**.
Integration setup is complete, and you are now ready to create your first campaign.
## Step 2. Create a campaign in Skro [#step-2-create-a-campaign-in-skro]
1. Go to **Ads Manager** and click the **Create**.
2. Select your **Traffic source** and click **Next**.
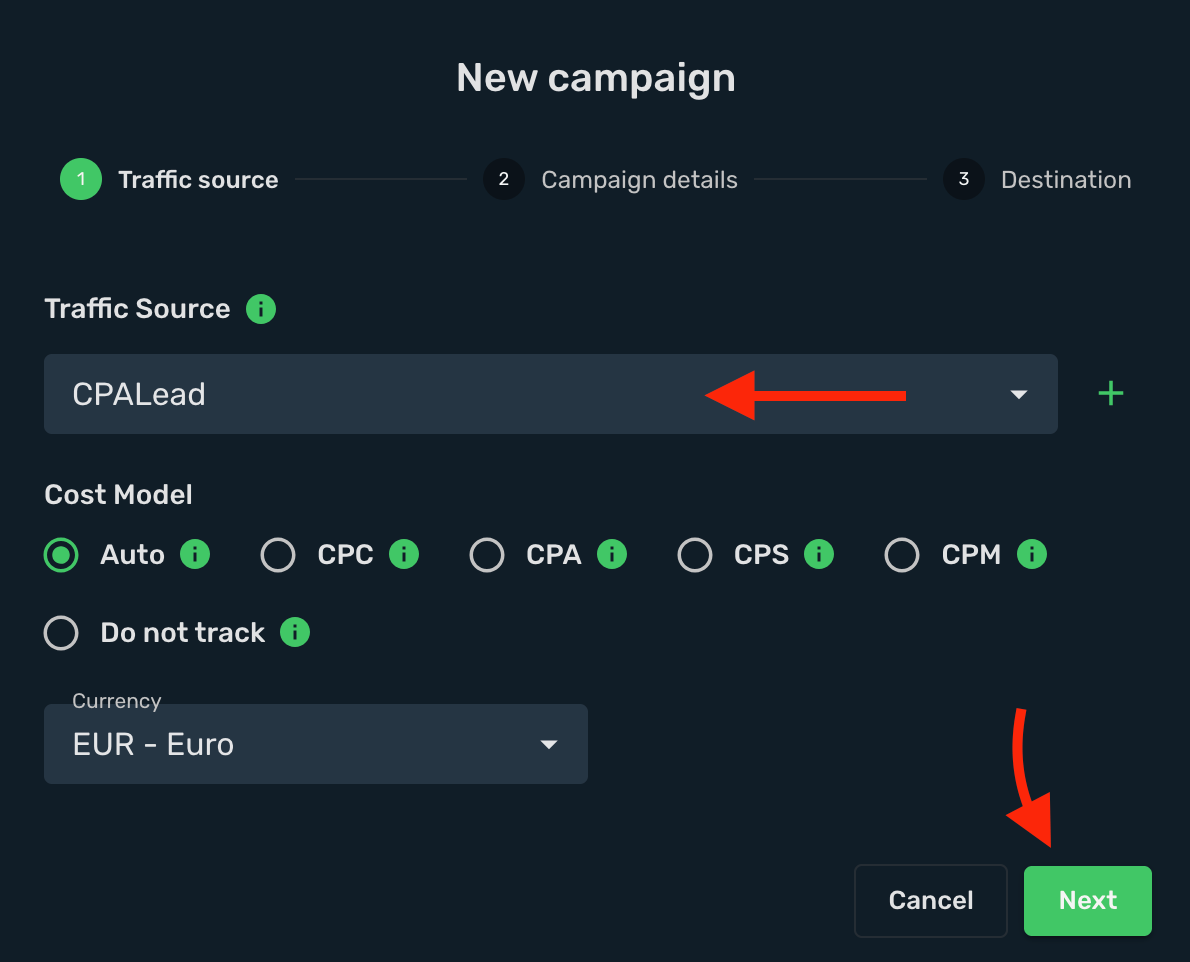
3. Select a **Workspace** for your campaign.
4. Give a **name** and click **Next**.
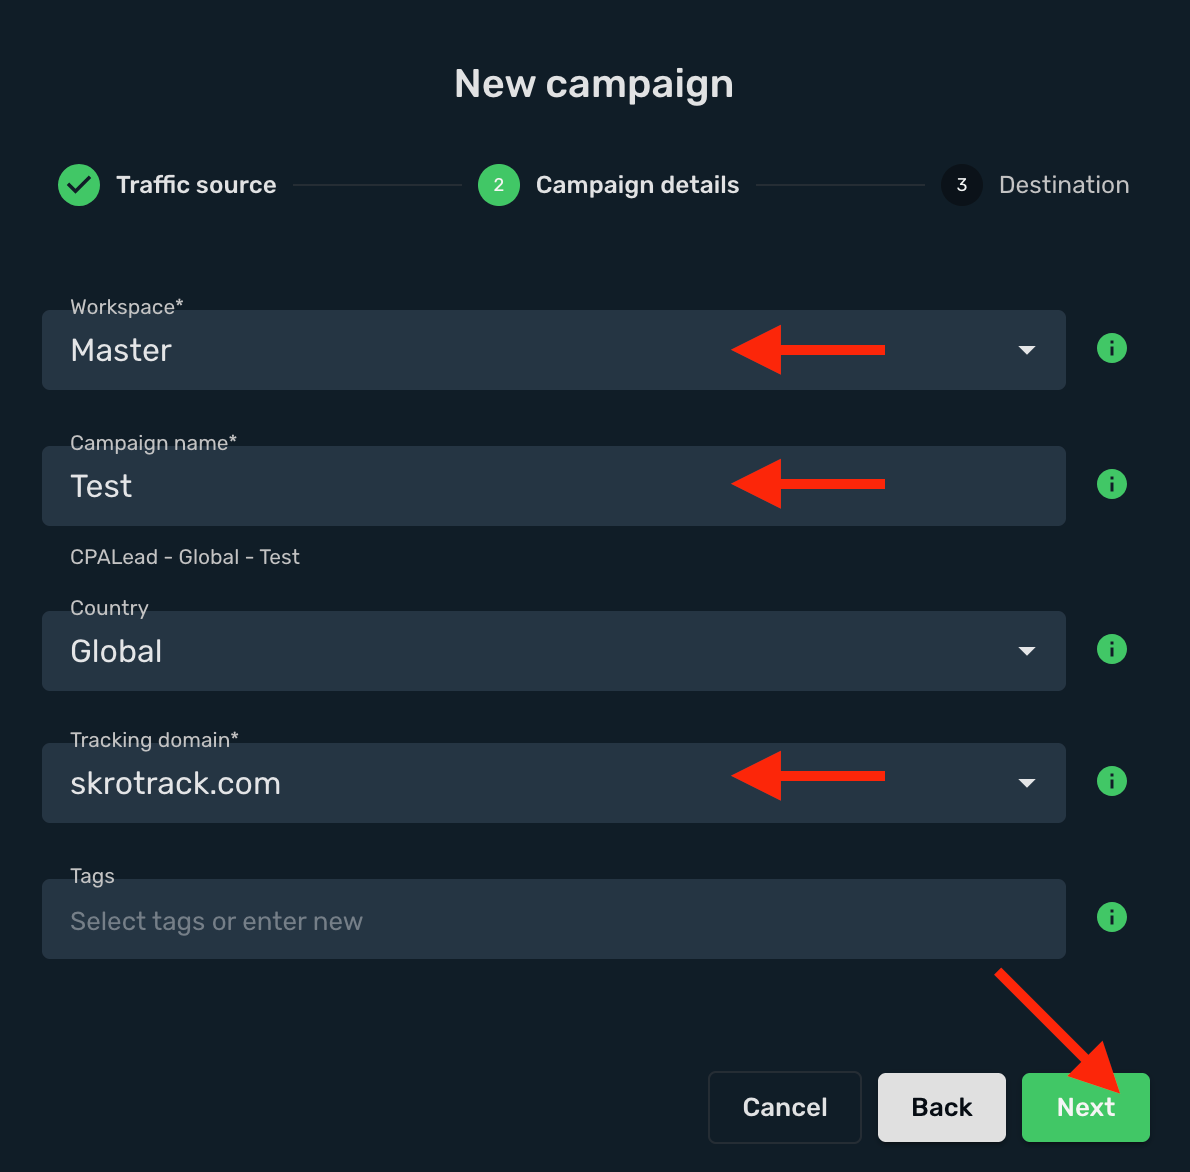
5. Select or create all your **landings** and **offers**.
6. Click the **Save**.
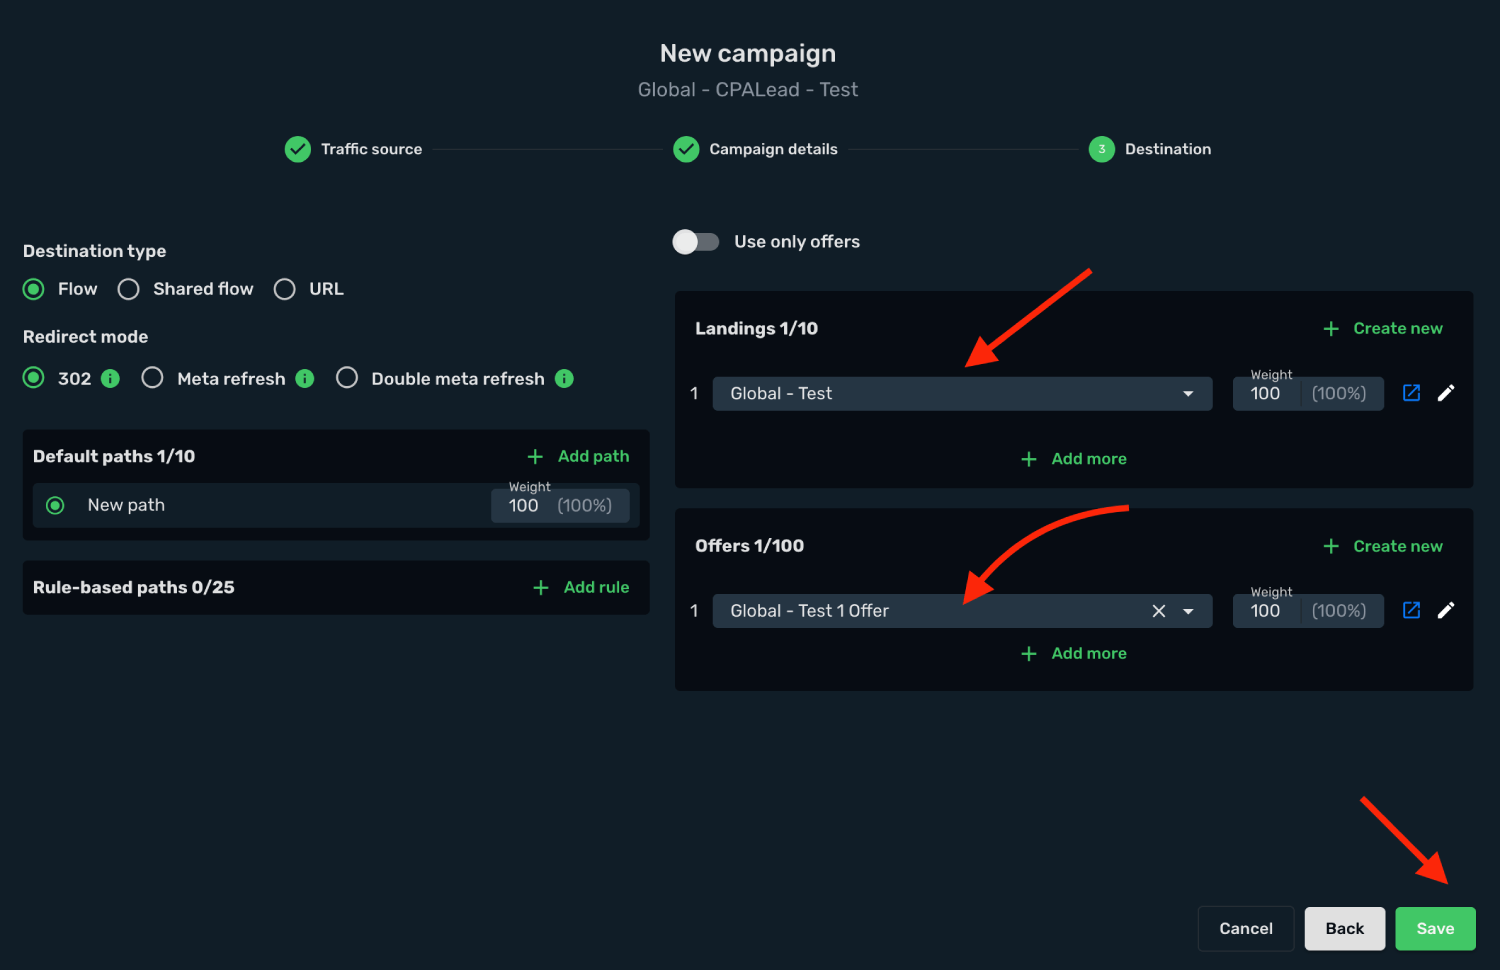
7. Copy the **Campaign Tracking URL** to clipboard.
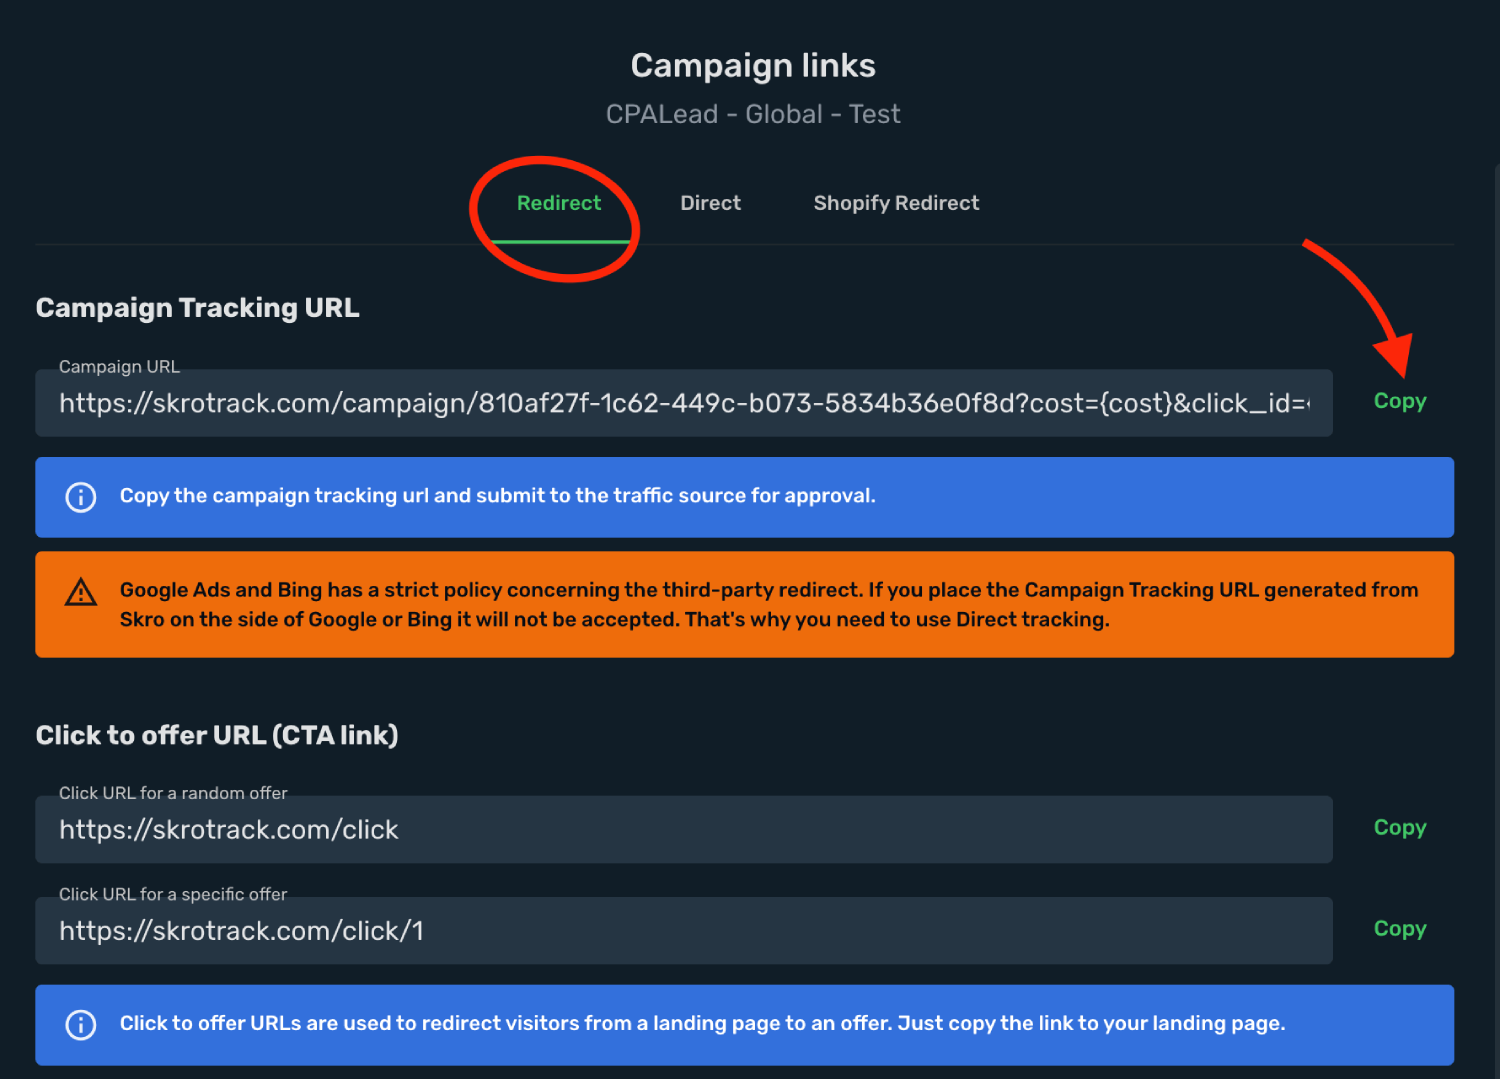
## Step 3. Create a campaign in CPALead [#step-3-create-a-campaign-in-cpalead]
1. Log in to your **CPALead** account.
2. Go to the **Campaigns** section and click the **+ Add Campaign**.
3. Select your **Ad Format** and create **Creatives**.
4. Fill all other fields where needed.
5. Paste the **Skro campaign tracking link** into the **Tracking URL** field, including all tracking parameters.
6. Complete the remaining campaign settings, then click **Create Campaign**.
7. After your campaign is approved on the side of CPALead, you can start driving traffic to your campaign and track all the data with Skro.
## Verify the setup [#verify-the-setup]
Open the generated campaign URL and check that the visit appears in Skro. Confirm that traffic source macros resolve to actual values. If you send conversions back to the source, verify a test conversion in both systems.
If data is missing, check the selected workspace, integration, campaign, and reporting date range. Compare parameter names and macro values with the examples in this guide before repeating the test.
## Related guides [#related-guides]
# Cpamatica integration
Source: https://skro.eu/docs/integrations/cpamatica-integration
Connect Cpamatica to Skro, map click IDs, and configure postbacks to attribute conversions and revenue to your campaigns.
## Step 1. Add affiliate network to Skro [#step-1-add-affiliate-network-to-skro]
1. Go to **Affiliate Networks** and click **Create**.
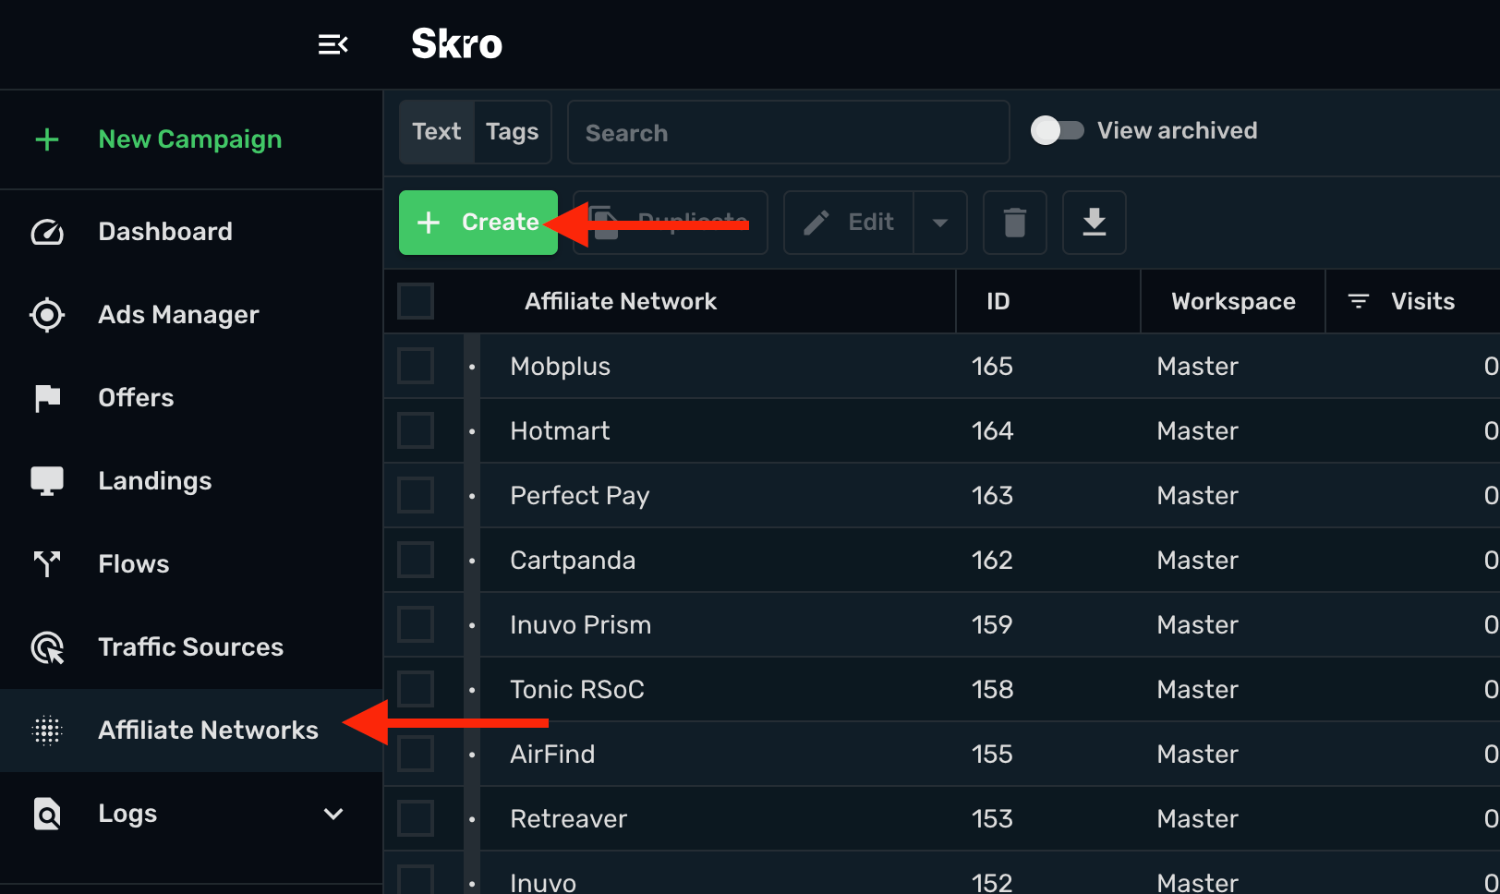
2. Search Cpamatica and select the **Cpamatica** template.
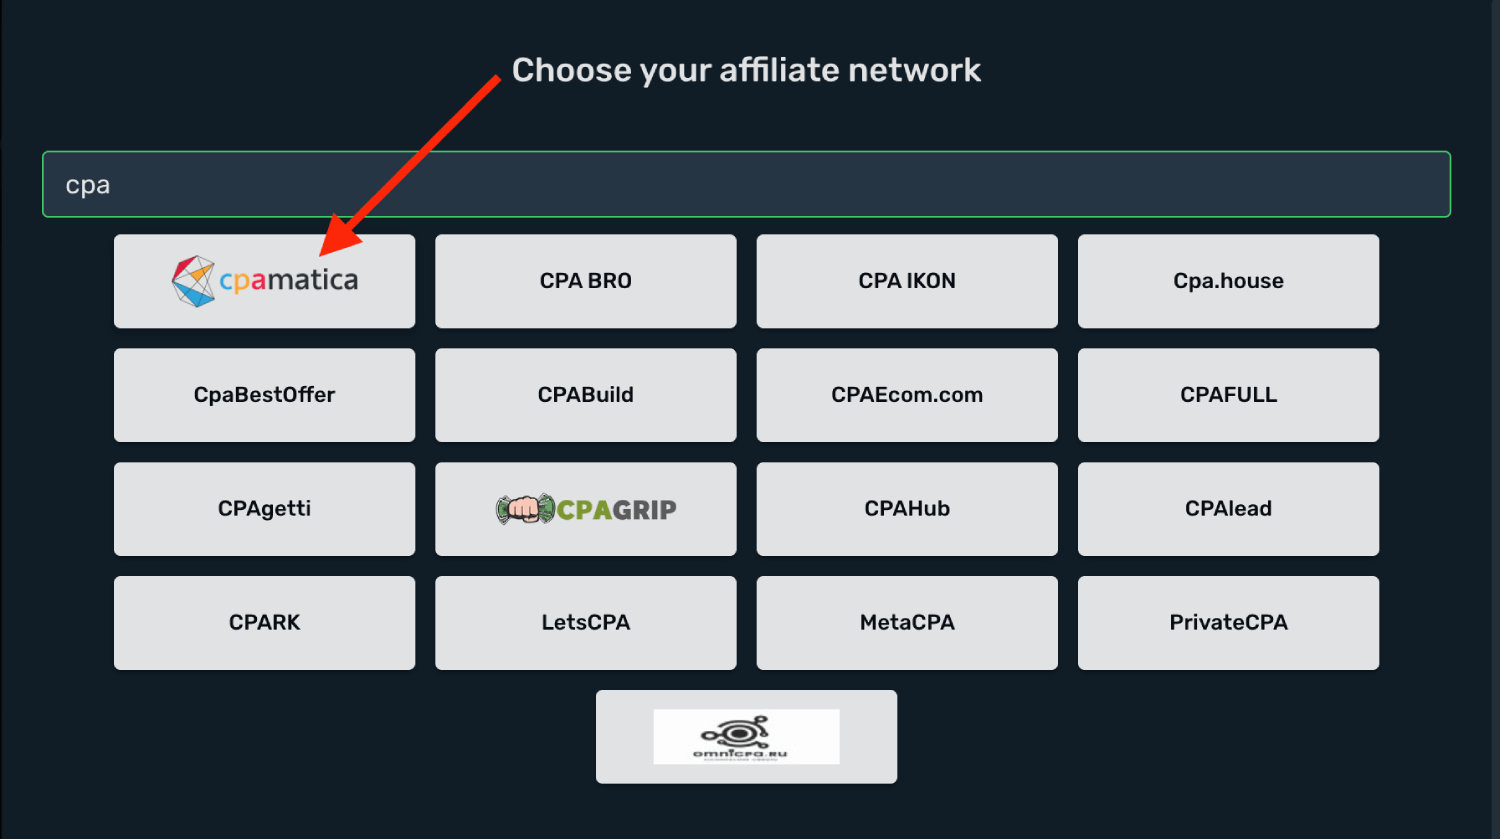
3. Select your **Workspace** and **Copy** postback URL to your clipboard.
4. Click **Save & Close**.
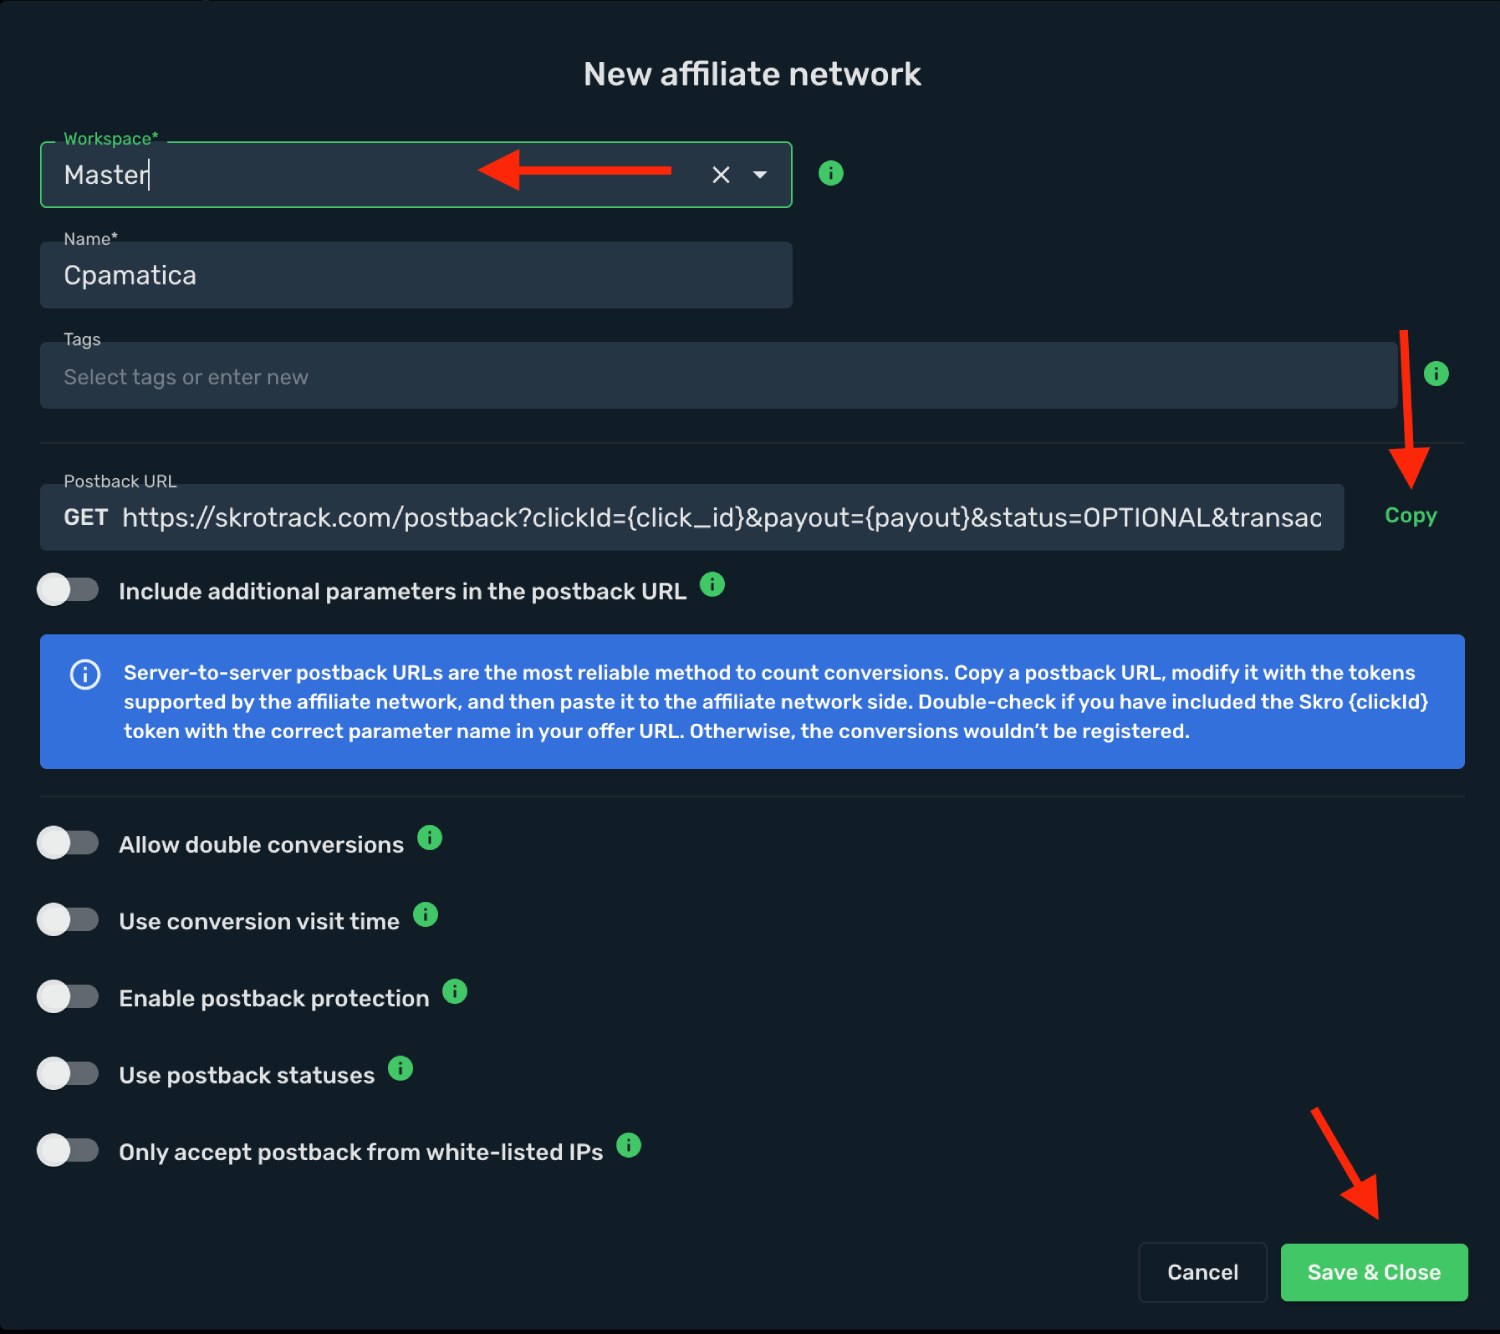
The Cpamatica affiliate network is now saved in Skro. Use the copied postback URL in Cpamatica in the next step.
## Step 2. Setting up a postback URL [#step-2-setting-up-a-postback-url]
1. Log in to **Cpamatica** account.
2. Go to **Conversion tracking** section on the panel and click **Create**.
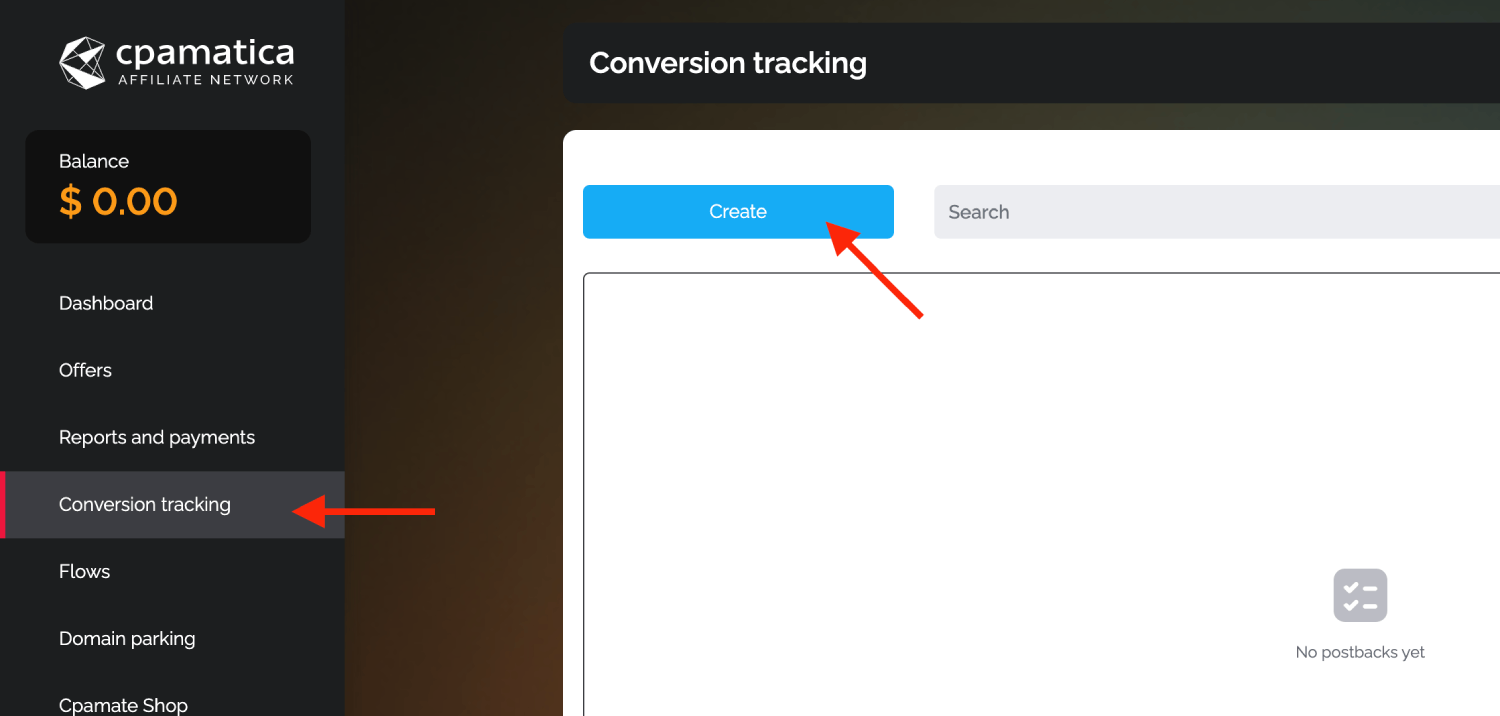
3. Select the required values for the following filters: **Offers, Goal and Lead status**.
4. Paste **Postback URL** in the **Postback link** field.
5. Click **Create** to store the settings.
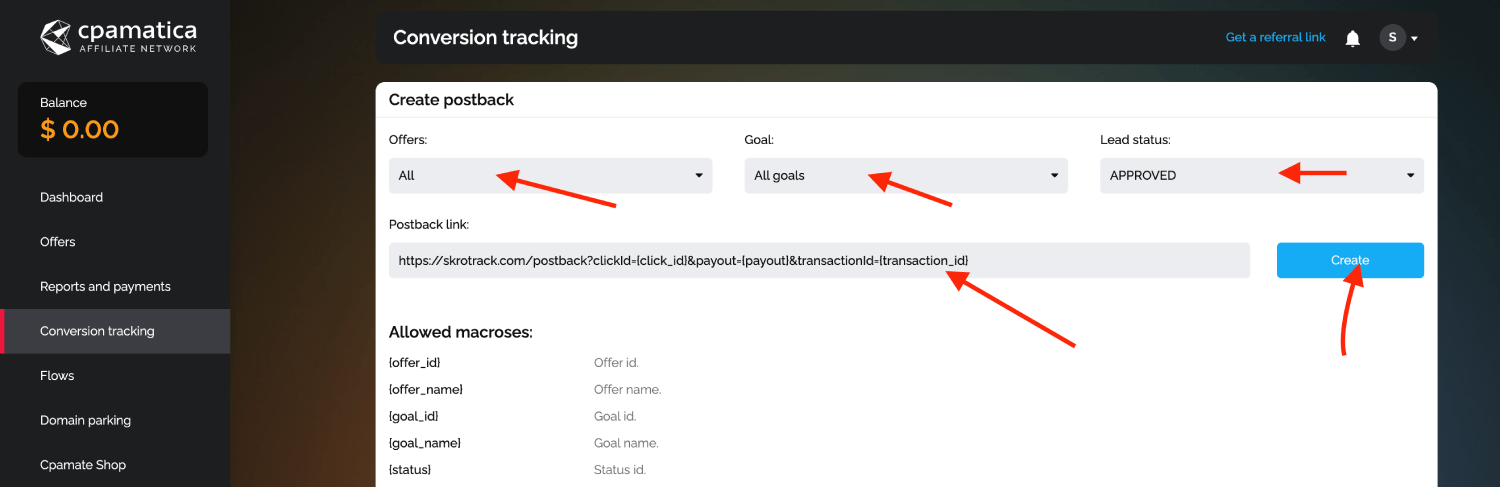
### Global Postback [#global-postback]
`https://skrotrack.com/postback?clickId={click_id}&payout={payout}&transactionId={transaction_id}`
## Step 3. Get an offer from Cpamatica [#step-3-get-an-offer-from-cpamatica]
1. Go to **Offers**.
2. Select your **offer** from the list and click it.
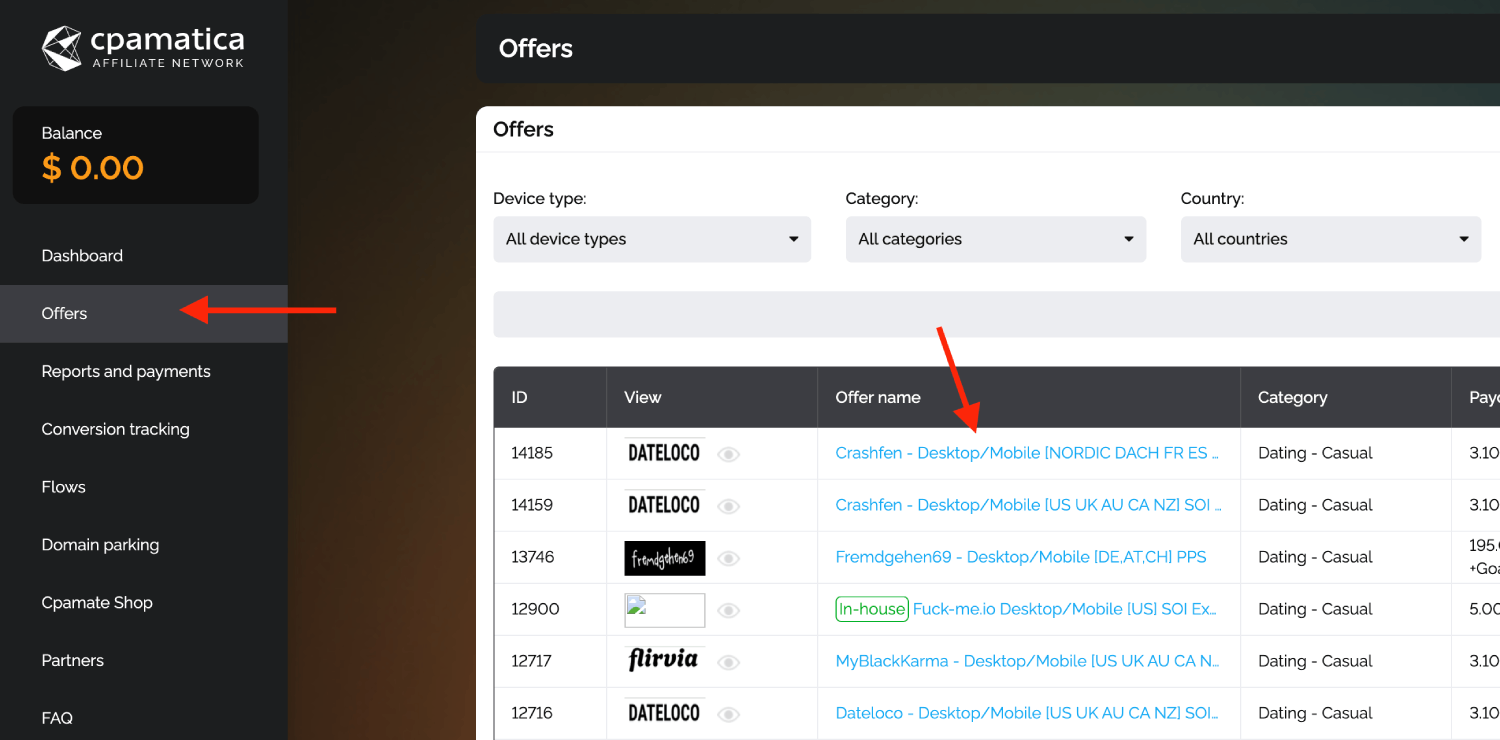
3. Click **Get link** to get the offer link.
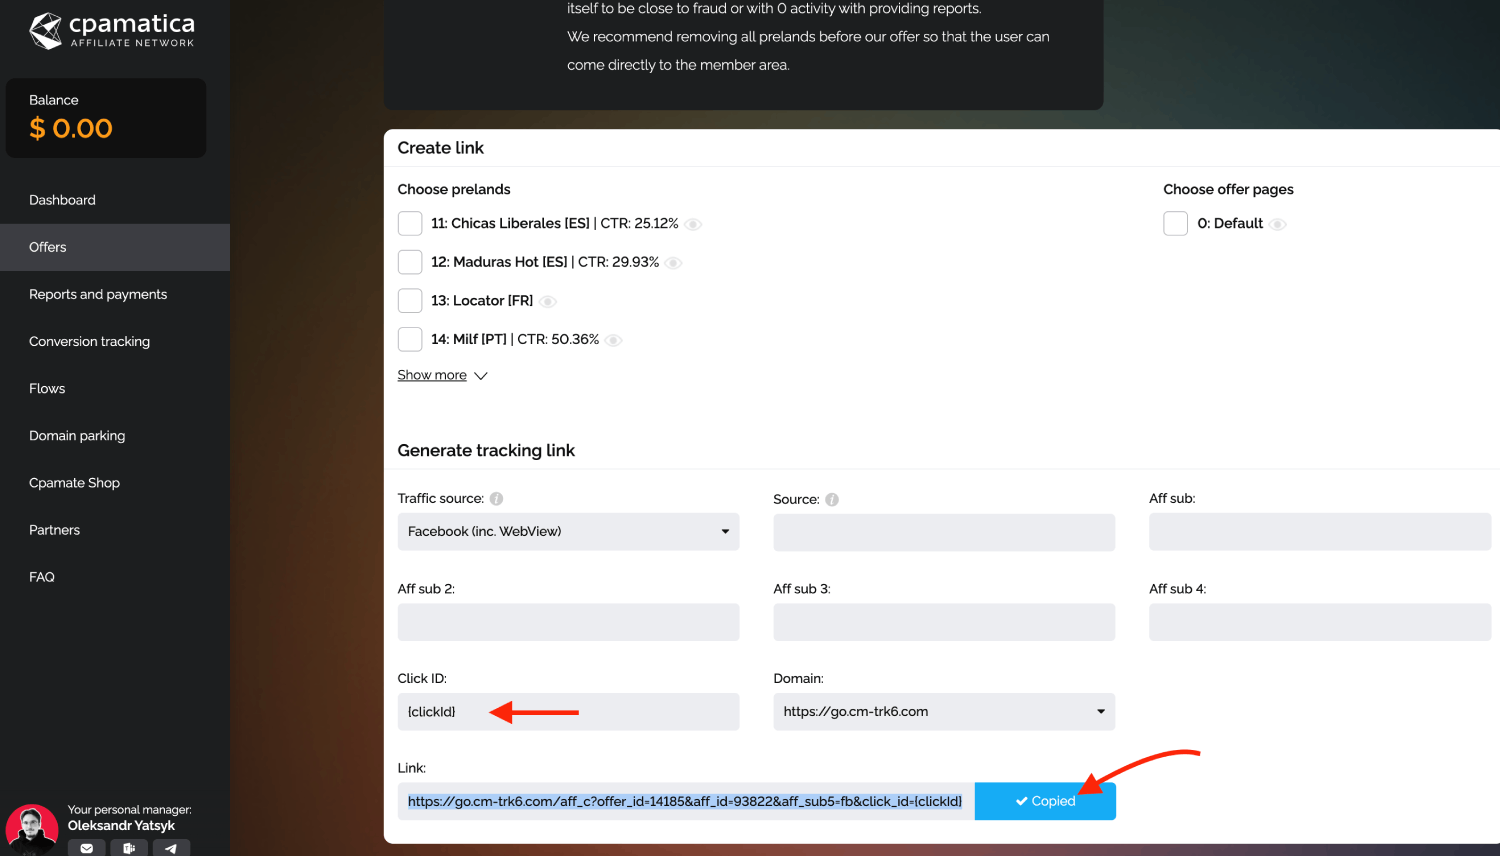
## Step 4. Add offer to Skro [#step-4-add-offer-to-skro]
1. Go back to Skro and navigate to the **Offers** and click **Create**.
2. Choose your workspace.
3. Give a name to your offer.
4. Grab the offer link from Cpamatica and add it to Offer URL field and change the macros to this **`&click_id={clickId}`**
**`{clickId}`** - The Skro click ID macro for conversion tracking.
**Example Offer URL:**
`https://example_offer.com/click?offer_id=11111&aff_id=222222&click_id={clickId}`
5. Choose Cpamatica from the **Affiliate Network** select box.
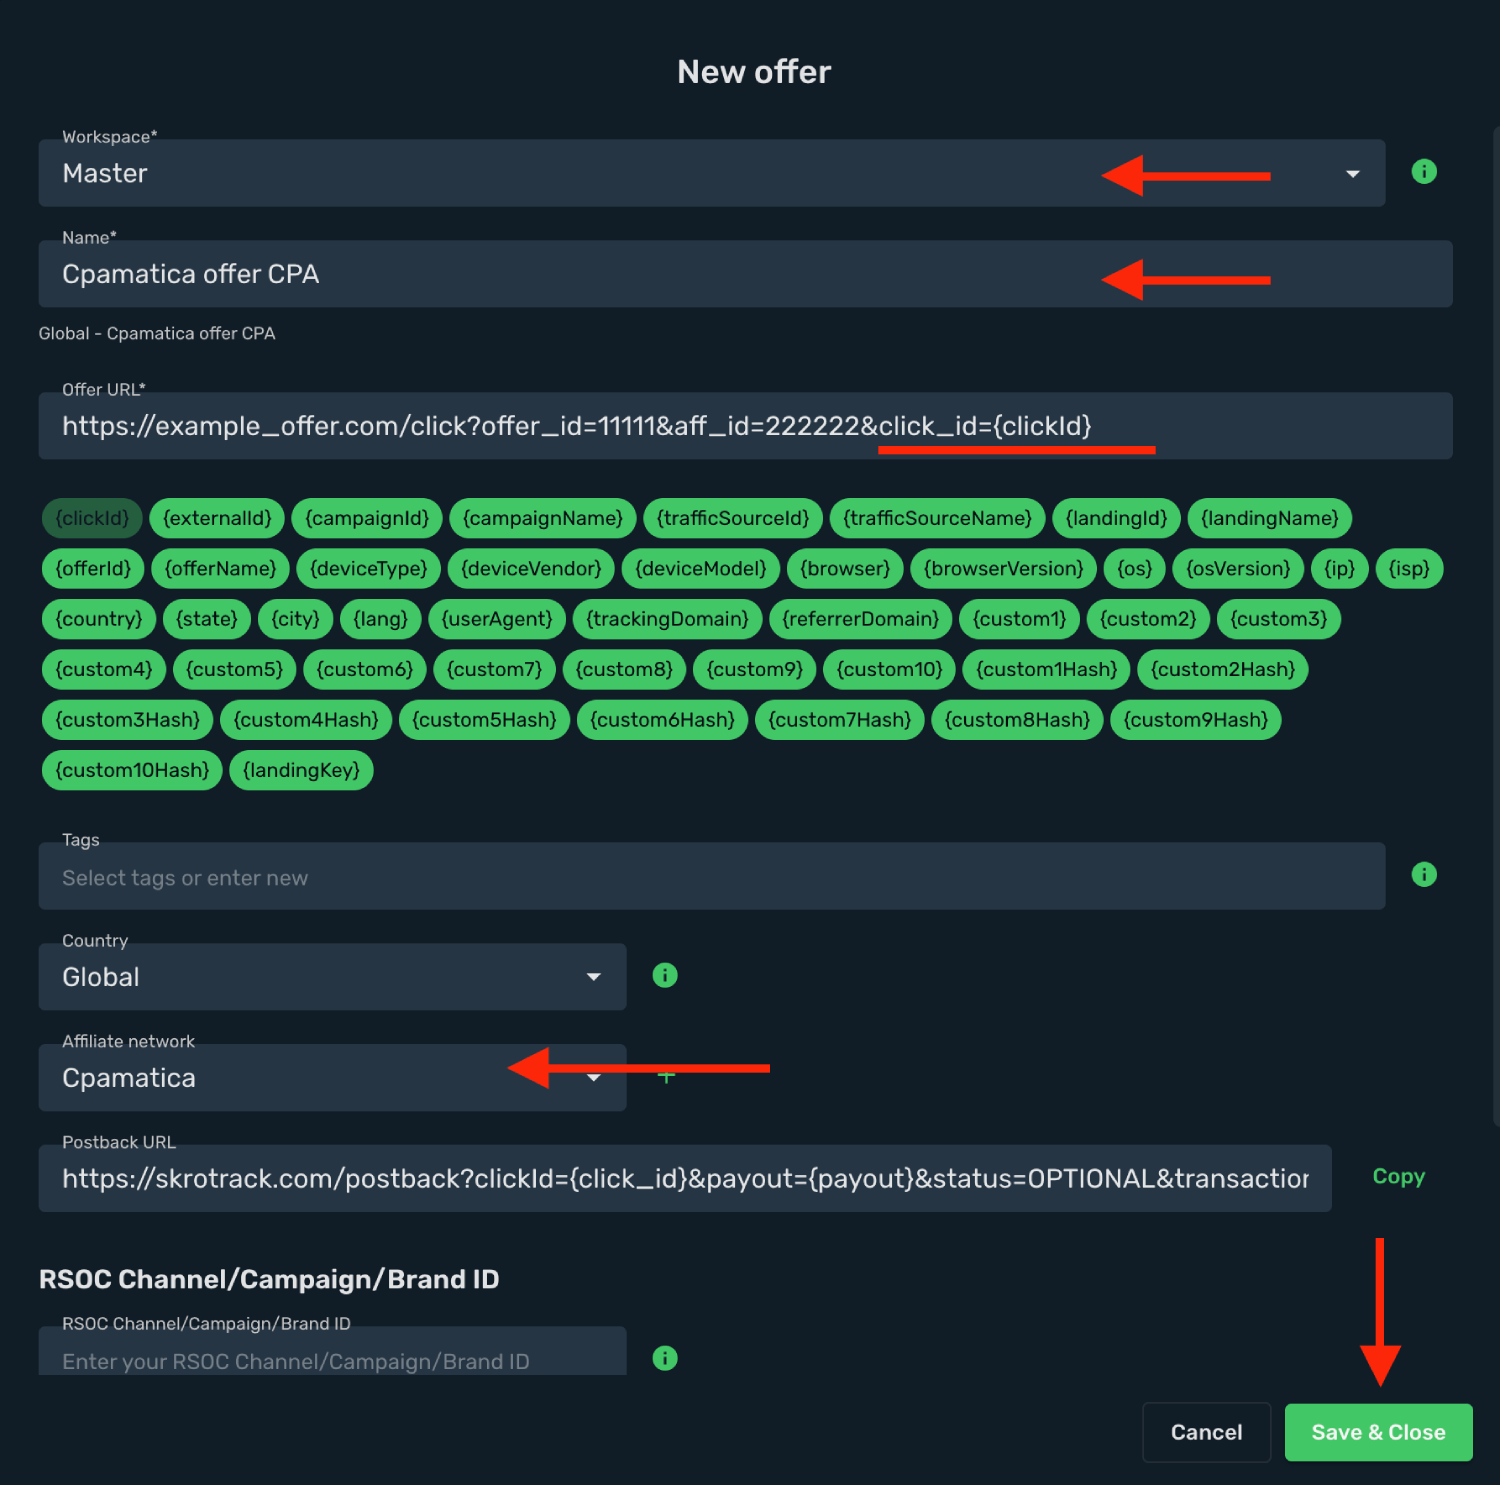
6. Click **Save & Close**.
## Step 5. Create a campaign on Skro [#step-5-create-a-campaign-on-skro]
1. Start with the following guide:
## Verify the setup [#verify-the-setup]
Follow a campaign link and complete a test conversion using your provider’s test workflow. Confirm that the original click ID reaches the provider and is returned to Skro, then check the event and revenue in your campaign report.
If data is missing, check the selected workspace, integration, campaign, and reporting date range. Compare parameter names and macro values with the examples in this guide before repeating the test.
## Related guides [#related-guides]
# CrakRevenue integration
Source: https://skro.eu/docs/integrations/crak-revenue-integration
Connect CrakRevenue to Skro, map click IDs, and configure postbacks to attribute conversions and revenue to your campaigns.
## Step 1. Add affiliate network to Skro [#step-1-add-affiliate-network-to-skro]
1. Go to **Affiliate Networks** and click **Create**.
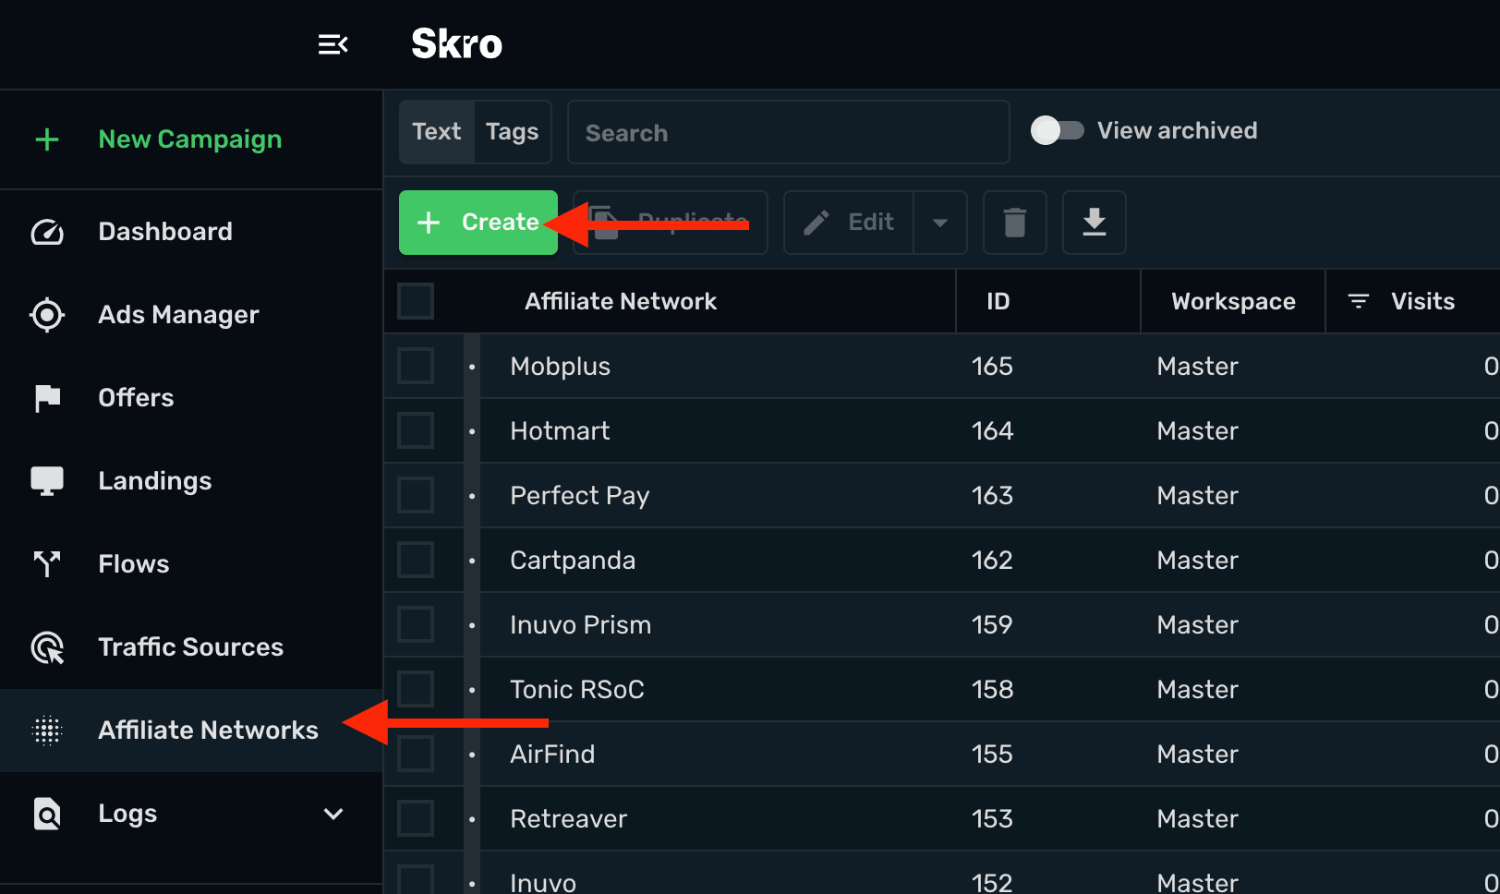
2. Search CrakRevenue and select the **CrakRevenue** template.
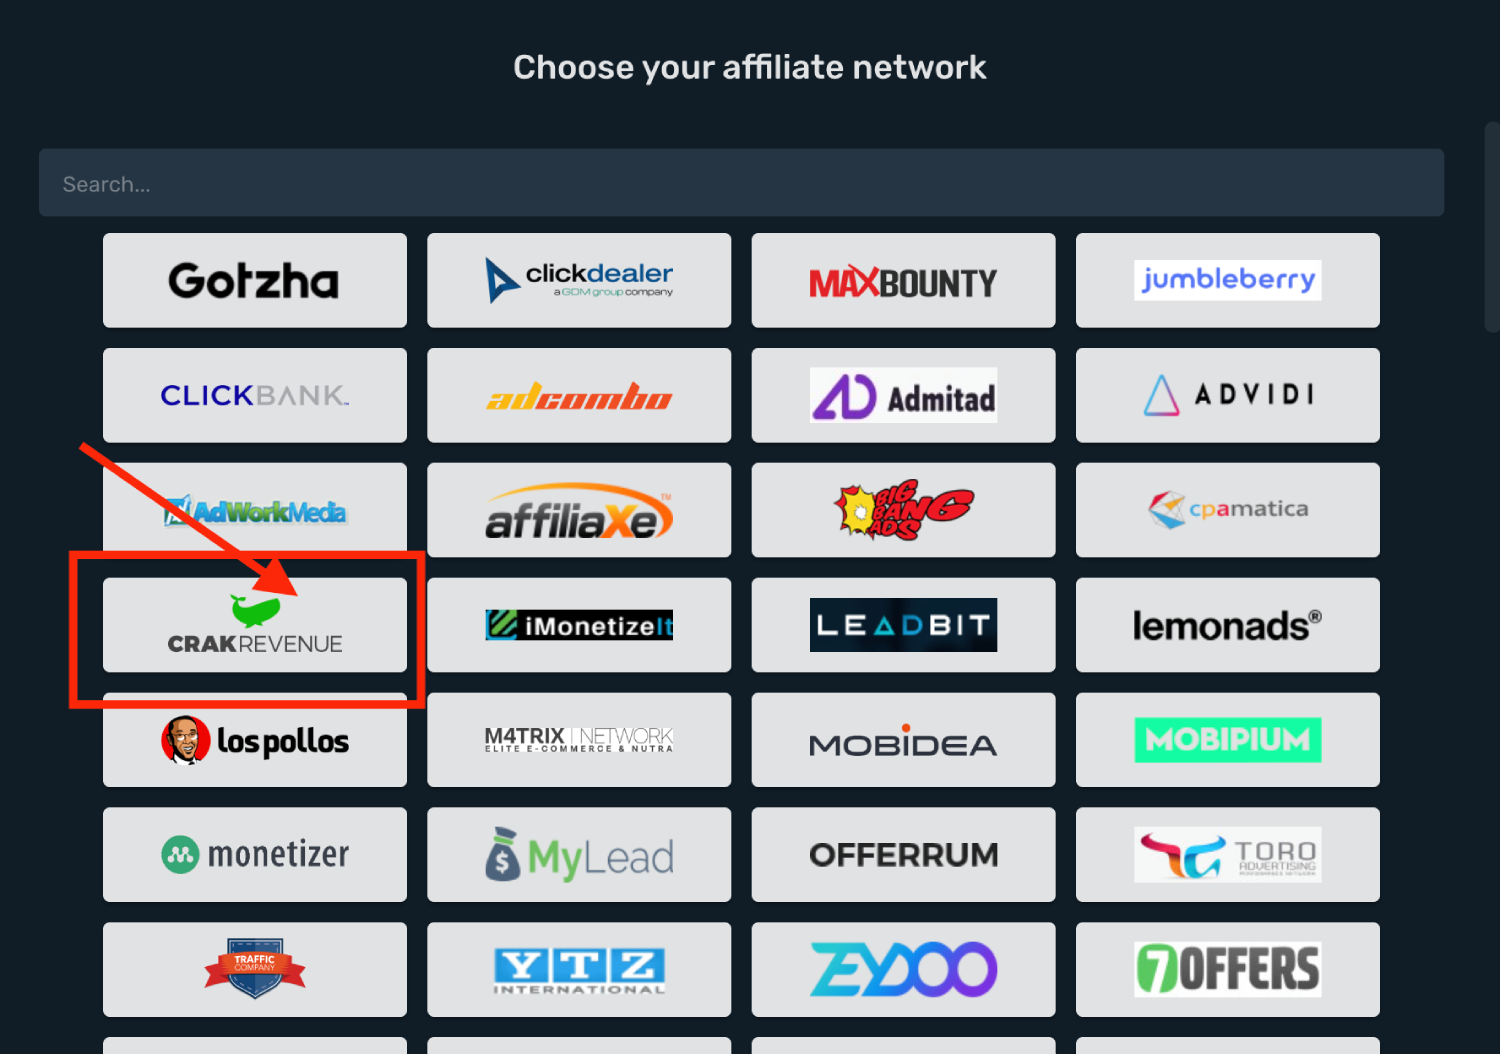
3. Select your **Workspace** and **Copy** postback URL to your clipboard.
4. Click **Save & Close**.
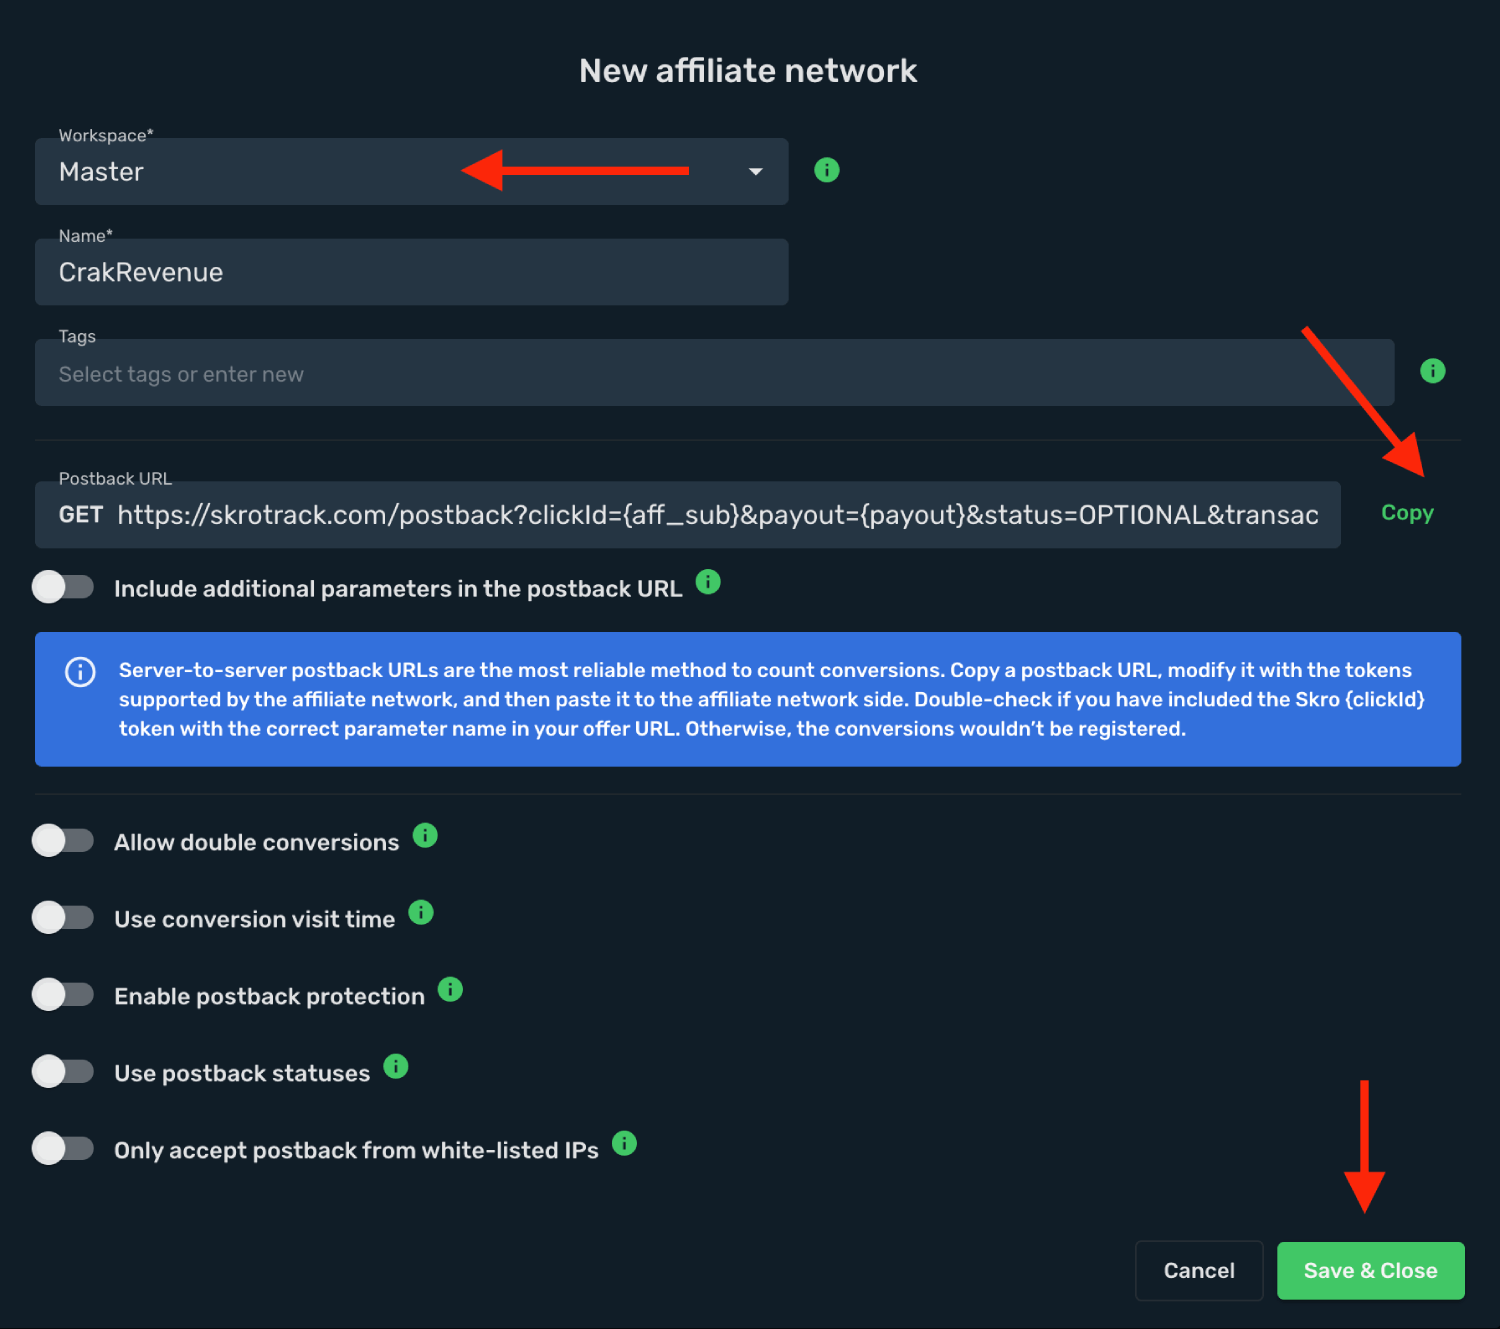
The CrakRevenue affiliate network is now saved in Skro. Use the copied postback URL in CrakRevenue in the next step.
## Step 2. Setting up a postback URL [#step-2-setting-up-a-postback-url]
1. Log in to **CrakRevenue** account.
2. Find **Offers** section in the CrakRevenue panel.
3. Access **Postback Options** settings.
4. Paste **Postback URL** in the corresponding field.
5. Press **Create Postback**.
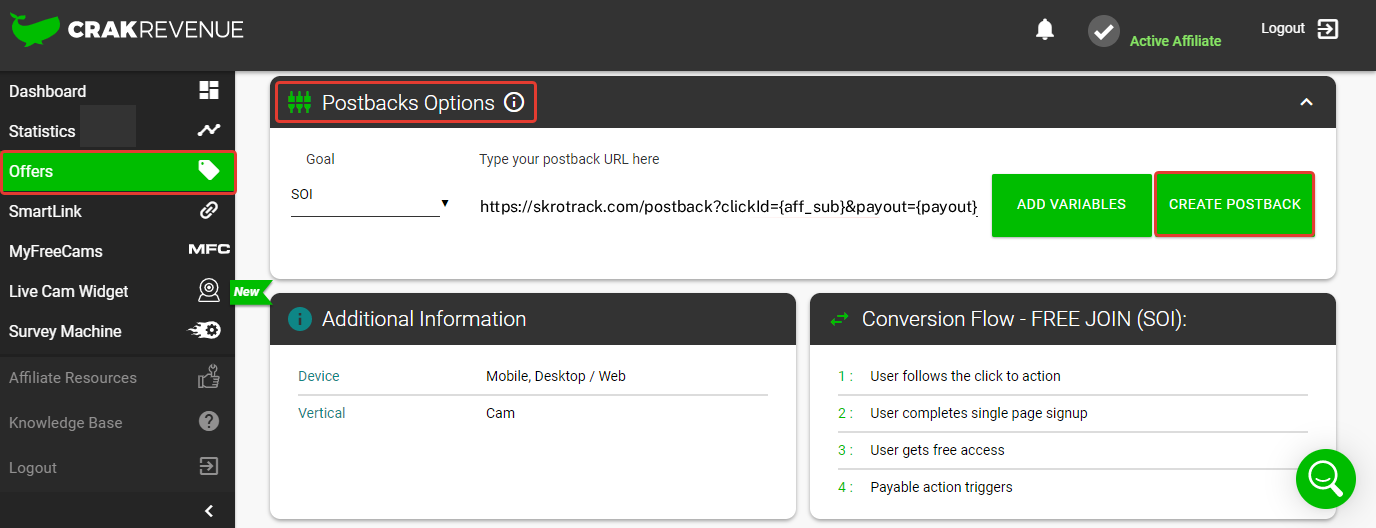
### Global Postback [#global-postback]
`https://skrotrack.com/postback?clickId={aff_sub}&payout={payout}`
## Step 3. Get an offer from CrakRevenue [#step-3-get-an-offer-from-crakrevenue]
1. Find **Offers** section in the CrakRevenue panel.
2. Copy **Offer URL**.
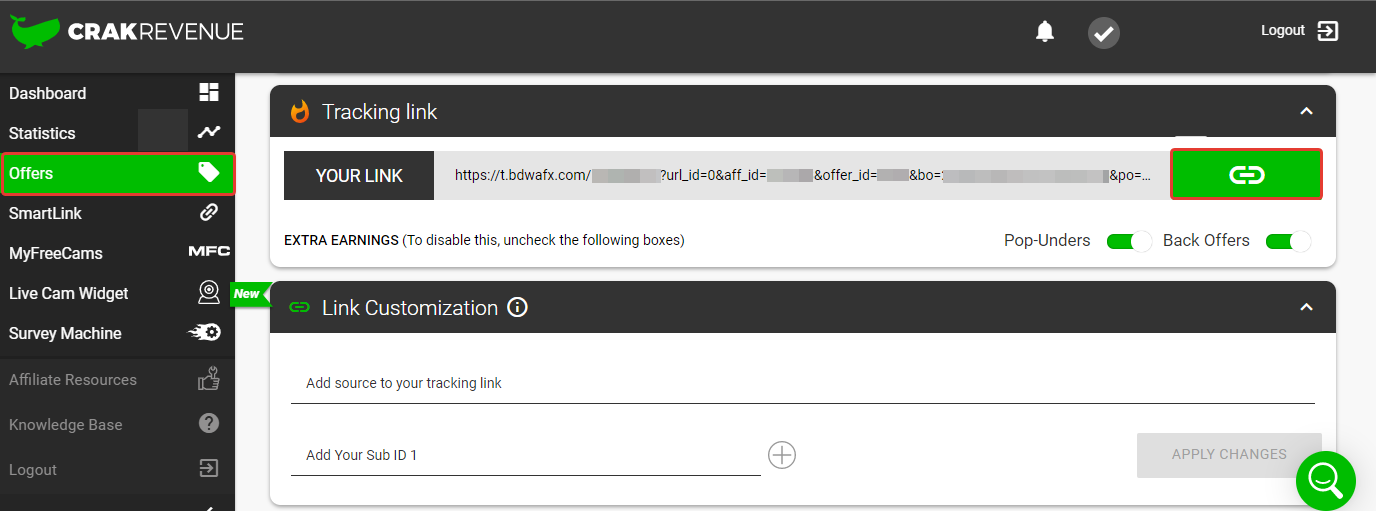
## Step 4. Add offer to Skro [#step-4-add-offer-to-skro]
1. Go back to Skro and navigate to the **Offers** and click **Create**.
2. Choose your workspace.
3. Give a name to your offer.
4. Grab the offer link from CrakRevenue and add it to Offer URL field and change the macros to this **`&aff_sub={clickId}`**
**`{clickId}`** - The Skro click ID macro for conversion tracking.
**Example Offer URL:**
`https://example.com/offer/acc=3232&offer_id=2132&aff_id=2323&aff_sub={clickId}`
5. Choose CrakRevenue from the **Affiliate Network** select box.
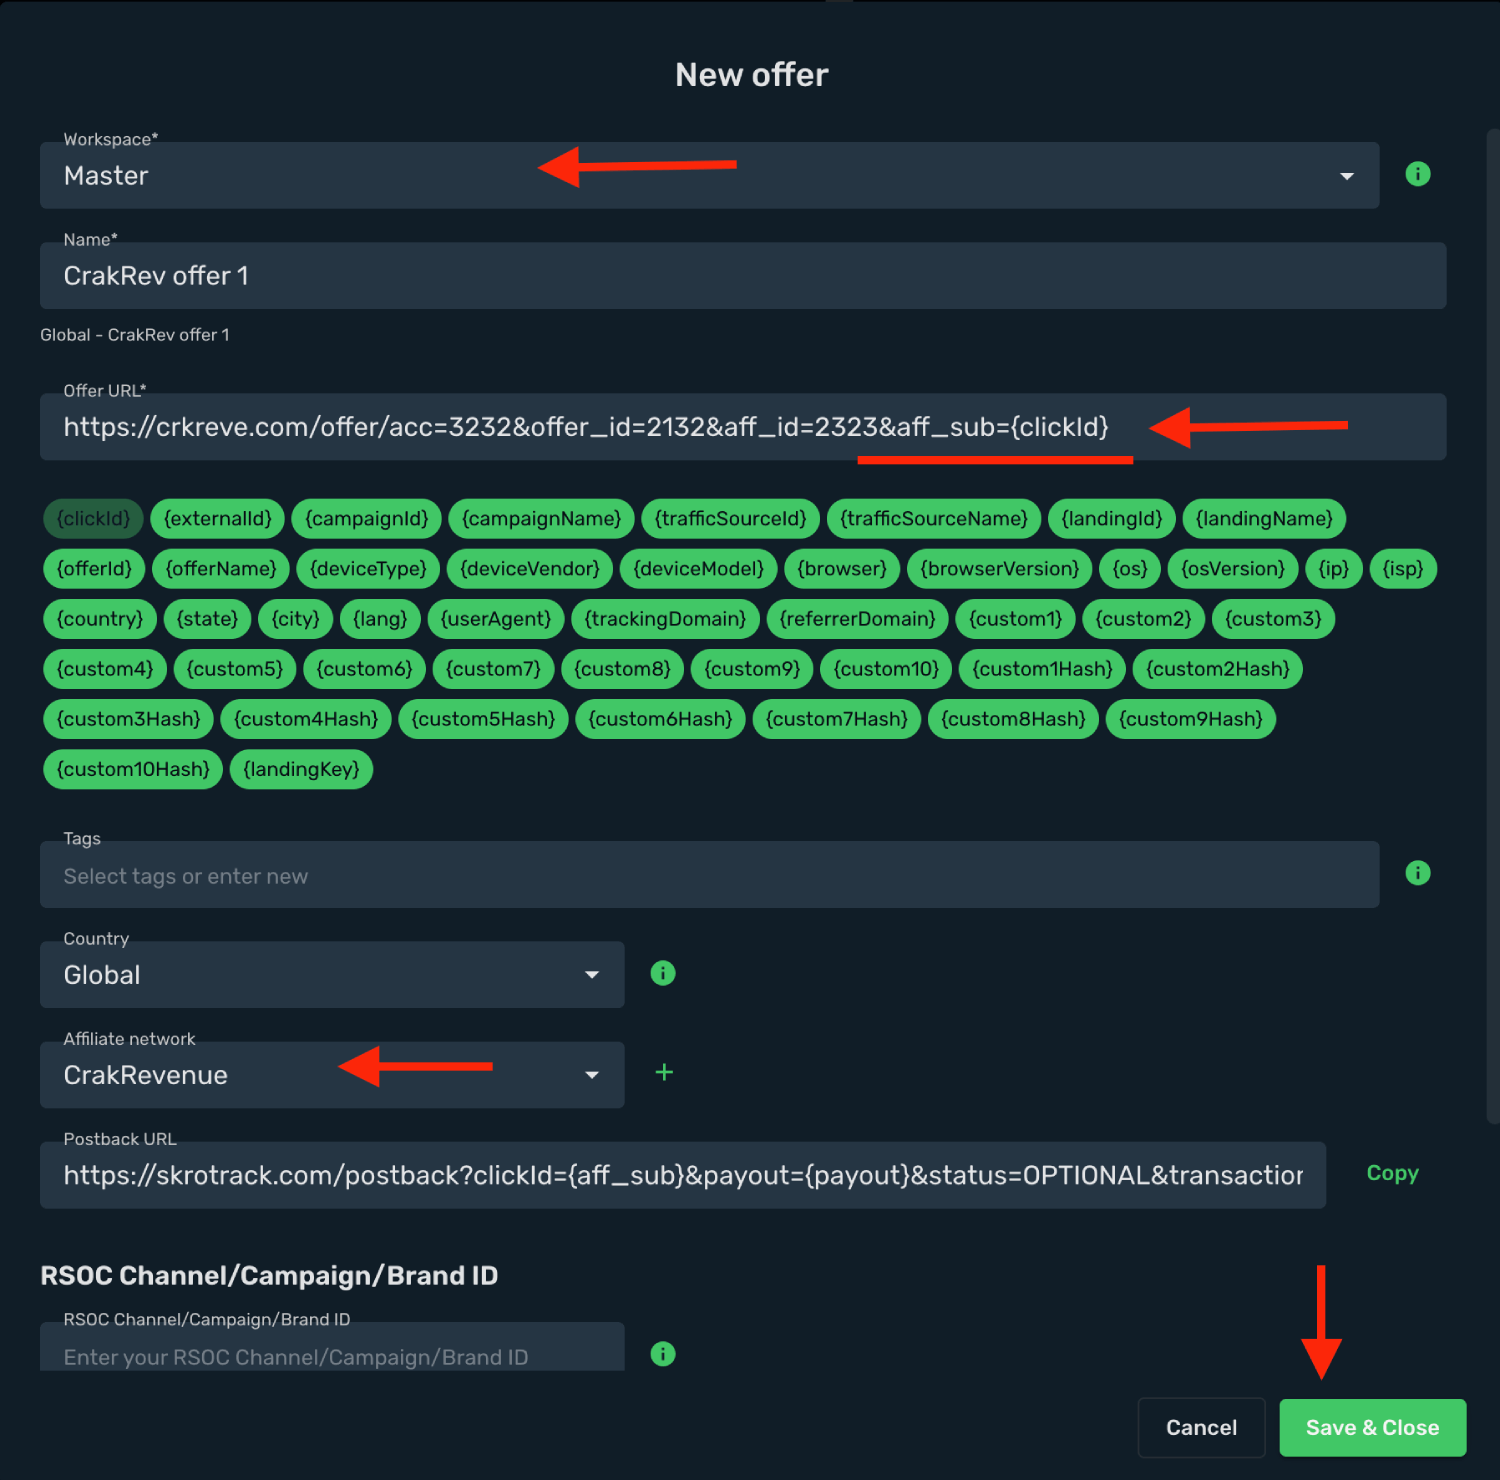
6. Click **Save & Close**.
## Step 5. Create a campaign on Skro [#step-5-create-a-campaign-on-skro]
1. Start with the following guide:
## Verify the setup [#verify-the-setup]
Follow a campaign link and complete a test conversion using your provider’s test workflow. Confirm that the original click ID reaches the provider and is returned to Skro, then check the event and revenue in your campaign report.
If data is missing, check the selected workspace, integration, campaign, and reporting date range. Compare parameter names and macro values with the examples in this guide before repeating the test.
## Related guides [#related-guides]
# Dao.Ad integration
Source: https://skro.eu/docs/integrations/daoad-and-skro-integration
Set up Dao.Ad tracking in Skro, configure traffic source parameters, and connect your advertising campaigns.
## Step 1. Create an Dao.Ad traffic source and configure the postback URL [#step-1-create-an-daoad-traffic-source-and-configure-the-postback-url]
1. Go to **Traffic Sources** and click **+ Create**.
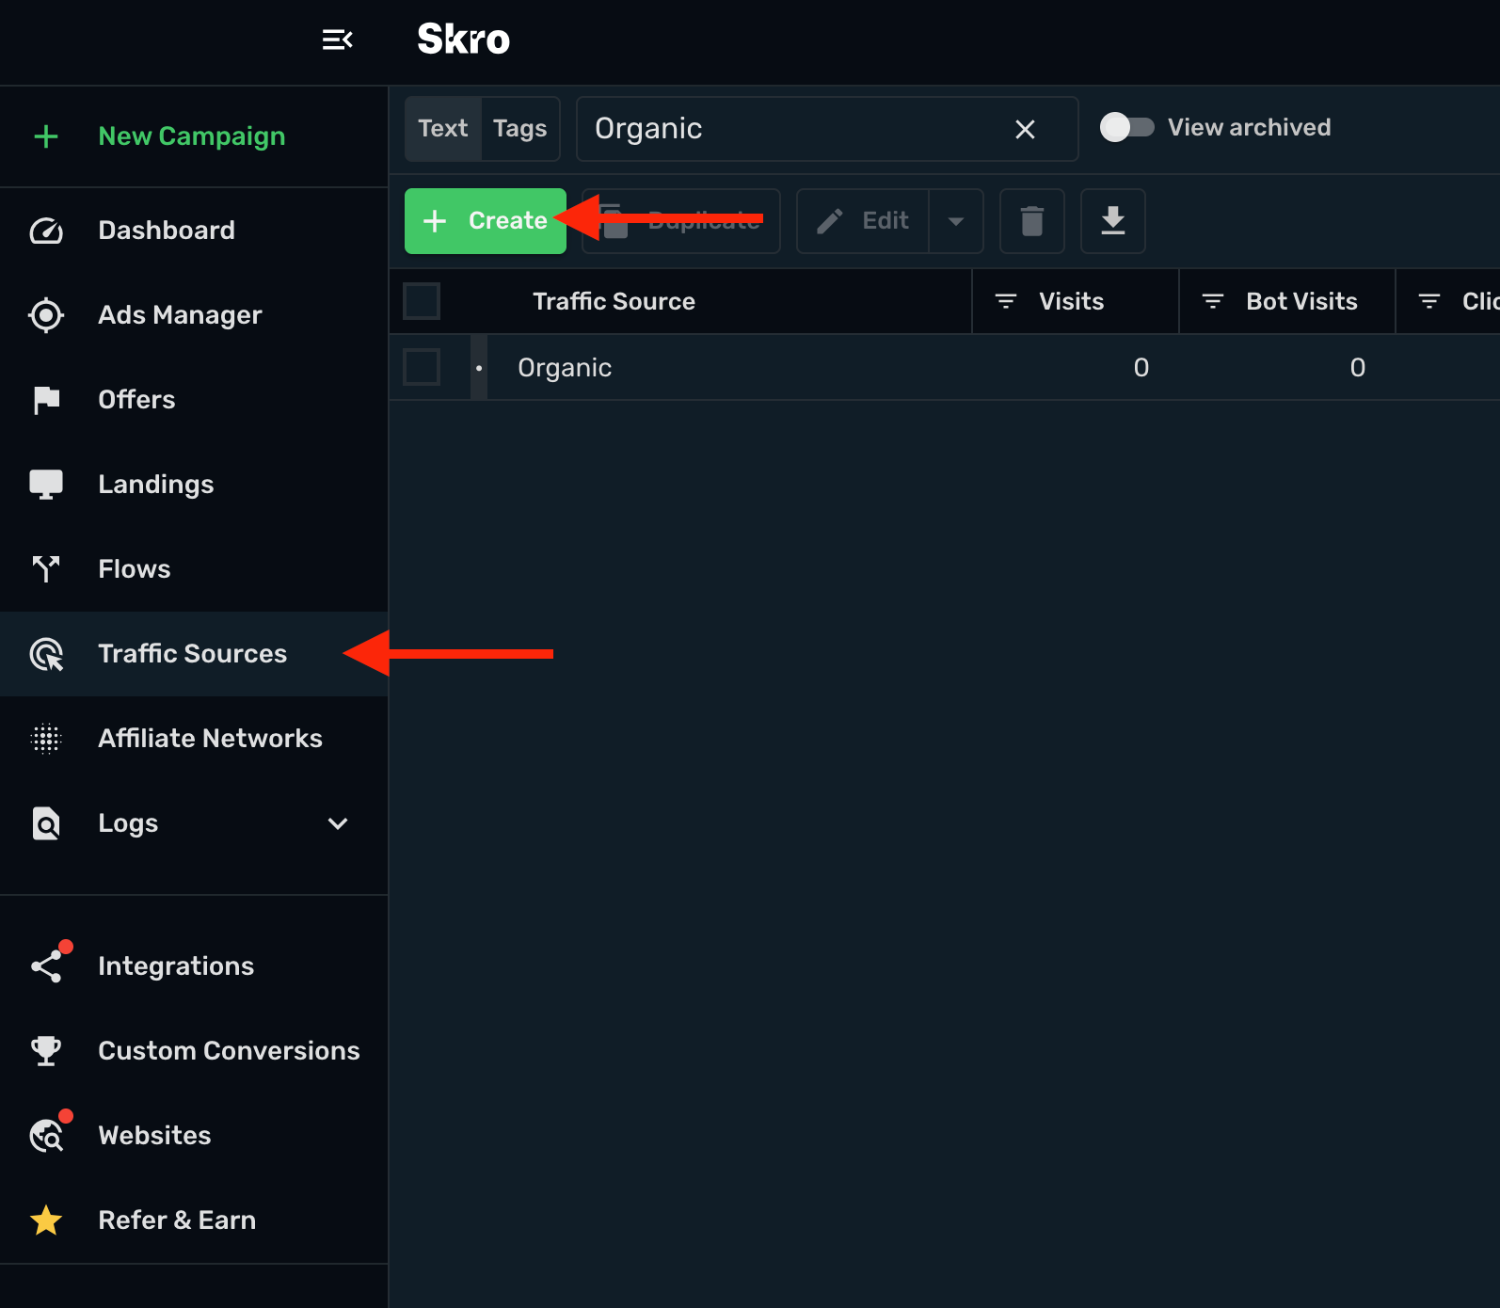
2. Search for **daoad** and click the **Dao.Ad** template.
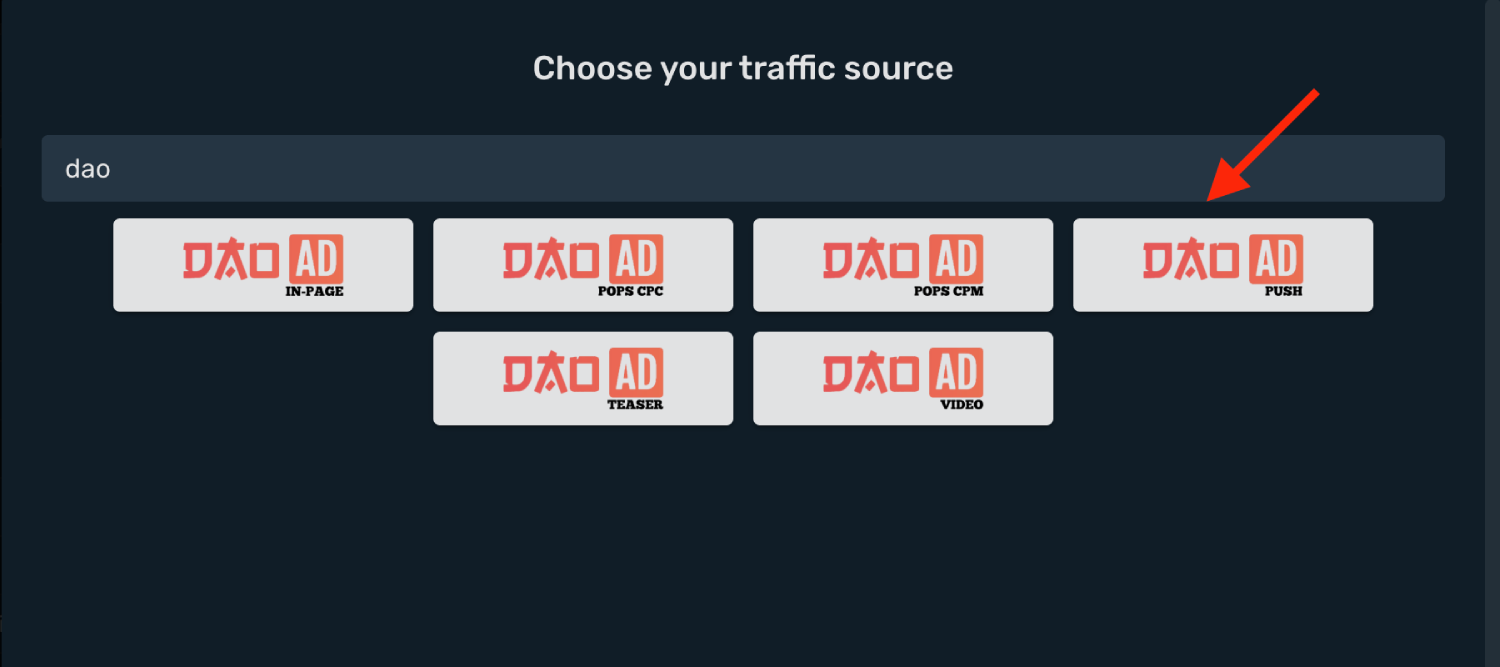
3. Select the target **Workspace** and you need to modify your **Traffic Source Postback URL**
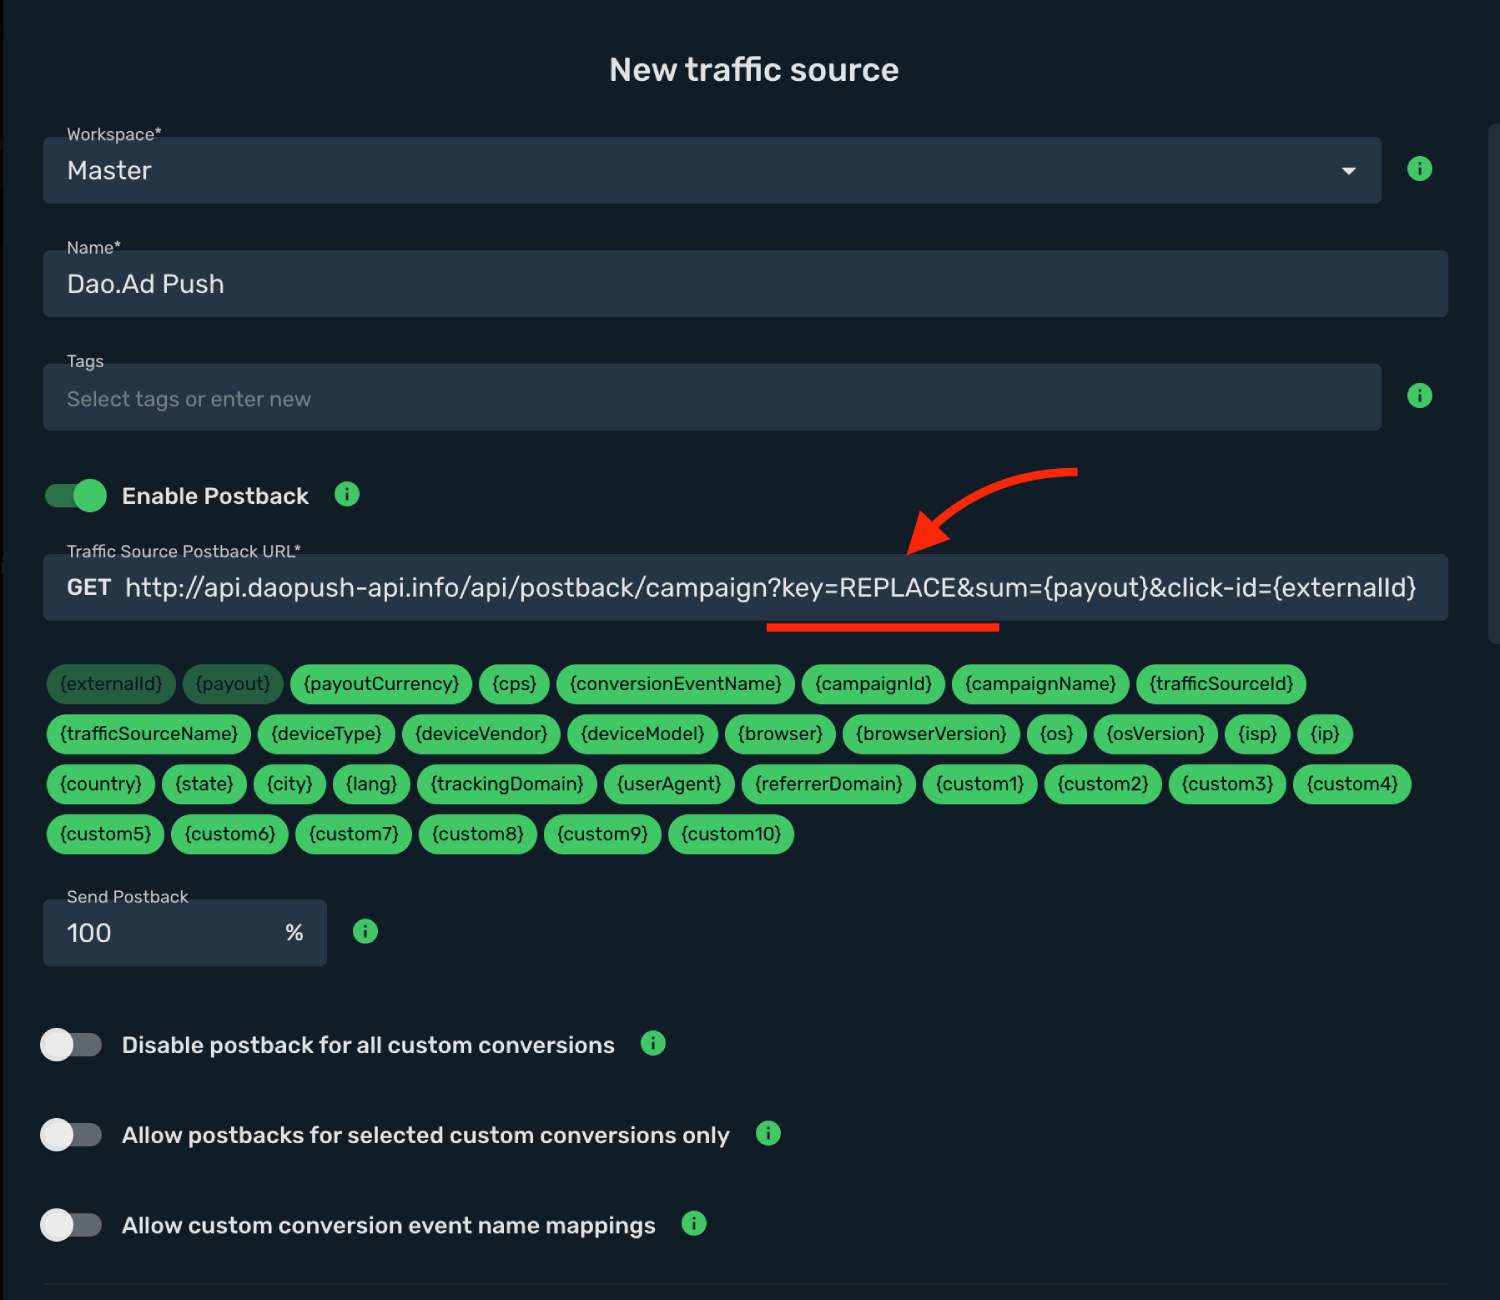
4. Log in to your **Dao.Ad** account.
5. Go to **Campaigns** → **Push** → **Create Campaign** → **Add Creative** and you will see there your postback URL.
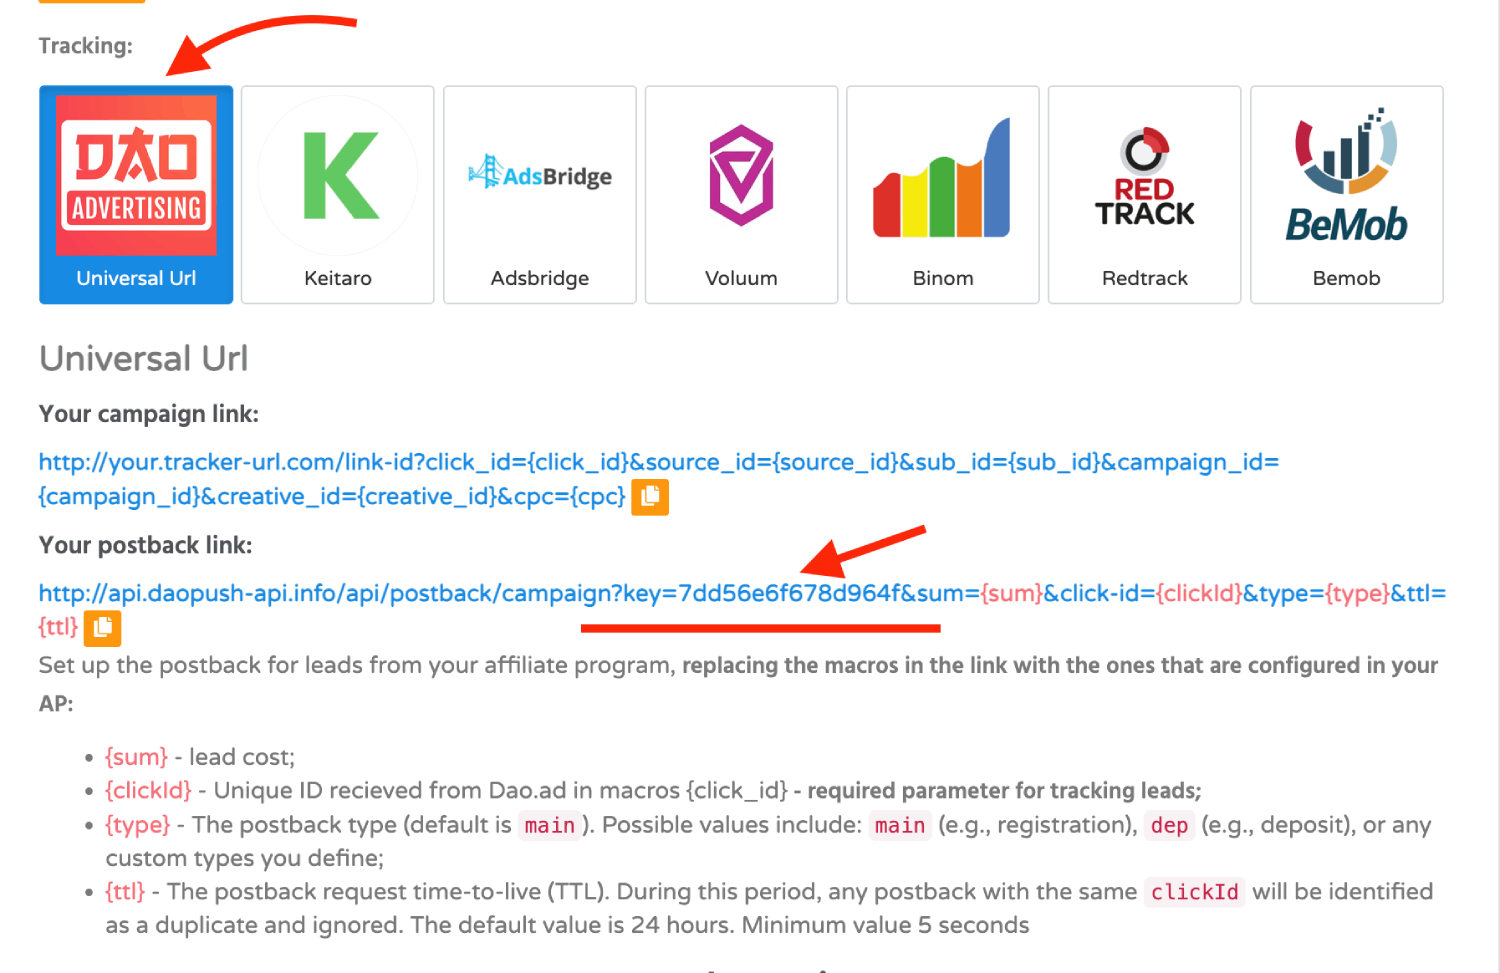
6. Final postback URL must look similar to this:
`http://api.daopush-api.info/api/postback/campaign?key=7dd56e6f678d964f&sum={payout}&click-id={externalId}`
**`key=7dd56e6f678d964f`** - Dao.Ad KEY parameter with unique value.
**`click-id={externalId}`** - Dao.Ad Click ID parameter with Skro macro.
**`sum={payout}`** - Dao.Ad Payout parameter with Skro macro.
7. All tracking parameters are already prefilled for you.
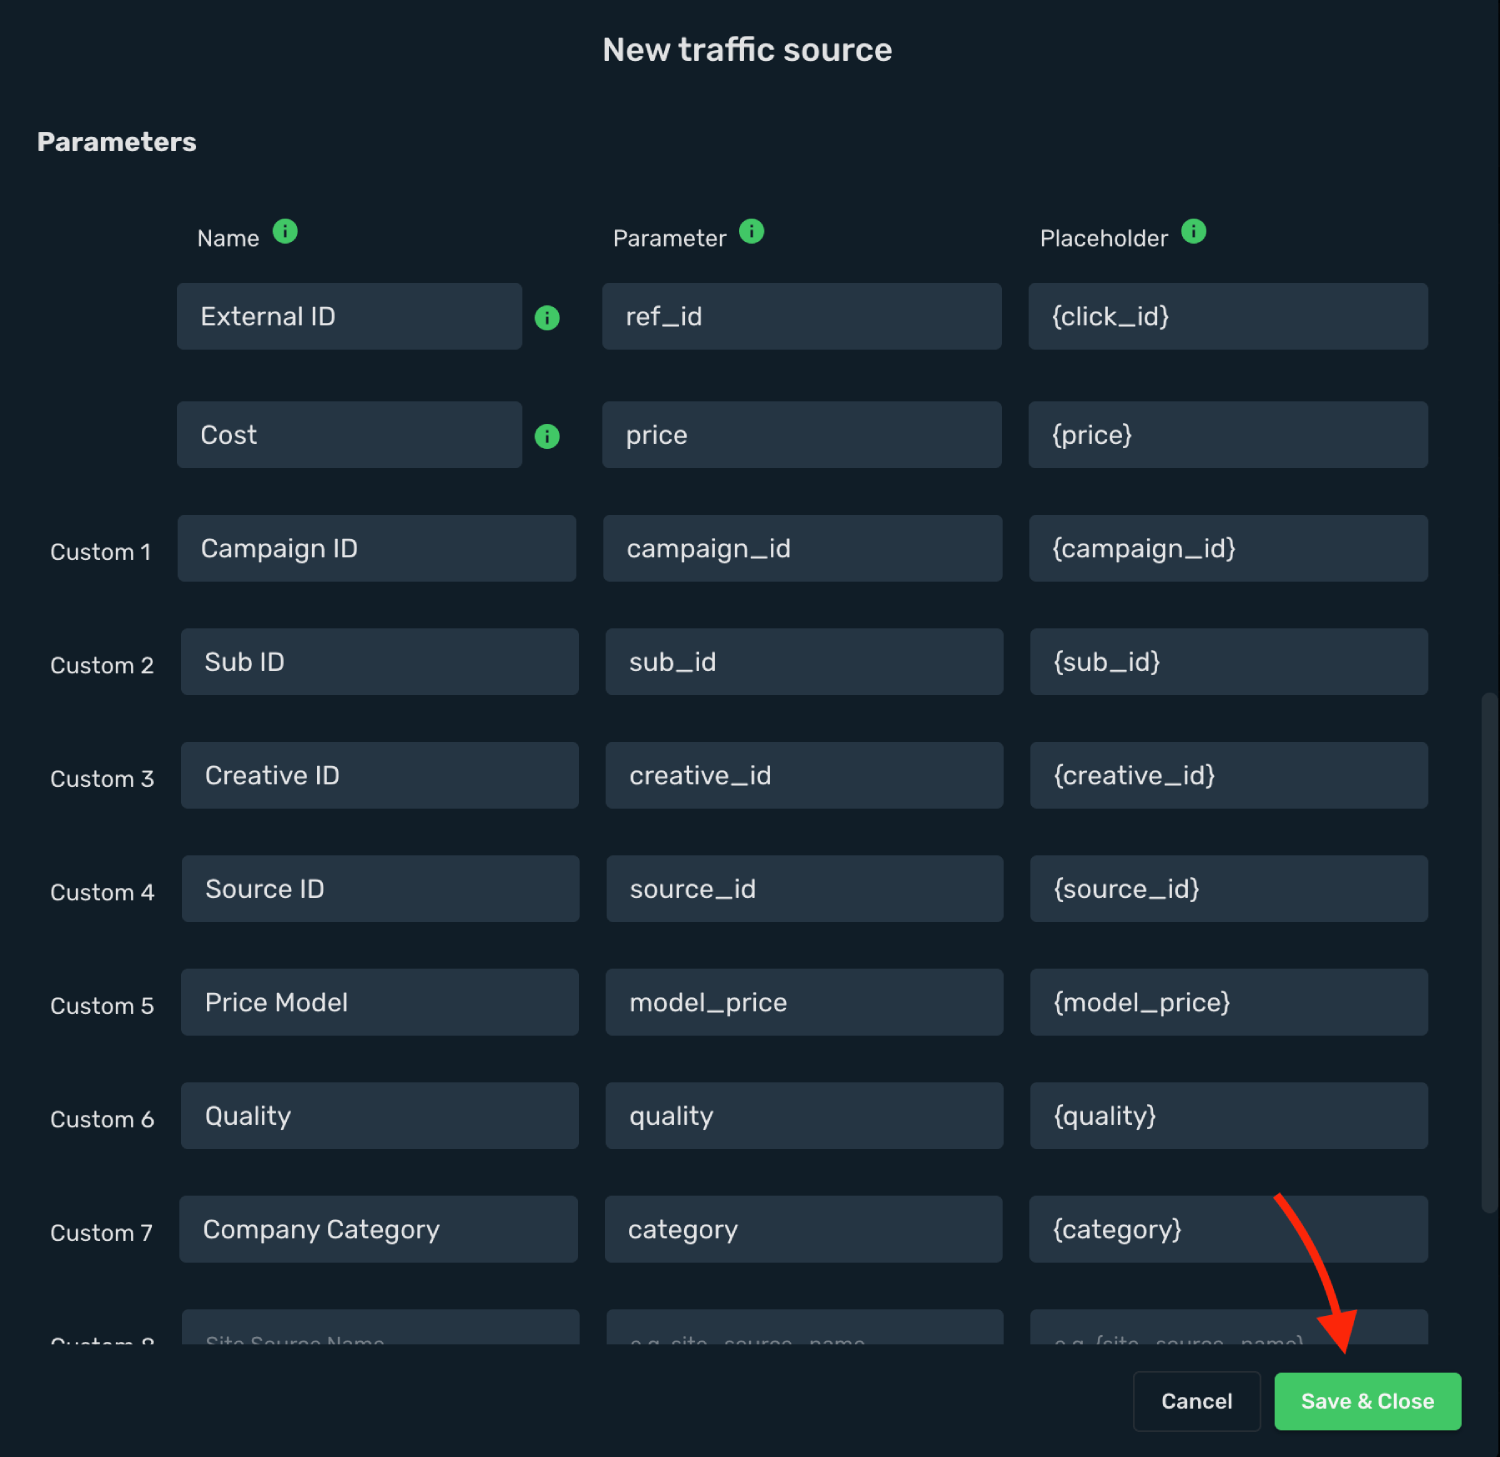
8. Click **Save & Close**.
Integration setup is complete, and you are now ready to create your first campaign.
## Step 2. Create a campaign in Skro [#step-2-create-a-campaign-in-skro]
1. Go to **Ads Manager** and click the **Create**.
2. Select your **Traffic source** and click **Next**.
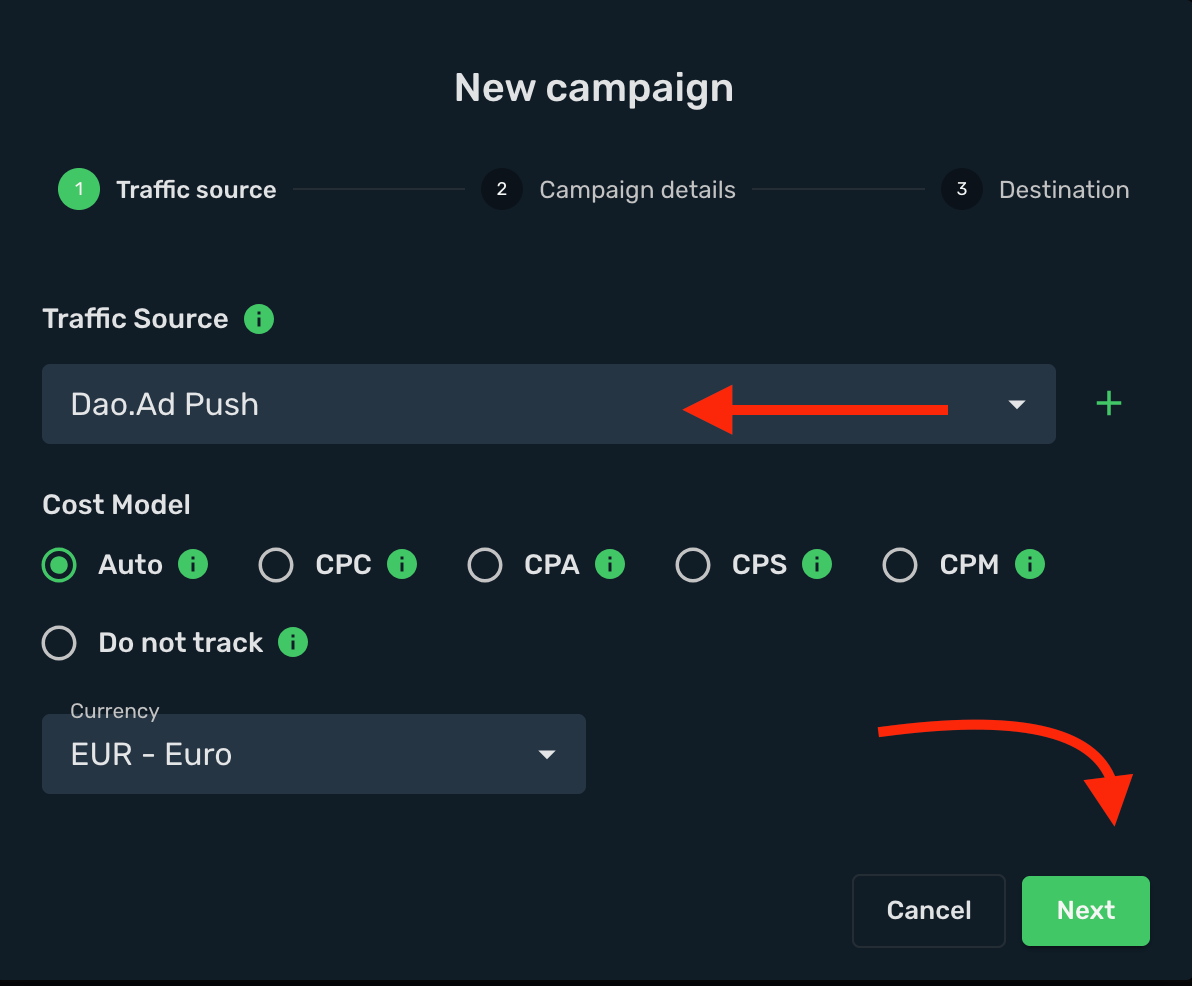
3. Select your target **Workspace** for your campaign.
4. Give a **name** to your campaign and click **Next**.
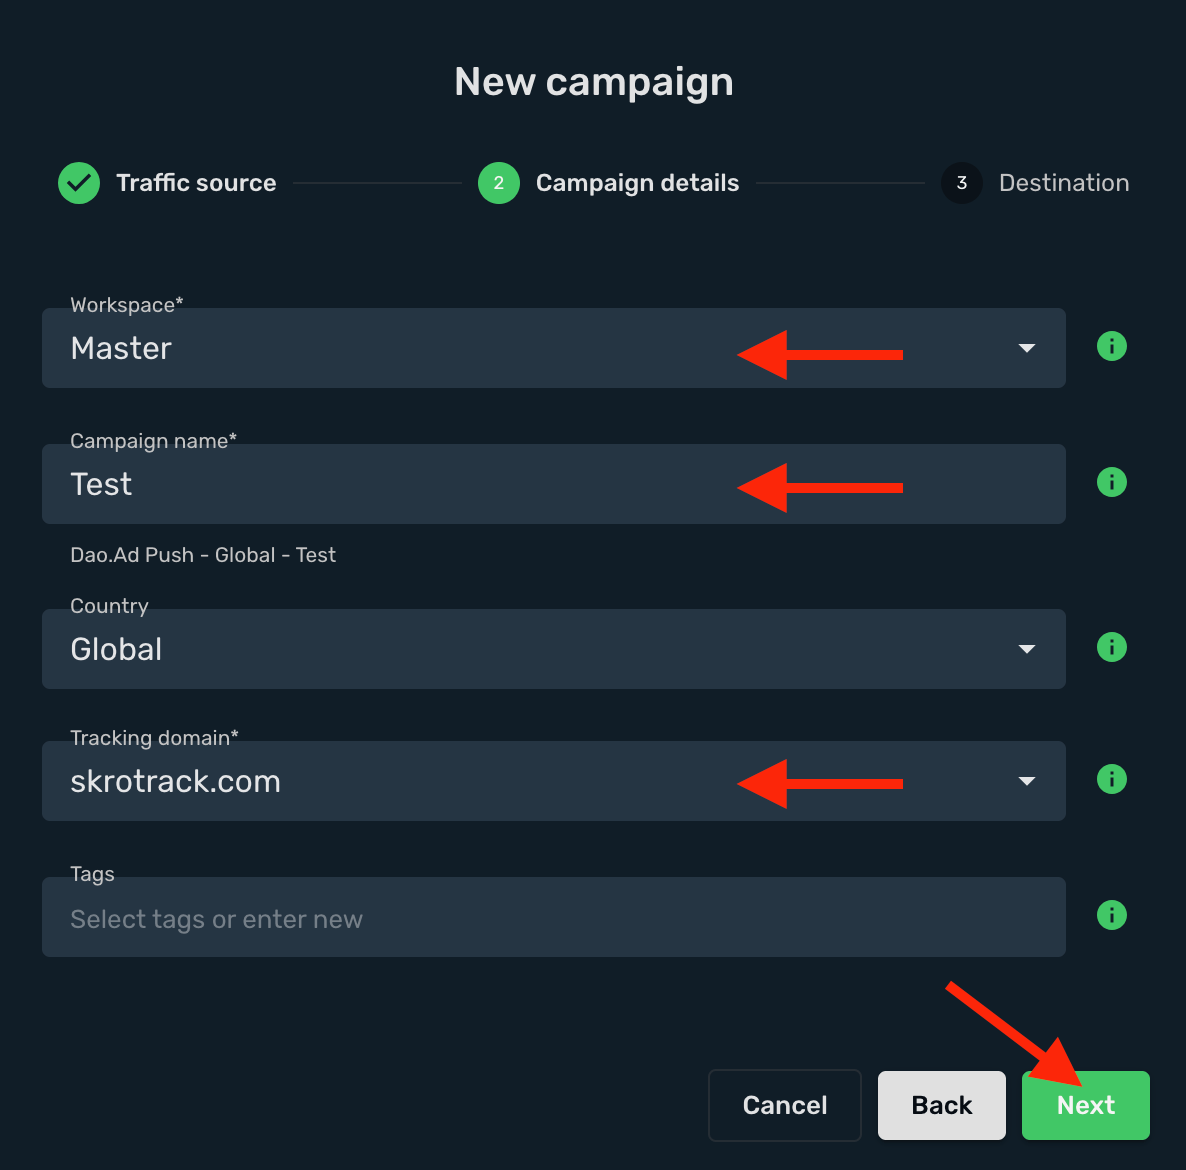
5. Select or create all your **landings** and **offers**.
6. Click **Save**.
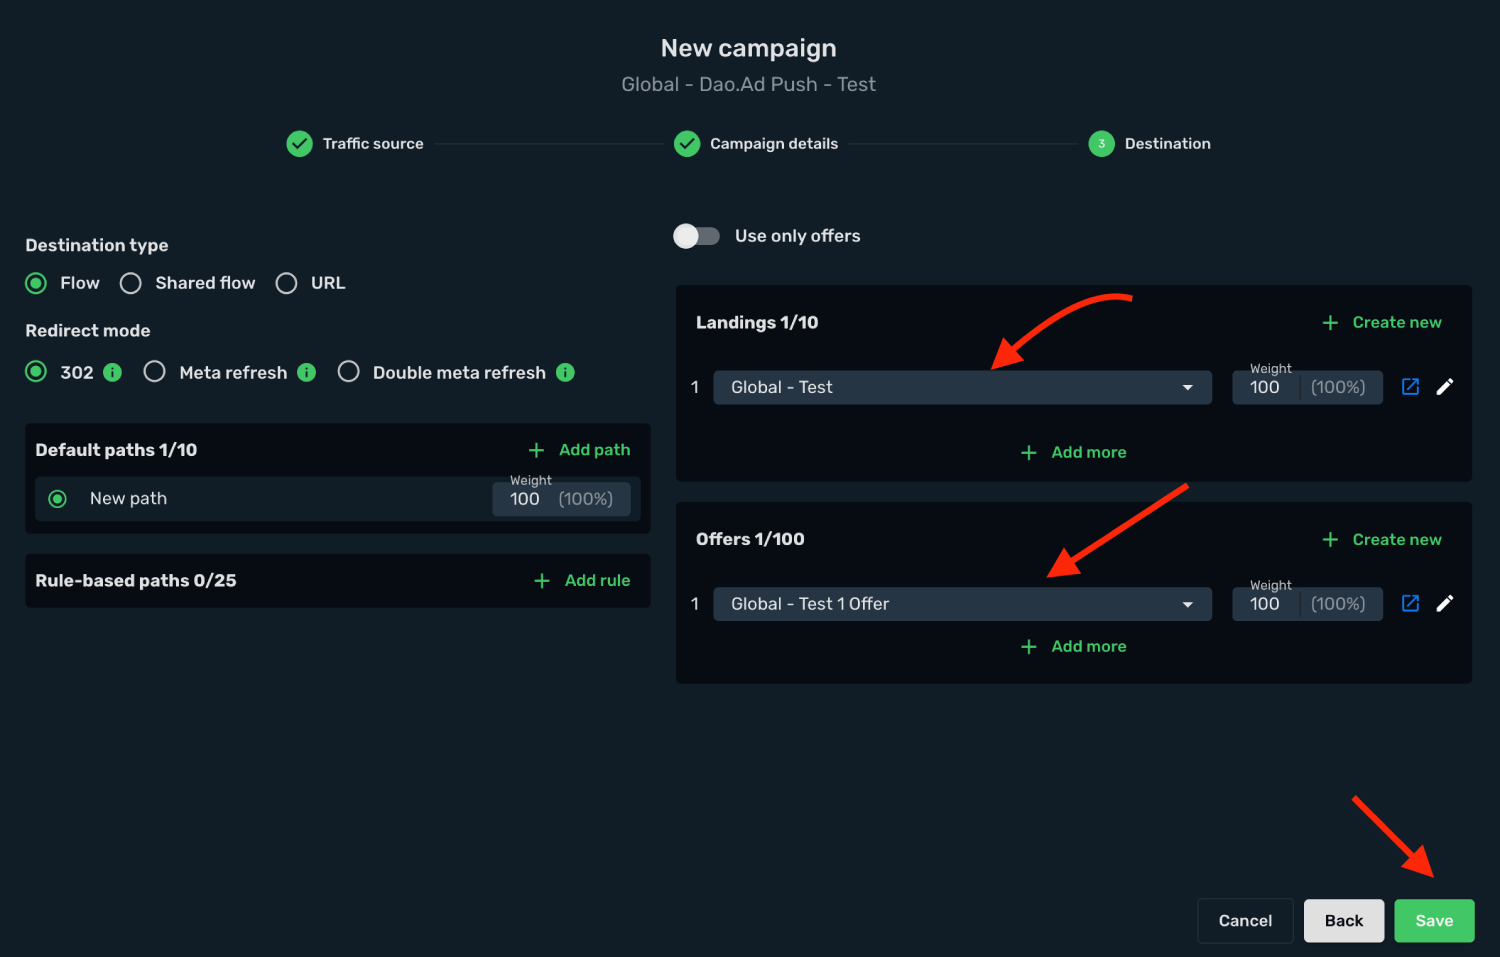
7. Copy the **Campaign Tracking URL** to clipboard.
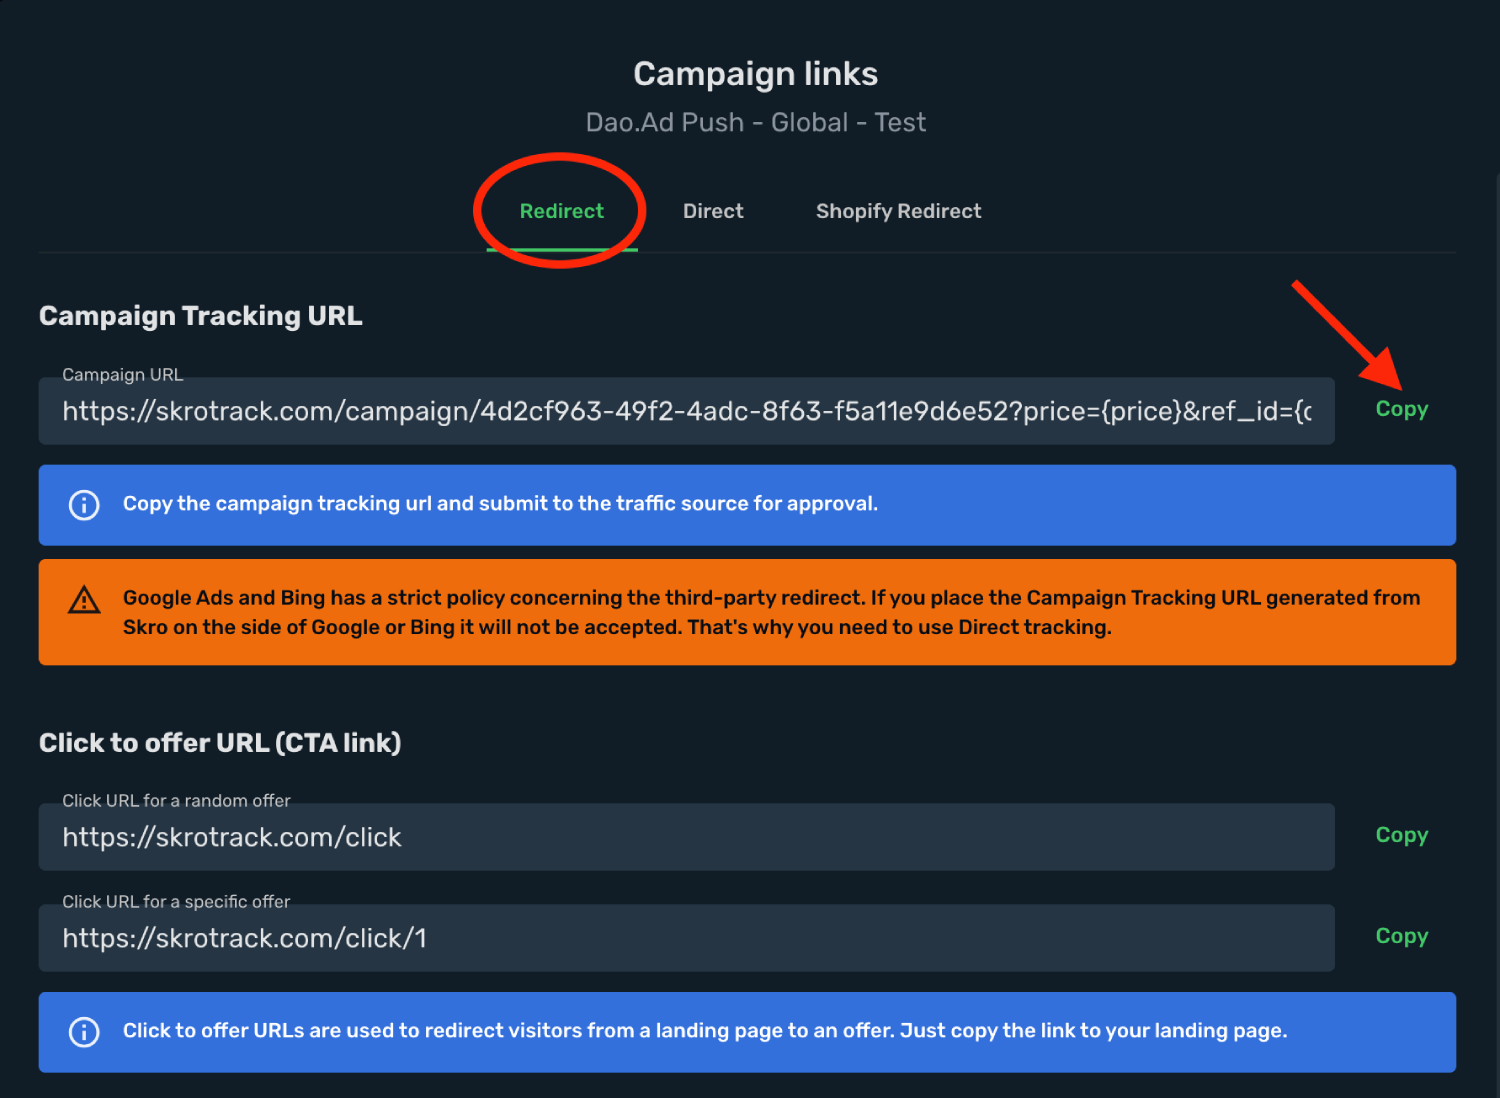
## Step 3. Create a campaign in Dao.Ad [#step-3-create-a-campaign-in-daoad]
1. Log in to your **Dao.Ad** account.
2. Go to the **Campaigns** → **Push** (or any other ad format) and click the **Create Campaign**.
3. Give a **Name** to your campaign and select **Vertical**.
4. Fill all other fields where needed.
5. Add your **Creatives** by clicking on **Add Creative**.
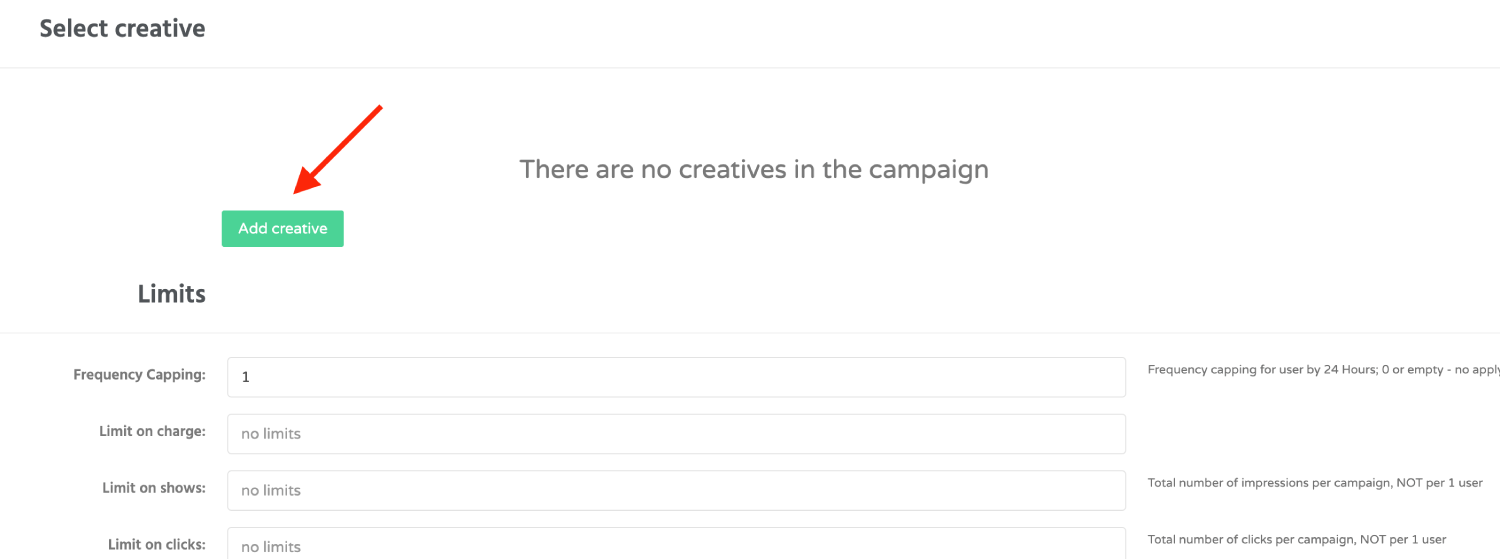
6. Paste the **Skro campaign tracking link** into the **URL** field, including all tracking parameters and click **Save**.
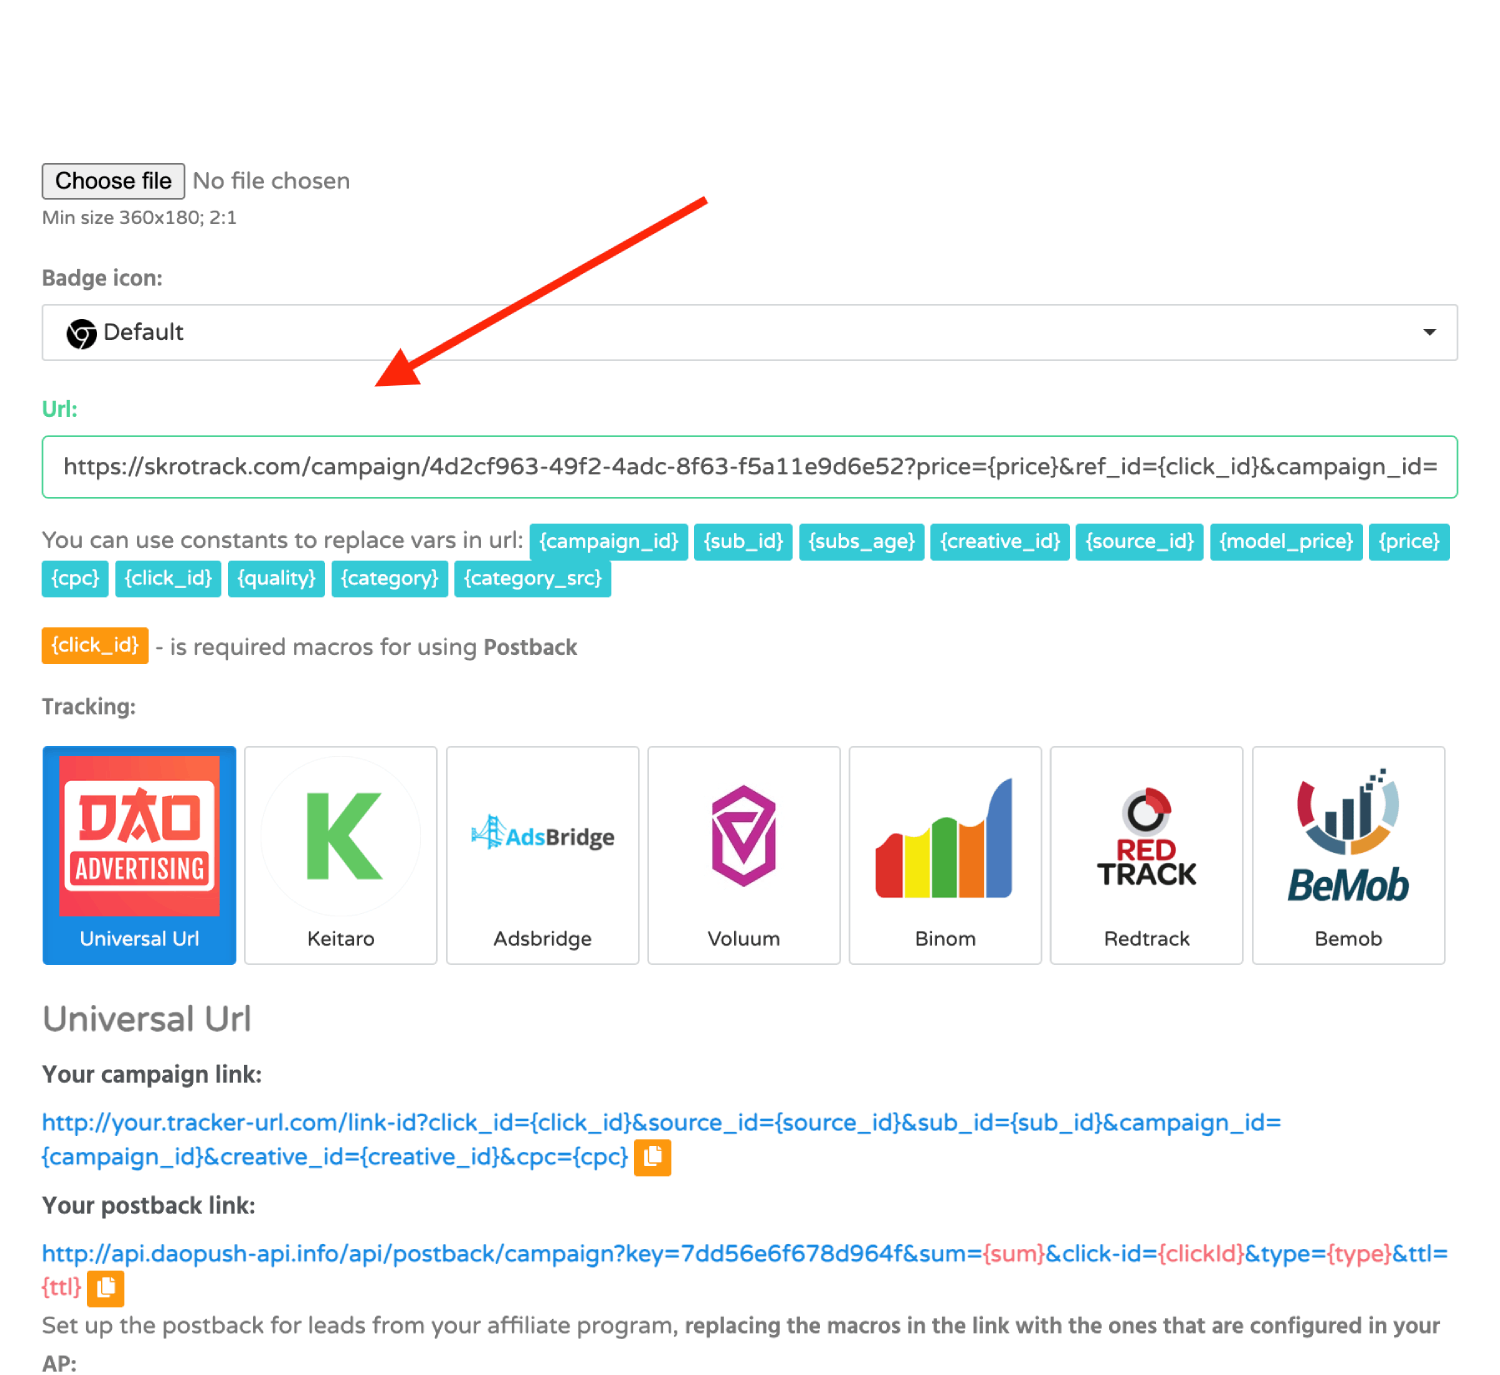
7. Complete the remaining campaign settings, then click **Save**.
8. After your campaign is approved on the side of Dao.Ad, you can start driving traffic to your campaign and track all the data with Skro.
## Verify the setup [#verify-the-setup]
Open the generated campaign URL and check that the visit appears in Skro. Confirm that traffic source macros resolve to actual values. If you send conversions back to the source, verify a test conversion in both systems.
If data is missing, check the selected workspace, integration, campaign, and reporting date range. Compare parameter names and macro values with the examples in this guide before repeating the test.
## Related guides [#related-guides]
# Digistore24 integration
Source: https://skro.eu/docs/integrations/digistore24-and-skro-integration
Connect Digistore24 to Skro, map click IDs, and configure postbacks to attribute conversions and revenue to your campaigns.
## Step 1. Add affiliate network to Skro [#step-1-add-affiliate-network-to-skro]
1. Go to **Affiliate Networks** and click **Create**.
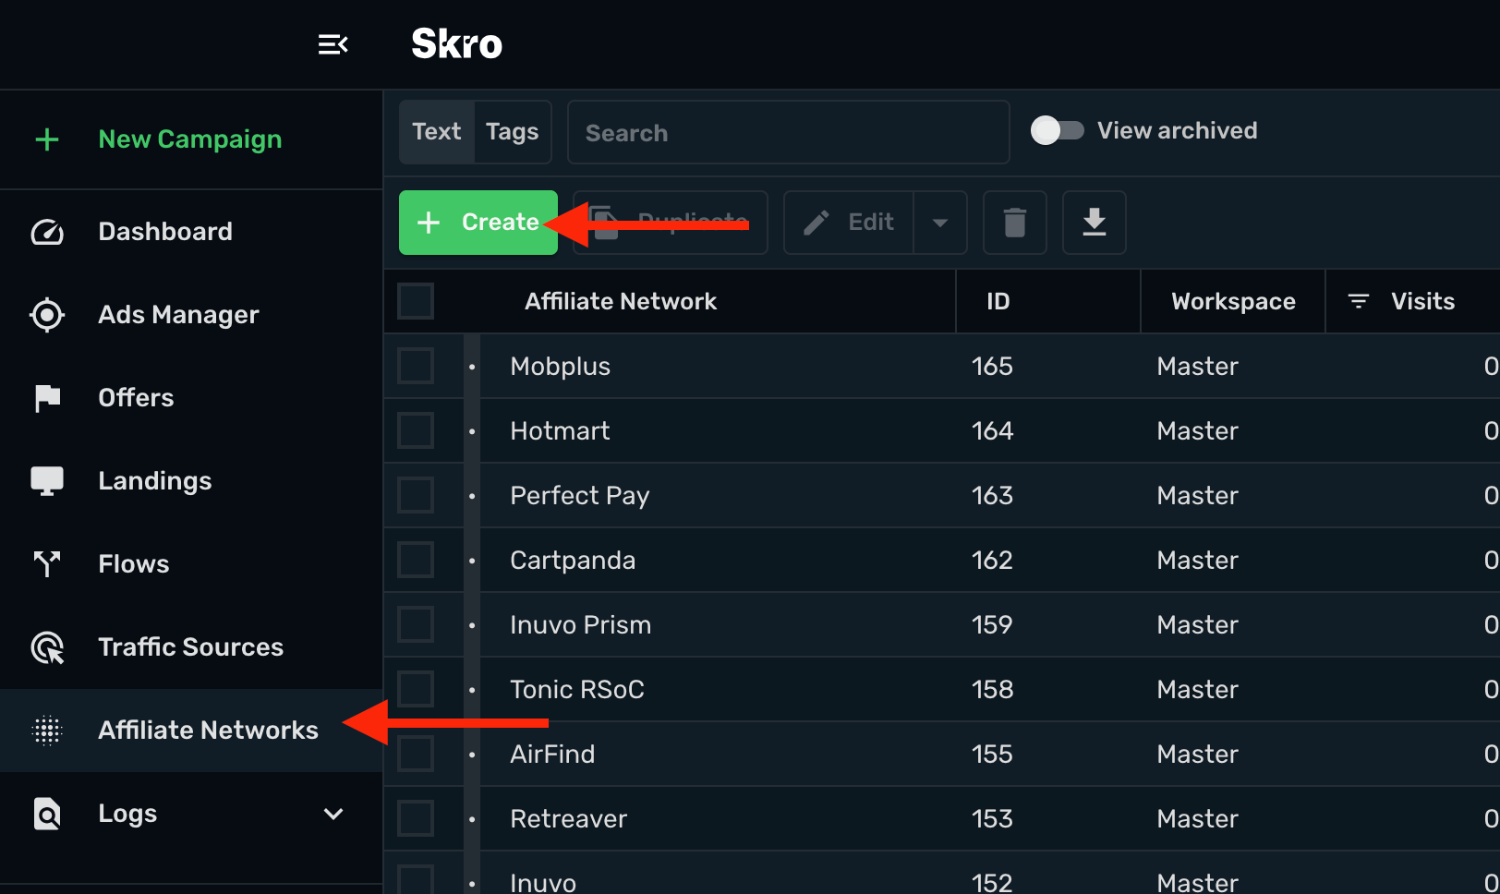
2. Search Digistore24 and select the **Digistore24** template.
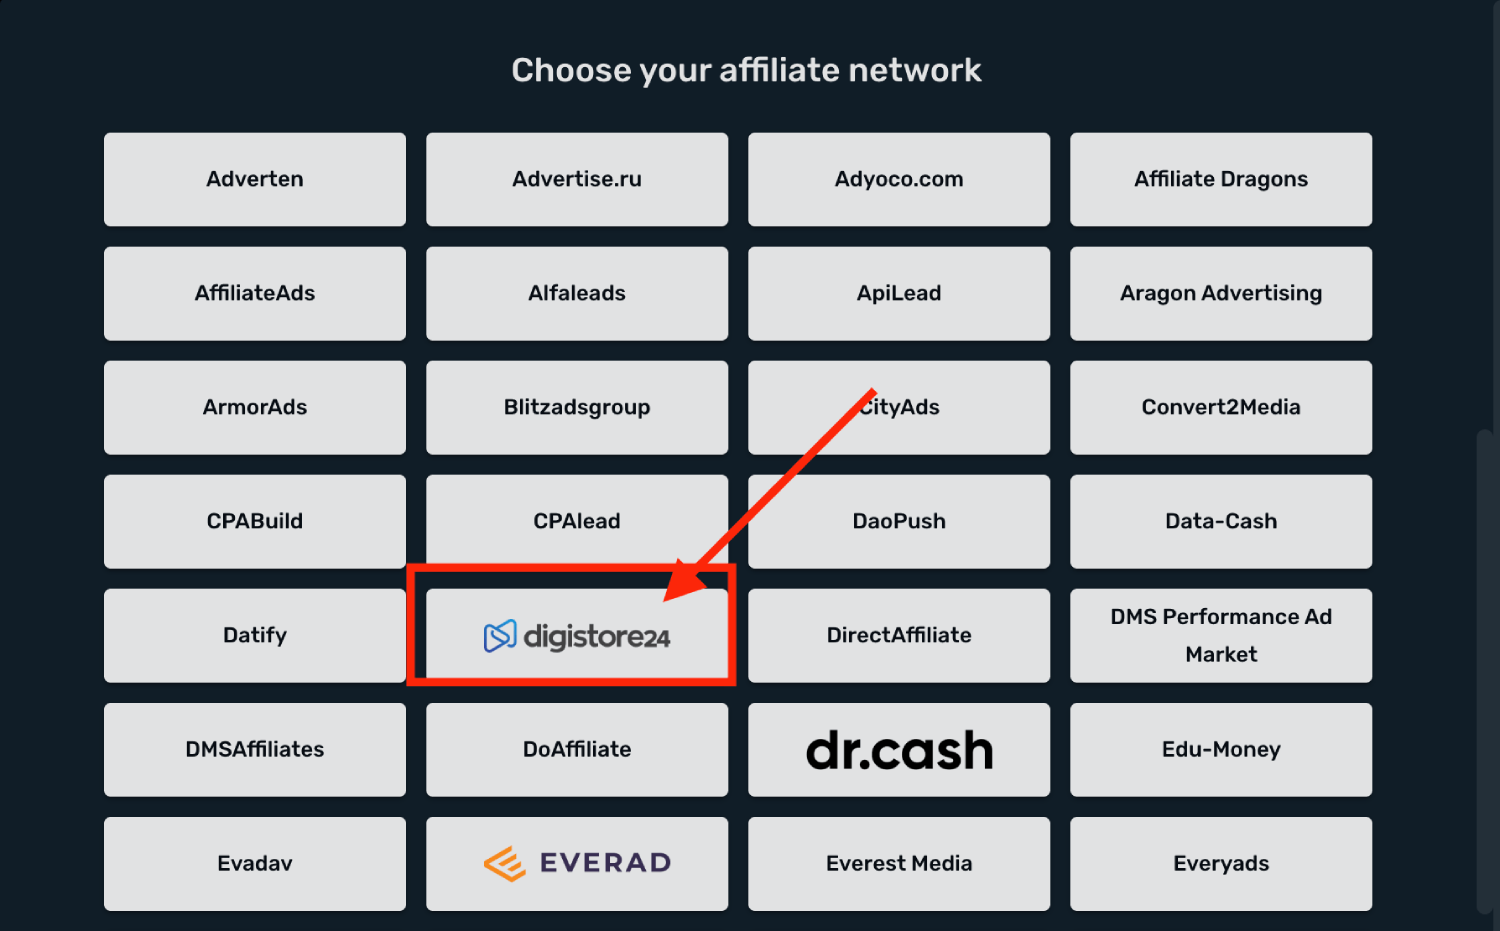
3. Select your **Workspace** and **Copy** postback URL to your clipboard.
4. Click **Save & Close**.
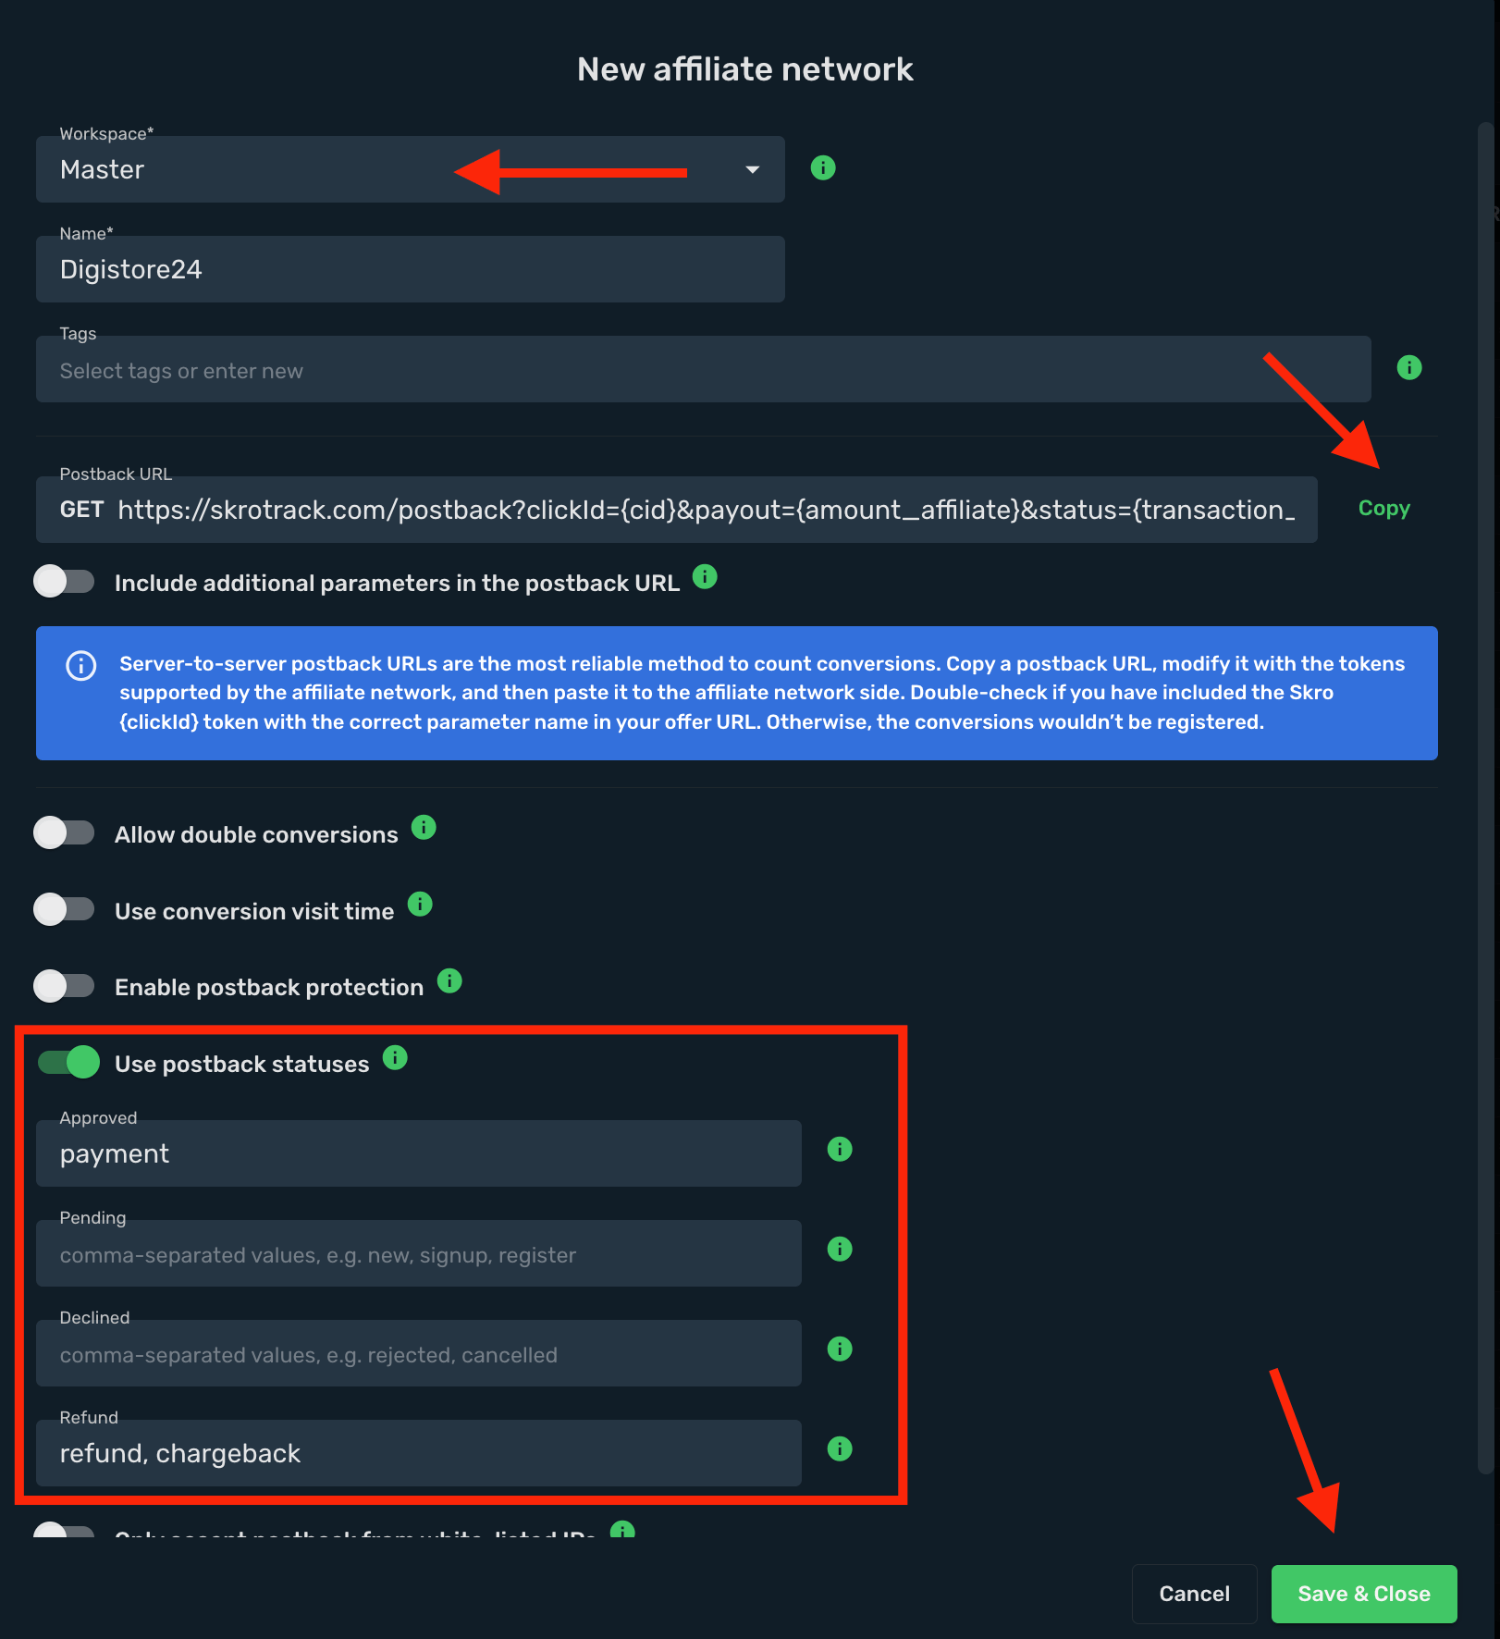
The Digistore24 affiliate network is now saved in Skro. Use the copied postback URL in Digistore24 in the next step.
## Step 2. 1 Setting up a postback URL for Digistore24 (Affiliate) [#step-2-1-setting-up-a-postback-url-for-digistore24-affiliate]
1. Log in to **Digistore24** account.
2. As an **Affiliate**, go to **Sales & partners** → **Integrations** page and click **Add s2s postback integration**.
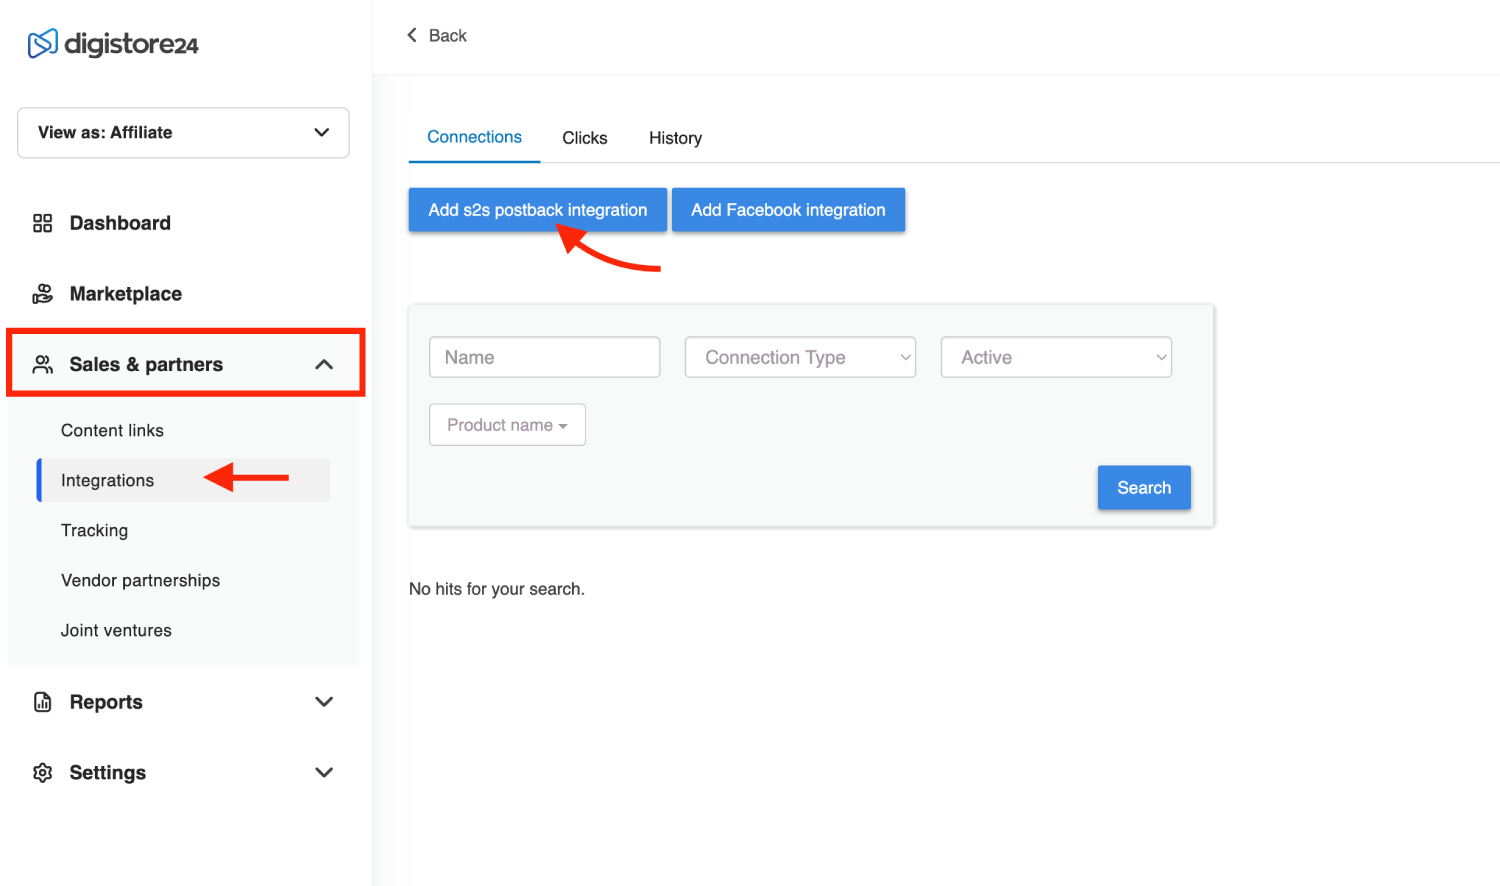
3. Set **Name** and thick all the **Events** that you want to track.
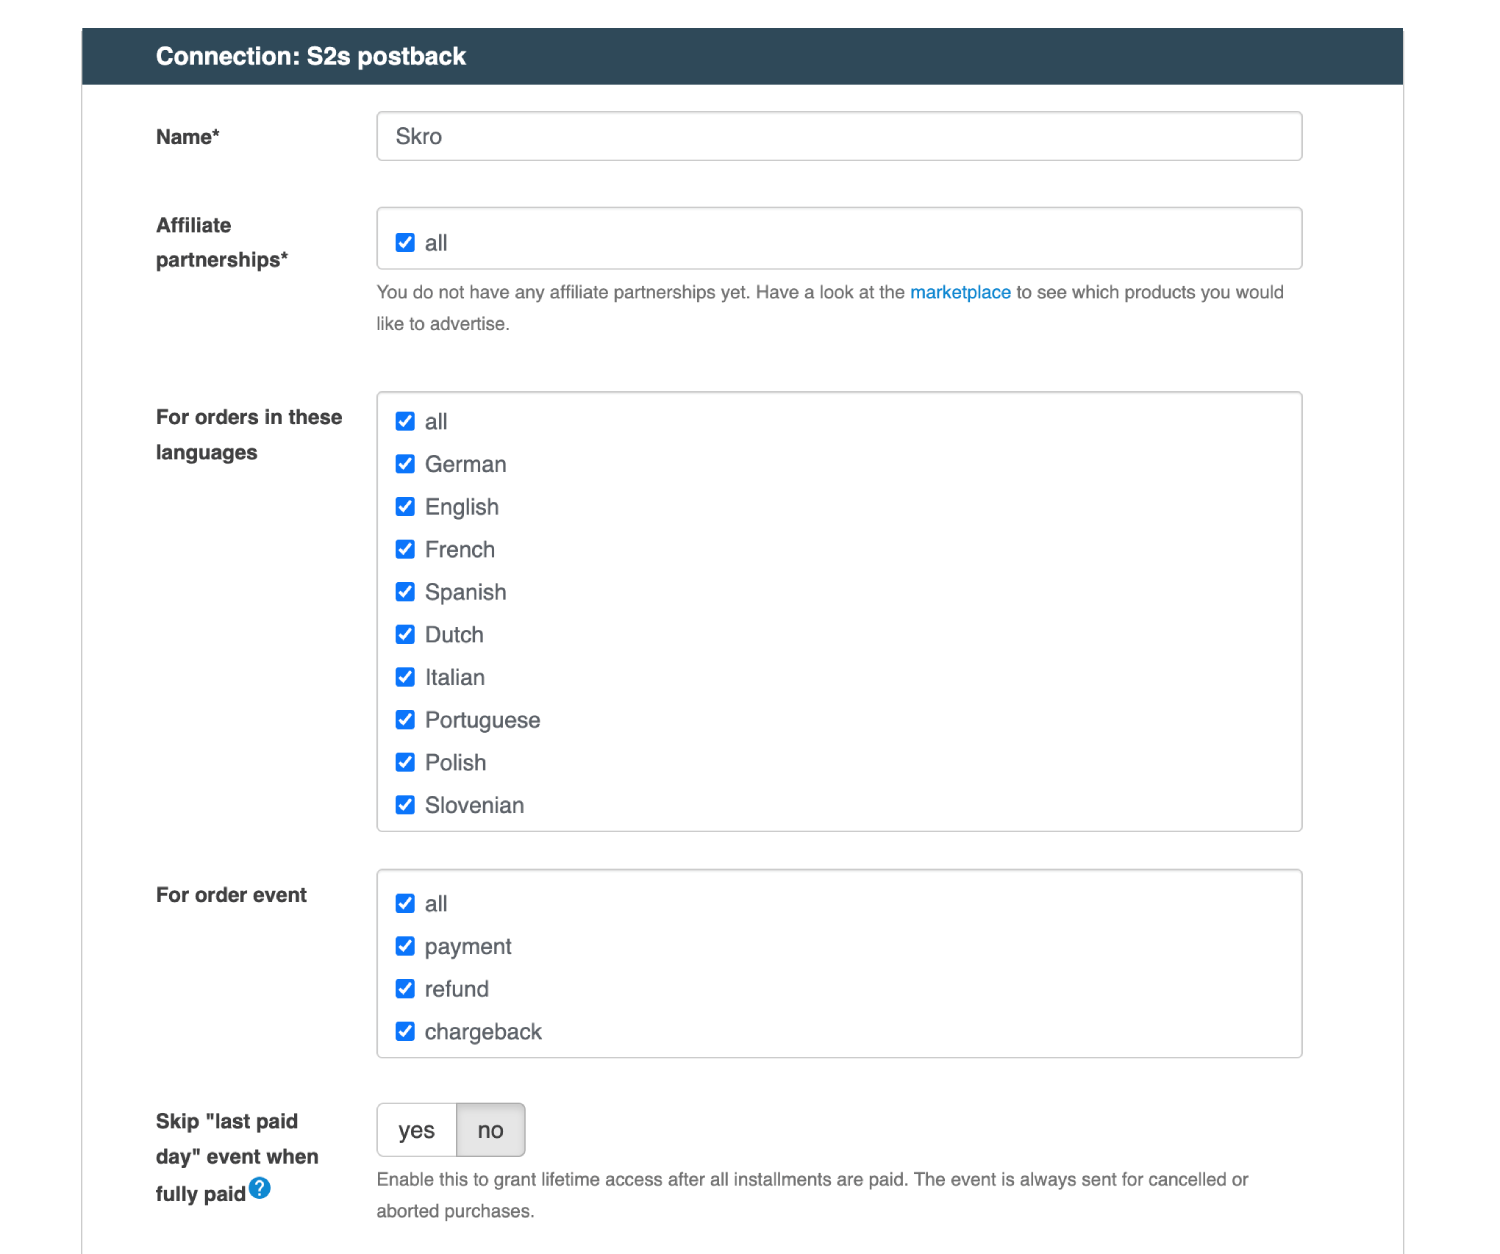
4. Paste your **Postback URL** into the **Postback URL** field.
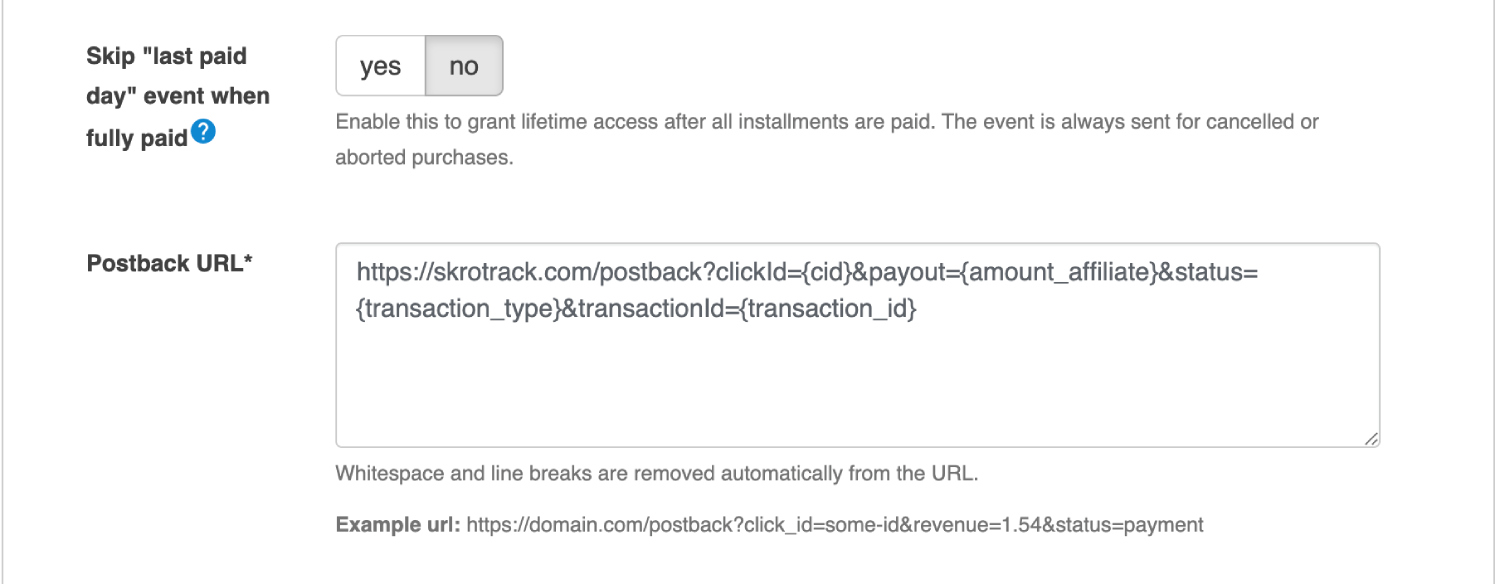
5. Scroll down and click **Save**.
### Conversions via dynamic macros [#conversions-via-dynamic-macros]
Digistore24 supports 4 dynamic macros. Each macro corresponds to the events you want to track with its help:
- `{transaction_type}` = payment, refund, chargeback.
- `{order_type}` = initial_sale, upsell.
- `{billing_type}` = single_payment, subscription, installment
- `{billing_status}` = paying, completed, aborted.
Use only the macros corresponding to the conversion types you want to track. You don’t need to add all of them if that’s not your case.
We have used `{transaction_type}` in our prefilled template.
**Example of postback URL:**
```text
https://skrotrack.com/postback?clickId={cid}&payout={amount_affiliate}&status={transaction_type}&transactionId={transaction_id}
```
### How to track conversions via **Order Type** dynamic macro? (Optional) [#how-to-track-conversions-via-order-type-dynamic-macro-optional]
1. To do that you will need to use **Custom Conversions** in Skro.
2. Create a two different custom conversions:
3. **initial_sale** - this is for **Purchase** events.
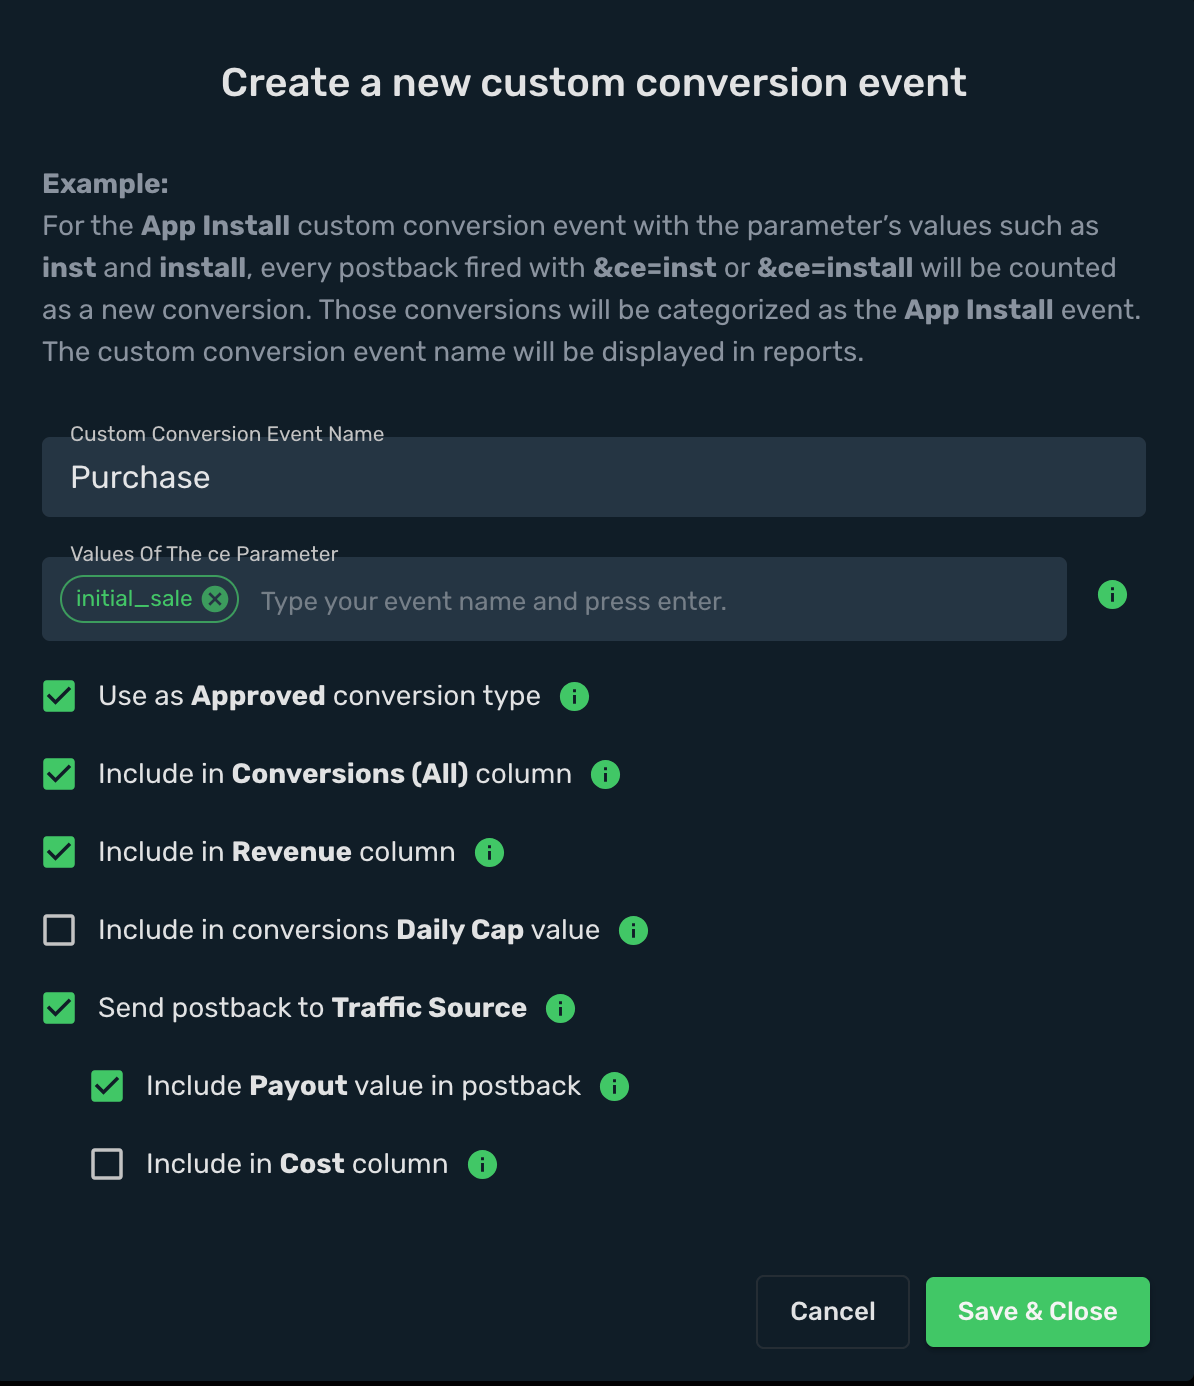
4. **upsell** - this is for **Upsell** events.
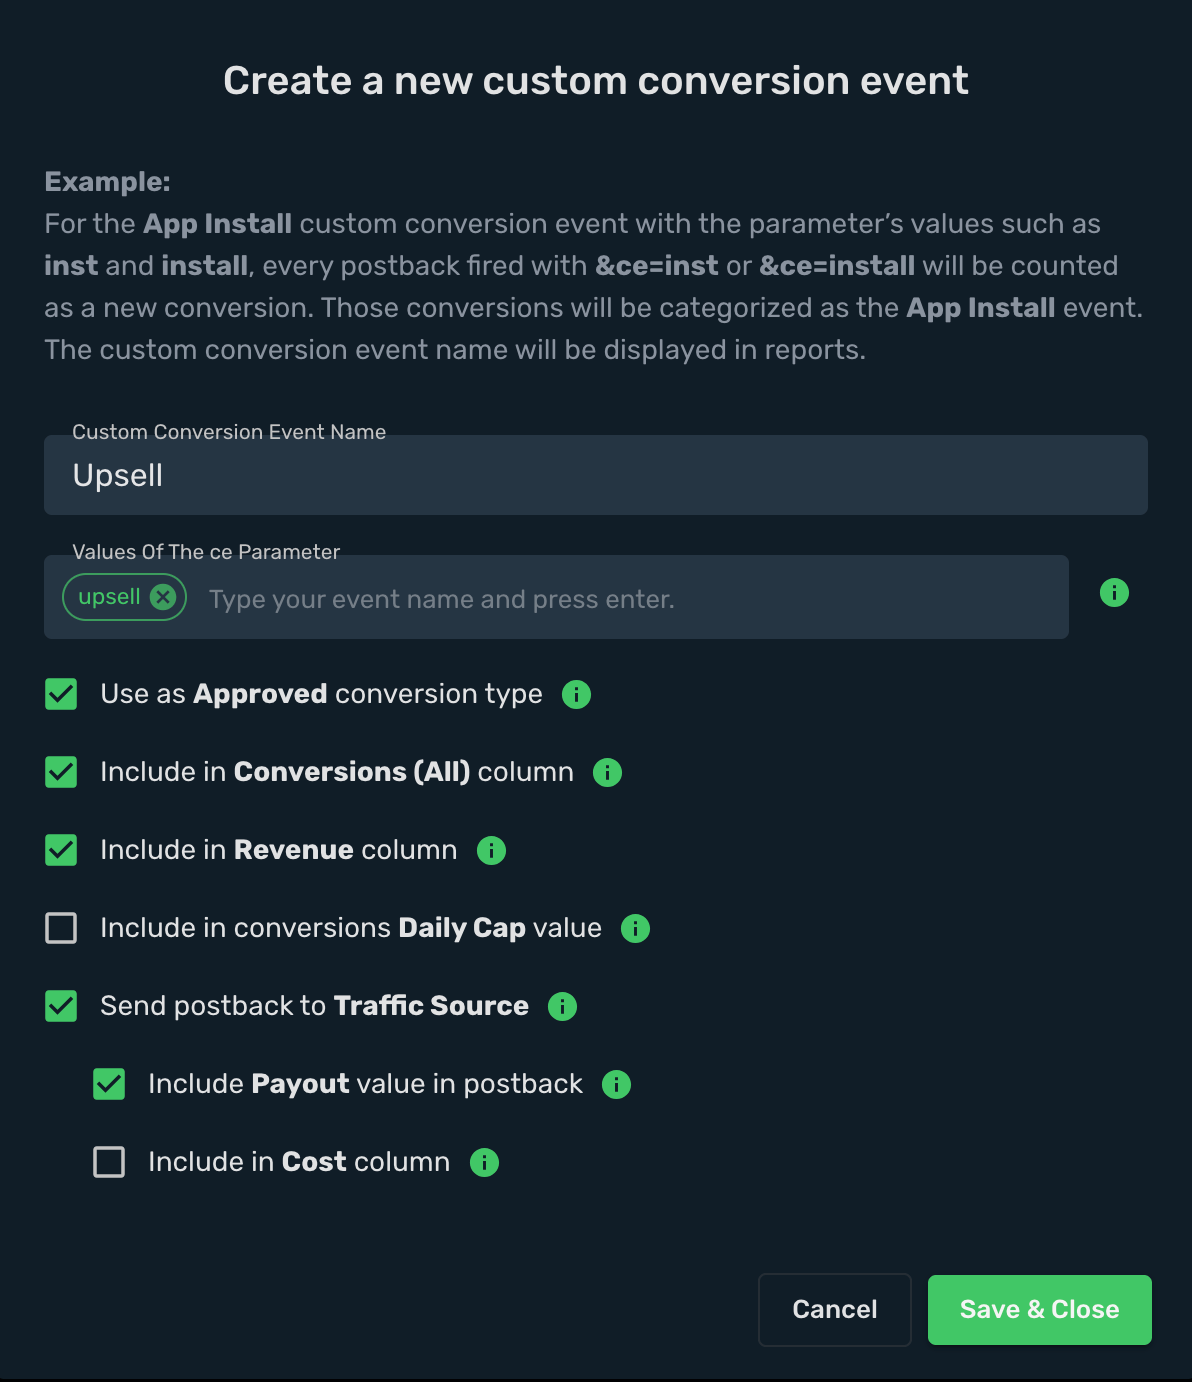
**Example of postback URL:**
`https://skrotrack.com/postback?clickId={cid}&payout={amount_affiliate}&transactionId={transaction_id}&ce={order_type}`
## Step 3. 2 Setting up a postback URL for Digistore24 (Vendor) [#step-3-2-setting-up-a-postback-url-for-digistore24-vendor]
1. Log in to **Digistore24** account.
2. As **Vendor**, go to **Settings** → **Integrations (IPN) configuration** page and click **Add new connection**.
3. Scroll down and click **S2S Postback** icon.
4. Set **Name** and thick all the **Events** that you want to track.
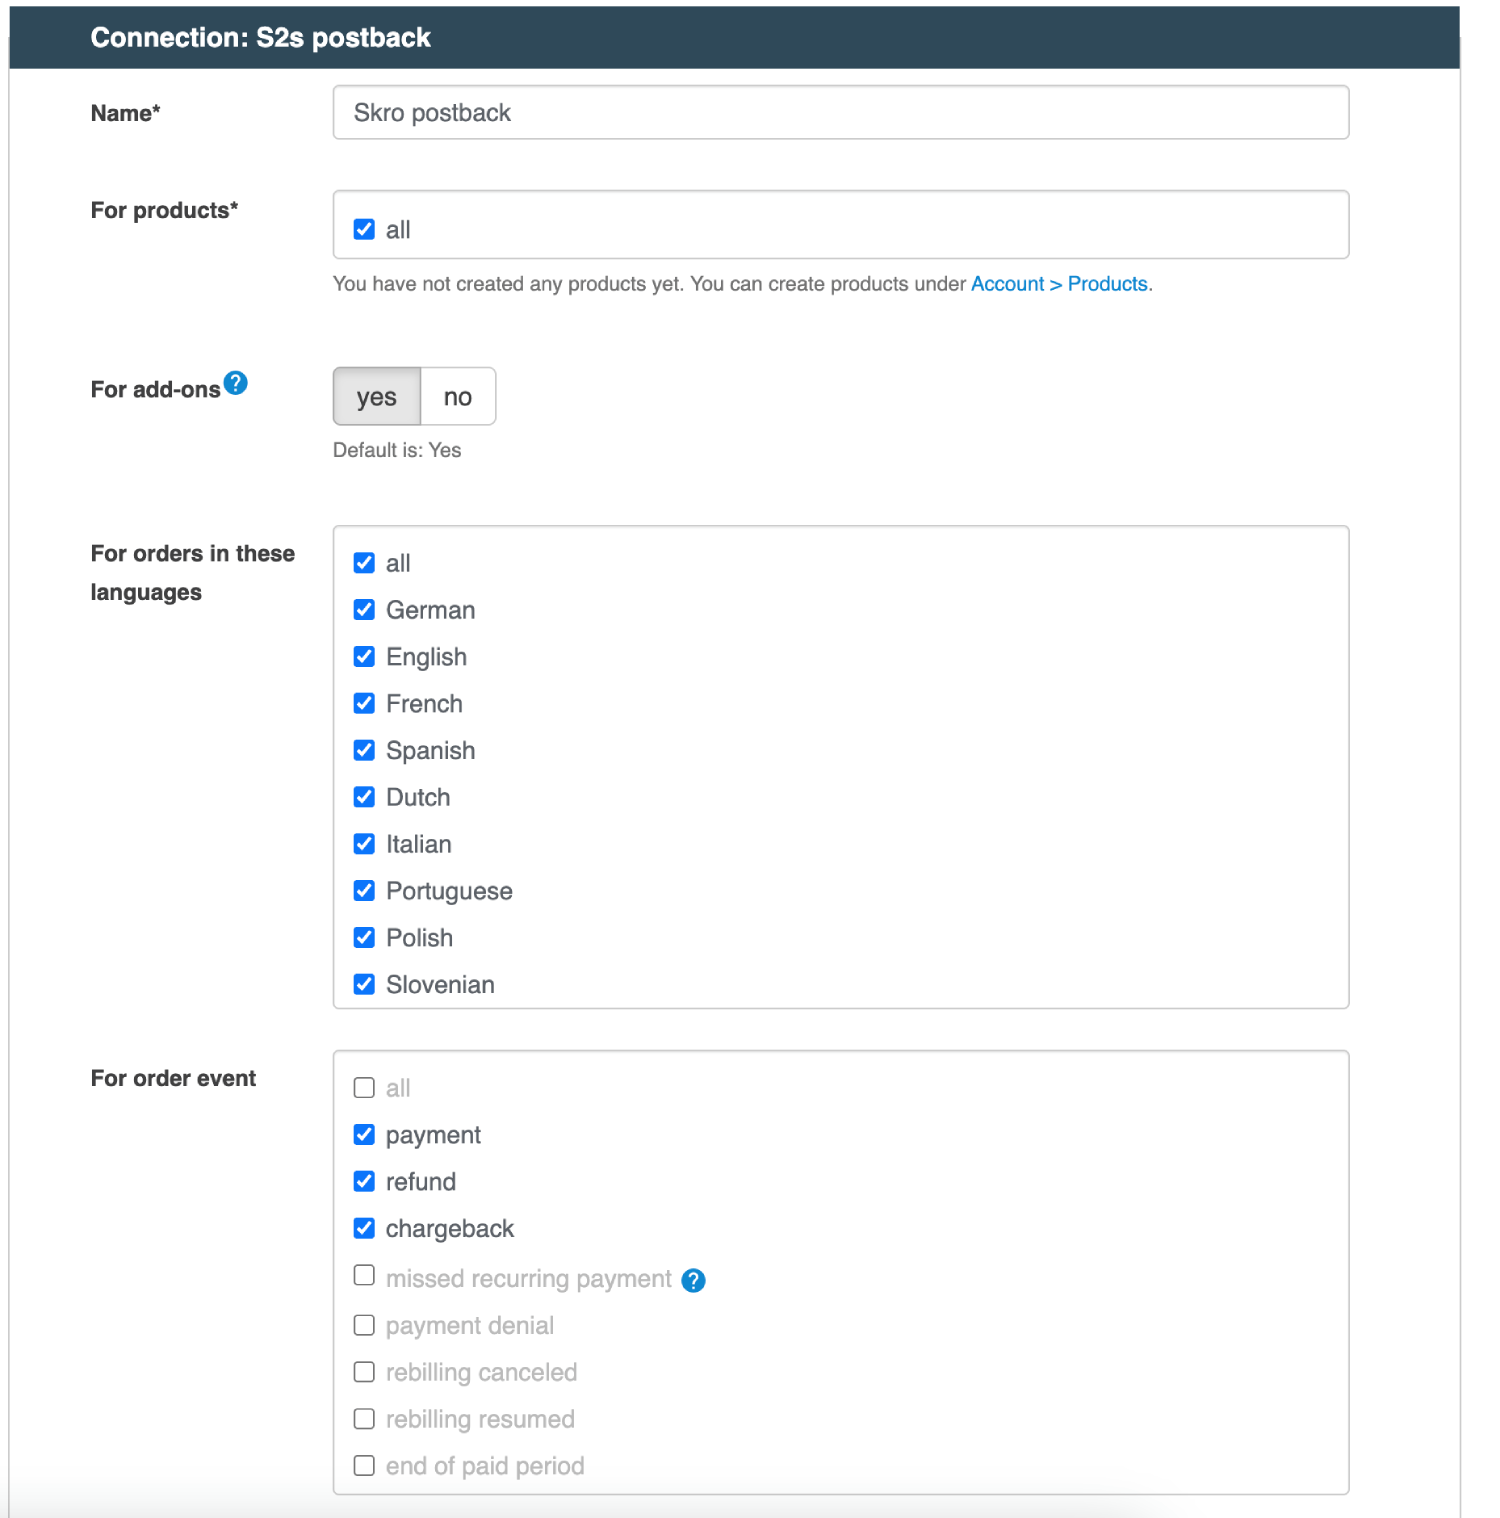
5. Paste your **Postback URL** into the **Postback URL** field.
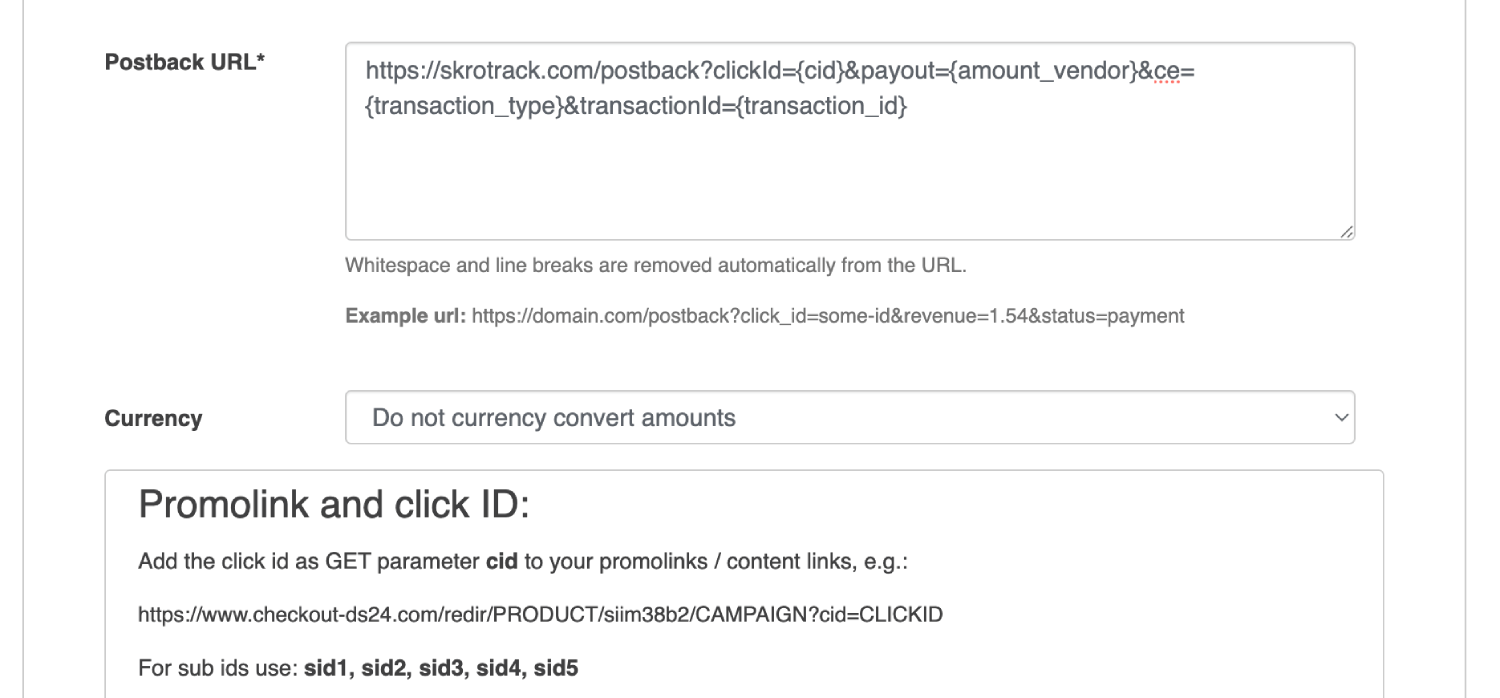
6. Scroll down and click **Save**.
### Conversions via dynamic macros [#conversions-via-dynamic-macros-1]
Digistore24 supports 4 dynamic macros. Each macro corresponds to the events you want to track with its help:
- `{transaction_type}` = payment, refund, chargeback.
- `{order_type}` = initial_sale, upsell.
- `{billing_type}` = single_payment, subscription, installment
- `{billing_status}` = paying, completed, aborted.
Use only the macros corresponding to the conversion types you want to track. You don’t need to add all of them if that’s not your case.
We have used `{transaction_type}` in our prefilled template.
**Example of postback URL:**
`https://skrotrack.com/postback?clickId={cid}&payout={amount_vendor}&ce={transaction_type}&transactionId={transaction_id}`
### How to track conversions via **Order Type** dynamic macro? (Optional) [#how-to-track-conversions-via-order-type-dynamic-macro-optional-1]
1. To do that you will need to use **Custom Conversions** in Skro.
2. Create a two different custom conversions:
3. **initial_sale** - this is for **Purchase** events.

4. **upsell** - this is for **Upsell** events.

**Example of postback URL:**
`https://skrotrack.com/postback?clickId={cid}&payout={amount_vendor}&transactionId={transaction_id}&ce={order_type}`
## Step 4. 1 How to track InitiateCheckout events on Digistore24 (Affiliate)? [#step-4-1-how-to-track-initiatecheckout-events-on-digistore24-affiliate]
1. Go to **Custom Conversion** and click **Create**.
2. Create a custom conversion for **InitiateCheckout**.
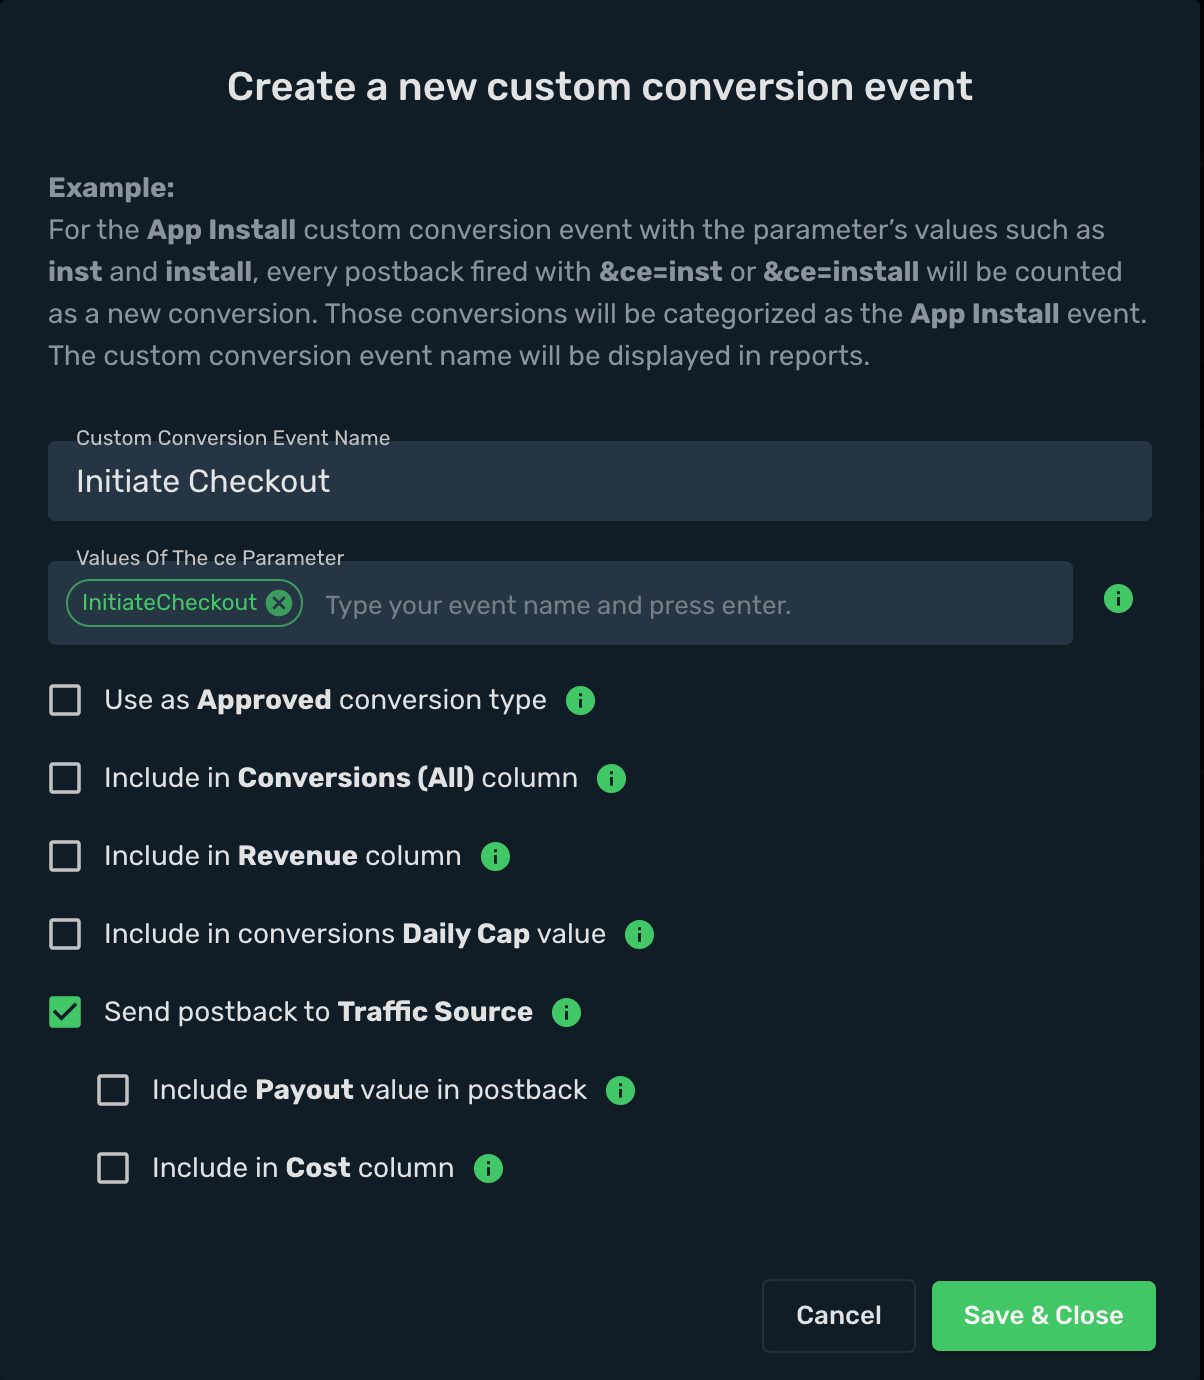
3. Log in to **Digistore24** account.
4. As an **Affiliate**, go to **Sales & partners** → **Tracking** page and click **Set up new tracking**.
5. Give a **Name** to your pixel.
6. Select **Sale Types** as **Initials Orders**.
7. Select **Tracking Type** as **Tracking pixel**.
8. Paste Skro postback URL into the **Tracking Pixel's URL** field
.
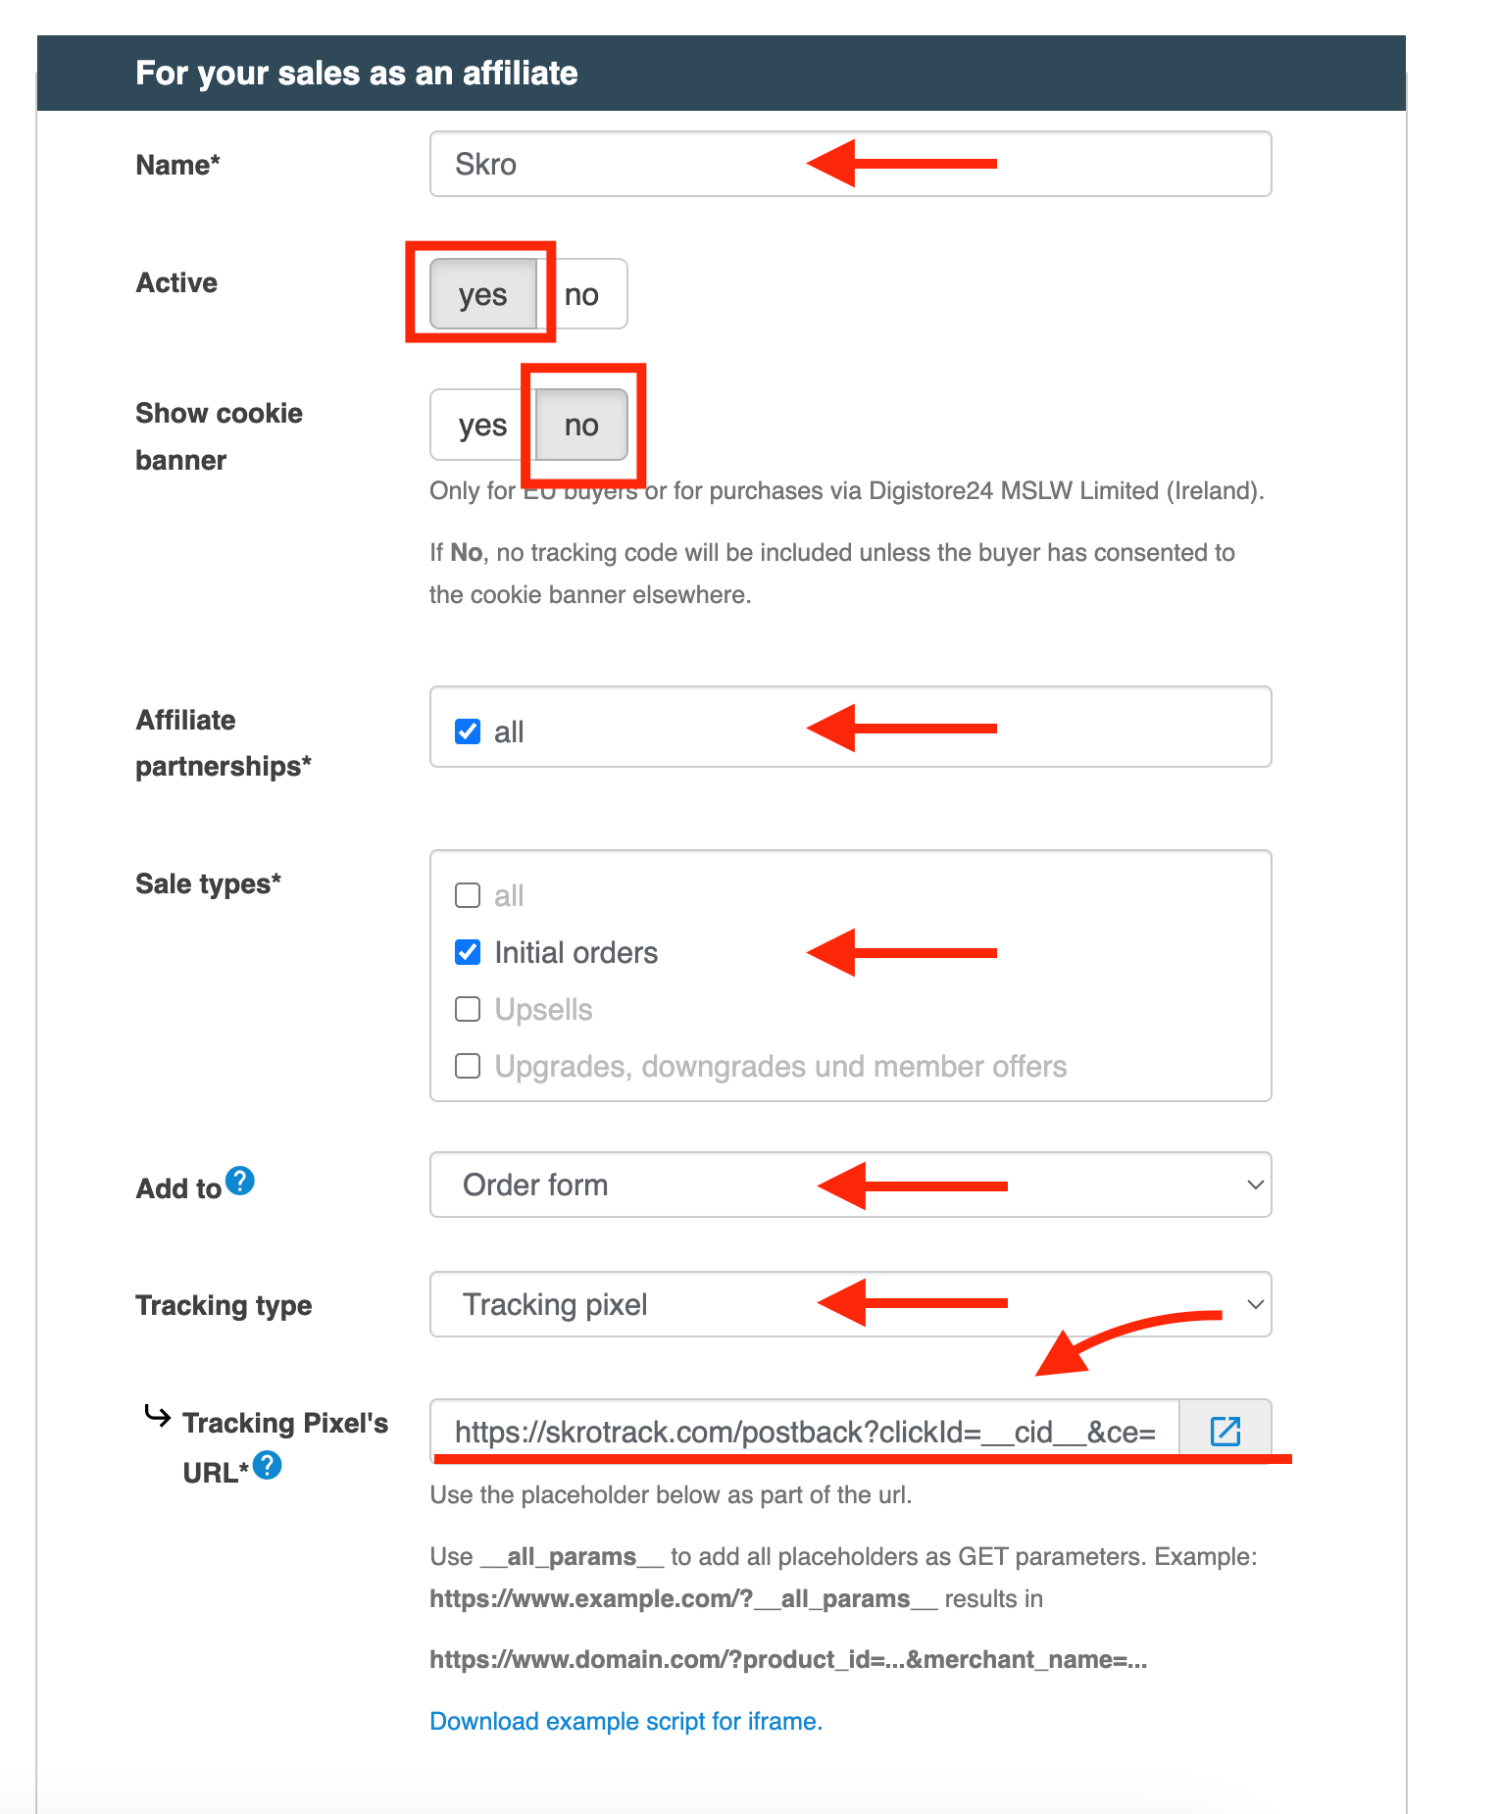
**Example of postback URL:**
`https://skrotrack.com/postback?clickId=__cid__&ce=InitiateCheckout`
## Step 5. 2 How to track InitiateCheckout events on Digistore24 (Vendor)? [#step-5-2-how-to-track-initiatecheckout-events-on-digistore24-vendor]
1. Go to **Custom Conversion** and click **Create**.
2. Create a custom conversion for **InitiateCheckout**.

3. Log in to **Digistore24** account.
4. As **Vendor**, go to **My products** → **Tracking** page and click **Set up new tracking**.
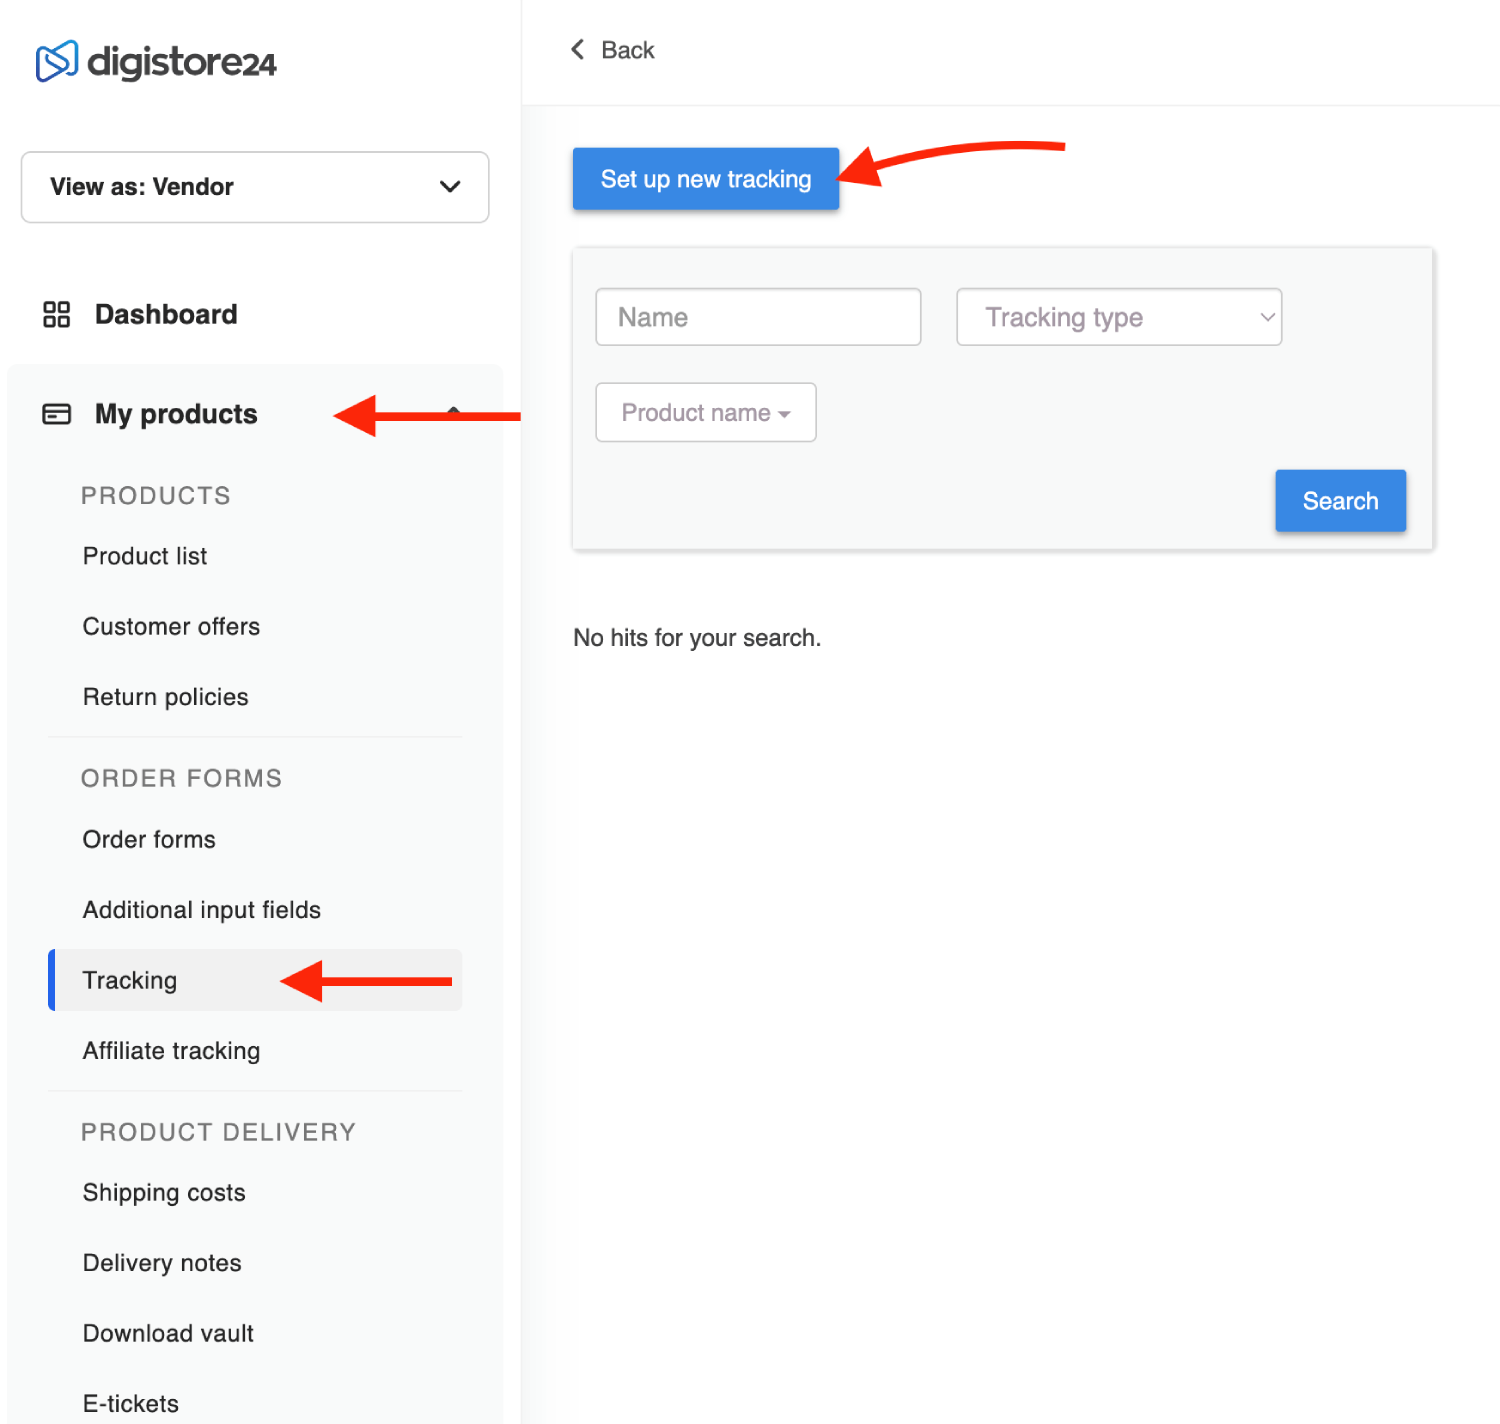
5. Give a **Name** to your pixel.
6. Select **Sale Types** as **Initials Orders**.
7. Select **Tracking Type** as **Tracking pixel**.
8. Paste Skro postback URL into the **Tracking Pixel's URL** field
.

**Example of postback URL:**
`https://skrotrack.com/postback?clickId=__cid__&ce=InitiateCheckout`
## Step 6. Get an offer from Digistore24 [#step-6-get-an-offer-from-digistore24]
1. In your Digistore24 account, go to **Marketplace**.
2. Select your offer from the list and click **Request Access** or click **Copy promo link**.
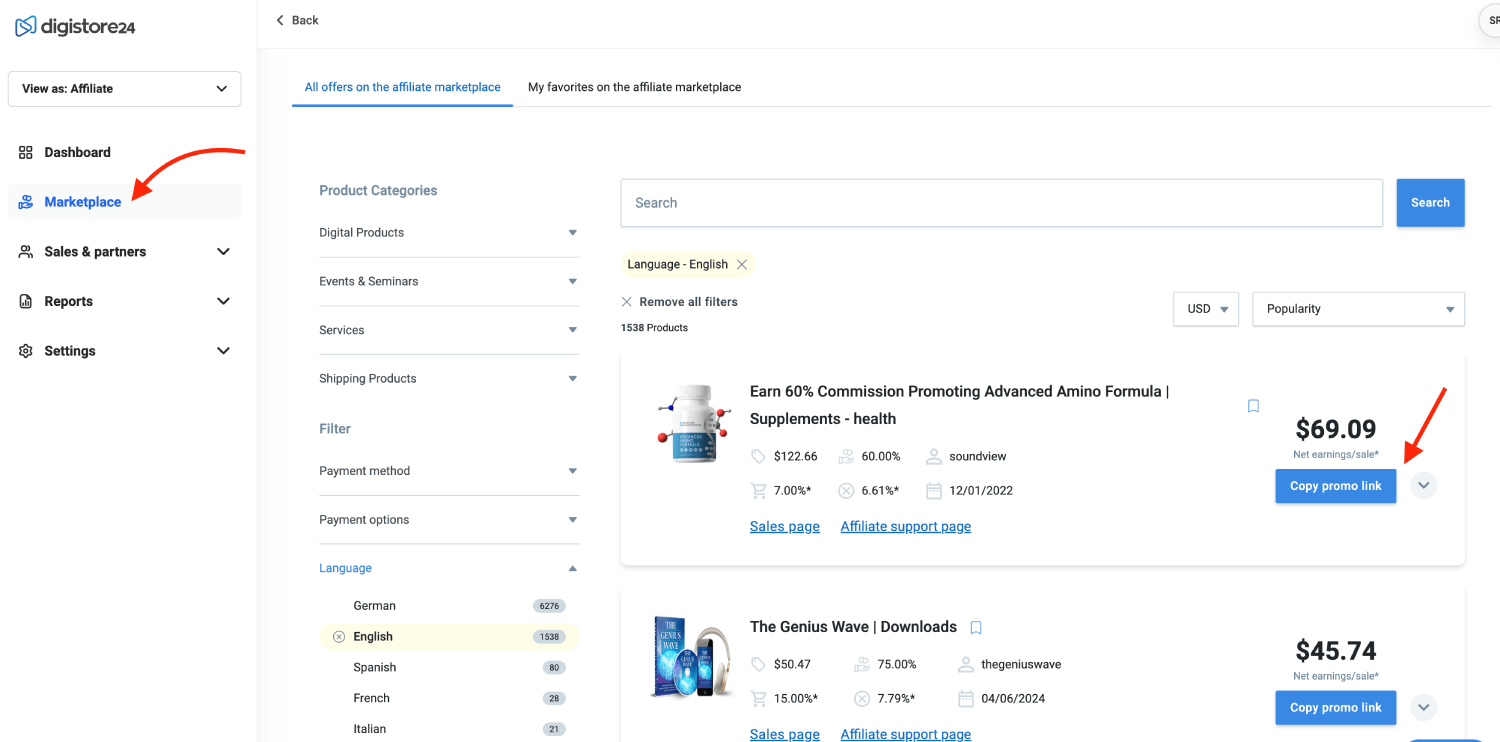
## Step 7. Add offer to Skro [#step-7-add-offer-to-skro]
1. Go back to Skro and navigate to the **Offers** and click **Create**.
2. Choose your workspace.
3. Give a name to your offer.
4. Grab the offer link from Digistore24 and add it to Offer URL field and add this **`?cid={clickId}`** to your offer url.
**`{clickId}`** - The Skro click ID macro for conversion tracking.
**Example Offer URL:**
`https://www.yourofferlink.com/DS24/Advanced-Amino/Muscle-Mass-Loss/HD.htm#aff=skro?cid={clickId}`
5. Choose Digistore24 from the **Affiliate Network** select box.
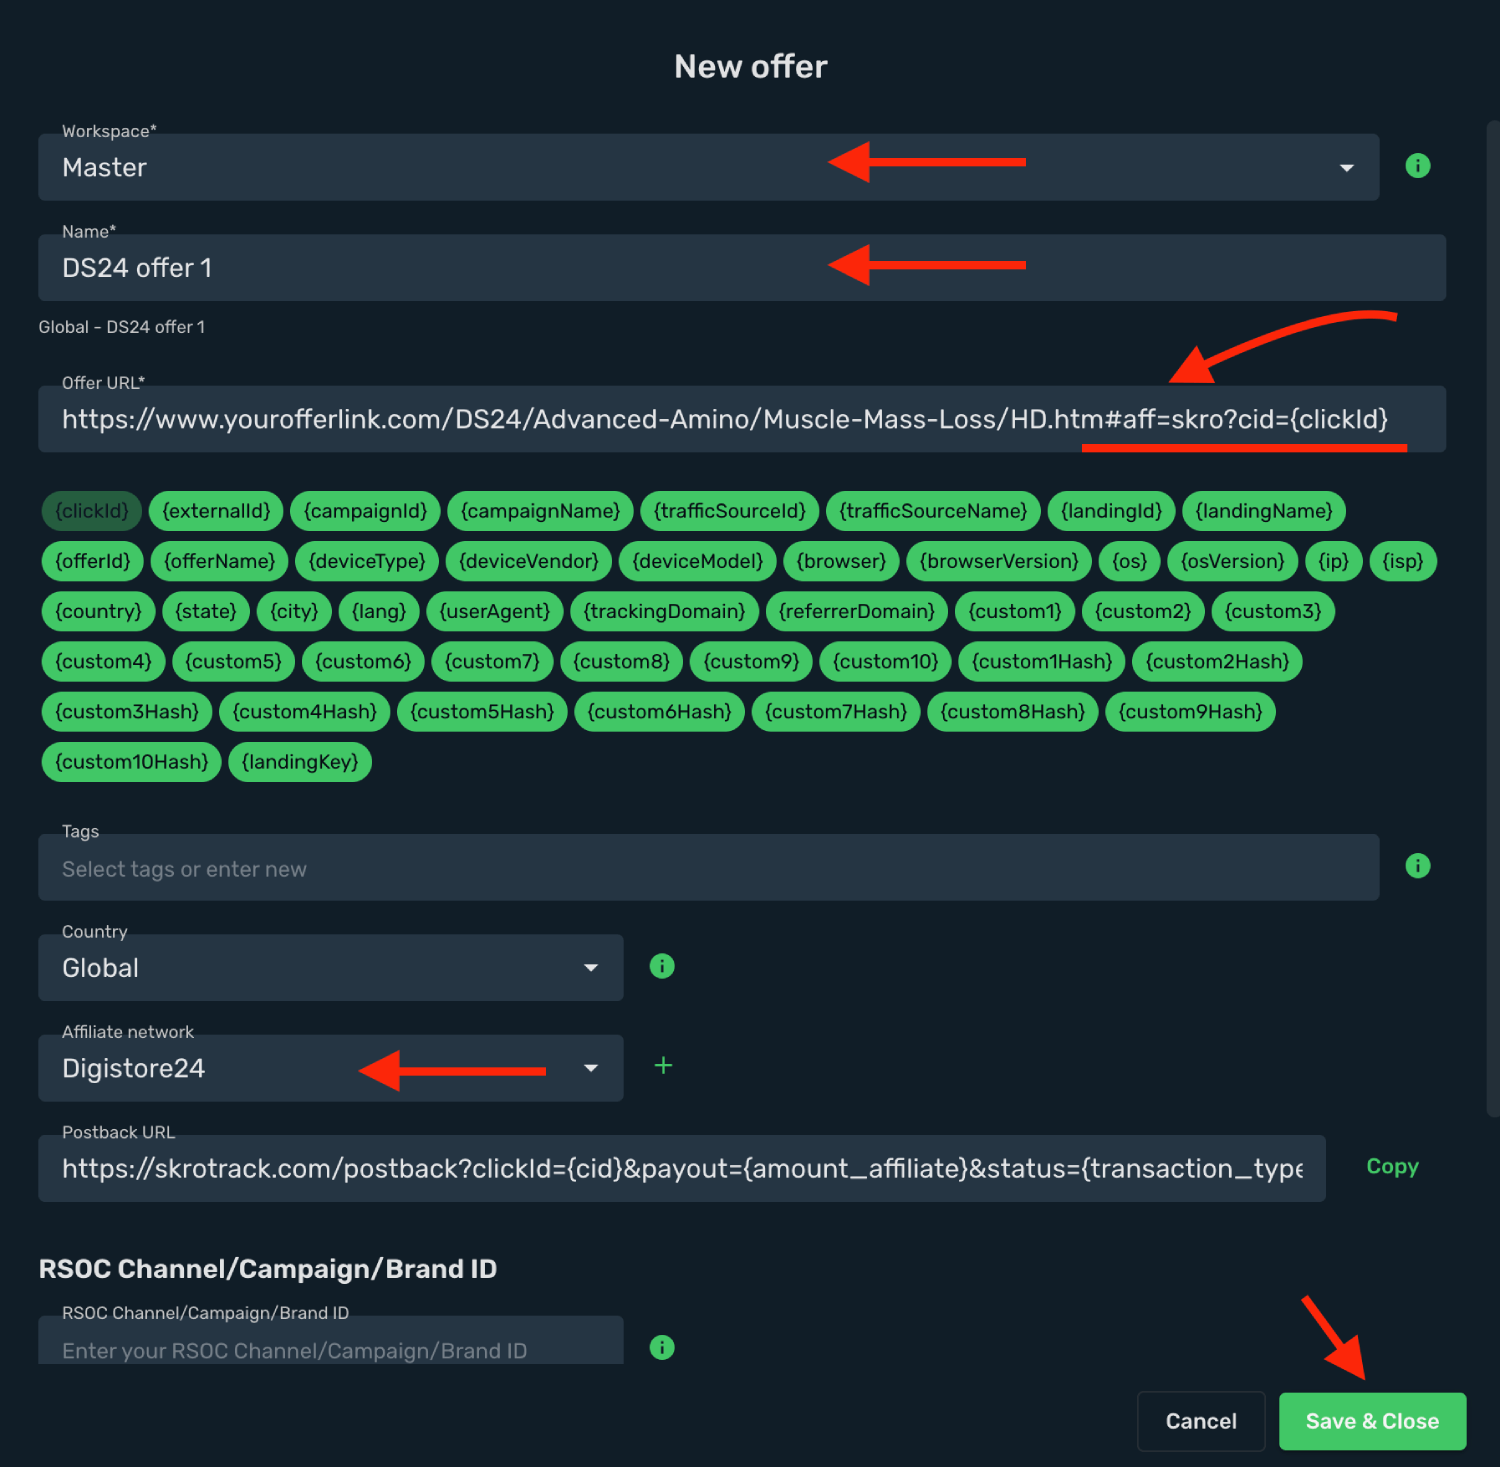
6. Click **Save & Close**.
## Step 8. Create a campaign on Skro [#step-8-create-a-campaign-on-skro]
1. Start with the following guide:
## Verify the setup [#verify-the-setup]
Follow a campaign link and complete a test conversion using your provider’s test workflow. Confirm that the original click ID reaches the provider and is returned to Skro, then check the event and revenue in your campaign report.
If data is missing, check the selected workspace, integration, campaign, and reporting date range. Compare parameter names and macro values with the examples in this guide before repeating the test.
## Related guides [#related-guides]
# Dr.Cash integration
Source: https://skro.eu/docs/integrations/drcash-integration
Connect Dr.Cash to Skro, map click IDs, and configure postbacks to attribute conversions and revenue to your campaigns.
## Step 1. Add affiliate network to Skro [#step-1-add-affiliate-network-to-skro]
1. Go to **Affiliate Networks** and click **Create**.
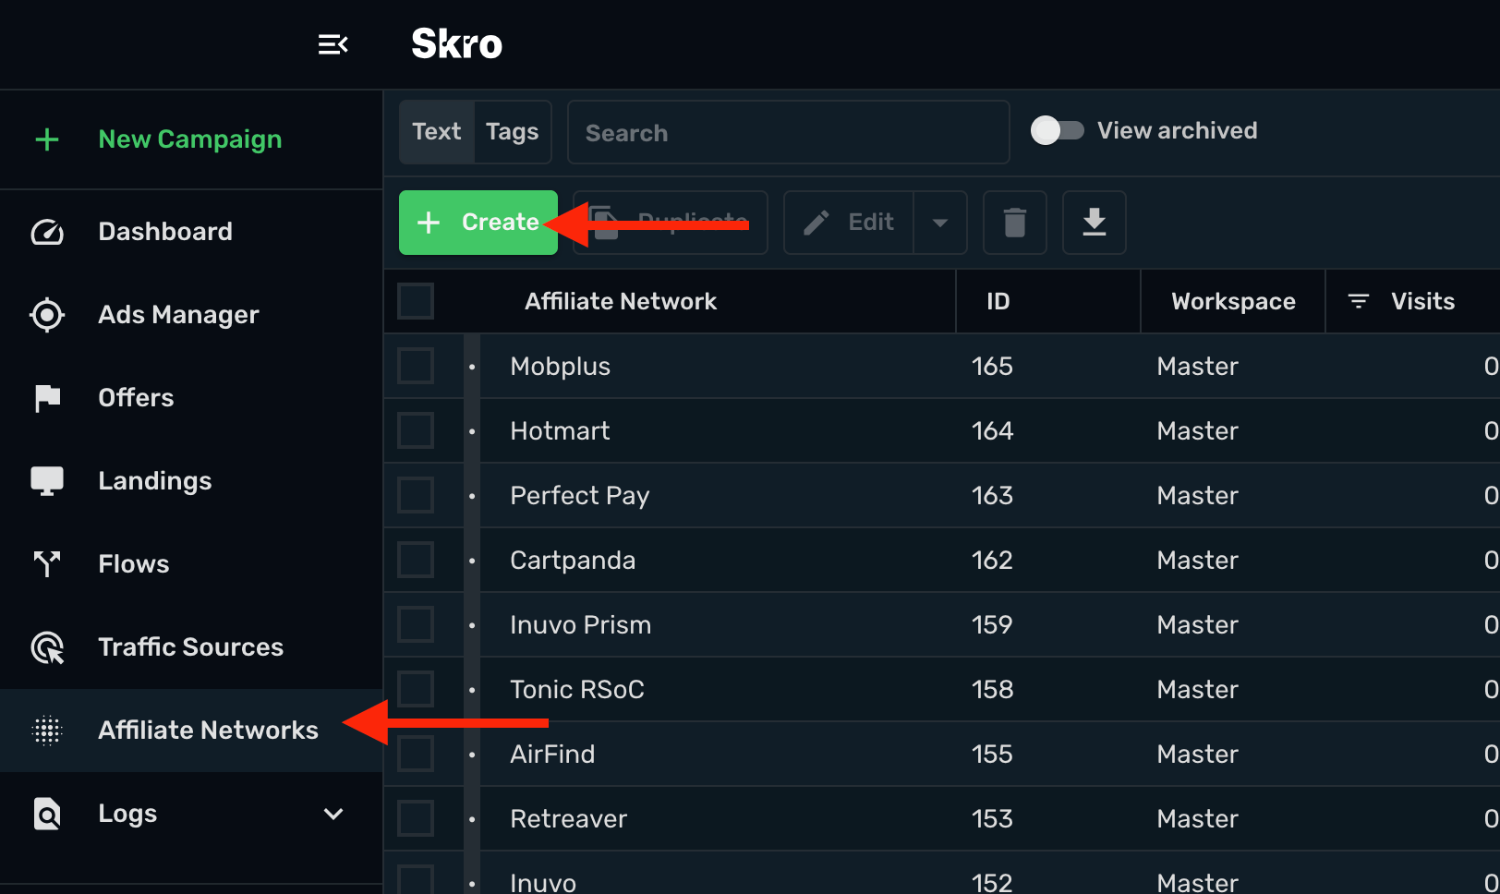
2. Search Dr.Cash and select the **Dr.Cash** template.
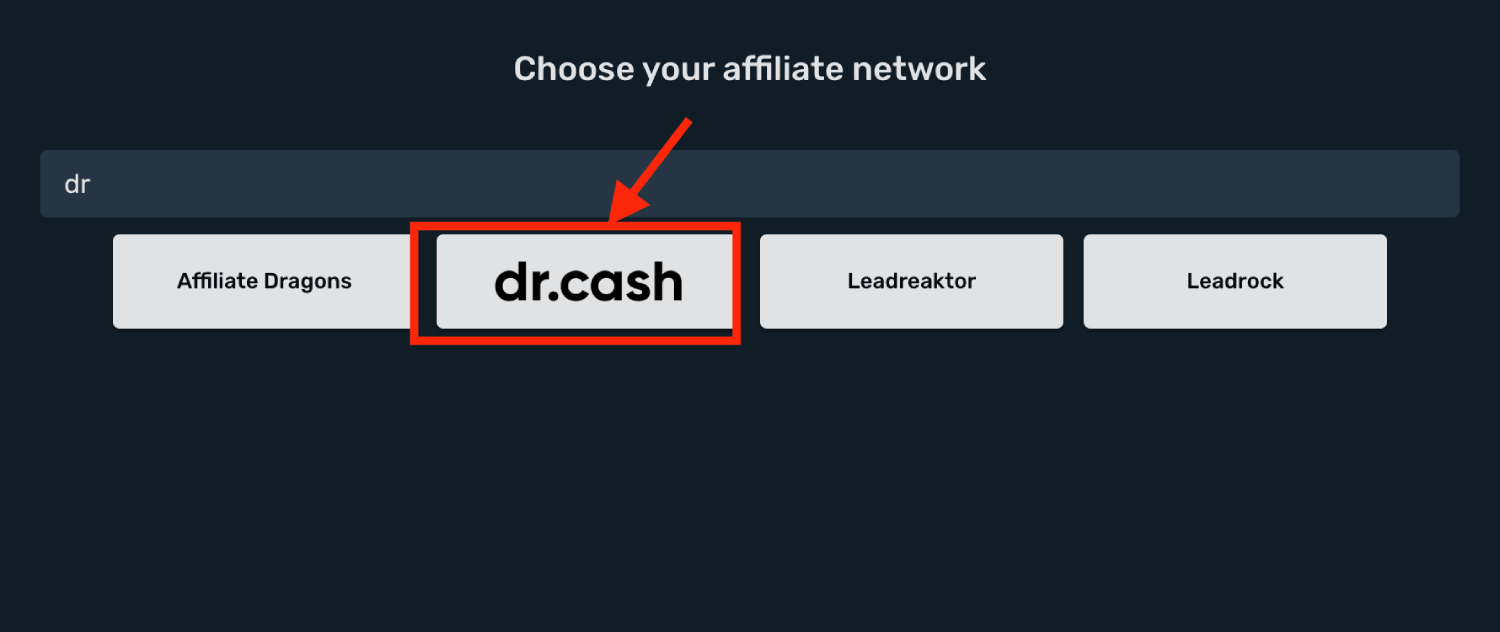
3. Select your **Workspace** and **Copy** postback URL to your clipboard.
4. Click **Save & Close**.
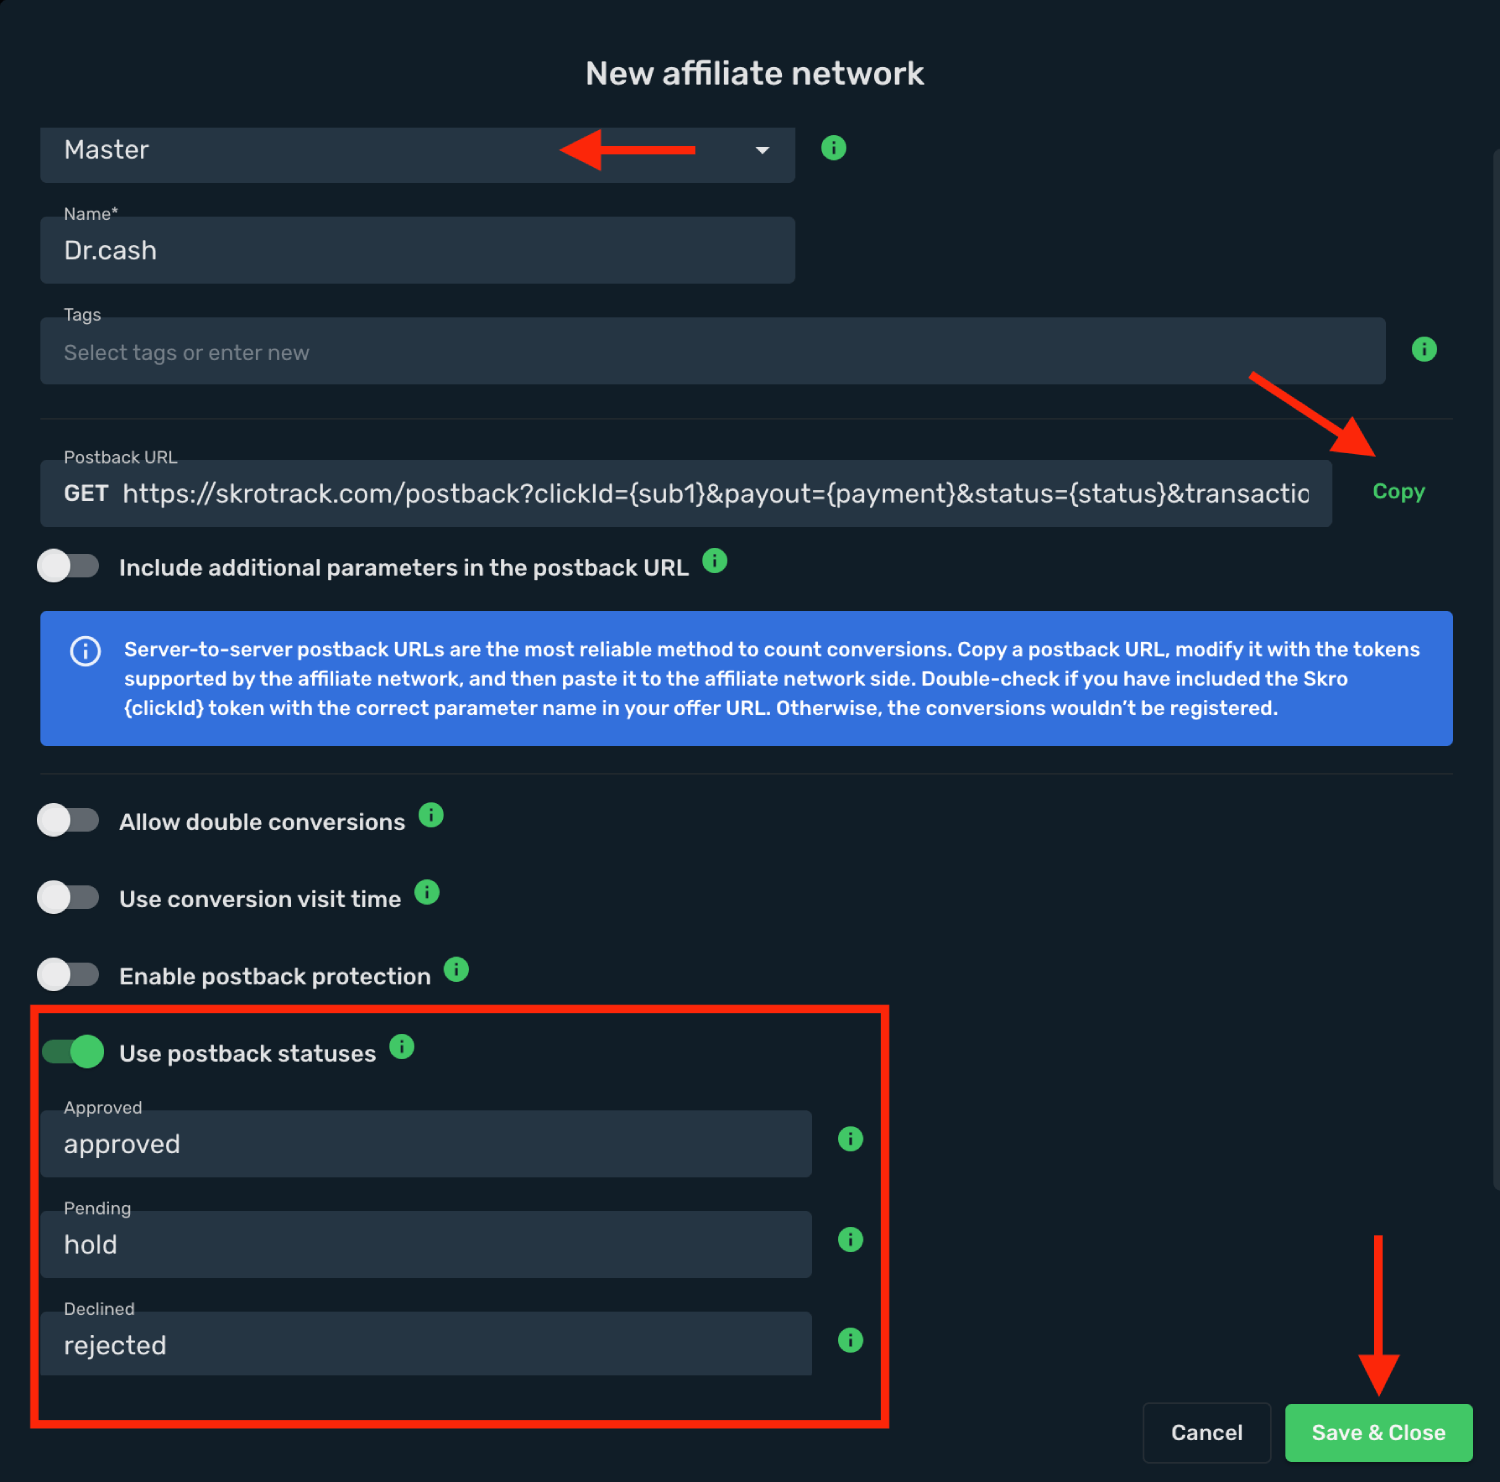
The Dr.Cash affiliate network is now saved in Skro. Use the copied postback URL in Dr.Cash in the next step.
## Step 2. Setting up a postback URL [#step-2-setting-up-a-postback-url]
1. Log in to **Dr.Cash** account.
2. Go to **Settings** → **Global postback**.
3. Tick all the statuses.
4. Paste Skro **Postback URL** to the **URL** field.
7. Click **Save changes** to store your postback.
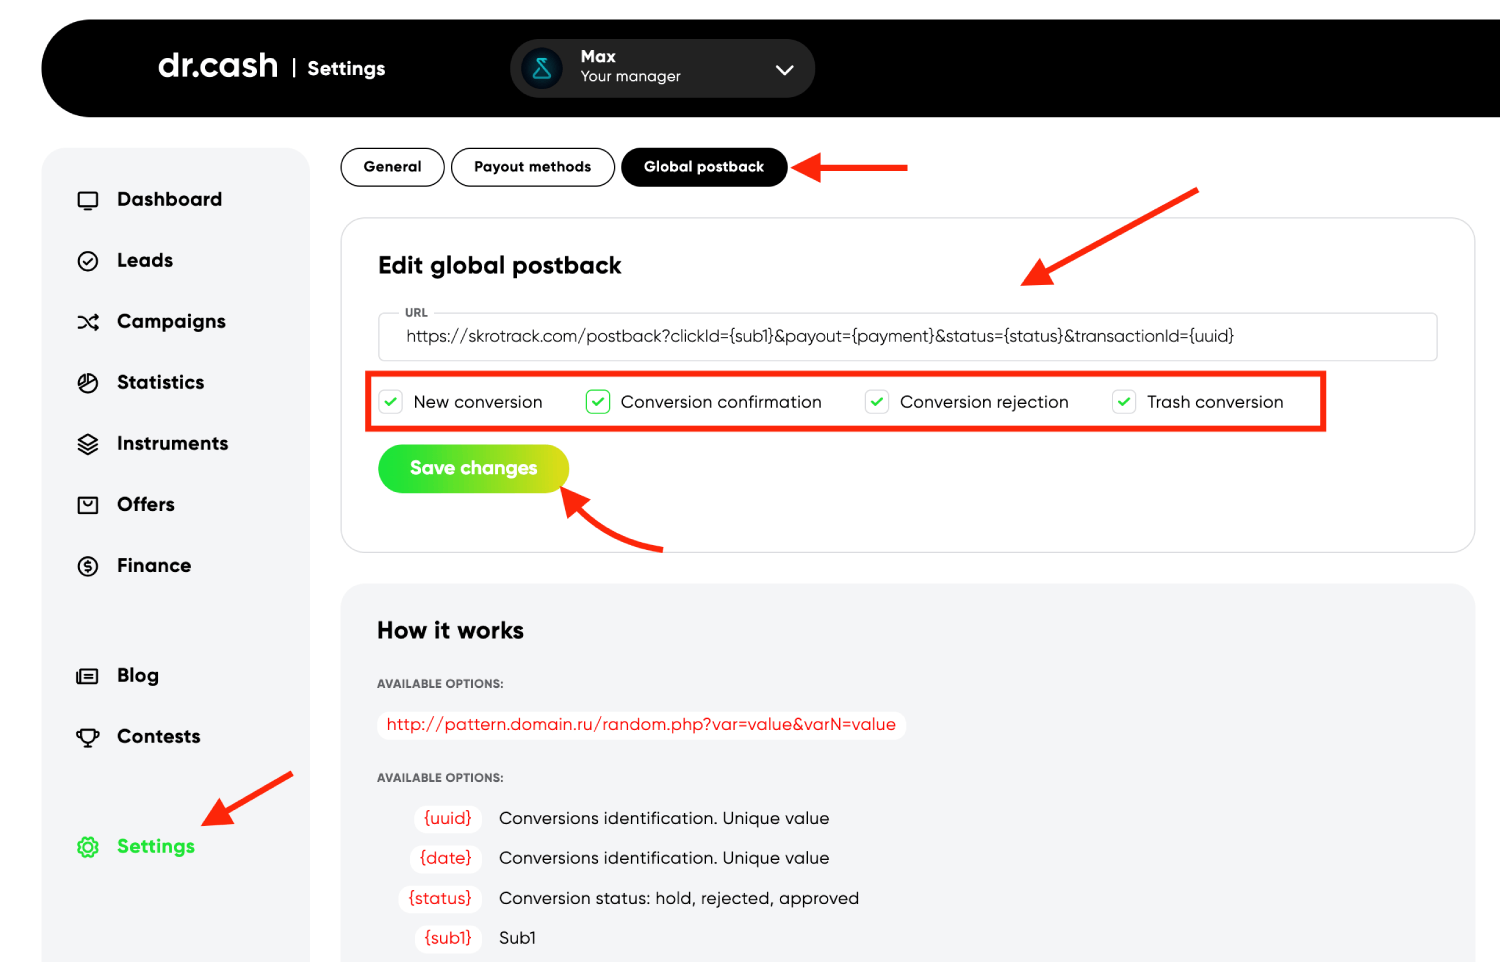
### Global Postback [#global-postback]
`https://skrotrack.com/postback?clickId={sub1}&payout={payment}&status={status}&transactionId={uuid}`
## Step 3. Get an offer from Dr.Cash [#step-3-get-an-offer-from-drcash]
1. Go to **Offers** section on the panel.
2. Select your offer from the list and click it.
3. Click **Create Campaign**.
4. Specify **campaign name**, mark the required checkbox and click **Create Campaign**.
5. Copy your unique **Campaign URL**.

## Step 4. Add offer to Skro [#step-4-add-offer-to-skro]
1. Go back to Skro and navigate to the **Offers** and click **Create**.
2. Choose your workspace.
3. Give a name to your offer.
4. Grab the offer link from Dr.Cash and add it to Offer URL field and change the macros to this **`&sub1={clickId}`**
**`{clickId}`** - The Skro click ID macro for conversion tracking.
**Example Offer URL:**
`https://piwmr.doctordosnion.com/p/?sub1={clickId}`
5. Choose Dr.Cash from the **Affiliate Network** select box.
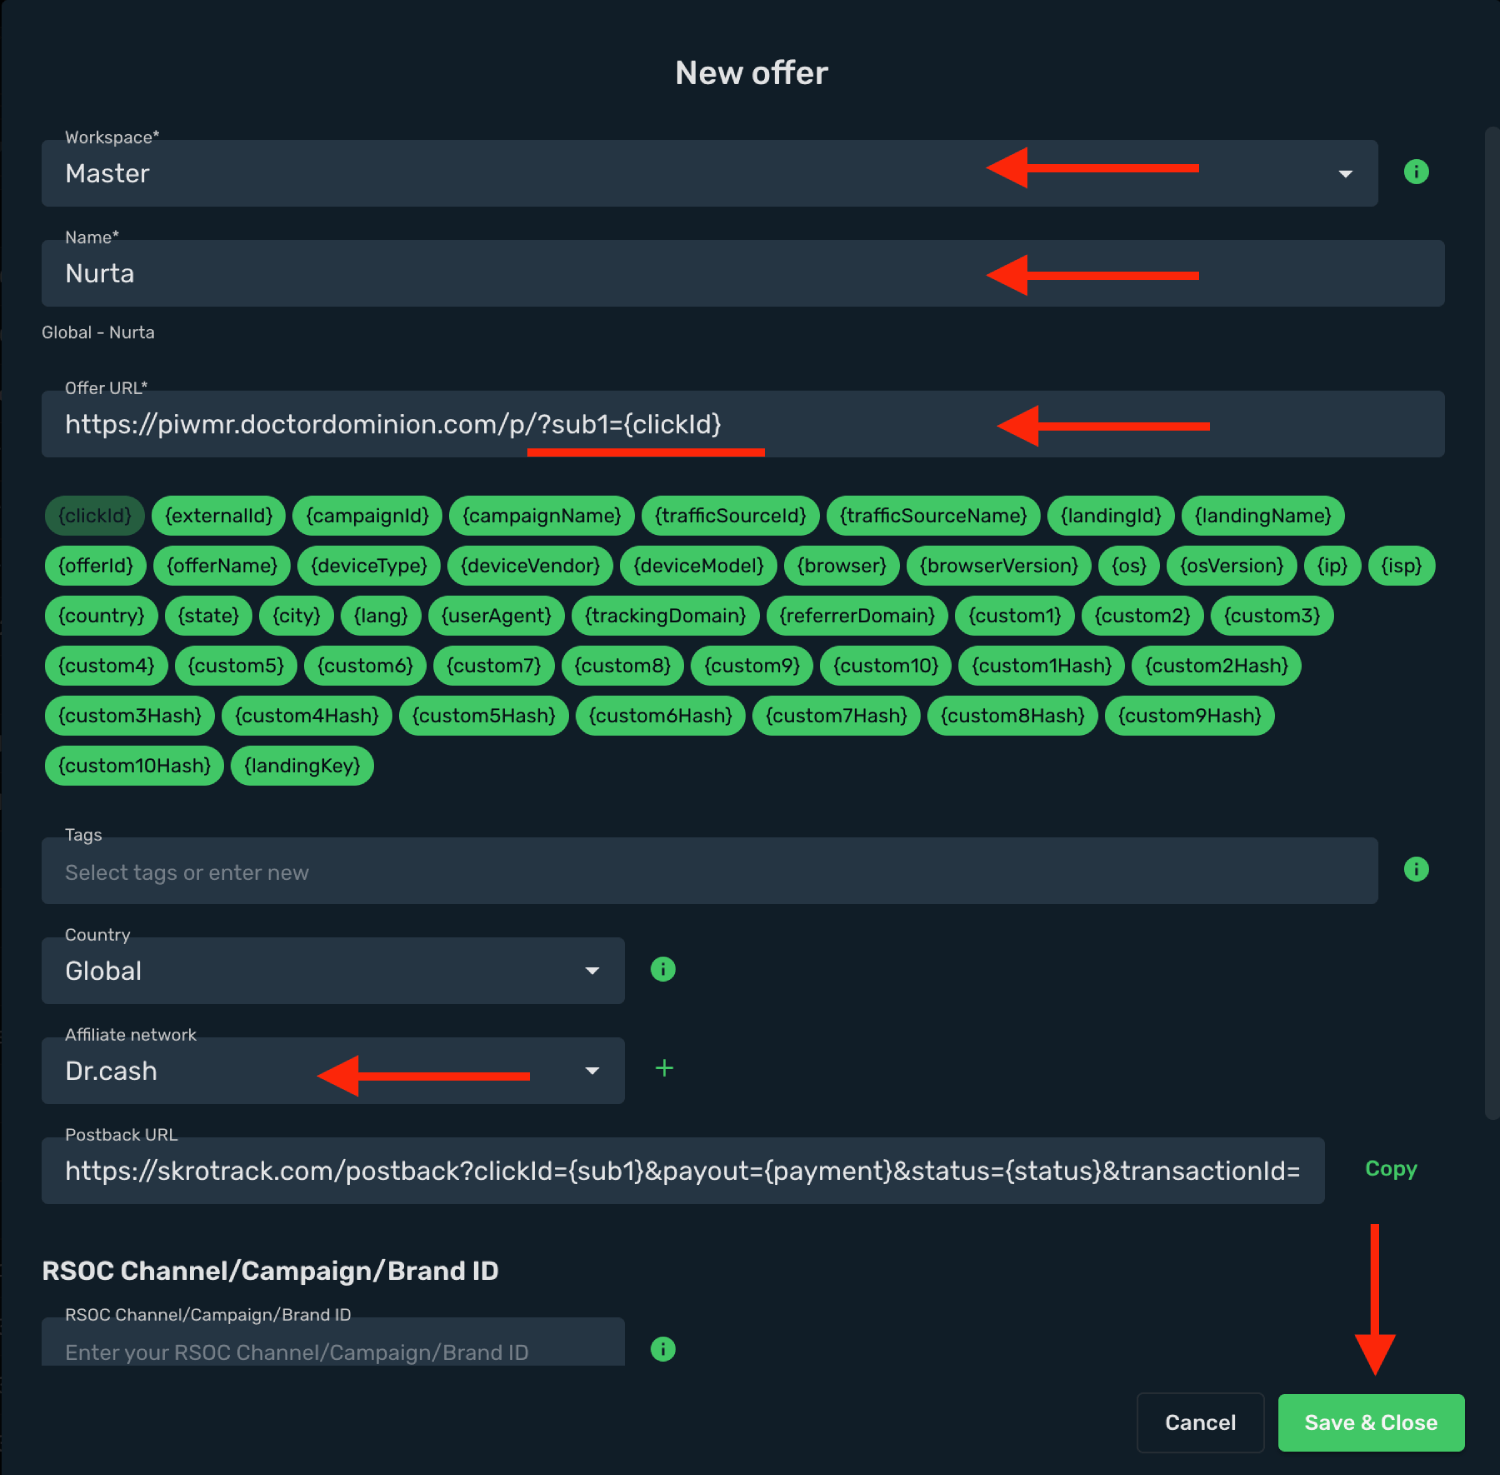
6. Click **Save & Close**.
## Step 5. Create a campaign on Skro [#step-5-create-a-campaign-on-skro]
1. Start with the following guide:
## Verify the setup [#verify-the-setup]
Follow a campaign link and complete a test conversion using your provider’s test workflow. Confirm that the original click ID reaches the provider and is returned to Skro, then check the event and revenue in your campaign report.
If data is missing, check the selected workspace, integration, campaign, and reporting date range. Compare parameter names and macro values with the examples in this guide before repeating the test.
## Related guides [#related-guides]
# EVADAV integration
Source: https://skro.eu/docs/integrations/evadav-integration
Set up EVADAV tracking in Skro, configure traffic source parameters, and connect your advertising campaigns.
Integration enables you to track all your campaigns, zones, sources, ads, etc. Additionally, it provides a comprehensive overview of your cost and conversions for the optimization.
## Step 1. Create EVADAV traffic source and configure the postback URL [#step-1-create-evadav-traffic-source-and-configure-the-postback-url]
1. Navigate to **Traffic Sources**.
2. Click **Create**.
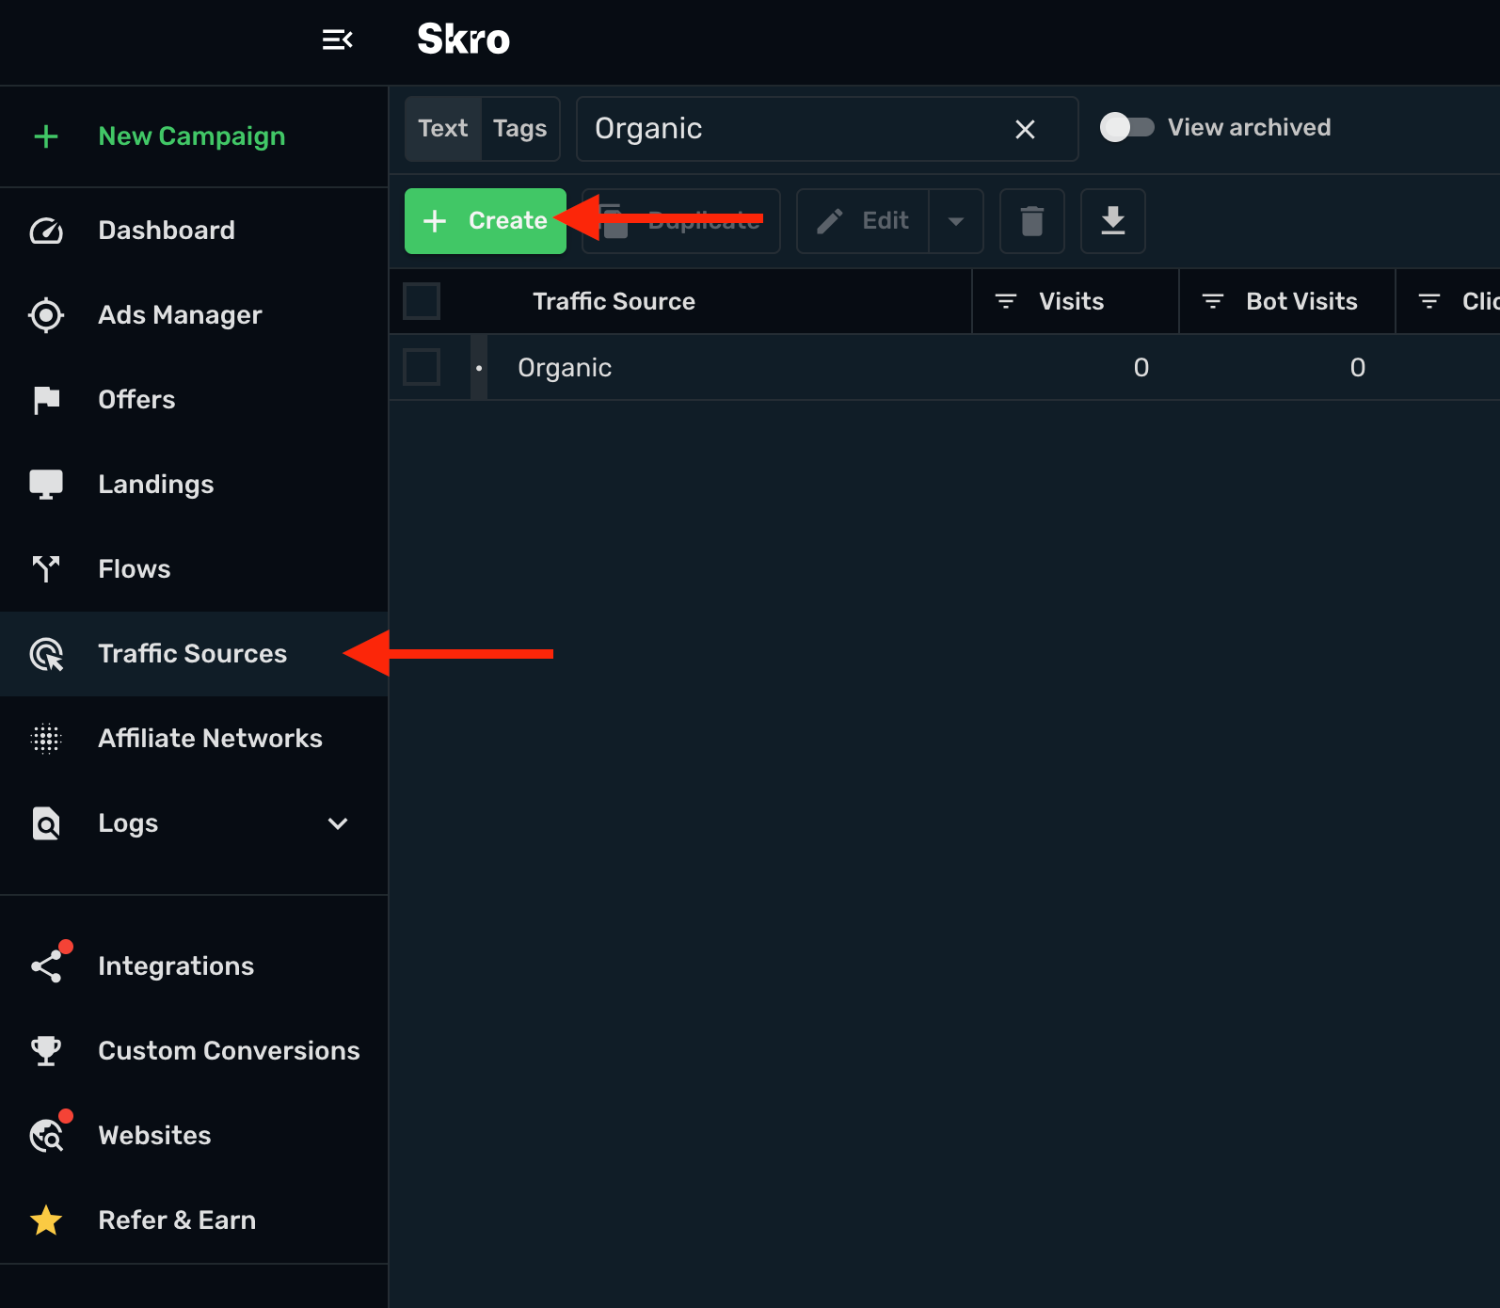
3. Search evadav and select the **Evadav** template.
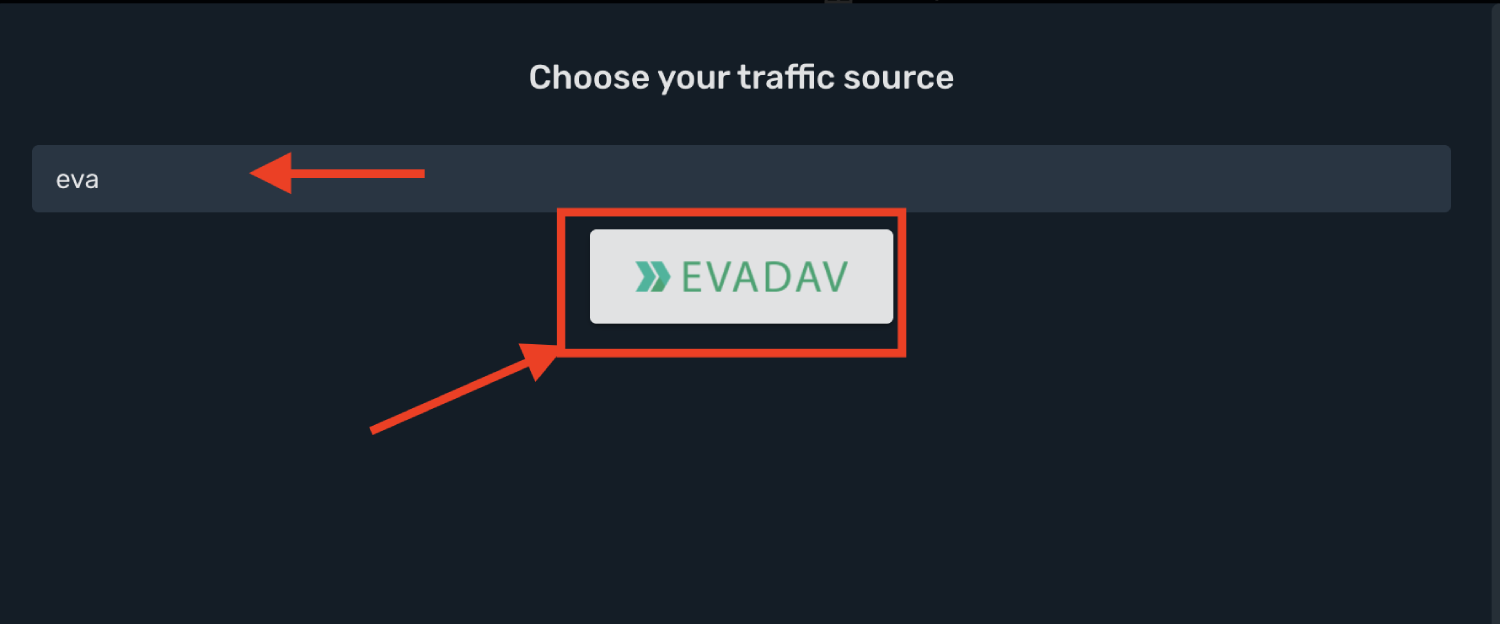
4. Postback URL is already set for you.
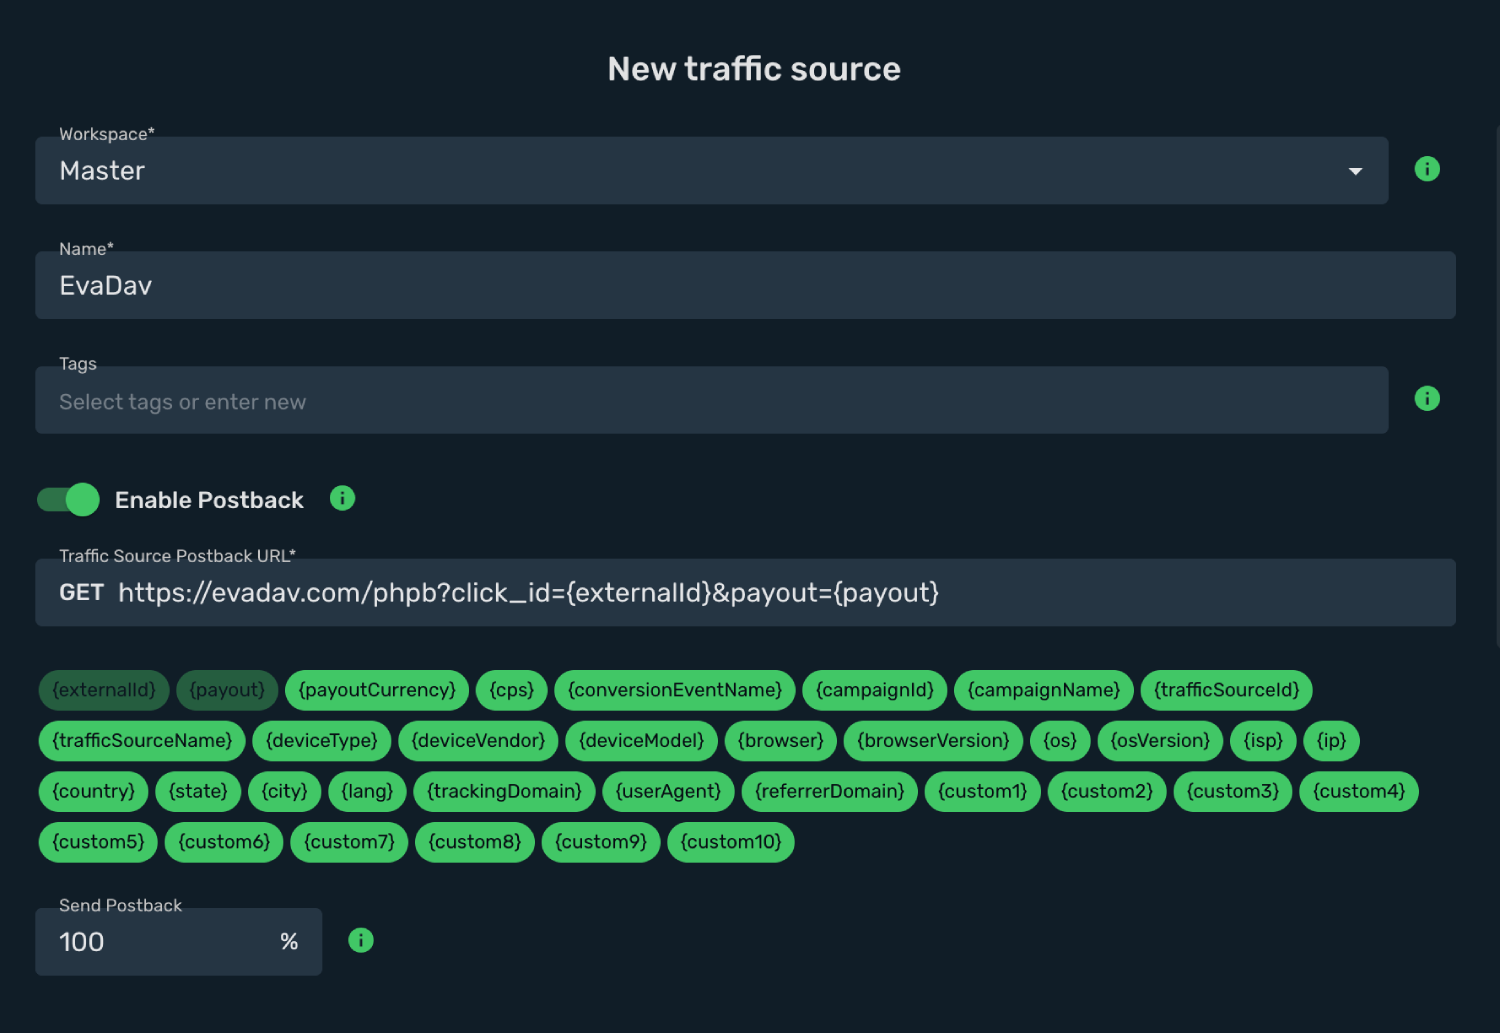
5. All tracking parameters are already prefilled for you.
If your campaign **pricing model** is **CPC**, then cost macro is **`{COST}`**, if your campaign pricing model is **CPM**, then you have to change cost macro to **`{CPM}`**. We recommend that you create two separate traffic sources.
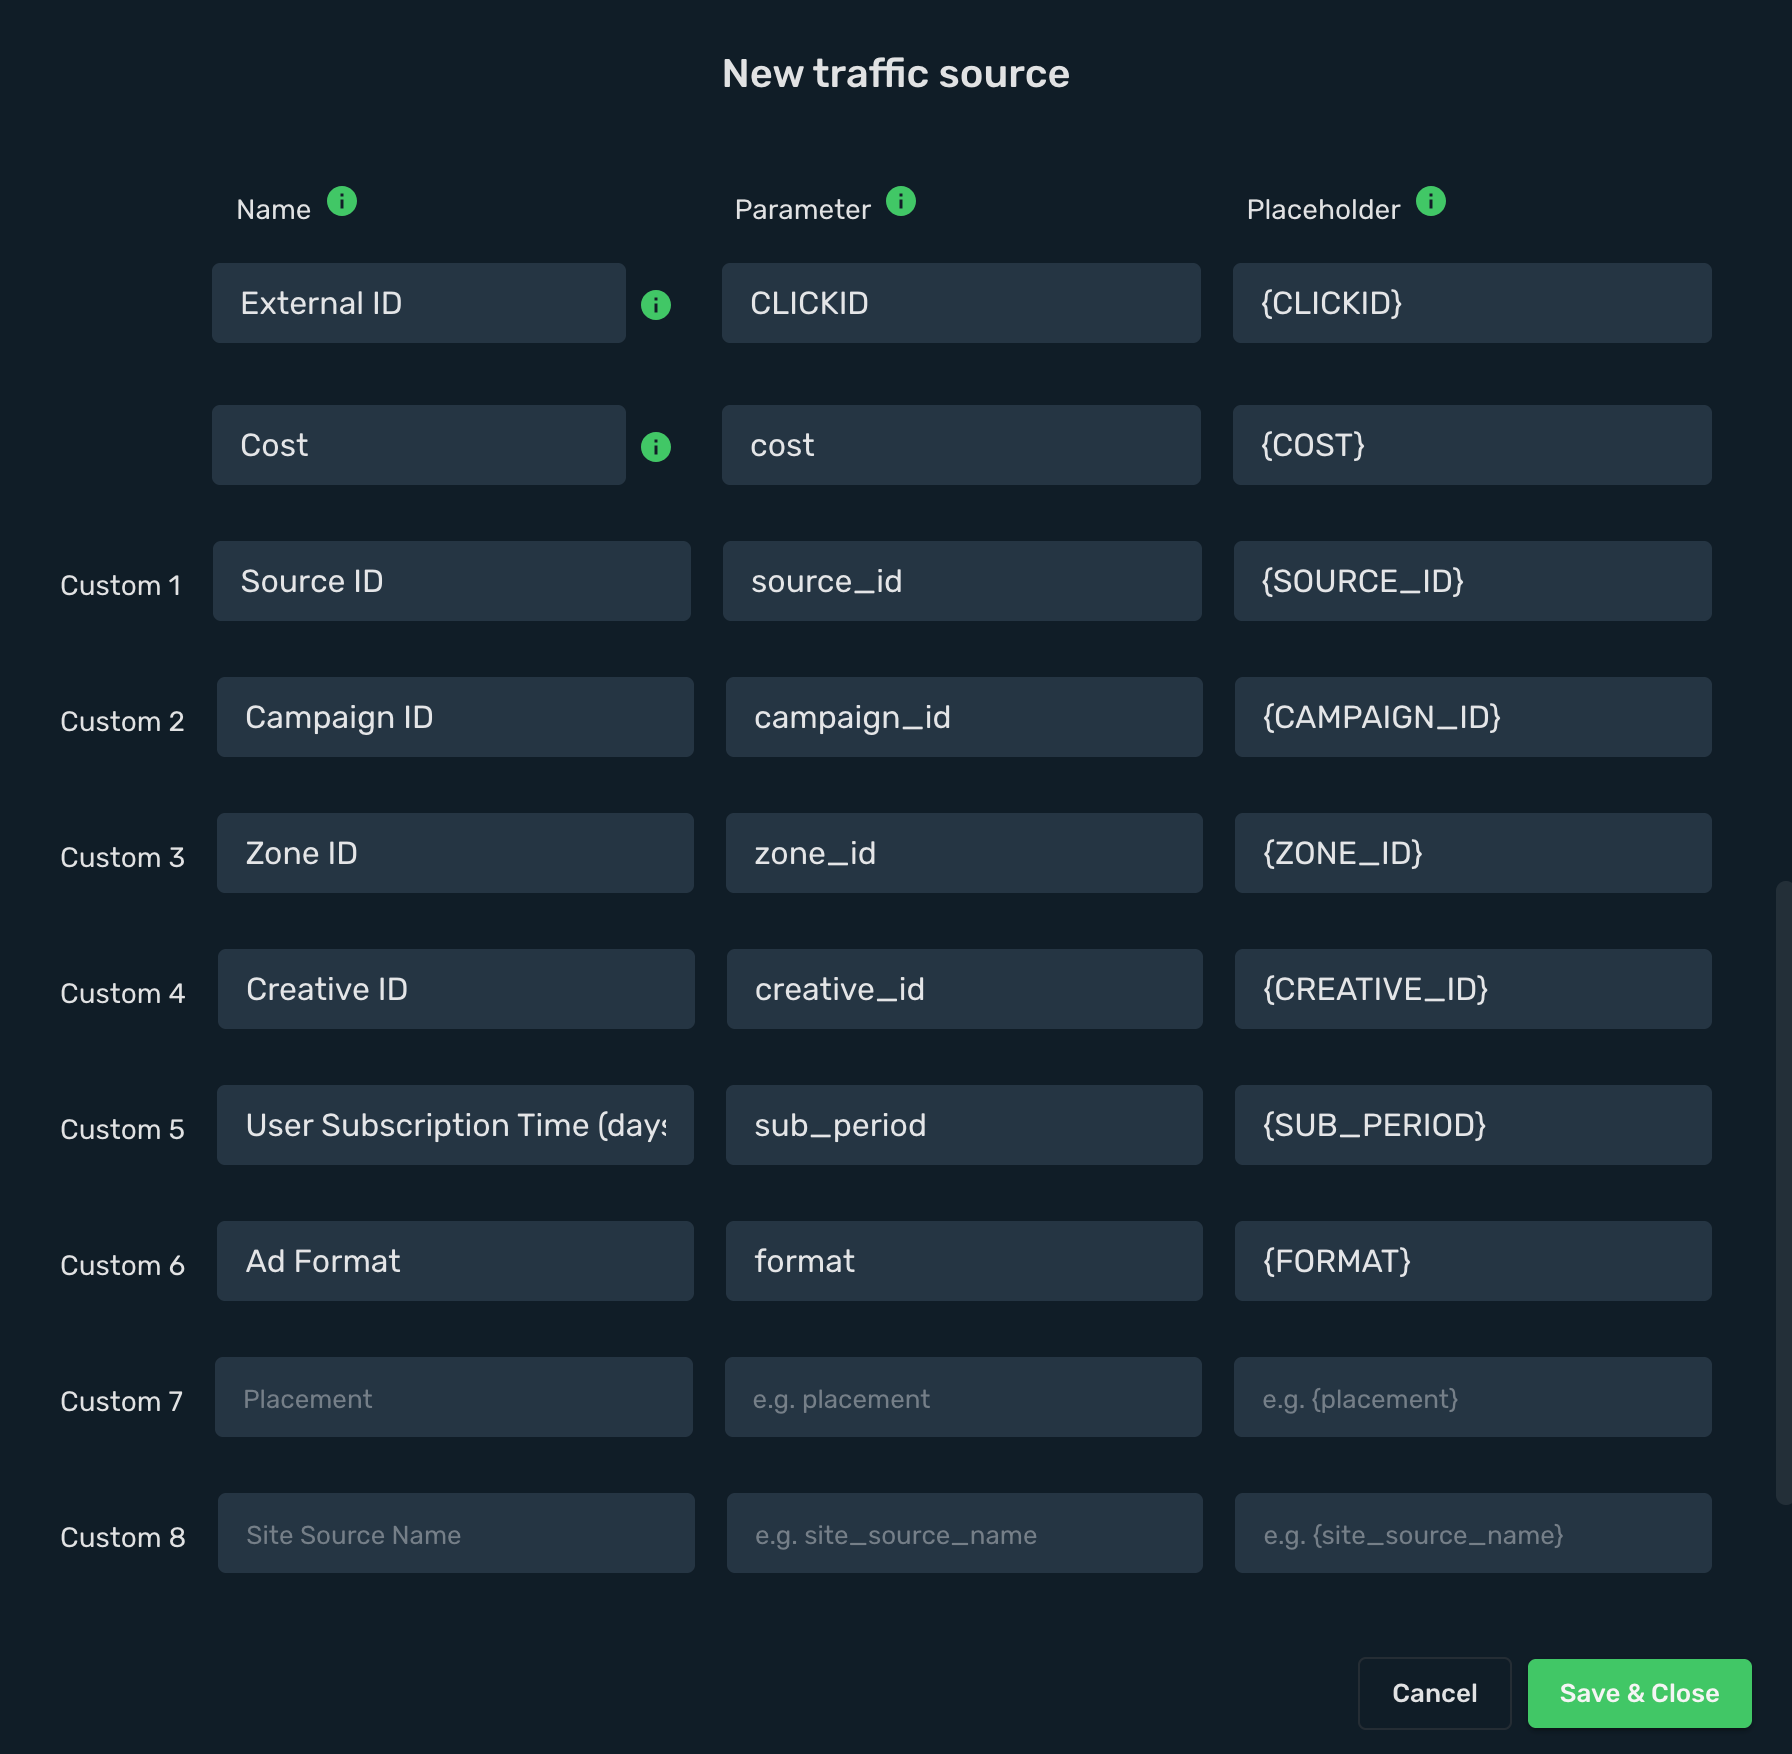
6. Click **Save & Close**.
The integration is ready. Continue by creating a campaign.
## Step 2. Create a campaign on Skro [#step-2-create-a-campaign-on-skro]
1. Go to **Ads Manager** and click **Create**.
2. Select your **Traffic source** and click **Next**.

3. Select your campaign **Workspace**.
4. Enter a descriptive campaign name.

5. Select or create your **landings** and **offers**.
6. Click **Save**.

7. Copy the **Campaign Tracking URL** to clipboard.

## Step 3. Create a campaign on Evadav [#step-3-create-a-campaign-on-evadav]
1. Log in to your Evadav account.
2. Navigate to the **Campaigns** view and click **Create Campaign**.
3. Complete the required fields.
4. Add your Skro campaign tracking link to the **Target URL field** with prefilled macros.
## Verify the setup [#verify-the-setup]
Open the generated campaign URL and check that the visit appears in Skro. Confirm that traffic source macros resolve to actual values. If you send conversions back to the source, verify a test conversion in both systems.
If data is missing, check the selected workspace, integration, campaign, and reporting date range. Compare parameter names and macro values with the examples in this guide before repeating the test.
## Related guides [#related-guides]
# Everad integration
Source: https://skro.eu/docs/integrations/everad-integration
Connect Everad to Skro, map click IDs, and configure postbacks to attribute conversions and revenue to your campaigns.
## Step 1. Add affiliate network to Skro [#step-1-add-affiliate-network-to-skro]
1. Go to **Affiliate Networks** and click **Create**.
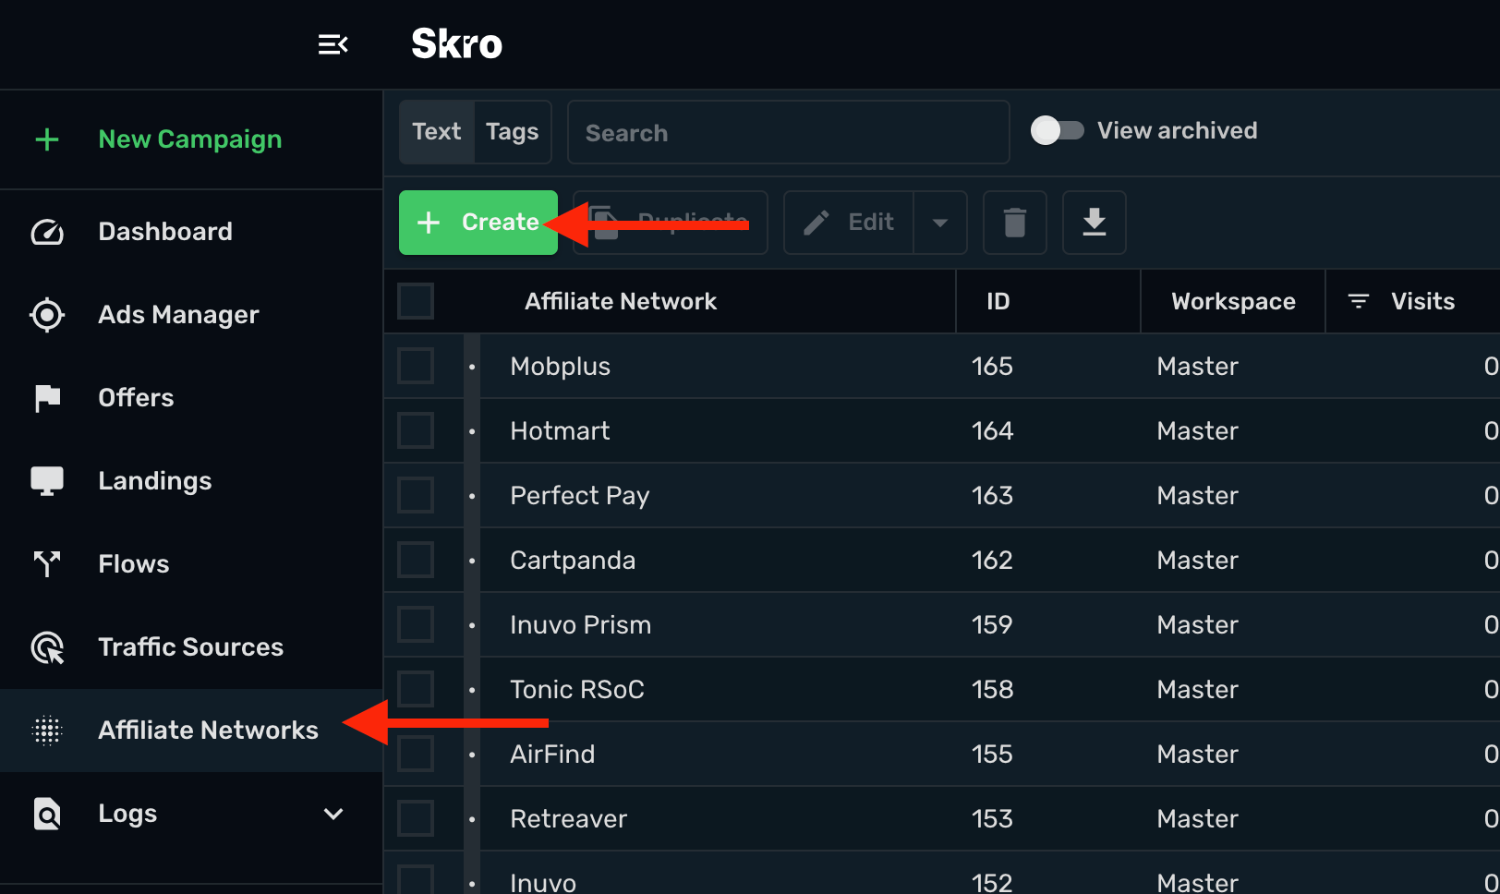
2. Search Everad and select the **Everad** template.
3. Select your **Workspace** and **Copy** postback URL to your clipboard.
4. Click **Save & Close**.
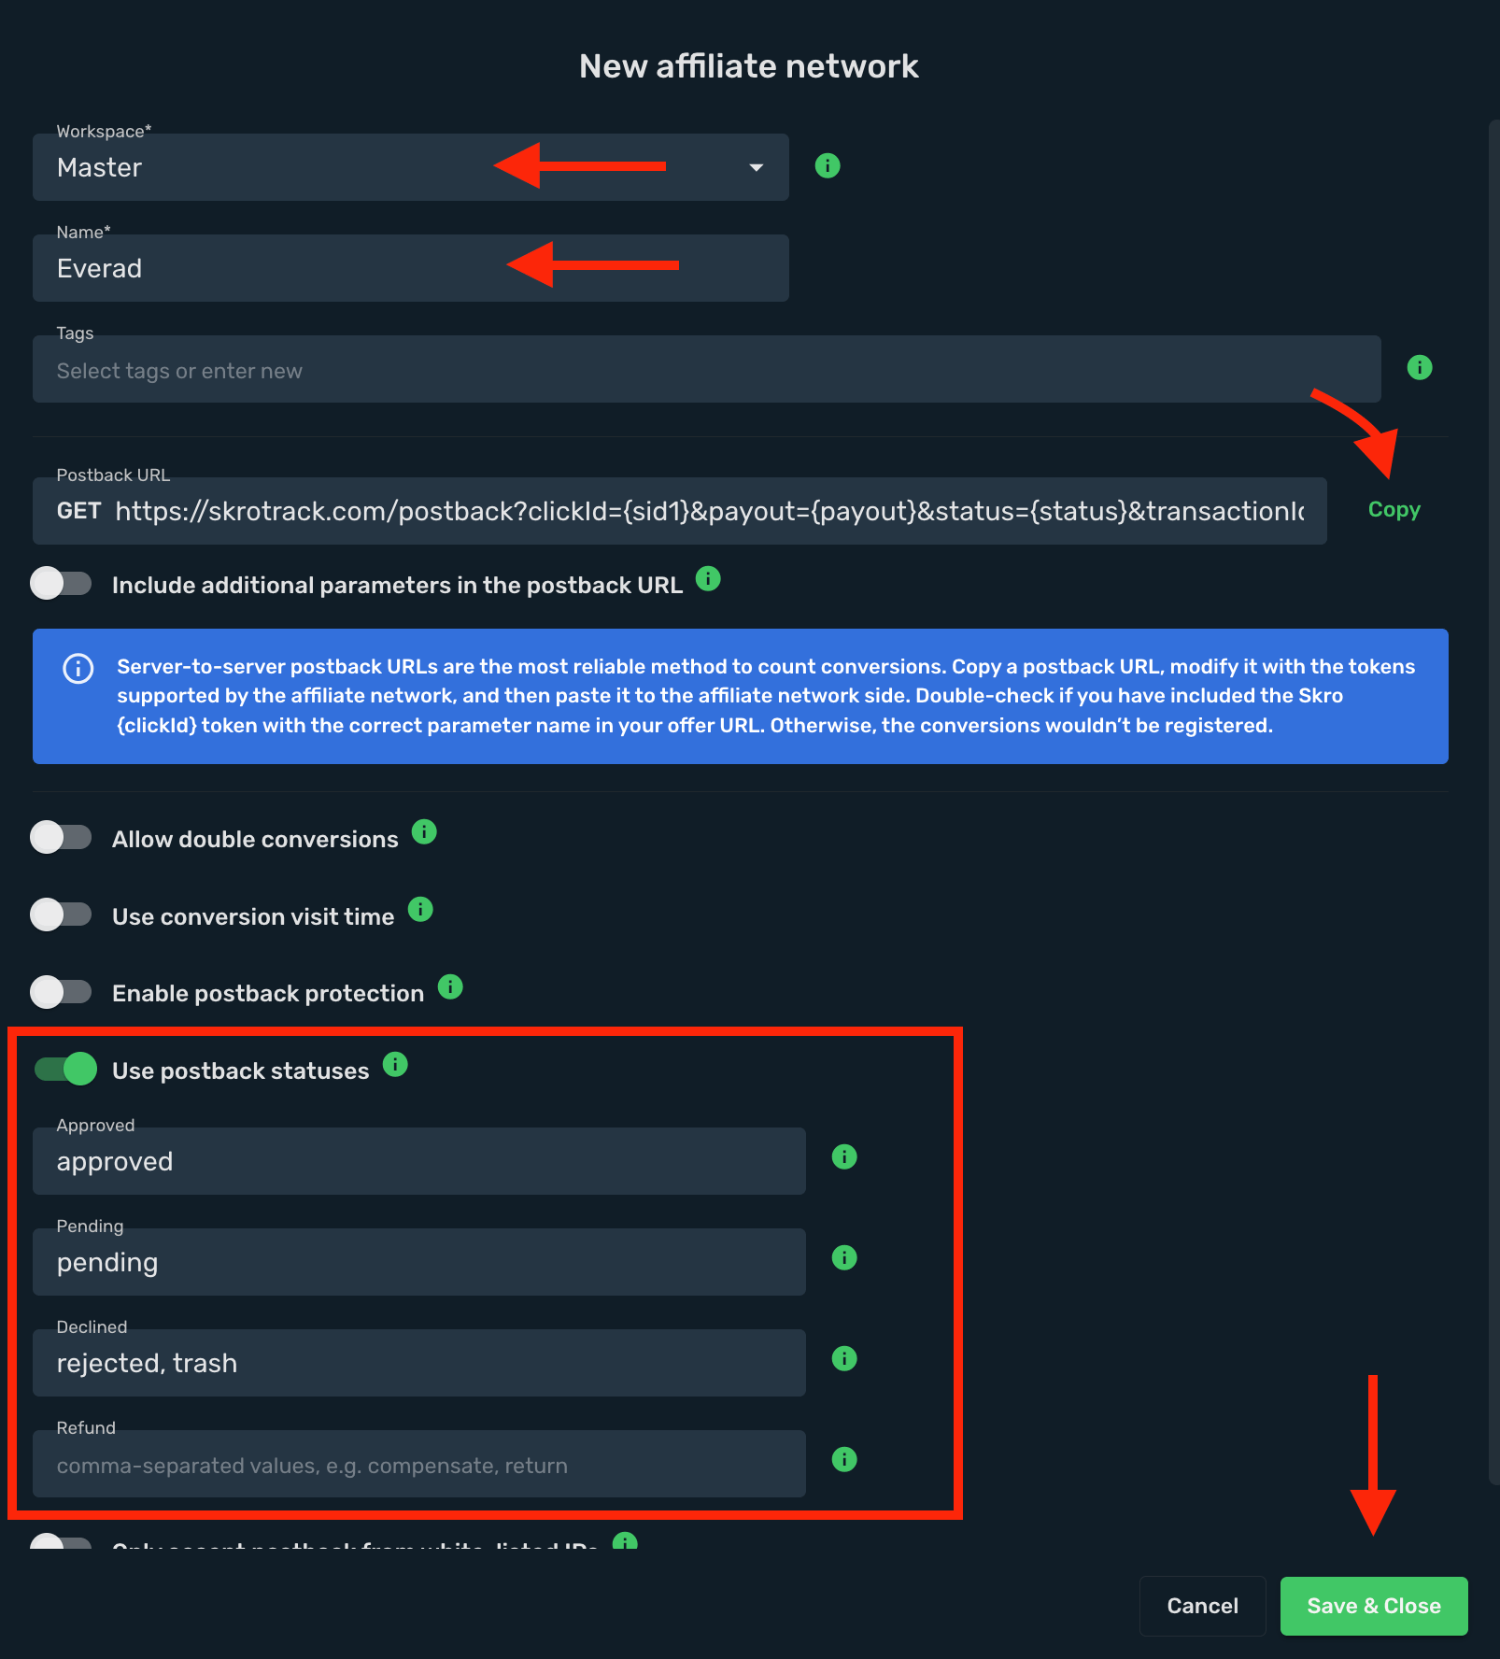
The Everad affiliate network is now saved in Skro. Use the copied postback URL in Everad in the next step.
## Step 2. Setting up a postback URL [#step-2-setting-up-a-postback-url]
1. Log in to **Everad** account.
2. Go to **Campaigns** and click **Global postback**.
3. Paste **Postback URL** to the field.
4. Tick **Postback on conversion status change** option to track all conversion statuses.
5. Click **Save** to store the settings.
**Global Postback**
`https://skrotrack.com/postback?clickId={sid1}&payout={payout}&status={status}`
## Step 3. Get an offer from Everad [#step-3-get-an-offer-from-everad]
1. Go to **Offers** section on the panel.
2. Select your offer from the list and click it.
3. Click **Create a campaign**.
4. Specify the Name of campaign.
5. Select Location and Language.
6. Choose the Traffic source you are going to use.
7. Select the required Currency. This selection affects the currency you will receive the payout in.
8. Select the landing page and pre-landing page.
9. Use the domain provided by Everad or add your own domain.
10. Click **Save campaign**.
11. Copy the offer link.
## Step 4. Add offer to Skro [#step-4-add-offer-to-skro]
1. Go back to Skro and navigate to the **Offers** and click **Create**.
2. Choose your workspace.
3. Give a name to your offer.
4. Grab the offer link from Everad and add it to Offer URL field and change the macros to this **`&s2={clickId}`**
**`{clickId}`** - The Skro click ID macro for conversion tracking.
**Example Offer URL:**
`https://12345.offer.com/?sid1={clickId}`
5. Choose Everad from the **Affiliate Network** select box.
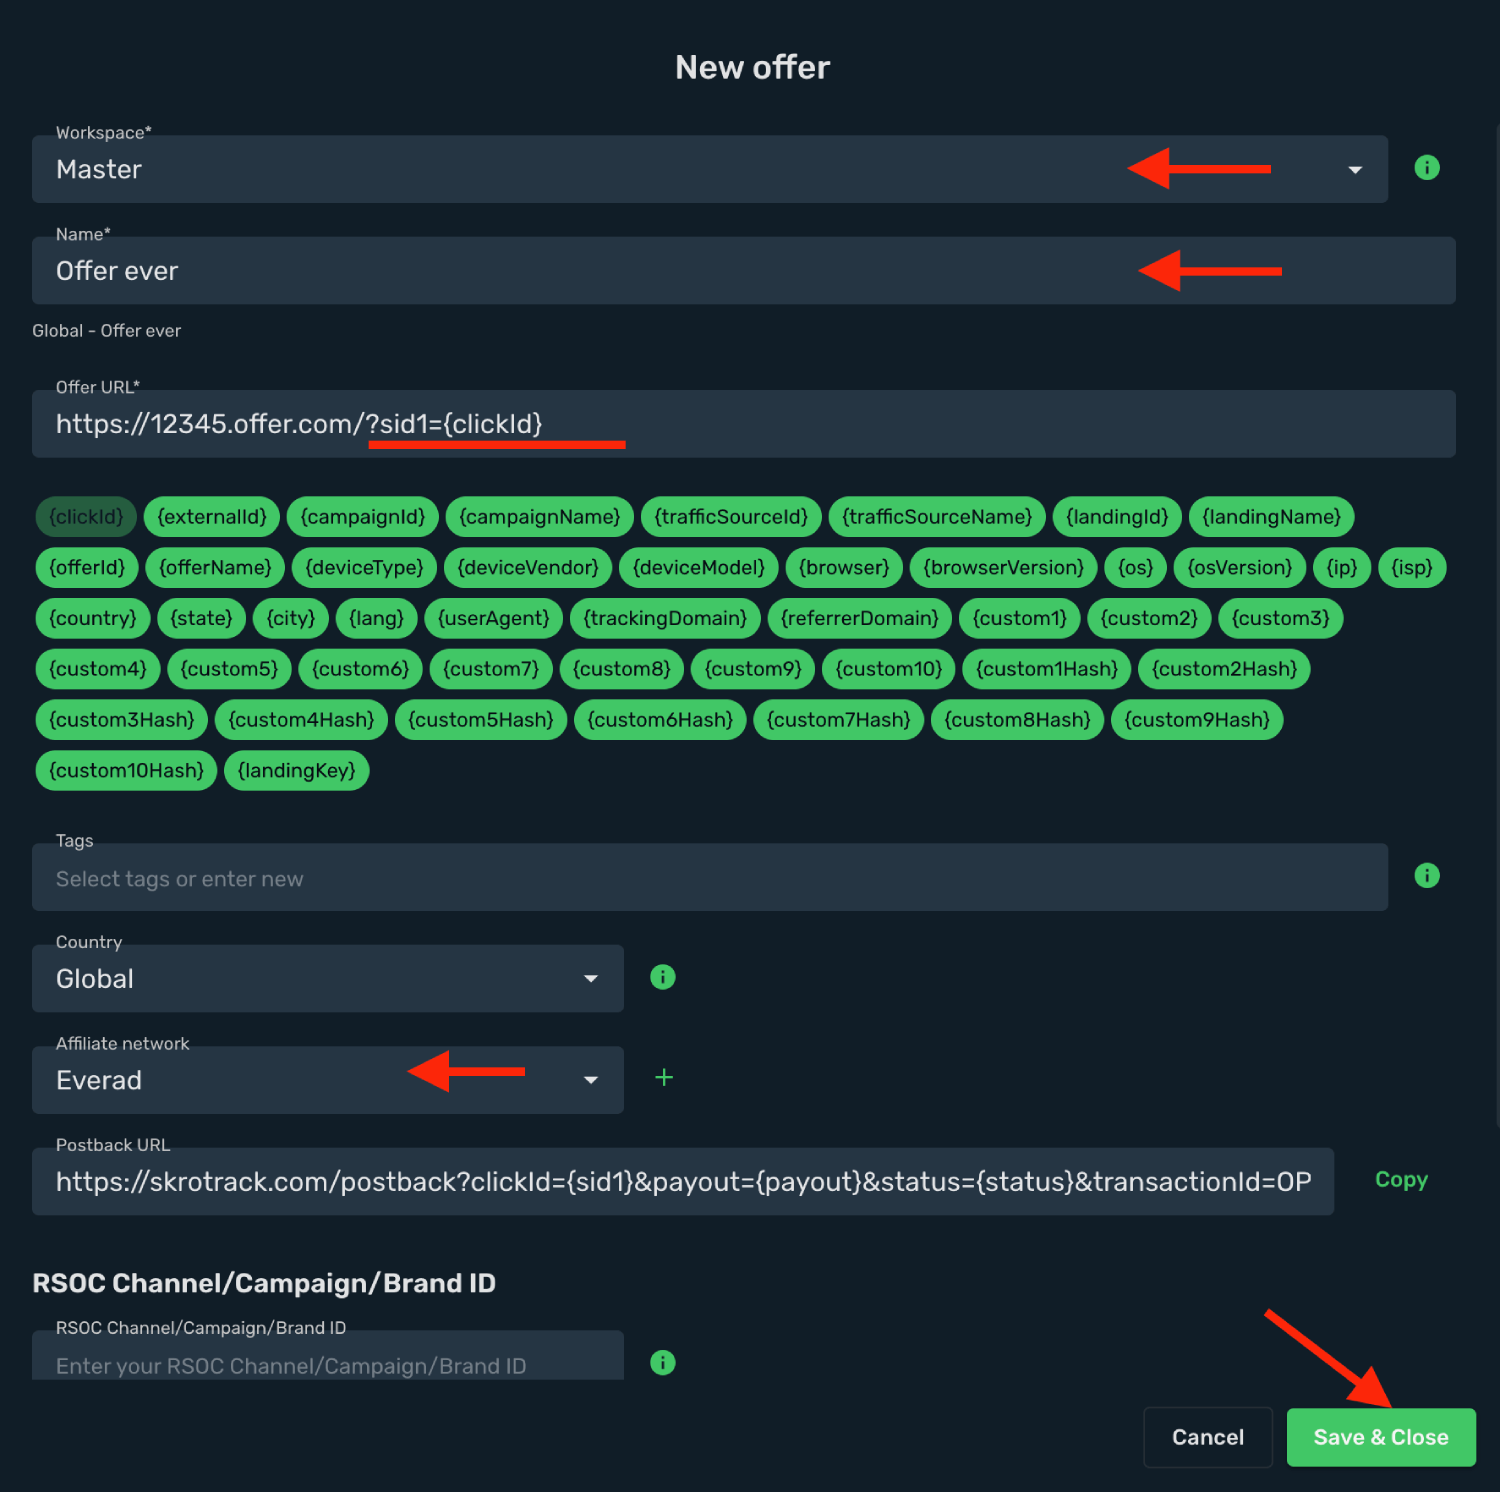
6. Click **Save & Close**.
## Step 5. Create a campaign on Skro [#step-5-create-a-campaign-on-skro]
1. Start with the following guide:
## Verify the setup [#verify-the-setup]
Follow a campaign link and complete a test conversion using your provider’s test workflow. Confirm that the original click ID reaches the provider and is returned to Skro, then check the event and revenue in your campaign report.
If data is missing, check the selected workspace, integration, campaign, and reporting date range. Compare parameter names and macro values with the examples in this guide before repeating the test.
## Related guides [#related-guides]
# Everflow integration
Source: https://skro.eu/docs/integrations/everflow-and-skro-integration
Connect Everflow to Skro, map click IDs, and configure postbacks to attribute conversions and revenue to your campaigns.
## Step 1. Add affiliate network to Skro [#step-1-add-affiliate-network-to-skro]
1. Go to **Affiliate Networks** and click **Create**.
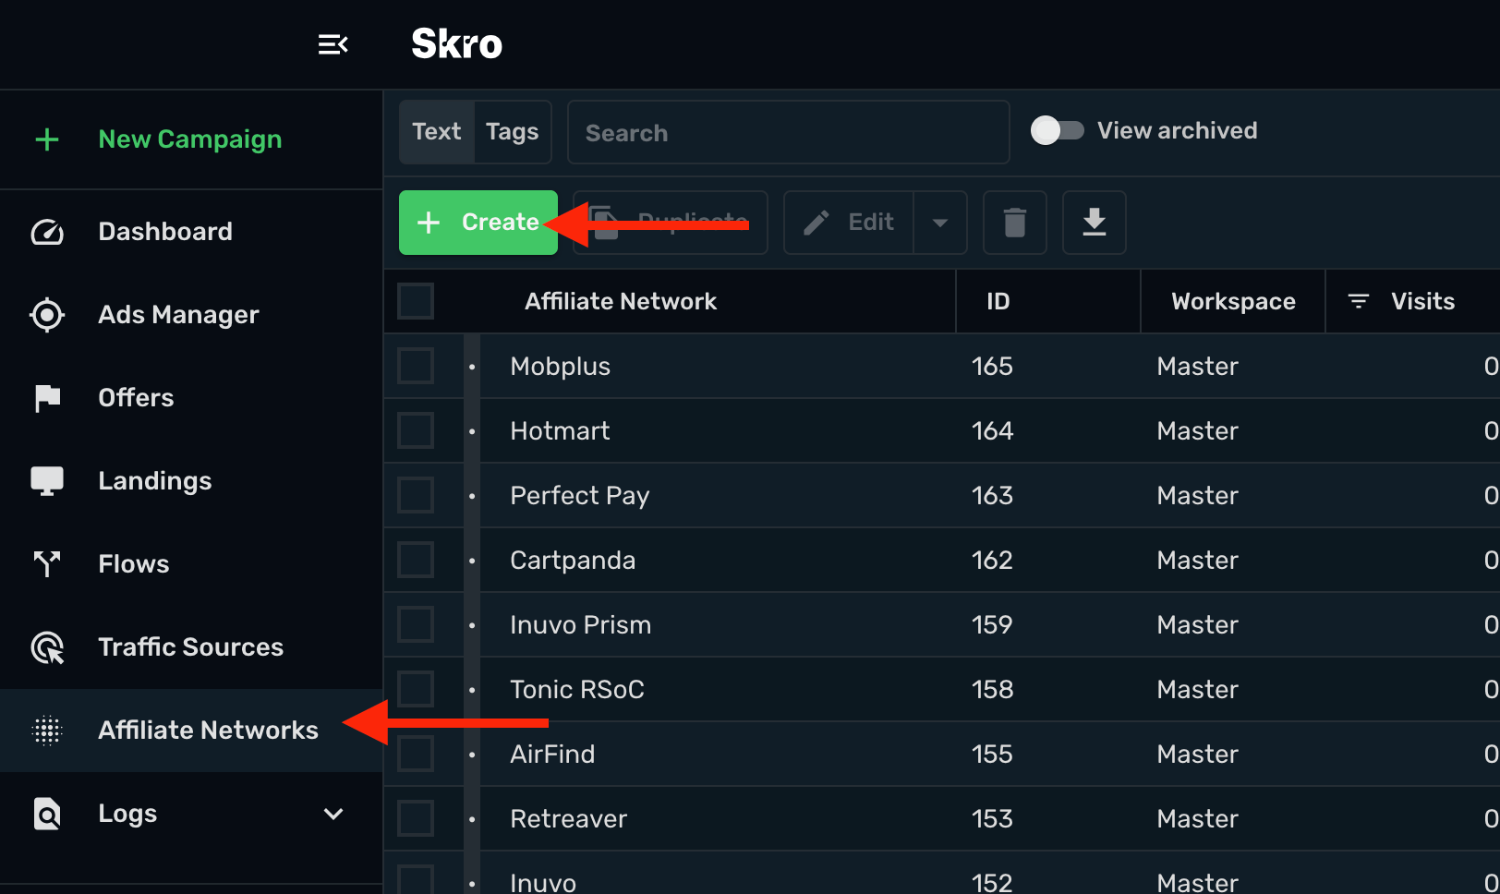
2. Search Everflow and select the **Everflow** template.
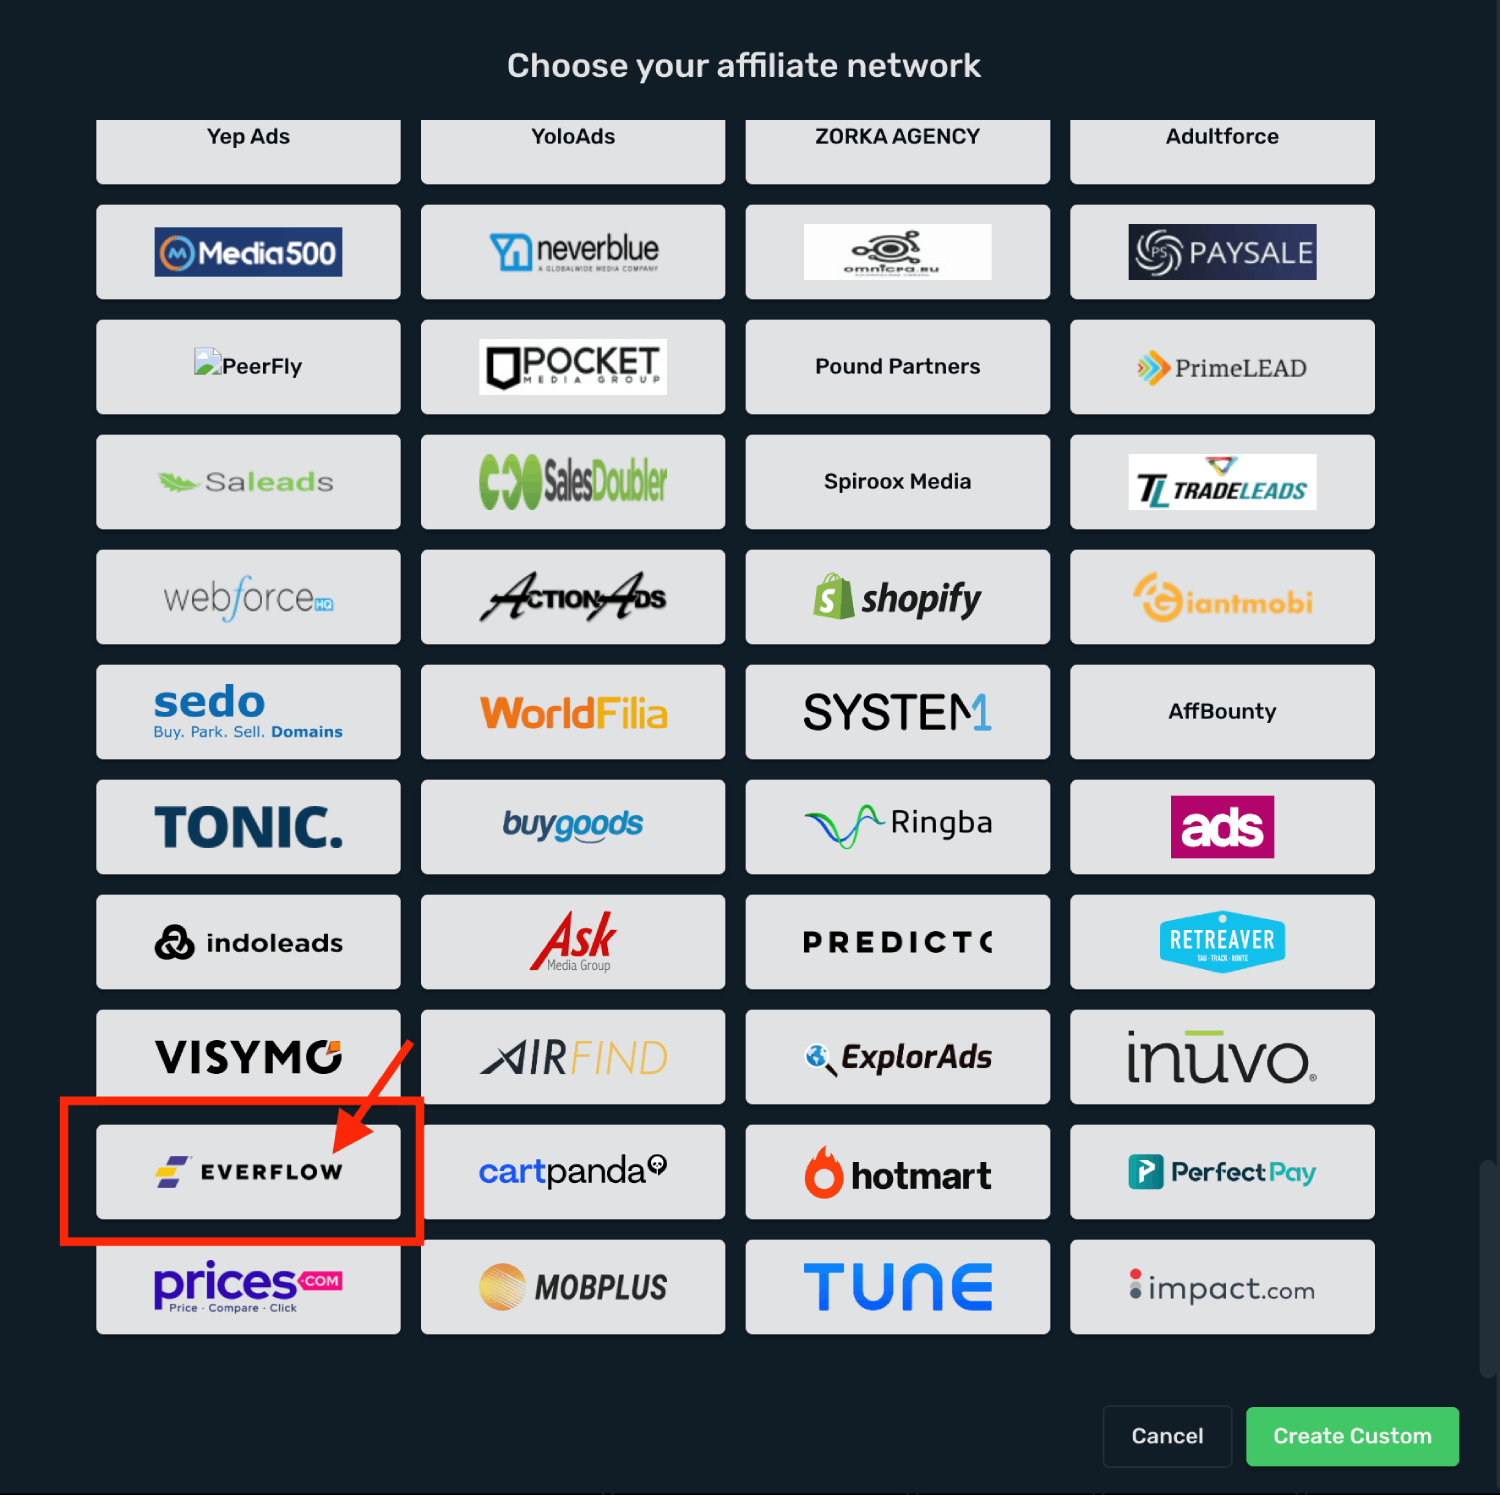
3. Select your **Workspace** and **Copy** postback URL to your clipboard.
4. Click **Save & Close**.
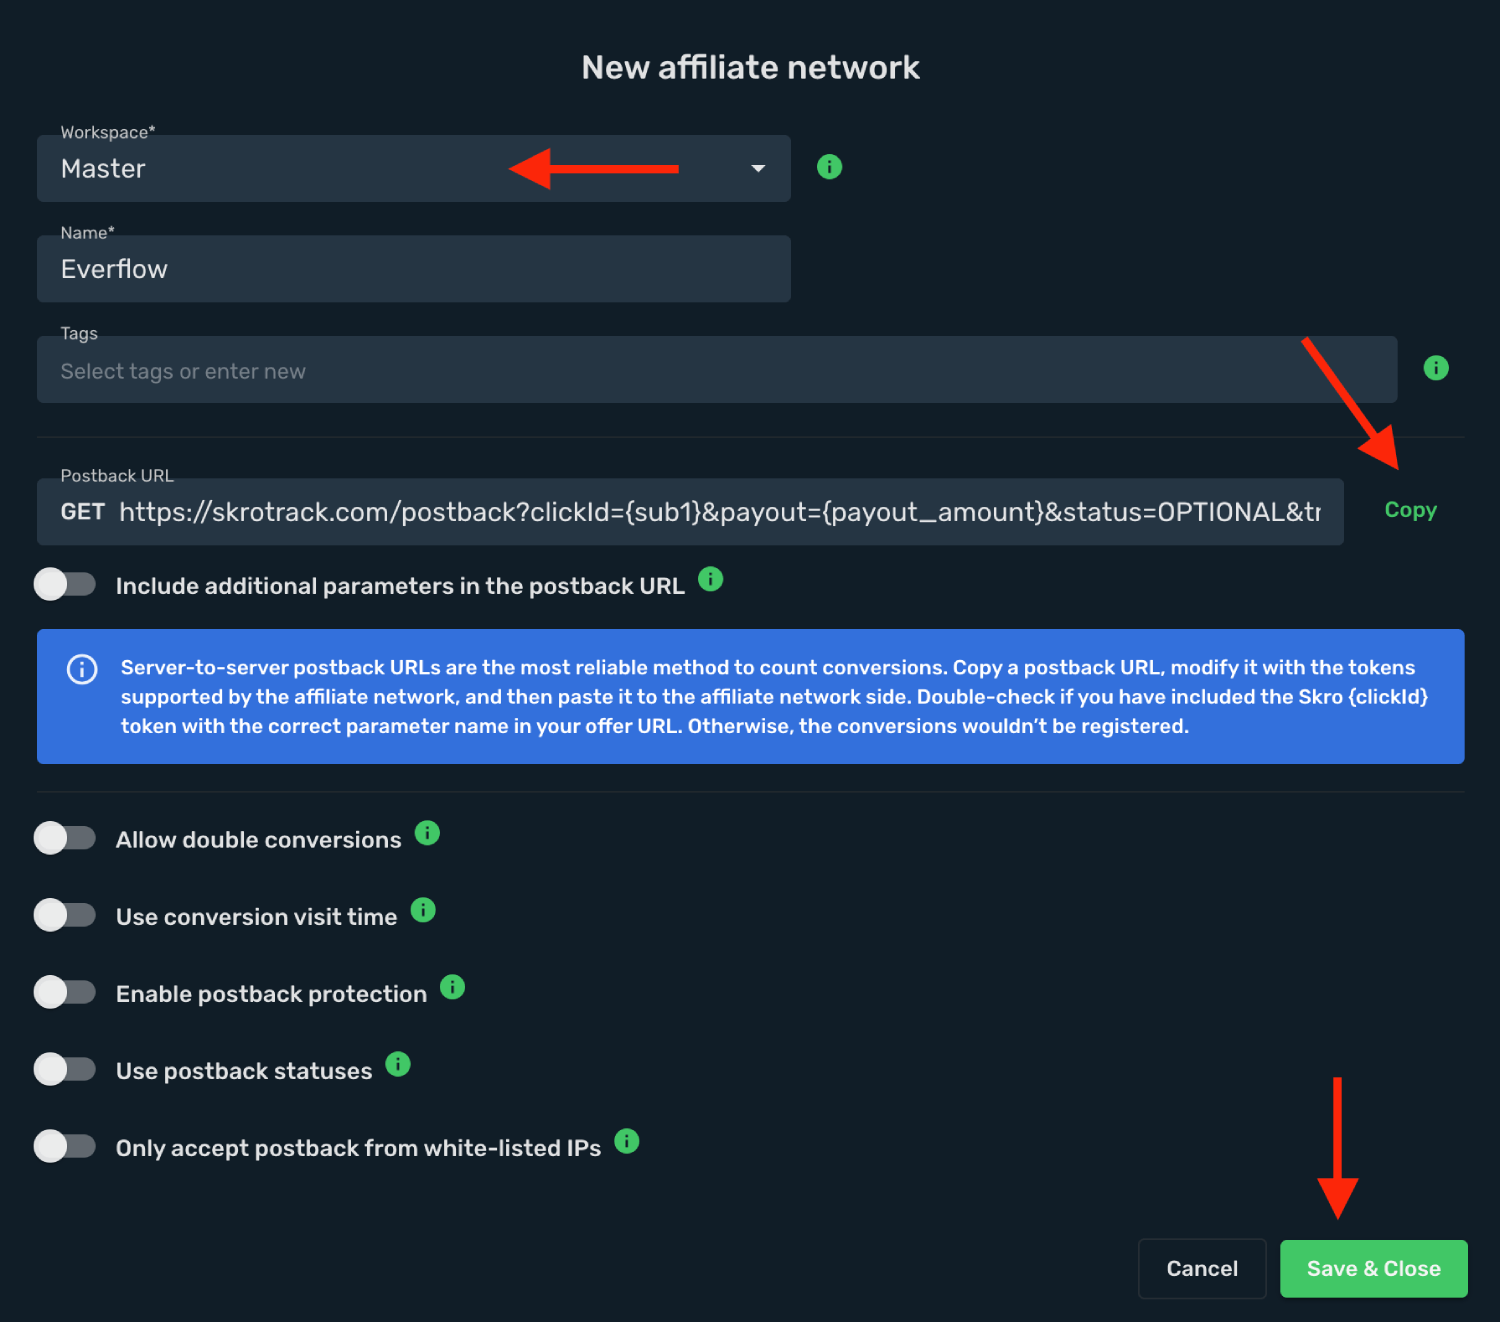
The Everflow affiliate network is now saved in Skro. Use the copied postback URL in Everflow in the next step.
## Step 2. Setting up Global postback URL [#step-2-setting-up-global-postback-url]
1. Log in to **Everflow** account.
2. Go to **Postbacks** → **Conversions**.
3. Click the **+ Postback**.
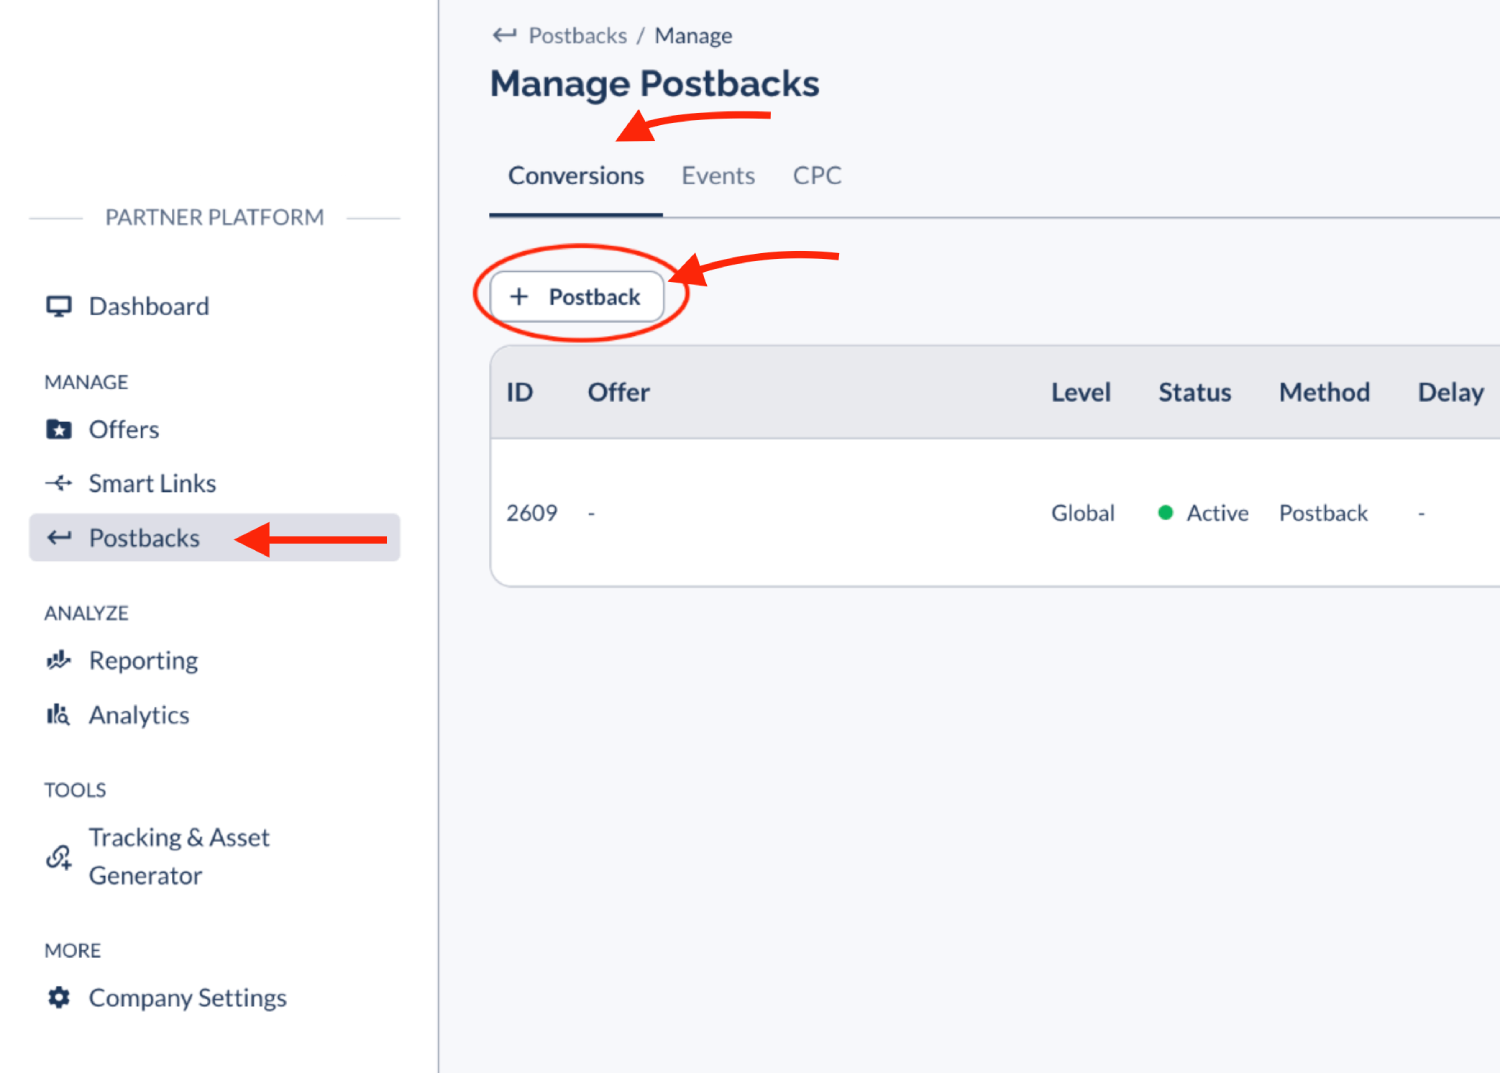
4. **Status** - set **Active**.
5. **Postback Type** - select **Conversion**.
6. **Postback Level** - set **Global**.
7. **Delivery Method** - select **Postback**.
4. Paste your **Postback URL** into the **Postback URL** field.
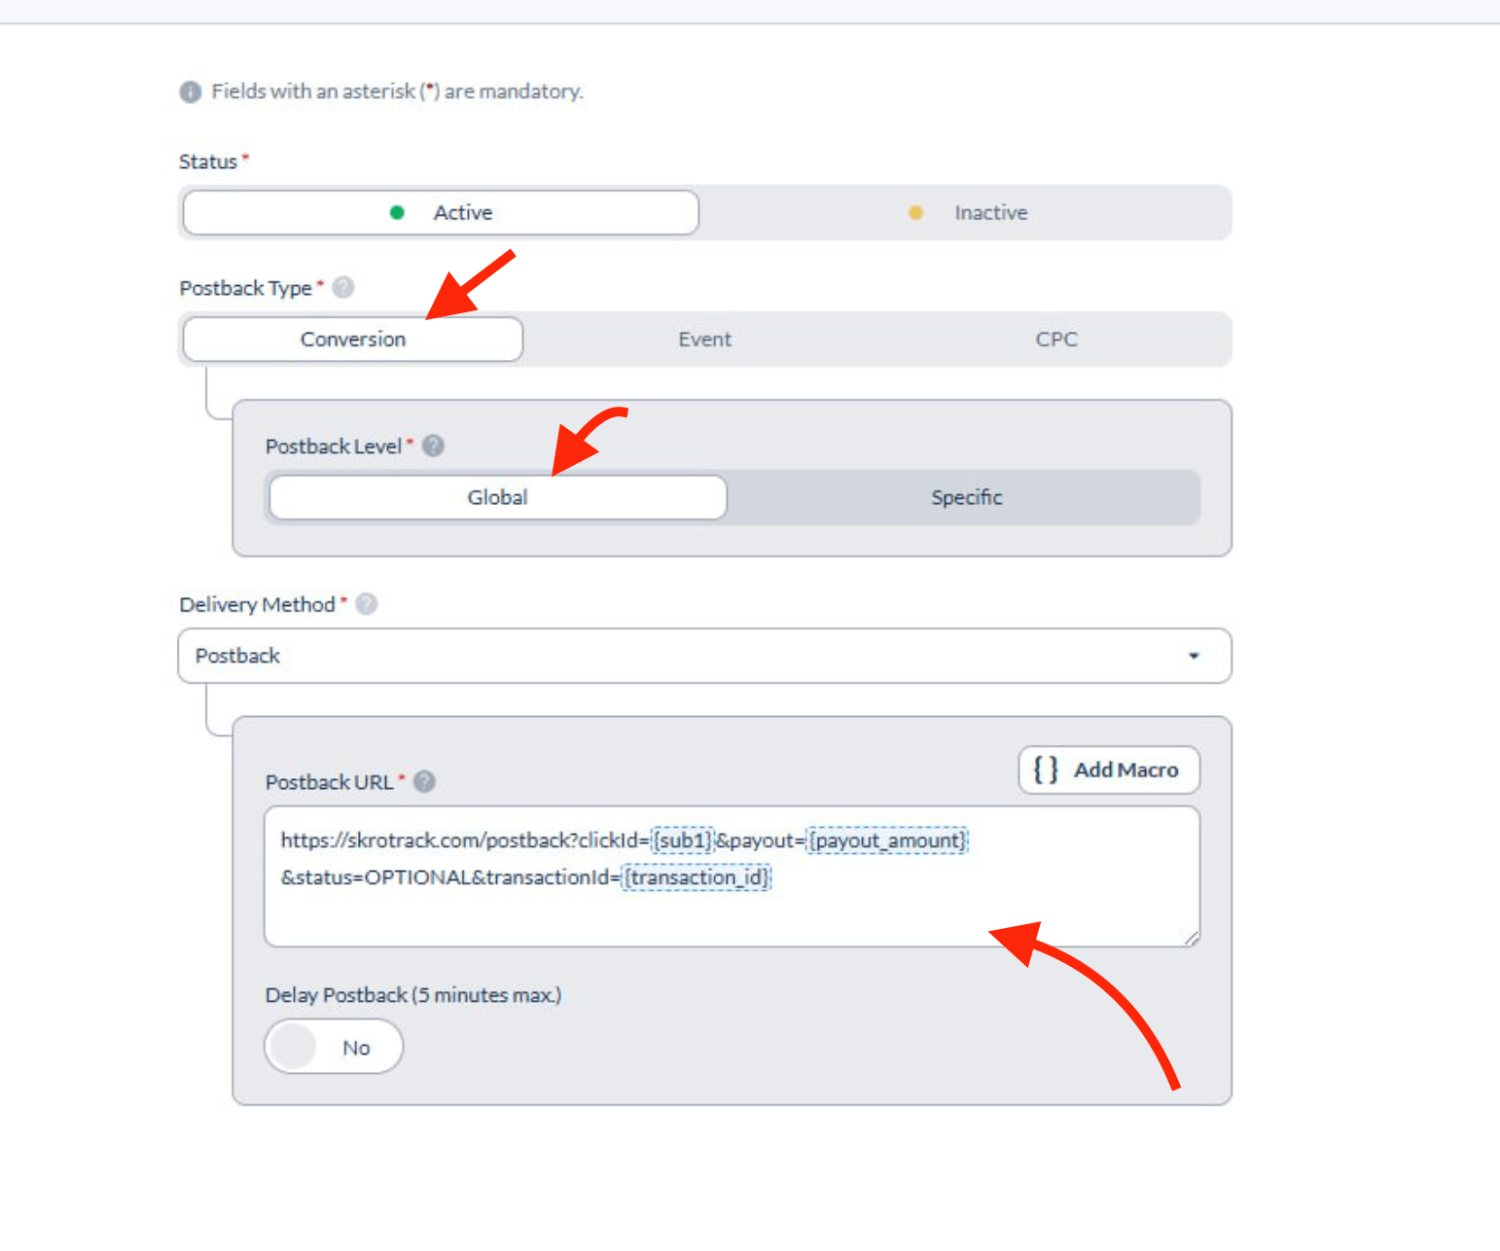
5. Scroll down and click **Save**.
**Example of **Global** postback URL:**
`https://skrotrack.com/postback?clickId={sub1}&payout={payout_amount}&transactionId={transaction_id}`
6. If you want to track multiple events, then you will need to check our custom conversions in Skro.
## Step 3. Setting up Initiate Checkout postback URL [#step-3-setting-up-initiate-checkout-postback-url]
1. Go to **Custom Conversions** → **Create**.
2. Create an **InitiateCheckout** custom conversion.
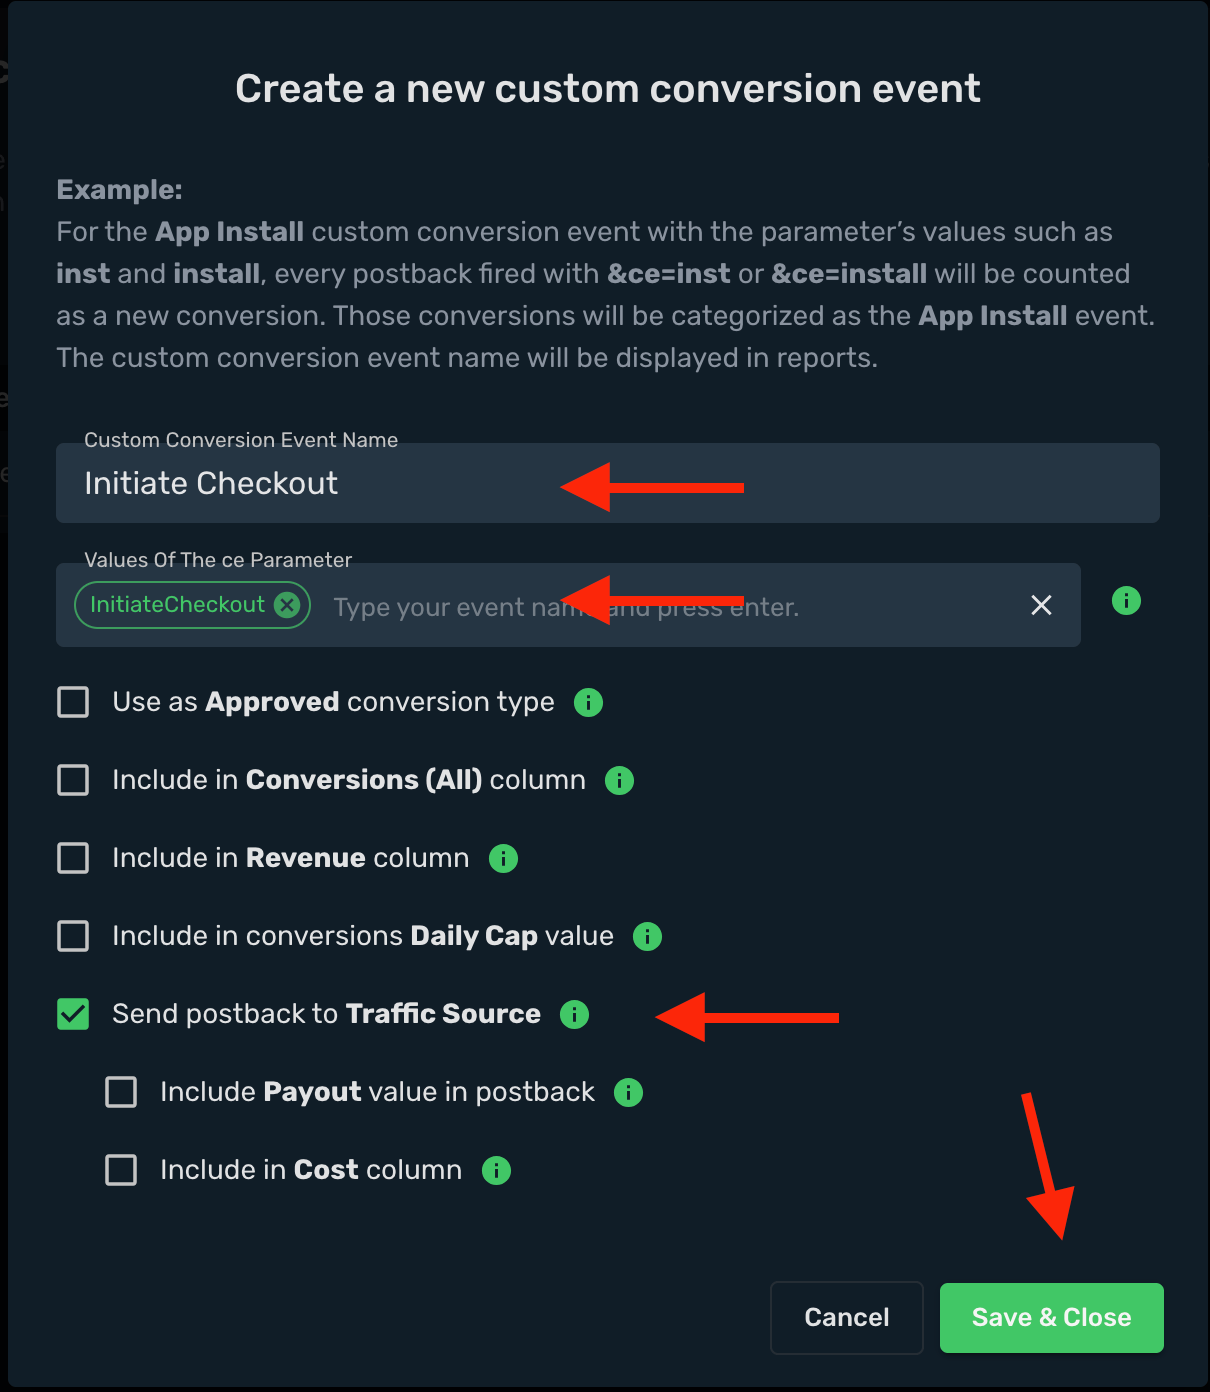
3. Add Checkout event postback URL into Everflow.
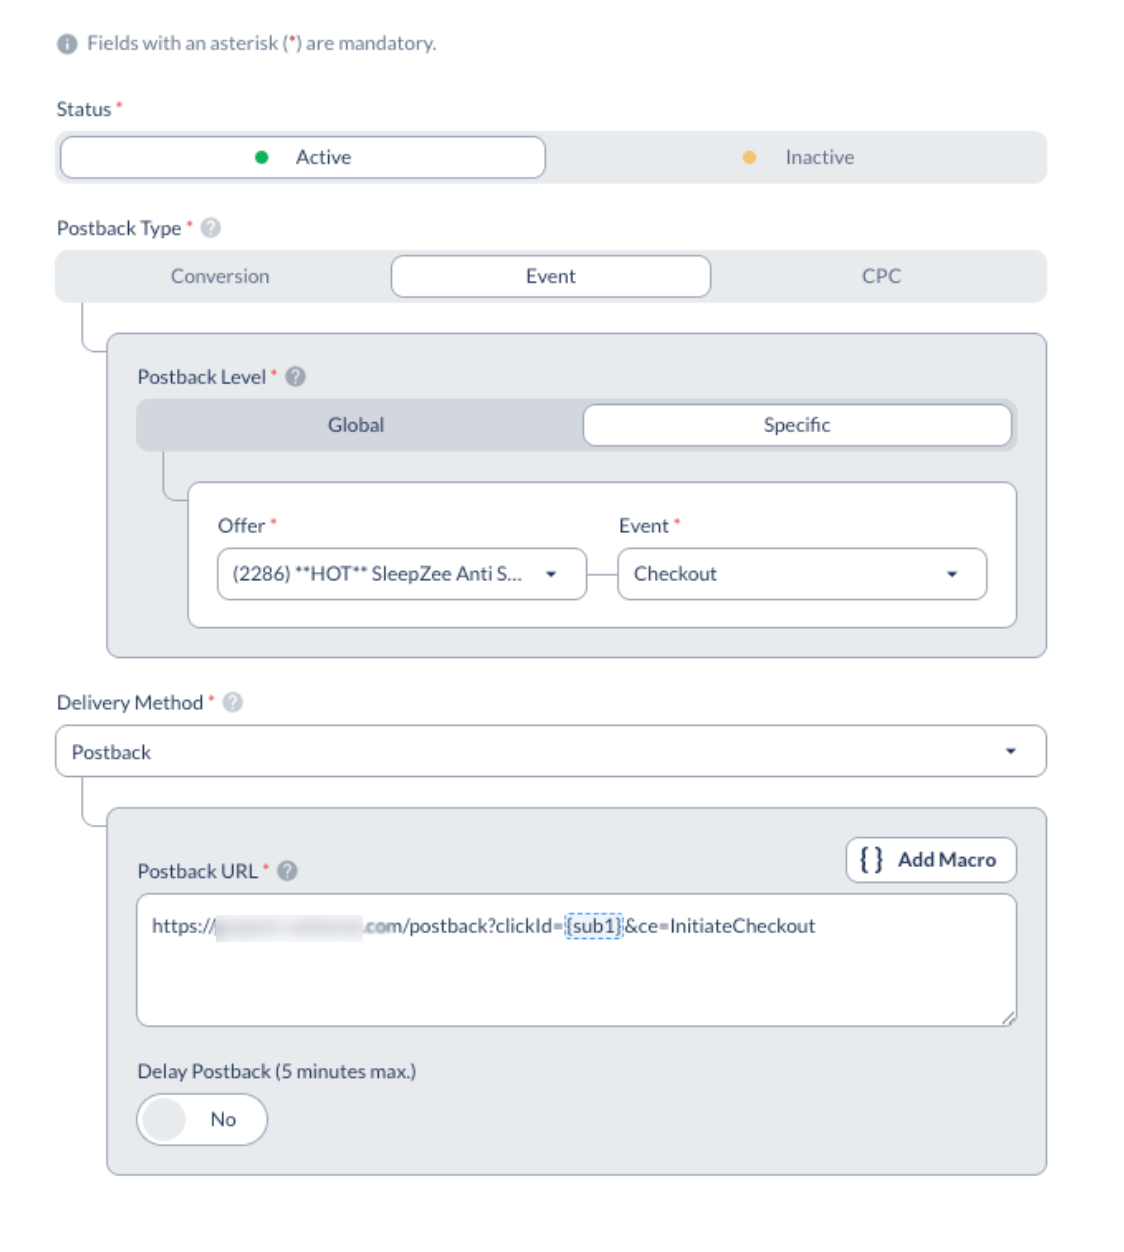
**Example of **InitiateCheckout** postback URL:**
`https://skrotrack.com/postback?clickId={sub1}&ce=InitiateCheckout`
## Step 4. Get an offer from Everflow [#step-4-get-an-offer-from-everflow]
1. In your Everflow account, go to **Tracking & Asset Generator**.
2. Scroll down on the dashboard to the **Tracking link** box and select the offer from the drop-down, input the **`{clickId}`** macro under the **sub1** field as shown in the below image.
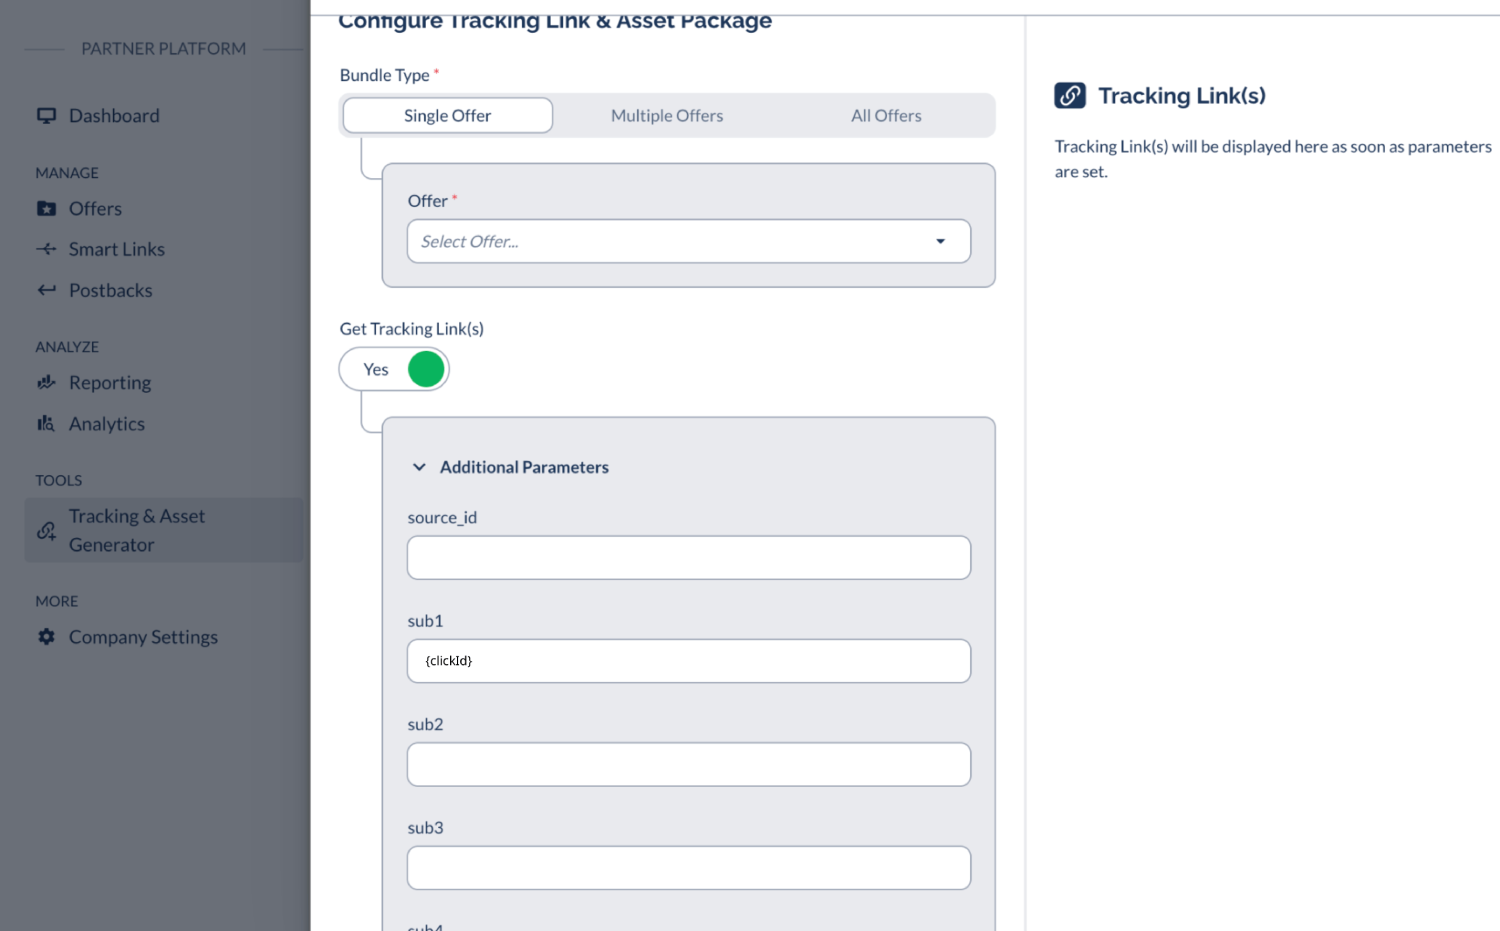
3. Copy your **Tracking Link** from the highlighted section.
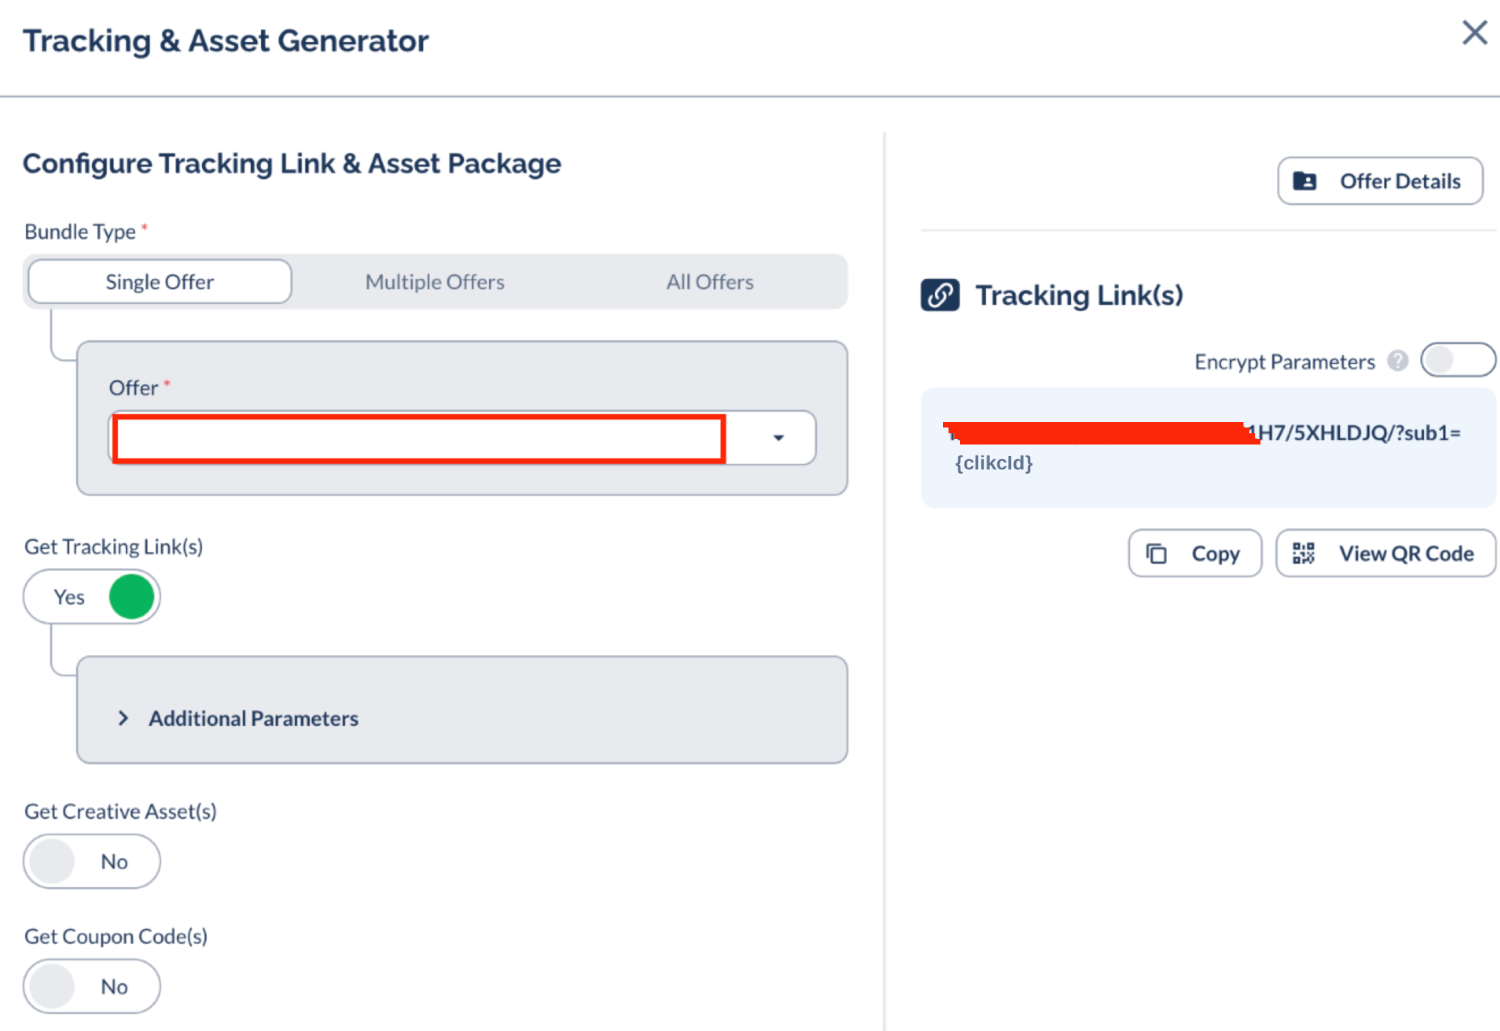
## Step 5. Add offer to Skro [#step-5-add-offer-to-skro]
1. Go back to Skro and navigate to the **Offers** and click **Create**.
2. Choose your workspace.
3. Give a name to your offer.
4. Grab the offer link from Everflow and add it to Offer URL field and add this **`?sub1={clickId}`** to your offer url.
**`{clickId}`** - The Skro click ID macro for conversion tracking.
**Example Offer URL:**
`https://youroffer.com/HUH78/JHJI78/?sub1={clickId}`
5. Choose Everflow from the **Affiliate Network** select box.
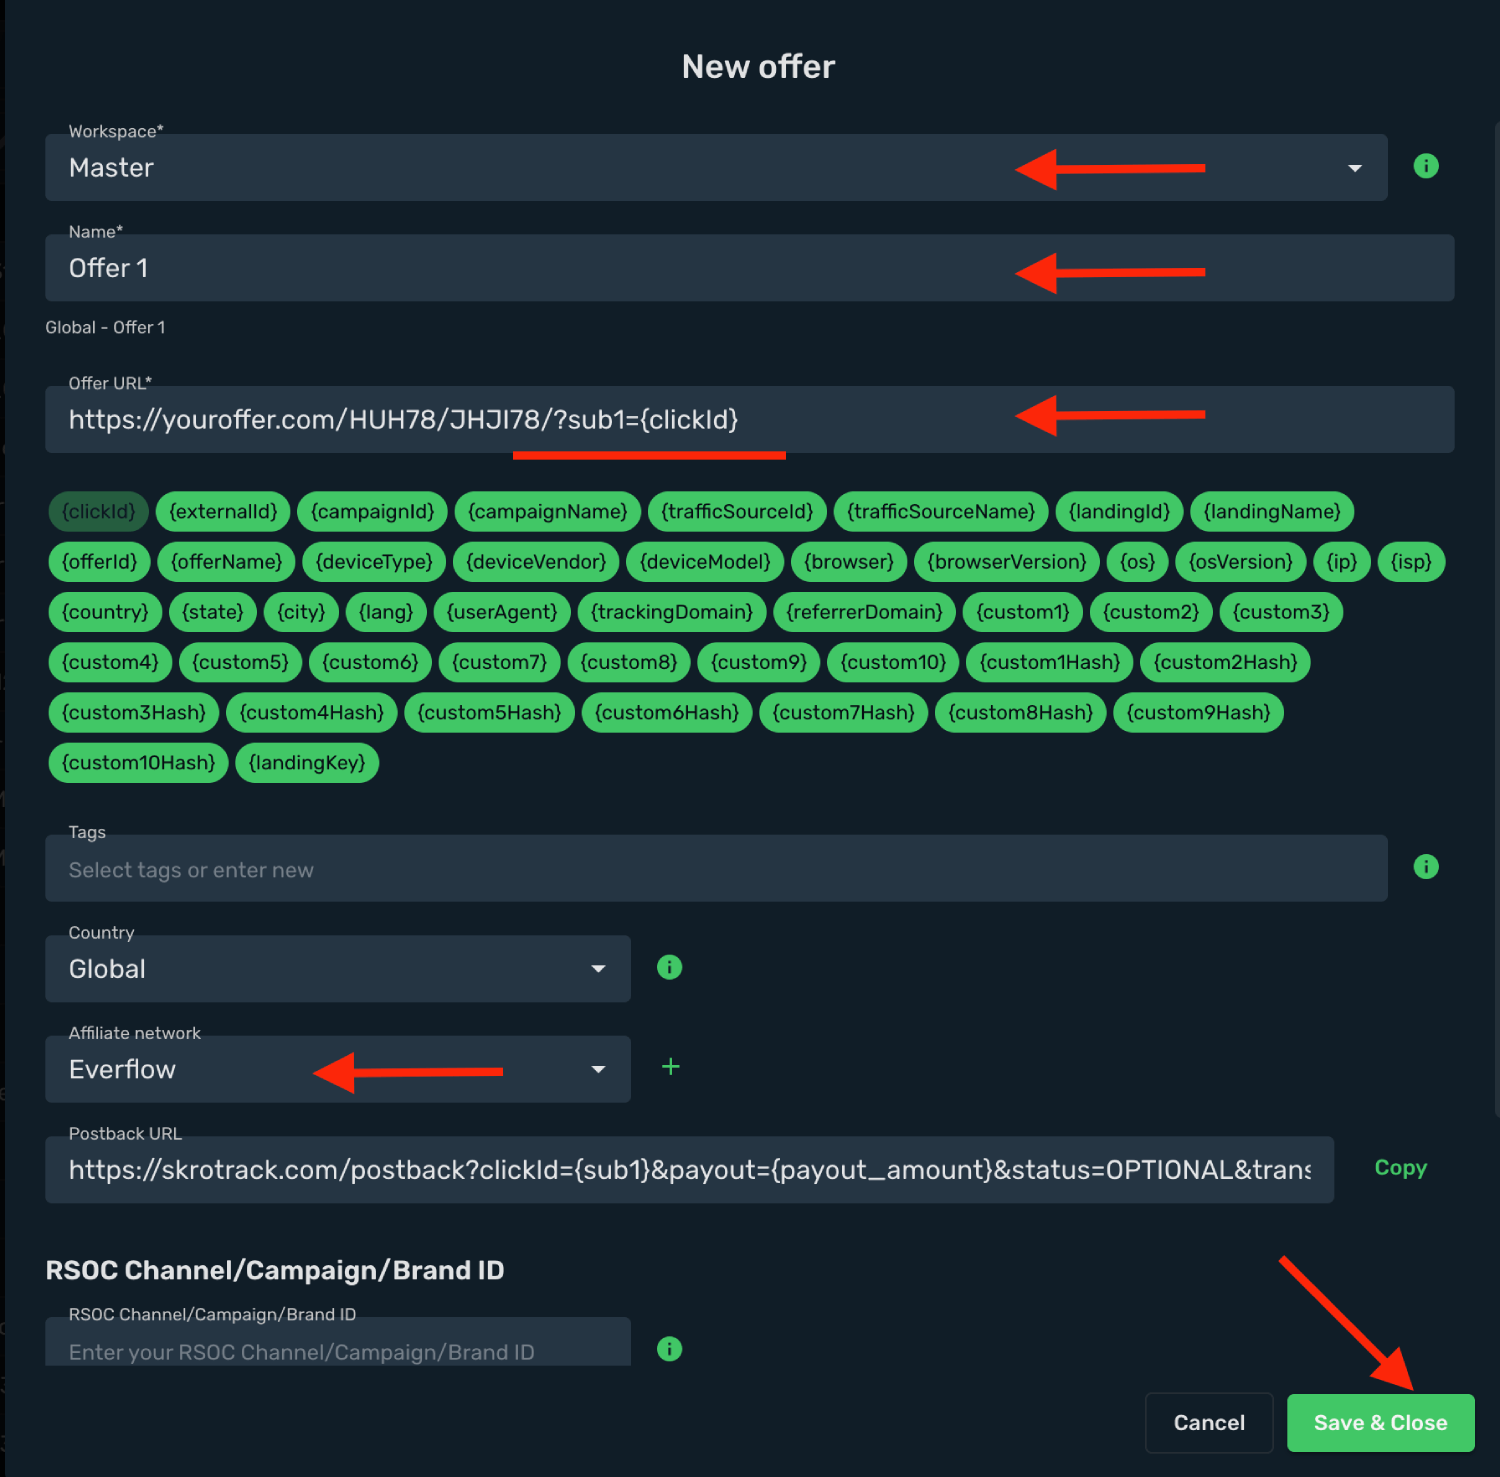
6. Click **Save & Close**.
## Step 6. Create a campaign on Skro [#step-6-create-a-campaign-on-skro]
1. Start with the following guide:
## Verify the setup [#verify-the-setup]
Follow a campaign link and complete a test conversion using your provider’s test workflow. Confirm that the original click ID reaches the provider and is returned to Skro, then check the event and revenue in your campaign report.
If data is missing, check the selected workspace, integration, campaign, and reporting date range. Compare parameter names and macro values with the examples in this guide before repeating the test.
## Related guides [#related-guides]
# ExoClick integration
Source: https://skro.eu/docs/integrations/exoclick-integration
Set up ExoClick tracking in Skro, configure traffic source parameters, and connect your advertising campaigns.
ExoClick integration gives you the ability to manage and optimize all your ExoClick ads through the Skro interface.
- Sync cost for campaigns, variations, zones and sites every 30 min.
- Check the status of your campaigns, variations, zones and sites.
- Pause or resume campaigns, variations, zones and sites.
- Change the bid value for campaigns and zones.
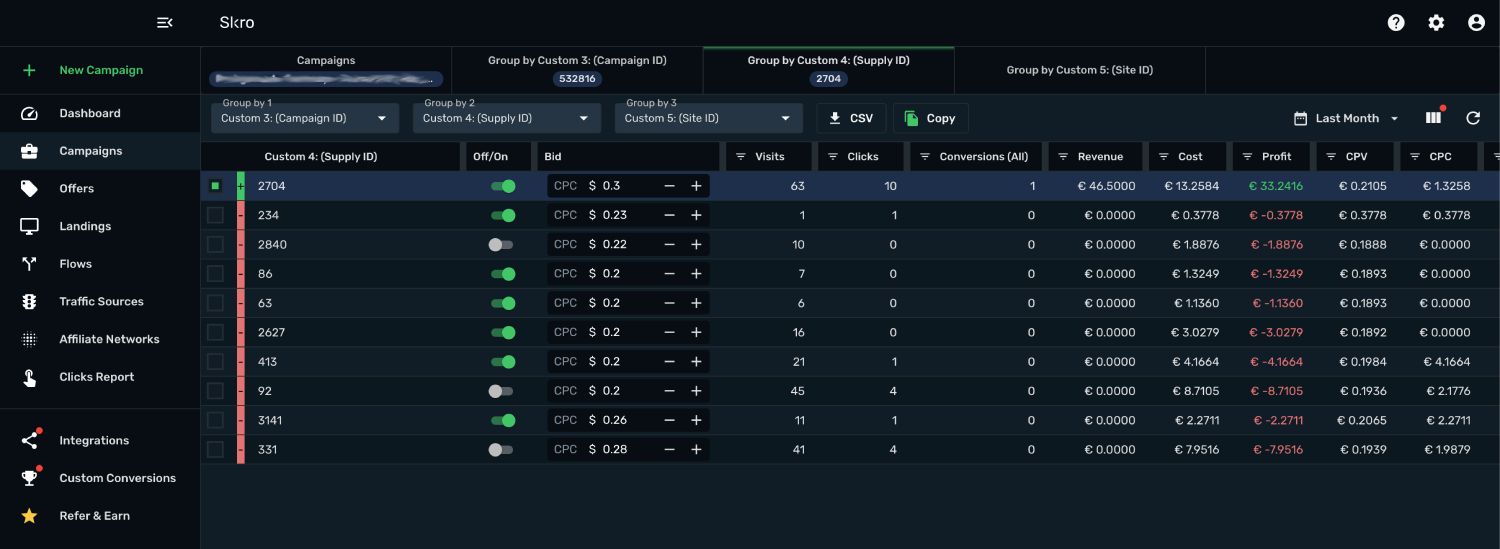
## How to generate ExoClick API token? [#how-to-generate-exoclick-api-token]
- Log in to your **ExoClick** account.
- Navigate to **Profile** → **API Tokens**.
- Click **New API Token** and copy the token to clipboard.
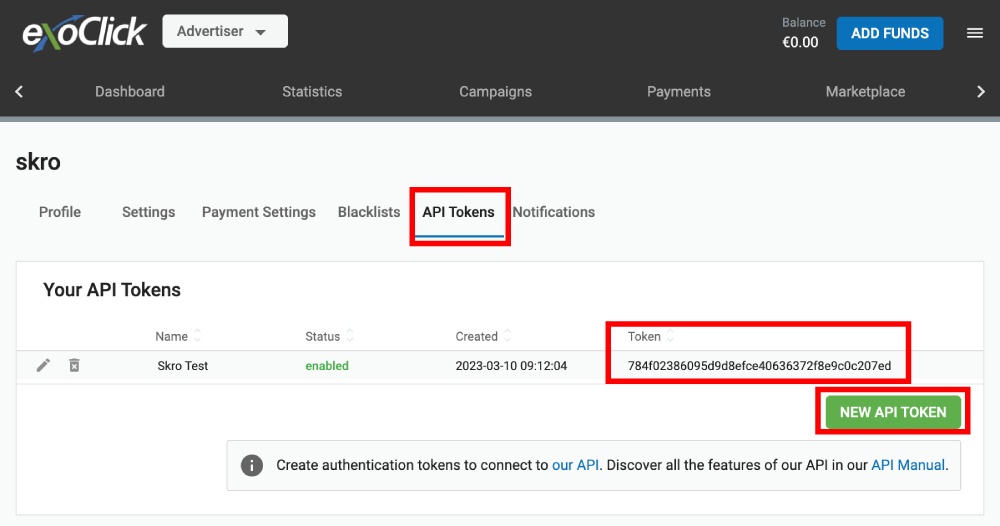
## Add integration to Skro [#add-integration-to-skro]
- Log in to your **Skro** account.
- Navigate to **Integrations**.
- In the **Traffic Sources** section click **Add**.
- Click **ExoClick** logo.
- Paste the **ExoClick API Token** to **API Token** field and click **Create Integration**.
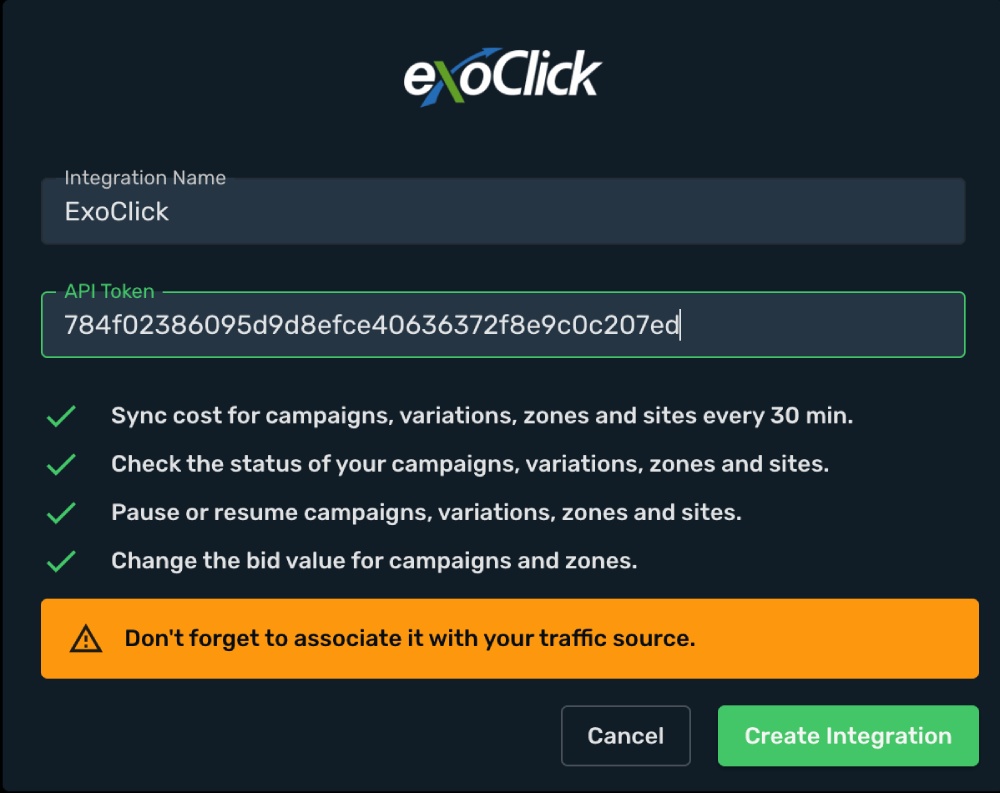
- You can turn on/off auto-cost update through **Data transfer** switch.
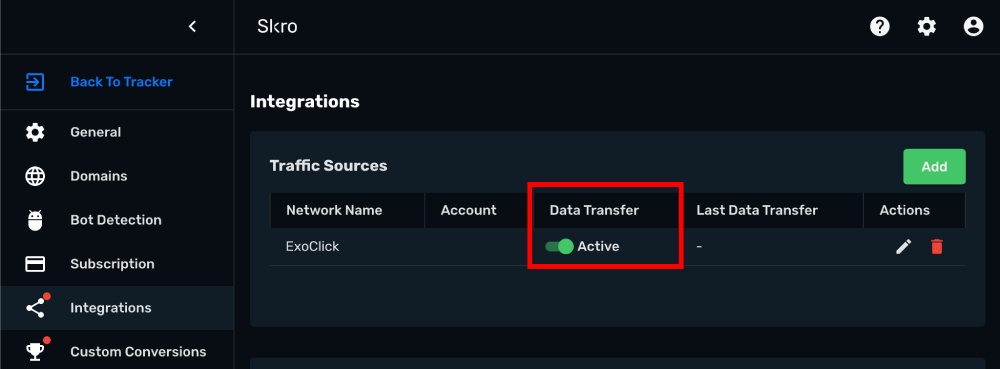
## Setup **Postback URL** and associate the integration with ExoClick traffic source. [#setup-postback-url-and-associate-the-integration-with-exoclick-traffic-source]
- Log in to your ExoClick account.
- Navigate to the **Campaigns** → **Conversion Tracking**.
- Click **New Conversion Goal**.
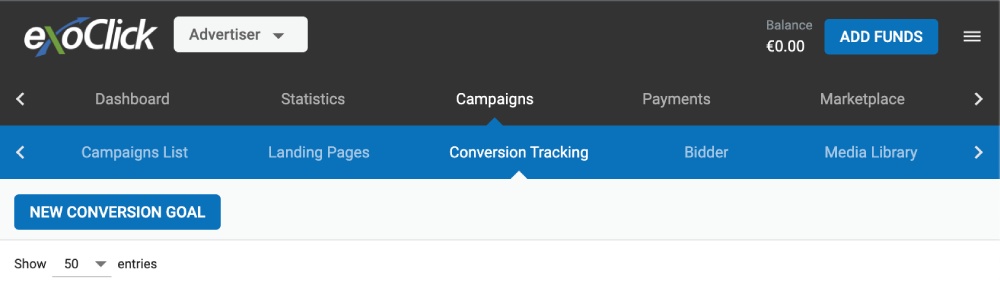
- Enter goal name.
- Set **Conversion value** dynamic then we can send payout value over postback URL with parameter **&value=`{payout}`**
- Click **Create**.
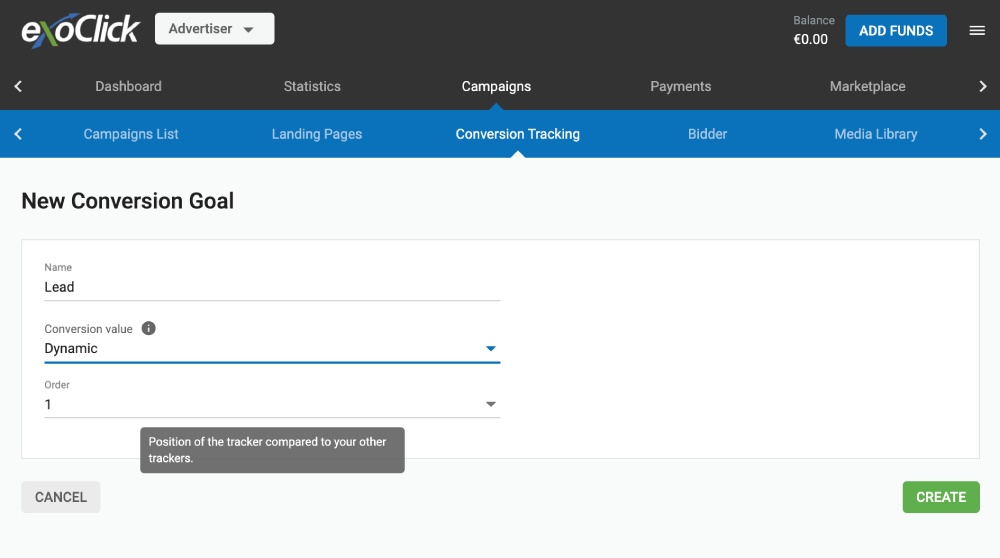
- Copy the **goal** parameter value from postback URL in section **Step 3. Triggering a Conversion**
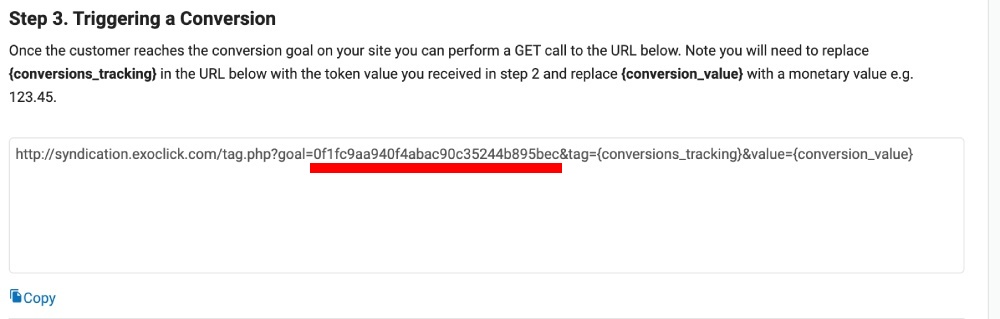
- Go back to Skro and create a new traffic source.
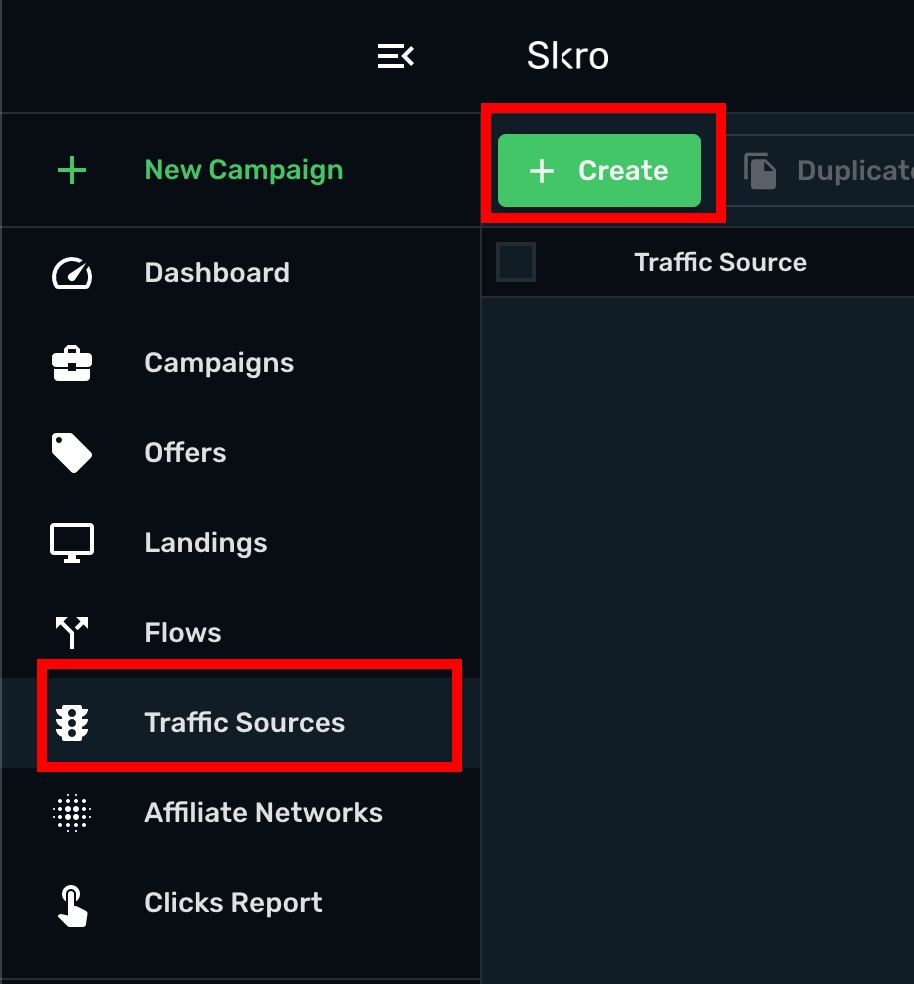
- Click **ExoClick** logo.
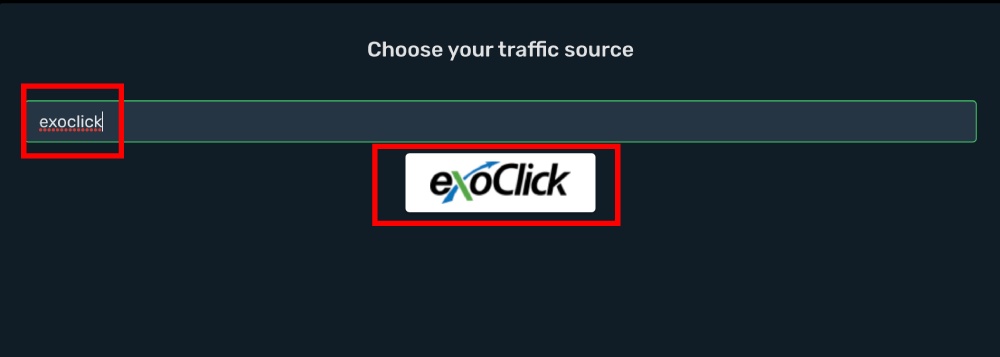
- Replace goal value **REPLACE** with your goal value from ExoClick. In this example the value is **0f1fc9aa940f4abac90c35244b895bec**.
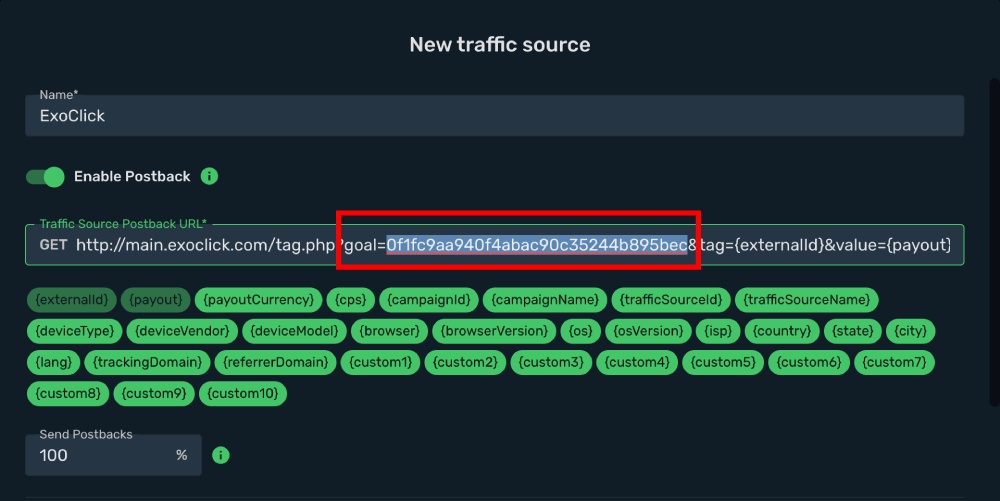
- Add integration association.

- All parameters are prefilled.
- Click **Save & Close**.
The integration is ready. Continue by creating a campaign.
## Verify the setup [#verify-the-setup]
Open the generated campaign URL and check that the visit appears in Skro. Confirm that traffic source macros resolve to actual values. If you send conversions back to the source, verify a test conversion in both systems.
If data is missing, check the selected workspace, integration, campaign, and reporting date range. Compare parameter names and macro values with the examples in this guide before repeating the test.
## Related guides [#related-guides]
# EzMob integration
Source: https://skro.eu/docs/integrations/ezmob-and-skro-integration
Set up EzMob tracking in Skro, configure traffic source parameters, and connect your advertising campaigns.
## Step 1. Create an EzMob traffic source and configure the postback URL [#step-1-create-an-ezmob-traffic-source-and-configure-the-postback-url]
1. Go to **Traffic Sources** and click **+ Create**.
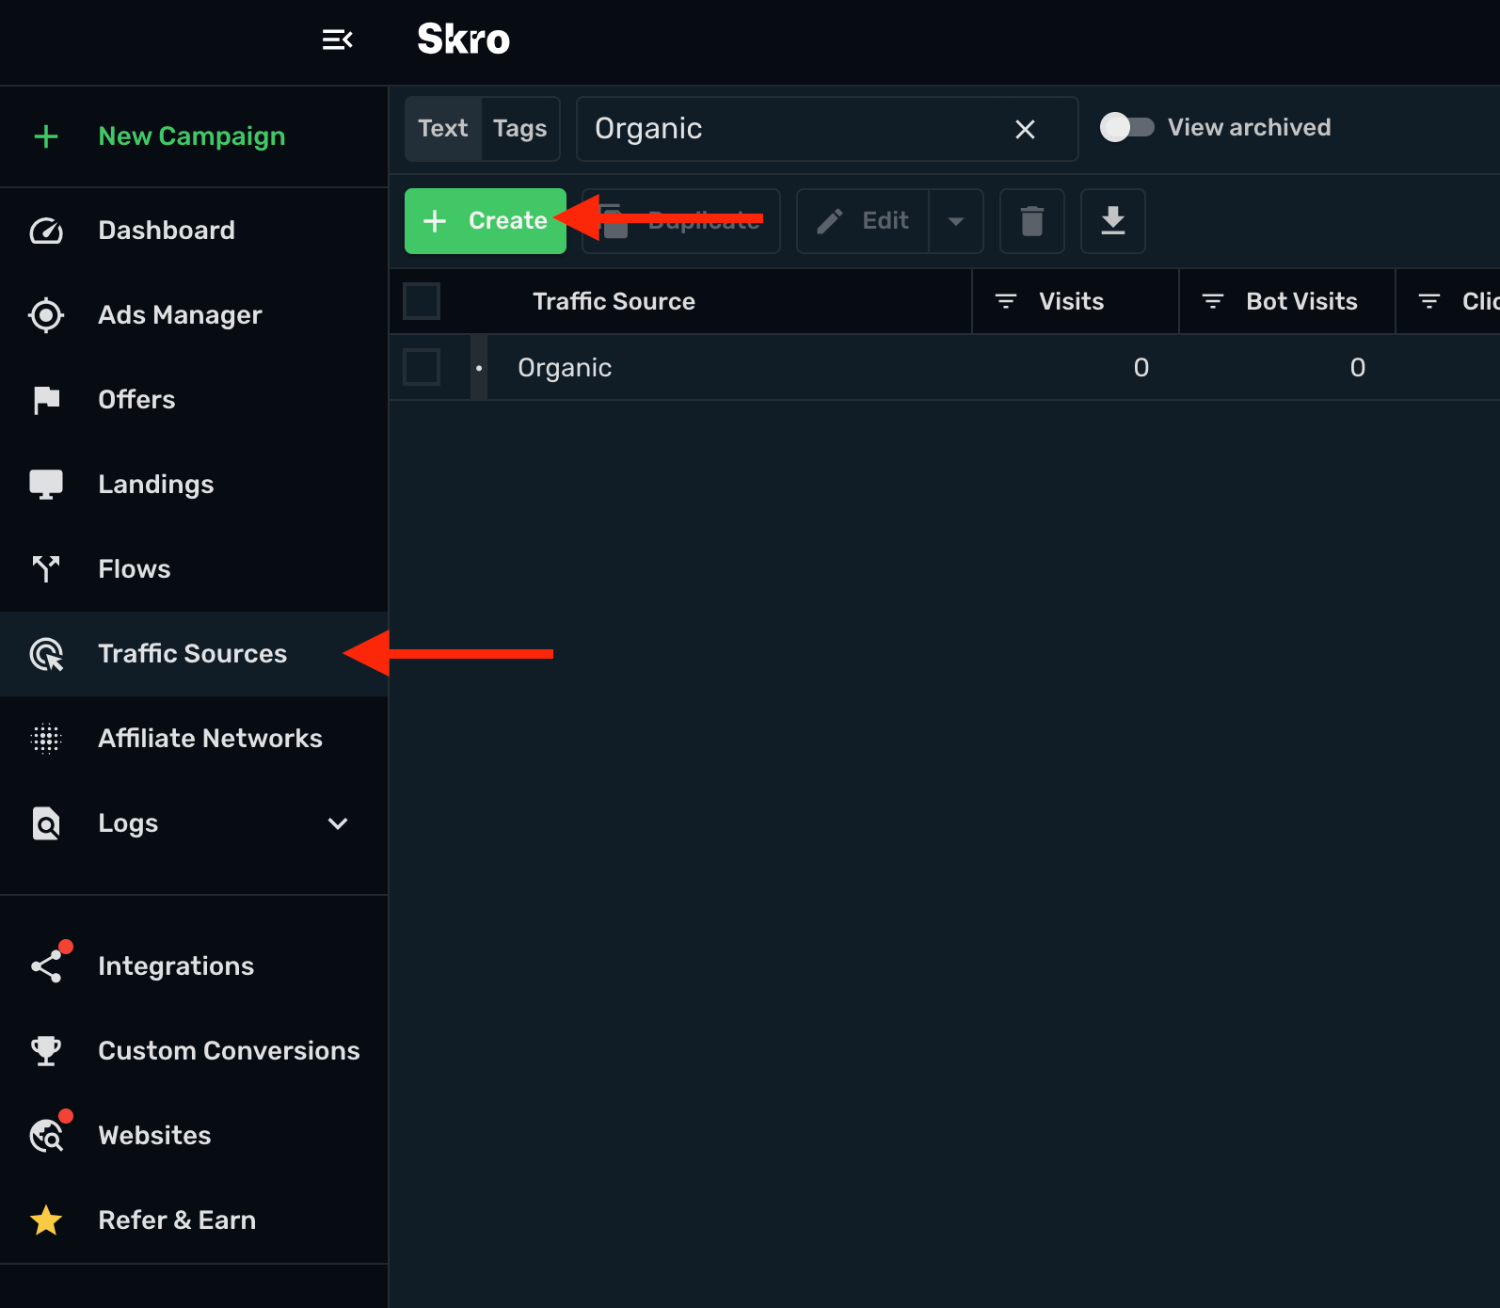
2. Search for **ezmob** and click the **EzMob** template.
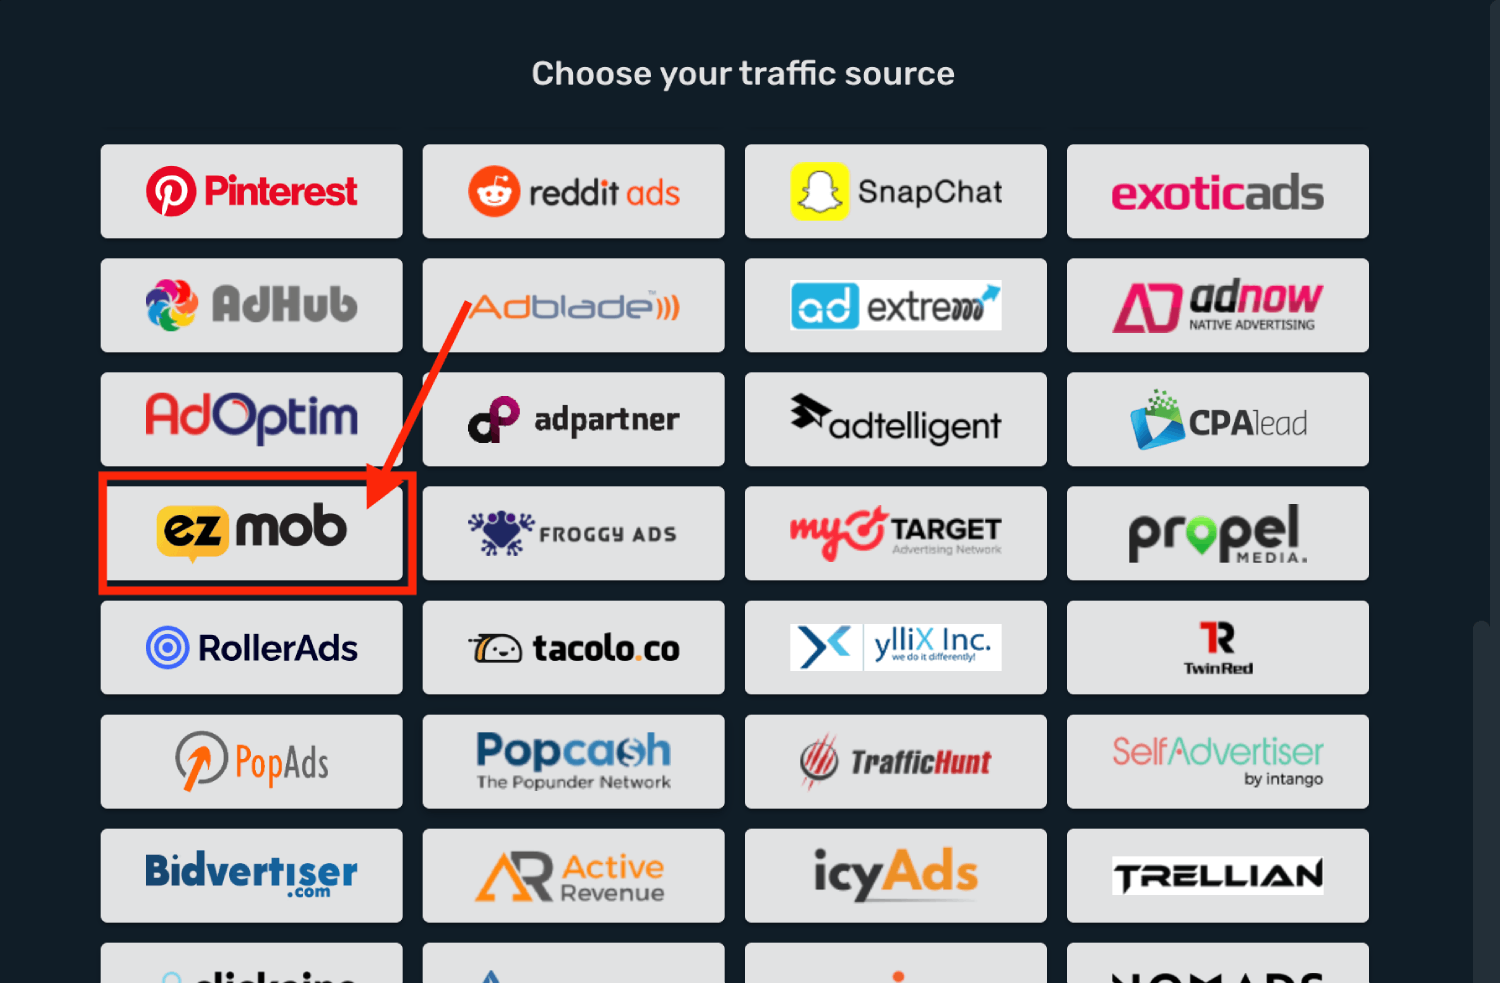
3. Select the target **Workspace** and **Traffic Source Postback URL** is already prefilled for you.
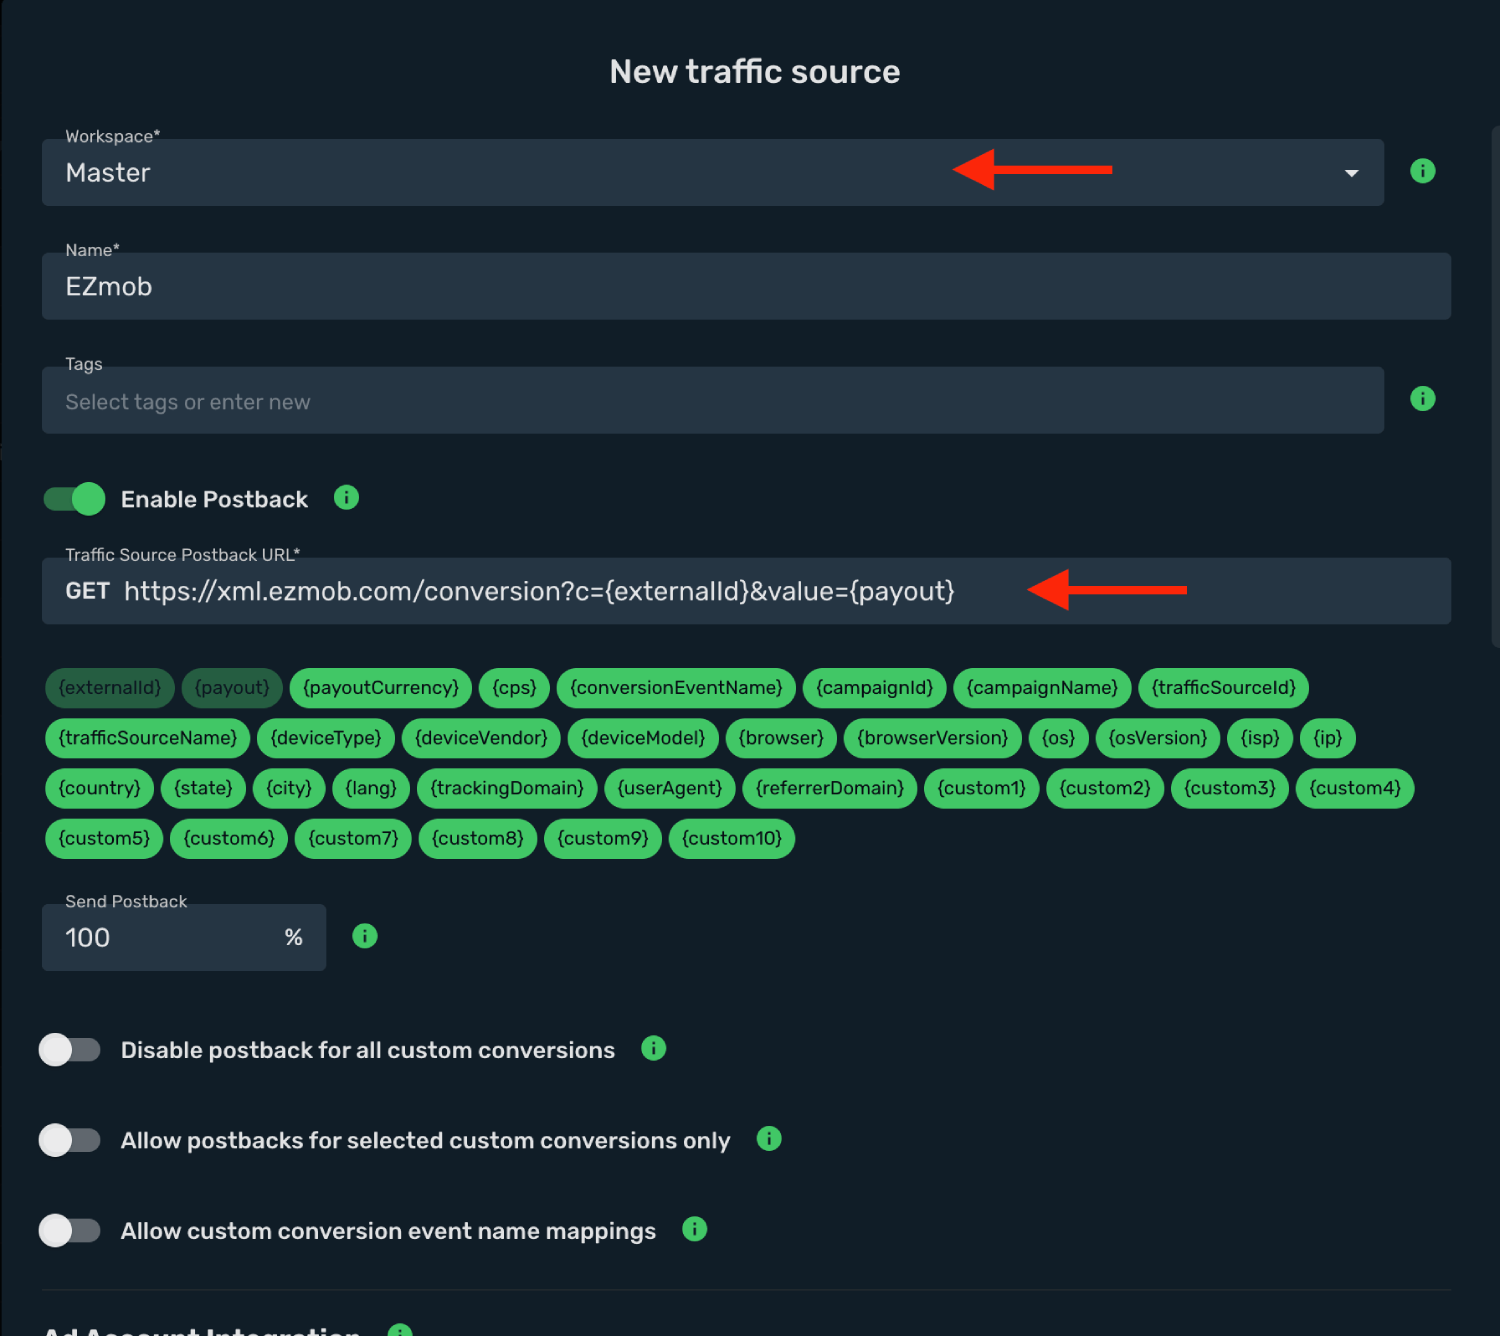
4. Final postback URL must look similar to this:
`https://xml.ezmob.com/conversion?c={externalId}&value={payout}`
**`c={externalId}`** - EzMob Click ID parameter with Skro macro.
**`value={payout}`** - EzMob Payout parameter with Skro macro.
5. All tracking parameters are already prefilled for you.
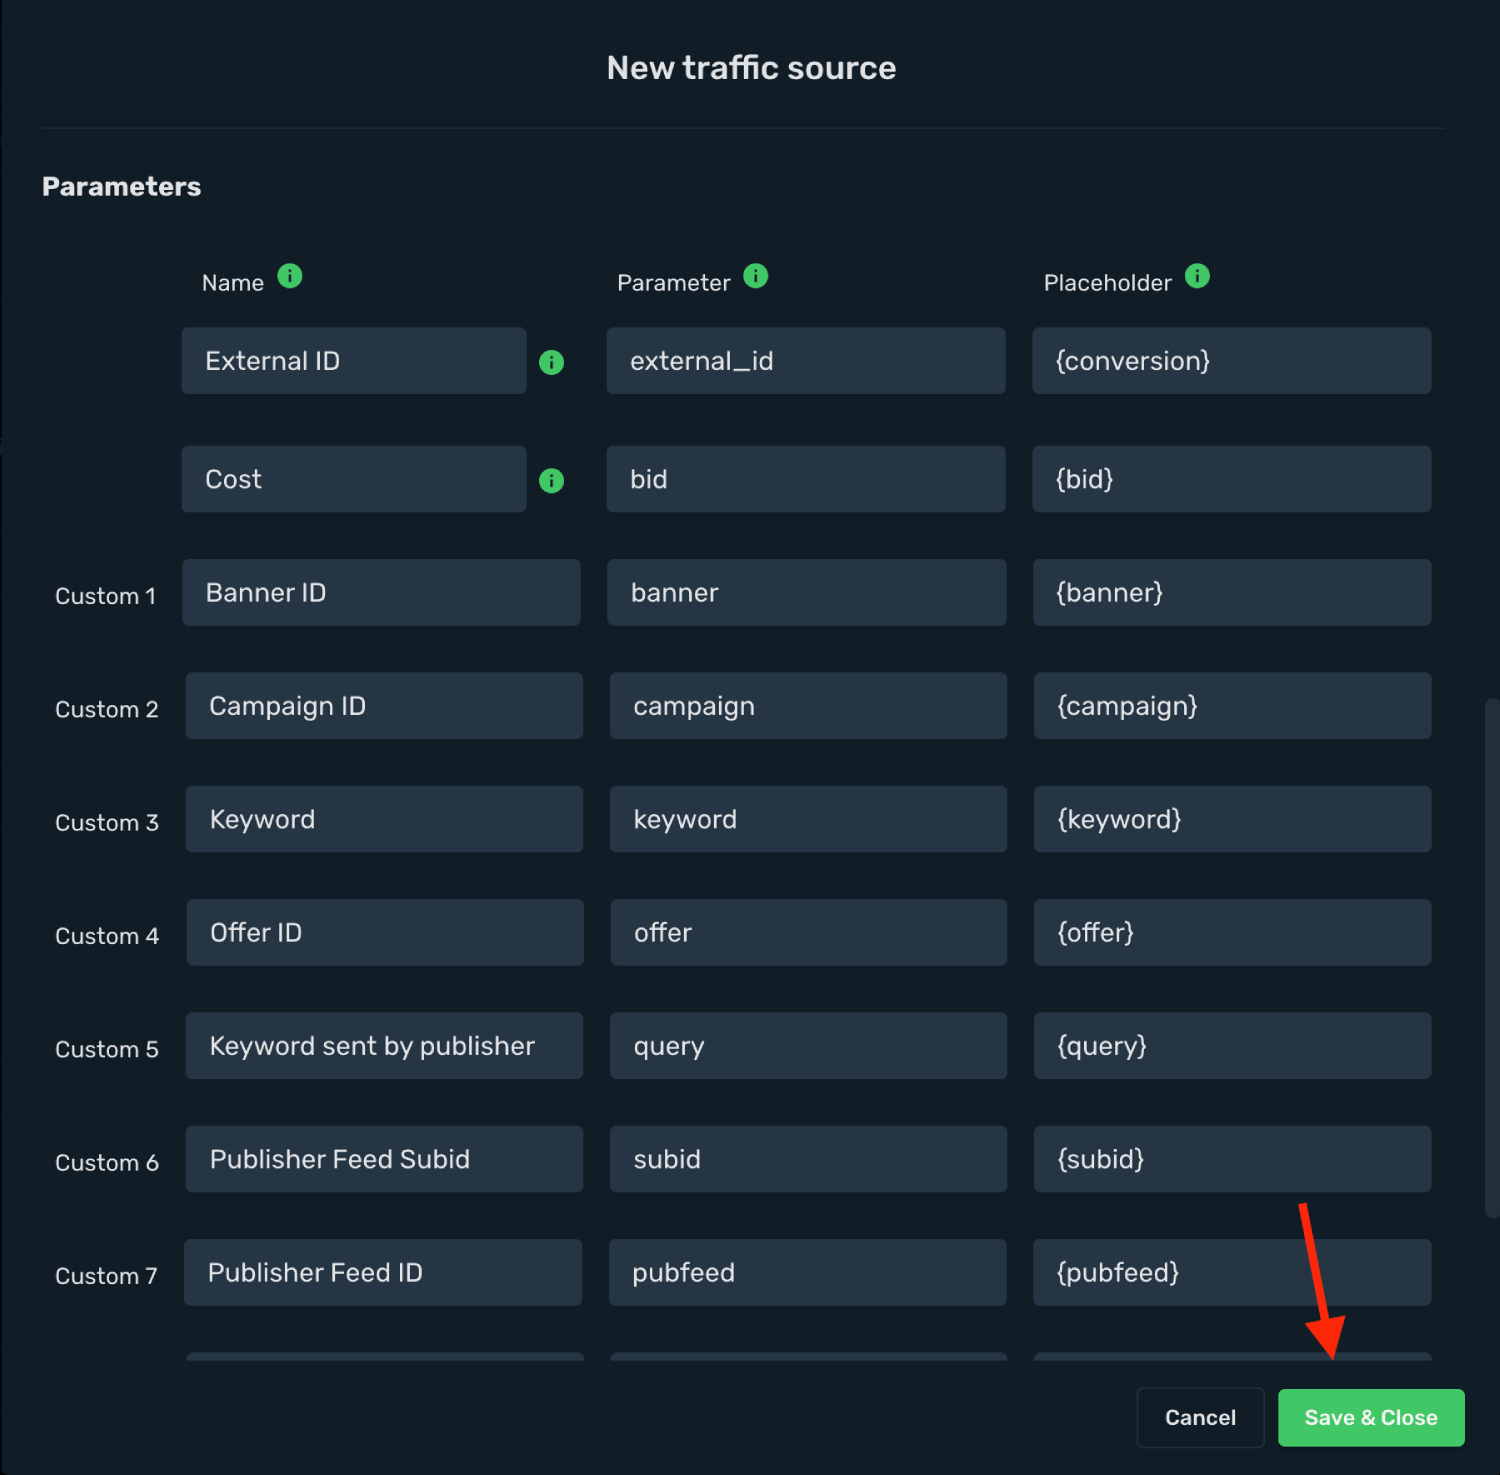
6. Click **Save & Close**.
Integration setup is complete, and you are now ready to create your first campaign.
## Step 2. Create a campaign in Skro [#step-2-create-a-campaign-in-skro]
1. Go to **Ads Manager** and click the **Create**.
2. Select your **Traffic source** and click **Next**.
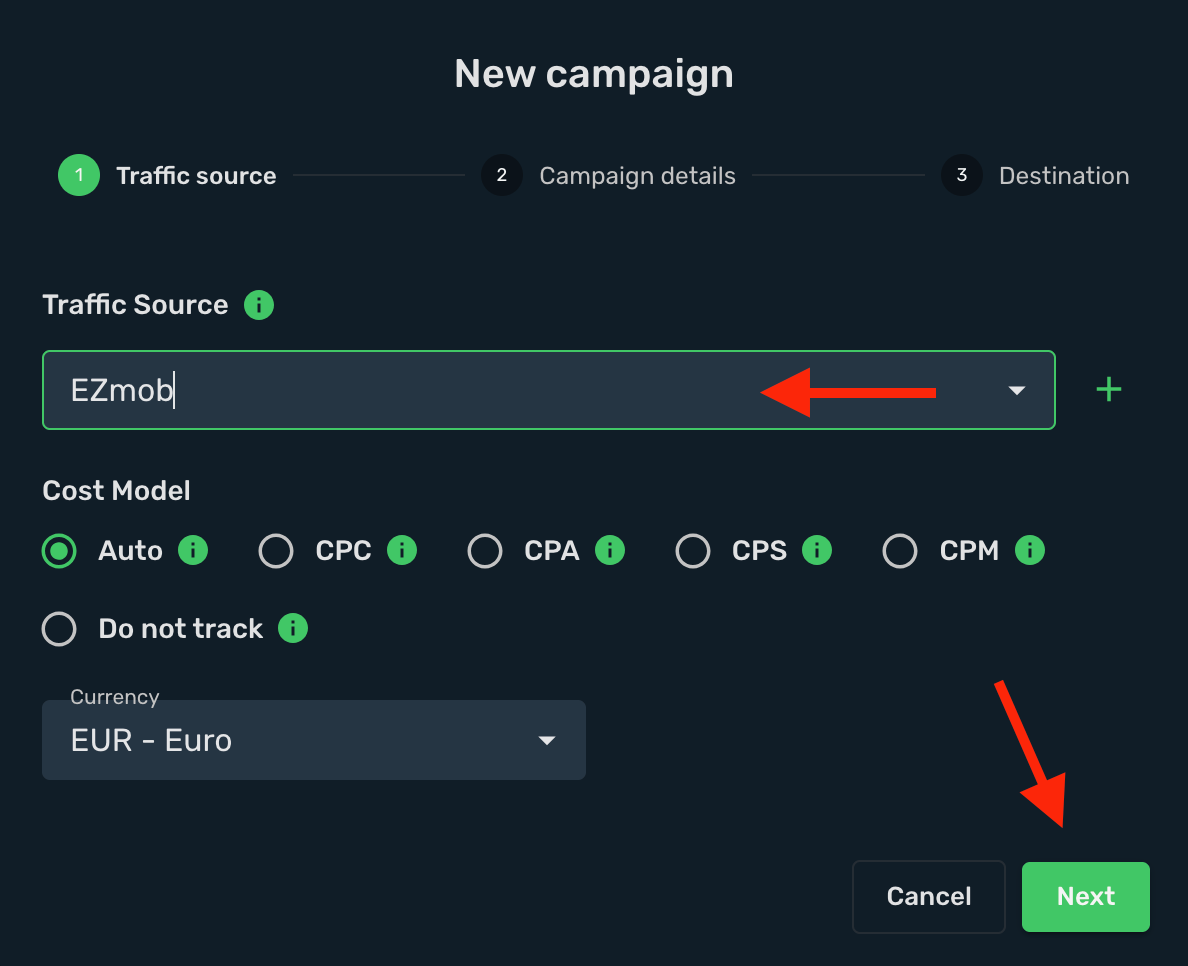
3. Select your target **Workspace** for your campaign.
4. Give a **name** to your campaign and click **Next**.
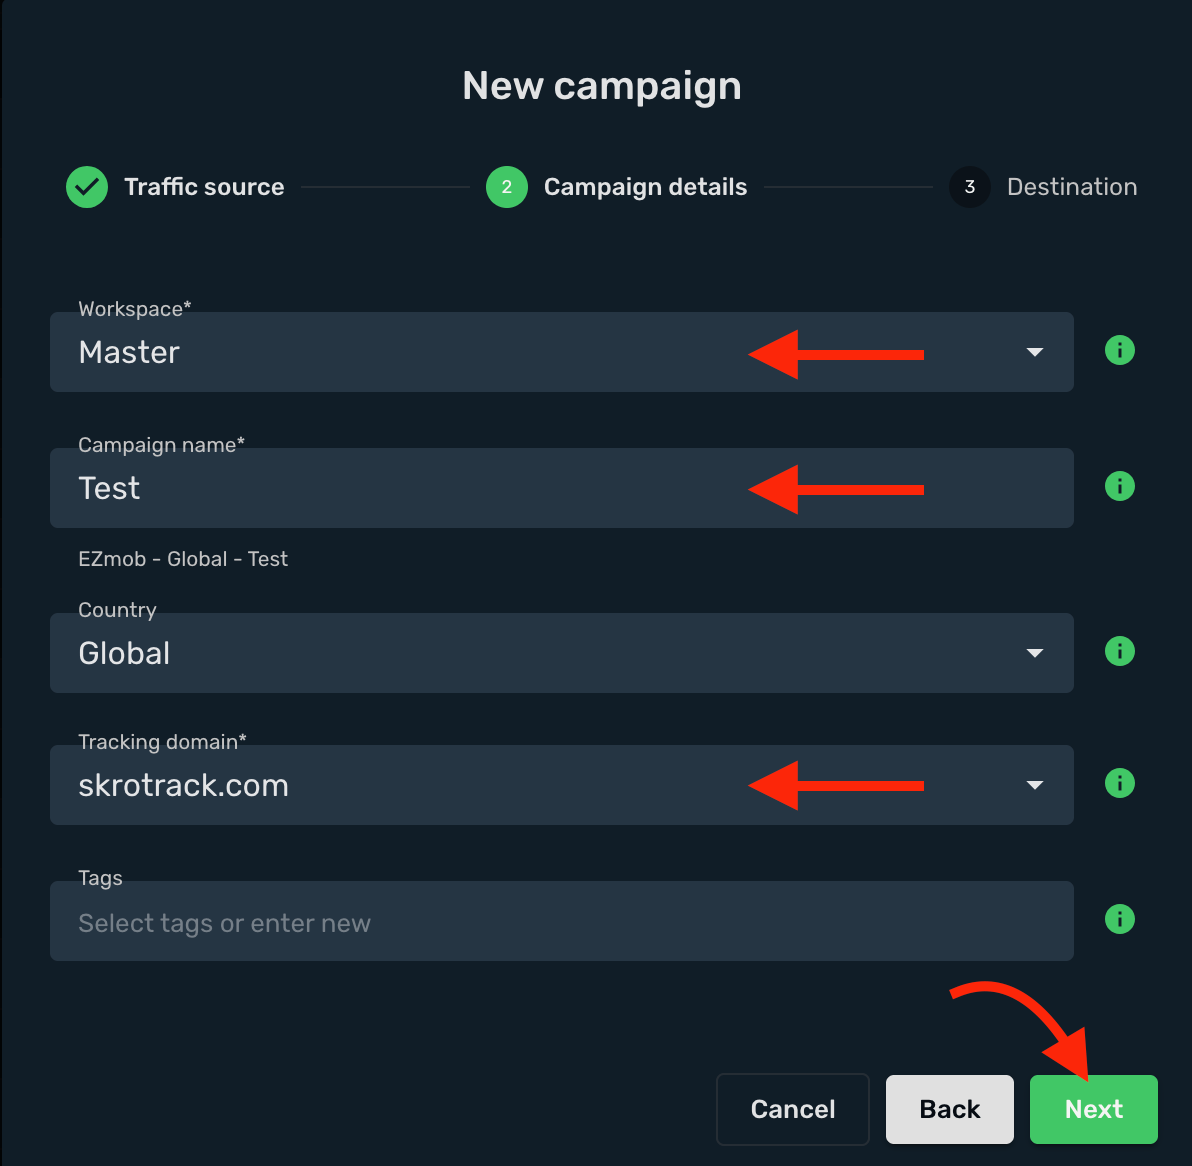
5. Select or create all your **landings** and **offers**.
6. Click **Save**.
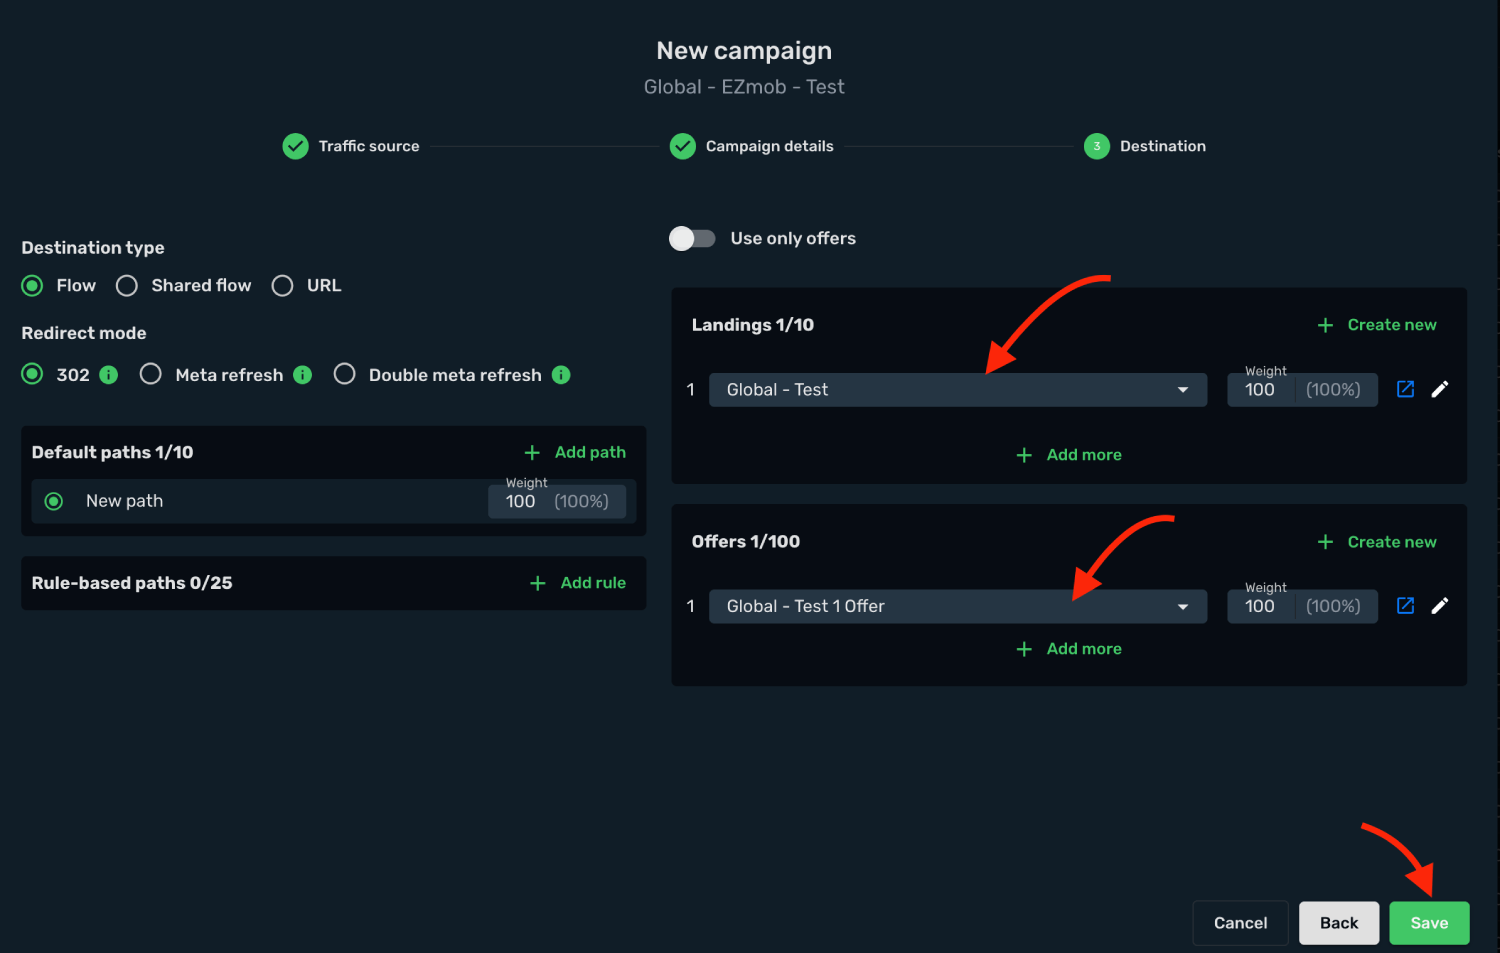
7. Copy the **Campaign Tracking URL** to clipboard.
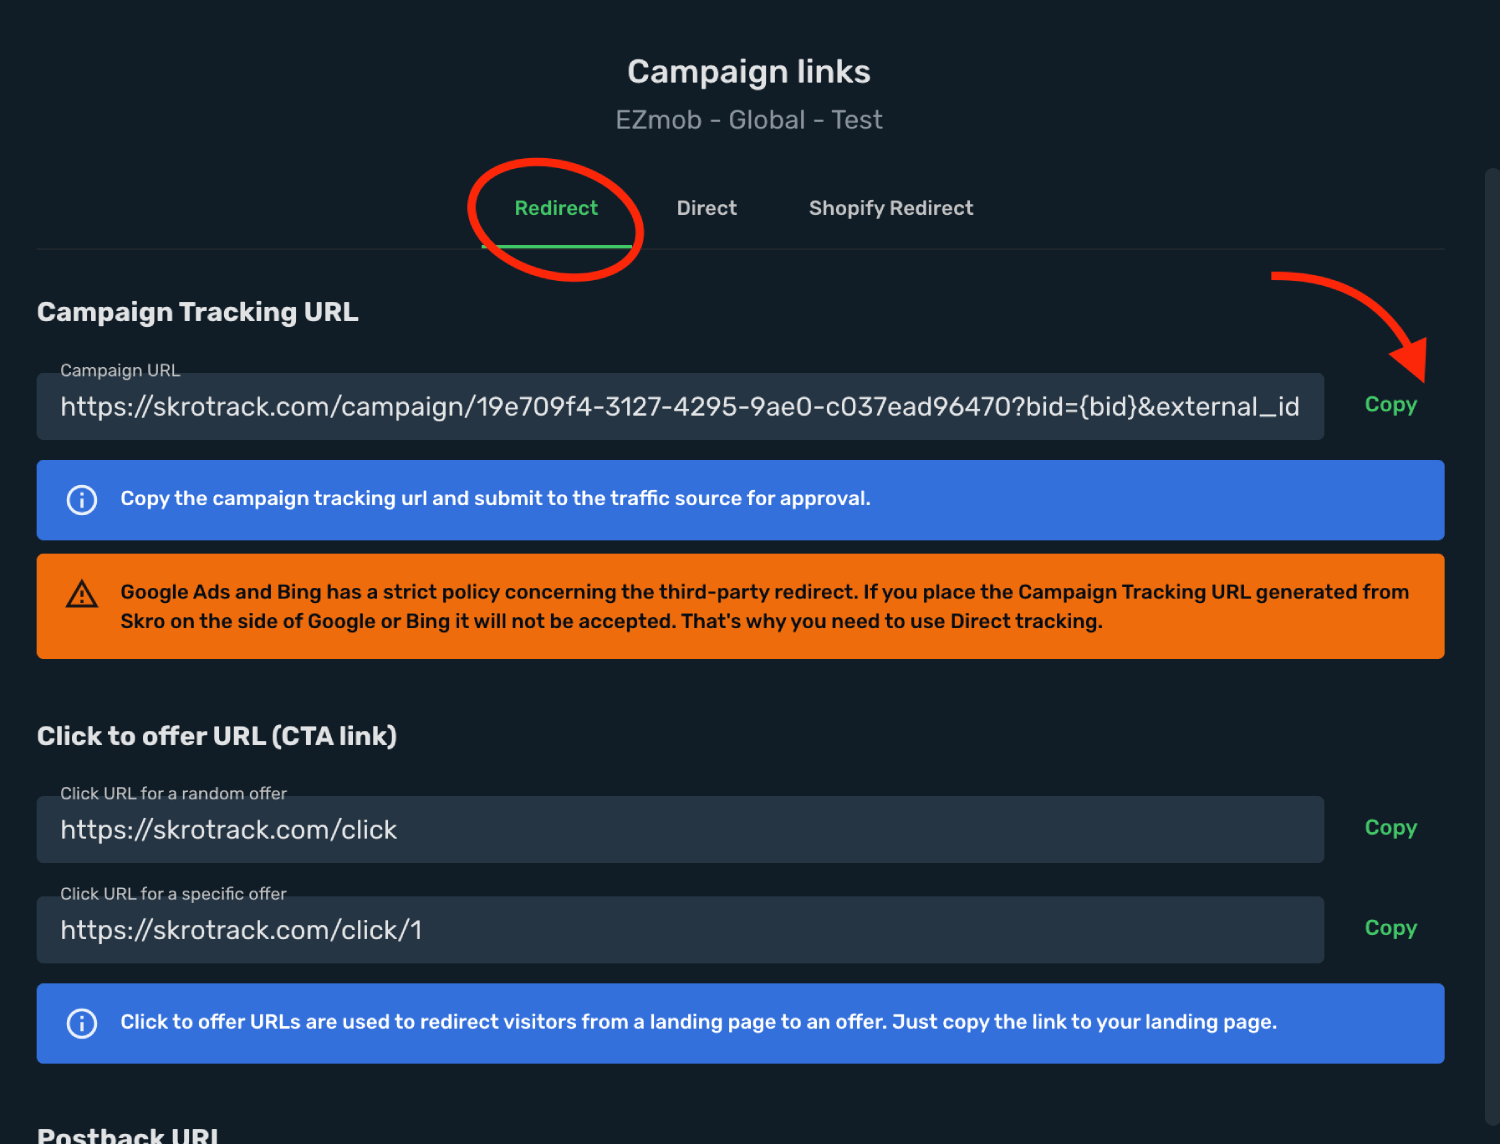
## Step 3. Create a campaign in EzMob [#step-3-create-a-campaign-in-ezmob]
1. Log in to your **EzMob** account.
2. Go to the **Campaigns** section and click the **+ Create Campaign**.
3. Select your **Ad Format**.
4. Fill all other fields where needed.
5. Paste the **Skro campaign tracking link** into the **Destination URL** field, including all tracking parameters.
6. Complete the remaining campaign settings, then click **Submit**.
7. After your campaign is approved on the side of EzMob, you can start driving traffic to your campaign and track all the data with Skro.
## Verify the setup [#verify-the-setup]
Open the generated campaign URL and check that the visit appears in Skro. Confirm that traffic source macros resolve to actual values. If you send conversions back to the source, verify a test conversion in both systems.
If data is missing, check the selected workspace, integration, campaign, and reporting date range. Compare parameter names and macro values with the examples in this guide before repeating the test.
## Related guides [#related-guides]
# Facebook (Meta) Ads integration
Source: https://skro.eu/docs/integrations/facebook-meta-ads-integration
Set up Facebook (Meta) Ads tracking in Skro, configure traffic source parameters, and connect your advertising campaigns.
[Facebook (Meta) Ads](https://facebook.com) integration gives you the ability to manage and optimize all your ads through the Skro UI.
- Send conversions to Facebook to feed their AI and optimize audiences.
- Sync ad spend every 30 minutes to Skro, so you get accurate reporting.
- Check the delivery status and manage the status of Campaigns, AdSets and Ads directly from Skro UI.
- Change daily budget directly from Skro UI.
- Change bid value directly from Skro UI.
- Dynamic columns: CPM, Link CPC, Link CTR, Impressions, Link EPC and Link Clicks from Facebook to Skro in real-time.
In this guide, you will learn how to set up your campaigns in Facebook (Meta) Ads and Skro so Facebook can pass information to Skro and back with a selected tracking method. This guide does not cover all aspects and options available when creating a campaign on these two platforms. Basic knowledge regarding setting up campaigns in Facebook and Skro is required.
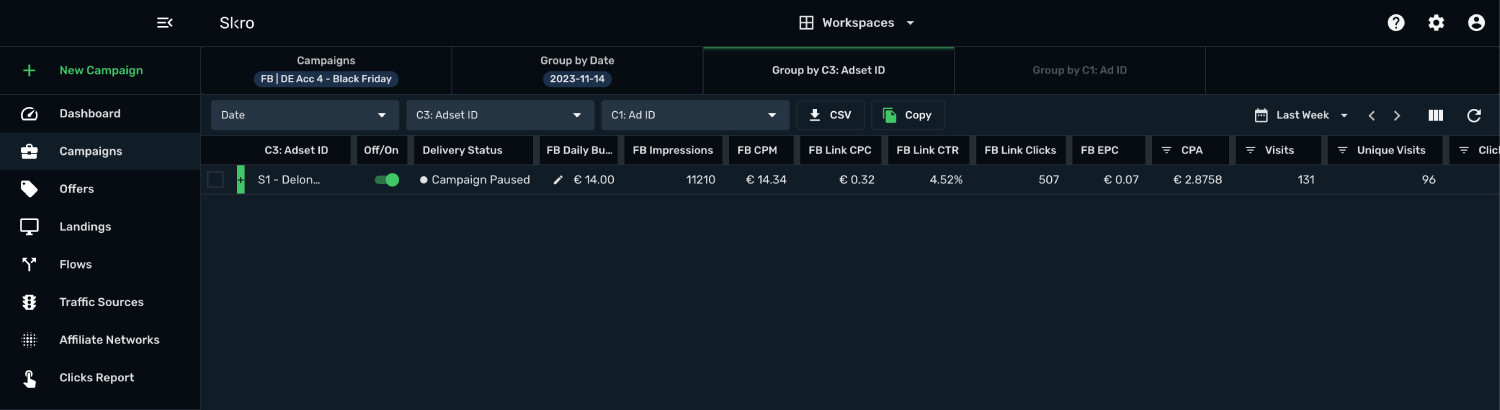
## Step 1. Set up Facebook integration [#step-1-set-up-facebook-integration]
1. Log in to your **Skro** account.
2. Navigate to **Settings** → **Integrations**.
3. In the **Traffic Sources** section click **Add**.
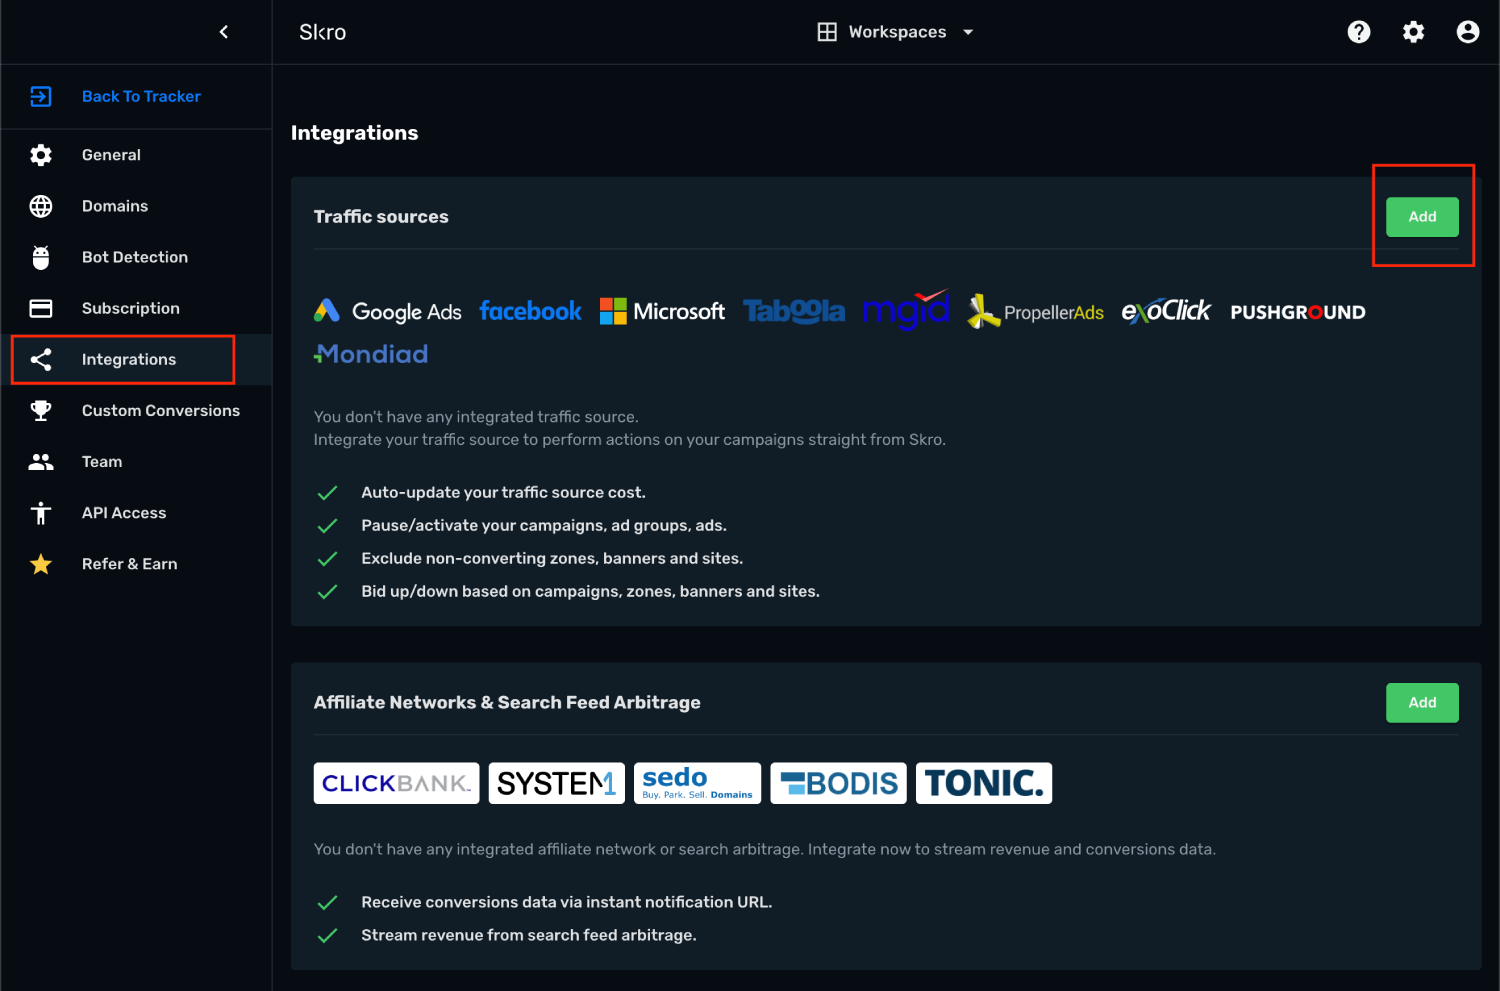
4. Click **Facebook** logo and you will be redirected to Facebook (Meta) Ads.
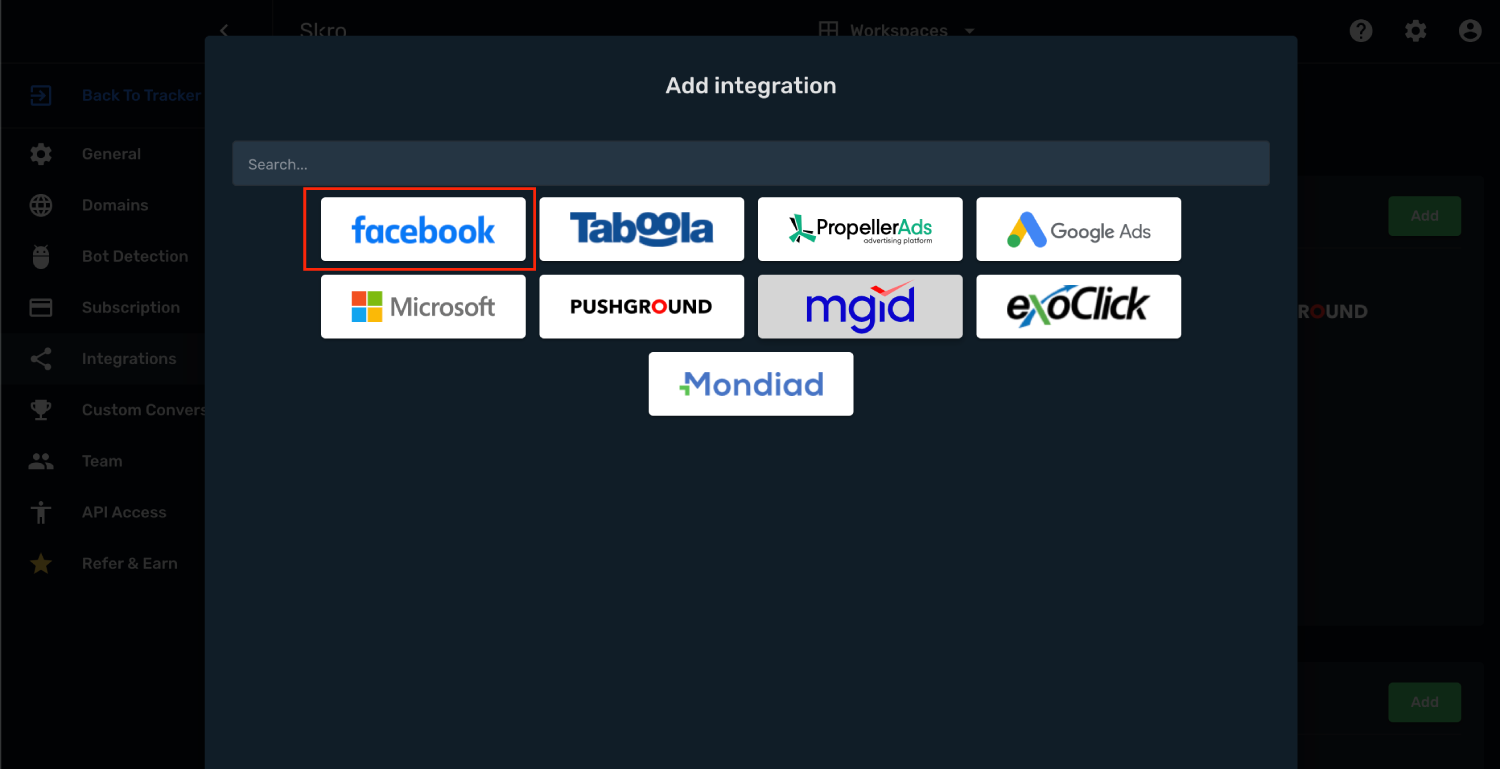
5. Sign in to the account you want to integrate.
6. Opt in your Pages and click **Continue**
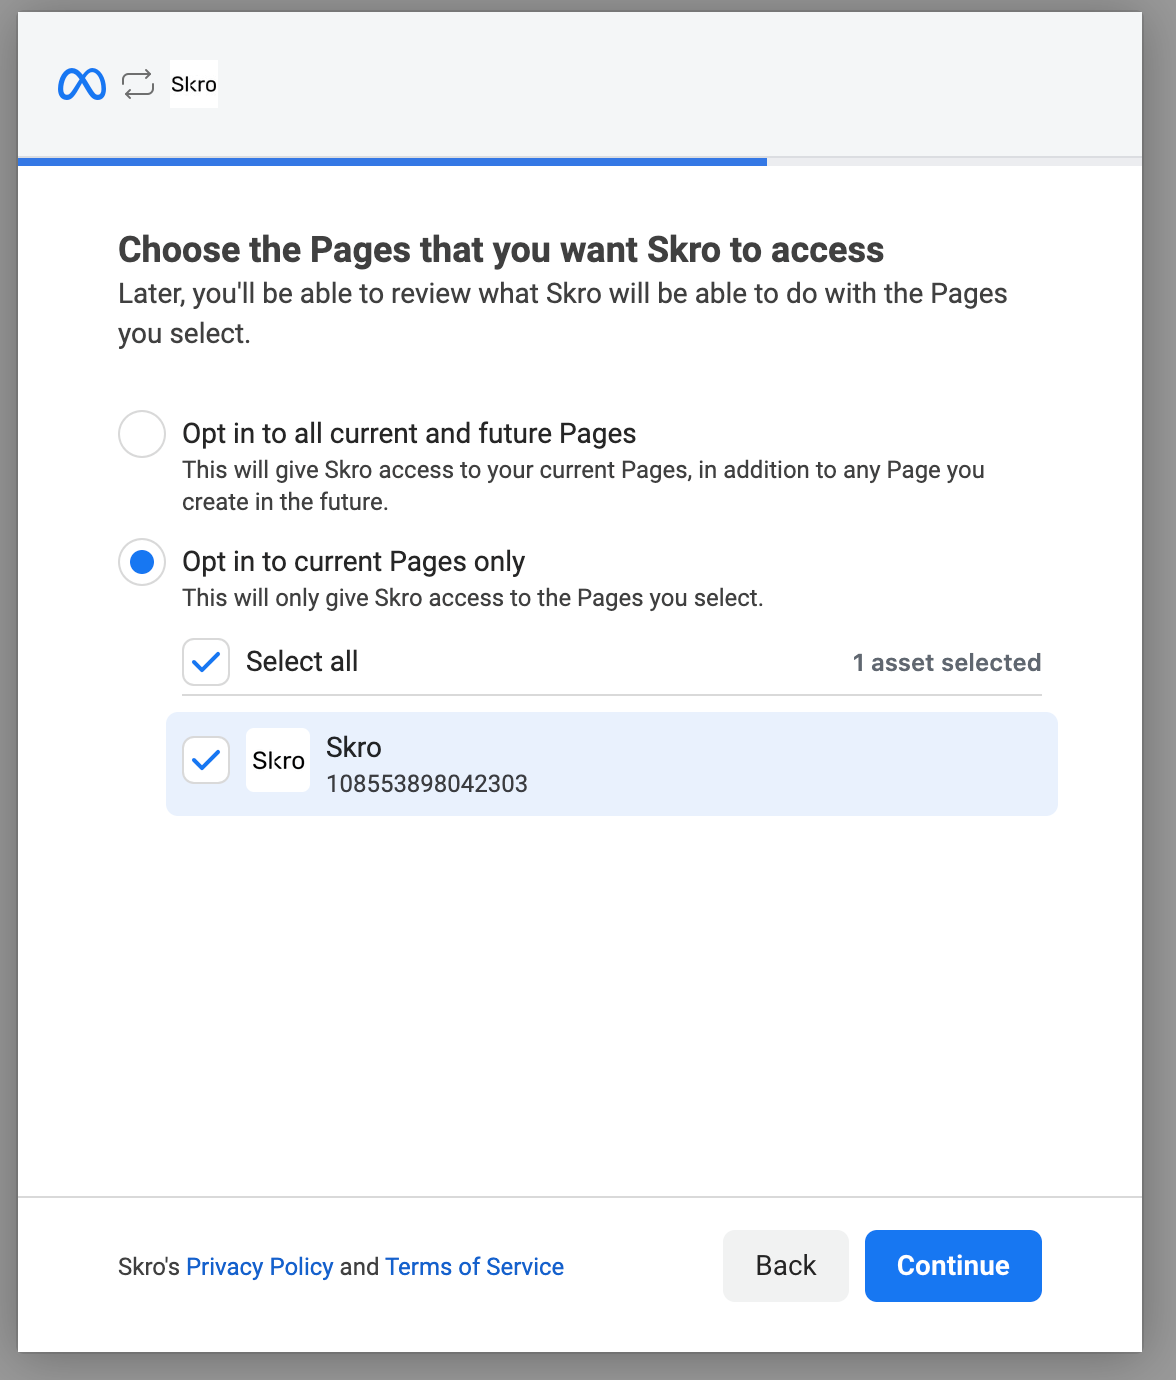
7. Review the requested permissions.
8. Click **Save**.
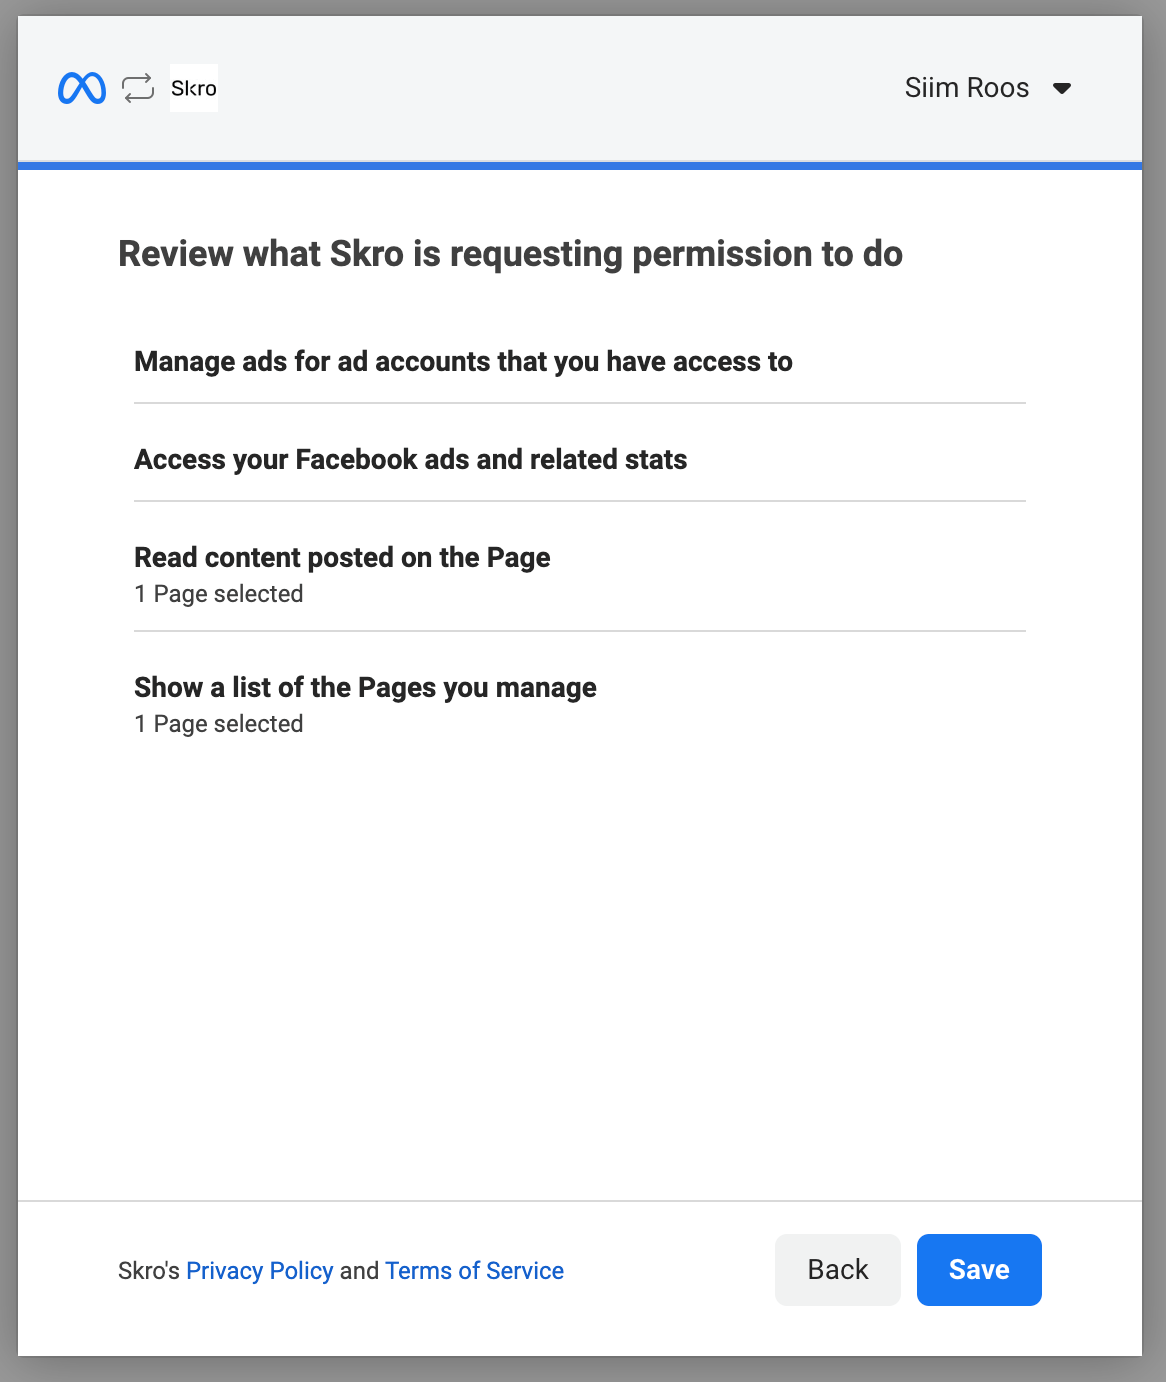
9. Click **Got it** and you will be redirected back to Skro.
10. Choose the Facebook (Meta) Ads account you want to integrate and click **Integrate**.
If you want to integrate multiple ads account, then you will need to integrate them separately. The logic is that 1 integration equals 1 ad account equals 1 traffic source.
11. Click **Next**.
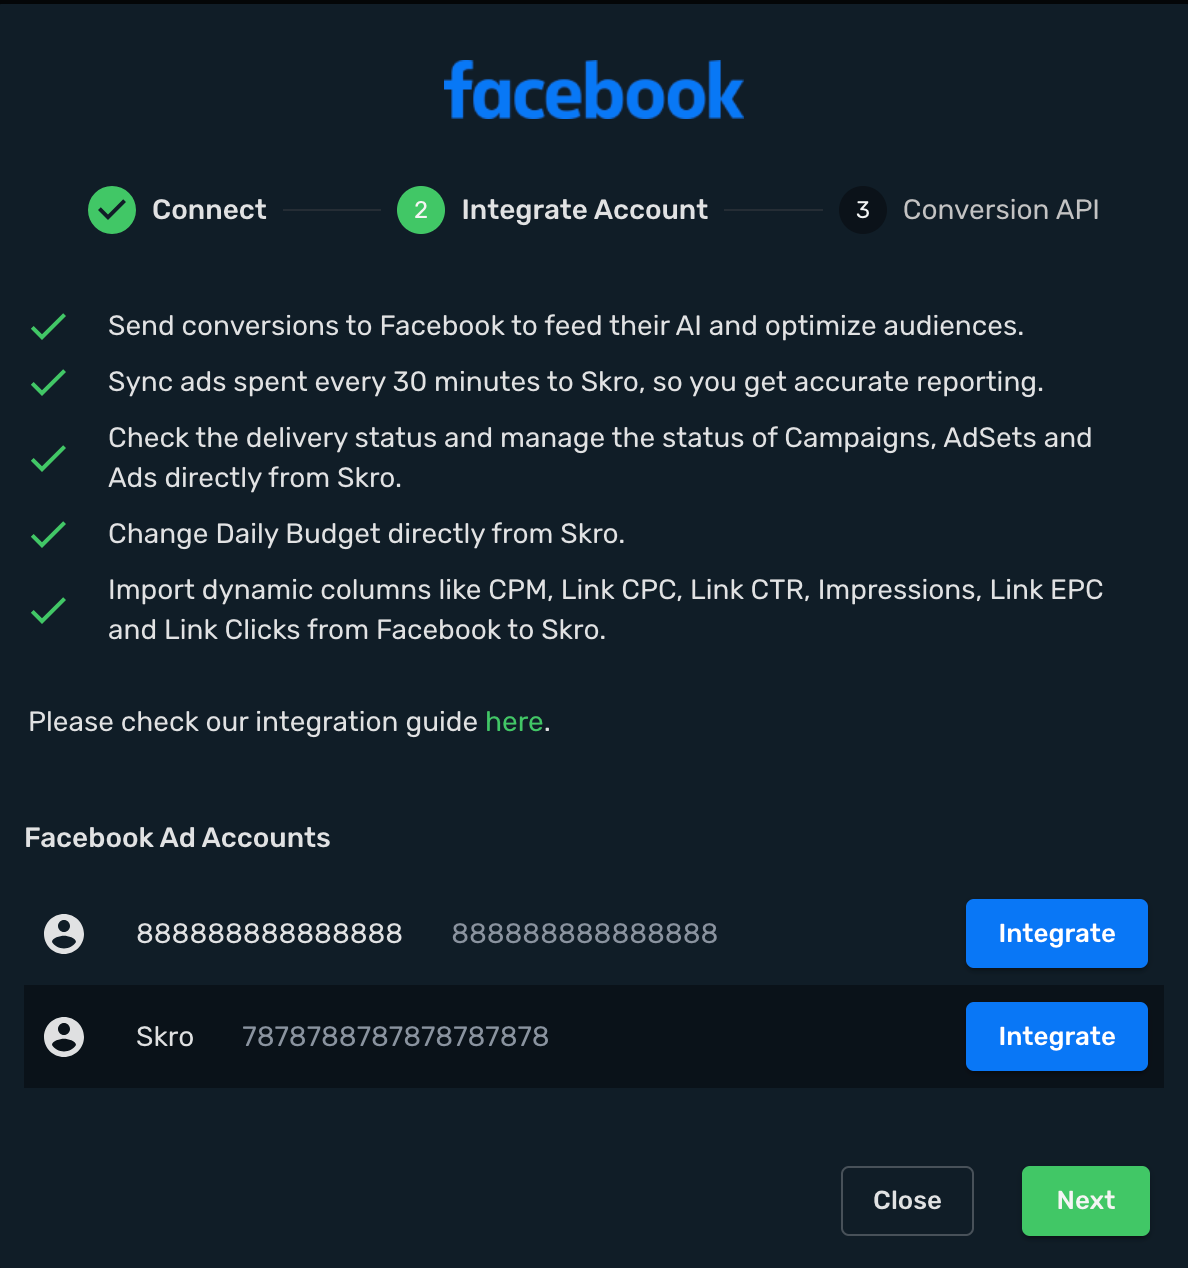
## Step 2. Set up Conversion API [#step-2-set-up-conversion-api]
If you want to send conversion info back to Facebook (Meta) Ads, then you will need to enable **Conversion API.**
**Facebook Conversion Events**
1. **Conversion Event Name** - Define all your events that you want to track with CAPI (Lead, Purchase, Subscribe). When creating a campaign in Skro, then you will need to specify which conversion event you want to track. (If you want to track multiple events, then you will need to use our Custom Conversions. For example: AddToCart, ViewContent etc.).
2. **Include Conversion Payout** - If checked, we will send conversion revenue and currency to Facebook.
**Facebook Pixels**
1. **Pixel Name** - Just give a name to your pixel.
2. **Pixel ID** - Your Facebook pixel ID what you are going to use when creating a campaign in Facebook and Skro.
3. **Conversion API Access Token** - Go to Facebook Ads Manager and click **All Tools** → **Events Manager** → Select your pixel and go to **Settings**. Scroll down and you will see Conversion API section. Click **Generate Access Token**.
4. Copy and paste the token into Skro.
Click **Save & Close**.

Your **Facebook (Meta) Ads** account is successfully integrated.
- You can turn on/off your cost sync.
- Edit, delete or renew your integration access token.
- Renewing your access token is needed because sometimes Facebook will revoke your access token for some reason and your cost sync will not work.

## Step 3. Associate integration with your traffic source [#step-3-associate-integration-with-your-traffic-source]
1. Go to **Traffic Sources** and click **Create**.
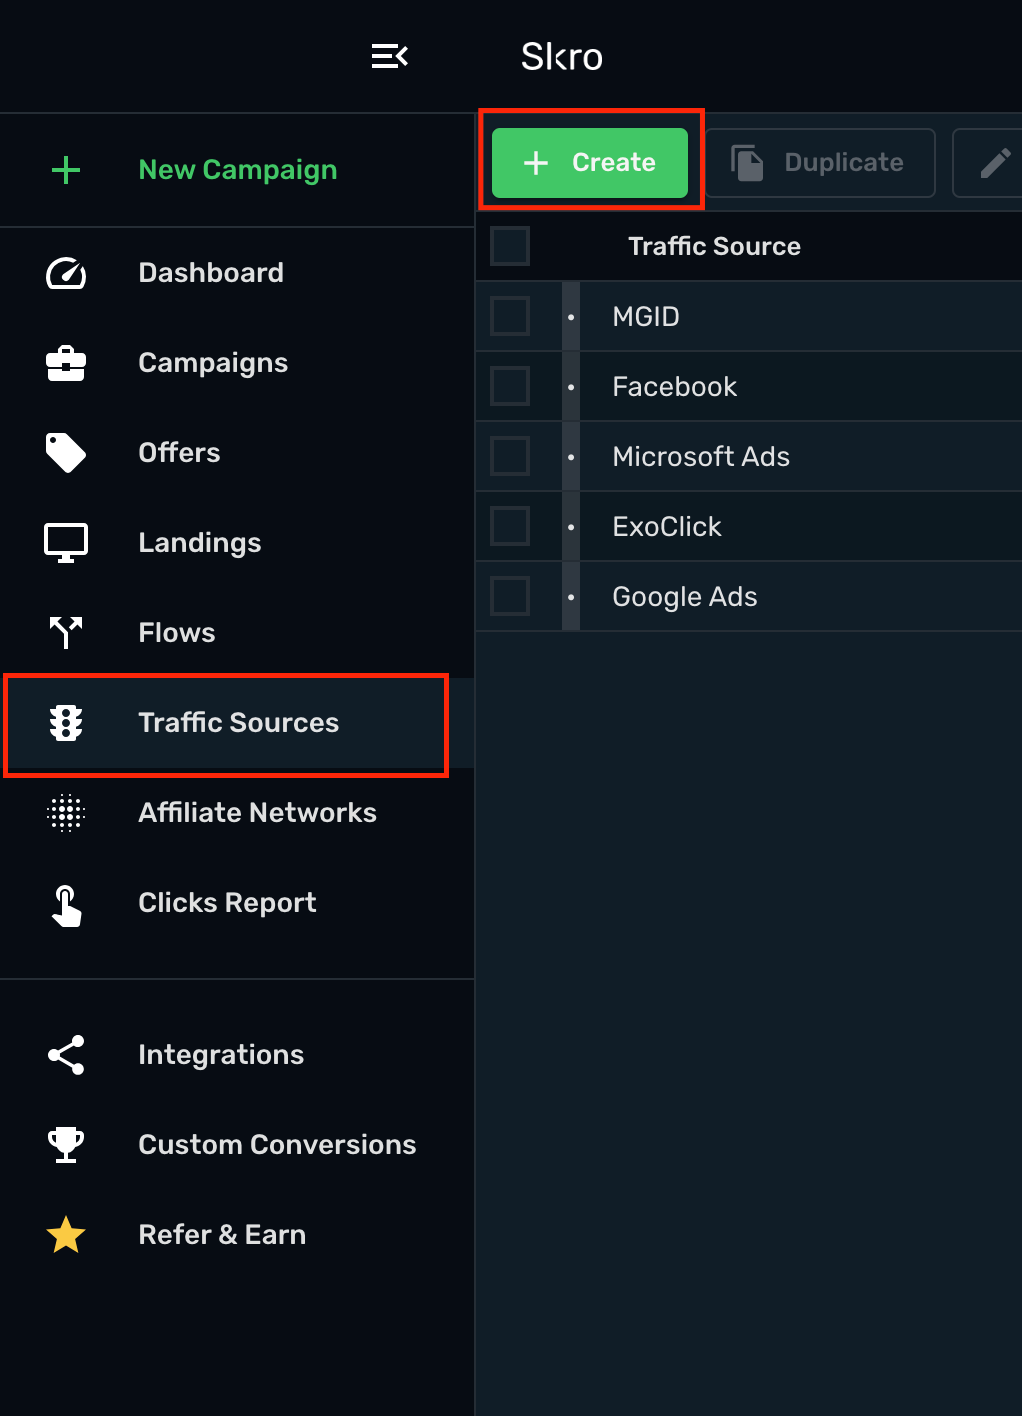
2. Click **Facebook (Meta) Ads** logo.
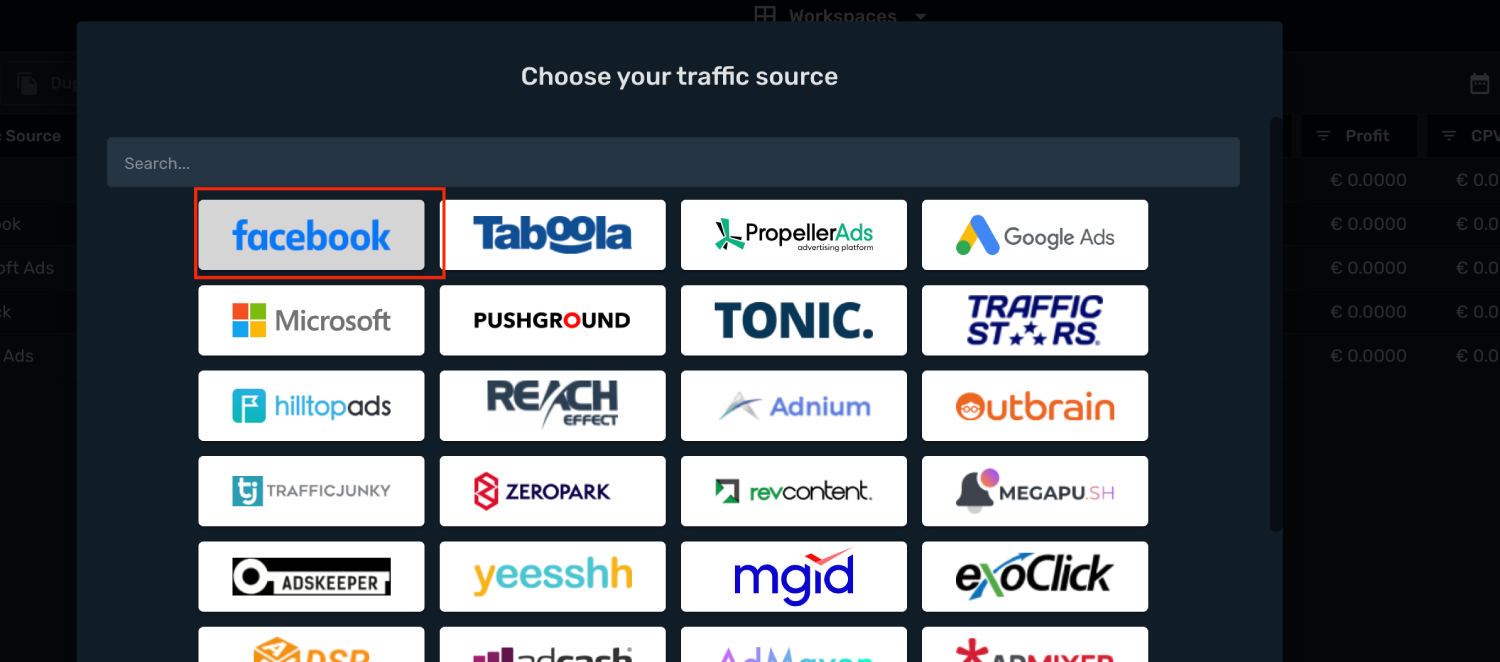
3. Choose and select your Facebook (Meta) integration from dropdown menu.
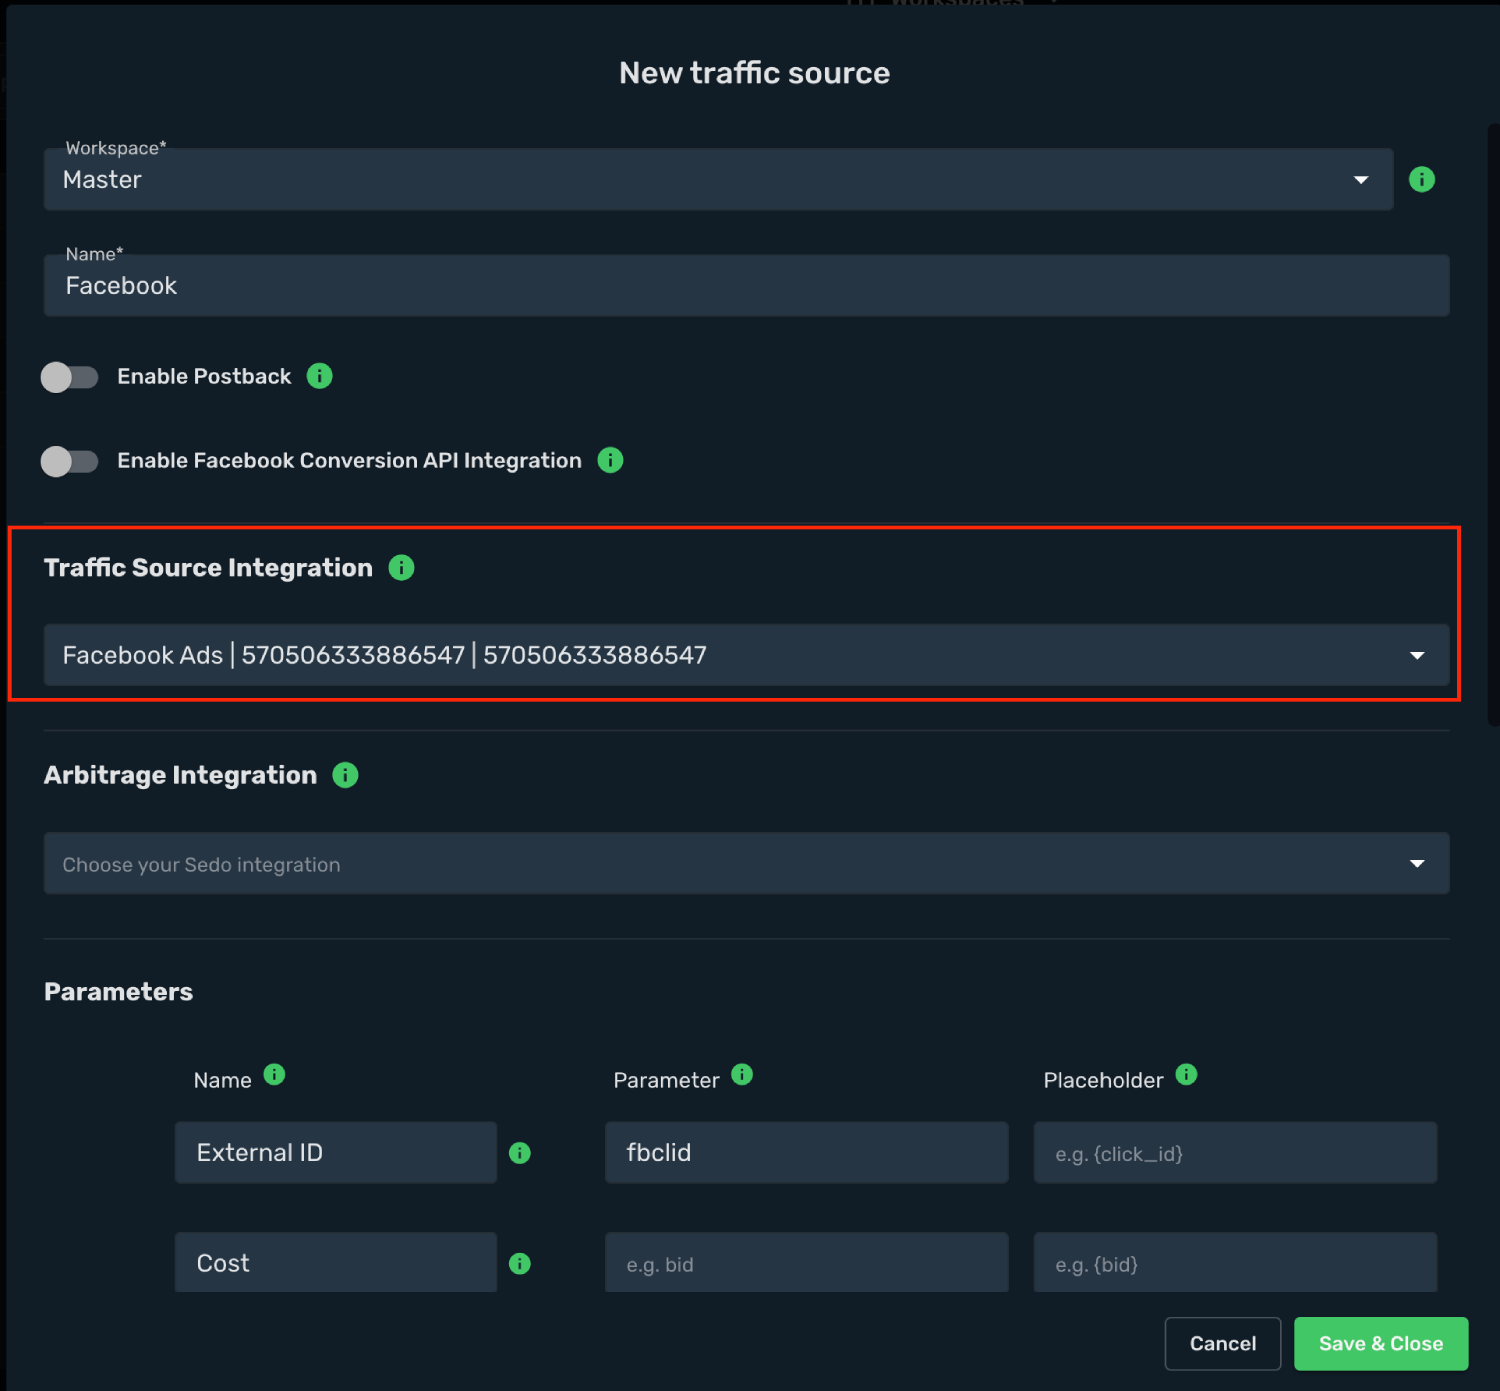
4. All parameters are already prefilled for you.
5. Click **Save & Close**.
The integration is ready. Continue by creating a campaign for Facebook (Meta) Ads.
## Step 4. Create a Campaign in Skro [#step-4-create-a-campaign-in-skro]
### (OPTIONAL) Add your landing page as (pre-lander) before your actual offer page. [#optional-add-your-landing-page-as-pre-lander-before-your-actual-offer-page]
1. Go to **Landings** and click **Create**.
2. Select workspace.
3. Add name.
4. Add your landing page URL and macros if needed.
5. Copy **Click to Offer URL** and add it to your landing page as CTA link.
6. Click **Save & Close**.
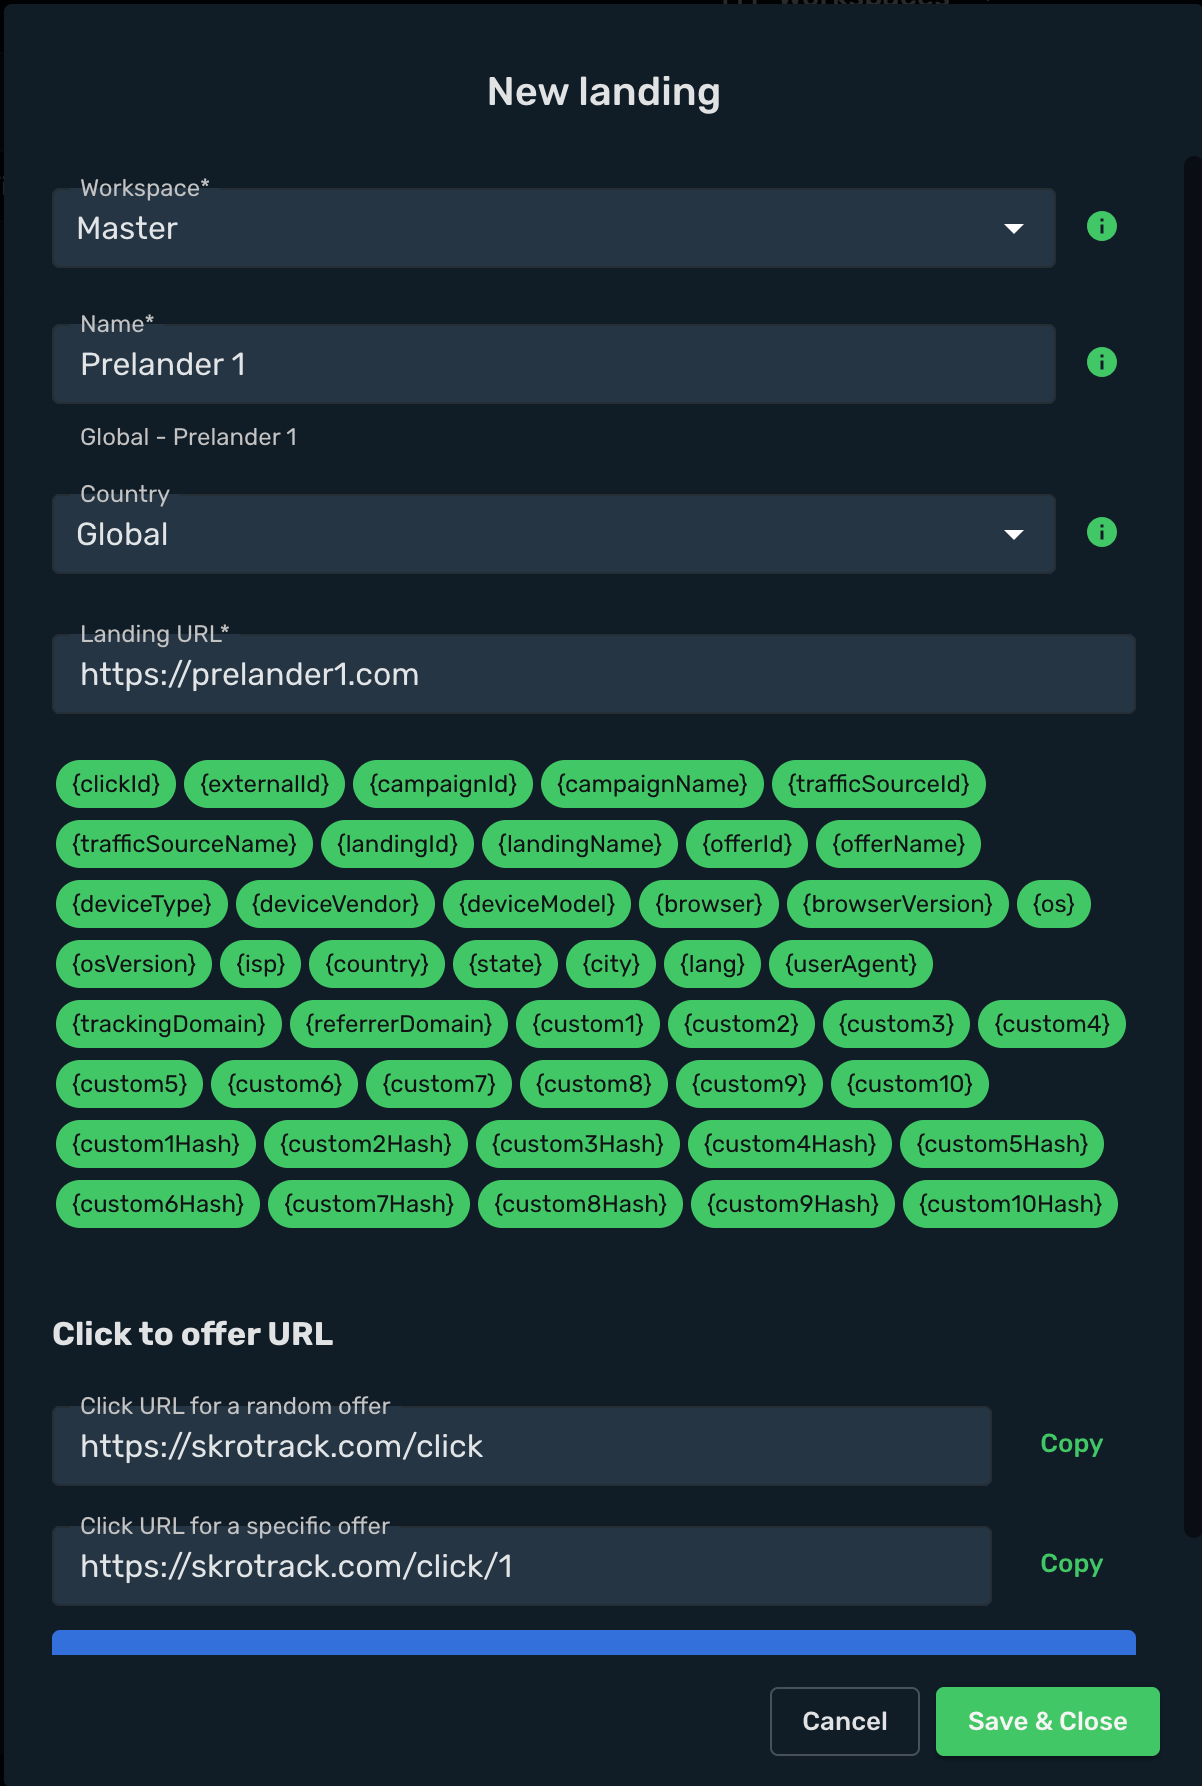
### Add your offer(s). [#add-your-offers]
1. Go to **Offers** and click **Create**.
2. Select workspace.
3. Add name.
4. Add your offer URL and add macros if needed. Usually you need to map Skro Click ID macro for same specific parameter name to use postback for conversions.
5. Click **Save & Close**.
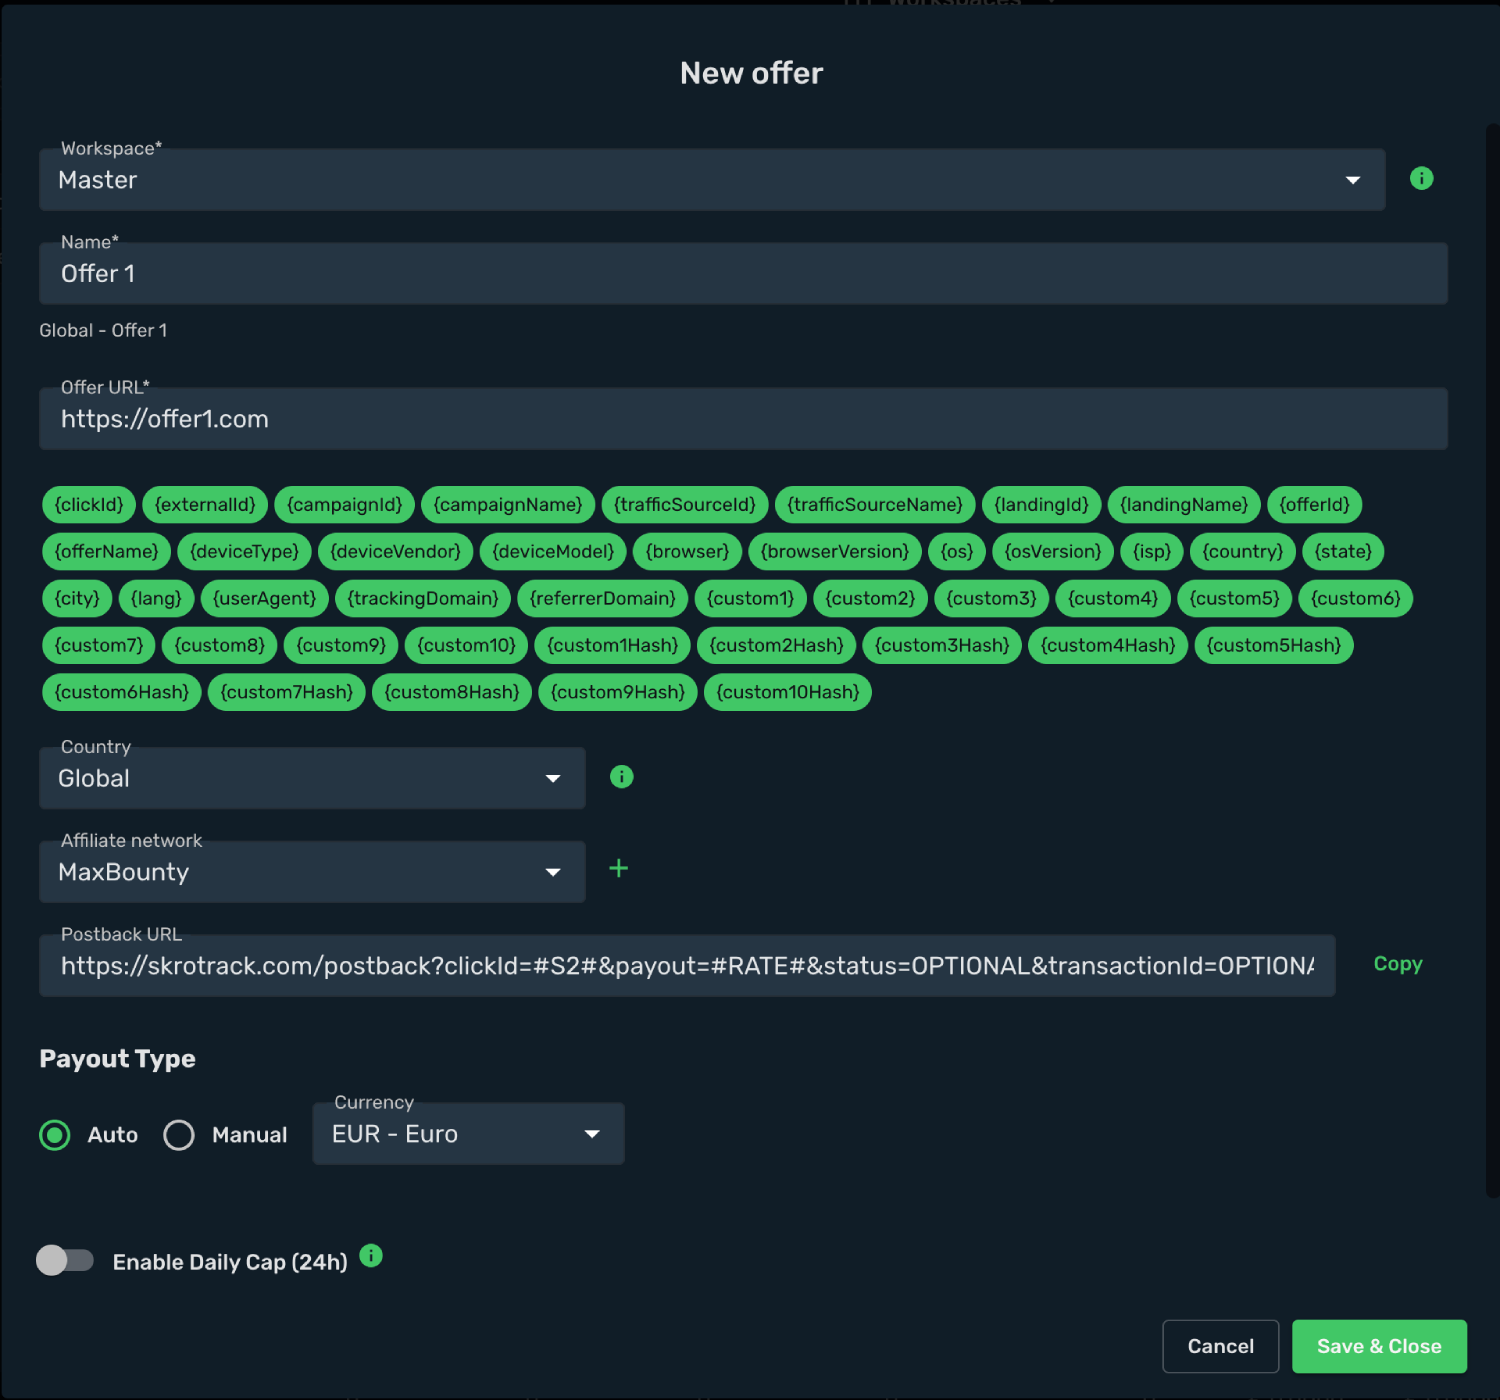
### Create campaign [#create-campaign]
1. Go to **Ads Manager** and click **Create**.
2. Select your integrated **Traffic Source** as Facebook.
3. Select your **Conversion Event Name** and **Pixel**. These are needed to send conversion info back to Facebook (Meta).
4. Cost Model should be **Auto**.
5. Select your cost currency.
6. Click **Next**
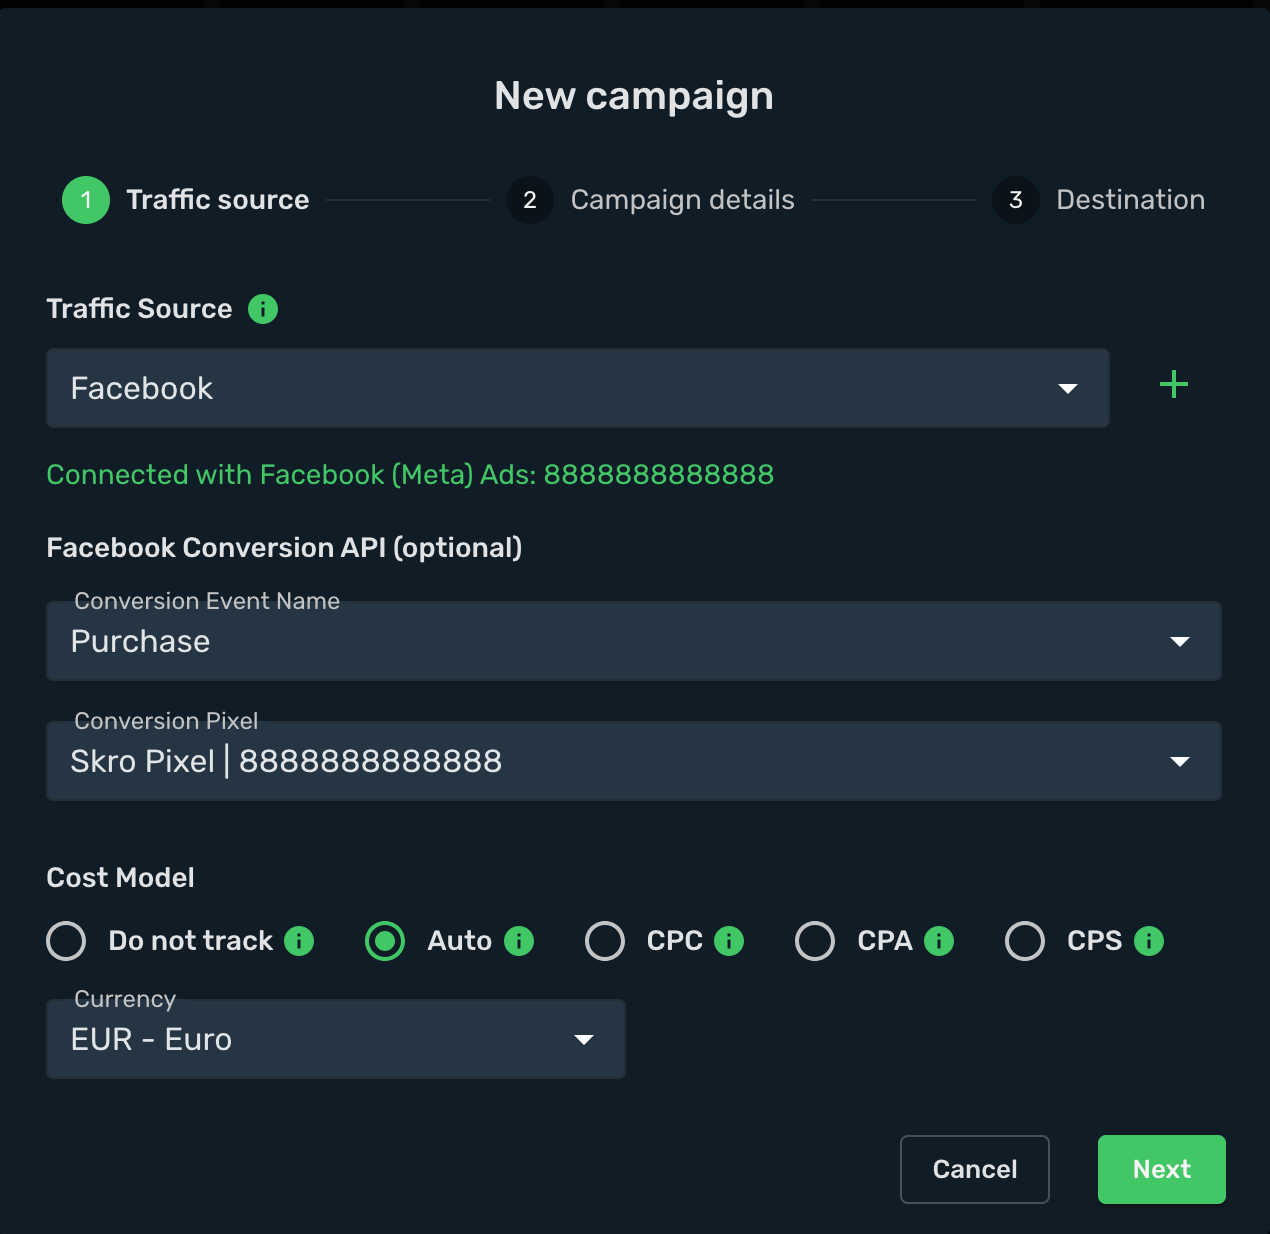
7. Select workspace.
8. Add title to your campaign.
9. Click **Next**
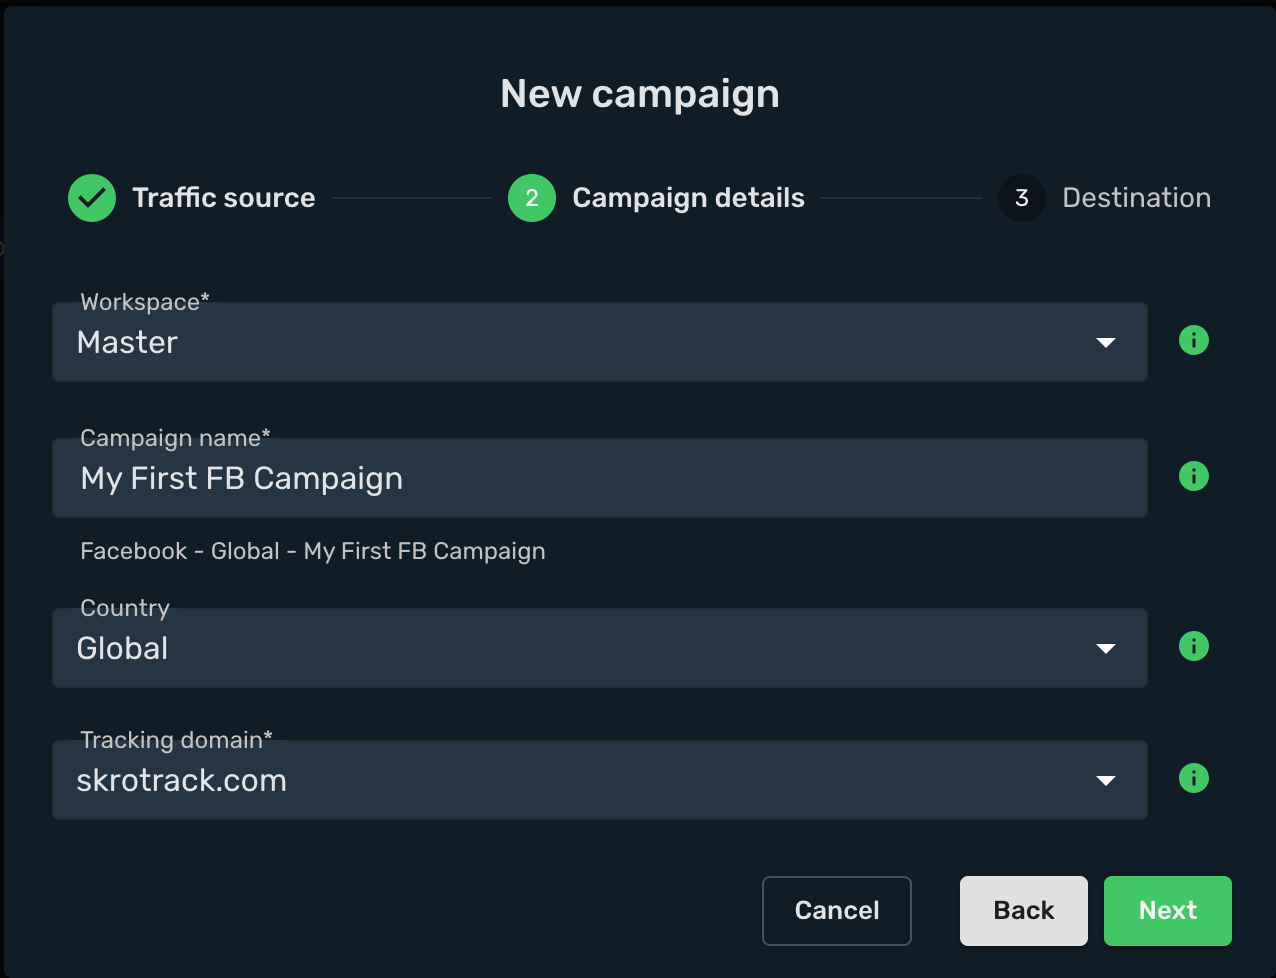
10. Choose your **Destination Type**. In this example we use **flow**
11. Choose your redirect mode. In this example we use **redirect 302**
12. Select your landing.
13. Select your offer(s).
14. Click **Save**
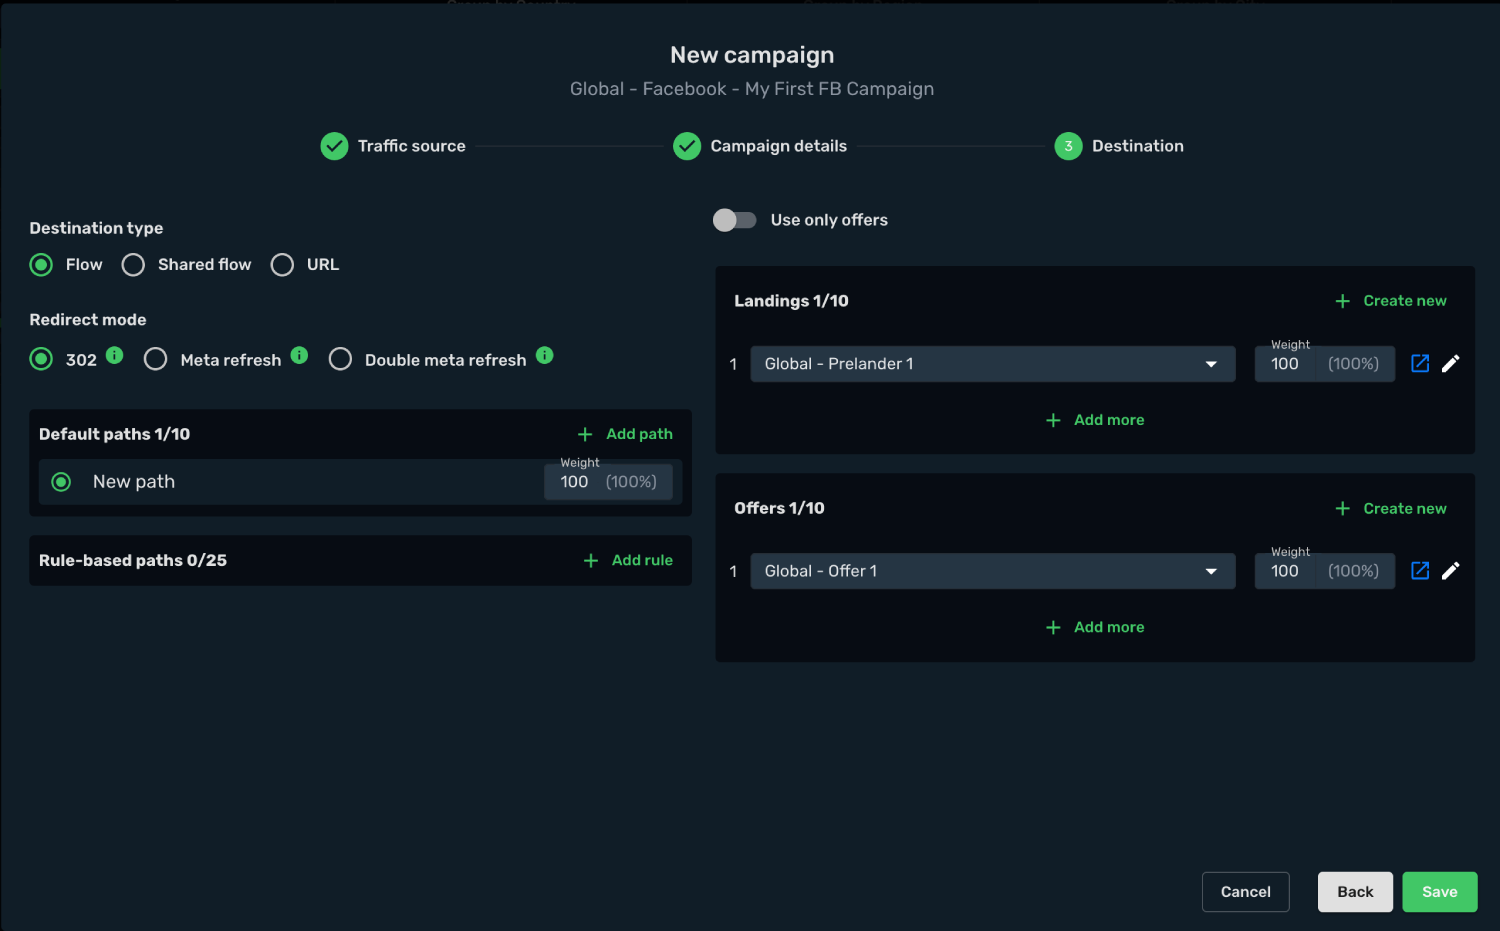
15. Choose **Redirect** or **Direct** tracking method and select your landing page. Facebook supports both methods.
16. If you are going to use **Direct tracking method** then copy and paste Skro **Tracking Pixel** into your website between HEAD tags. If you are going to use **Redirect tracking** then you do not need to install any pixels on your landing page.
17. Copy and paste Skro **Click to offer URL** to your landing page as CTA link.
18. Copy and paste Skro **Postback URL** to your affiliate network or use JS or IMG pixel, but you will need to map Skro click ID and payout macros by yourself.
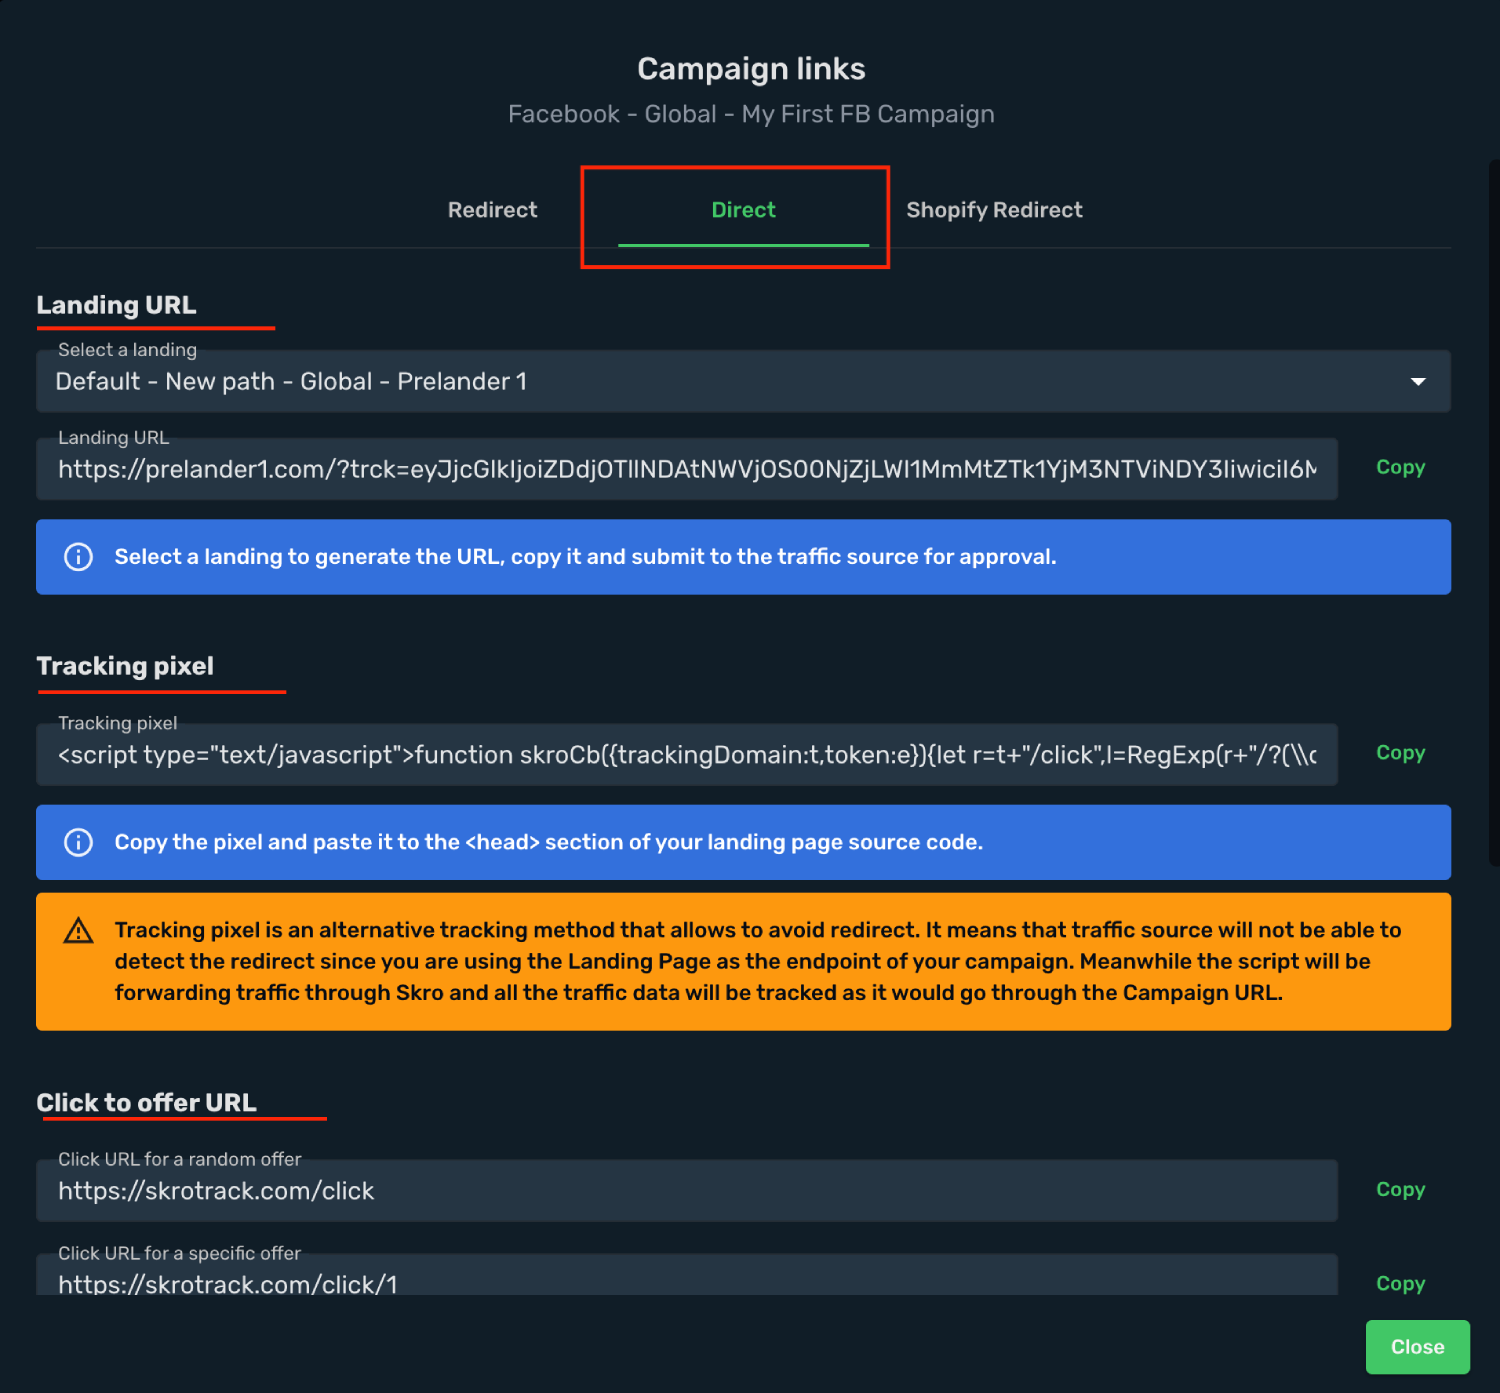
## Step 5. Create a Campaign in Facebook (Meta) Ads [#step-5-create-a-campaign-in-facebook-meta-ads]
1. There are multiple campaign types that you can create with Facebook (Meta) Ads. Campaign types determine how your ad will be promoted.
2. In order to create a Facebook (Meta) ad campaign, please follow the steps below:
3. Sign in to your Facebook (Meta) ads manager account.
4. Create a new campaign.
5. Select your campaign type, tracking event, pixel, audience, placements, budget etc.
### Direct Tracking Example [#direct-tracking-example]
The complete direct tracking URL that you have copied from Skro should look like this:
```text
https://prelander1.com/?trck=eyJjcGlkIjoiZDdjOTllNDAtNWVjOS00NjZjLWI1MmMtZTk1YjM3NTViNDY3IiwiciI6MCwicCI6MCwibCI6MH0=&ad_id={{ad.id}}&ad_name={{ad.name}}&adset_id={{adset.id}}&adset_name={{adset.name}}&campaign_id={{campaign.id}}&campaign_name={{campaign.name}}&placement={{placement}}&site_source_name={{site_source_name}}&gender={gender}
```
6. On the ad level you have to provide your landing page URL as your business website. Do not include any tracking parameters at this point, provide the plain URL.
`https://prelander1.com`
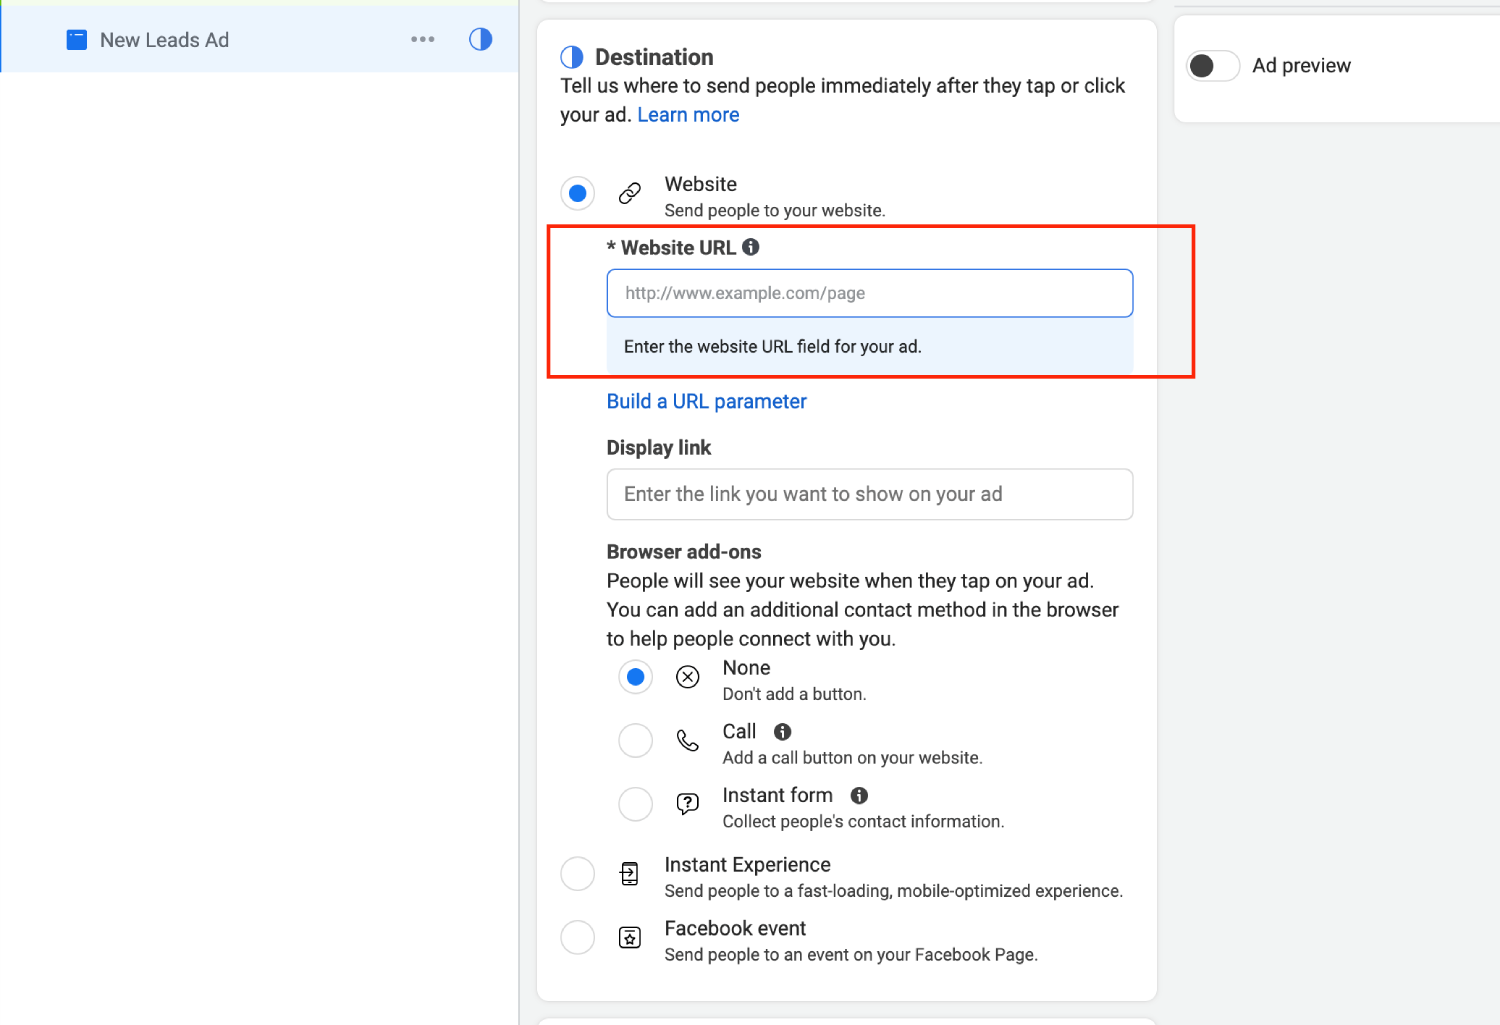
7. Paste the part of the direct tracking URL that you have copied from Skro that starts after the **?** character in the **URL Parameters** text field.
8. If you are doing ads by gender, then you can define your gender value manually to feed Facebook Ads AI. If do not want to use this parameter then just remove it.
Male traffic only: `&gender=m`
Female traffic only: `&gender=f`
```text
trck=eyJjcGlkIjoiZDdjOTllNDAtNWVjOS00NjZjLWI1MmMtZTk1YjM3NTViNsY3IiwiciI6MCwicCI6MCwibCI6MH0=&ad_id={{ad.id}}&ad_name={{ad.name}}&adset_id={{adset.id}}&adset_name={{adset.name}}&campaign_id={{campaign.id}}&campaign_name={{campaign.name}}&placement={{placement}}&site_source_name={{site_source_name}}&gender=f
```
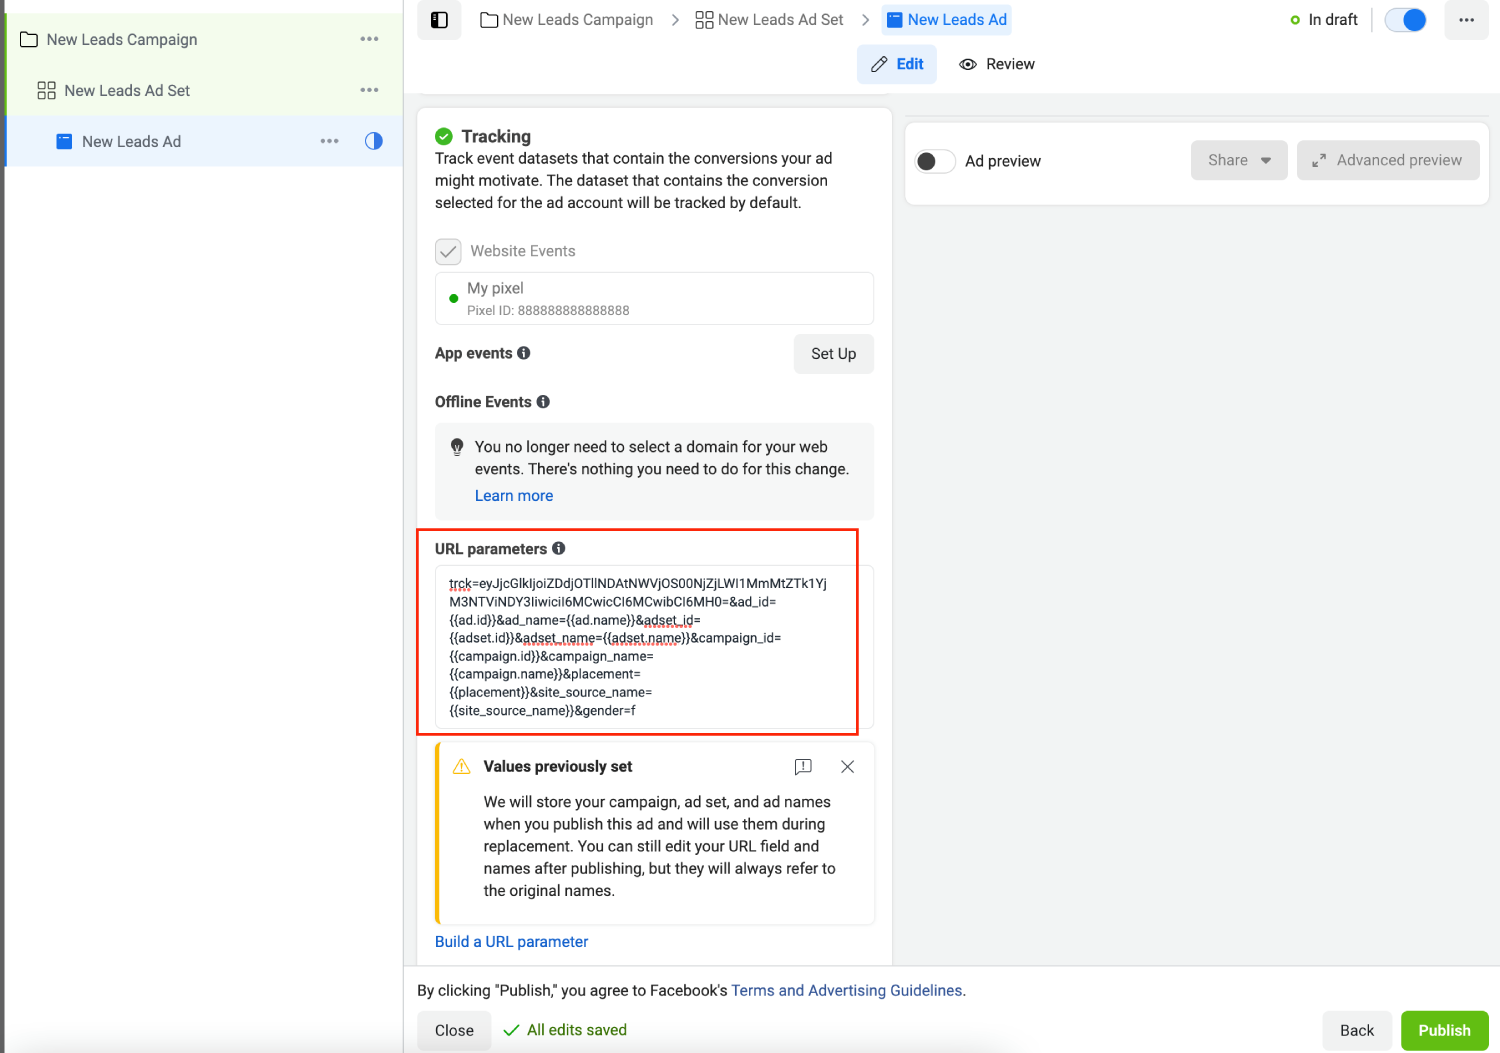
### Redirect Tracking Example [#redirect-tracking-example]
The complete **Redirect Tracking URL** that you have copied from Skro should look like this:
```text
https://skrotrack.com/campaign/399fb9ed-fd0d-4c23-9e8d-ba10d5a84549?ad_id={{ad.id}}&ad_name={{ad.name}}&adset_id={{adset.id}}&adset_name={{adset.name}}&campaign_id={{campaign.id}}&campaign_name={{campaign.name}}&placement={{placement}}&site_source_name={{site_source_name}}&gender={gender}
```
6. On the ad level you have to provide your campaign tracking link. Do not include any tracking parameters at this point, provide the plain URL.
`https://skrotrack.com/campaign/399fb9ed-fd0d-4c23-9e8d-ba10d5a84549`

7. Paste the part of the redirect tracking URL that you have copied from Skro that starts after the **?** character in the **URL Parameters** text field. You can delete the **?** mark.
8. If you are doing ads by gender, then you can define your gender value manually to feed Facebook Ads AI. If do not want to use this parameter then just remove it.
Male traffic only: `&gender=m`
Female traffic only: `&gender=f`
```text
ad_id={{ad.id}}&ad_name={{ad.name}}&adset_id={{adset.id}}&adset_name={{adset.name}}&campaign_id={{campaign.id}}&campaign_name={{campaign.name}}&placement={{placement}}&site_source_name={{site_source_name}}&gender=f
```

9. When you are ready with your ad set up, then click **Publish**.
Congratulations, you have successfully set up tracking of Facebook (Meta) traffic with Skro. Each time a visitor clicks on your ad, will be directed to your landing page with Skro's tracking parameters being passed. On a landing page, the direct tracking script will launch and send an HTTPS request to Skro with information about a visit and other information passed from Facebook (Meta).
## Step 6. Additional Conversion API Parameters [#step-6-additional-conversion-api-parameters]
**Requirements:** Facebook Ad Account and Conversion API Integration.
If you need to send additional information via Facebook Conversion API, then you can use the following parameters:
- **firstName** - Using Roman alphabet a-z characters is recommended.
- **lastName** - Using Roman alphabet a-z characters is recommended.
- **email** - User email address.
- **phone** - User phone number.
- **zip** - Use lowercase with no spaces and no dash. Use only the first 5 digits for U.S. zip codes. Use the area, district, and sector format for the UK.
- **fbLoginId** - The ID issued by Meta when a person first logs into an instance of an app. This is also known as App-Scoped ID.
- **fbp** - The Facebook browser ID value is stored in the _fbp browser cookie under your domain. Example value: fb.1.1596403881668.1116446470
- **sourceDomain** - It is used if you want to hide your real source domain. By default it is used your landing or offer domain as source domain and this info is sent back to Facebook.
- **eventId** - You can send your Event ID if you want to avoid duplication. For example, if you are using Meta JS Pixel and Conversion API together and both fires the same event.
Example postback URL with additional parameters:
```text
https://skrotrack.com/postback?clickId=ancdh2udspoc73cjodf0&payout=10&firstName=John&lastName=Toe&email=johntoe@example.com&zip=12345&fbLoginId=1.1.mylogin&fbp=fb.1.1596403881668.1116446470&sourceDomain=whitepage.com&eventId=Jdda88dsa90gf77g8fd9g
```
## Step 7. How to optimize Facebook (Meta) campaigns, adsets and ads? [#step-7-how-to-optimize-facebook-meta-campaigns-adsets-and-ads]
1. Go to **Ads Manager**.
2. Double-click your campaign name.

3. Use **Group By** select boxes and select the following values:
- Group By 1: **C5: Campaign ID**
- Group By 2: **C3: AdSet ID**
- Group By 3: **C1: Ad ID**
4. In the current view you can now optimize your Facebook campaigns directly from Skro UI. It means that you can turn ON/OFF Facebook campaigns, change campaign budget and see dynamic columns from Facebook in real-time.

5. Double-click your **campaign name** or use tab above the table to move into the **Adset** view.
6. Now you can manage your Facebook **AdSets**, so that you can turn ON/OFF adset, change budget and see dynamic columns from Facebook in real-time.

7. Double-click your **adset name** or use tabs above to table to move to the **Ads** view. Also multi-select is supported.
8. Now you can manage your Facebook **Ads**, so that that you can turn ON/OFF ads and see dynamic columns from Facebook in real-time.

### Manage multiple campaigns [#manage-multiple-campaigns]
1. For example, if you have multiple ad accounts and running like 50 campaigns on each. Then you can optimize all campaigns in 1 single view, if you select **1 traffic source** from toolbar.
2. Do not select any campaign from **Ads Manager** view. Just click the **C5: Campaign ID** tab (or any other tab) above the table to move into that view.

3. Optimize all your AdSets in one view.

### Tree view optimization [#tree-view-optimization]
1. Go to **Ads Manager** and select **Tree** on toolbar.
2. Double-click your campaign and you will be redirected to **Reports** view.
3. Use **Group By** select boxes and select the following values:
- Group By 1: **C5: Campaign ID**
- Group By 2: **C3: AdSet ID**
- Group By 3: **C1: Ad ID**
4. Just drill-down your campaigns and adsets and start optimizing.

## Verify the setup [#verify-the-setup]
Open the generated campaign URL and check that the visit appears in Skro. Confirm that traffic source macros resolve to actual values. If you send conversions back to the source, verify a test conversion in both systems.
If data is missing, check the selected workspace, integration, campaign, and reporting date range. Compare parameter names and macro values with the examples in this guide before repeating the test.
## Related guides [#related-guides]
Create metric-based or scheduled rules with budget limits, notifications, and action logs.
# Galaksion integration
Source: https://skro.eu/docs/integrations/galaksion-and-skro-integration
Set up Galaksion tracking in Skro, configure traffic source parameters, and connect your advertising campaigns.
Integration enables you to track all your campaigns, zones, ads, etc. Additionally, it provides a comprehensive overview of your cost and conversions for the optimization.
## Step 1. Create a Galaksion traffic source and configure the postback URL [#step-1-create-a-galaksion-traffic-source-and-configure-the-postback-url]
1. Navigate to **Traffic Sources**.
2. Click the **Create**.
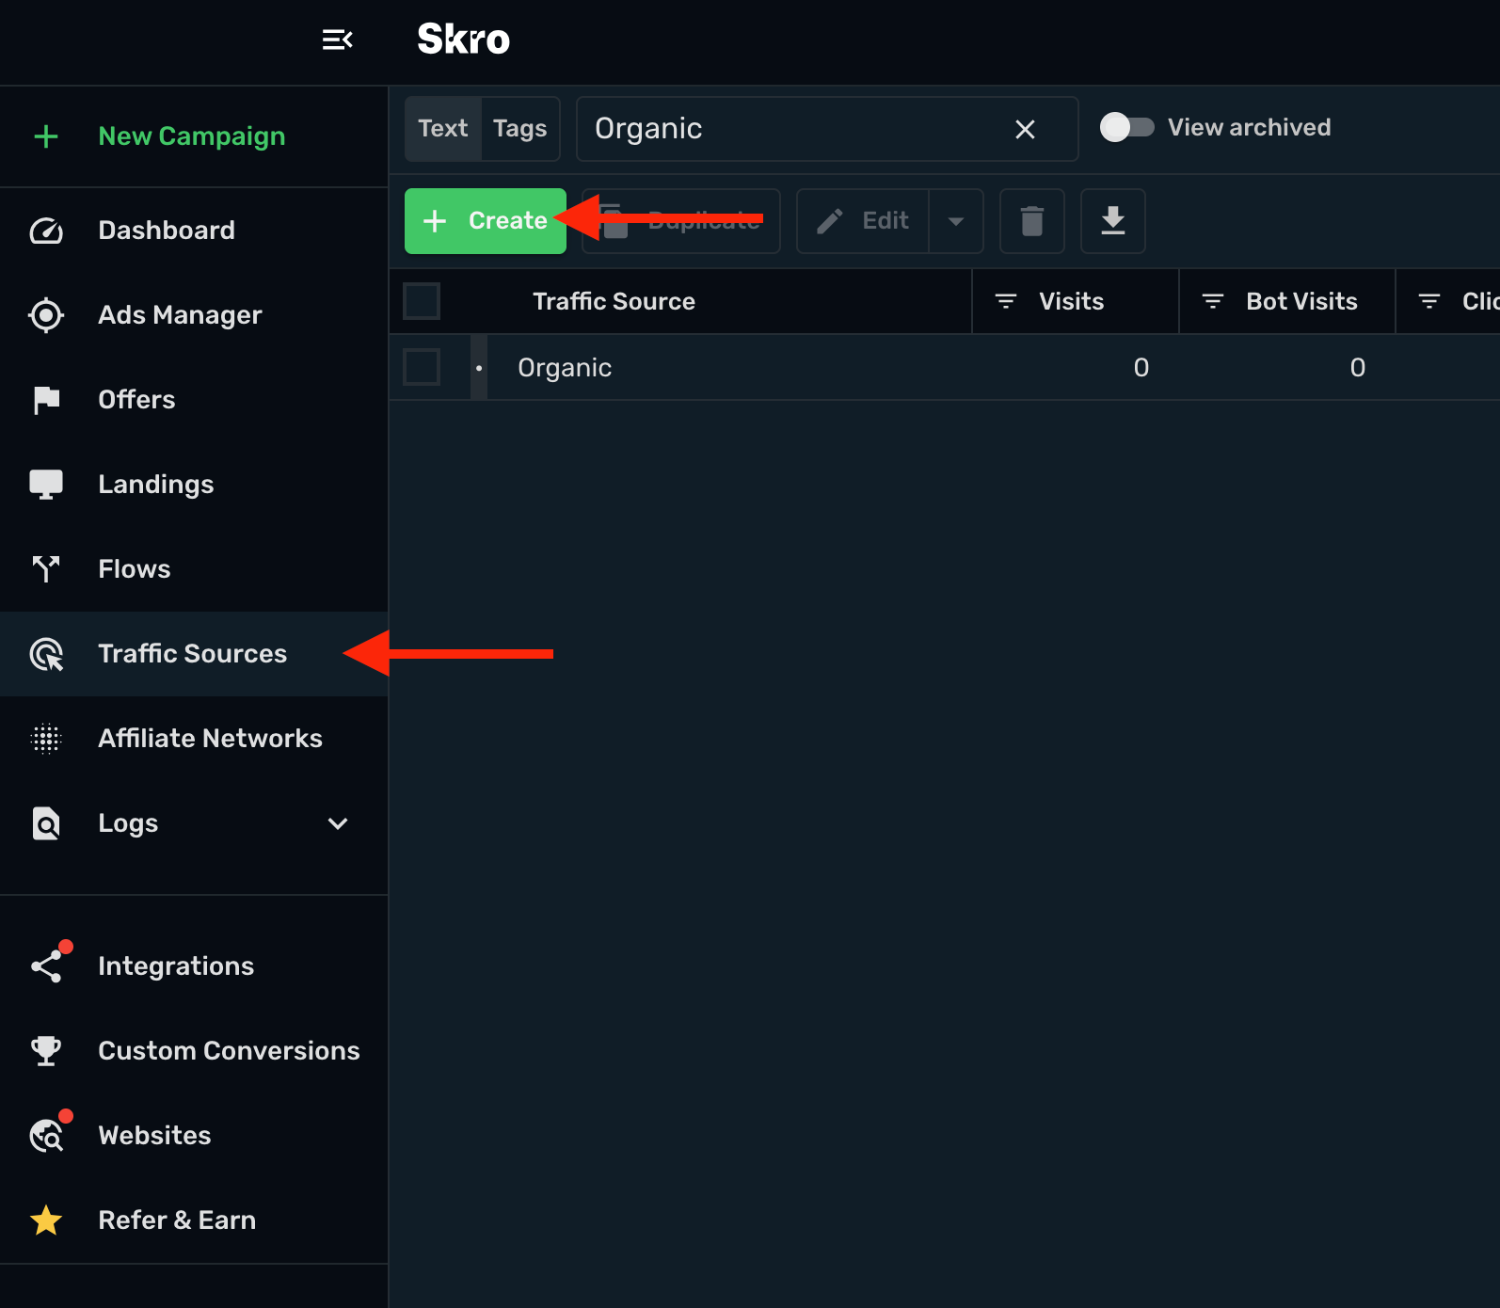
3. Search for **Galaksion** and click the **Galaksion** template.
4. You need to change **one parameter value** in your postback URL.
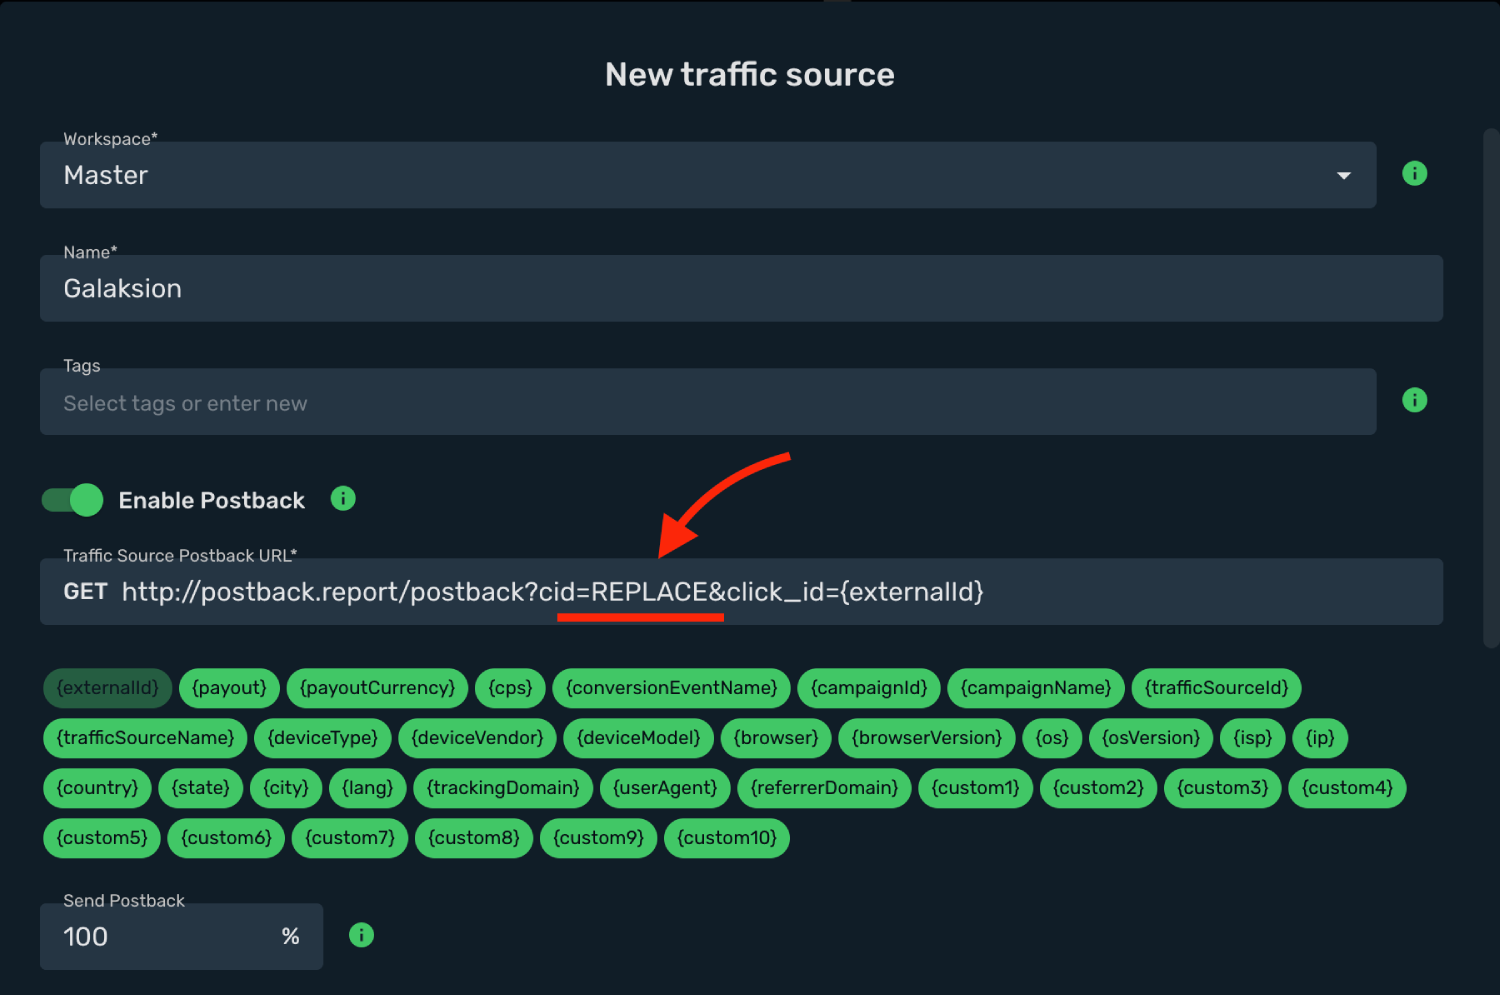
5. Log in to your **Galaksion account**.
6. Go to **Postback** and copy the **Postback URL** to your clipboard. Or just copy the **cid** parameter value.
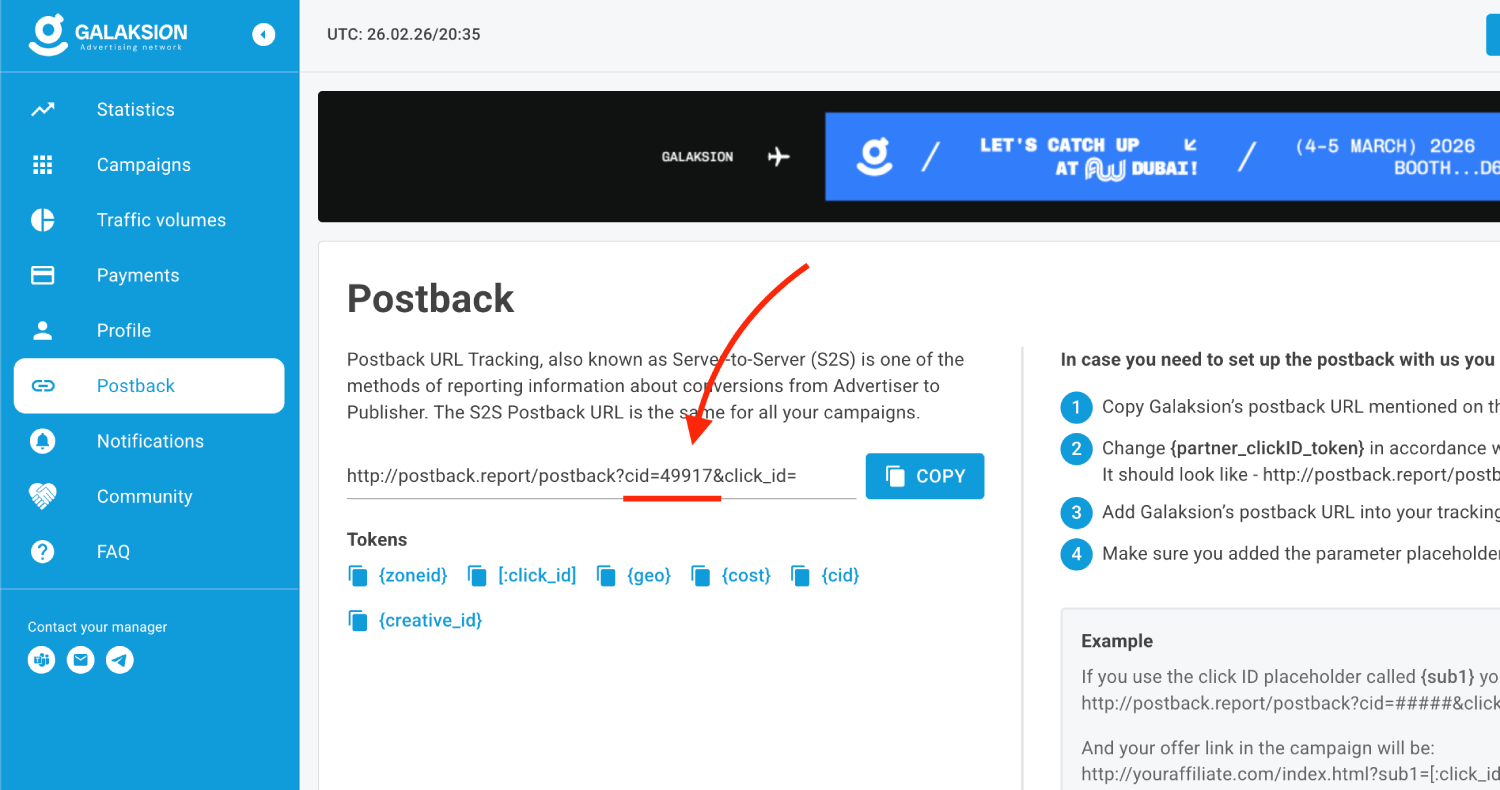
7. Go back to **Skro** and replace the postback URL with the updated value.
8. Final postback URL must look similar to this:
`http://postback.report/postback?cid=49917&click_id={externalId}`
**`cid=49917`** - This is your Galaksion account ID.
**`click_id={externalId}`** - This maps Galaksion’s **click_id** parameter to the Skro **`{externalId}`** macro.
9. All tracking parameters are already prefilled for you.
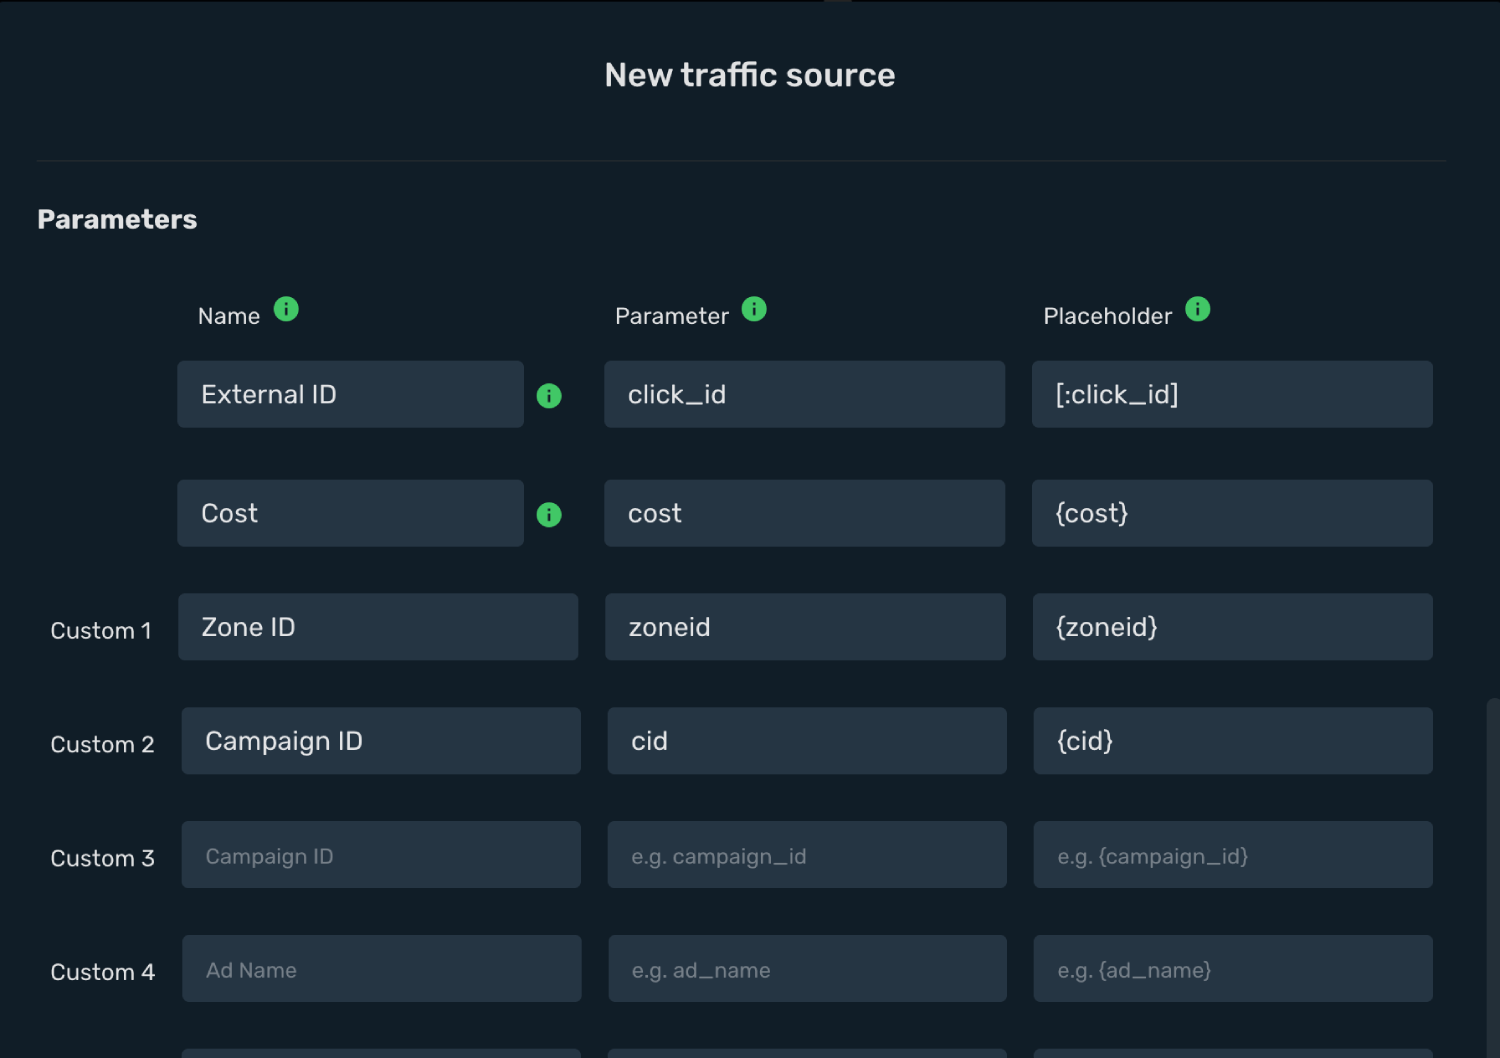
10. Click the **Save & Close**.
Integration setup is complete, and you are now ready to create your first campaign.
## Step 2. Create a campaign on Skro [#step-2-create-a-campaign-on-skro]
1. Go to **Ads Manager** and click the **Create**.
2. Select your **Traffic source** and click **Next**.
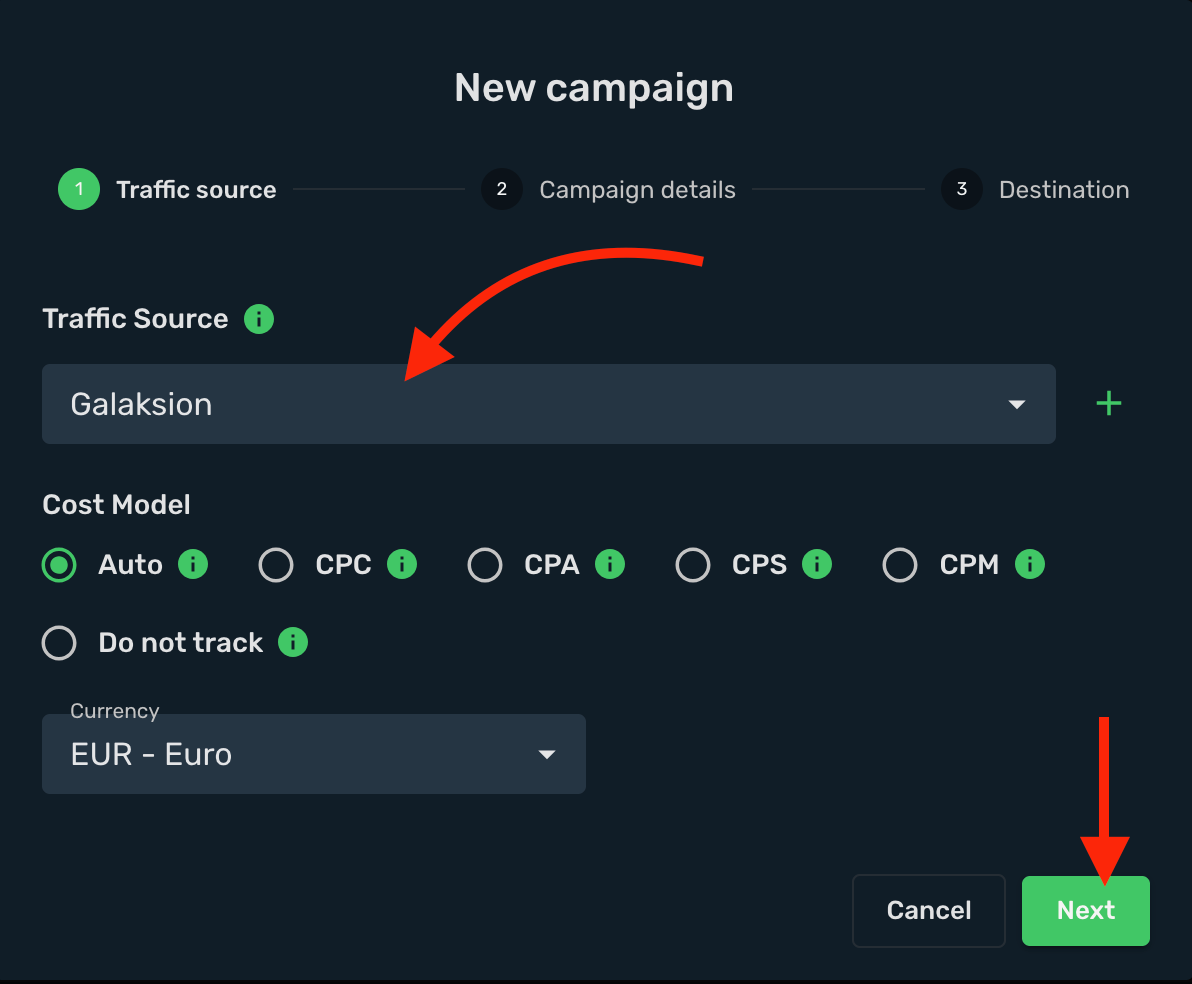
3. Select your campaign **Workspace**.
4. Enter a descriptive campaign name.
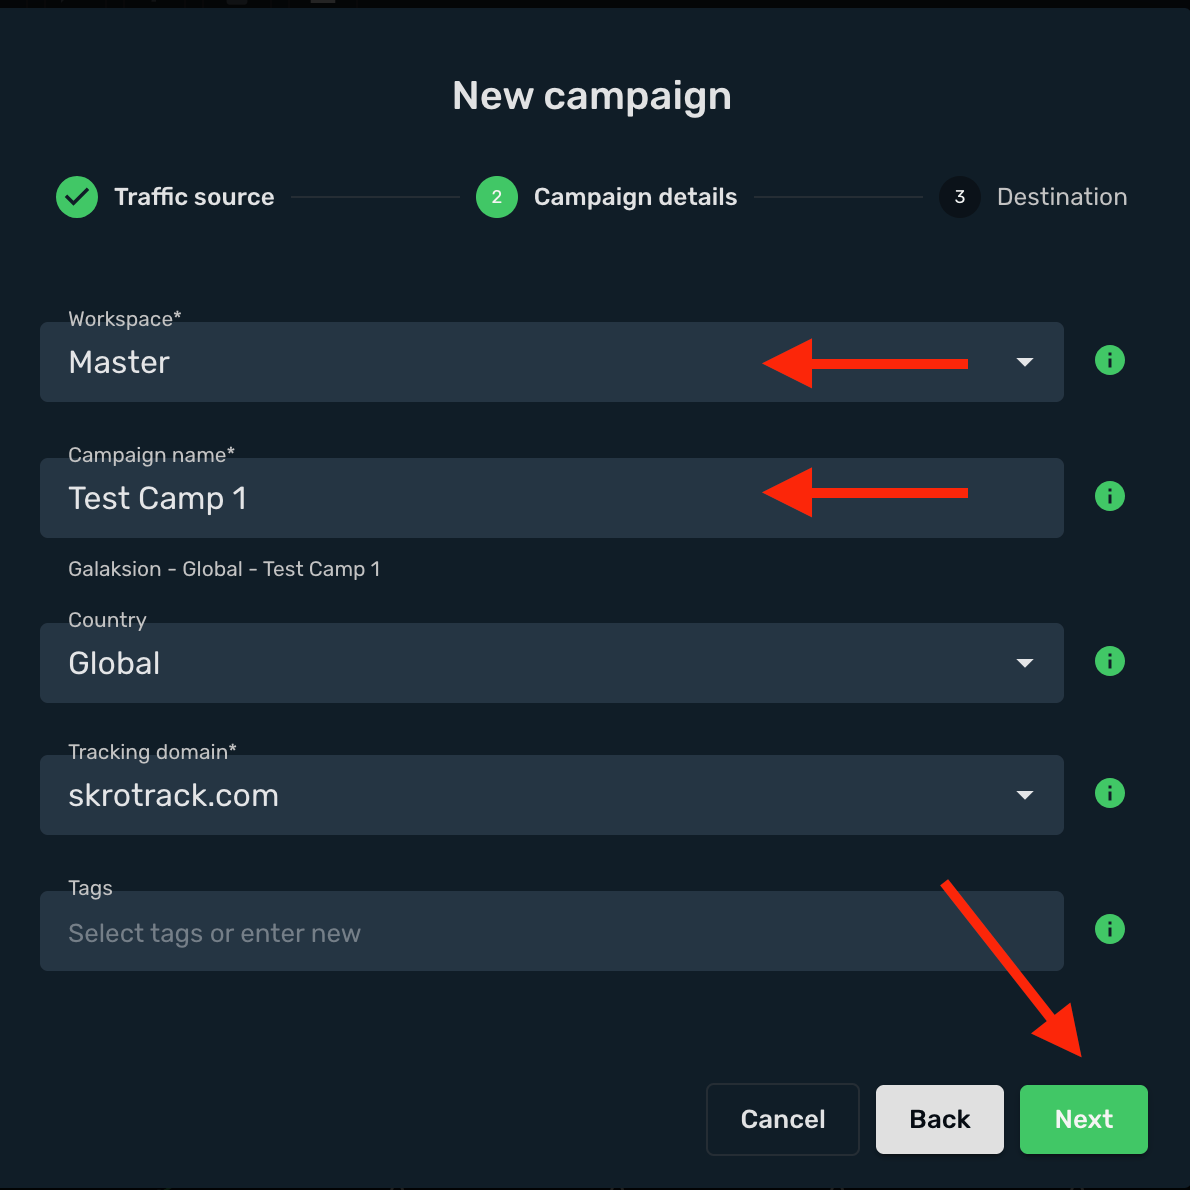
5. Select or create all your **landings** and **offers**.
6. Click the **Save**.
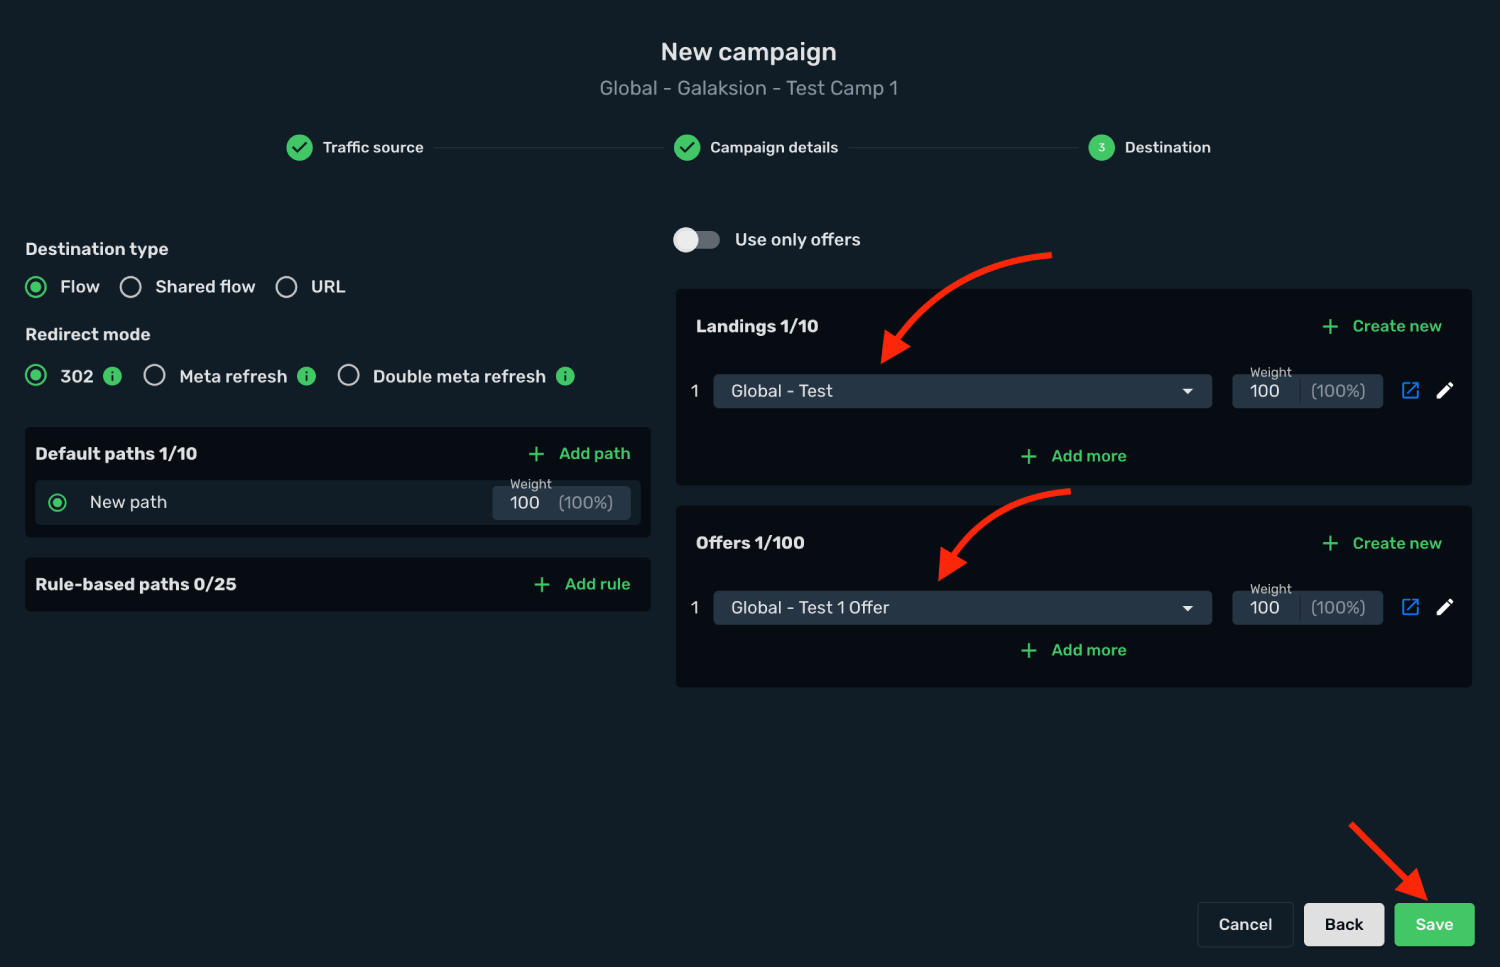
7. Copy the **Campaign Tracking URL** to clipboard.
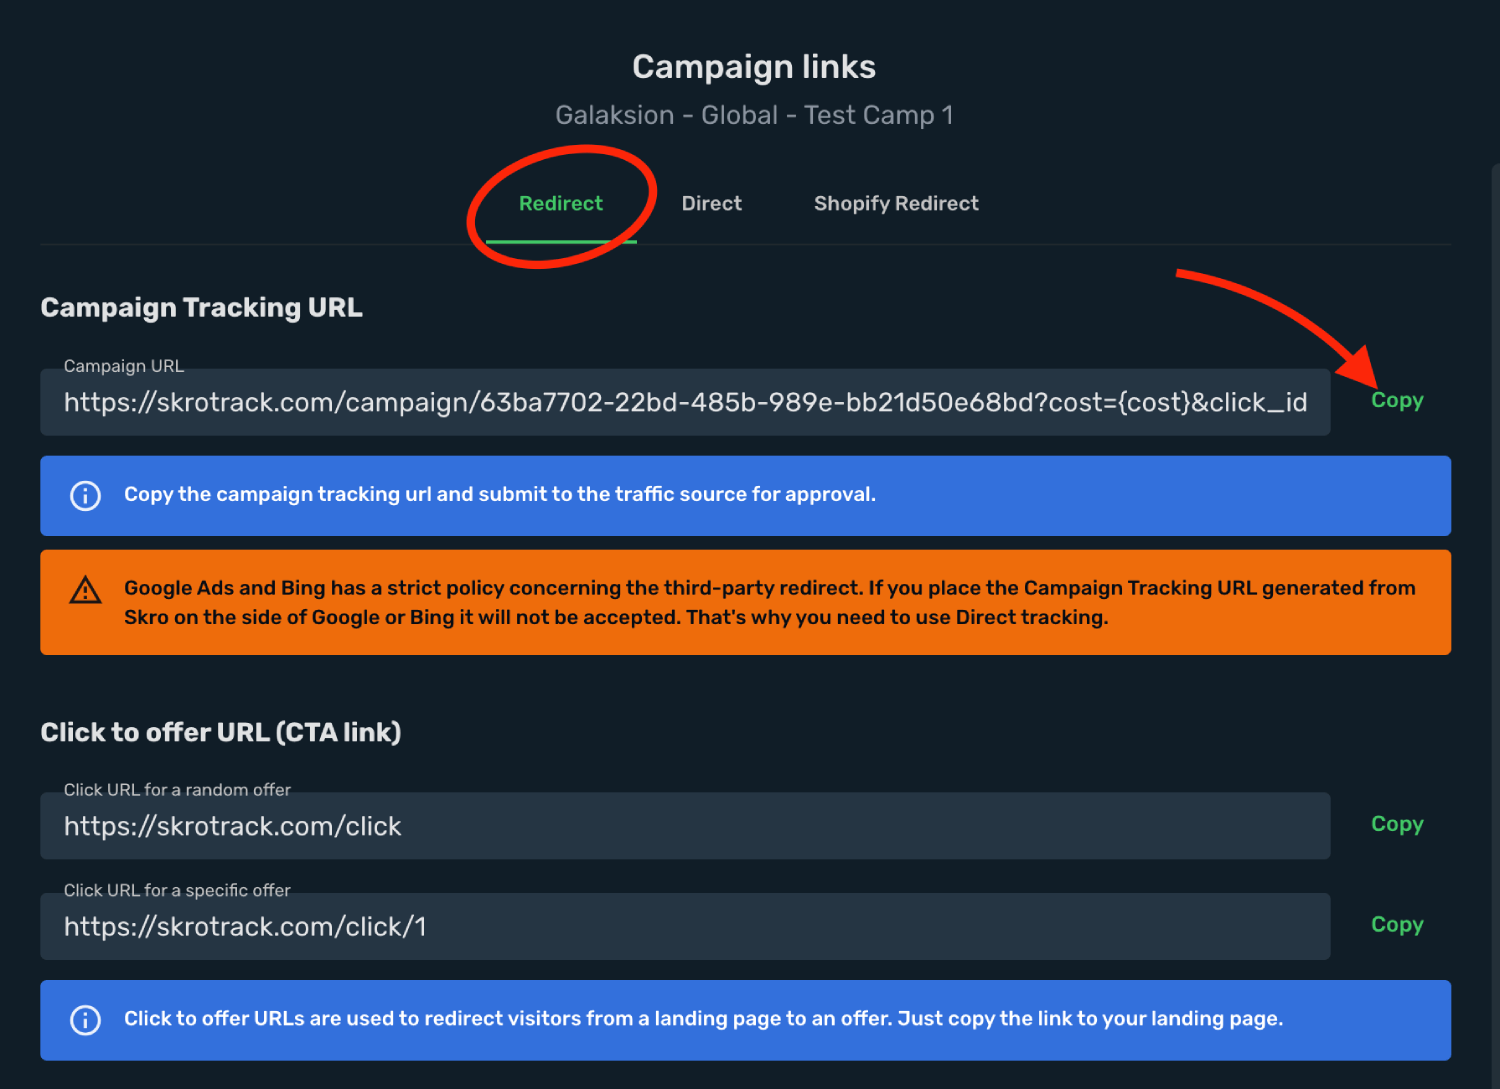
## Step 3. Create a campaign on Galaksion [#step-3-create-a-campaign-on-galaksion]
1. Log in to your **Galaksion account**.
2. Click the **Campaigns** on the sidebar.
3. Click the **Create your first campaign**.
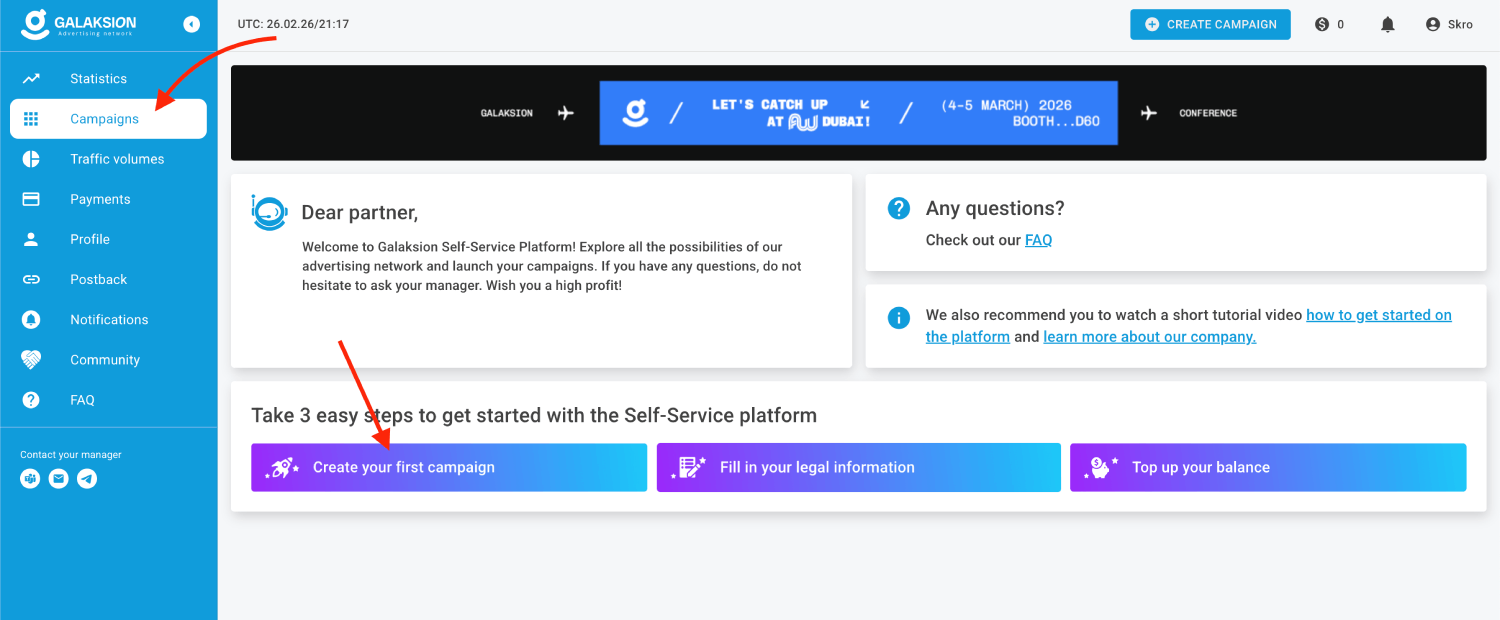
4. Enter a descriptive campaign name.
5. Select your business model, **CPC** or **CPM**.
6. Create your **Creatives** and fill all other fields where needed.
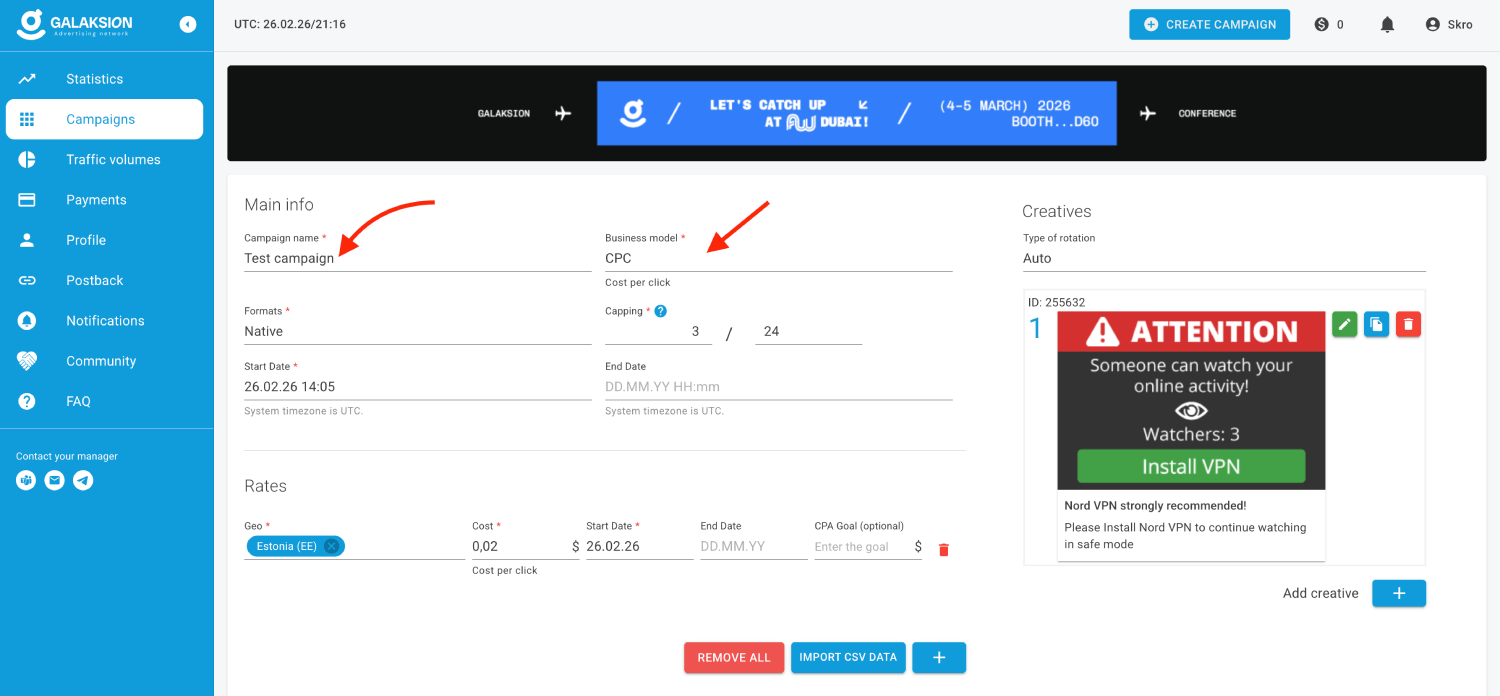
7. Paste the **Skro campaign tracking link** into the **Destination URL** field, including all tracking parameters.
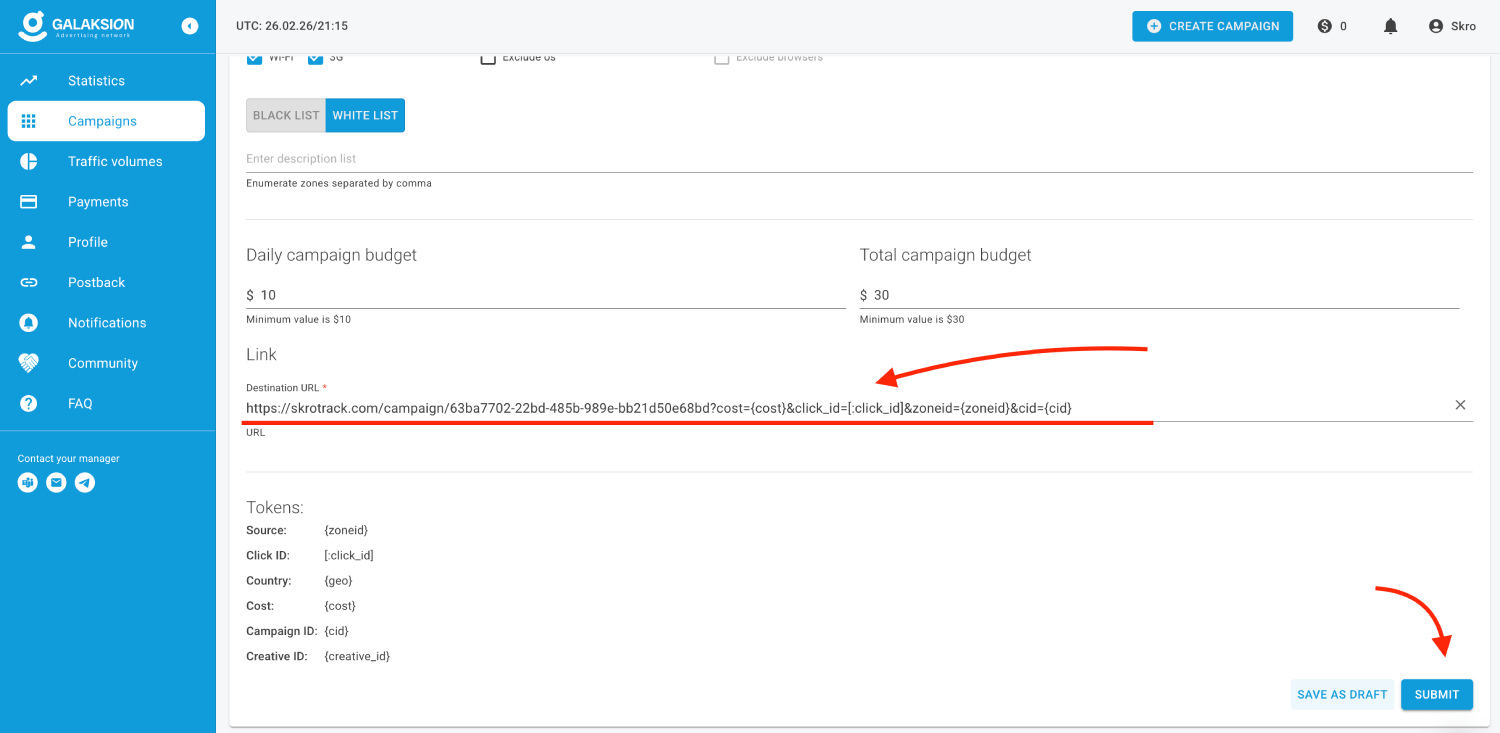
8. When you are done, click the **Submit**.
## Verify the setup [#verify-the-setup]
Open the generated campaign URL and check that the visit appears in Skro. Confirm that traffic source macros resolve to actual values. If you send conversions back to the source, verify a test conversion in both systems.
If data is missing, check the selected workspace, integration, campaign, and reporting date range. Compare parameter names and macro values with the examples in this guide before repeating the test.
## Related guides [#related-guides]
# Golden Goose integration
Source: https://skro.eu/docs/integrations/golden-goose-integration
Connect Golden Goose to Skro, map click IDs, and configure postbacks to attribute conversions and revenue to your campaigns.
## Step 1. Add affiliate network to Skro [#step-1-add-affiliate-network-to-skro]
1. Go to **Affiliate Networks** and click **Create**.
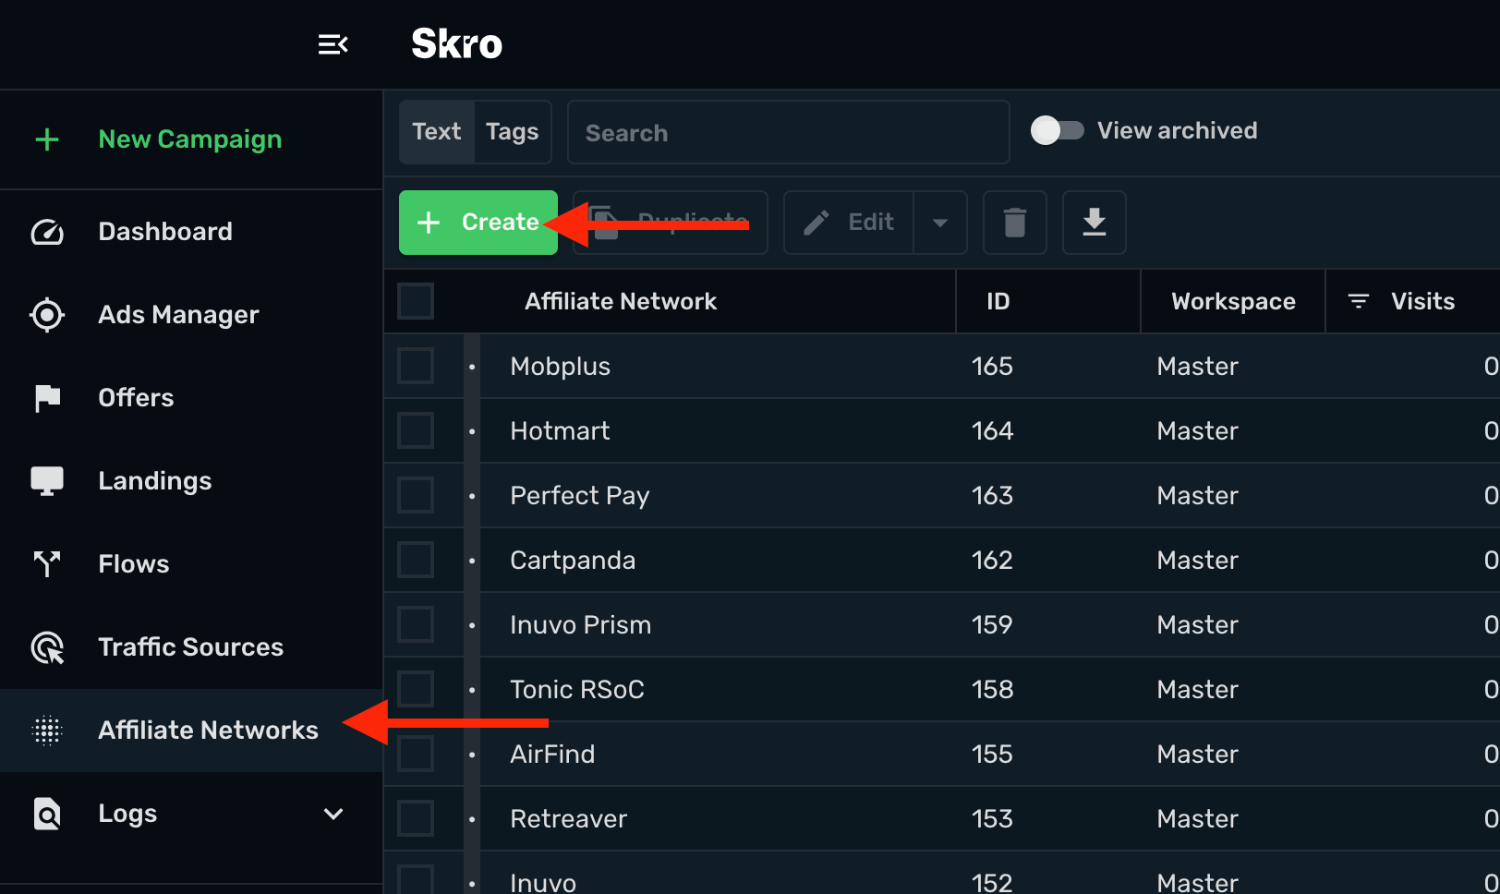
2. Search Golden Goose and select the **Golden Goose** template.
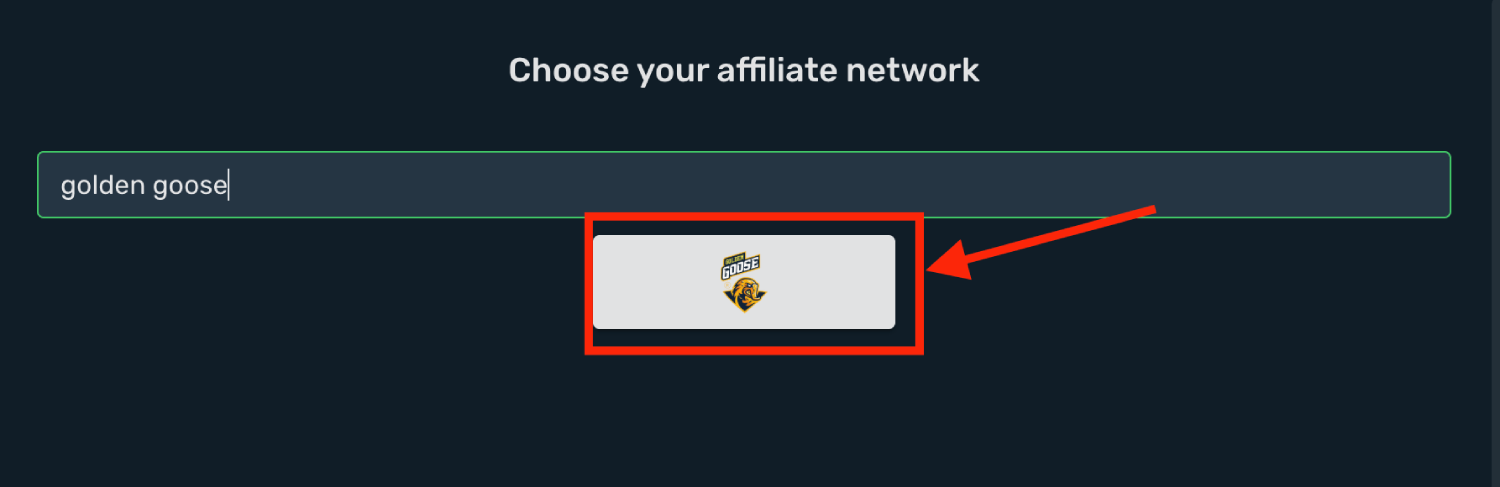
3. Select your **Workspace** and **Copy** postback URL to clipboard.
4. Click **Save & Close**.
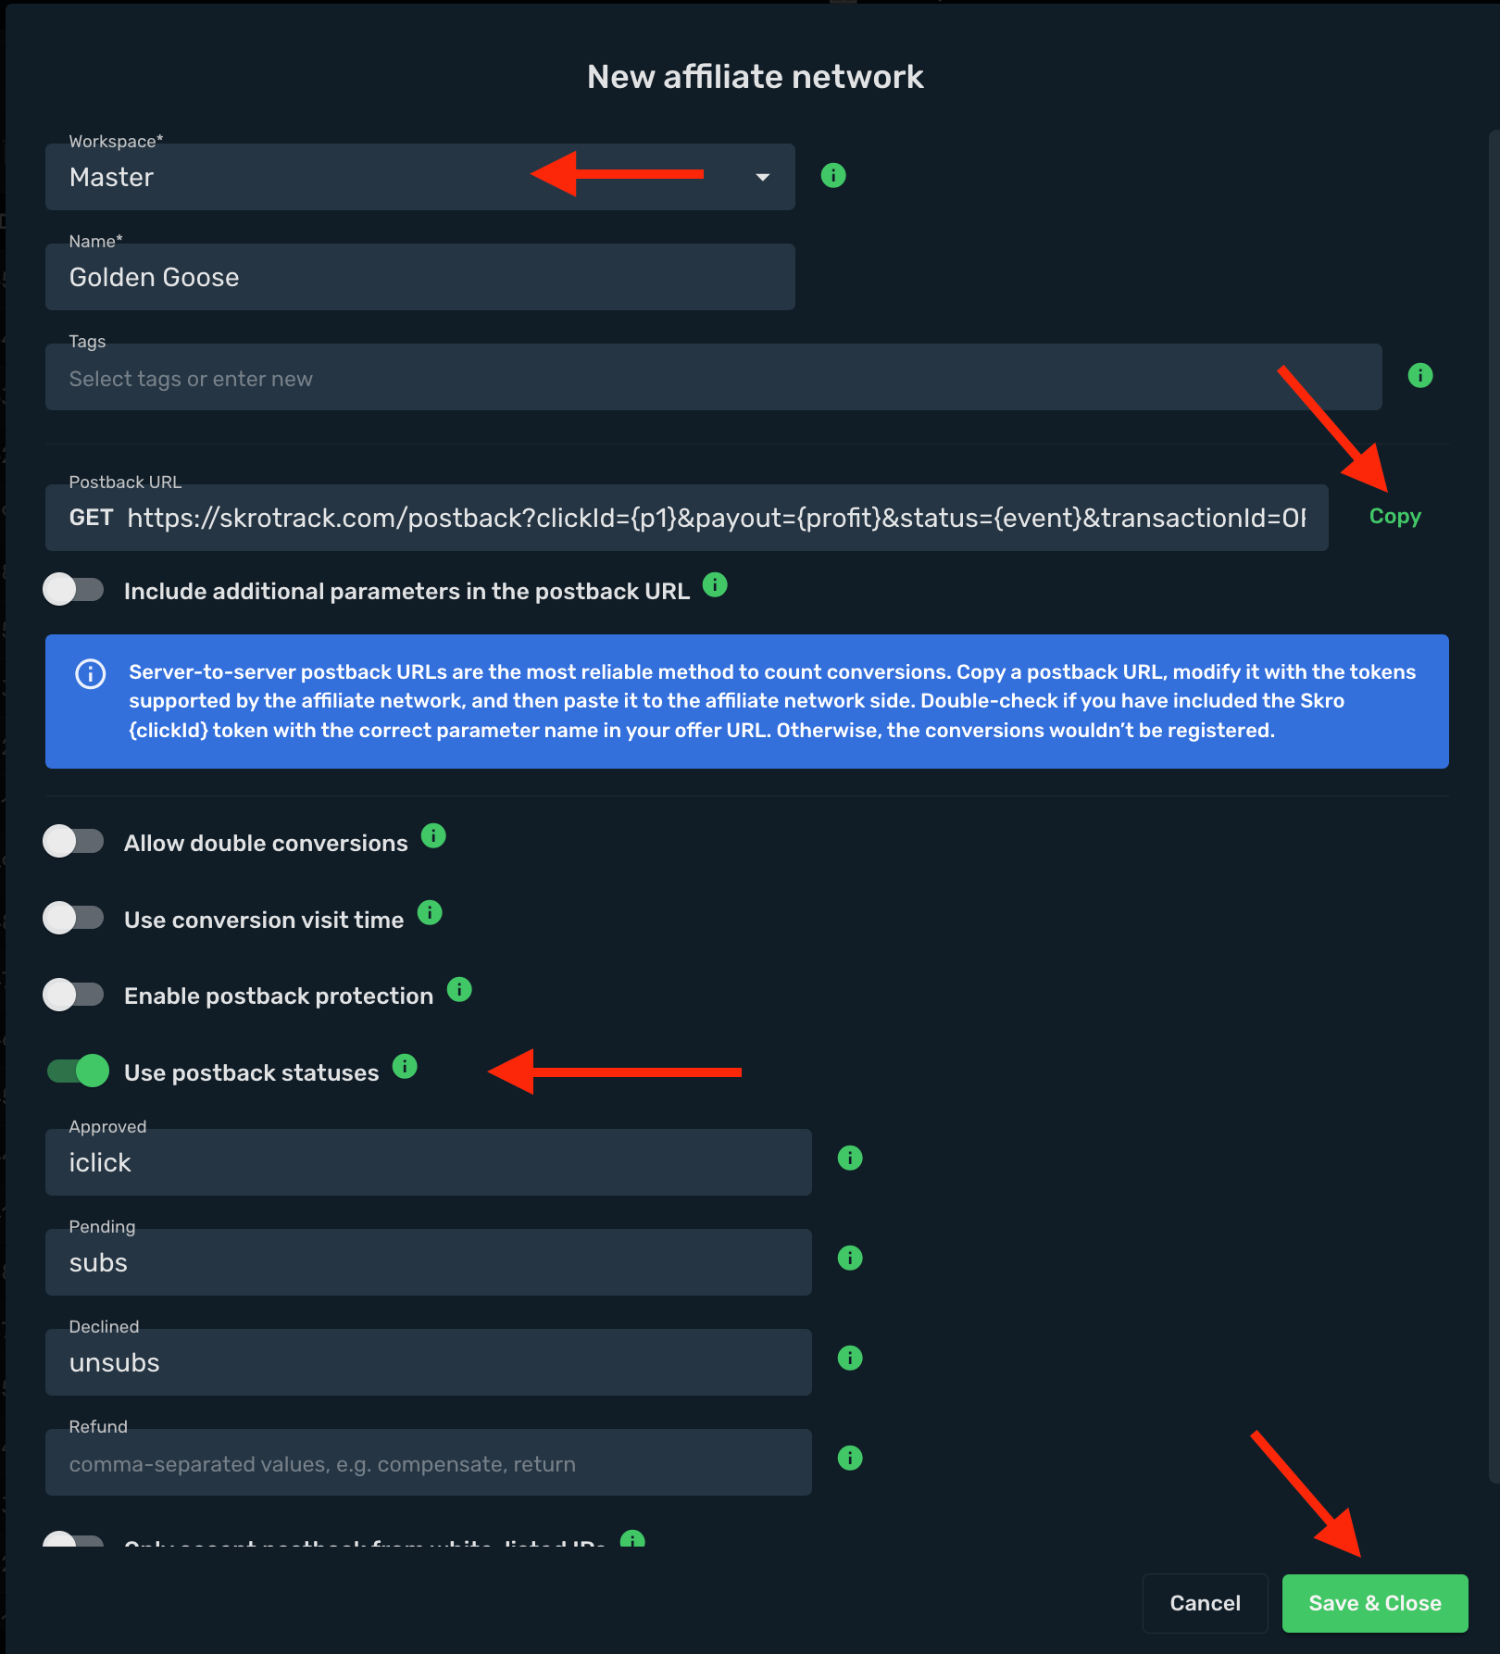
The Golden Goose affiliate network is now saved in Skro. Use the copied postback URL in Golden Goose in the next step.
## Step 2. Setting up a postback URL and getting an offer from Golden Goose [#step-2-setting-up-a-postback-url-and-getting-an-offer-from-golden-goose]
1. Log in to your **Golden Goose account**.
2. Click your email on the right corner and click **Account**.
3. Then navigate to the **Tracking** page.
4. Paste your postback URL to the **Default Postback** field and enable **Subscription**, **Unsubscription** and **Billing by subscription**
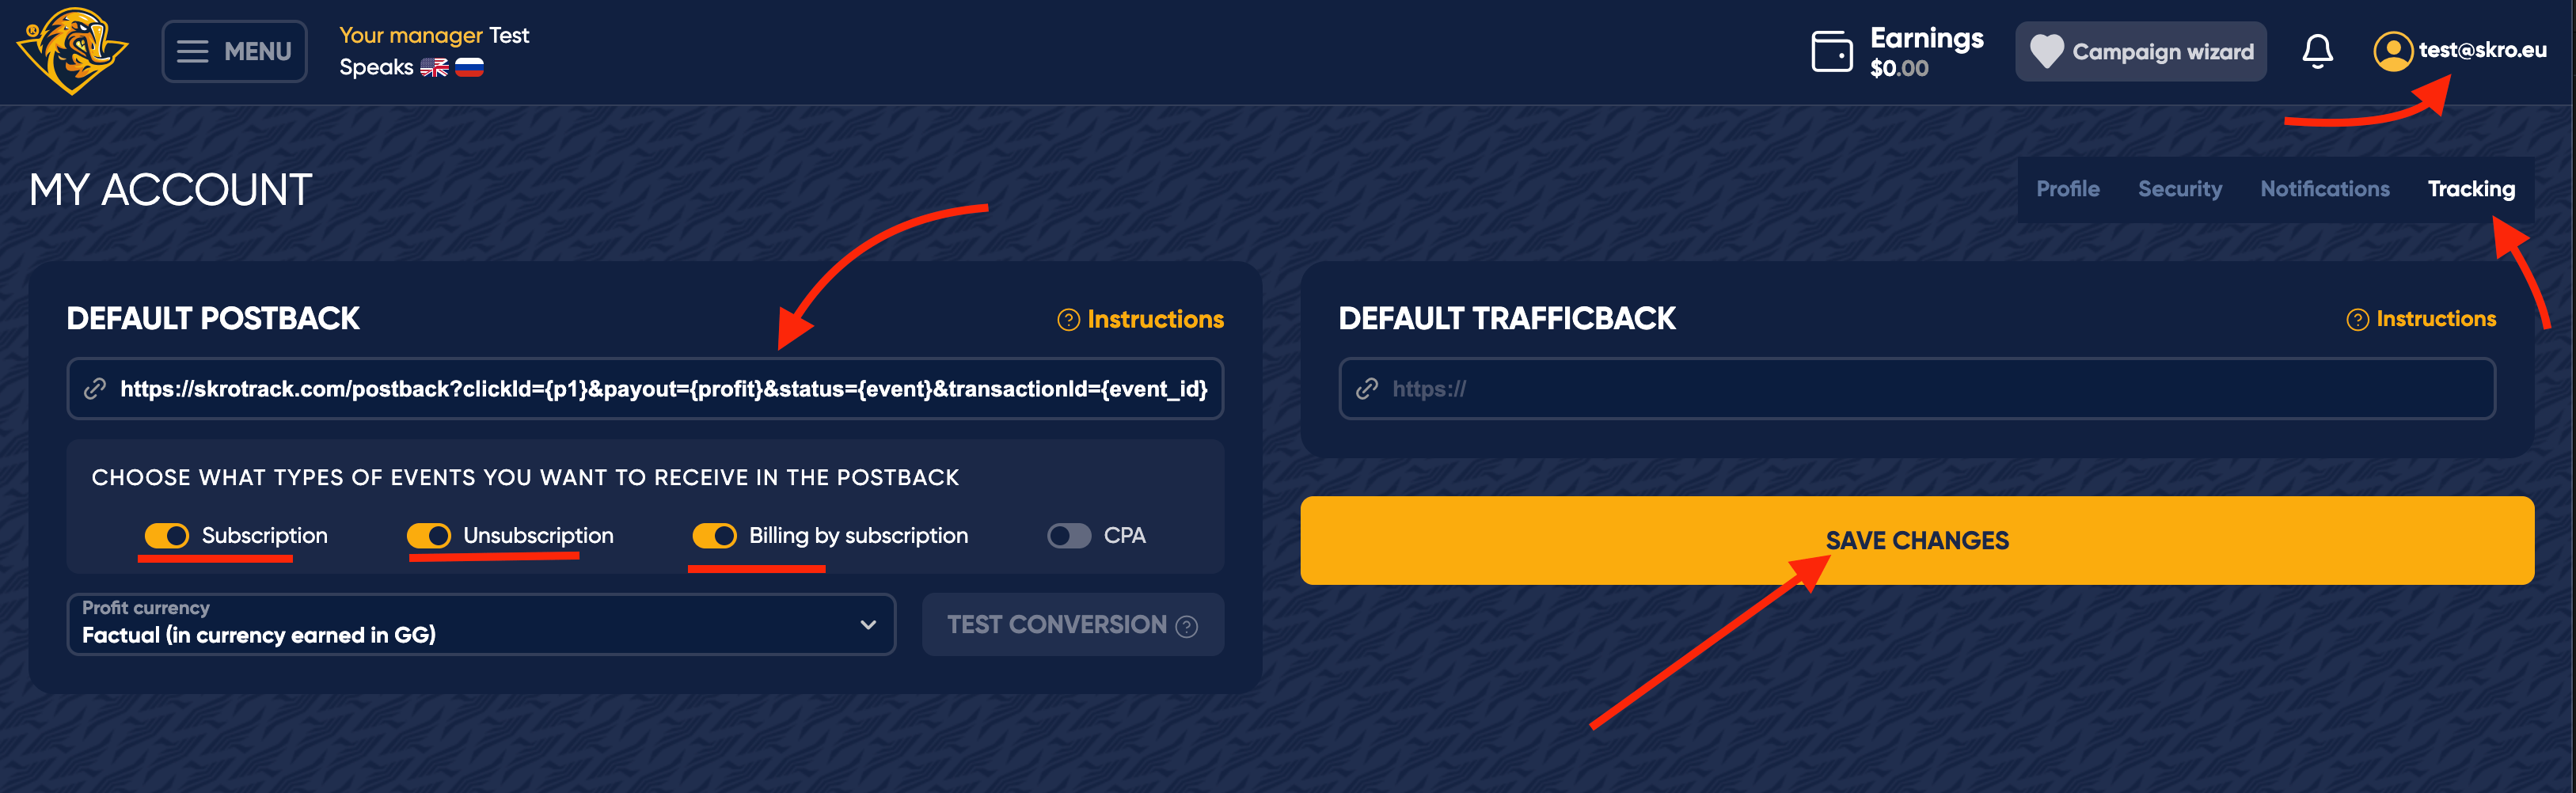
5. Once you are done, then click **Save Changes**.
6. After the postback URL is added on the side of Golden Goose it is required to copy the offer URL and go back to Skro.
7. Choose your offer and copy that **Offer URL** to the clipboard.
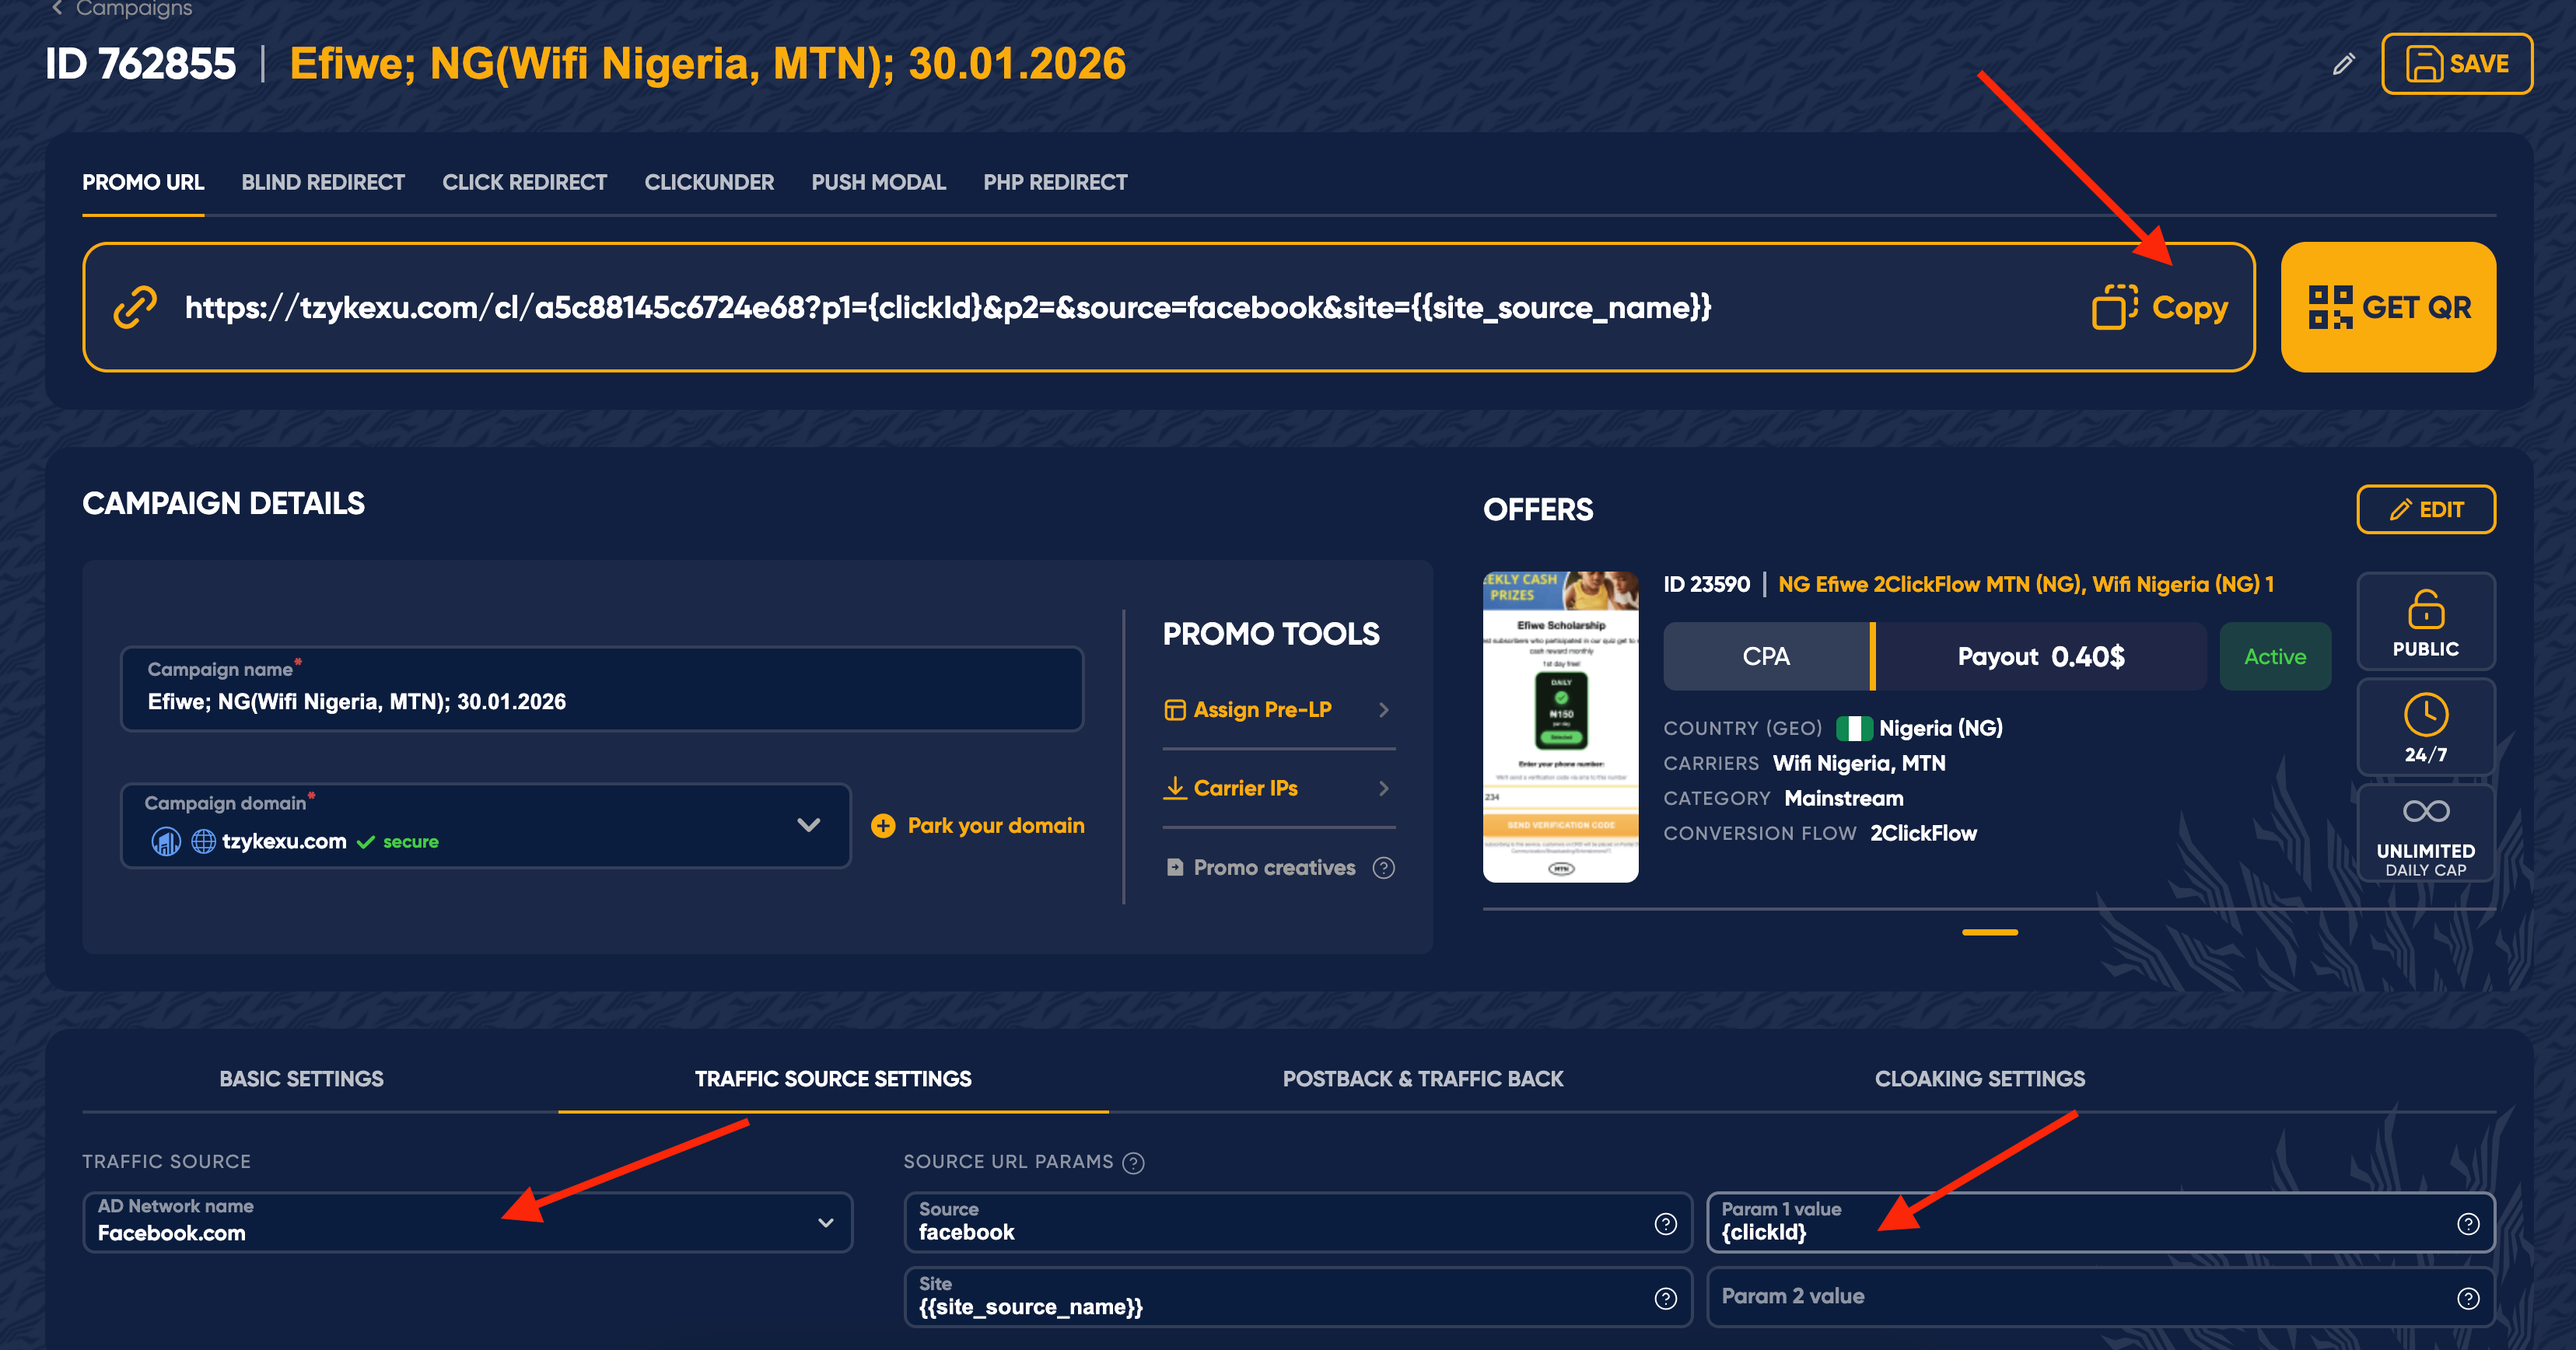
## Step 3. Add offer to Skro [#step-3-add-offer-to-skro]
1. Go back to **Skro**, navigate to **Offers**, and click the **Create**.
2. Select the **workspace** where you want to create the offer.
3. Enter a **name** for your offer.
4. Copy the offer link from **Golden Goose** and paste it into the **Offer URL** field. Then update the URL macros as follows: **`&p1={clickId}&p2=&source=facebook&site={custom1}`**
**`&p1={clickId}`** - The Skro click ID macro.
**`&p2=`** - Empty value.
**`&source=facebook`** - Traffic source name.
**`&site={custom1}`** - Site ID or Ad ID
5. From the **Affiliate Network** dropdown, select **Golden Goose**.
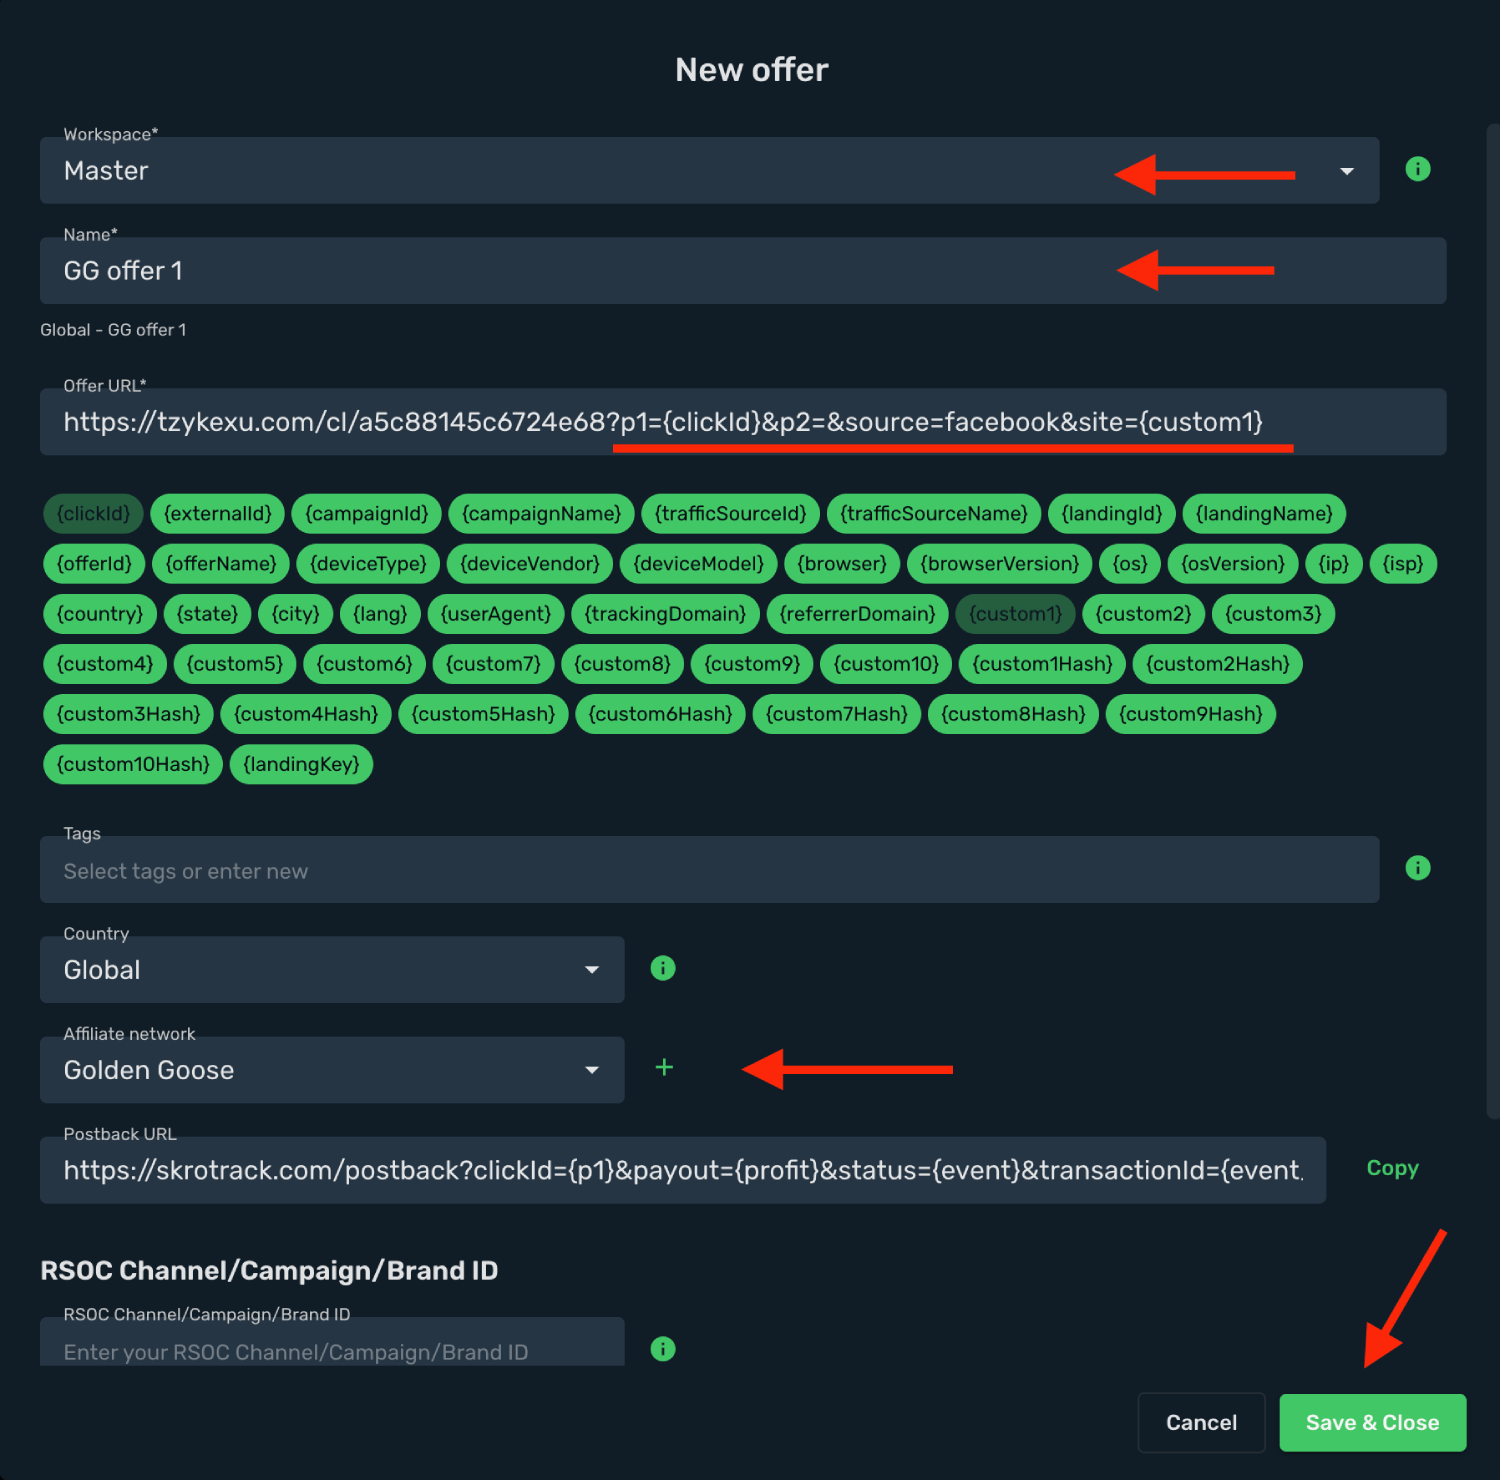
6. Click **Save & Close**.
## Step 4. Create a campaign on Skro [#step-4-create-a-campaign-on-skro]
1. Start with the following guide:
## Verify the setup [#verify-the-setup]
Follow a campaign link and complete a test conversion using your provider’s test workflow. Confirm that the original click ID reaches the provider and is returned to Skro, then check the event and revenue in your campaign report.
If data is missing, check the selected workspace, integration, campaign, and reporting date range. Compare parameter names and macro values with the examples in this guide before repeating the test.
## Related guides [#related-guides]
# Google Ads integration
Source: https://skro.eu/docs/integrations/google-ads-integration
Set up Google Ads tracking in Skro, configure traffic source parameters, and connect your advertising campaigns.
[Google Ads](https://ads.google.com) integration gives you the ability to manage and optimize all your Google ads through the Skro interface.
- Sync cost for campaigns, ad groups and ads every 30 min.
- Check the status of your campaigns, ad groups and ads.
- Pause or resume campaigns, ad groups and ads.
In this guide, you will learn how to set up your campaigns in Google Ads and Skro so Google can pass information to Skro and back with a selected tracking method. This guide does not cover all aspects and options available when creating a campaign on these two platforms. Basic knowledge regarding setting up campaigns in Google and Skro is required.
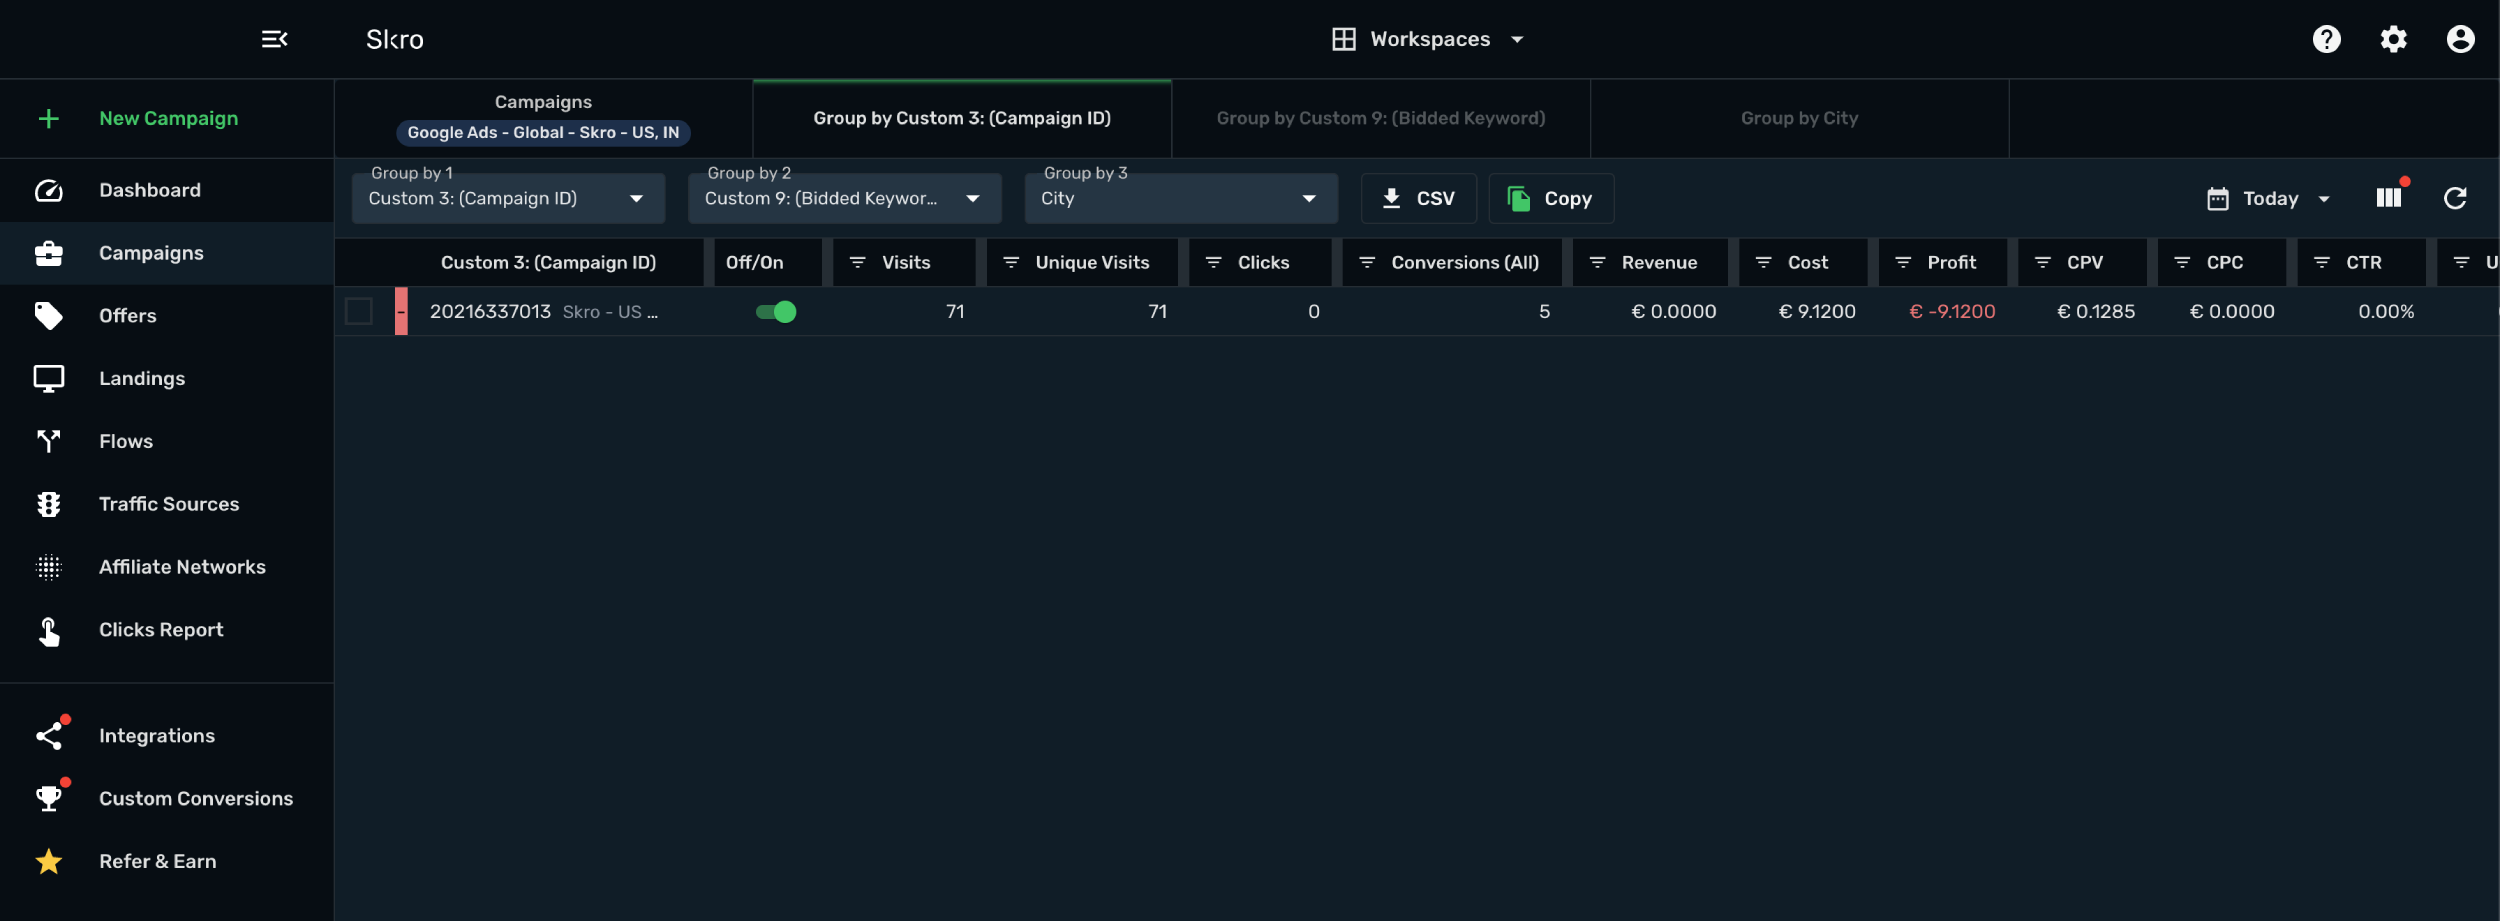
## Step 1. Create a Conversion Action [#step-1-create-a-conversion-action]
A conversion action is needed for Skro to send conversions to Google Ads. We should get a conversion action name in this section.
1. Sign in to your Google Ads account.
2. Go to **Goals** → **Conversions** → **Summary**.
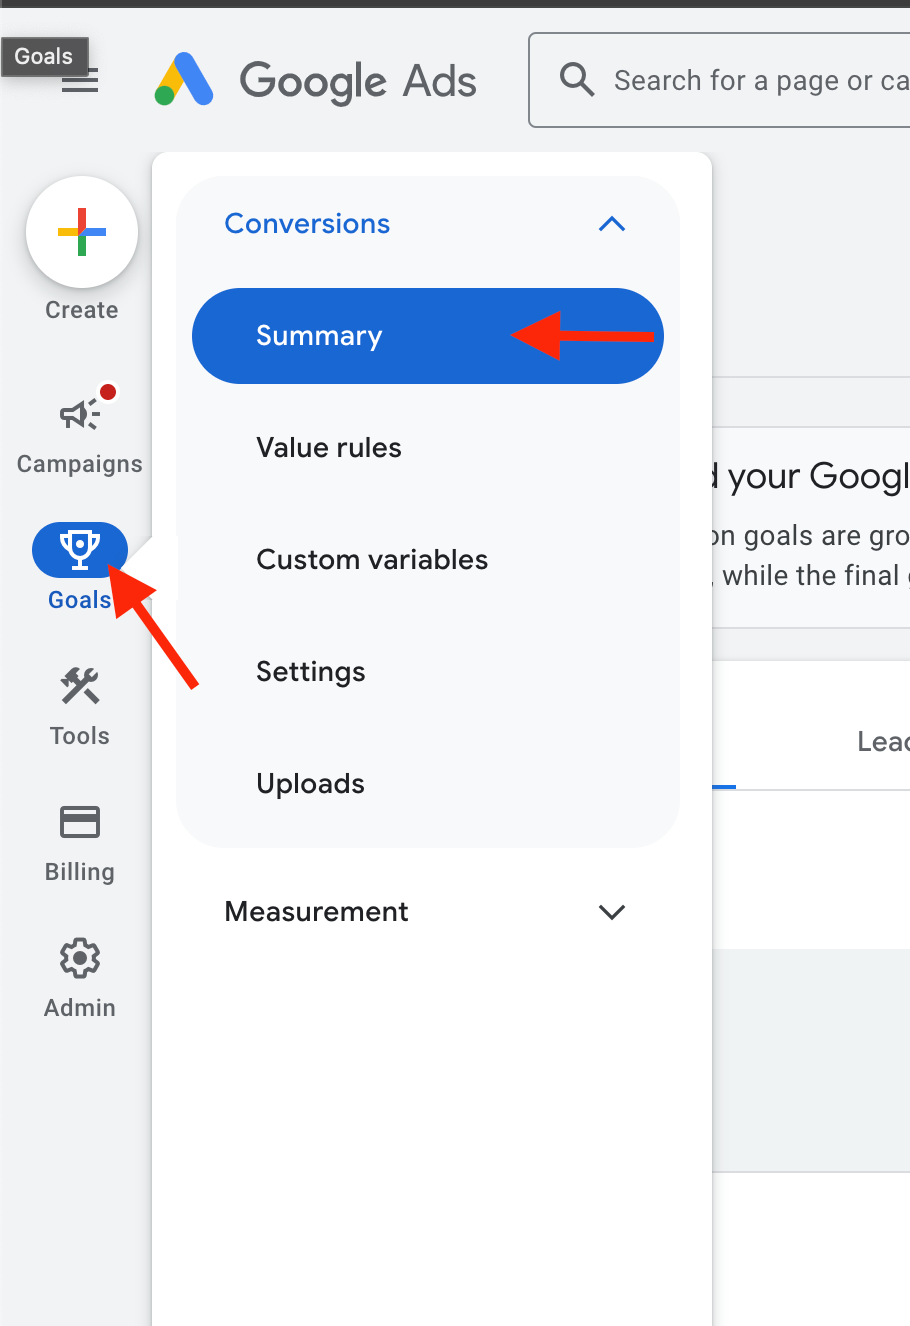
3. Click **Create conversion action**.
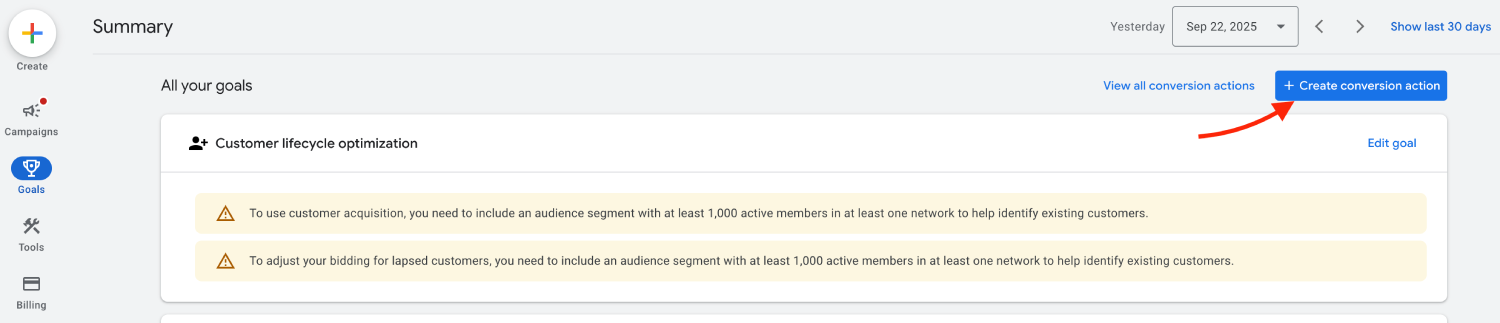
4. Choose your event category. In this example we choose **Subscribe** event.
5. Click **Add conversion actions**.
6. Click **Connect data source later**.
7. Click **Edit settings**.
8. Type your **Conversion name**. This must be same in Skro and Google. In this example we use event **Subscribe**.
9. Click **Done**.
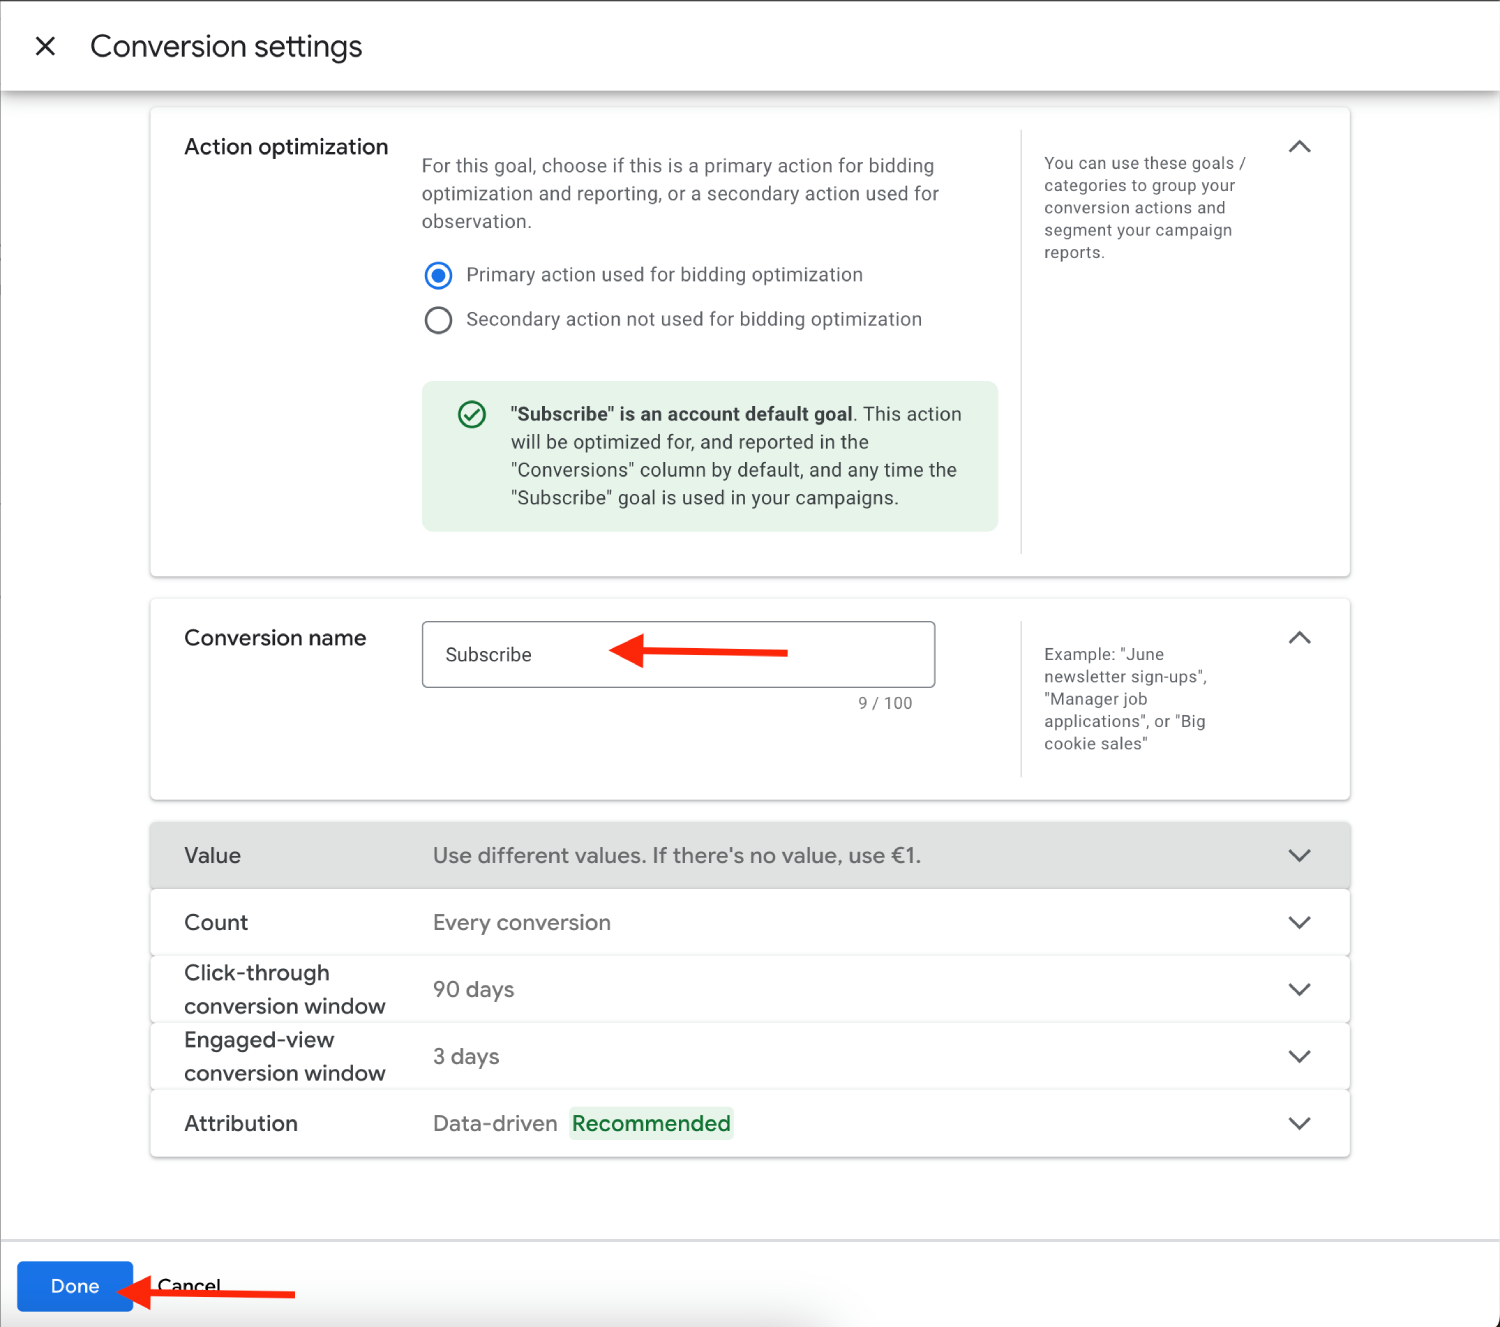
10. Click **Save and Continue**. Your Conversion event name has been successfully created.
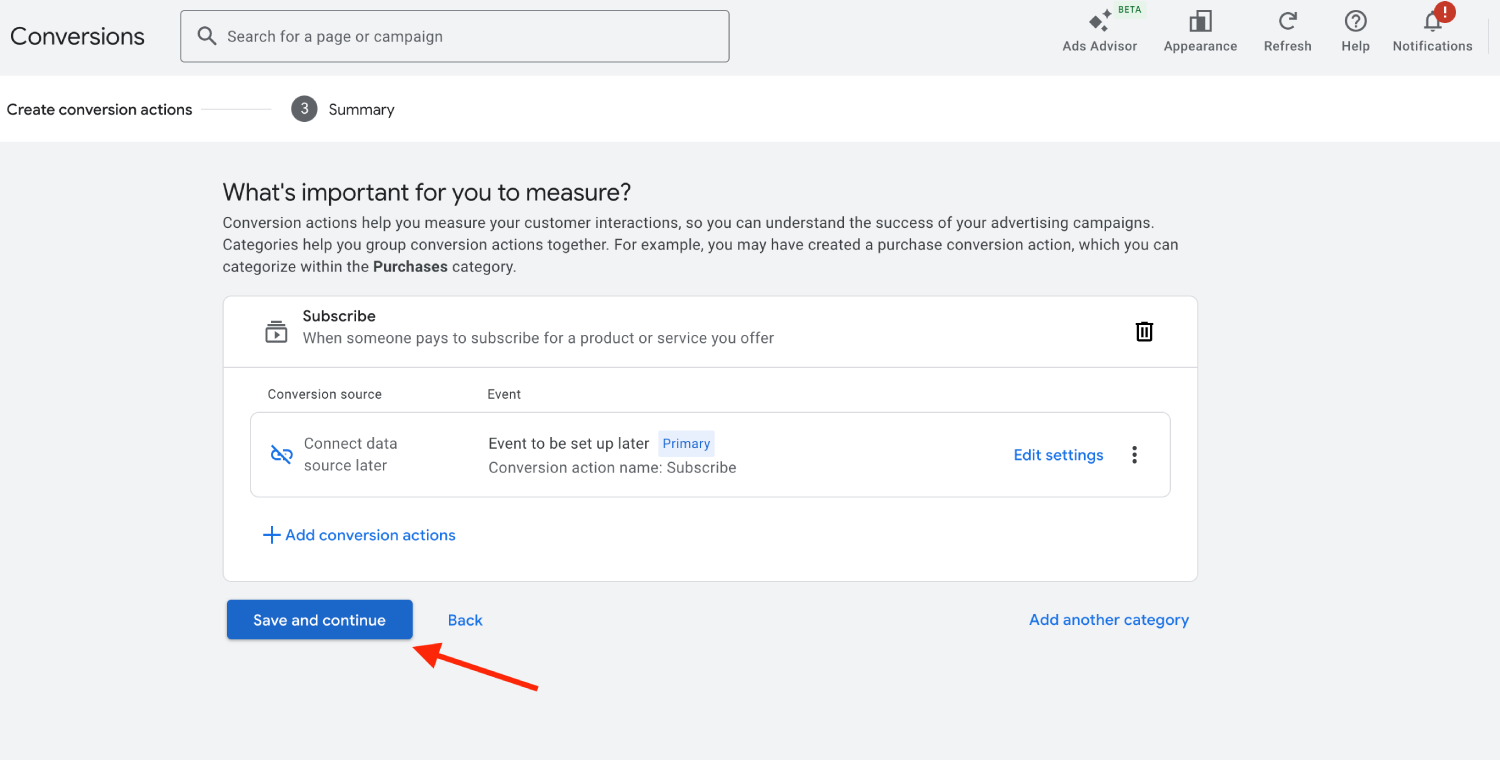
## Step 2. Setup Google Ads Integration [#step-2-setup-google-ads-integration]
1. Log in to your **Skro** account.
2. Navigate to **Settings** → **Integrations**.
3. In the **Traffic Sources** section click **Add**.
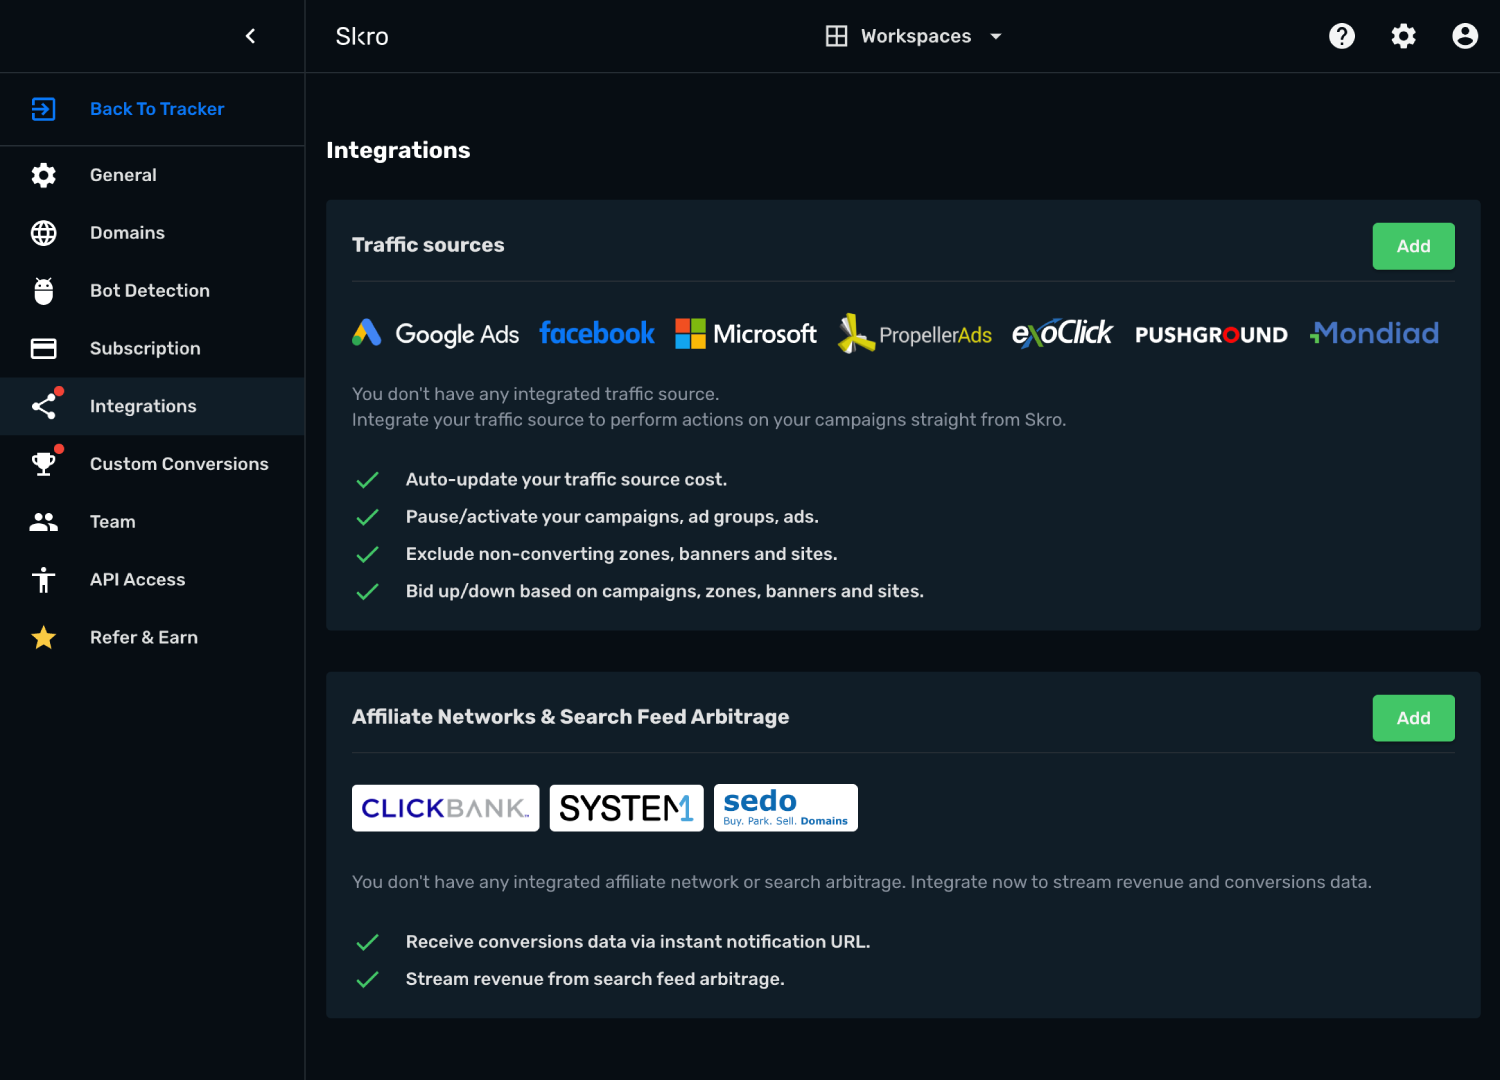
4. Click **Google Ads** logo and you will be redirected to Google Ads.
5. Choose or sign in the account you want to integrate, click Allow or Confirm when Google ask.
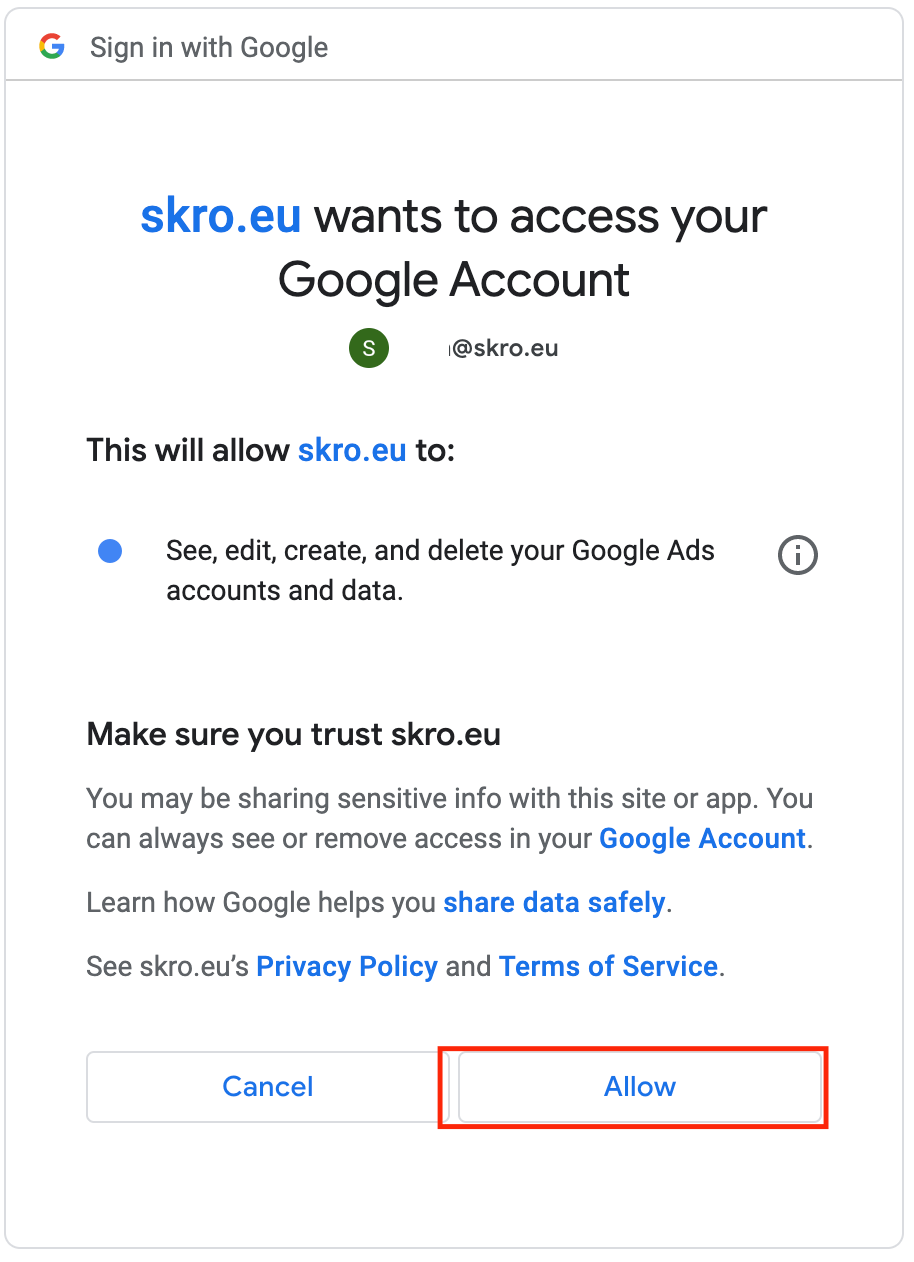
6. Choose the Google Ads account you want to integrate and click **Integrate**.
If you want to integrate multiple Google Ads ad accounts, then you will need to integrate them separately. The logic is that 1 integration equals 1 ad account equals 1 traffic source.
7. Click **Next**.
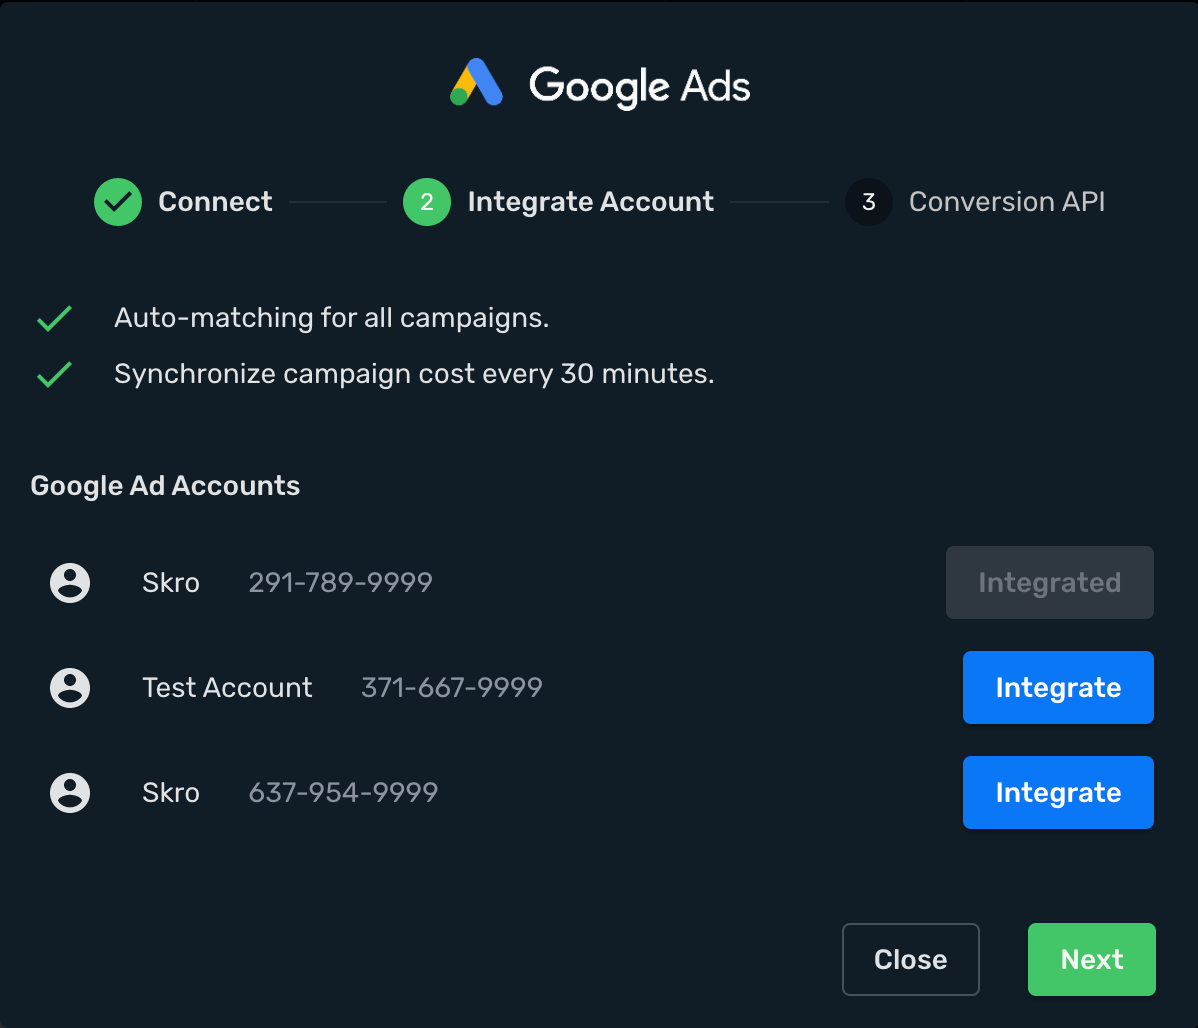
8. If you want to send conversions info back to Google Ads, then you will need to enable **Conversion API.**
9. **Conversion Action Name** - must be the same as you typed in Google Ads. When creating Skro campaign you will need to specify which conversion action to send to.
10. **Include Conversion Payout** - If checked, we will send conversion revenue and currency to Google Ads.
11. Click **Save & Close**.
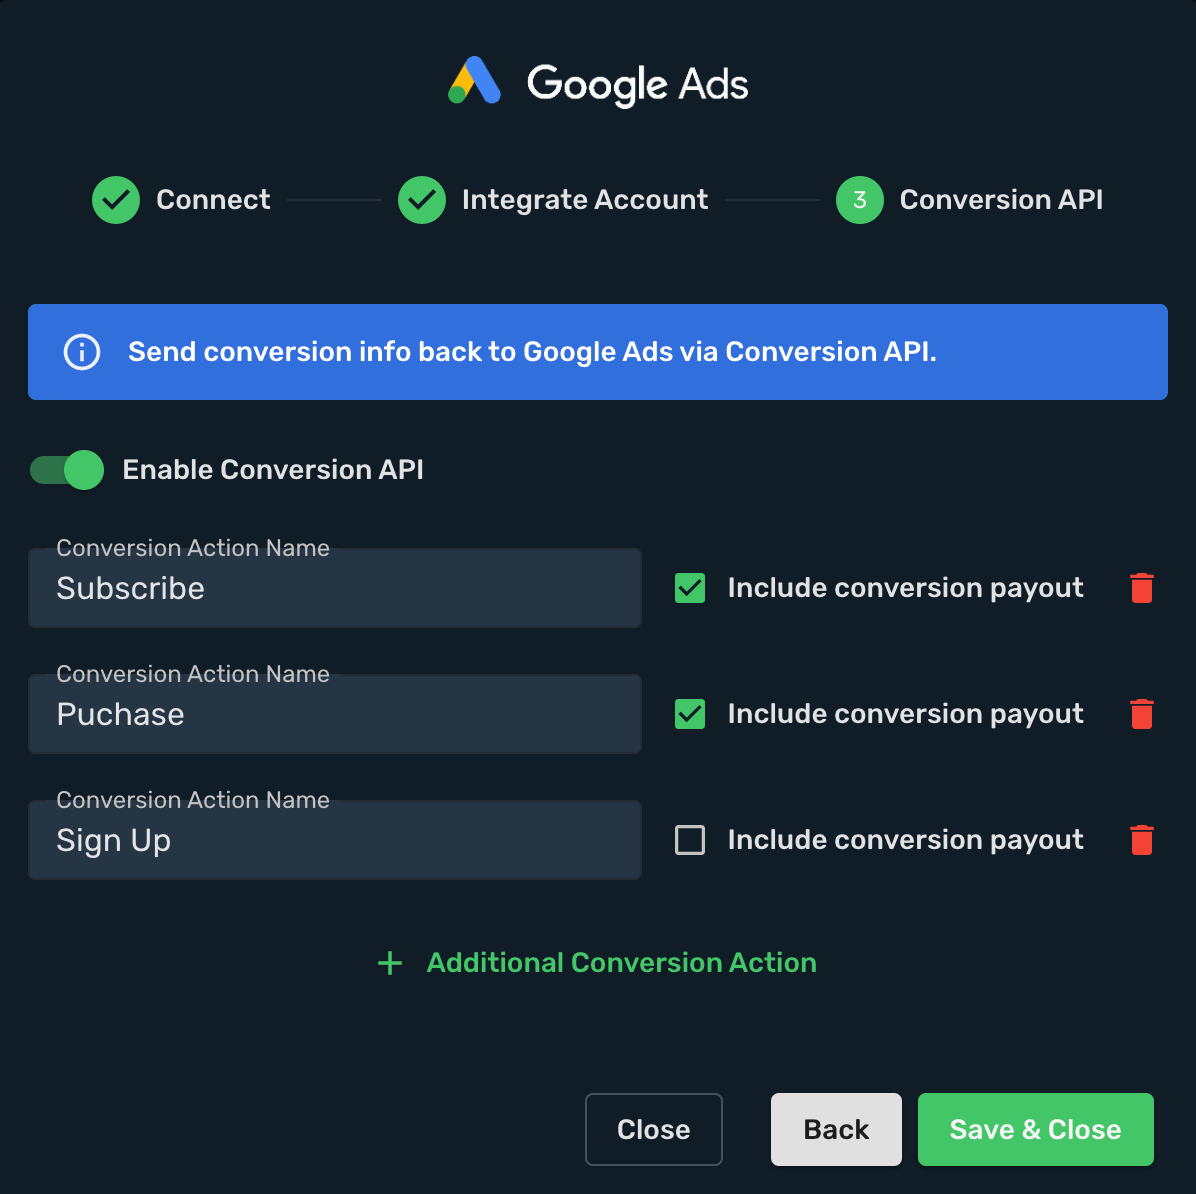
12. Your Google Ads ad account has been successfully integrated.
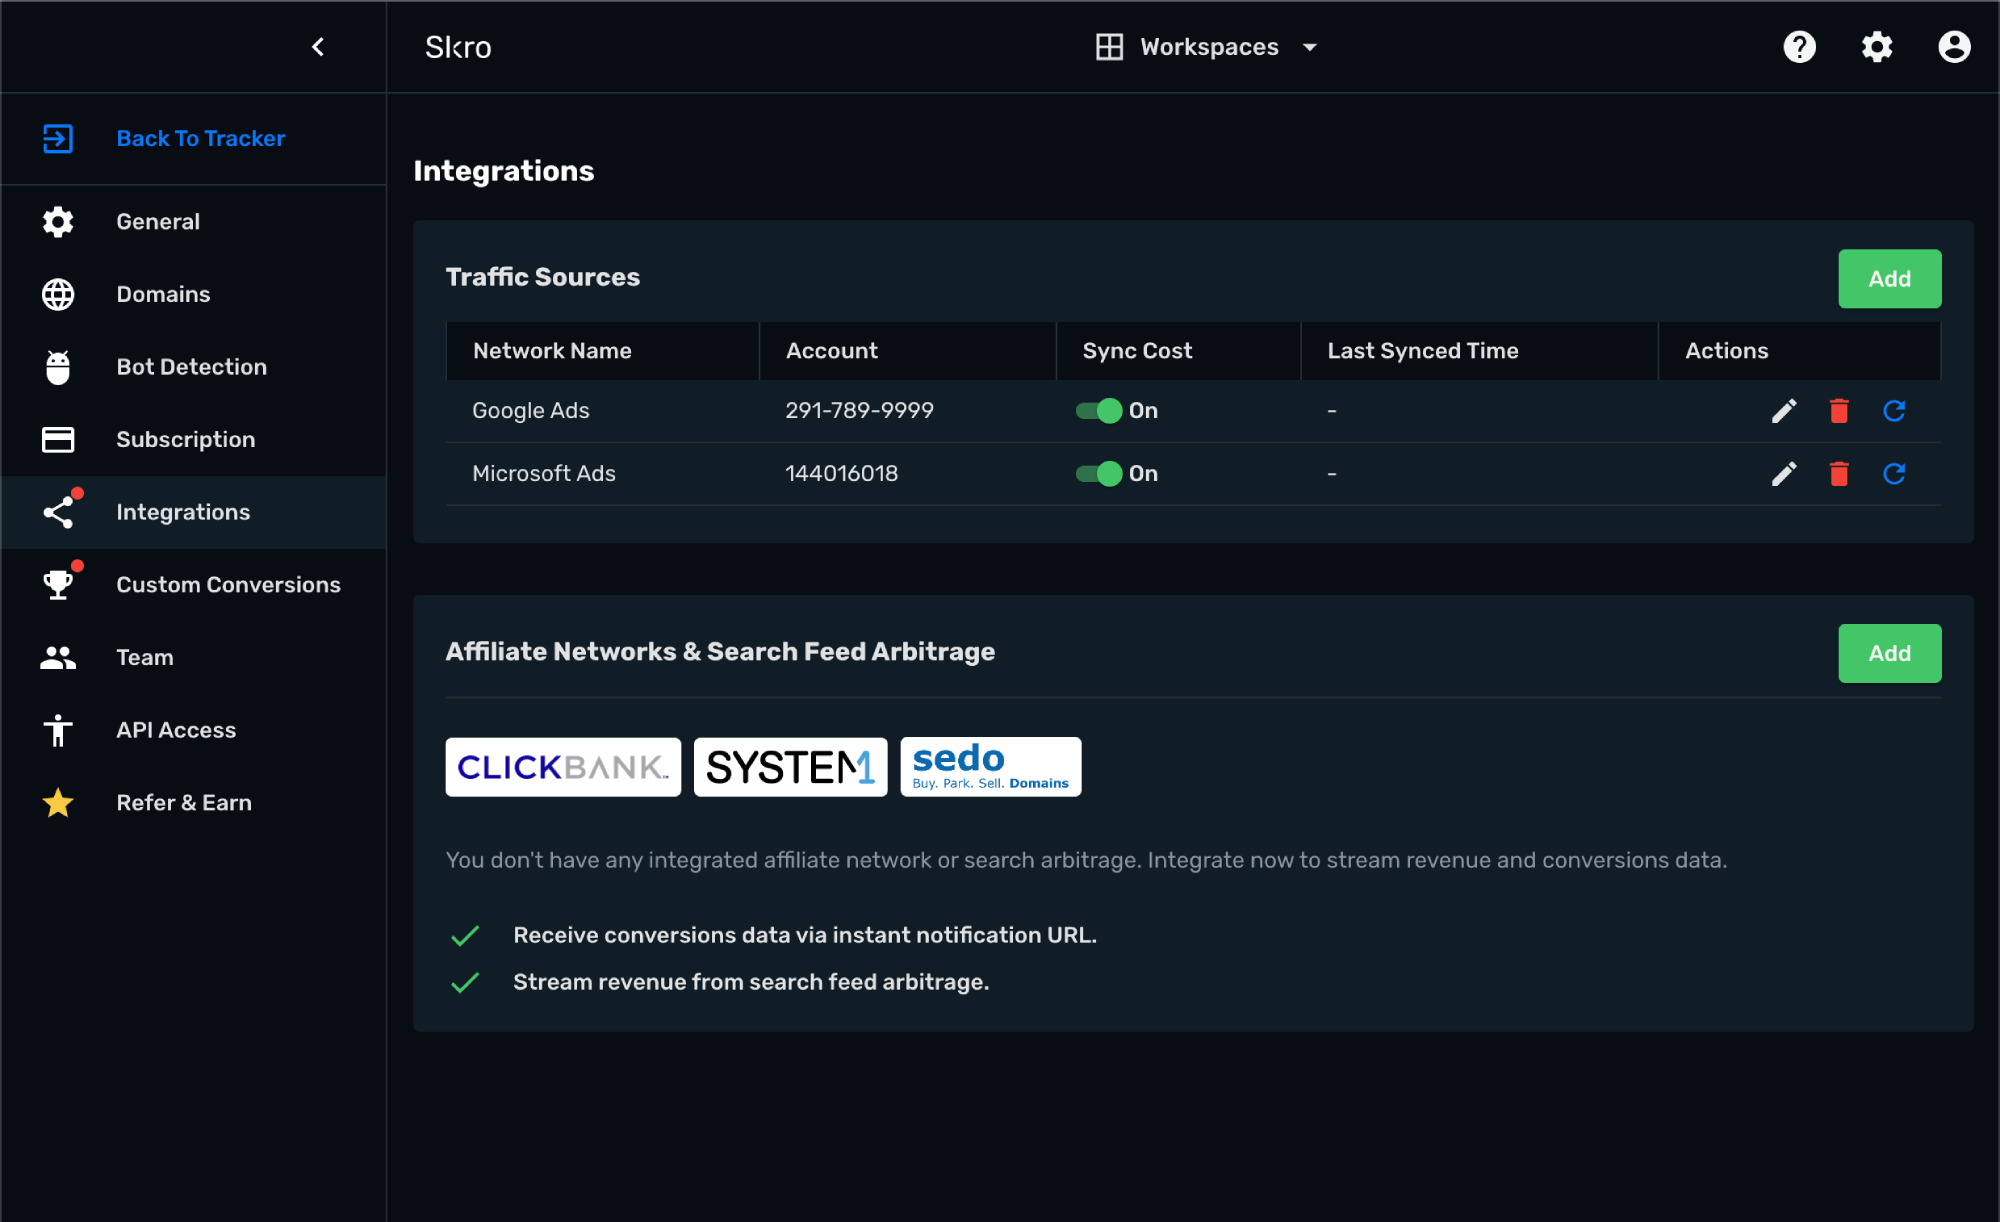
## Step 3. Associate integration with your traffic source [#step-3-associate-integration-with-your-traffic-source]
1. Go to **Traffic Sources** and click **Create**.

2. Click **Google Ads** logo.
3. Choose and select your Google Ads integration from dropdown menu.
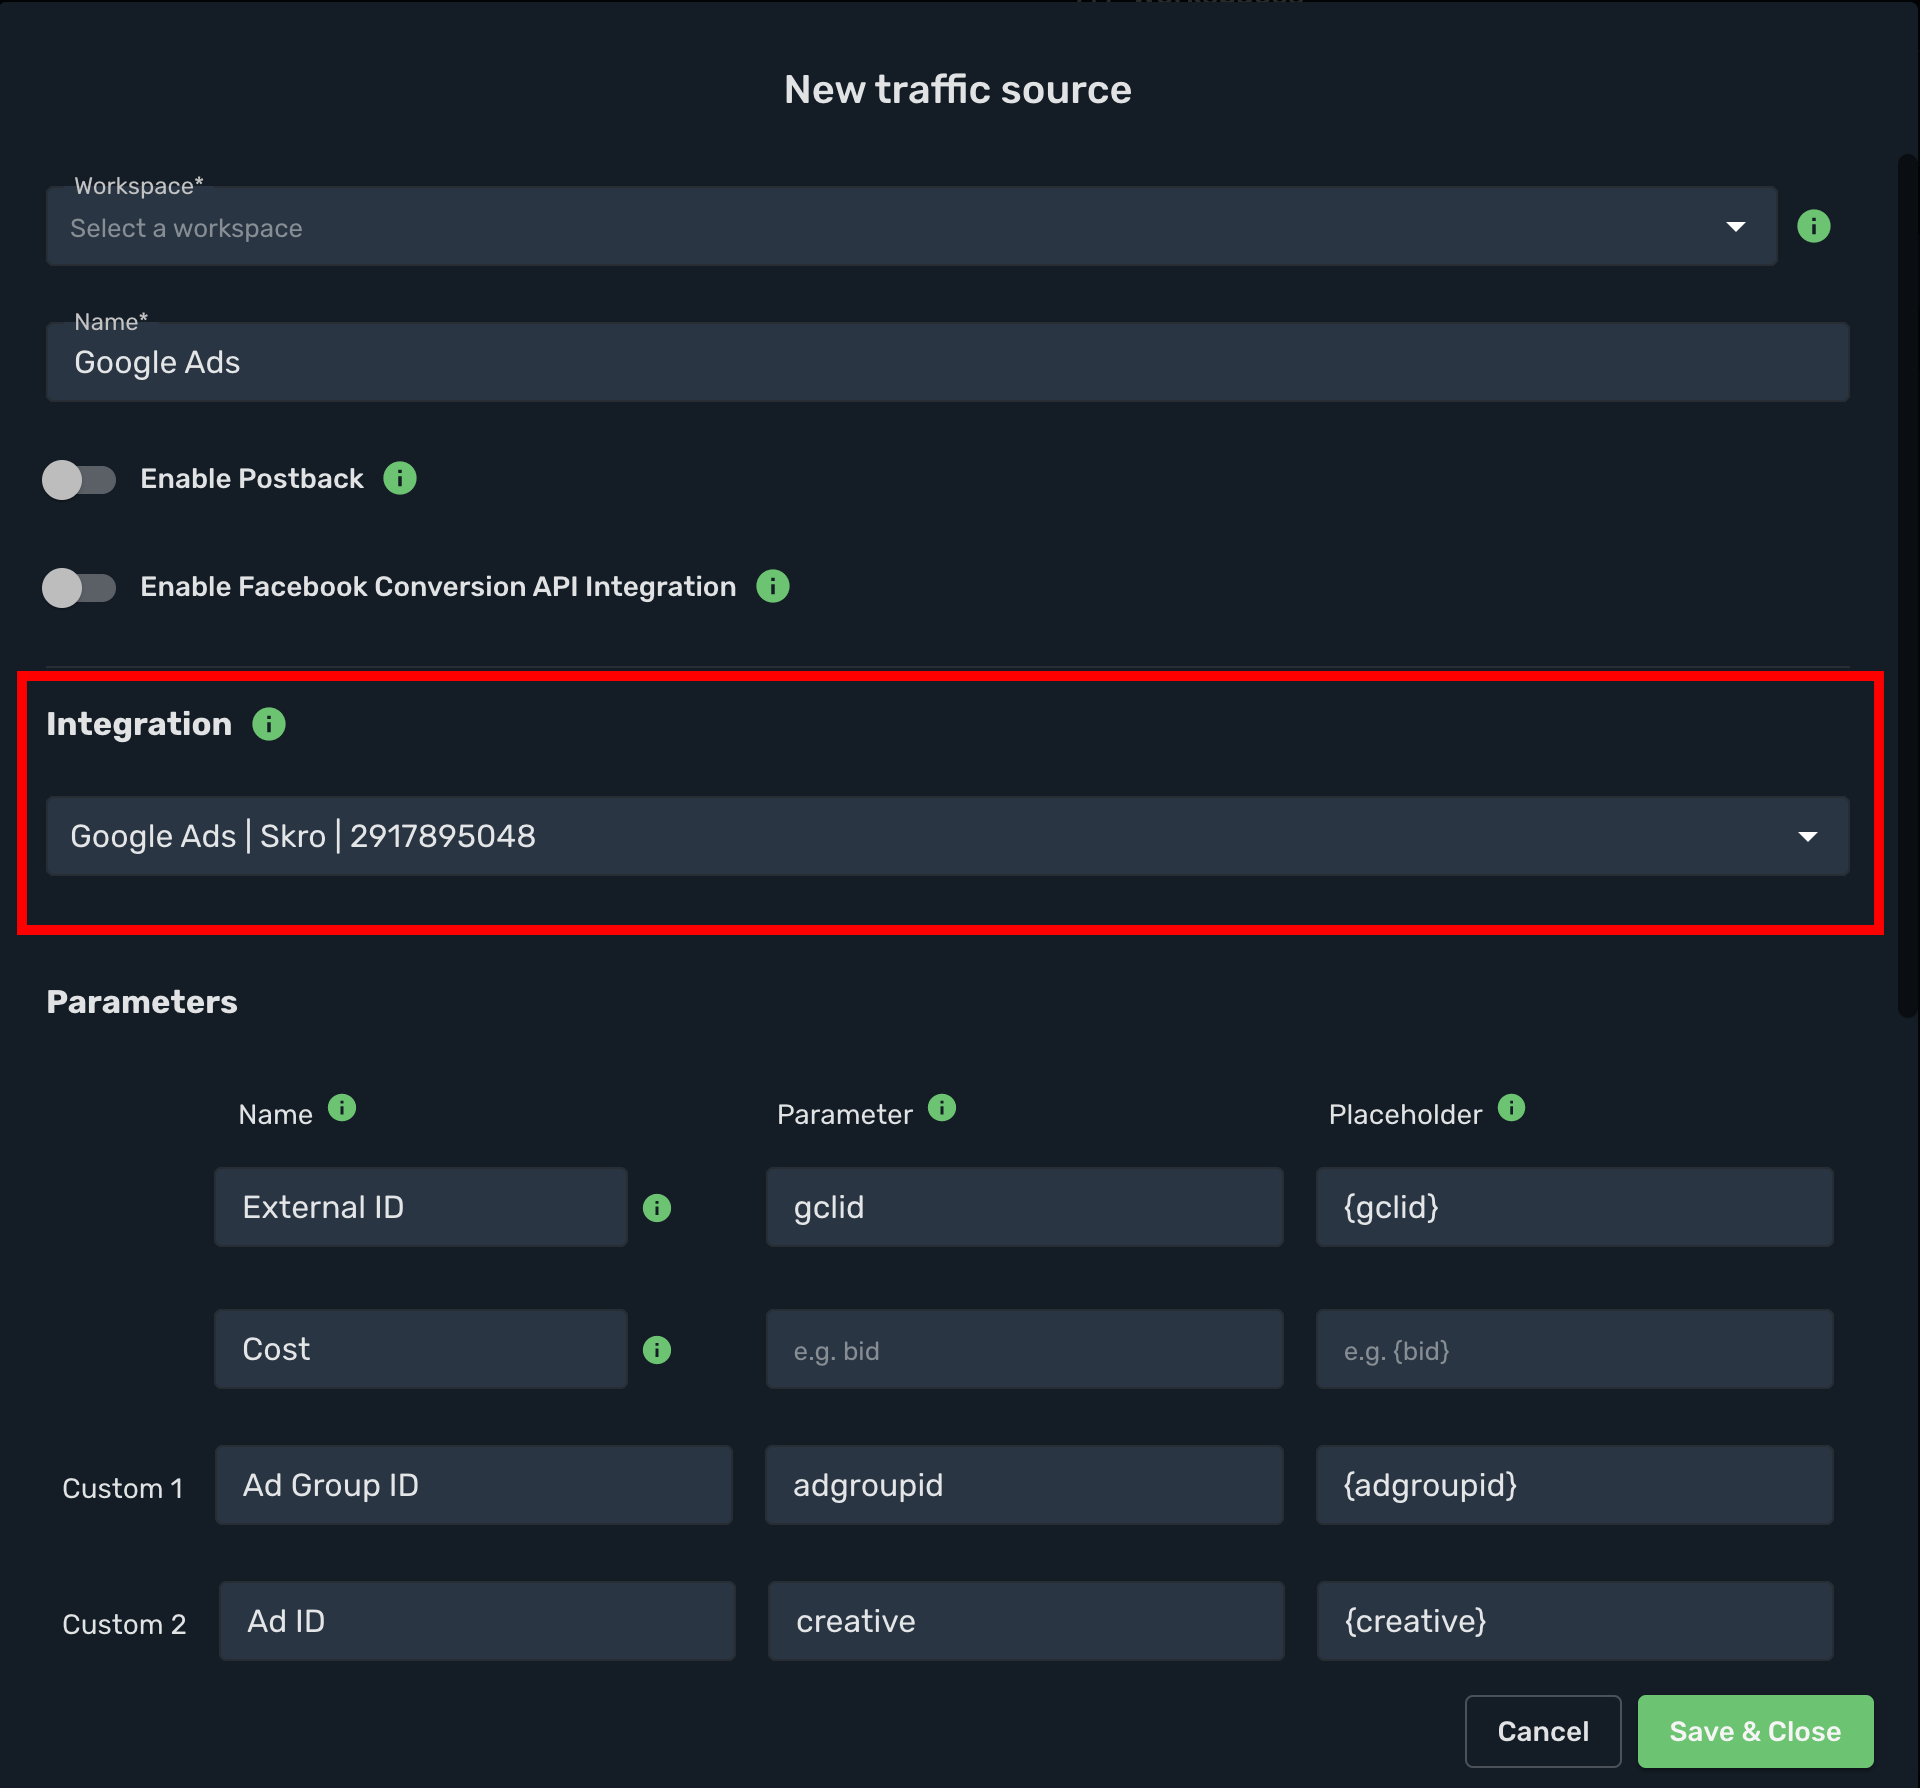
4. All parameters are already prefilled for you.
5. Click **Save & Close**.
The integration is ready. Continue by creating a campaign for Google Ads.
## Step 4. How to create a campaign in Skro [#step-4-how-to-create-a-campaign-in-skro]
### (OPTIONAL) Add your landing page as (pre-lander) before your actual offer page. [#optional-add-your-landing-page-as-pre-lander-before-your-actual-offer-page]
1. Go to **Landings** and click **Create**.
2. Select workspace.
3. Add name.
4. Add your landing page URL and macros if needed.
5. Copy **Click to Offer URL** and add it to your landing page as CTA link.
6. Click **Save & Close**.

### Add offer page. [#add-offer-page]
1. Navigate to the **Offers** view and click **Create**.
2. Select workspace.
3. Add name.
4. Add your offer URL and add macros if needed. Usually you need to map Skro Click ID macro for same specific parameter name to use postback for conversions.
5. Click **Save & Close**.
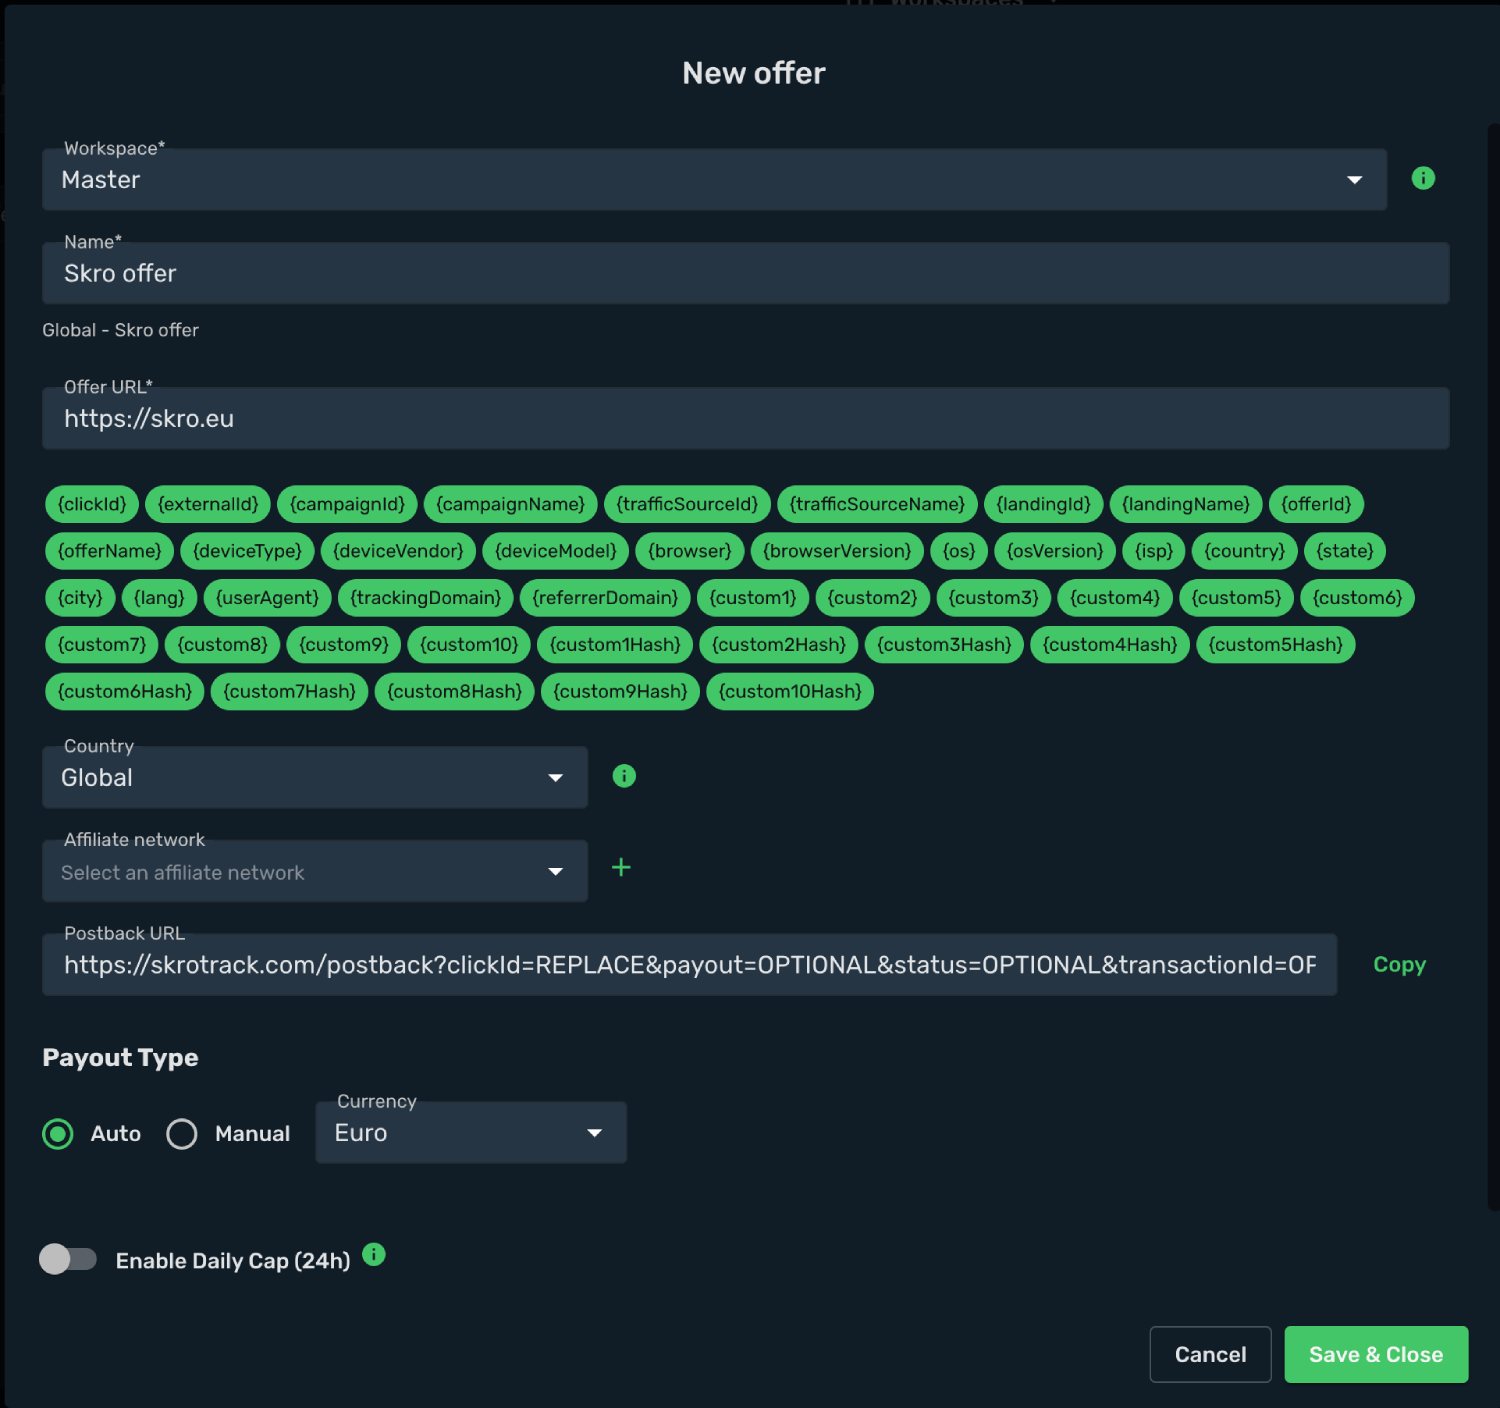
### Create a campaign [#create-a-campaign]
1. Go to **Ads Manager** and click **Create**.
2. Select your integrated **Traffic Source**.
3. Select your **Conversion Action Name**. That is needed to send conversion info back to Google Ads.
4. Cost Model should be **Auto**.
5. Select your cost currency.
6. Click **Next**
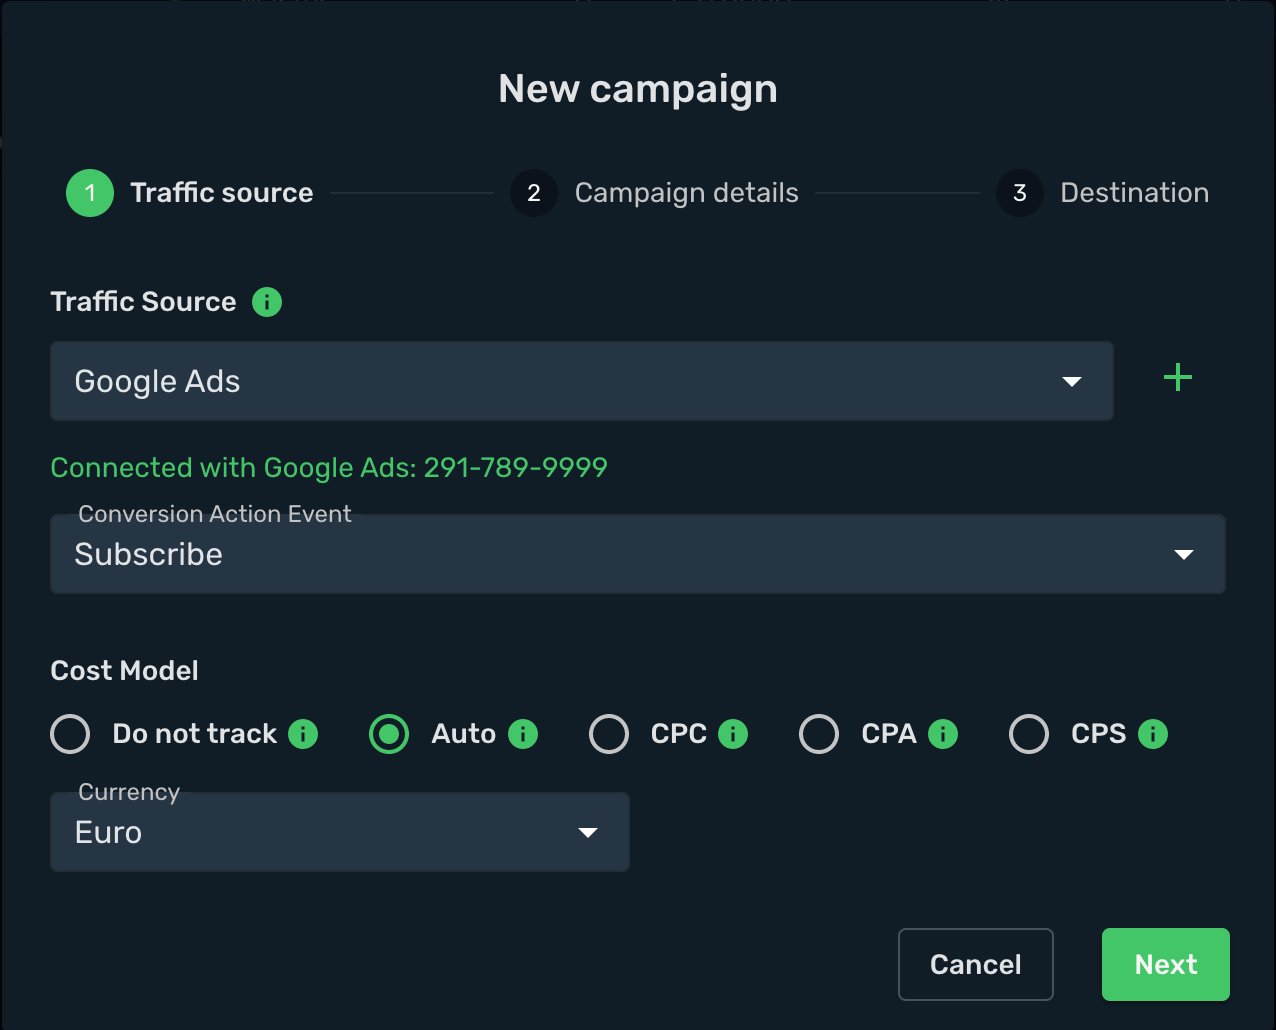
7. Select workspace.
8. Add name to your campaign.
9. Click **Next**
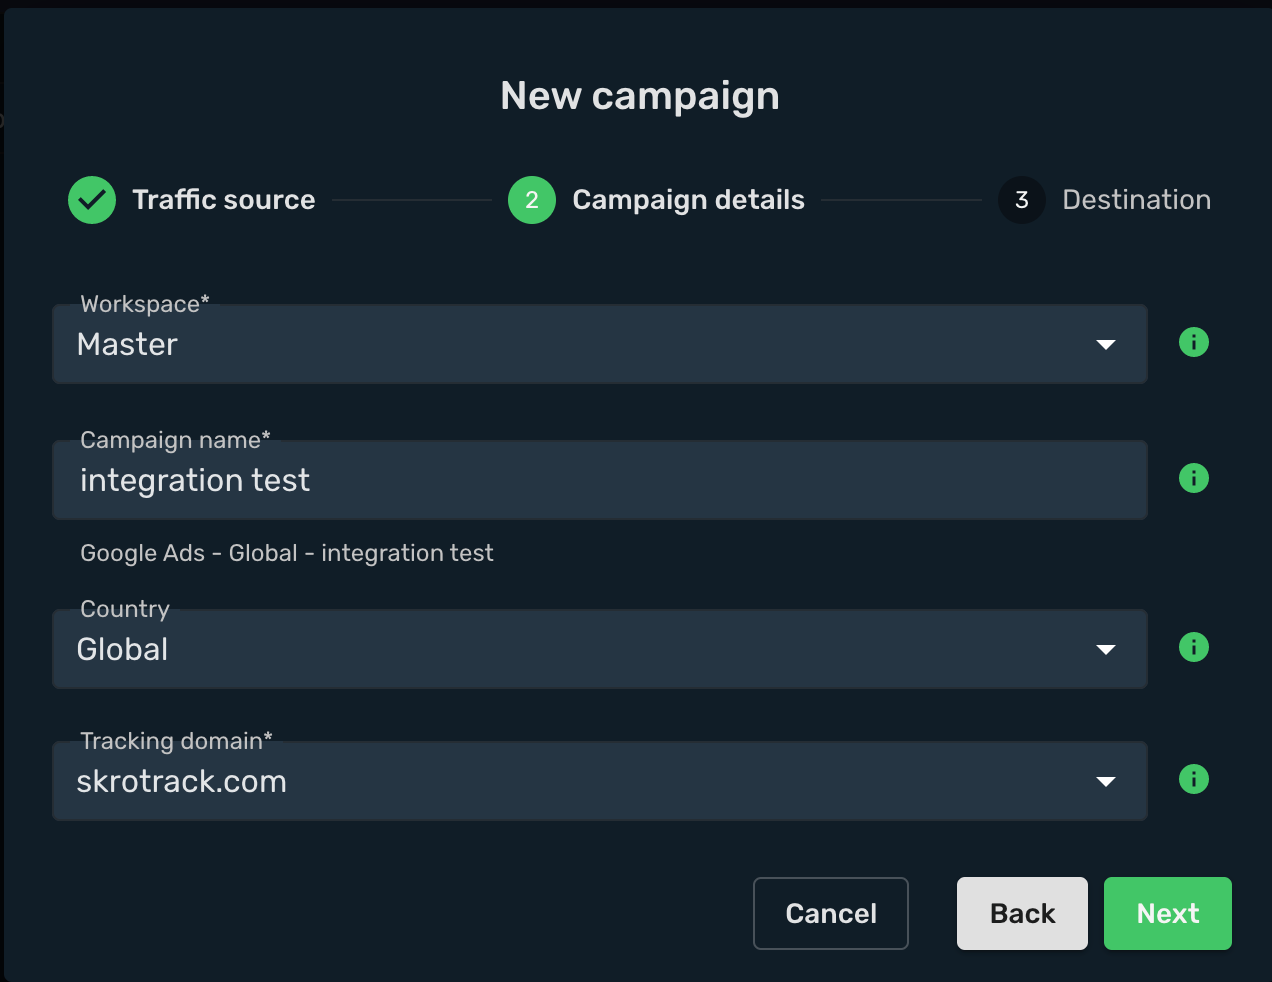
10. Choose your **Destination Type**. In this example we use **flow**
11. Choose your redirect mode. In this example we use **redirect 302**
12. Select your landing and offers which needed. In this example we use only offers and we switched on **Use only offers**, then you will need to select your offer page.
13. Click **Save**
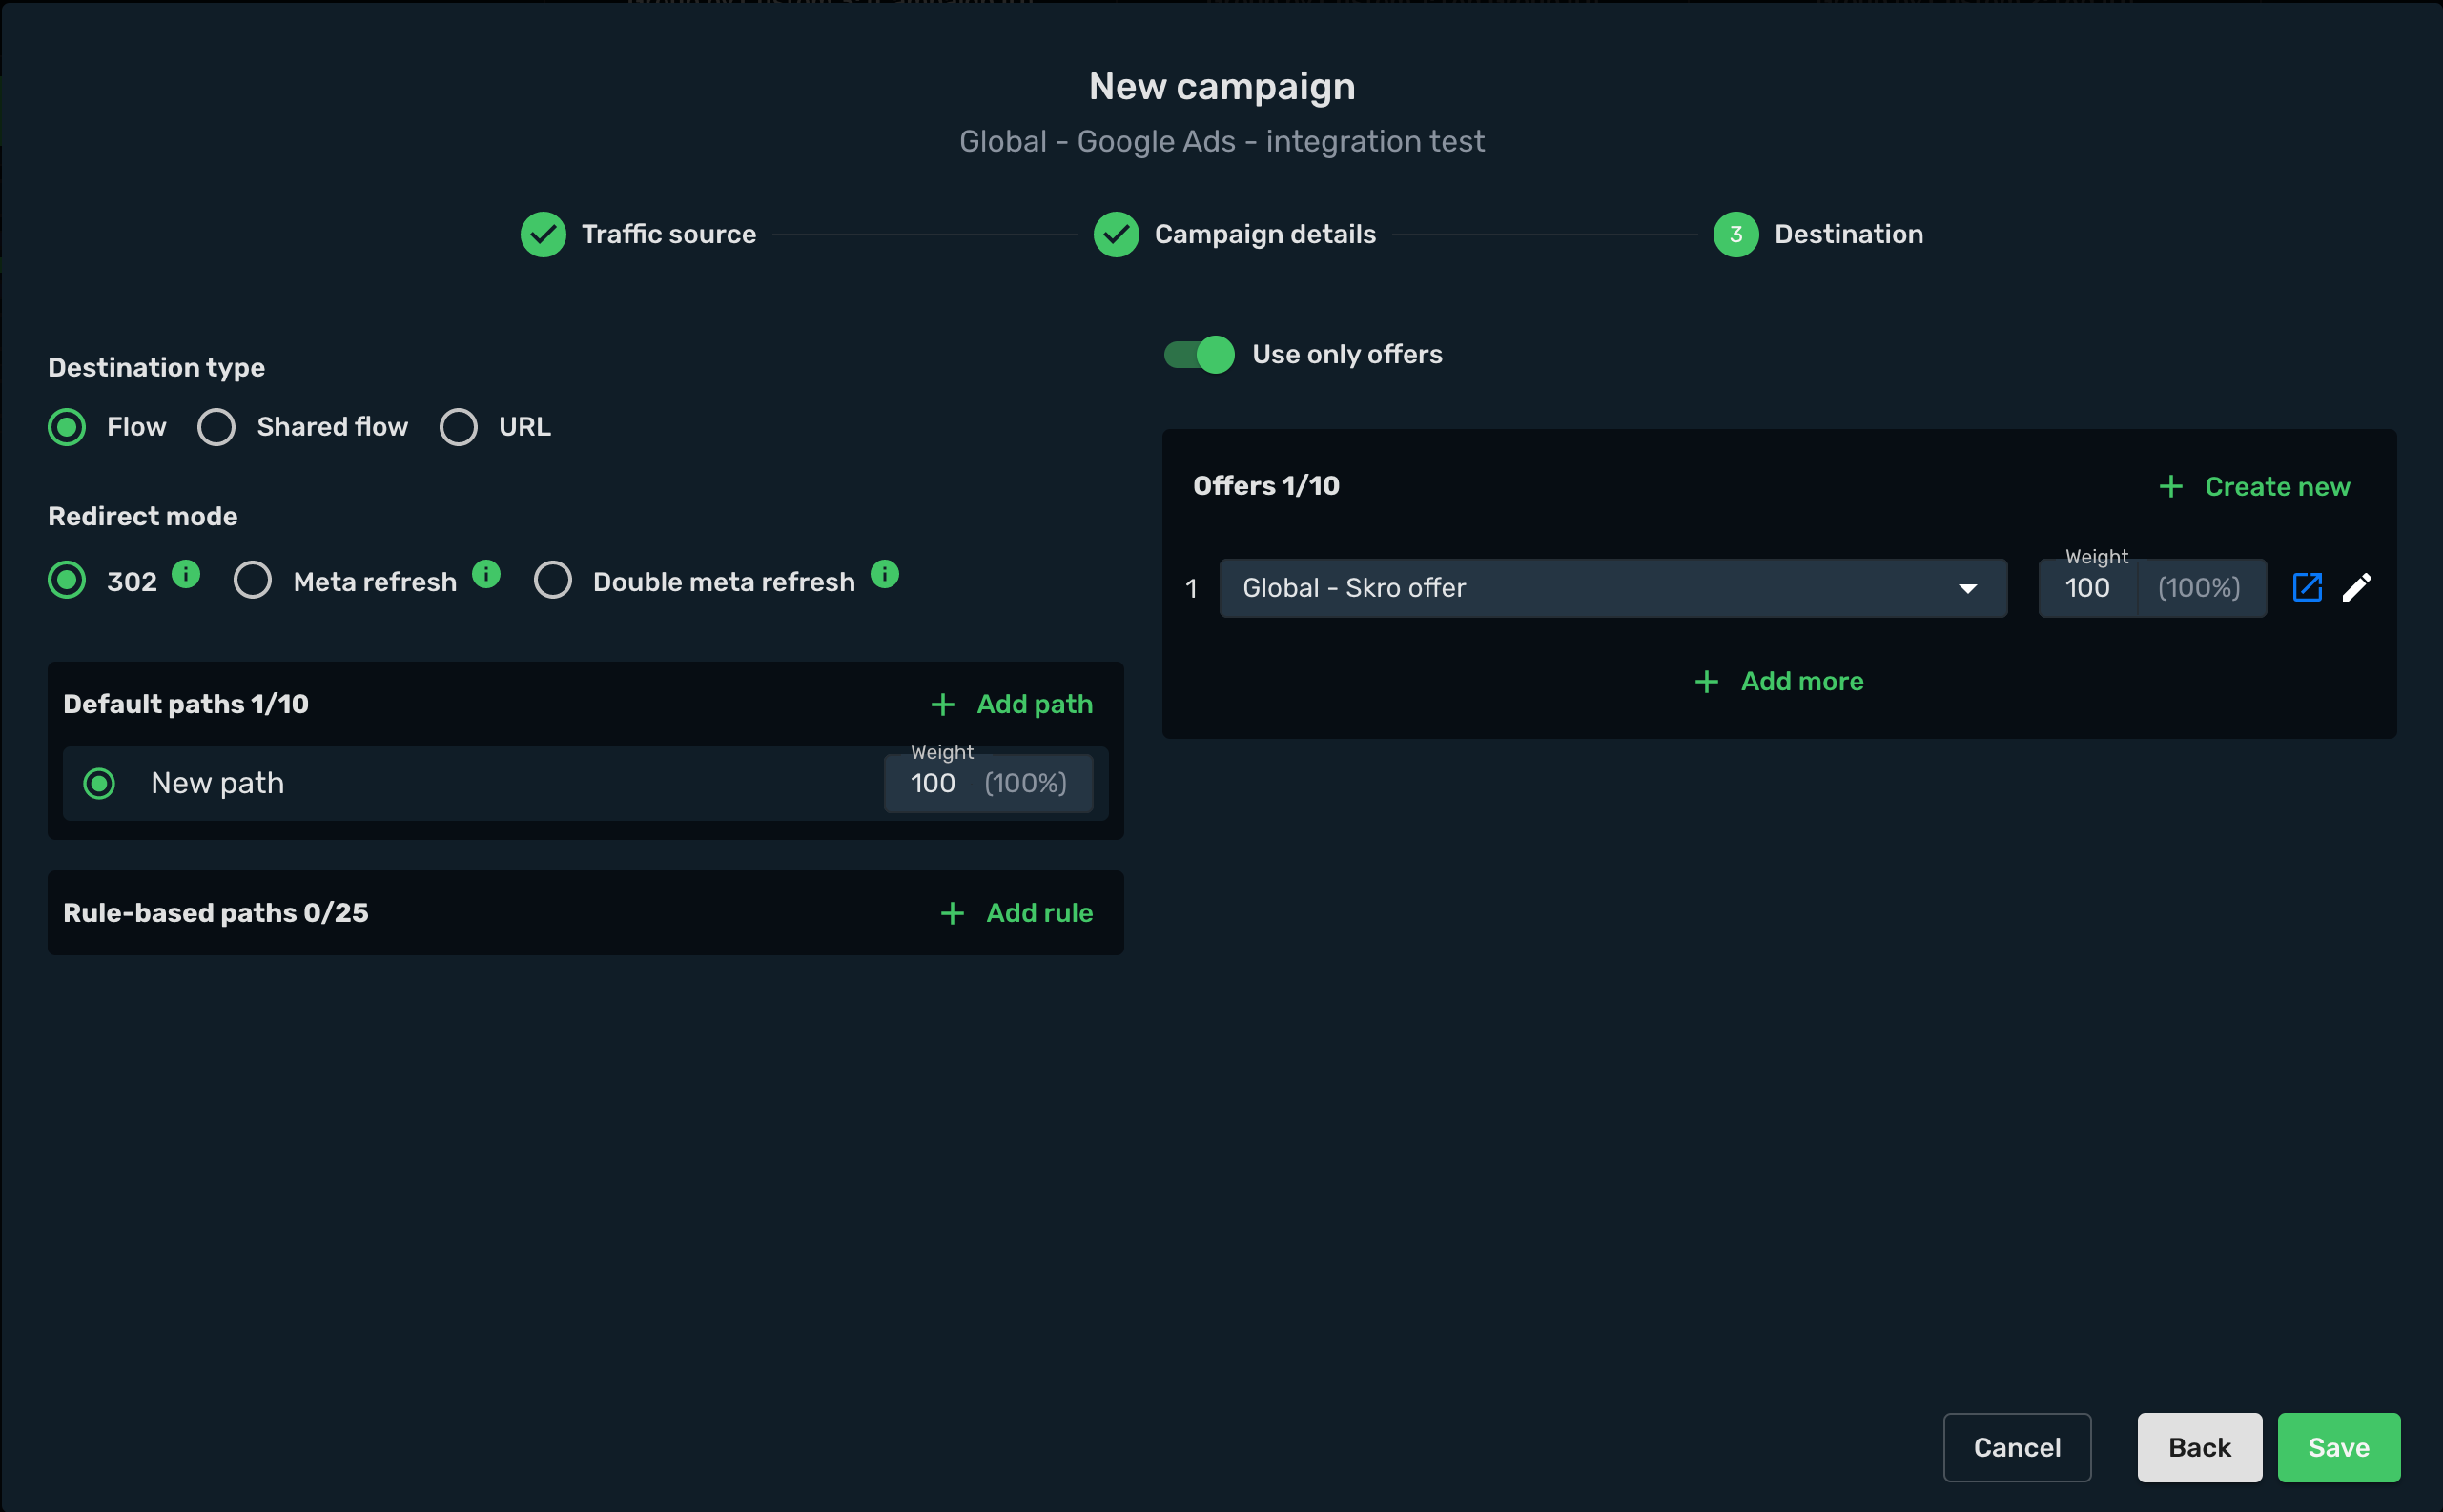
### Tracking with your own hosted Offer [#tracking-with-your-own-hosted-offer]
1. Choose **Direct** tracking method and select your offer.
2. Copy your tracking link into clipboard.
```text
https://myshopify.com?trck=eyJjcGlkIjoiMzBhNWFhMGQtNjU4YS00ZWY2LWFhOTEtMDQ5YzUxNzQ5MDlhIiwiciI6MCwicCI6MCwibyI6MH0=&gclid={gclid}&wbraid={wbraid}&gbraid={gbraid}&adgroupid={adgroupid}&creative={creative}&campaignid={campaignid}&device={device}&adposition={adposition}&network={network}&placement={placement}&matchtype={matchtype}&keyword={keyword}
```
3. Copy and paste Skro **Tracking Pixel** to your website between HEAD tags.
4. Copy and paste Skro **Thank you page JS pixel** to your website between HEAD or BODY tags.
If you want to send conversion info back to Skro from your server, then you will need to use **Postback URL** not **Thank you page JS pixel**. Skro Click ID is stored into Cookies and into Global Javascript variable. You can get Skro click ID with Javascript like that **window.skclid**
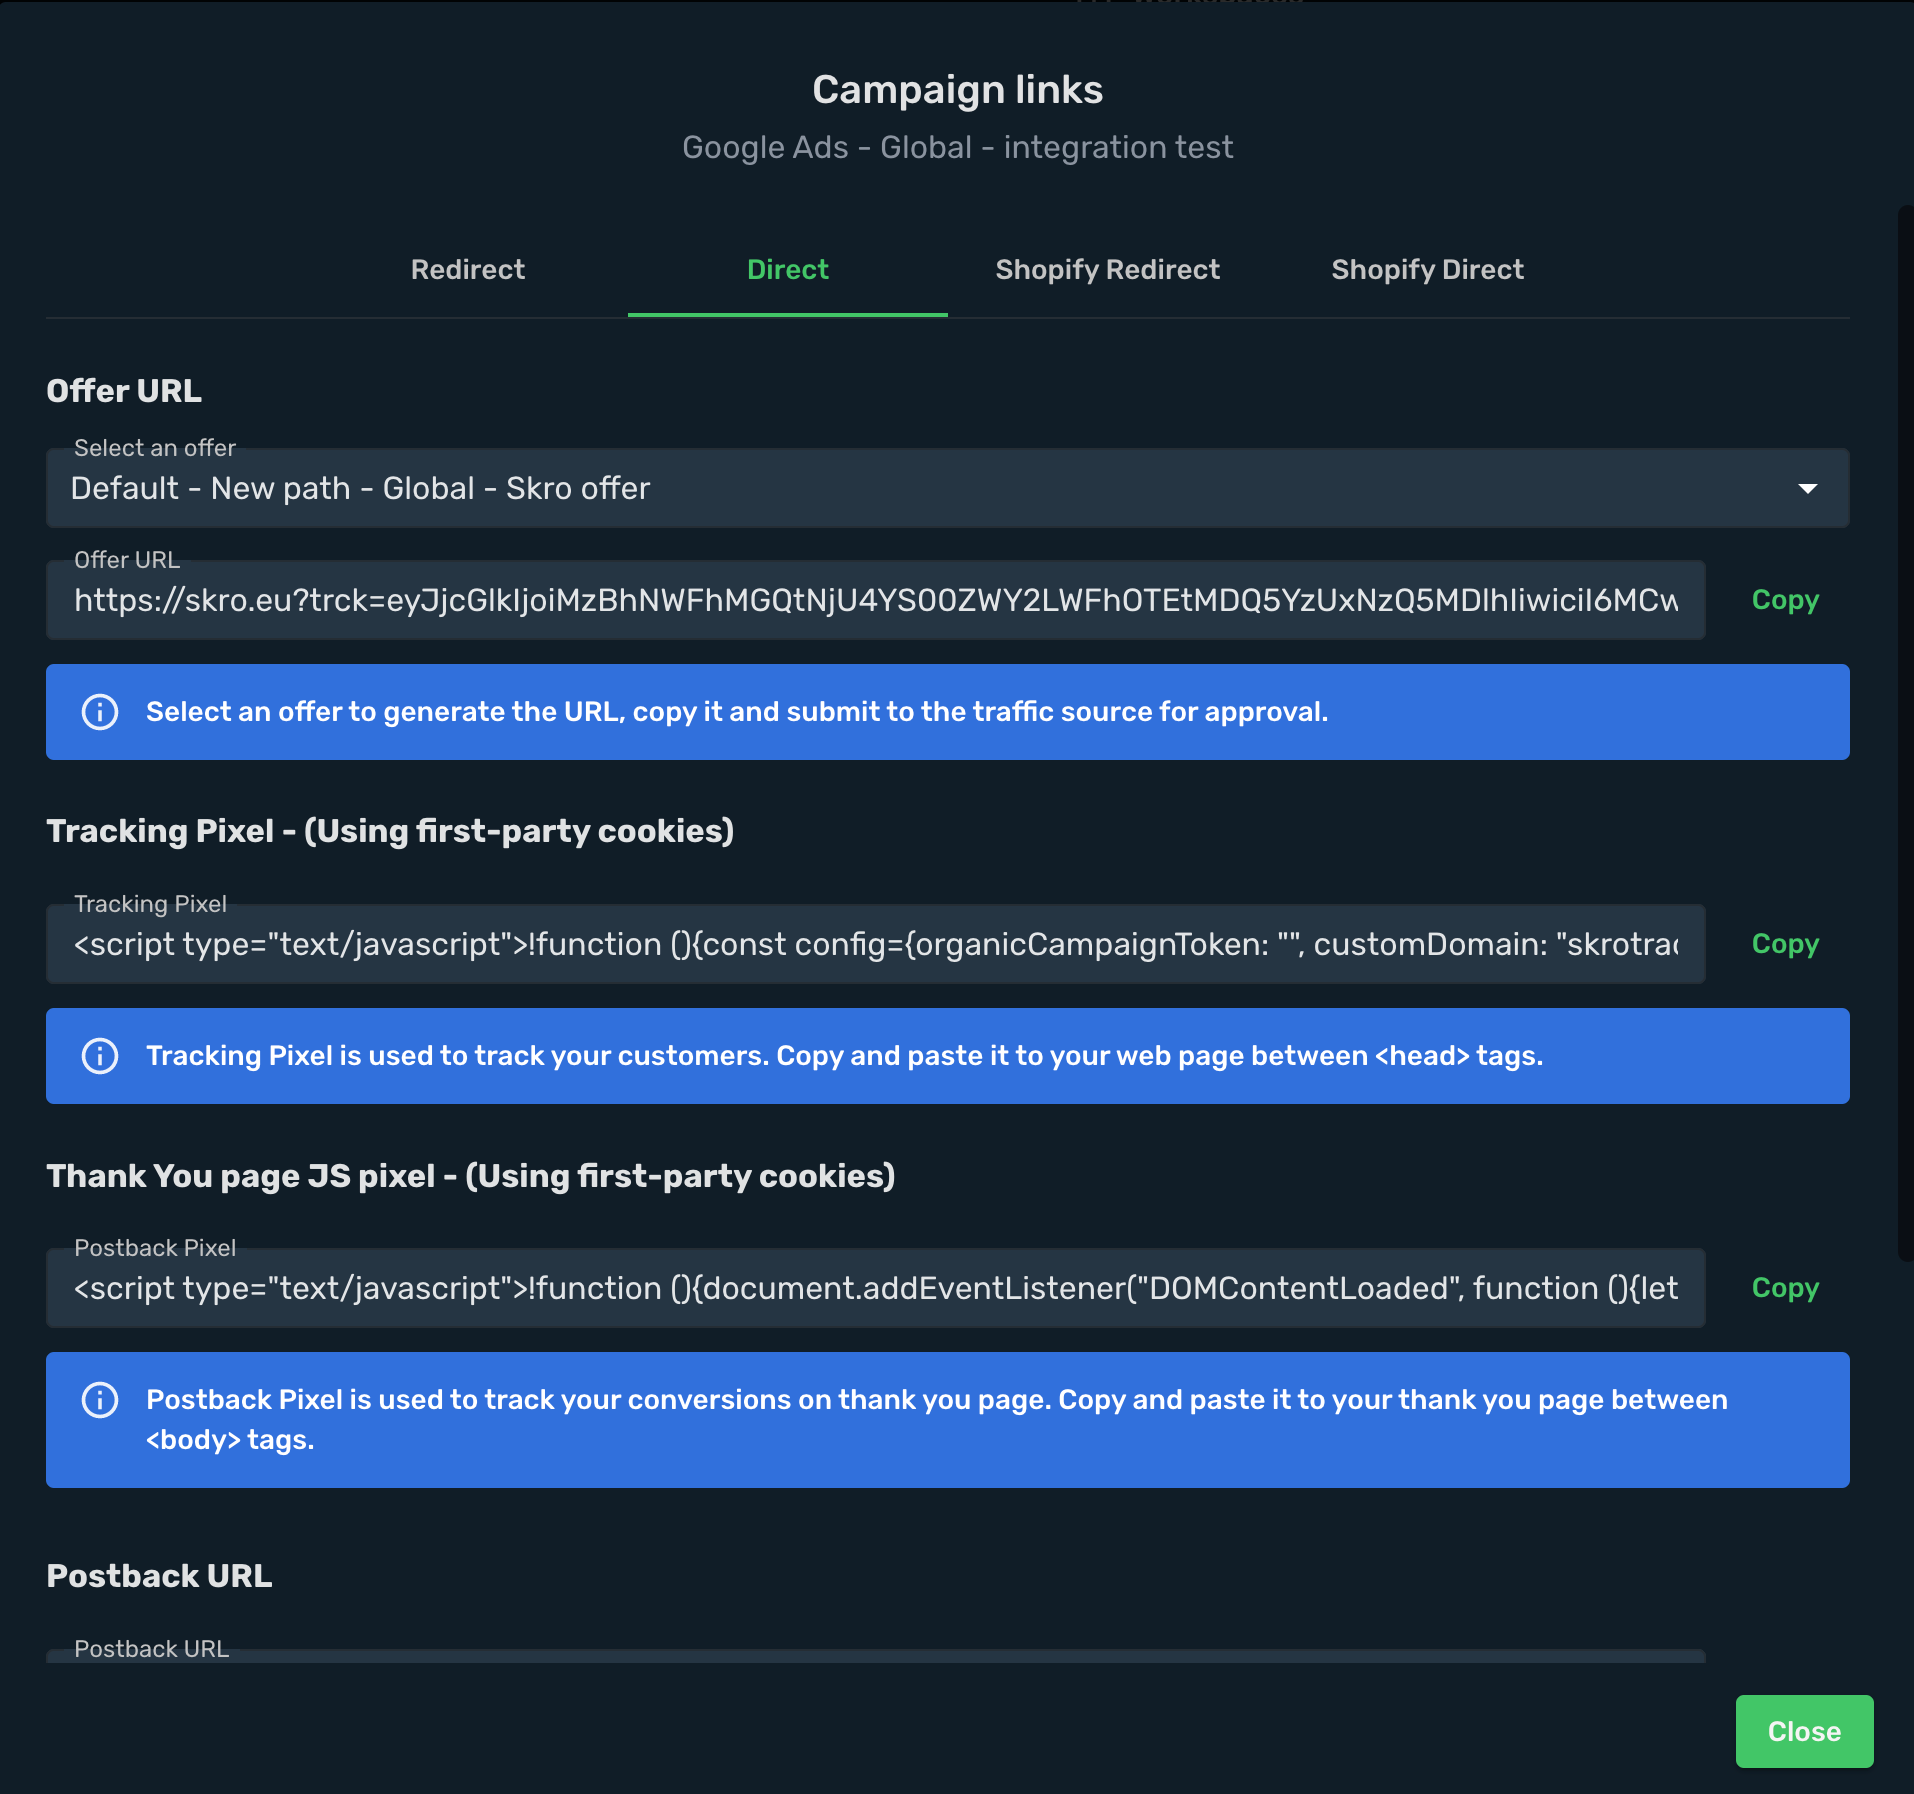
### Tracking with Landing and Offers [#tracking-with-landing-and-offers]
1. Choose **Direct** tracking method and select your landing page.
2. Copy your tracking link into clipboard.
```text
https://myshopify.com?trck=eyJjcGlkIjoiMzBhNWFhMGQtNjU4YS00ZWY2LWFhOTEtMDQ5YzUxNzQ5MDlhIiwiciI6MCwicCI6MCwibyI6MH0=&gclid={gclid}&wbraid={wbraid}&gbraid={gbraid}&adgroupid={adgroupid}&creative={creative}&campaignid={campaignid}&device={device}&adposition={adposition}&network={network}&placement={placement}&matchtype={matchtype}&keyword={keyword}
```
3. Copy and paste Skro **Tracking Pixel** to your website between HEAD tags.
4. Make sure you have **Click To Offer** link correctly set on your landing page. This link will redirect your user to your offer page.
Make sure you have set up Skro Click ID macro on your offer url for conversion tracking.
## Step 5. How to create a campaign in Google Ads [#step-5-how-to-create-a-campaign-in-google-ads]
There are multiple campaign types that you can use with Google Ads. Campaign types determine where and how your ad will be promoted.
- **Search:** Your ad will be displayed among Google's search results.
- **Display:** Your ad will be displayed on websites partnered with Google in the Display network.
- **Shopping:** Your ad will be displayed to people already searching for a product.
- **Video:** Your video ad will be displayed when searching or watching a YouTube video. Note that you need to have your video ad uploaded to YouTube to use it in your ad campaign
- **App:** Your ad will be displayed in all Google's app-related properties: search, Play store, Display Network and other.
In order to create a Google ad campaign, please follow the steps below:
1. Sign in to your **Google Ads** account.
2. In your Google Ads dashboard, click the **New Campaign**.
3. Select the campaign goal.
4. Select a campaign type.
5. Provide your landing page's URL as your business's website.
Do not include any tracking parameters at this point, provide the plain URL.

In our example we selected the following things:
6. Click **Continue**.
7. Provide all required information for the selected campaign goal and type. This information include:
- Campaign budget.
- Bid.
- Targeting.
- Keywords.
- Ad title, images and description.
- Save your campaign by clicking the **Save**.
8. Once you have saved your campaign, go to this campaign's details. Go to **Settings** → **Additional settings** → **Campaign URL Options**.
9. Paste the part of the direct tracking URL that you have copied from Skro that starts after the **?** character in the **Final URL suffix** text field. You can delete **?** mark.
**Example**:
10. The complete direct tracking URL that you have copied from Skro should look like this:
```text
https://skro.eu?trck=eyJjcGlkIjoiMzBhNWFhMGQtNjU4YS00ZWY2LWFhOTEtMDQ5YzUxNzQ5MDlhIiwiciI6MCwicCI6MCwibyI6MH0=&gclid={gclid}&wbraid={wbraid}&gbraid={gbraid}&adgroupid={adgroupid}&creative={creative}&campaignid={campaignid}&device={device}&adposition={adposition}&network={network}&placement={placement}&matchtype={matchtype}&keyword={keyword}
```
11. The following part of the above URL should be pasted in the **Final URL suffix** text field
```text
trck=eyJjcGlkIjoiMzBhNWFhMGQtNjU4YS00ZWY2LWFhOTEtMDQ5YzUxNzQ5MDlhIiwiciI6MCwicCI6MCwibyI6MH0=&gclid={gclid}&wbraid={wbraid}&gbraid={gbraid}&adgroupid={adgroupid}&creative={creative}&campaignid={campaignid}&device={device}&adposition={adposition}&network={network}&placement={placement}&matchtype={matchtype}&keyword={keyword}
```
12. Click **Save**.
Congratulations, you have successfully set up tracking of Google traffic with Skro. Each time a visitor clicks on your ad, will be directed to your landing page with Skro's tracking parameters being passed. On a landing page, the direct tracking script will launch and send an HTTPS request to Skro with information about a visit and other information passed from Google.
## Step 6. Additional Conversion API Parameters [#step-6-additional-conversion-api-parameters]
**Requirements:** Google Ads Ad Account and Conversion API Integration.
If you need to send additional information via Google Ads Conversion API, then you can use the following parameters:
- **transactionId** - It is used like OrderID for Google Ads conversion API.
- **userConsent** - It is used for EU users. If that value is sent like **&userConsent=true** then **Ad User Data** and **Ad Personalization** is GRANTED. If userConsent is missing, empty, false, or any other value then Google will drop (ignore) the conversion for EU-region users.
Example postback URL with additional parameters:
`https://skrotrack.com/postback?clickId=ancdh2udspoc73cjodf0&payout=10&transactionId=order12345&userConsent=true`
## Verify the setup [#verify-the-setup]
Open the generated campaign URL and check that the visit appears in Skro. Confirm that traffic source macros resolve to actual values. If you send conversions back to the source, verify a test conversion in both systems.
If data is missing, check the selected workspace, integration, campaign, and reporting date range. Compare parameter names and macro values with the examples in this guide before repeating the test.
## Related guides [#related-guides]
# HilltopAds integration
Source: https://skro.eu/docs/integrations/hilltopads-integration
Set up HilltopAds tracking in Skro, configure traffic source parameters, and connect your advertising campaigns.
Integration enables you to track all your campaigns, zones, ads, etc. Additionally, it provides a comprehensive overview of your cost and conversions for the optimization.
## Step 1. Create an HilltopAds traffic source and configure the postback URL [#step-1-create-an-hilltopads-traffic-source-and-configure-the-postback-url]
1. Go to **Traffic Sources** and click **+ Create**.
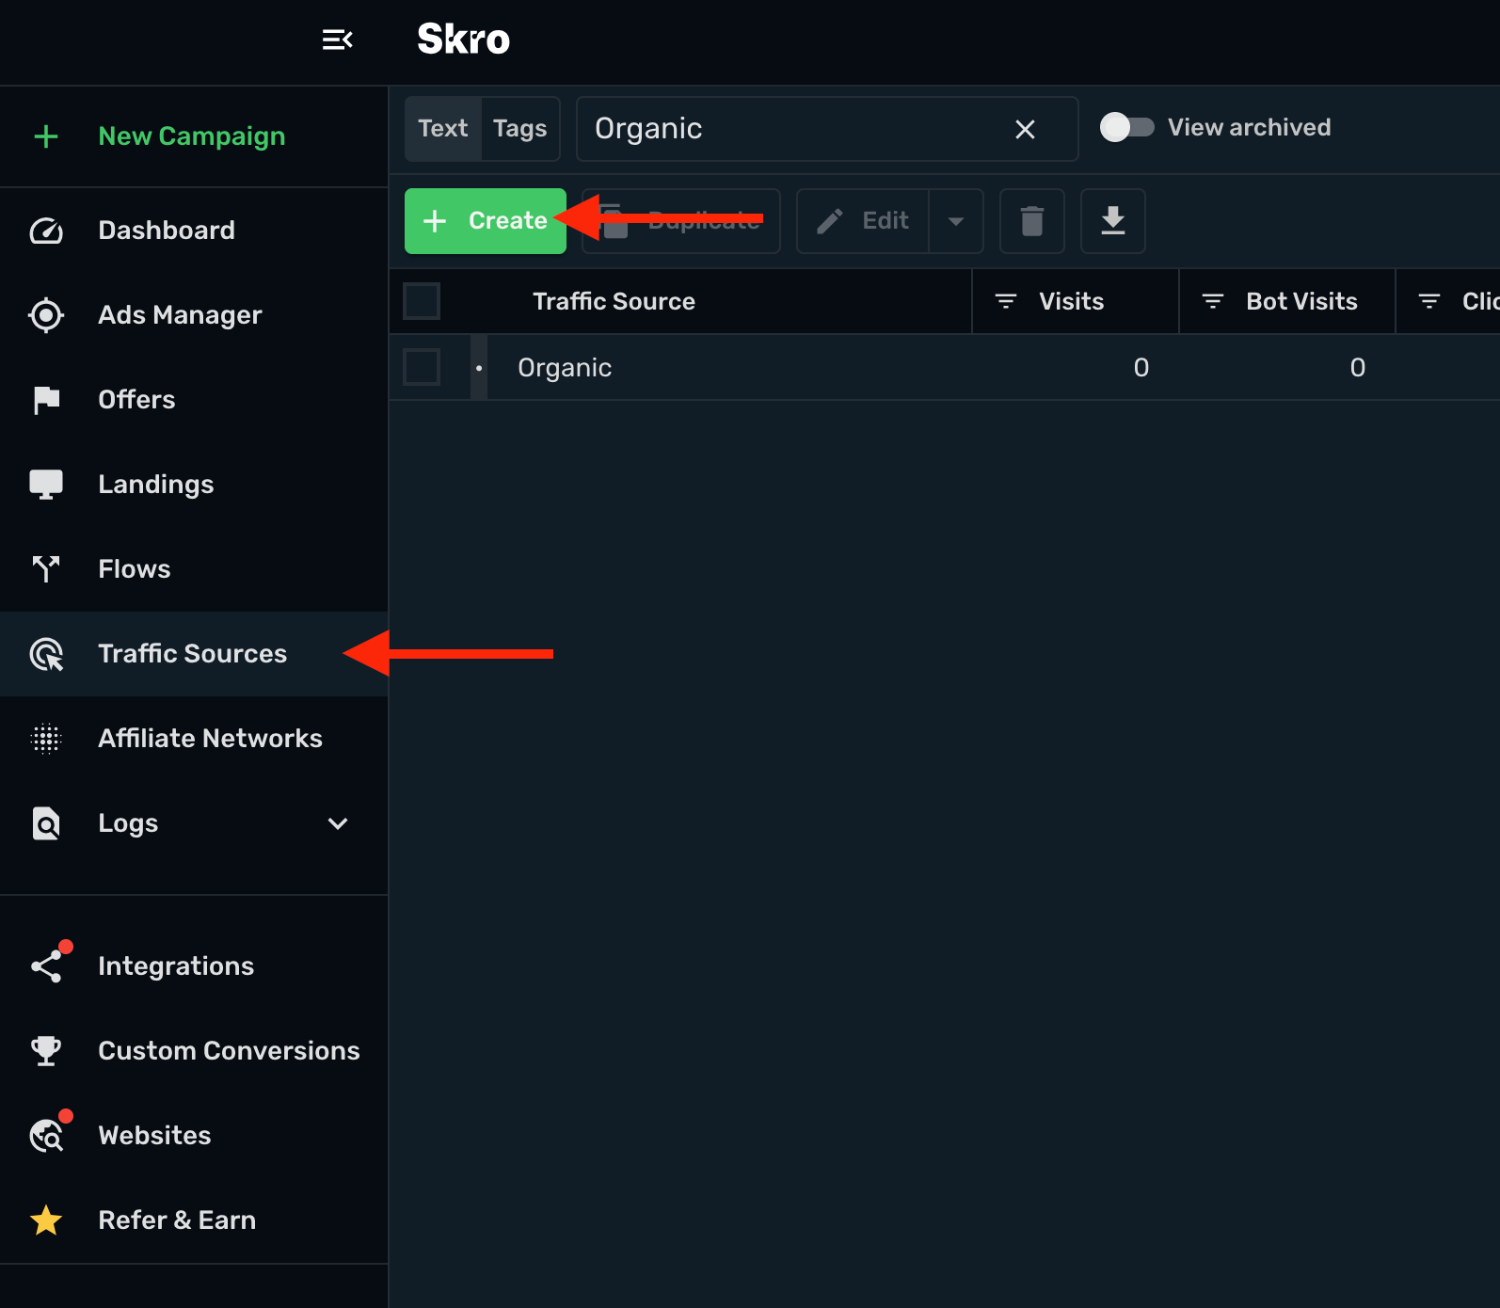
2. Search for **hilltopads** and click the **HilltopAds** template.
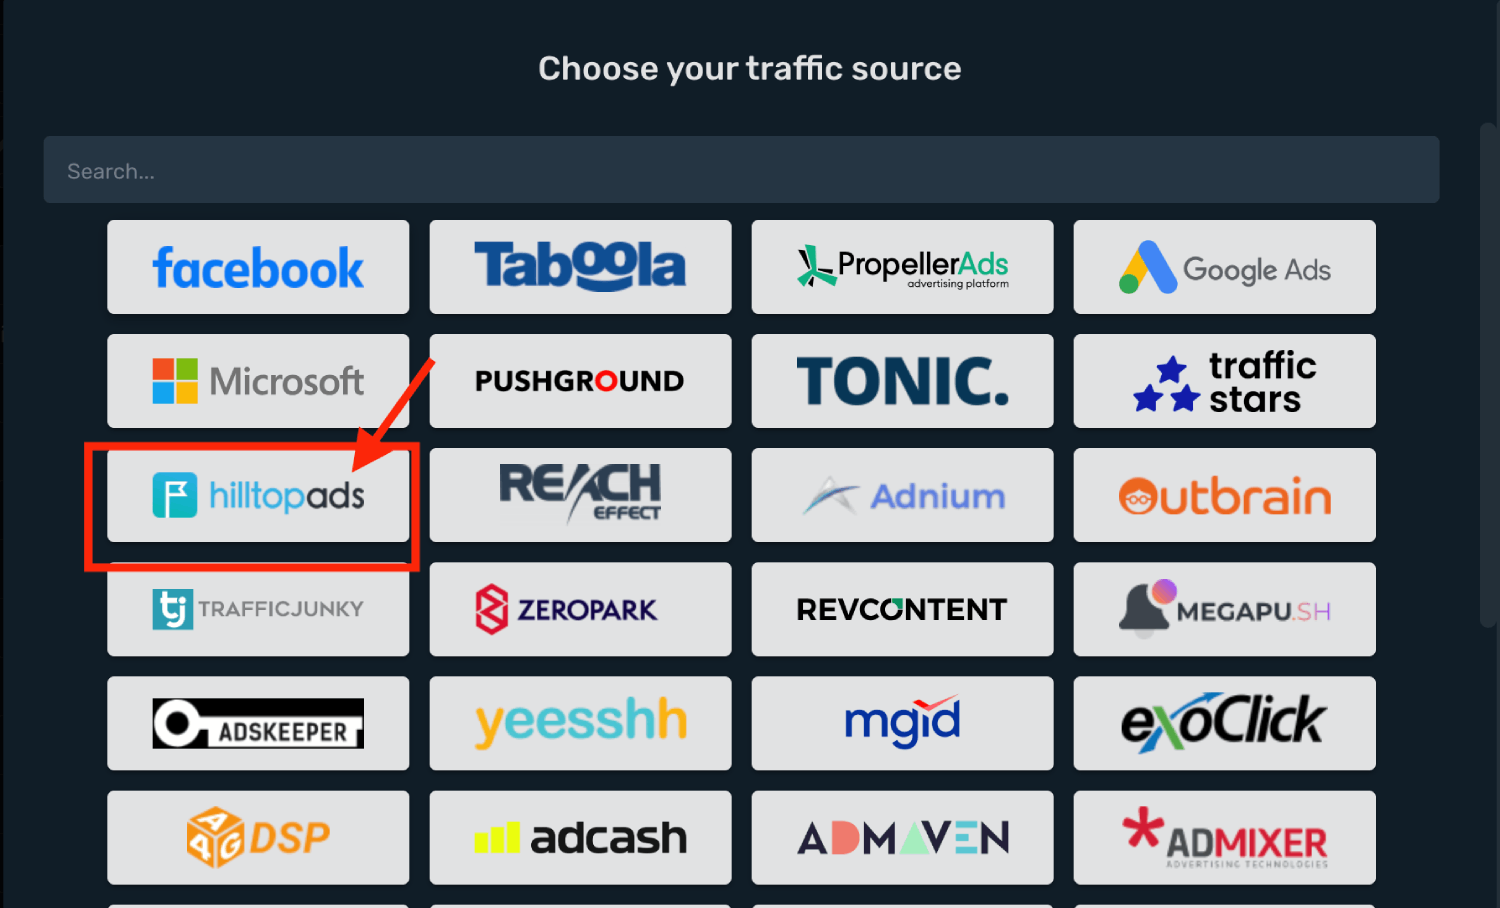
3. You need to modify **Traffic Source Postback URL**.
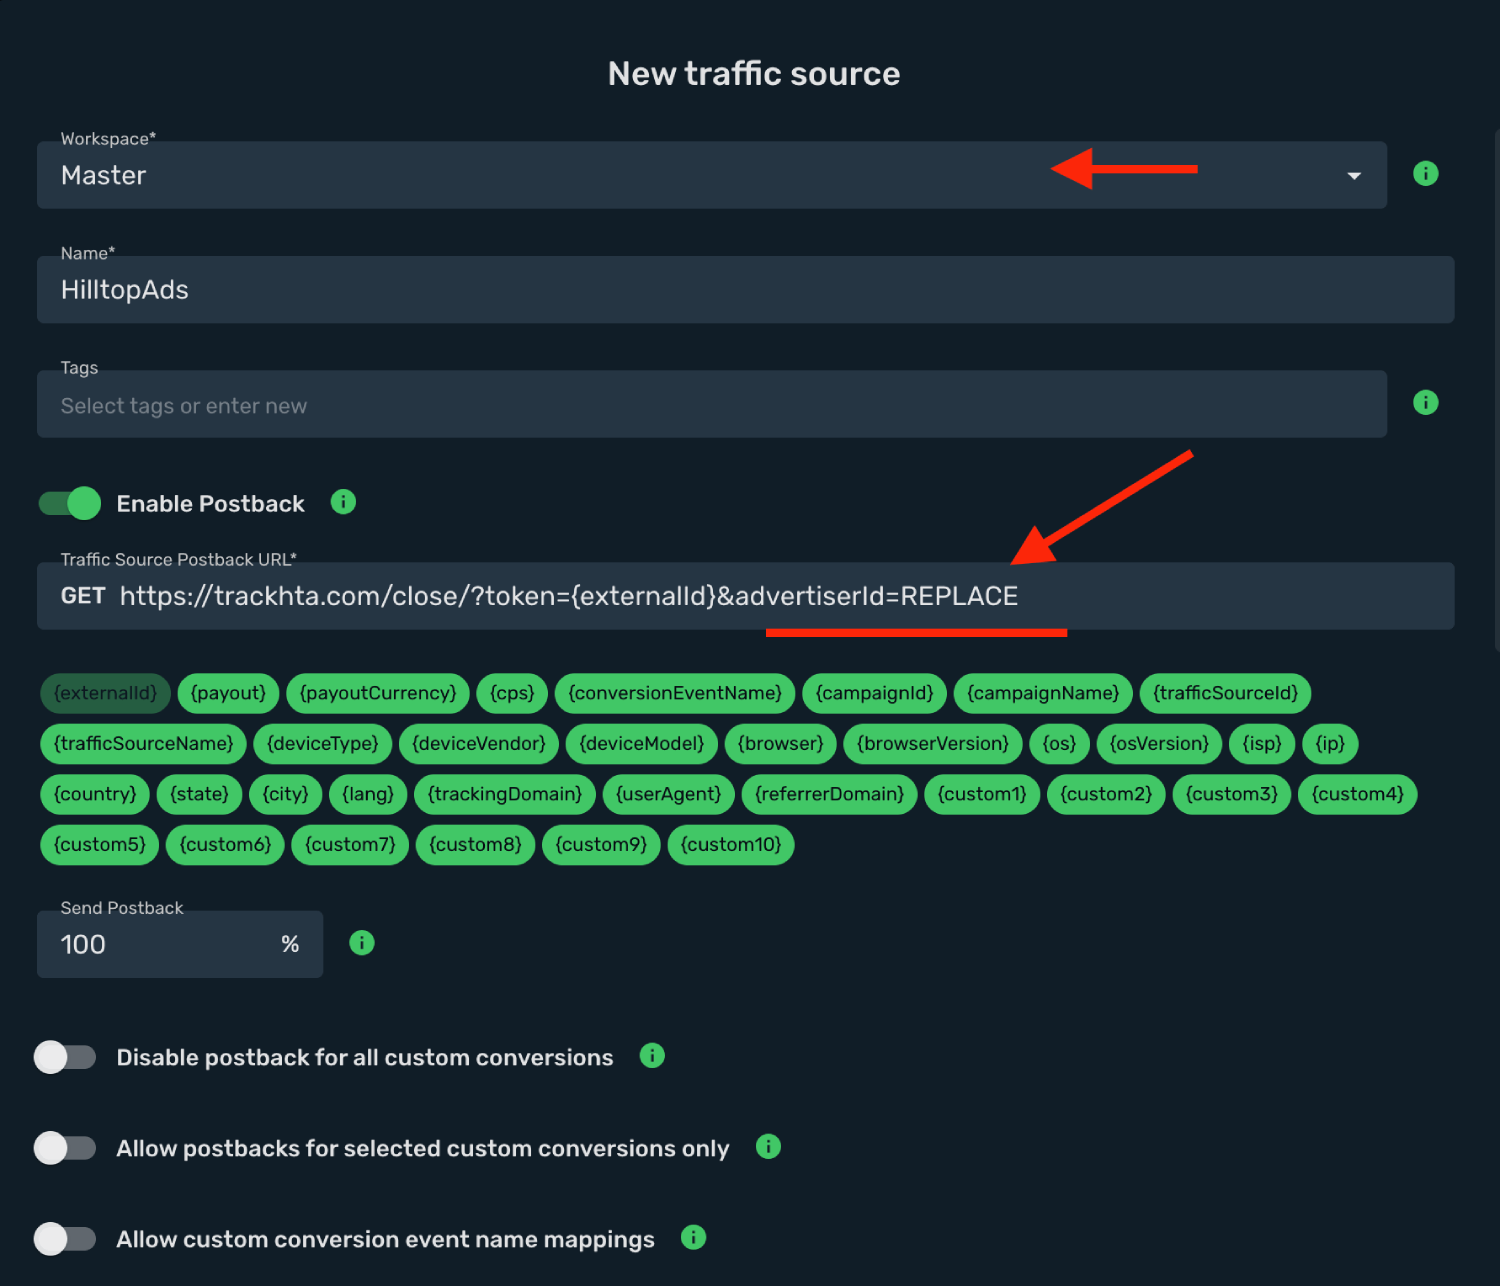
4. Log in to your **HilltopAds** account.
5. Go to **Trackers** and select the **Skro** template.
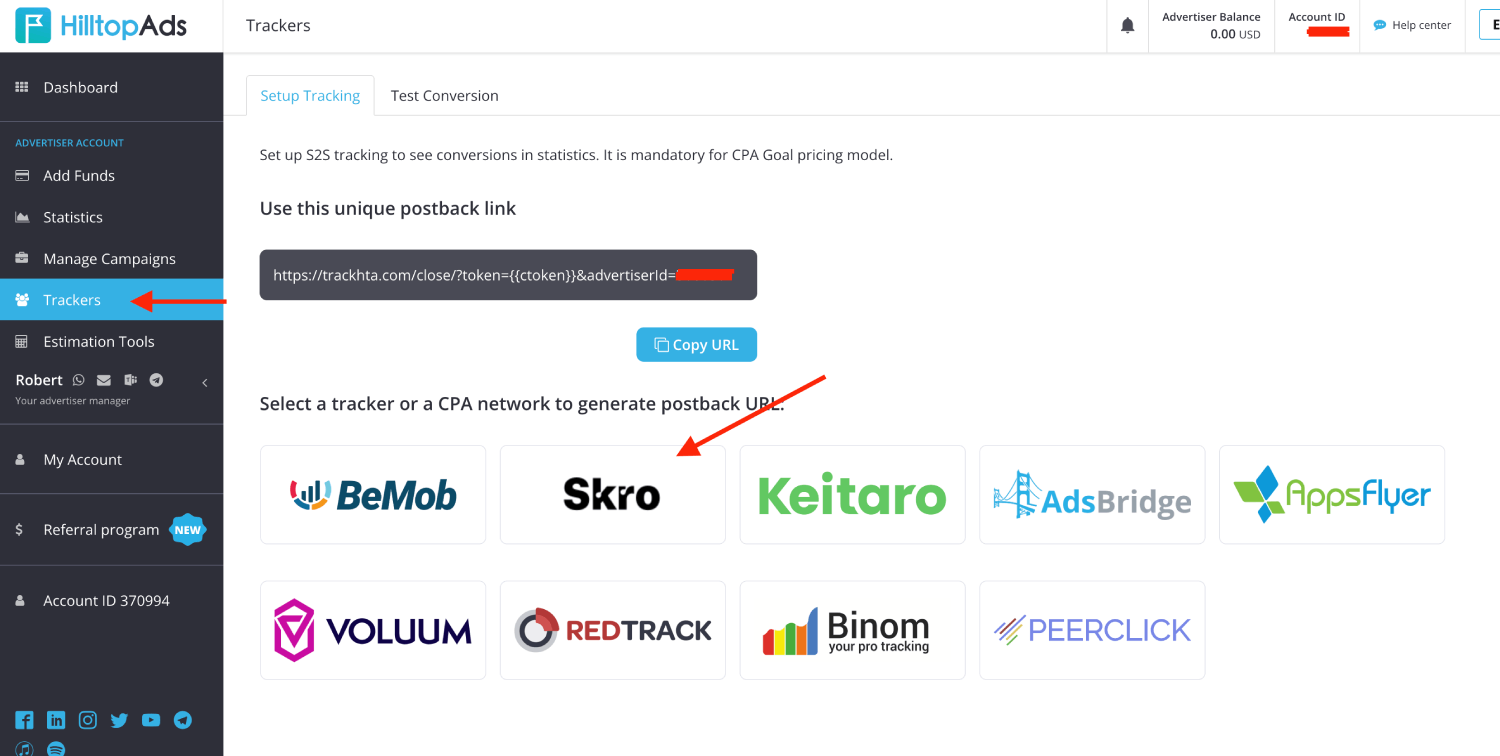
6. Copy the **advertiserId** parameter value to the clipboard.
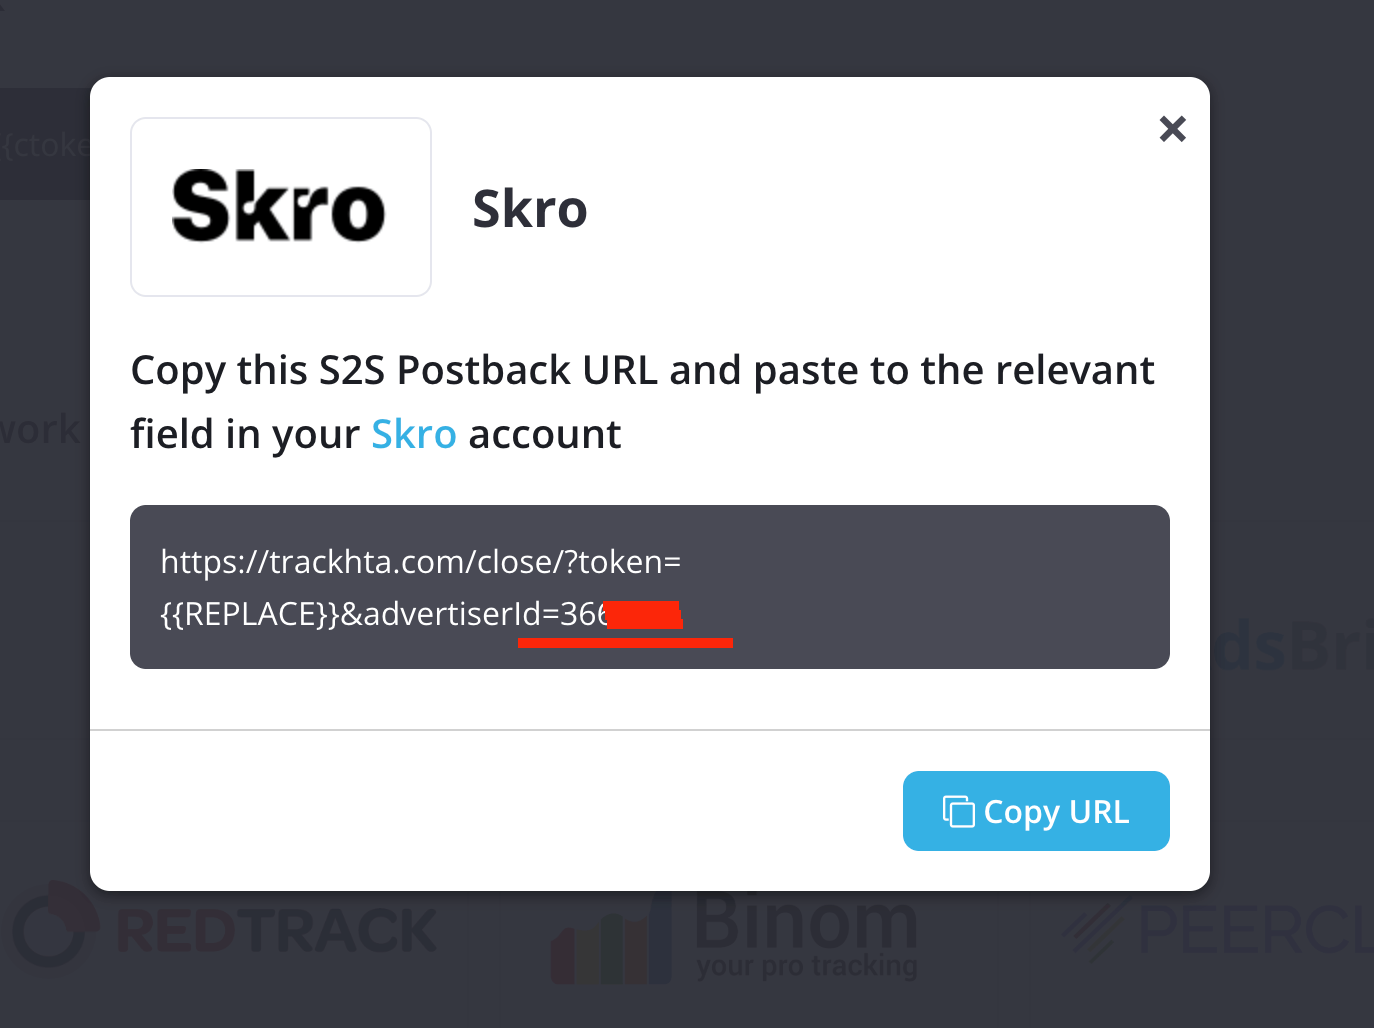
7. Go back to **Skro** and replace the **advertiserId** parameter value with real value.
8. Final postback URL must look similar to this:
`https://trackhta.com/close/?token={externalId}&advertiserId=123456`
**`advertiserId=123456`** - HilltopAds Advertiser ID.
**`token={externalId}`** - HilltopAds Click ID parameter with Skro macro.
9. All tracking parameters are already prefilled for you.
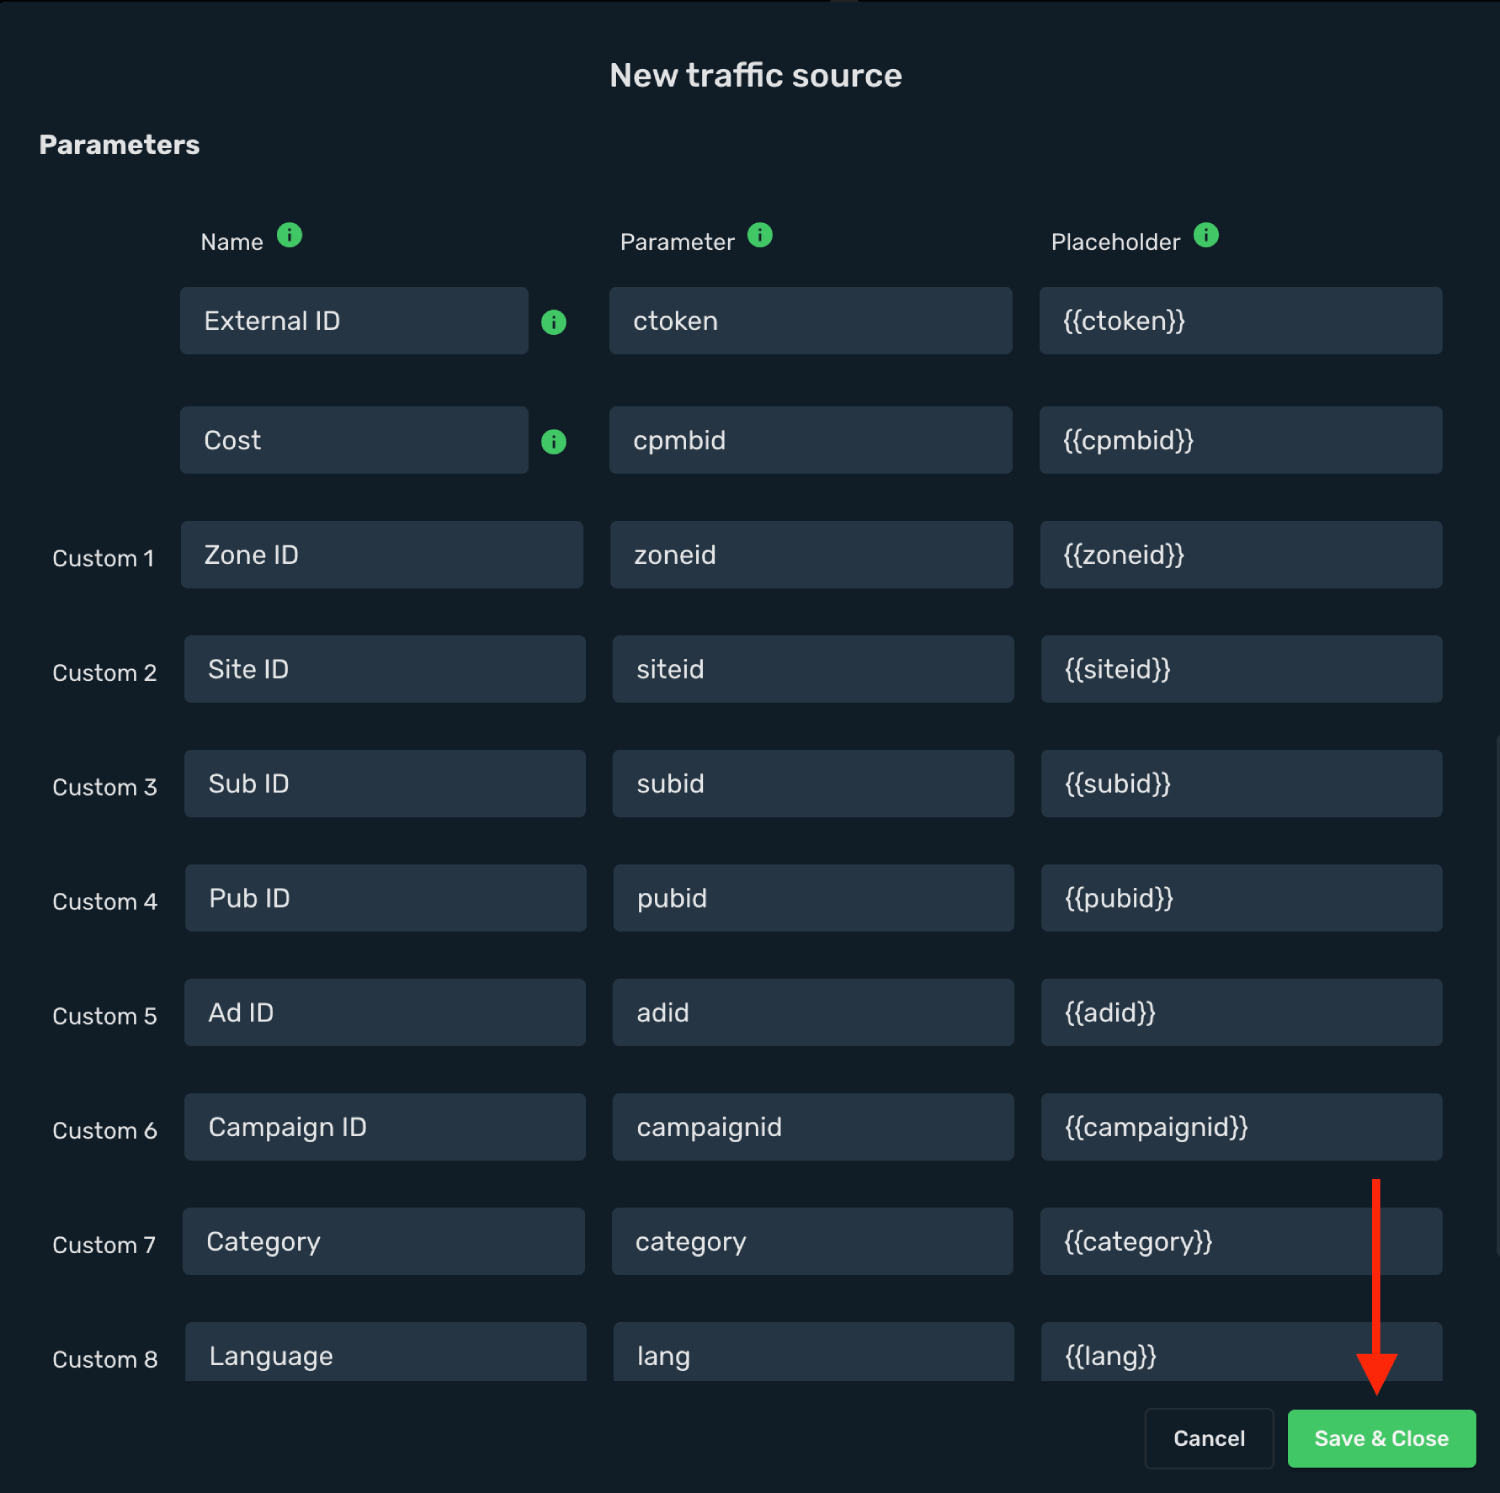
10. Click **Save & Close**.
Integration setup is complete, and you are now ready to create your first campaign.
## Step 2. Create a campaign in Skro [#step-2-create-a-campaign-in-skro]
1. Go to **Ads Manager** and click the **Create**.
2. Select your **Traffic source** and click **Next**.
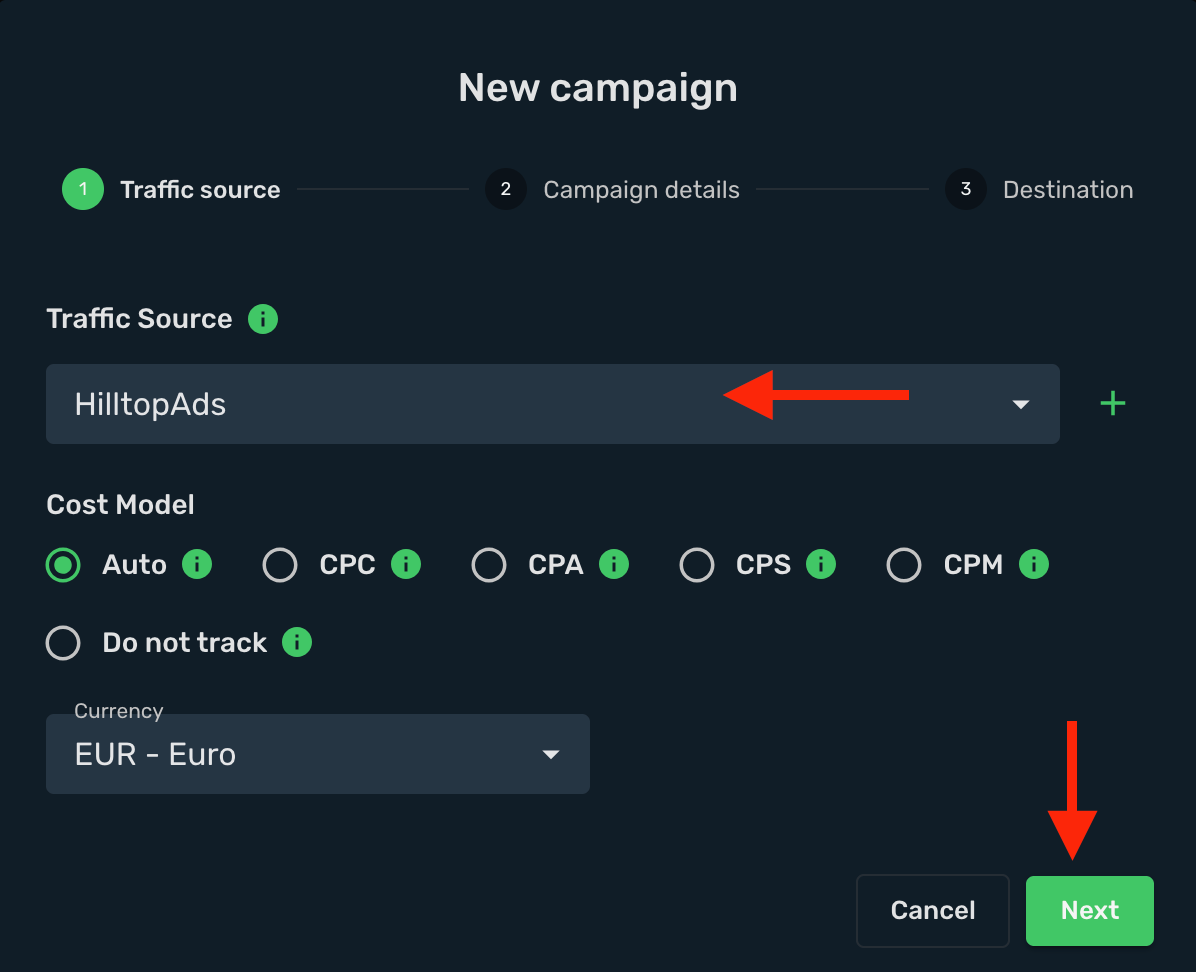
3. Select the target **Workspace** for your campaign.
4. Give a **name** to your campaign and click **Next**.
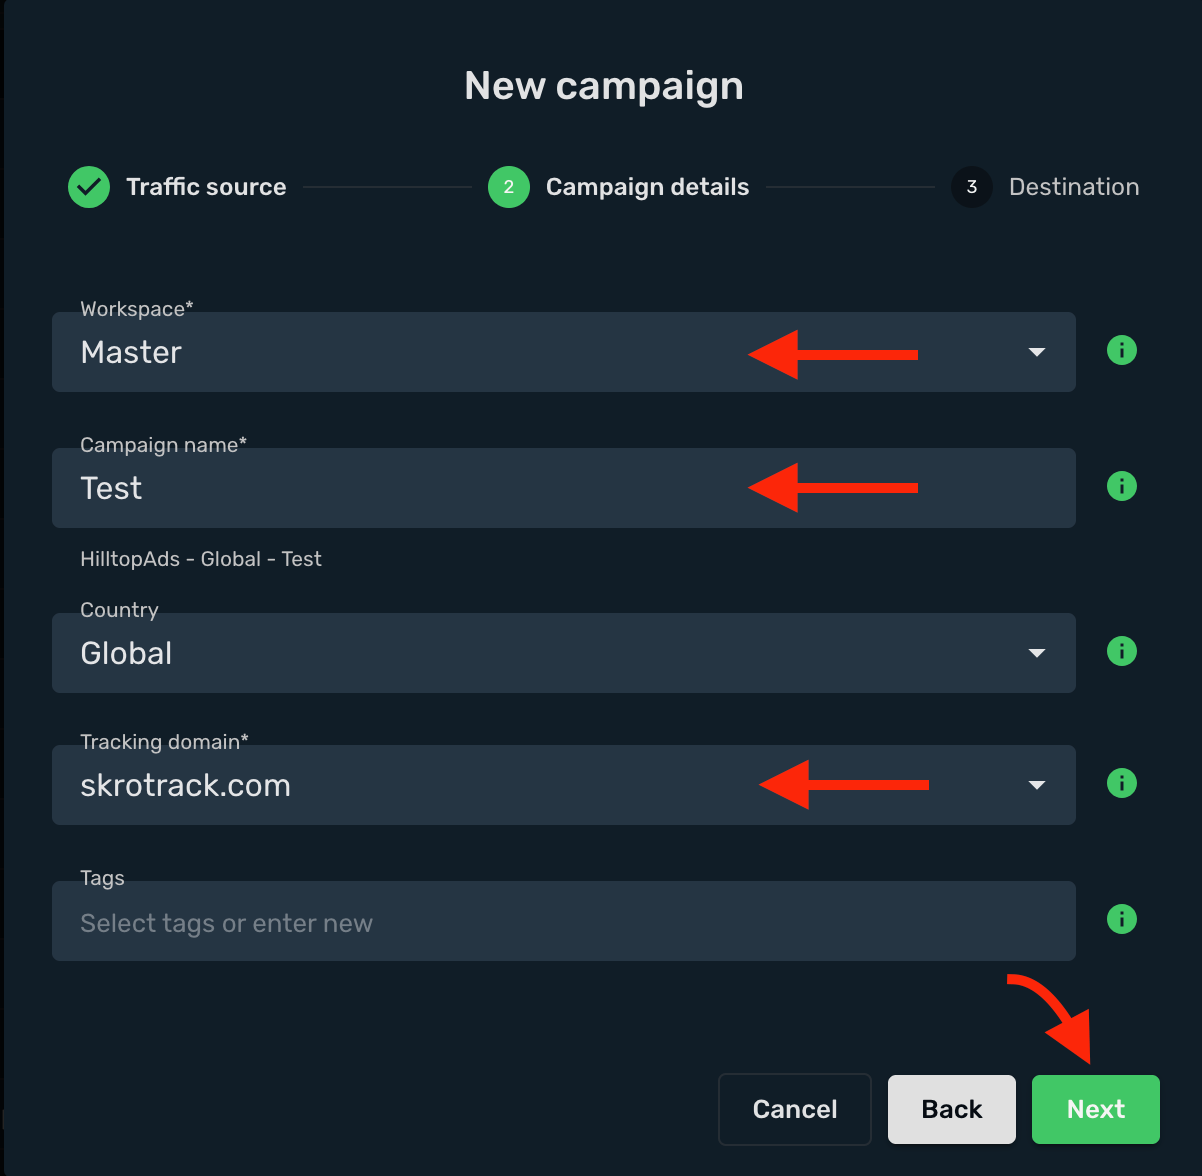
5. Select or create all your **landings** and **offers**.
6. When you are done, click the **Save**.
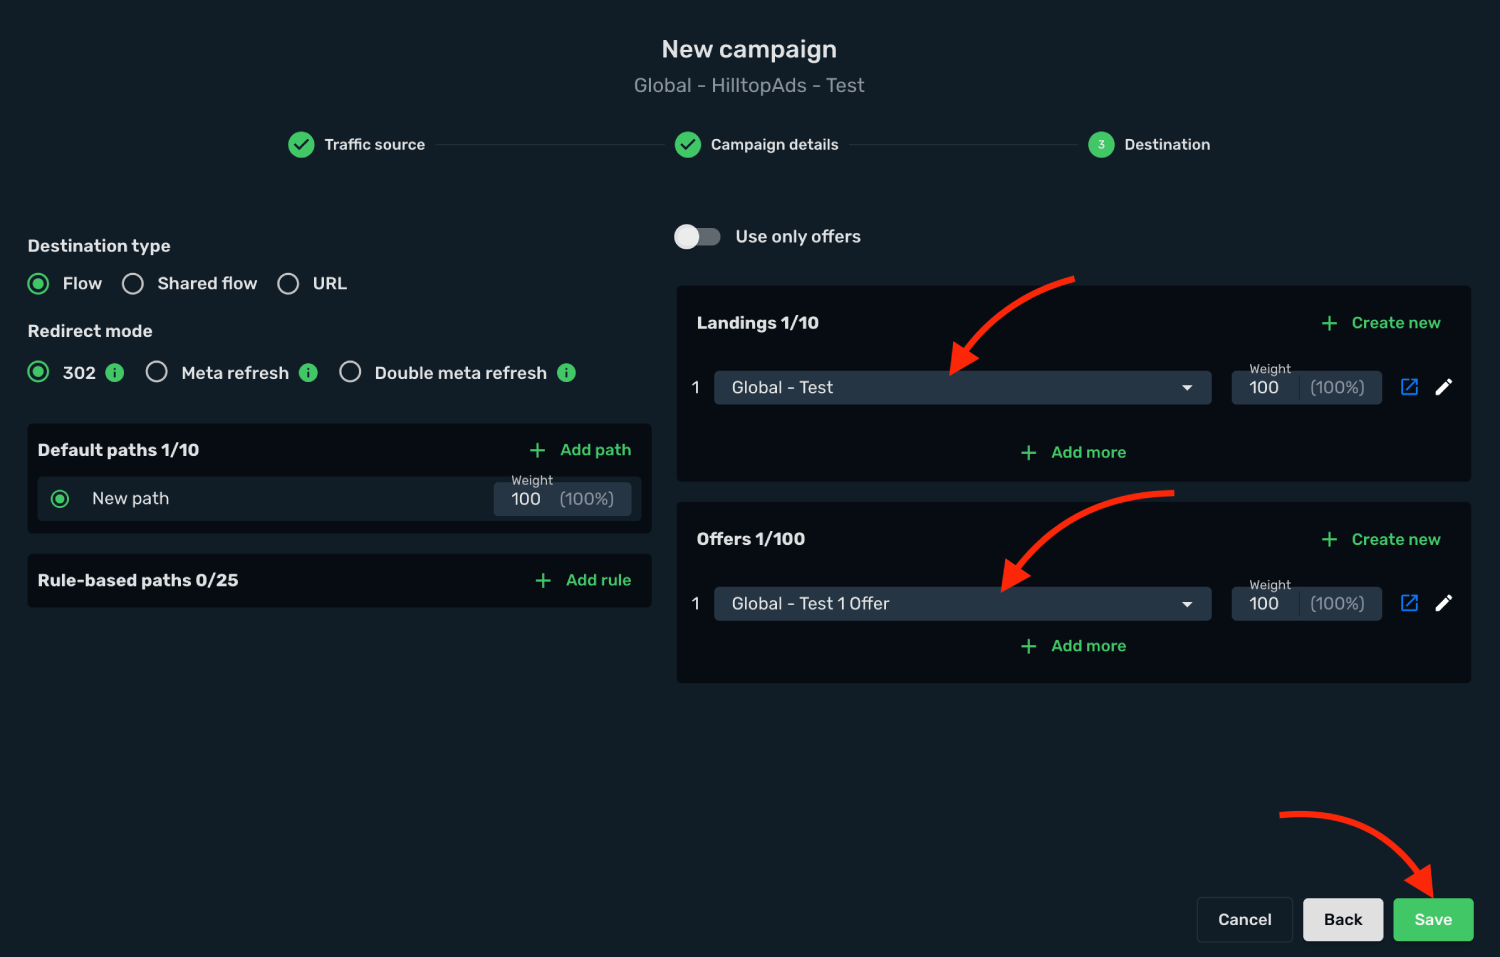
7. Copy the **Campaign Tracking URL** to clipboard.
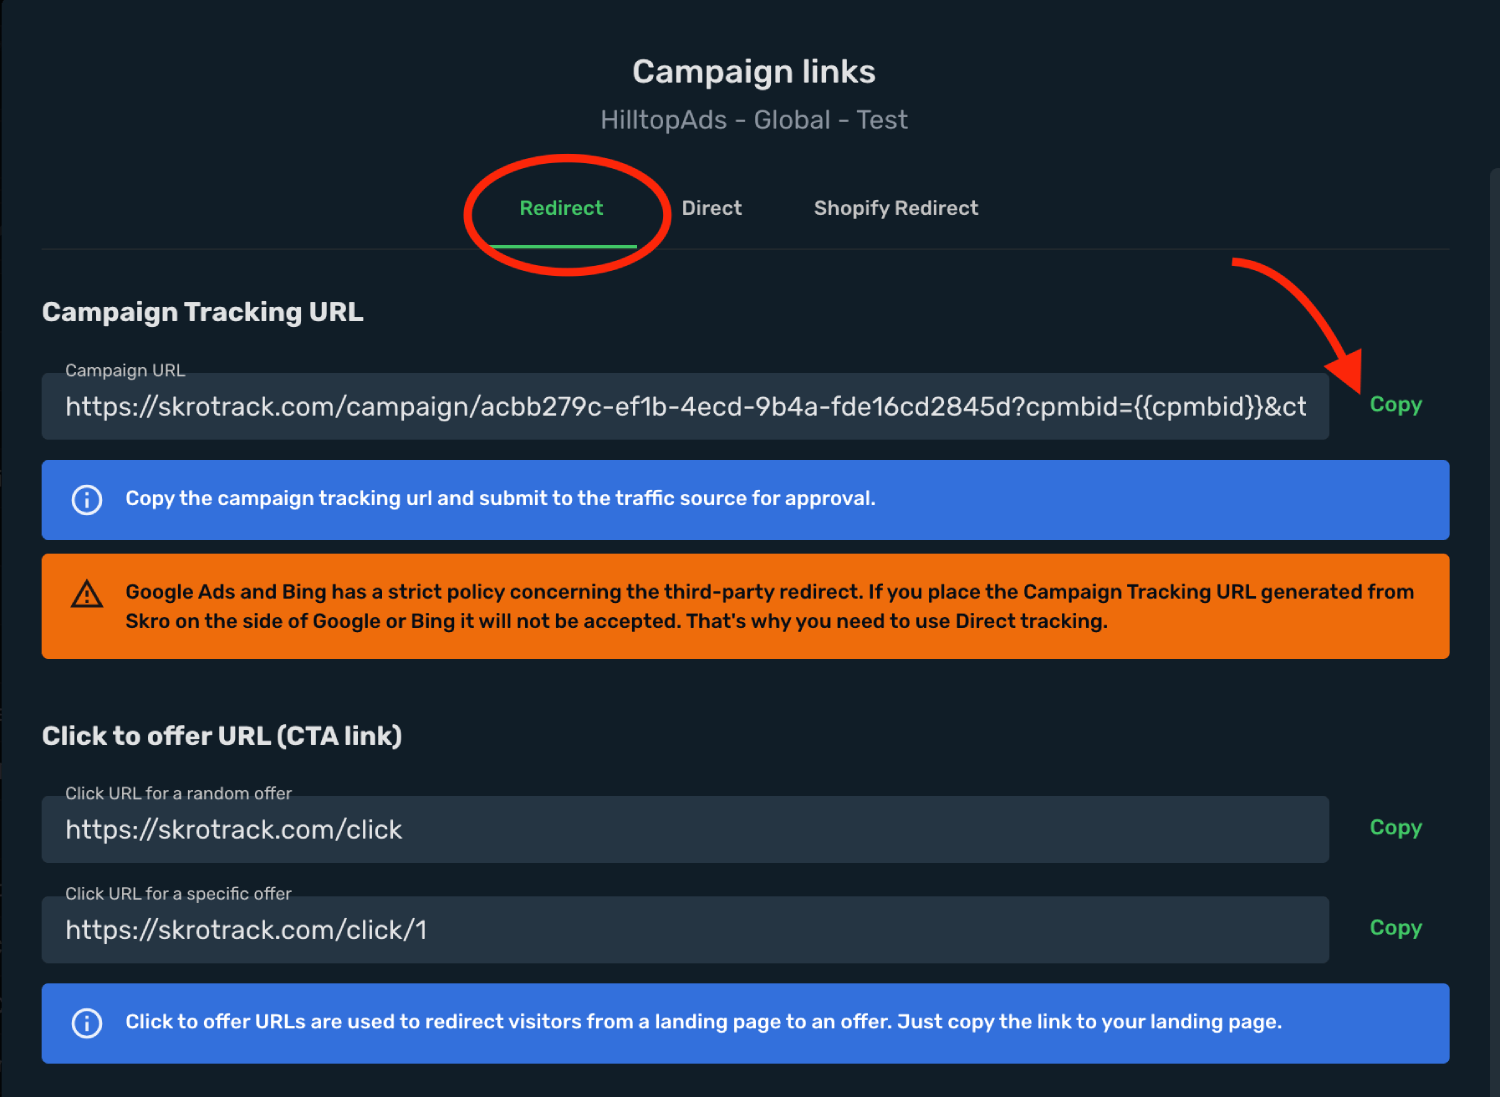
## Step 3. Create a campaign in HilltopAds [#step-3-create-a-campaign-in-hilltopads]
1. Log in to your **HilltopAds** account.
2. Go to the **Manage Campaigns** section and click the **Add Campaign**.
3. Select your **Ad Format** and **Cost Type**.
4. Give a **name** to your campaign.
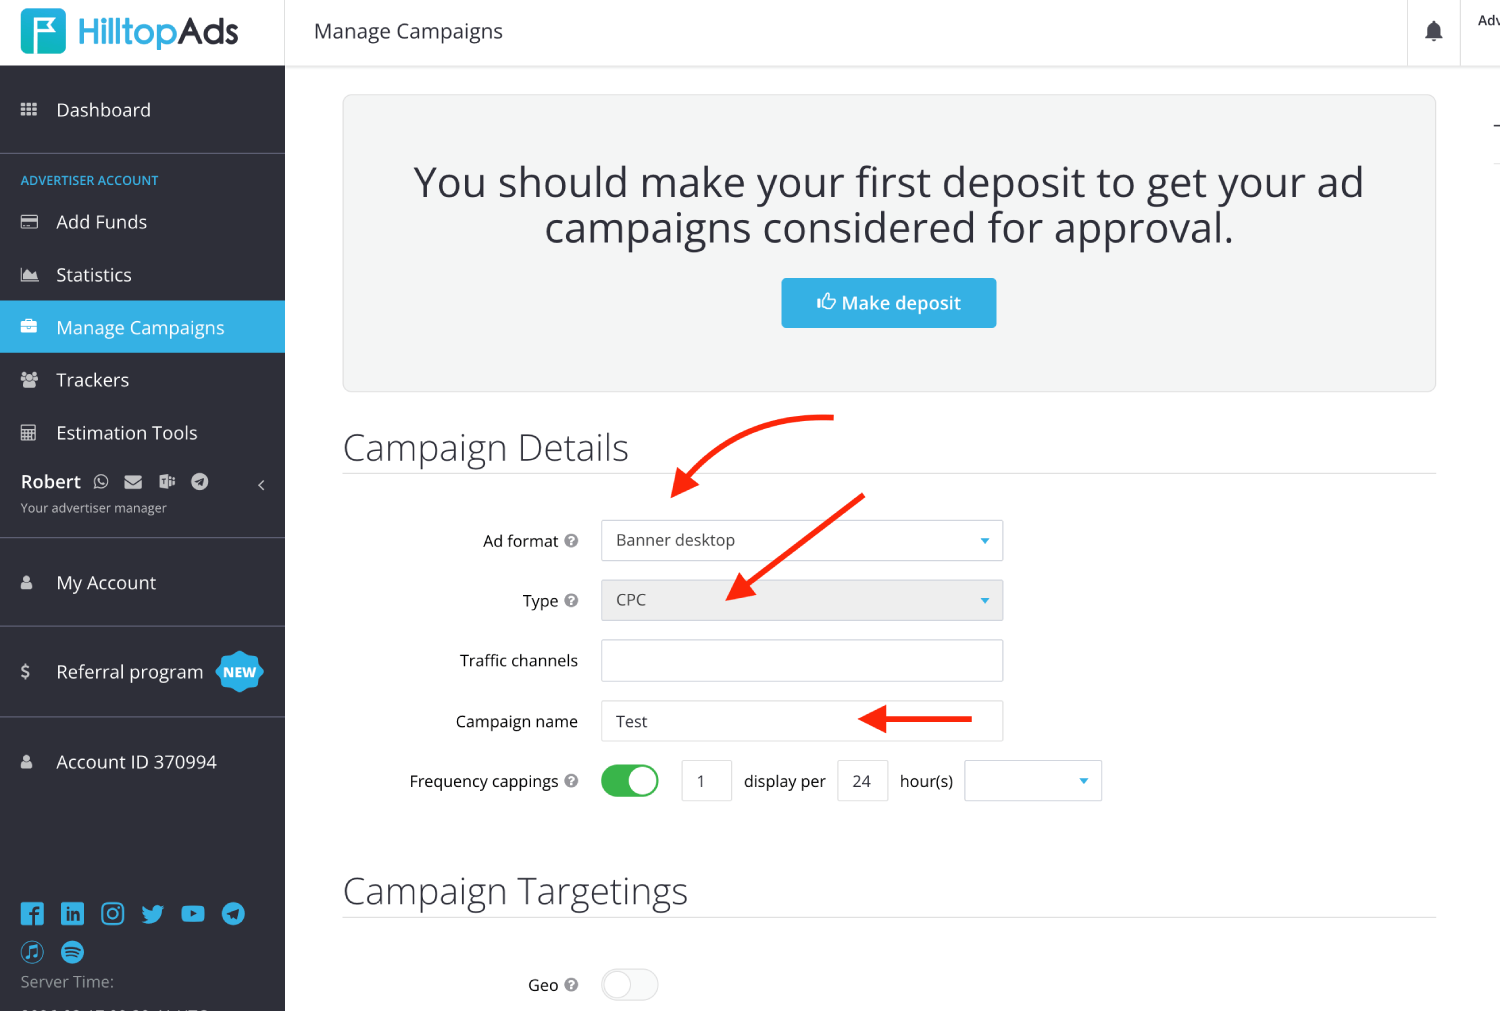
5. Fill all other fields where needed.
6. Paste the **Skro campaign tracking link** into the **Final Destination URL** field, including all tracking parameters.
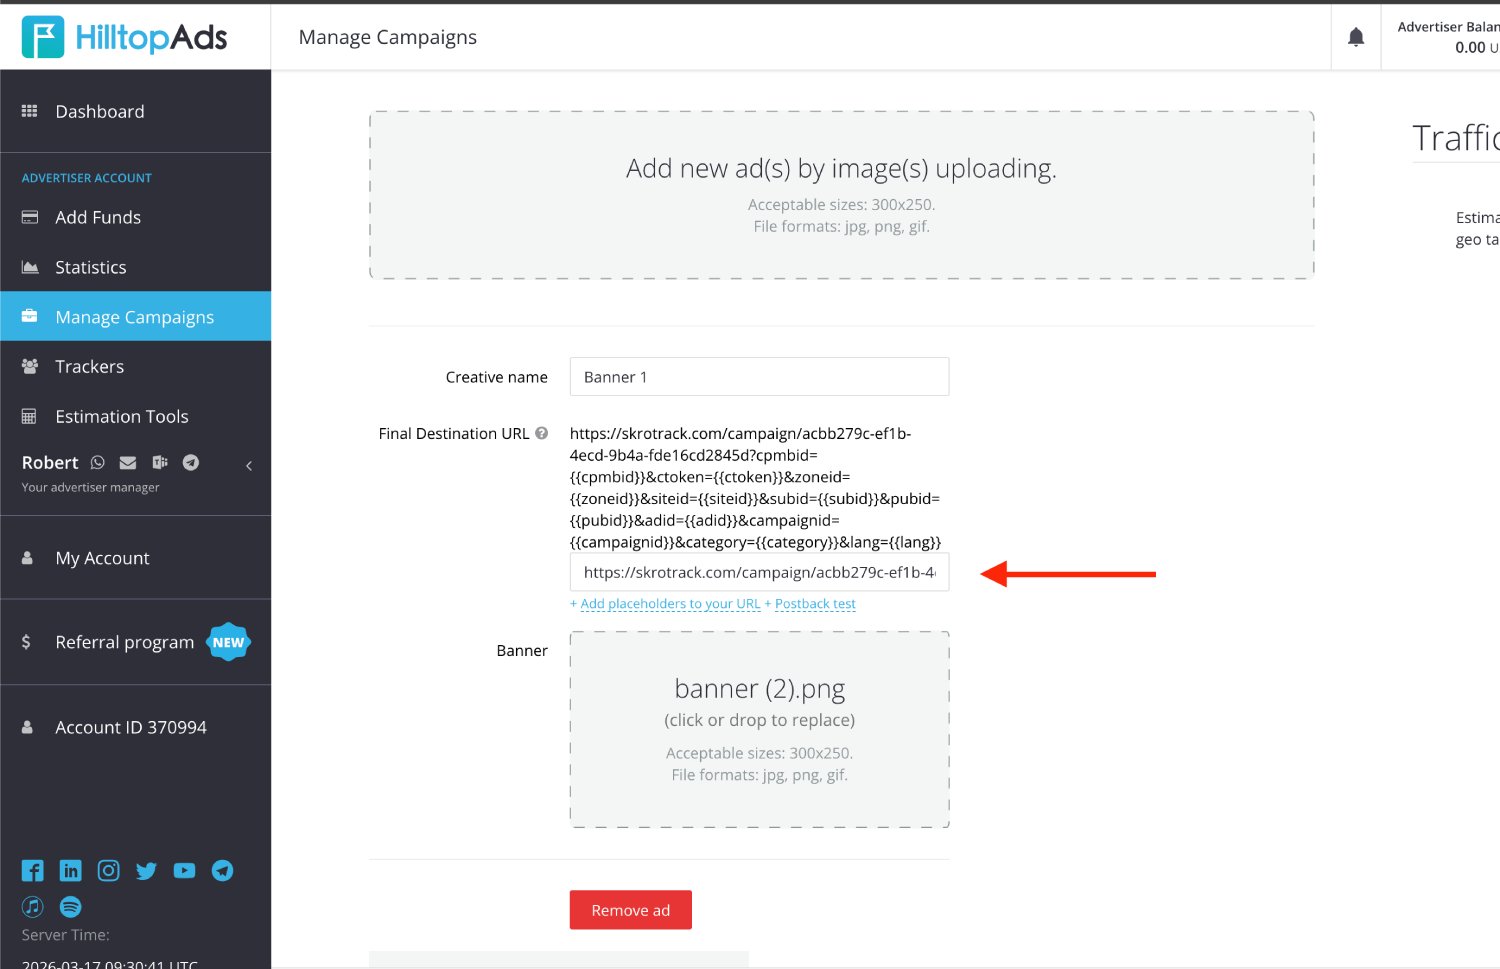
7. Complete the remaining campaign settings, then click **Add Campaign**.
8. After your campaign is approved on the side of HilltopAds, you can start driving traffic to your campaign and track all the data with Skro.
## Verify the setup [#verify-the-setup]
Open the generated campaign URL and check that the visit appears in Skro. Confirm that traffic source macros resolve to actual values. If you send conversions back to the source, verify a test conversion in both systems.
If data is missing, check the selected workspace, integration, campaign, and reporting date range. Compare parameter names and macro values with the examples in this guide before repeating the test.
## Related guides [#related-guides]
# Hotmart integration
Source: https://skro.eu/docs/integrations/hotmart-and-skro
Connect Hotmart to Skro, map click IDs, and configure postbacks to attribute conversions and revenue to your campaigns.
Hotmart is a global, all-in-one platform for selling and distributing digital products, especially online courses, e-books, subscriptions, and other educational content.
It essentially creates an ecosystem for three main roles:
1. **Creators**: People who create digital products and host them on Hotmart. They get the tools for content hosting, payment processing, and marketing.
2. **Affiliates**: Individuals who promote the products of Creators in exchange for a commission on every sale made through their unique affiliate link. They can choose from thousands of products in the Hotmart Marketplace.
3. **Buyers**: People who purchase the digital products available on the platform.
A key aspect of Hotmart's business model is that it typically operates on a commission-based system, meaning there are often no upfront monthly fees, and they only charge a percentage of the sales made. This makes it a popular choice for people looking to monetize their knowledge and expertise online.
If you’re looking for a tracking tool to gain deeper insights into your performance, Skro is a perfect solution. In this guide, we’ll show you how to easily integrate your Hotmart with Skro.
- See the true ROI of every ad
- Track every approved sales event and commission fee
- Compare advertising costs with attributed revenue
- Send supported conversion events to Facebook and TikTok
This guide will teach you how to set up webhook for Hotmart and track **approved** events for paid ads. Please note: this guide does not cover every option available in Skro or your traffic source. You should already have basic knowledge of creating campaigns in both Skro and your traffic source.
## Step 1. Set up Webhook (S2S Postback) For Hotmart [#step-1-set-up-webhook-s2s-postback-for-hotmart]
1. Go to your **Hotmart → Tools → Show all** and type **webhook** into search box.
2. Click **Webhook (API and notifications)**
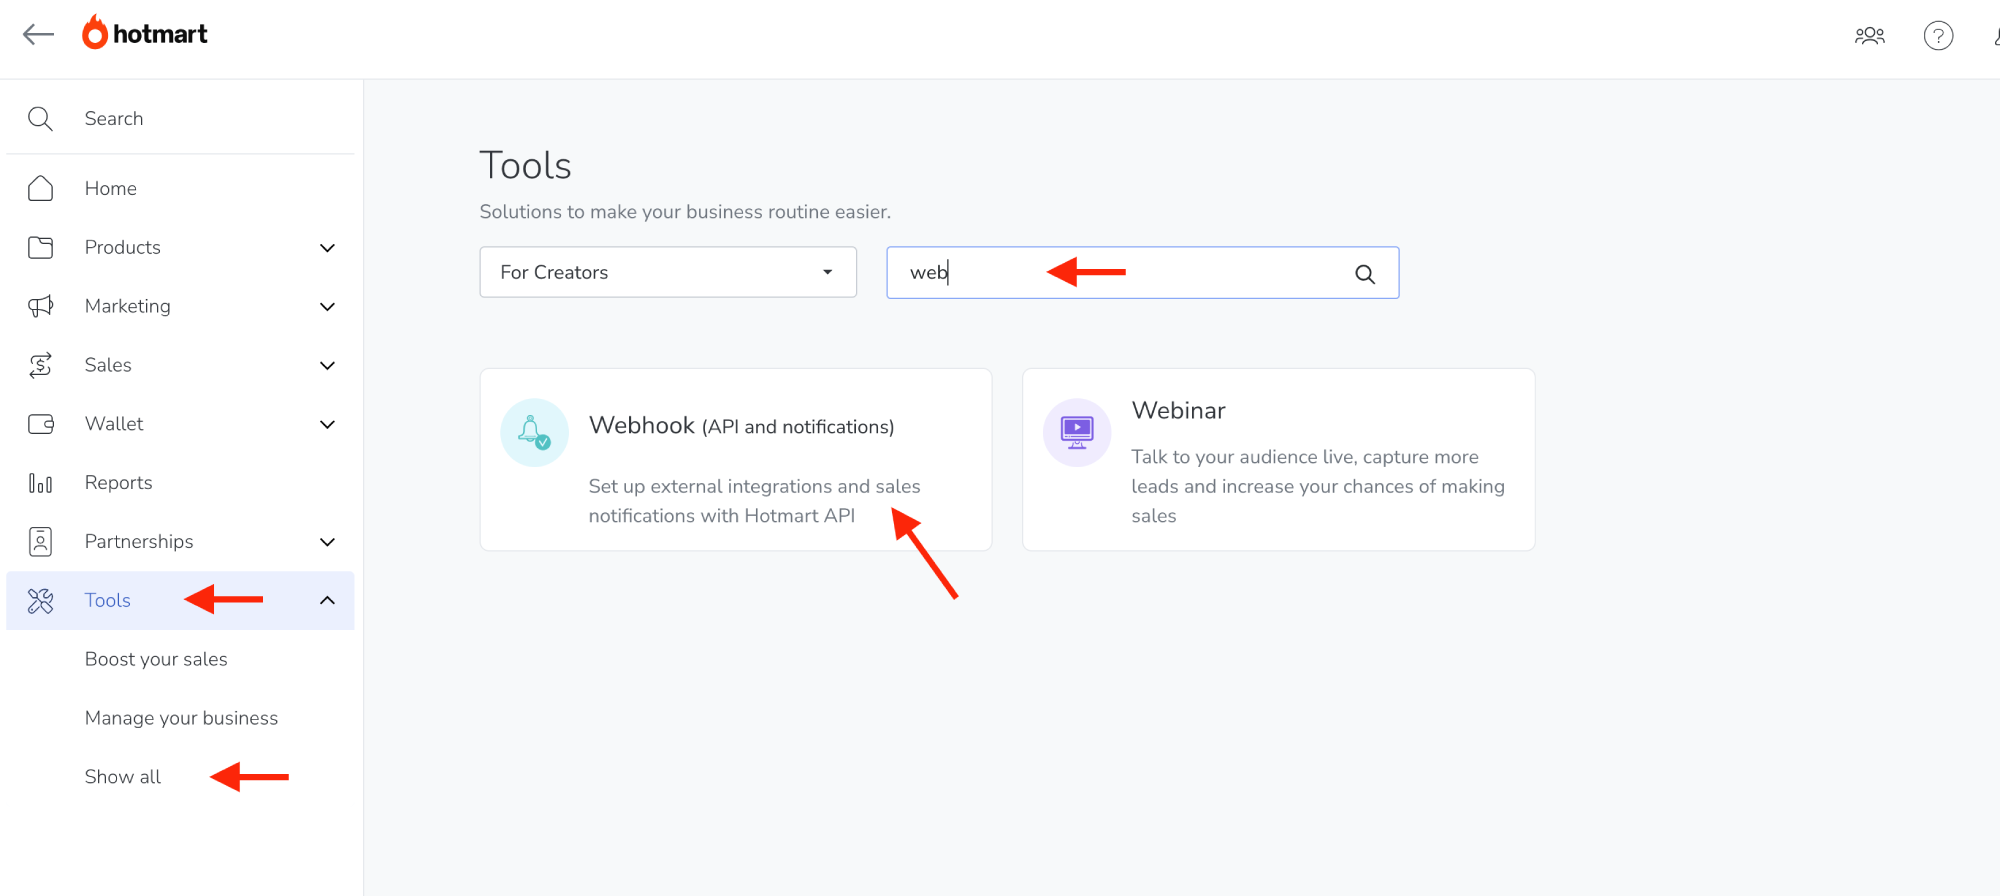
3. Click **Register Webhook**.
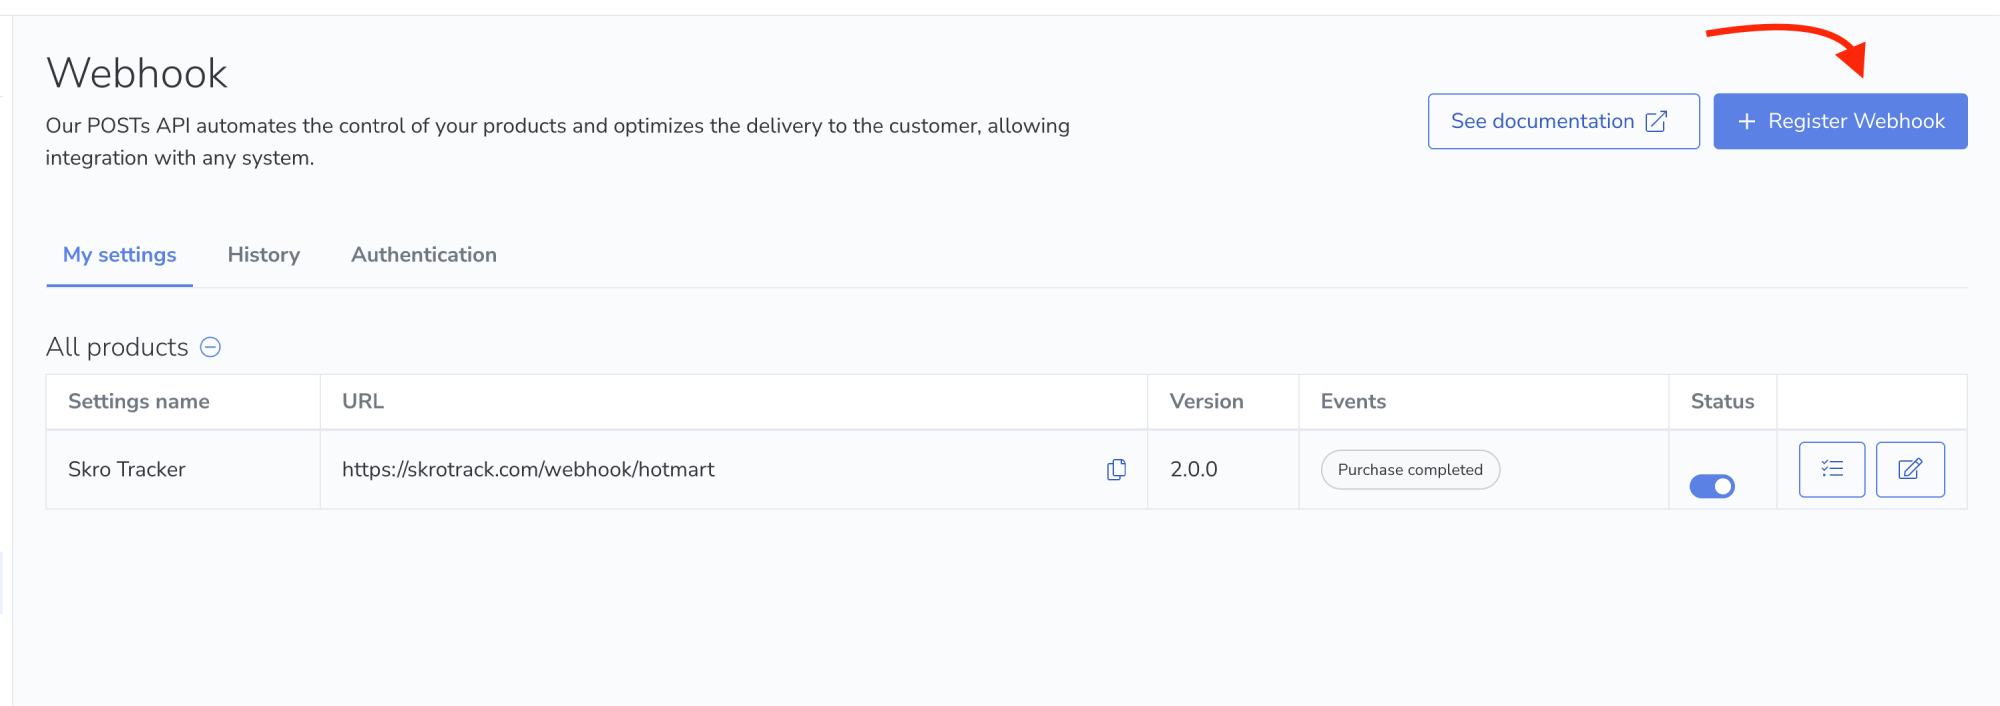
4. Add name to your webhook.
5. Select products where you want to fire that webhook.
6. Add this **Webhook URL.** (You can use your own tracking domain instead of skrotrack.com)
`https://skrotrack.com/webhook/hotmart`
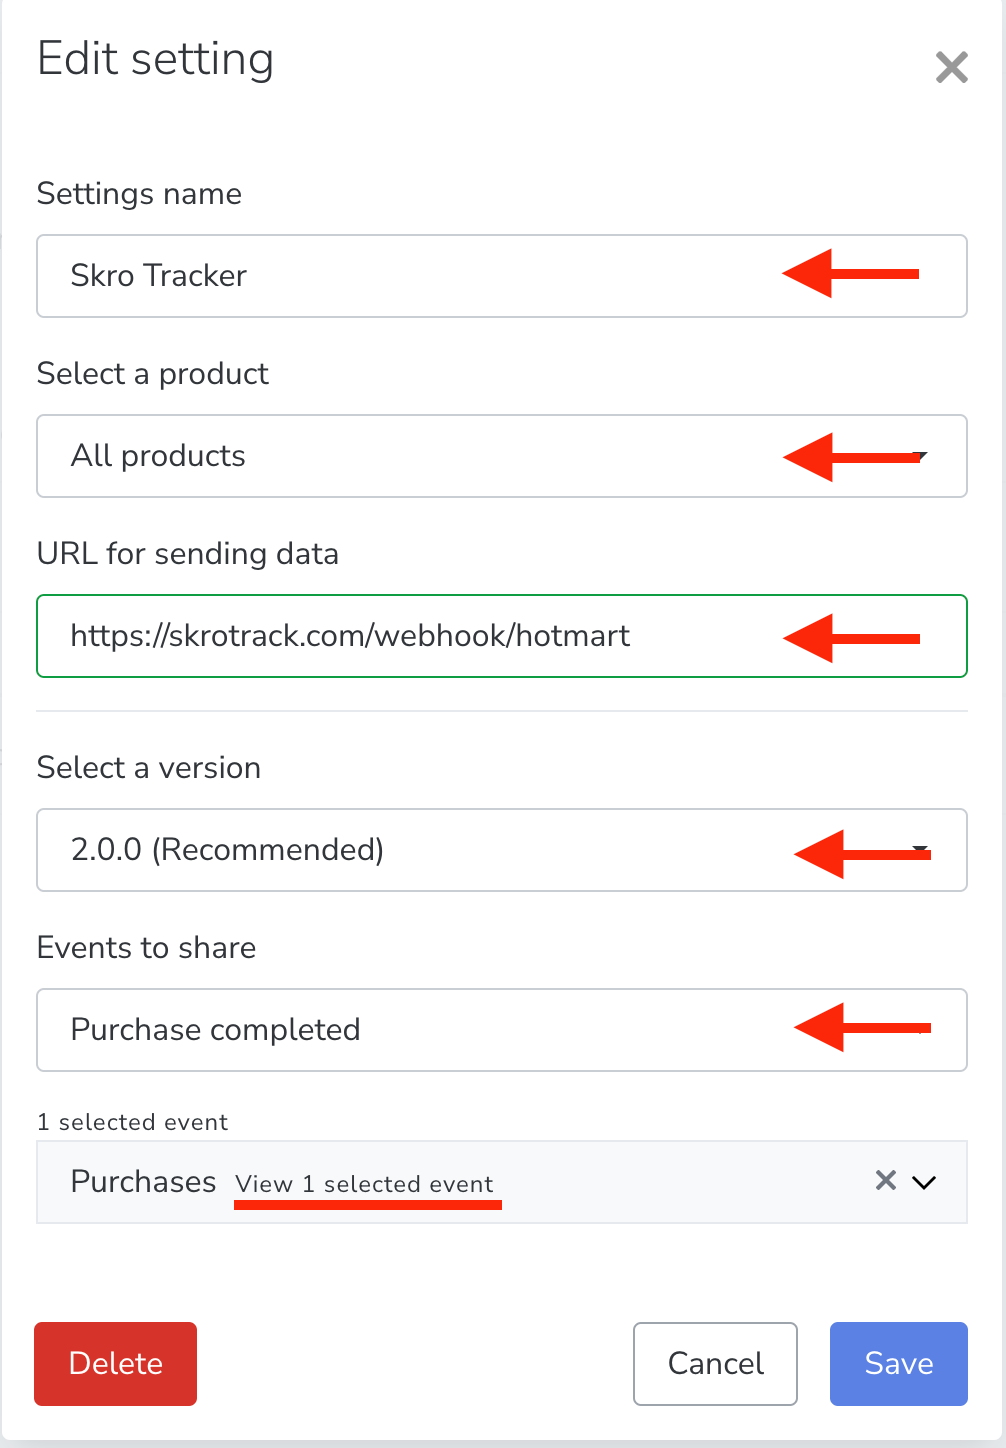
7. Select a version **2.0.0 (Recommended)**
8. Select only **Purchase Complete** event from the list.
Well done! Your webhook for **Purchase Complete** event has been successfully integrated.
## Step 2. Add Offer Link and Create Campaign in Skro [#step-2-add-offer-link-and-create-campaign-in-skro]
1. In Skro, go to the **Affiliate Networks** view, click **Create**, select **Hotmart**, and fill in the details.
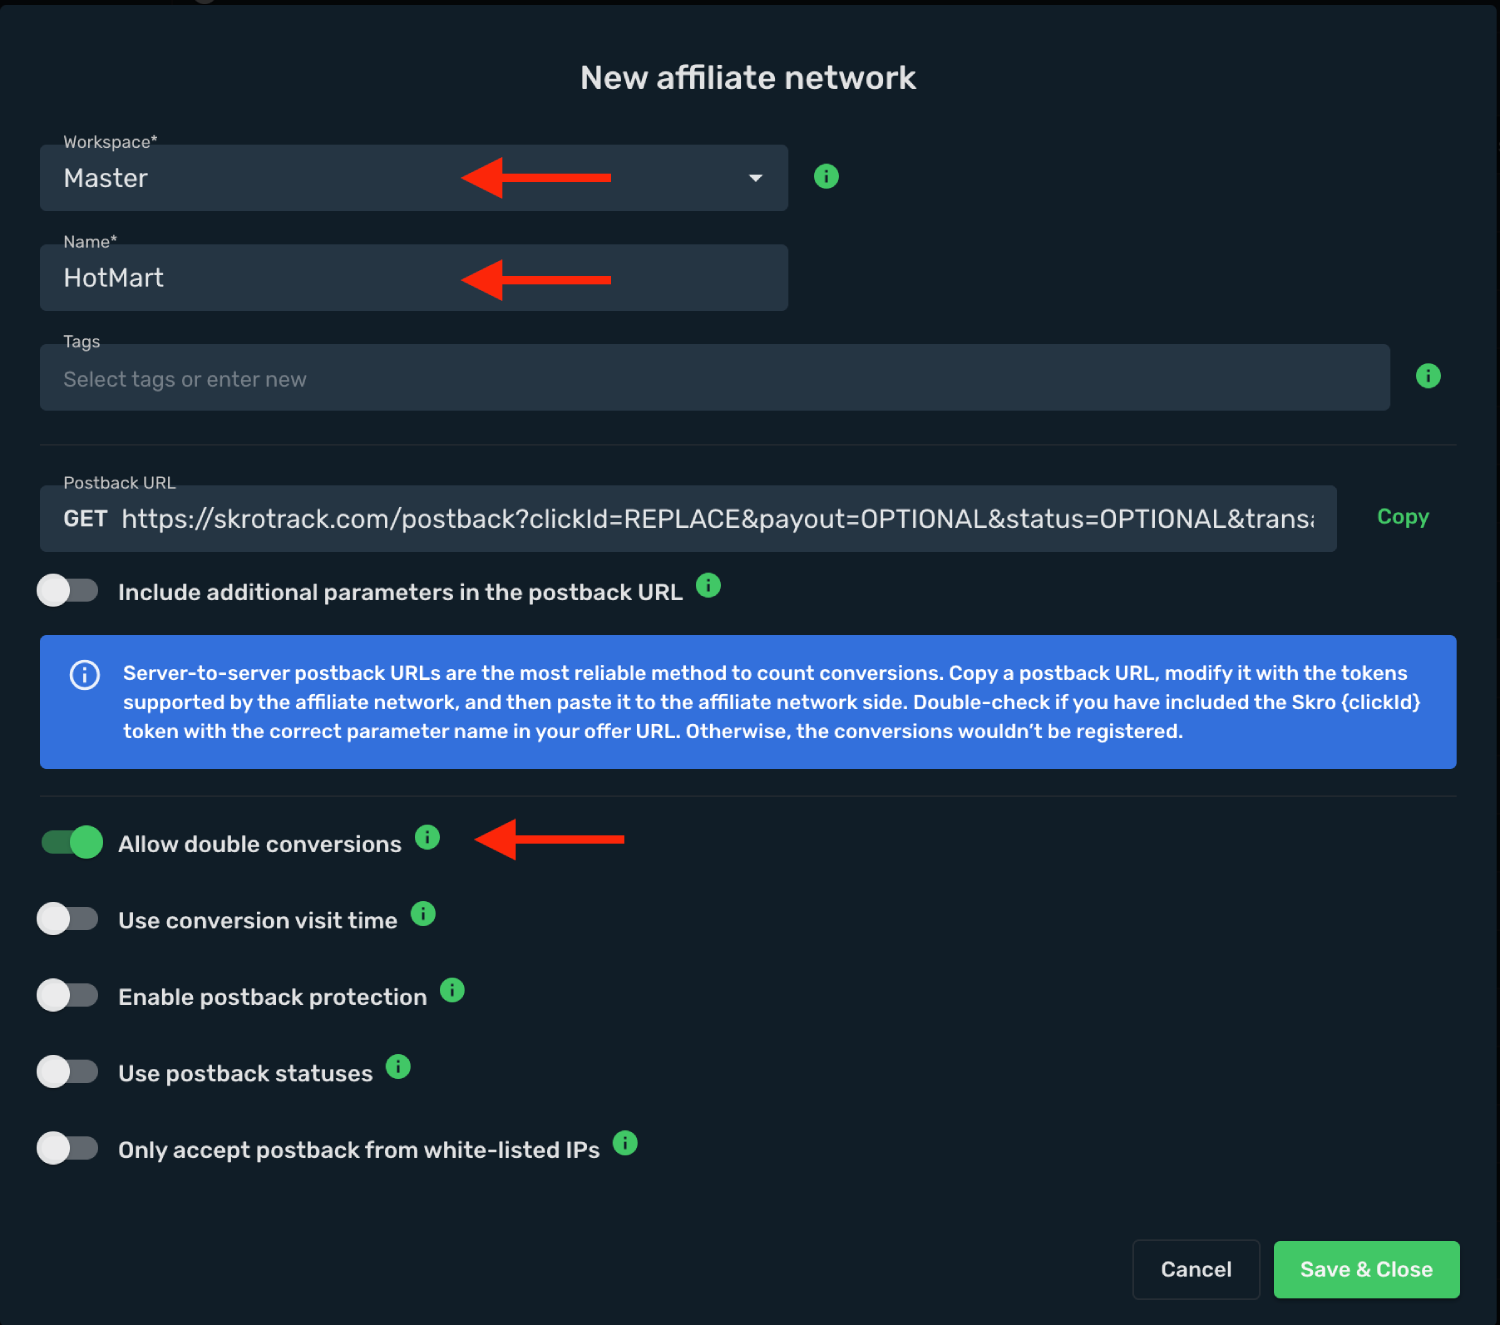
2. Add your affiliate link as offer. Go to the **Offers** view, click **Create**, and enter your affiliate link details.
3. Select a workspace.
4. Enter a name for your offer.
5. Enter your offer URL (Checkout link) with the Skro Click ID parameter: **`?src={clickId}`**
`https://go.hotmart.com.br/XXX3333XXX?src={clickId}`
6. Select **Hotmart** as the affiliate network.
7. **Payout Type** - Make sure you select correct currency for your payouts.
8. Click **Save & Close**.
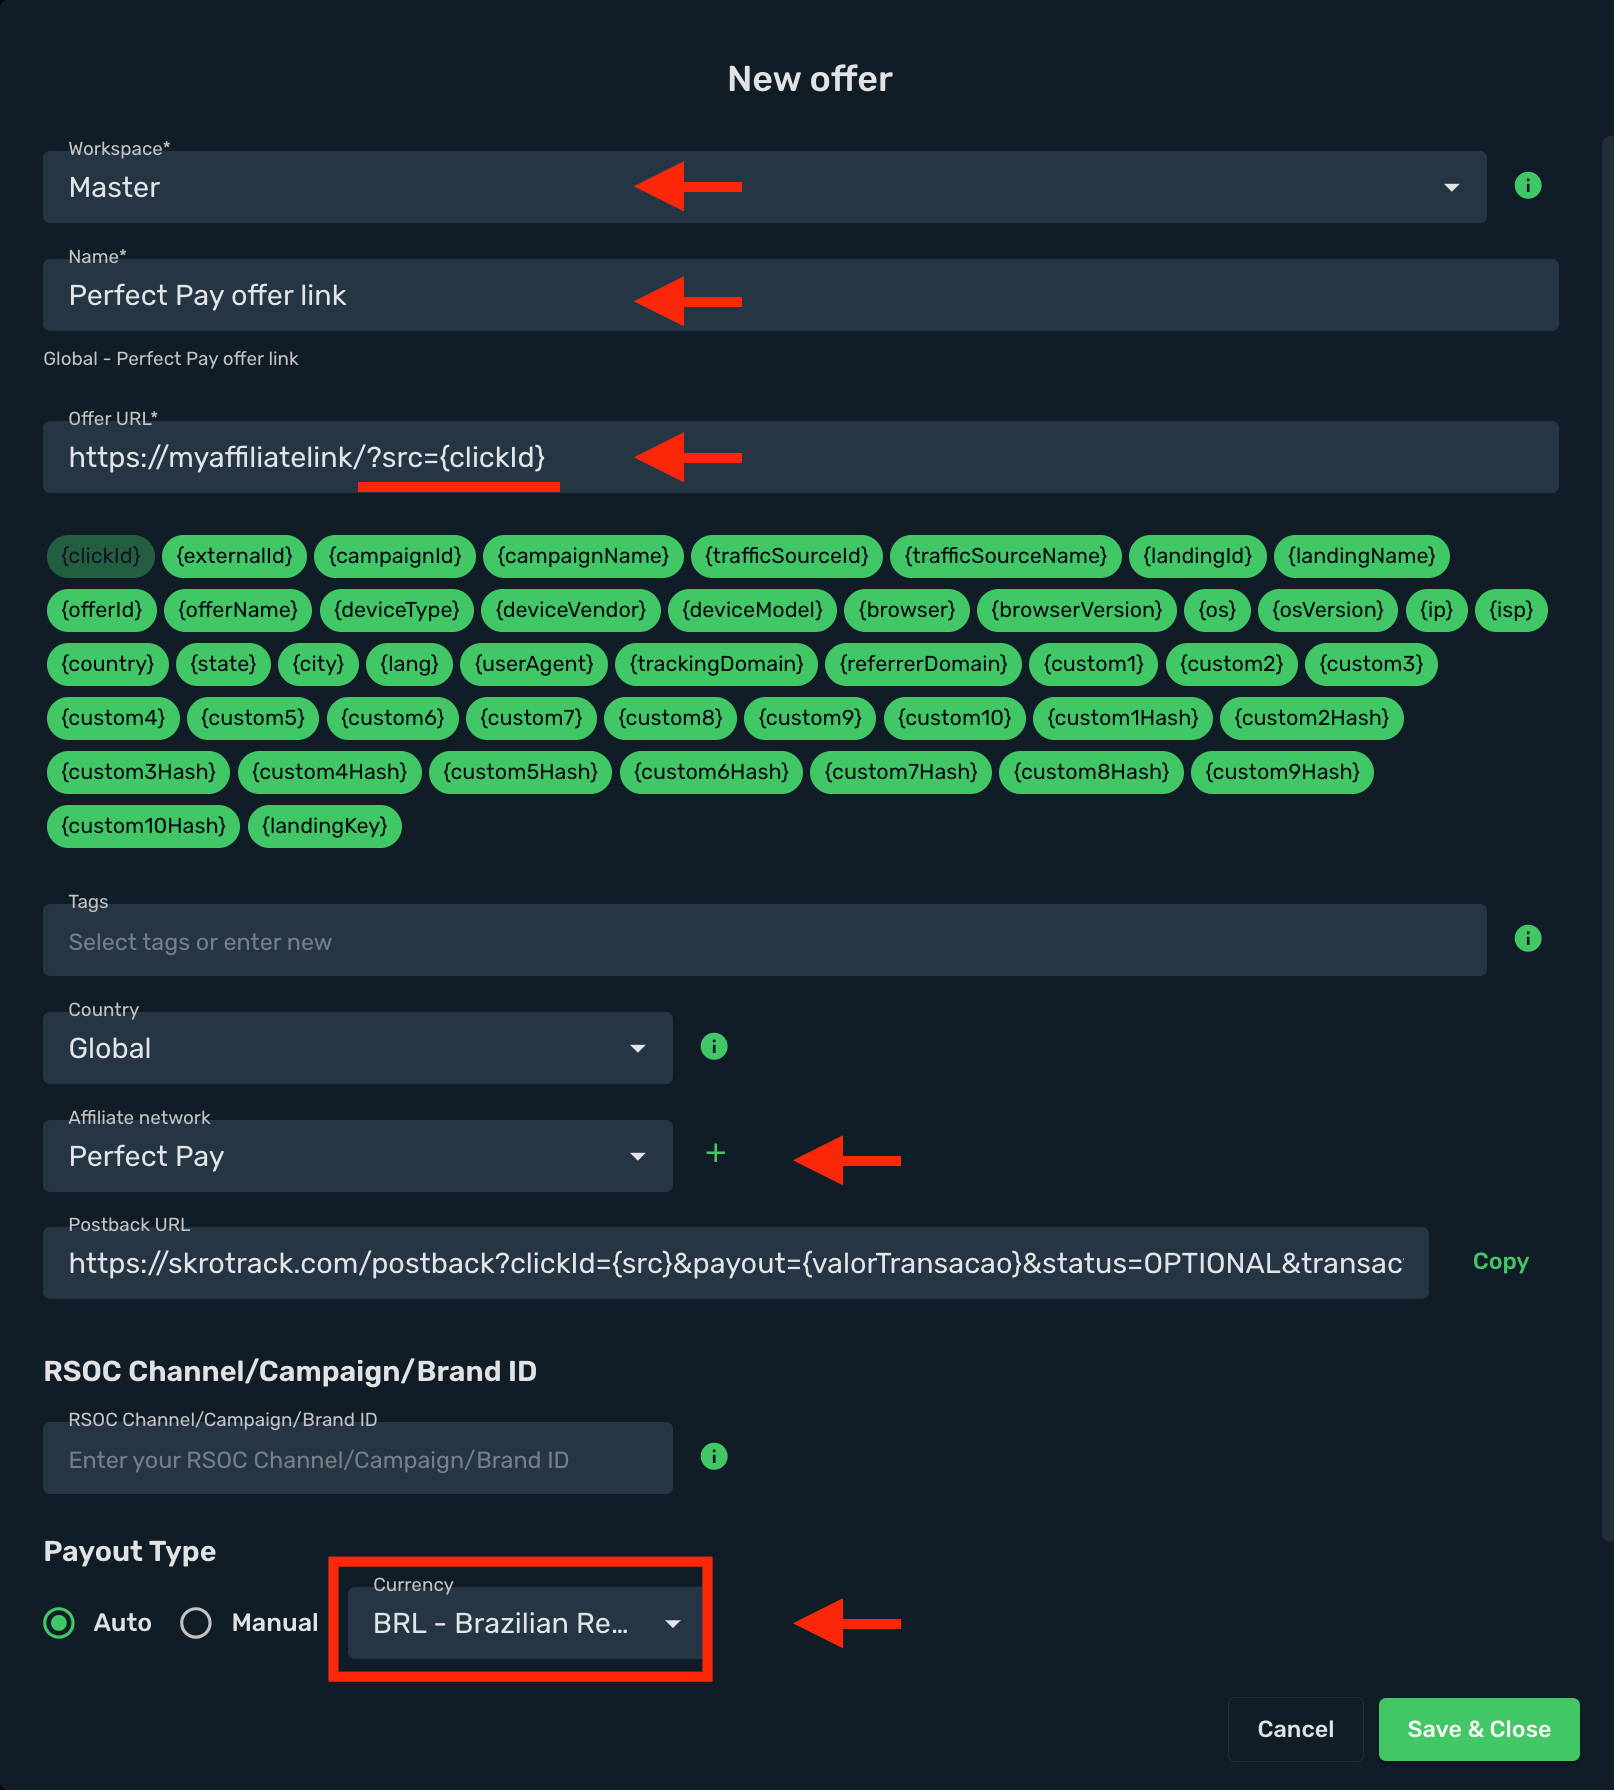
9. (Optional) If you use a pre-lander (Sales page), go to the **Landings** view, click **Create**, and add your sales page there.
10. Navigate to the **Ads Manager** view and click **Create**.
11. Select your integrated **Traffic Source** (e.g. Facebook).
12. Select your **Conversion Event Name**. Event naming must be exactly the same in Skro and in your traffic source. Naming is case-sensitive.
13. Select your **Conversion Pixel**. This is required for sending conversion data back to your traffic source.
14. Set **Cost Model** to **Auto**.
15. Select your cost currency.
16. Click **Next**.

16. Choose a workspace.
17. Add a descriptive campaign name.
18. Click **Next**.

19. Choose your **Destination Type** (in this example: **flow**).
20. Select your redirect mode (in this example: **302 redirect**).
21. Select your landing setup (in this example: **use only offers**).
22. Select your Hotmart offer.
23. Click **Save**.
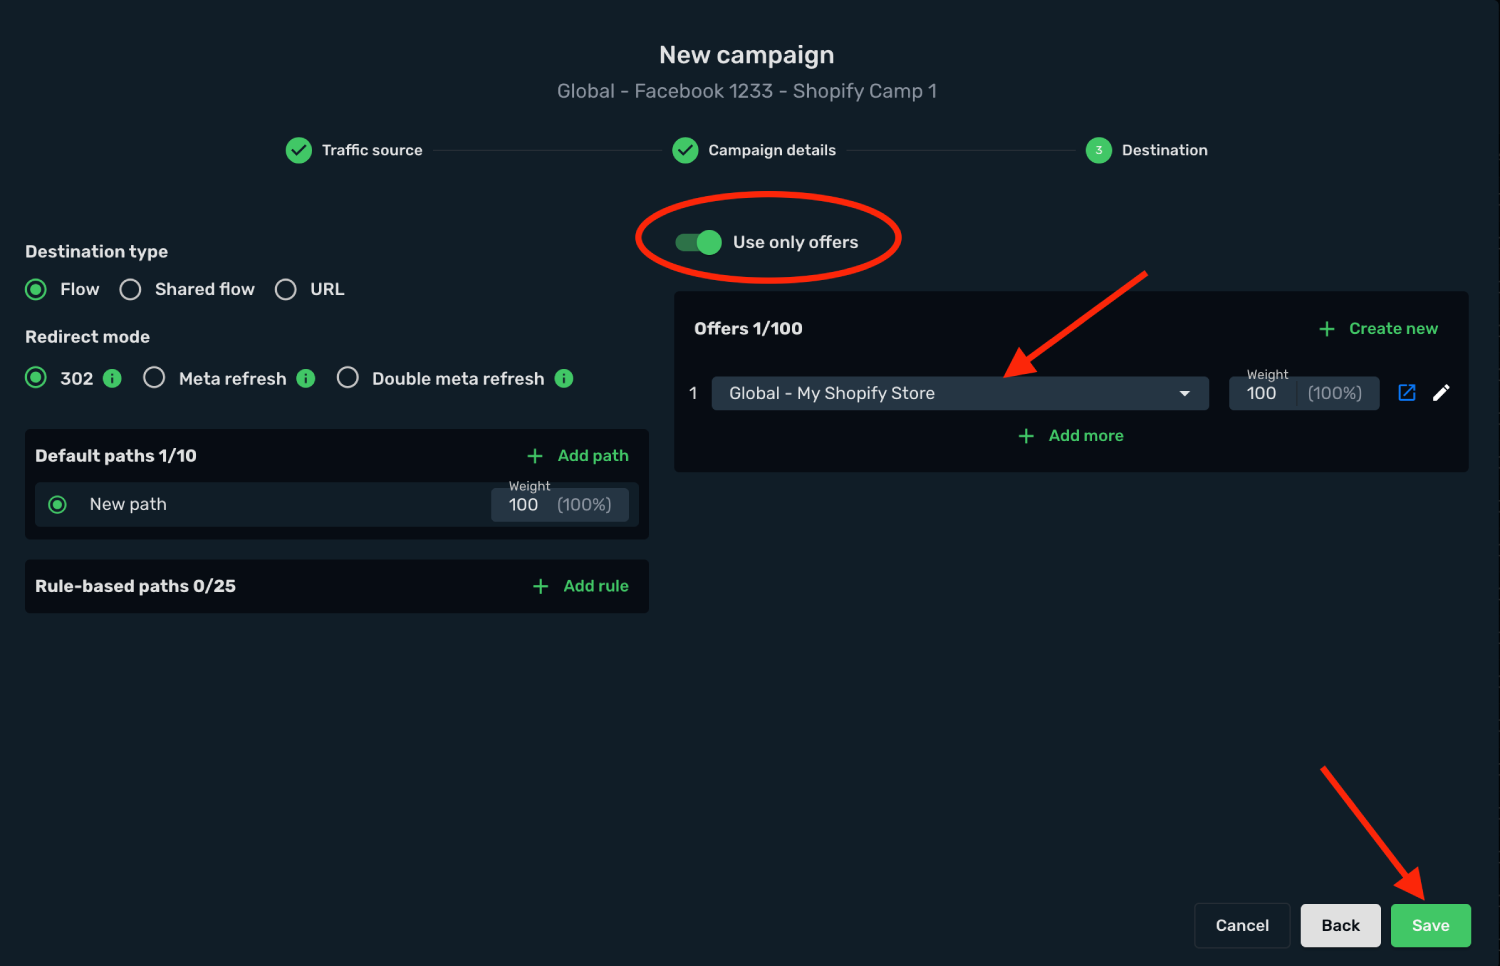
24. Choose your tracking method: **Redirect** or **Direct**. (In this example we use **Redirect**.)

Your Hotmart integration is complete! You can now use the Skro Campaign Tracking URL in Facebook Ads (or any other traffic source). Remember: all traffic must go through your Skro campaign link, otherwise the tracking will not work.
## Verify the setup [#verify-the-setup]
Follow a campaign link and complete a test conversion using your provider’s test workflow. Confirm that the original click ID reaches the provider and is returned to Skro, then check the event and revenue in your campaign report.
If data is missing, check the selected workspace, integration, campaign, and reporting date range. Compare parameter names and macro values with the examples in this guide before repeating the test.
## Related guides [#related-guides]
# iMonetizeit integration
Source: https://skro.eu/docs/integrations/imonetizeit-integration
Connect iMonetizeit to Skro, map click IDs, and configure postbacks to attribute conversions and revenue to your campaigns.
## Step 1. Add affiliate network to Skro [#step-1-add-affiliate-network-to-skro]
1. Go to **Affiliate Networks** and click **Create**.
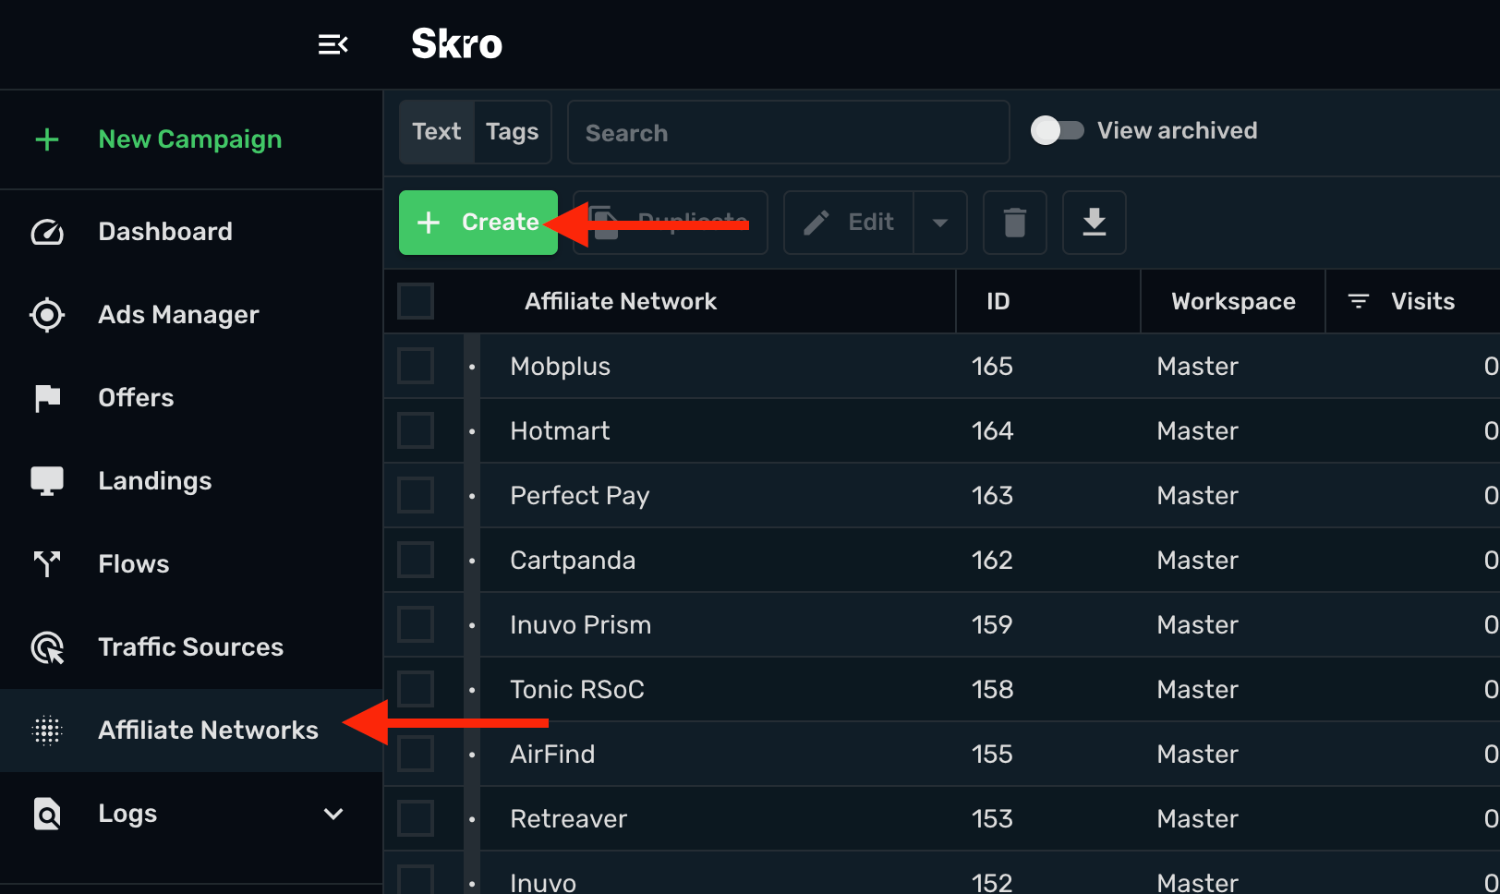
2. Search iMonetizeit and select the **iMonetizeit** template.
3. Select your **Workspace** and **Copy** postback URL to your clipboard.
4. Click **Save & Close**.
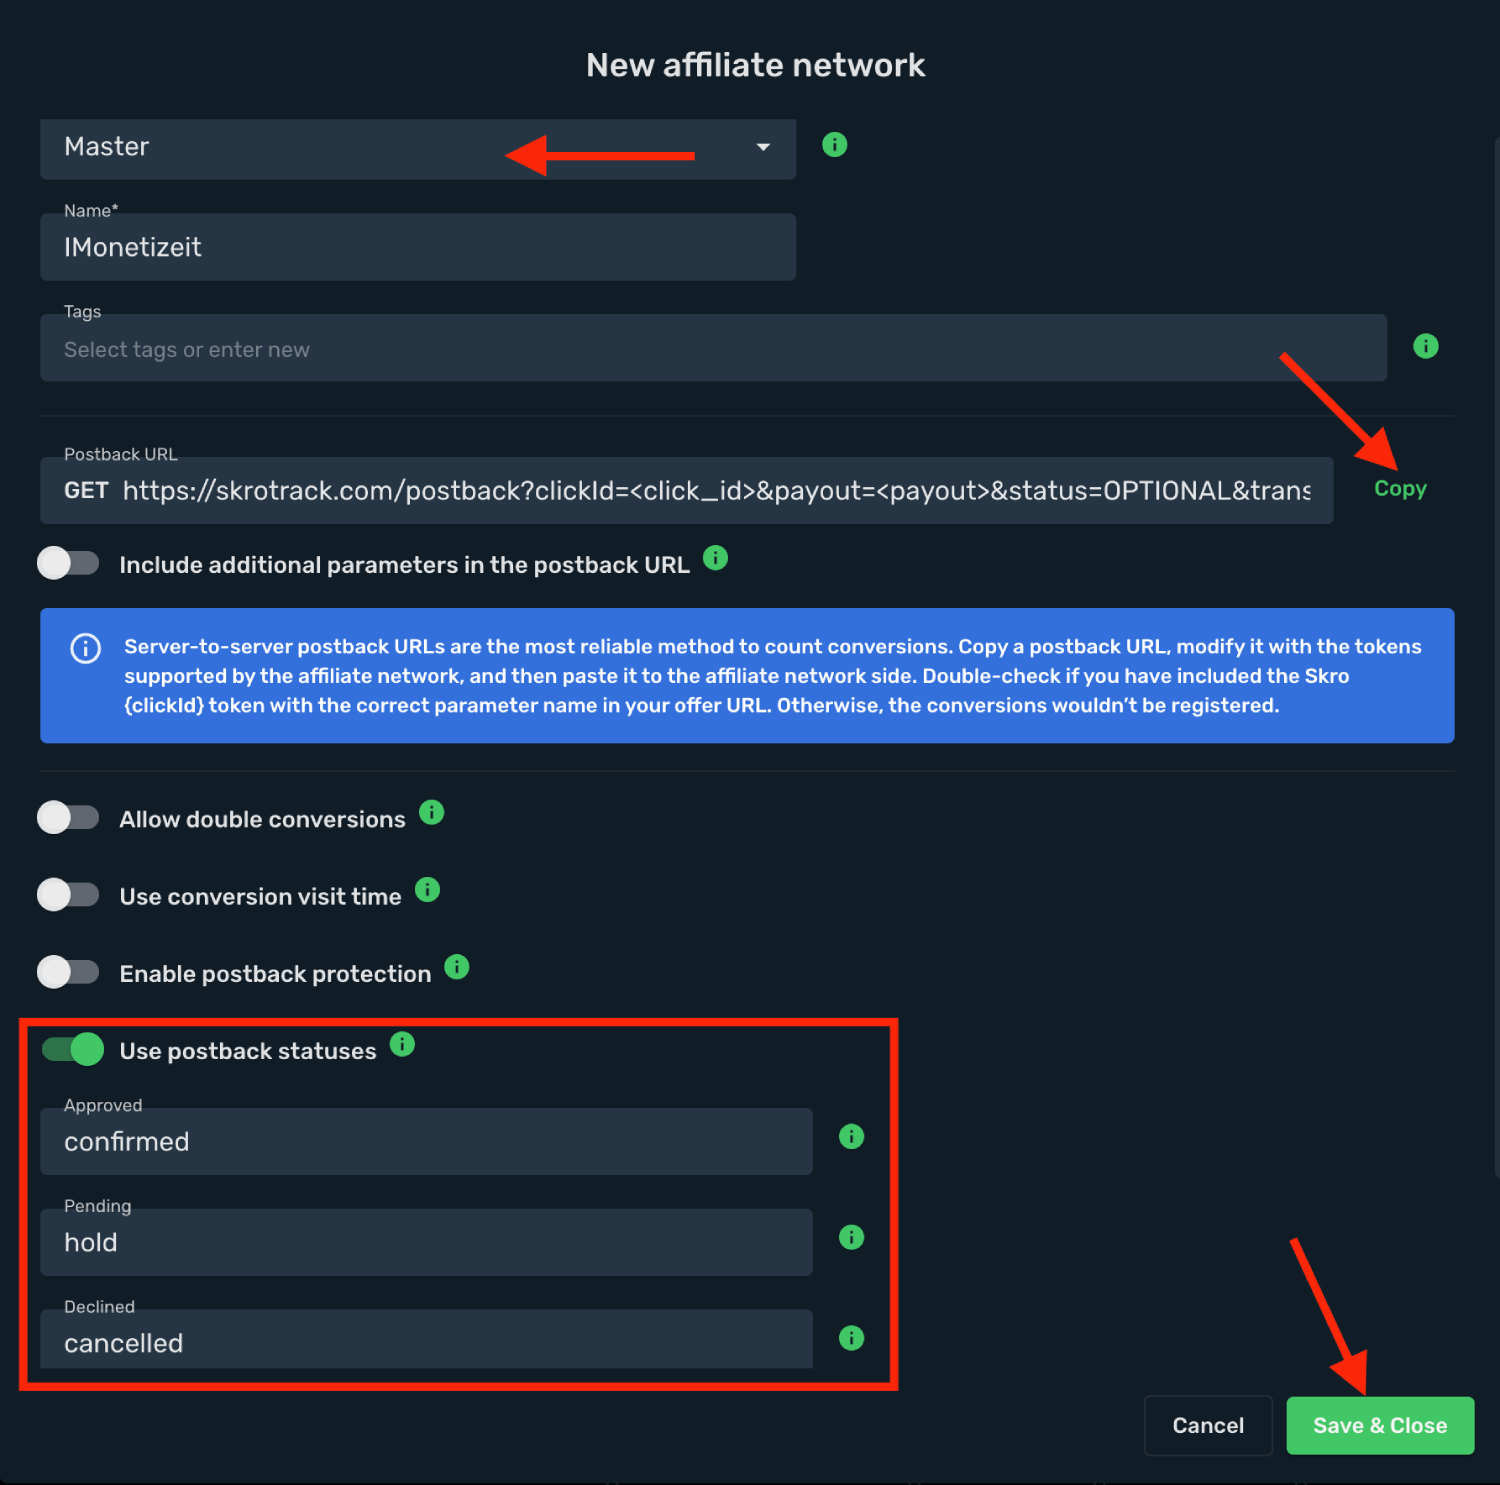
The iMonetizeit affiliate network is now saved in Skro. Use the copied postback URL in iMonetizeit in the next step.
## Step 2. Setting up a postback URL [#step-2-setting-up-a-postback-url]
1. Log in to **iMonetizeit** account.
2. Click **Account** → **Global Postback**.
3. Set all postback URLs for **confirmed**, **hold** and **cancelled** events.
7. Click **Save** to store all the settings.
**Confirmed Global Postback**
`https://skrotrack.com/postback?clickId=&payout=&status=confirmed`
**Hold Global Postback**
`https://skrotrack.com/postback?clickId=&payout=&status=hold`
**Cancelled Global Postback**
`https://skrotrack.com/postback?clickId=&payout=&status=cancelled`
## Step 3. Get an offer from iMonetizeit [#step-3-get-an-offer-from-imonetizeit]
1. Go to **All Offers** section on the panel.
2. Select your offer from the list and click in.
3. Select a **domain** for the offer link.
4. Click **Generate Offer URL**.
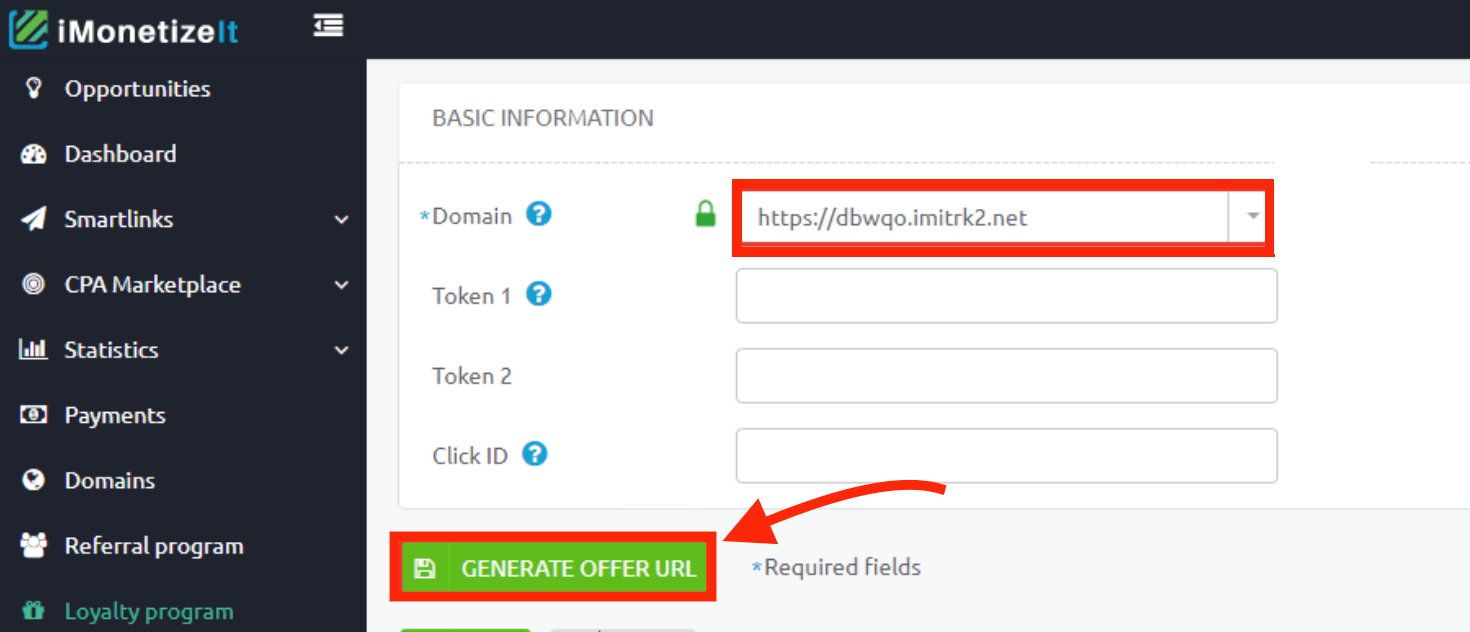
5. Click **Copy to clipboard** to get the offer link.
6. Click **Save** to store the settings.
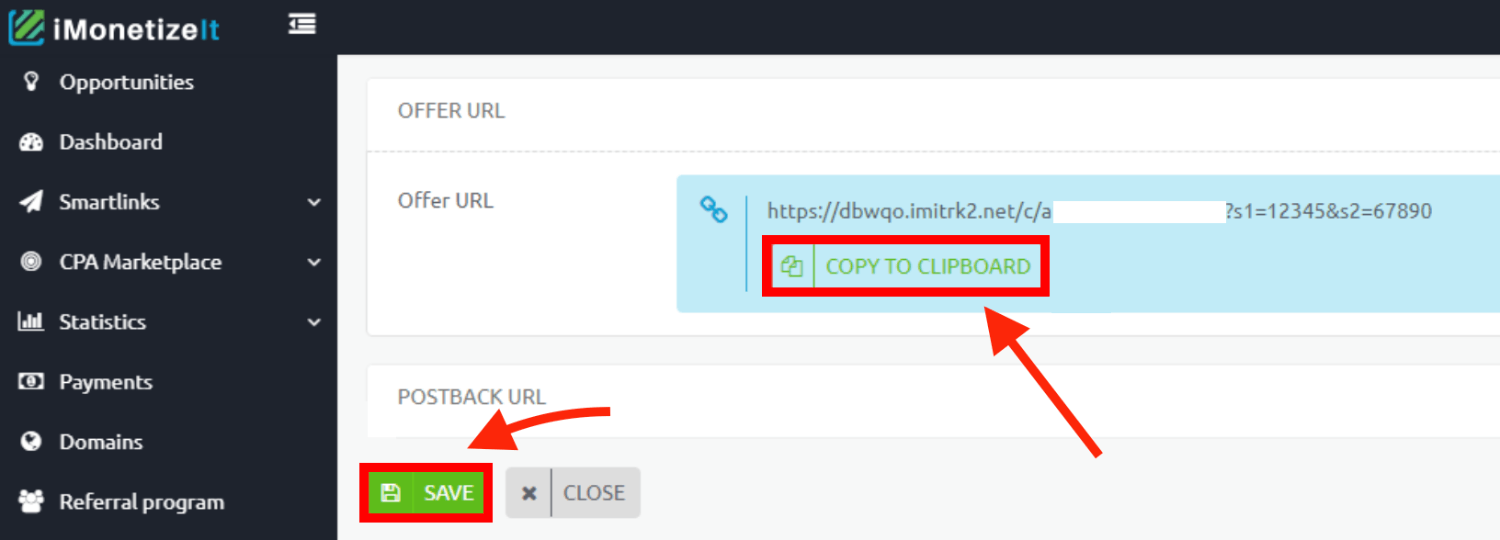
## Step 4. Add offer to Skro [#step-4-add-offer-to-skro]
1. Go back to Skro and navigate to the **Offers** and click **Create**.
2. Choose your workspace.
3. Give a name to your offer.
4. Grab the offer link from iMonetizeit and add it to Offer URL field and change the macros to this **`&click_id={clickId}`**
**`{clickId}`** - The Skro click ID macro for conversion tracking.
**Example Offer URL:**
`https://dbwqo.imtitrk3.net/c/adsadjkjhkhf3?s1=12345&s2=67899&click_id={clickId}`
5. Choose iMonetizeit from the **Affiliate Network** select box.
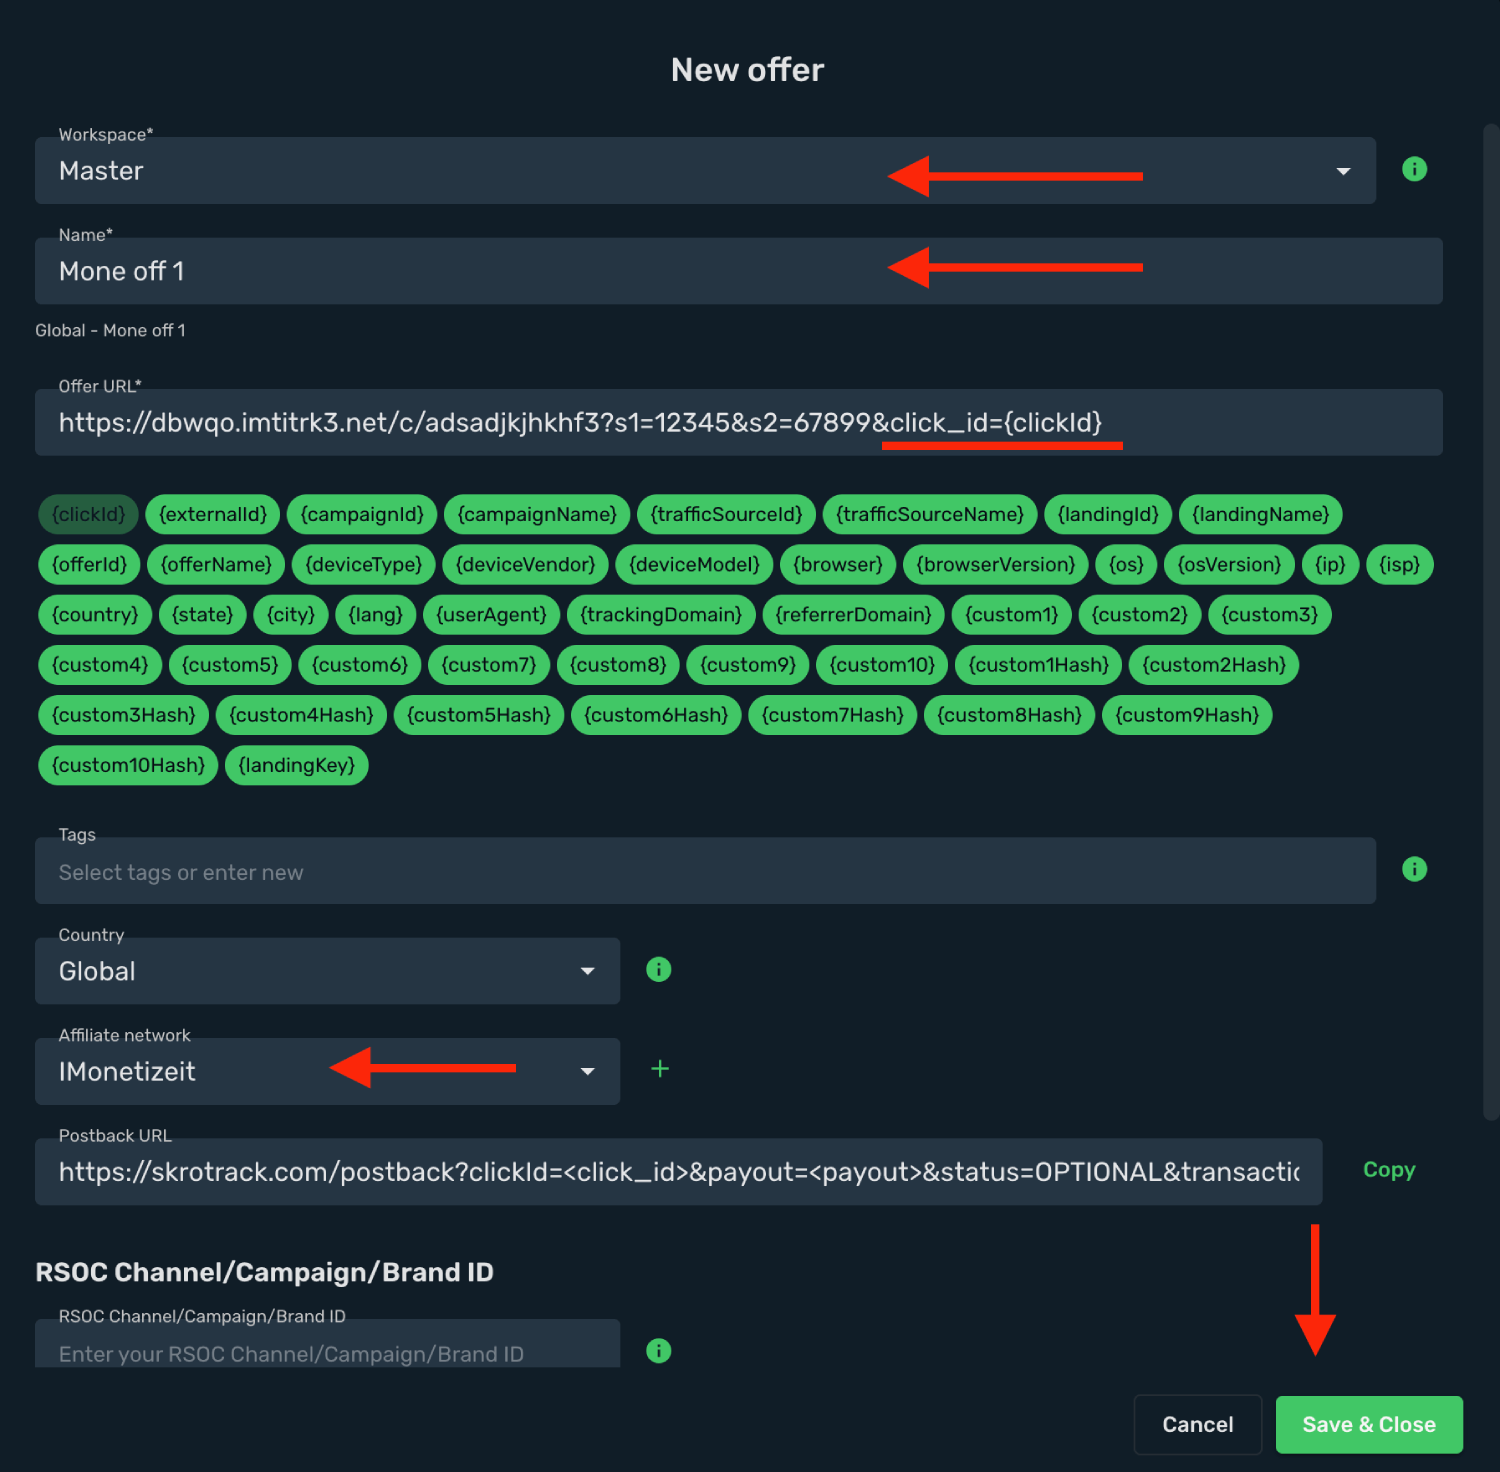
6. Click **Save & Close**.
## Step 5. Create a campaign on Skro [#step-5-create-a-campaign-on-skro]
1. Start with the following guide:
## Verify the setup [#verify-the-setup]
Follow a campaign link and complete a test conversion using your provider’s test workflow. Confirm that the original click ID reaches the provider and is returned to Skro, then check the event and revenue in your campaign report.
If data is missing, check the selected workspace, integration, campaign, and reporting date range. Compare parameter names and macro values with the examples in this guide before repeating the test.
## Related guides [#related-guides]
# Impact integration
Source: https://skro.eu/docs/integrations/impact-and-skro
Connect Impact to Skro, map click IDs, and configure postbacks to attribute conversions and revenue to your campaigns.
## Step 1. Add affiliate network to Skro [#step-1-add-affiliate-network-to-skro]
1. Go to **Affiliate Networks** and click **Create**.
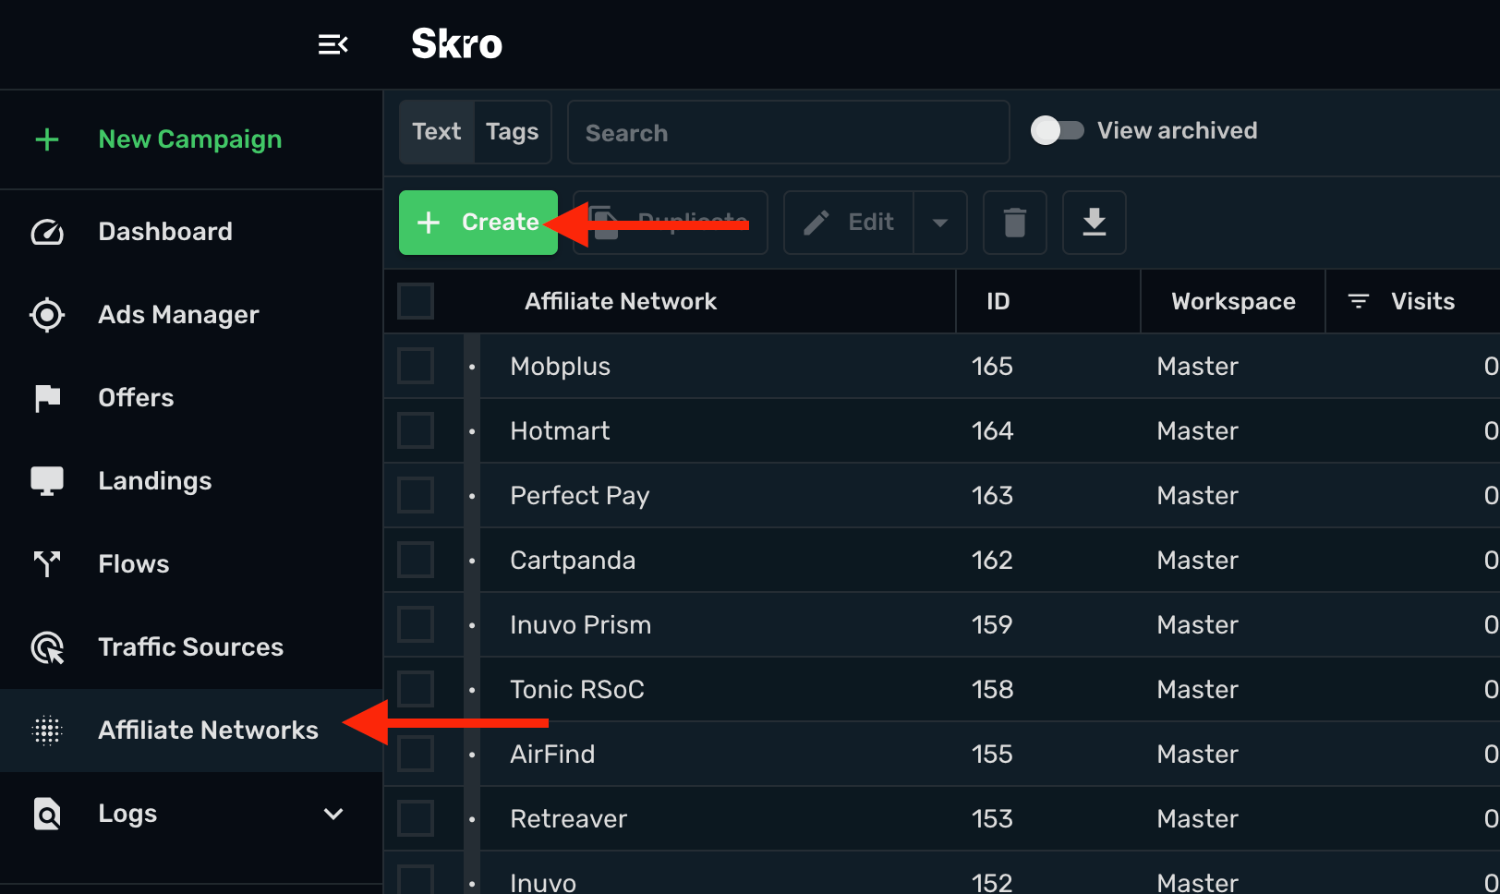
2. Search Impact and select the **Impact** template.
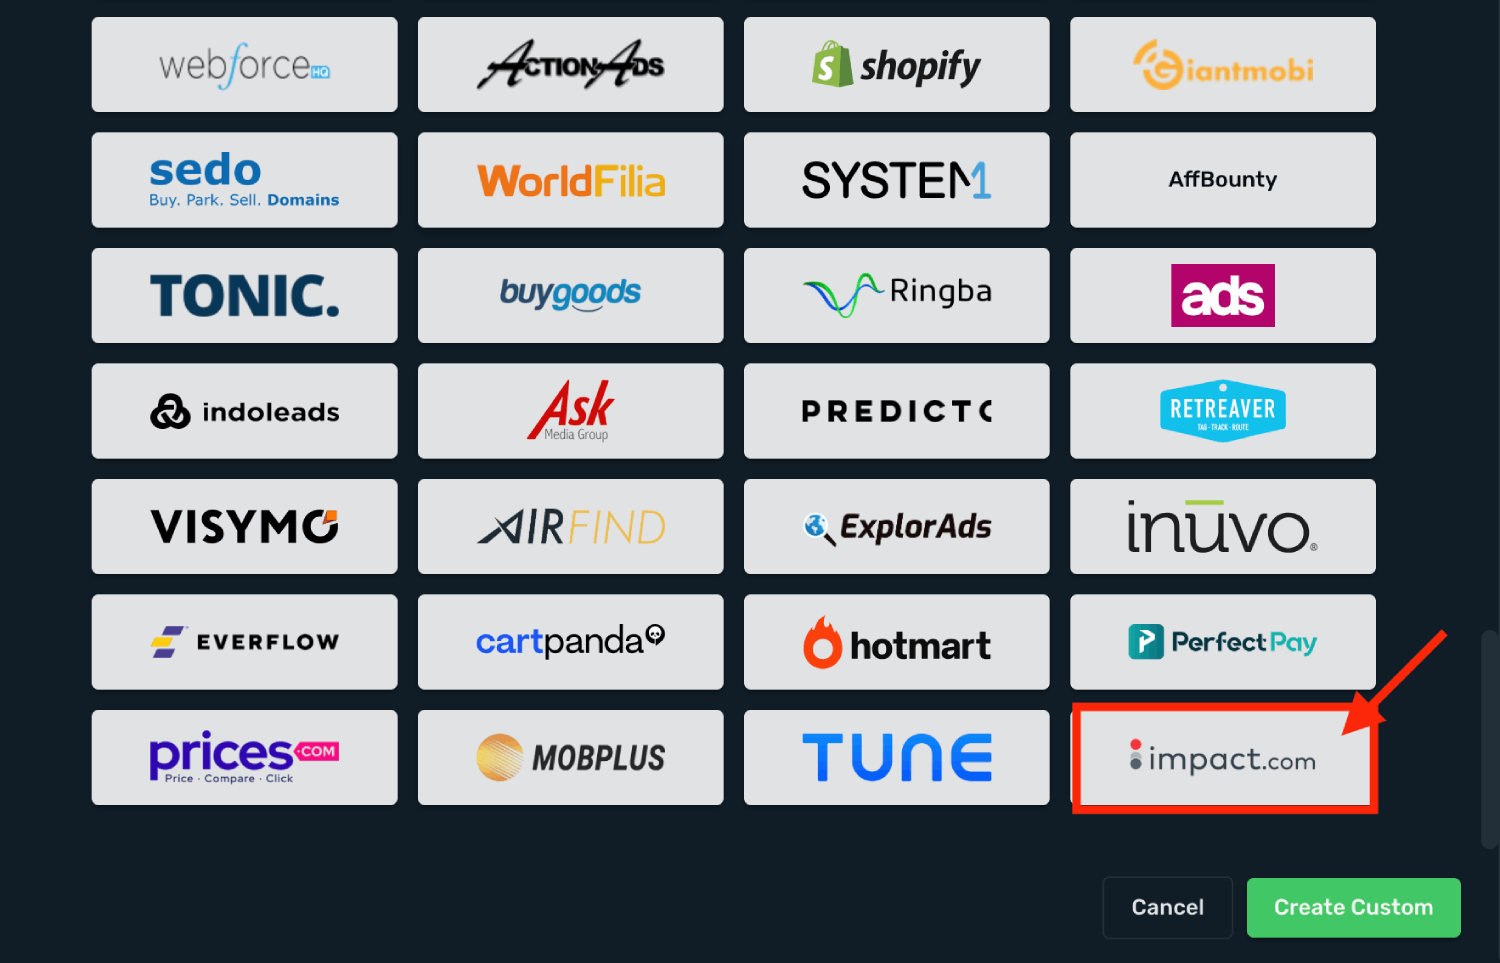
3. Select your **Workspace** and **Copy** postback URL to your clipboard.
4. Click **Save & Close**.
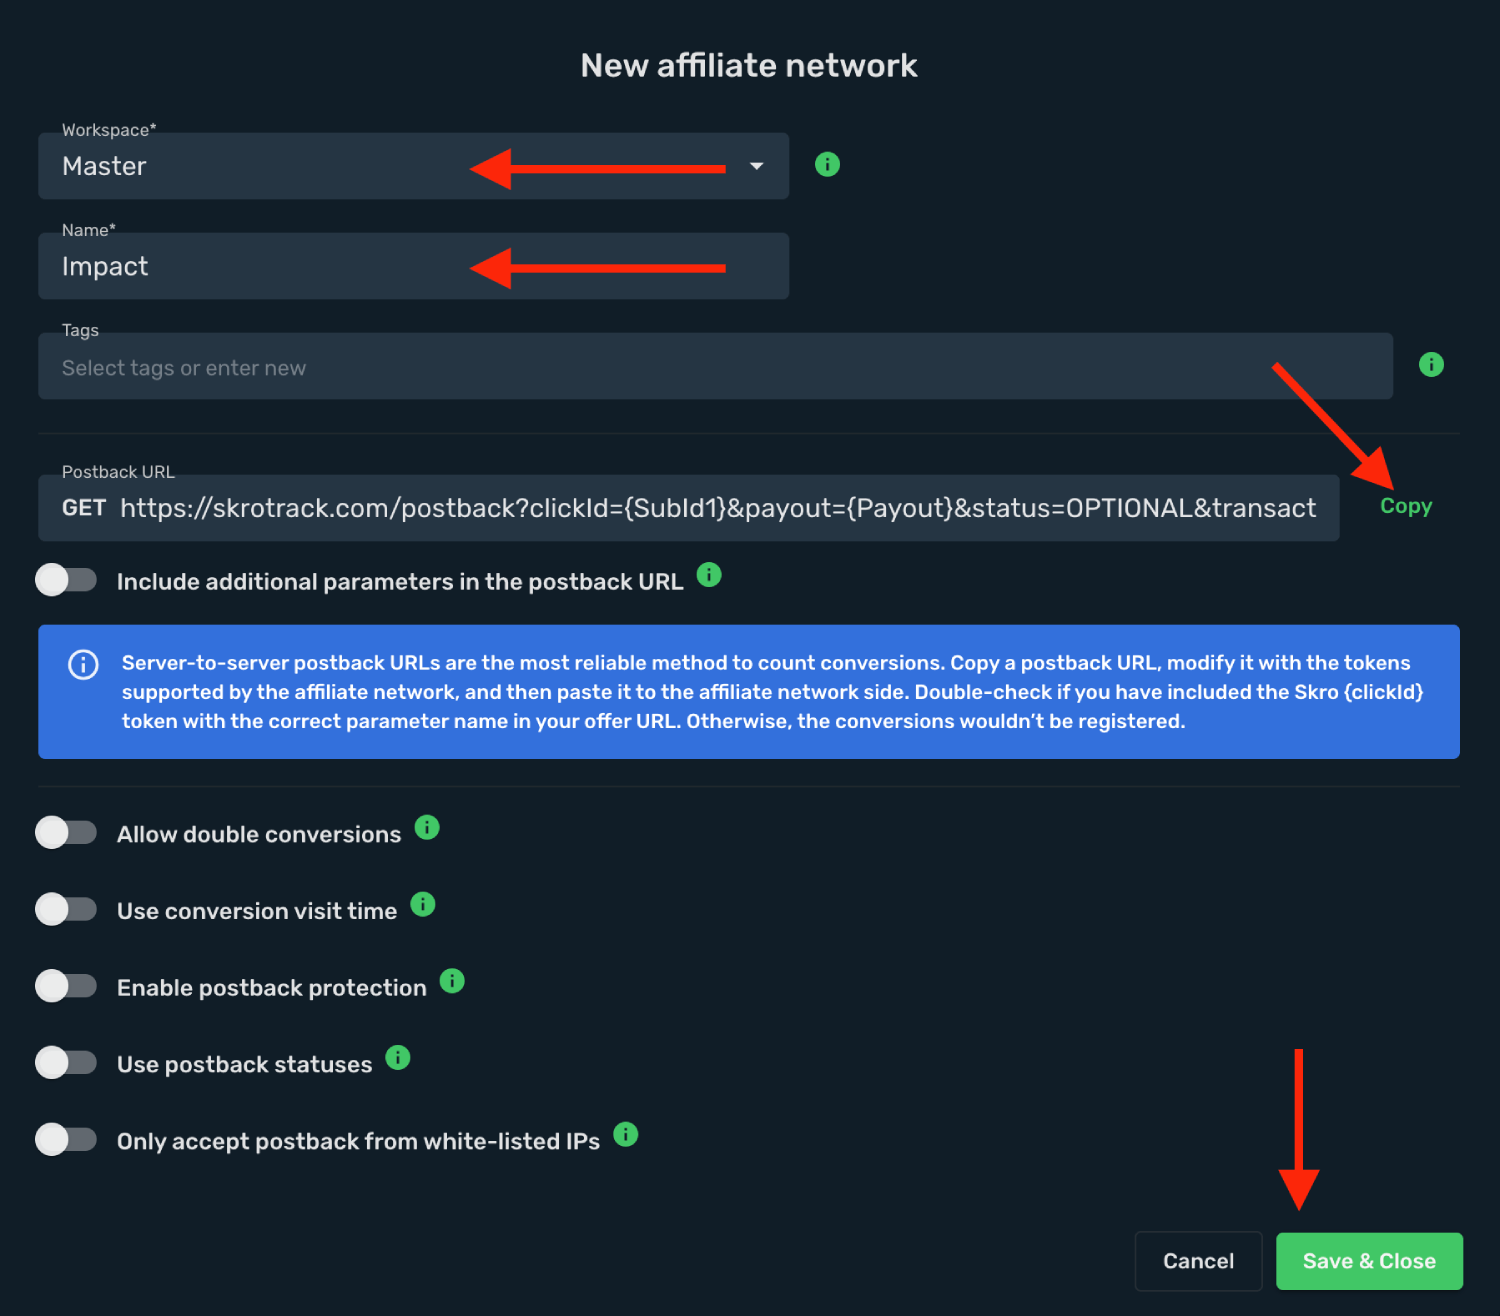
The Impact affiliate network is now saved in Skro. Use the copied postback URL in Impact in the next step.
## Step 2. Setting up a postback URL [#step-2-setting-up-a-postback-url]
1. Log in to **Impact** account.
2. Go to **Discover** → **My Brands**.
3. Click **More** and navigate to the **Tracking Integration** section and click **Add Postback**.
4. Select the **Event Type**.
5. Paste the **Postback URL** copied from Skro and click **Save**.
**Global Postback**
`https://skrotrack.com/postback?clickId={SubId1}&payout={Payout}`
## Step 3. Get an offer from Impact [#step-3-get-an-offer-from-impact]
1. Log in to **Impact** account.
2. Go to **Create a Link** section.
3. Select your **Brand** and click **Create**.
4. Copy the offer link.
## Step 4. Add offer to Skro [#step-4-add-offer-to-skro]
1. Go back to Skro and navigate to the **Offers** and click **Create**.
2. Choose your workspace.
3. Give a name to your offer.
4. Grab the offer link from Impact and add it to Offer URL field and change the macros to this **`&SubId1={clickId}`**
**`{clickId}`** - The Skro click ID macro for conversion tracking.
**Example Offer URL:**
`https://yourofferlink.com/?SubId1={clickId}`
5. Choose Impact from the **Affiliate Network** select box.
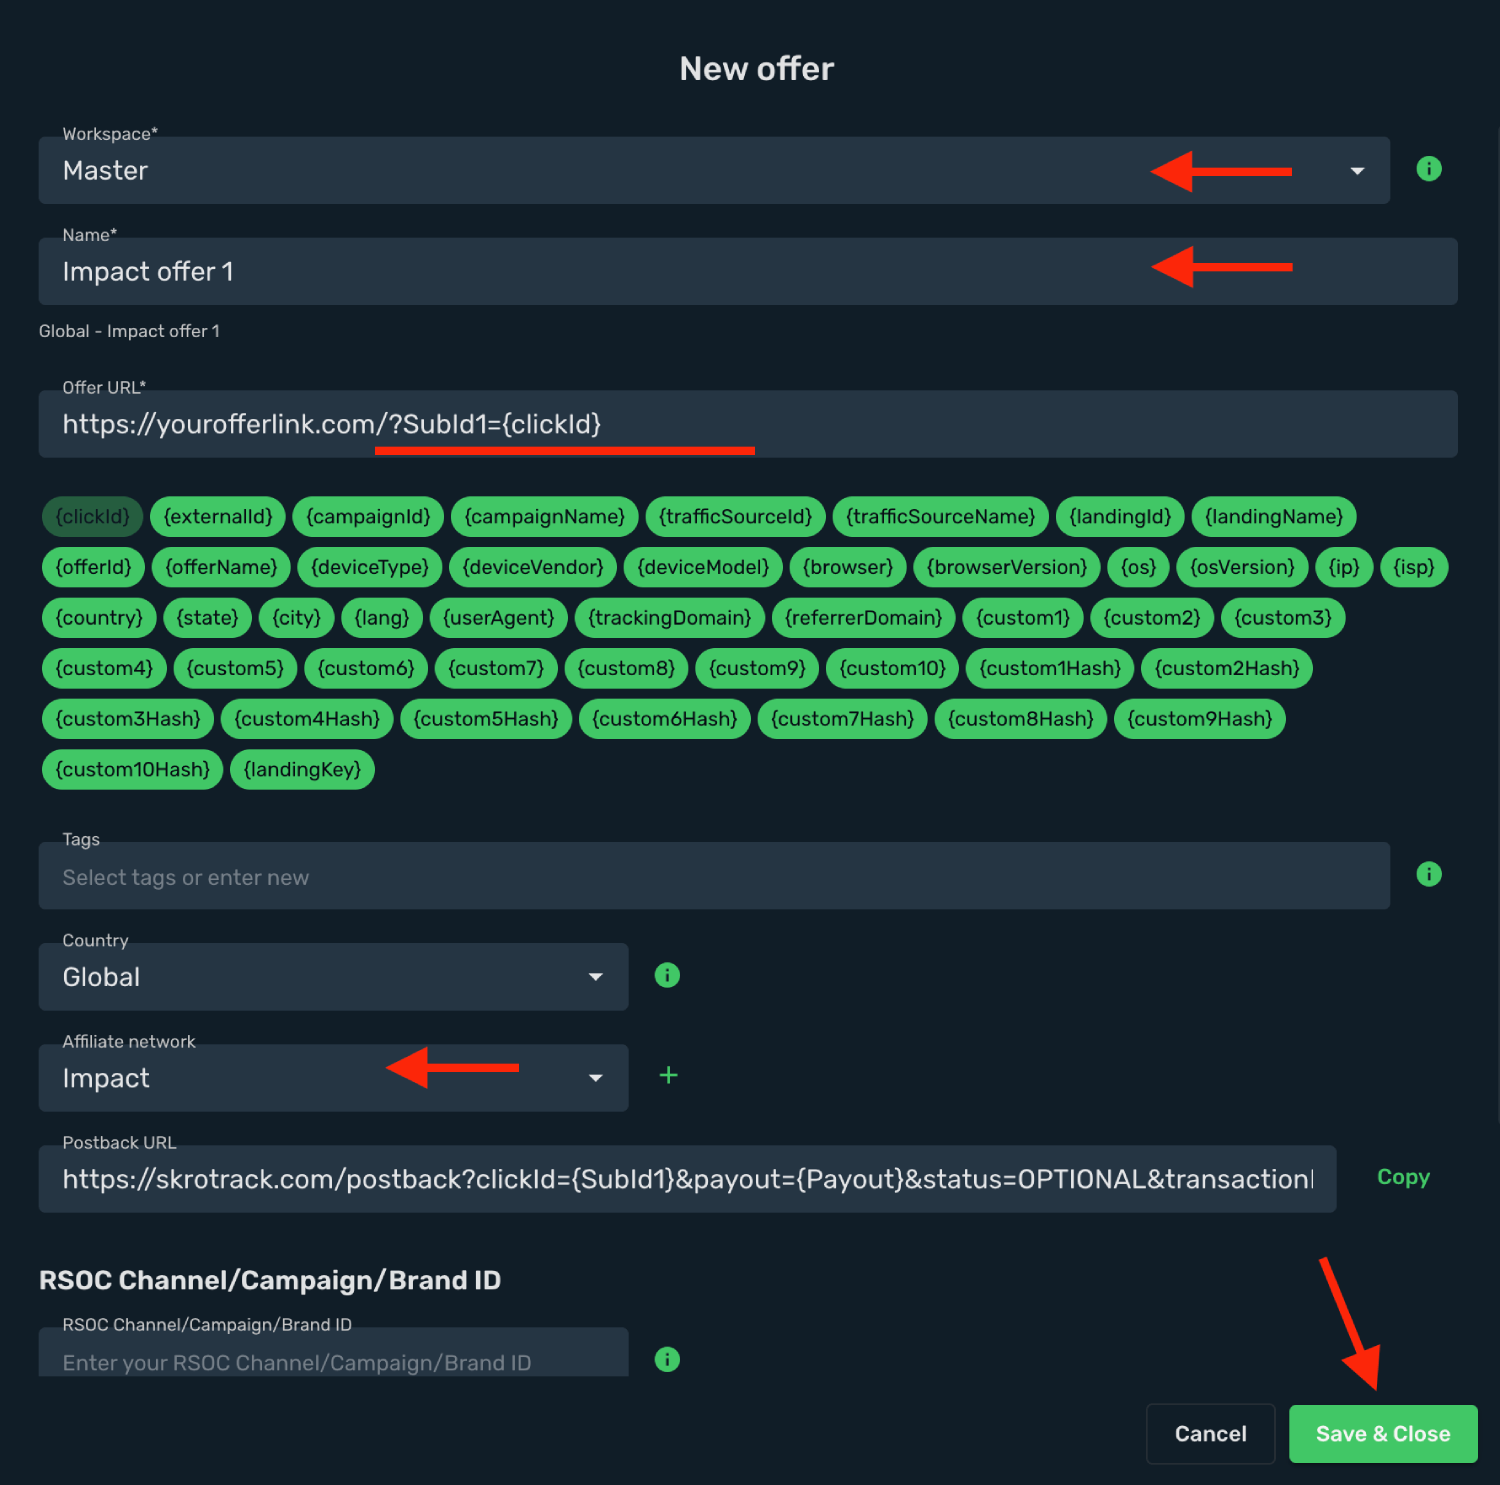
6. Click **Save & Close**.
## Step 5. Create a campaign on Skro [#step-5-create-a-campaign-on-skro]
1. Start with the following guide:
## Verify the setup [#verify-the-setup]
Follow a campaign link and complete a test conversion using your provider’s test workflow. Confirm that the original click ID reaches the provider and is returned to Skro, then check the event and revenue in your campaign report.
If data is missing, check the selected workspace, integration, campaign, and reporting date range. Compare parameter names and macro values with the examples in this guide before repeating the test.
## Related guides [#related-guides]
# Integration directory
Source: https://skro.eu/docs/integrations
Find Skro setup guides for traffic sources, affiliate networks, ecommerce platforms, search arbitrage providers, and call tracking.
Choose the platform you want to connect. Each guide explains the Skro configuration, tracking parameters, and provider-specific setup.
Prefer browsing by logo or category? Explore all supported platforms in the [Skro marketplace](/partners).
## Popular integrations [#popular-integrations]
## Traffic sources [#traffic-sources]
- [AdCash integration](/docs/integrations/adcash-and-skro-integration)
- [AdMaven integration](/docs/integrations/admaven-and-skro-integration)
- [AdOperator integration](/docs/integrations/adoperator-and-skro-integration)
- [Adsterra integration](/docs/integrations/adsterra-and-skro-integration)
- [BidVertiser integration](/docs/integrations/bidvertiser-and-skro-integration)
- [ClickAdilla integration](/docs/integrations/clickadilla-and-skro-integration)
- [Clickadu integration](/docs/integrations/clickadu-integration)
- [CPALead integration](/docs/integrations/cpalead-and-skro-integration)
- [Dao.Ad integration](/docs/integrations/daoad-and-skro-integration)
- [EVADAV integration](/docs/integrations/evadav-integration)
- [ExoClick integration](/docs/integrations/exoclick-integration)
- [EzMob integration](/docs/integrations/ezmob-and-skro-integration)
- [Facebook (Meta) Ads integration](/docs/integrations/facebook-meta-ads-integration)
- [Galaksion integration](/docs/integrations/galaksion-and-skro-integration)
- [Google Ads integration](/docs/integrations/google-ads-integration)
- [HilltopAds integration](/docs/integrations/hilltopads-integration)
- [JuicyAds integration](/docs/integrations/juicyads-and-skro-integration)
- [Microsoft (Bing) Ads integration](/docs/integrations/microsoft-bing-ads-integration)
- [MGID integration](/docs/integrations/mgid-integration)
- [Mondiad integration](/docs/integrations/mondiad-integration)
- [NewsBreak integration](/docs/integrations/newsbreak-and-skro)
- [Outbrain integration](/docs/integrations/outbrain-integration)
- [Outbrain DSP integration](/docs/integrations/outbrain-dsp-and-skro)
- [PopAds integration](/docs/integrations/popads-and-skro-integration)
- [PropellerAds integration](/docs/integrations/propellerads-integration)
- [Pushground integration](/docs/integrations/pushground-integration)
- [Push.House integration](/docs/integrations/push-house-integration)
- [Revcontent integration](/docs/integrations/revcontent-integration)
- [RichAds integration](/docs/integrations/richads-and-skro-integration)
- [ROIads integration](/docs/integrations/roiads-and-skro-integration)
- [RollerAds integration](/docs/integrations/rollerads-and-skro-integration)
- [SmartNews integration](/docs/integrations/smartnews-and-skro)
- [Taboola integration](/docs/integrations/taboola-integration)
- [TacoLoco integration](/docs/integrations/tacoloco-and-skro-integration)
- [TikTok integration](/docs/integrations/tiktok-integration)
- [TrafficJunky integration](/docs/integrations/trafficjunky-and-skro-integration)
- [Traffic Nomads integration](/docs/integrations/traffic-nomads-and-skro-integration)
- [TrafficStars integration](/docs/integrations/trafficstars-and-skro-integration)
- [Yeesshh integration](/docs/integrations/yeesshh-and-skro-integration)
## Affiliate networks [#affiliate-networks]
- [AdCombo integration](/docs/integrations/adcombo-integration)
- [Admitad integration](/docs/integrations/admitad-integration)
- [Advidi integration](/docs/integrations/advidi-integration)
- [Big Bang Ads integration](/docs/integrations/big-bang-ads-integration)
- [BuyGoods integration](/docs/integrations/buygoods-integration)
- [ClickBank integration](/docs/integrations/clickbank-integration)
- [Clickdealer integration](/docs/integrations/clickdealer-integration)
- [CPAGrip integration](/docs/integrations/cpagrip-integration)
- [Cpamatica integration](/docs/integrations/cpamatica-integration)
- [CrakRevenue integration](/docs/integrations/crak-revenue-integration)
- [Digistore24 integration](/docs/integrations/digistore24-and-skro-integration)
- [Dr.Cash integration](/docs/integrations/drcash-integration)
- [Everad integration](/docs/integrations/everad-integration)
- [Everflow integration](/docs/integrations/everflow-and-skro-integration)
- [Golden Goose integration](/docs/integrations/golden-goose-integration)
- [Hotmart integration](/docs/integrations/hotmart-and-skro)
- [iMonetizeit integration](/docs/integrations/imonetizeit-integration)
- [Impact integration](/docs/integrations/impact-and-skro)
- [Leadbit integration](/docs/integrations/leadbit-integration)
- [LosPollos integration](/docs/integrations/lospollos-integration)
- [Maxbounty integration](/docs/integrations/maxbounty-integration)
- [MaxWeb integration](/docs/integrations/maxweb-integration)
- [Mobidea integration](/docs/integrations/mobidea-integration)
- [Mobipium integration](/docs/integrations/mobipium-integration)
- [Mobplus integration](/docs/integrations/mobplus-integration)
- [Monetizer integration](/docs/integrations/monetizer-integration)
- [MyLead integration](/docs/integrations/mylead-integration)
- [M4trix Network integration](/docs/integrations/m4trix-network-integration)
- [OfferRum integration](/docs/integrations/offerrum-integration)
- [Perfect Pay integration](/docs/integrations/perfect-pay-and-skro)
- [Traffic Company integration](/docs/integrations/traffic-company-integration)
- [Tune integration](/docs/integrations/tune-and-skro)
- [Zeydoo integration](/docs/integrations/zeydoo-integration)
- [YTZ integration](/docs/integrations/ytz-integration)
## Ecommerce [#ecommerce]
- [Shopify integration](/docs/integrations/shopify-and-skro-integration)
- [Cartpanda integration](/docs/integrations/cartpanda-and-skro)
## Search arbitrage: AFD [#search-arbitrage-afd]
- [Ads.com Integration](/docs/integrations/ads-com-integration)
- [Sedo Integration](/docs/integrations/sedo-integration)
- [System1 Integration](/docs/integrations/system1-integration)
- [Tonic Integration](/docs/integrations/tonic-integration)
- [Bodis integration](/docs/integrations/bodis-integration)
- [Sedo direct tracking with Meta](/docs/integrations/sedo-facebook-direct-integration)
## Search arbitrage: RSOC [#search-arbitrage-rsoc]
- [Related Search on Content (RSOC)](/docs/integrations/about-rsoc)
- [Inuvo Prism RSOC integration](/docs/integrations/rsoc-inuvo-prism-and-skro)
- [System1 RSOC integration](/docs/integrations/system1-rsoc-integration)
- [Ads.com RSOC integration](/docs/integrations/rsoc-ads-com-and-skro-integration)
- [Predicto RSOC integration](/docs/integrations/rsoc-predicto-and-skro)
- [Sedo RSOC integration](/docs/integrations/rsoc-sedo-and-skro)
- [Airfind RSOC integration](/docs/integrations/rsoc-airfind-and-skro)
- [ExplorAds RSOC integration](/docs/integrations/rsoc-explorads-and-skro)
- [Tonic RSOC integration](/docs/integrations/rsoc-tonic-and-skro)
- [Inuvo RSOC integration](/docs/integrations/inuvo-rsoc-integration)
## Call Tracking [#call-tracking]
- [Retreaver integration](/docs/integrations/retreaver-and-skro)
- [Ringba integration](/docs/integrations/ringba-and-skro)
## Check your conversion setup [#check-your-conversion-setup]
After connecting a provider, review [postback parameters](/docs/postback/parameters-in-postback-urls) and [custom conversions](/docs/postback/custom-conversions). Use the same event names, currencies, and identifiers across your tracking setup.
# Inuvo RSOC integration
Source: https://skro.eu/docs/integrations/inuvo-rsoc-integration
Find the Inuvo Prism RSOC setup guide for offer tracking and revenue synchronization in Skro.
For Inuvo Prism campaigns, follow the dedicated guide to connect your account, map the offer identifiers, and configure conversion postbacks.
## Set up Inuvo Prism [#set-up-inuvo-prism]
Connect Inuvo Prism API, configure TKID and AGID values, and synchronize revenue.
Understand the Related Search on Content workflow.
## Before you begin [#before-you-begin]
Confirm the Inuvo product and account details supplied by your account manager. Use the matching integration template in Skro; the Prism instructions apply to Inuvo Prism accounts.
If you need help selecting an integration, contact [Skro support](mailto:support@skro.eu) with the product name and the setup step you are working on.
# JuicyAds integration
Source: https://skro.eu/docs/integrations/juicyads-and-skro-integration
Set up JuicyAds tracking in Skro, configure traffic source parameters, and connect your advertising campaigns.
## Step 1. Create an JuicyAds traffic source and configure the postback URL [#step-1-create-an-juicyads-traffic-source-and-configure-the-postback-url]
1. Go to **Traffic Sources** and click **+ Create**.
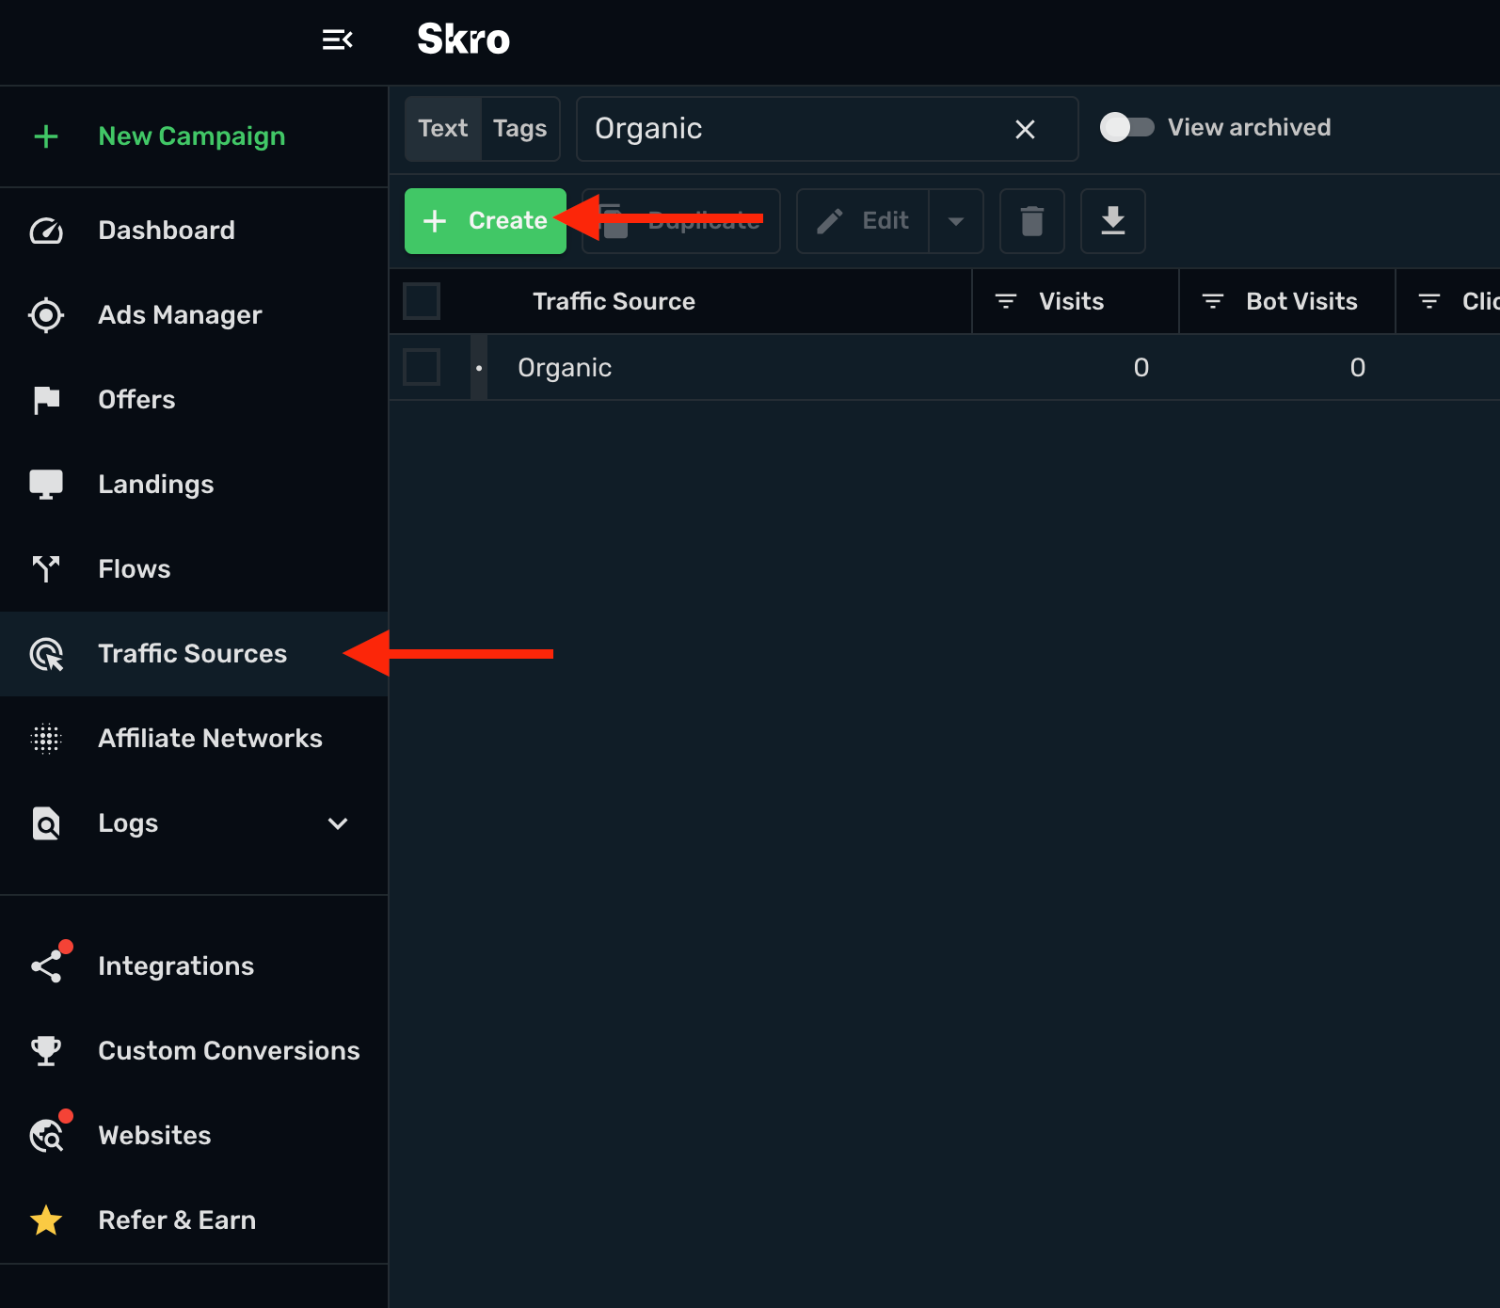
2. Search for **juicyads** and click the **JuicyAds** template.
3. Select the target **Workspace** and you need to modify your **Traffic Source Postback URL**.
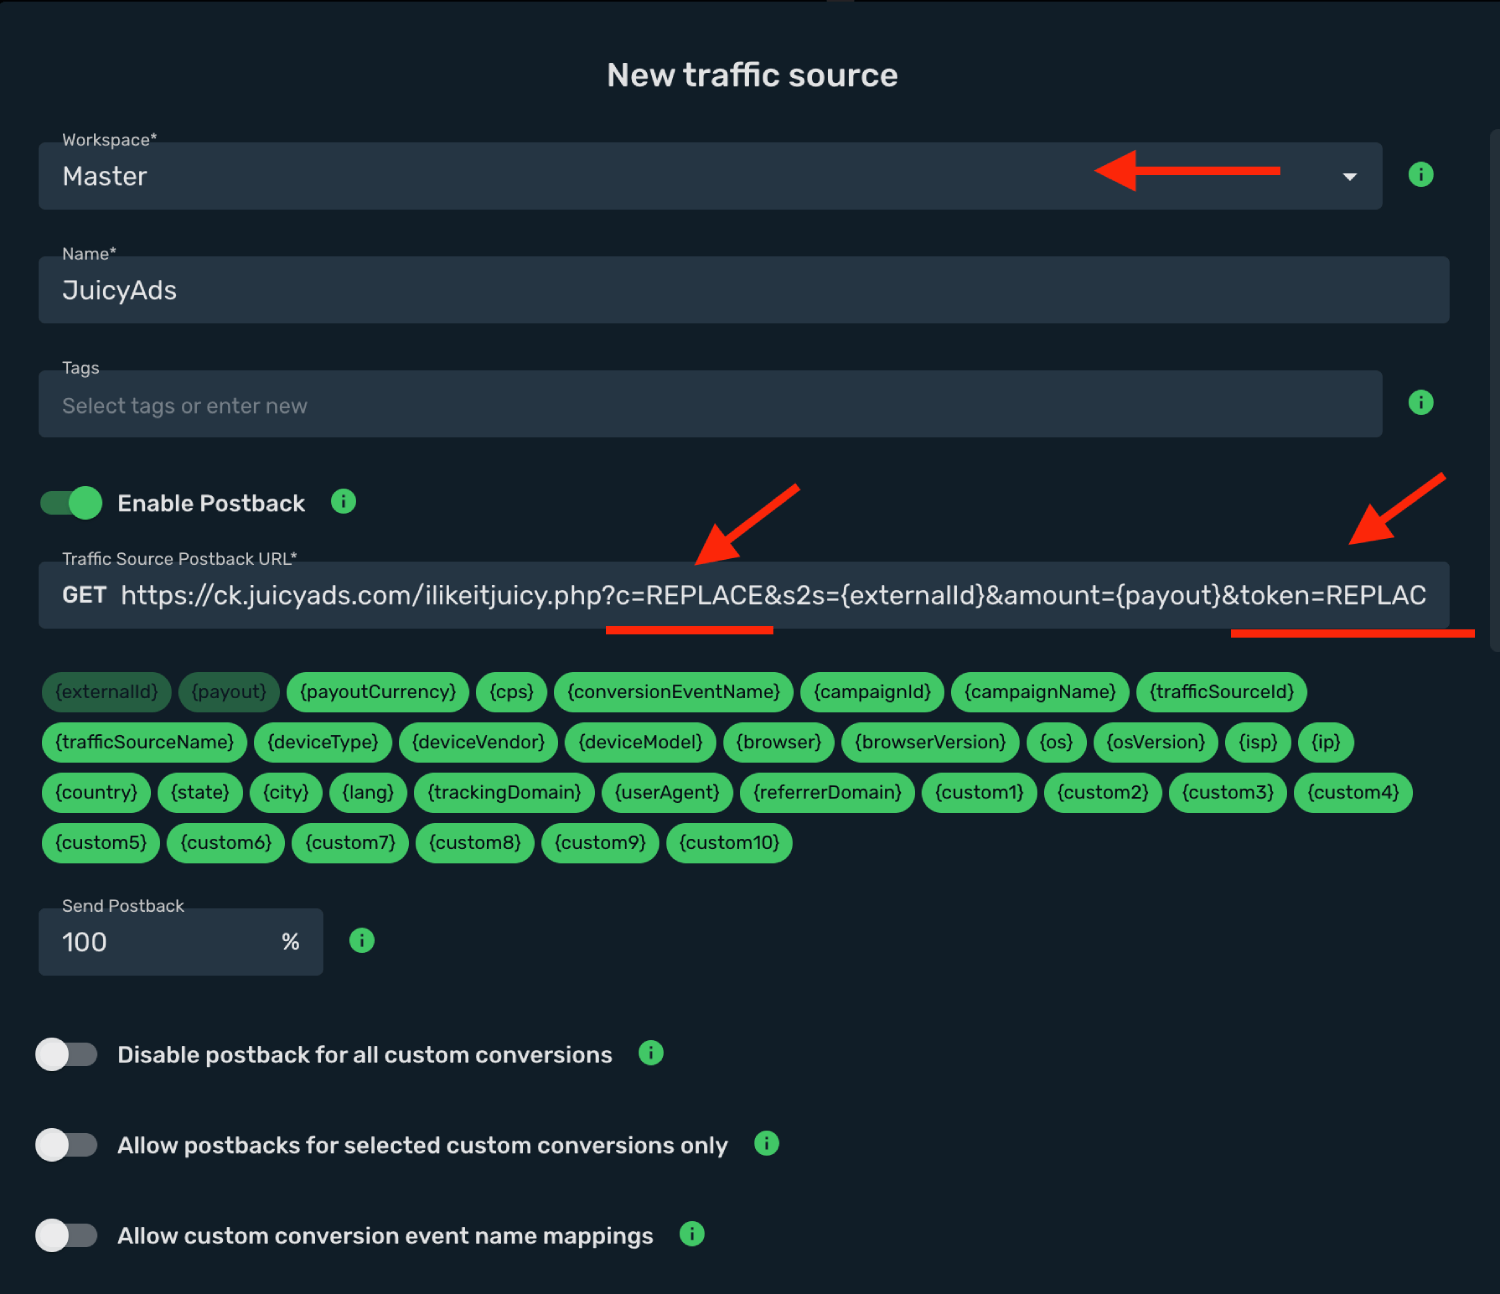
4. Log in to your **JuicyAds** account.
5. Go to the **Performance Tracking** section.
6. Click **S2S Postback**.
7. Copy the generated **Postback URL**.
8. Final postback URL must look similar to this:
`https://ck.juicyads.com/ilikeitjuicy.php?c=12345&s2s={externalId}&amount={payout}&token=hf7r87fd8fds78fsd`
**`c=12345`** - JuicyAds parameter with unique value.
**`token=7dd56e6f678d964f`** - JuicyAds token parameter with unique value.
**`s2s={externalId}`** - JuicyAds Click ID parameter with Skro macro.
**`amount={payout}`** - JuicyAds Payout parameter with Skro macro.
9. All tracking parameters are already prefilled for you.
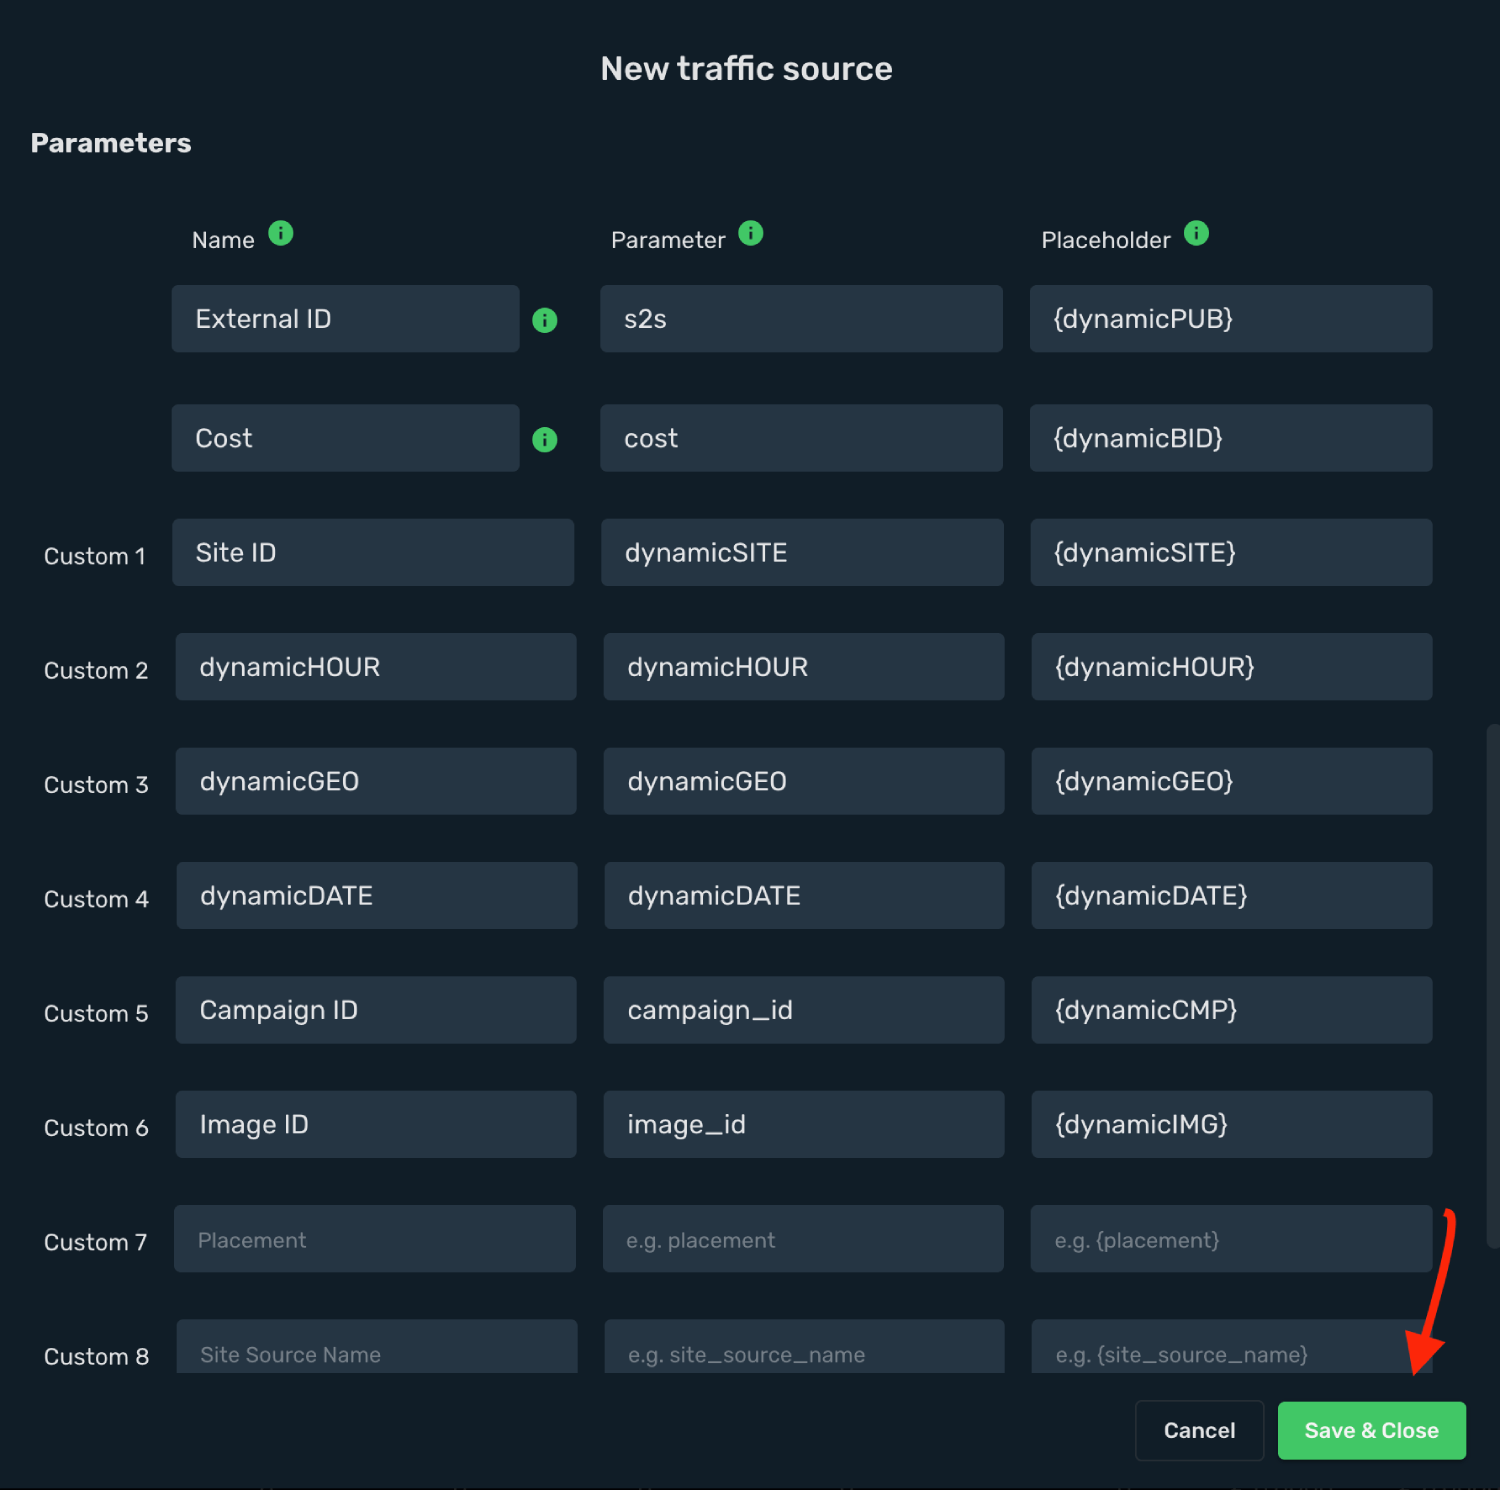
10. Click **Save & Close**.
Integration setup is complete, and you are now ready to create your first campaign.
## Step 2. Create a campaign in Skro [#step-2-create-a-campaign-in-skro]
1. Go to **Ads Manager** and click the **Create**.
2. Select your **Traffic source** and click **Next**.
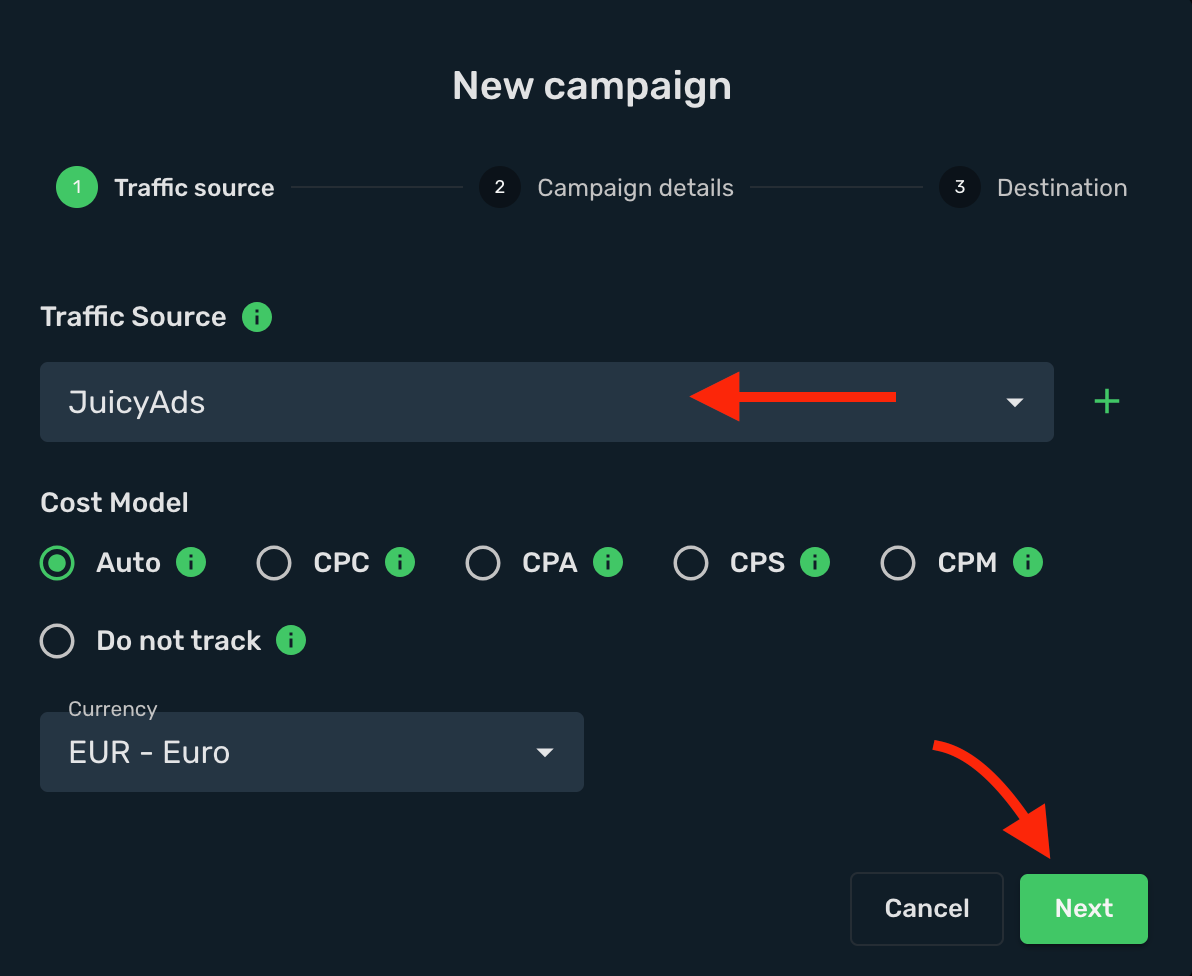
3. Select your target **Workspace** for your campaign.
4. Give a **name** to your campaign and click **Next**.
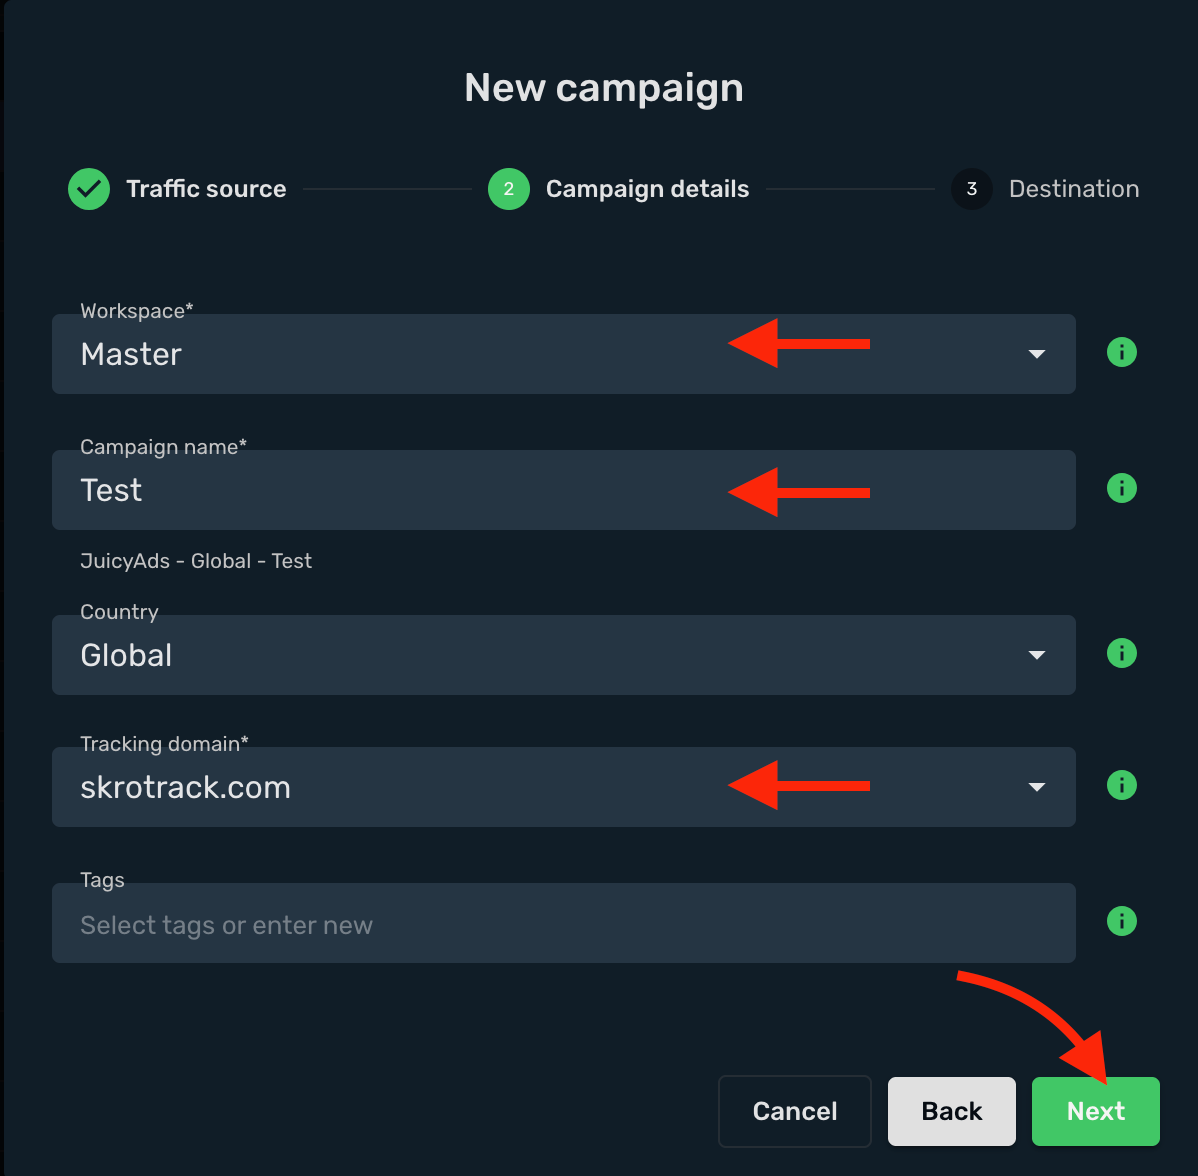
5. Select or create all your **landings** and **offers**.
6. Click **Save**.
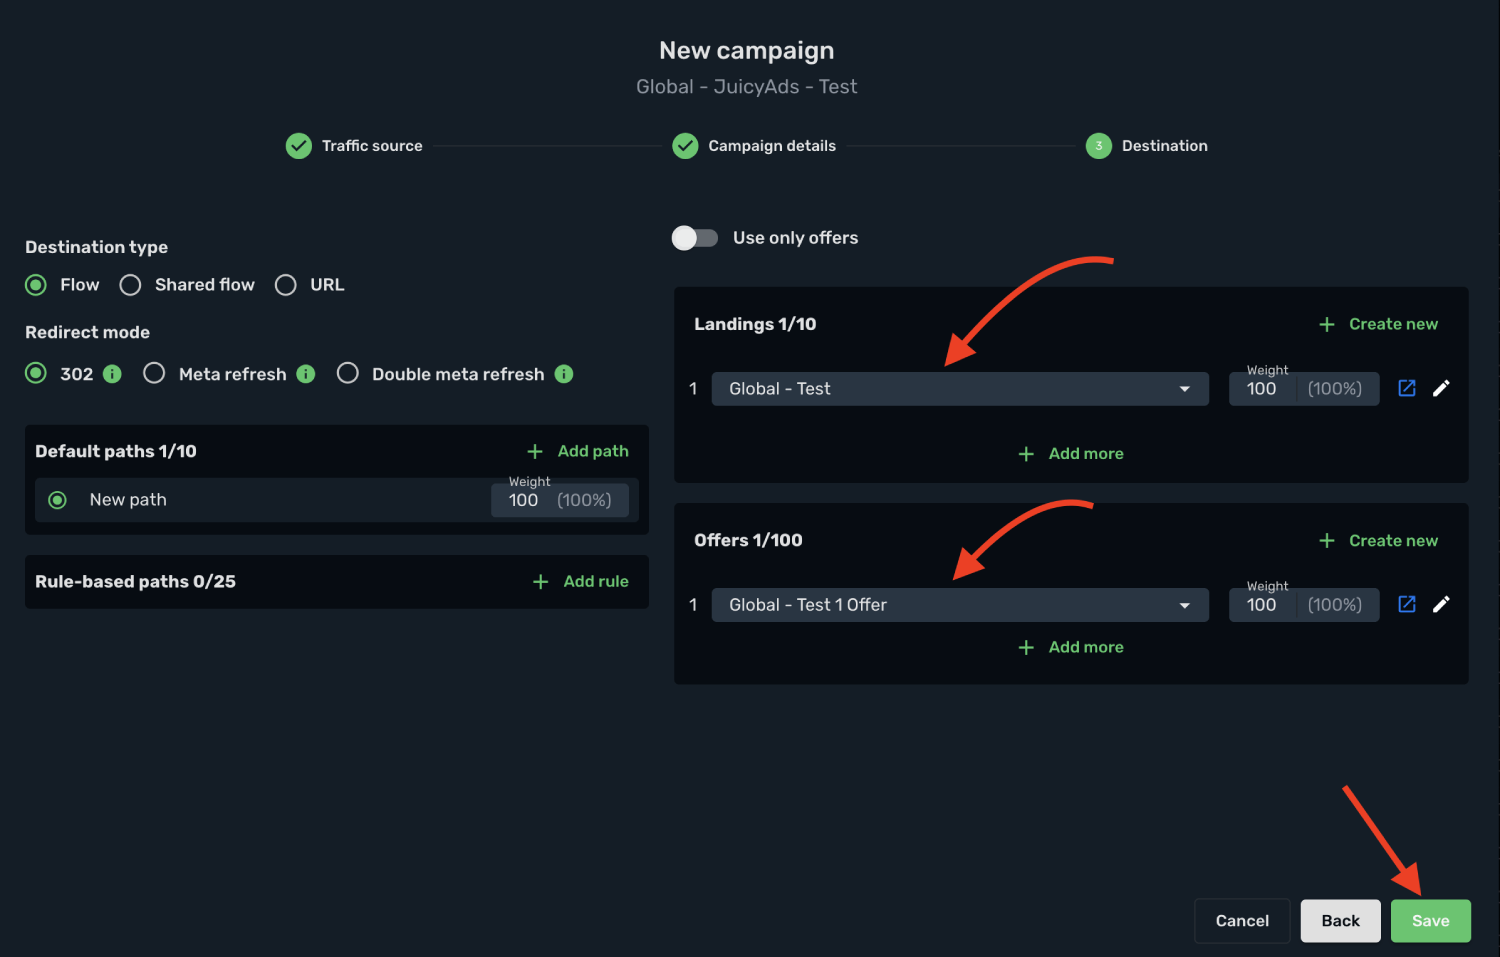
7. Copy the **Campaign Tracking URL** to clipboard.
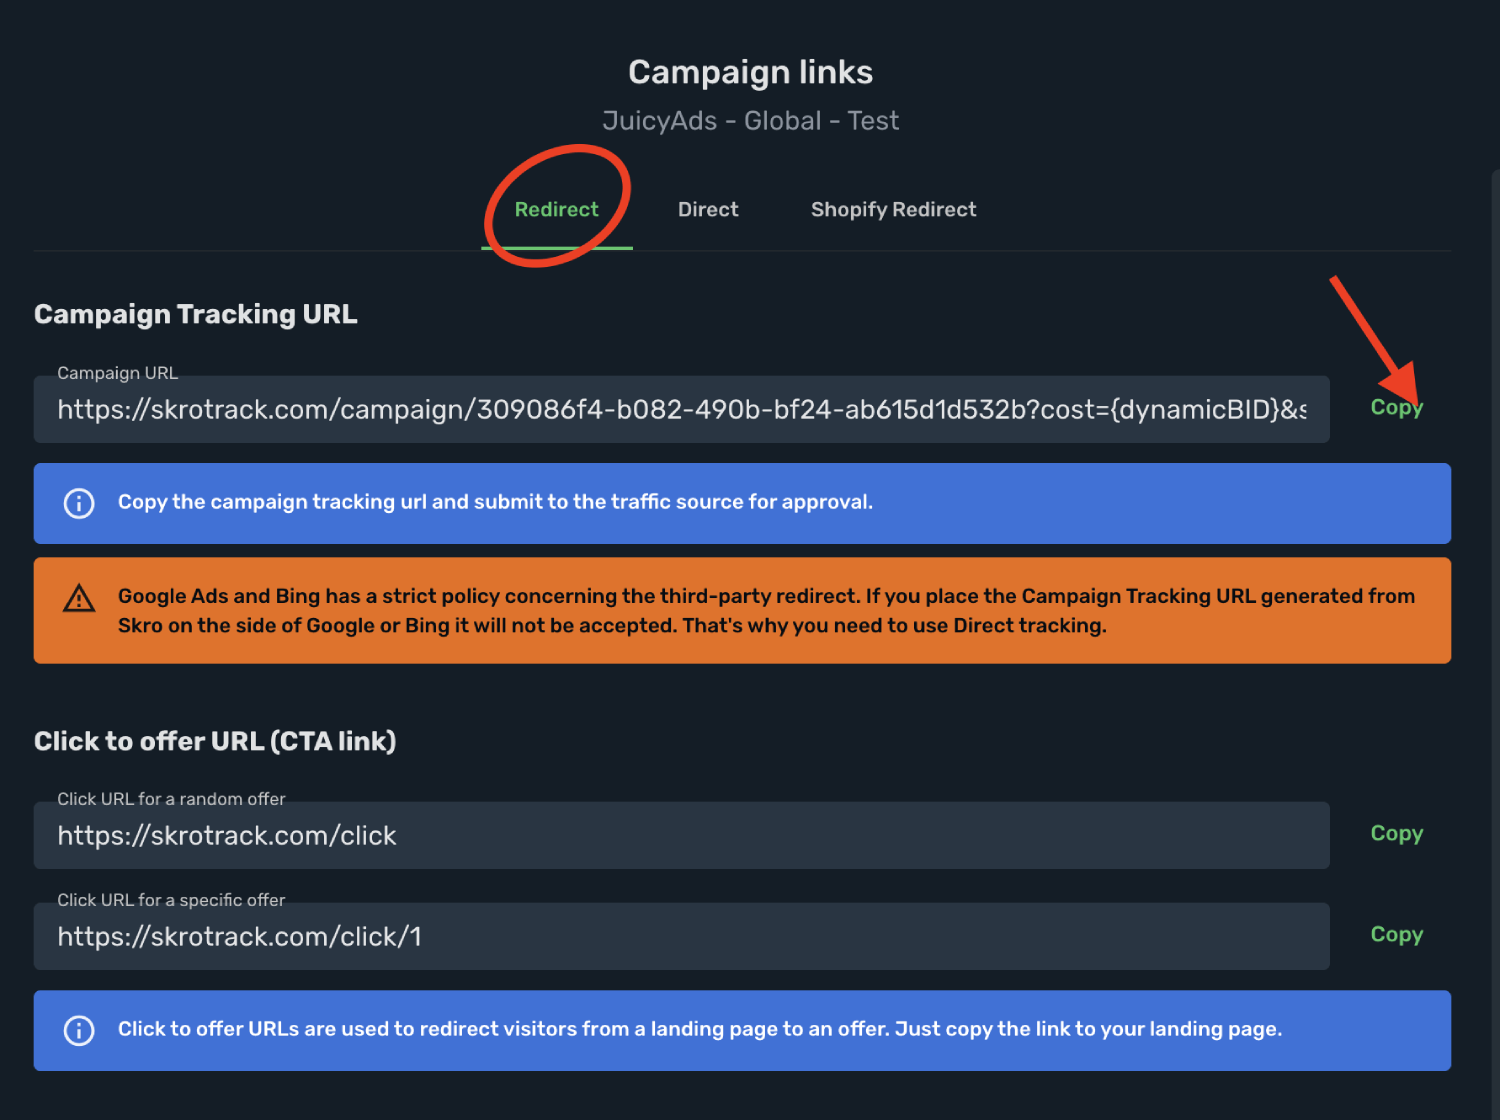
## Step 3. Create a campaign in JuicyAds [#step-3-create-a-campaign-in-juicyads]
1. Log in to your **JuicyAds** account.
2. Go to the **Advertisers** → **Campaigns** and click the **Start New Campaign**.
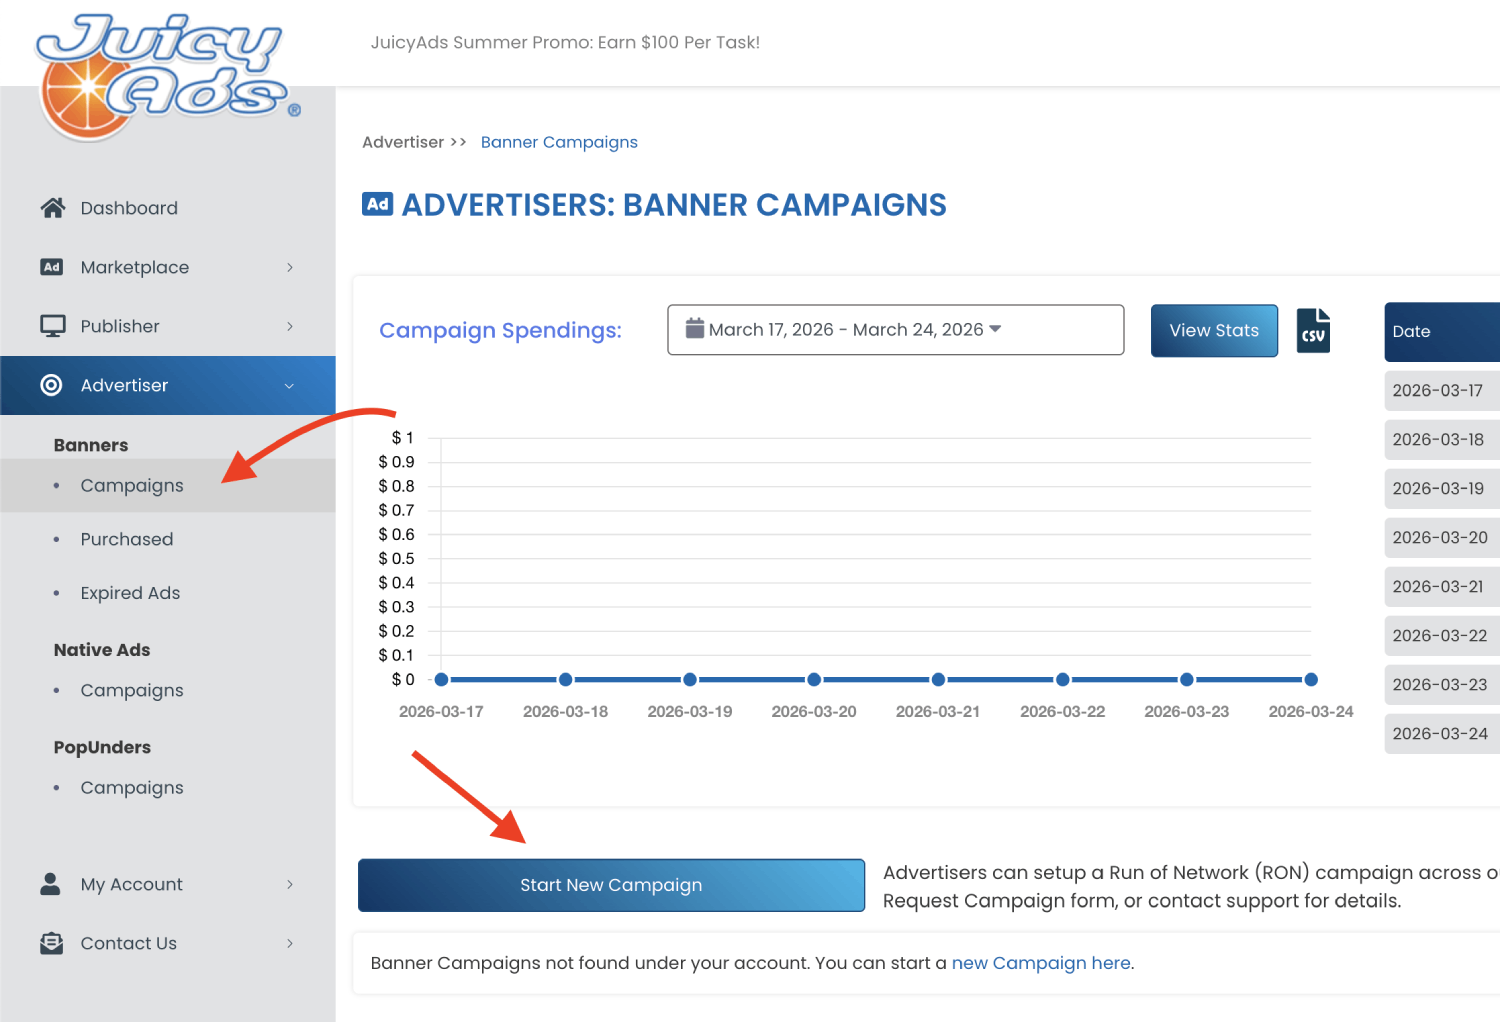
3. Give a **Name** to your campaign.
4. Paste the **Skro campaign tracking link** into the **Campaign URL** field, including all tracking parameters.
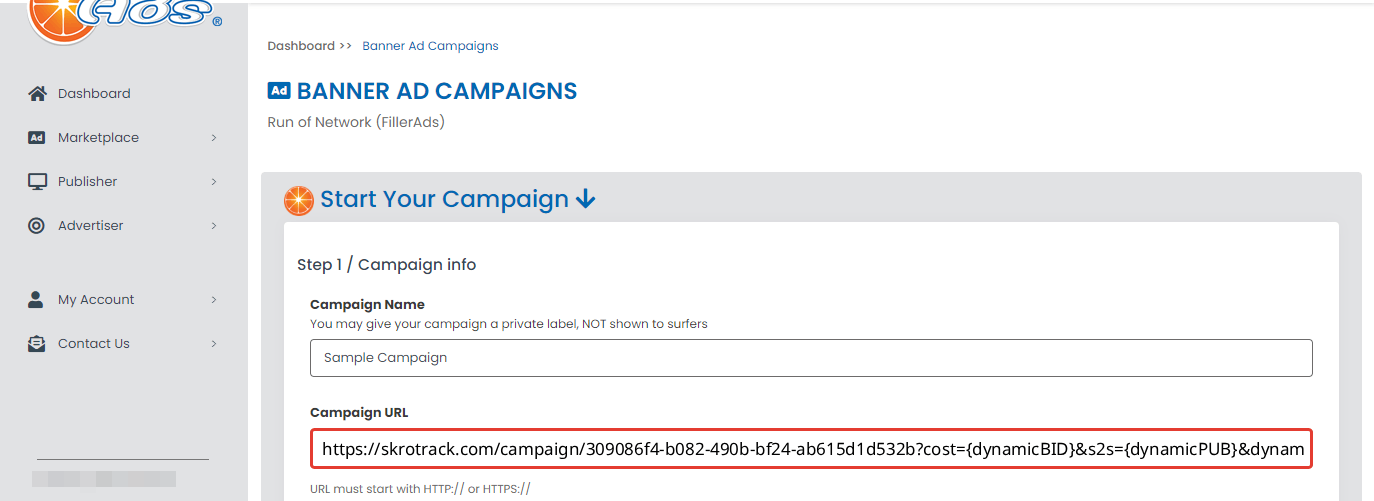
5. Complete the remaining campaign settings, then click **Save**.
6. After your campaign is approved on the side of JuicyAds, you can start driving traffic to your campaign and track all the data with Skro.
## Verify the setup [#verify-the-setup]
Open the generated campaign URL and check that the visit appears in Skro. Confirm that traffic source macros resolve to actual values. If you send conversions back to the source, verify a test conversion in both systems.
If data is missing, check the selected workspace, integration, campaign, and reporting date range. Compare parameter names and macro values with the examples in this guide before repeating the test.
## Related guides [#related-guides]
# Leadbit integration
Source: https://skro.eu/docs/integrations/leadbit-integration
Connect Leadbit to Skro, map click IDs, and configure postbacks to attribute conversions and revenue to your campaigns.
## Step 1. Add affiliate network to Skro [#step-1-add-affiliate-network-to-skro]
1. Go to **Affiliate Networks** and click **Create**.
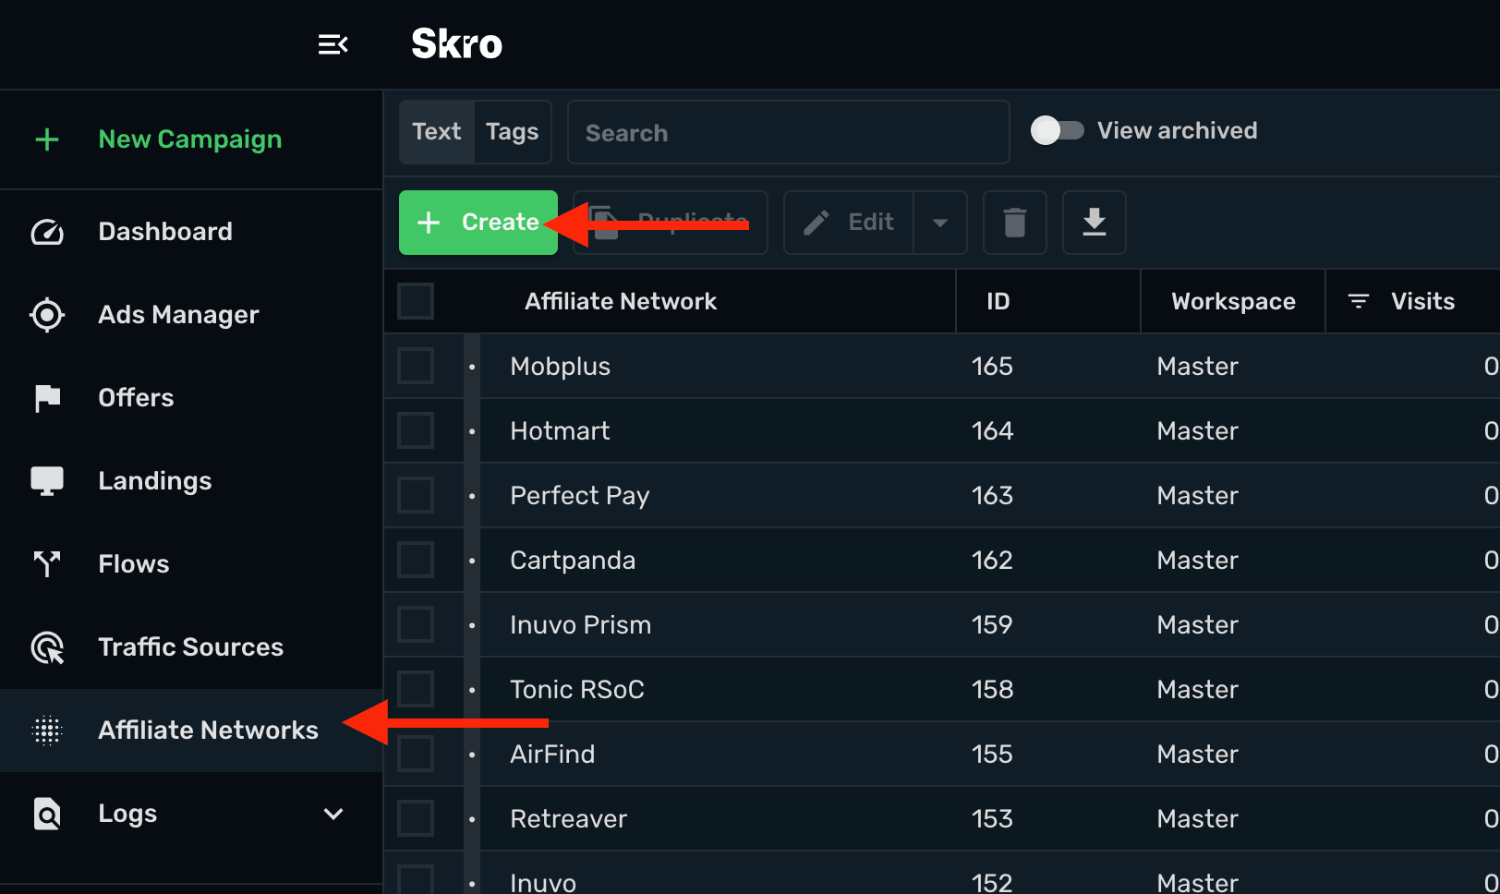
2. Search Leadbit and select the **Leadbit** template.
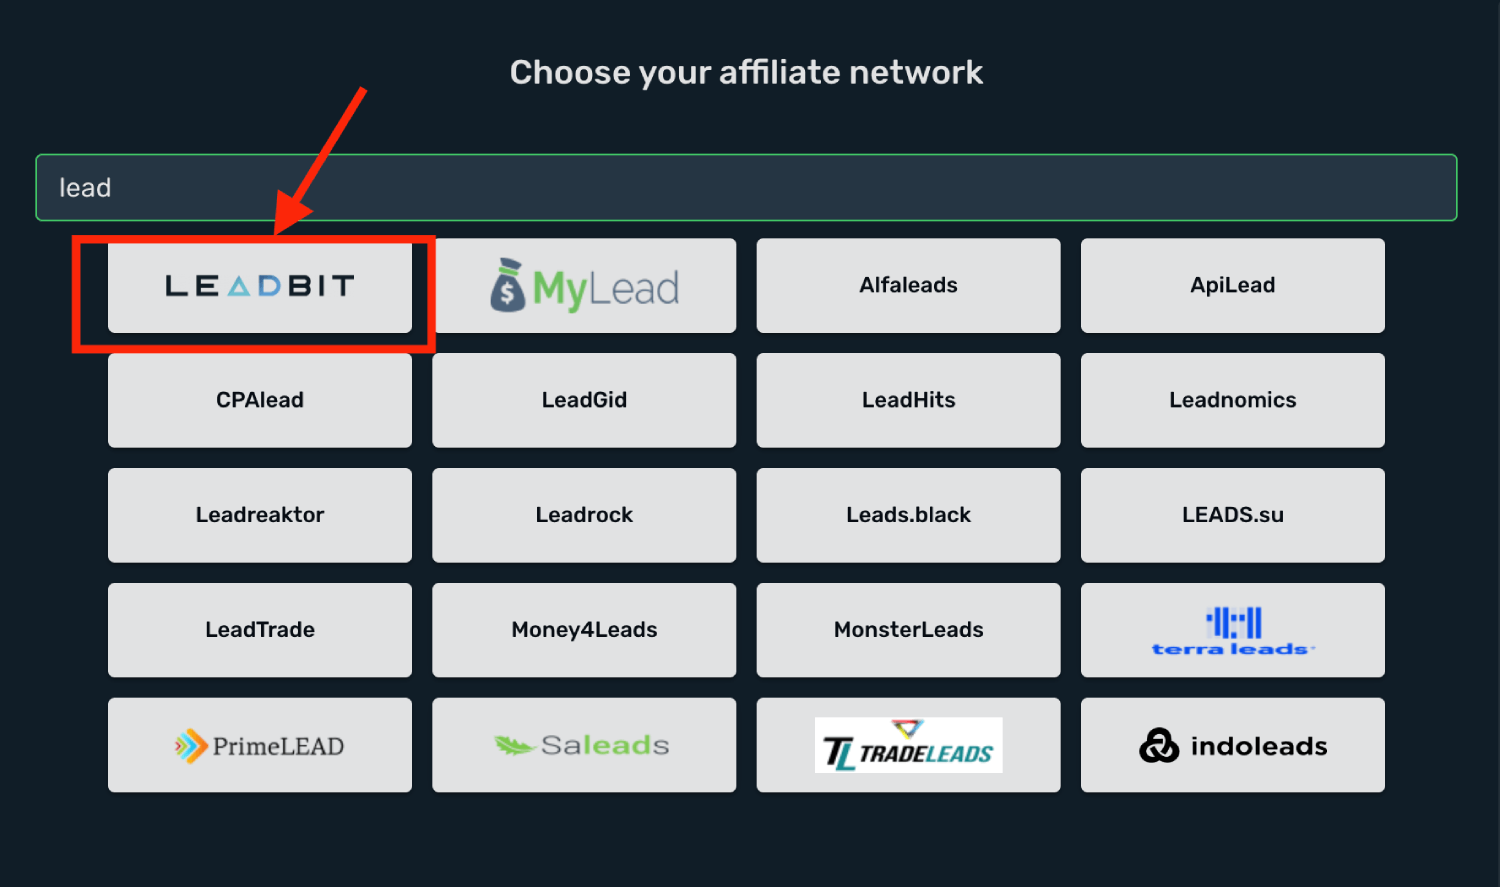
3. Select your **Workspace** and **Copy** postback URL to your clipboard.
4. Click **Save & Close**.
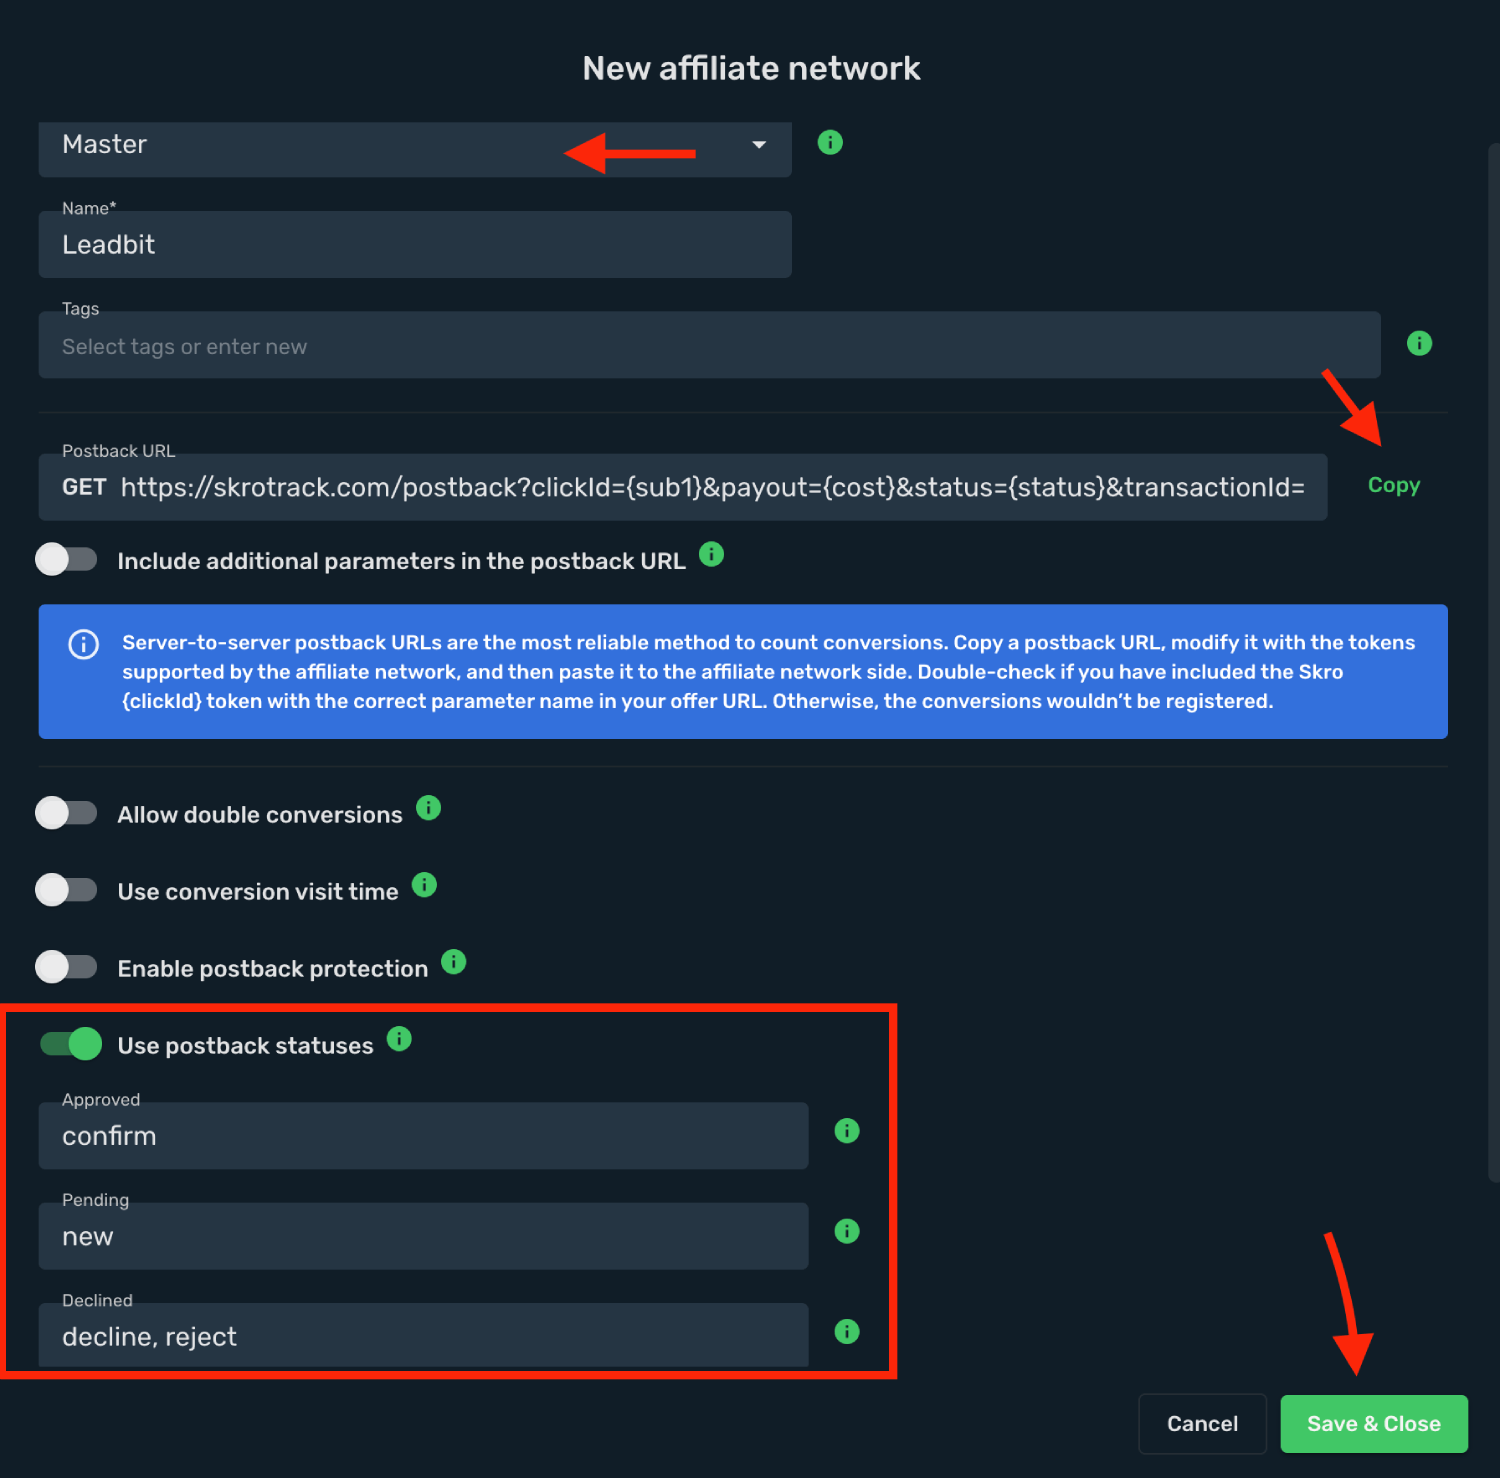
The Leadbit affiliate network is now saved in Skro. Use the copied postback URL in Leadbit in the next step.
## Step 2. Setting up a postback URL [#step-2-setting-up-a-postback-url]
1. Log in to **Leadbit** account.
2. Go to **Profile**.

3. Select **Global postback** from the list.
4. Specify **Postback URLs** for the required statuses.
5. Click **Save** to store the settings.
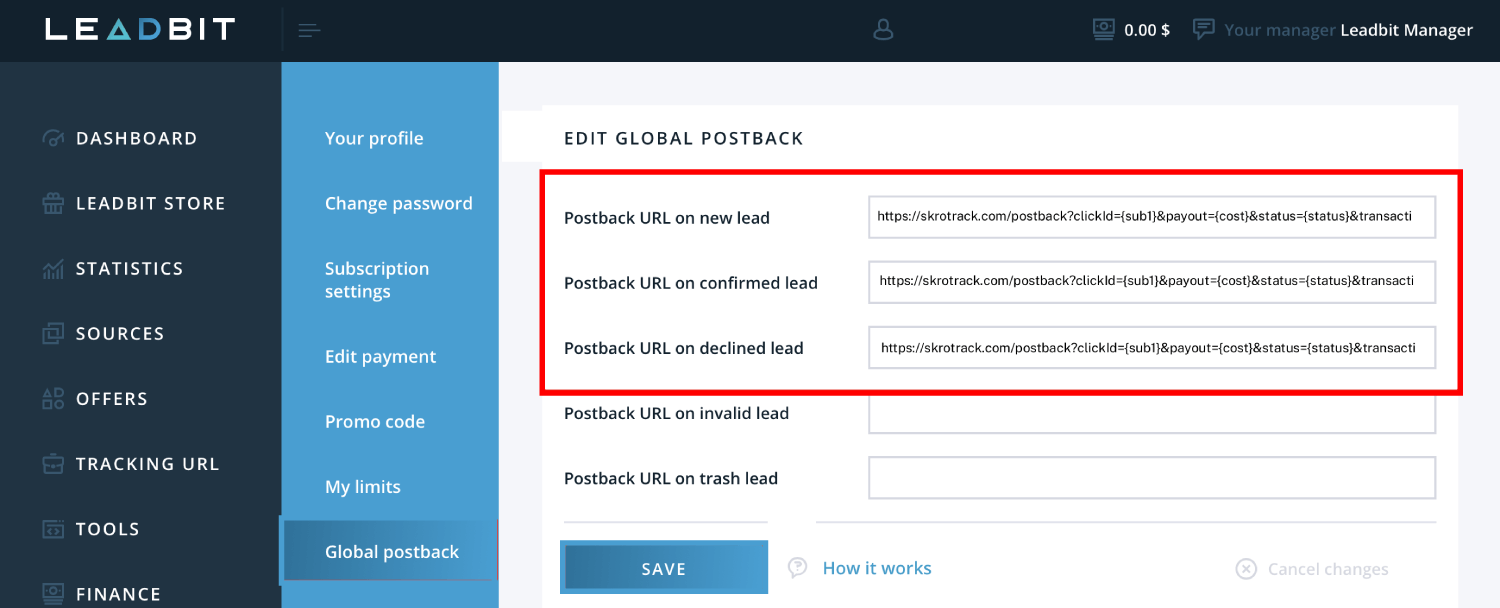
**New Lead Global Postback**
`https://skrotrack.com/postback?clickId={sub1}&payout={cost}&status={status}&transactionId={id}`
**Confirmed Lead Global Postback**
`https://skrotrack.com/postback?clickId={sub1}&payout={cost}&status={status}&transactionId={id}`
**Declined Lead Global Postback**
`https://skrotrack.com/postback?clickId={sub1}&payout={cost}&status={status}&transactionId={id}`
## Step 3. Get an offer from Leadbit [#step-3-get-an-offer-from-leadbit]
1. Go to **Offers** section on the panel.
2. Select your offer from the list and click **Create Tracking URL**.
3. Specify all the required information and click **Create flow**.
6. Copy **Offer** link.
## Step 4. Add offer to Skro [#step-4-add-offer-to-skro]
1. Go back to Skro and navigate to the **Offers** and click **Create**.
2. Choose your workspace.
3. Give a name to your offer.
4. Grab the offer link from Leadbit and add it to Offer URL field and change the macros to this **`&sub1={clickId}`**
**`{clickId}`** - The Skro click ID macro for conversion tracking.
**Example Offer URL:**
`https://example_offer.com/73dsa?sub1={clickId}`
5. Choose Leadbit from the **Affiliate Network** select box.
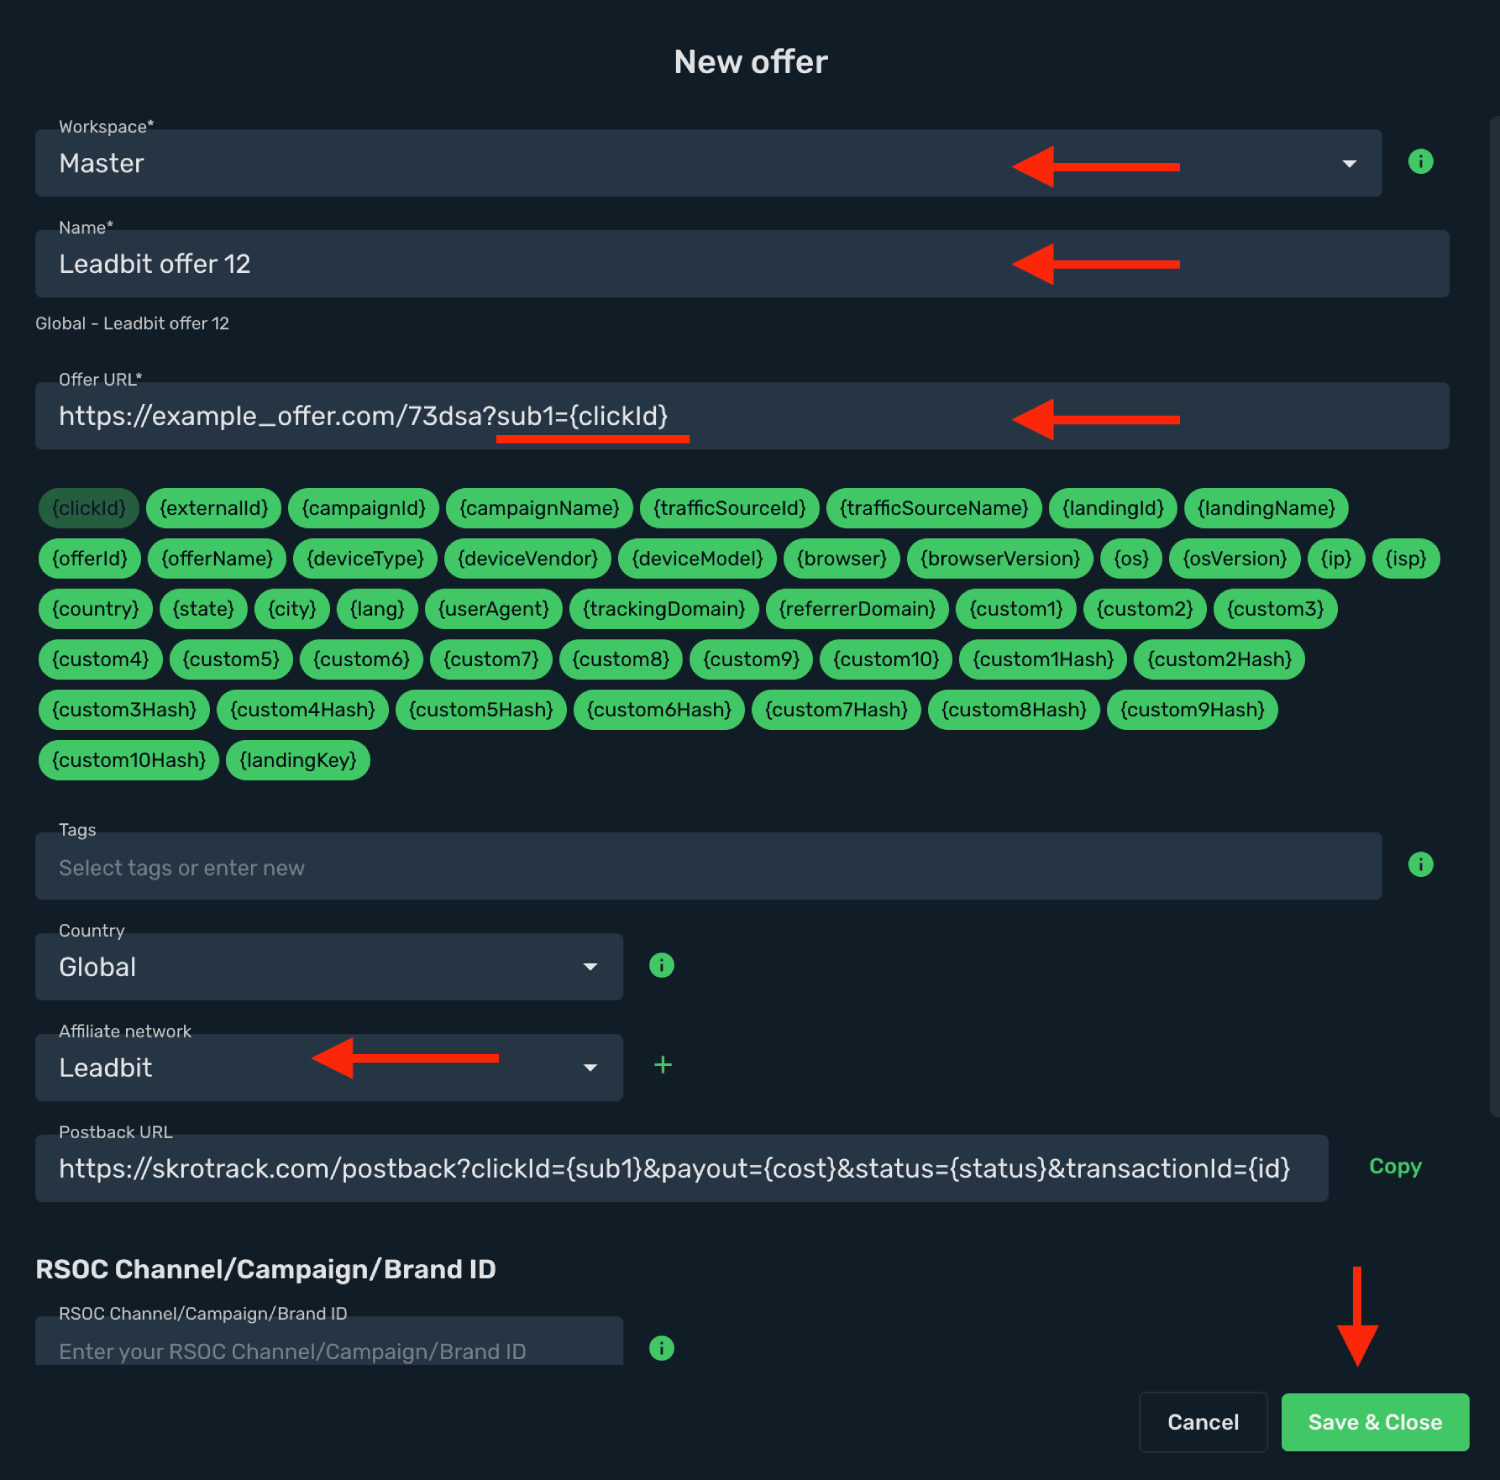
6. Click **Save & Close**.
## Step 5. Create a campaign on Skro [#step-5-create-a-campaign-on-skro]
1. Start with the following guide:
## Verify the setup [#verify-the-setup]
Follow a campaign link and complete a test conversion using your provider’s test workflow. Confirm that the original click ID reaches the provider and is returned to Skro, then check the event and revenue in your campaign report.
If data is missing, check the selected workspace, integration, campaign, and reporting date range. Compare parameter names and macro values with the examples in this guide before repeating the test.
## Related guides [#related-guides]
# LosPollos integration
Source: https://skro.eu/docs/integrations/lospollos-integration
Connect LosPollos to Skro, map click IDs, and configure postbacks to attribute conversions and revenue to your campaigns.
## Step 1. Add affiliate network to Skro [#step-1-add-affiliate-network-to-skro]
1. Go to **Affiliate Networks** and click **Create**.
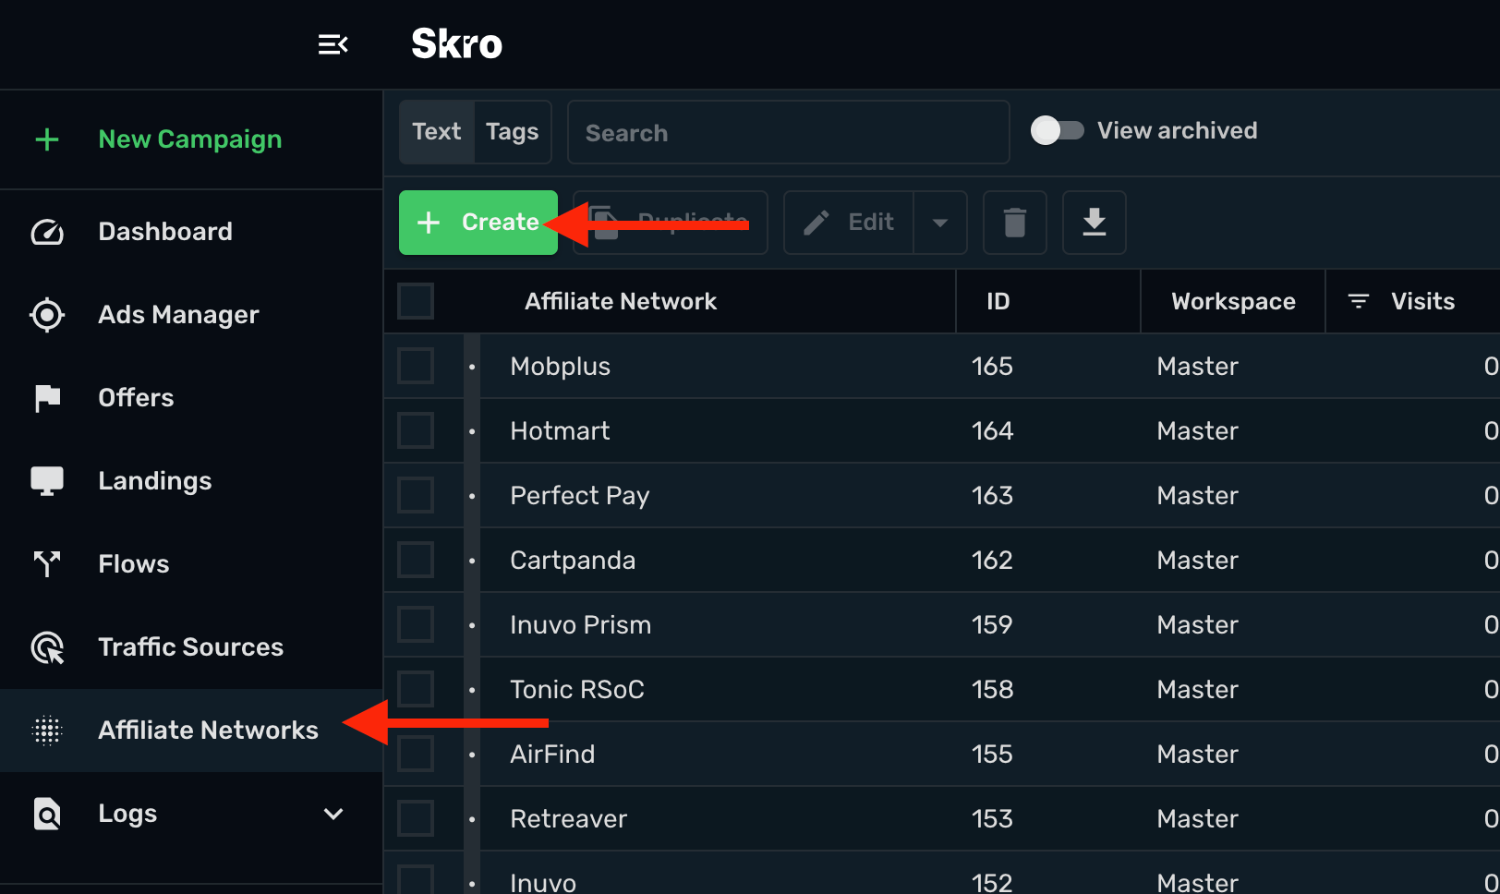
2. Search LosPollos and select the **LosPollos** template.
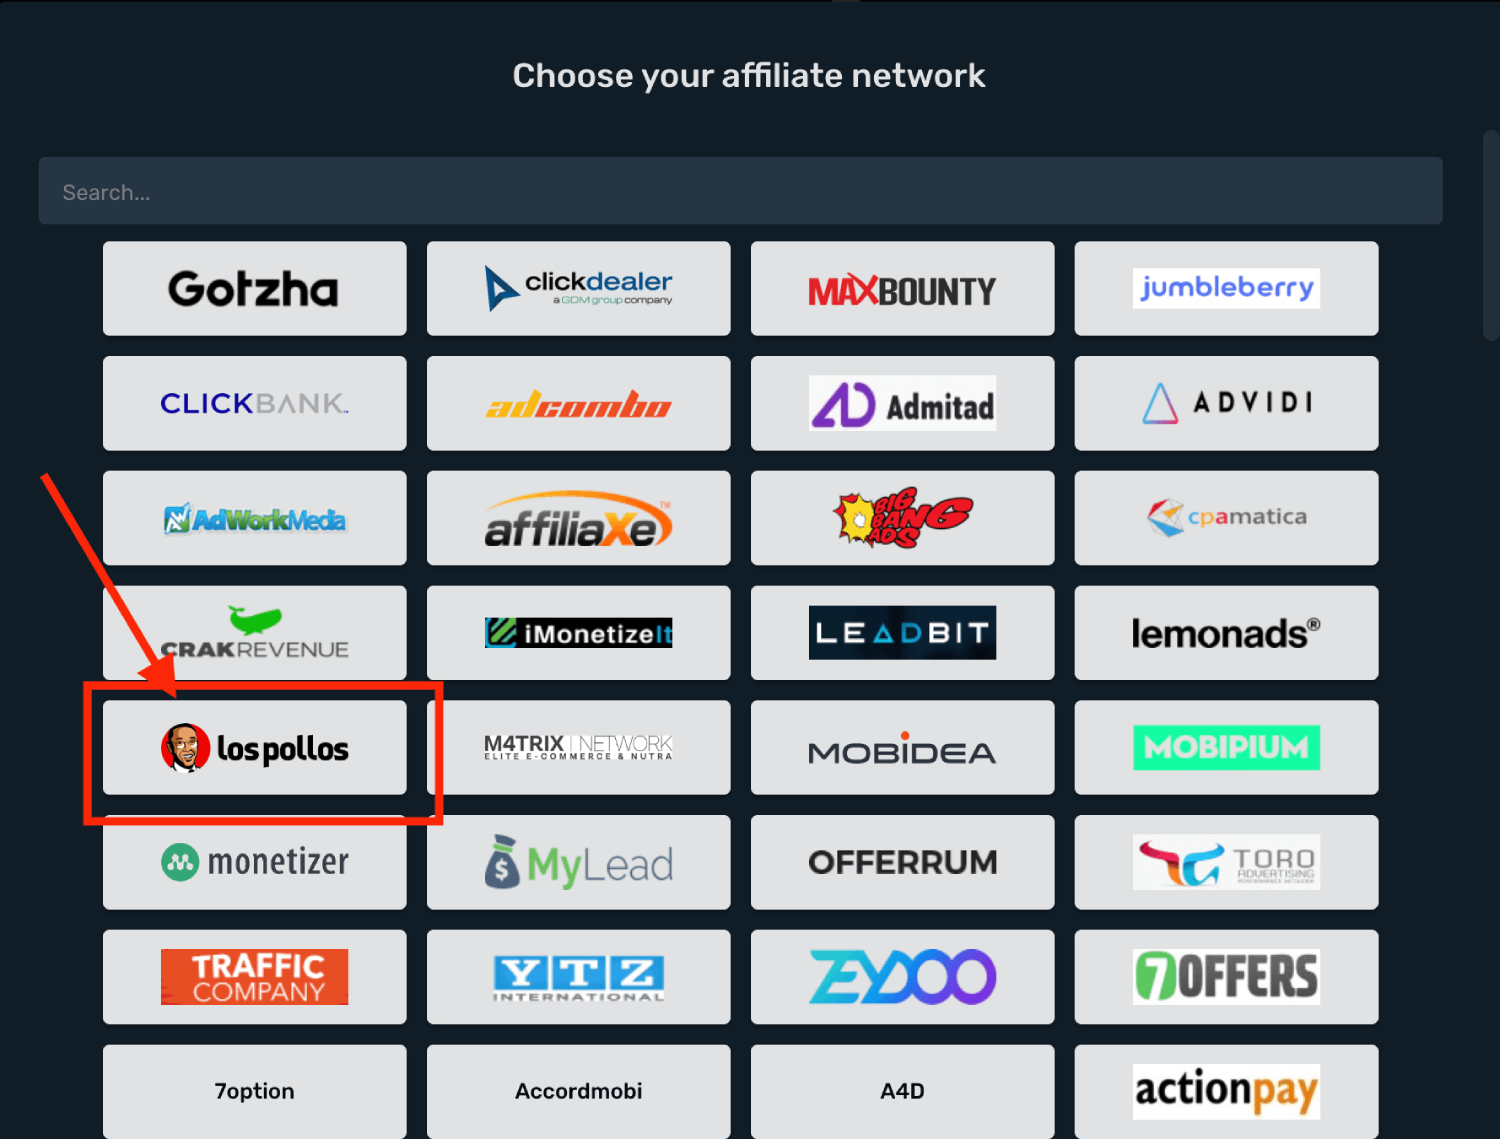
3. Select your **Workspace** and **Copy** postback URL to your clipboard.
4. Click **Save & Close**.
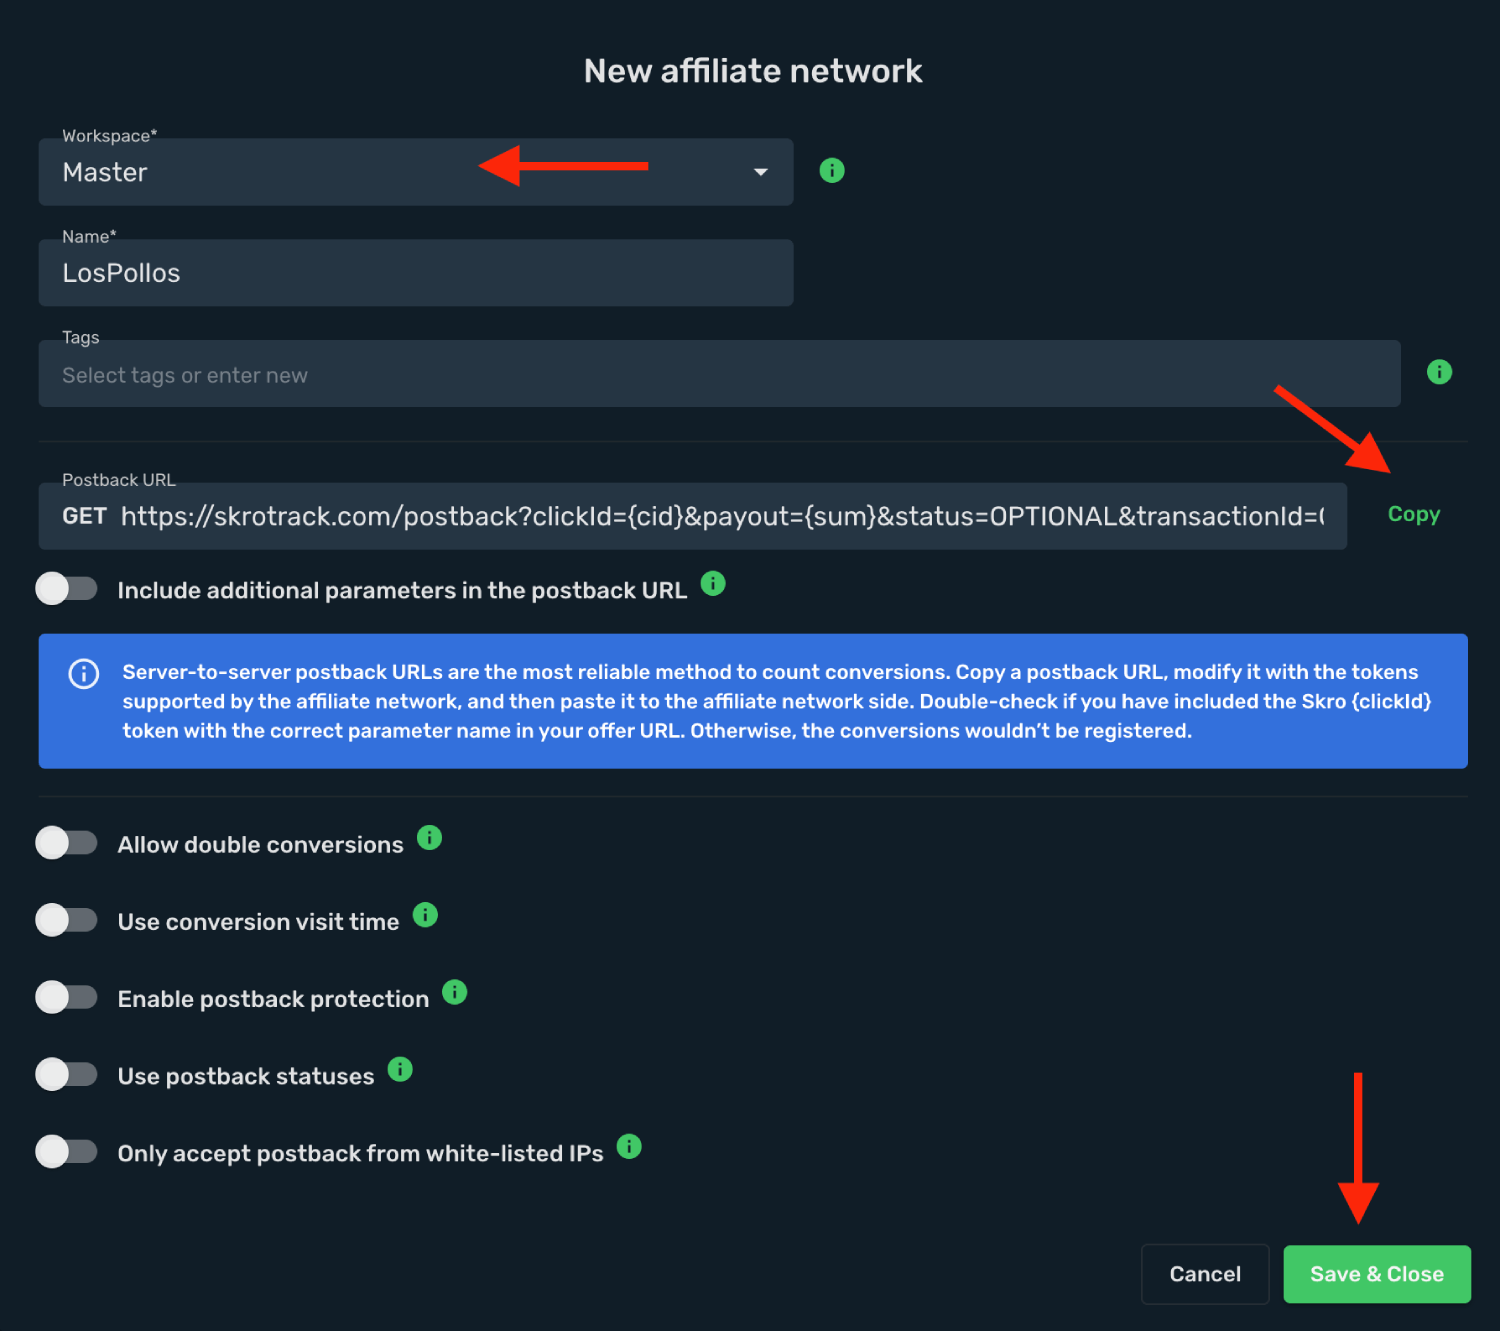
The LosPollos affiliate network is now saved in Skro. Use the copied postback URL in LosPollos in the next step.
## Step 2. Setting up a postback URL [#step-2-setting-up-a-postback-url]
1. Log in to **LosPollos** account.
2. Click **Settings** → **Global postback** and click **Plus icon**.
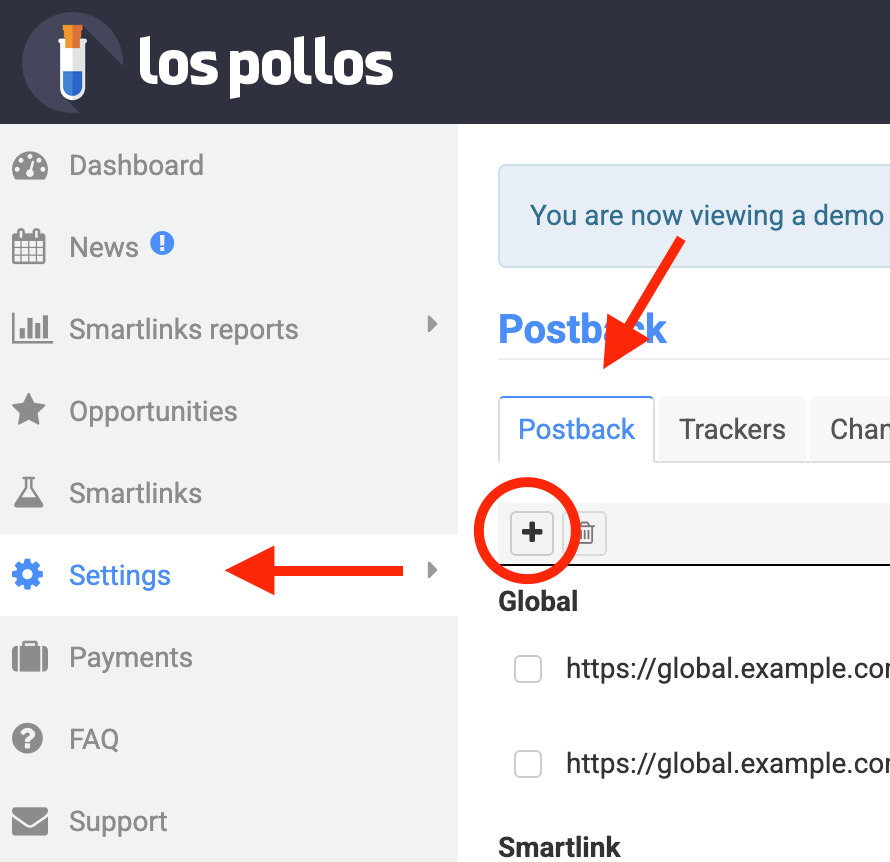
3. Paste your Postback URL and click **Save** to store the global postback.
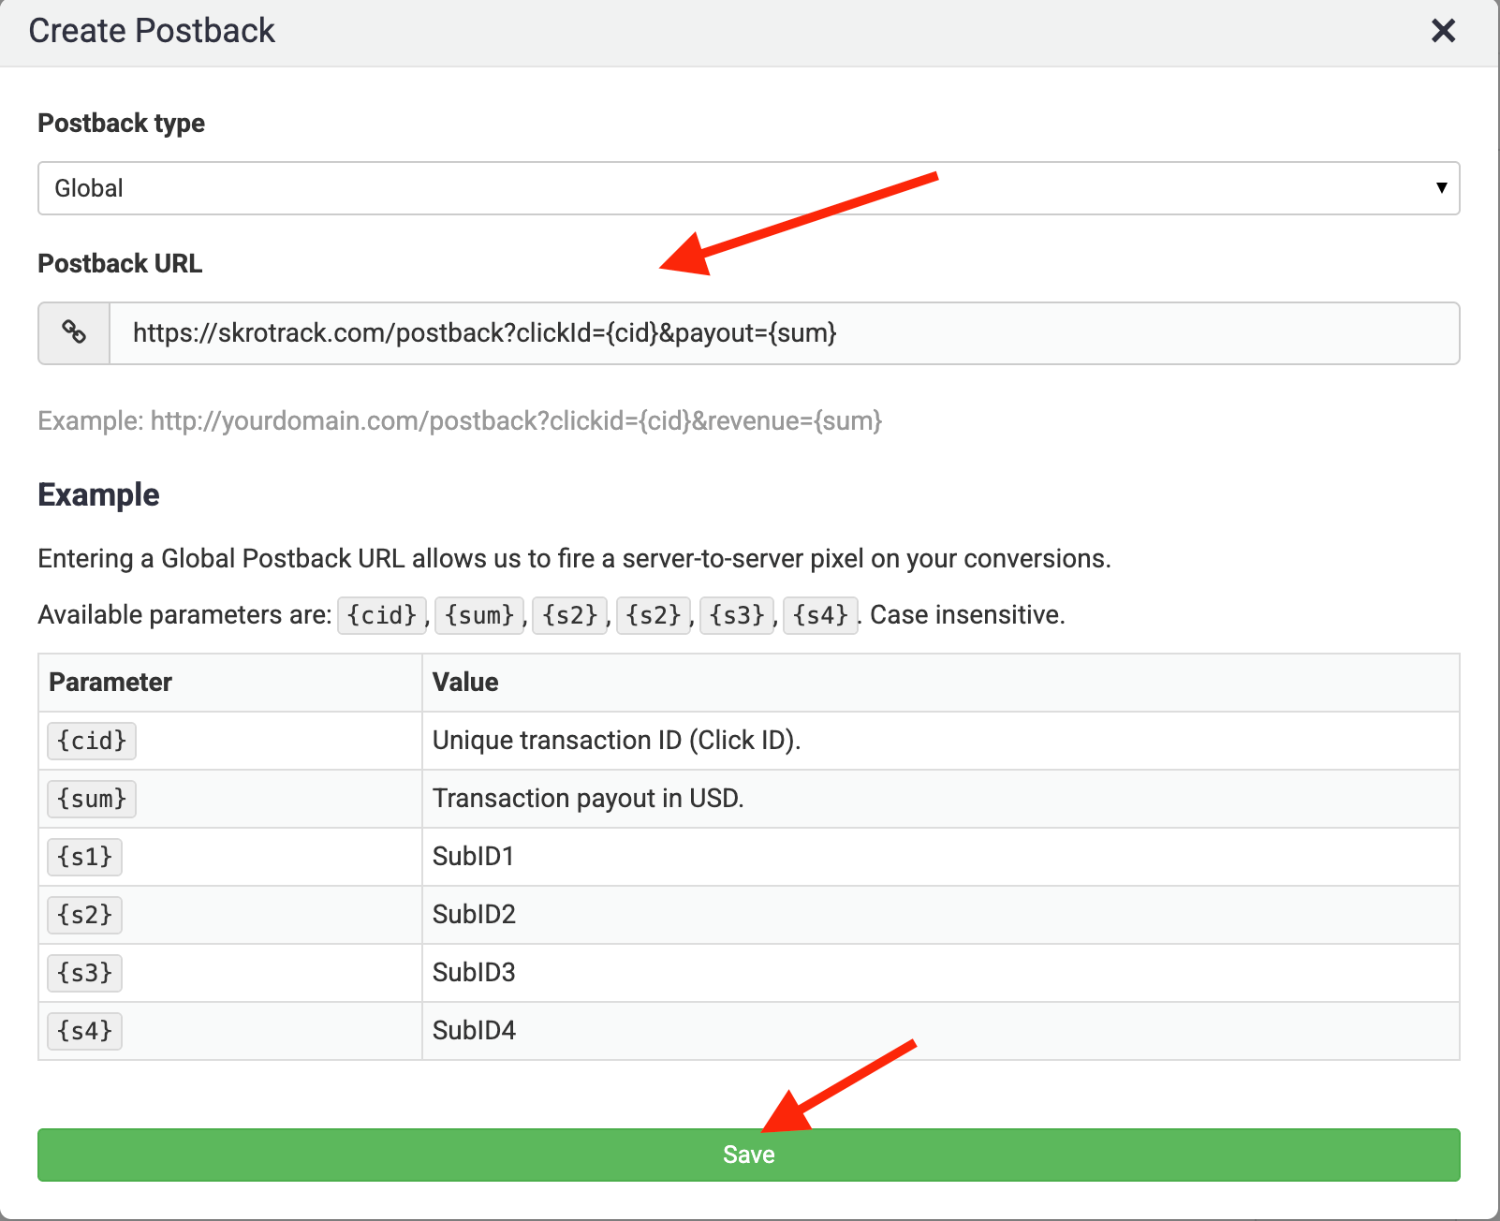
### Global Postback [#global-postback]
`https://skrotrack.com/postback?clickId={cid}&payout={sum}`
## Step 3. Get an offer from LosPollos [#step-3-get-an-offer-from-lospollos]
1. To get offer link on the side of LosPollos go to **Smartlinks** section on the panel.
2. Select the desired offer from the list and click its name.
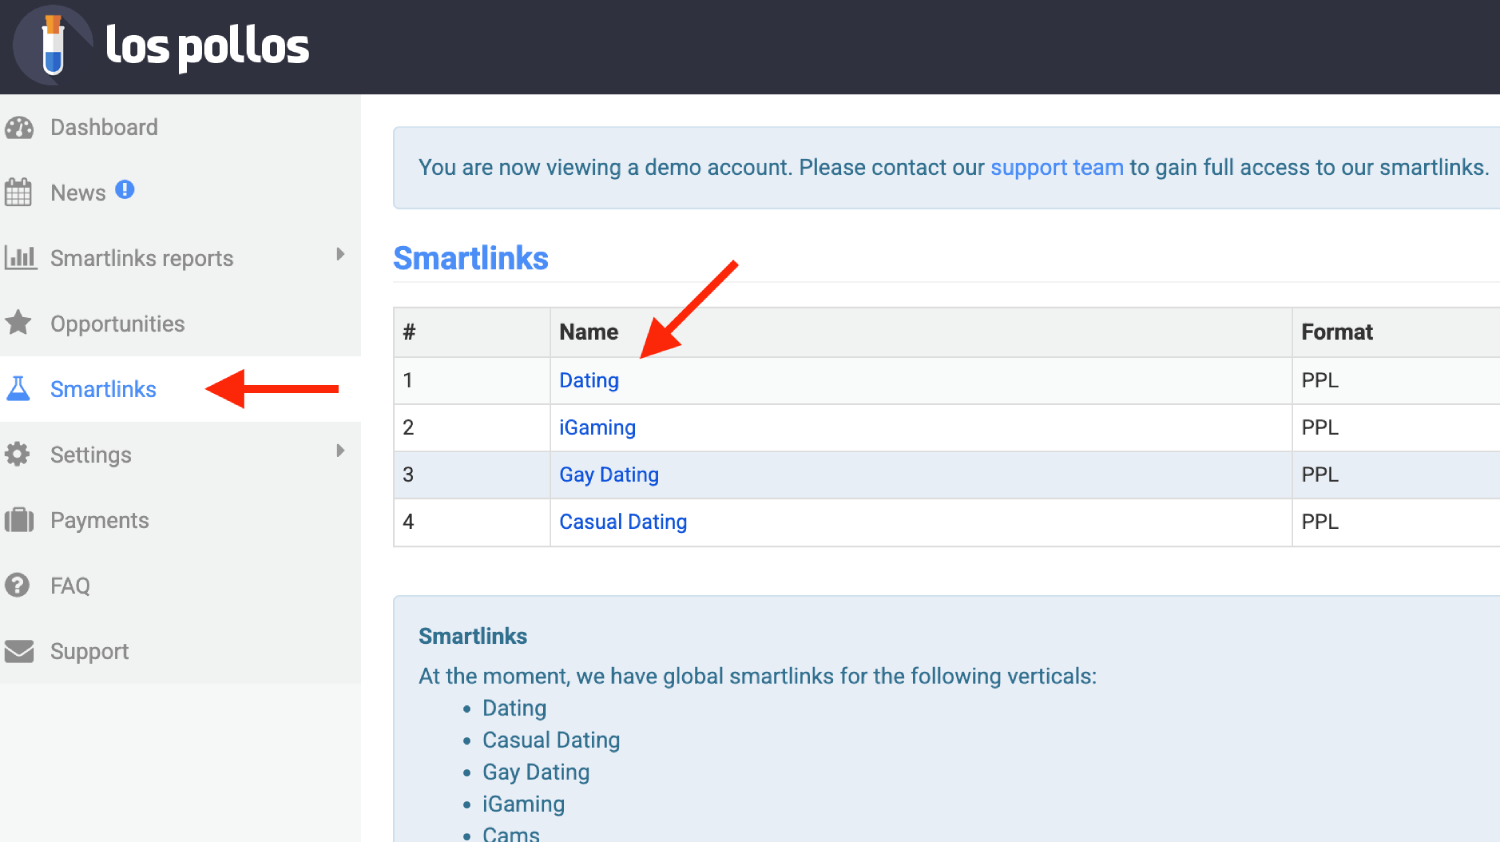
3. Copy the **Offer URL**.
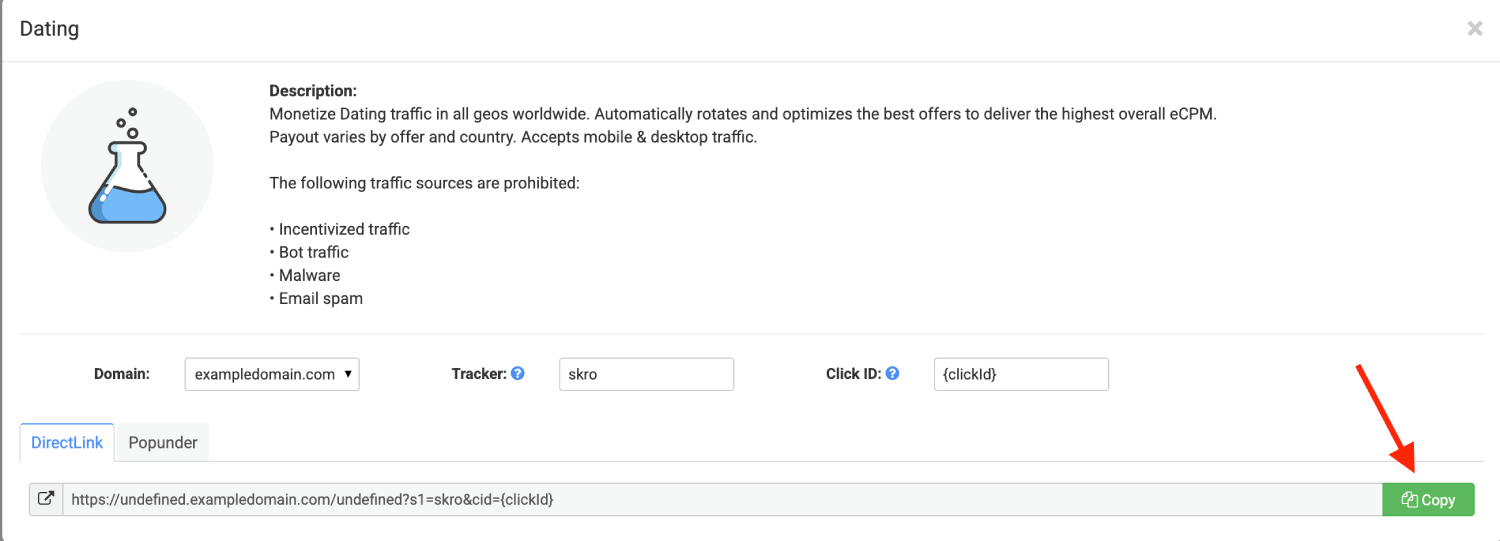
## Step 4. Add offer to Skro [#step-4-add-offer-to-skro]
1. Go back to Skro and navigate to the **Offers** and click **Create**.
2. Choose your workspace.
3. Give a name to your offer.
4. Grab the offer link from LosPollos and add it to Offer URL field and change the macros to this **`&pub_click_id={clickId}&site={custom1}`**
**`{clickId}`** - The Skro click ID macro for conversion tracking.
**`{custom1}`** - It's your traffic source Ad ID or Site ID, it depends on your traffic source parameters mapping on Skro.
**Example Offer URL:**
`https://example_offer.com/click?offer_id=11111&pub_id=222222&pub_click_id={clickId}&site={custom1}`
5. Choose LosPollos from the **Affiliate Network** select box.
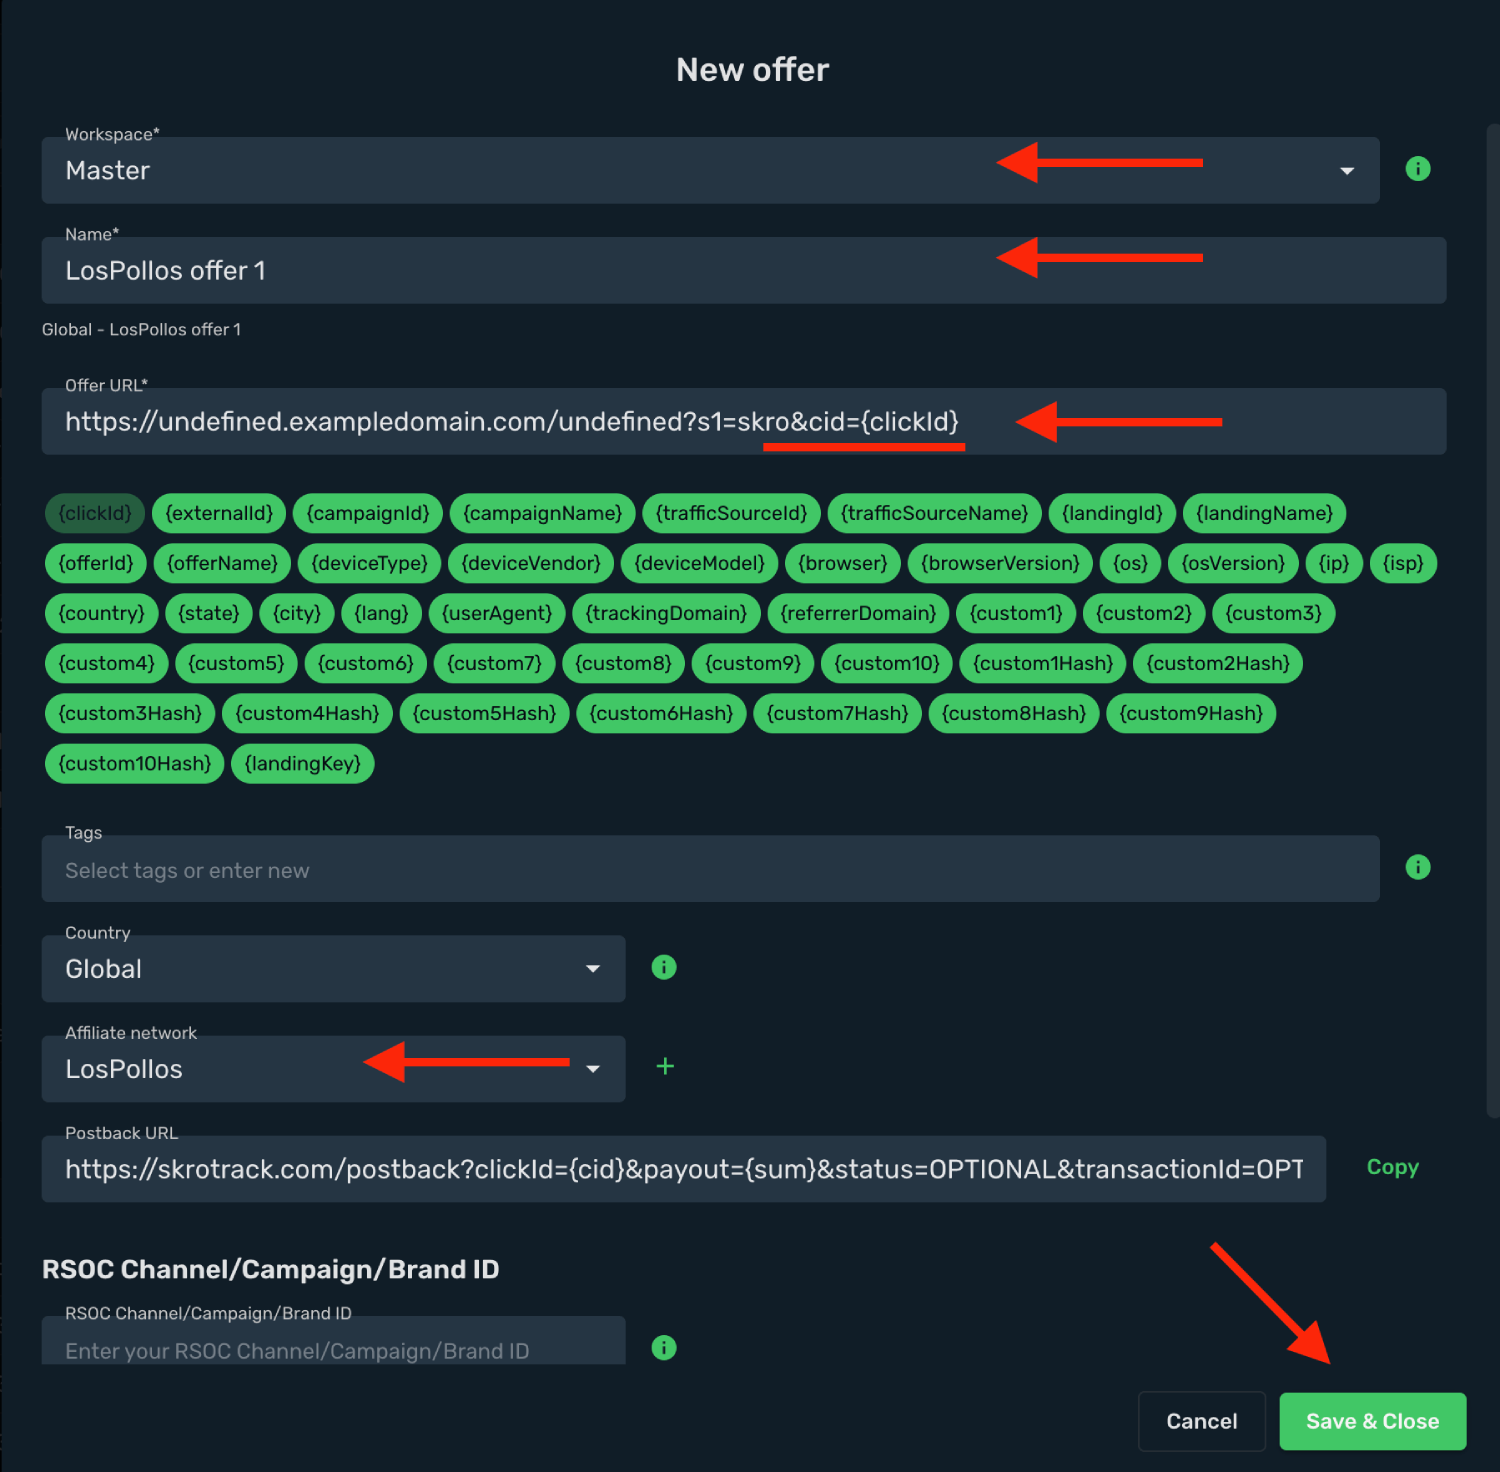
6. Click **Save & Close**.
## Step 5. Create a campaign on Skro [#step-5-create-a-campaign-on-skro]
1. Start with the following guide:
## Verify the setup [#verify-the-setup]
Follow a campaign link and complete a test conversion using your provider’s test workflow. Confirm that the original click ID reaches the provider and is returned to Skro, then check the event and revenue in your campaign report.
If data is missing, check the selected workspace, integration, campaign, and reporting date range. Compare parameter names and macro values with the examples in this guide before repeating the test.
## Related guides [#related-guides]
# M4trix Network integration
Source: https://skro.eu/docs/integrations/m4trix-network-integration
Connect M4trix Network to Skro, map click IDs, and configure postbacks to attribute conversions and revenue to your campaigns.
## Step 1. Add affiliate network to Skro [#step-1-add-affiliate-network-to-skro]
1. Go to **Affiliate Networks** and click **Create**.
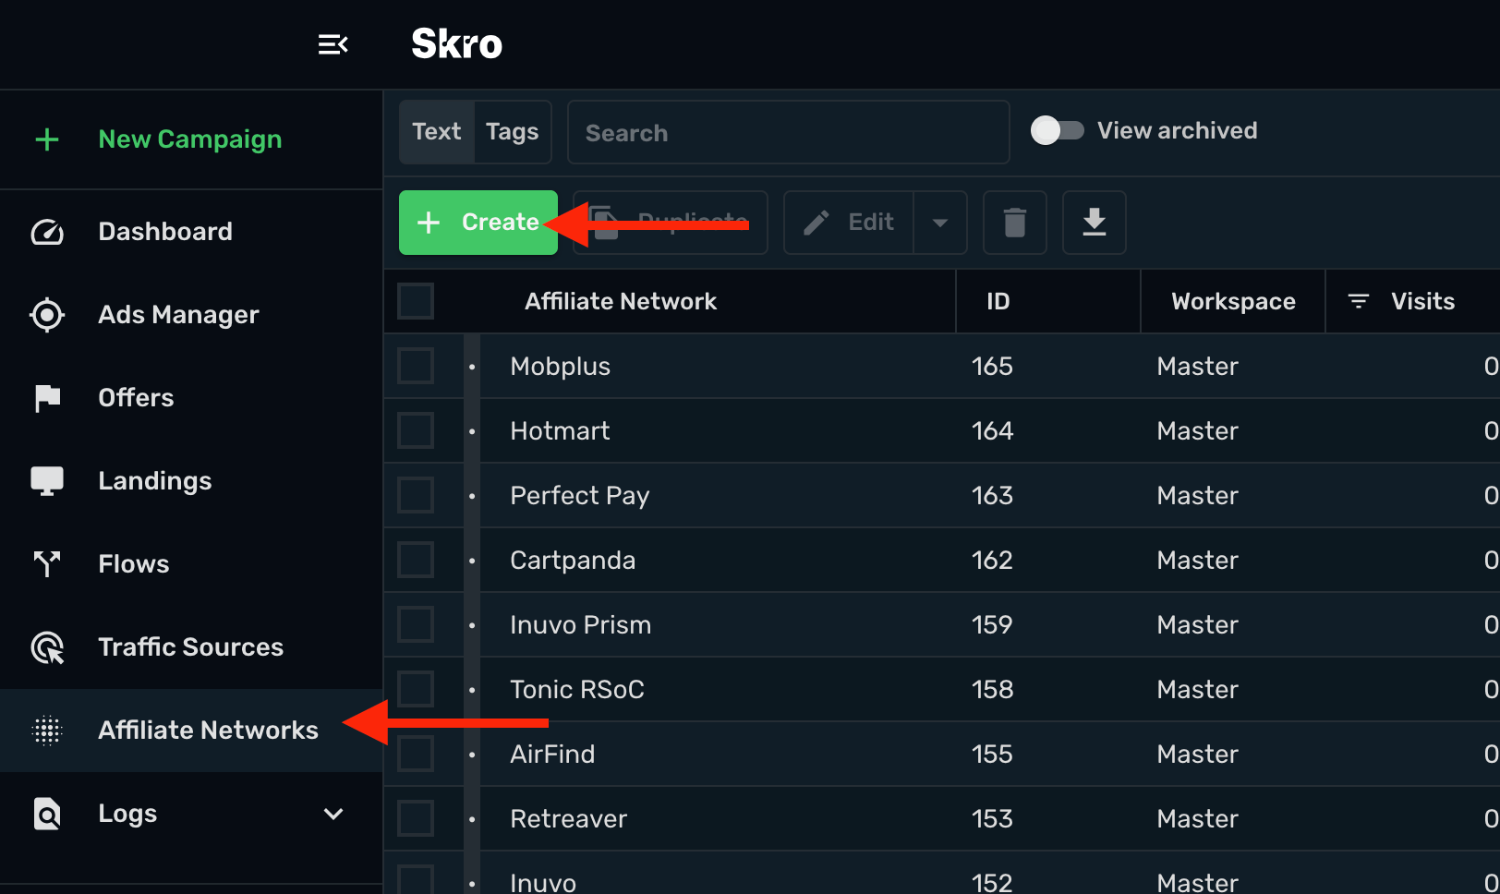
2. Search M4trix Network and select the **M4trix Network** template.
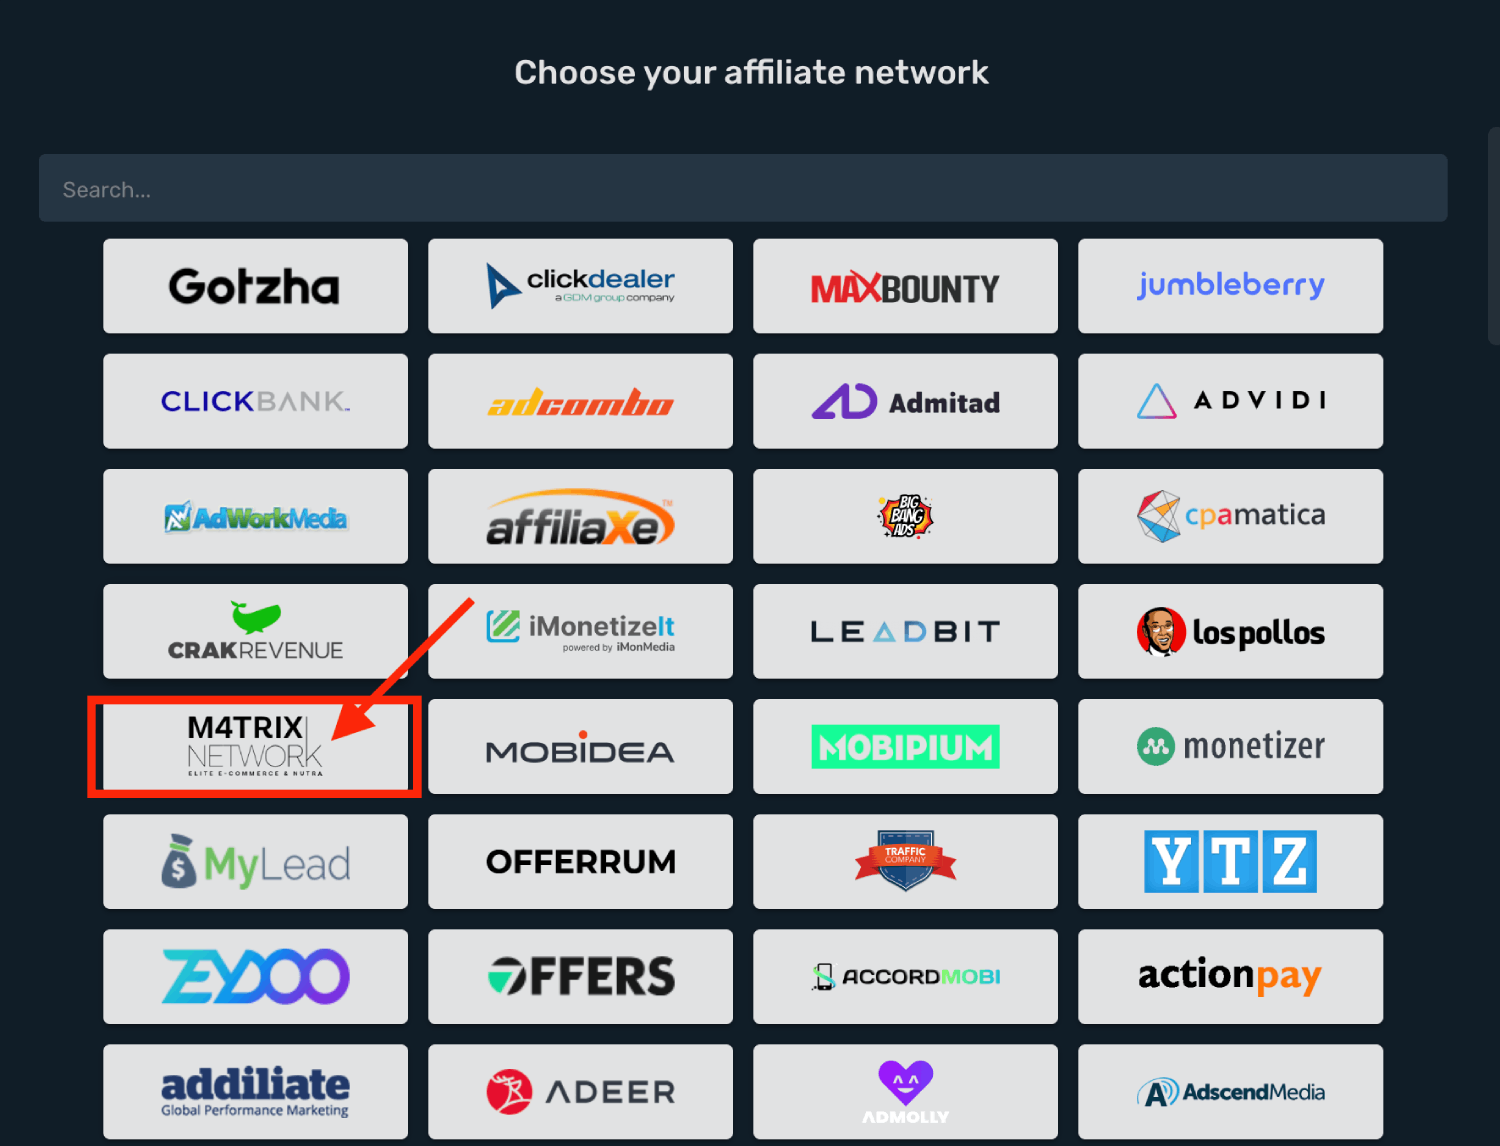
3. Select your **Workspace** and **Copy** postback URL to your clipboard.
4. Click **Save & Close**.
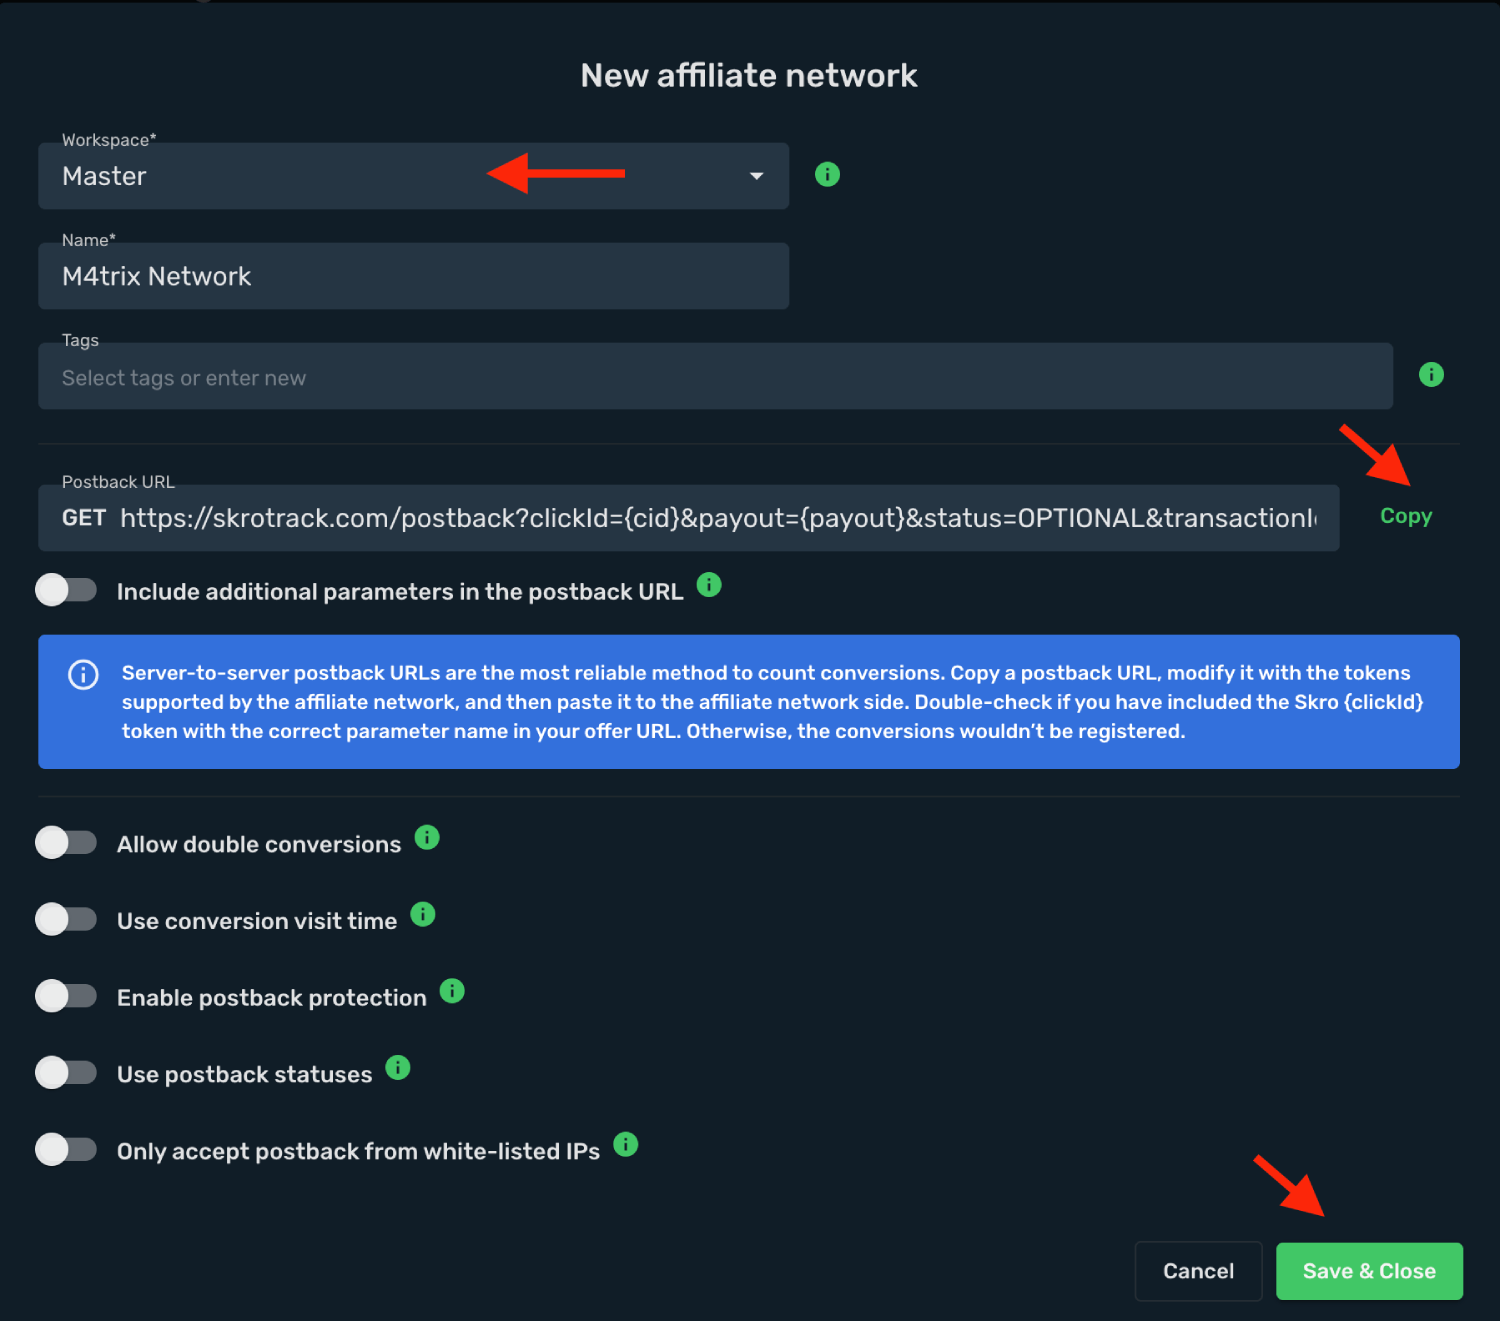
The M4trix Network affiliate network is now saved in Skro. Use the copied postback URL in M4trix Network in the next step.
## Step 2. Setting up a postback URL [#step-2-setting-up-a-postback-url]
1. Log in to **M4trix Network** account.
2. Go to the **Account** → **Manage Account** → **Tracking** section.
3. Click **Edit**.
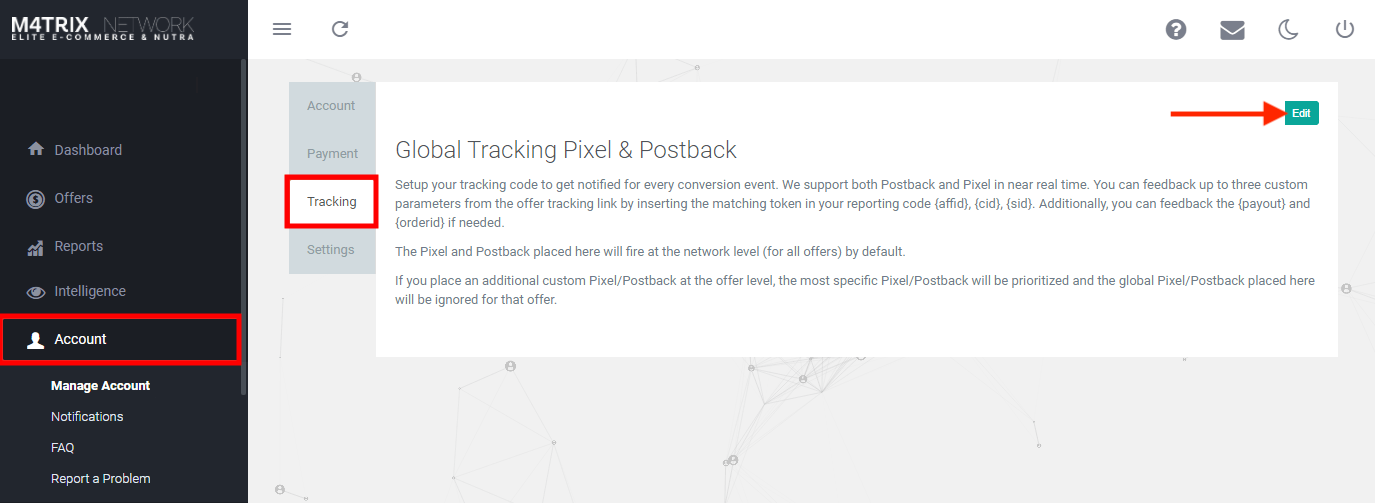
4. Click **Add Post Back**.
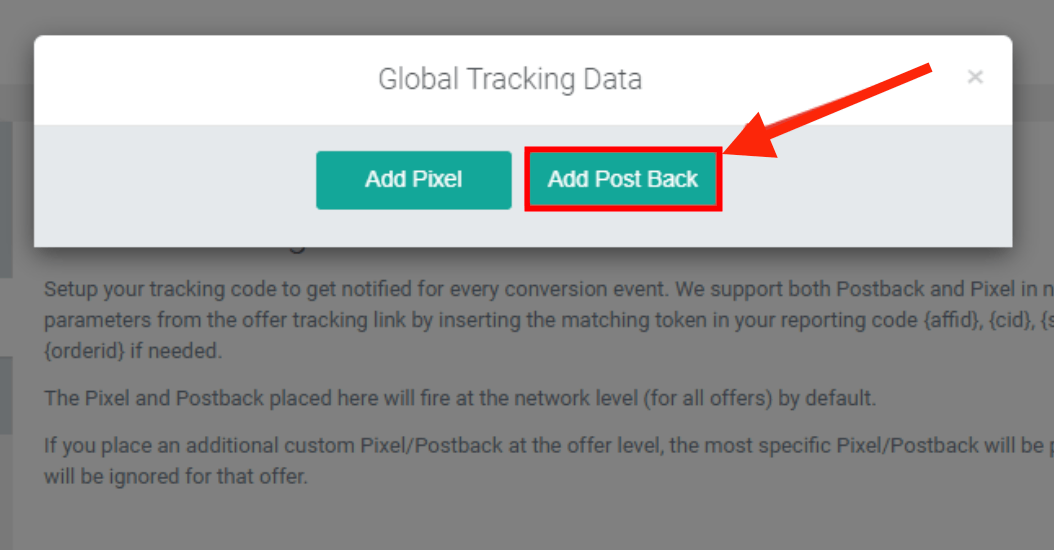
5. Paste your **Postback URL** to the field.
6. Click **Submit**.
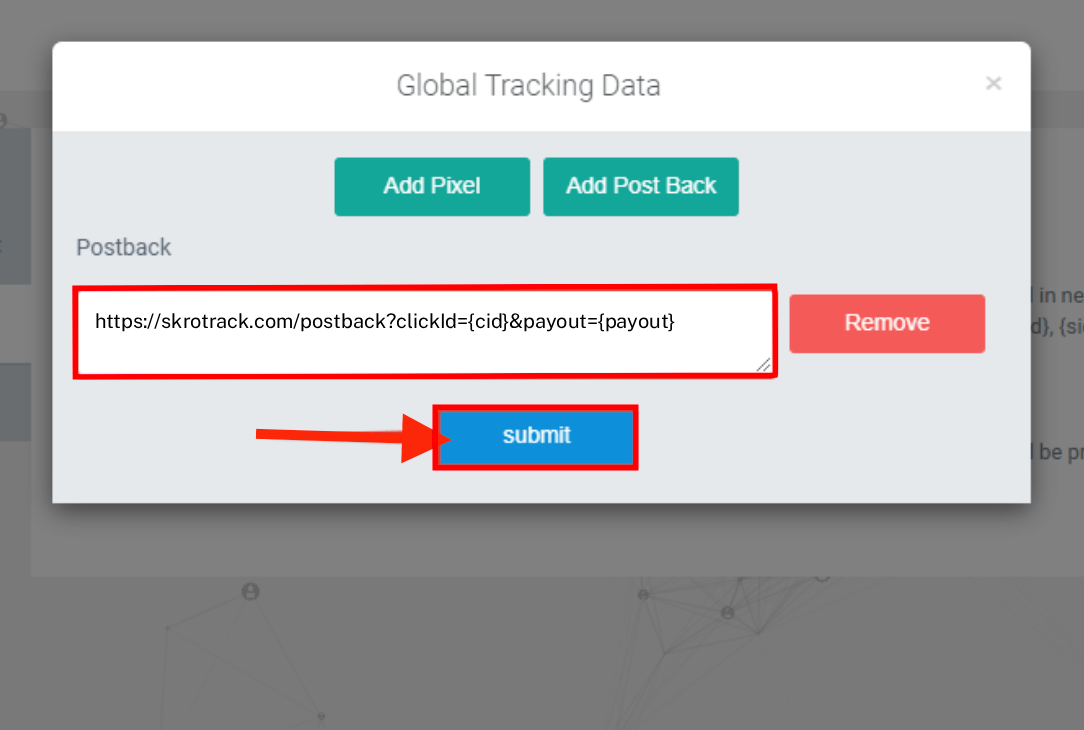
**Global Postback**
`https://skrotrack.com/postback?clickId={cid}&payout={payout}`
## Step 3. Get an offer from M4trix Network [#step-3-get-an-offer-from-m4trix-network]
1. Go to **Offers** section on the panel.
2. Select your offer from the list and click it.
3. Click **Tracking Links** tab.
3. Copy **Offer** URL to the clipboard.
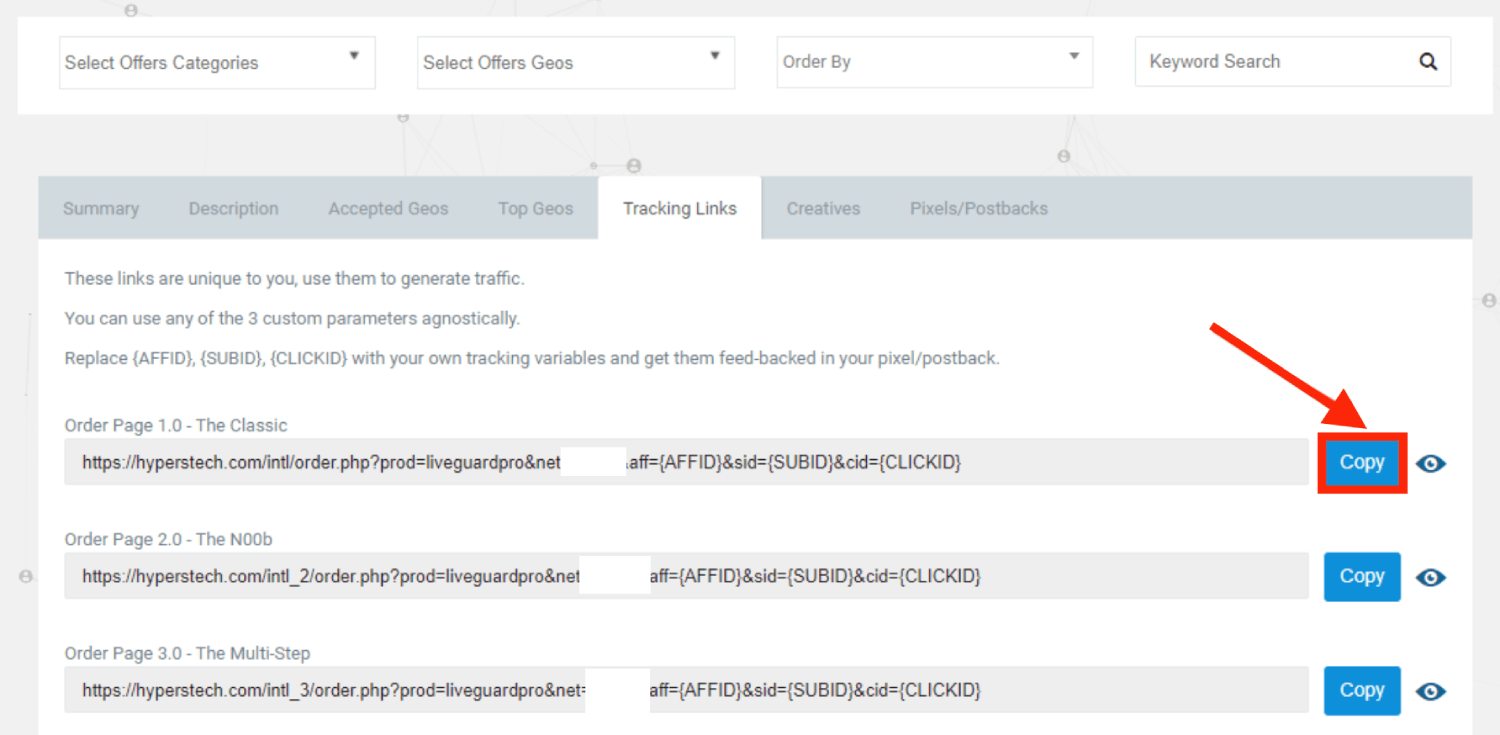
## Step 4. Add offer to Skro [#step-4-add-offer-to-skro]
1. Go back to Skro and navigate to the **Offers** and click **Create**.
2. Choose your workspace.
3. Give a name to your offer.
4. Grab the offer link from M4trix Network and add it to Offer URL field and change the macros to this **`&cid={clickId}`**
**`{clickId}`** - The Skro click ID macro for conversion tracking.
**Example Offer URL:**
`https://cmsa.trck.com/?net=123&cid={clickId}`
5. Choose M4trix Network from the **Affiliate Network** select box.
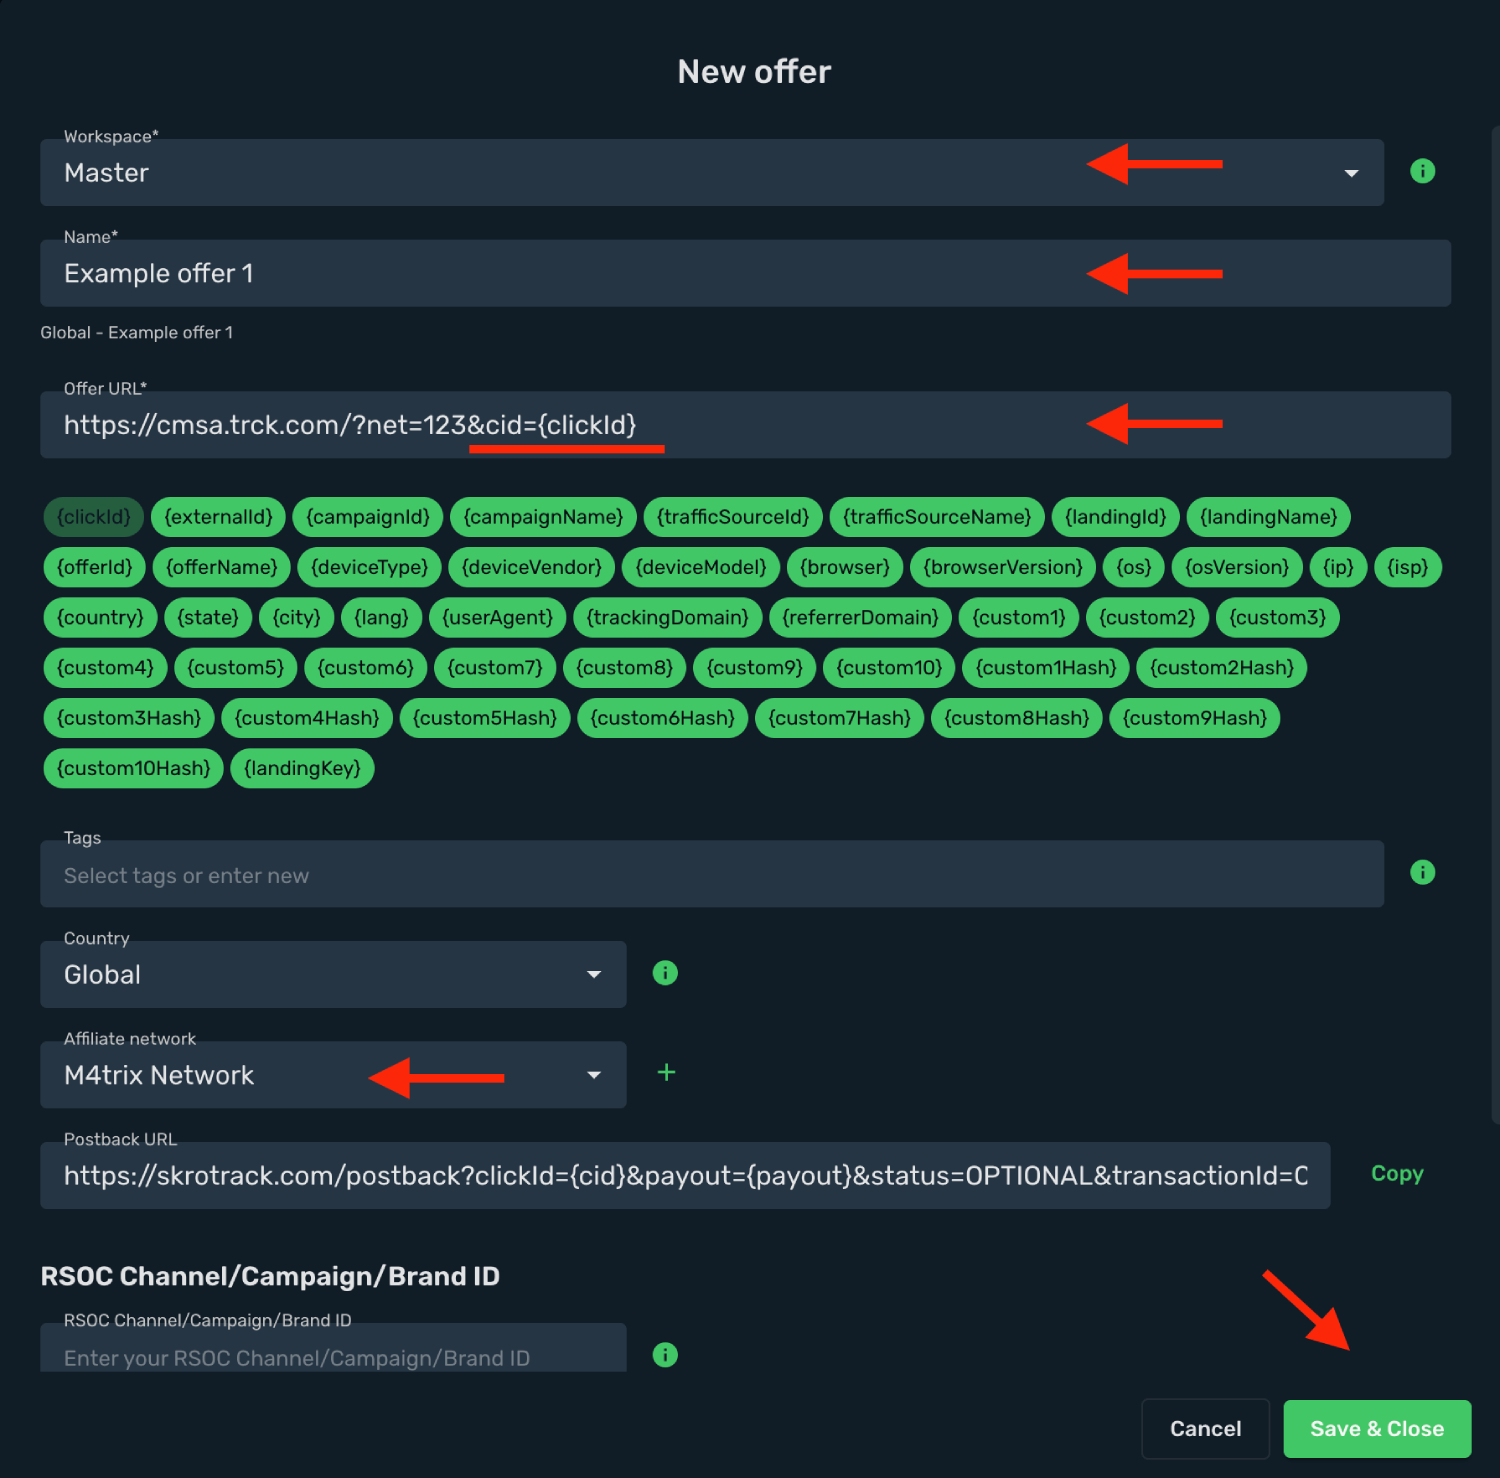
6. Click **Save & Close**.
## Step 5. Create a campaign on Skro [#step-5-create-a-campaign-on-skro]
1. Start with the following guide:
## Verify the setup [#verify-the-setup]
Follow a campaign link and complete a test conversion using your provider’s test workflow. Confirm that the original click ID reaches the provider and is returned to Skro, then check the event and revenue in your campaign report.
If data is missing, check the selected workspace, integration, campaign, and reporting date range. Compare parameter names and macro values with the examples in this guide before repeating the test.
## Related guides [#related-guides]
# Maxbounty integration
Source: https://skro.eu/docs/integrations/maxbounty-integration
Connect Maxbounty to Skro, map click IDs, and configure postbacks to attribute conversions and revenue to your campaigns.
## Step 1. Add affiliate network to Skro [#step-1-add-affiliate-network-to-skro]
1. Go to **Affiliate Networks** and click **Create**.
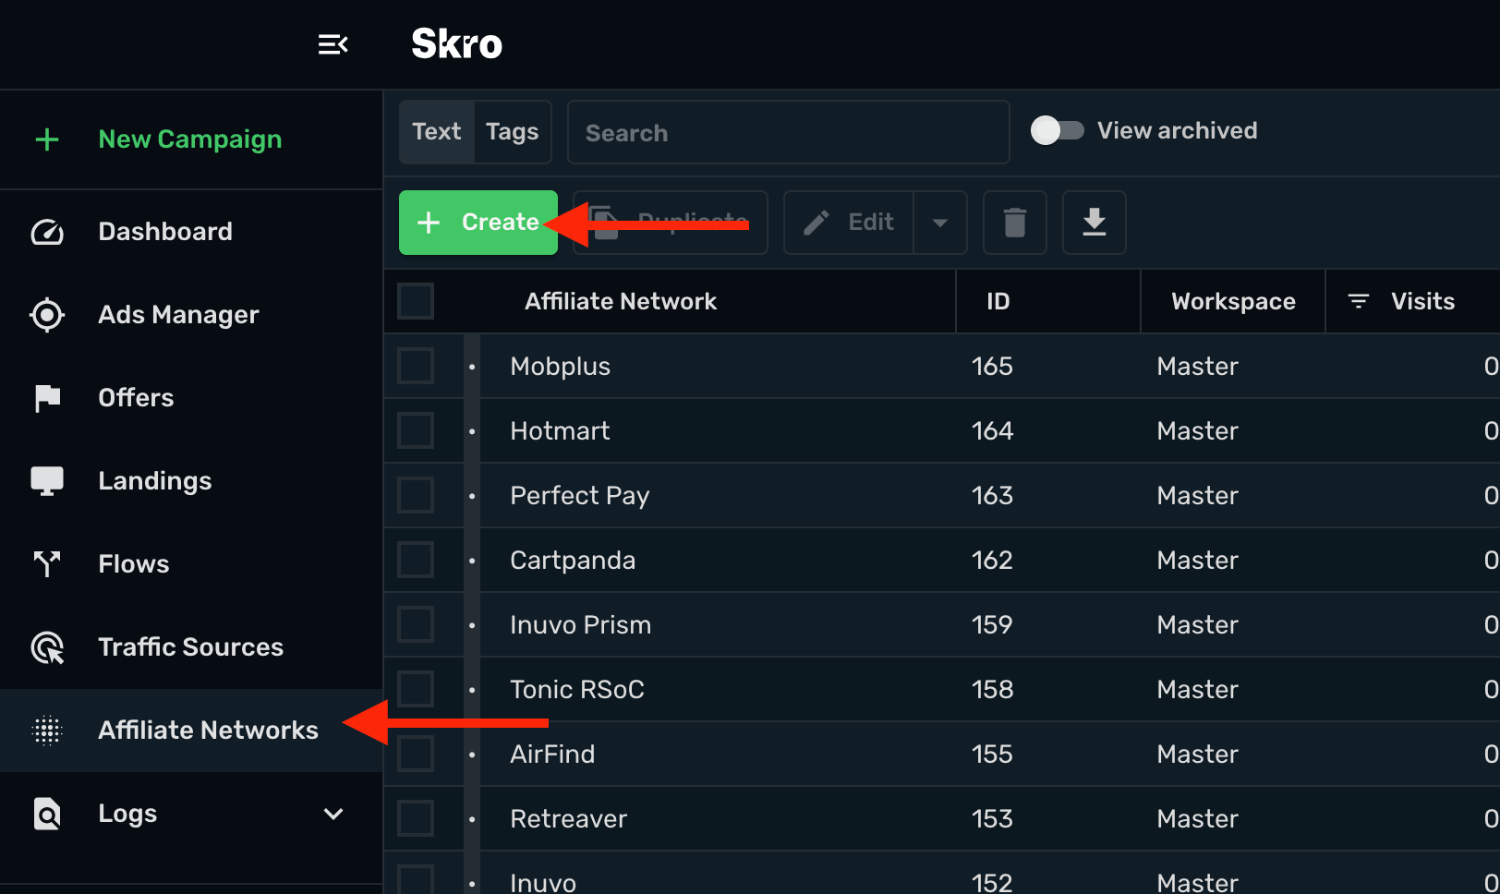
2. Search Maxbounty and select the **Maxbounty** template.
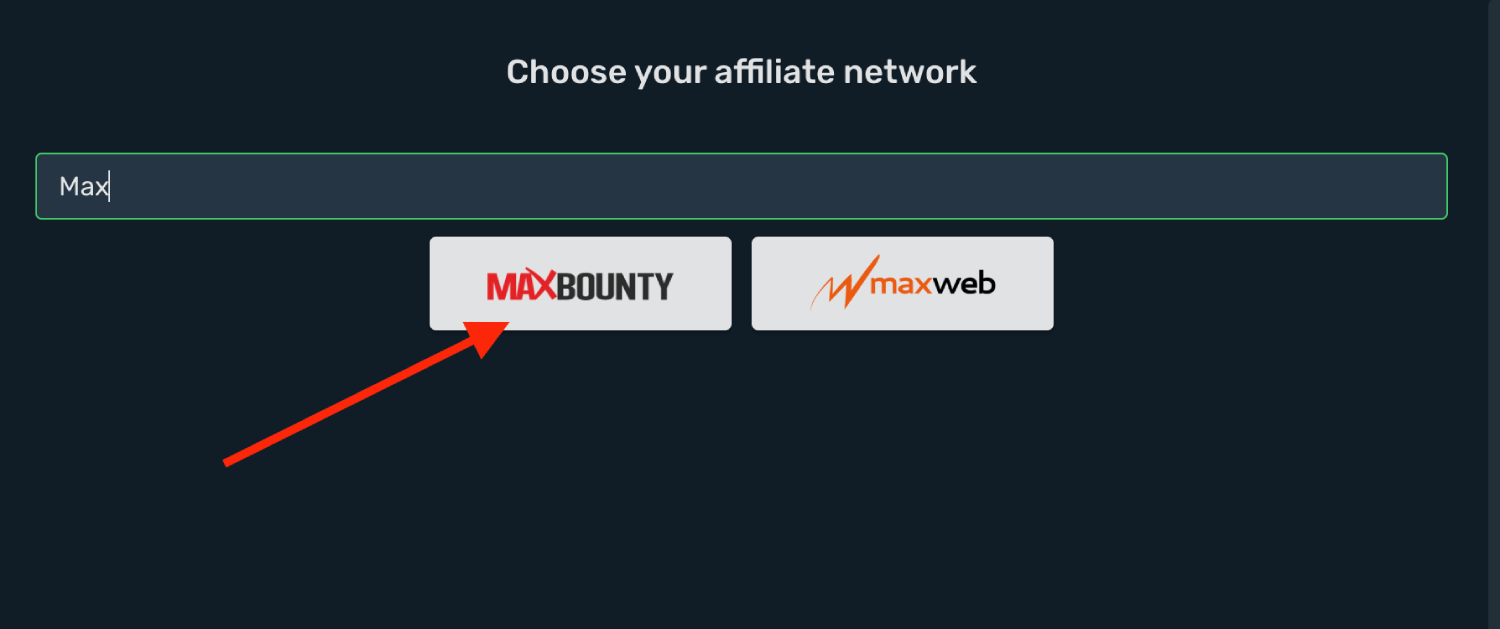
3. Select your **Workspace** and **Copy** postback URL to your clipboard.
4. Click **Save & Close**.
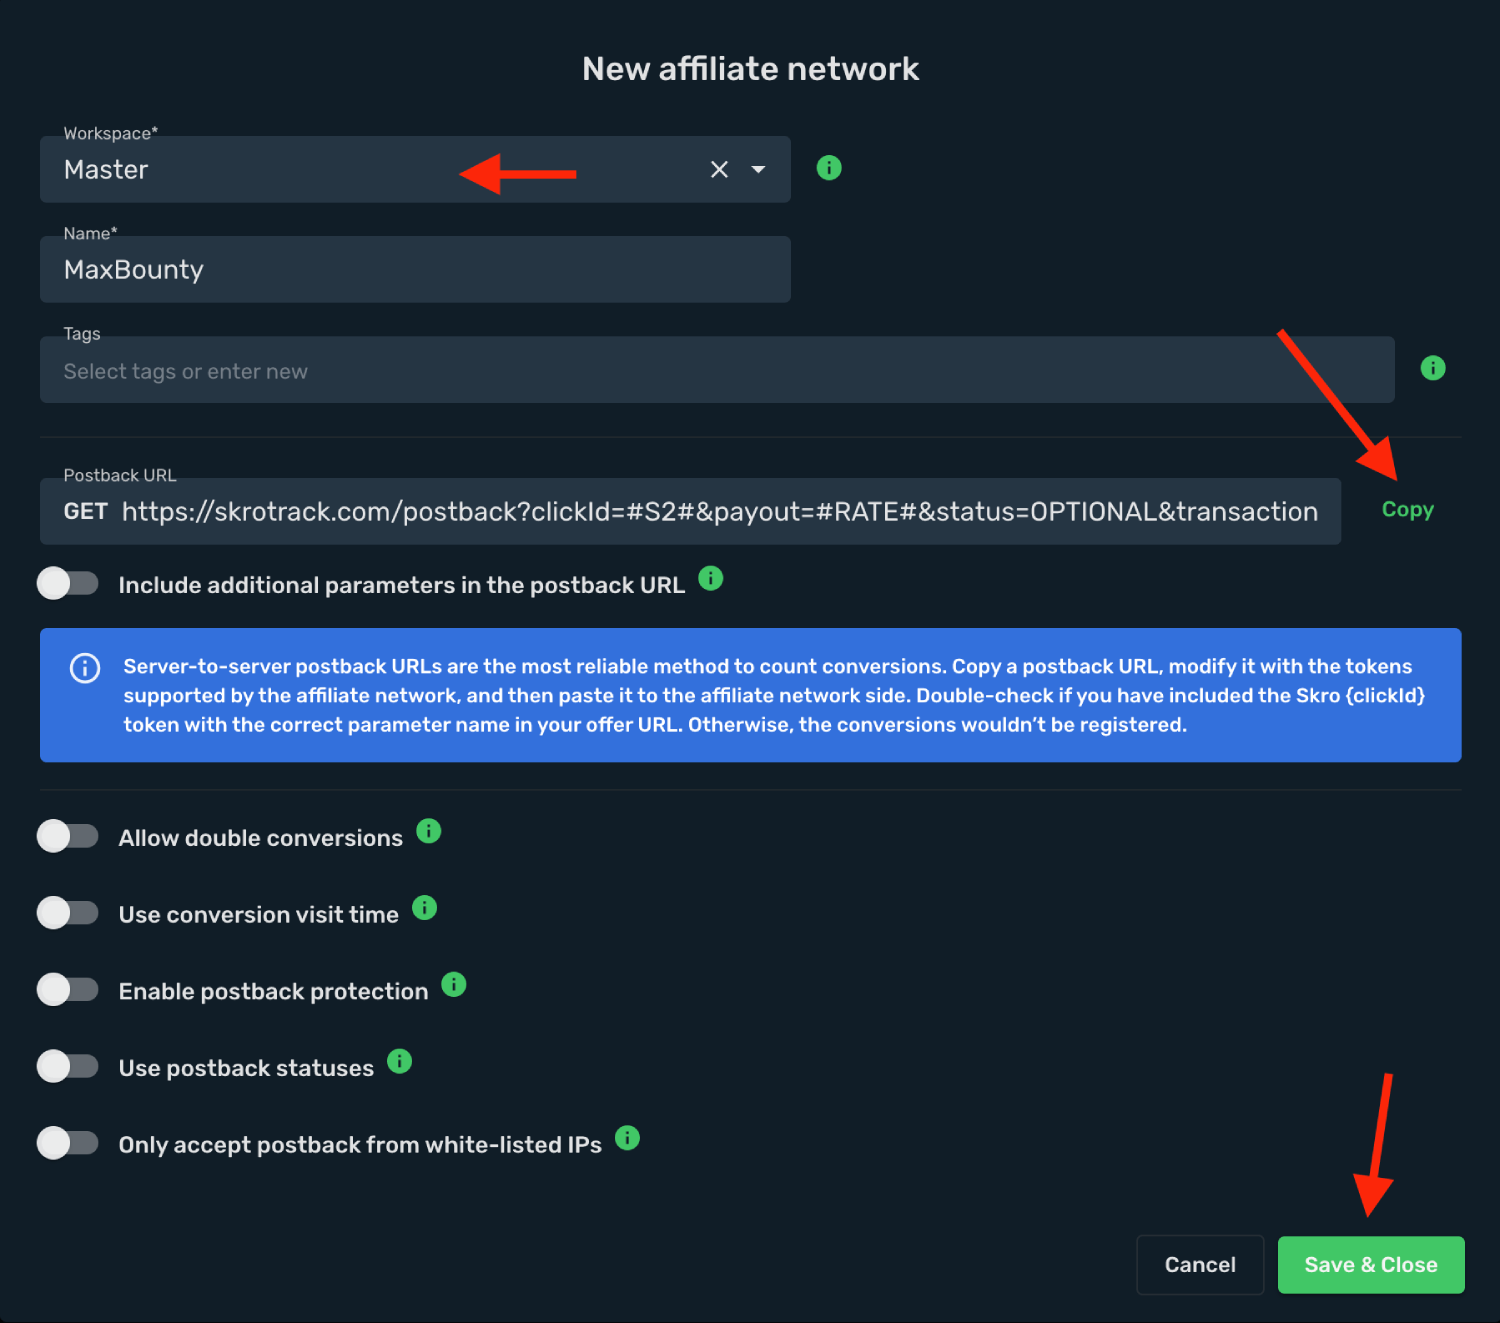
The Maxbounty affiliate network is now saved in Skro. Use the copied postback URL in Maxbounty in the next step.
## Step 2. Setting up a postback URL and getting an offer from Maxbounty [#step-2-setting-up-a-postback-url-and-getting-an-offer-from-maxbounty]
1. Log in to your **Maxbounty account**.
2. Click offer you wish to track and proceed to the **Sub-ID & Callbacks** section, and add `{clickId}` parameter to the **Sub-ID field.**
3. In order to enable tracking, you need to set up a **Postback link**. In MaxBounty, **s2** parameter is typically used for this purpose. Select **URL as Callback Type** and paste the pre-set Postback URL template you copied in step 2 into the corresponding field and click **Save Pixel**.
6. Now that you have set up your tracking data, you can generate a unique link for your offer. Scroll down to **Creatives** and choose your traffic type (eg. Contextual) and click **get tracking code**.
Remember to change the default offer URL back to curly brackets “`{}`” used by Skro, like this **`{clickid}`**
## Step 3. Add offer to Skro [#step-3-add-offer-to-skro]
1. Go back to Skro and navigate to the **Offers** and click **Create**.
2. Choose your workspace.
3. Give a name to your offer.
4. Grab the offer link from Maxbounty and add it to Offer URL field and change the macros to this **`&s2={clickId}`**
**`{clickId}`** - The Skro click ID macro.
5. Choose Maxbounty from the **Affiliate Network** select box.
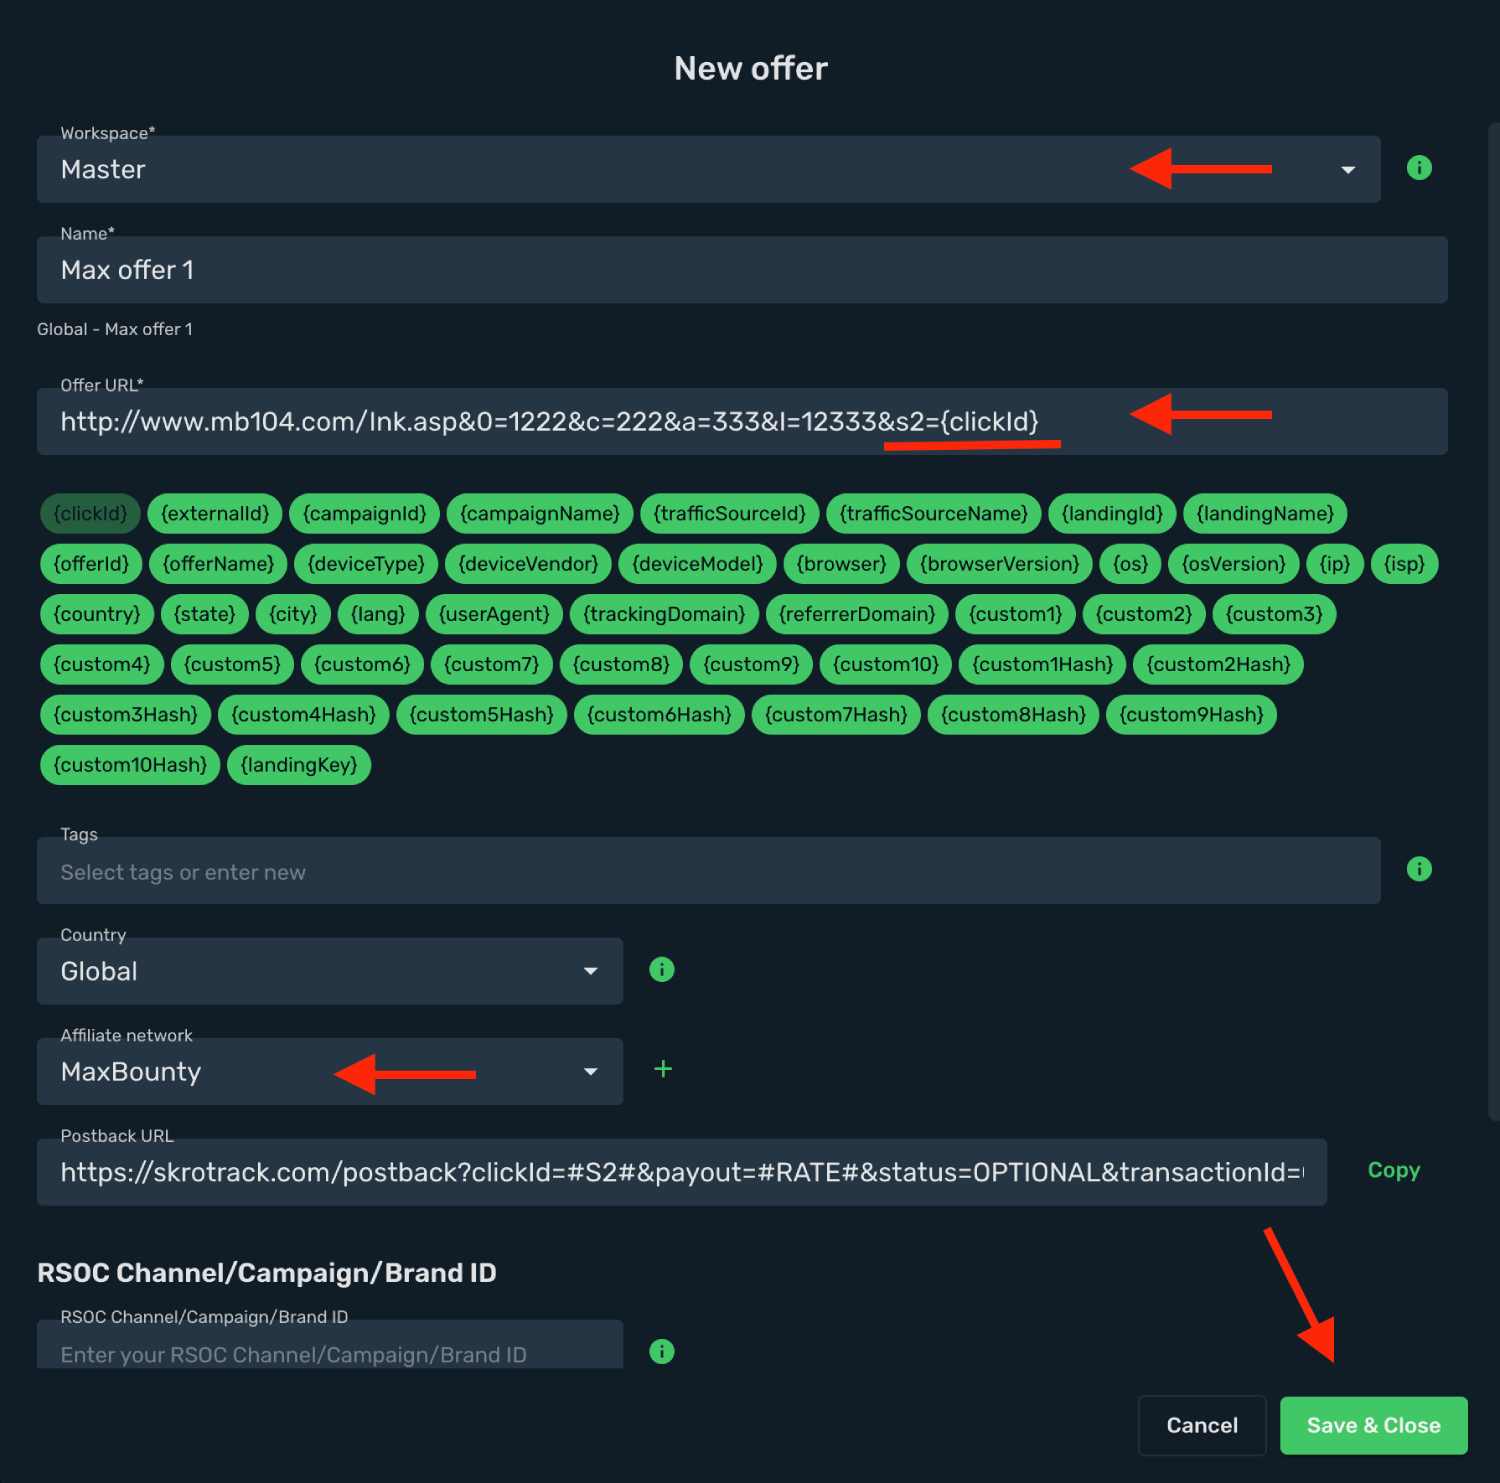
6. Click **Save & Close**.
## Step 4. Create a campaign on Skro [#step-4-create-a-campaign-on-skro]
1. Start with the following guide:
## Verify the setup [#verify-the-setup]
Follow a campaign link and complete a test conversion using your provider’s test workflow. Confirm that the original click ID reaches the provider and is returned to Skro, then check the event and revenue in your campaign report.
If data is missing, check the selected workspace, integration, campaign, and reporting date range. Compare parameter names and macro values with the examples in this guide before repeating the test.
## Related guides [#related-guides]
# MaxWeb integration
Source: https://skro.eu/docs/integrations/maxweb-integration
Connect MaxWeb to Skro, map click IDs, and configure postbacks to attribute conversions and revenue to your campaigns.
Integration gives you the ability to track sales and send postback to your traffic source.
## Step 1. Add affiliate network to Skro [#step-1-add-affiliate-network-to-skro]
1. Go to Affiliate Networks and click ****Create.
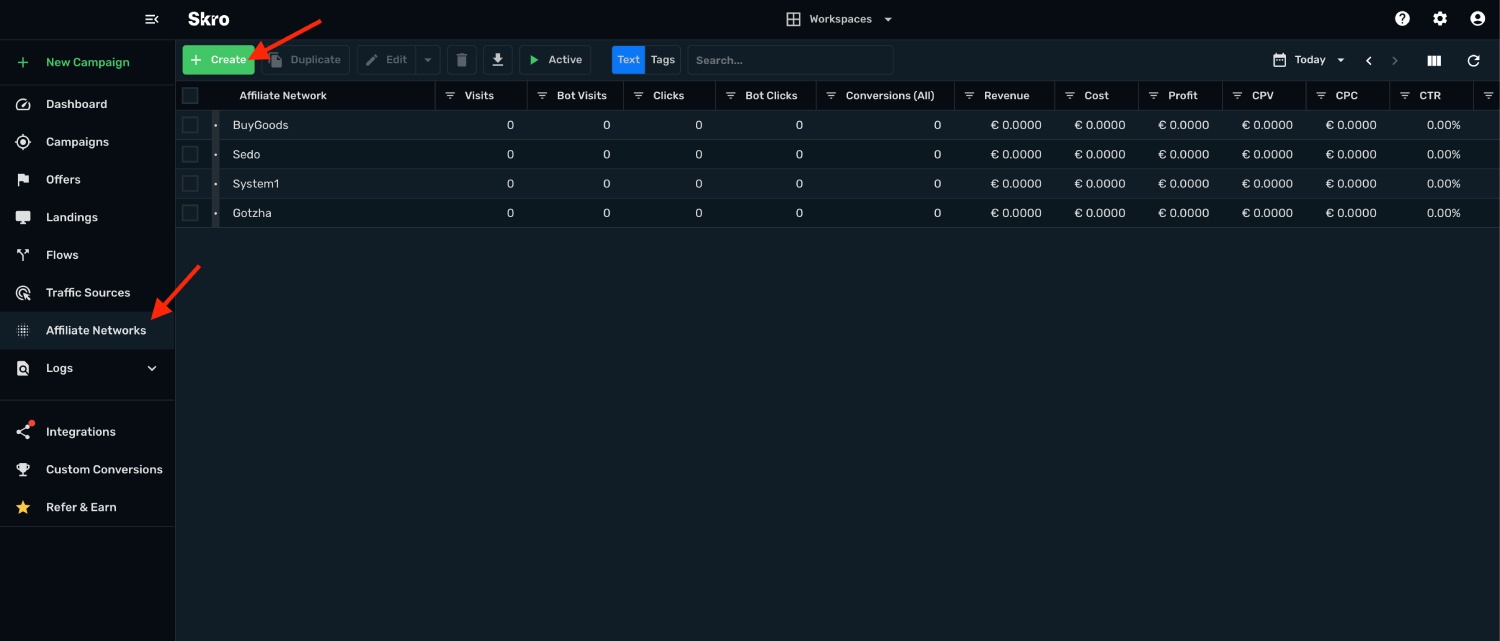
2. Search MaxWeb and click MaxWeb logo.
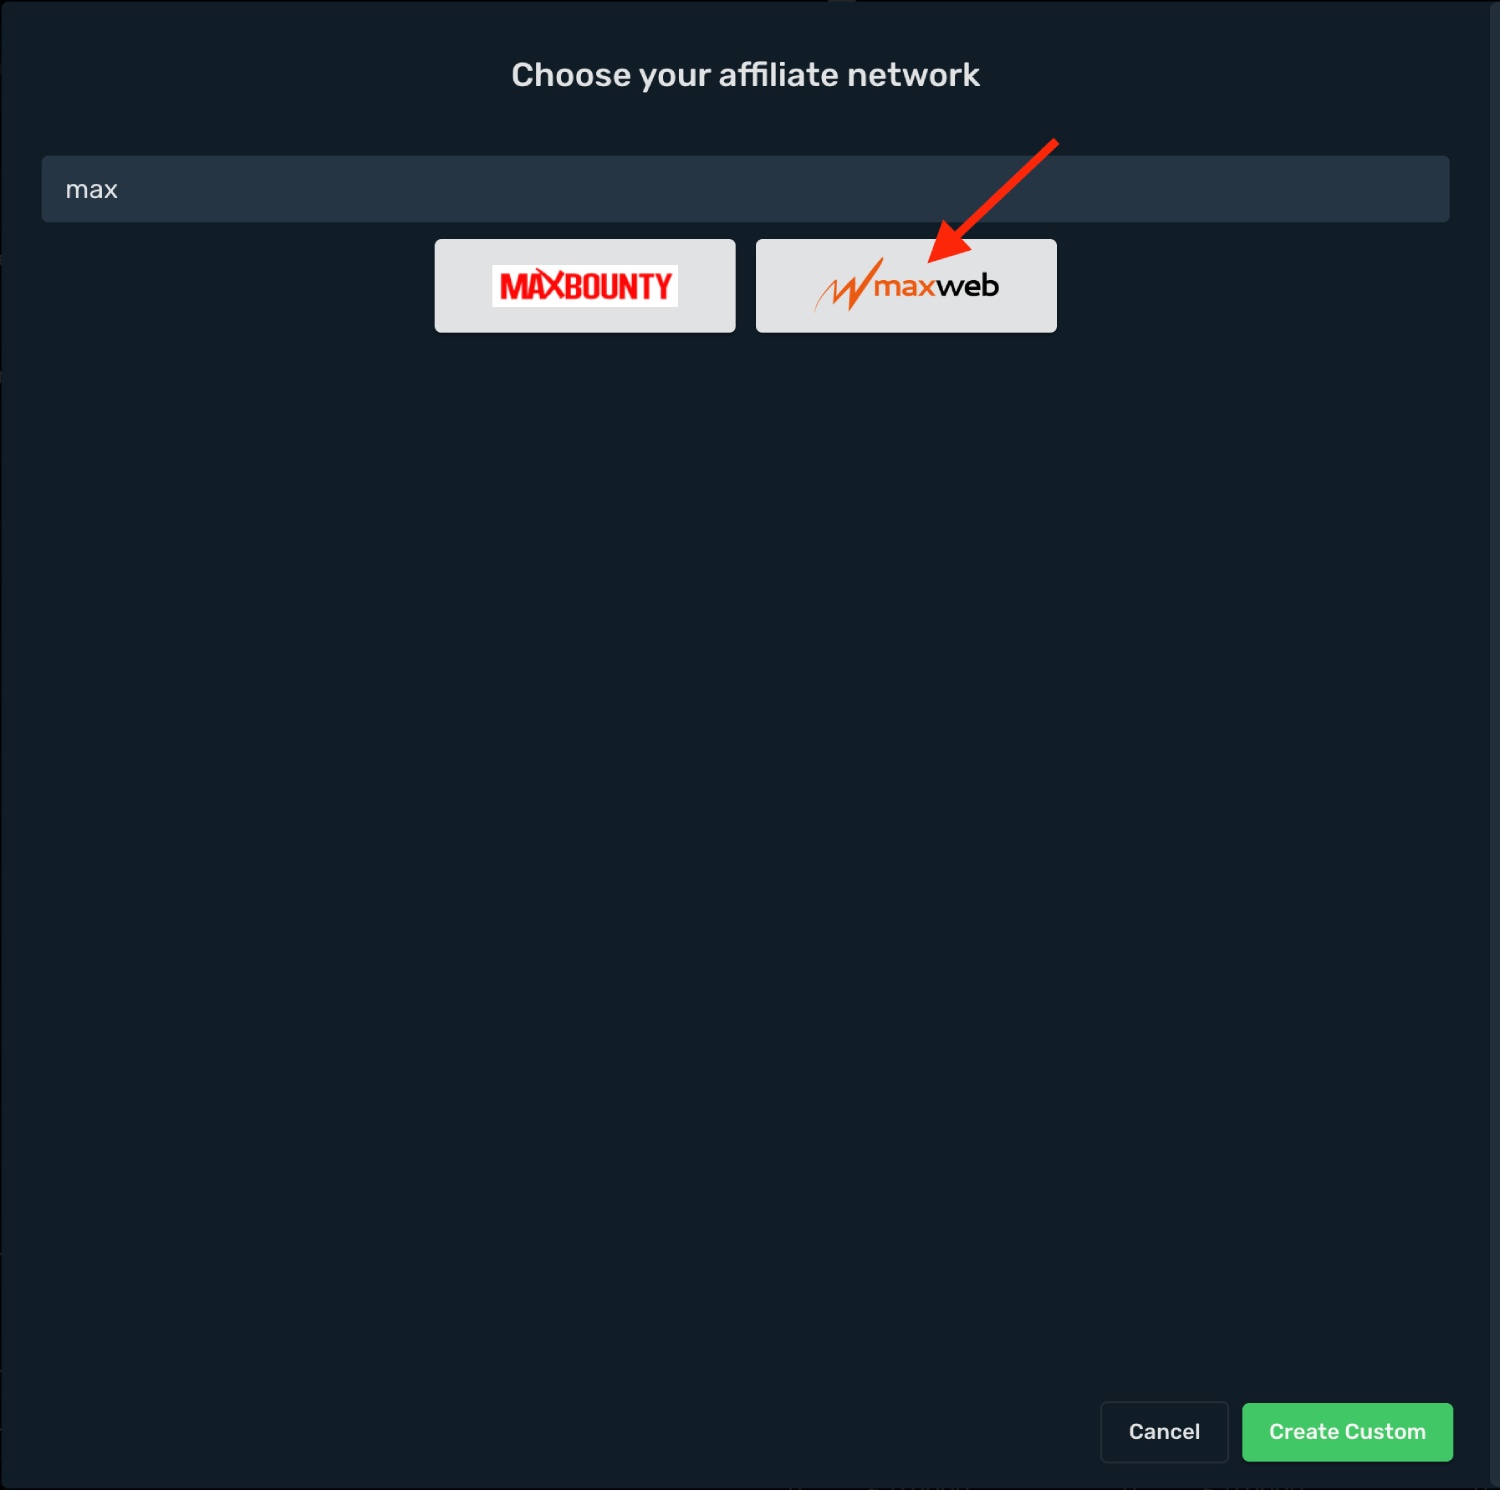
3. Copy postback pixel.
4. Click **Save & Close**.
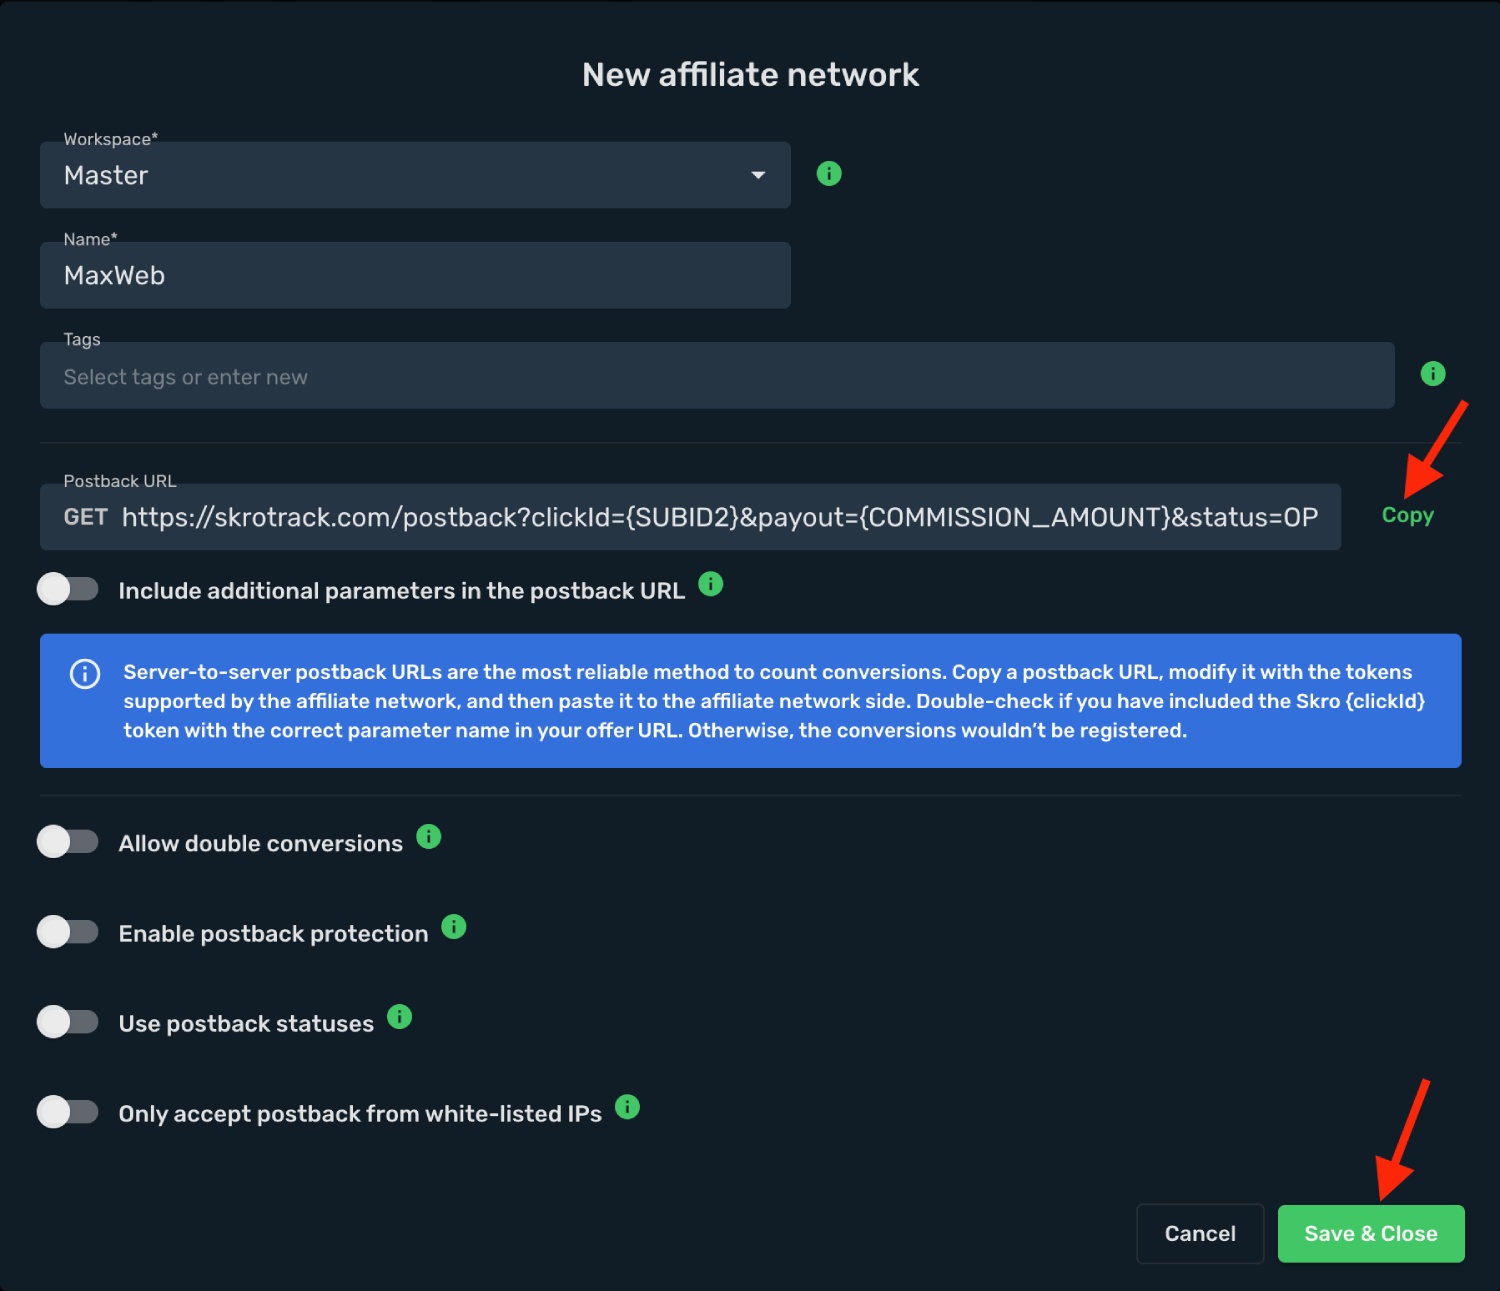
The MaxWeb affiliate network is now saved in Skro. Use the copied postback URL in MaxWeb in the next step.
## Step 2. Getting an offer from MaxWeb and setting up a postback URL. [#step-2-getting-an-offer-from-maxweb-and-setting-up-a-postback-url]
1. In MaxWeb, go to the **Campaigns** view.
2. Locate an offer you want to promote. Note that you have to be approved before you will be able to run some offers. Those offers will have the **Apply to run** visible. Offers that do not require approval will have the **Promote** visible.
3. Click to enter your account.
4. Go to the **Settings** view.
5. Go to the **Postback Pixel** tab.
6. Click the **Add New**.
7. Paste the postback URL that you have copied from Skro in the **URL** text field.
8. Click the **Save**.
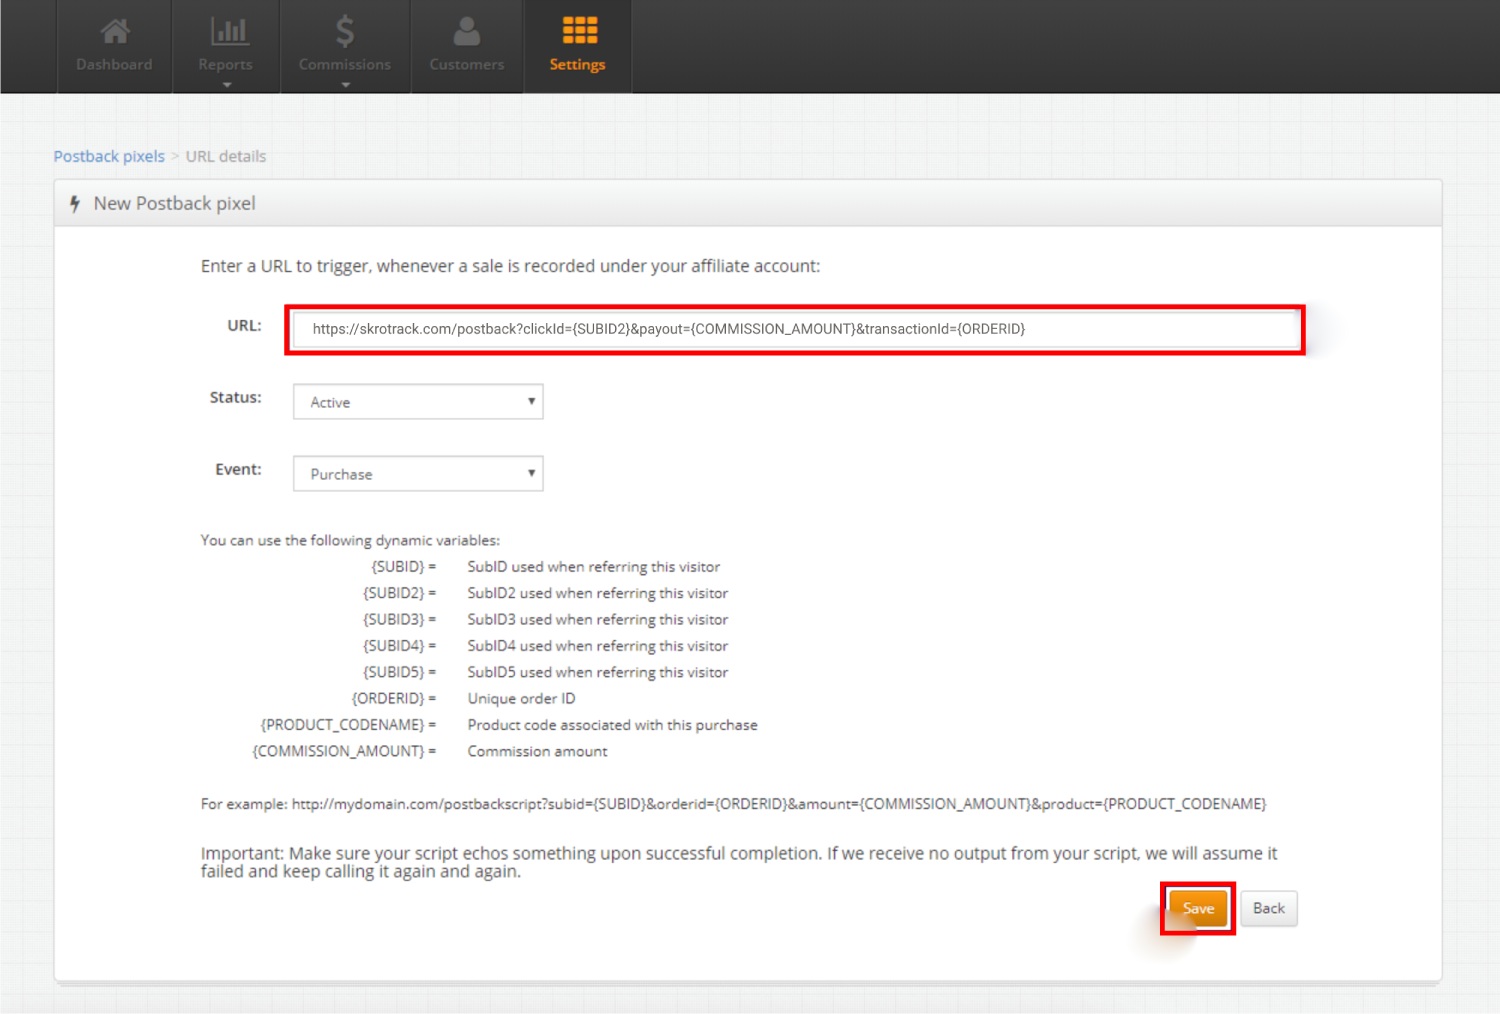
9. Go to the **Dashboard** view.
10. Copy the offer URL to the clipboard.
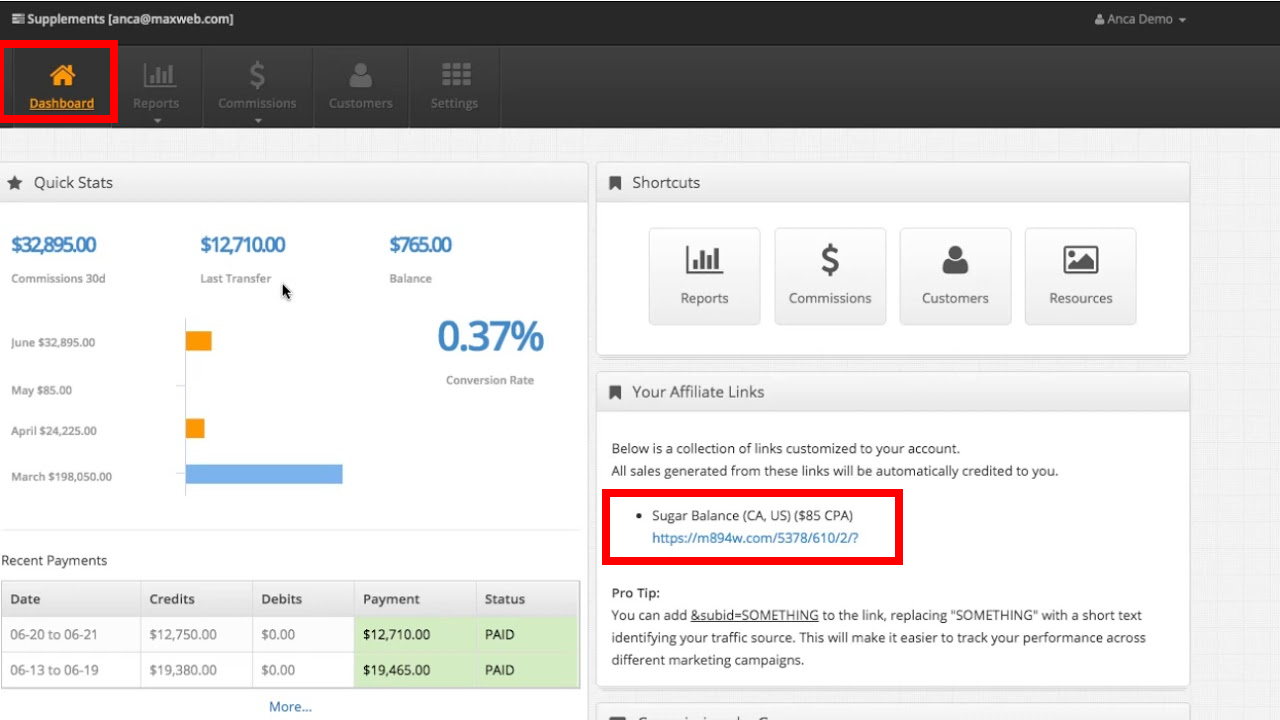
## Step 3. Add offer to Skro [#step-3-add-offer-to-skro]
1. Go to **Offers** → **Create**
2. Choose your workspace.
3. Add name.
4. Grab the offer link from MaxWeb and add it to offer URL field and append **`subid2={clickId}`** to the end of your offer URL.
5. Choose MaxWeb as Affiliate Network.
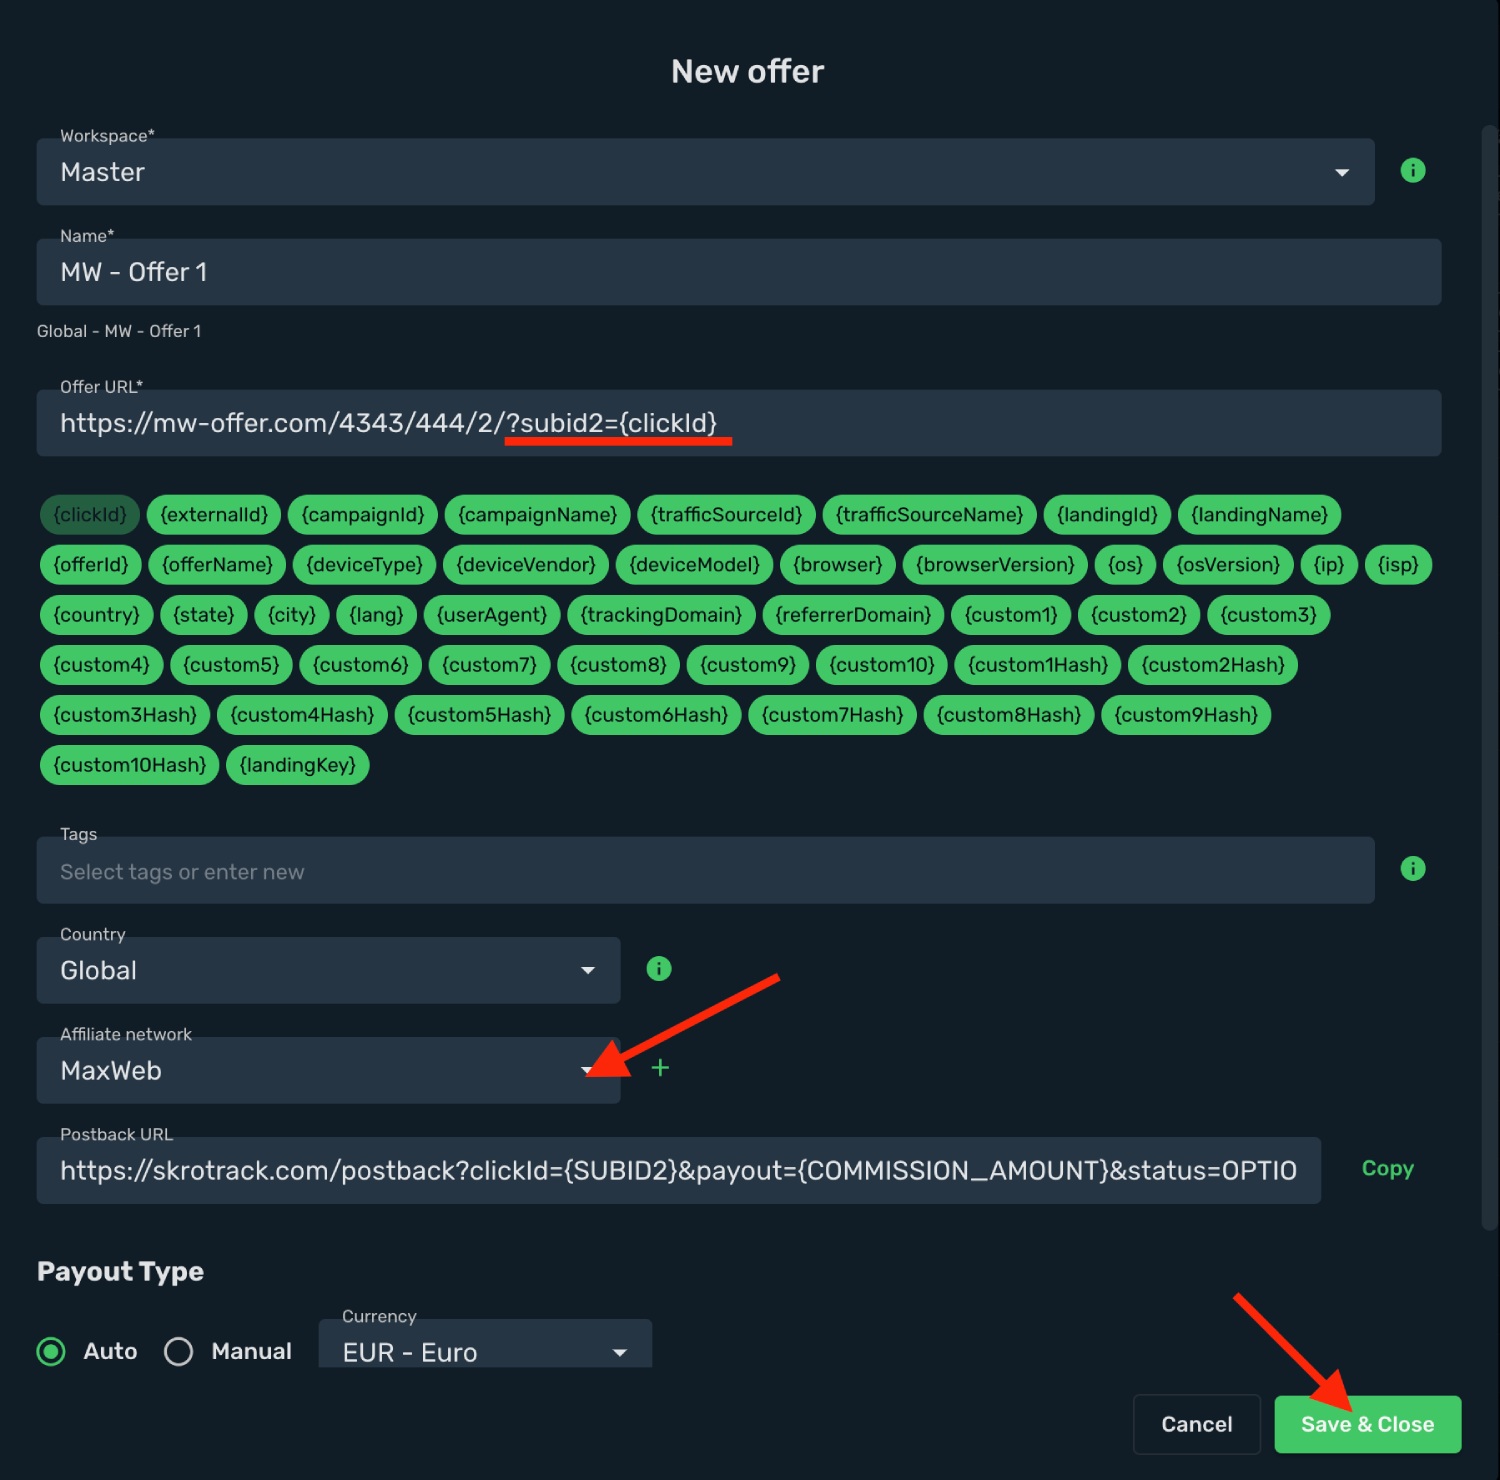
## Step 4. Create campaign [#step-4-create-campaign]
1. Go to Campaigns → Create.
2. Complete the required fields.
3. On the final step you will get tracking link for your traffic source.
## Verify the setup [#verify-the-setup]
Follow a campaign link and complete a test conversion using your provider’s test workflow. Confirm that the original click ID reaches the provider and is returned to Skro, then check the event and revenue in your campaign report.
If data is missing, check the selected workspace, integration, campaign, and reporting date range. Compare parameter names and macro values with the examples in this guide before repeating the test.
## Related guides [#related-guides]
# MGID integration
Source: https://skro.eu/docs/integrations/mgid-integration
Set up MGID tracking in Skro, configure traffic source parameters, and connect your advertising campaigns.
[MGID](https://mgid.com) integration gives you the ability to manage and optimize all your MGID ad campaigns through the Skro interface.
- Sync cost for campaigns, teasers and widgets every 30 min.
- Check the status of your campaigns, teasers and widgets.
- Pause or resume campaigns, teasers and widgets.
In this guide, you will learn how to set up your campaigns in MGID and Skro so MGID can pass information to Skro and back with a selected tracking method. This guide does not cover all aspects and options available when creating a campaign on these two platforms. Basic knowledge regarding setting up campaigns in MGID and Skro is required.
**Manage MGID campaigns through the Skro**
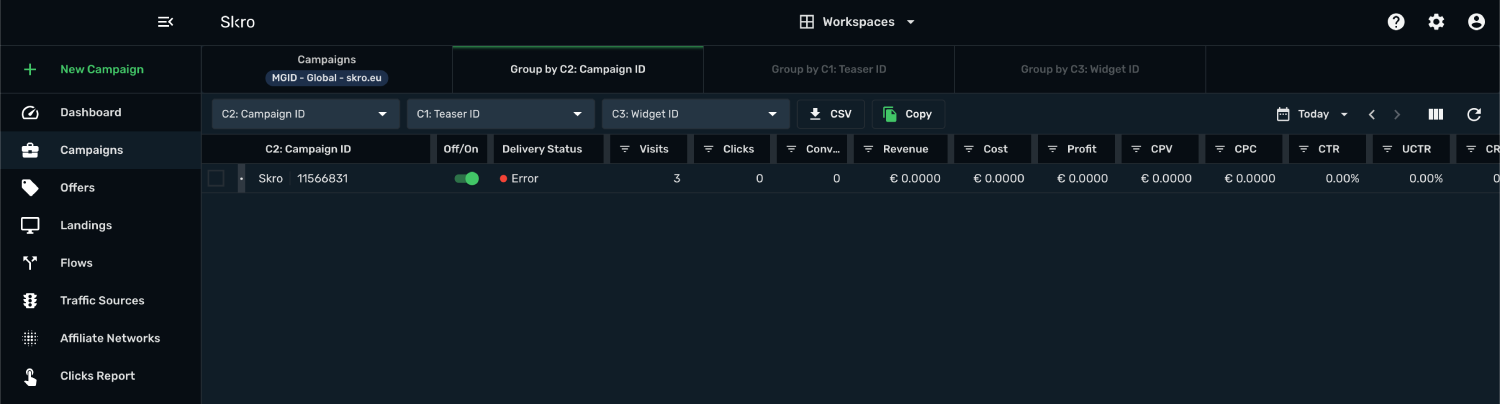
**Manage MGID teasers through the Skro**
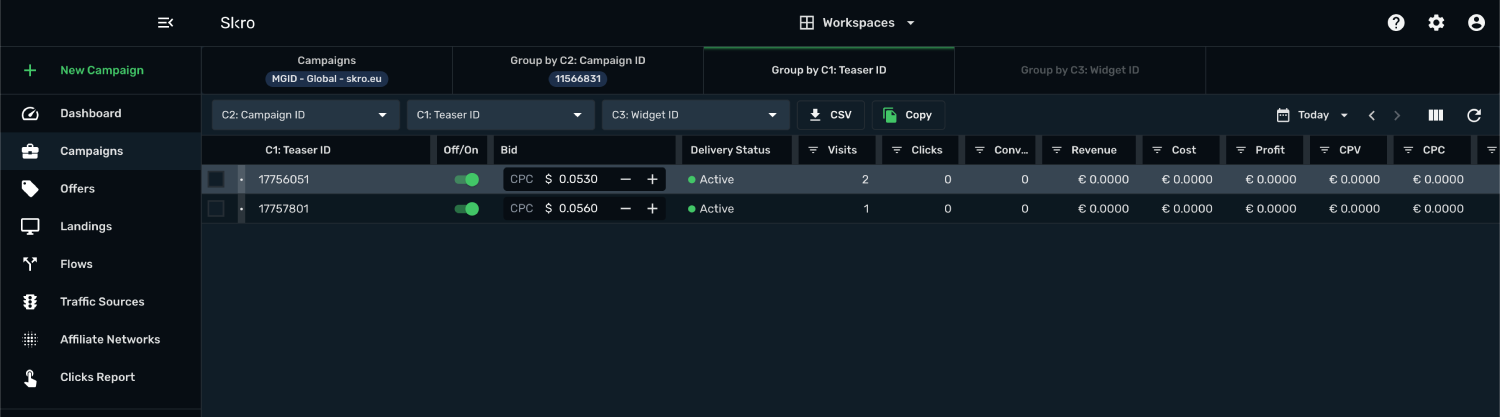
**Manage MGID widgets and sub ids through the Skro**
## Step 1. Get MGID API Credentials [#step-1-get-mgid-api-credentials]
MGID's API **Client ID** and **Access Token**. You can get one by following the steps below:
1. In MGID, go to the **MY PROFILE** view.
2. Go to the **USERS** tab.
3. Locate a user you want to grant API access to and click the **Get a token**.
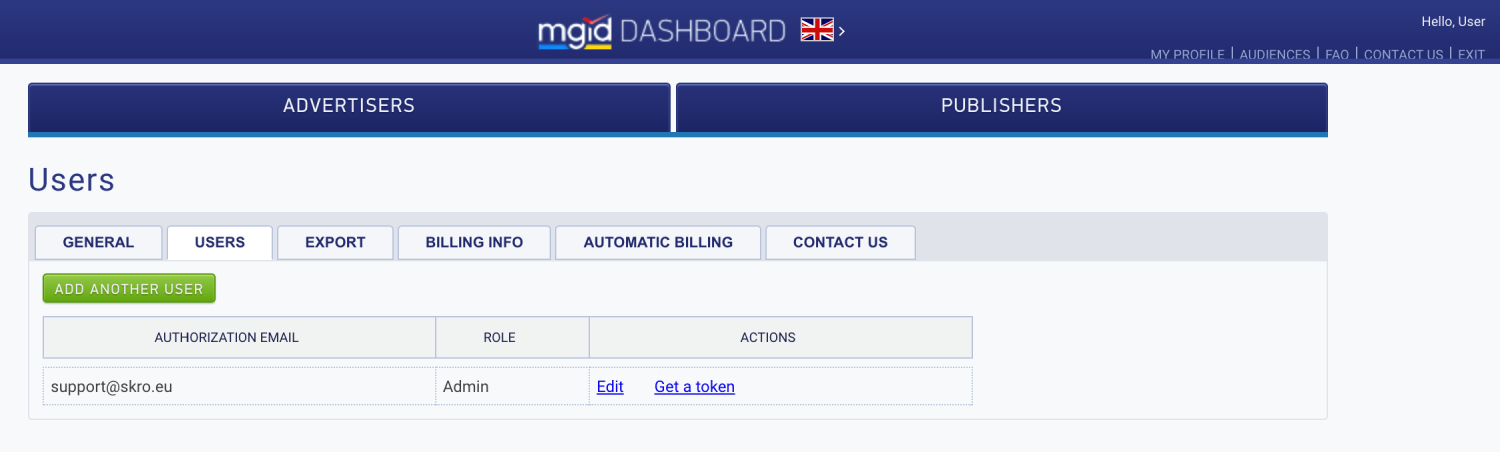
Copy both the **API Client ID** and **Access Token** to any text editing tool.
Once you have everything ready, read the further part of this guide.
## Step 2. Setup integration [#step-2-setup-integration]
- Log in to your **Skro** account.
- Navigate to **Settings → Integrations**.
- In the **Traffic Sources** section click **Add**.
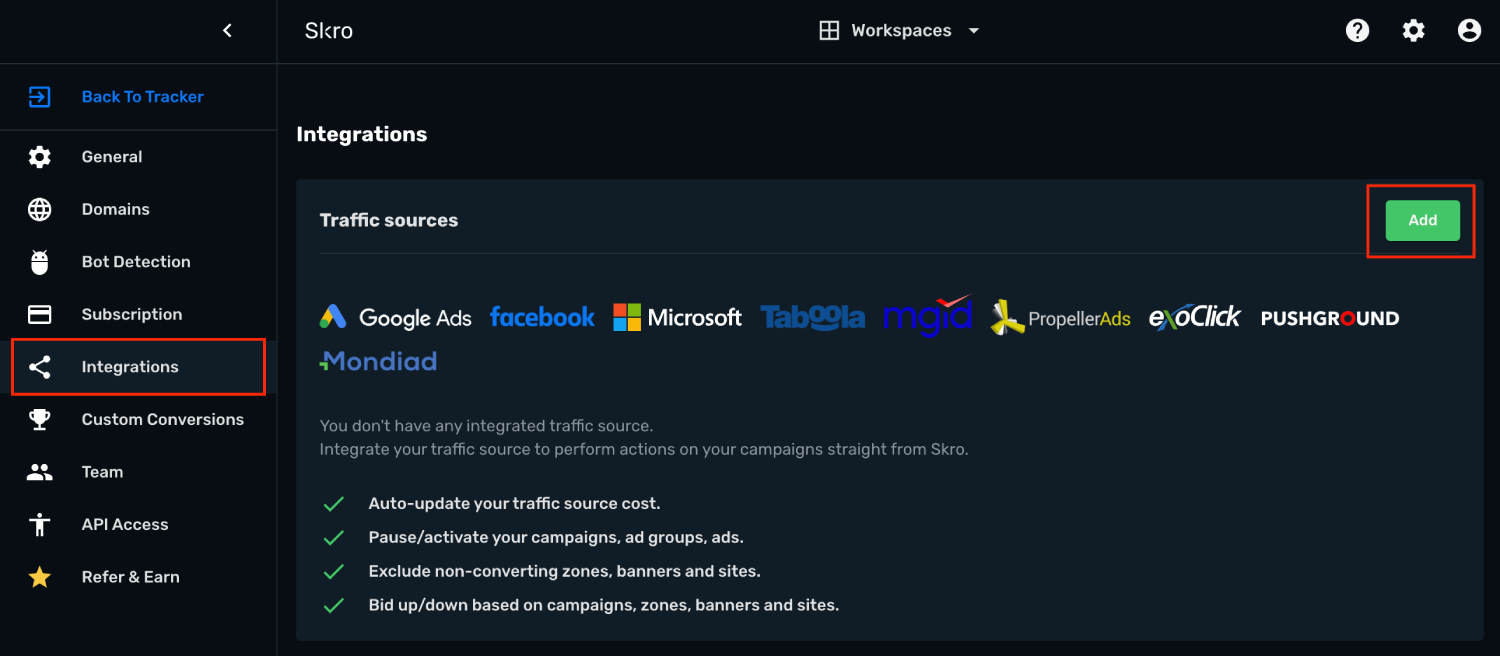
- Click **MGID** logo and integration form will pop up.
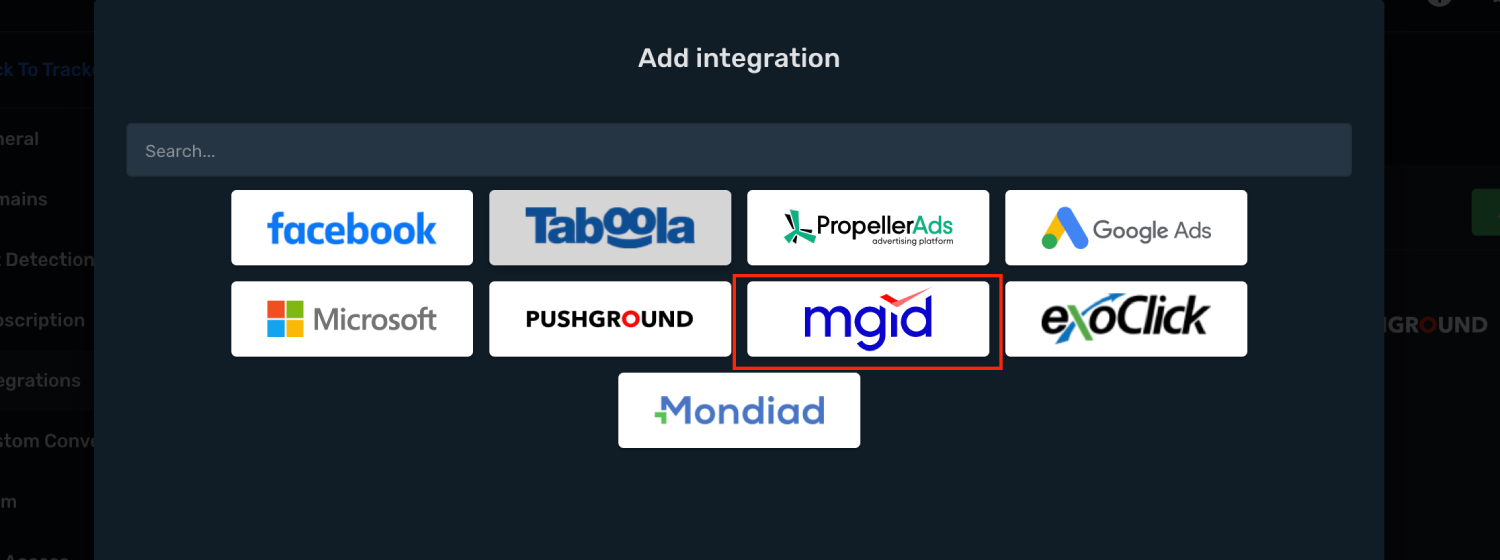
- Enter your **Integration Name**.
- Enter your MGID **Client ID**.
- Enter your MGID **Access Tokent**.
- Click **Next**.
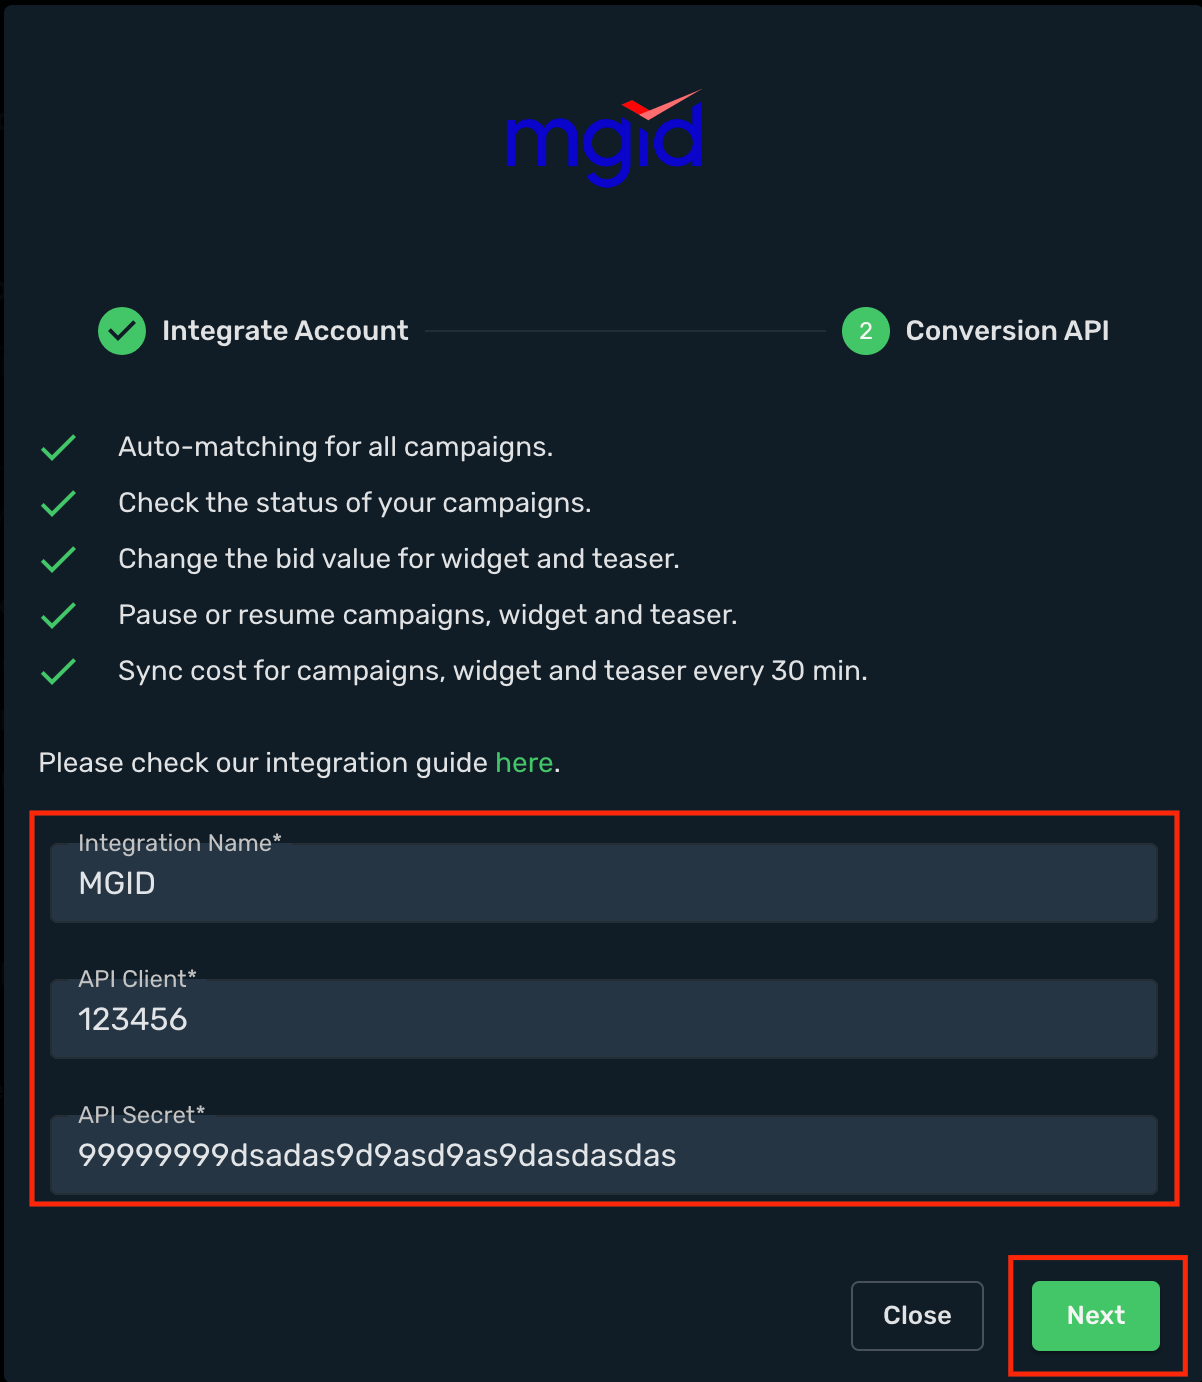
- If you want to send conversions info back to MGID, then you will need to enable **Conversion API.**
- **Conversion Event Name** - must be the same as you typed in MGID. When creating Skro campaign you will need to specify which conversion goal to send to.
- **Include Conversion Payout** - If checked, we will send conversion revenue and currency to MGID.
- Click **Save & Close**.
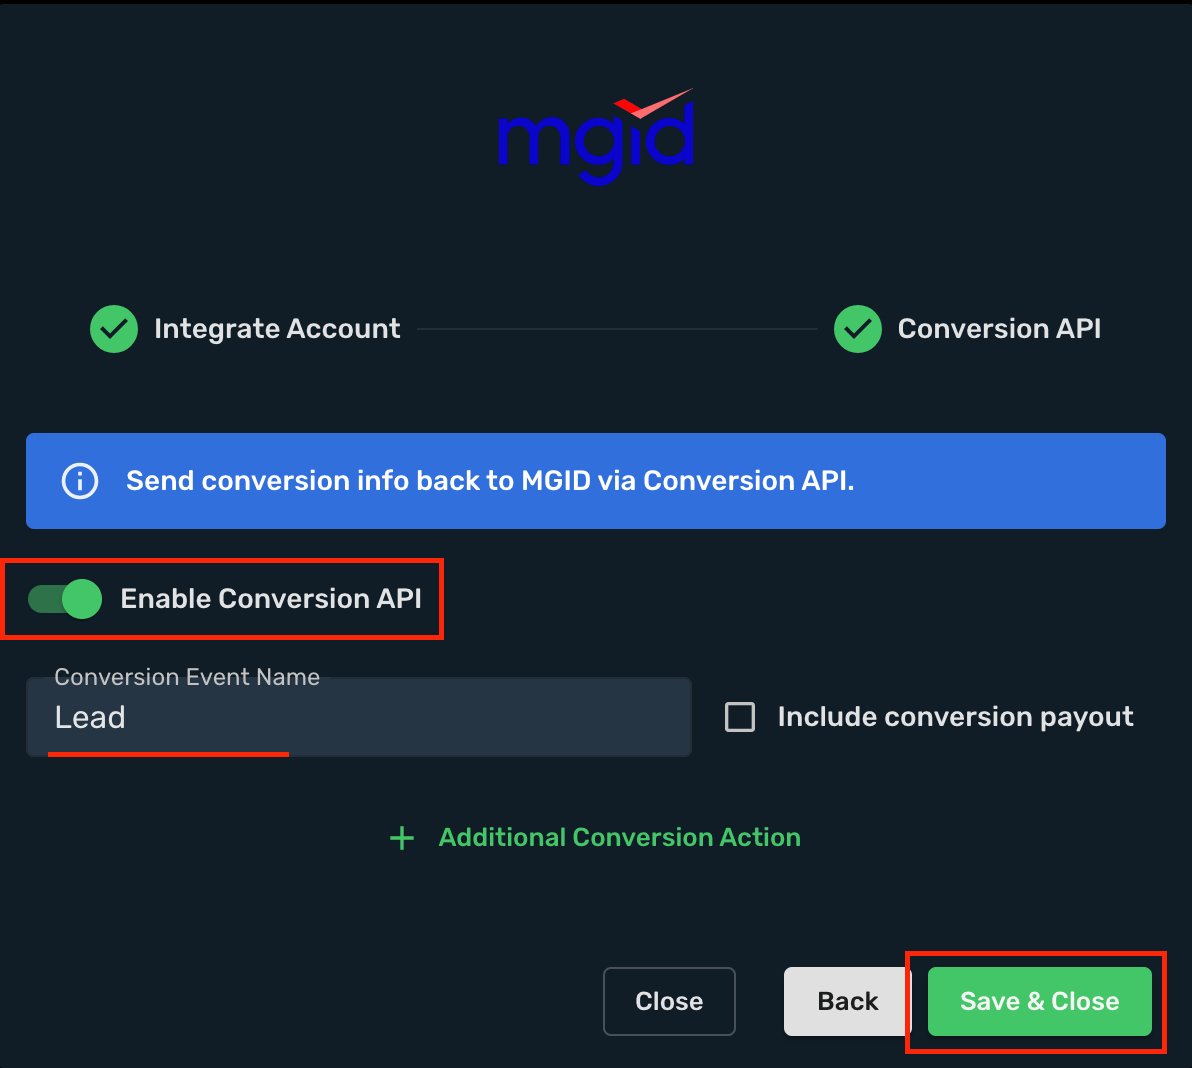
- You MGID account is successfully integrated.
- You can switch on/off cost sync with given switch.
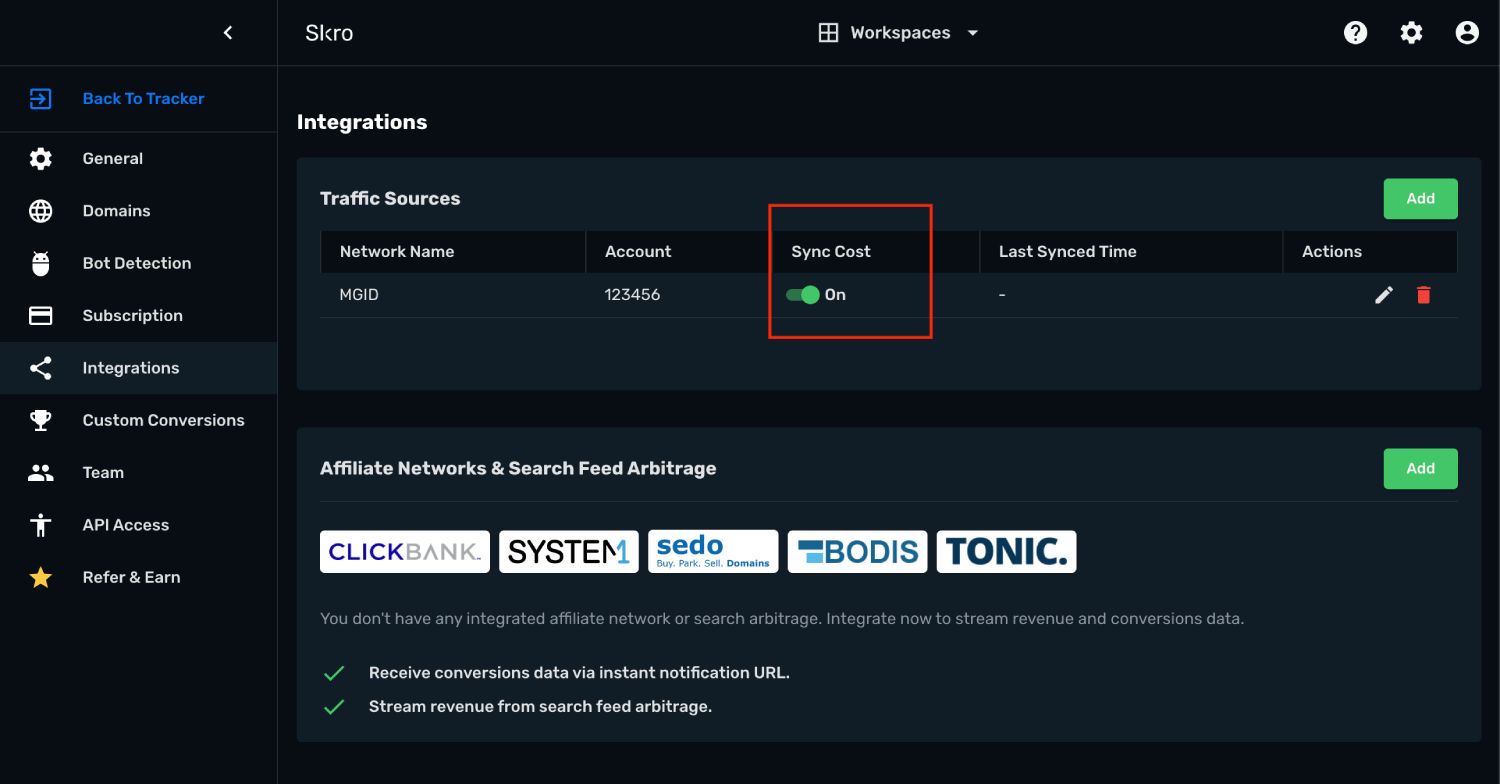
## Step 3. Associate the integration with your traffic source [#step-3-associate-the-integration-with-your-traffic-source]
- Navigate to the **Traffic Sources** and click **Create**.
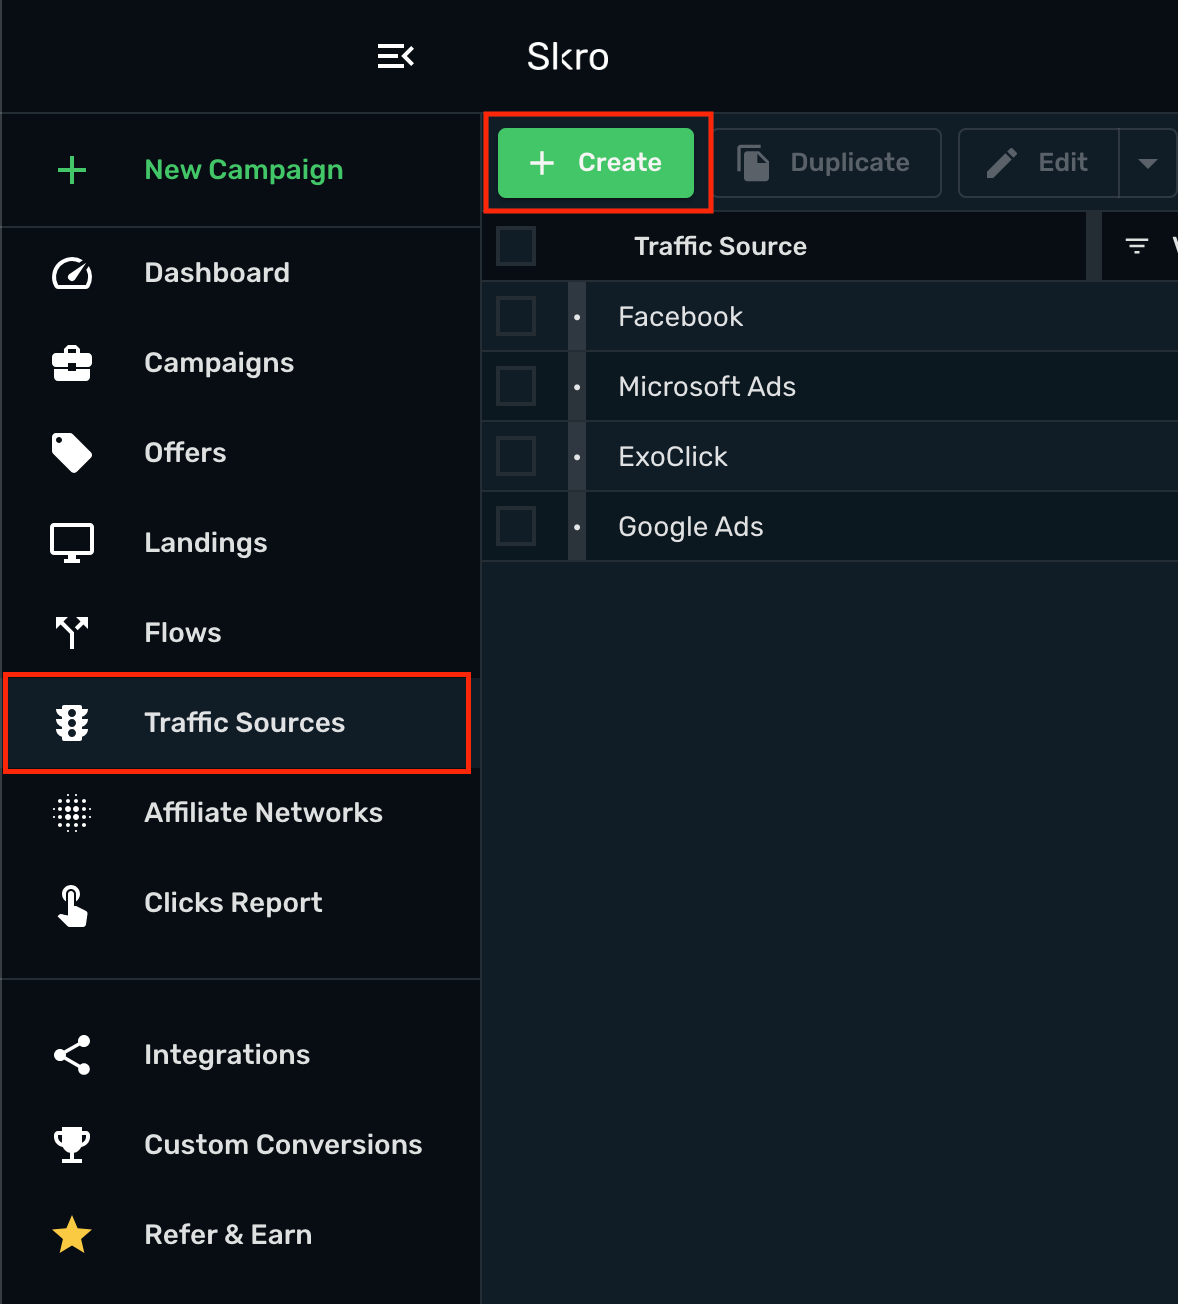
- Click **MGID** logo.
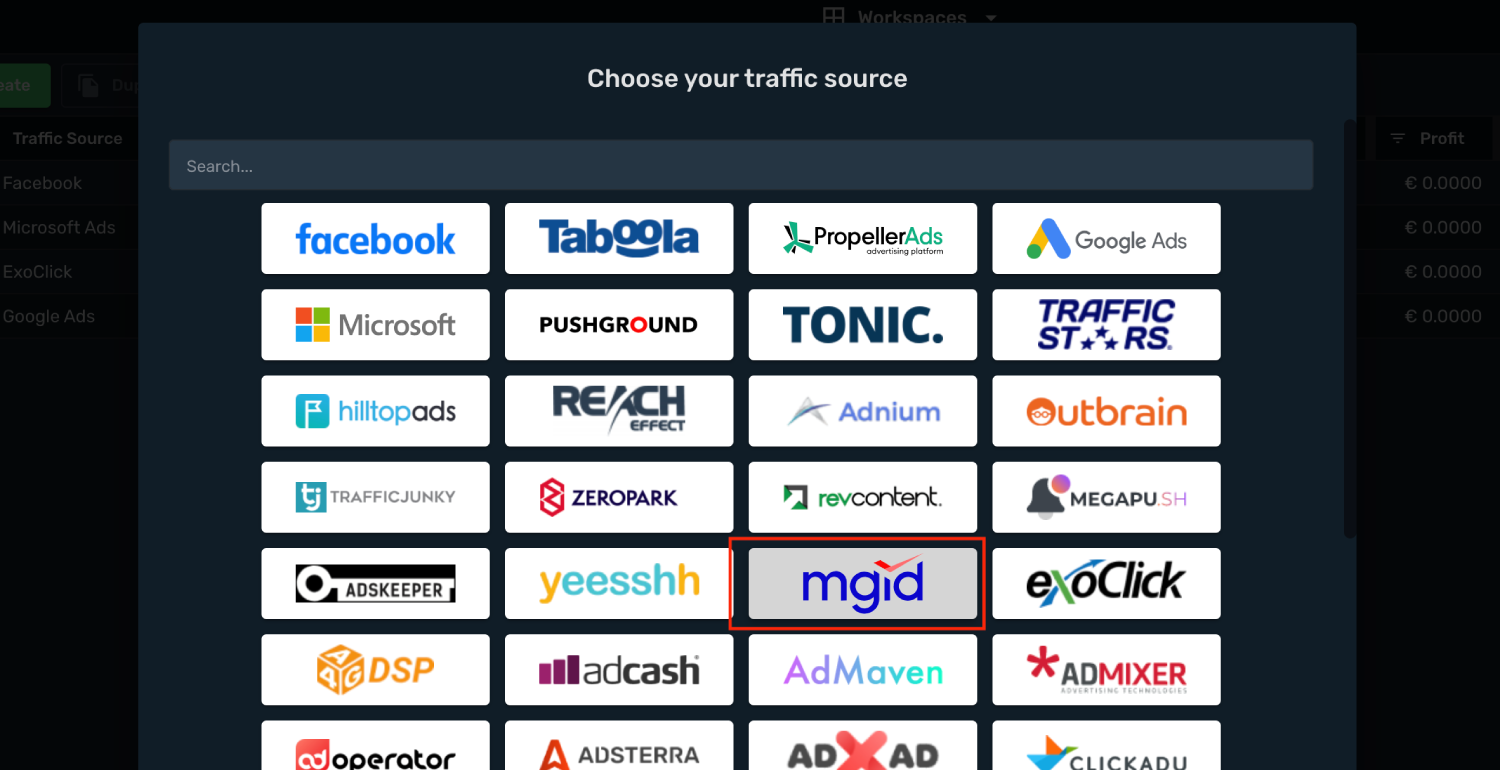
- Postback URL is already set with correct macros.
- Select your MGID integration from the dropdown menu.
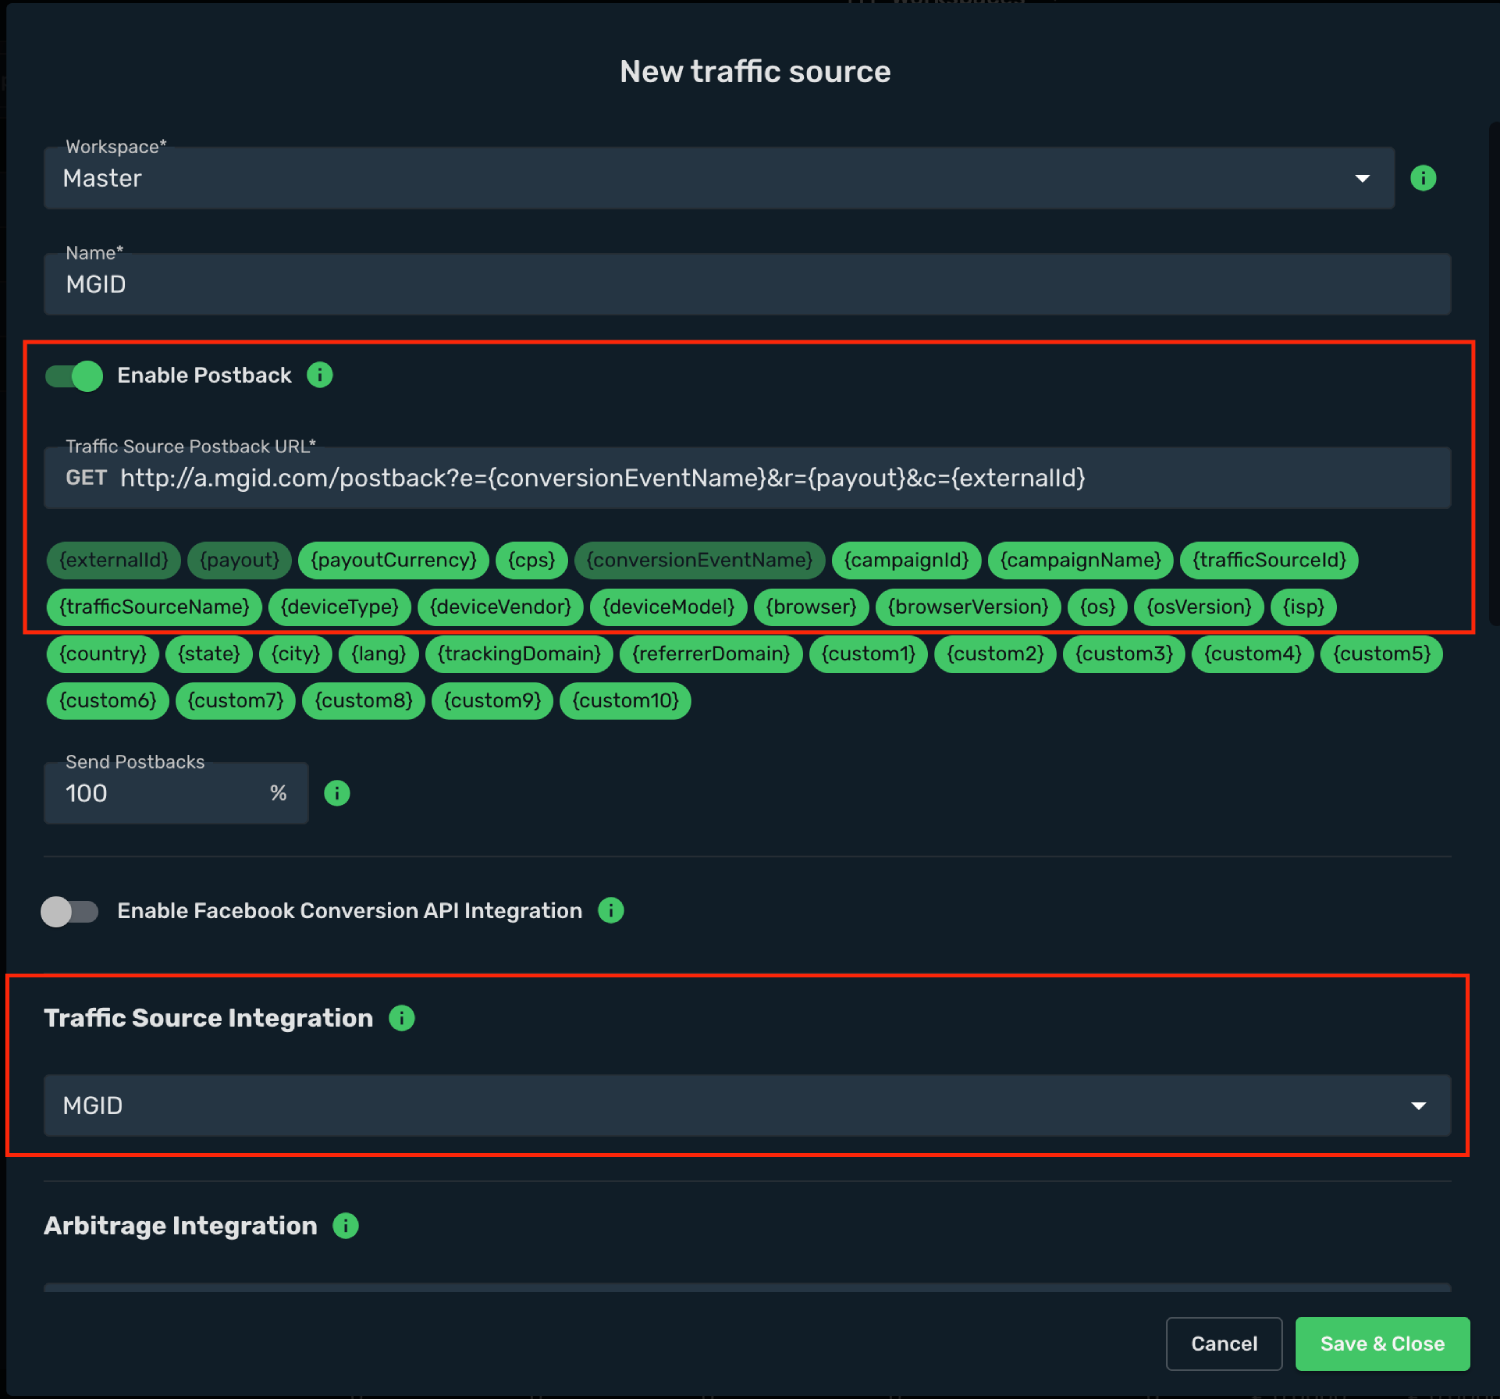
- All parameters are already prefilled for you.
- Click **Save & Close**.
The integration is ready. Continue by creating a campaign for MGID.
## Step 4. Create a Campaign in Skro [#step-4-create-a-campaign-in-skro]
First you will need to add your offer.
- Navigate to the **Offers** view and click **Create**.
- Select workspace.
- Add name.
- Add your offer URL and add macros if needed.
- Click **Save & Close**.

- Navigate to the **Campaigns** view and click **Create**.
- Select your integrated **Traffic Source** as MGID.
- Select your **Conversion Event Name**. That is needed to send conversion info back to MGID.
- Cost Model should be **Auto**.
- Select your cost currency.
- Click **Next**
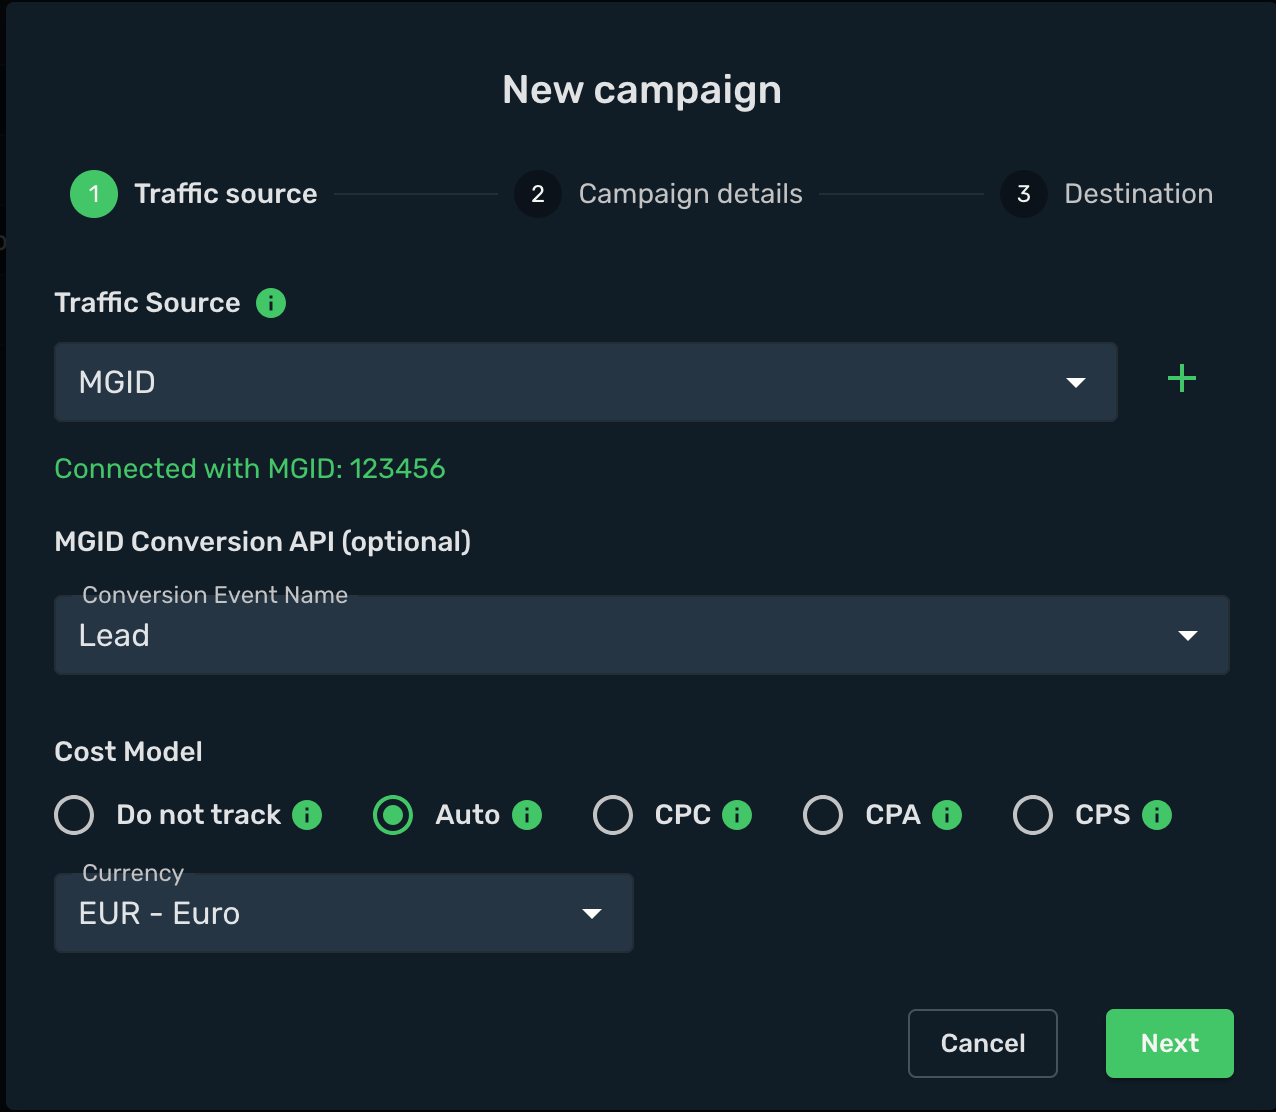
- Select workspace.
- Add descriptive name to your campaign.
- Click **Next**
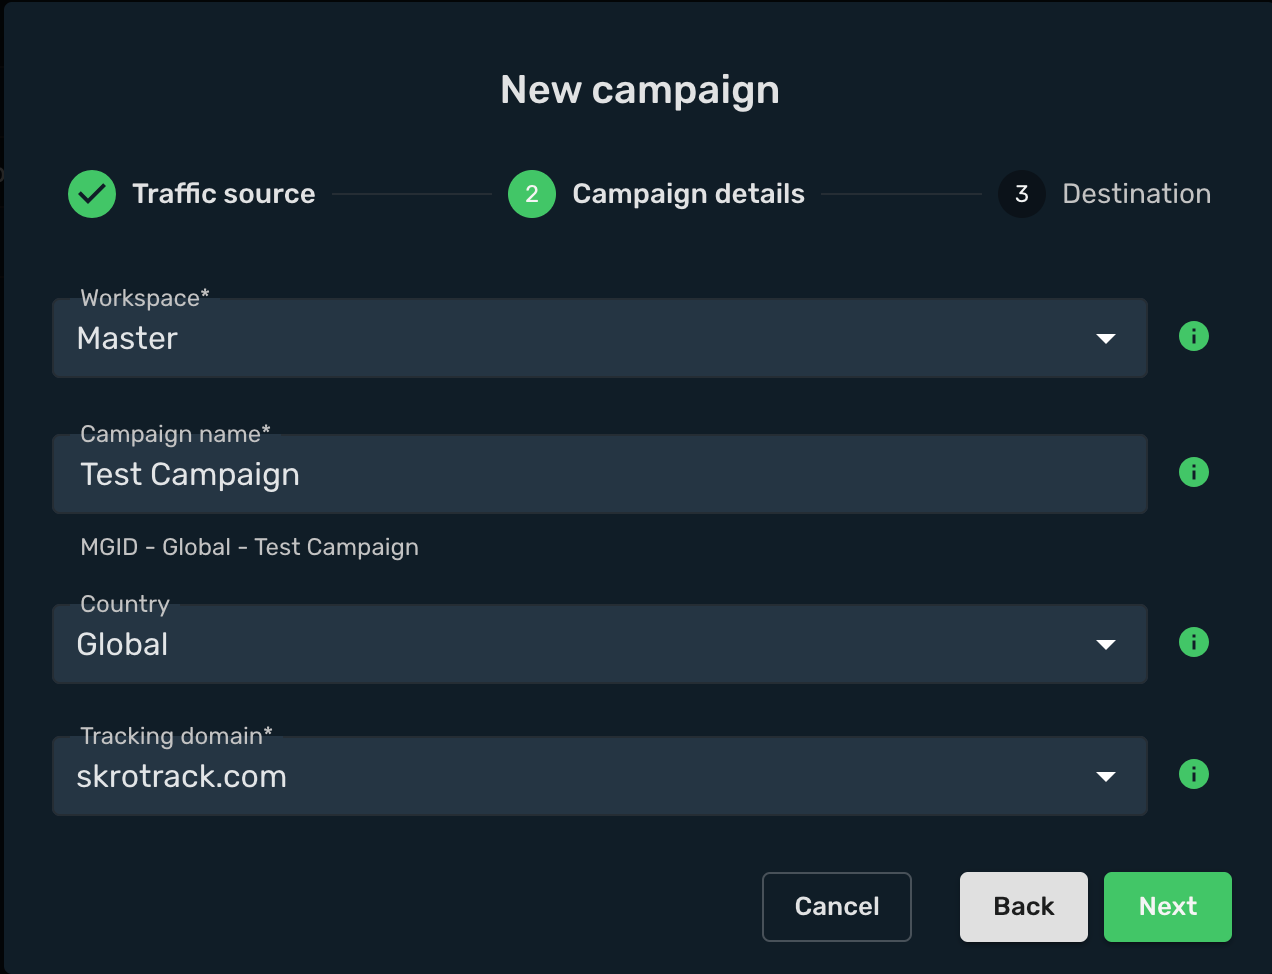
- Choose your **Destination Type**. In this example we use **flow**
- Choose your redirect mode. In this example we use **redirect 302**
- In given example we use only offers, Switch on **Use only offers** and select your offer. With MGID you are allowed to use **Redirect** tracking method, so you can add multiple landing pages and offers to your campaign.
- Click **Save**
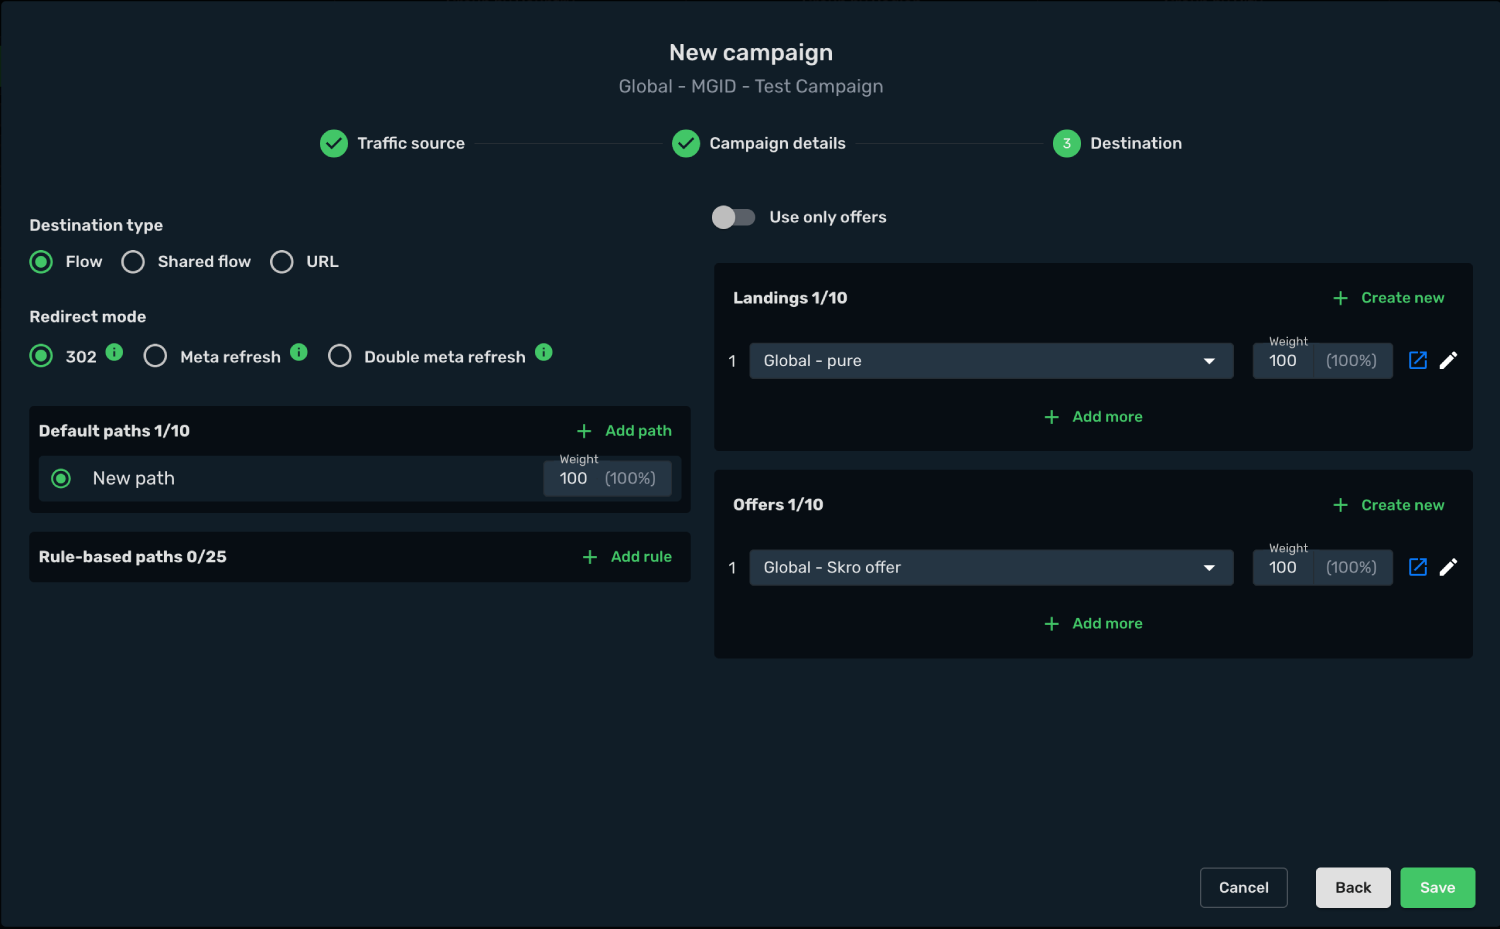
- Choose the **Redirect** method.
- Copy and paste the Campaign Tracking URL to MGID.
In given example we have that kind of URL:
```text
https://skrotrack.com/campaign/e5e23337-50c4-4862-2272-d58886287abc?cost={click_price}&cid={click_id}&teaser_id={teaser_id}&campaign_id={campaign_id}&widget_id={widget_id}&category_id={category_id}
```
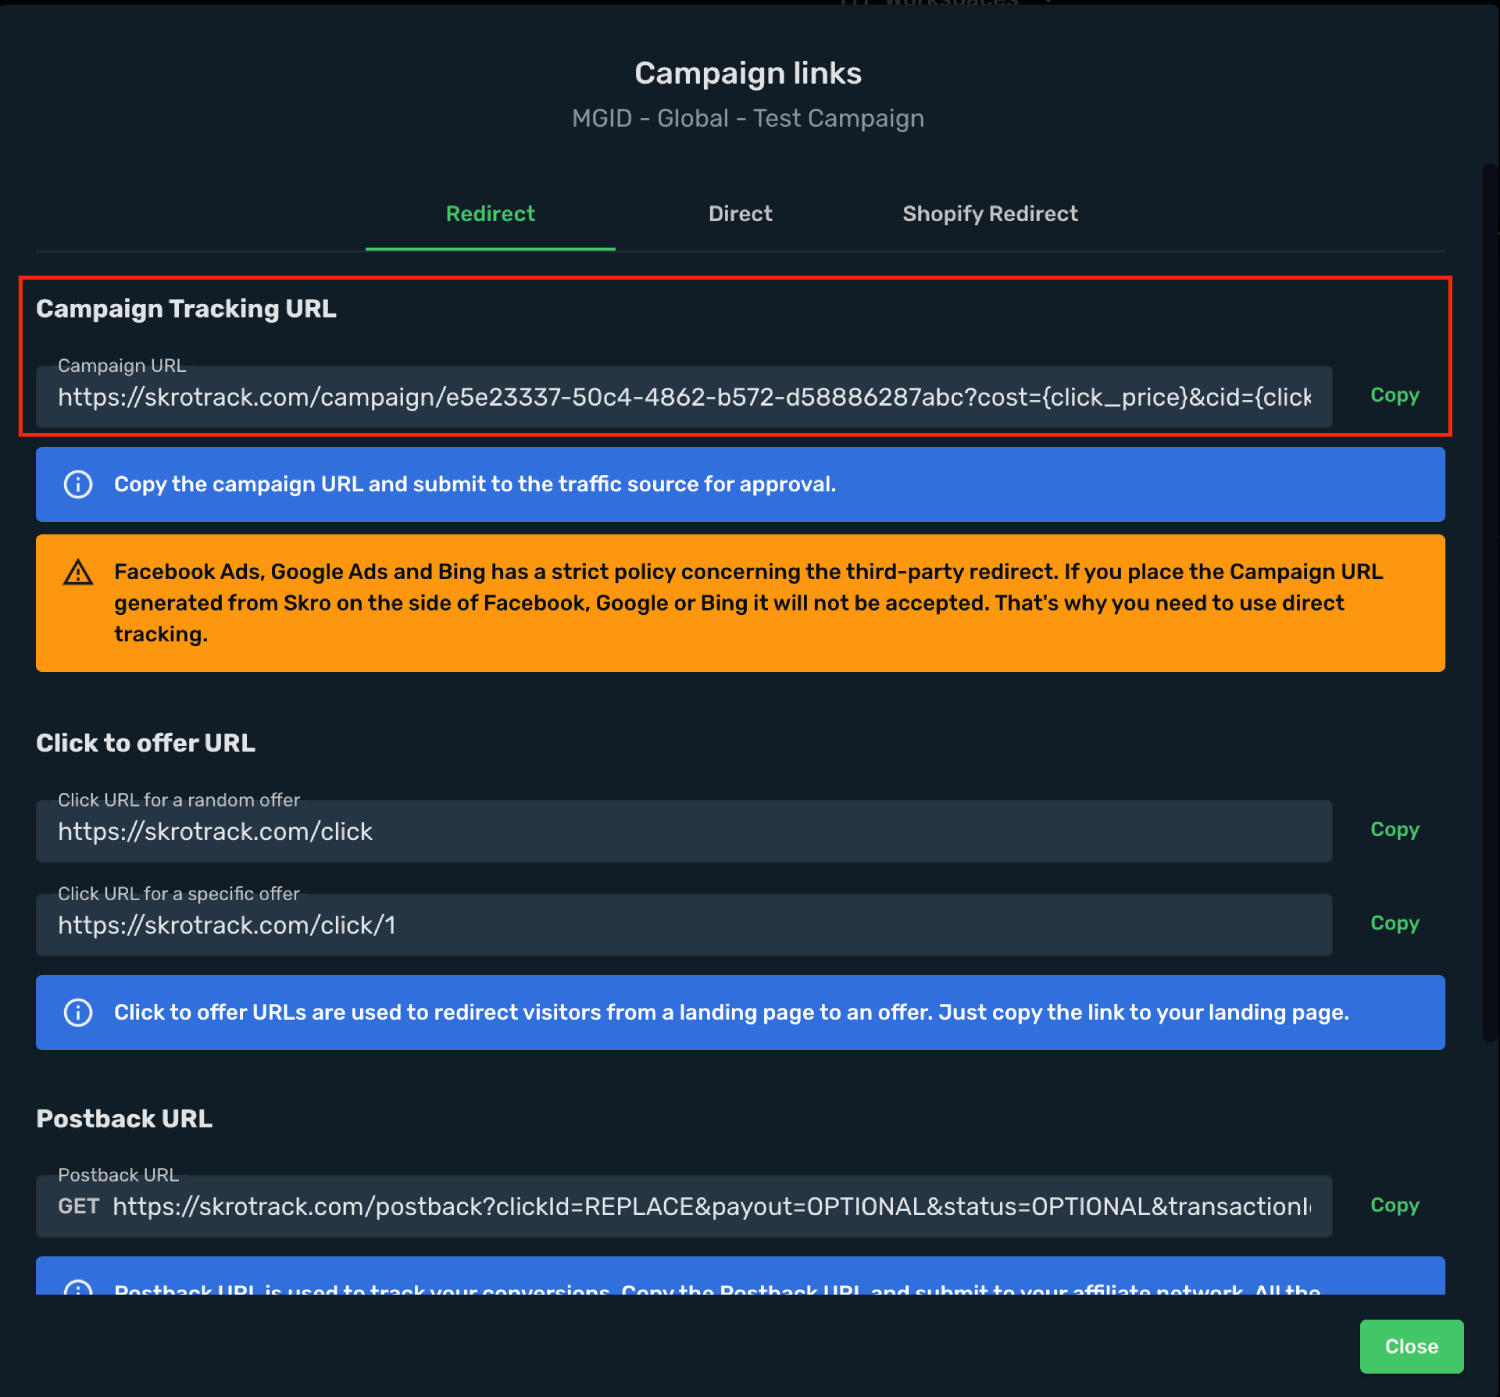
## Step 5. Create a Campaign in MGID [#step-5-create-a-campaign-in-mgid]
Now you have your campaign URL with tracking parameters added. In the next step you will submit it as your item's URL in MGID campaign setup. In order to do that, perform the following steps:
- Sign in to your MGID account.
- Go to the **Advertisers** tab.
- Click the **Add Campaign** and setup your campaign.
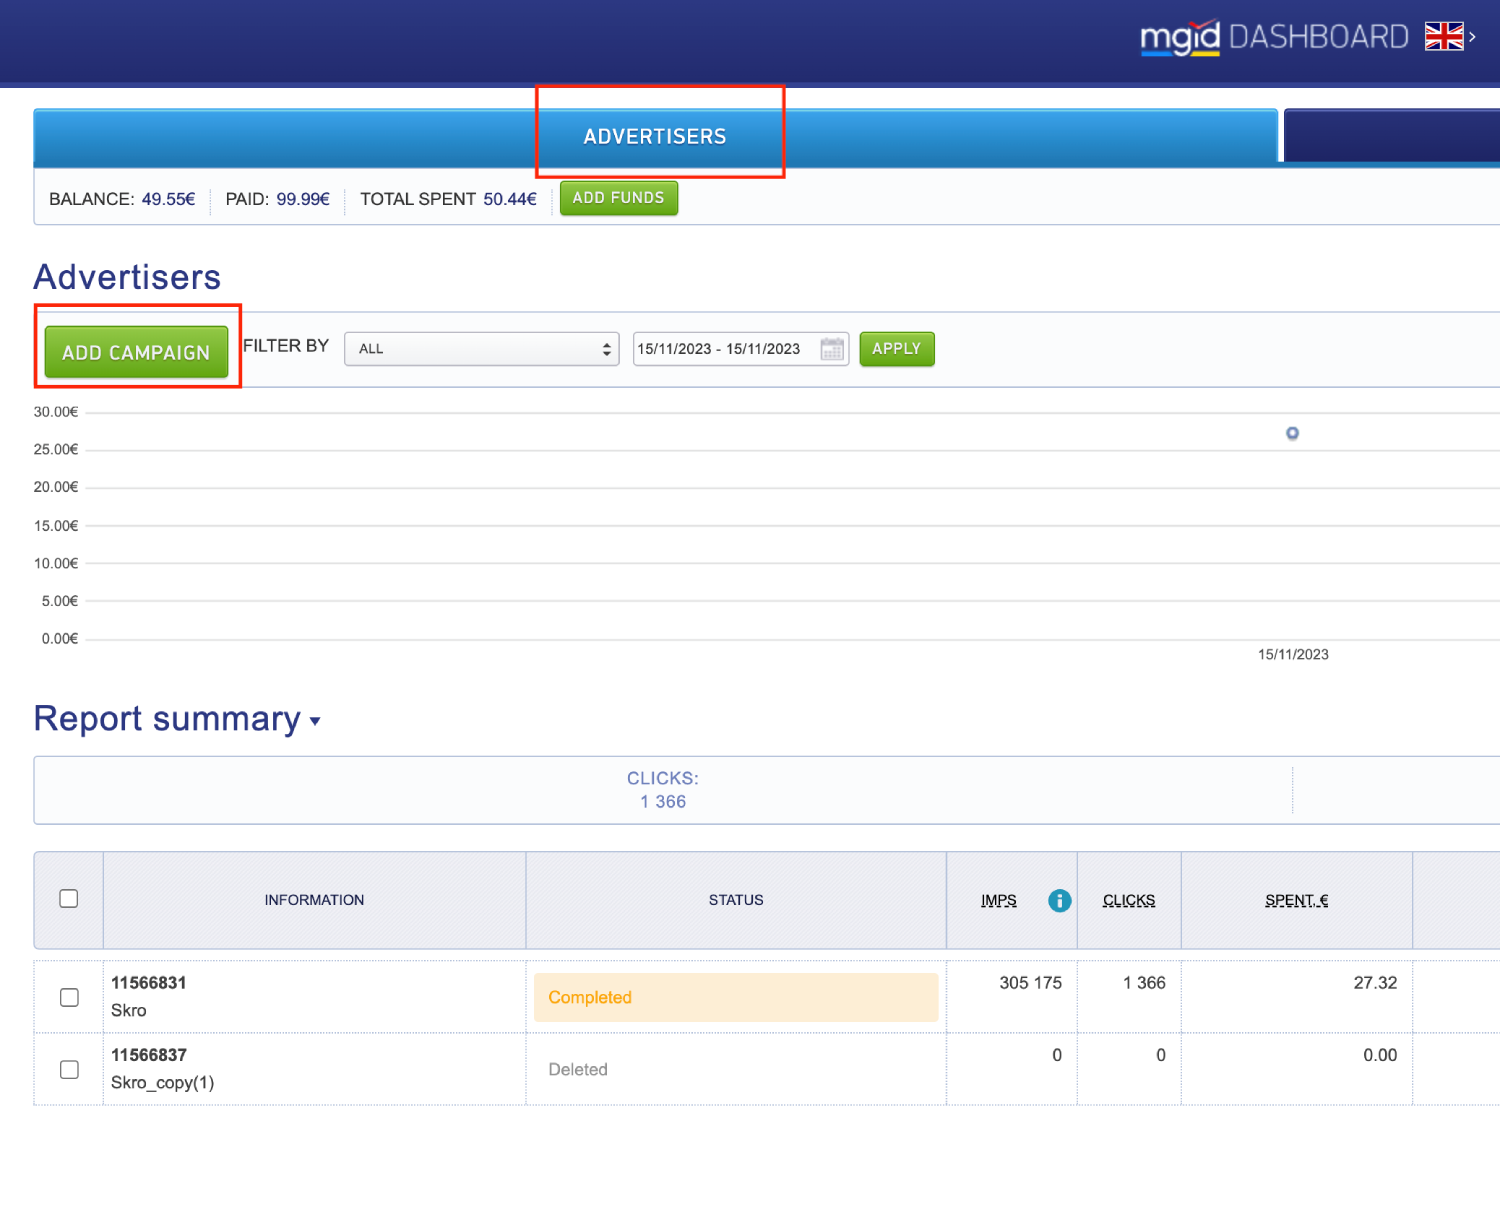
**Campaign Settings** - Provide all required information. This includes:
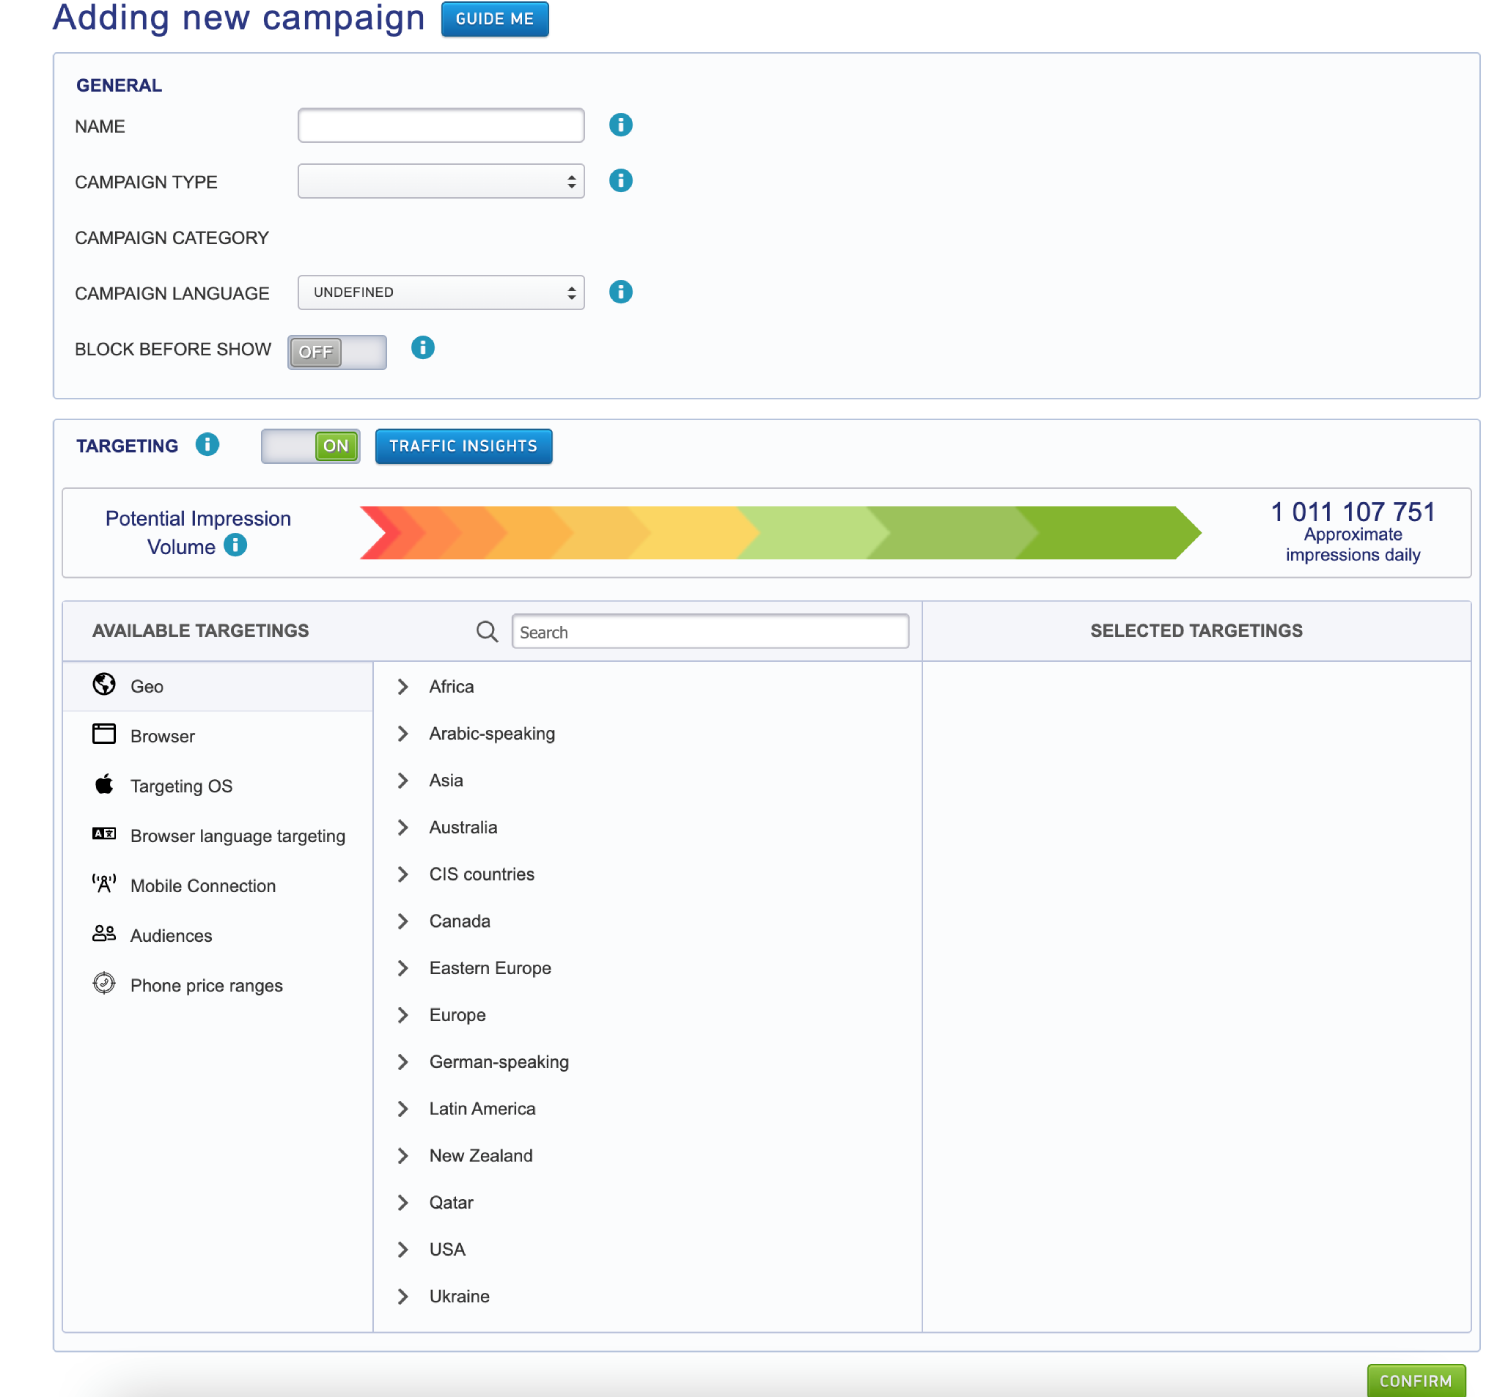
- General.
- Targeting.
- Dynamic Retargeting .
- Schedule
- Tracking Tags
- Conversion sensors
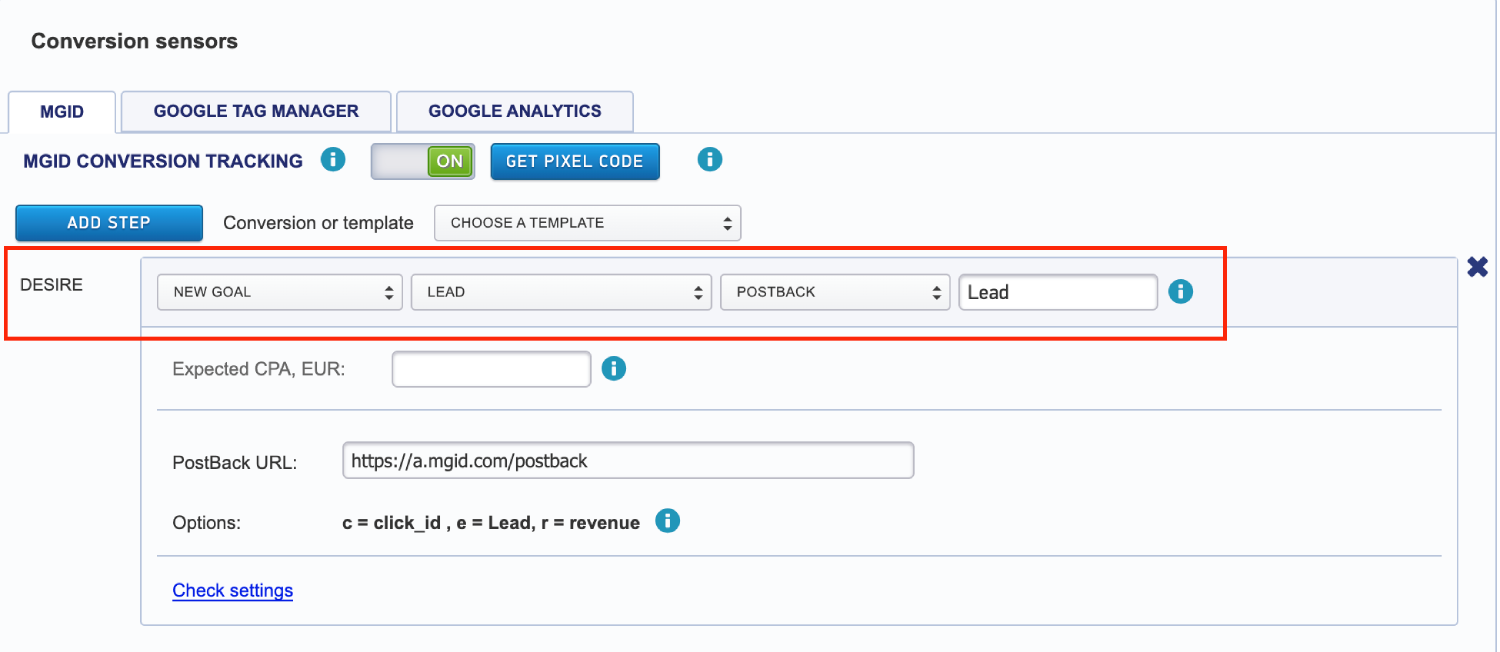
Add your conversion event name same as you added into Skro.
Once you have provided the required information, click the **Confirm**.
**Create Teasers** - Provide a target URL and a creative. In order to do so, perform the steps below:
- Paste the copied campaign tracking URL from Skro into the **URL** field.
- Upload a creative or choose one from the stock photo library, provide headlines. Once you set up your ad, click the **Save and Go**.
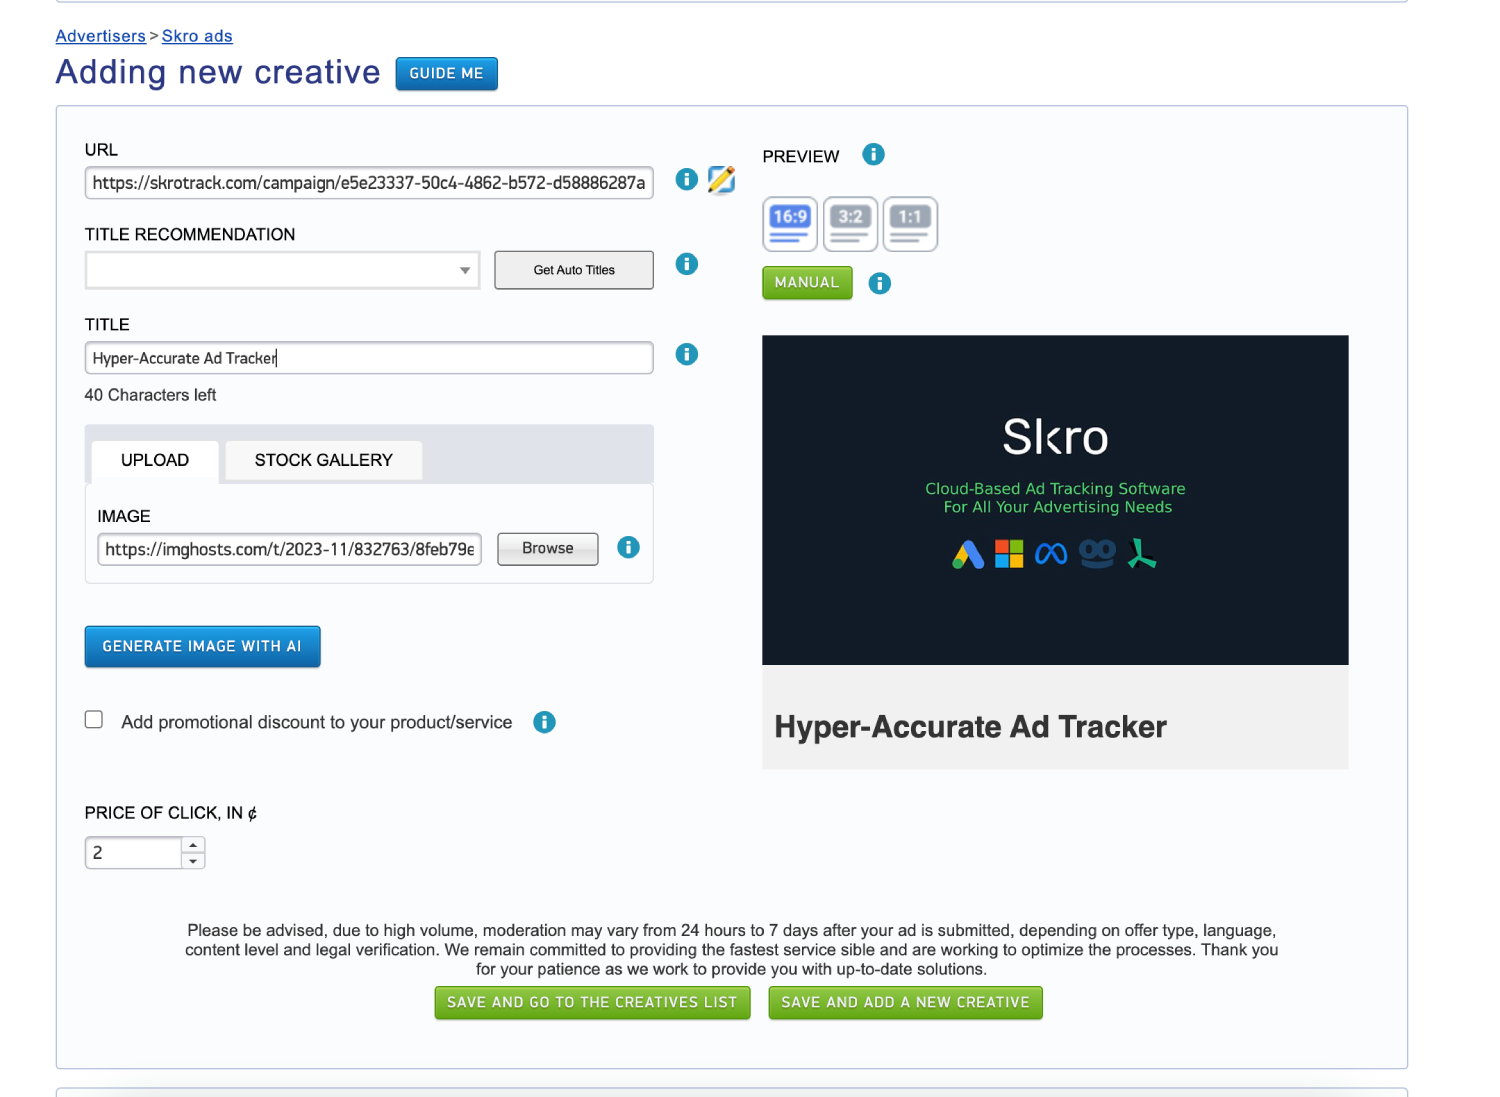
Congratulations, you have successfully set up tracking of MGID traffic with Skro. Each time a visitor clicks on your ad, will be directed to your landing page with Skro's tracking parameters being passed.
## Verify the setup [#verify-the-setup]
Open the generated campaign URL and check that the visit appears in Skro. Confirm that traffic source macros resolve to actual values. If you send conversions back to the source, verify a test conversion in both systems.
If data is missing, check the selected workspace, integration, campaign, and reporting date range. Compare parameter names and macro values with the examples in this guide before repeating the test.
## Related guides [#related-guides]
# Microsoft (Bing) Ads integration
Source: https://skro.eu/docs/integrations/microsoft-bing-ads-integration
Set up Microsoft (Bing) Ads tracking in Skro, configure traffic source parameters, and connect your advertising campaigns.
[Microsoft Ads](https://ads.microsoft.com) integration gives you the ability to manage and optimize all your Microsoft ads through the Skro interface.
- Sync cost for campaigns, ad groups and ads every 30 min.
- Check the status of your campaigns, ad groups and ads.
- Pause or resume campaigns, ad groups and ads.
In this guide, you will learn how to set up your campaigns in Microsoft Ads and Skro so Microsoft can pass information to Skro and back with a selected tracking method. This guide does not cover all aspects and options available when creating a campaign on these two platforms. Basic knowledge regarding setting up campaigns in Microsoft and Skro is required.

## Step 1. Create a Conversion Goal [#step-1-create-a-conversion-goal]
A conversion goal is needed for Skro to send conversions to Microsoft Ads. We should get a conversion goal name in this section.
- Sign in to your Microsoft Ads account.
- Navigate to the **Tools** → **Conversion Tracking** → **Conversion goals**.
- Click **+ Create**.
- Choose **Offline** type.
- Click **Next**.
- Select your **Goal category** and click **Goal Type**.
- Click **Next**.
- Fill all required fields.
- Remember the **Conversion name** you will need it when creating integration on Skro.
- Click **Save and next**.
## Step 2. Setup integration [#step-2-setup-integration]
- Log in to your **Skro** account.
- Navigate to **Settings → Integrations**.
- In the **Traffic Sources** section click **Add**.

- Click **Microsoft** logo and you will be redirected to Microsoft Ads.
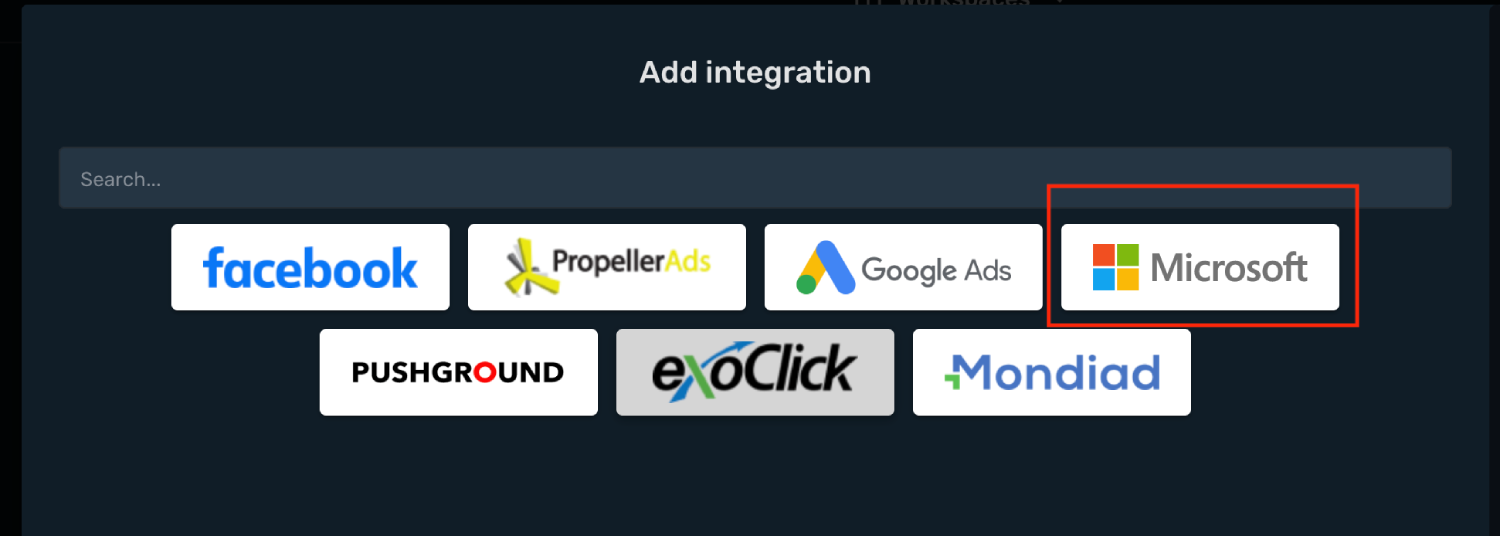
- Choose or sign in the account you want to integrate, click Allow or Confirm when Microsoft ask.
- Choose the Microsoft Ads account you want to integrate. If you have multiple ads account, you need to integrate them separately.
- Click **Next**.
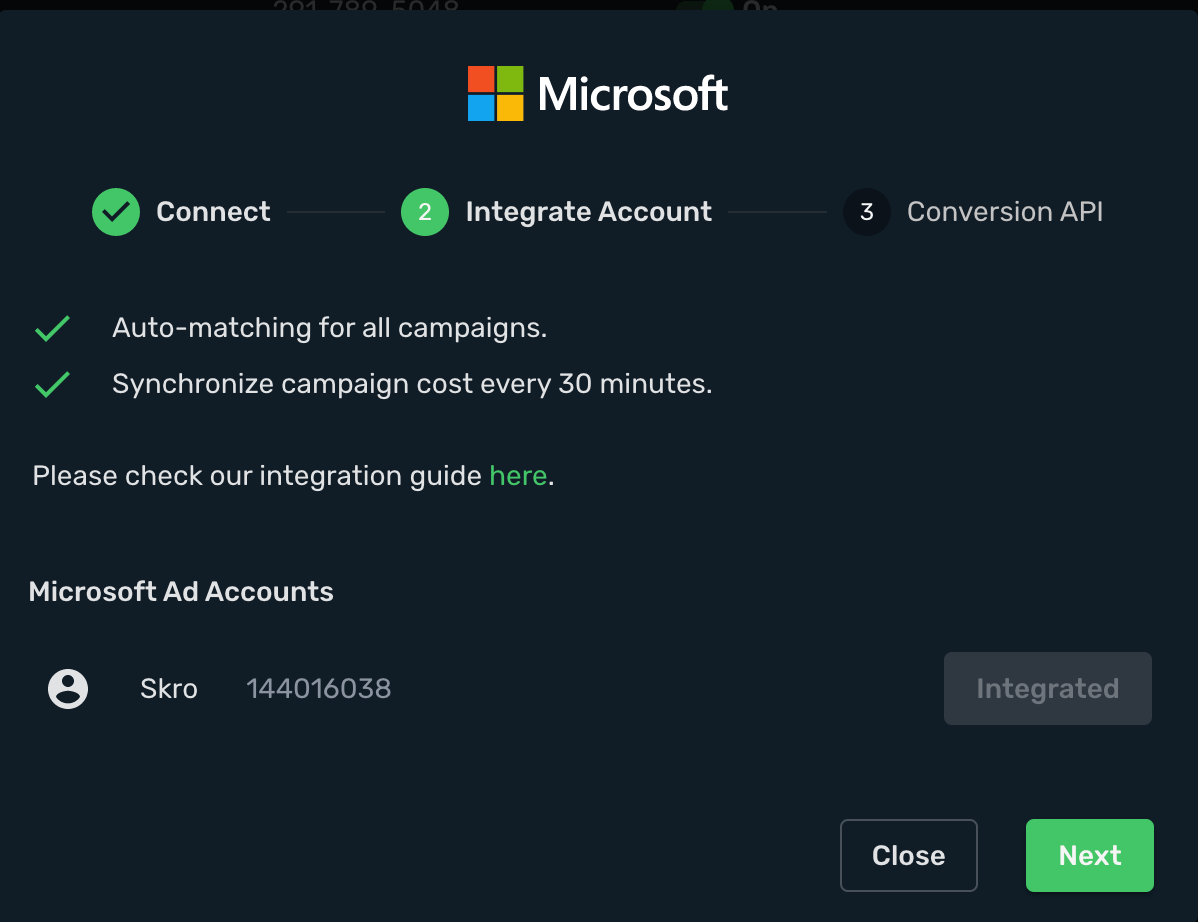
- If you want to send conversions info back to Microsoft Ads, then you will need to enable **Conversion API.**
- **Conversion Action Name** - must be the same as you typed in Microsoft Ads. When creating Skro campaign you will need to specify which conversion goal to send to.
- **Include Conversion Payout** - If checked, we will send conversion revenue and currency to Microsoft Ads.
- Click **Save & Close**.
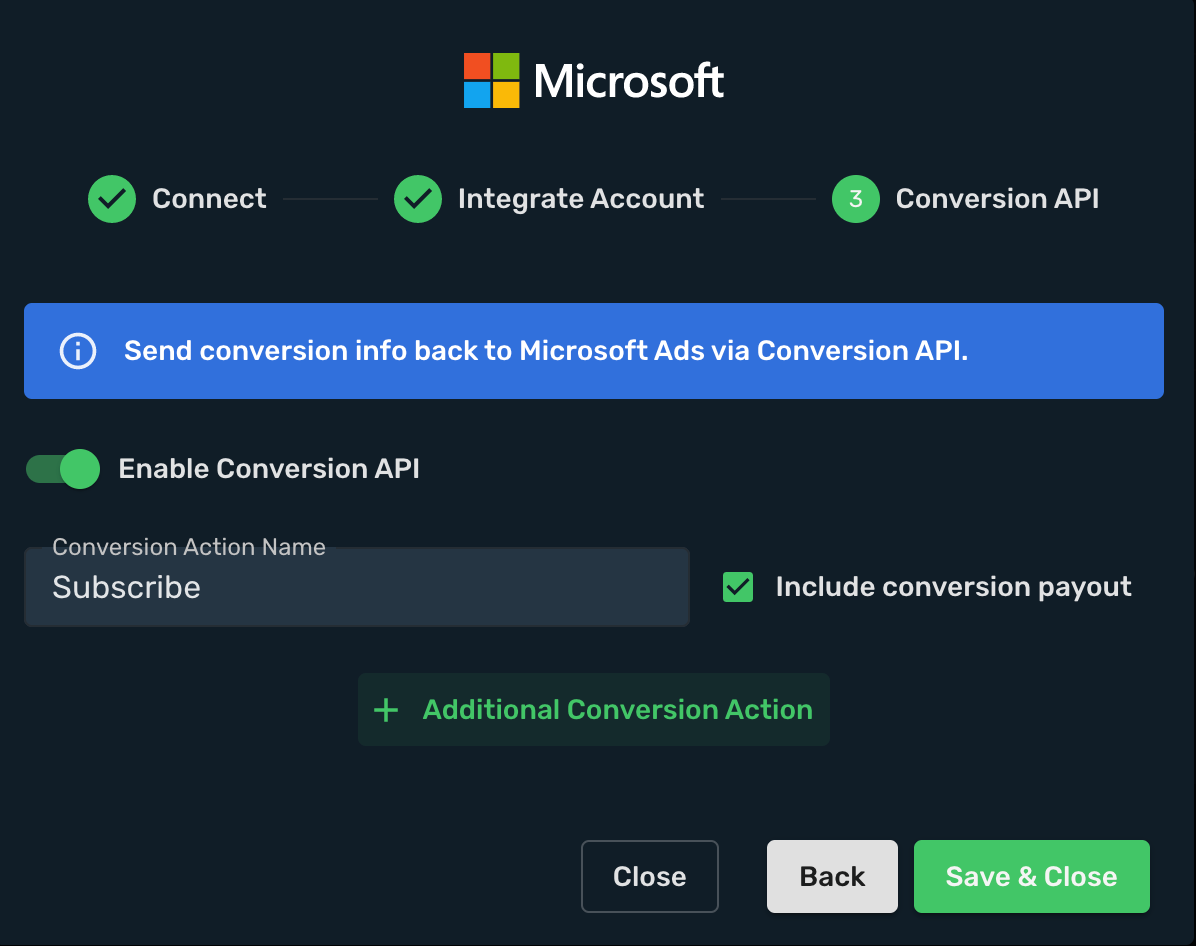
- You Microsoft Ads account is successfully integrated.

## Step 3. Associate the integration with your traffic source [#step-3-associate-the-integration-with-your-traffic-source]
- Navigate to the **Traffic Sources** and click **Create**.

- Click **Microsoft Ads** logo.
- Choose and select your Microsoft Ads integration from dropdown menu.
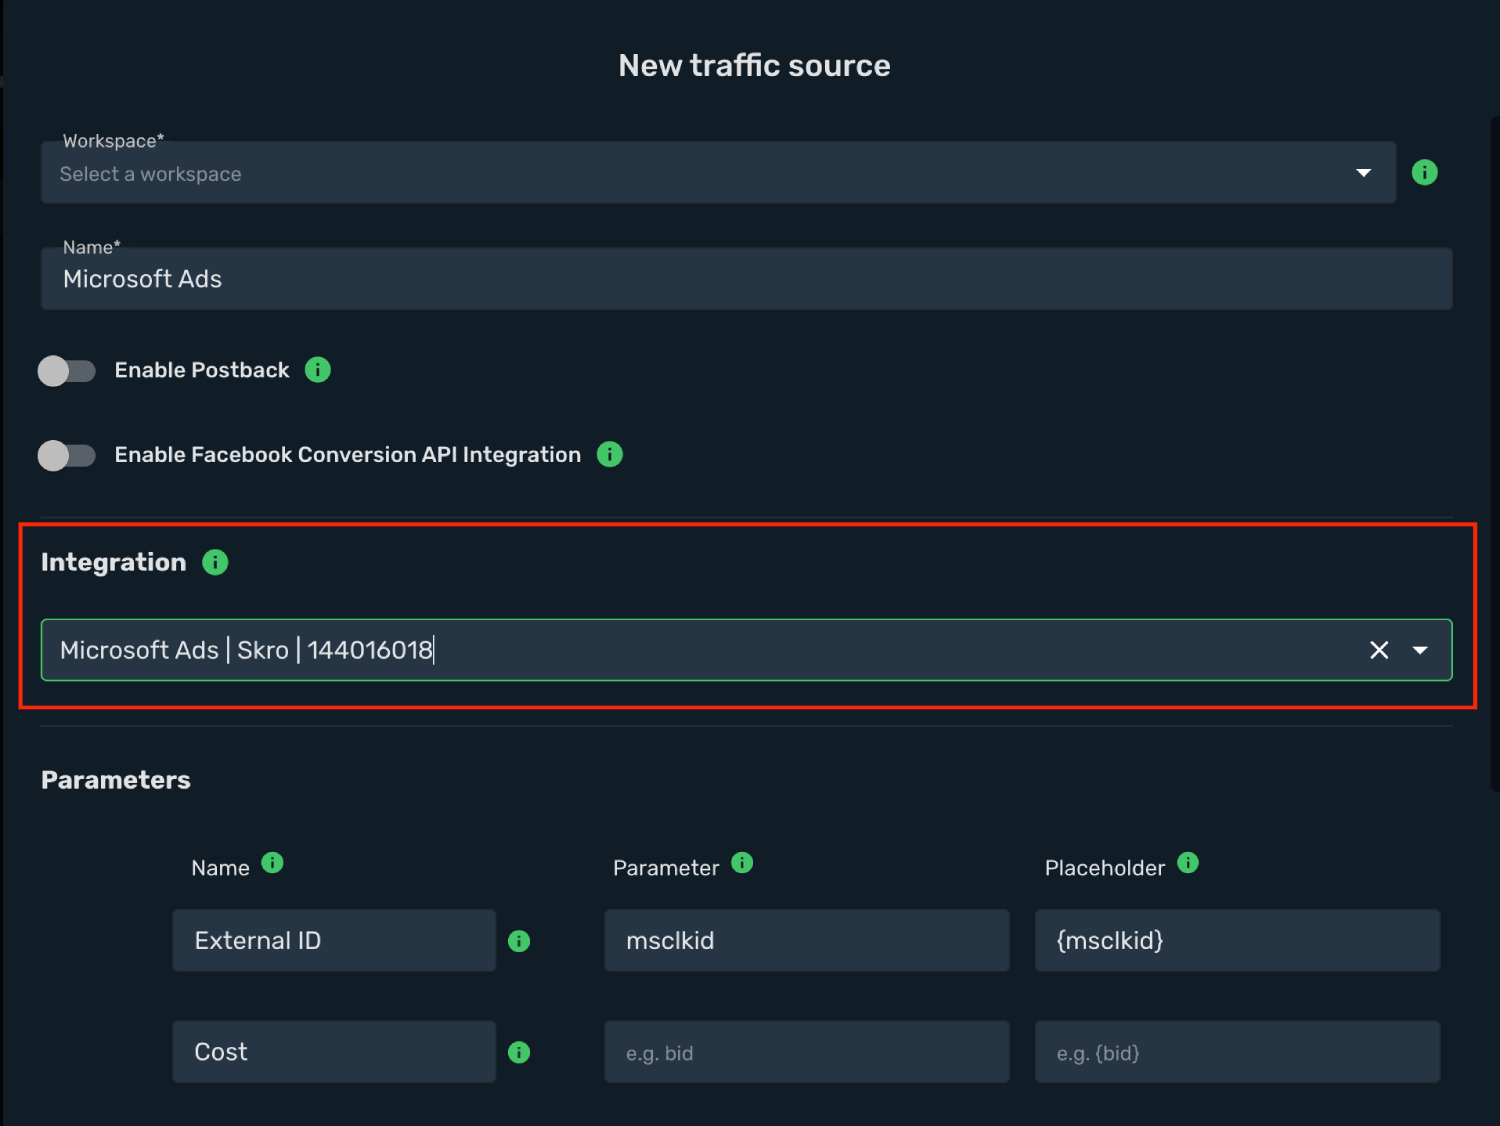
- All parameters are already prefilled for you.
- Click **Save & Close**.
The integration is ready. Continue by creating a campaign for Microsoft Ads.
## Step 4. Create a Campaign in Skro [#step-4-create-a-campaign-in-skro]
First you will need to add your offer.
- Navigate to the **Offers** view and click **Create**.
- Select workspace.
- Add name.
- Add your offer URL and add macros if needed.
- Click **Save & Close**.

- Navigate to the **Campaigns** view and click **Create**.
- Select your integrated **Traffic Source** as Microsoft Ads.
- Select your **Conversion Goal Name**. That is needed to send conversion info back to Microsoft Ads.
- Cost Model should be **Auto**.
- Select your cost currency.
- Click **Next**
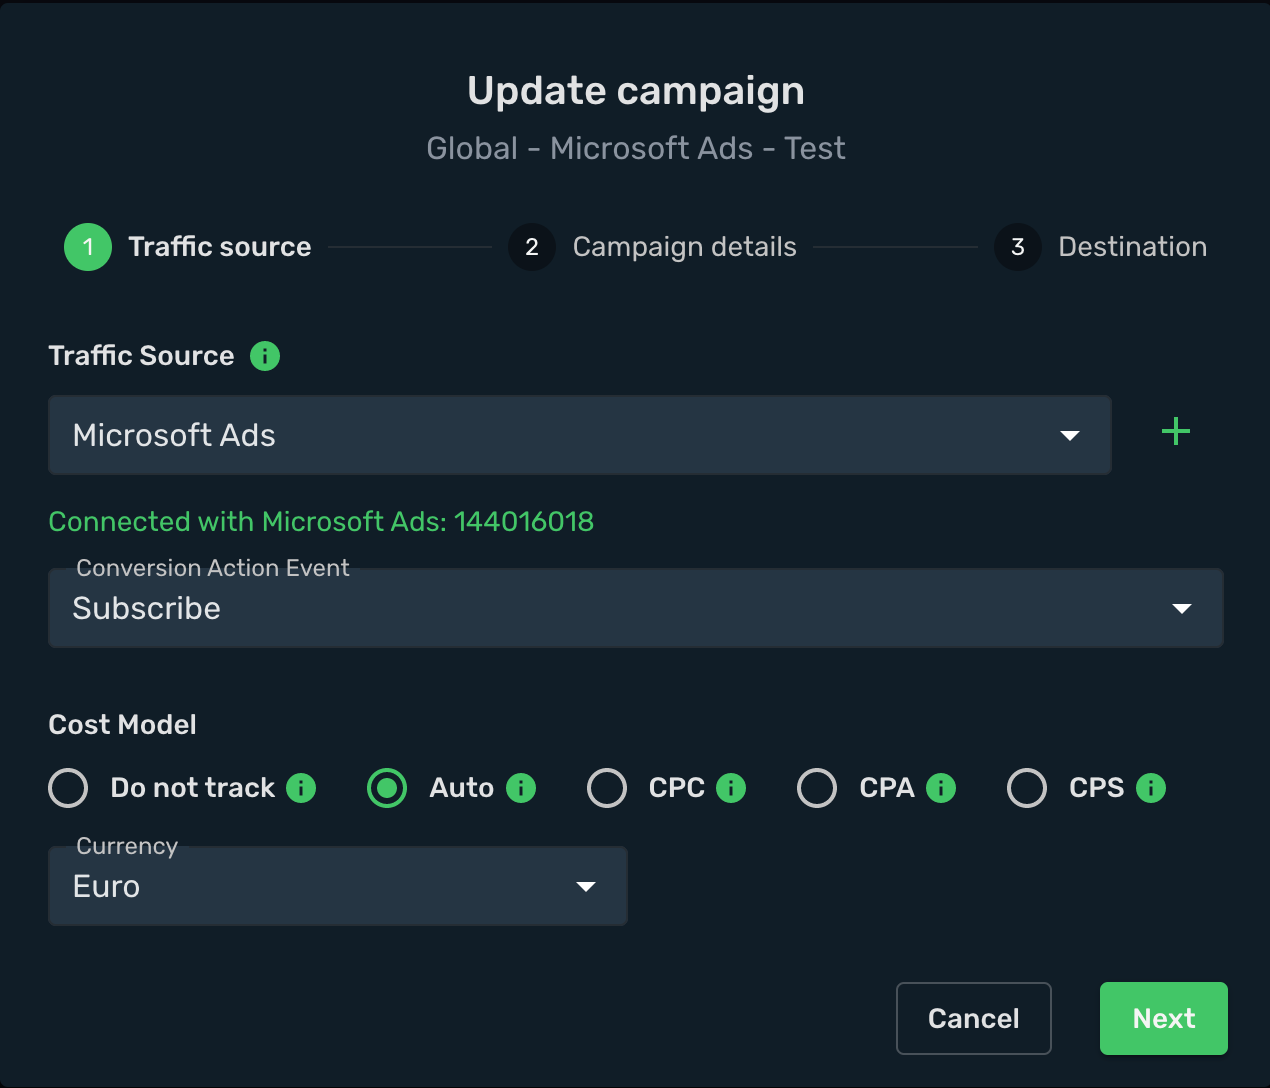
- Select workspace.
- Add descriptive name to your campaign.
- Click **Next**
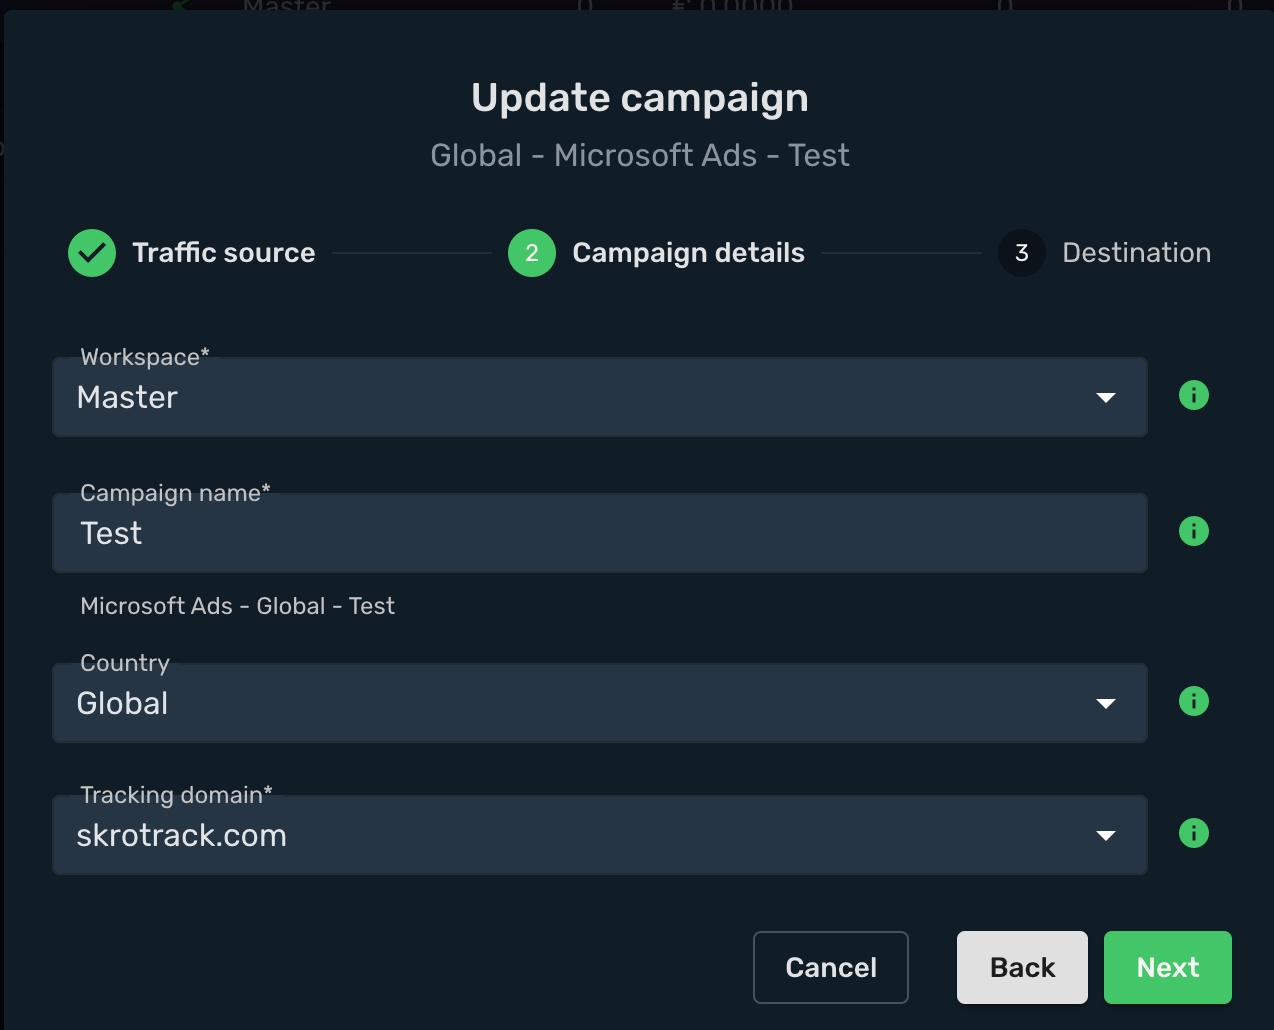
- Choose your **Destination Type**. In this example we use **flow**
- Choose your redirect mode. In this example we use **redirect 302**
- In given example we use only offers, Switch on **Use only offers** and select your offer.
- Click **Save**

- Choose **Direct** method and select your offer.
- Copy and paste the Offer URL to Microsoft Ads **Final URL** field.
`https://skro.eu`
- Paste the part of the direct tracking URL that you have copied from Skro that starts after the **?** character in the **Final URL suffix** text field.
```text
trck=eyJjcGlkIjoiMjQzYjgzMjQtYTYyNS00MWUxLWJiNWUtYzU1NmE1MDA5M2Q3IiwiciI6MCwicCI6MCwibyI6MH0=&msclkid={msclkid}&AdId={AdId}&AdGroupId={AdGroupId}&CampaignId={CampaignId}&Device={Device}&MatchType={MatchType}&KeyWord={KeyWord}&TargetId={TargetId}&QueryString={QueryString}&Network={Network}
```
- Copy and paste Skro **Tracking Pixel** to your website between HEAD tags.
- Copy and paste Skro **Thank you page JS pixel** to your website between HEAD or BODY tags.
- If you want to send conversion info back to Skro from your server, then you will need to use **Postback URL** not **Thank you page JS pixel**.

## Step 5. Create a Campaign in Microsoft Ads [#step-5-create-a-campaign-in-microsoft-ads]
There are multiple campaign types that you can create with Microsoft Ads. Campaign types determine where and how your ad will be promoted.
- **Search:** Your ad will be displayed among Microsoft's search results.
- **Display:** Your ad will be displayed on websites partnered with Microsoft in the Display network.
In order to create a Microsoft ad campaign, please follow the steps below:
- Sign in to your Microsoft Ads account.
- In your Microsoft Ads campaigns view, click the **Create**.
- Select the **Campaign Goal**.
- Select the **Ad Type**.
- Click **Next**.
- Provide a name for your campaign.
- Set the campaign budget and targeting options.
- Click the **Save & go to the next step**.
- Provide your landing page URL.
- Provide an ad group name and some keywords.
- Click the **Save & go to the next step**.
- Select your **Ad Type**.
- Provide your Final URL.
- Add your ad headlines, images and descriptions.
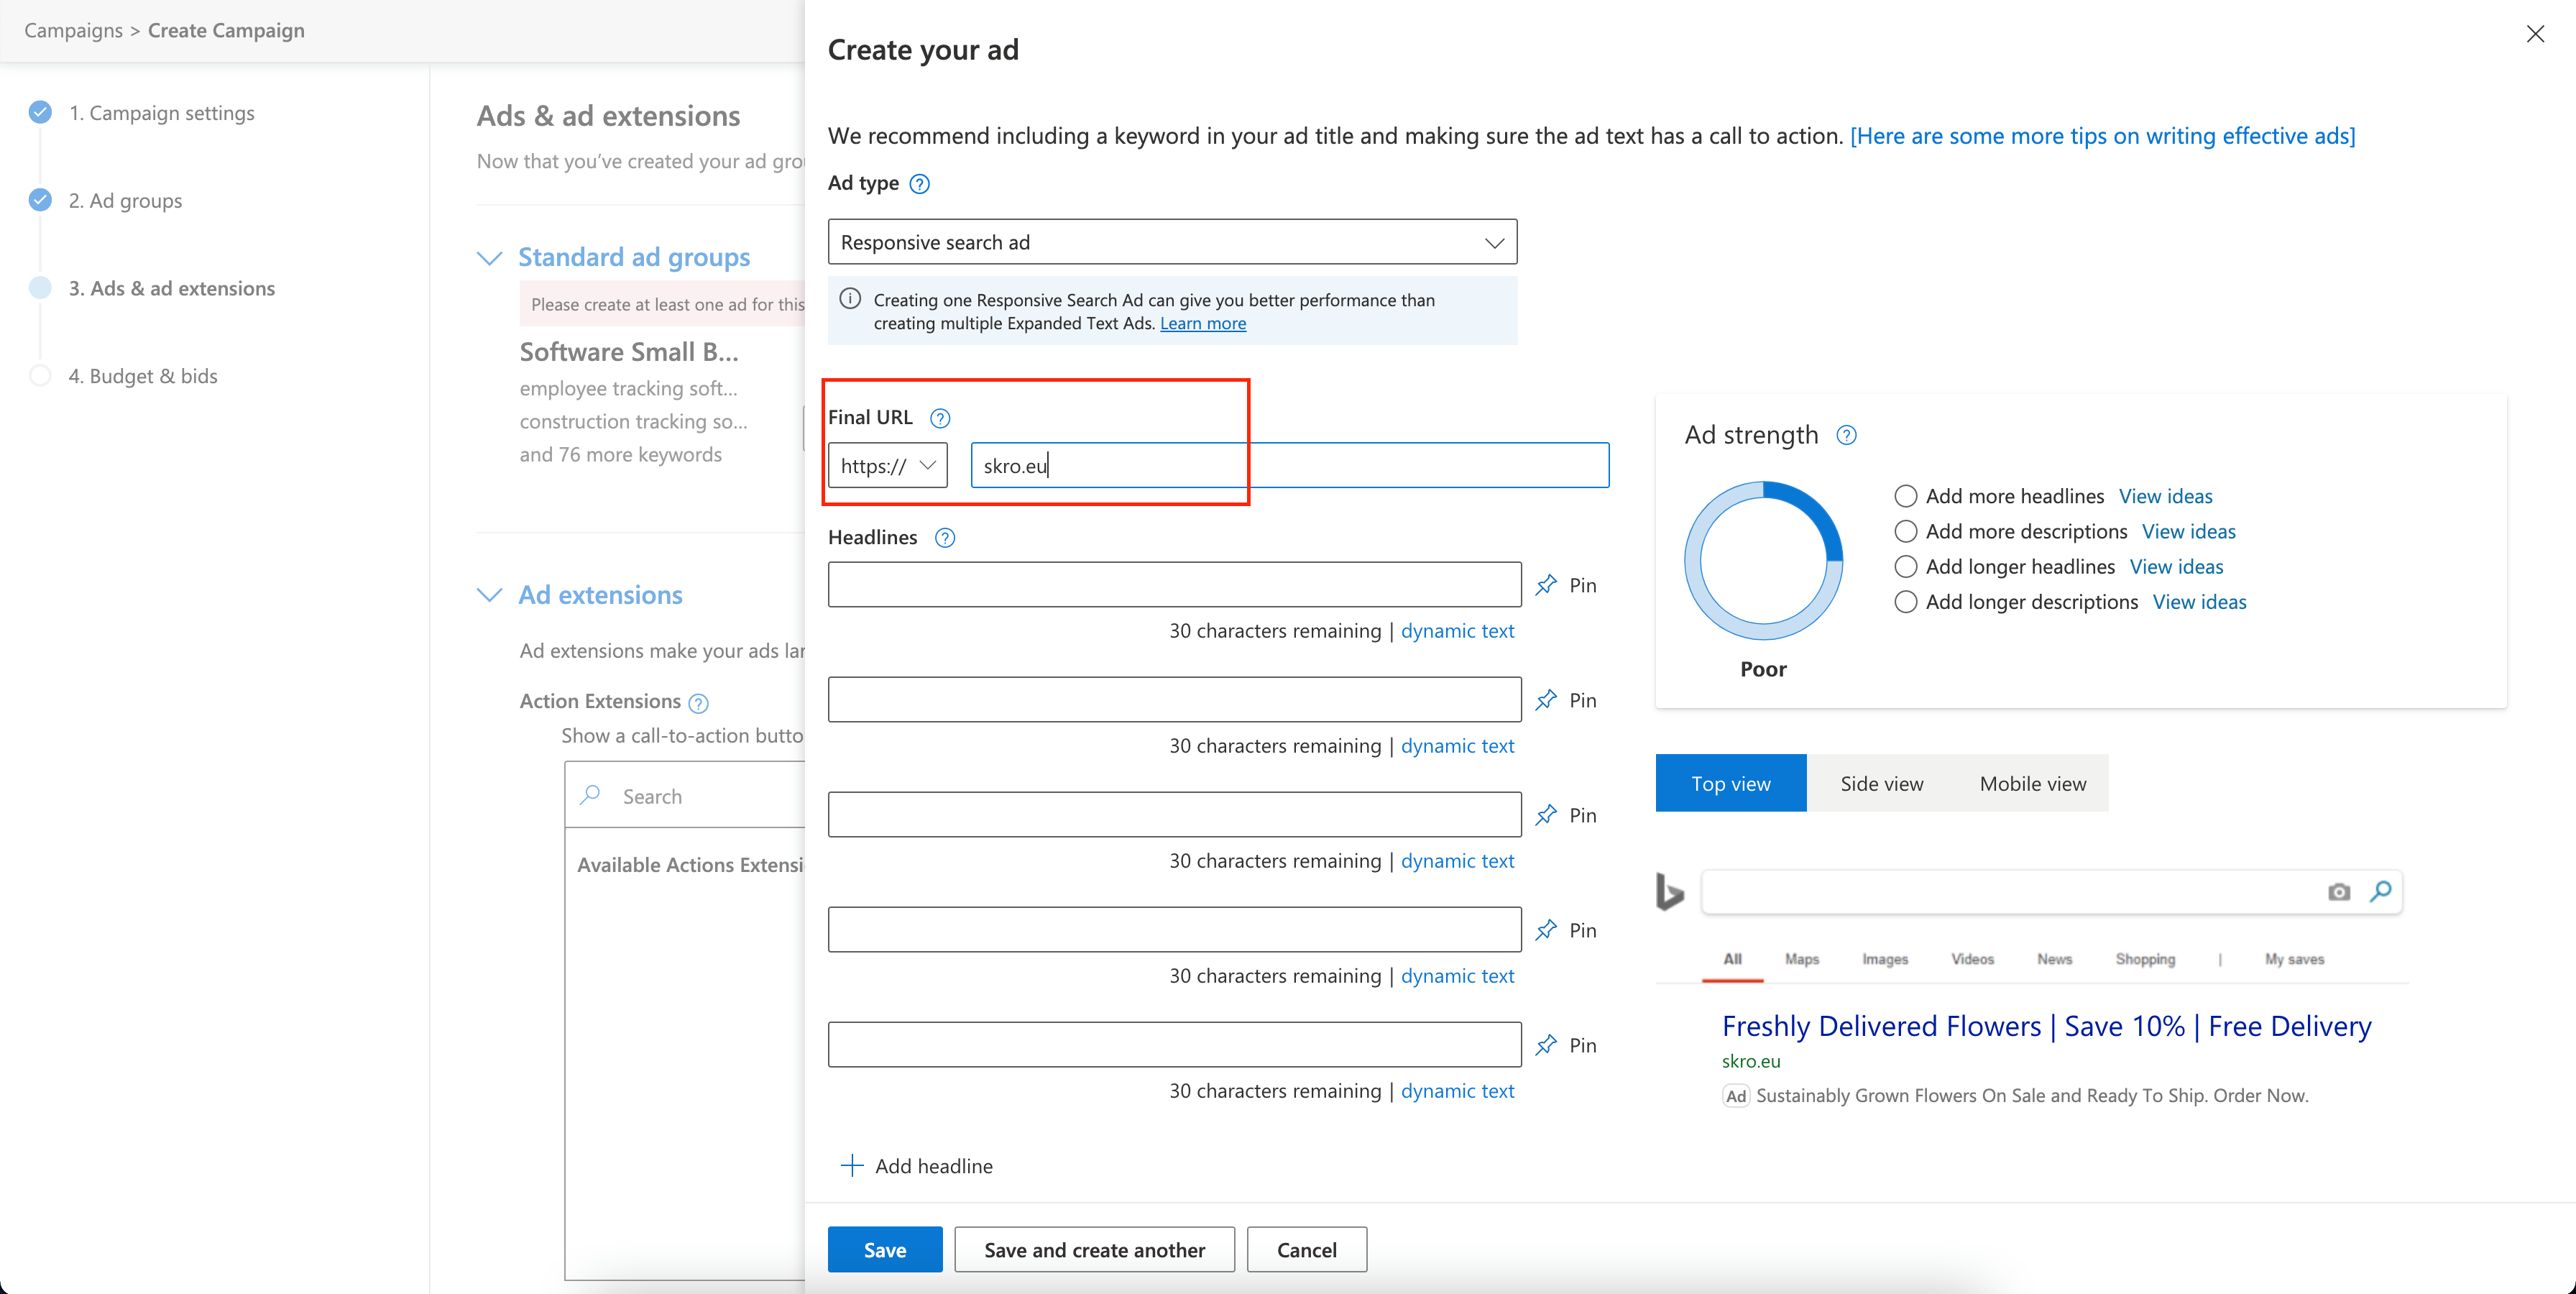
- Scroll down to **Ad URL options**
- Paste the part of the direct tracking URL that you have copied from Skro that starts after the **?** character in the **Final URL suffix** text field.
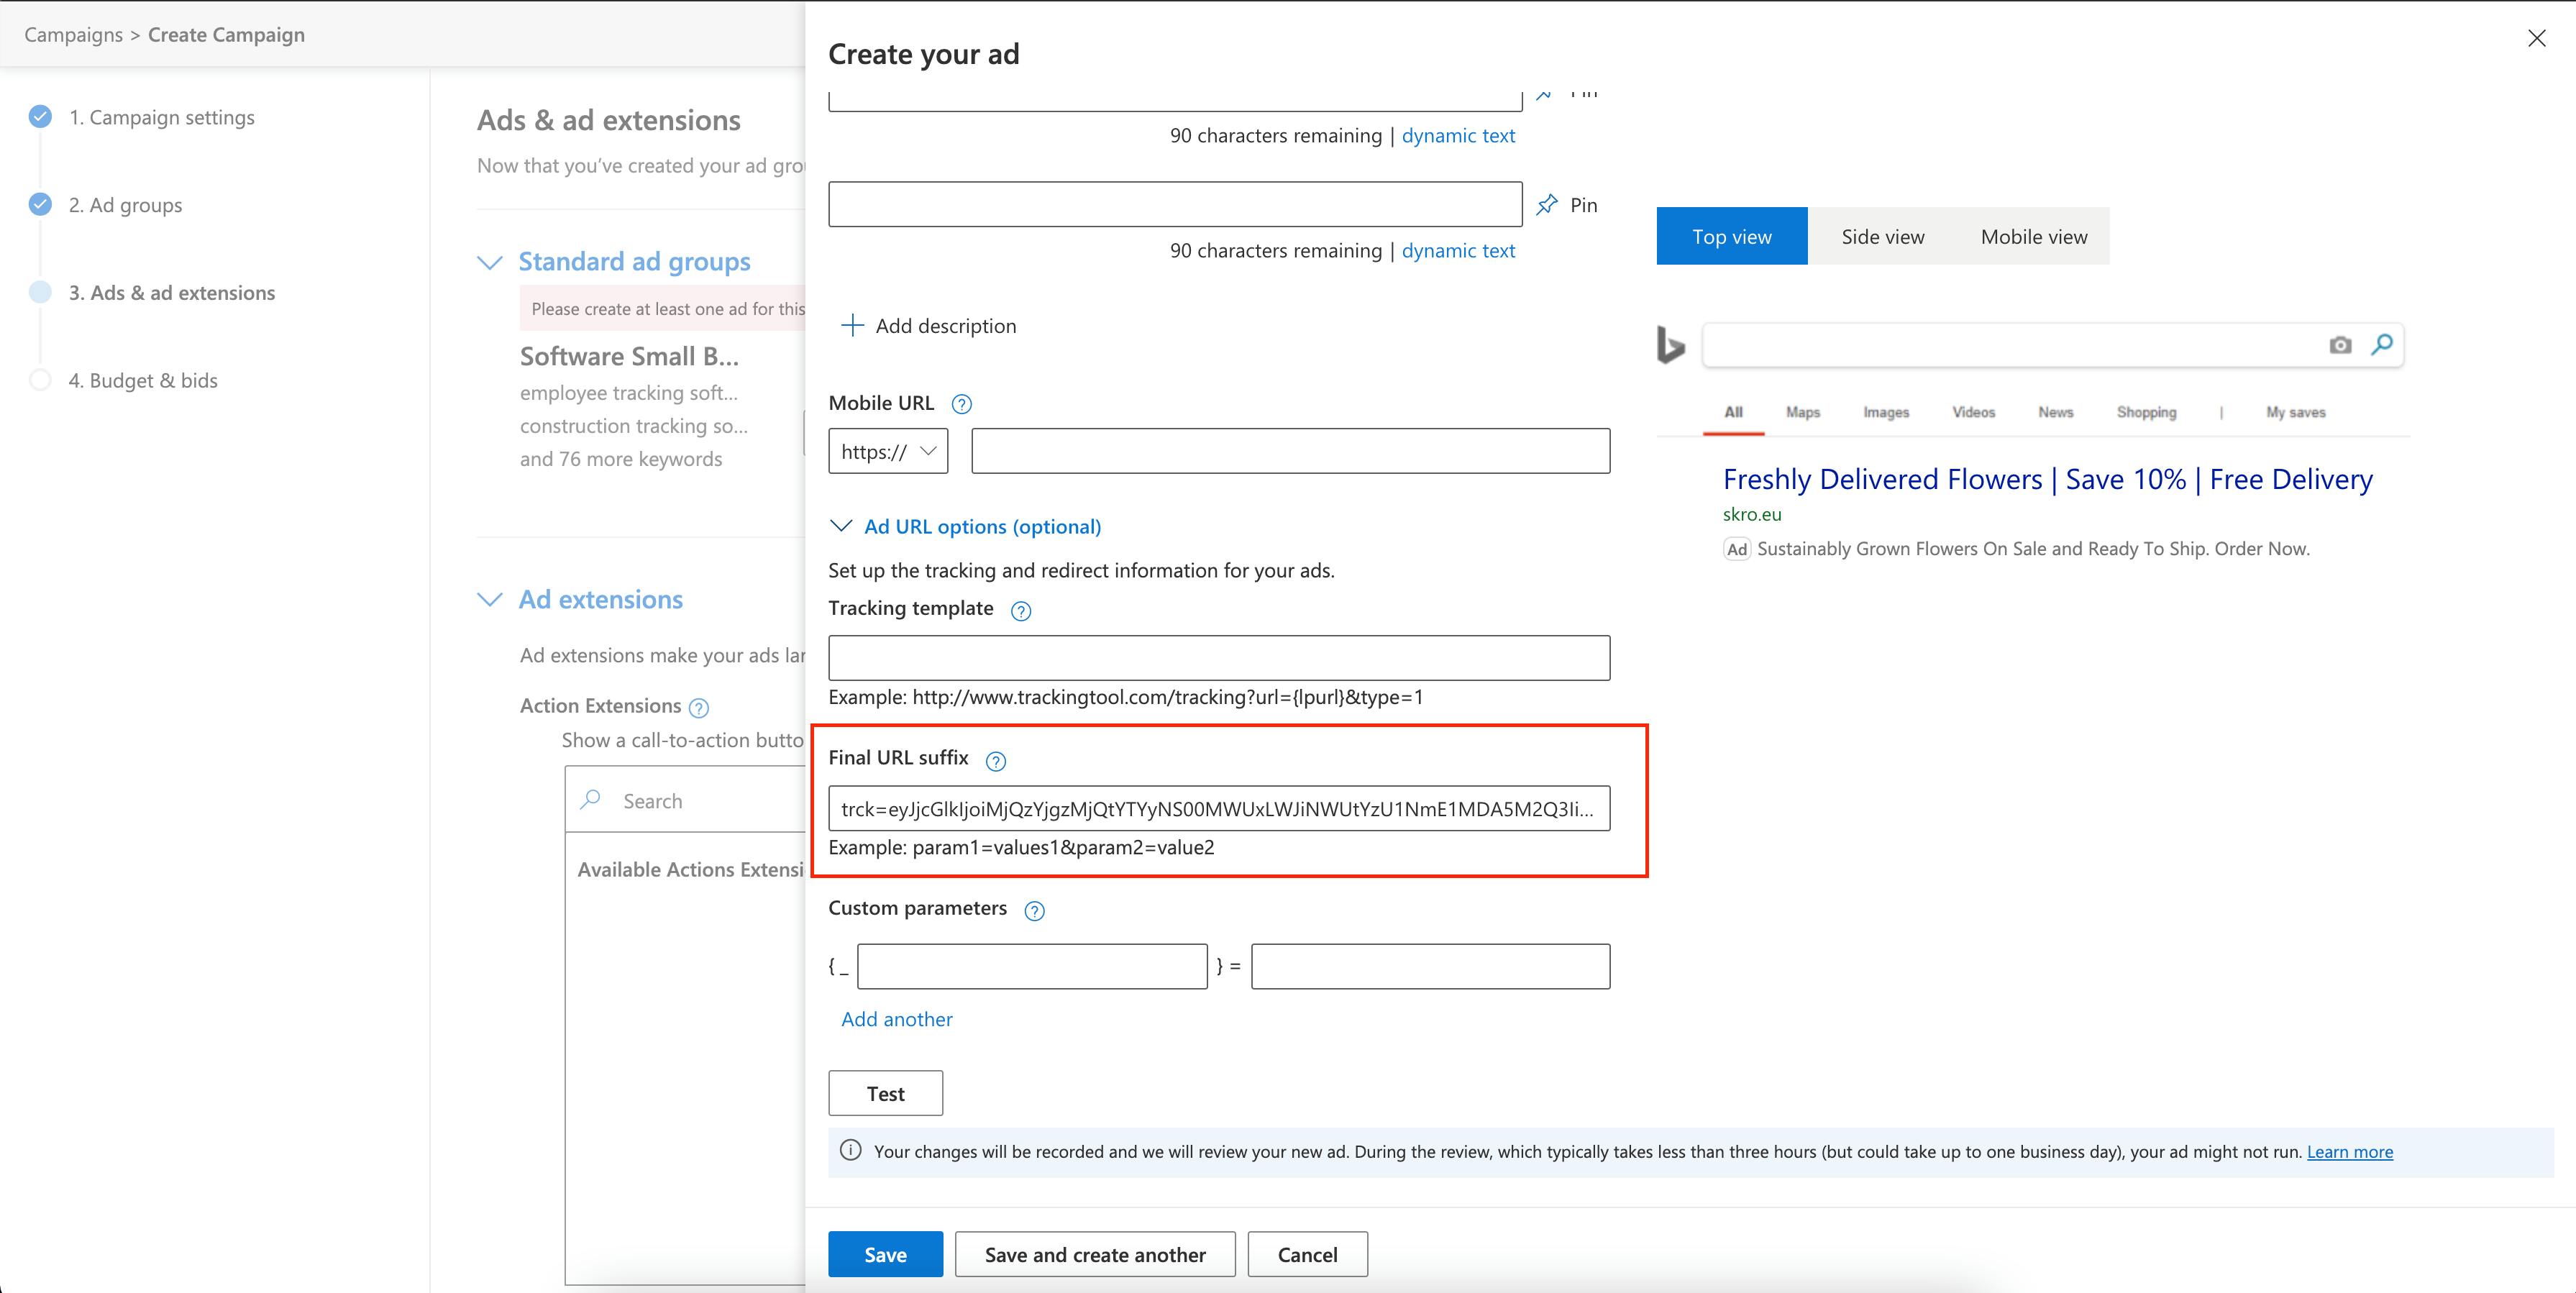
**Example**:
The complete direct tracking URL that you have copied from Skro should look like this:
```text
https://skro.eu?trck=eyJjcGlkIjoiMjQzYjgzMjQtYTYyNS00MWUxLWJiNWUtYzU1NmE1MDA5M2Q3IiwiciI6MCwicCI6MCwibyI6MH0=&msclkid={msclkid}&AdId={AdId}&AdGroupId={AdGroupId}&CampaignId={CampaignId}&Device={Device}&MatchType={MatchType}&KeyWord={KeyWord}&TargetId={TargetId}&QueryString={QueryString}&Network={Network}
```
The following part of the above URL should be pasted in the **Final URL suffix** text field
```text
trck=eyJjcGlkIjoiMjQzYjgzMjQtYTYyNS00MWUxLWJiNWUtYzU1NmE1MDA5M2Q3IiwiciI6MCwicCI6MCwibyI6MH0=&msclkid={msclkid}&AdId={AdId}&AdGroupId={AdGroupId}&CampaignId={CampaignId}&Device={Device}&MatchType={MatchType}&KeyWord={KeyWord}&TargetId={TargetId}&QueryString={QueryString}&Network={Network}
```
- Click **Save**.
Congratulations, you have successfully set up tracking of Microsoft traffic with Skro. Each time a visitor clicks on your ad, will be directed to your landing page with Skro's tracking parameters being passed. On a landing page, the direct tracking script will launch and send an HTTPS request to Skro with information about a visit and other information passed from Microsoft.
## Verify the setup [#verify-the-setup]
Open the generated campaign URL and check that the visit appears in Skro. Confirm that traffic source macros resolve to actual values. If you send conversions back to the source, verify a test conversion in both systems.
If data is missing, check the selected workspace, integration, campaign, and reporting date range. Compare parameter names and macro values with the examples in this guide before repeating the test.
## Related guides [#related-guides]
# Mobidea integration
Source: https://skro.eu/docs/integrations/mobidea-integration
Connect Mobidea to Skro, map click IDs, and configure postbacks to attribute conversions and revenue to your campaigns.
## Step 1. Add affiliate network to Skro [#step-1-add-affiliate-network-to-skro]
1. Go to **Affiliate Networks** and click **Create**.
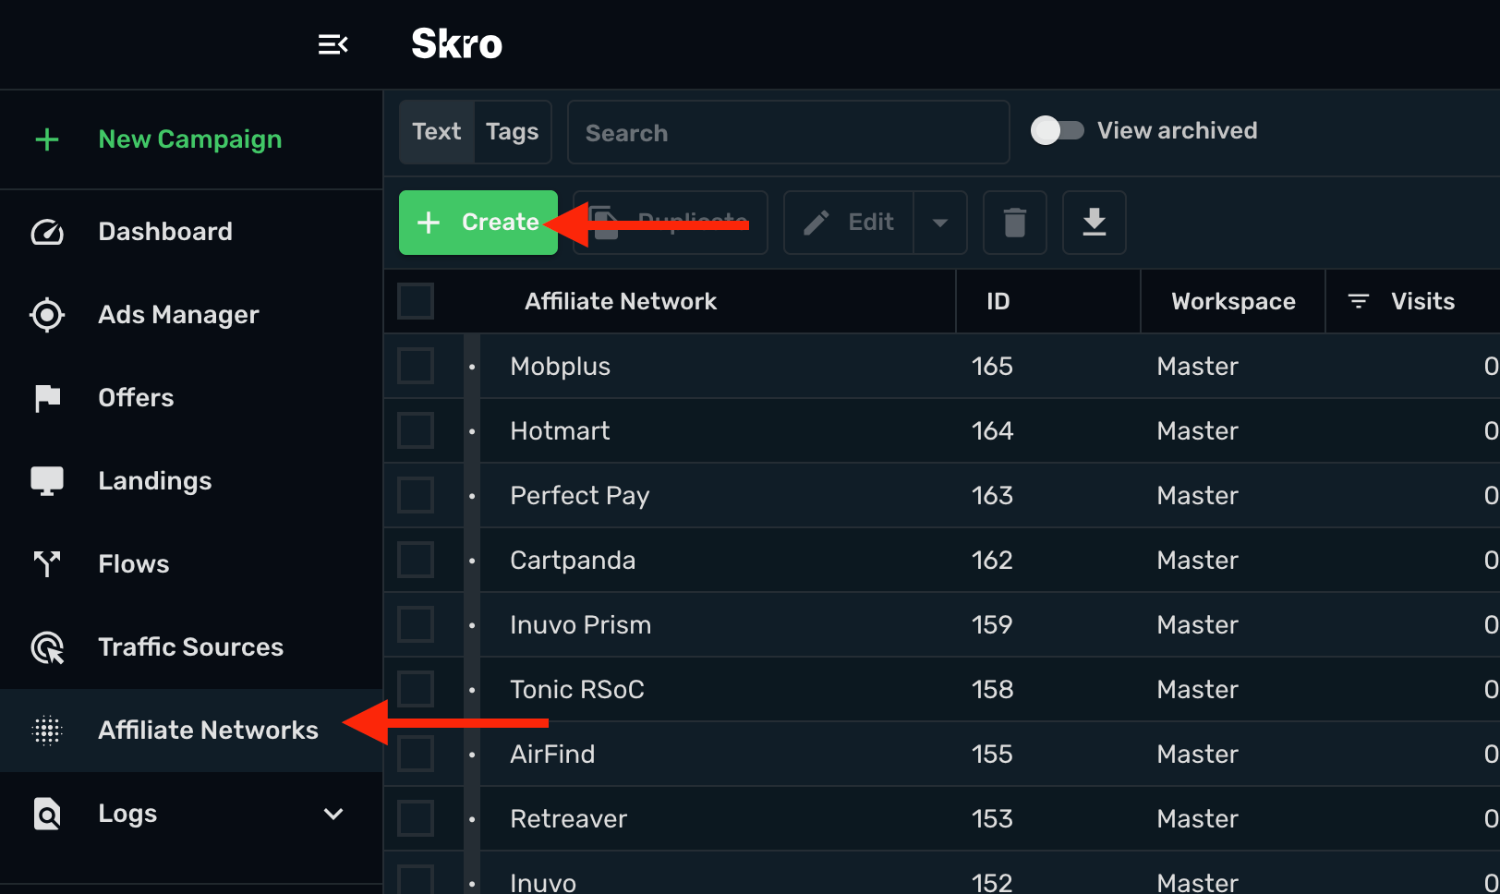
2. Search Mobidea and select the **Mobidea** template.
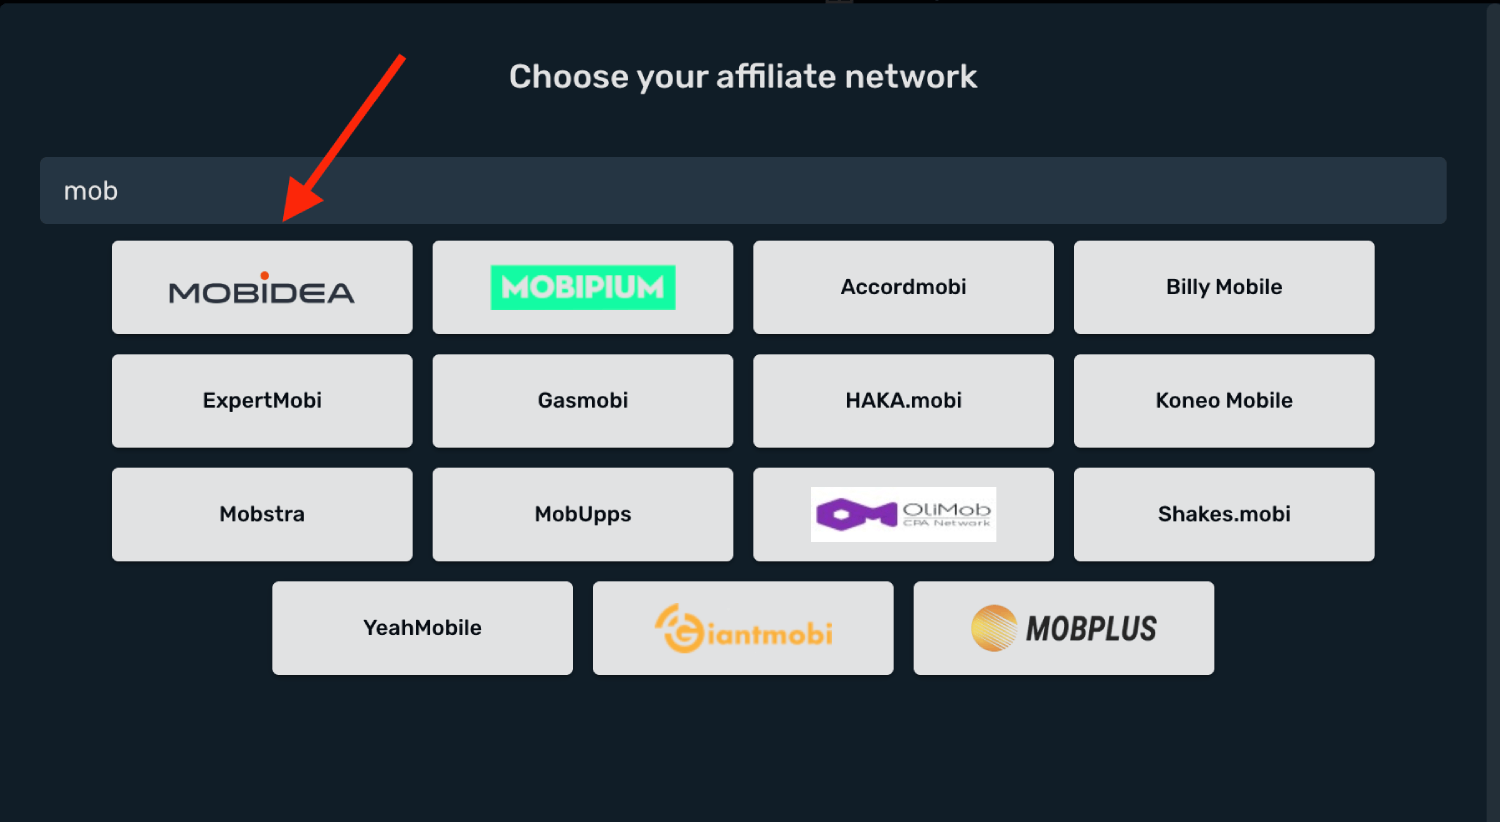
3. Select your **Workspace** and **Copy** postback URL to your clipboard.
4. Click **Save & Close**.
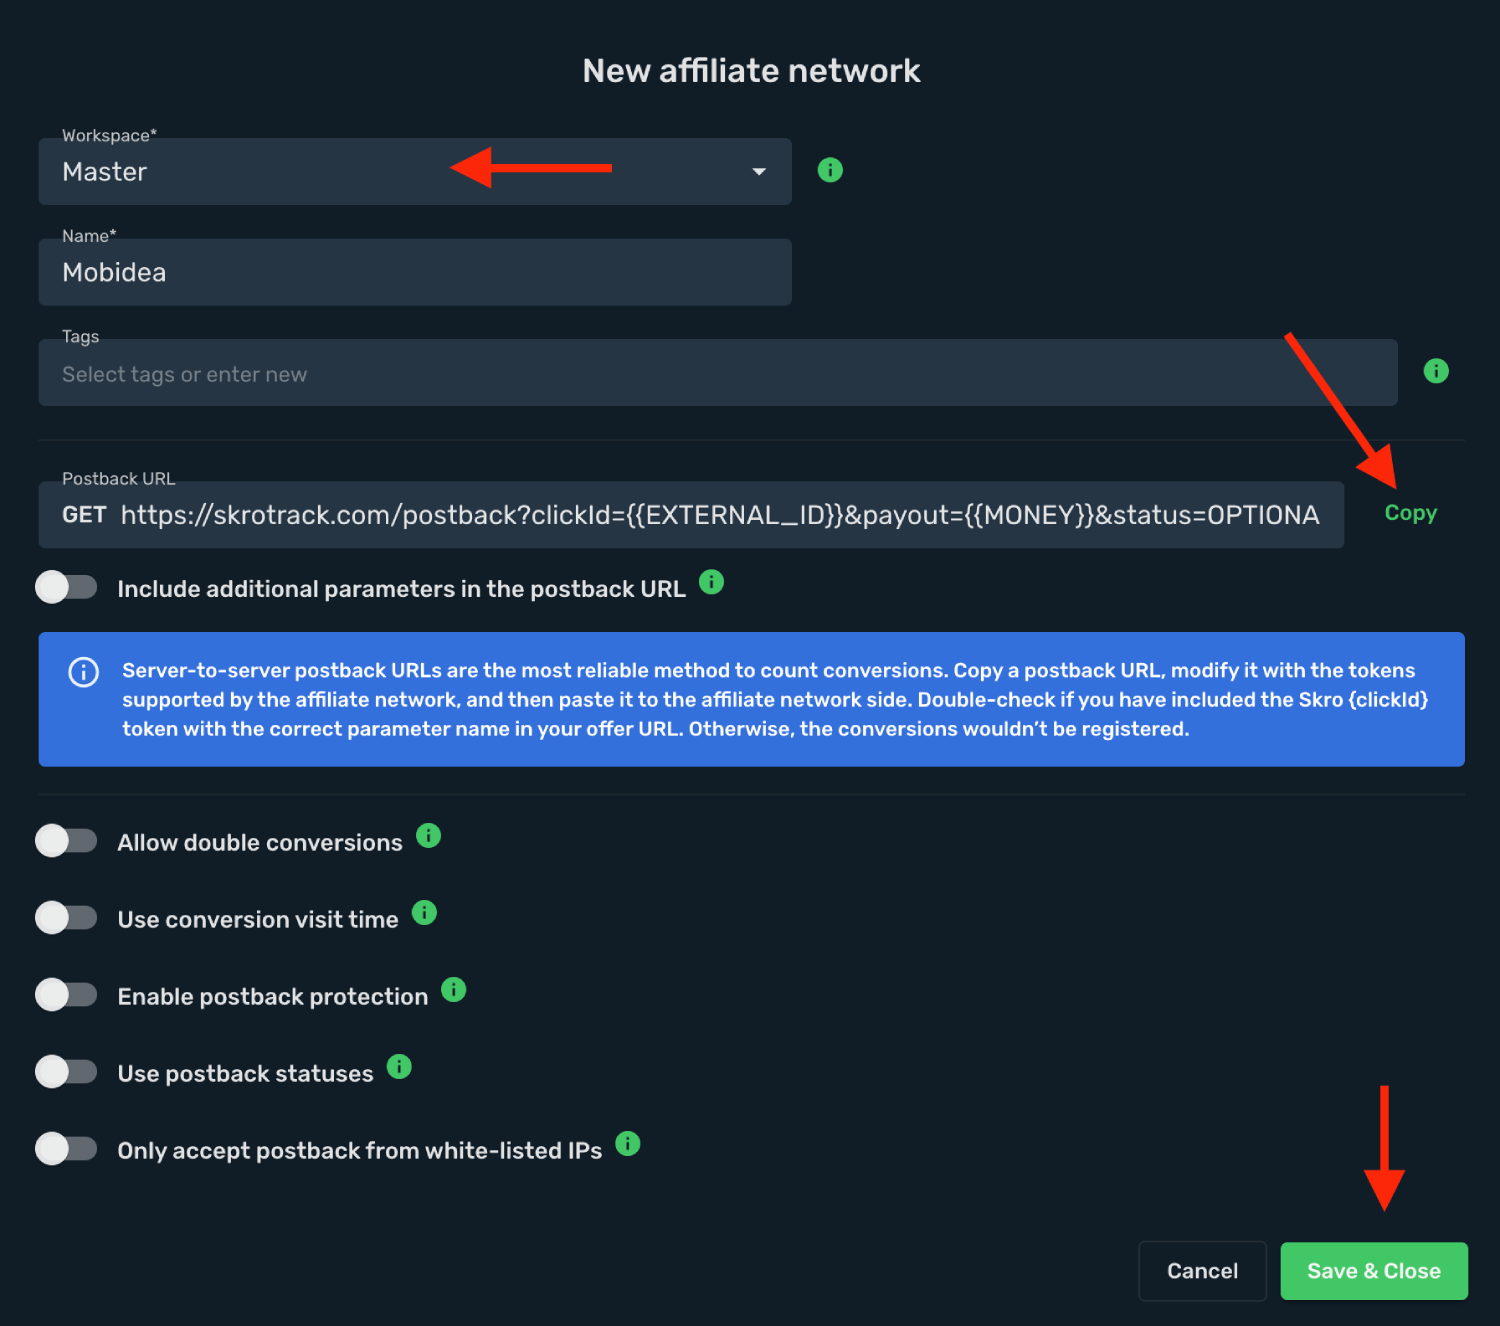
The Mobidea affiliate network is now saved in Skro. Use the copied postback URL in Mobidea in the next step.
## Step 2. Setting up a postback URL [#step-2-setting-up-a-postback-url]
1. Log in to **Mobidea** account.
2. Click **Settings** icon and go to **Global postback**.
3. Click **Custom** and paste Postback URL into the **Insert your domain** field.
4. Press **Save Changes** to store the settings.
### Global Postback [#global-postback]
`https://skrotrack.com/postback?clickId={{EXTERNAL_ID}}&payout={{MONEY}}`
## Step 3. Get an offer from Mobidea [#step-3-get-an-offer-from-mobidea]
1. To get offer link on the side of Mobidea Go to **Offers Directory** section on the panel.
2. Select the desired offer from the list and click its name.
3. Press **Apply** now to get the offer link.
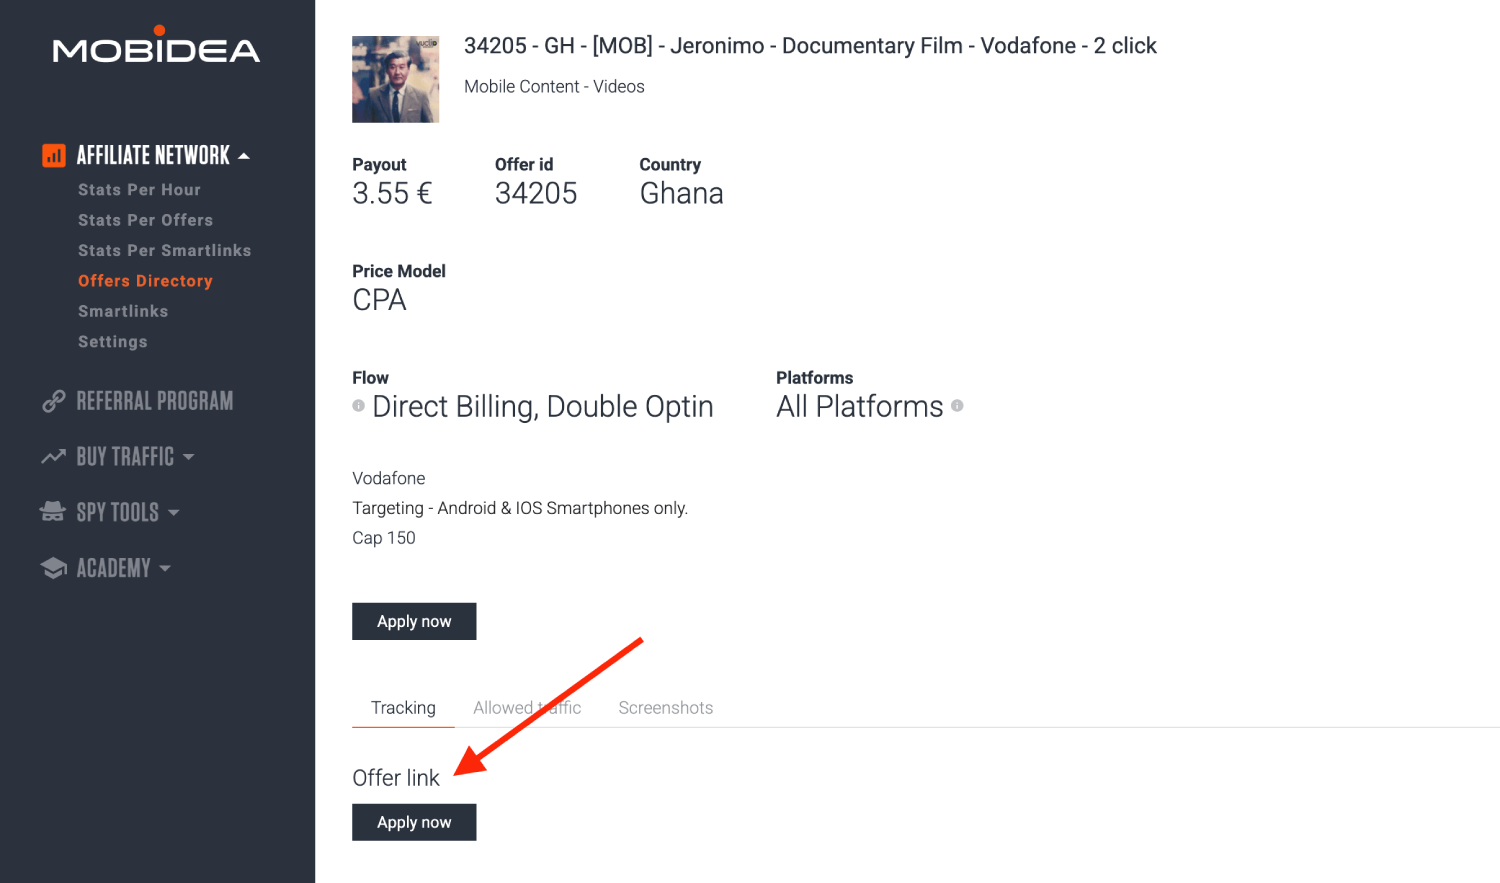
4. Select the **type of traffic** you are going to use.
5. Agree mandatory rules and press **Apply**.
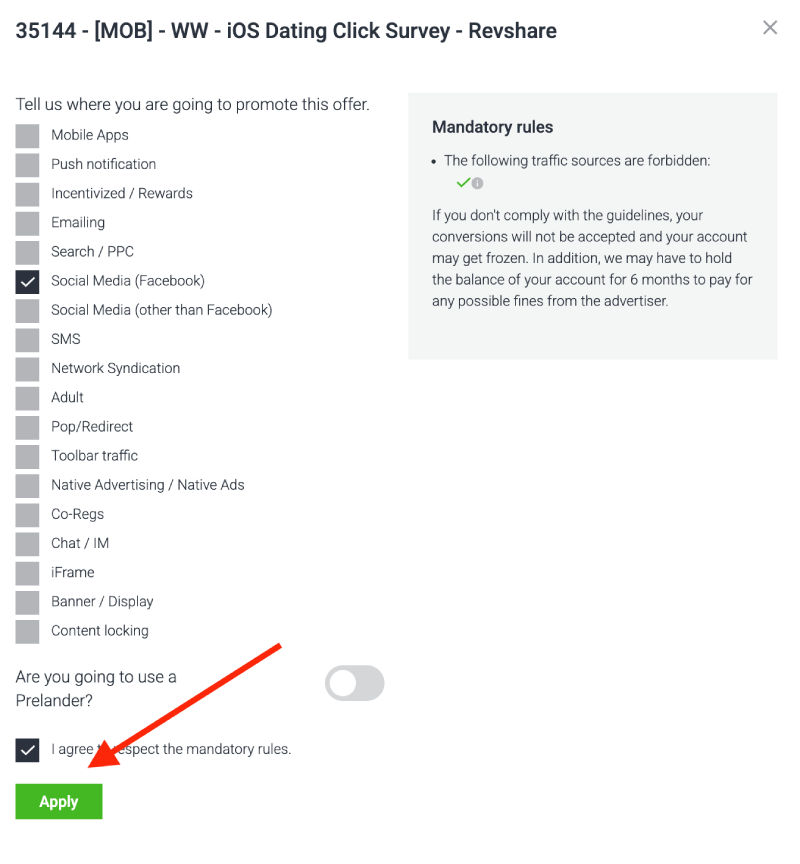
6. Copy **Offer link** after the selected offer is approved by Mobidea.
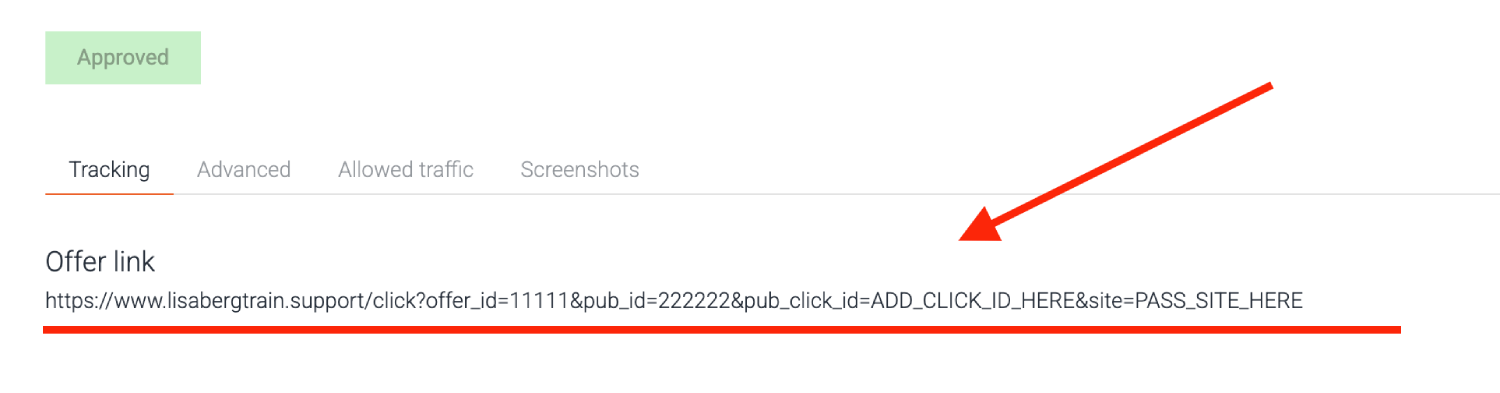
## Step 4. Add offer to Skro [#step-4-add-offer-to-skro]
1. Go back to Skro and navigate to the **Offers** and click **Create**.
2. Choose your workspace.
3. Give a name to your offer.
4. Grab the offer link from Mobidea and add it to Offer URL field and change the macros to this **`&pub_click_id={clickId}&site={custom1}`**
**`{clickId}`** - The Skro click ID macro for conversion tracking.
**`{custom1}`** - It's your traffic source Ad ID or Site ID, it depends on your traffic source parameters mapping on Skro.
**Example Offer URL:**
`https://example_offer.com/click?offer_id=11111&pub_id=222222&pub_click_id={clickId}&site={custom1}`
5. Choose Mobidea from the **Affiliate Network** select box.
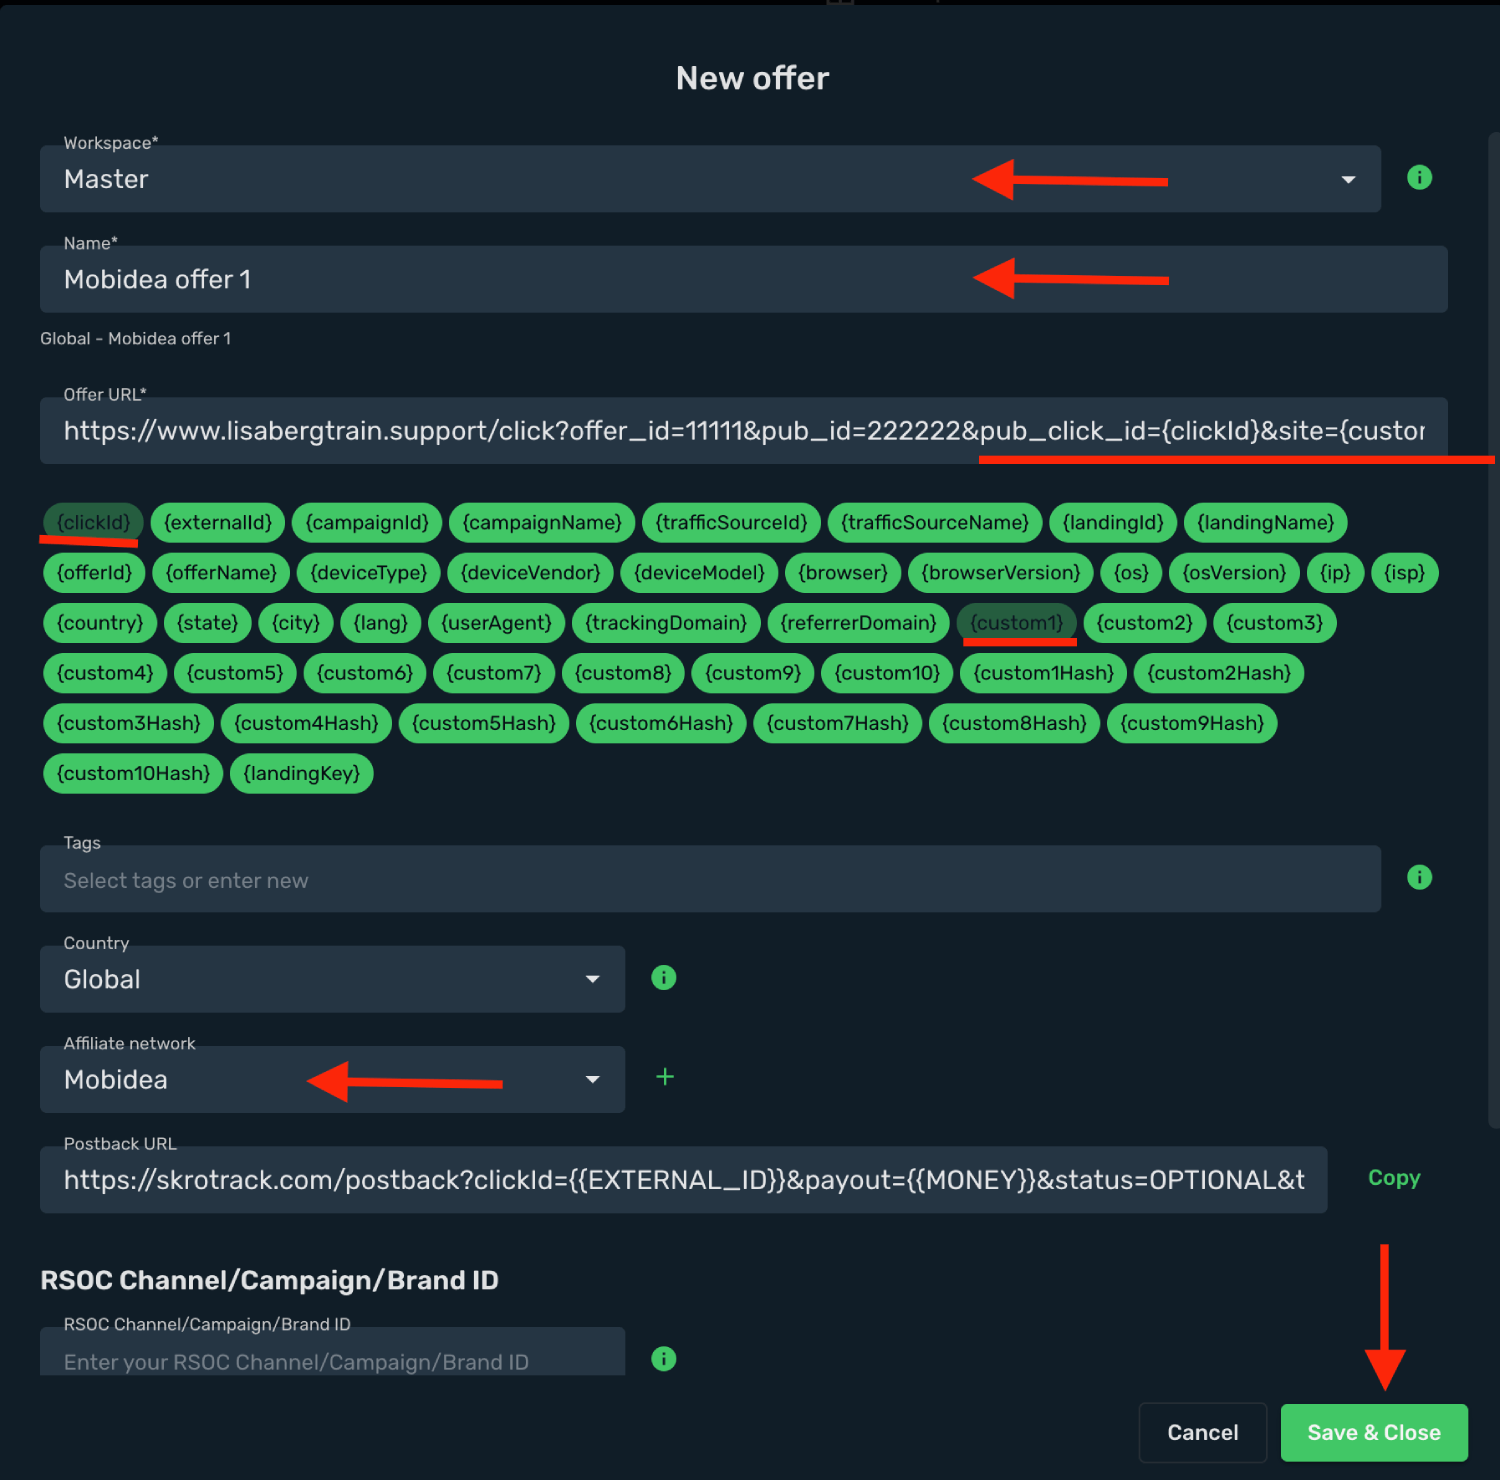
6. Click **Save & Close**.
## Step 5. Create a campaign on Skro [#step-5-create-a-campaign-on-skro]
1. Start with the following guide:
## Verify the setup [#verify-the-setup]
Follow a campaign link and complete a test conversion using your provider’s test workflow. Confirm that the original click ID reaches the provider and is returned to Skro, then check the event and revenue in your campaign report.
If data is missing, check the selected workspace, integration, campaign, and reporting date range. Compare parameter names and macro values with the examples in this guide before repeating the test.
## Related guides [#related-guides]
# Mobipium integration
Source: https://skro.eu/docs/integrations/mobipium-integration
Connect Mobipium to Skro, map click IDs, and configure postbacks to attribute conversions and revenue to your campaigns.
## Step 1. Add affiliate network to Skro [#step-1-add-affiliate-network-to-skro]
1. Go to **Affiliate Networks** and click **Create**.
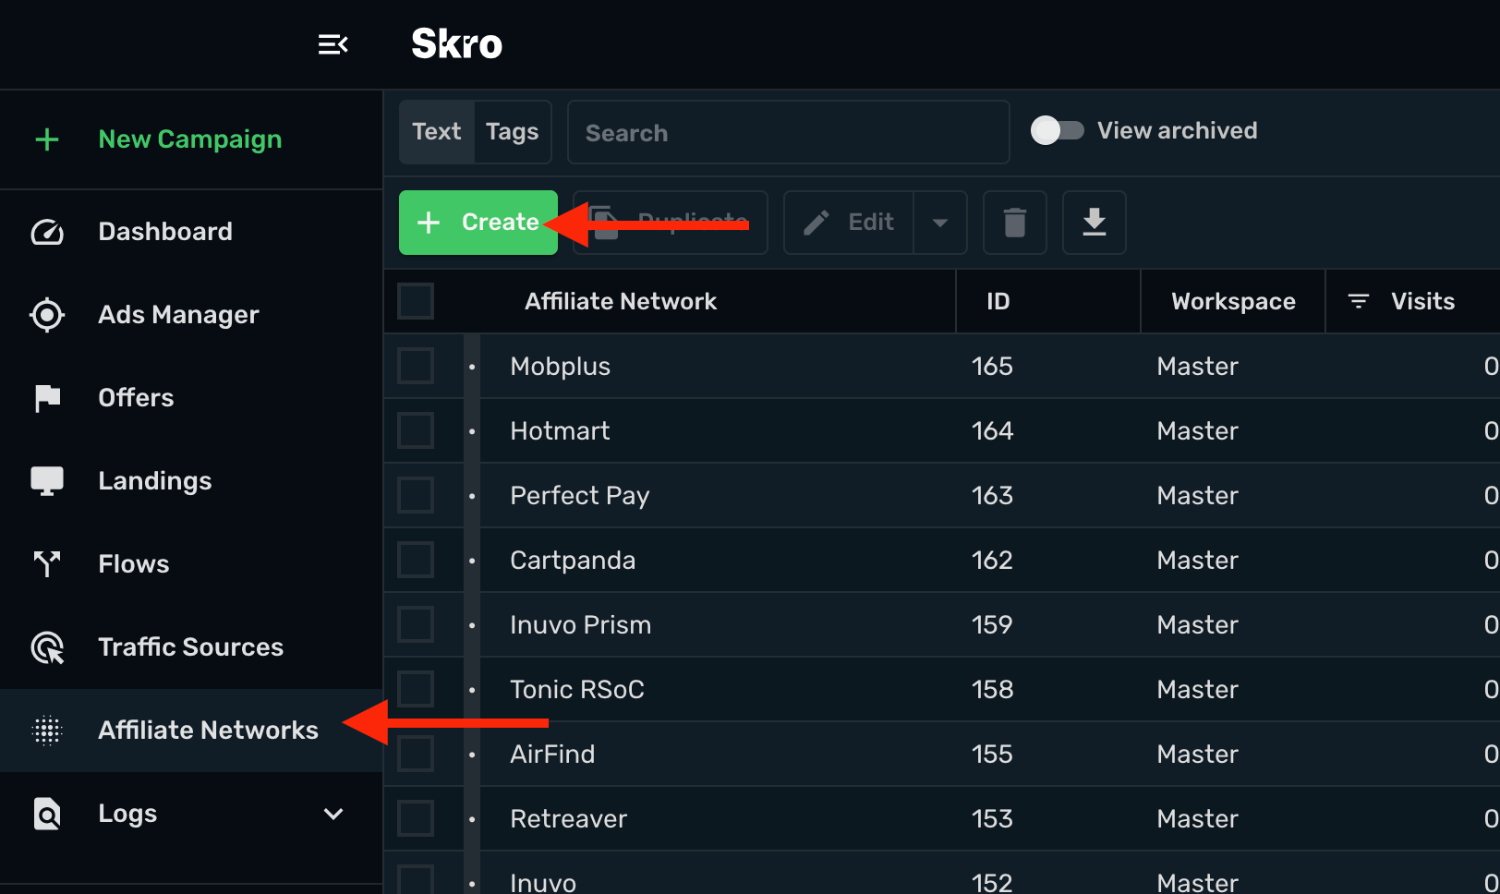
2. Search Mobipium and select the **Mobipium** template.
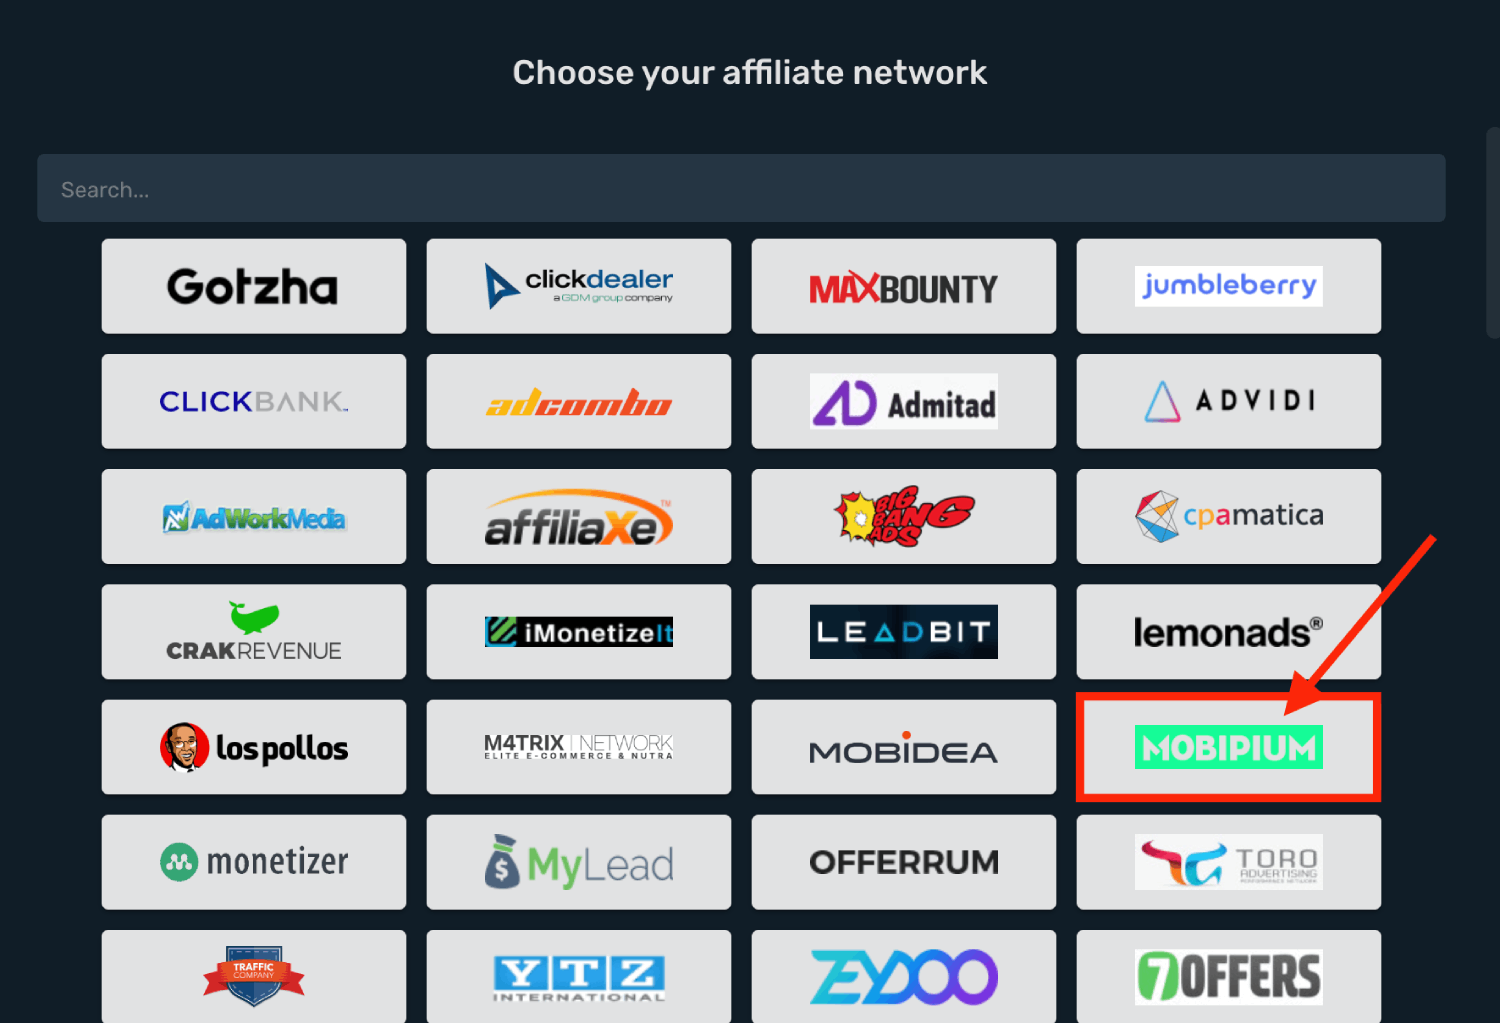
3. Select your **Workspace** and **Copy** postback URL to your clipboard.
4. Click **Save & Close**.
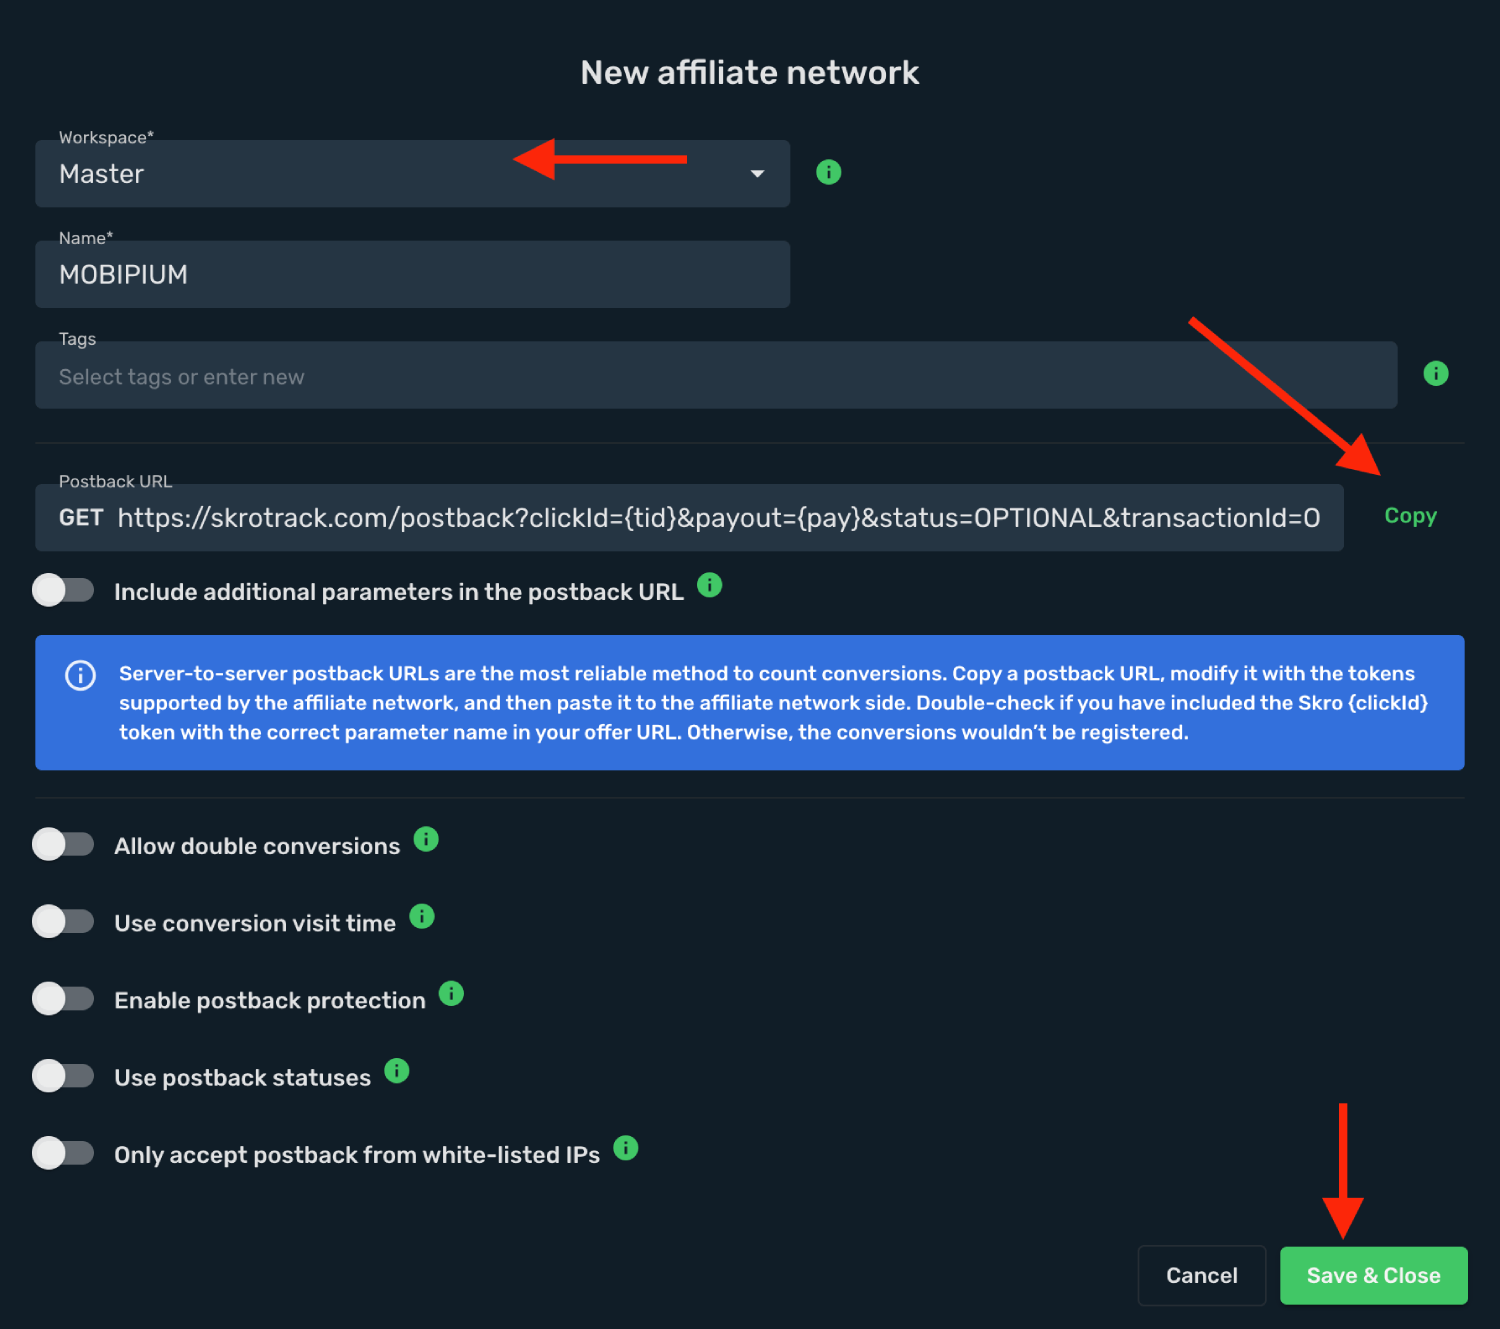
The Mobipium affiliate network is now saved in Skro. Use the copied postback URL in Mobipium in the next step.
## Step 2. Setting up a postback URL [#step-2-setting-up-a-postback-url]
1. Log in to **Mobipium** account.
2. Click **Pixel** at the top bar.
3. Set **Primary** postback.
4. On the **Configure your Callback URL here** past the Skro postback URL.
5. Then provide unique tracking id parameter name: **cid**
6. Then map Skro Click ID macro to every offer URL automatically: **`cid={clickId}`**
7. Click **Update** to store all the settings.
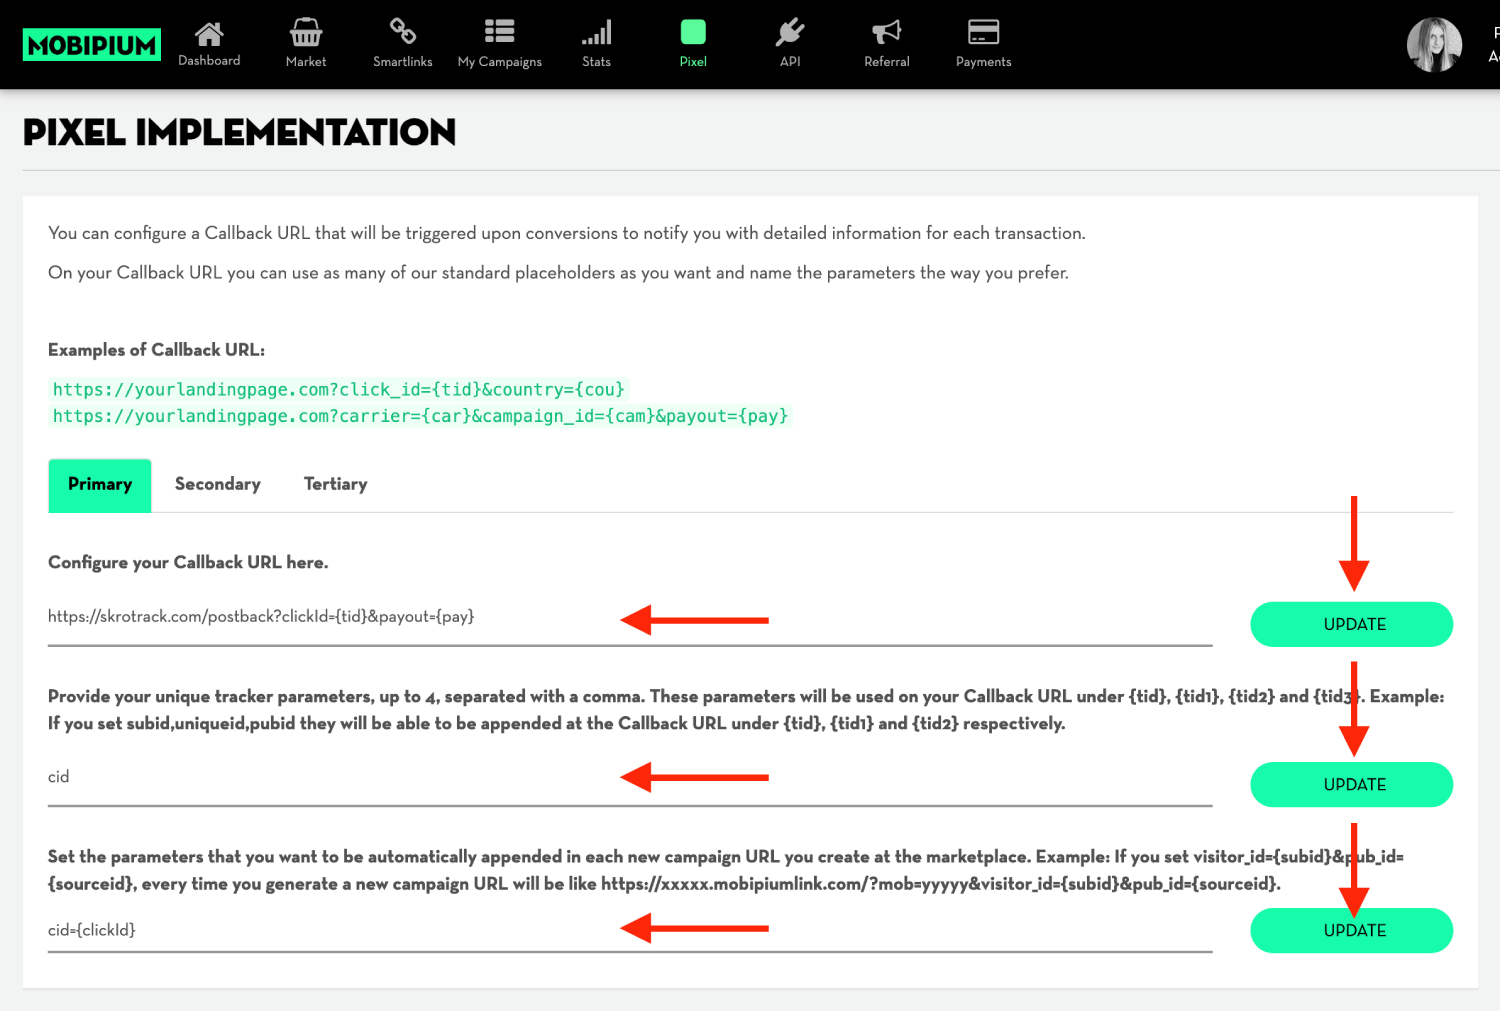
### Global Postback [#global-postback]
`https://skrotrack.com/postback?clickId={tid}&payout={pay}`
## Step 3. Get an offer from Mobipium [#step-3-get-an-offer-from-mobipium]
1. Go to **Market** section on the panel.
2. Select your offer from the list and click **Details**.
3. Click **Setup Campaign**.
4. Specify **campaign name**, mark the required checkbox and click **Setup Campaign**.
5. Copy your unique **Campaign URL**.
## Step 4. Add offer to Skro [#step-4-add-offer-to-skro]
1. Go back to Skro and navigate to the **Offers** and click **Create**.
2. Choose your workspace.
3. Give a name to your offer.
4. Grab the offer link from Mobipium and add it to Offer URL field and change the macros to this **`&cid={clickId}`**
**`{clickId}`** - The Skro click ID macro for conversion tracking.
**Example Offer URL:**
`https://44444.s1.clicksrefresh.com/?mob=jhjhjkhjkdsa2&cid={clickId}`
5. Choose Mobipium from the **Affiliate Network** select box.
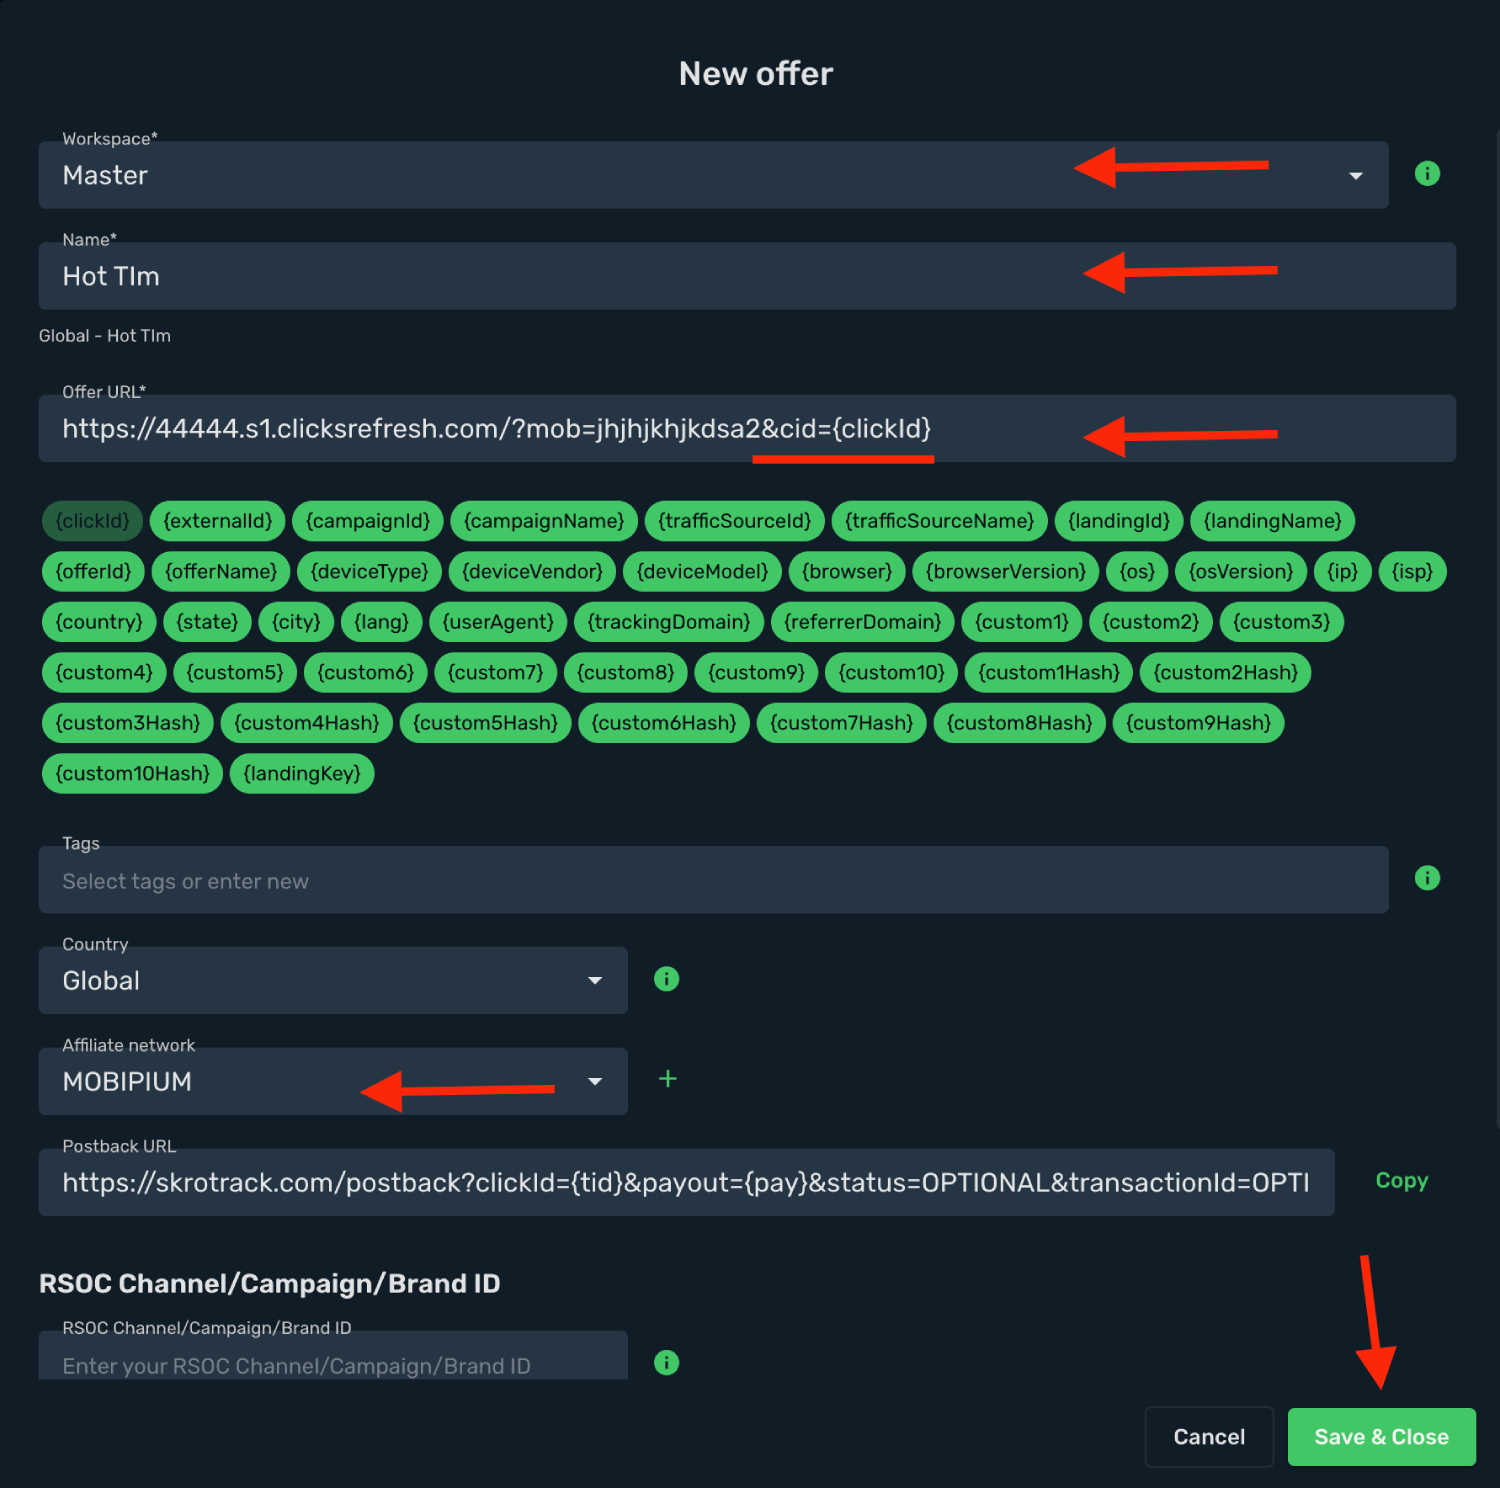
6. Click **Save & Close**.
## Step 5. Create a campaign on Skro [#step-5-create-a-campaign-on-skro]
1. Start with the following guide:
## Verify the setup [#verify-the-setup]
Follow a campaign link and complete a test conversion using your provider’s test workflow. Confirm that the original click ID reaches the provider and is returned to Skro, then check the event and revenue in your campaign report.
If data is missing, check the selected workspace, integration, campaign, and reporting date range. Compare parameter names and macro values with the examples in this guide before repeating the test.
## Related guides [#related-guides]
# Mobplus integration
Source: https://skro.eu/docs/integrations/mobplus-integration
Connect Mobplus to Skro, map click IDs, and configure postbacks to attribute conversions and revenue to your campaigns.
### Why choose Mobplus? [#why-choose-mobplus]
- 50,000+ active, direct, and exclusive offers
- Guaranteed payments with multiple payout options
- Extensive industry experience and strong global partnerships
- Low payout threshold — just $100
- Professional and responsive account managers
### 🎁 Exclusive Bonus for Skro Clients [#-exclusive-bonus-for-skro-clients]
Get **+$20** to payout from **$200** with Promo code **Skro**
## Step 1. Add affiliate network to Skro [#step-1-add-affiliate-network-to-skro]
1. Go to Affiliate Networks and click ****Create.
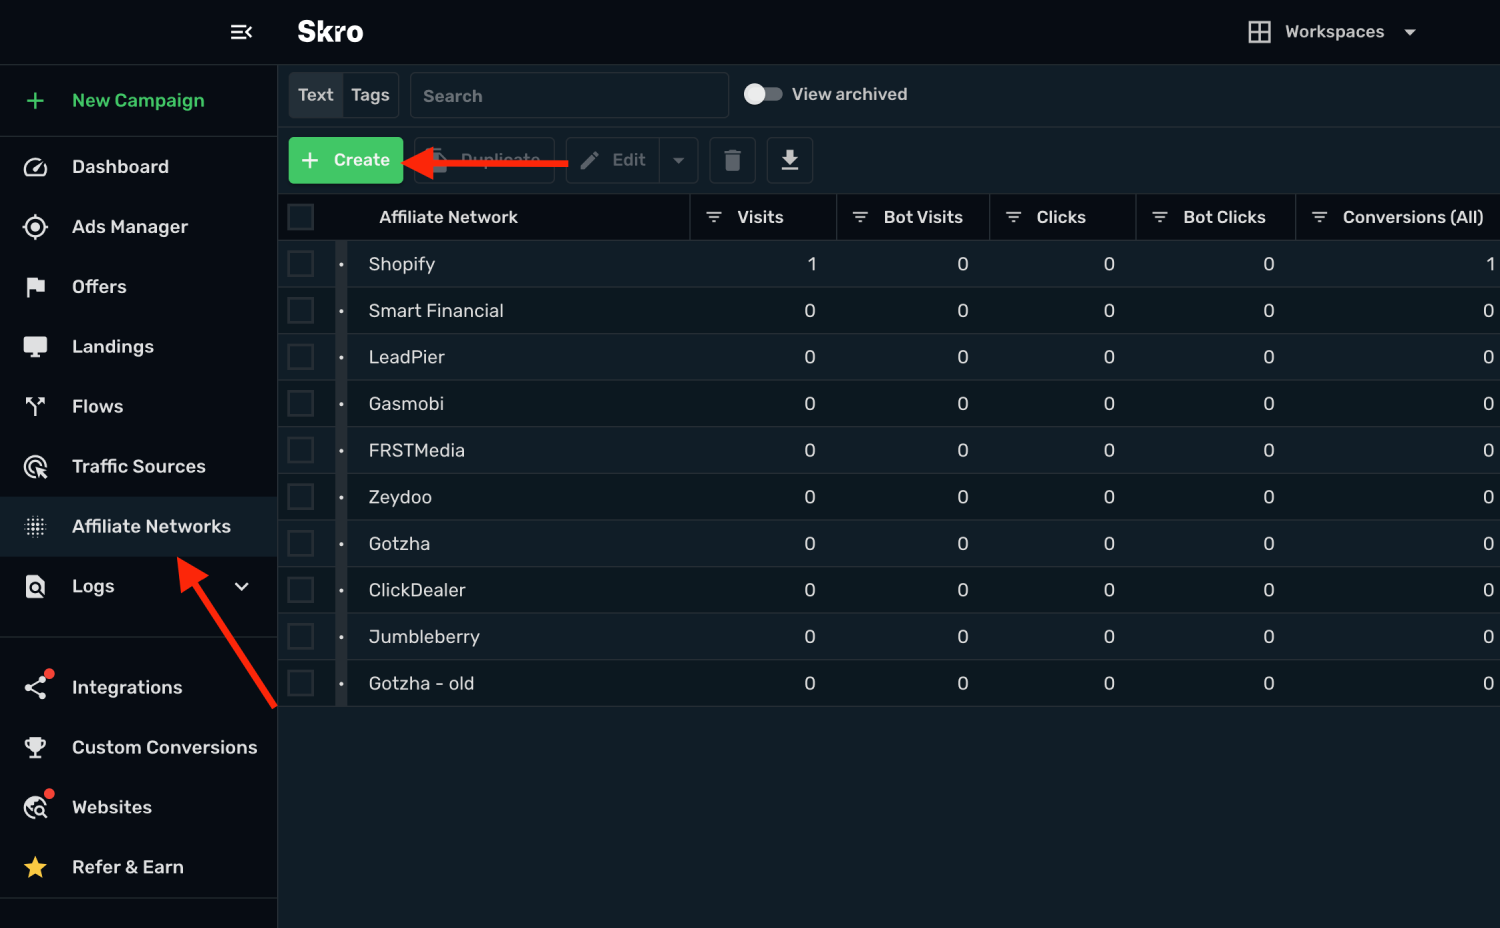
2. Search Mobplus and click Mobplus logo.
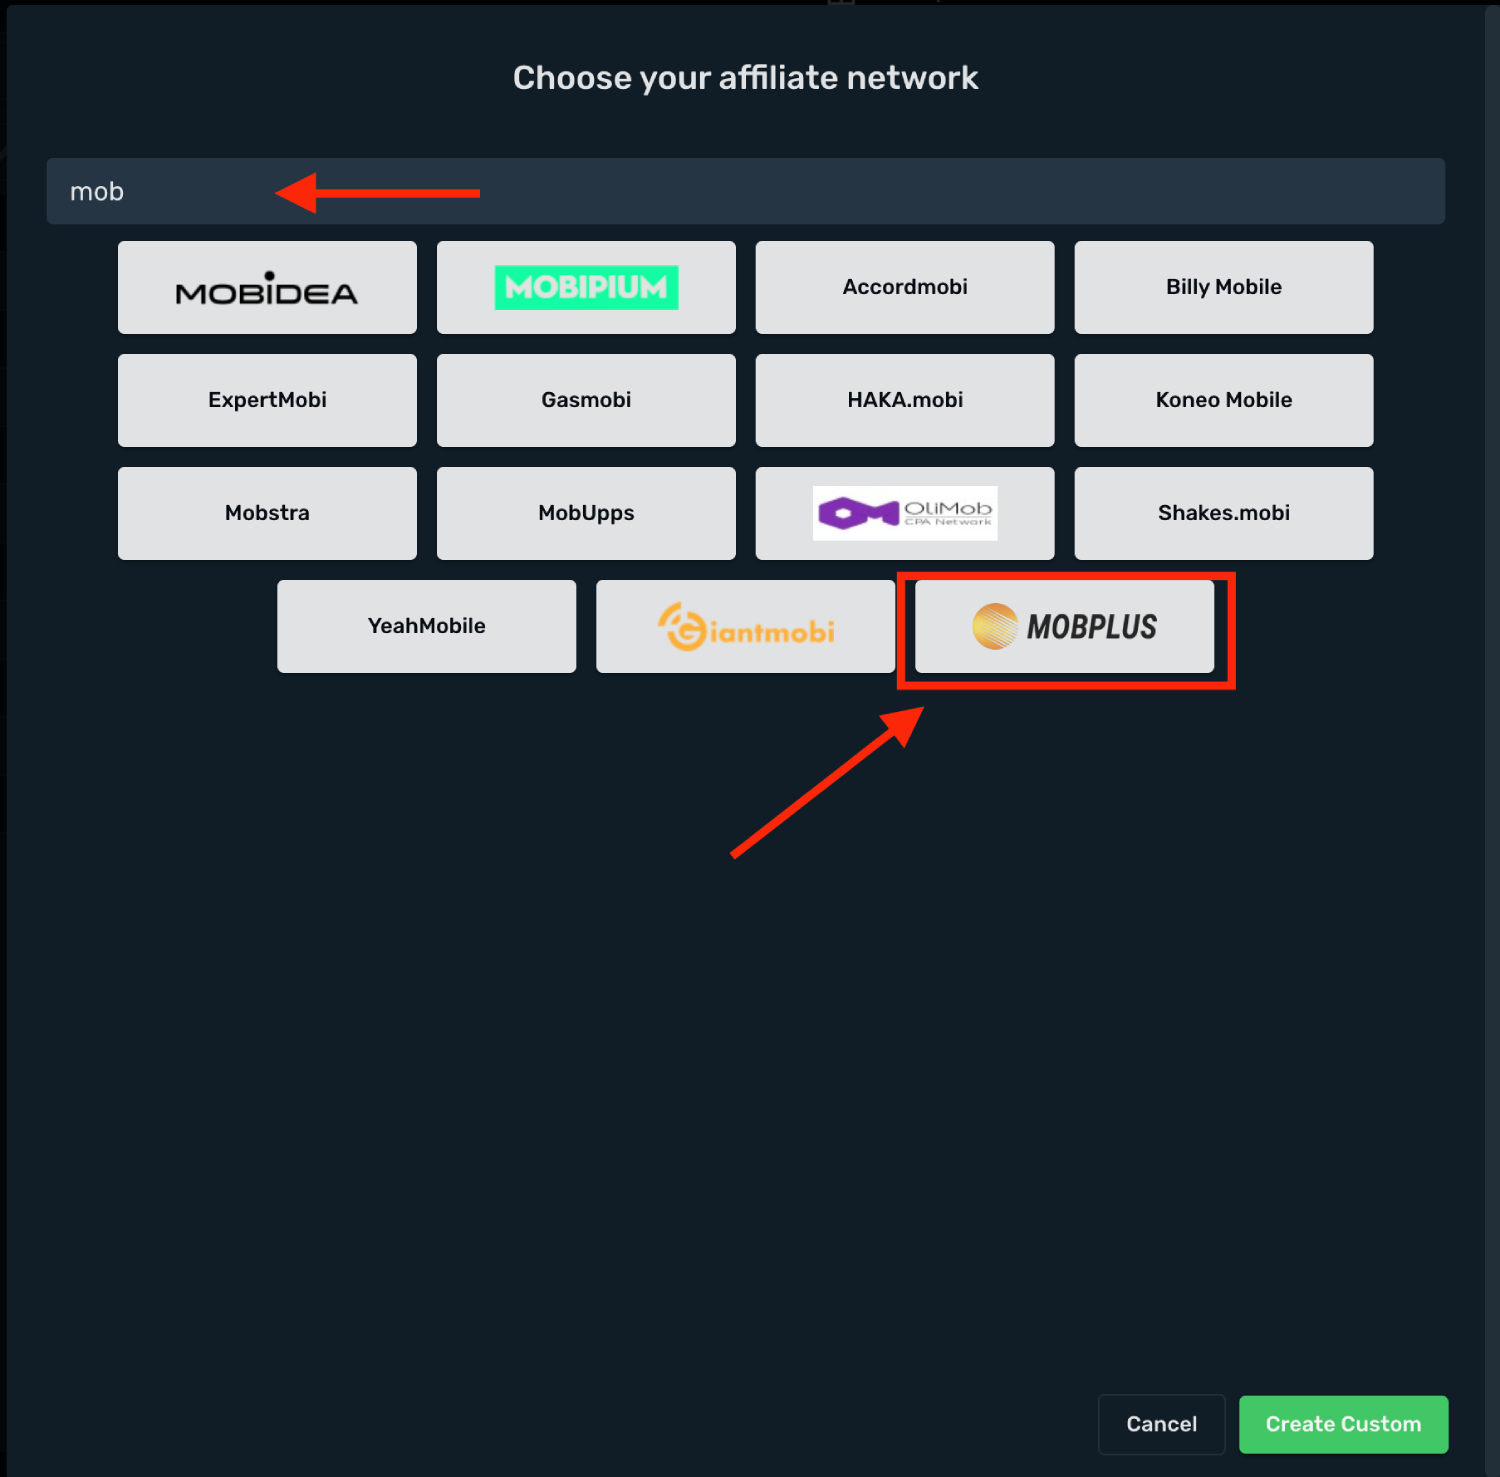
3. Copy postback pixel.
4. Click **Save & Close**.
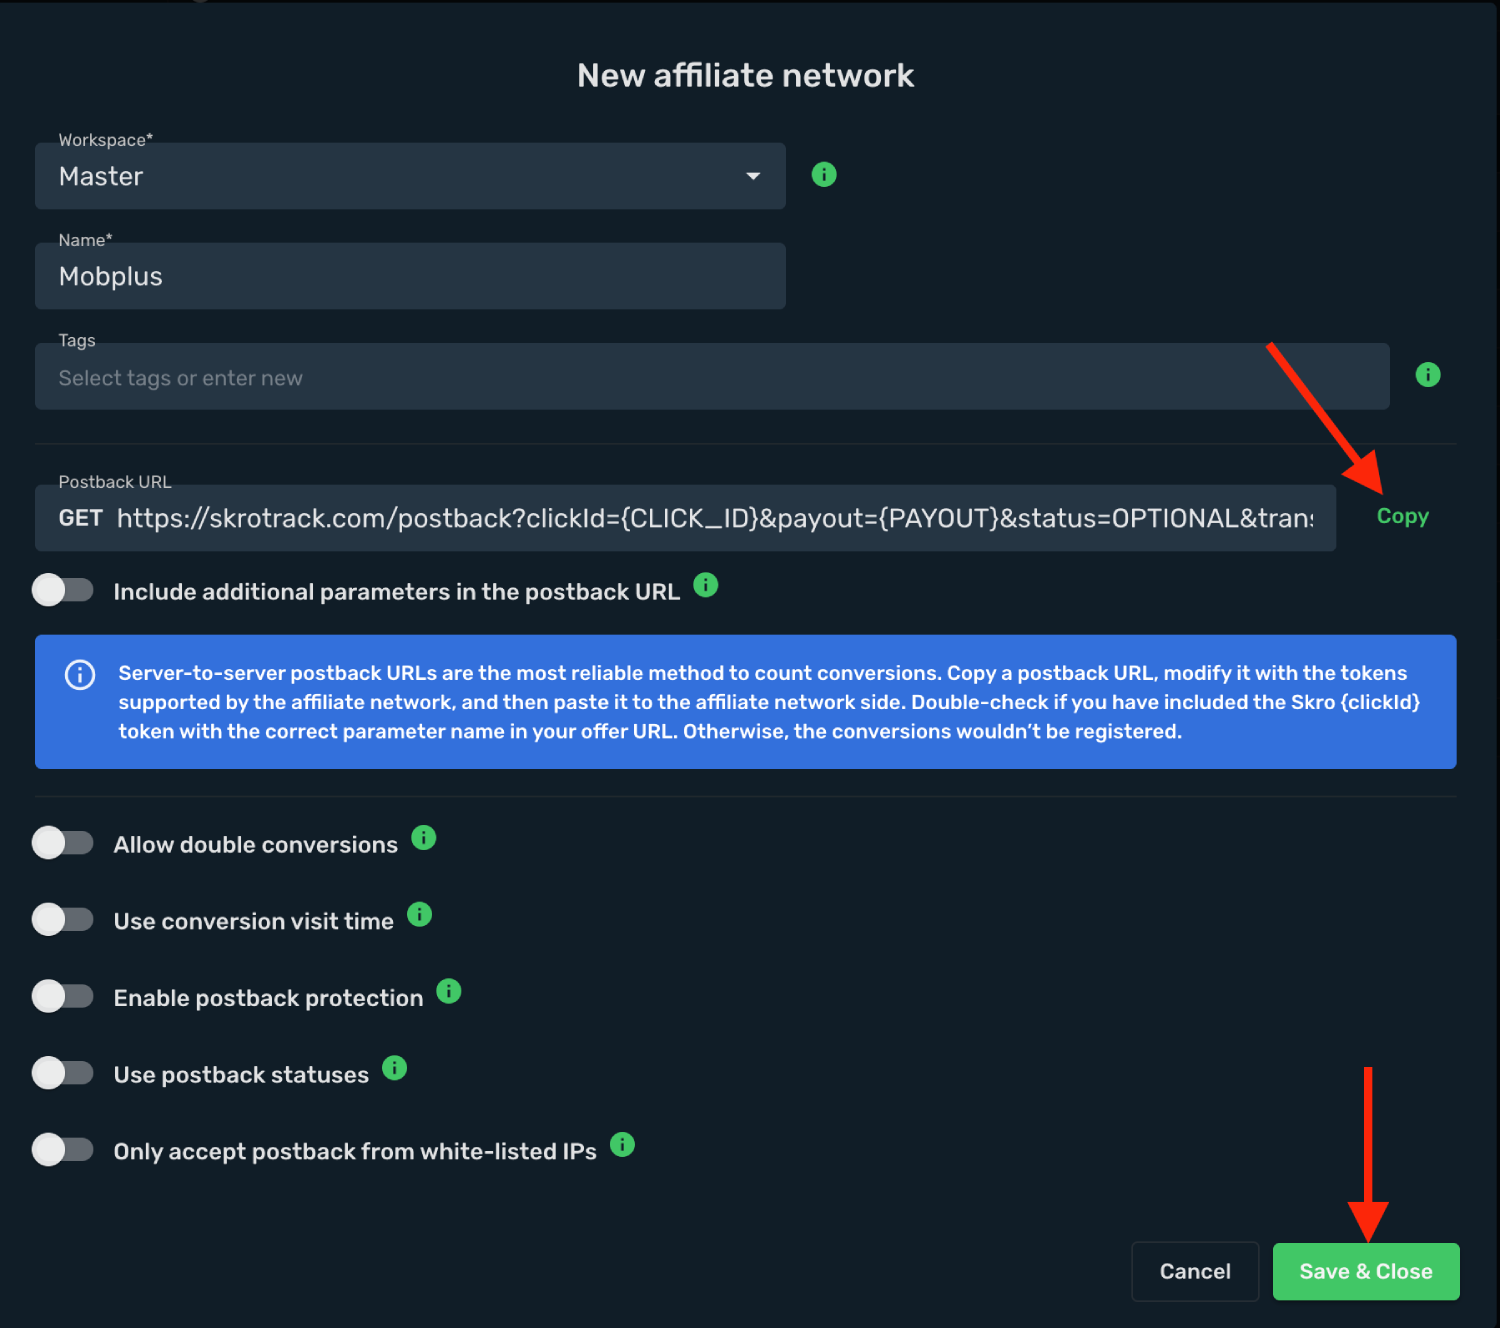
The Mobplus affiliate network is now saved in Skro. Use the copied postback URL in Mobplus in the next step.
## Step 2. Setting up a postback URL and Getting an offer from Mobplus [#step-2-setting-up-a-postback-url-and-getting-an-offer-from-mobplus]
1. In Mobplus, click to enter your account.
2. Go to the Postback.
3. Paste the Postback URL that you have copied from Skro in the URL text field.
4. Click the Save.
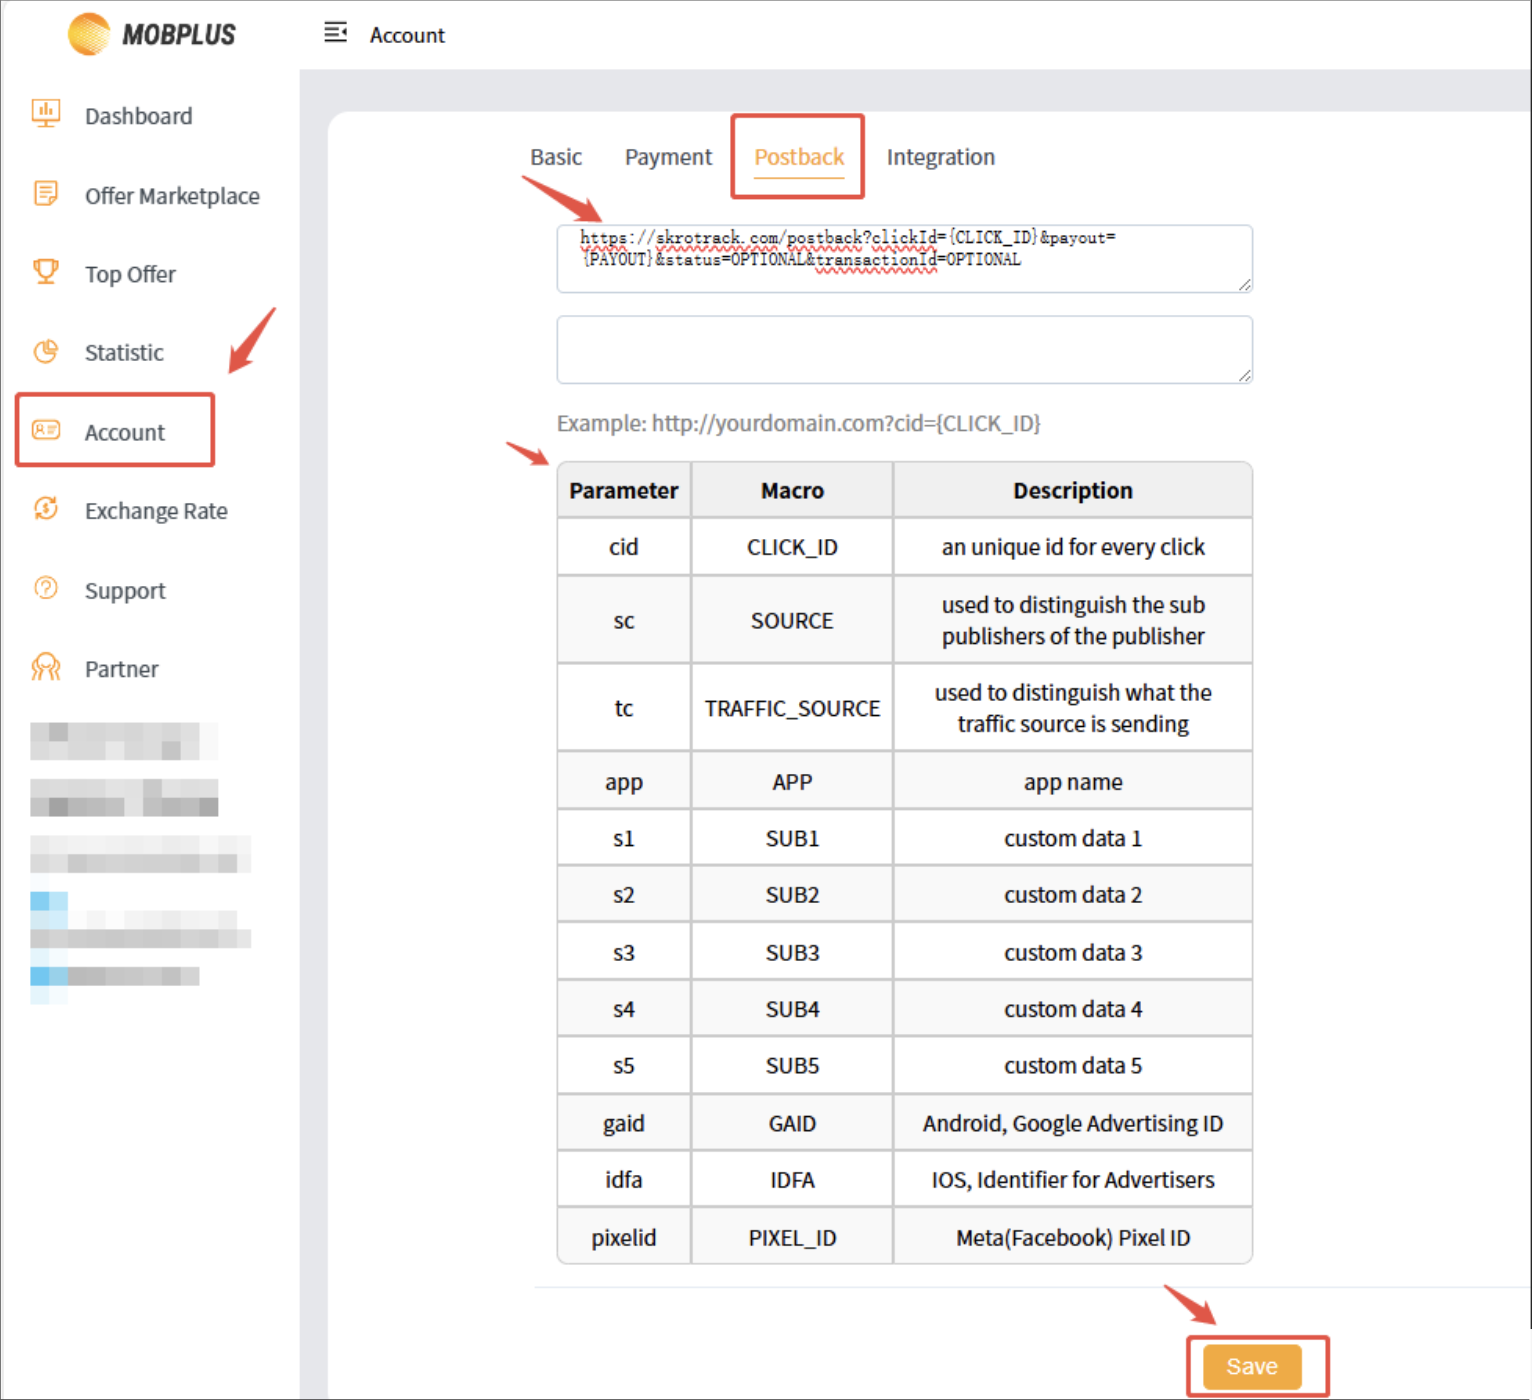
5. Go to the Offer Marketplace/Top Offer.
6. Locate an offer you want to promote. Note that you have to be approved before you will be able to run some offers. Those offers will have the Apply to run will be Private status. Offers that do not require approval will be Open status. Or select the offers status to check/approve and run.

7. Click the Share.
8. Copy the offer URL to the clipboard.

## Step 3. Add offer to Skro [#step-3-add-offer-to-skro]
1. Go to **Offers** → **Create**
2. Choose your workspace.
3. Add name.
4. Grab the offer link from Mobplus and add it to Offer URL field and change the macros to this **`?cid={clickId}&sc={custom1}`**.
**`{clickId}`** - The Skro click ID macro.
**`{custom1}`** - That's traffic source **Ad ID / Site ID** or any other source mapping. It depends on traffic source.
5. Choose Mobplus as Affiliate Network.
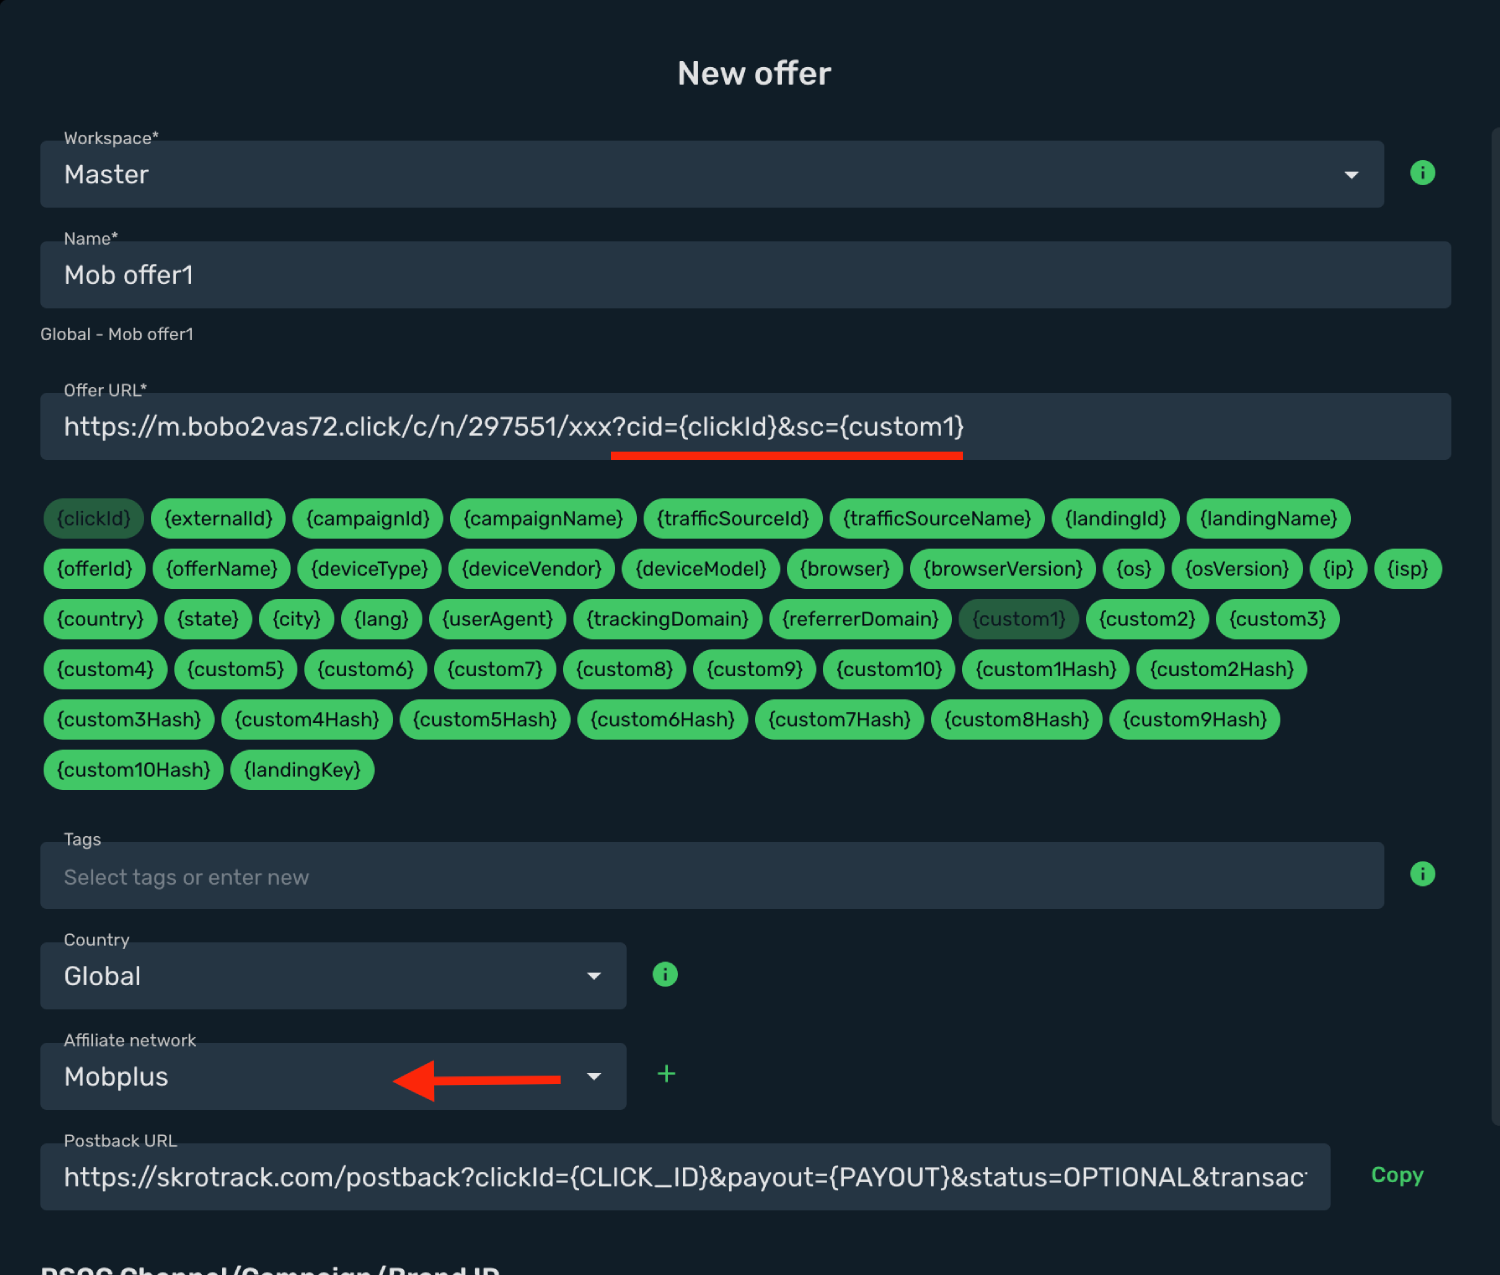
## Step 4. Create campaign [#step-4-create-campaign]
1. Start with traffic source. In this example, we have direct link to Facebook integration guide.
## Verify the setup [#verify-the-setup]
Follow a campaign link and complete a test conversion using your provider’s test workflow. Confirm that the original click ID reaches the provider and is returned to Skro, then check the event and revenue in your campaign report.
If data is missing, check the selected workspace, integration, campaign, and reporting date range. Compare parameter names and macro values with the examples in this guide before repeating the test.
## Related guides [#related-guides]
# Mondiad integration
Source: https://skro.eu/docs/integrations/mondiad-integration
Set up Mondiad tracking in Skro, configure traffic source parameters, and connect your advertising campaigns.
[Mondiad](https://mondiad.com?refid=6783) integration gives you the ability to manage and optimize all your Mondiad ads through the Skro interface.
- Sync cost for campaigns, creatives, zones and sites every 30 min.
- Check the status of your campaigns, creatives, zones and sites.
- Pause or resume campaigns, creatives, zones and sites.
- Change the bid value for campaigns, zones and sites.

## How to generate Mondiad API token? [#how-to-generate-mondiad-api-token]
- Log in to your **Mondiad** account.
- Navigate to **Account Settings** → **API Integration**.
- Click **Add API Key**.
- Enter your API key name and click **Submit**.
- Copy the **Client ID** and **Client Secret** on the clipboard.
## Add integration to Skro [#add-integration-to-skro]
- Log in to your **Skro** account.
- Navigate to **Integrations**.
- In the **Traffic Sources** section click **Add**.
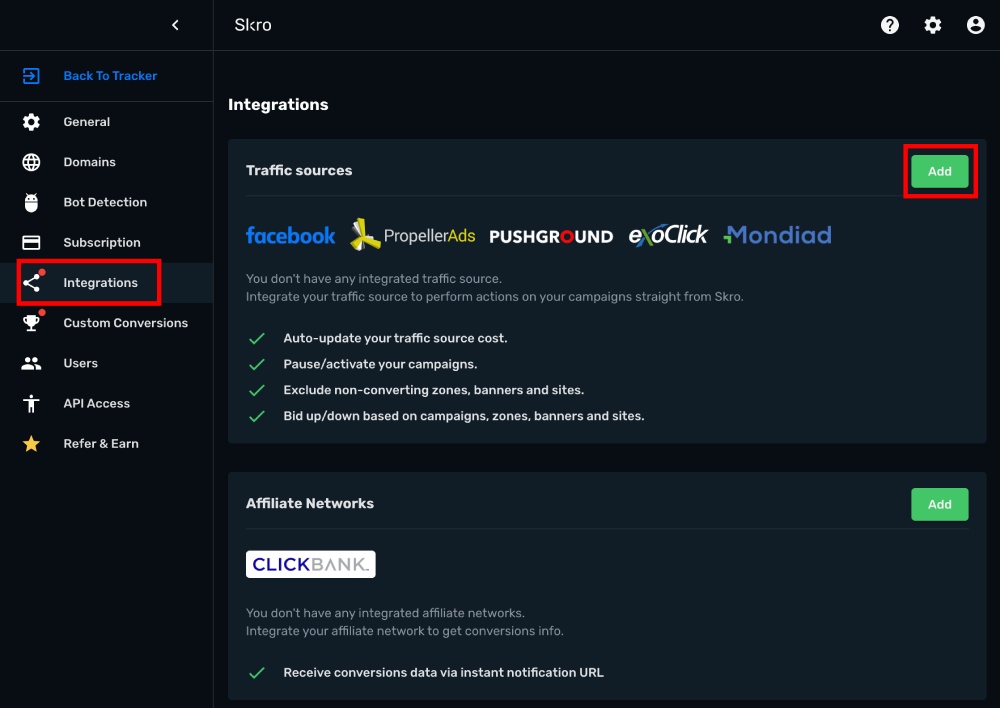
- Click **Mondiad** logo.
- Paste the Mondiad **Client ID** and **Client Secret** and click **Create Integration**.
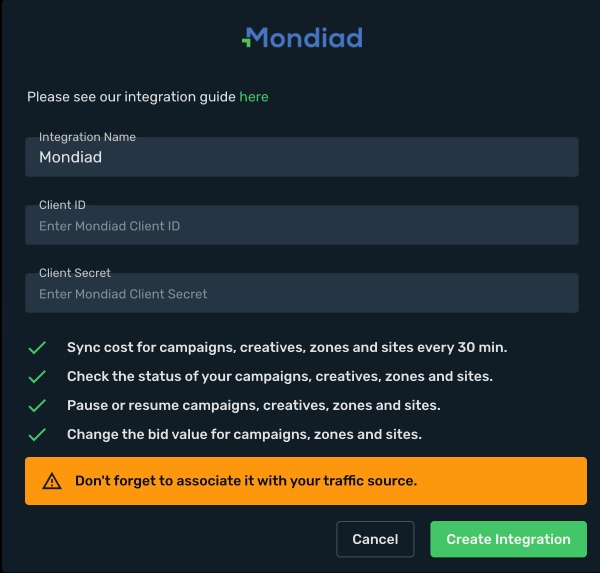
- You can turn on/off auto-cost update through **Data transfer** switch.
## Setup **Postback URL** and associate the integration with Mondiad traffic source. [#setup-postback-url-and-associate-the-integration-with-mondiad-traffic-source]
- Log in to your Mondiad account.
- Navigate to the **Conversion Tracking**.
- Click **Skro** logo to get prefilled Postback URL.
- Copy the **Postback URL** to the clipboard.
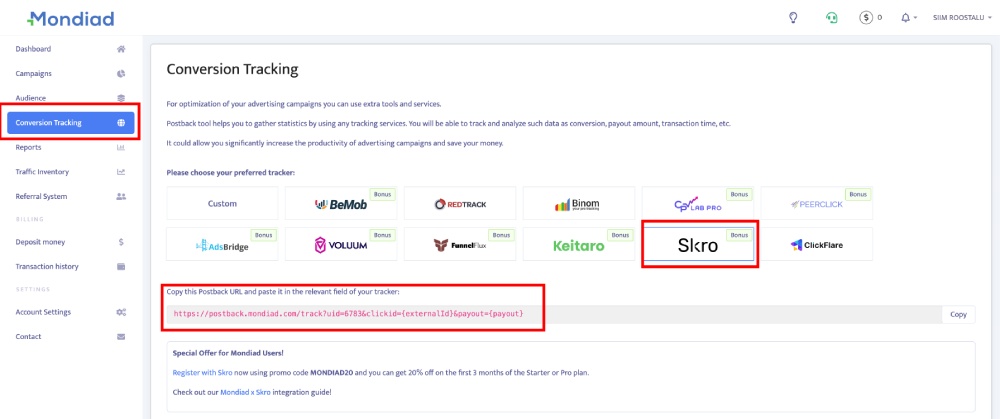
- Go back to Skro and create a new traffic source.

- Click **Mondiad** logo.
- Replace the prefilled Postback URL with the new **Postback URL** copied from Mondiad into the **Traffic Source Postback URL** field.
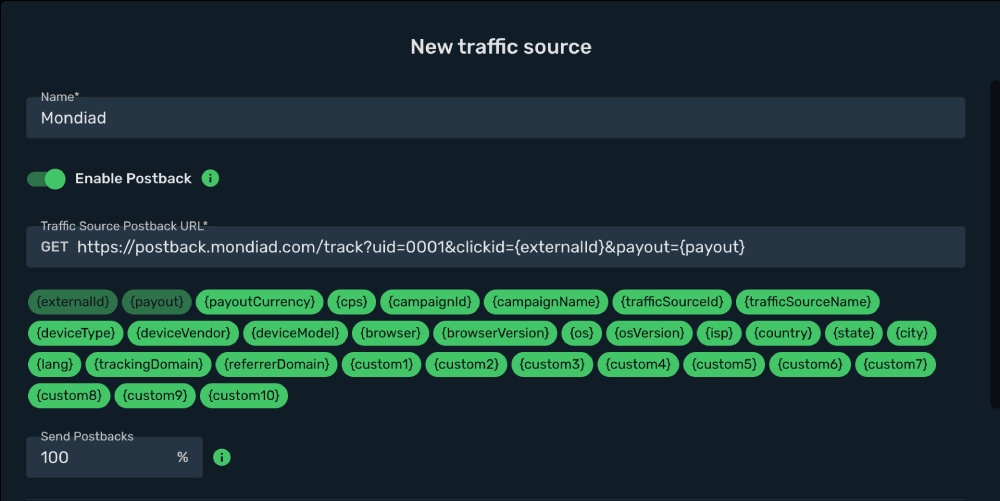
- Add integration association.

- All parameters are prefilled.
- Click **Save & Close**.
The integration is ready. Continue by creating a campaign.
## Verify the setup [#verify-the-setup]
Open the generated campaign URL and check that the visit appears in Skro. Confirm that traffic source macros resolve to actual values. If you send conversions back to the source, verify a test conversion in both systems.
If data is missing, check the selected workspace, integration, campaign, and reporting date range. Compare parameter names and macro values with the examples in this guide before repeating the test.
## Related guides [#related-guides]
# Monetizer integration
Source: https://skro.eu/docs/integrations/monetizer-integration
Connect Monetizer to Skro, map click IDs, and configure postbacks to attribute conversions and revenue to your campaigns.
## Step 1. Add affiliate network to Skro [#step-1-add-affiliate-network-to-skro]
1. Go to **Affiliate Networks** and click **Create**.
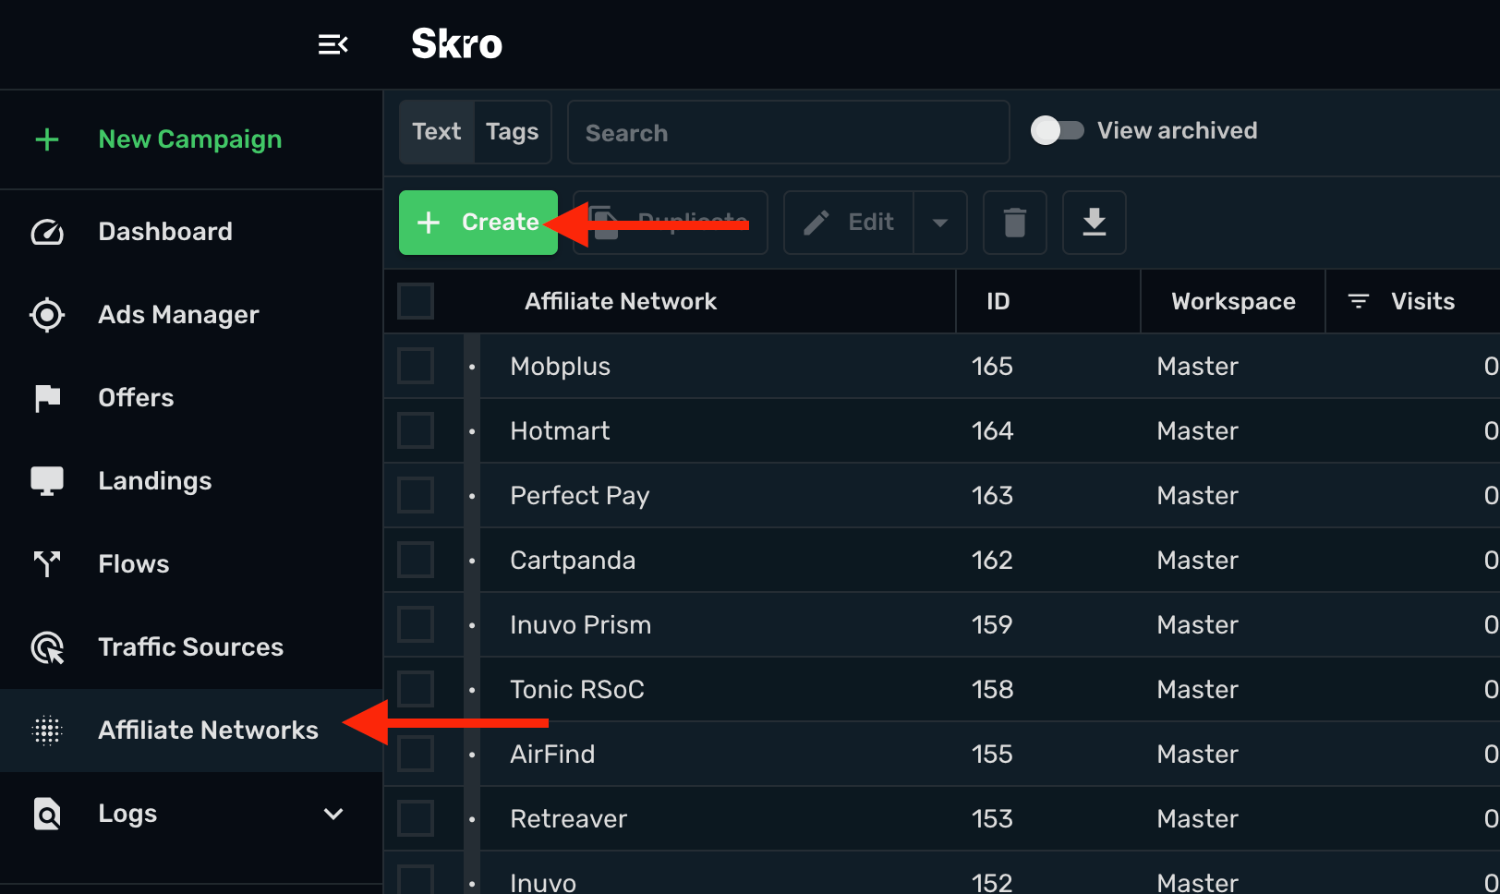
2. Search Monetizer and select the **Monetizer** template.
3. Select your **Workspace** and **Copy** postback URL to your clipboard.
4. Click **Save & Close**.
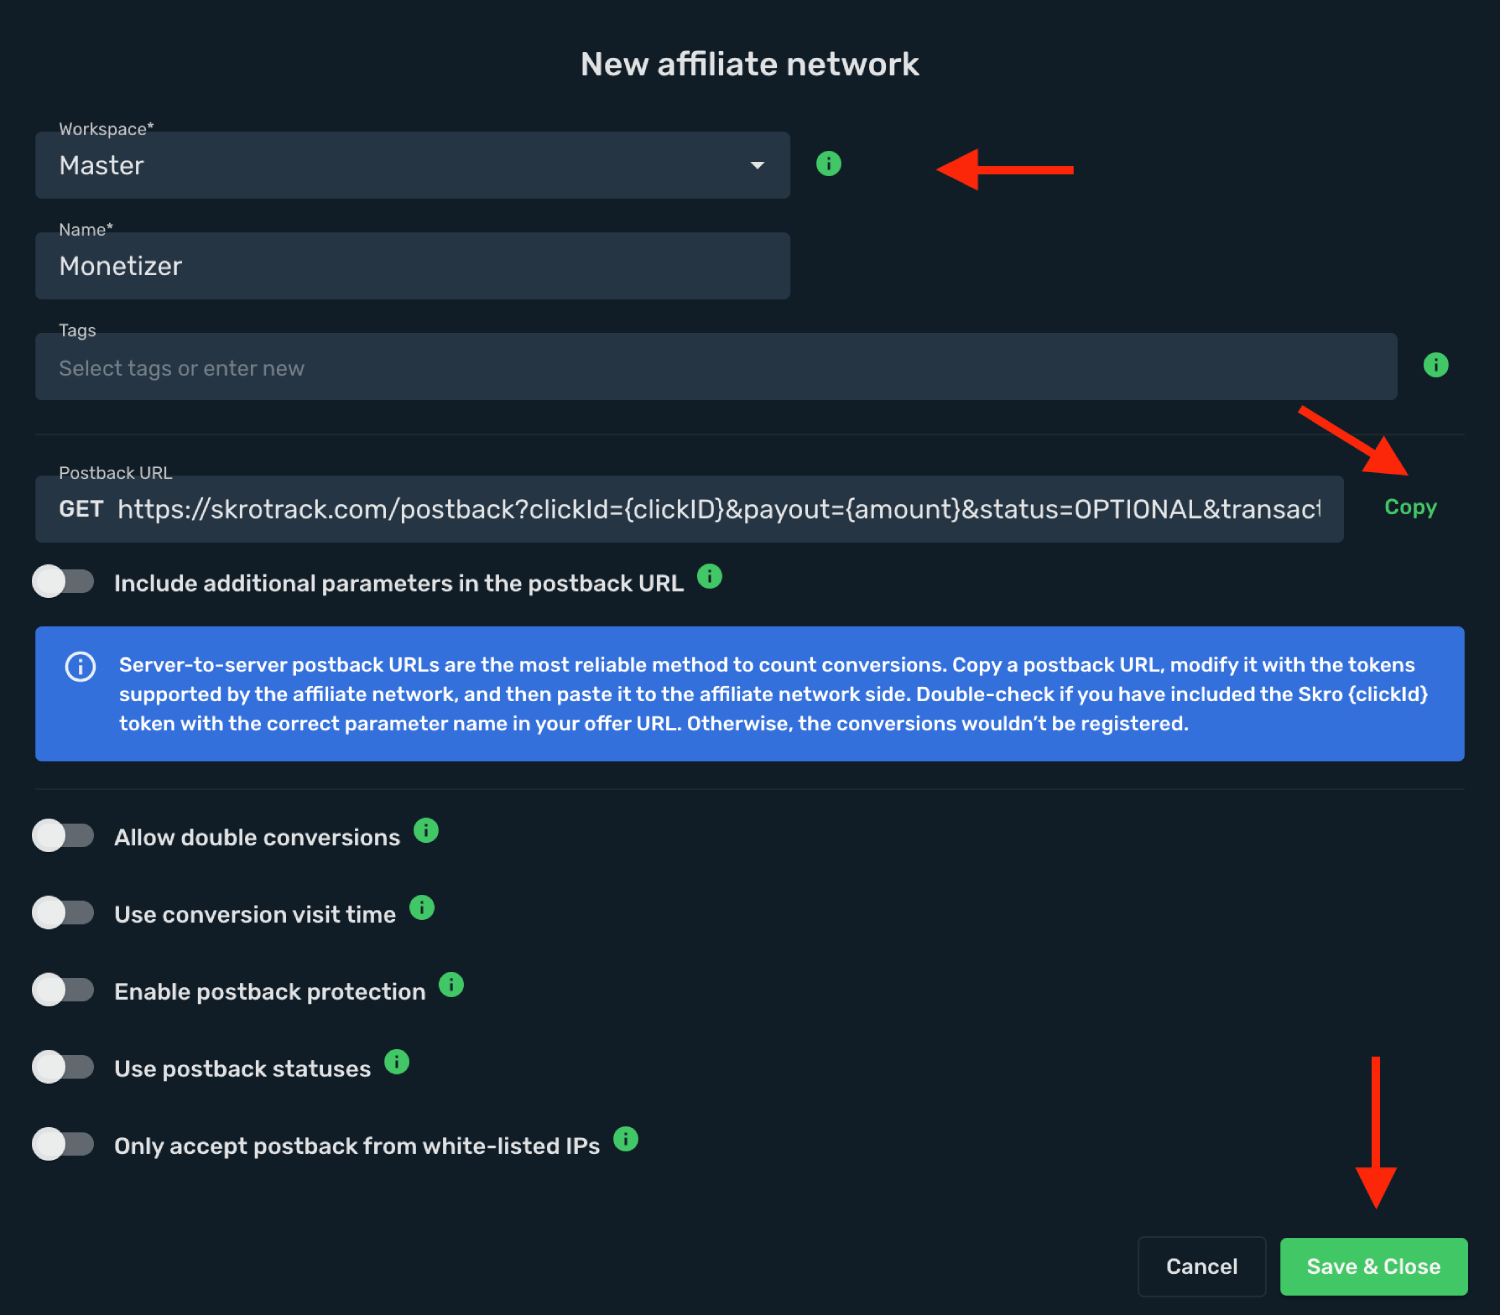
The Monetizer affiliate network is now saved in Skro. Use the copied postback URL in Monetizer in the next step.
## Step 2. Setting up a postback URL and getting an offer from Monetizer [#step-2-setting-up-a-postback-url-and-getting-an-offer-from-monetizer]
1. Log in to **Monetizer** account.
2. Go to **Profile** settings.
3. Paste Postback URL in the field for **Global Postback**.
4. Press **Save Changes** to store the settings.
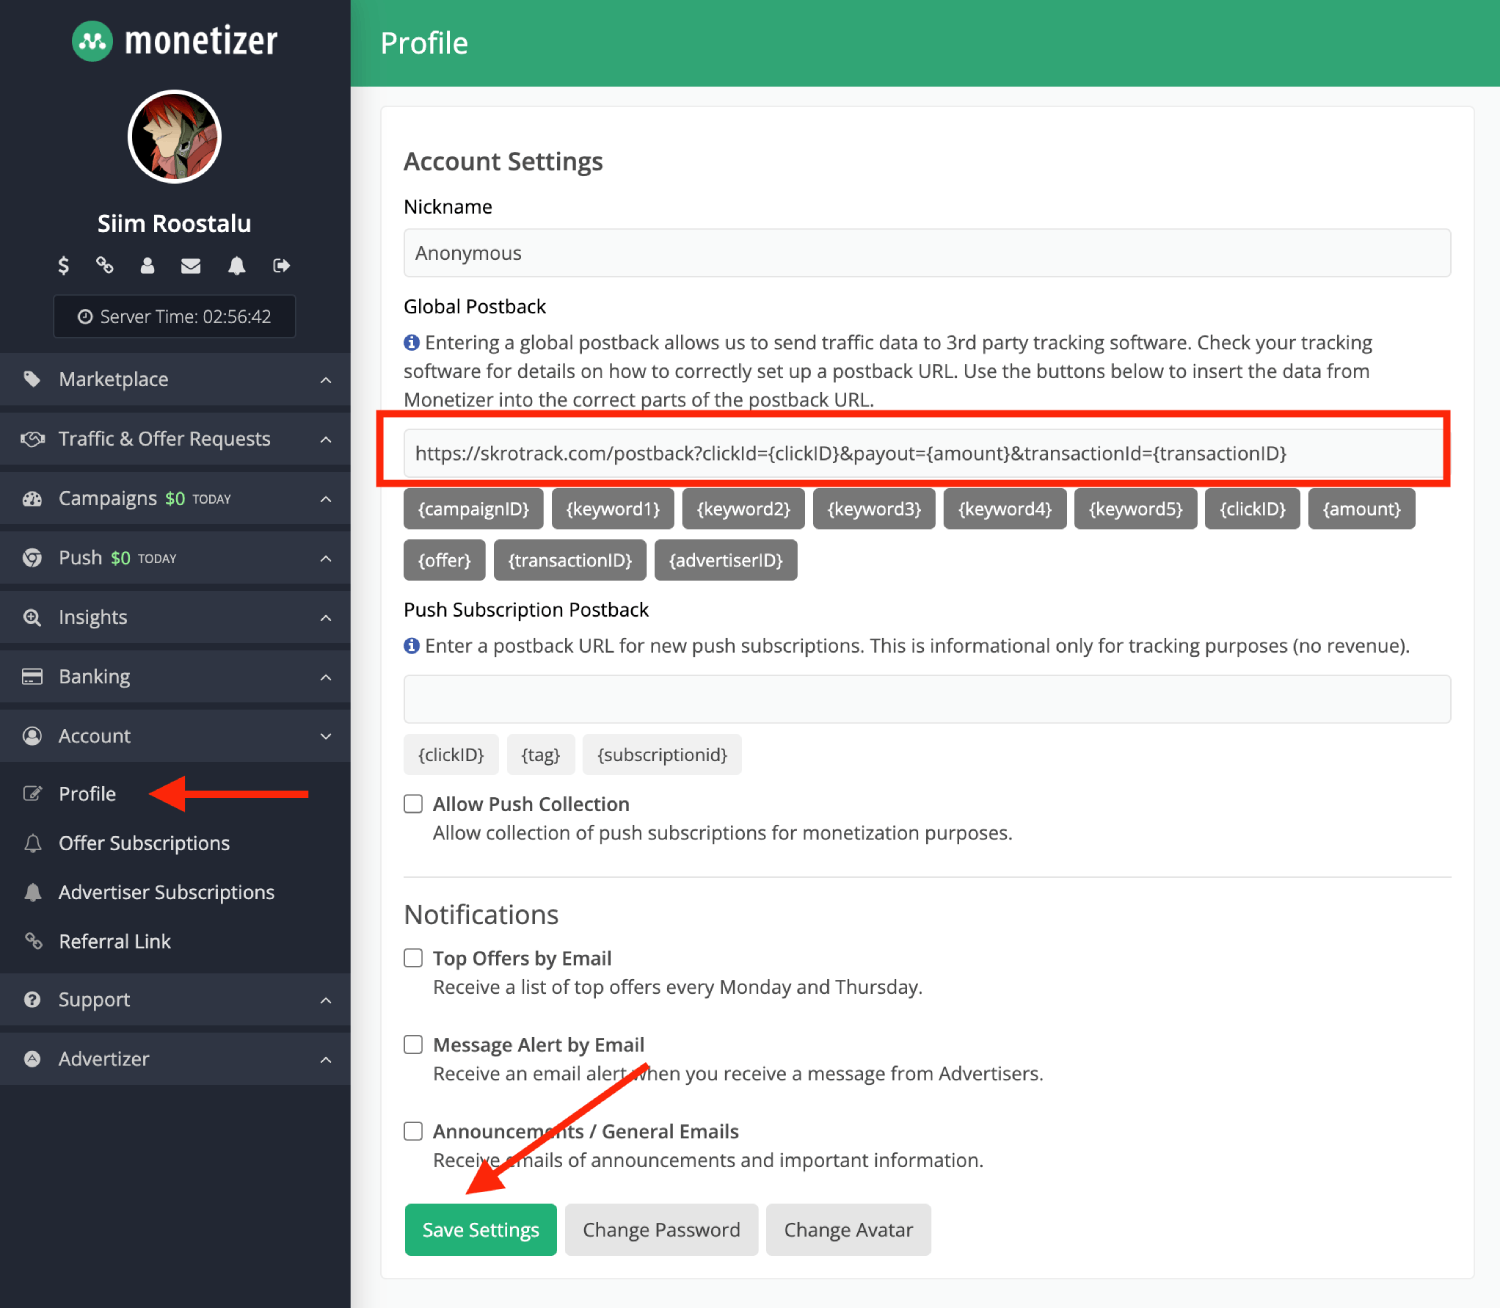
5. If you want to track both regular conversions and push subscriptions it is required to use the following Postback URLs:
### Global Postback [#global-postback]
`https://skrotrack.com/postback?clickId={clickID}&payout={amount}&transactionId={transactionID}&ce=lead`
### Push Subscription Postback [#push-subscription-postback]
`https://skrotrack.com/postback?clickId={clickID}&transactionId={subscriptionid}&ce=sub`
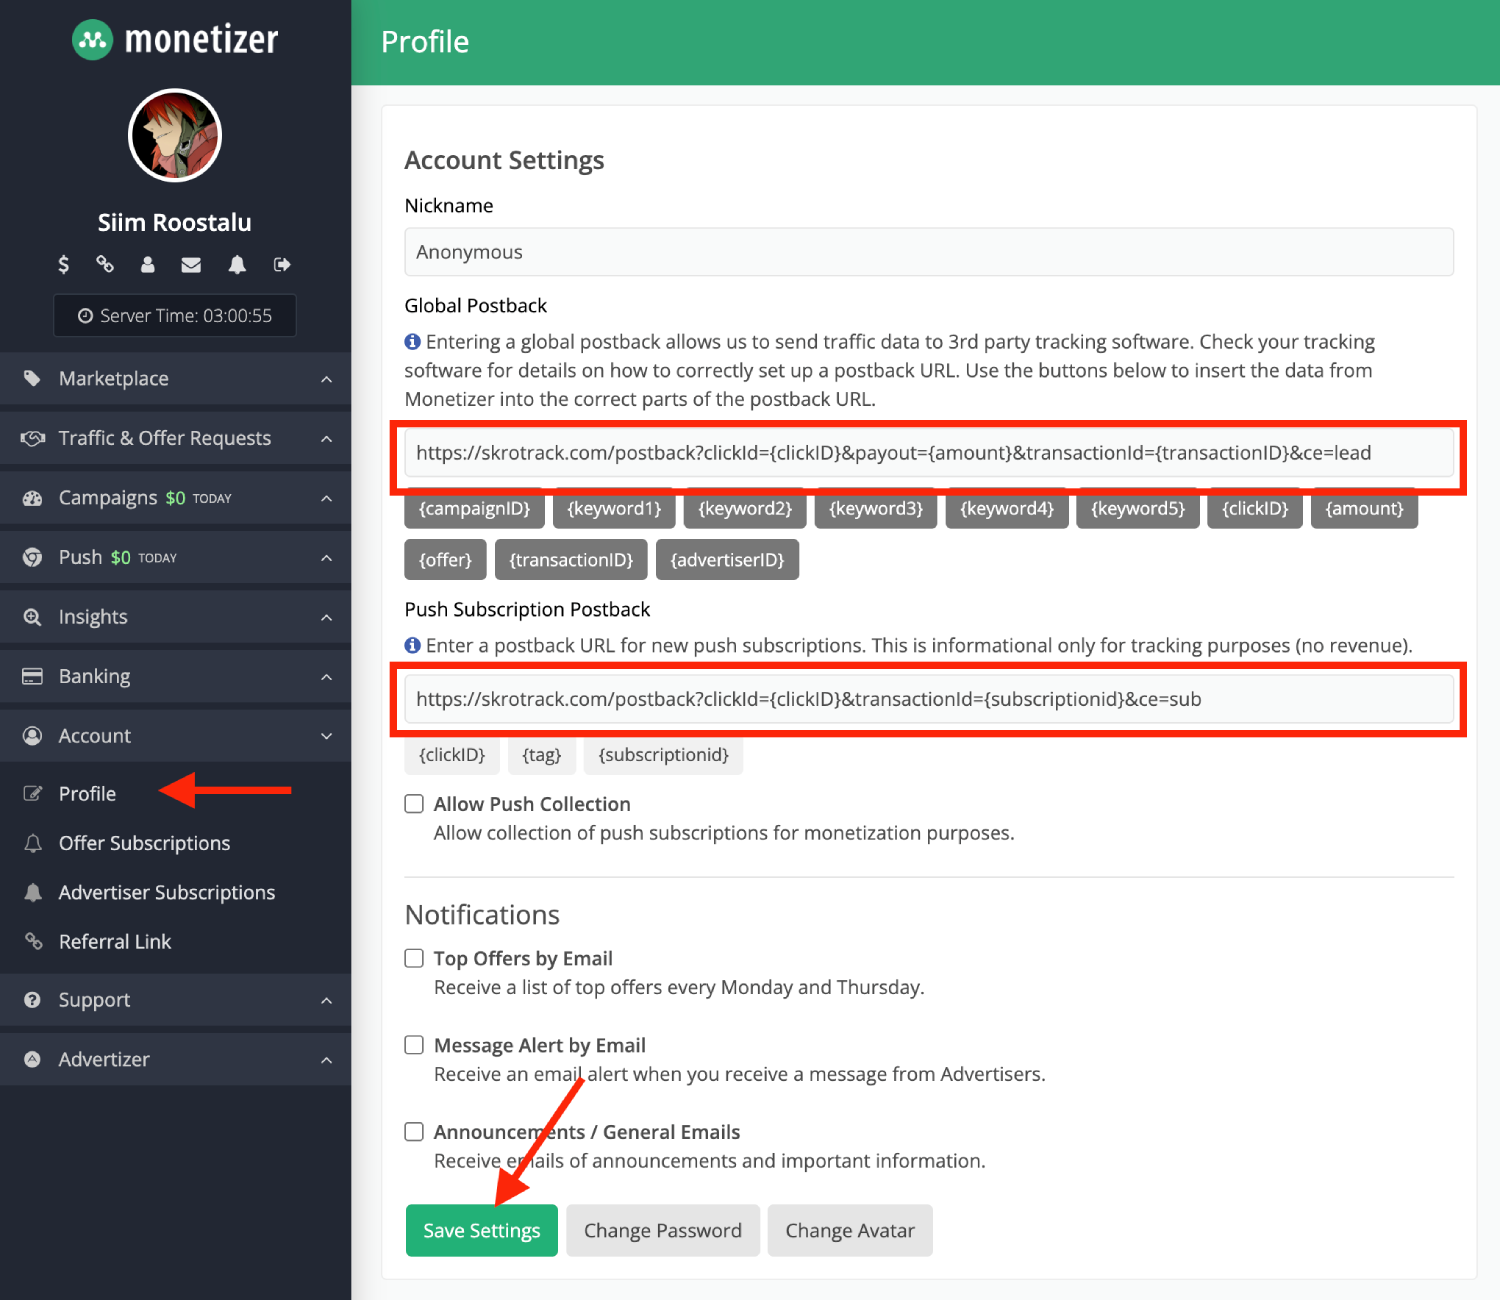
6. It is also required to specify **sub** and **lead** custom conversions in Skro.
7. To get offer link on the side of **Monetizer** it is required to **Add or Buy a domain**.
Check Monetizer video guide about how to add a domain.
## Step 3. Add offer to Skro [#step-3-add-offer-to-skro]
1. Go back to Skro and navigate to the **Offers** and click **Create**.
2. Choose your workspace.
3. Give a name to your offer.
4. Grab the offer link from Monetizer and add it to Offer URL field and change the macros to this **`&cid={clickId}`**
**`{clickId}`** - The Skro click ID macro.
5. Choose Monetizer from the **Affiliate Network** select box.
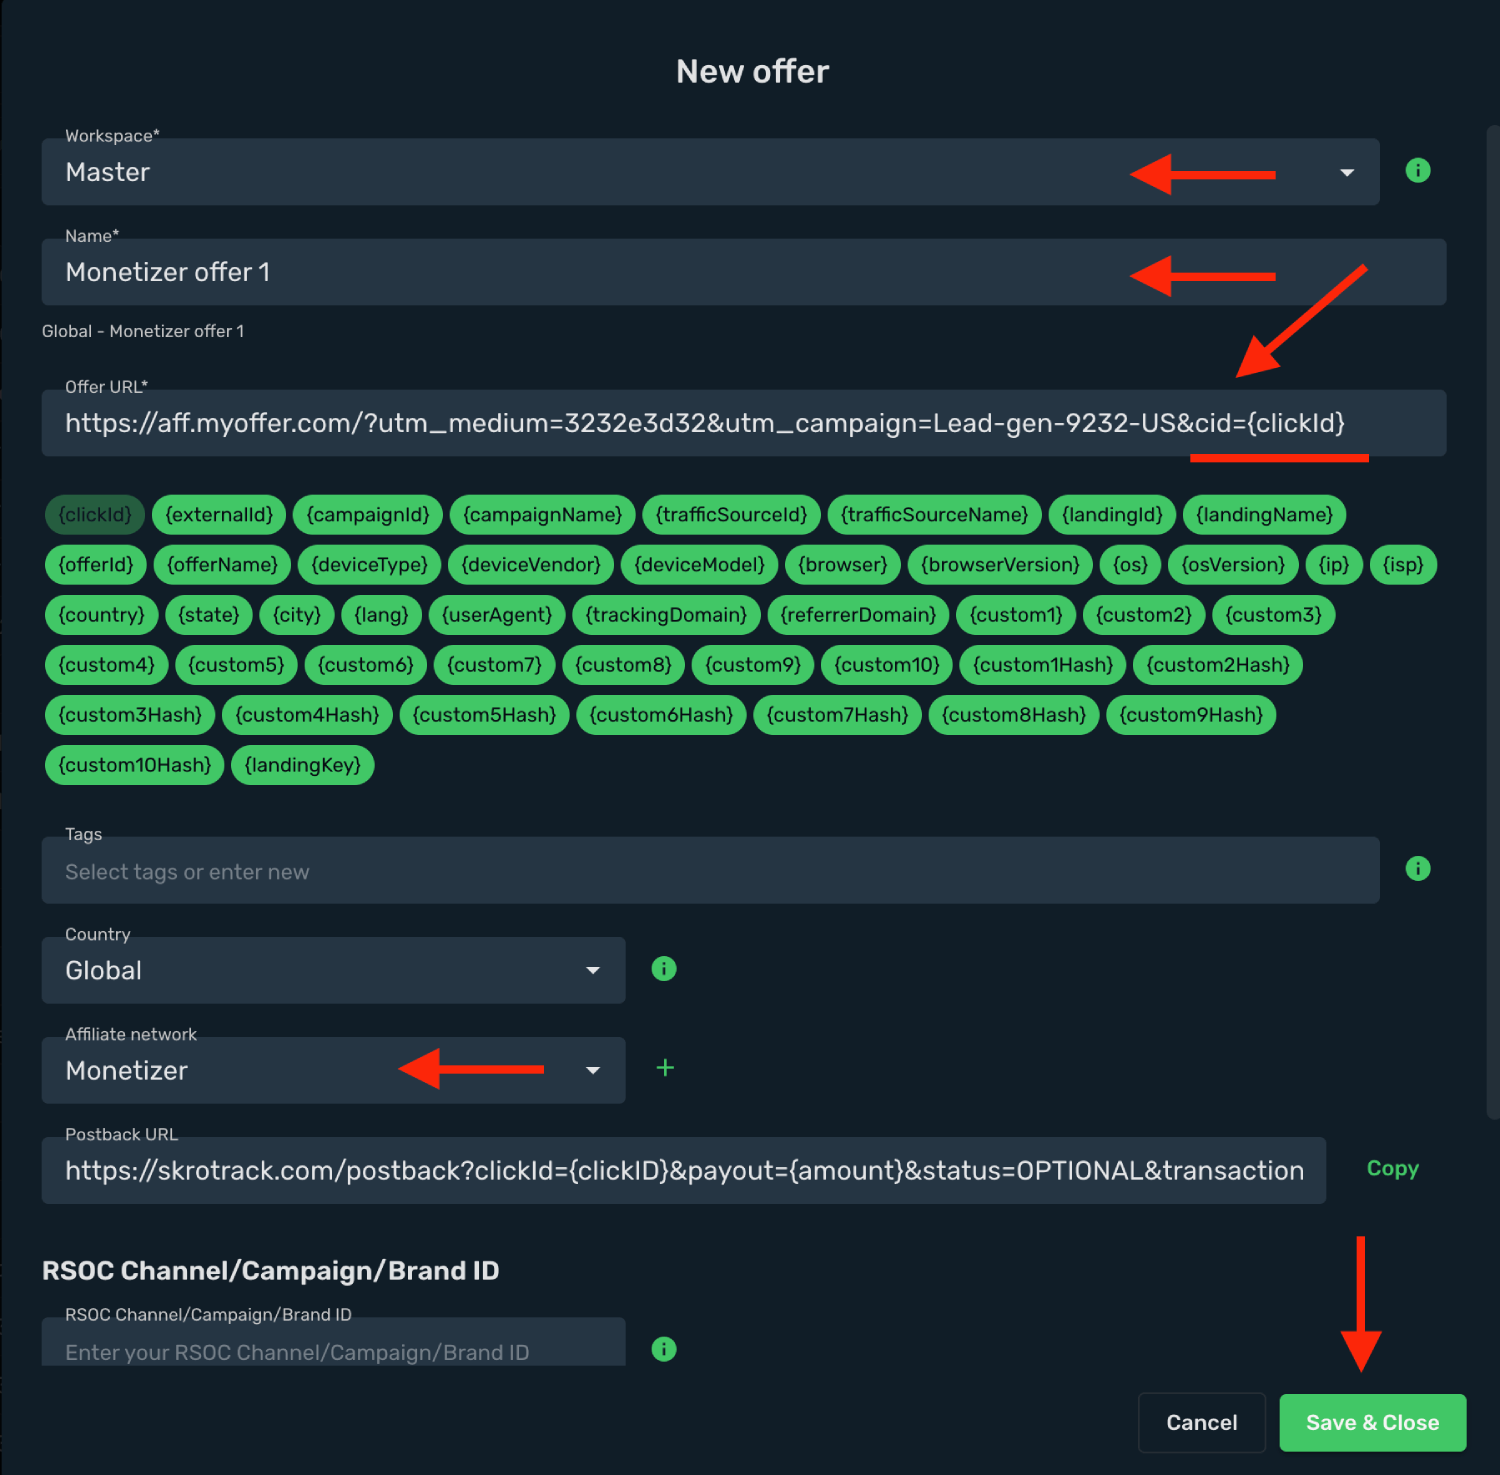
6. Click **Save & Close**.
## Step 4. Create a campaign on Skro [#step-4-create-a-campaign-on-skro]
1. Start with the following guide:
## Verify the setup [#verify-the-setup]
Follow a campaign link and complete a test conversion using your provider’s test workflow. Confirm that the original click ID reaches the provider and is returned to Skro, then check the event and revenue in your campaign report.
If data is missing, check the selected workspace, integration, campaign, and reporting date range. Compare parameter names and macro values with the examples in this guide before repeating the test.
## Related guides [#related-guides]
# MyLead integration
Source: https://skro.eu/docs/integrations/mylead-integration
Connect MyLead to Skro, map click IDs, and configure postbacks to attribute conversions and revenue to your campaigns.
## Step 1. Add affiliate network to Skro [#step-1-add-affiliate-network-to-skro]
1. Go to **Affiliate Networks** and click **Create**.
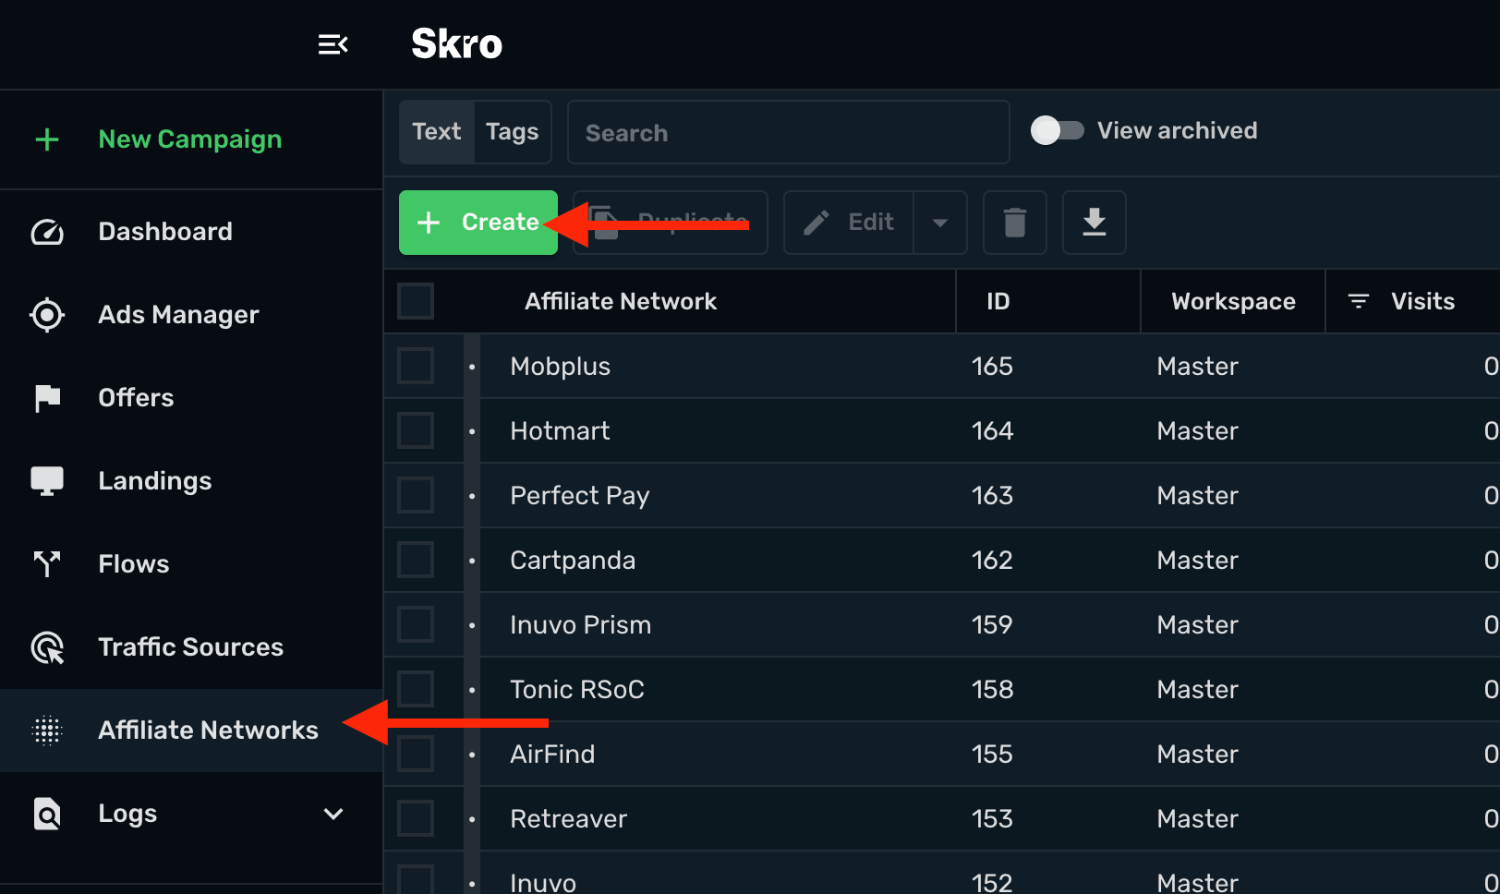
2. Search MyLead and select the **MyLead** template.
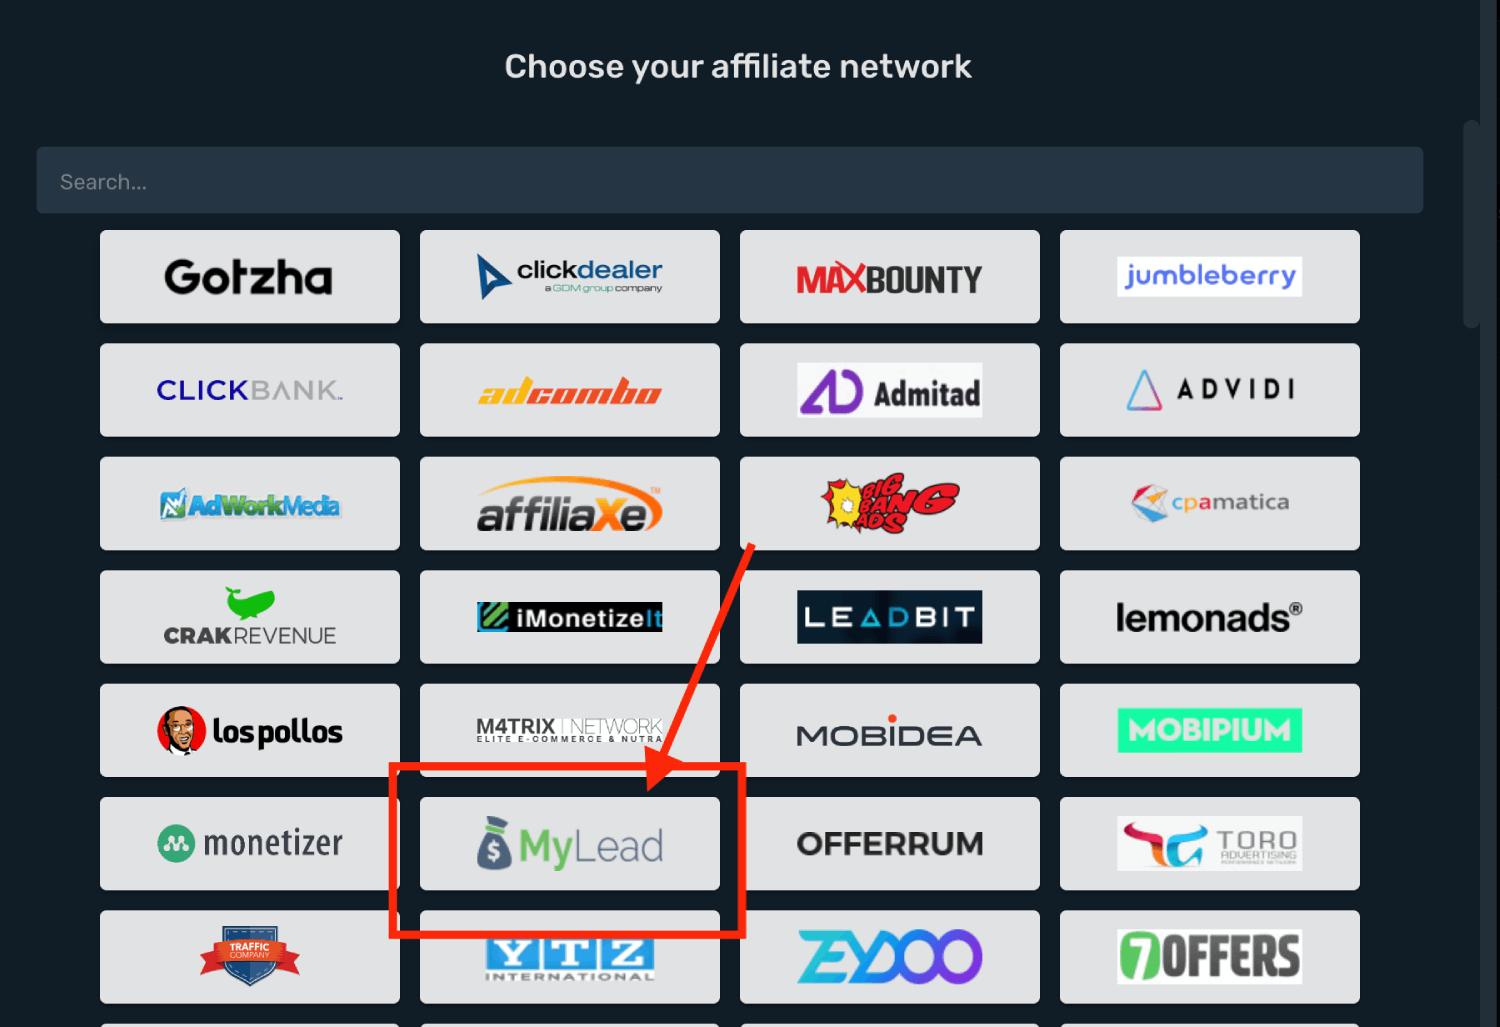
3. Select your **Workspace** and **Copy** postback URL to your clipboard.
4. Click **Save & Close**.
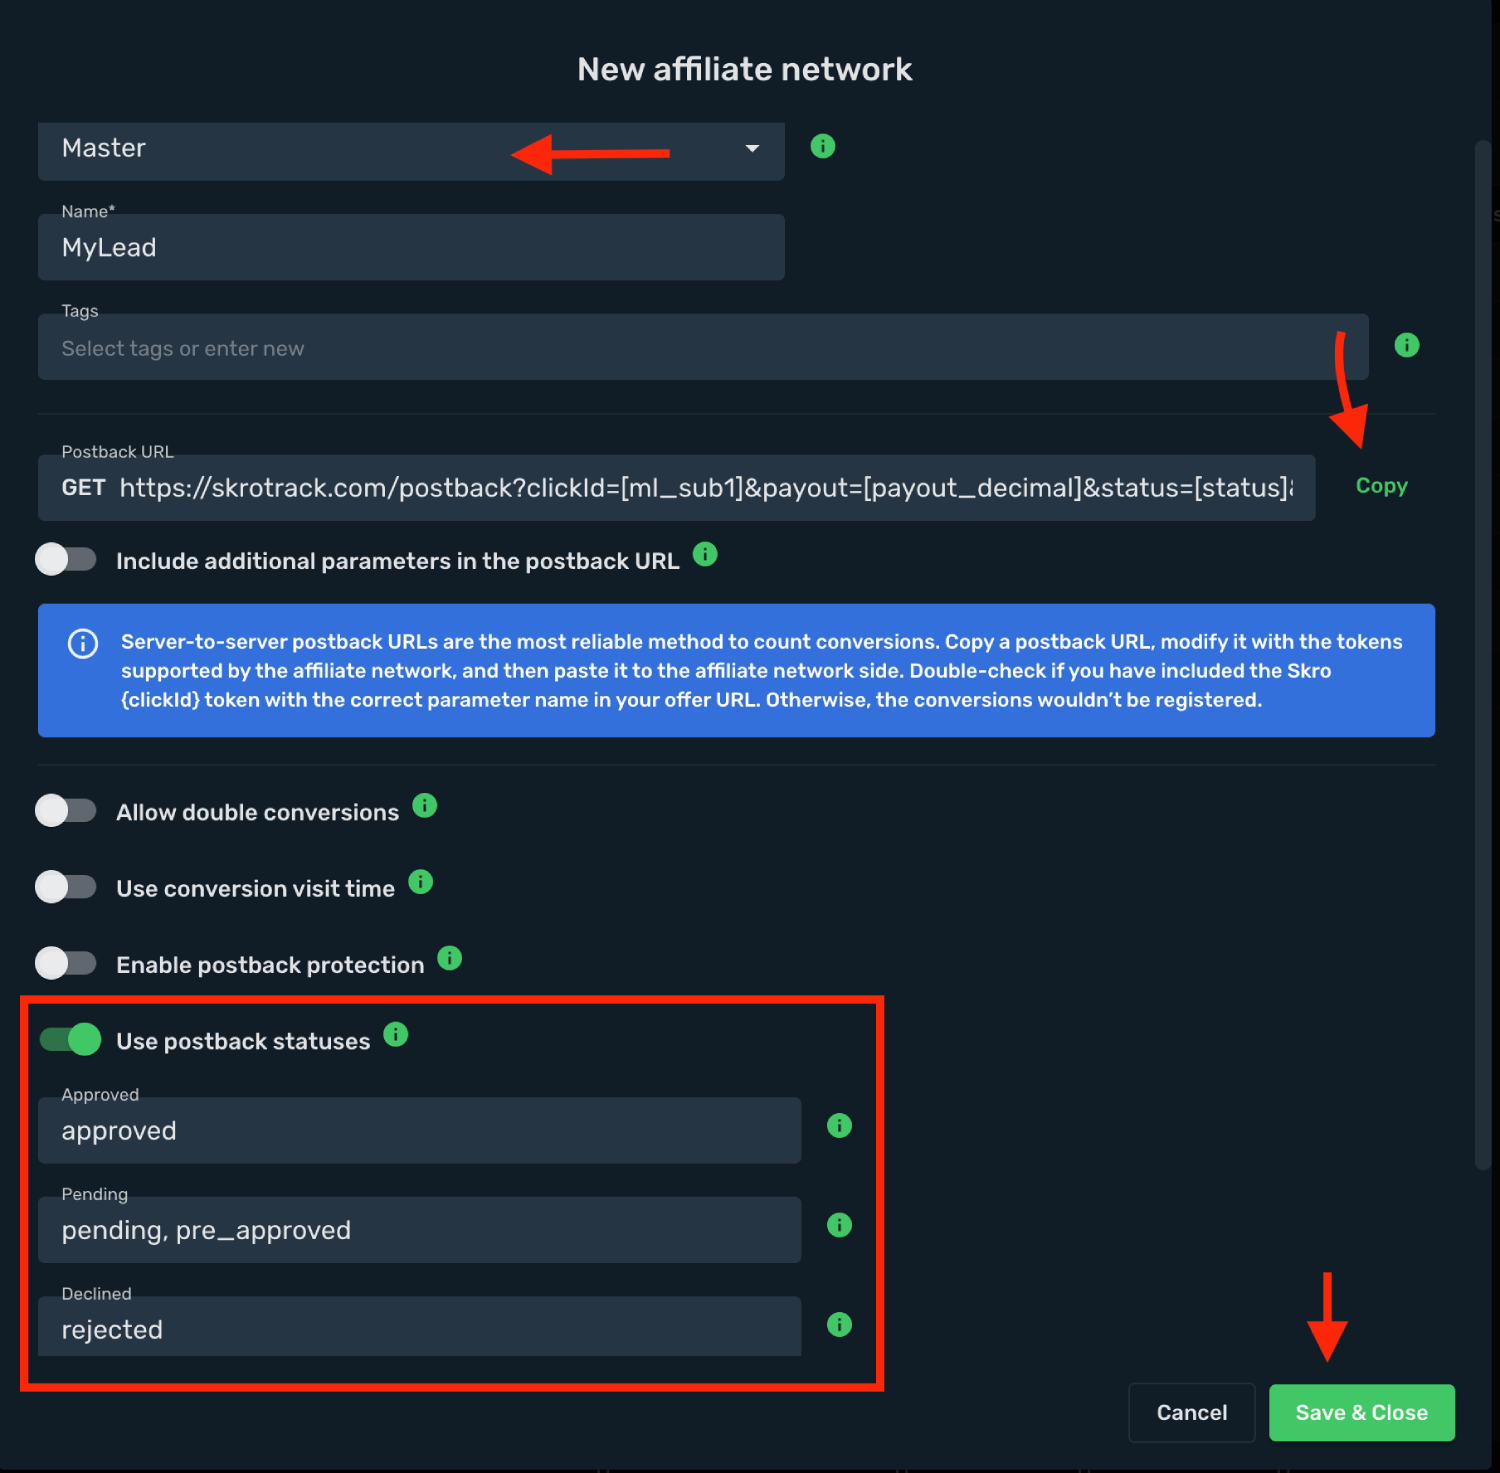
The MyLead affiliate network is now saved in Skro. Use the copied postback URL in MyLead in the next step.
## Step 2. Setting up a postback URL [#step-2-setting-up-a-postback-url]
1. Log in to **MyLead** account.
2. Go to **Postback and API** on the side of **MyLead**.
3. Access **Postback** section.
4. Click **Add a postback URL**.
4. Paste **Postback URL** for status **ALL** in the corresponding field.
5. Press **Create a URL Postback** to store the settings.
**Postback URL for ALL statuses:**
`https://skrotrack.com/postback?clickId=[ml_sub1]&payout=[payout_decimal]&status=[status]&transactionId=[transaction_id]`
## Step 3. Get an offer from MyLead [#step-3-get-an-offer-from-mylead]
1. To get offer link on the side of MyLead go to **Affiliate Marketing** → **Affiliate Campaign** page on the panel.
2. Select the desired offer from the list and click its name.
3. Press **Add a Traffic Source** to describe your promotional space.
4. Request access to given offer.
6. Copy **Offer link** after the selected offer is approved by MyLead.
## Step 4. Add offer to Skro [#step-4-add-offer-to-skro]
1. Go back to Skro and navigate to the **Offers** and click **Create**.
2. Choose your workspace.
3. Give a name to your offer.
4. Grab the offer link from MyLead and add it to Offer URL field and change the macros to this **`&ml_sub1={clickId}`**
**`{clickId}`** - The Skro click ID macro for conversion tracking.
**Example Offer URL:**
`https://tennis-appl.com/787SDA?ml_sub1={clickId}`
5. Choose MyLead from the **Affiliate Network** select box.
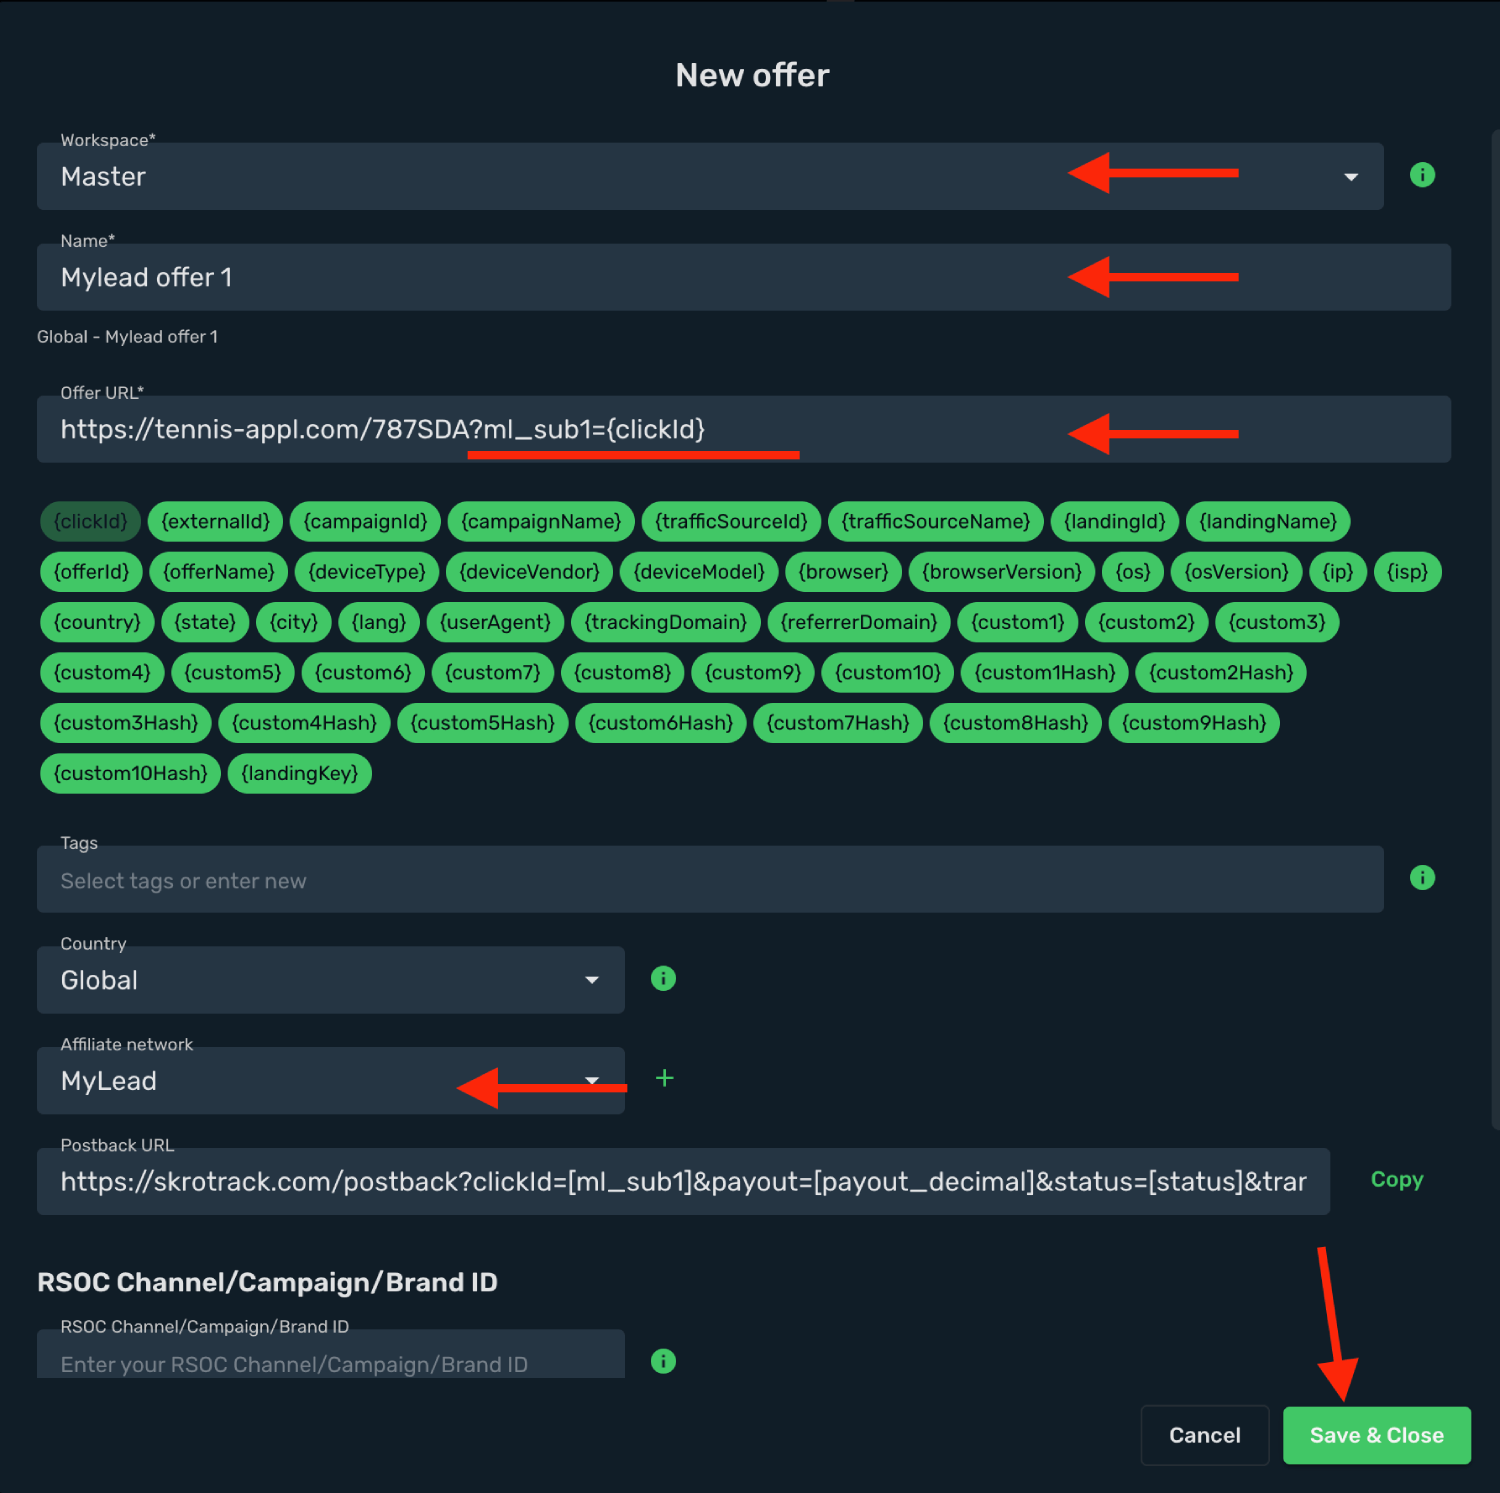
6. Click **Save & Close**.
## Step 5. Create a campaign on Skro [#step-5-create-a-campaign-on-skro]
1. Start with the following guide:
## Verify the setup [#verify-the-setup]
Follow a campaign link and complete a test conversion using your provider’s test workflow. Confirm that the original click ID reaches the provider and is returned to Skro, then check the event and revenue in your campaign report.
If data is missing, check the selected workspace, integration, campaign, and reporting date range. Compare parameter names and macro values with the examples in this guide before repeating the test.
## Related guides [#related-guides]
# NewsBreak integration
Source: https://skro.eu/docs/integrations/newsbreak-and-skro
Set up NewsBreak tracking in Skro, configure traffic source parameters, and connect your advertising campaigns.
NewsBreak is a local news aggregation platform founded in 2015. It provides a mobile app and website to deliver geographically specific news to users across the United States.
NewsBreak integration gives you the ability to manage and optimize all your ad campaigns through the Skro interface.
- Sync cost on ad level every 30 min.
- Check delivery status of campaigns, ad sets and ads.
- Pause or resume campaigns, ad sets and ads.
- Change daily budget and CPA bid value for ad sets.
- Check the status of your campaigns, ad sets and ads.
In this guide, you will learn how to set up your campaigns in NewsBreak and Skro so NewsBreak can pass information to Skro and back with a selected tracking method. This guide does not cover all aspects and options available when creating a campaign on these two platforms. Basic knowledge regarding setting up campaigns in NewsBreak and Skro is required.
## Manage NewsBreak campaigns through the Skro UI [#manage-newsbreak-campaigns-through-the-skro-ui]
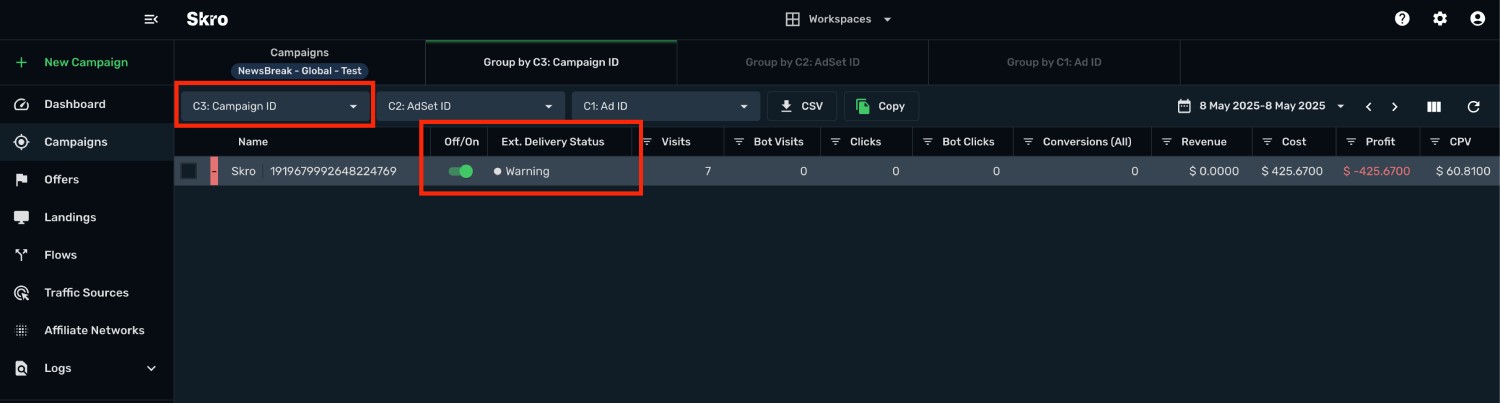
## Manage NewsBreak ad sets through the Skro UI [#manage-newsbreak-ad-sets-through-the-skro-ui]
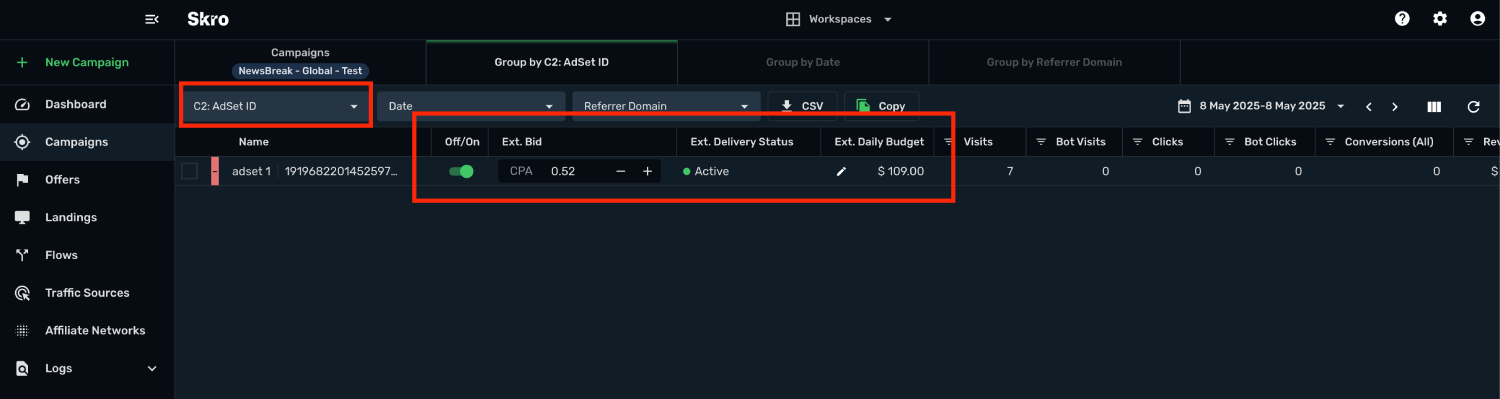
## Manage NewsBreak ads through the Skro UI [#manage-newsbreak-ads-through-the-skro-ui]
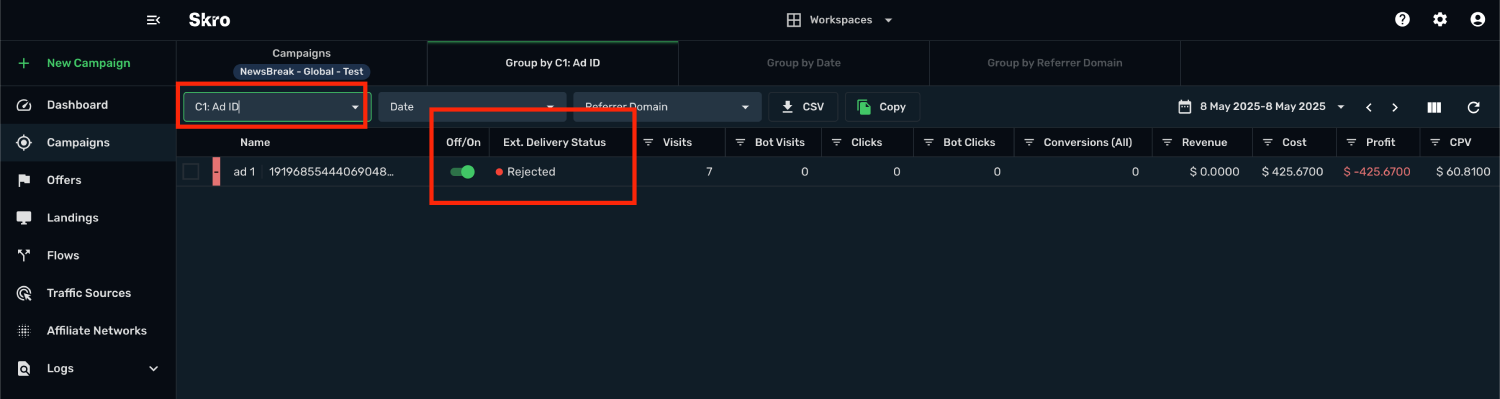
## Step 1. Get NewsBreak API Key [#step-1-get-newsbreak-api-key]
NewsBreak **API Key**. You can get one by following the steps below:
1. Go to **Tools** → **Resources** → **API Access tokens**
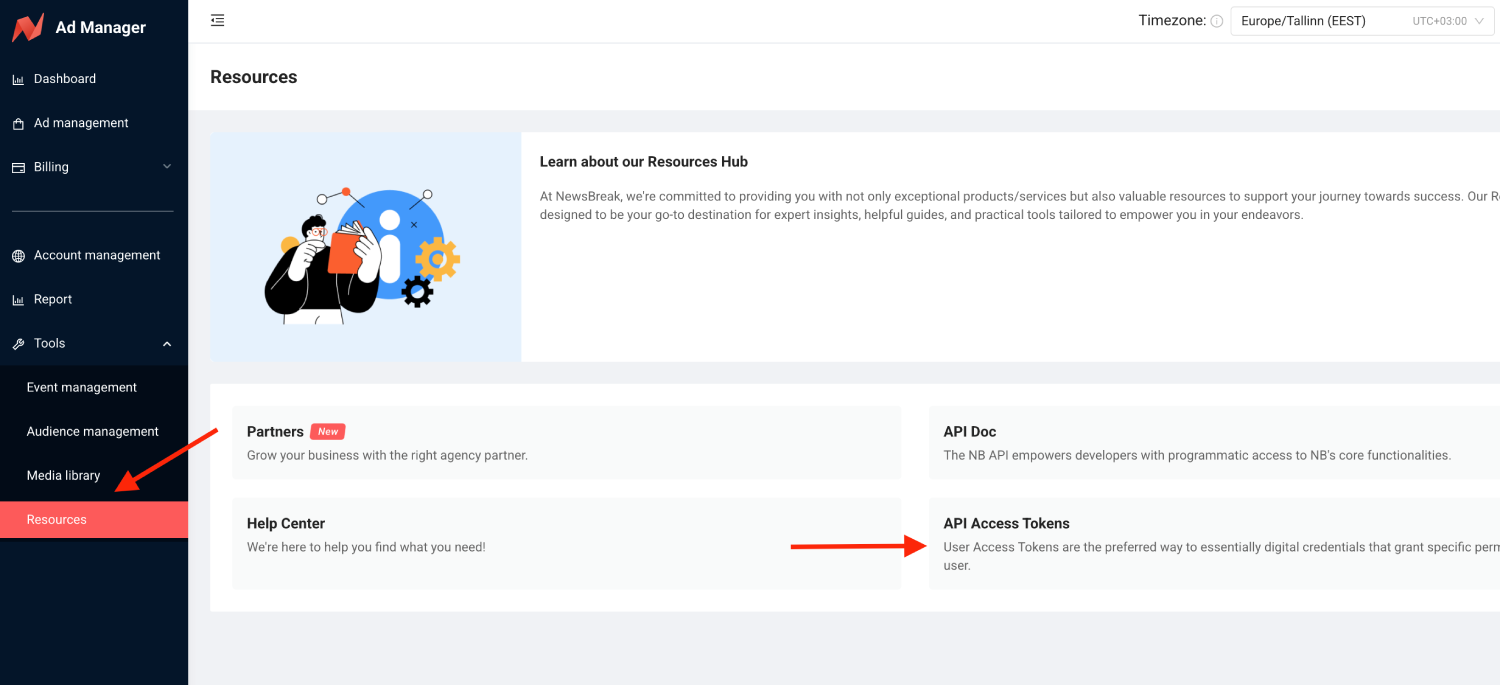
3. Click **Generate token** and copy token.
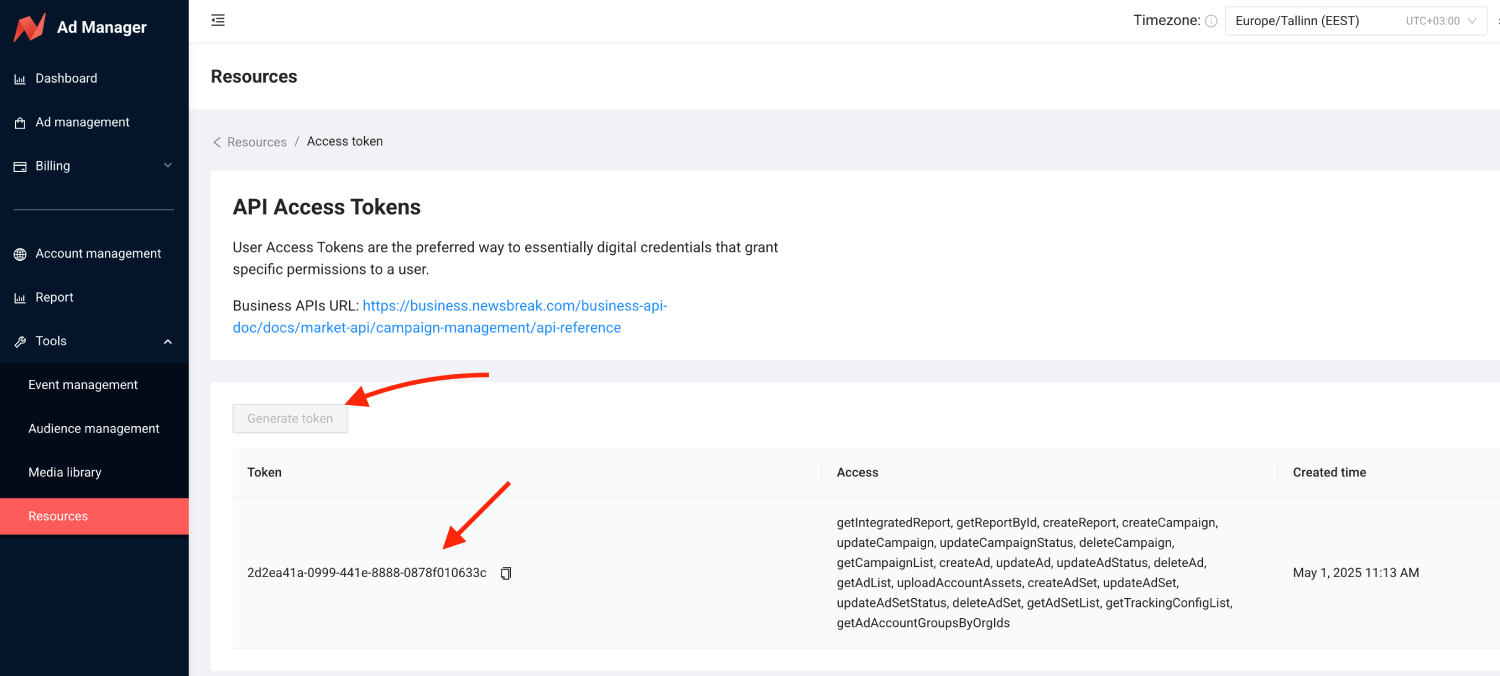
5. Once you have everything ready, read the further part of this guide.
## Step 2. Add integration [#step-2-add-integration]
1. Log in to your **Skro** account.
2. Navigate to **Settings → Integrations**.
3. In the **Traffic Sources** section click **Add**.
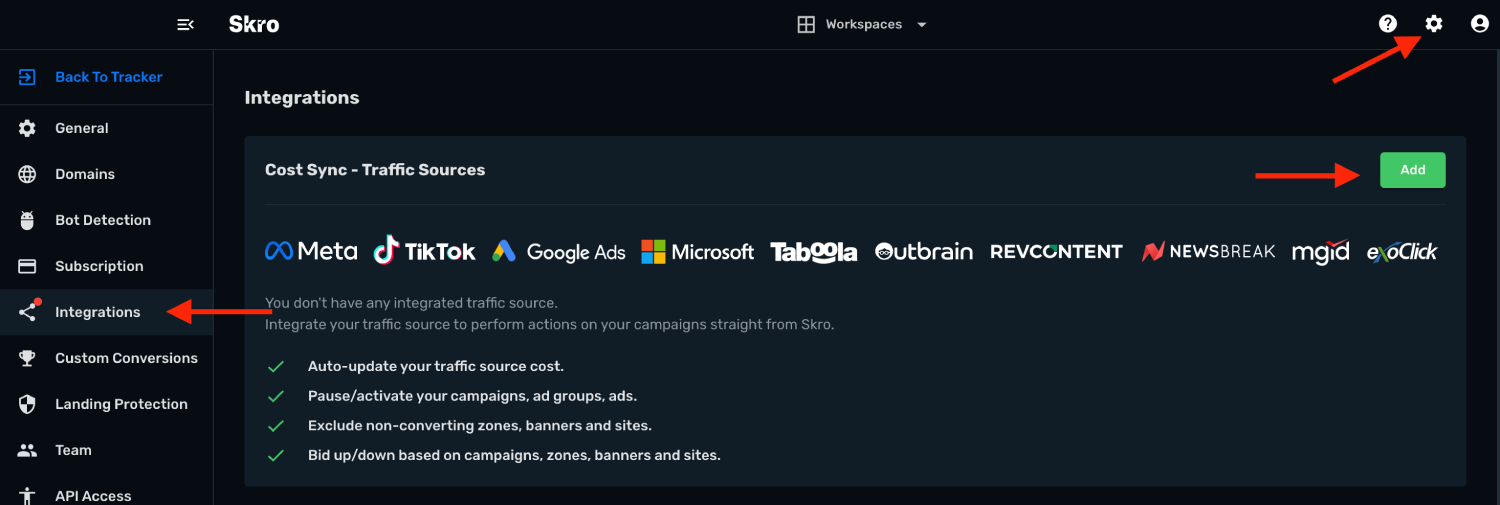
4. Click **NewsBreak** logo and integration form will pop up.
5. Enter your **Integration Name**.
6. Enter your NewsBreak **Access Token** and **Organization ID**.
7. Click **Next**.
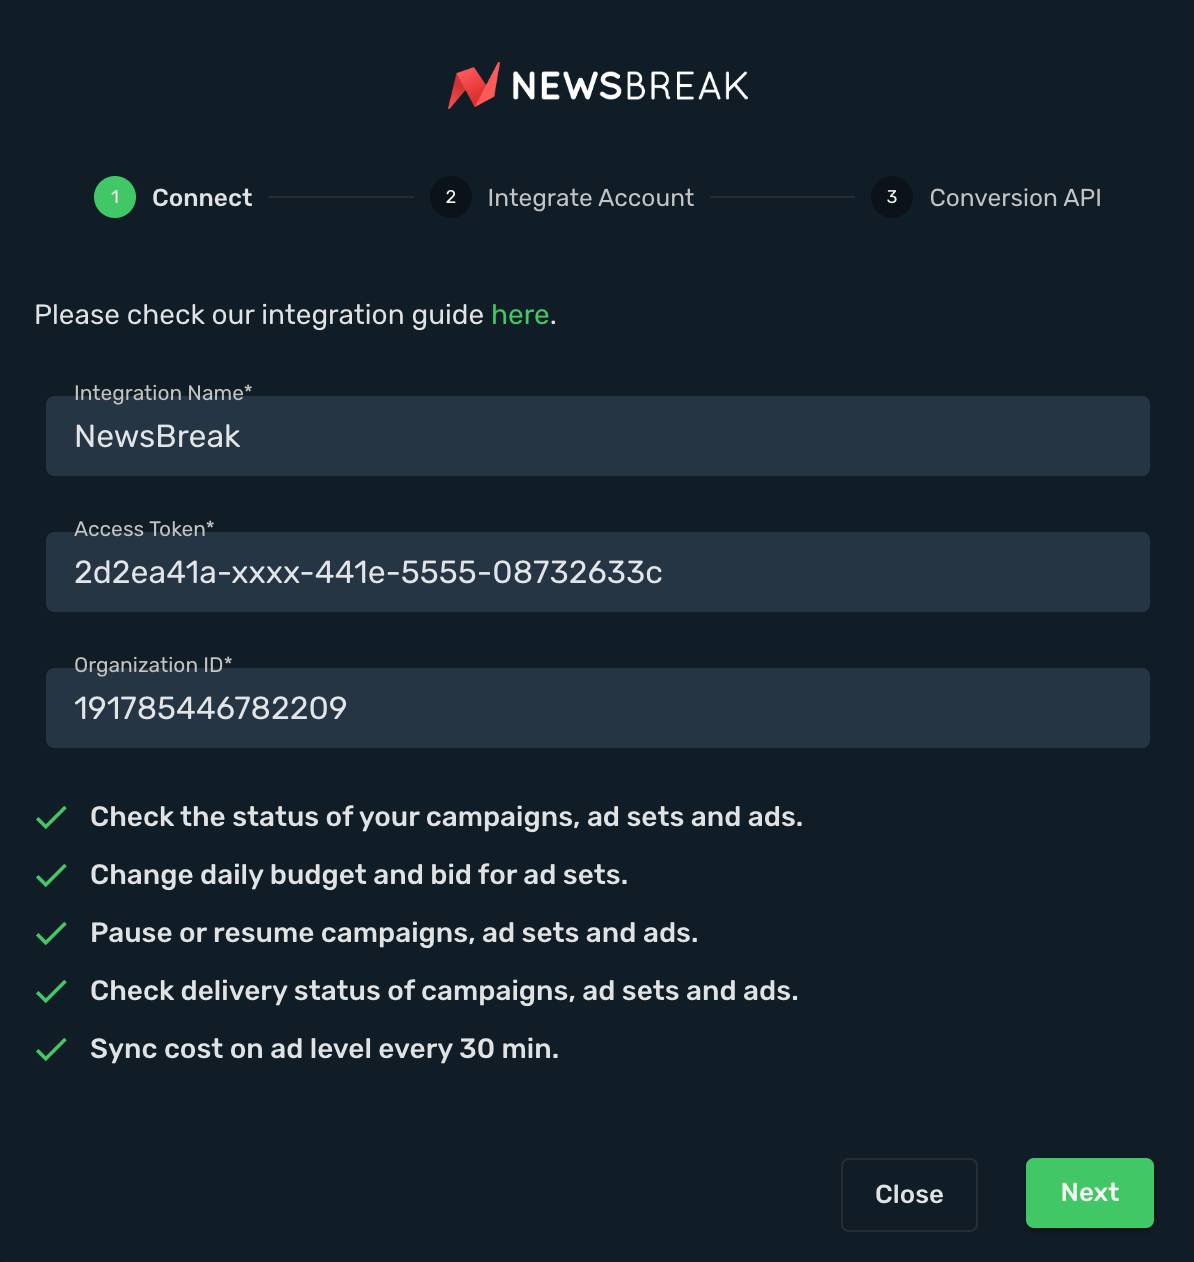
8. Integrate your NewsBreak Ad Account.
9. Click **Next**.
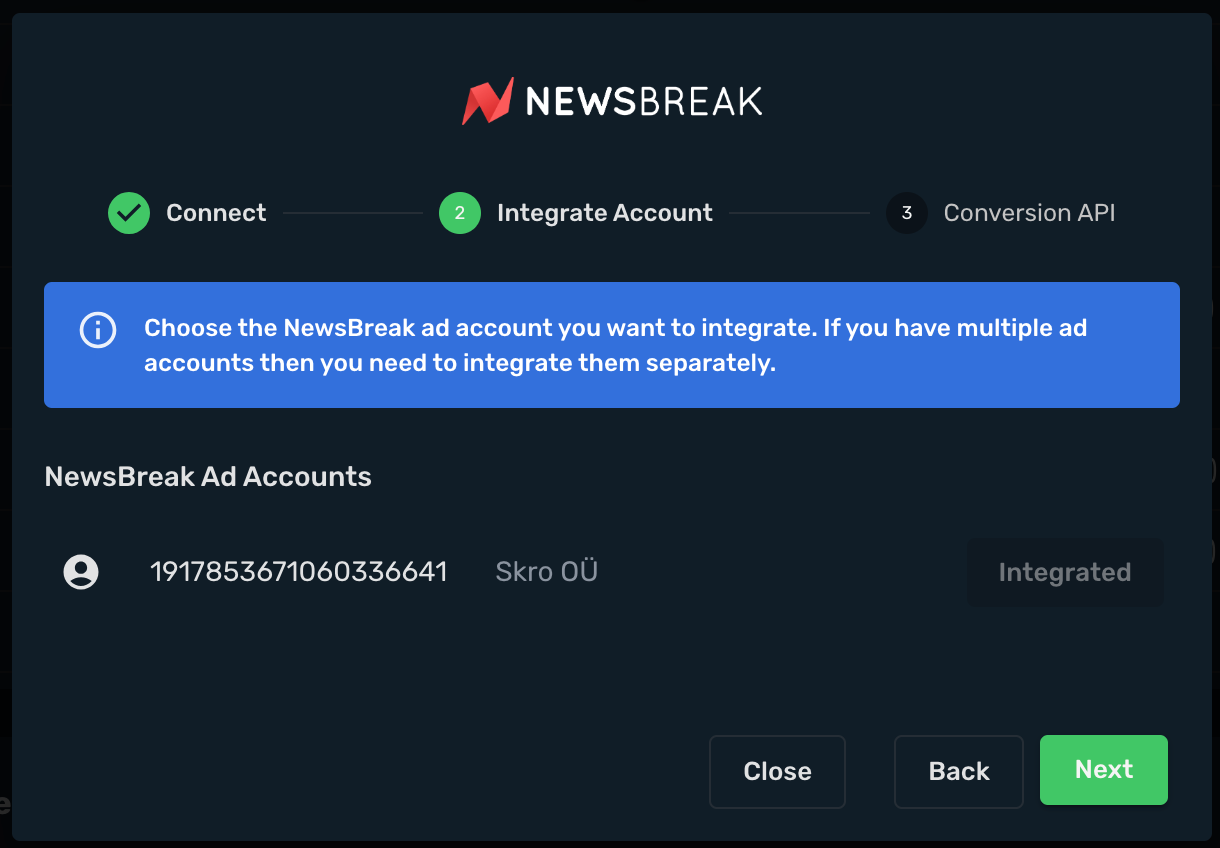
10. If you want to send conversions info back to NewsBreak, then you will need to enable **Conversion API.**
11. **Conversion Event Name** - must be the same as you typed in NewsBreak. When creating Skro campaign you will need to specify which conversion goal to send to.
12. **Include Conversion Payout** - If checked, we will send conversion revenue to NewsBreak.
13. Click **Save & Close**.
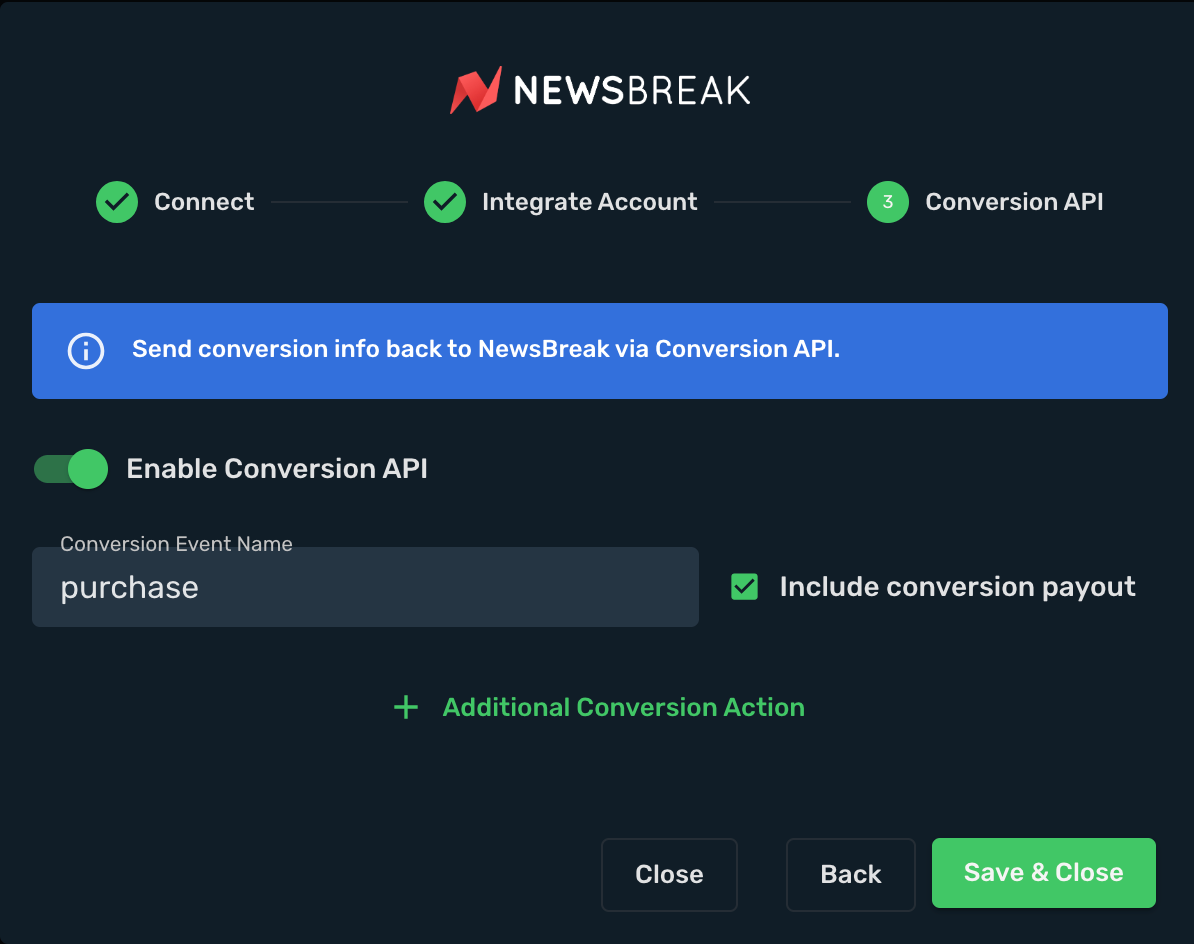
14. Your NewsBreak account is successfully integrated.
15. You can switch on/off cost sync with given switch.
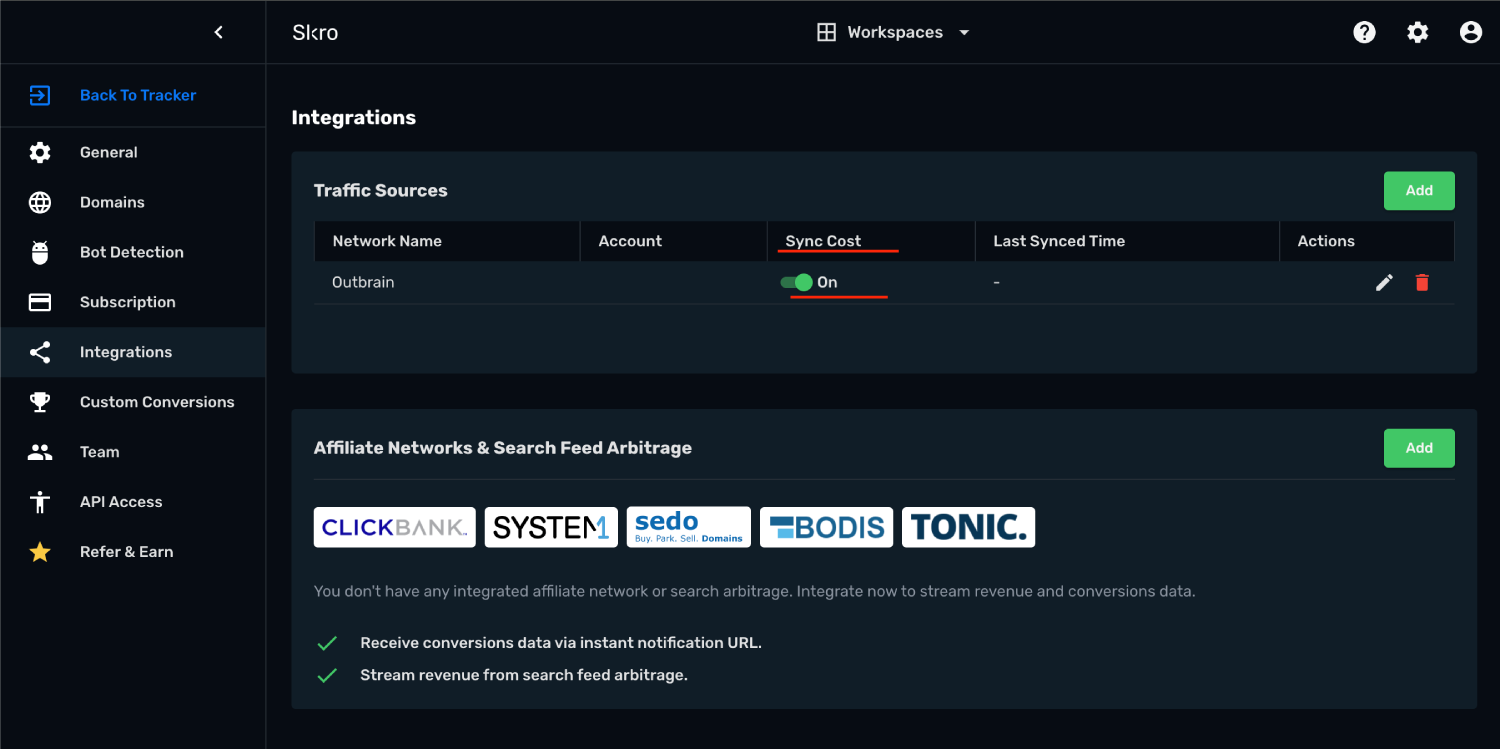
## Step 3. Associate integration with traffic source [#step-3-associate-integration-with-traffic-source]
1. Go to **Traffic Sources** and click **Create**.
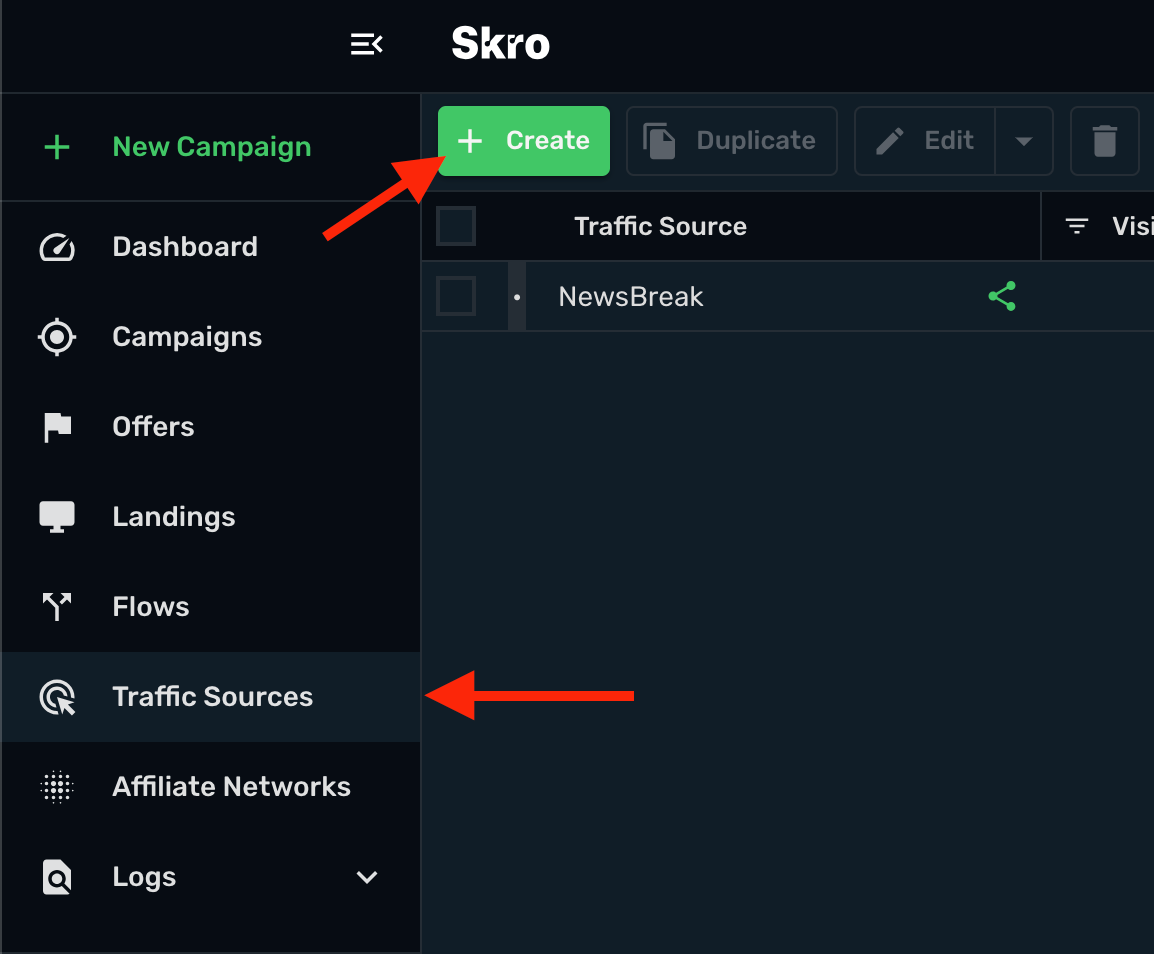
2. Click **NewsBreak** logo.
3. **Postback URL** is already prefilled for you.
4. Select your NewsBReak integration from the dropdown menu.
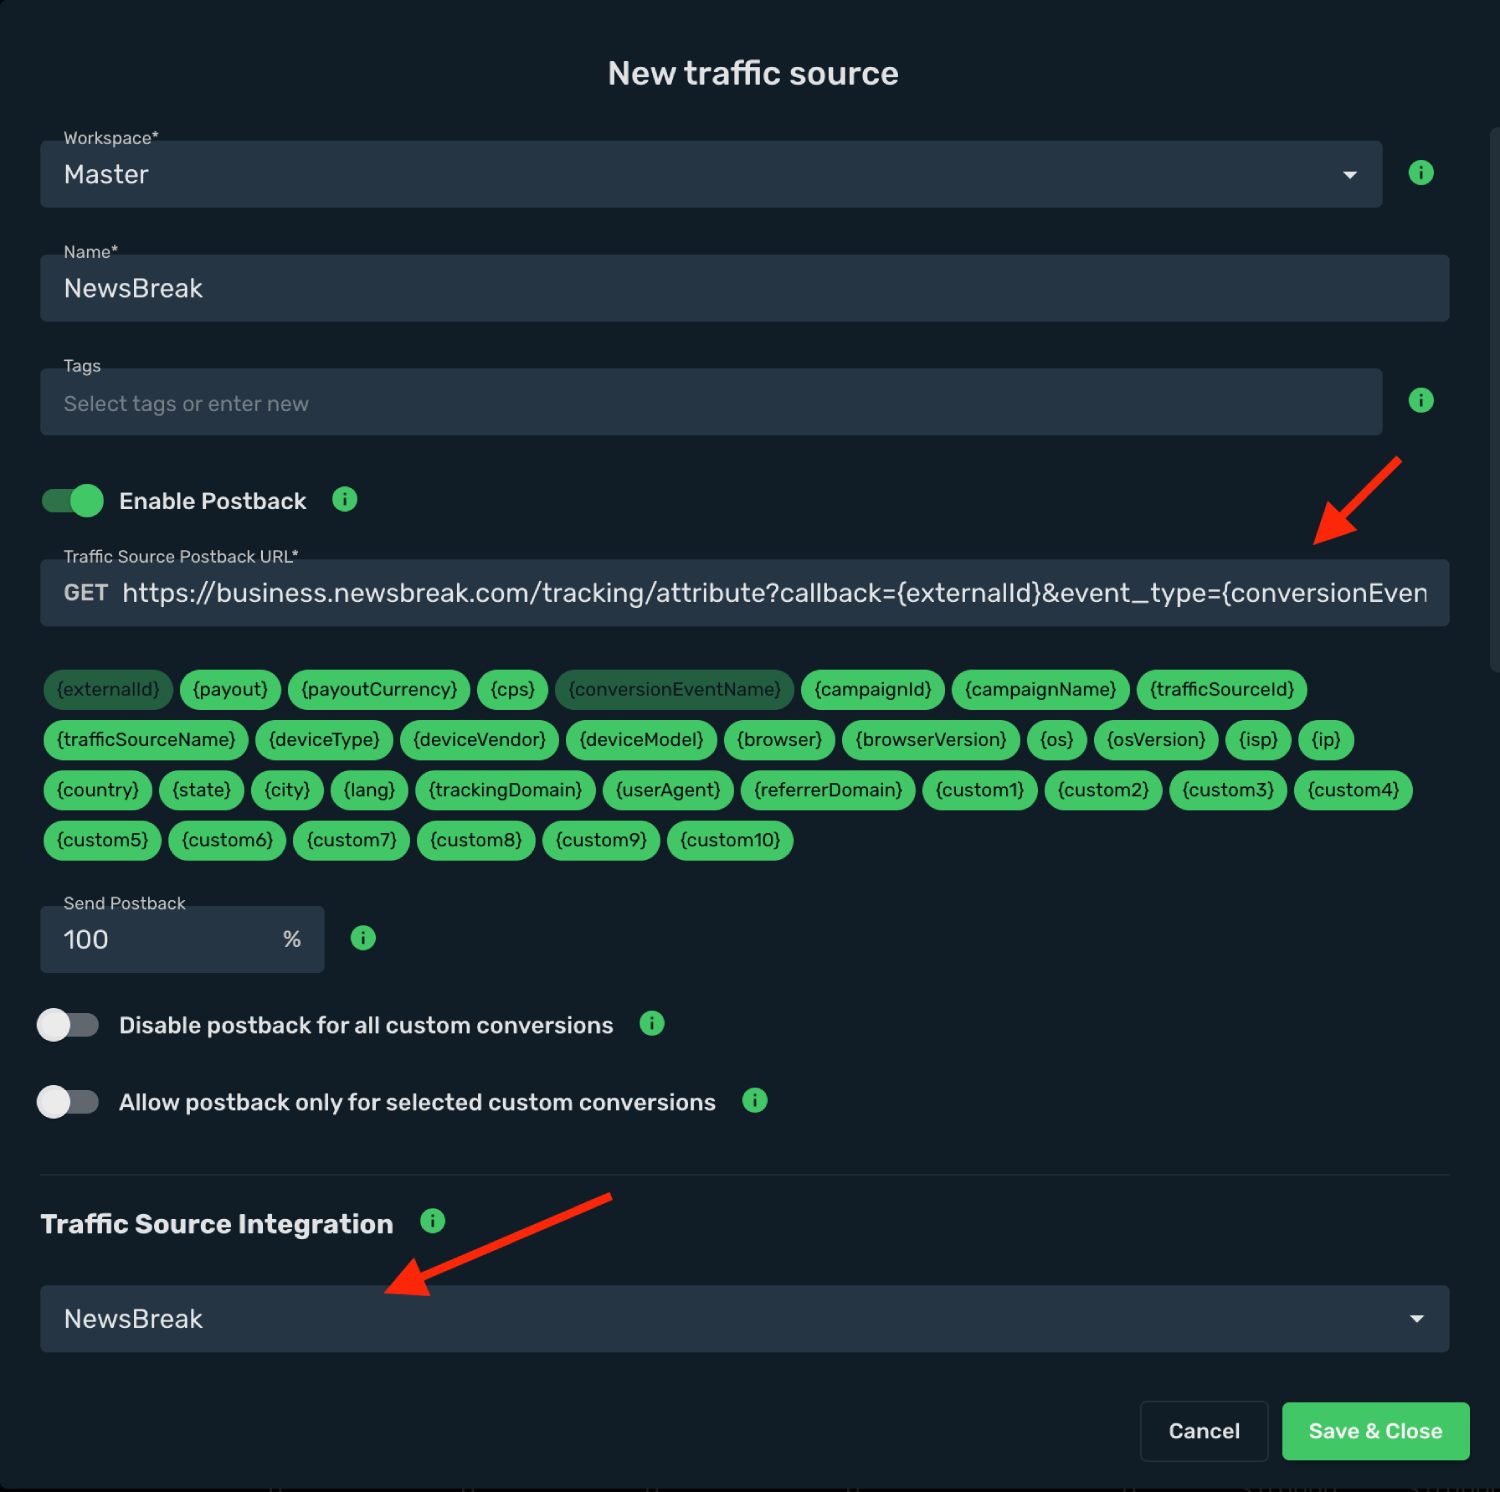
5. All parameters are already prefilled for you. Event type has dynamic macro.
6. Click **Save & Close**.
7. The integration is ready. Continue by creating a campaign for NewsBreak.
## Step 4. Create a Campaign in Skro [#step-4-create-a-campaign-in-skro]
1. If your set up needs pre-lander then go to **Landings** view and click **Create** to add your landing page.
2. To add your offer link go to **Offers** view and click **Create** and add your offer.
4. Select workspace.
5. Add name.
6. Add your offer URL and add macros.
7. Click **Save & Close**.

8. Navigate to the **Campaigns** view and click **Create**.
9. Select your integrated **Traffic Source** as NewsBreak.
10. Select your **Conversion Event Name**. That is needed to send conversion info back to NewsBreak.
11. Cost Model should be **Auto**.
12. Select your cost currency.
13. Click **Next**
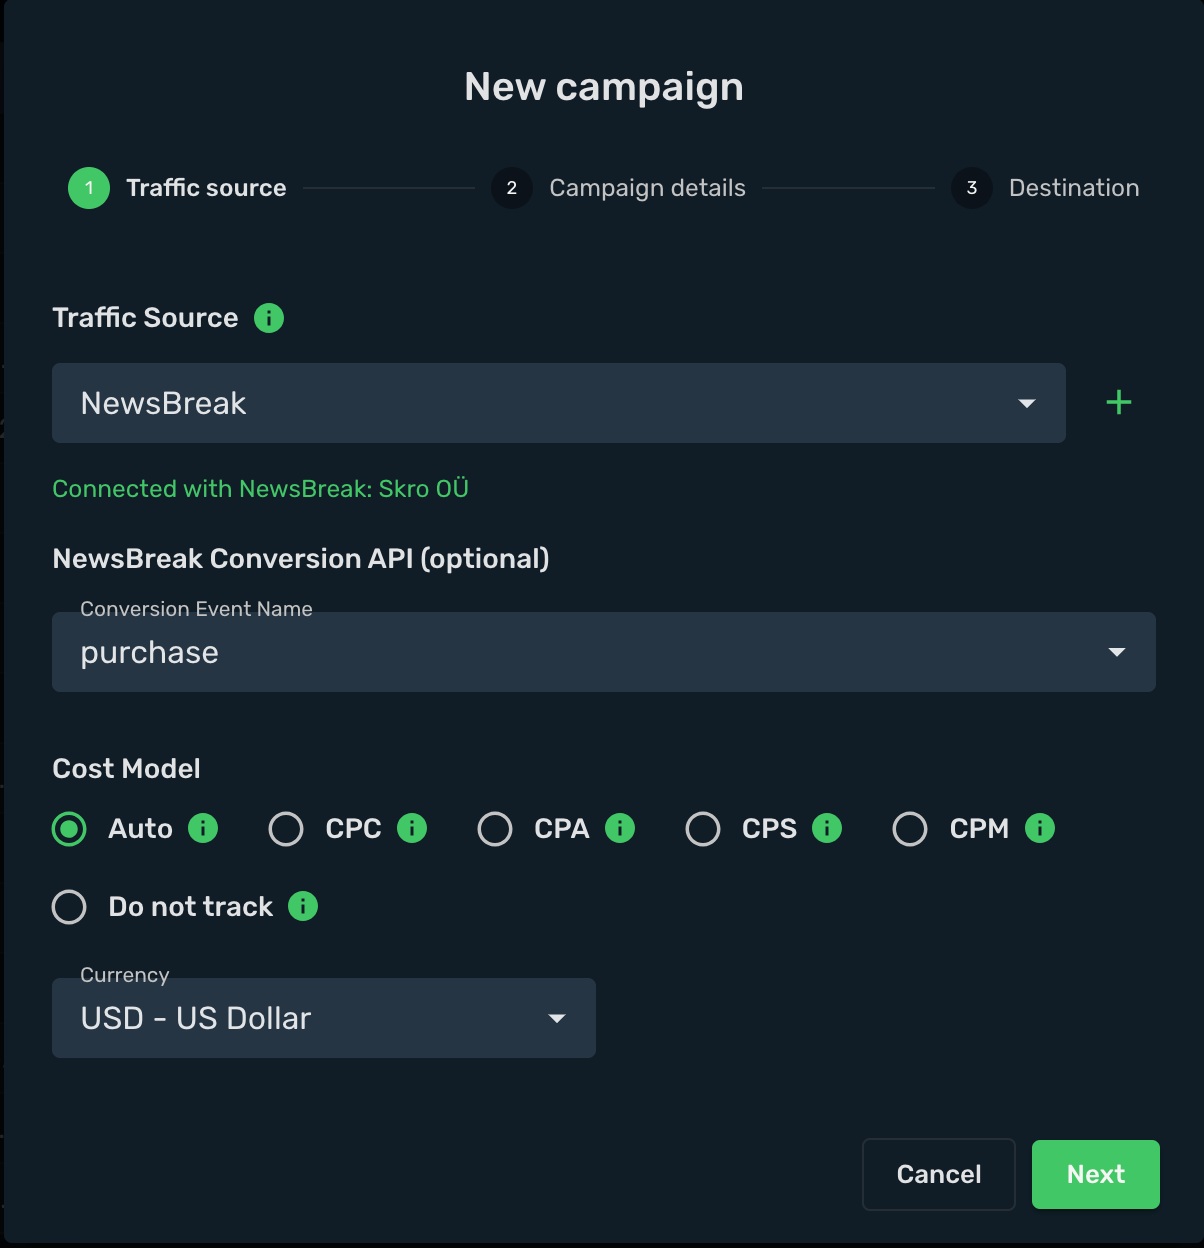
14. Select workspace.
15. Add descriptive name to your campaign.
16. Click **Next**
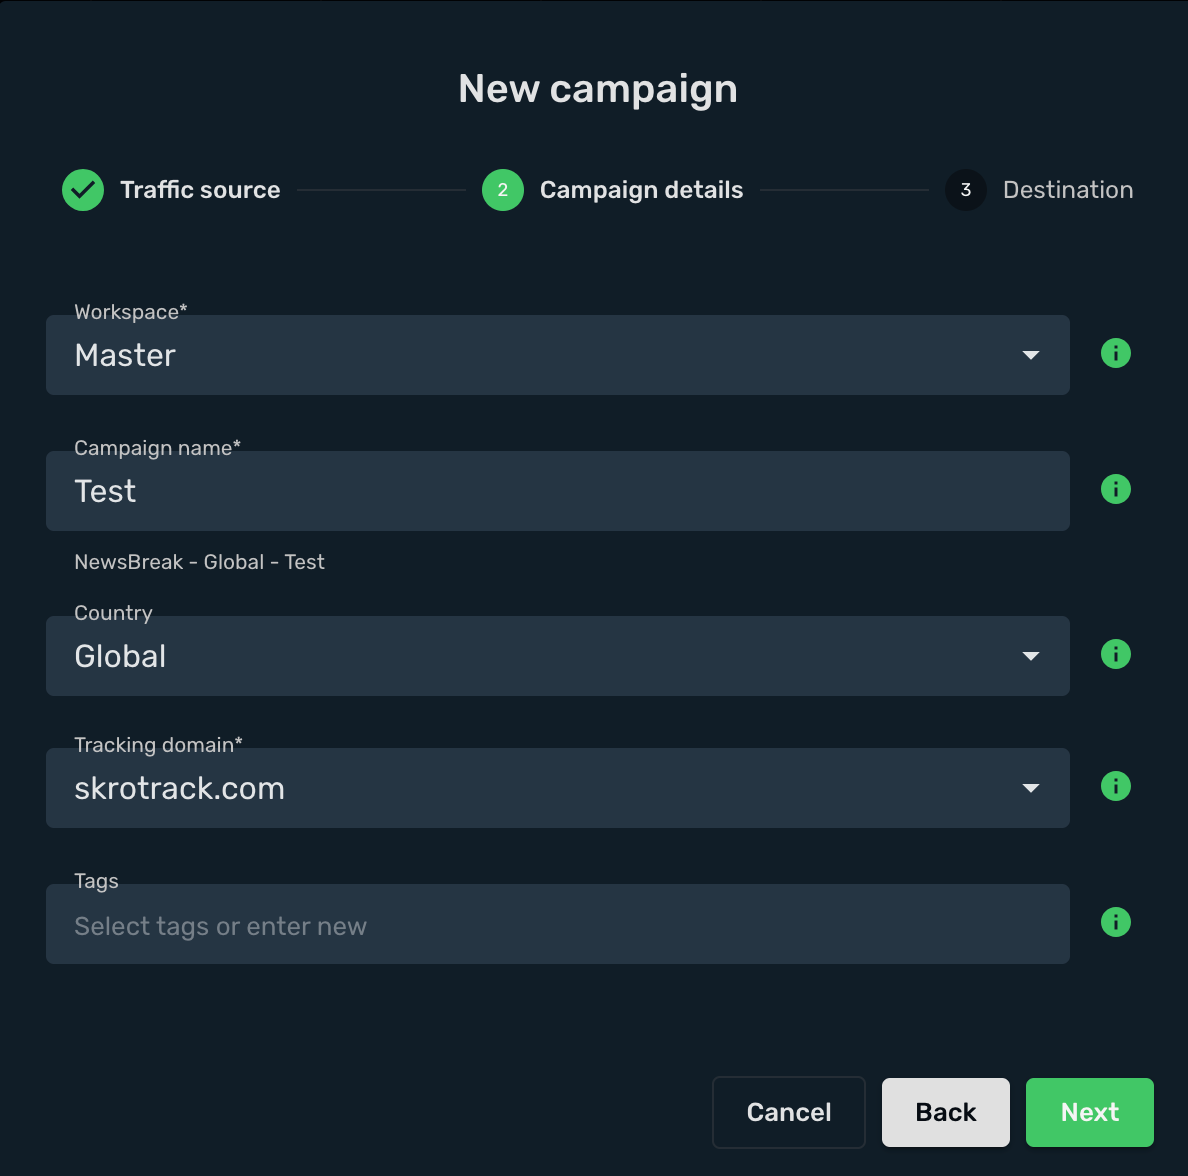
17. Choose your **Destination Type**. In this example we use **flow**.
18. Choose your redirect mode. In this example we use **redirect 302**.
19. Select your landings. In this example we **use only offers**.
20. Select your offers.
21. Click **Save**.
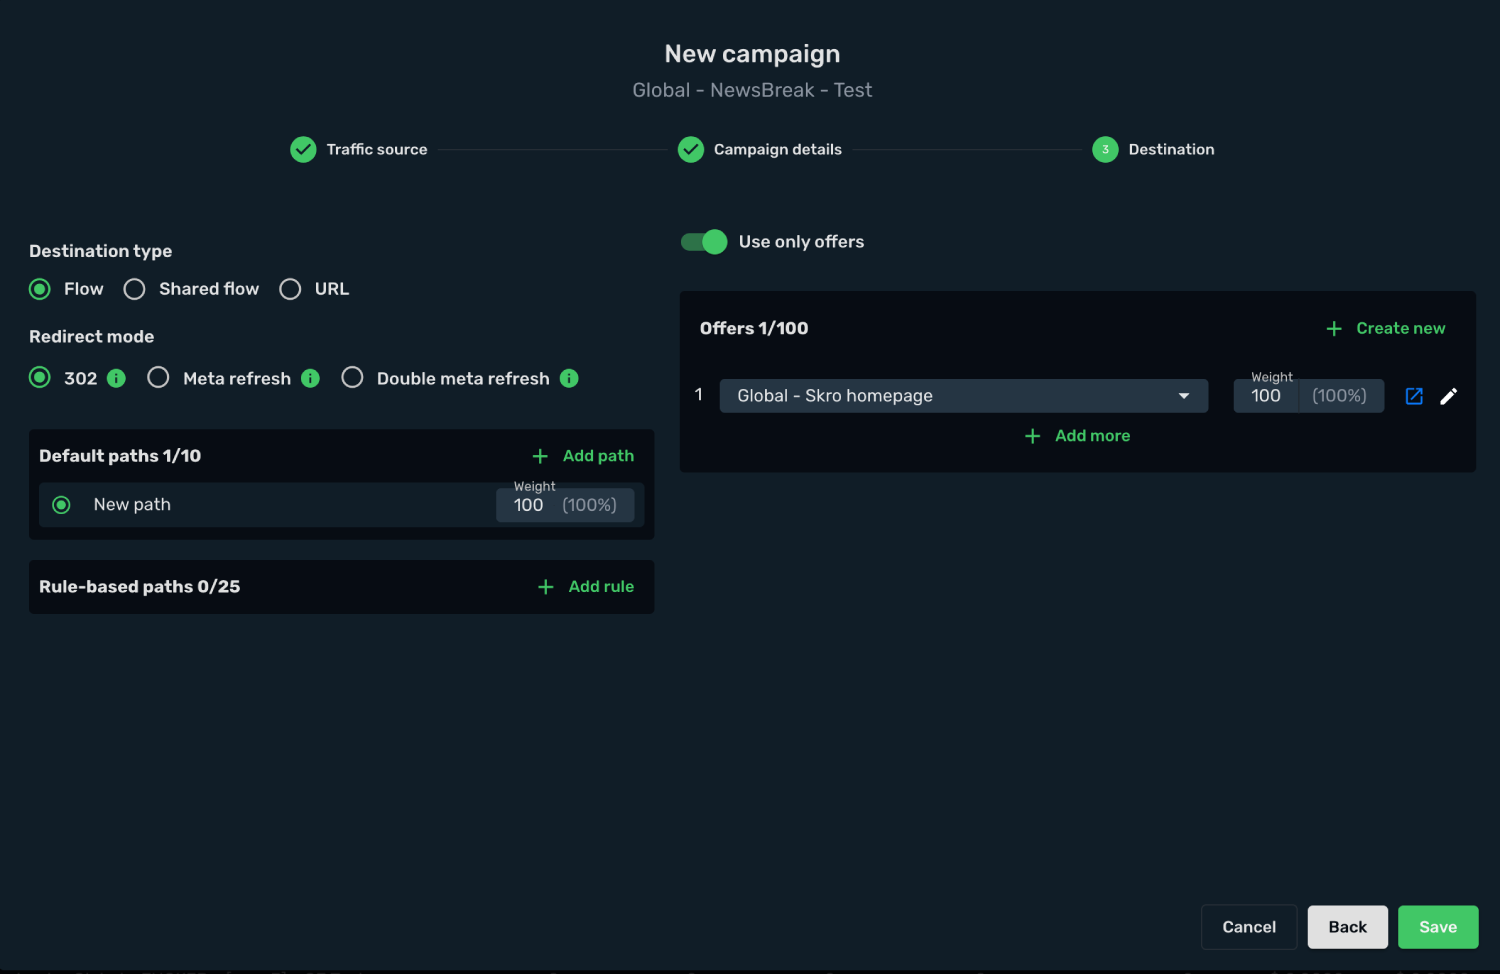
22. Choose **Redirect** tracking method.
23. Copy your **Campaign Tracking URL** to clipboard.
In given example we have that kind of URL:
```text
https://skrotrack.com/campaign/09e0dae8-8d20-4e86-85d4-5dd983d96de4?external_id=__CALLBACK_PARAM__&ad_id=__CREATIVE_ID__&adset_id=__FLIGHT_ID__&campaign_id=__CAMPAIGN_ID__&ad_name=__CREATIVE_NAME__&adset_name=__FLIGHT_NAME__&campaign_name=__CAMPAIGN_NAME__
```
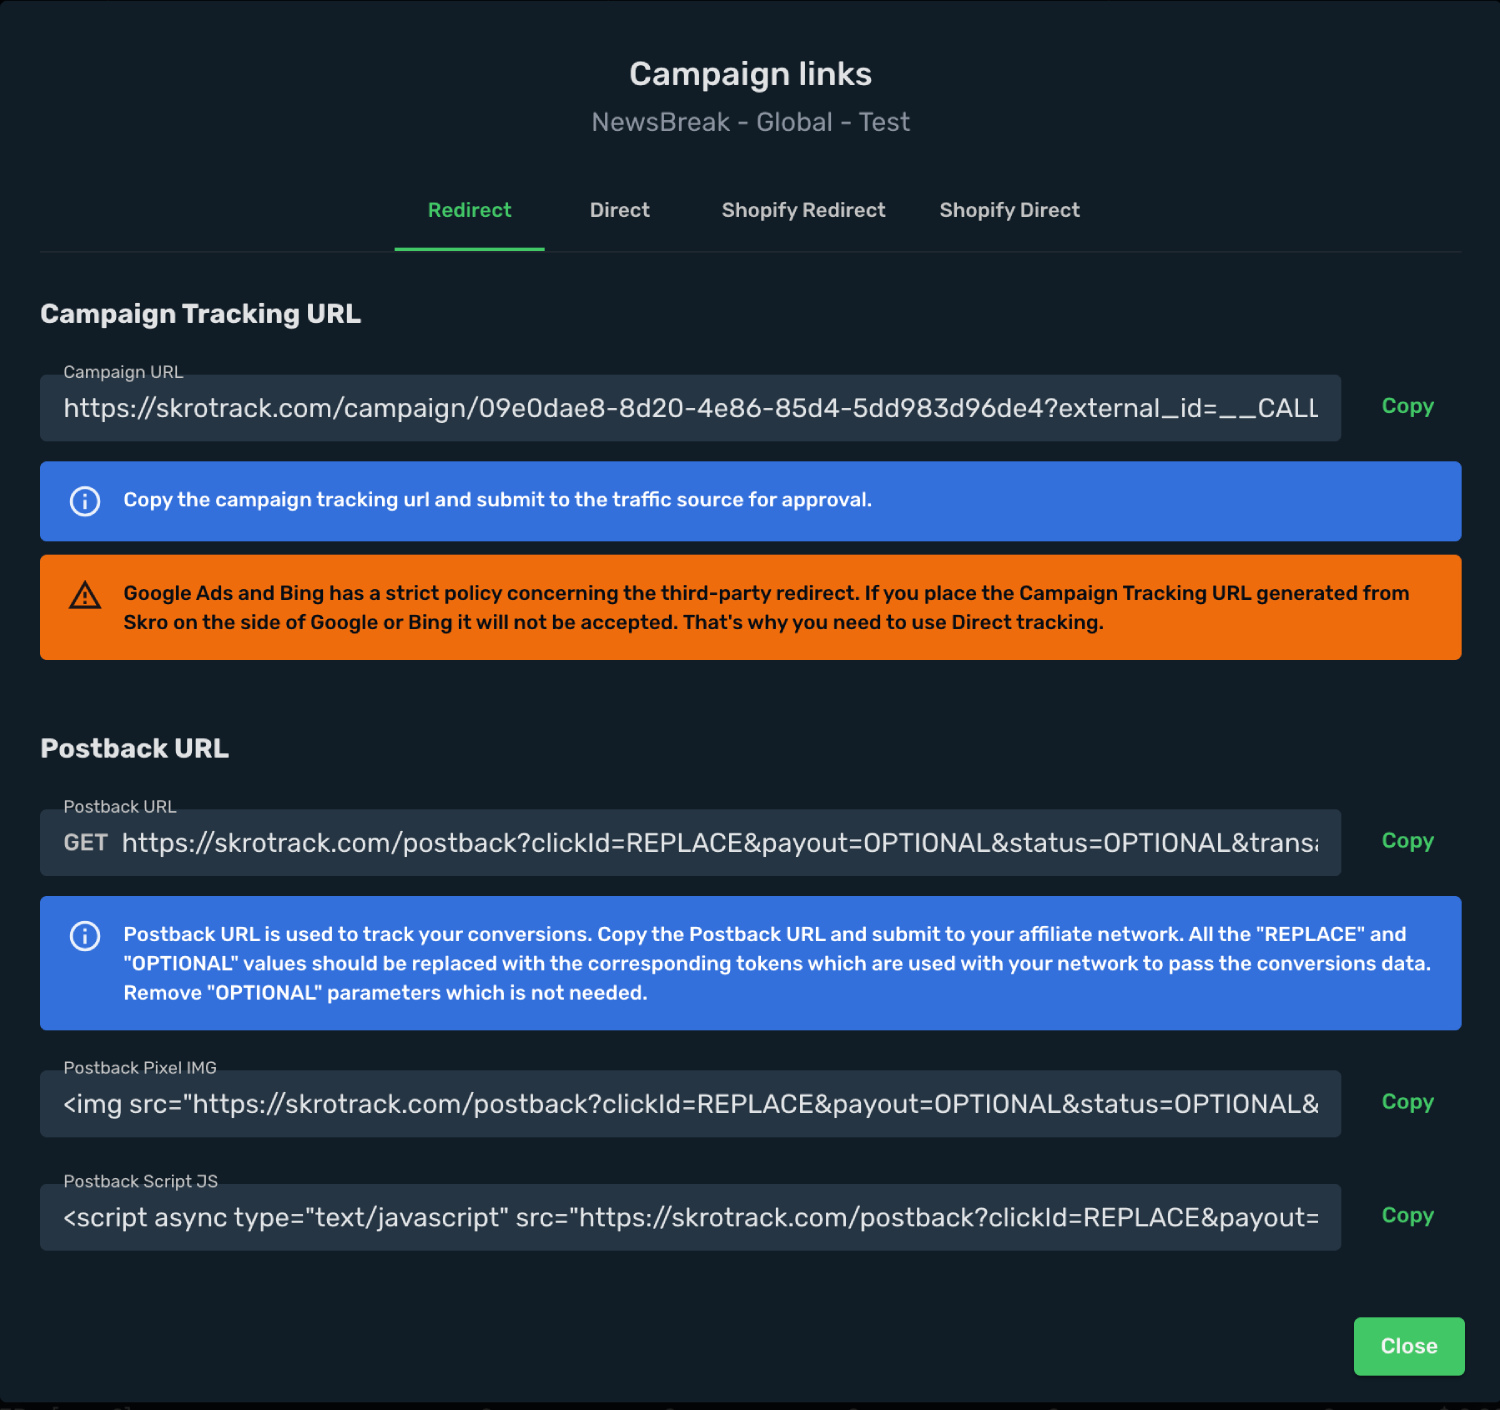
## Step 5. Create a Campaign in NewsBreak [#step-5-create-a-campaign-in-newsbreak]
Now you have your Campaign Tracking URL with tracking parameters added. In the next step you will submit it as your item's URL in NewsBreak campaign setup. In order to do that, perform the following steps:
1. Sign in to your NewsBreak account.
2. Go to **Ad management**.
3. Click **+ Create Campaign** and set up your campaign.
4. Add your campaign name and click **Save and Next**.
5. Set up your **Ad Set**.
6. Set up your **Ad**.
7. Add Skro tracking link with params into **Landing page URL** field.
```text
https://skrotrack.com/campaign/09e0dae8-8d20-4e86-85d4-5dd983d96de4?external_id=__CALLBACK_PARAM__&ad_id=__CREATIVE_ID__&adset_id=__FLIGHT_ID__&campaign_id=__CAMPAIGN_ID__&ad_name=__CREATIVE_NAME__&adset_name=__FLIGHT_NAME__&campaign_name=__CAMPAIGN_NAME__
```
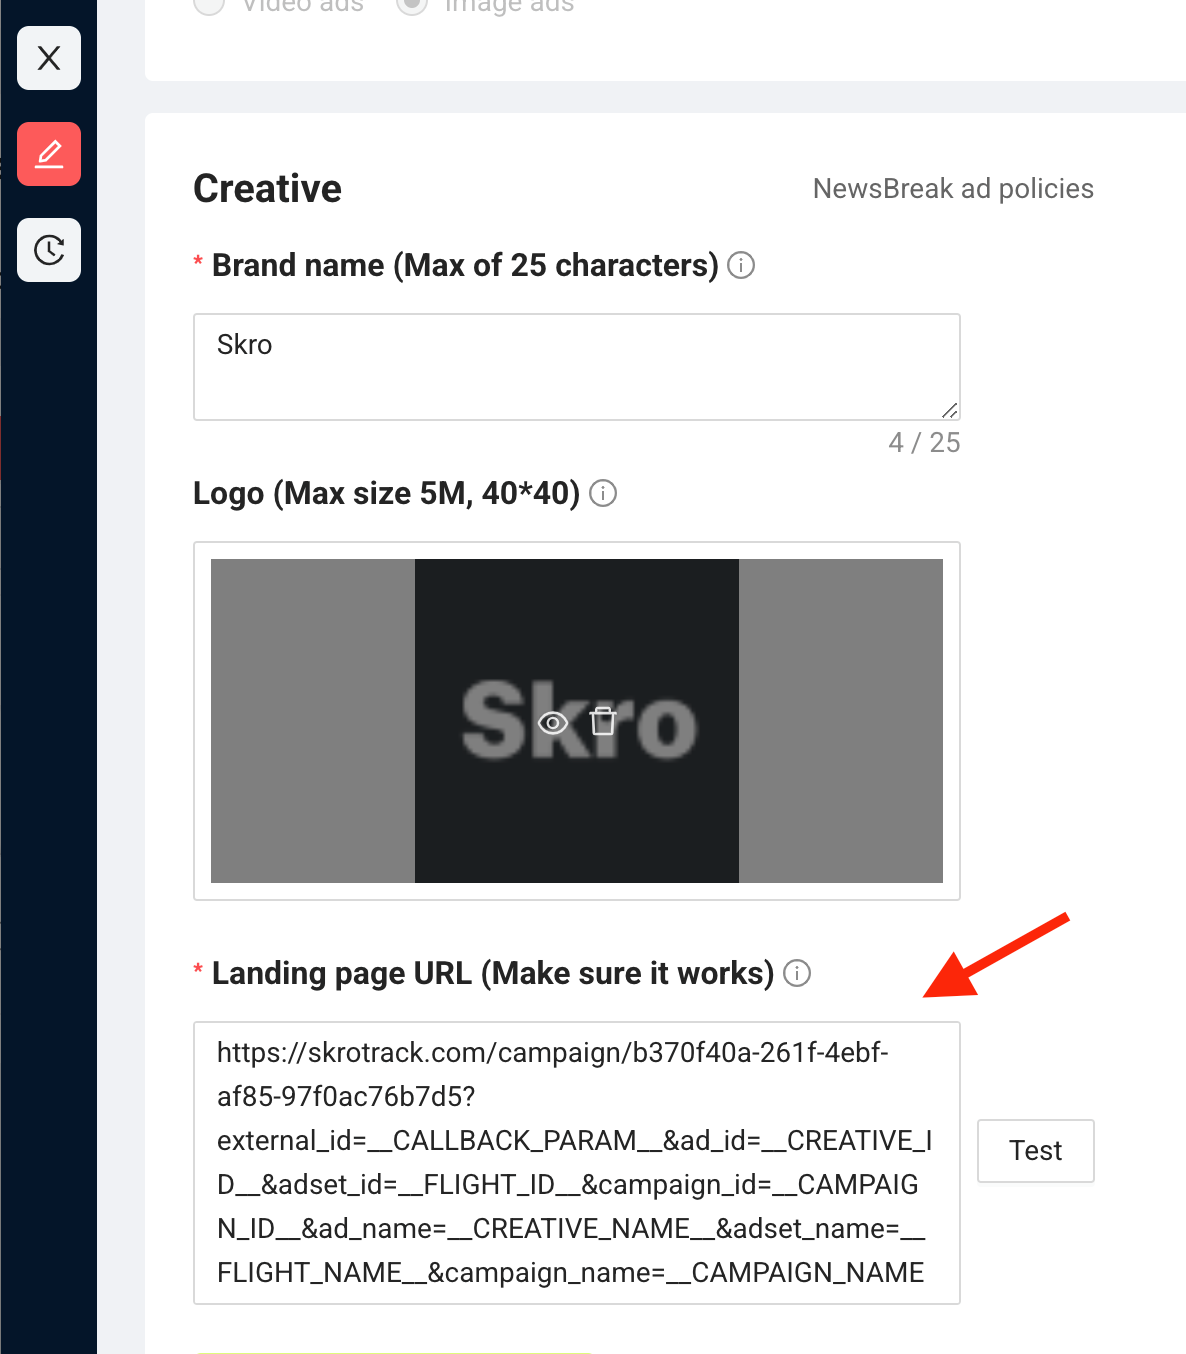
8. Click **Submit** when ever you are ready.
Congratulations, you have successfully set up tracking of NewsBreak traffic with Skro. Each time a visitor clicks on your ad, will be directed to your offer page with Skro's tracking parameters being passed.
## Verify the setup [#verify-the-setup]
Open the generated campaign URL and check that the visit appears in Skro. Confirm that traffic source macros resolve to actual values. If you send conversions back to the source, verify a test conversion in both systems.
If data is missing, check the selected workspace, integration, campaign, and reporting date range. Compare parameter names and macro values with the examples in this guide before repeating the test.
## Related guides [#related-guides]
# OfferRum integration
Source: https://skro.eu/docs/integrations/offerrum-integration
Connect OfferRum to Skro, map click IDs, and configure postbacks to attribute conversions and revenue to your campaigns.
## Step 1. Add affiliate network to Skro [#step-1-add-affiliate-network-to-skro]
1. Go to **Affiliate Networks** and click **Create**.
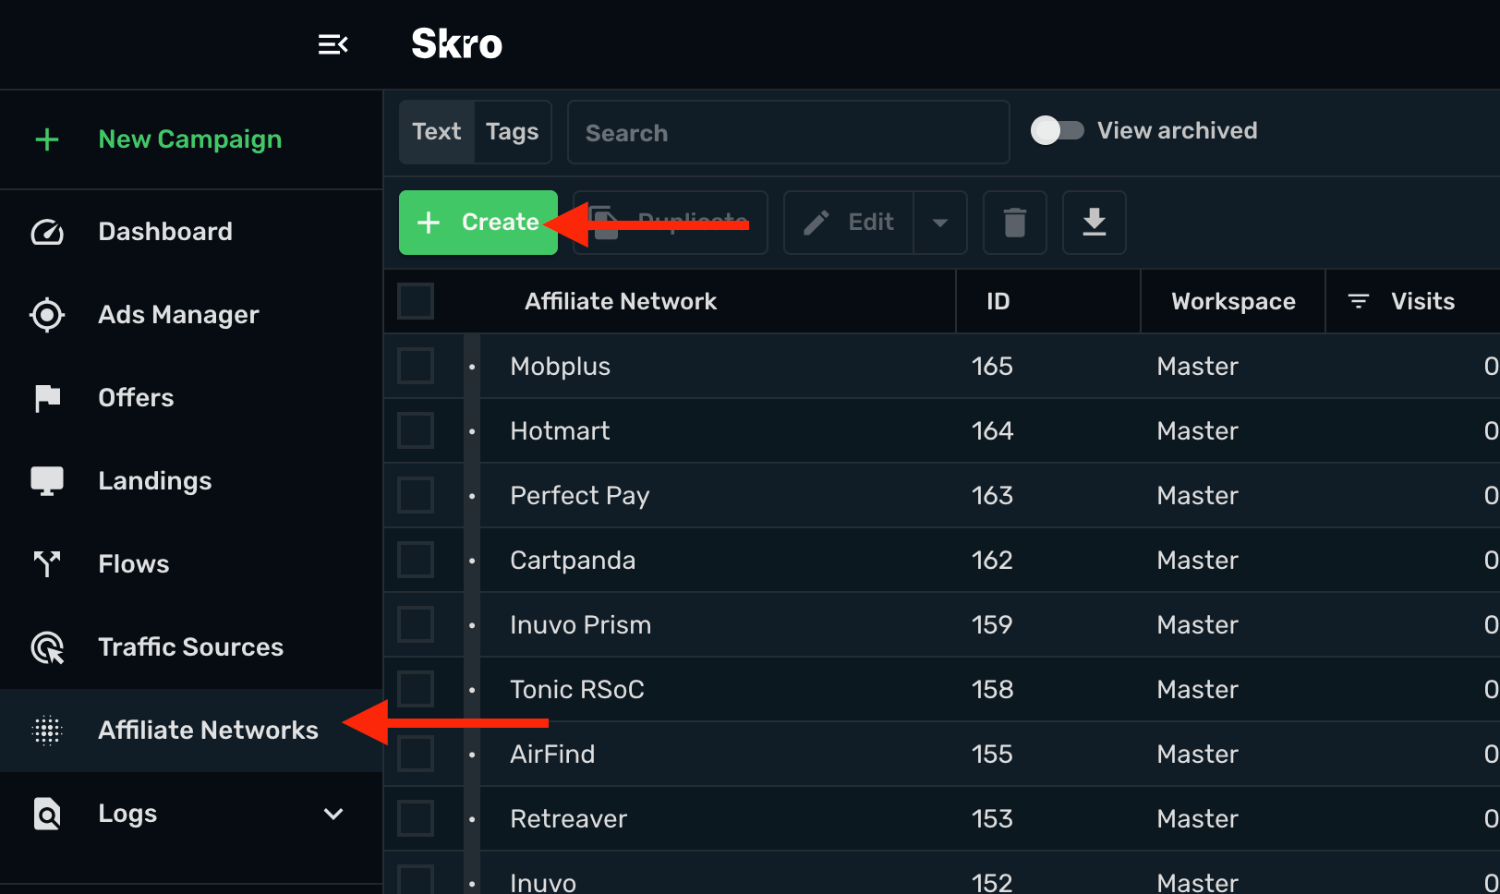
2. Search OfferRum and select the **OfferRum** template.
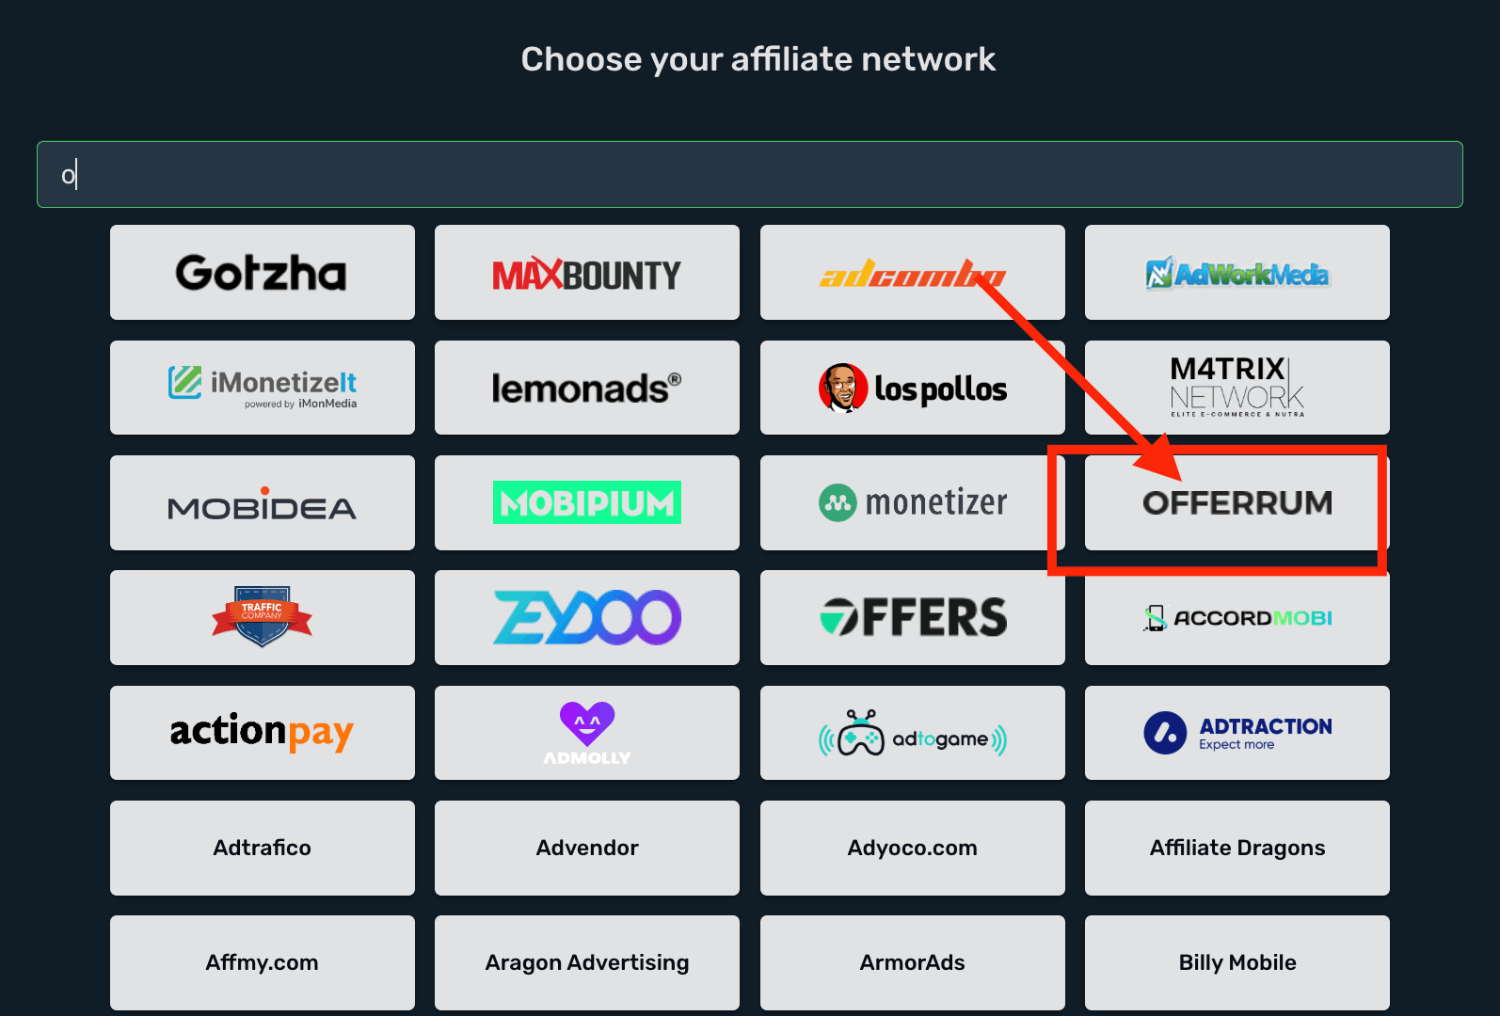
3. Select your **Workspace** and **Copy** postback URL to your clipboard.
4. Click **Save & Close**.
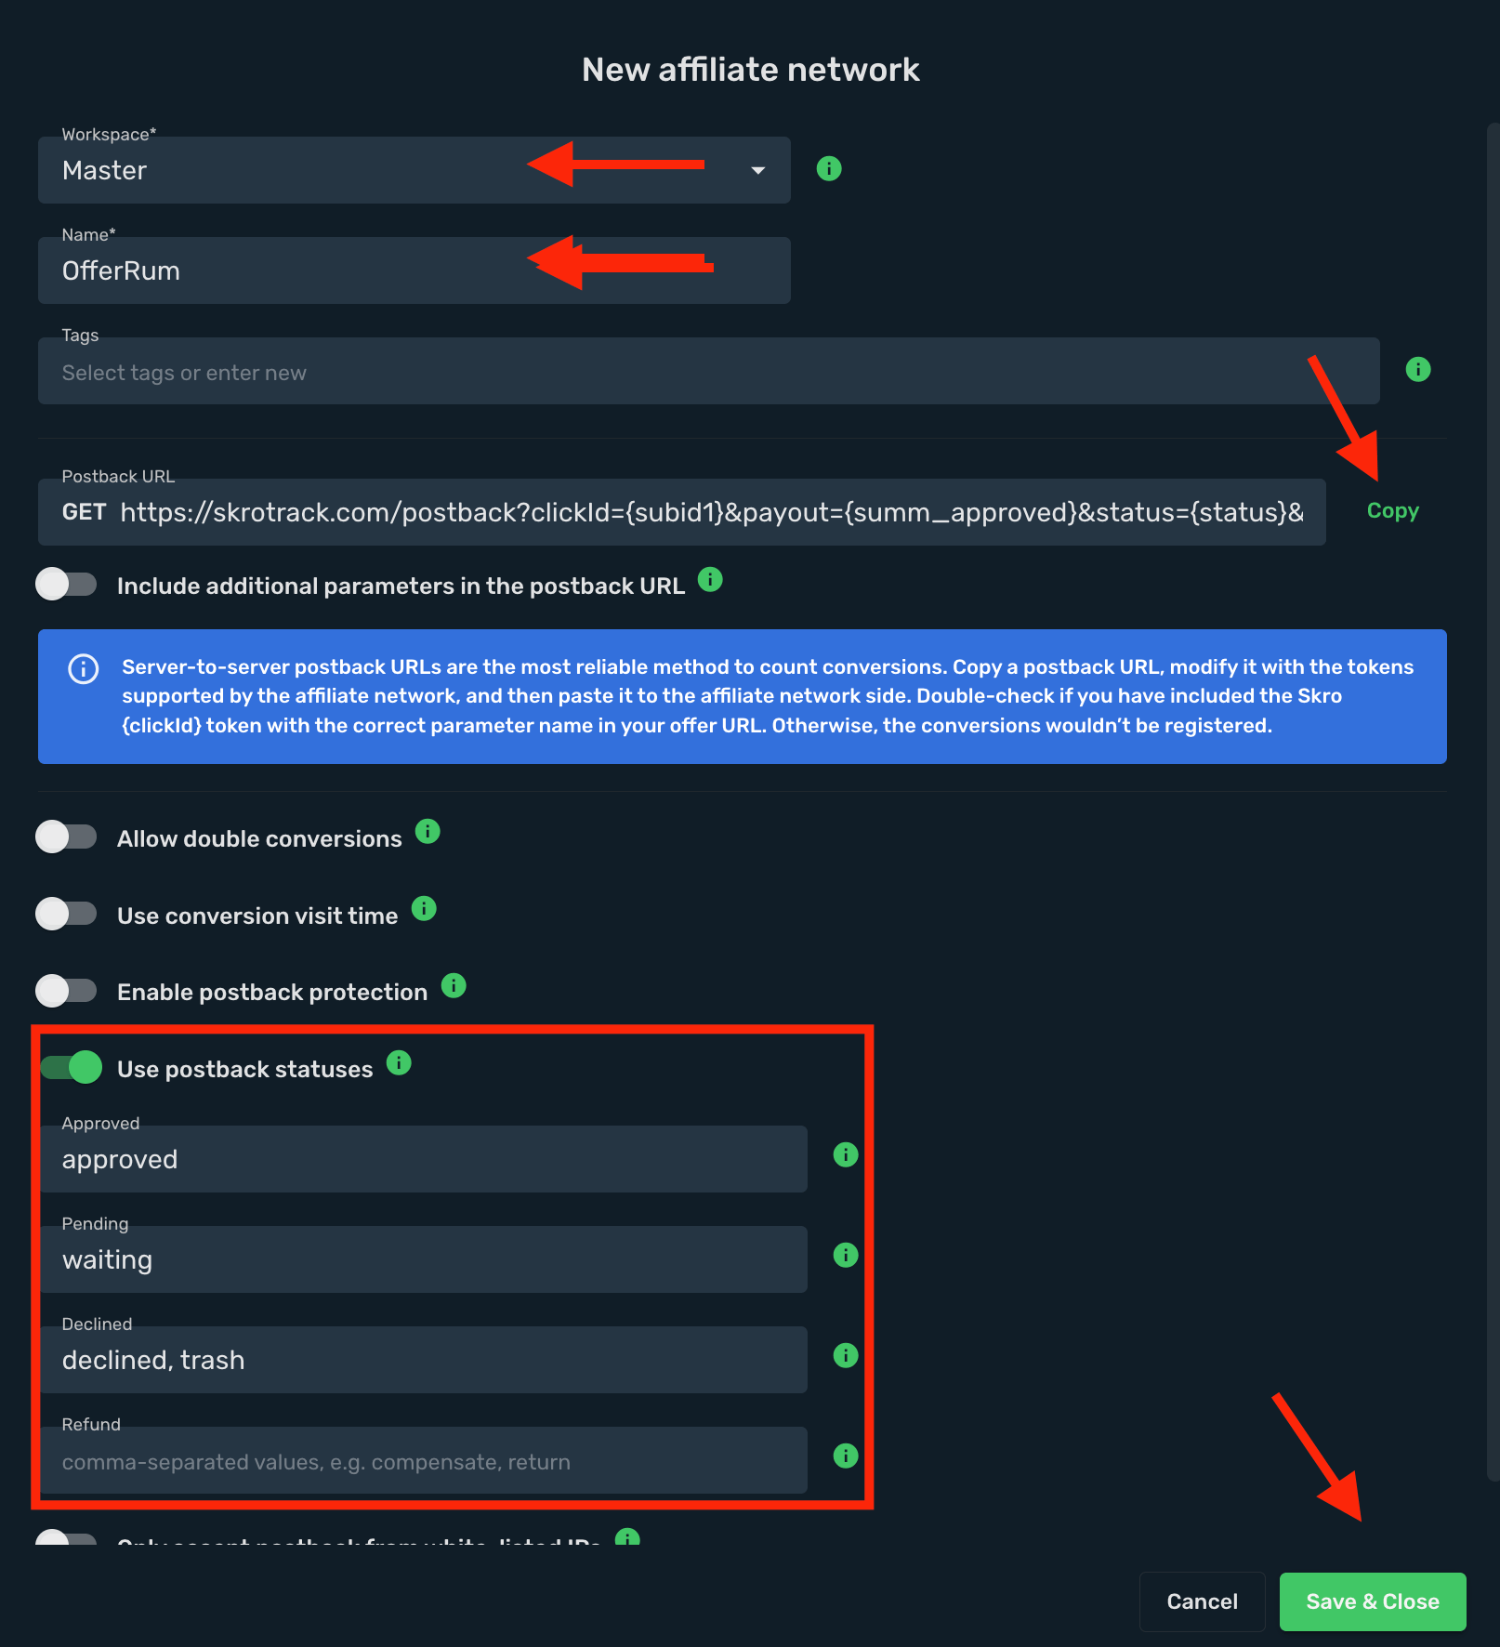
The OfferRum affiliate network is now saved in Skro. Use the copied postback URL in OfferRum in the next step.
## Step 2. Setting up a postback URL [#step-2-setting-up-a-postback-url]
1. Log in to **OfferRum** account.
2. Go to **Tools** → **Global postback**.
3. Tick on **Enable global postback**.
4. Select method **GET**.
5. Tick **Use for all flows**.
6. Paste your **postback URL** copied from Skro.
7. Click **Save**.
**Global Postback**
`https://skrotrack.com/postback?clickId={subid1}&payout={summ_approved}&status={status}`
## Step 3. Get an offer from OfferRum [#step-3-get-an-offer-from-offerrum]
1. Go to **Offers** section on the panel.
2. Select your offer from the list and click it.
3. Click **Activate** if you do not have active offer and copy your offer link.
## Step 4. Add offer to Skro [#step-4-add-offer-to-skro]
1. Go back to Skro and navigate to the **Offers** and click **Create**.
2. Choose your workspace.
3. Give a name to your offer.
4. Grab the offer link from OfferRum and add it to Offer URL field and change the macros to this **`&subid1={clickId}`**
**`{clickId}`** - The Skro click ID macro for conversion tracking.
**Example Offer URL:**
`https://xxxx.offerrum.com/?a=12345&c=12345&subid1={clickId}`
5. Choose OfferRum from the **Affiliate Network** select box.
6. Click **Save & Close**.
## Step 5. Create a campaign on Skro [#step-5-create-a-campaign-on-skro]
1. Start with the following guide:
## Verify the setup [#verify-the-setup]
Follow a campaign link and complete a test conversion using your provider’s test workflow. Confirm that the original click ID reaches the provider and is returned to Skro, then check the event and revenue in your campaign report.
If data is missing, check the selected workspace, integration, campaign, and reporting date range. Compare parameter names and macro values with the examples in this guide before repeating the test.
## Related guides [#related-guides]
# Outbrain DSP integration
Source: https://skro.eu/docs/integrations/outbrain-dsp-and-skro
Set up Outbrain DSP tracking in Skro, configure traffic source parameters, and connect your advertising campaigns.
From August 6, 2024, Zemanta will officially rebrand as Outbrain DSP.
With the transition to Outbrain DSP, all Outbrain platforms are unified into one interface, simplifying the buying process and enhancing the overall user experience for advertisers. Don’t worry, Outbrain DSP offers the same functionality as Zemanta, now under a new name to align with the Outbrain family. As an Outbrain DSP user, you can continue to manage your campaigns and activity in exactly the same way that you already know and are familiar with, just under a fresh new brand.
Outbrain DSP integration gives you the ability to manage and optimize all your Outbrain DSP ad campaigns through the Skro interface.
- Sync cost on publisher level every 30 min.
- Check delivery status of campaigns, ad groups and ads.
- Pause or resume ad groups, ads and publishers.
- Change daily budget and bid for ad groups.
- Check the status of your campaigns, ad groups, ads and publishers.
In this guide, you will learn how to set up your campaigns in Outbrain DSP and Skro so Outbrain DSP can pass information to Skro and back with a selected tracking method. This guide does not cover all aspects and options available when creating a campaign on these two platforms. Basic knowledge regarding setting up campaigns in Outbrain DSP and Skro is required.
## Manage Outbrain DSP campaigns through the Skro UI [#manage-outbrain-dsp-campaigns-through-the-skro-ui]
## Manage Outbrain DSP ad groups through the Skro UI [#manage-outbrain-dsp-ad-groups-through-the-skro-ui]
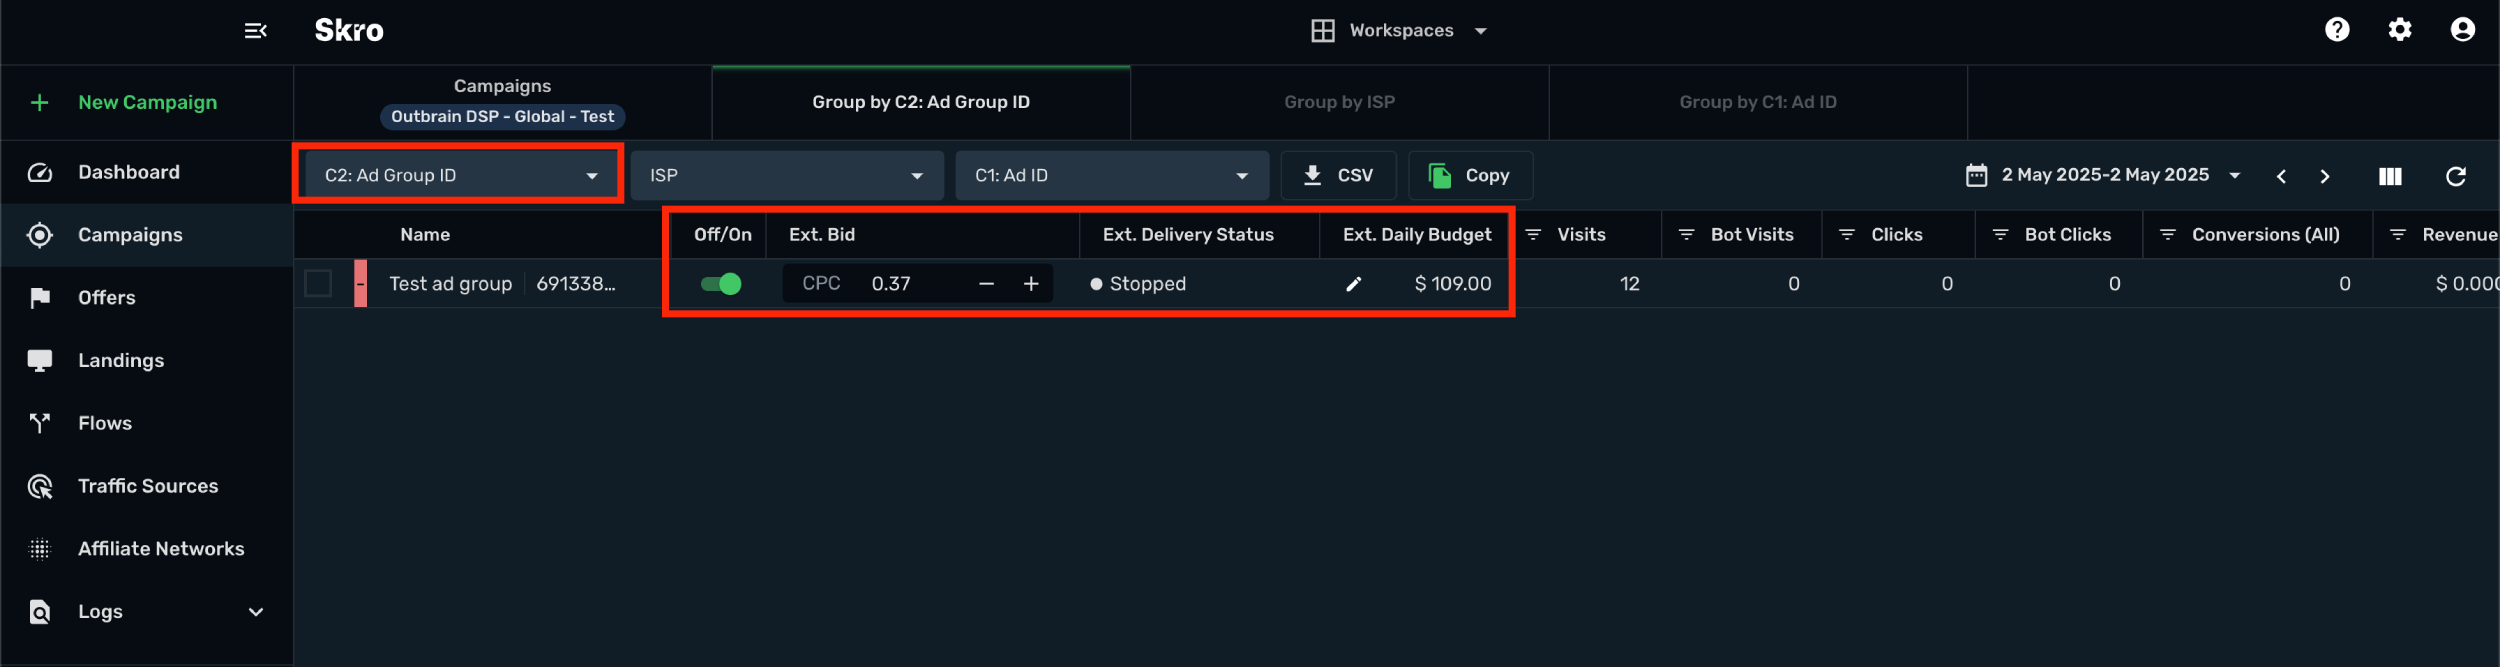
## Manage Outbrain DSP content ads through the Skro UI [#manage-outbrain-dsp-content-ads-through-the-skro-ui]
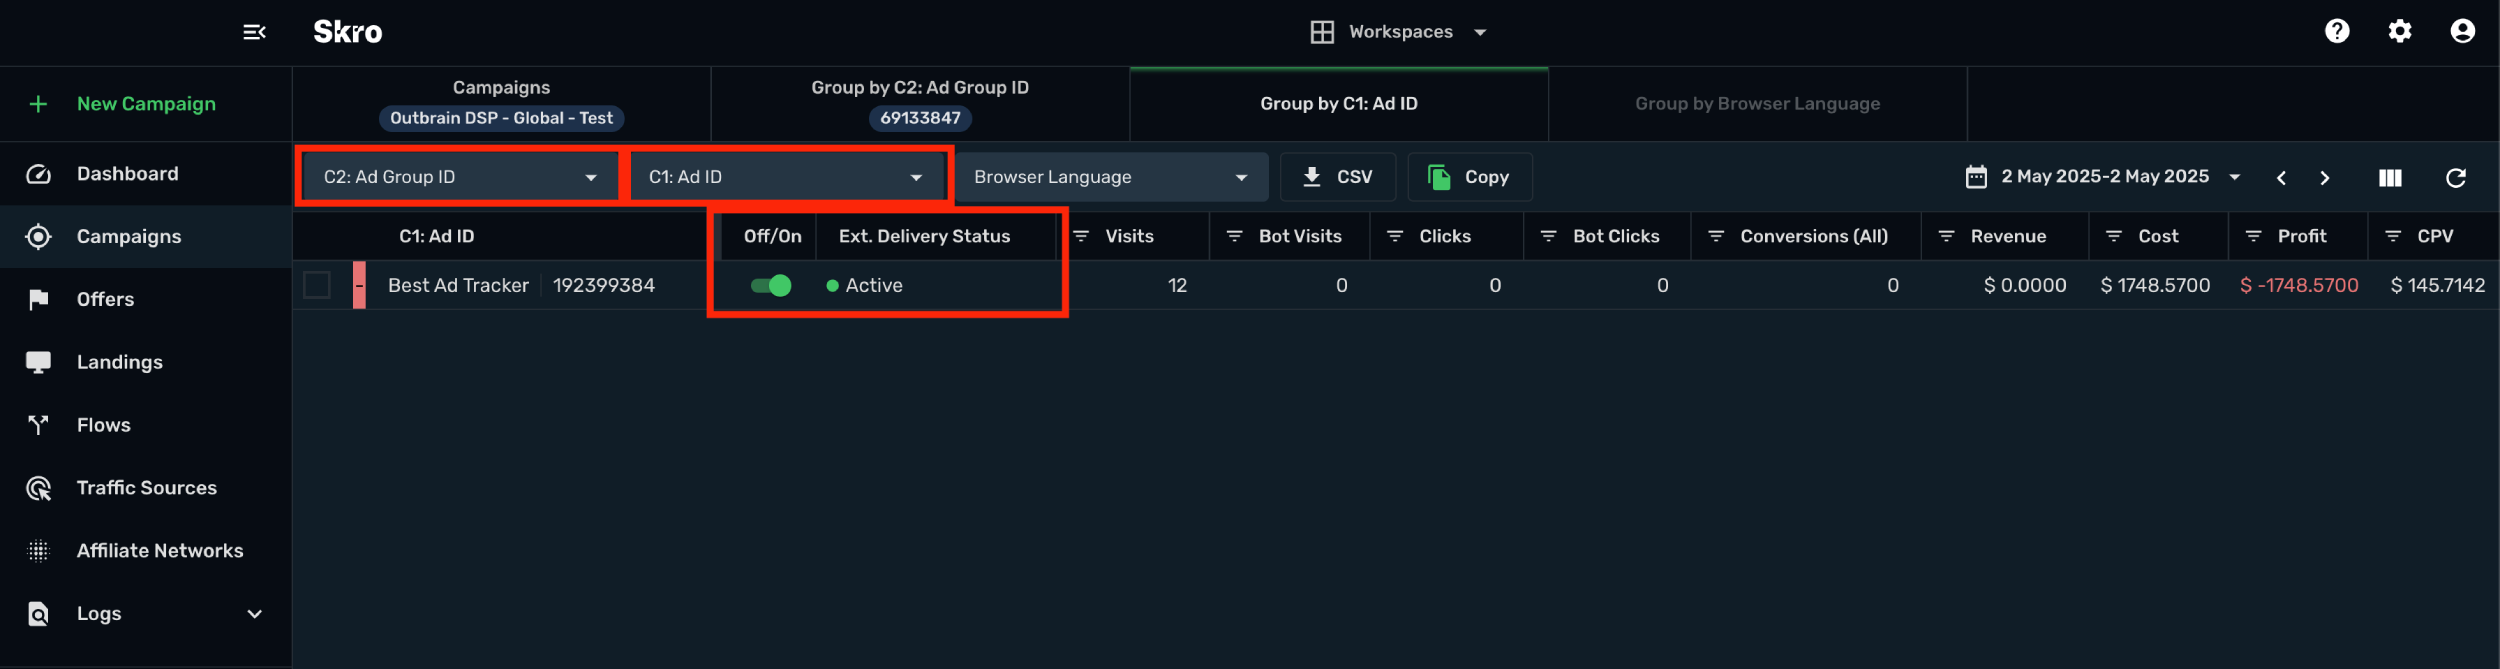
## Manage Outbrain DSP publishers through the Skro UI [#manage-outbrain-dsp-publishers-through-the-skro-ui]
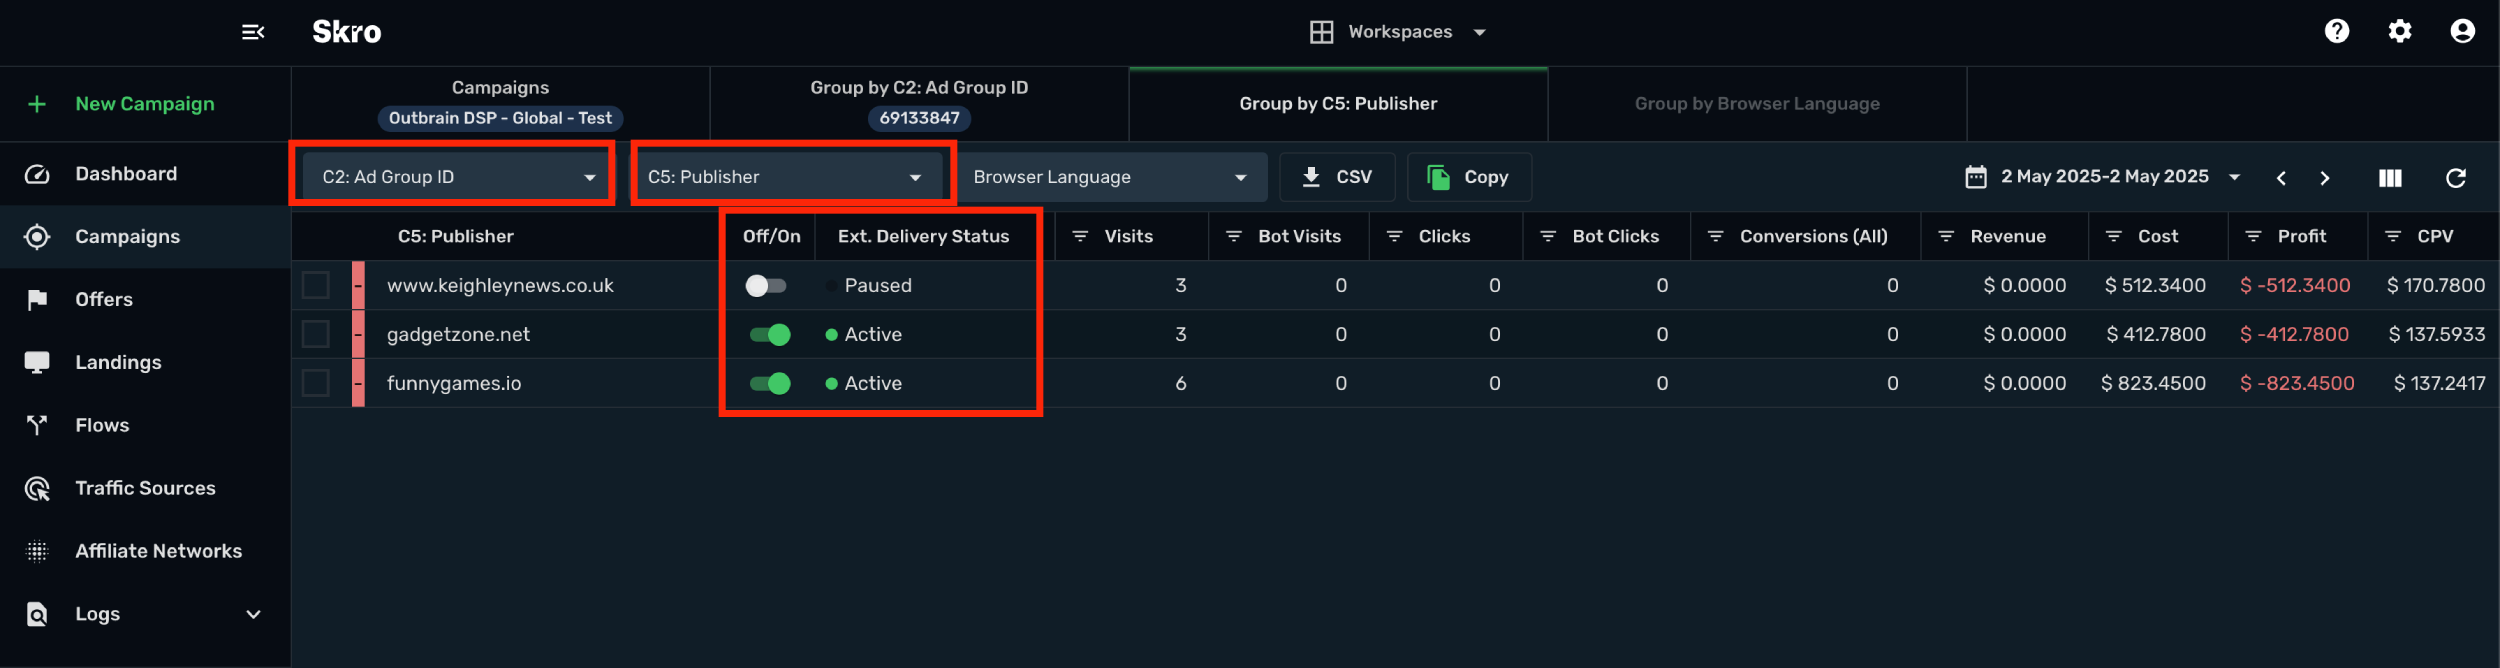
## Step 1. Get Outbrain DSP API Credentials [#step-1-get-outbrain-dsp-api-credentials]
Outbrain DSP **API keys**. You can get one by following the steps below:
1. Go to this link and generate your API key: **https://dsp.outbrain.com/o/applications/**
2. Click **New Application**.
3. Enter your API key name where you going to use it.
4. Copy your **Client ID** and **Client Secret** to your notes.
5. Once you have everything ready, read the further part of this guide.
## Step 2. Add integration [#step-2-add-integration]
- Log in to your **Skro** account.
- Navigate to **Settings → Integrations**.
- In the **Traffic Sources** section click **Add**.
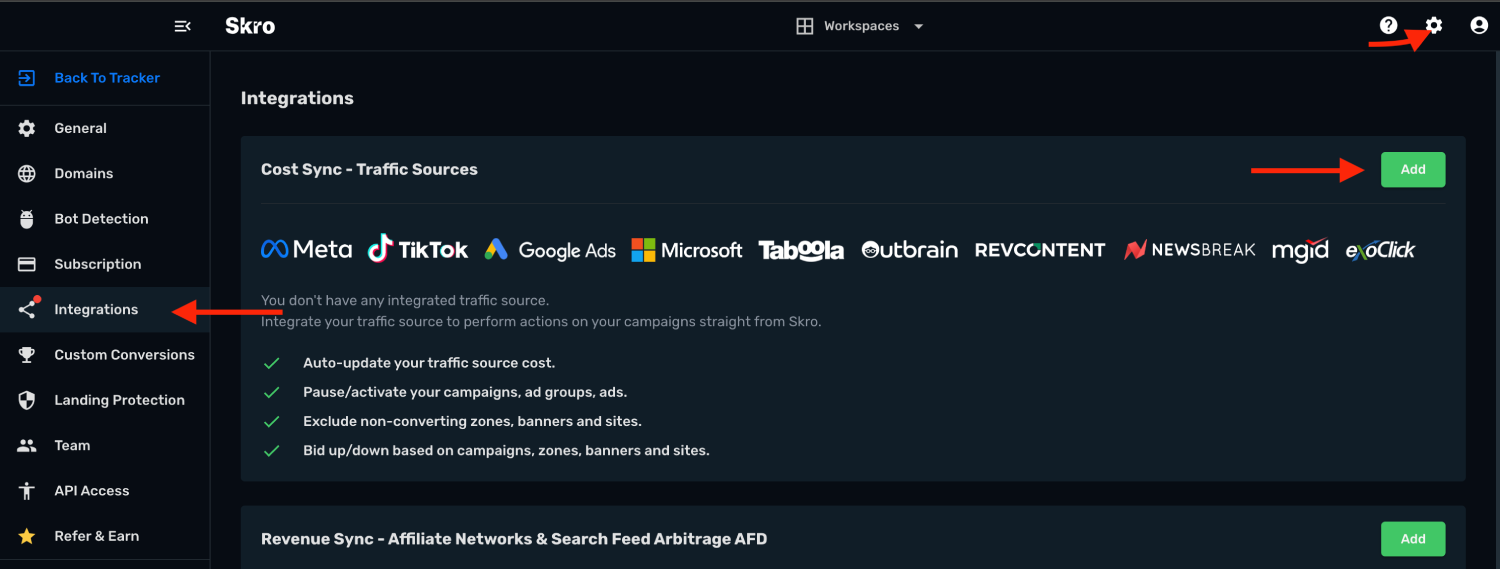
- Click **Outbrain DSP** logo and integration form will pop up.
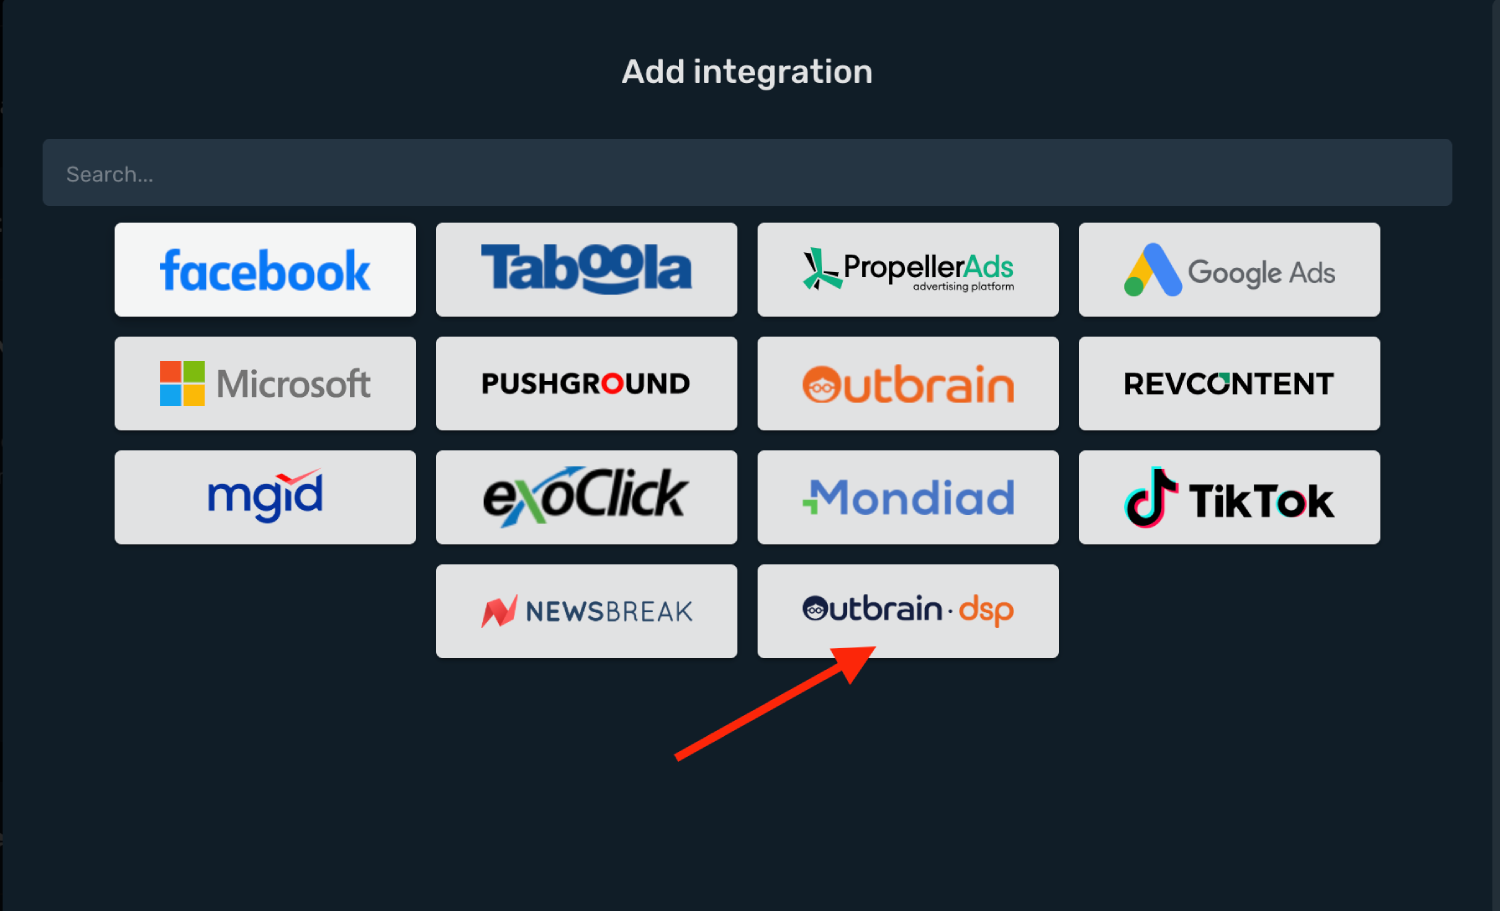
- Enter your **Integration Name**.
- Enter your Outbrain DSP **Client ID** and **Client Secret**.
- Click **Next**.
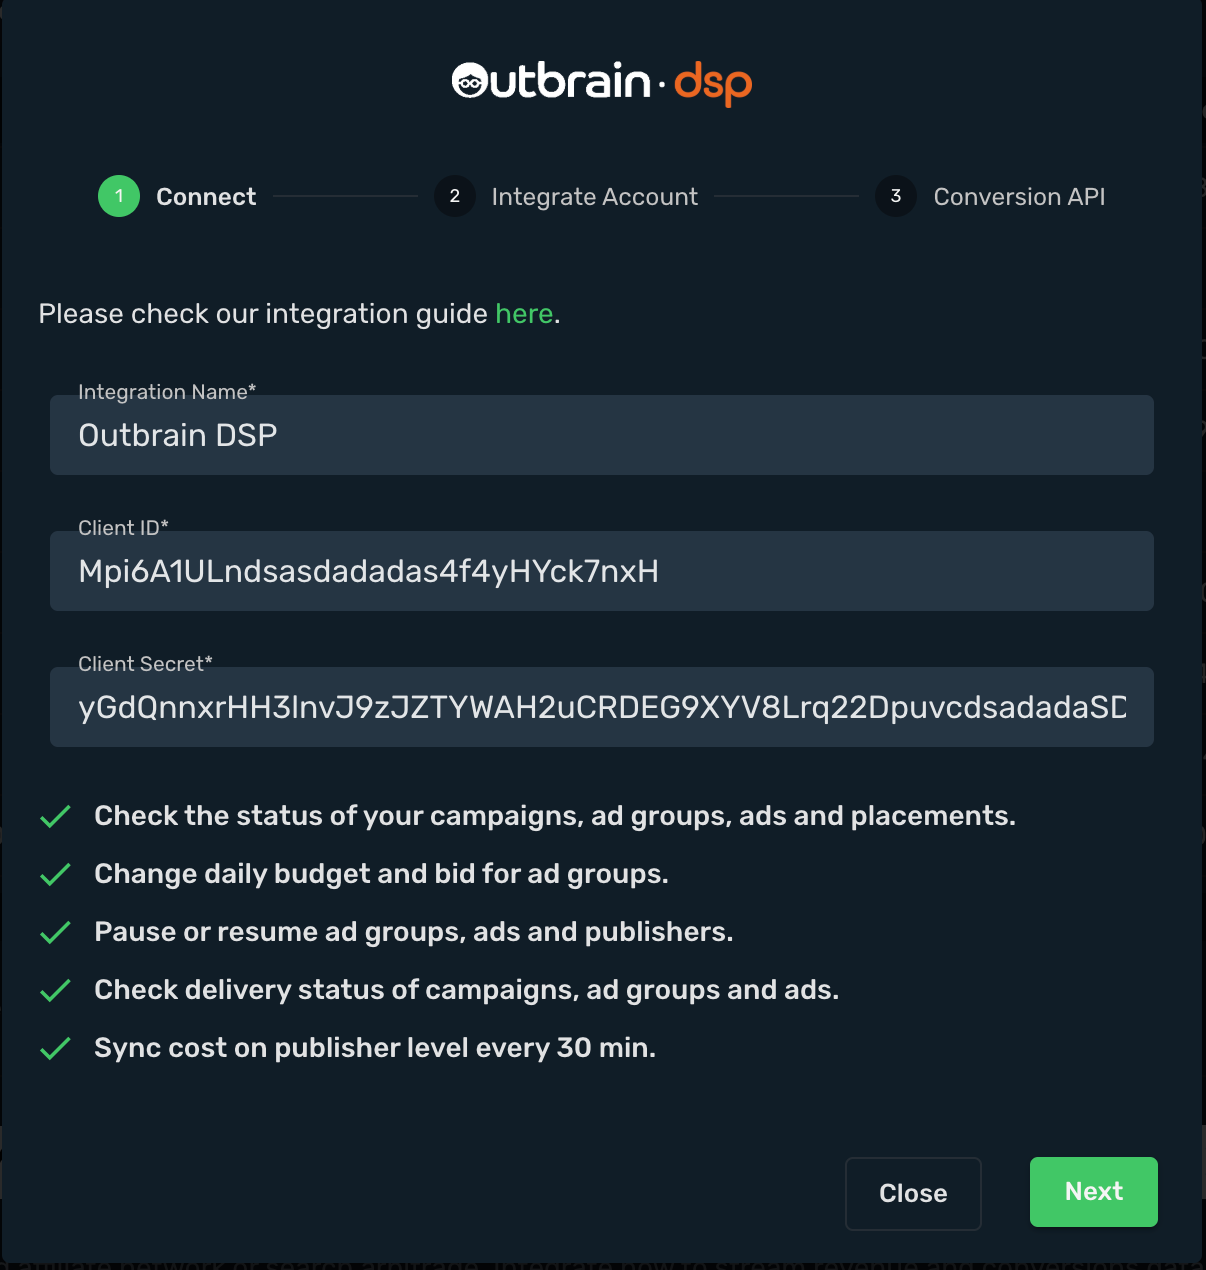
- Integrate your Outbrain DSP Ad Account.
- Click **Next**.
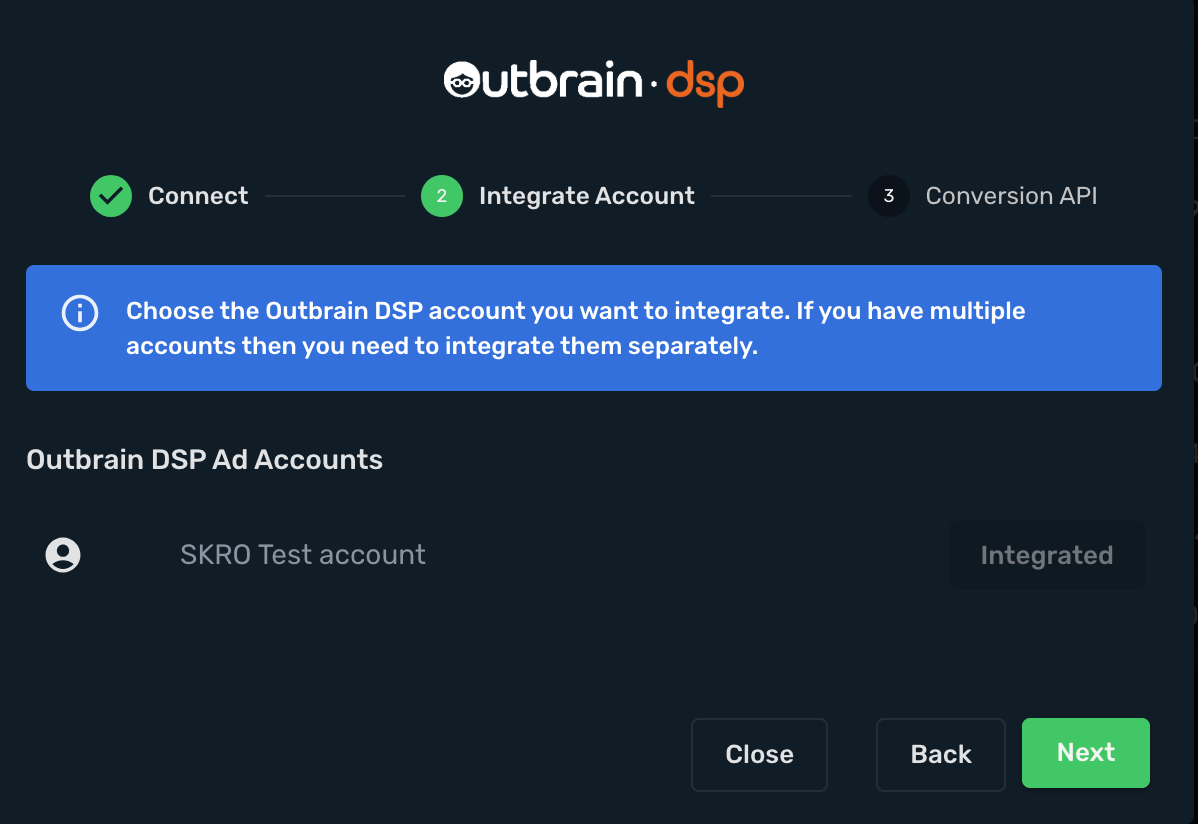
- If you want to send conversions info back to Outbrain DSP, then you will need to enable **Conversion API.**
- **Conversion Event Name** - must be the same as you typed in Outbrain DSP. When creating Skro campaign you will need to specify which conversion goal to send to.
- **Include Conversion Payout** - If checked, we will send conversion revenue to Outbrain DSP.
- Click **Save & Close**.
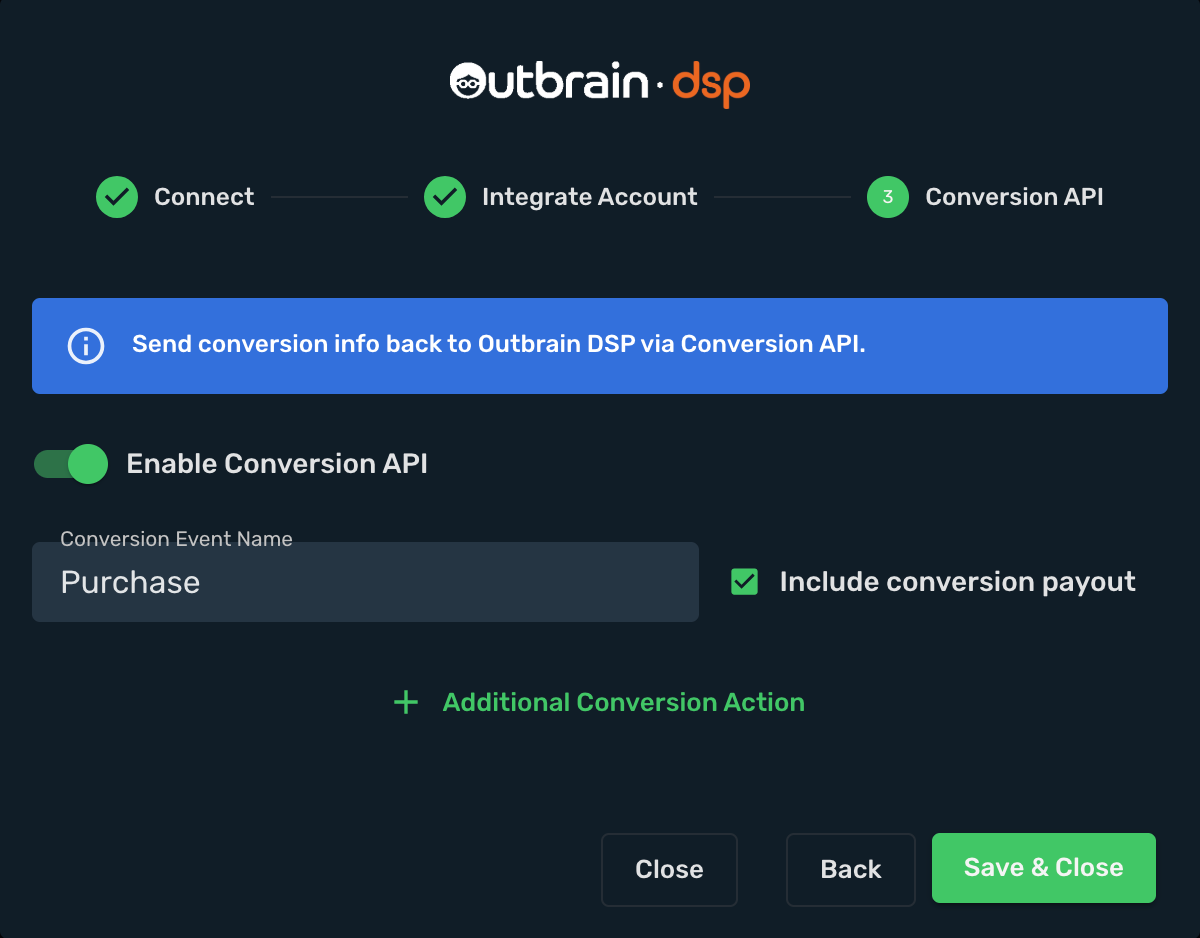
- Your Outbrain DSP account is successfully integrated.
- You can switch on/off cost sync with given switch.

## Step 3. Associate integration with traffic source [#step-3-associate-integration-with-traffic-source]
1. Go to **Traffic Sources** and click **Create**.
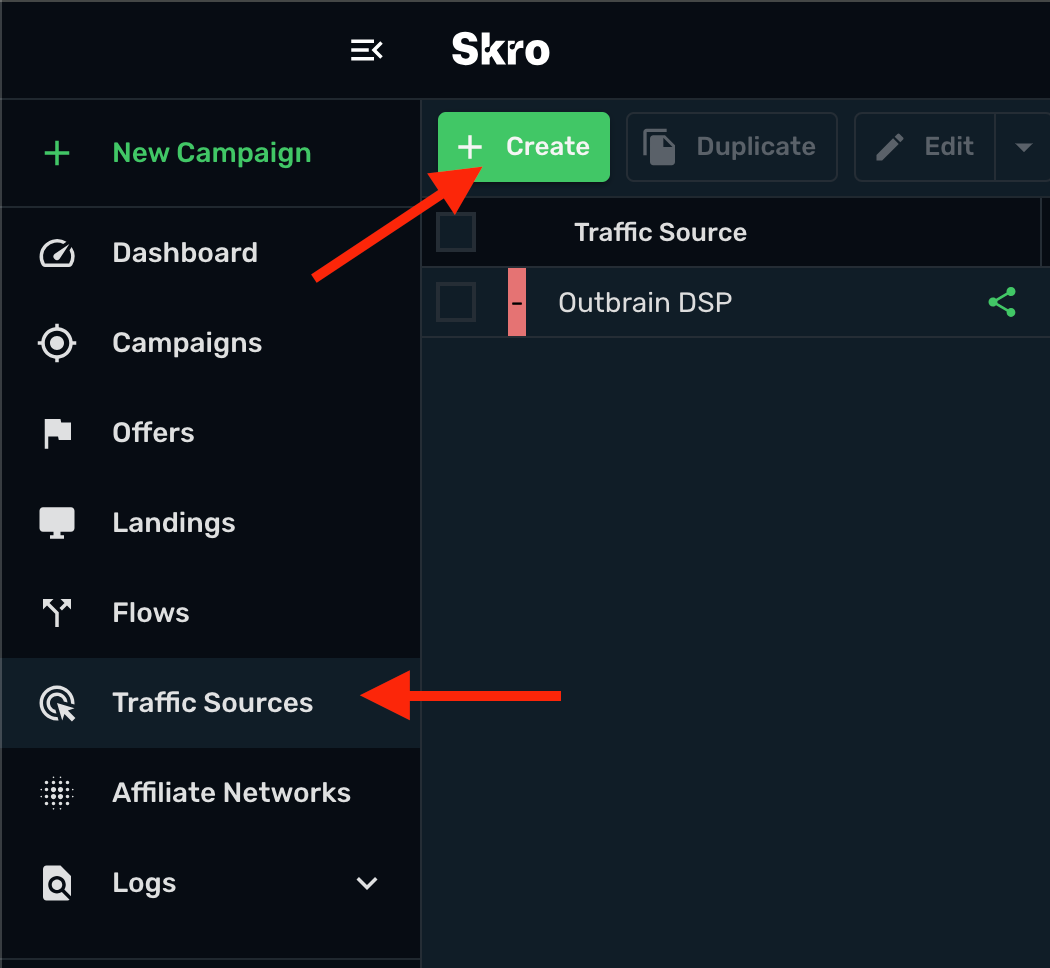
2. Click **Outbrain DSP** logo.
3. Edit **Postback URL** and add your **Ad Account ID**.
4. Select your Outbrain DSP integration from the dropdown menu.
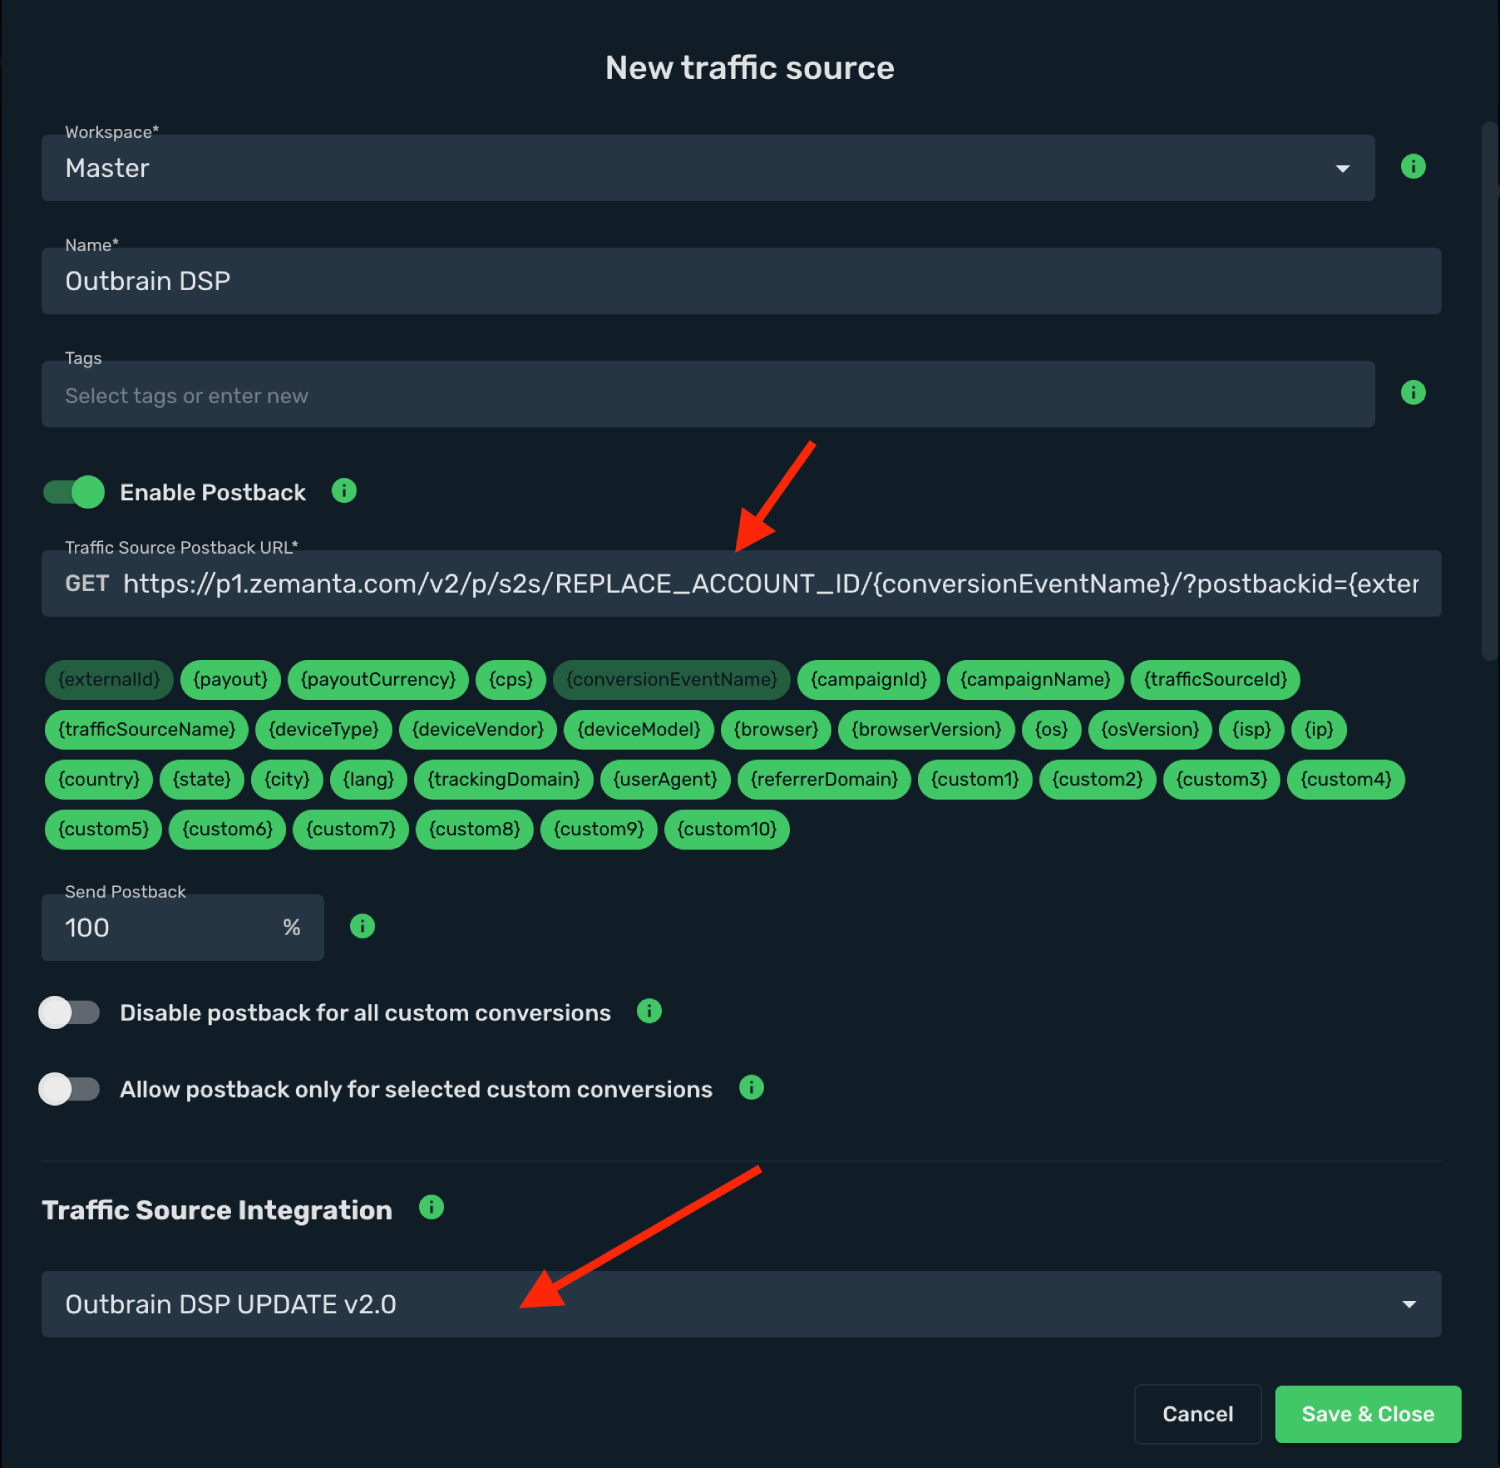
5. All parameters are already prefilled for you.
6. Click **Save & Close**.
7. The integration is ready. Continue by creating a campaign for Outbrain DSP.
## Step 4. Create a Campaign in Skro [#step-4-create-a-campaign-in-skro]
1. If your set up needs pre-lander then go to **Landings** view and click **Create** to add your landing page.
2. To add your offer link go to **Offers** view and click **Create** and add your offer.
4. Select workspace.
5. Add name.
6. Add your offer URL and add macros.
7. Click **Save & Close**.

8. Navigate to the **Campaigns** view and click **Create**.
9. Select your integrated **Traffic Source** as Outbrain DSP.
10. Select your **Conversion Event Name**. That is needed to send conversion info back to Outbrain DSP.
11. Cost Model should be **Auto**.
12. Select your cost currency.
13. Click **Next**
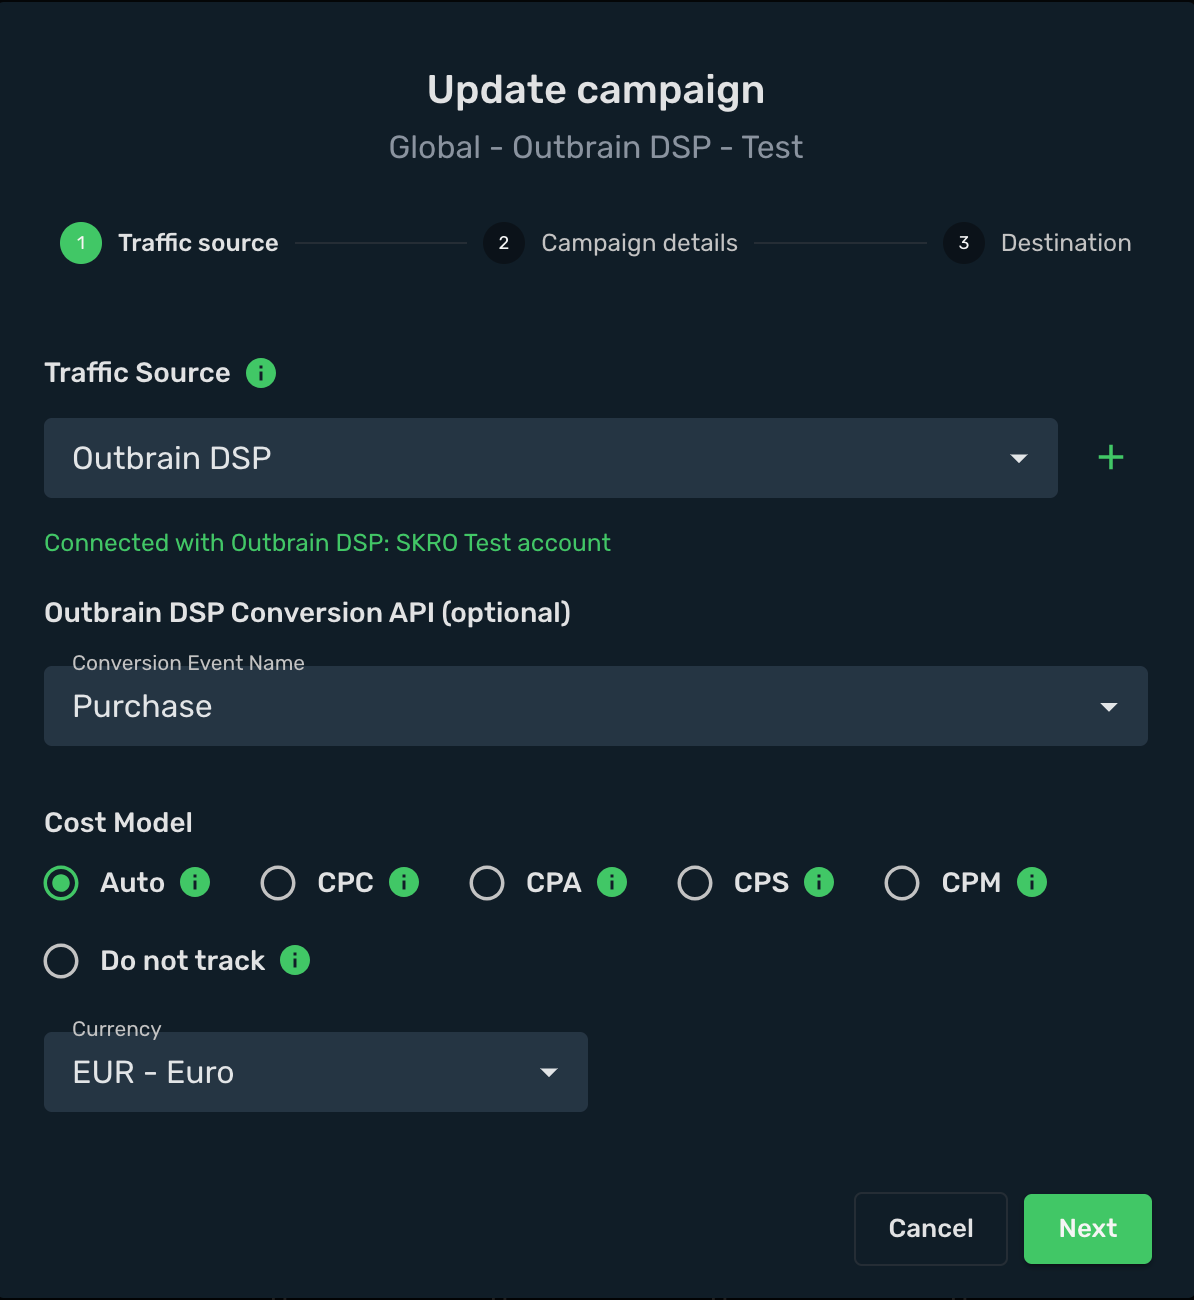
14. Select workspace.
15. Add descriptive name to your campaign.
16. Click **Next**
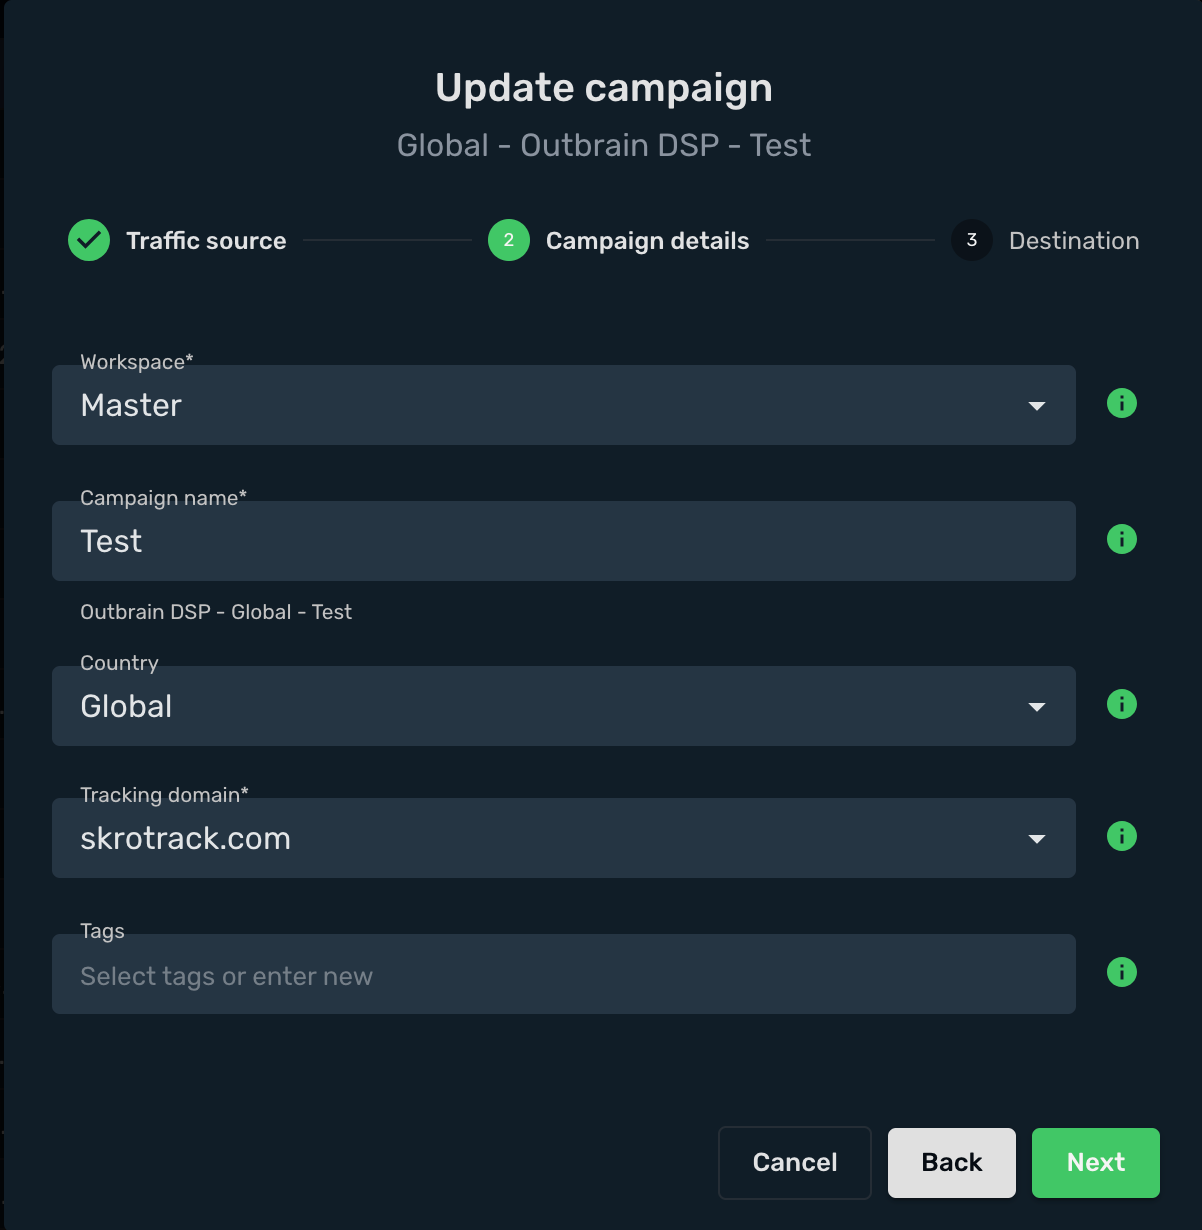
17. Choose your **Destination Type**. In this example we use **flow**.
18. Choose your redirect mode. In this example we use **redirect 302**.
19. Select your landings. In this example we **use only offers**.
20. Select your offers.
21. Click **Save**.
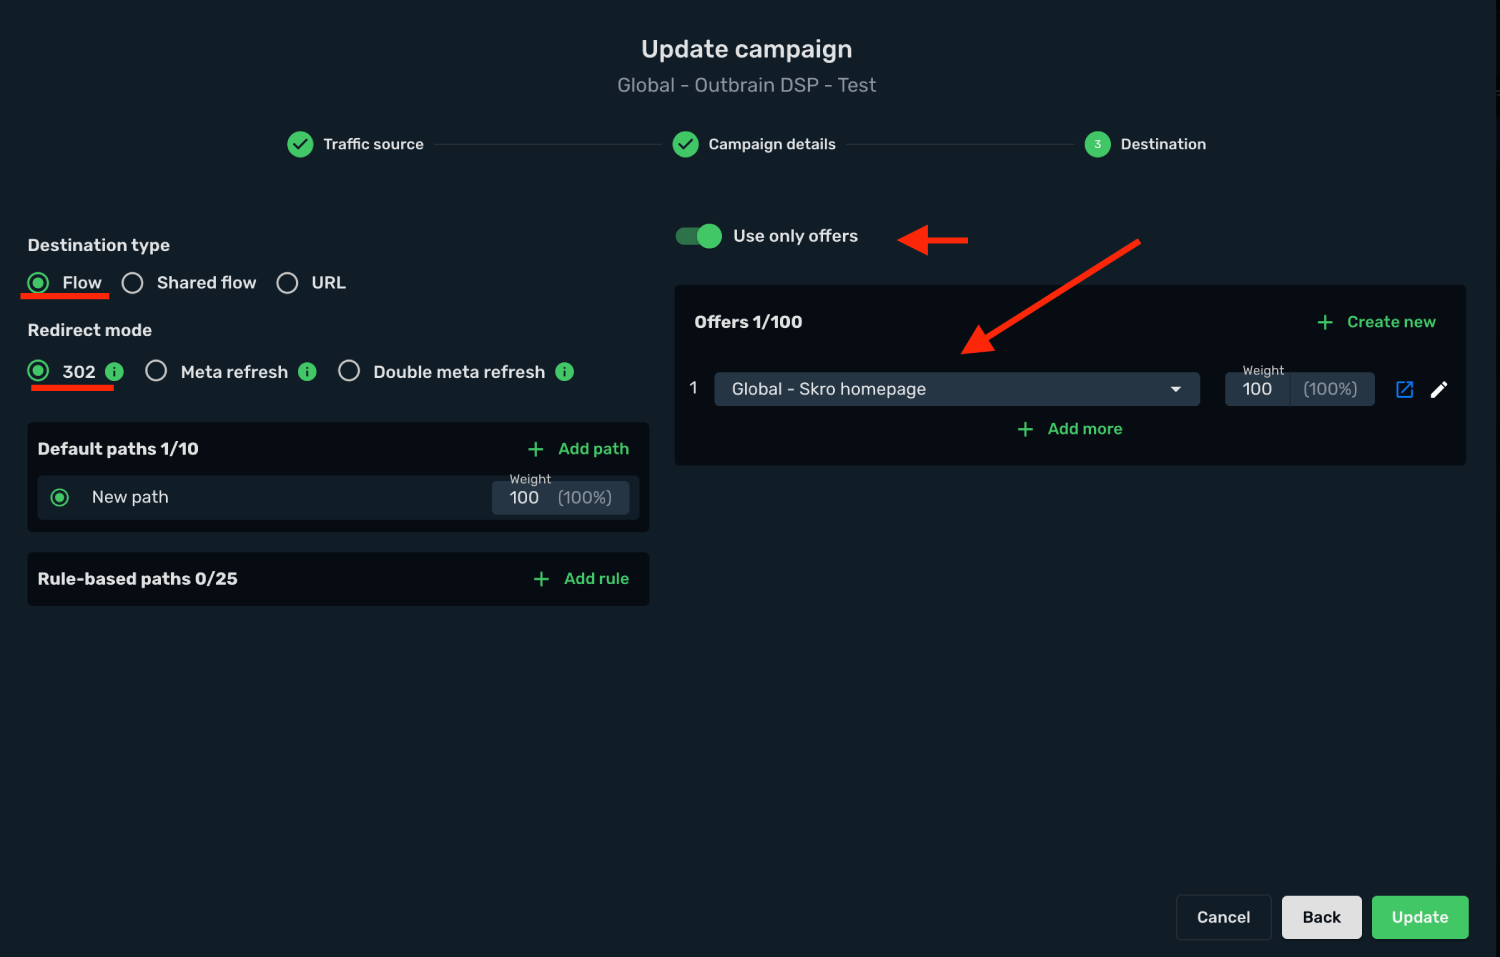
22. Choose **Redirect** tracking method.
23. Copy your **Campaign Tracking URL** to clipboard.
In given example we have that kind of URL:
```text
https://skrotrack.com/campaign/dcfe16a1-5b8e-4d30-9e4a-60ea2231437c?postbackid={postbackid}&contentadid={contentadid}&adgroupid={adgroupid}&campaignid={campaignid}&placement={placement}&publisher={publisher}&mediasource={mediasource}&title={title}
```
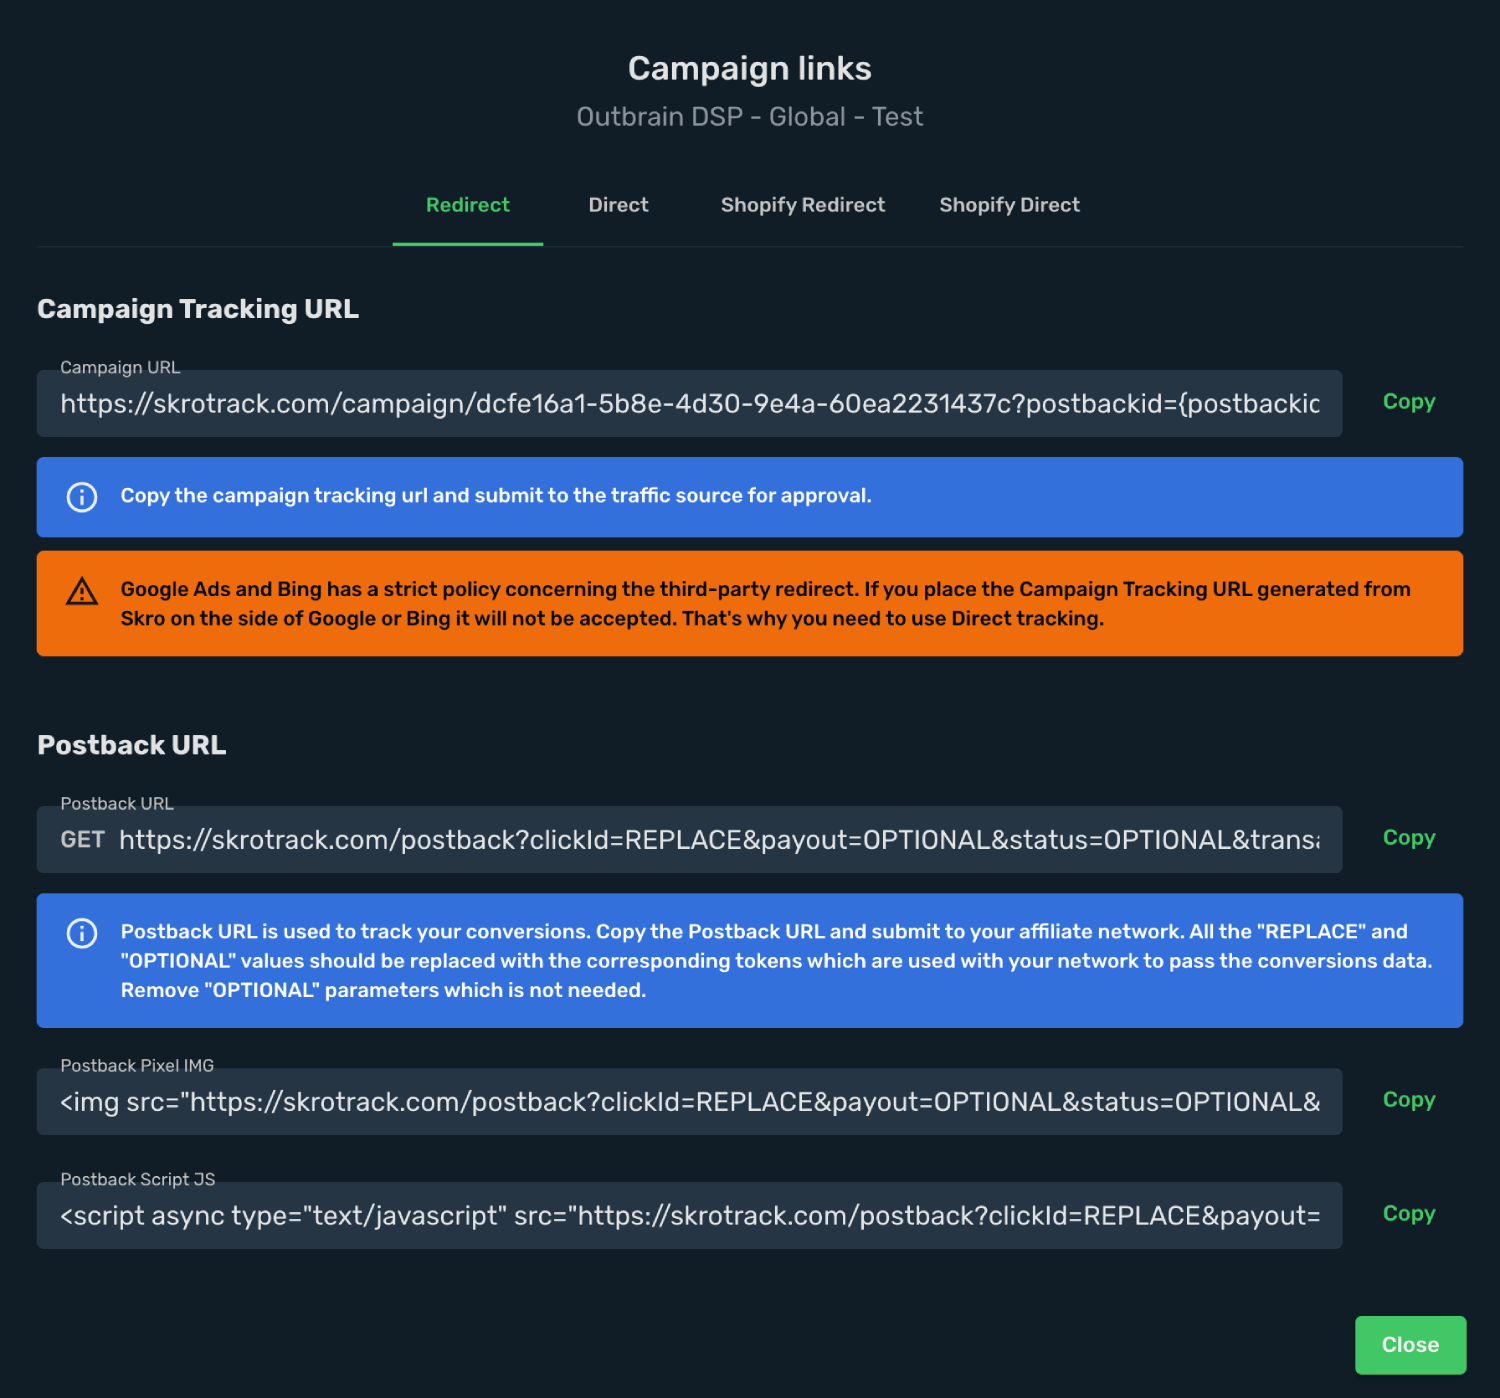
## Step 5. Create a Campaign in Outbrain DSP [#step-5-create-a-campaign-in-outbrain-dsp]
Now you have your Campaign Tracking URL with tracking parameters added. In the next step you will submit it as your item's URL in Outbrain DSP campaign setup. In order to do that, perform the following steps:
1. Sign in to your Outbrain DSP account.
2. Go to the **Dashboard** view.
3. Click the **+ Campaign** and setup your campaign.
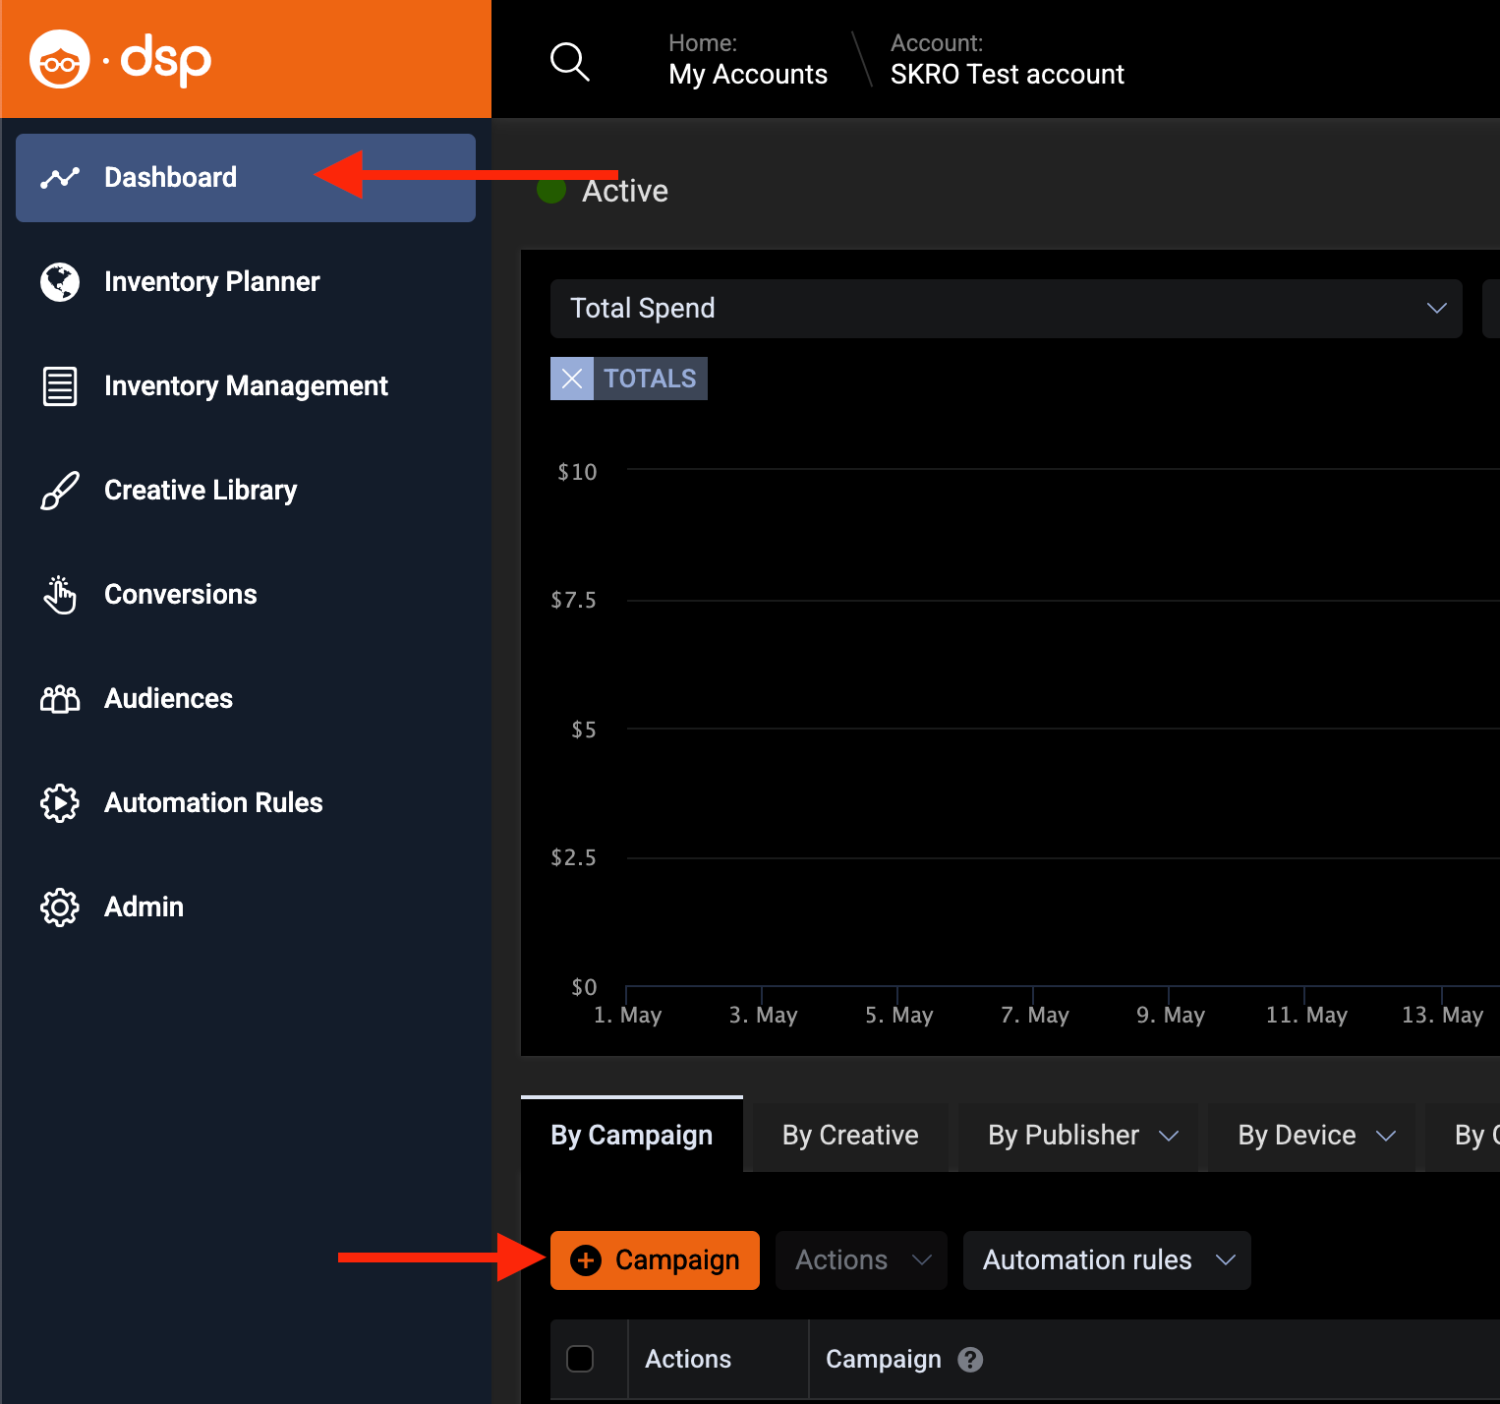
5. Set up your **Ad Group**.
6. Go to **Inventory** tab and add your tracking parameters from your tracking link. These parameters will be automatically appended to all click-through URLs within this ad group.
```text
postbackid={postbackid}&contentadid={contentadid}&adgroupid={adgroupid}&campaignid={campaignid}&placement={placement}&publisher={publisher}&mediasource={mediasource}&title={title}
```
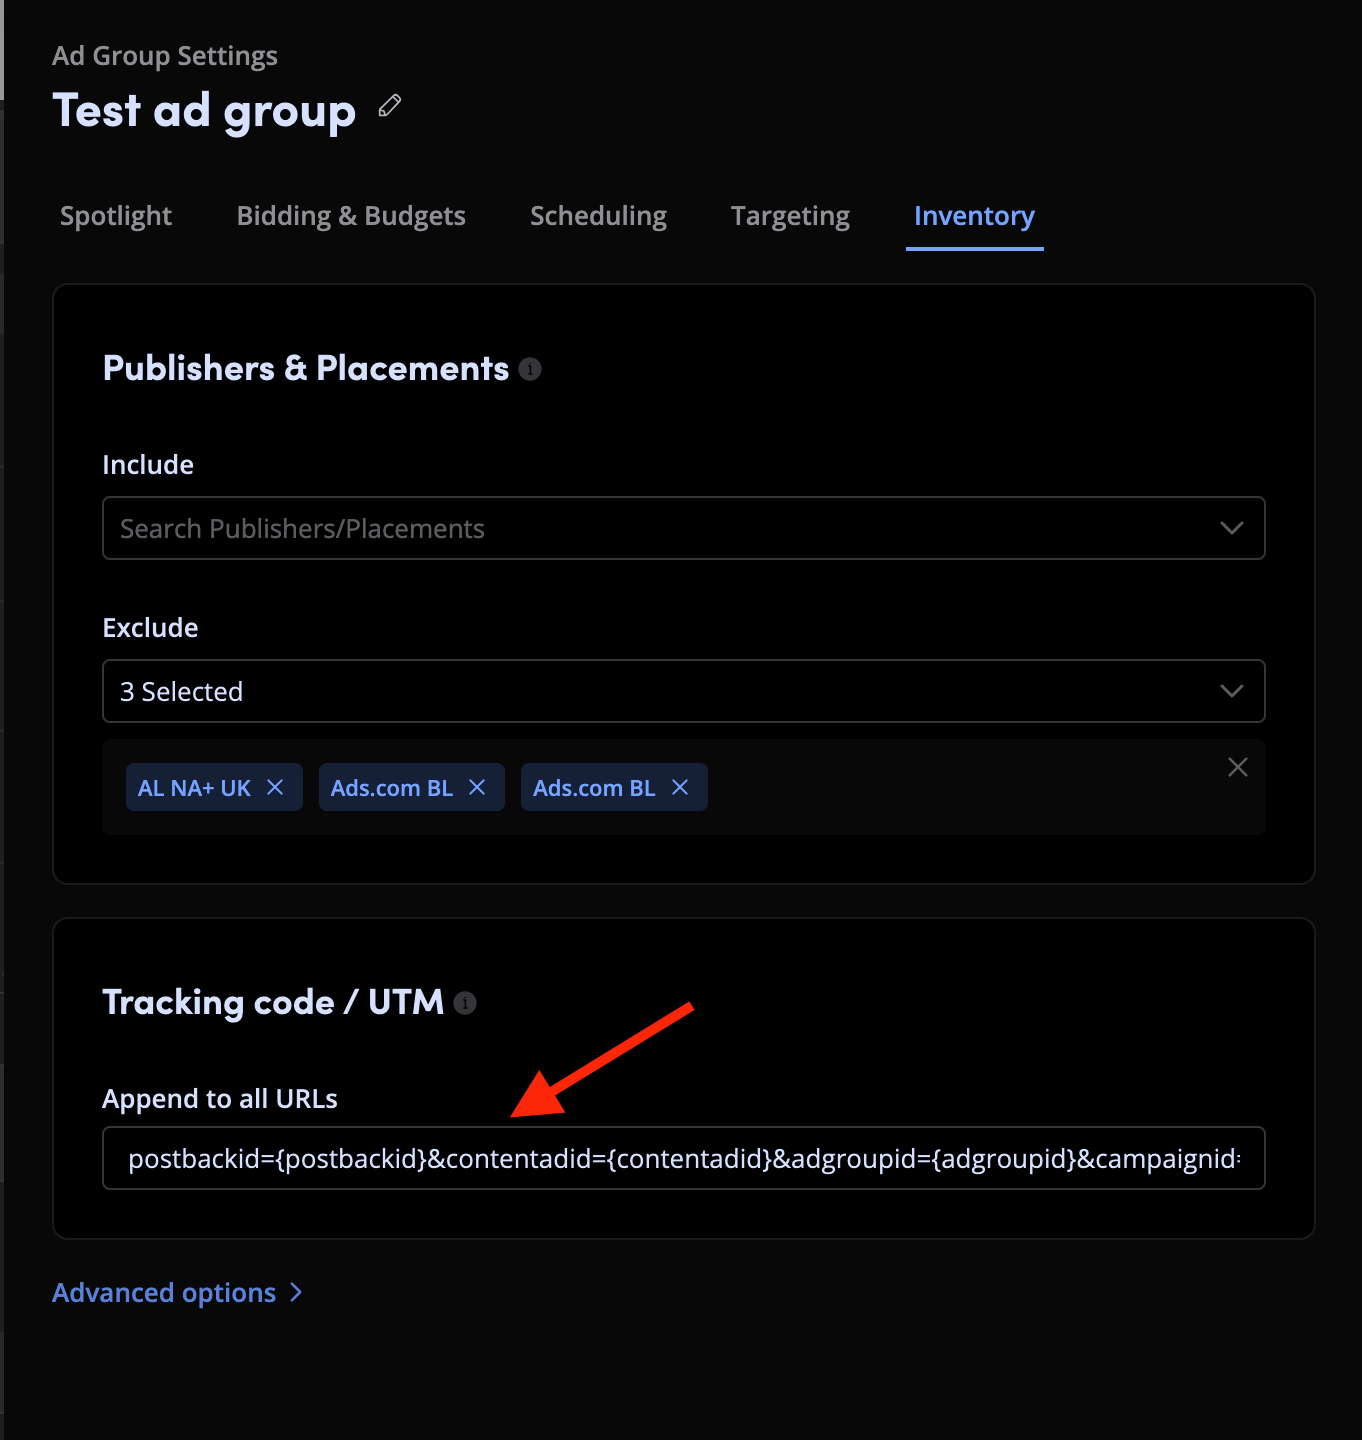
7. Finish your ad group setup.
8. Set up your content ad and put on **URL field** your tracking link:
`https://skrotrack.com/campaign/dcfe16a1-5b8e-4d30-9e4a-60ea2231437c`
Congratulations, you have successfully set up tracking of Outbrain DSP traffic with Skro. Each time a visitor clicks on your ad, will be directed to your offer page with Skro's tracking parameters being passed.
## Verify the setup [#verify-the-setup]
Open the generated campaign URL and check that the visit appears in Skro. Confirm that traffic source macros resolve to actual values. If you send conversions back to the source, verify a test conversion in both systems.
If data is missing, check the selected workspace, integration, campaign, and reporting date range. Compare parameter names and macro values with the examples in this guide before repeating the test.
## Related guides [#related-guides]
# Outbrain integration
Source: https://skro.eu/docs/integrations/outbrain-integration
Set up Outbrain tracking in Skro, configure traffic source parameters, and connect your advertising campaigns.
Outbrain integration gives you the ability to manage and optimize all your Outbrain ad campaigns through the Skro interface.
- Sync cost for campaigns, publishers and sections every 30 min.
- Check the status of your campaigns, ads, publishers and sections.
- Pause or resume campaigns, ads, publishers and sections.
- Change bidding for campaigns and sections.
In this guide, you will learn how to set up your campaigns in Outbrain and Skro so Outbrain can pass information to Skro and back with a selected tracking method. This guide does not cover all aspects and options available when creating a campaign on these two platforms. Basic knowledge regarding setting up campaigns in Outbrain and Skro is required.
**Manage Outbrain campaigns through the Skro UI**
**Manage Outbrain ads through the Skro UI**
**Manage Outbrain publishers and sections through the Skro UI**
## Step 1. Get Outbrain API Credentials [#step-1-get-outbrain-api-credentials]
Outbrain **API Token**. You can get one by following the steps below:
- In Outbrain, click email on the top right corner and navigate to the **Amplify API Token**.
- Enter your password and generate API token.
- Enter your password and generate API token.
- Copy the **API Token** to any text editing tool.
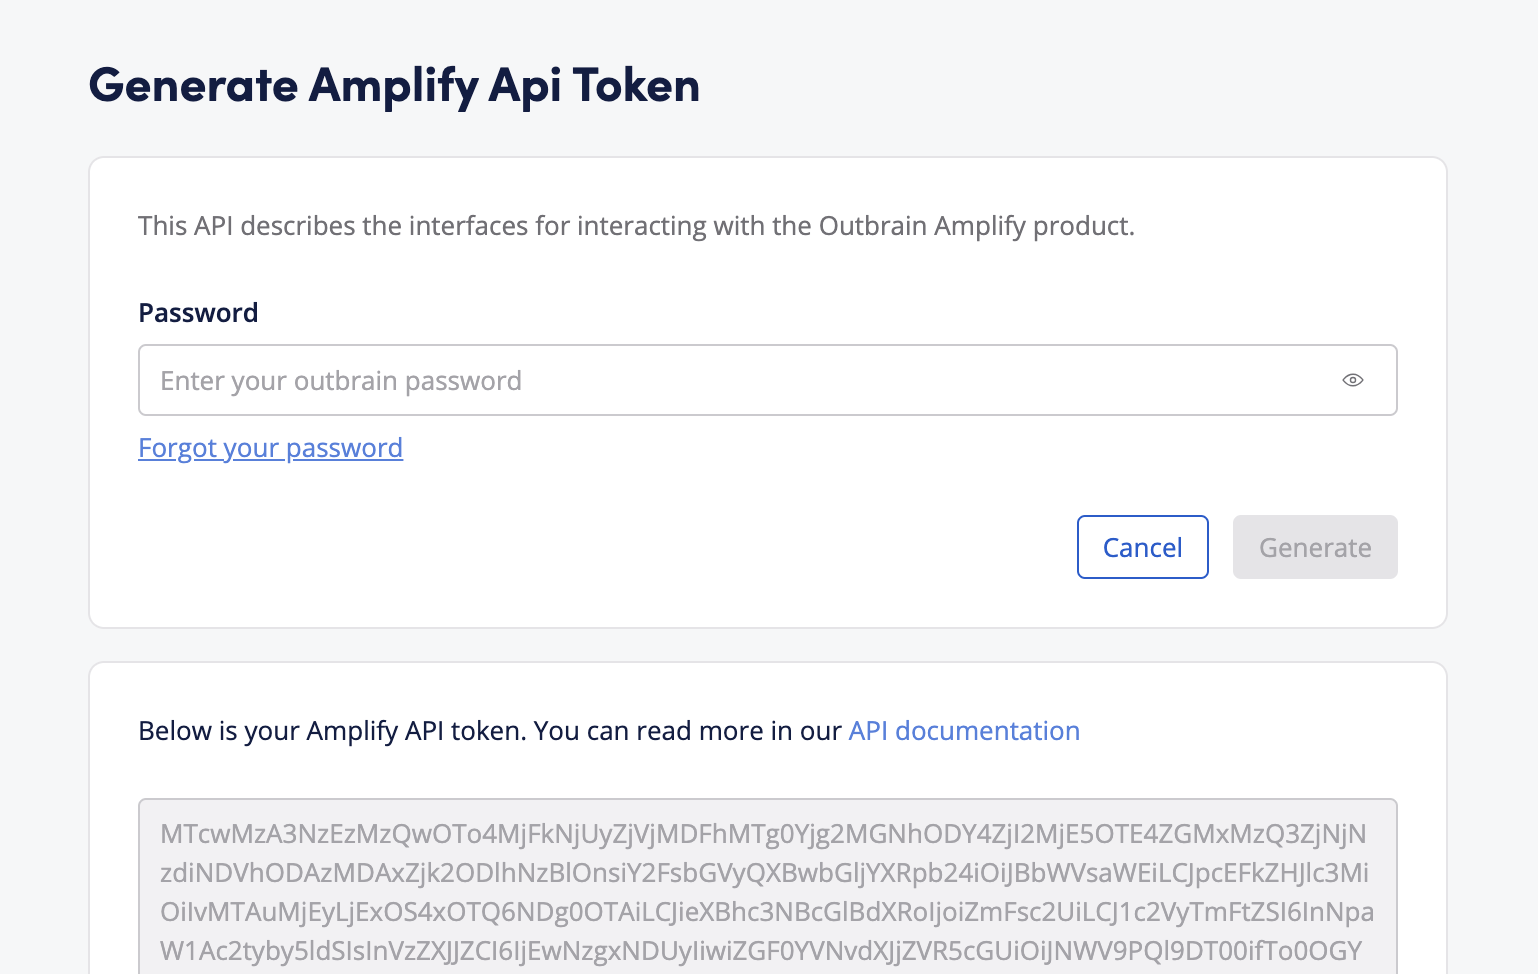
Once you have everything ready, read the further part of this guide.
## Step 2. Setup integration [#step-2-setup-integration]
- Log in to your **Skro** account.
- Navigate to **Settings → Integrations**.
- In the **Traffic Sources** section click **Add**.
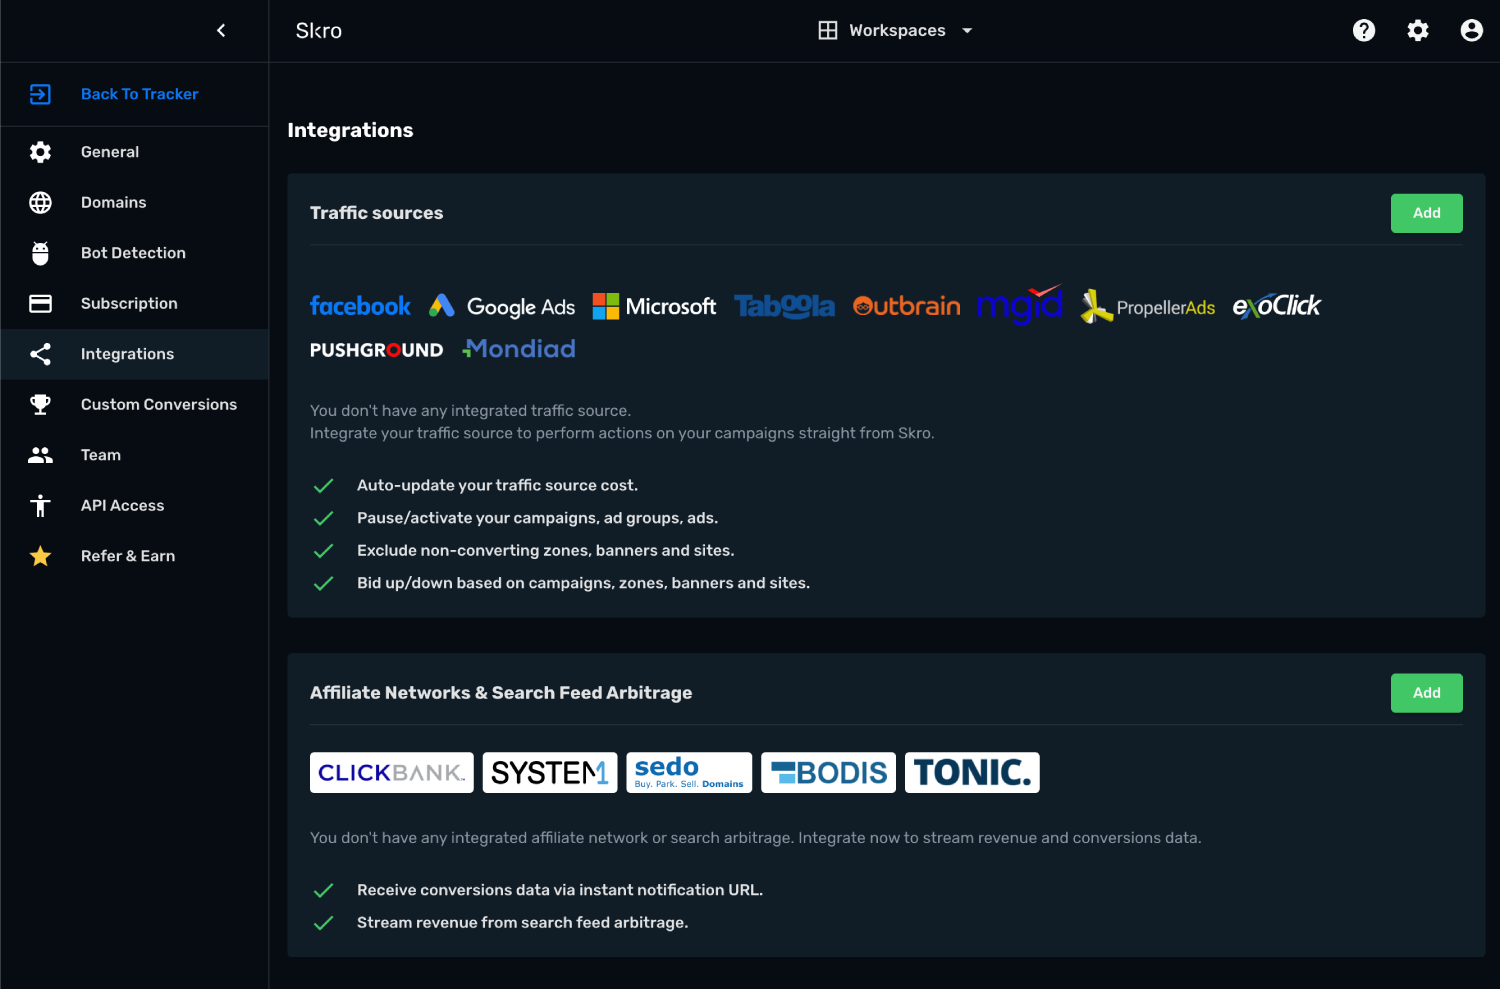
- Click **Outbrain** logo and integration form will pop up.
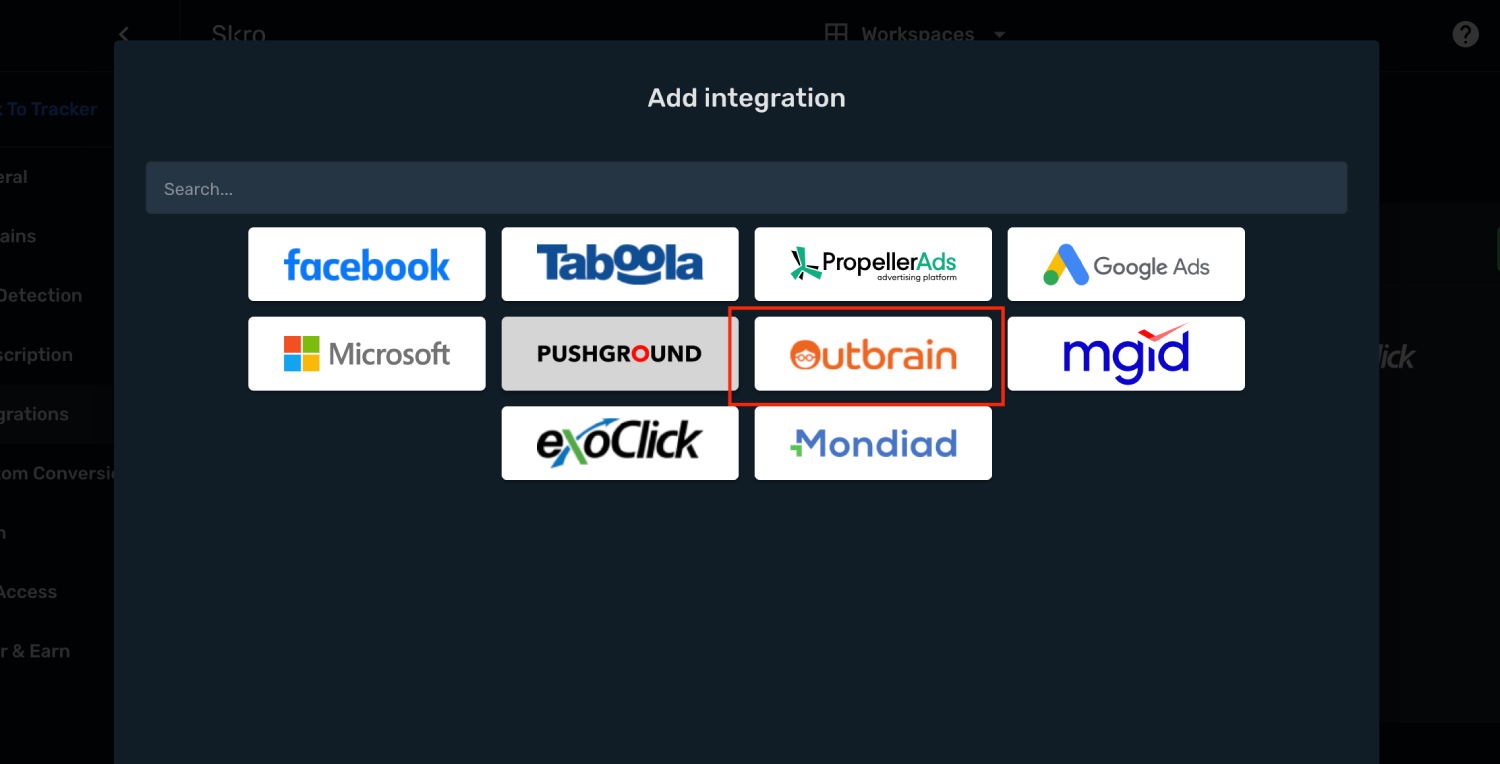
- Enter your **Integration Name**.
- Enter your Outbrain **API Token**.
- Click **Next**.
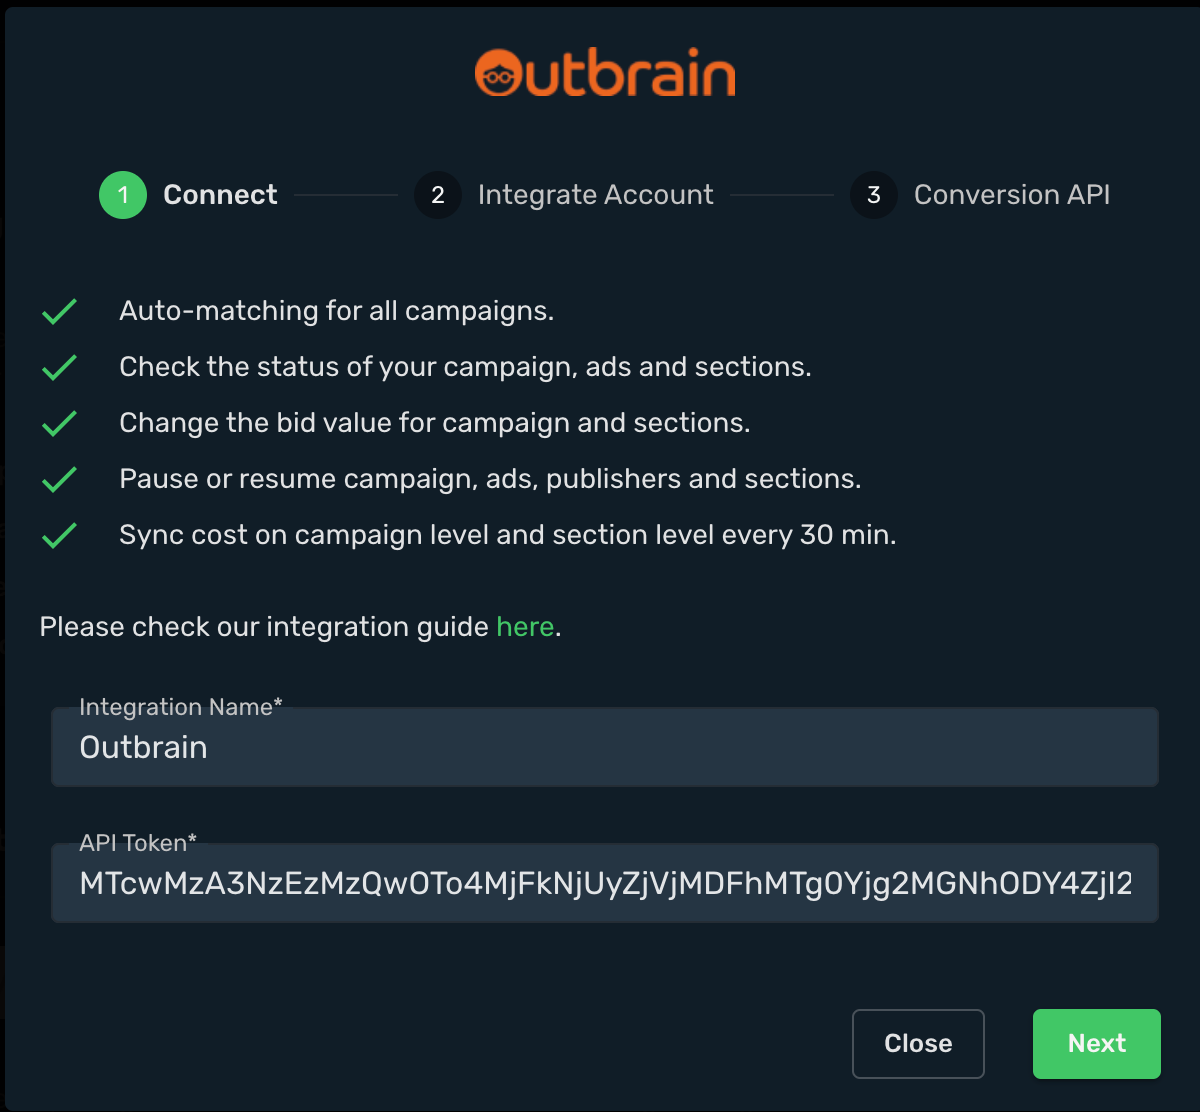
- Integrate your Outbrain Ad Account.
- Click **Next**.
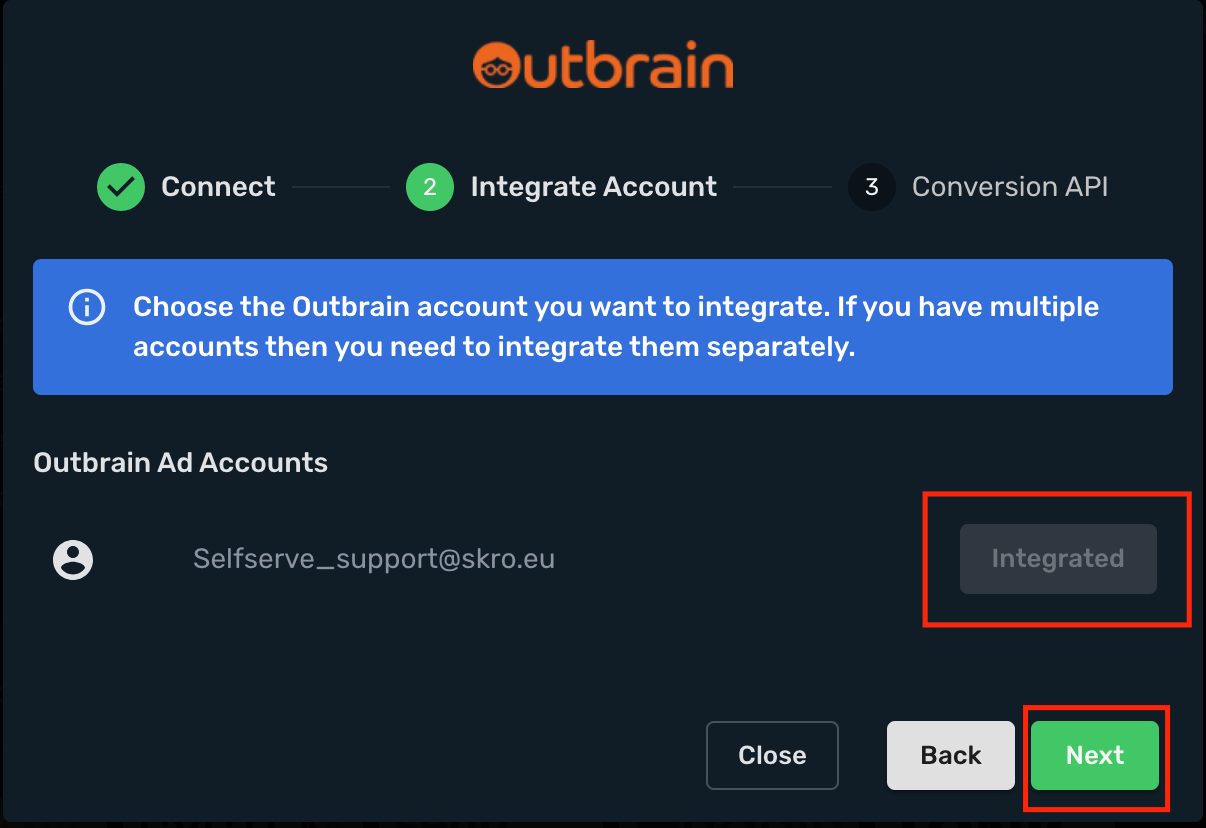
- If you want to send conversions info back to Outbrain, then you will need to enable **Conversion API.**
- **Conversion Event Name** - must be the same as you typed in Outbrain. When creating Skro campaign you will need to specify which conversion goal to send to.
- **Include Conversion Payout** - If checked, we will send conversion revenue and currency to Outbrain.
- Click **Save & Close**.
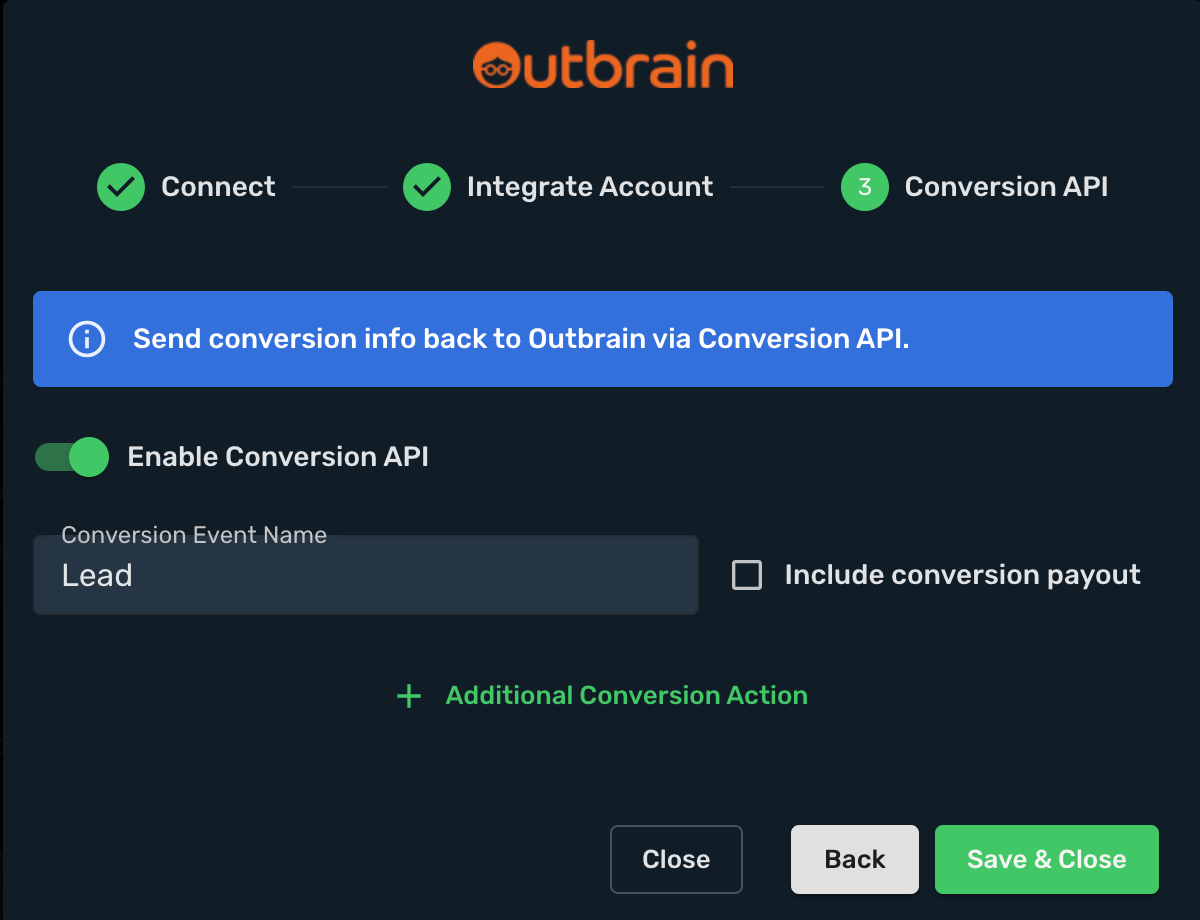
- Your Outbrain account is successfully integrated.
- You can switch on/off cost sync with given switch.

## Step 3. Associate the integration with your traffic source [#step-3-associate-the-integration-with-your-traffic-source]
- Navigate to the **Traffic Sources** and click **Create**.
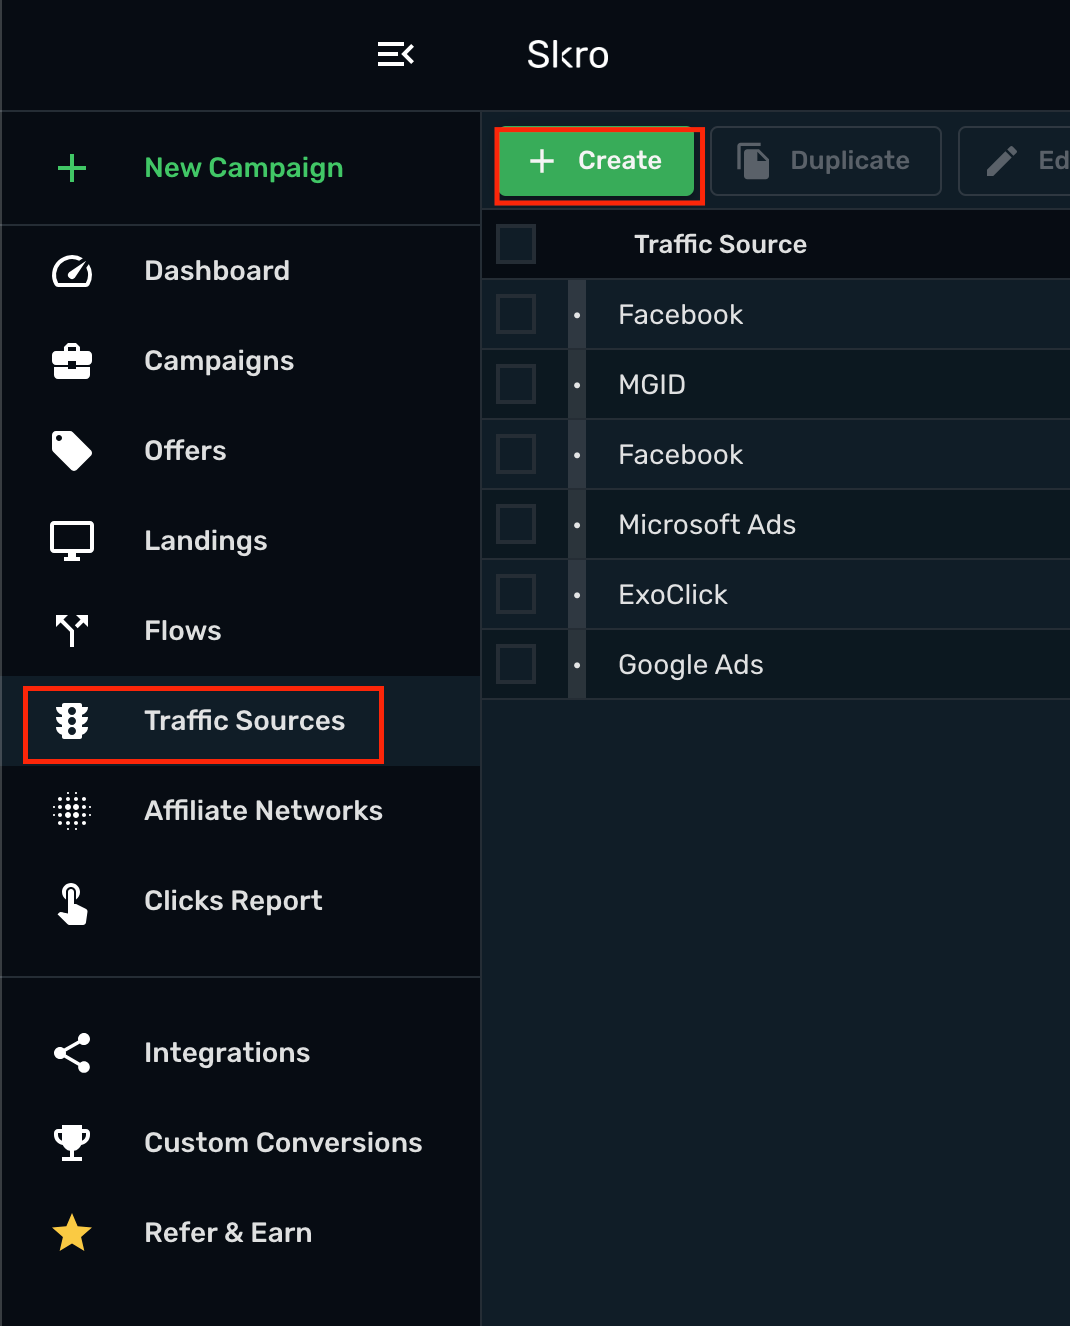
- Click **Outbrain** logo.
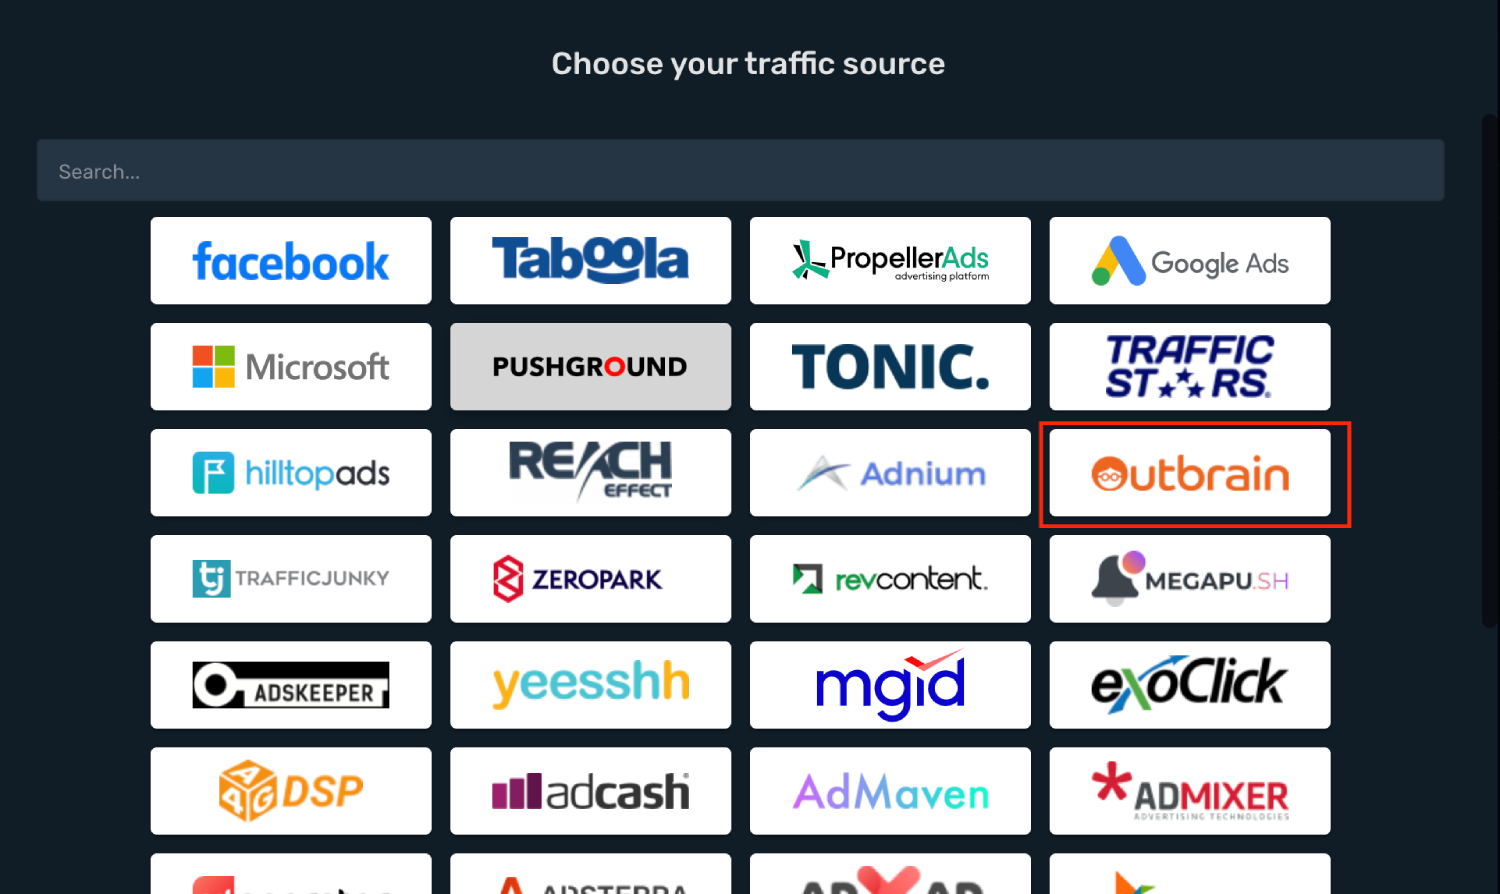
- Postback URL is already set with correct macros.
- Select your Outbrain integration from the dropdown menu.
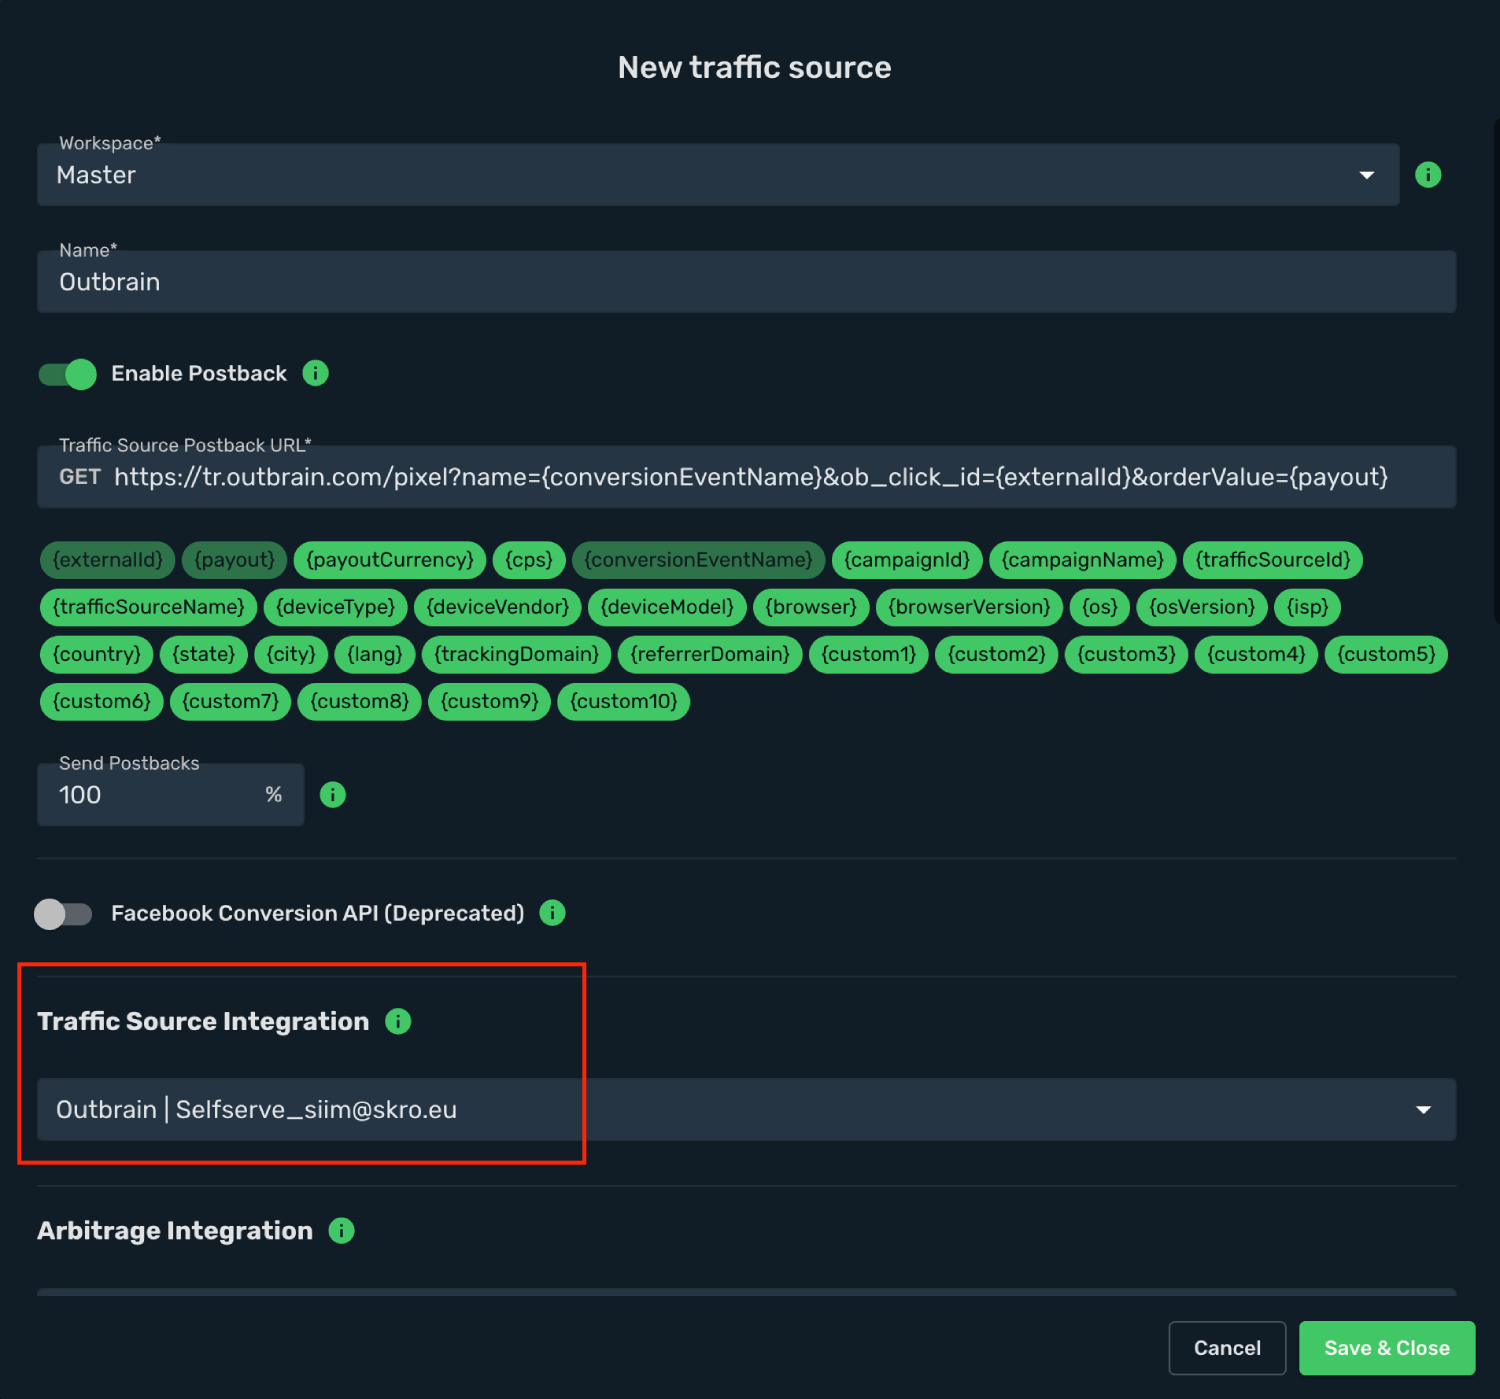
- All parameters are already prefilled for you.
- Click **Save & Close**.
The integration is ready. Continue by creating a campaign for Outbrain.
## Step 4. Create a Campaign in Skro [#step-4-create-a-campaign-in-skro]
First you will need to add your pre-lander.
- Navigate to the **Landings** view and click **Create**.
- Select workspace.
- Add name.
- Add your landing URL and add macros if needed.
- Click **Save & Close**.
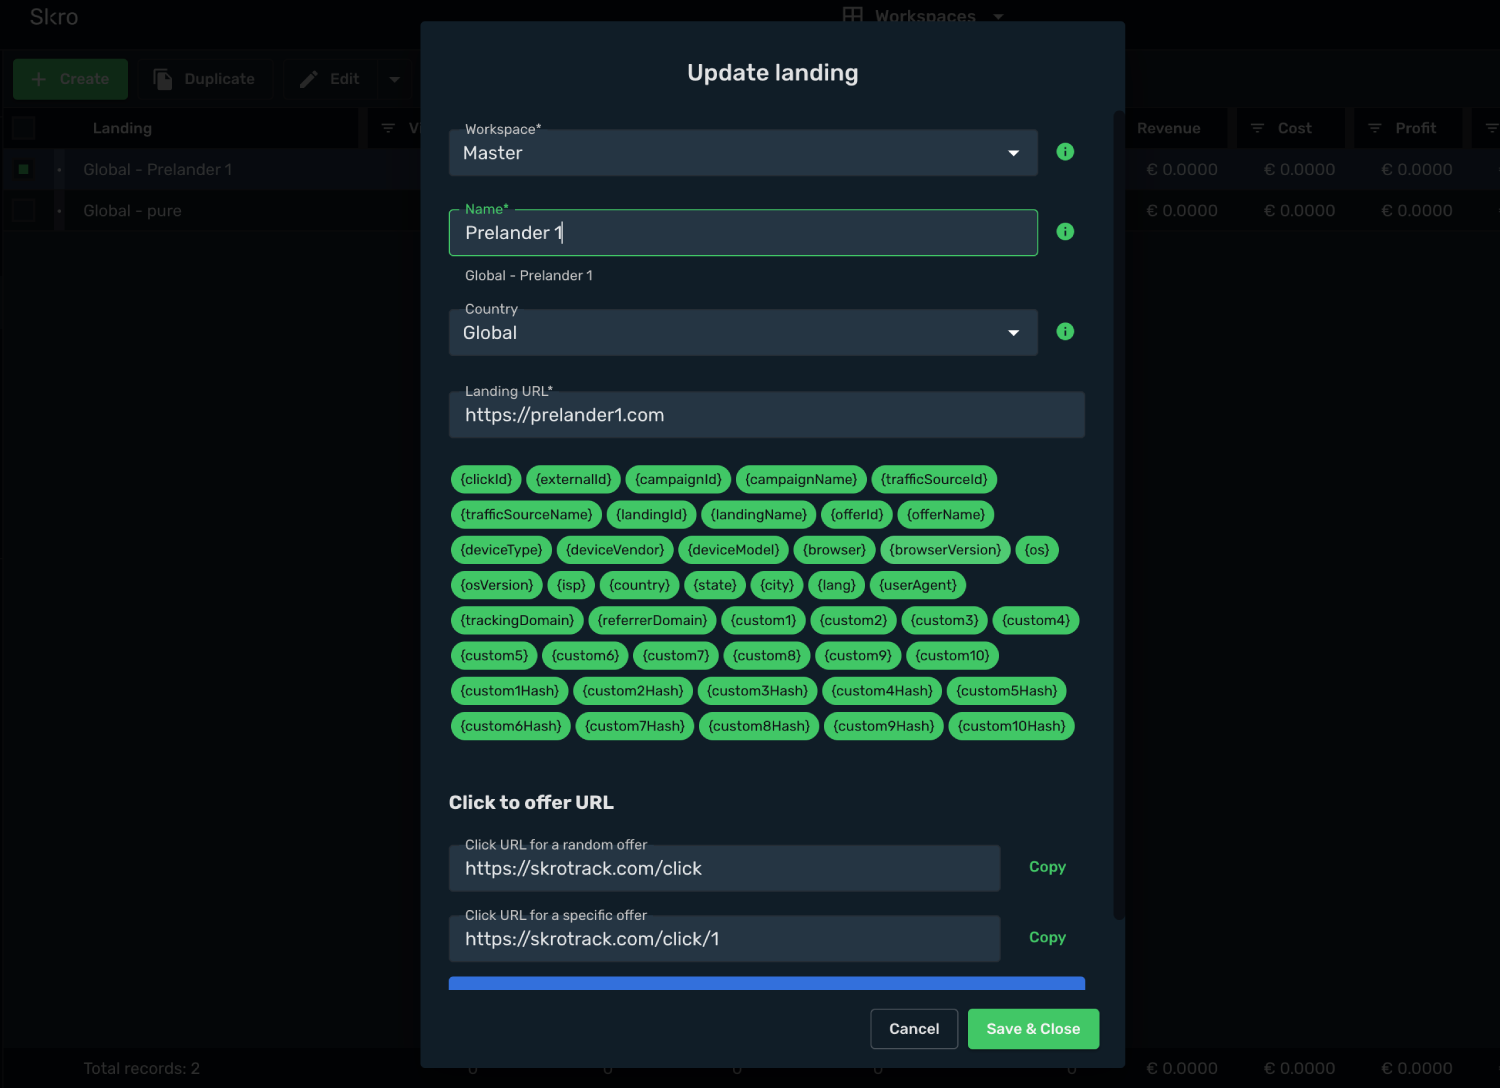
The second thing you need to do is to create an offer.
- Navigate to the **Offers** view and click **Create**.
- Select workspace.
- Add name.
- Add your offer URL and add macros if needed.
- Click **Save & Close**.

- Navigate to the **Campaigns** view and click **Create**.
- Select your integrated **Traffic Source** as Outbrain.
- Select your **Conversion Event Name**. That is needed to send conversion info back to Outbrain.
- Cost Model should be **Auto**.
- Select your cost currency.
- Click **Next**
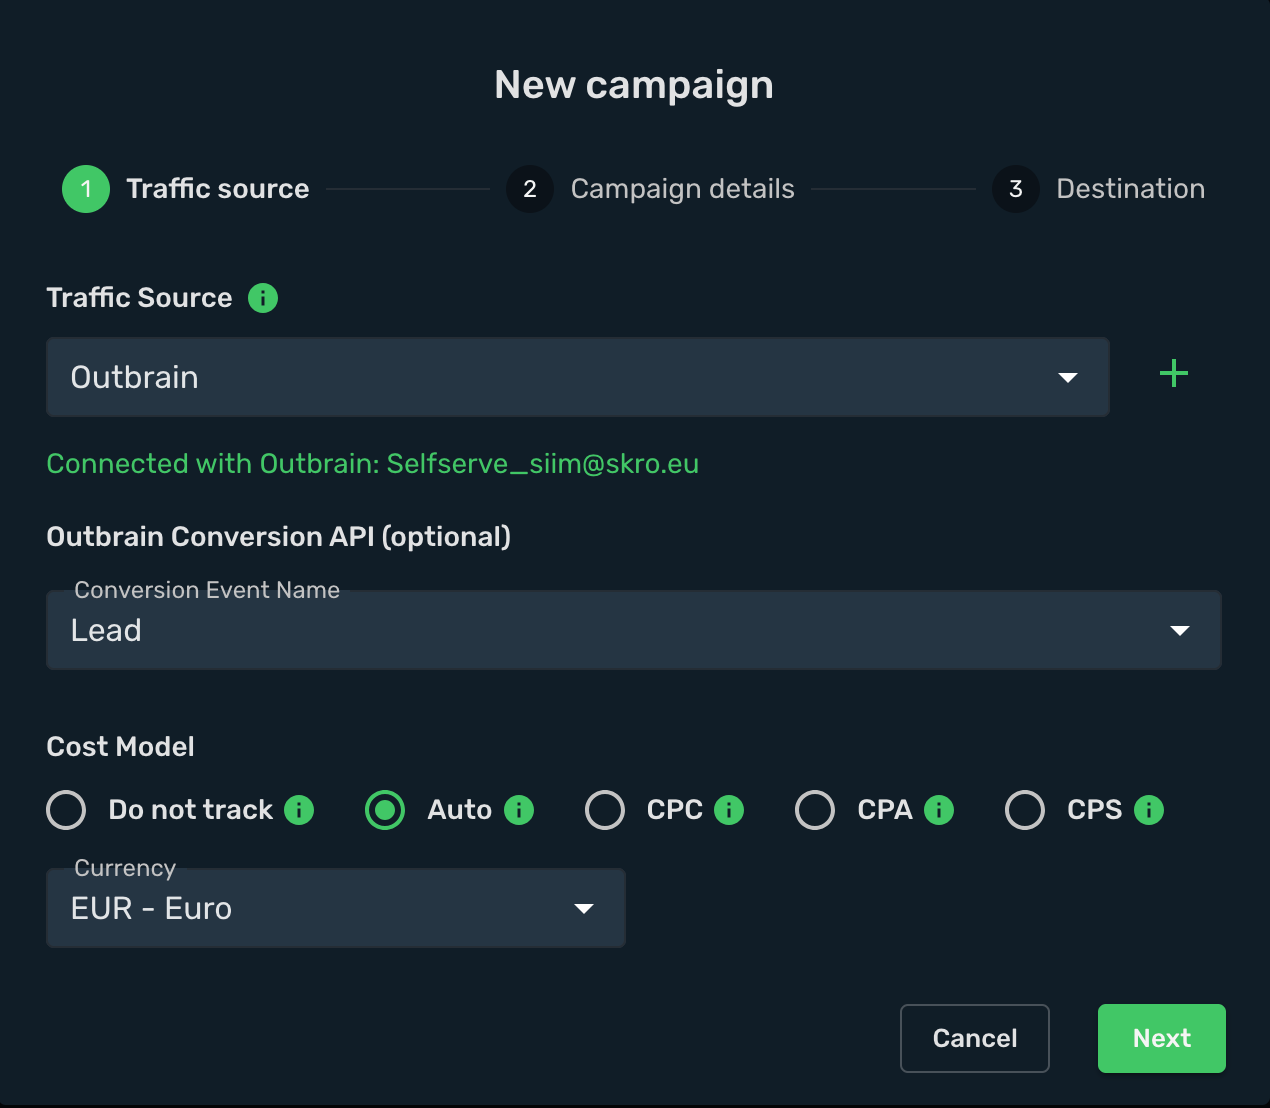
- Select workspace.
- Add descriptive name to your campaign.
- Click **Next**
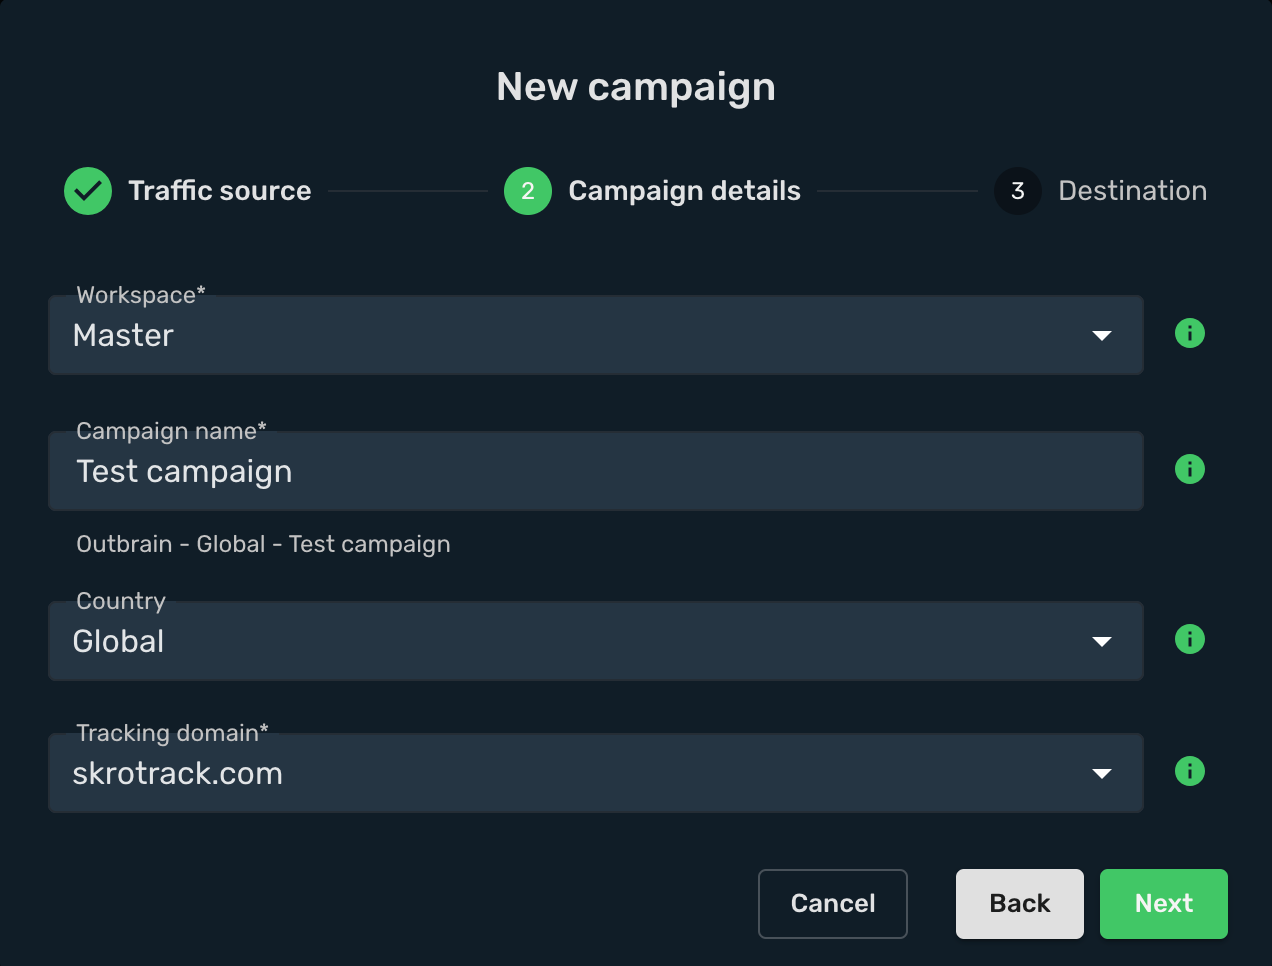
- Choose your **Destination Type**. In this example we use **flow**
- Choose your redirect mode. In this example we use **redirect 302**
- Choose your landing page
In given example we use 1 landing and 1 offer. Outbrain scans links that you submit, you cannot use a redirect method of tracking, as that redirect URL would not be correctly scanned. With the direct method of tracking, which is turned on by default for Outbrain, you will submit a direct tracking URL to Outbrain. This will allow Outbrain to scan this link without a problem.
- Click **Save**
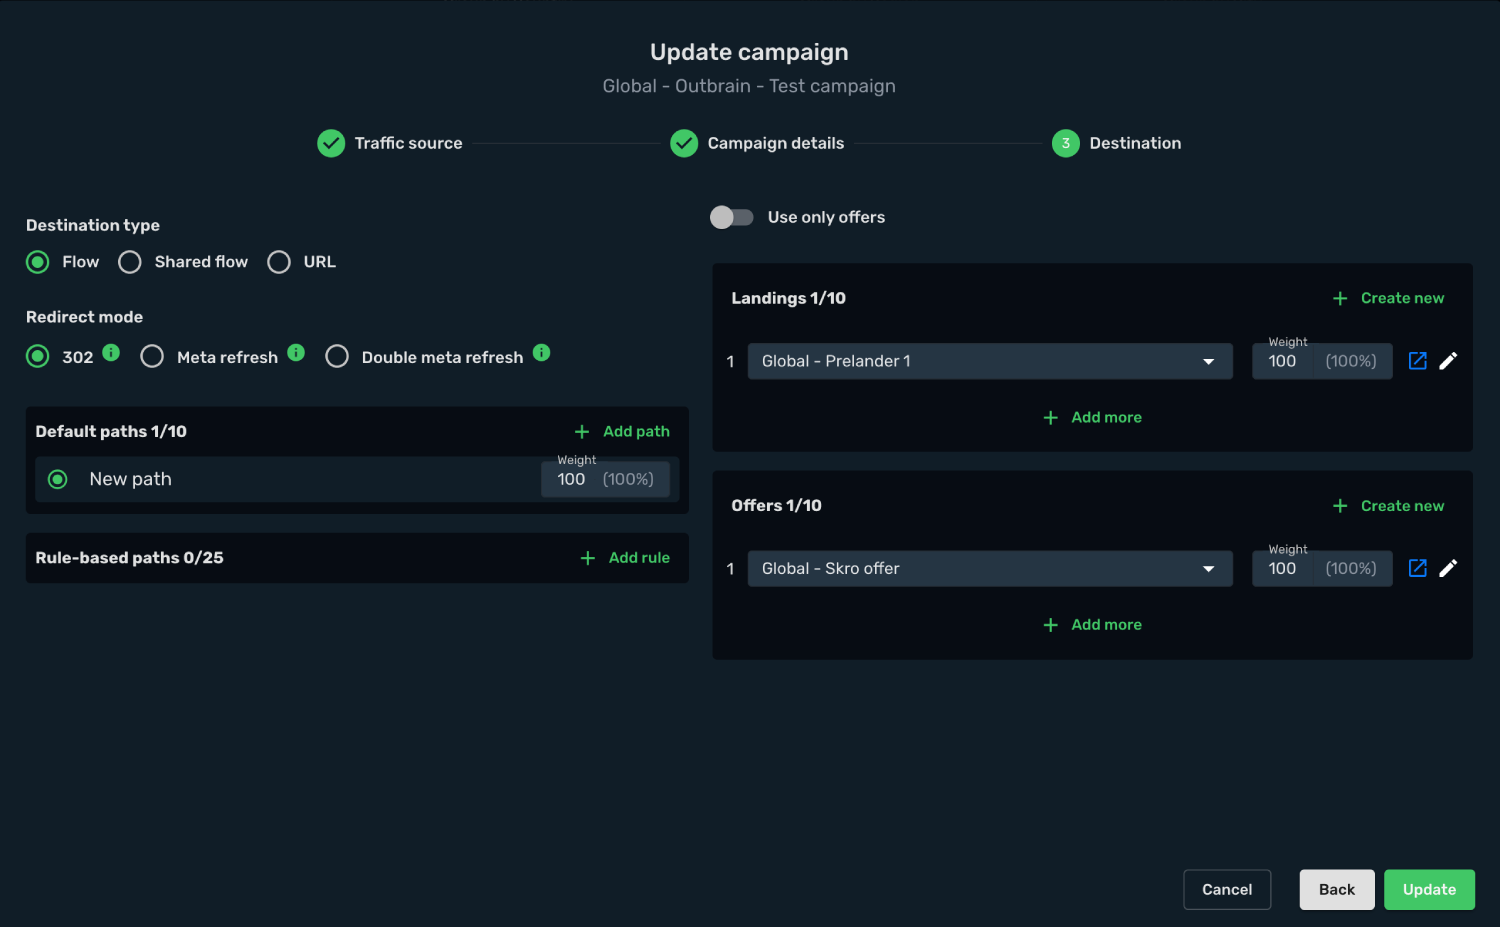
- Choose the **Direct** method.
- Install **Tracking Pixel** to your landing page.
- Install **CPA** with correct **Click To Offer Link**. In given example the link is **https://skrotrack.com/click**
- Select your landing page and copy the Landing URL with correct params and macros.
In given example we have that kind of URL:
```text
https://prelander1.com/?trck=eyJjcGlkIjoiZmMxZmE5NGItMmRiOS00YzcyLWJhZGYtZmIxODI1MDJjODAxIiwiciI6MCwicCI6MCwibCI6MH0=&cpc={{cpc}}&ob_click_id={{ob_click_id}}&ad_title={{ad_title}}&ad_id={{ad_id}}&campaign_id={{campaign_id}}&publisher_id={{publisher_id}}&publisher_name={{publisher_name}}§ion_id={{section_id}}§ion_name={{section_name}}&promoted_link_id={{promoted_link_id}}
```
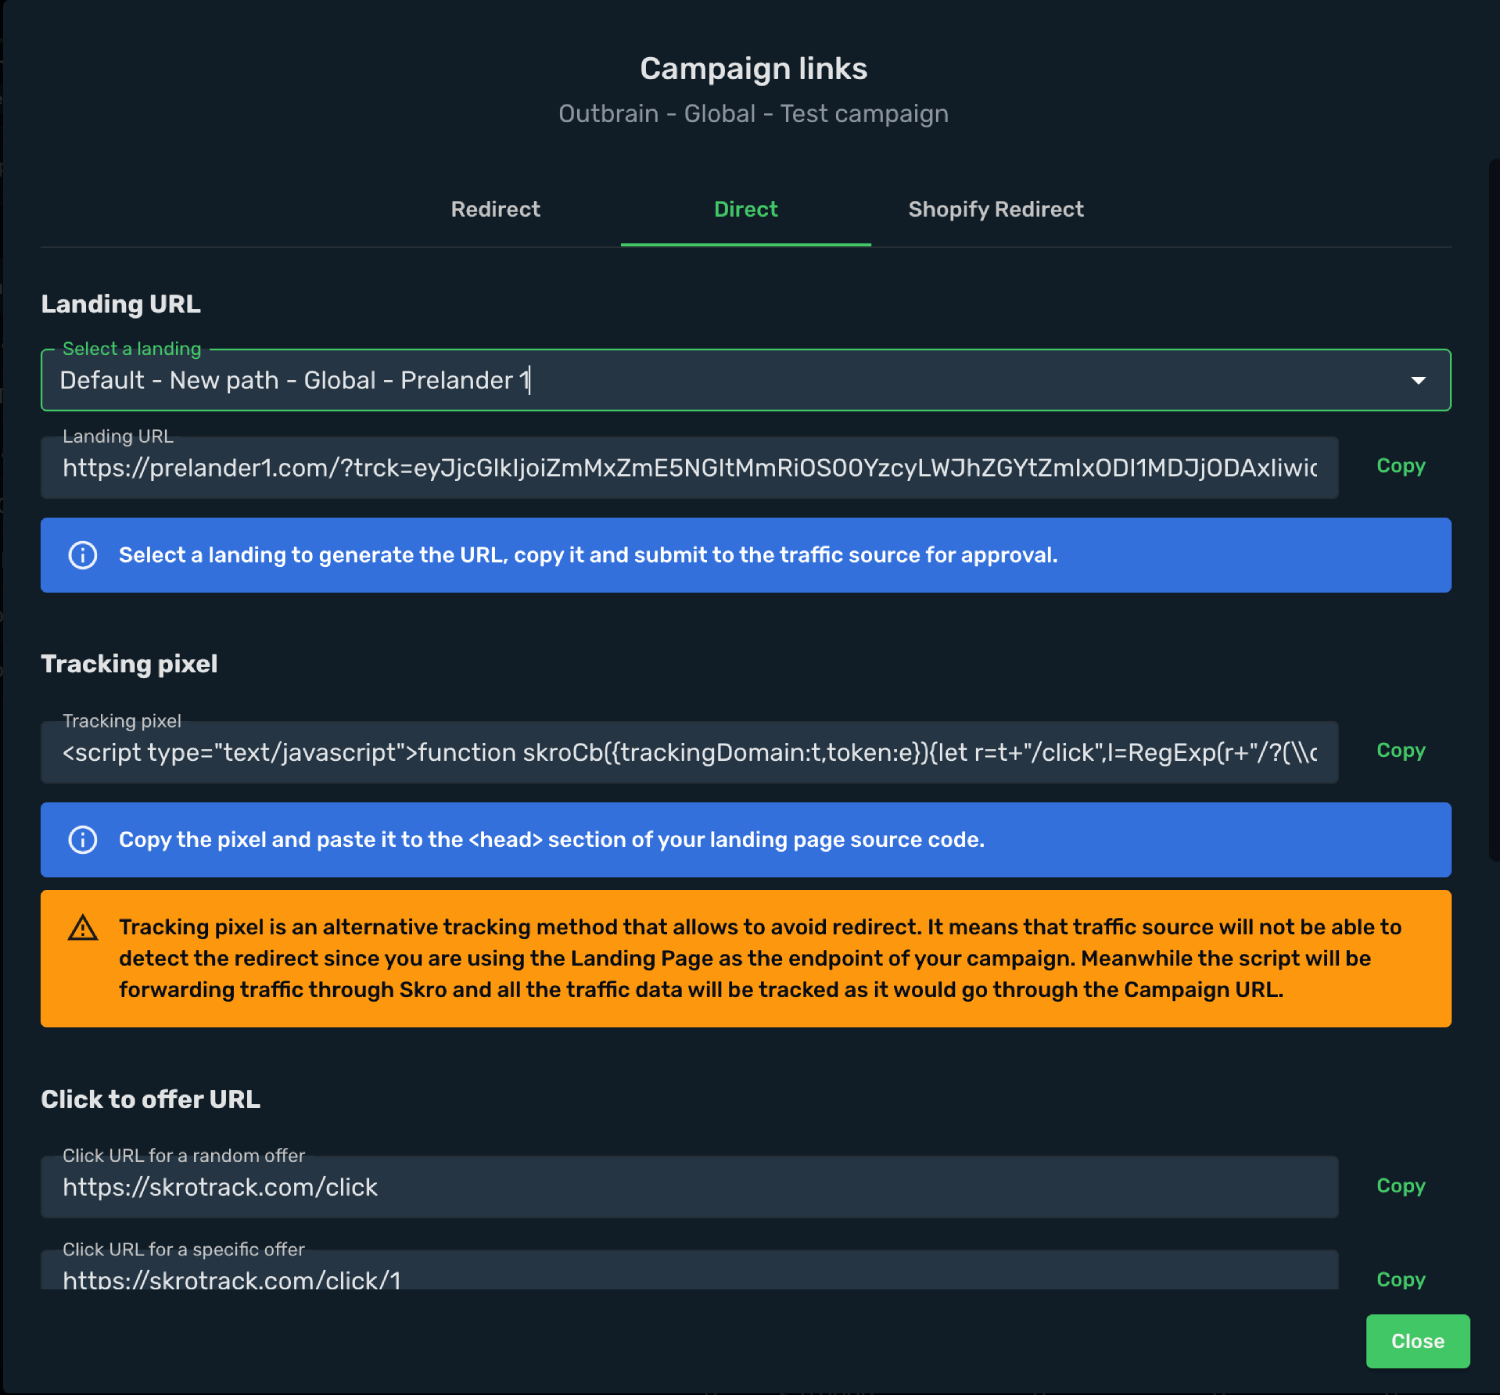
## Step 5. Create a Campaign in Outbrain [#step-5-create-a-campaign-in-outbrain]
Now you have your campaign URL with tracking parameters added. In the next step you will submit it as your item's URL in Outbrain campaign setup. In order to do that, perform the following steps:
- Sign in to your Outbrain account.
- Go to the **Campaigns** view.
- Click the **Create Campaign** and setup your campaign.

- Add your landing page without parameters. In given example we used landing **https://prelander1.com**
- Select your conversion event name same as you added into Skro.
- Click **Next**.
- Set up your creatives.
- Click **Next**.
- Set up tracking suffix field and budget.
In given example we have that kind of tracking parameters:
```text
trck=eyJjcGlkIjoiZmMxZmE5NGItMmRiOS00YzcyLWJhZGYtZmIxODI1MDJjODAxIiwiciI6MCwicCI6MCwibCI6MH0=&cpc={{cpc}}&ob_click_id={{ob_click_id}}&ad_title={{ad_title}}&ad_id={{ad_id}}&campaign_id={{campaign_id}}&publisher_id={{publisher_id}}&publisher_name={{publisher_name}}§ion_id={{section_id}}§ion_name={{section_name}}&promoted_link_id={{promoted_link_id}}
```
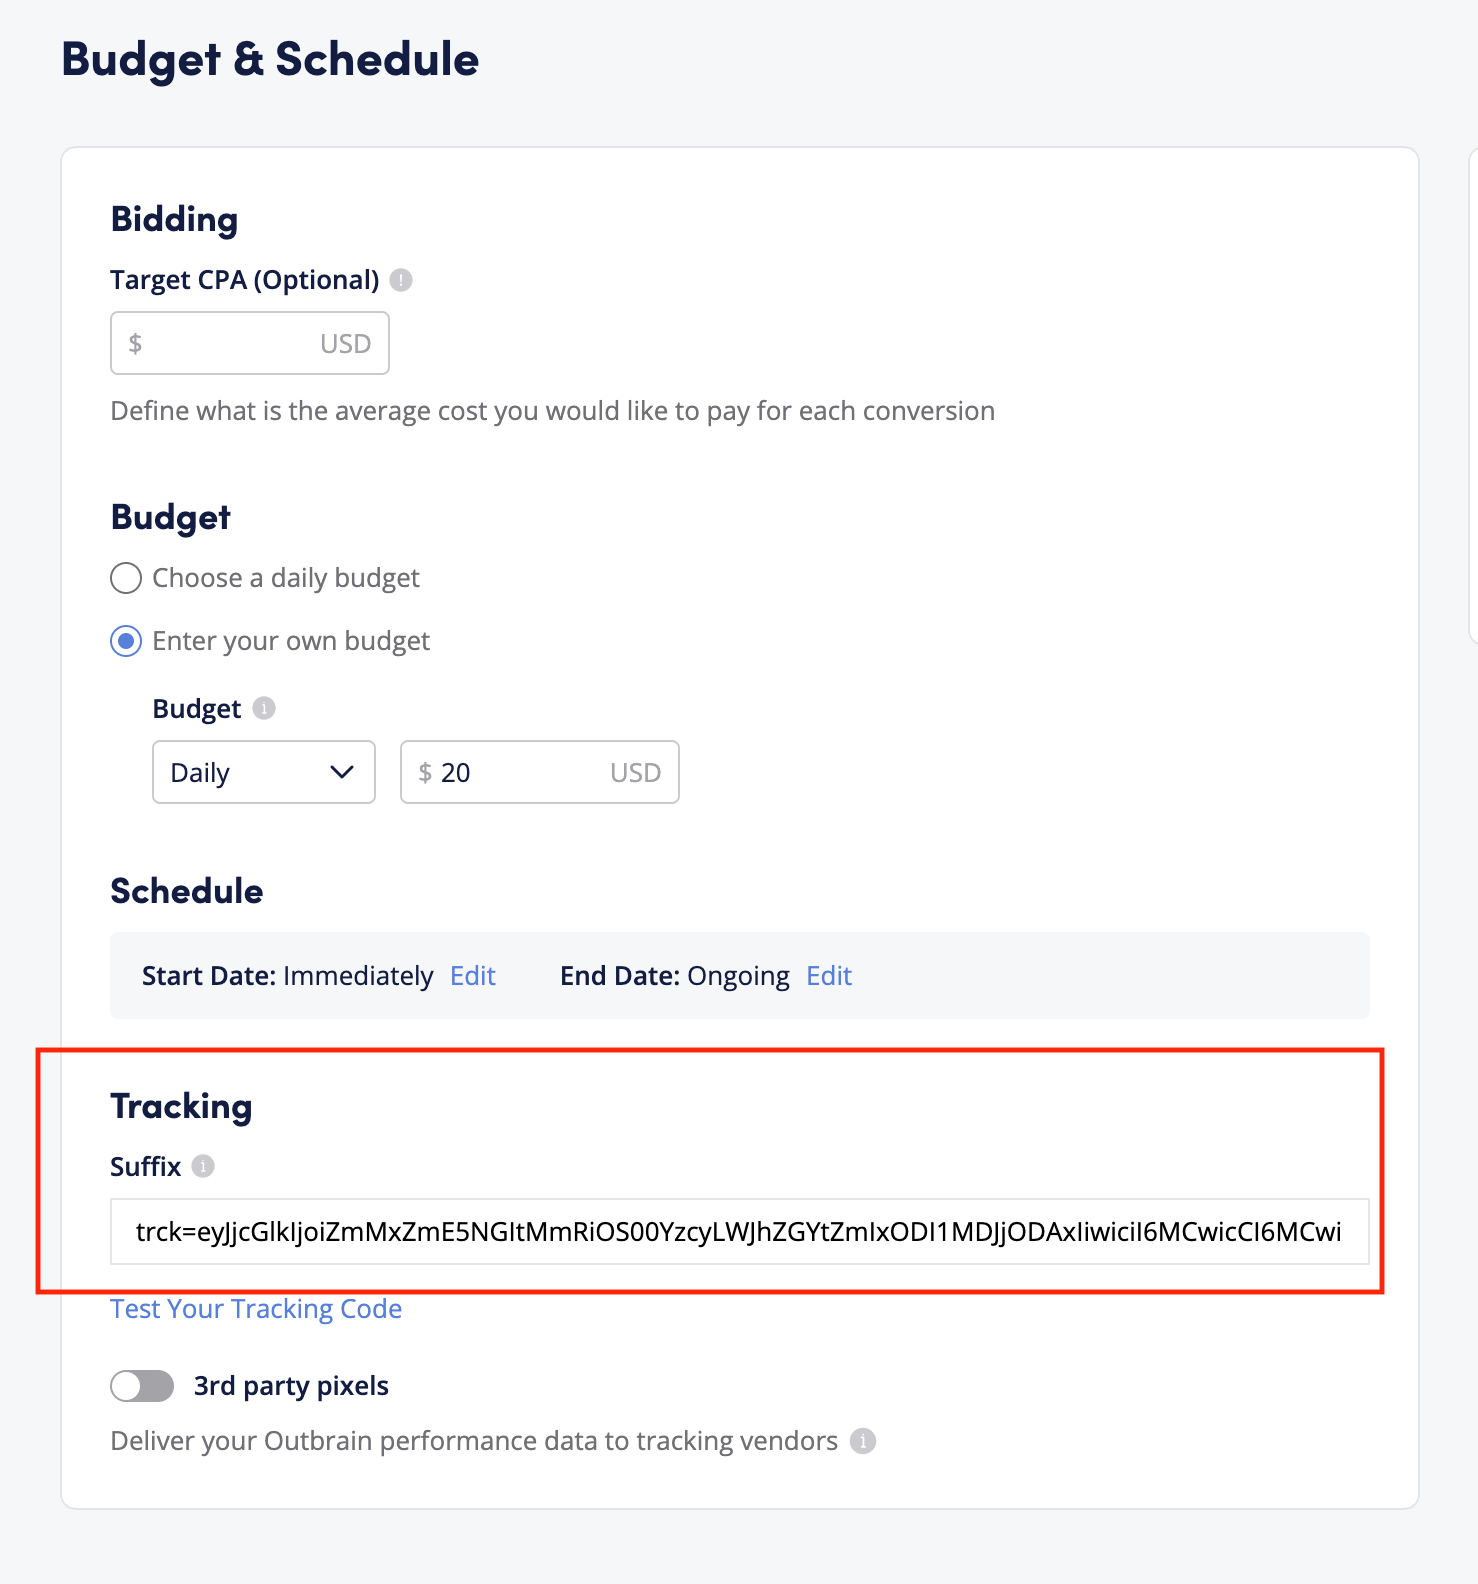
- Paste the copied campaign tracking URL from Skro into the **URL** field.
- Once your set up is done, click the **Launch Campaign**.
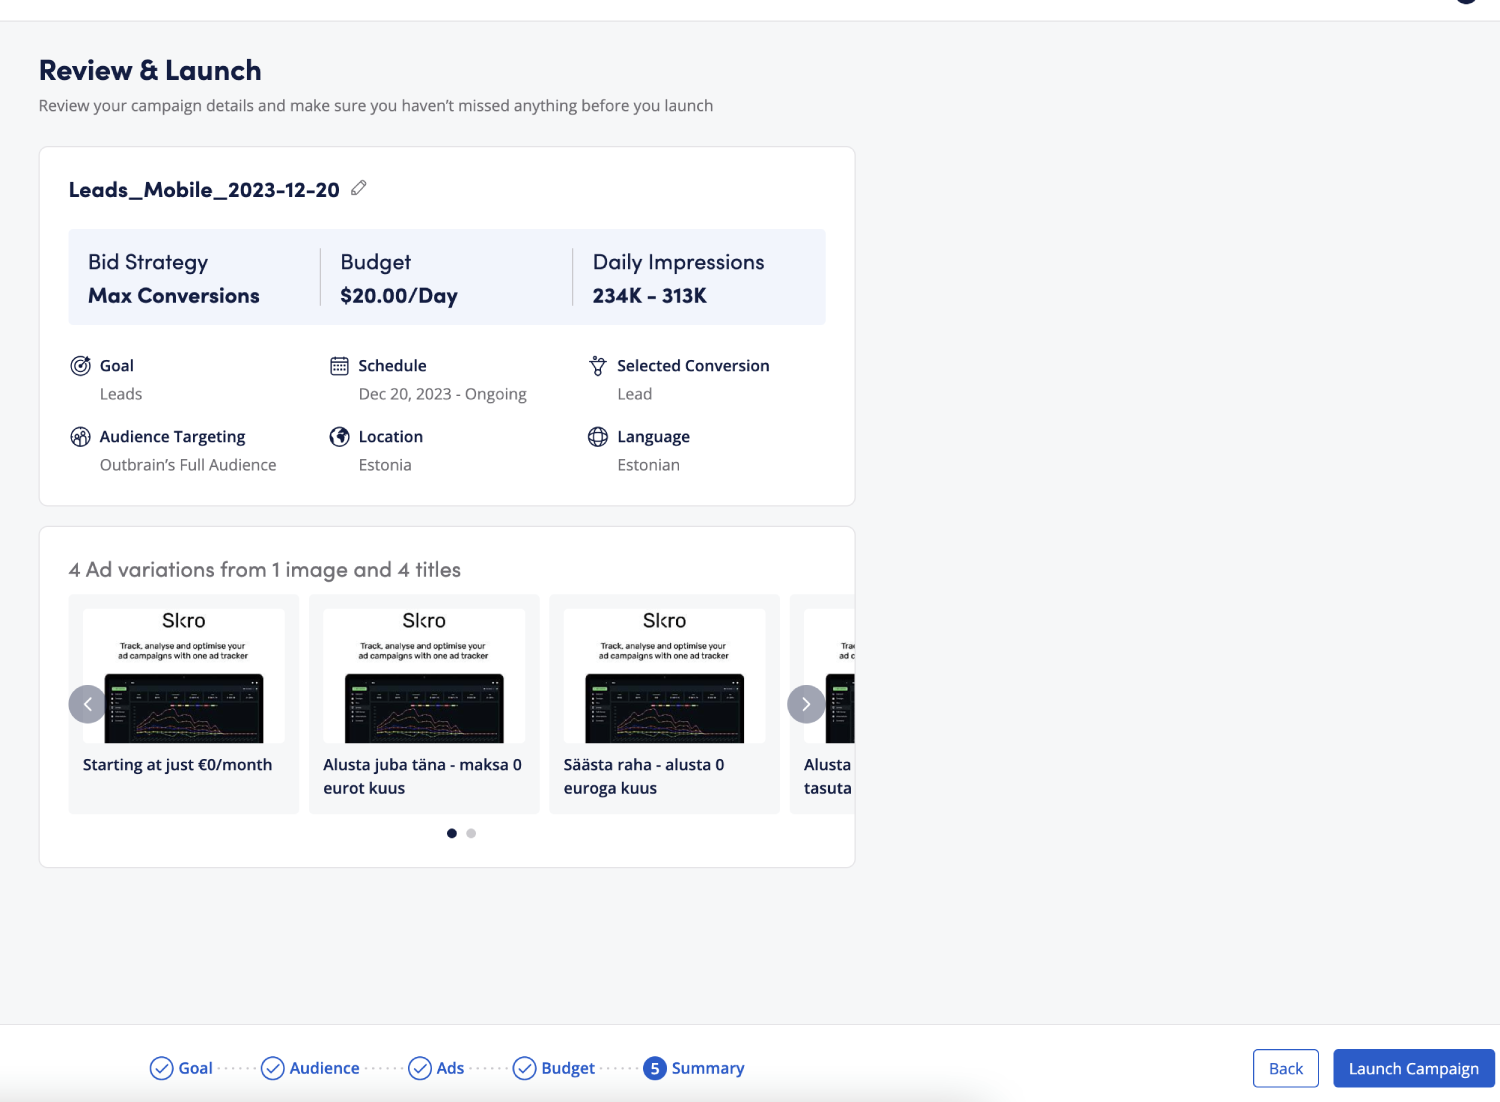
Congratulations, you have successfully set up tracking of Outbrain traffic with Skro. Each time a visitor clicks on your ad, will be directed to your landing page with Skro's tracking parameters being passed.
## Verify the setup [#verify-the-setup]
Open the generated campaign URL and check that the visit appears in Skro. Confirm that traffic source macros resolve to actual values. If you send conversions back to the source, verify a test conversion in both systems.
If data is missing, check the selected workspace, integration, campaign, and reporting date range. Compare parameter names and macro values with the examples in this guide before repeating the test.
## Related guides [#related-guides]
# Perfect Pay integration
Source: https://skro.eu/docs/integrations/perfect-pay-and-skro
Connect Perfect Pay to Skro, map click IDs, and configure postbacks to attribute conversions and revenue to your campaigns.
PerfectPay is a platform and digital business solution based in Brazil, primarily focused on digital entrepreneurs (product creators and affiliates), with the mission of providing tools to increase their sales and profits. It acts as an all-in-one system for selling and managing digital and physical products.
If you’re looking for a tracking tool to gain deeper insights into your performance, Skro is a perfect solution. In this guide, we’ll show you how to easily integrate your Perfect Pay with Skro.
- See the true ROI of every ad
- Track every approved sales event and commission fee
- Compare advertising costs with attributed revenue
- Send supported conversion events to Facebook and TikTok
This guide will teach you how to set up webhook for Perfect Pay and track **approved** events for paid ads. Please note: this guide does not cover every option available in Skro or your traffic source. You should already have basic knowledge of creating campaigns in both Skro and your traffic source.
## Step 1. Set up Webhook (S2S Postback) For Perfect Pay [#step-1-set-up-webhook-s2s-postback-for-perfect-pay]
1. Go to your **Perfect Pay → Tools → Webhook - Sales** and click **Add**.
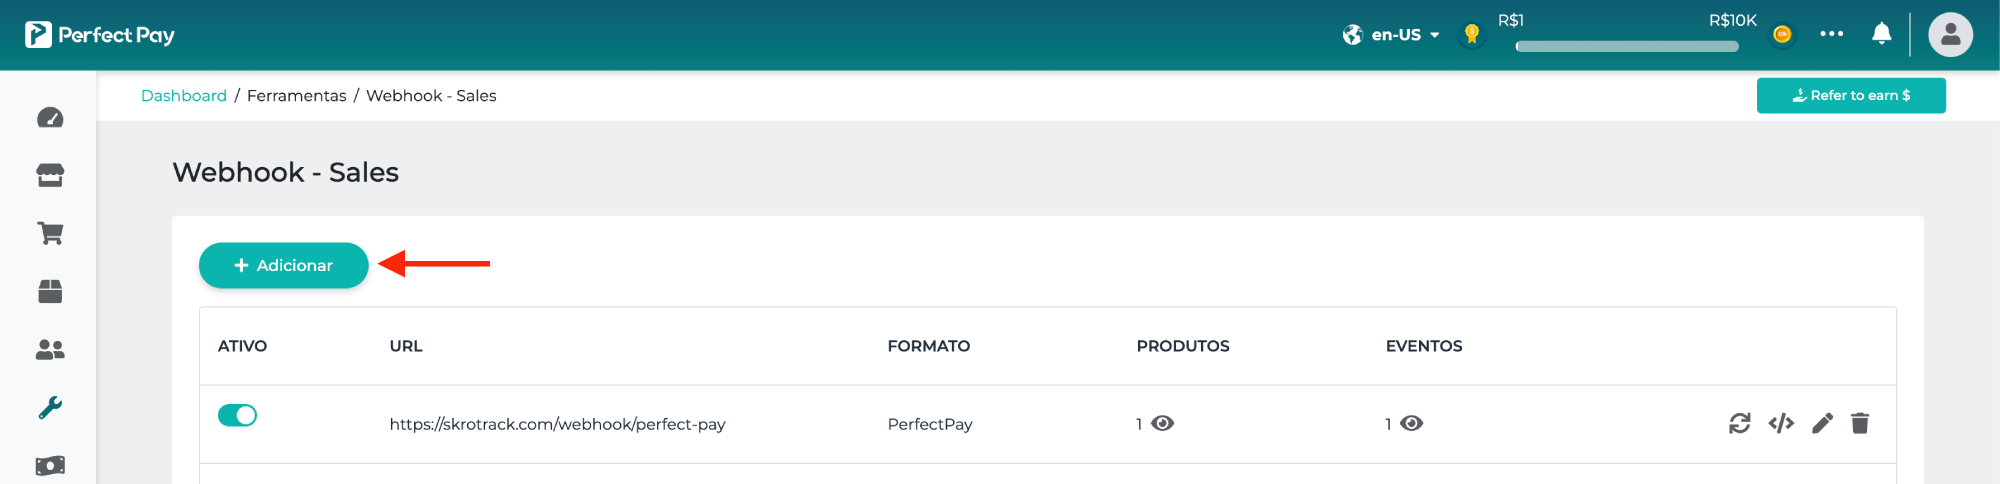
2. Select all your products where you need to fire Skro webhook.
3. Add this **Webhook URL.** (You can use your own tracking domain instead of skrotrack.com)
`https://skrotrack.com/webhook/perfect-pay`
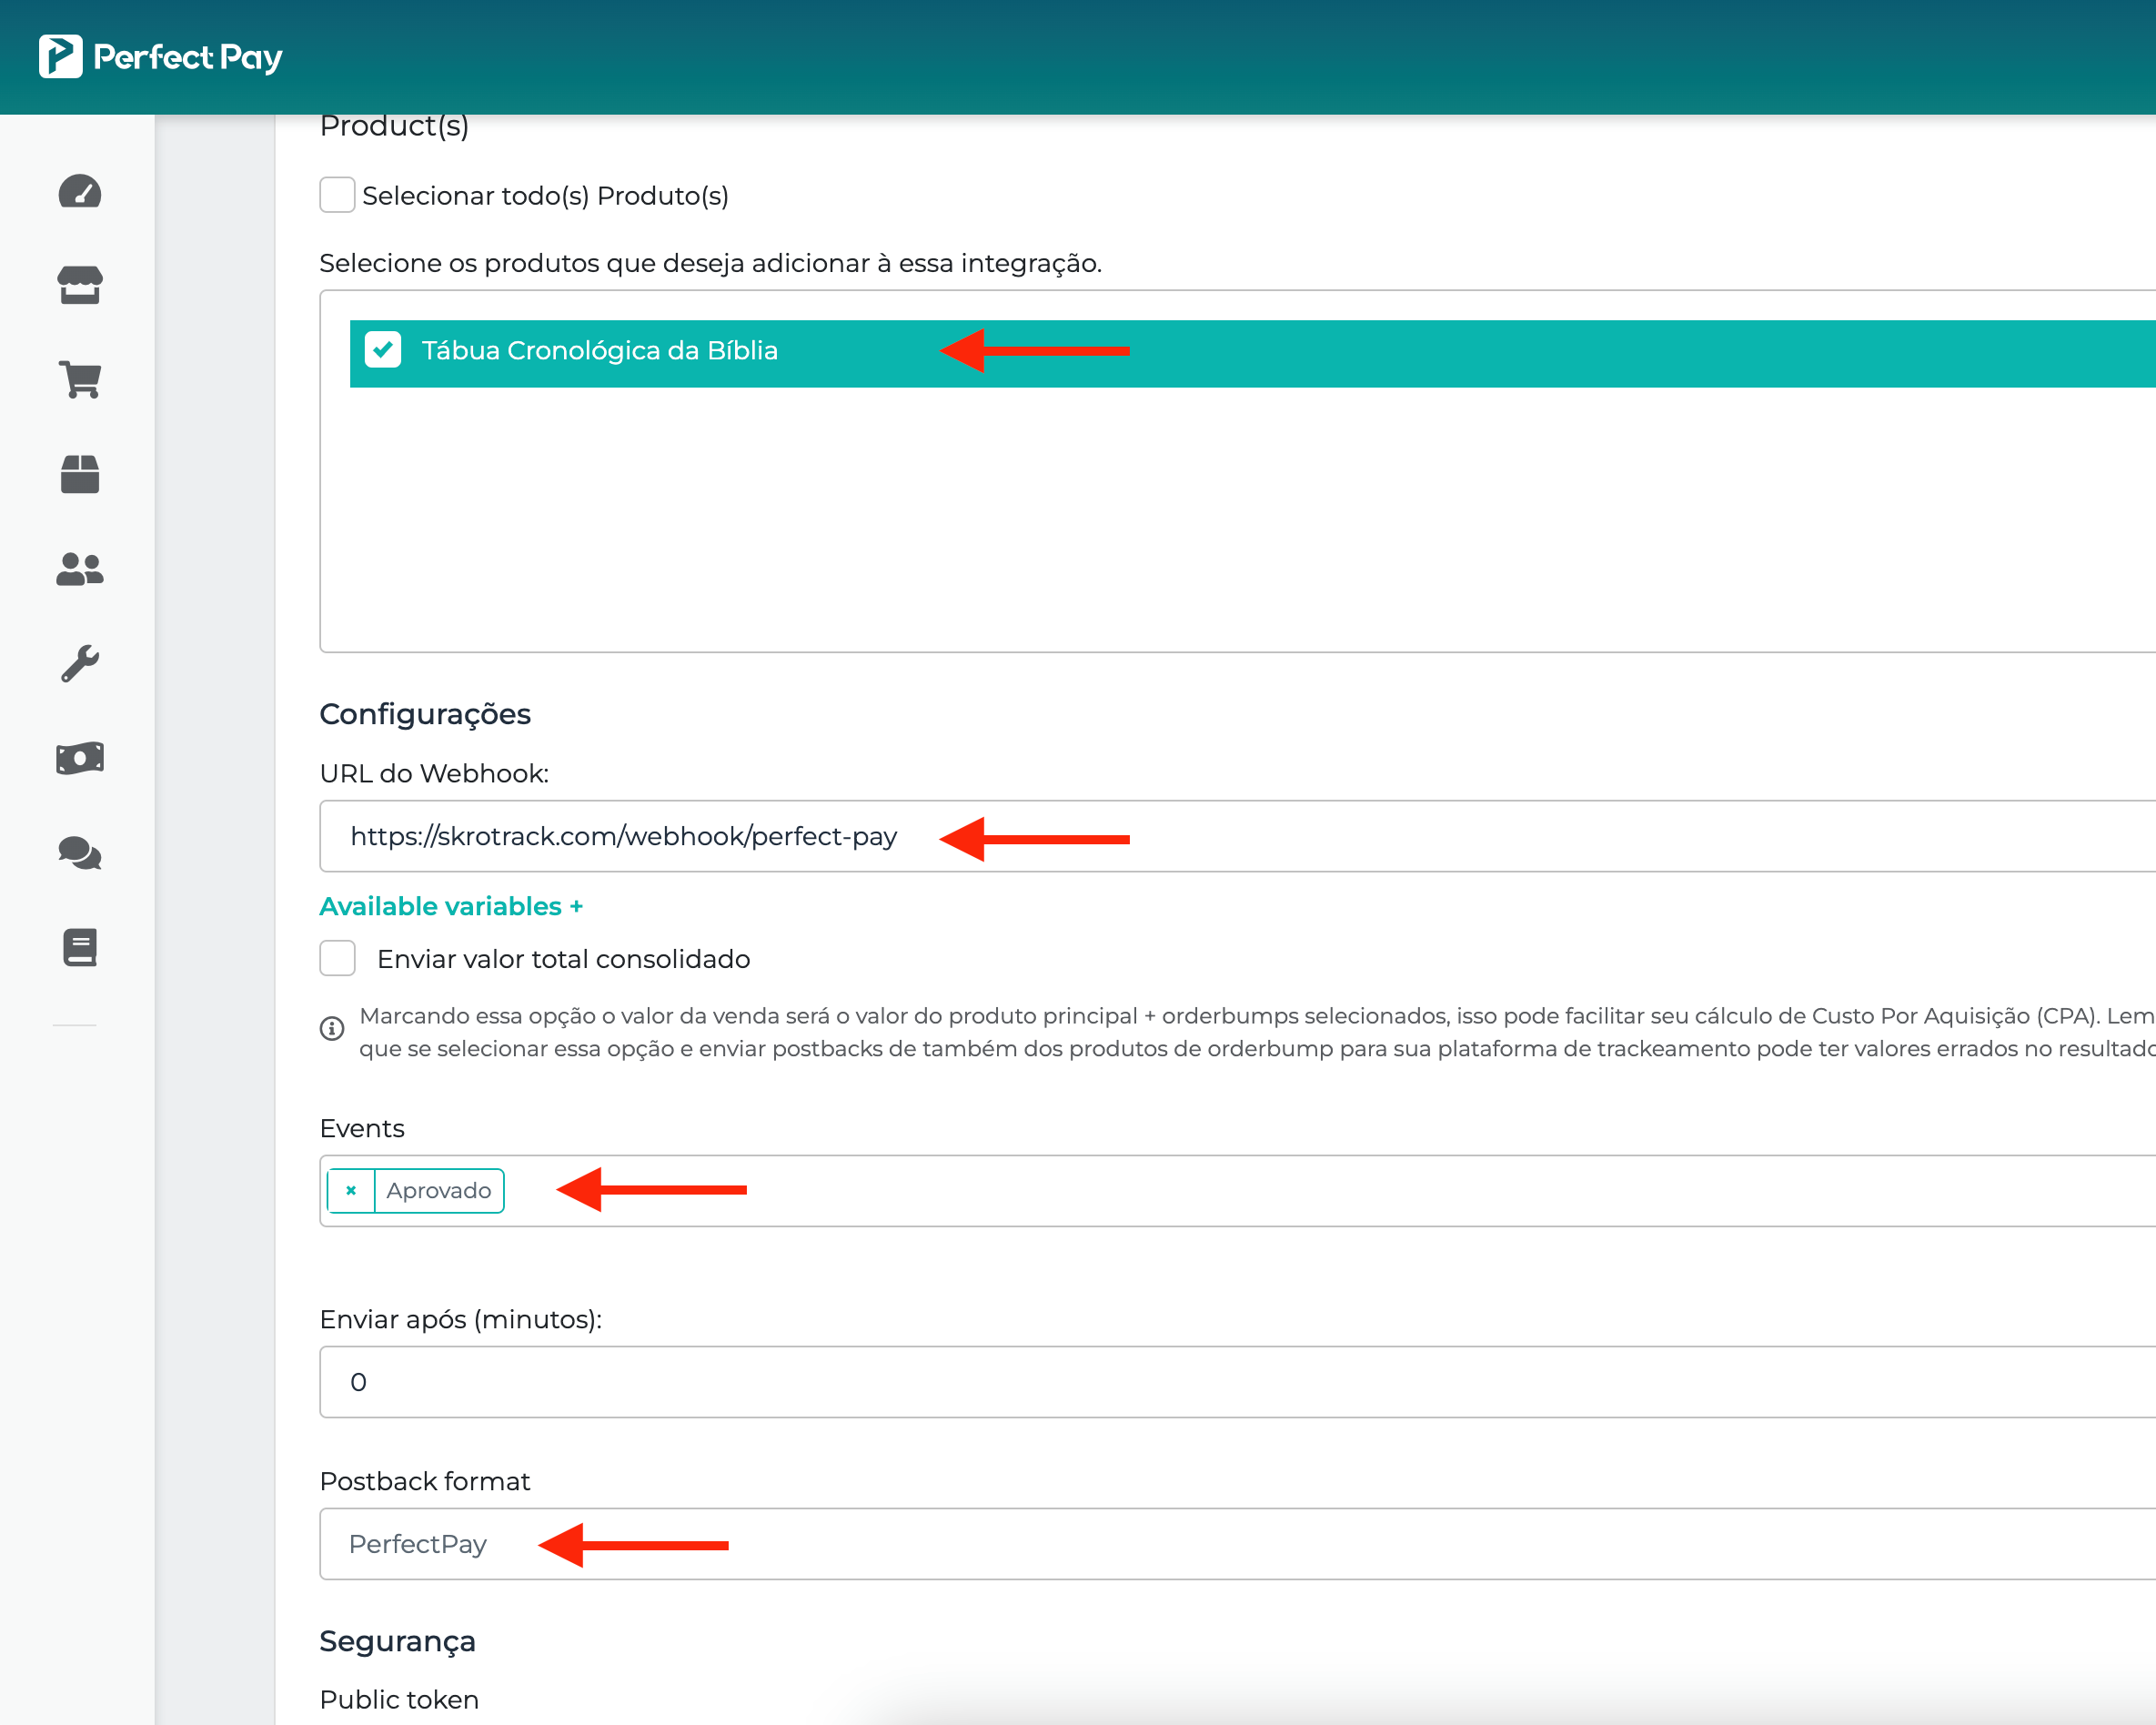
4. Select **Approved** event from the list.
5. Select postback format as **PerfectPay** and click **Save**.
Well done! Your webhook for **Approved** event has been successfully integrated.
## Step 2. Add Offer Link and Create Campaign in Skro [#step-2-add-offer-link-and-create-campaign-in-skro]
1. In Skro, go to the **Affiliate Networks** view, click **Create**, select **Perfect Pay**, and fill in the details.
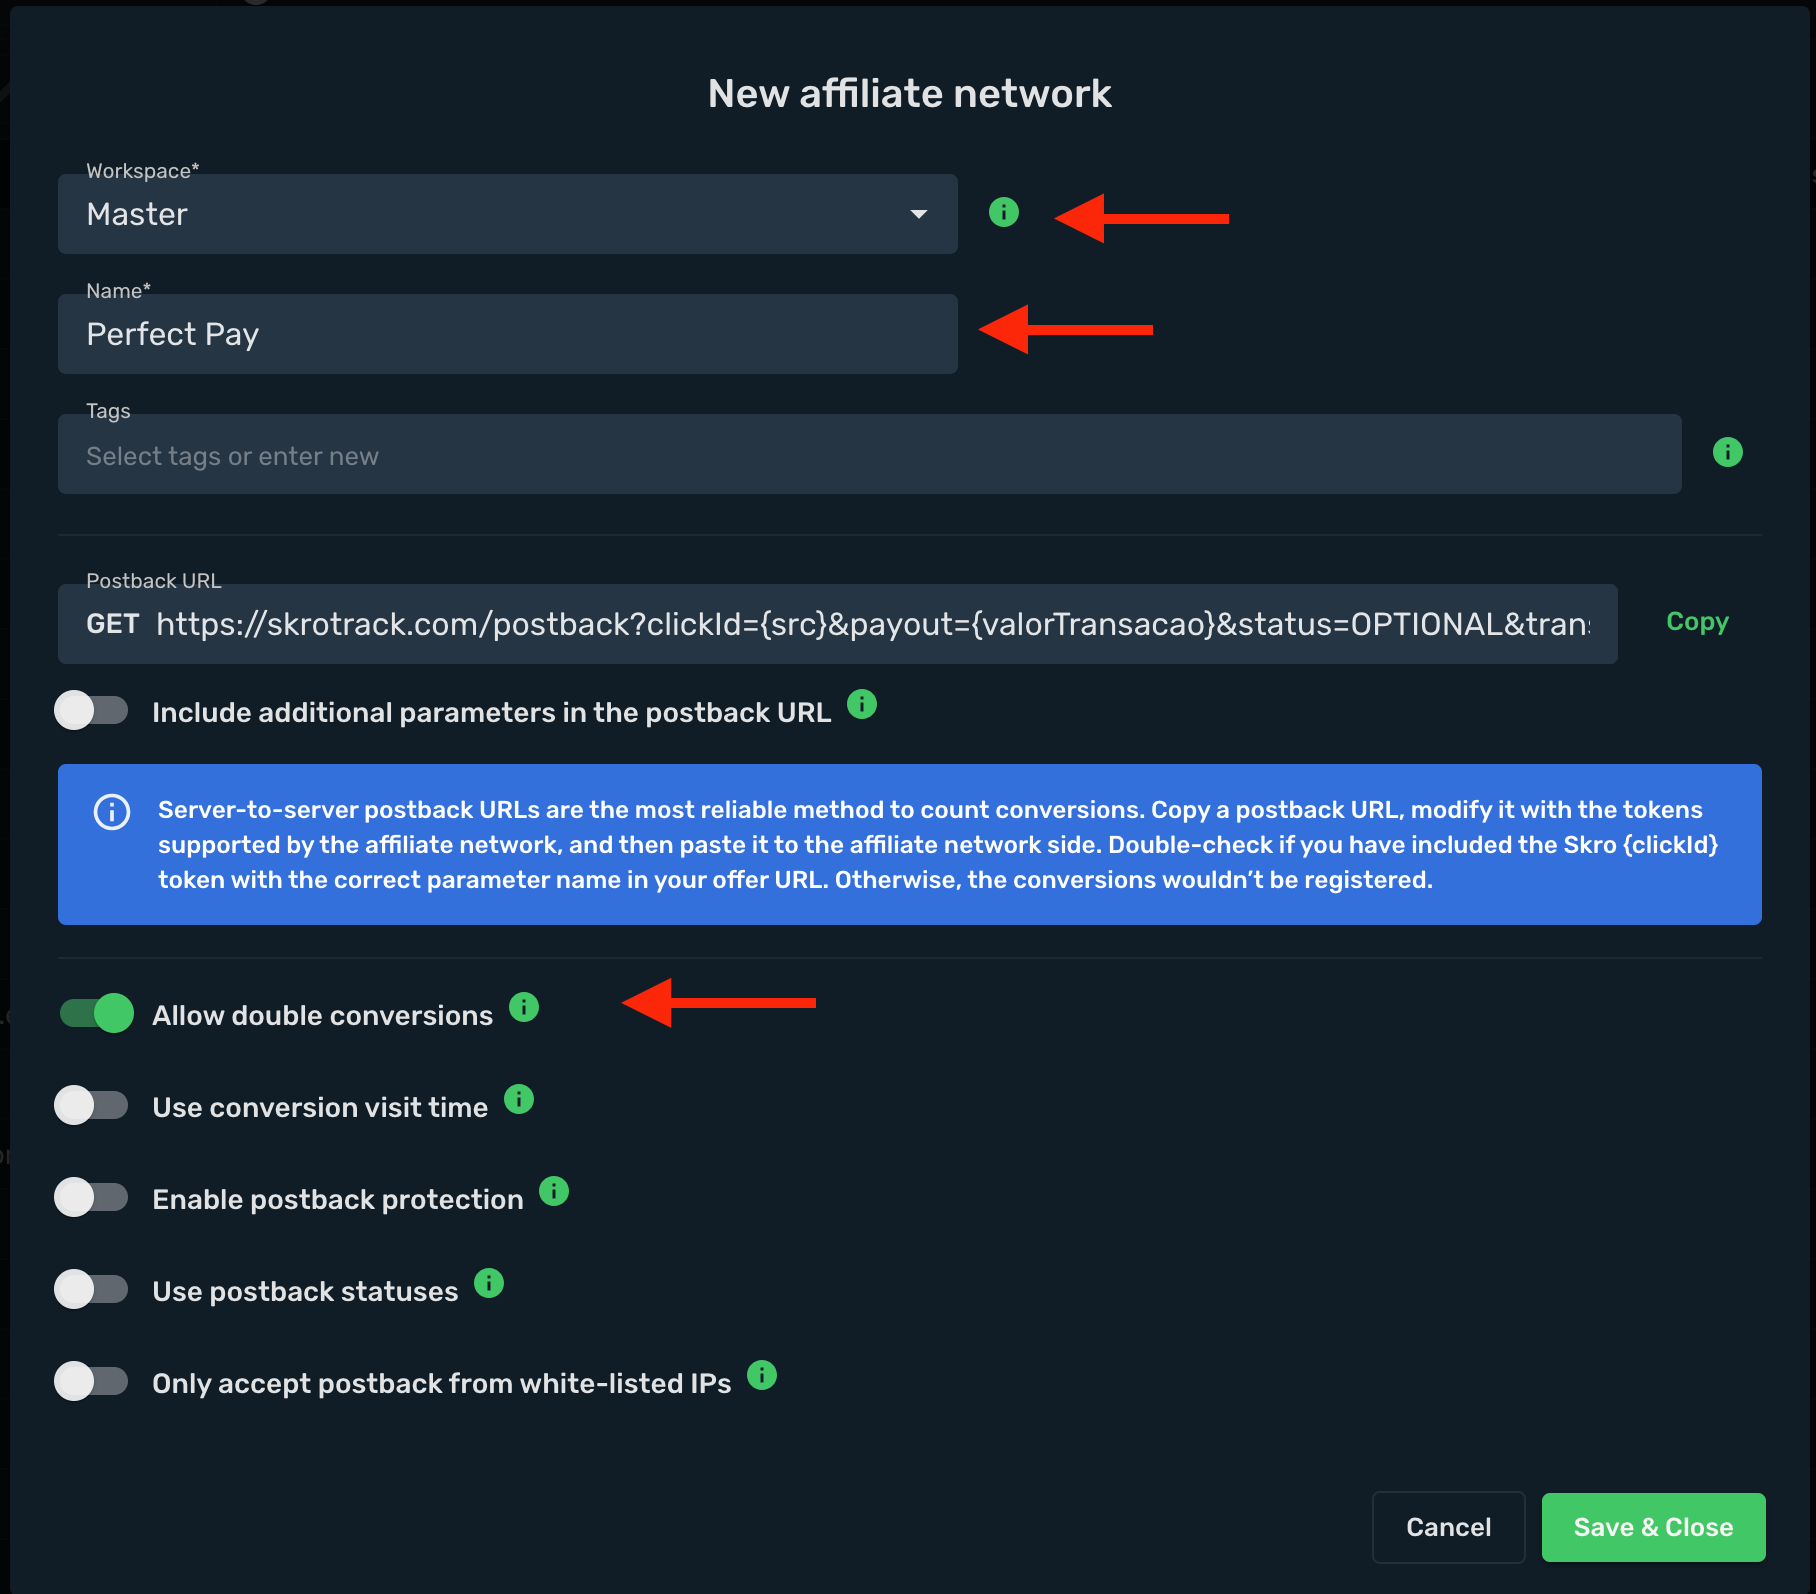
2. Add your affiliate link as offer. Go to the **Offers** view, click **Create**, and enter your affiliate link details.
3. Select a workspace.
4. Enter a name for your offer.
5. Enter your offer URL (Checkout link) with the Skro Click ID parameter: **`?src={clickId}`**
`https://go.perfectpay.com.br/XXX3333XXX?src={clickId}`
6. Select **Perfect Pay** as the affiliate network.
7. **Payout Type** - Make sure you select correct currency for your payouts.
8. Click **Save & Close**.

9. (Optional) If you use a pre-lander (Sales page), go to the **Landings** view, click **Create**, and add your sales page there.
10. Navigate to the **Ads Manager** view and click **Create**.
11. Select your integrated **Traffic Source** (e.g. Facebook).
12. Select your **Conversion Event Name**. Event naming must be exactly the same in Skro and in your traffic source. Naming is case-sensitive.
13. Select your **Conversion Pixel**. This is required for sending conversion data back to your traffic source.
14. Set **Cost Model** to **Auto**.
15. Select your cost currency.
16. Click **Next**.

16. Choose a workspace.
17. Add a descriptive campaign name.
18. Click **Next**.

19. Choose your **Destination Type** (in this example: **flow**).
20. Select your redirect mode (in this example: **302 redirect**).
21. Select your landing setup (in this example: **use only offers**).
22. Select your Perfect Pay offer.
23. Click **Save**.

24. Choose your tracking method: **Redirect** or **Direct**. (In this example we use **Redirect**.)

Your Perfect Pay integration is complete! You can now use the Skro Campaign Tracking URL in Facebook Ads (or any other traffic source). Remember: all traffic must go through your Skro campaign link, otherwise the tracking will not work.
## Verify the setup [#verify-the-setup]
Follow a campaign link and complete a test conversion using your provider’s test workflow. Confirm that the original click ID reaches the provider and is returned to Skro, then check the event and revenue in your campaign report.
If data is missing, check the selected workspace, integration, campaign, and reporting date range. Compare parameter names and macro values with the examples in this guide before repeating the test.
## Related guides [#related-guides]
# PopAds integration
Source: https://skro.eu/docs/integrations/popads-and-skro-integration
Set up PopAds tracking in Skro, configure traffic source parameters, and connect your advertising campaigns.
Integration enables you to track all your campaigns, zones, ads, etc. Additionally, it provides a comprehensive overview of your cost and conversions for the optimization.
## Step 1. Create a PopAds traffic source and configure the postback URL [#step-1-create-a-popads-traffic-source-and-configure-the-postback-url]
1. Navigate to the **Traffic Sources**.
2. Click the **Create**.
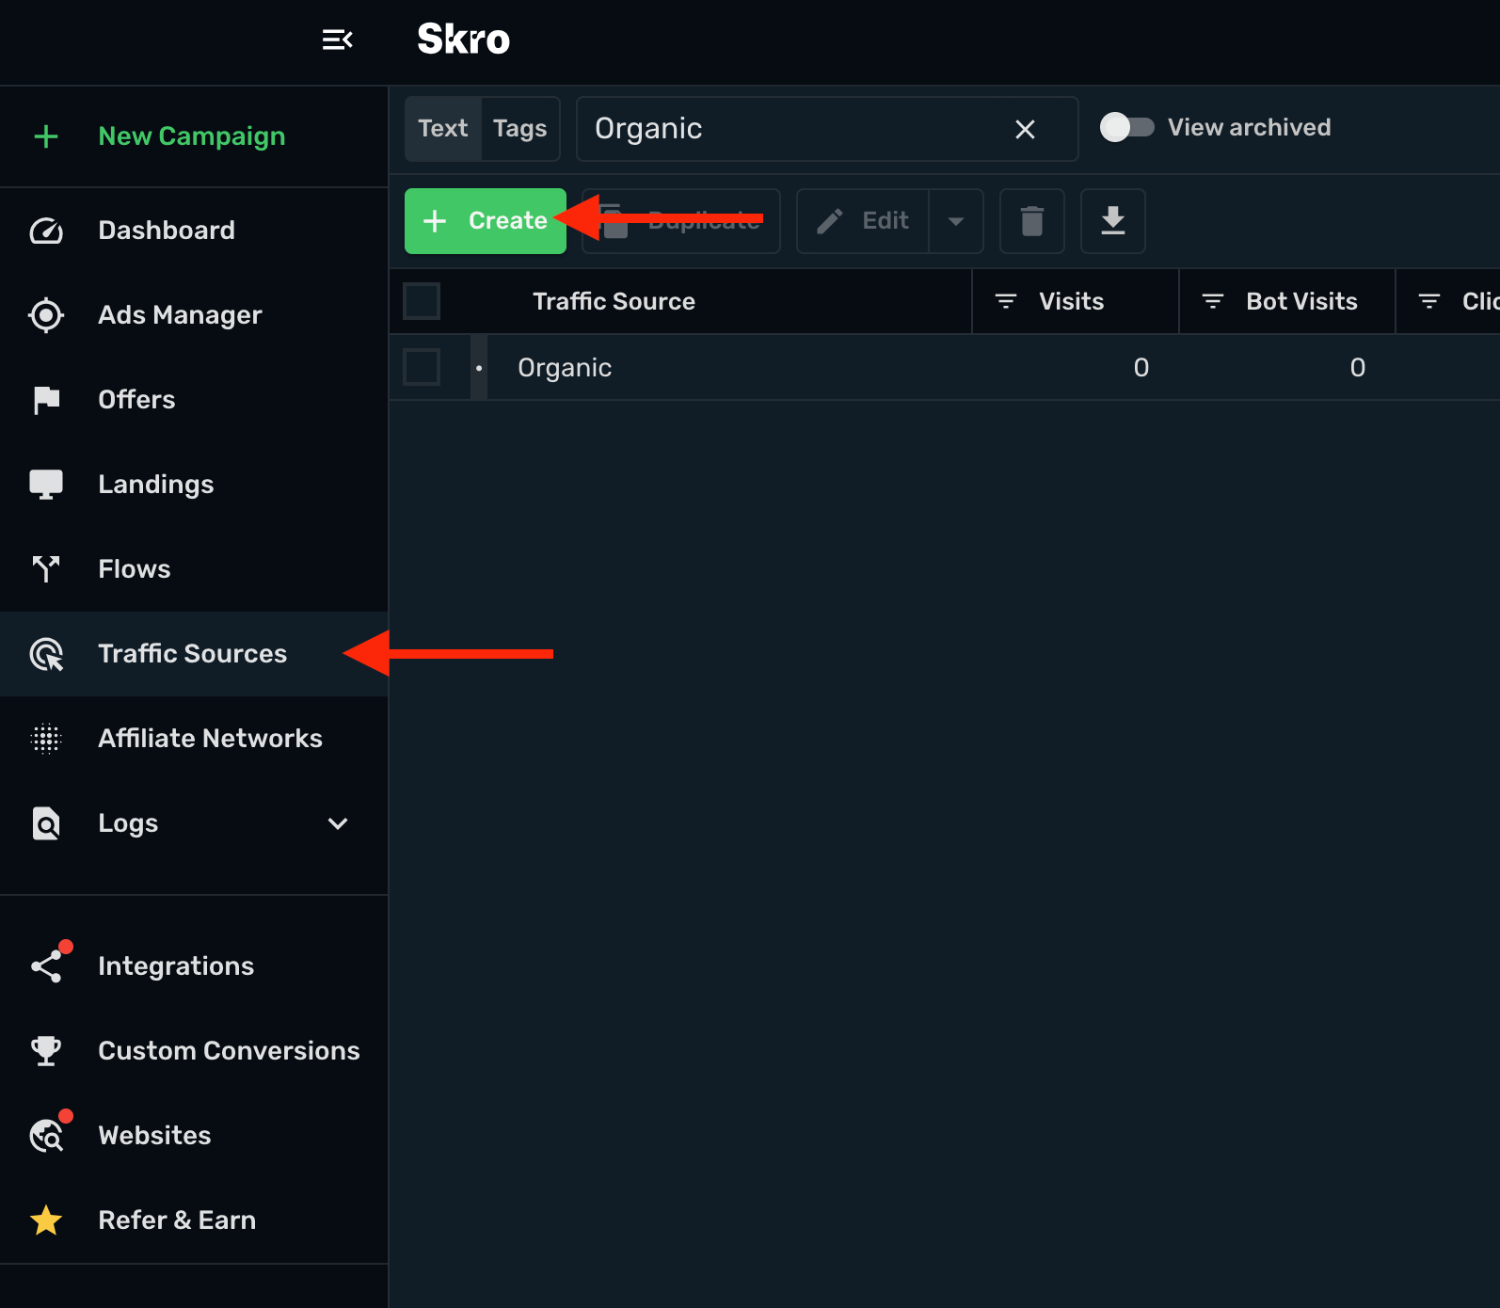
3. Search popads and click the **PopAds** template.
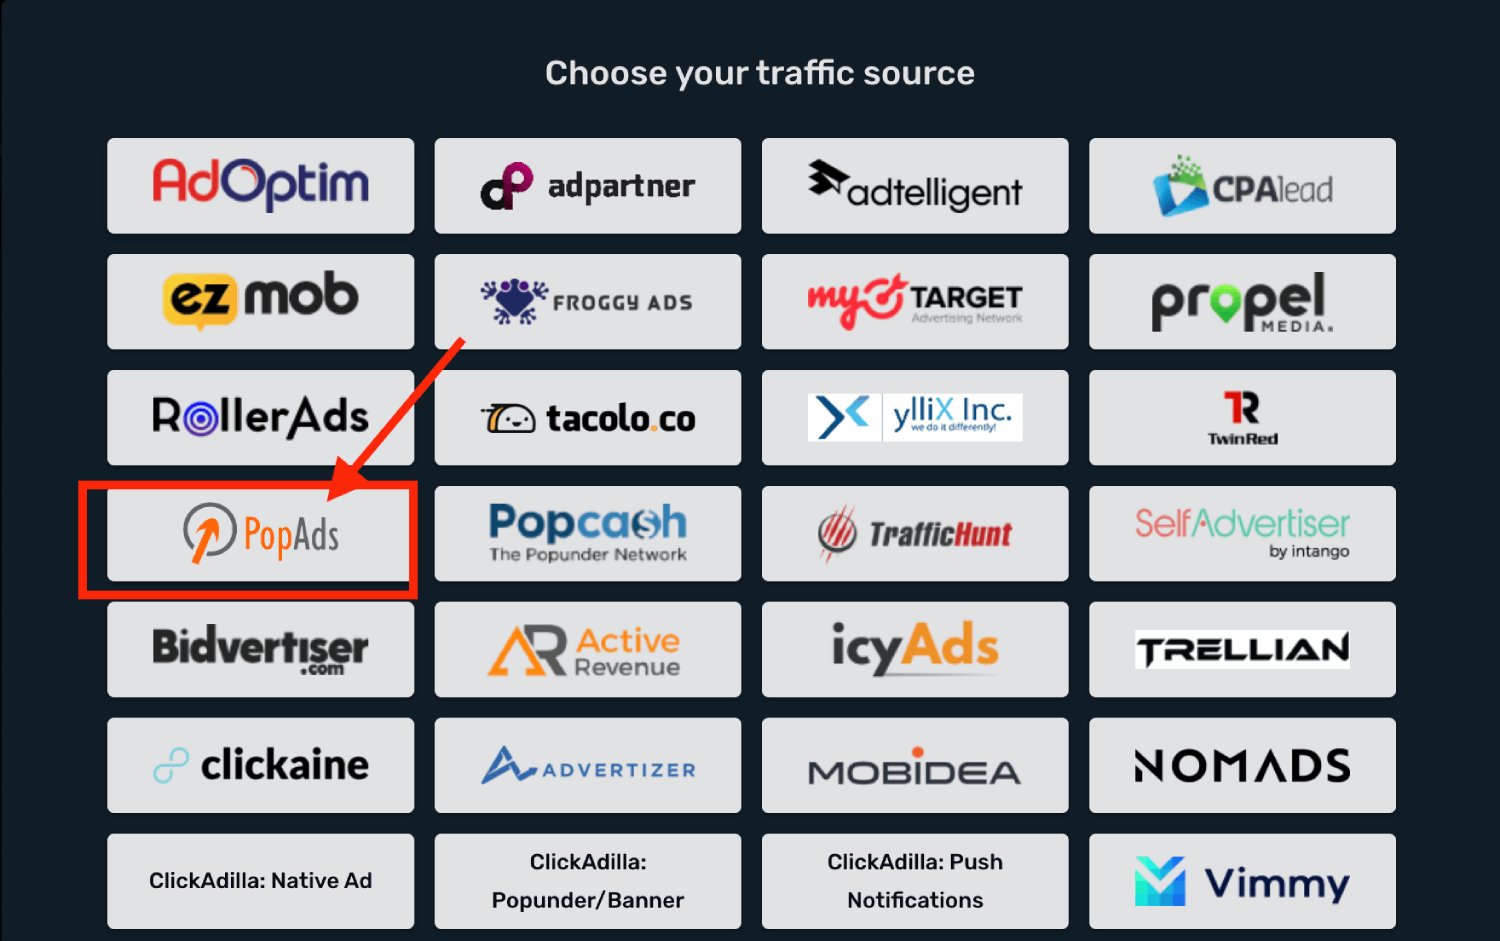
4. You need to change **one parameter value** on your postback URL.
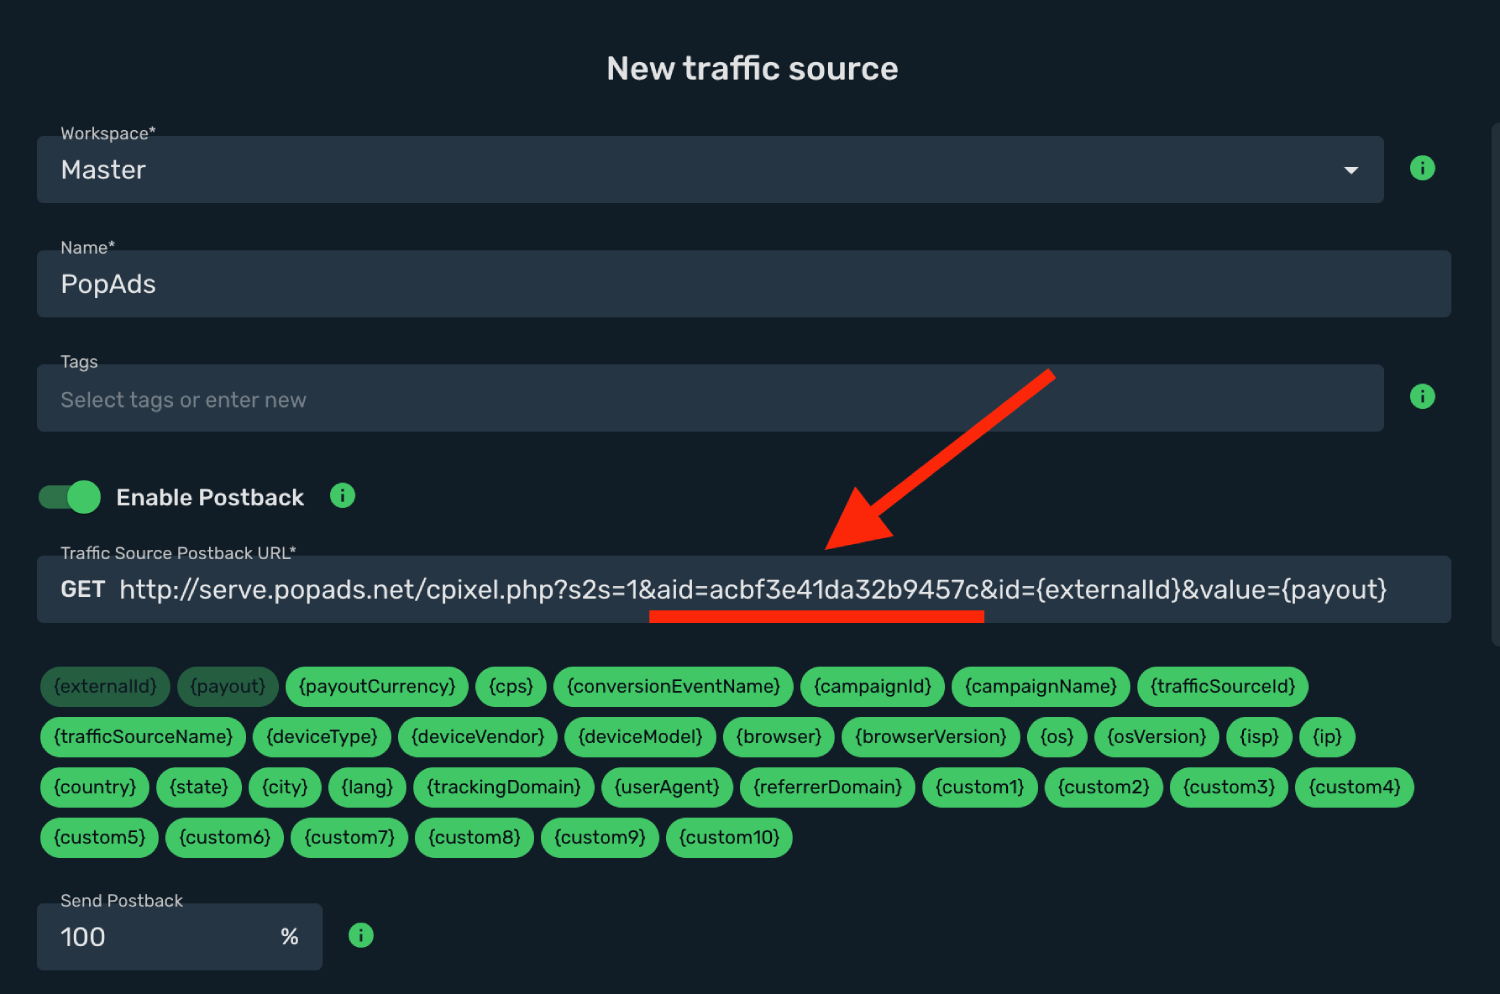
5. Log in to your **PopAds account**.
6. Go to the **Conversions** and copy the **Postback URL** to your clipboard.
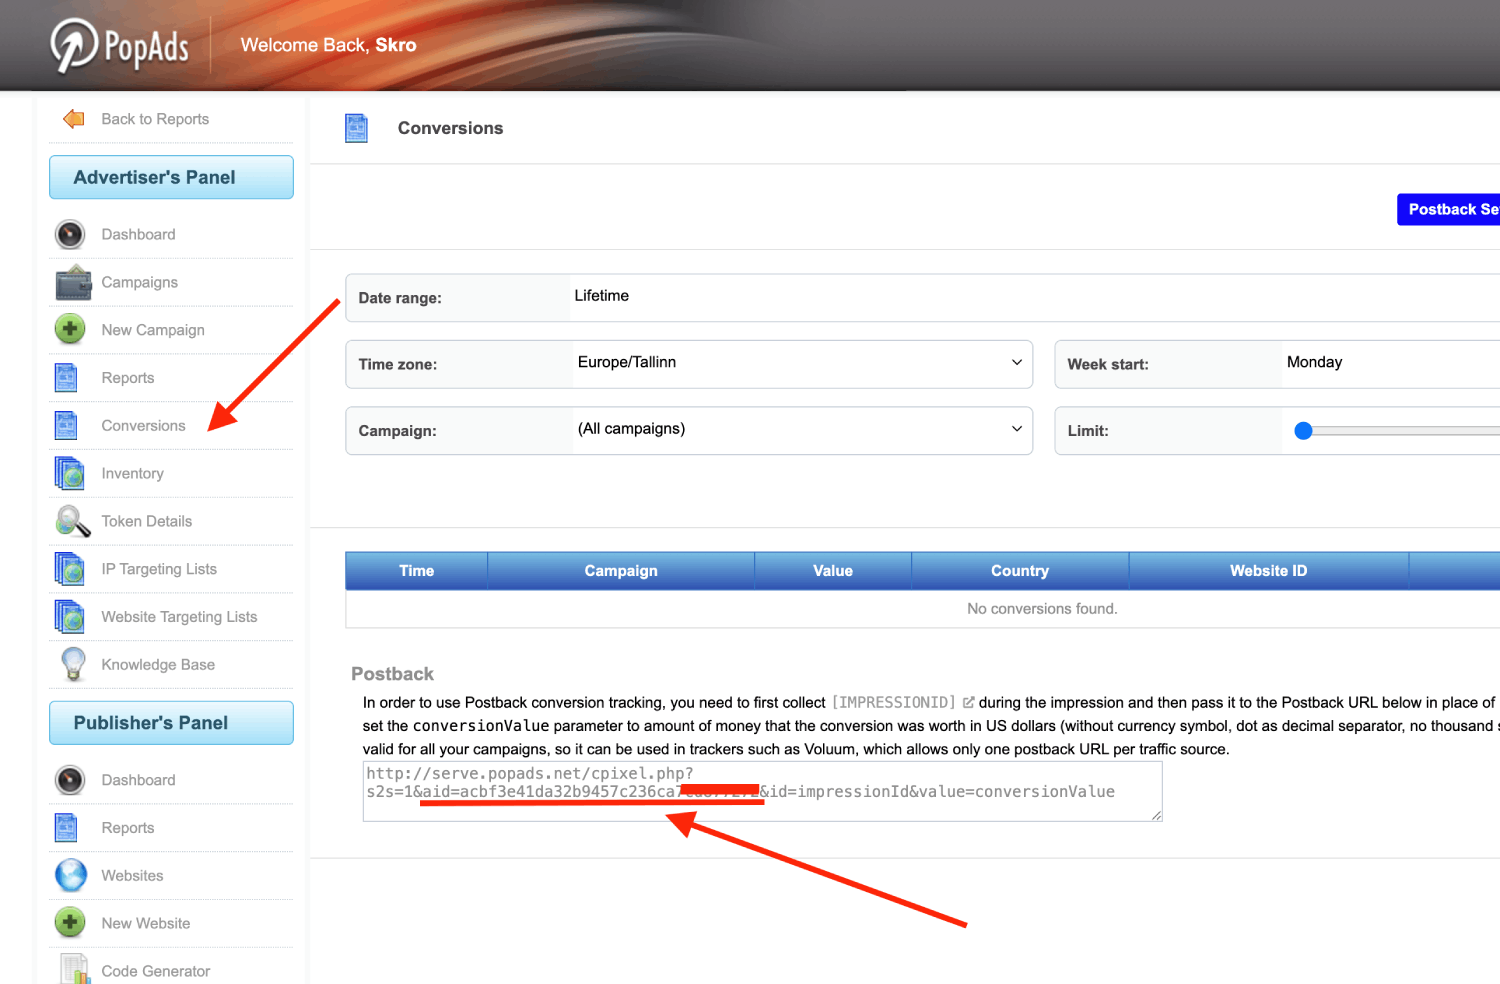
7. Go back to **Skro** and replace the postback URL with the updated value.
8. Final postback URL must look similar to this:
`http://serve.popads.net/cpixel.php?s2s=1&aid=acbf3e41da32b9457c&id={externalId}&value={payout}`
**`aid=acbf3e41da32b9457c`** - This is PopAds Account ID.
**`id={externalId}`** - This maps PopAds **id** parameter to the Skro **`{externalId}`** macro.
**`value={payout}`** - This is revenue macro.
9. All tracking parameters are already prefilled for you.
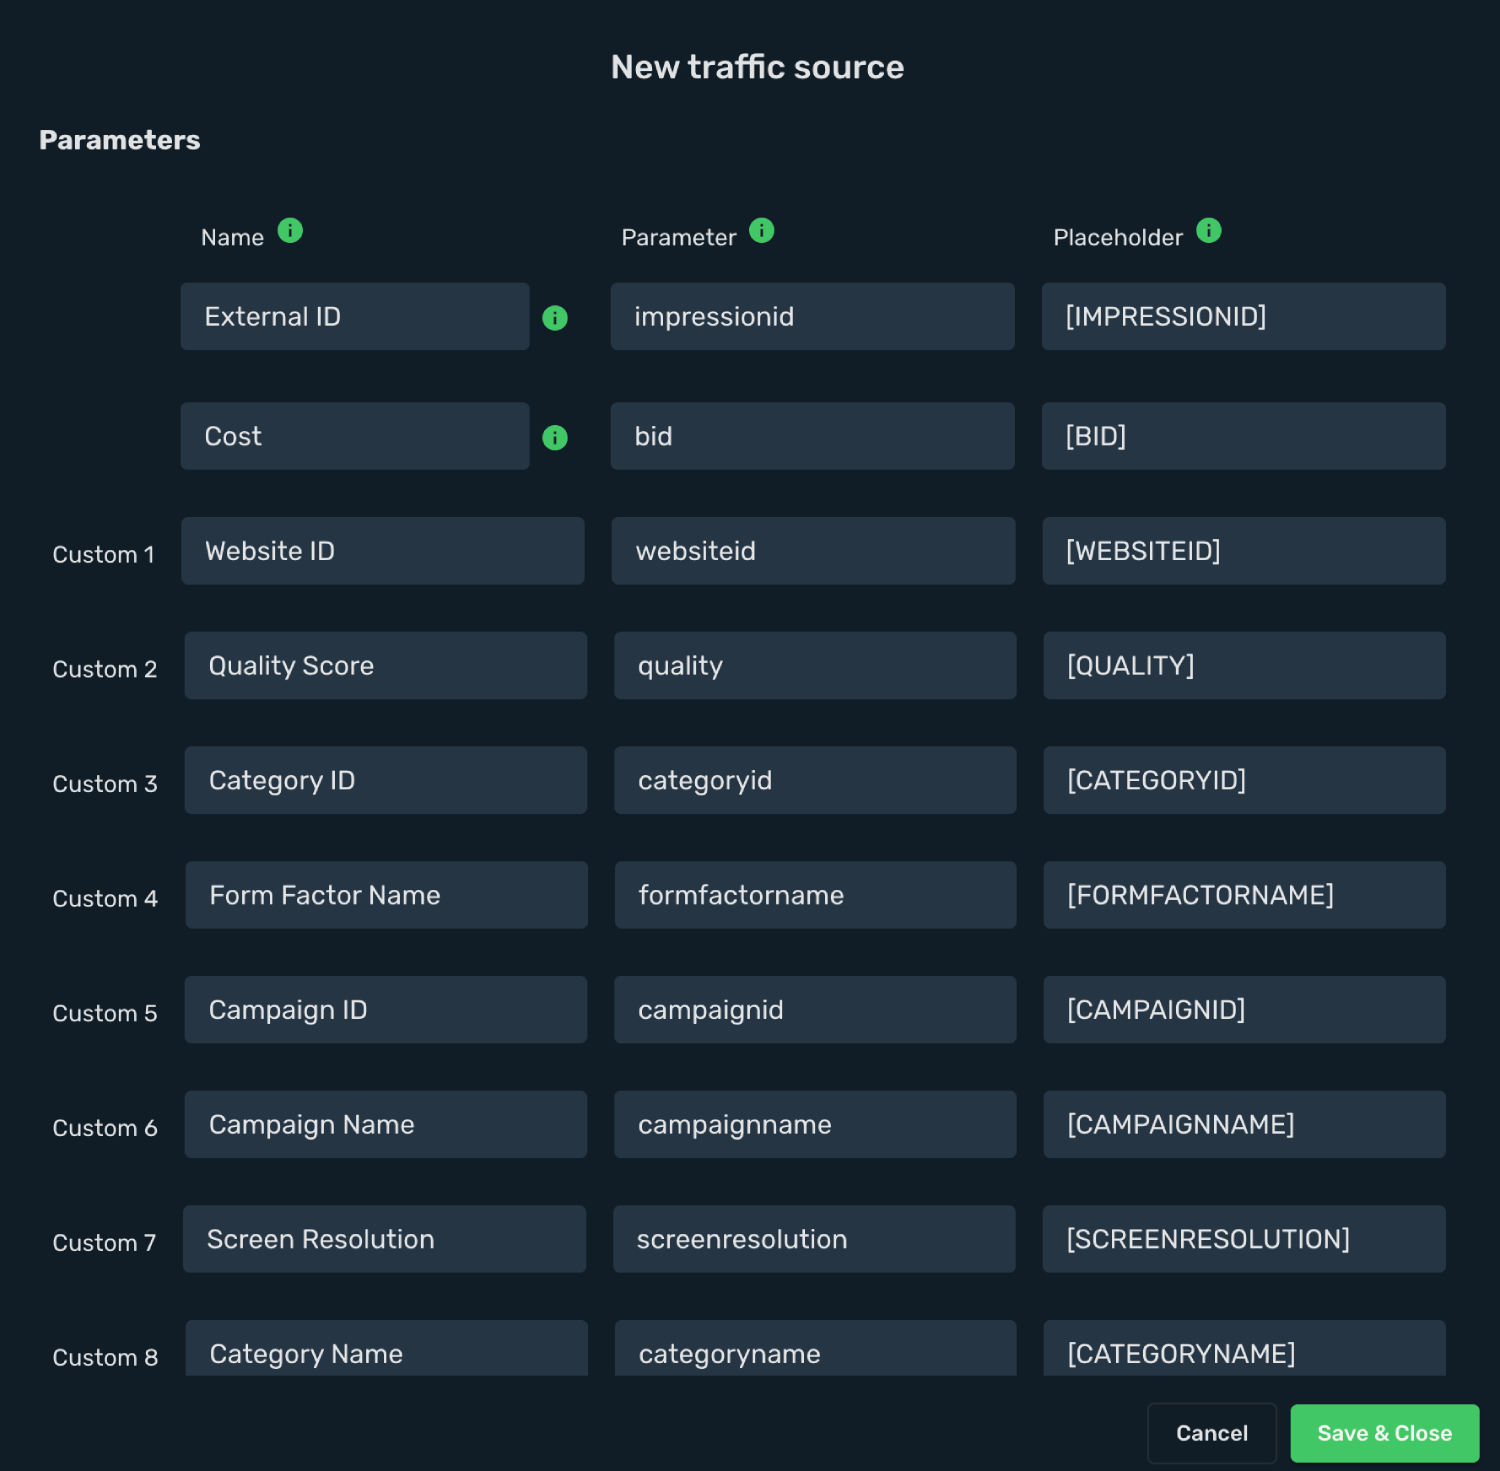
10. Click the **Save & Close**.
Integration setup is complete, and you are now ready to create your first campaign.
## Step 2. Create a campaign on Skro [#step-2-create-a-campaign-on-skro]
1. Go to **Ads Manager** and click the **Create**.
2. Select your **Traffic source** and click **Next**.
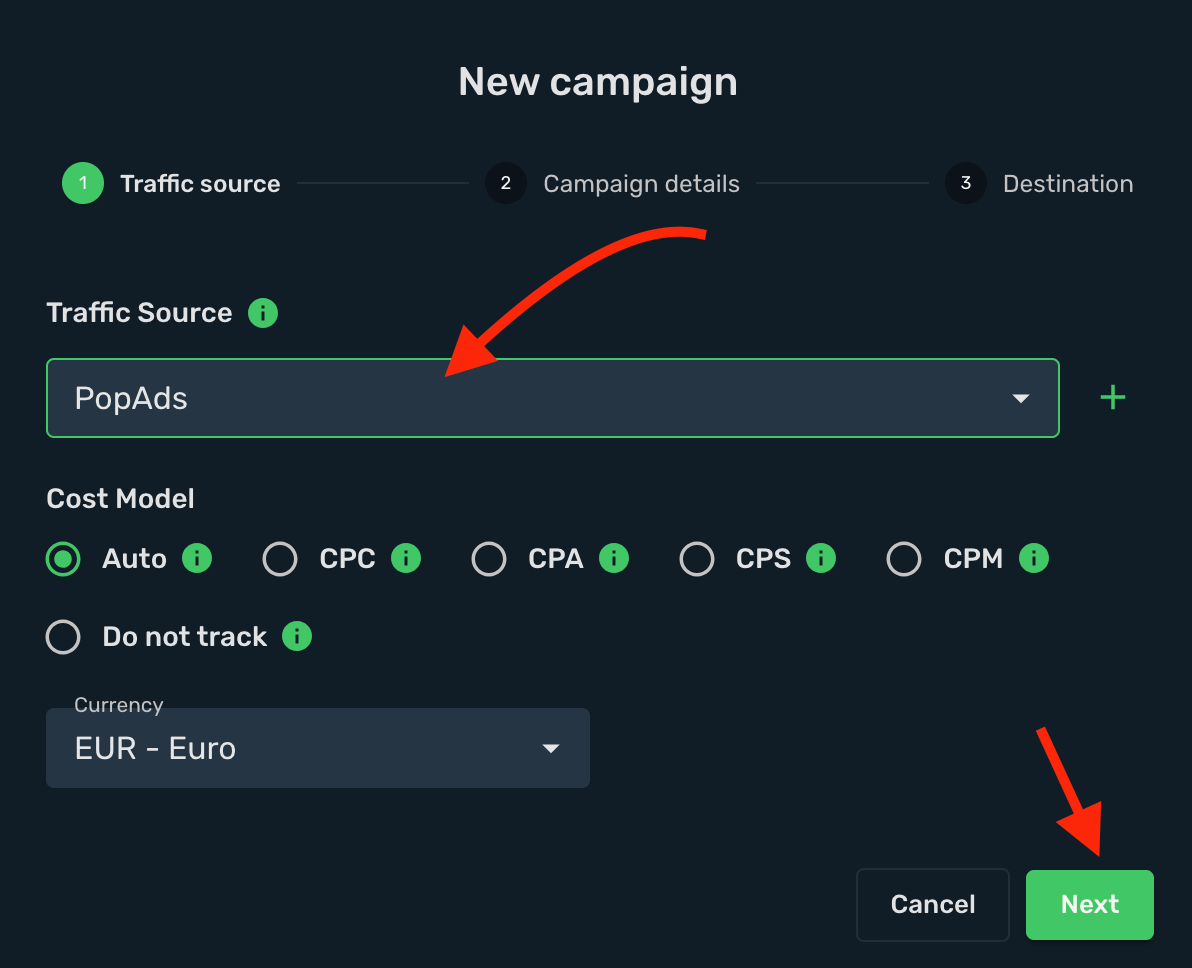
3. Select your campaign **Workspace**.
4. Enter a descriptive campaign name.
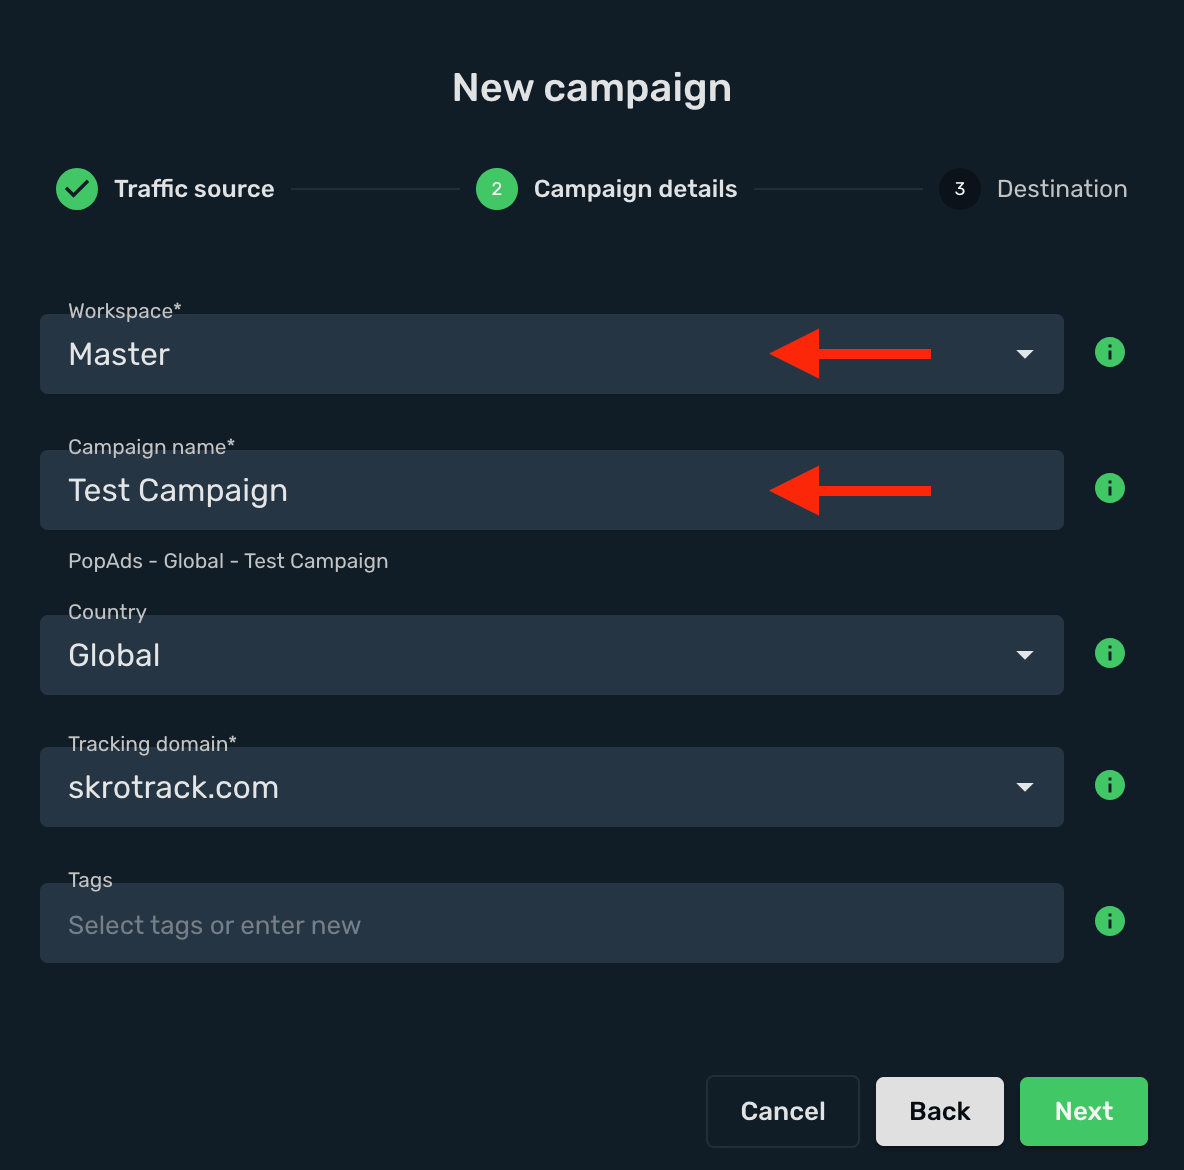
5. Select or create your **landings** and **offers**.
6. Click the **Save**.
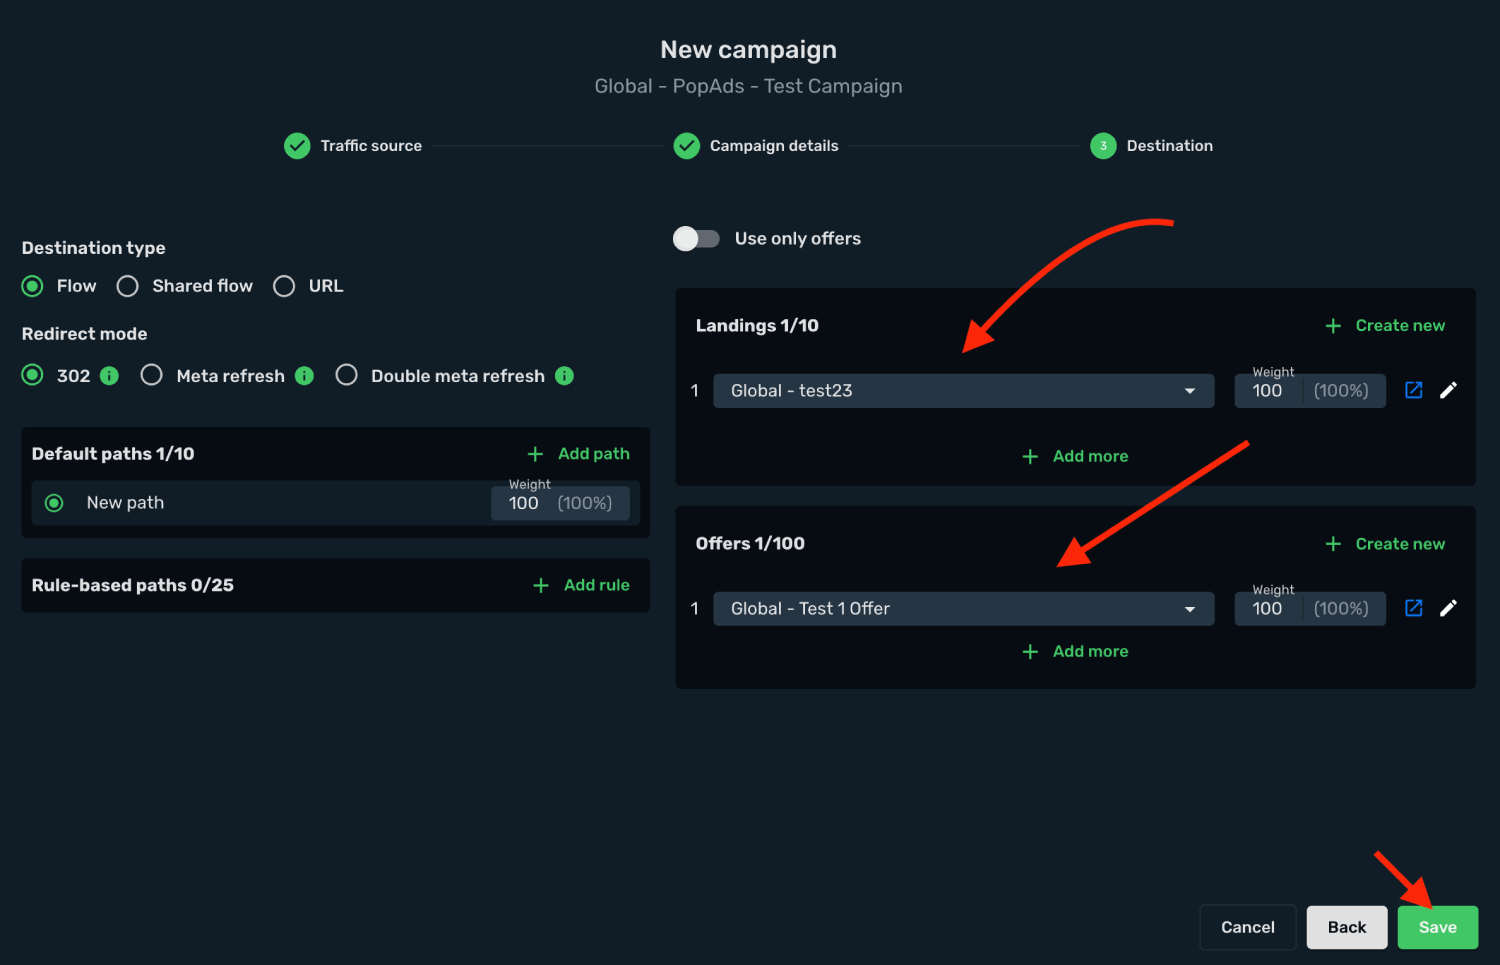
7. Copy the **Campaign Tracking URL** to clipboard.
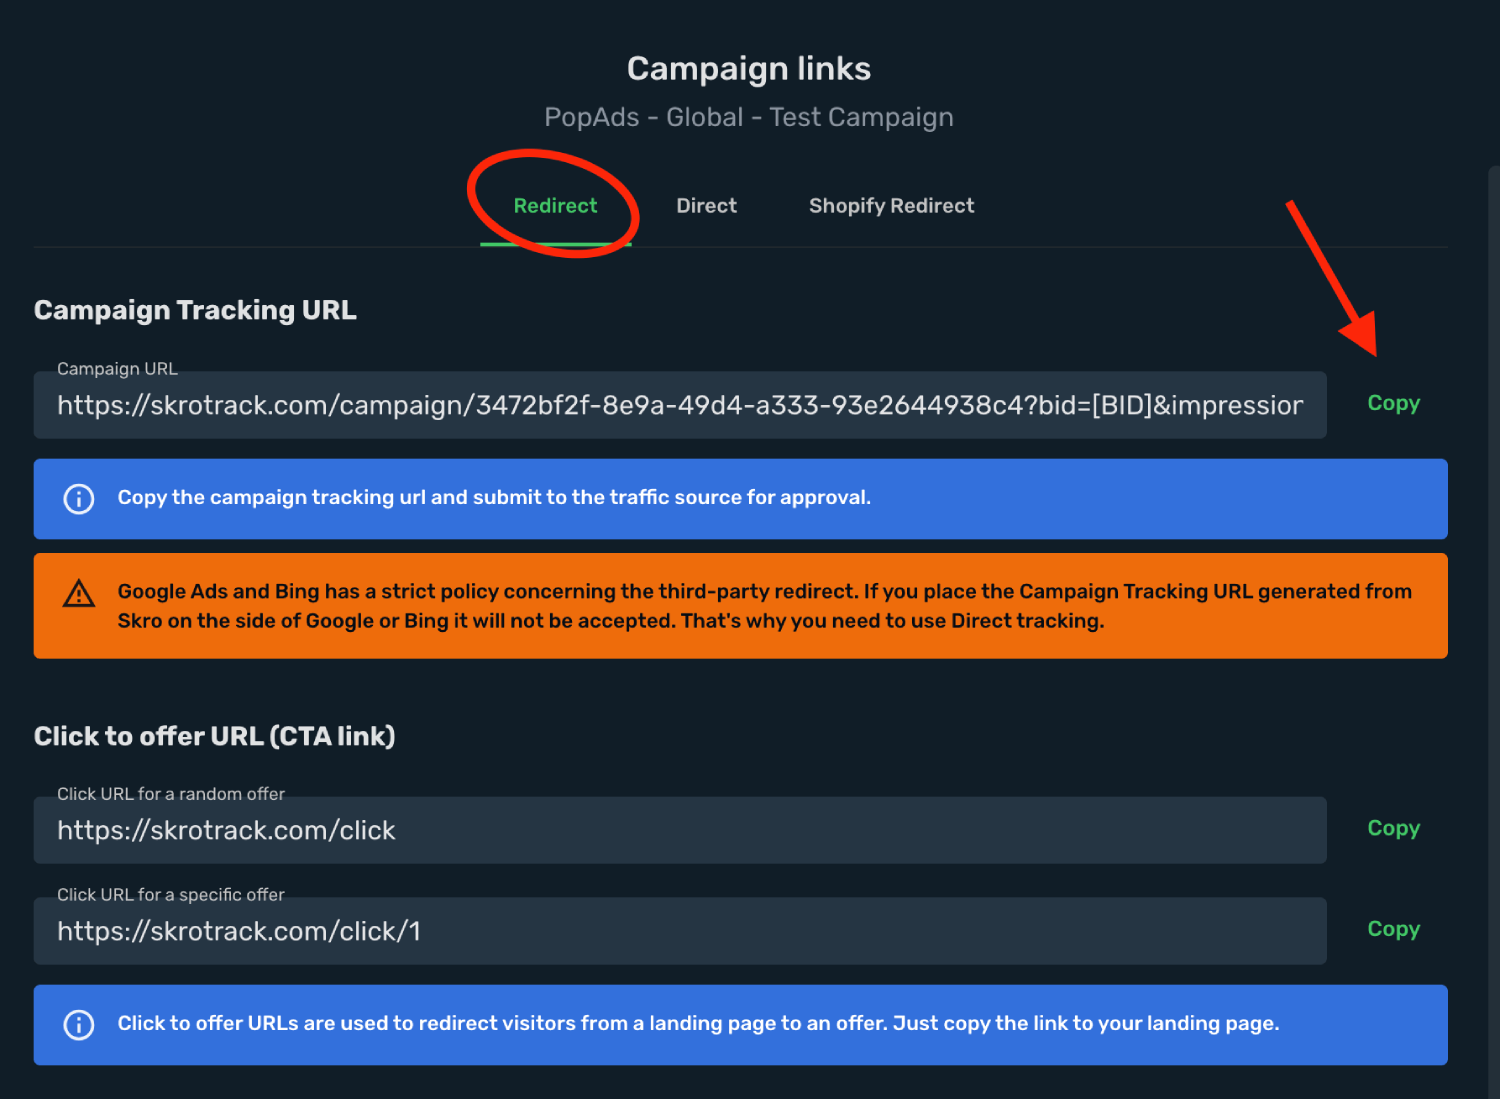
## Step 3. Create a campaign on PopAds [#step-3-create-a-campaign-on-popads]
1. Log in to your **PopAds account**.
2. Click the **New Campaign**.
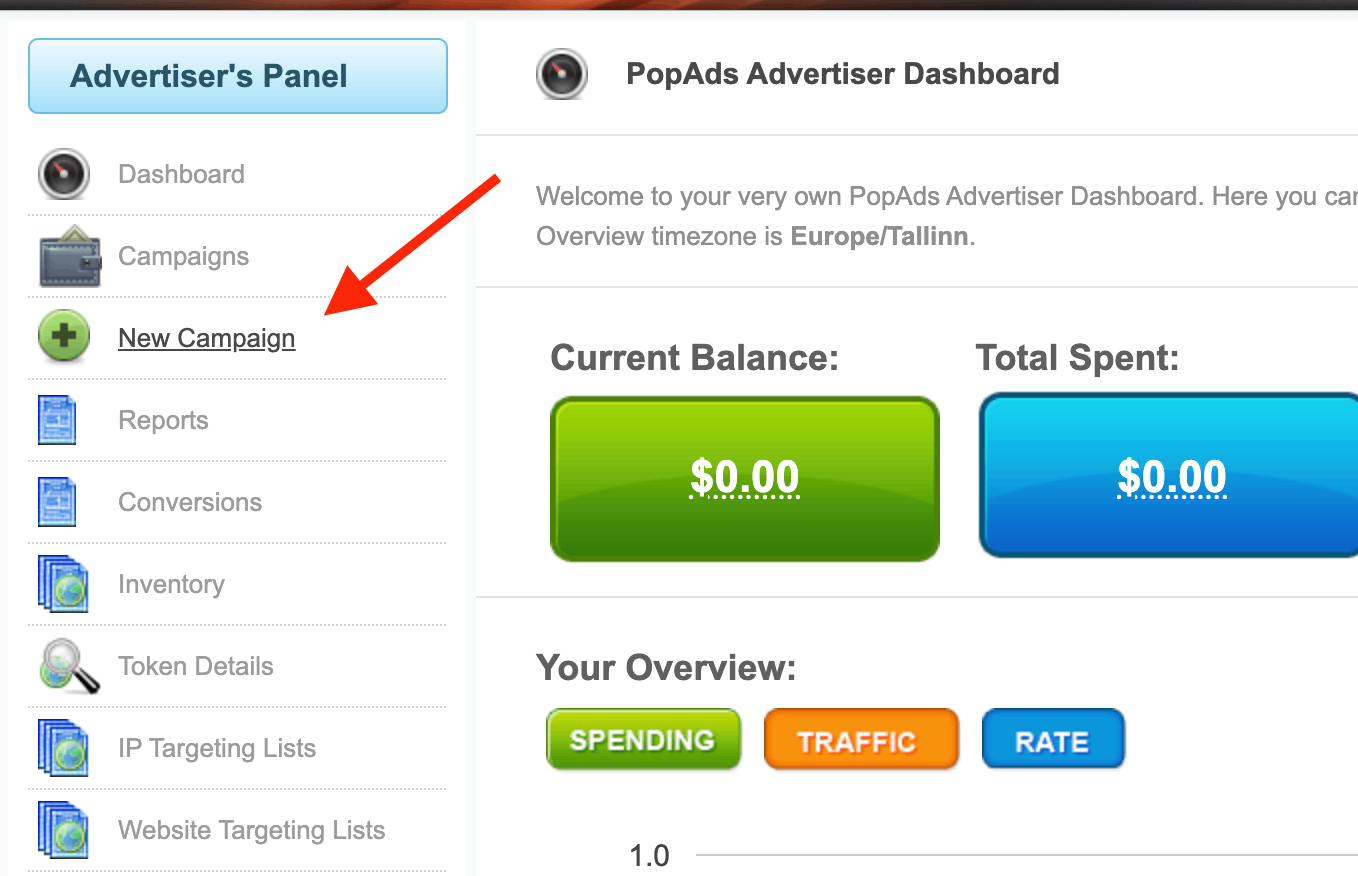
3. Enter a descriptive campaign name.
4. Paste the **Skro campaign tracking link** into the **URL** field with tracking parameters.
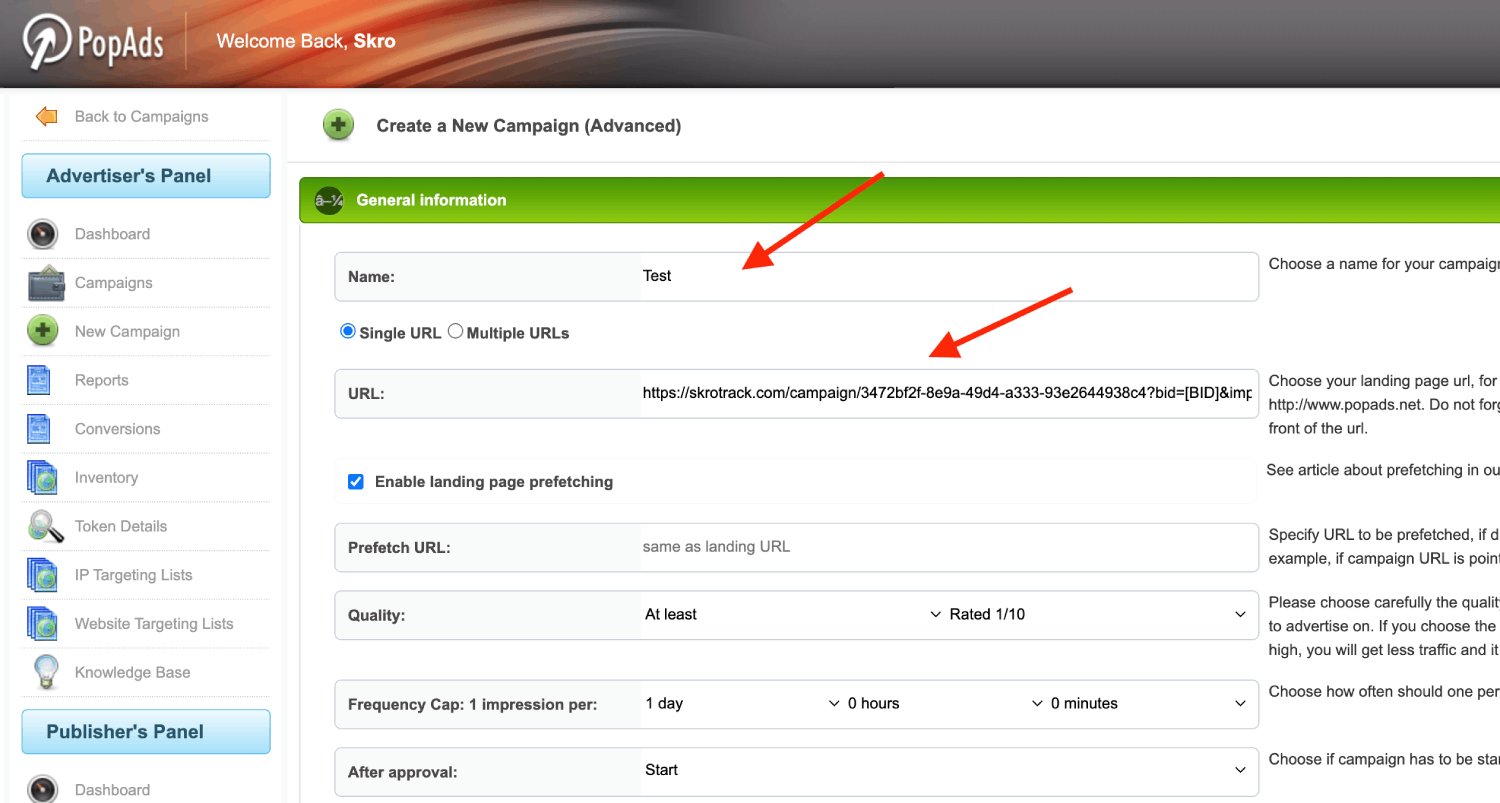
5. Fill all other fields where needed and click the **Create Campaign**.
## Verify the setup [#verify-the-setup]
Open the generated campaign URL and check that the visit appears in Skro. Confirm that traffic source macros resolve to actual values. If you send conversions back to the source, verify a test conversion in both systems.
If data is missing, check the selected workspace, integration, campaign, and reporting date range. Compare parameter names and macro values with the examples in this guide before repeating the test.
## Related guides [#related-guides]
# PropellerAds integration
Source: https://skro.eu/docs/integrations/propellerads-integration
Set up PropellerAds tracking in Skro, configure traffic source parameters, and connect your advertising campaigns.
PropellerAds integration gives you the ability to manage and optimize all your PropellerAds ads through the Skro interface.
- Sync cost for campaigns, creatives and zones every 30 min.
- Check the status of your campaigns, creatives and zones.
- Pause or resume campaigns, creatives and zones.
- Change the bid value for campaigns and zones.

## How to generate PropellerAds API token? [#how-to-generate-propellerads-api-token]
- Log in to your **PropellerAds** account.
- Navigate to **Account settings** → **API Access**.
- Click **Create token**.
- Copy the token to clipboard.
## Add integration to Skro [#add-integration-to-skro]
- Log in to your **Skro** account.
- Navigate to **Integrations**.
- In the **Traffic Sources** section click **Add**.

- Click **PropellerAds** logo.
- Paste the **PropellerAds API Token** to **API Token** field and click **Create Integration**.
- You can turn on/off auto-cost update through **Data transfer** switch.
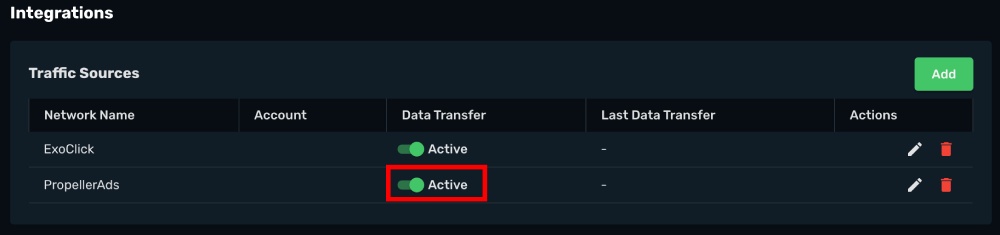
## Setup **Postback URL** and associate the integration with PropellerAds traffic source. [#setup-postback-url-and-associate-the-integration-with-propellerads-traffic-source]
- Log in to your PropellerAds account.
- Navigate to the **Tracking**.
- Select a **other tracker or CPA network**, because Skro isn't listed.
- Click link **Copy this S2S Postback URL**
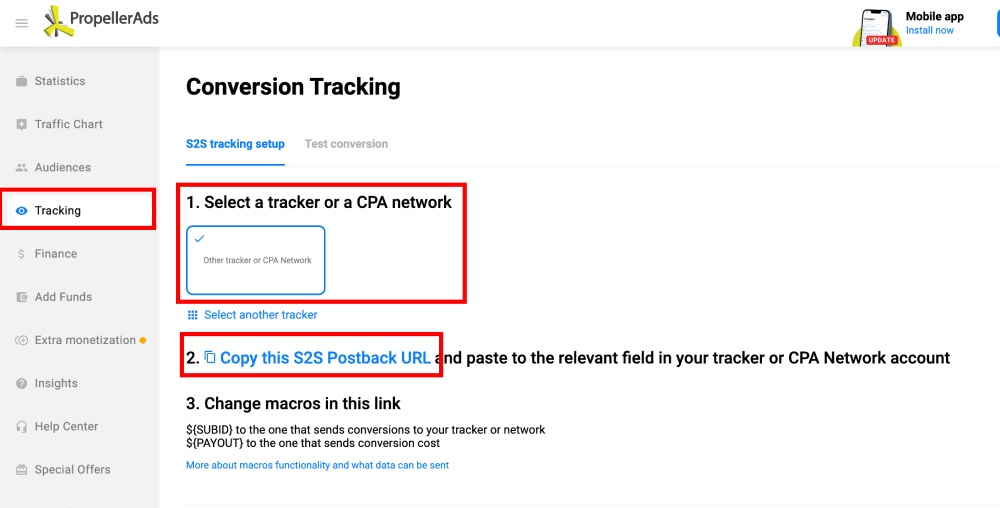
- Go back to Skro and create a new traffic source.

- Click **PropellerAds** logo.
- Paste that S2S Postback URL to **Traffic Source Postback URL** field.
- In this example our S2S postback URL is **`"http://ad.propellerads.com/conversion.php?aid=3490101&pid=&tid=96357&visitor_id=${SUBID}&payout=${PAYOUT}"`**
- **$`{SUBID}`** - Change this macro to **`{externalId}`**
- **$`{PAYOUT}`** - Change this macro to **`{payout}`**
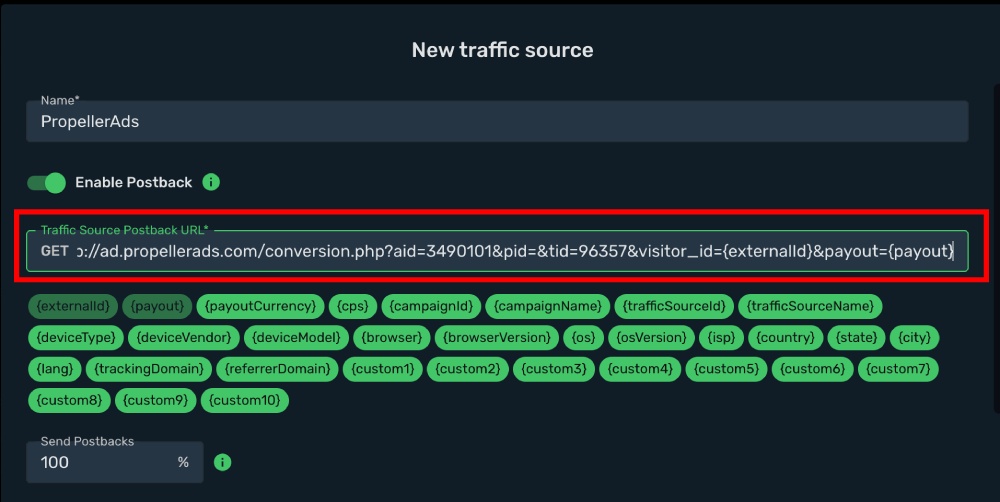
- Add integration association.

- All parameters are prefilled.
- Click **Save & Close**.
The integration is ready. Continue by creating a campaign.
## Verify the setup [#verify-the-setup]
Open the generated campaign URL and check that the visit appears in Skro. Confirm that traffic source macros resolve to actual values. If you send conversions back to the source, verify a test conversion in both systems.
If data is missing, check the selected workspace, integration, campaign, and reporting date range. Compare parameter names and macro values with the examples in this guide before repeating the test.
## Related guides [#related-guides]
# Push.House integration
Source: https://skro.eu/docs/integrations/push-house-integration
Set up Push.House tracking in Skro, configure traffic source parameters, and connect your advertising campaigns.
## Step 1. Create a Push.House traffic source and set up **Postback URL** [#step-1-create-a-pushhouse-traffic-source-and-set-up-postback-url]
- Navigate to **Traffic Sources**.
- Click **Create**.
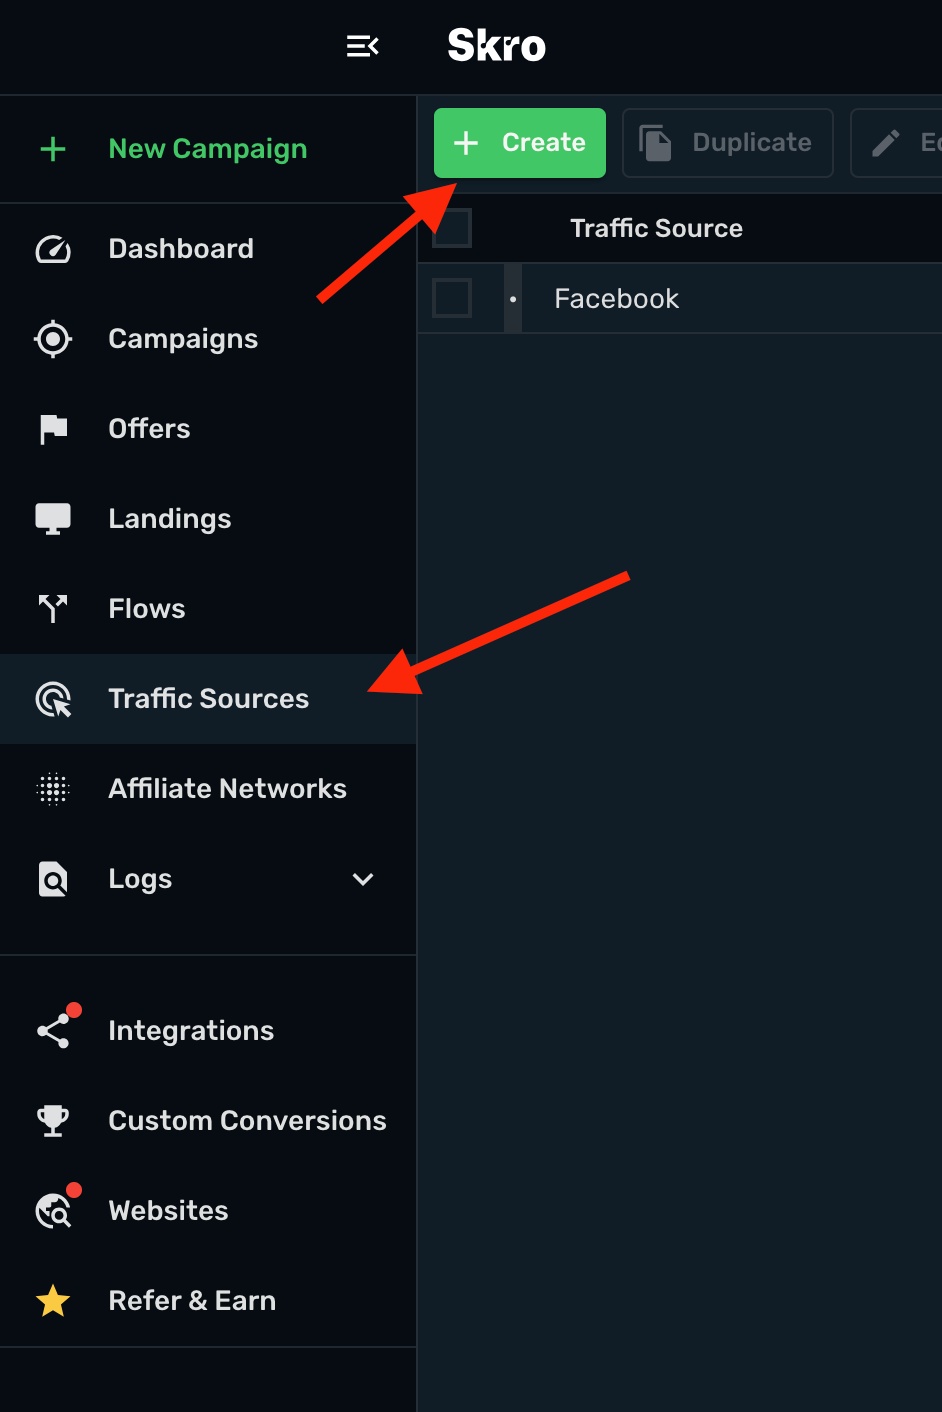
- Click **Push.House** logo.
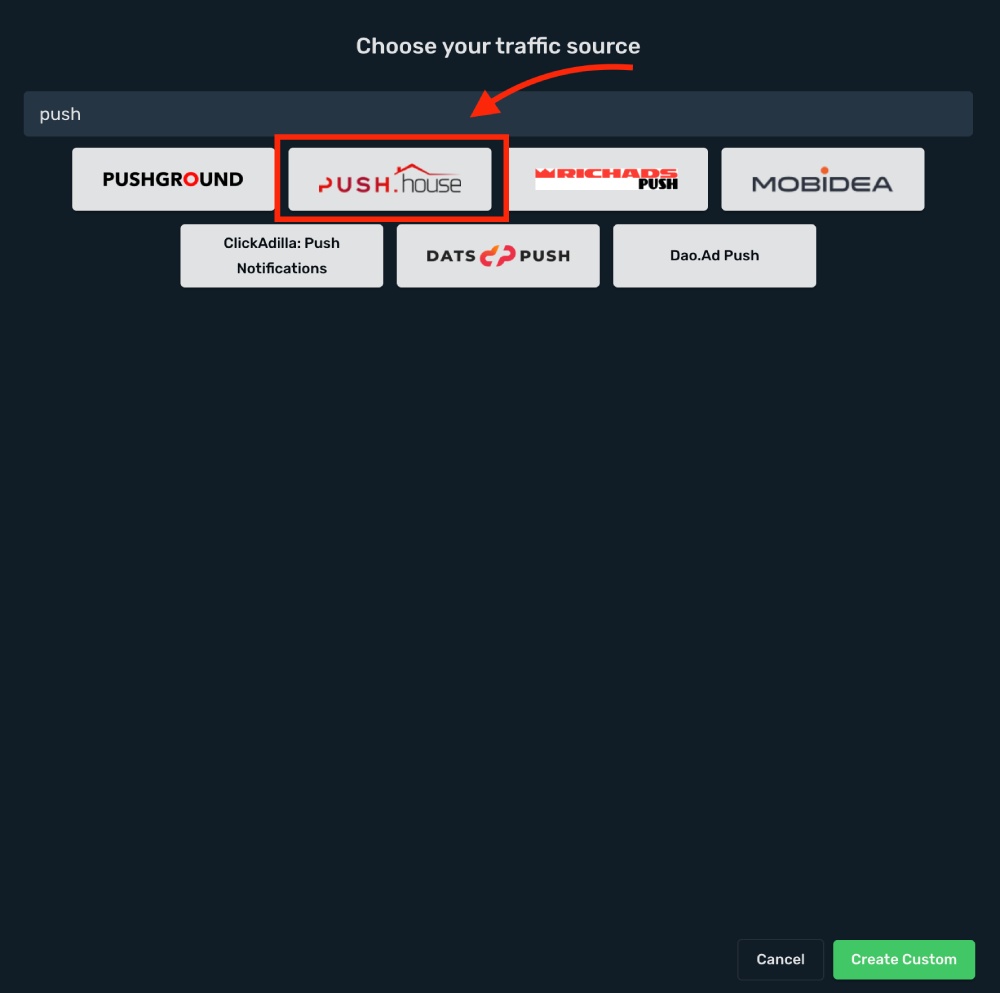
- Traffic Source Postback URL is already prefilled for you.
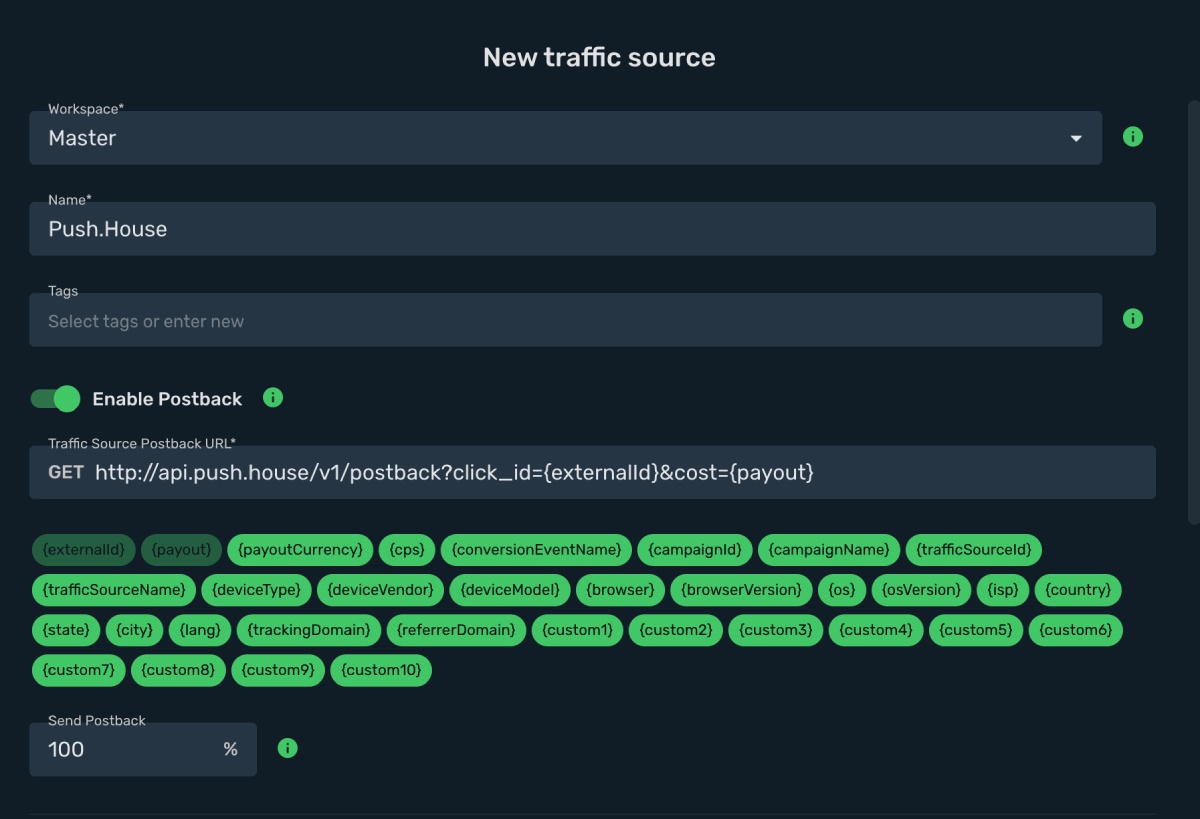
- All tracking parameters are prefilled for you.
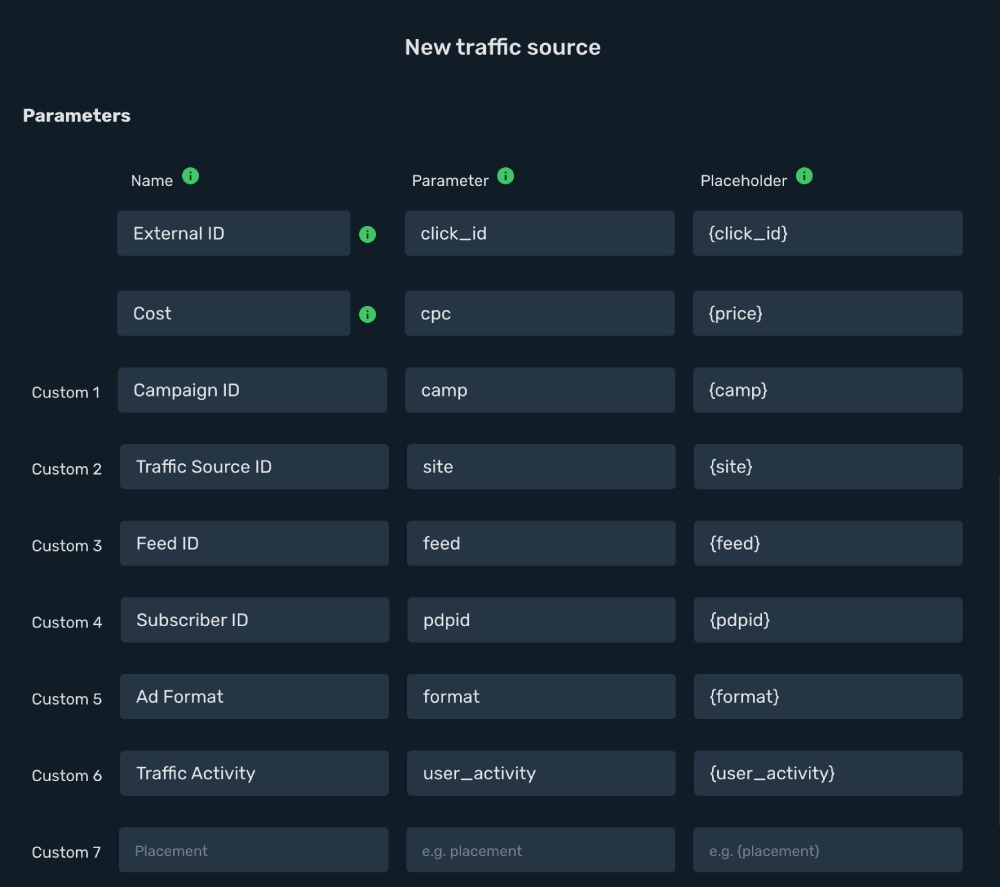
- Click **Save & Close**.
The integration is ready. Continue by creating a campaign.
## Verify the setup [#verify-the-setup]
Open the generated campaign URL and check that the visit appears in Skro. Confirm that traffic source macros resolve to actual values. If you send conversions back to the source, verify a test conversion in both systems.
If data is missing, check the selected workspace, integration, campaign, and reporting date range. Compare parameter names and macro values with the examples in this guide before repeating the test.
## Related guides [#related-guides]
# Pushground integration
Source: https://skro.eu/docs/integrations/pushground-integration
Set up Pushground tracking in Skro, configure traffic source parameters, and connect your advertising campaigns.
[Pushground](https://app.pushground.com/register?invitation=grE6FRebPnnluSmB5Ew17w%3D%3D) integration gives you the ability to manage and optimize all your Pushground ads through the Skro interface.
- Sync cost for campaigns, creatives, supplies and sites every 30 min.
- Check the status of your campaigns, creatives supplies and sites.
- Pause or resume campaigns, creatives, supplies and sites.
- Change the bid value for campaigns and supplies.

## How to generate Pushground API token? [#how-to-generate-pushground-api-token]
- Log in to your **Pushground** account.
- Navigate to **Settings**.
- Copy the **API Token** to clipboard.
## Add integration to Skro [#add-integration-to-skro]
- Log in to your **Skro** account.
- Navigate to **Integrations**.
- In the **Traffic Sources** section click **Add**.

- Click **Pushground** logo.
- Paste the **Pushground API Token** to **API Token** field and click **Create Integration**.
- You can turn on/off auto-cost update through **Data transfer** switch.
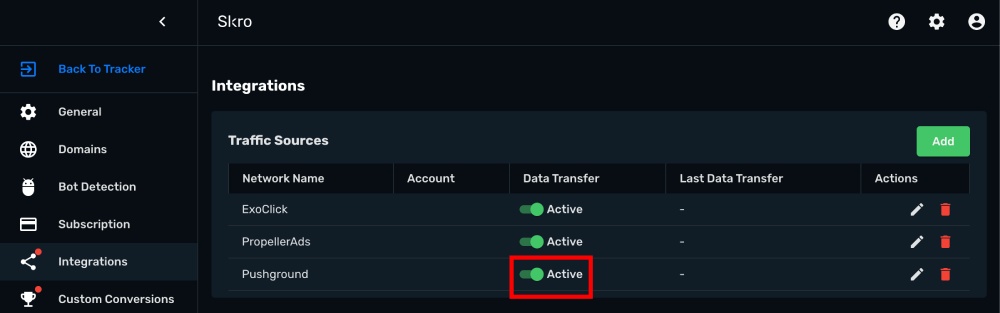
## Setup **Postback URL** and associate the integration with Pushground traffic source. [#setup-postback-url-and-associate-the-integration-with-pushground-traffic-source]
- Navigate to **Traffic Sources**.
- Click **Create**.

- Click **Pushground** logo.
- Traffic Source Postback URL is already prefilled.
- Add integration association.
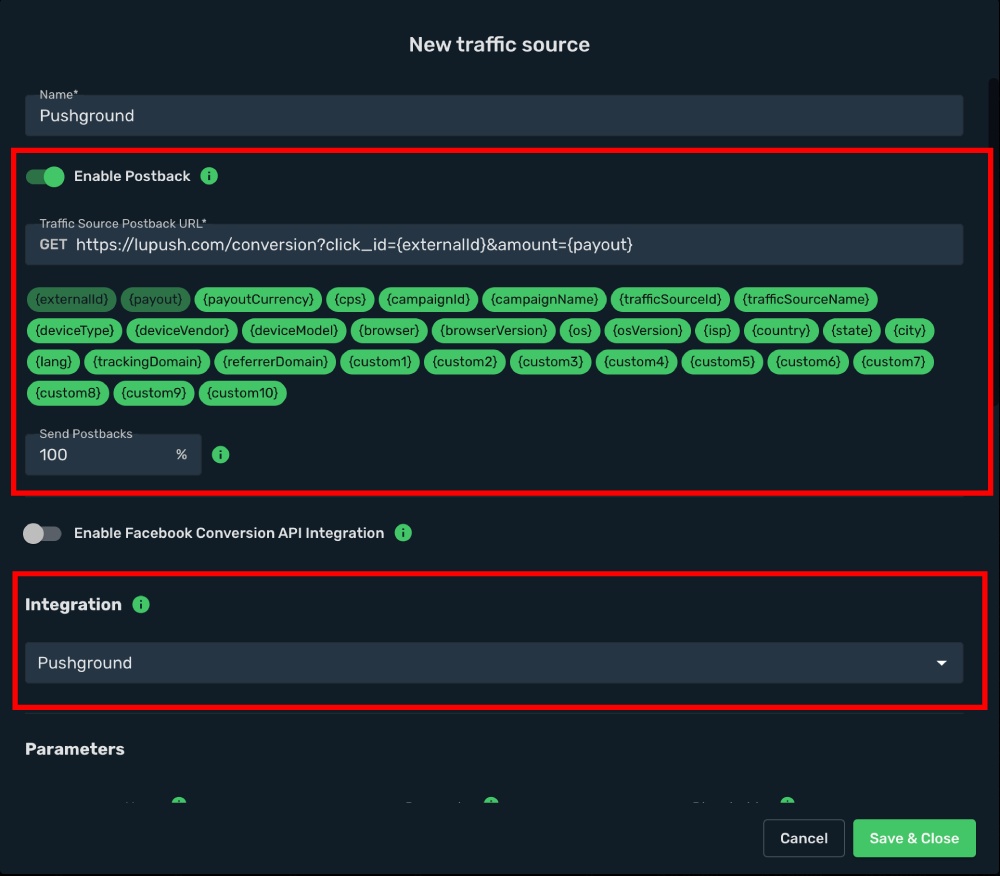
- All parameters are prefilled.
- Click **Save & Close**.
The integration is ready. Continue by creating a campaign.
## Verify the setup [#verify-the-setup]
Open the generated campaign URL and check that the visit appears in Skro. Confirm that traffic source macros resolve to actual values. If you send conversions back to the source, verify a test conversion in both systems.
If data is missing, check the selected workspace, integration, campaign, and reporting date range. Compare parameter names and macro values with the examples in this guide before repeating the test.
## Related guides [#related-guides]
# Retreaver integration
Source: https://skro.eu/docs/integrations/retreaver-and-skro
Connect Retreaver with Skro to associate inbound calls and conversion events with the campaigns that generated them.
## Step 1. Setup in Retreaver [#step-1-setup-in-retreaver]
1. Add the following essential elements to your Retreaver account:
- [Step 1. Create a Retreaver Call Tracking Campaign.](https://help.retreaver.com/hc/en-us/articles/360001080226-How-to-Set-Up-Your-First-Call-Tracking-Campaign)
- [Step 2. Create A Number Pool For Your Campaign](https://help.retreaver.com/hc/en-us/articles/360019902152-Real-time-Landing-Page-Tracking)
- [Step 3. Configure Your Number Pool For Real-Time Tracking](https://help.retreaver.com/hc/en-us/articles/360019902152-Real-time-Landing-Page-Tracking)
- [Step 4. Tell Retreaver Which Numbers To Replace On Your Landing Page](https://help.retreaver.com/hc/en-us/articles/360019902152-Real-time-Landing-Page-Tracking)
## Step 2. Set Up Parameter Mapping for Skro Click ID [#step-2-set-up-parameter-mapping-for-skro-click-id]
1. In Retreaver account, go to **Campaign settings** → **Retreaver JS Settings** → **Parameter Mappers** and click **Edit**.
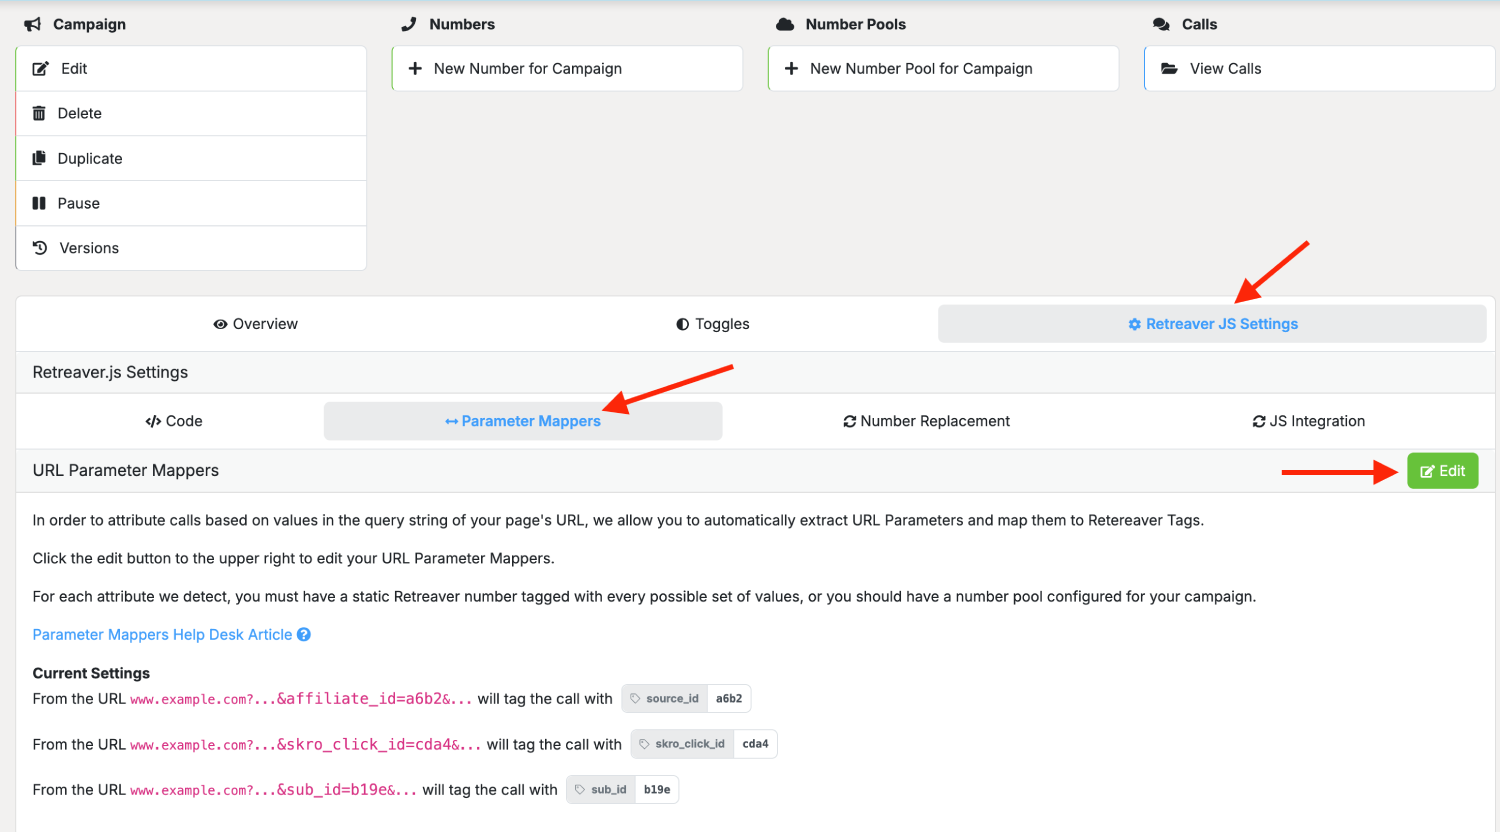
3. Add new URL parameter name mapping for Skro Click ID: **skro_click_id**. It is needed to fire Skro postback URL with correct click ID.
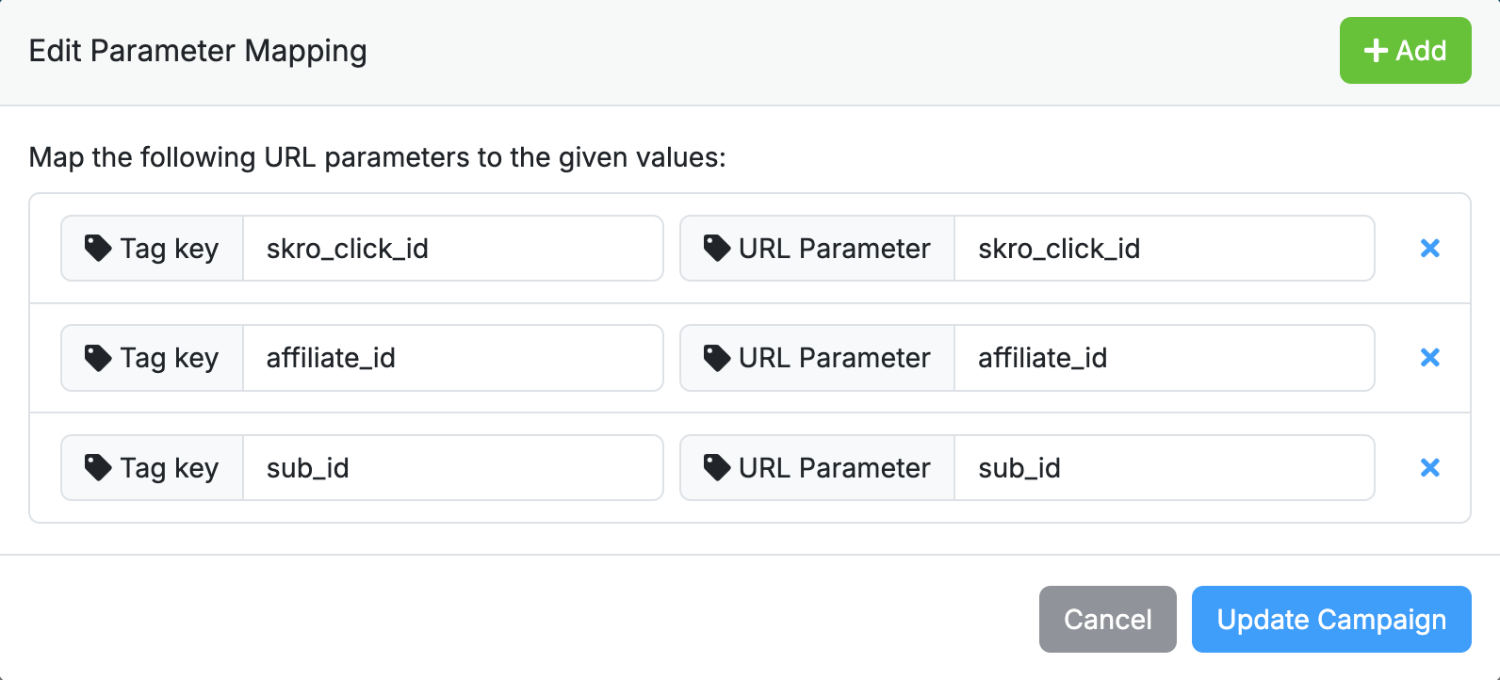
## Step 3. Install JS tracking scripts [#step-3-install-js-tracking-scripts]
Select your tracking method:
1. Add your landing page as **Offer** in Skro.
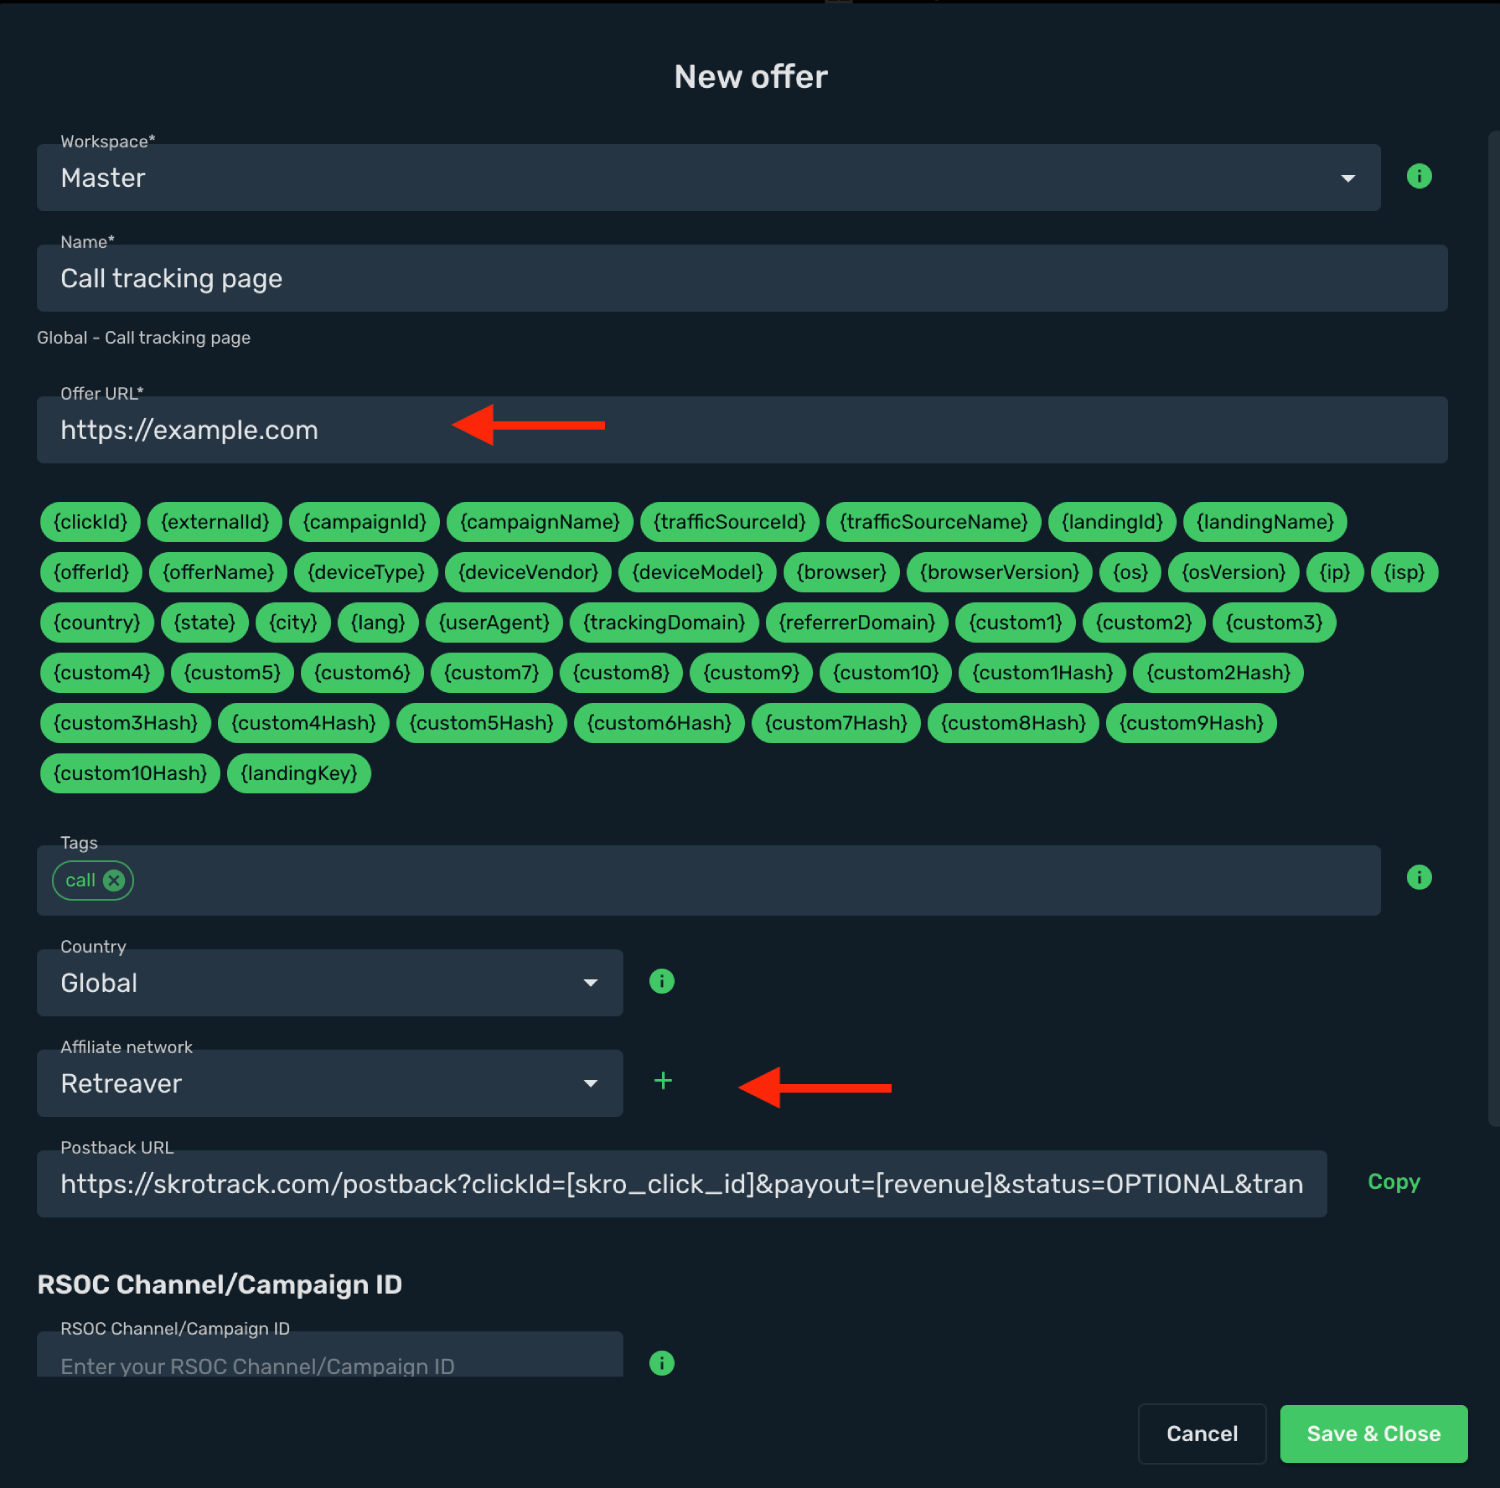
2. Select an Affiliate Network as **Retreaver**.
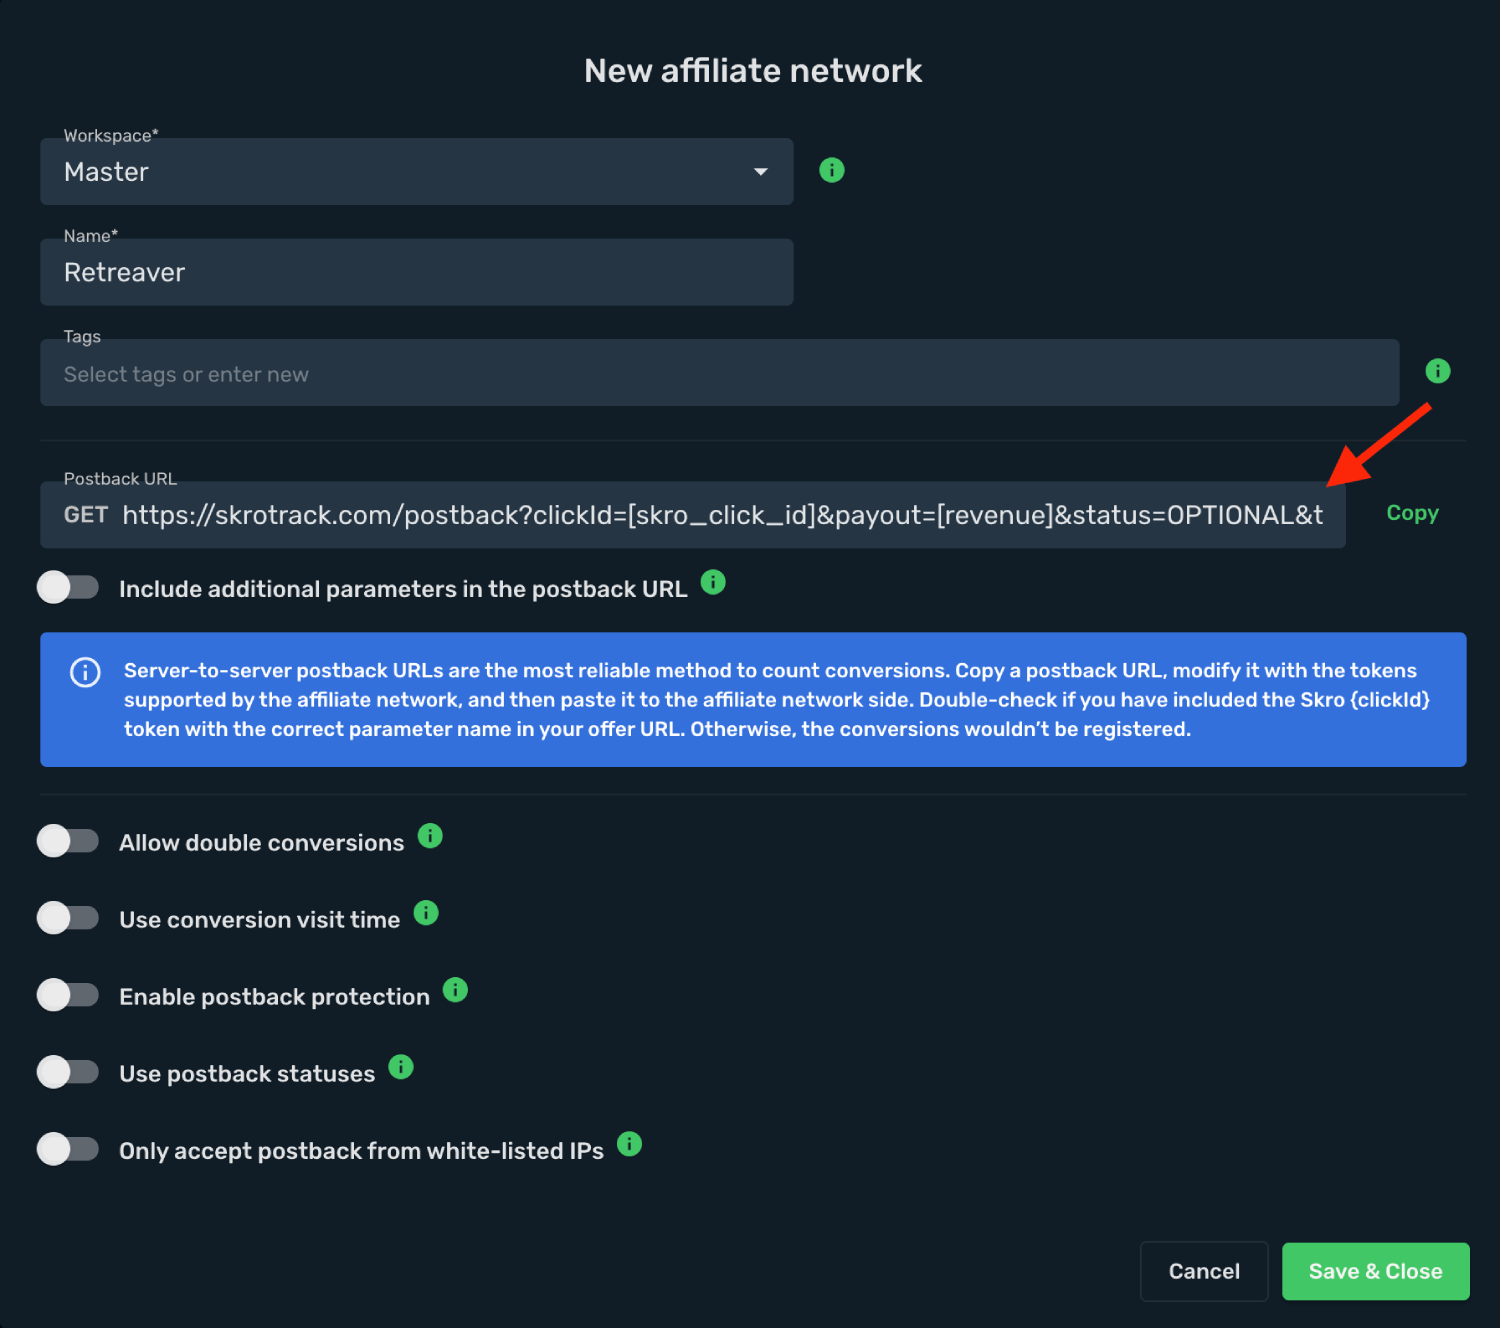
3. Create a campaign in Skro.
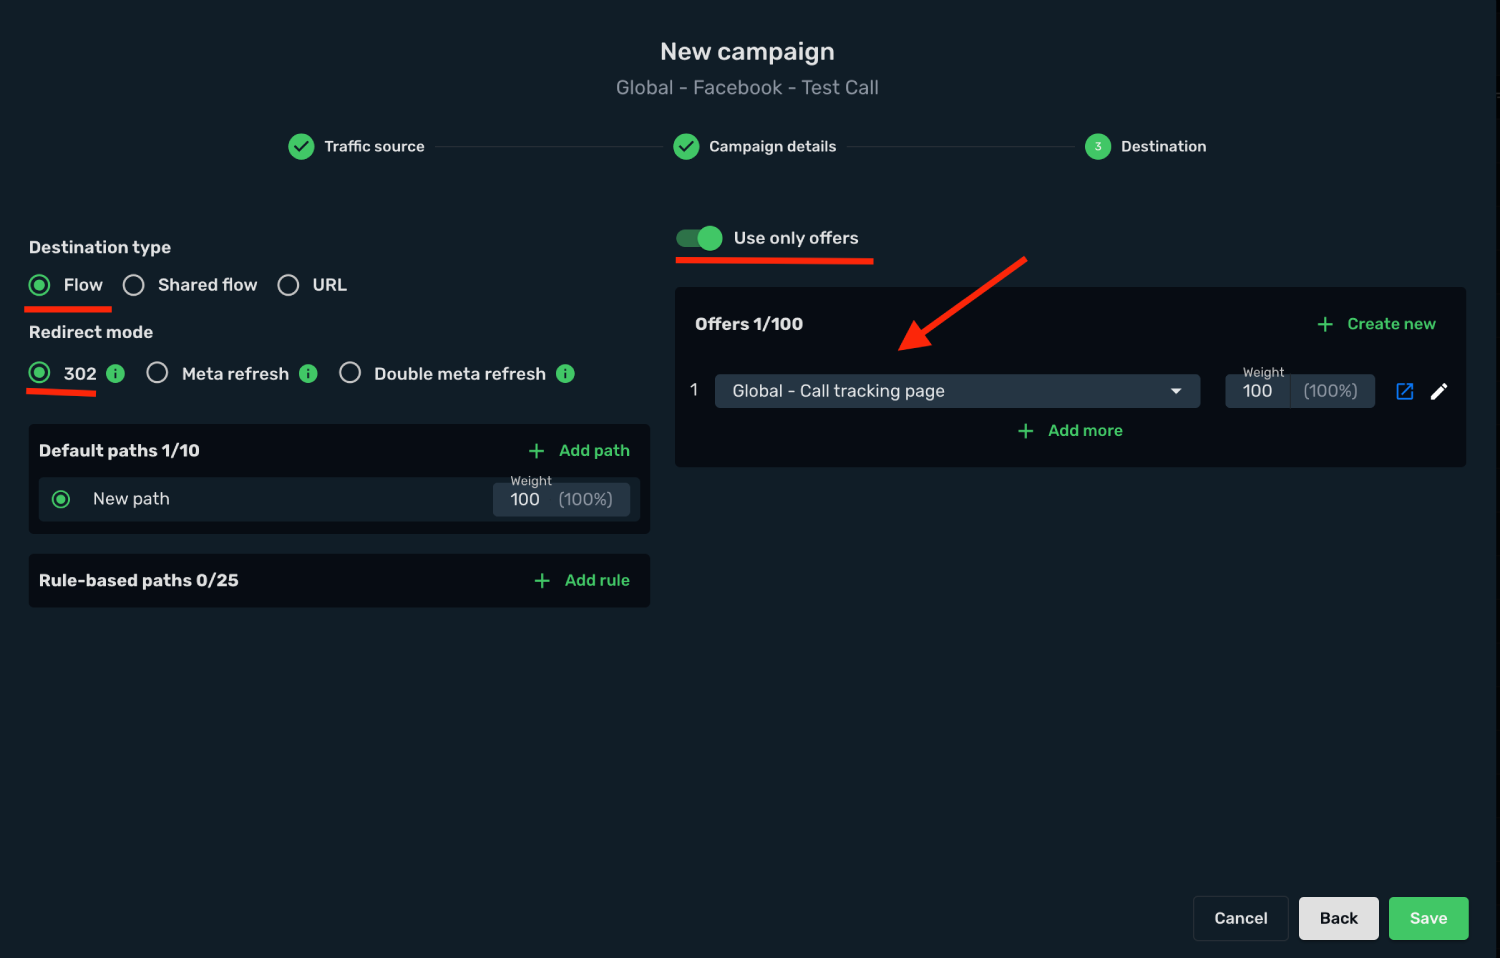
4. Copy Skro tracking pixel from **Campaigns** → **Links** → **Direct** and paste it to your landing page between **HEAD** tags.
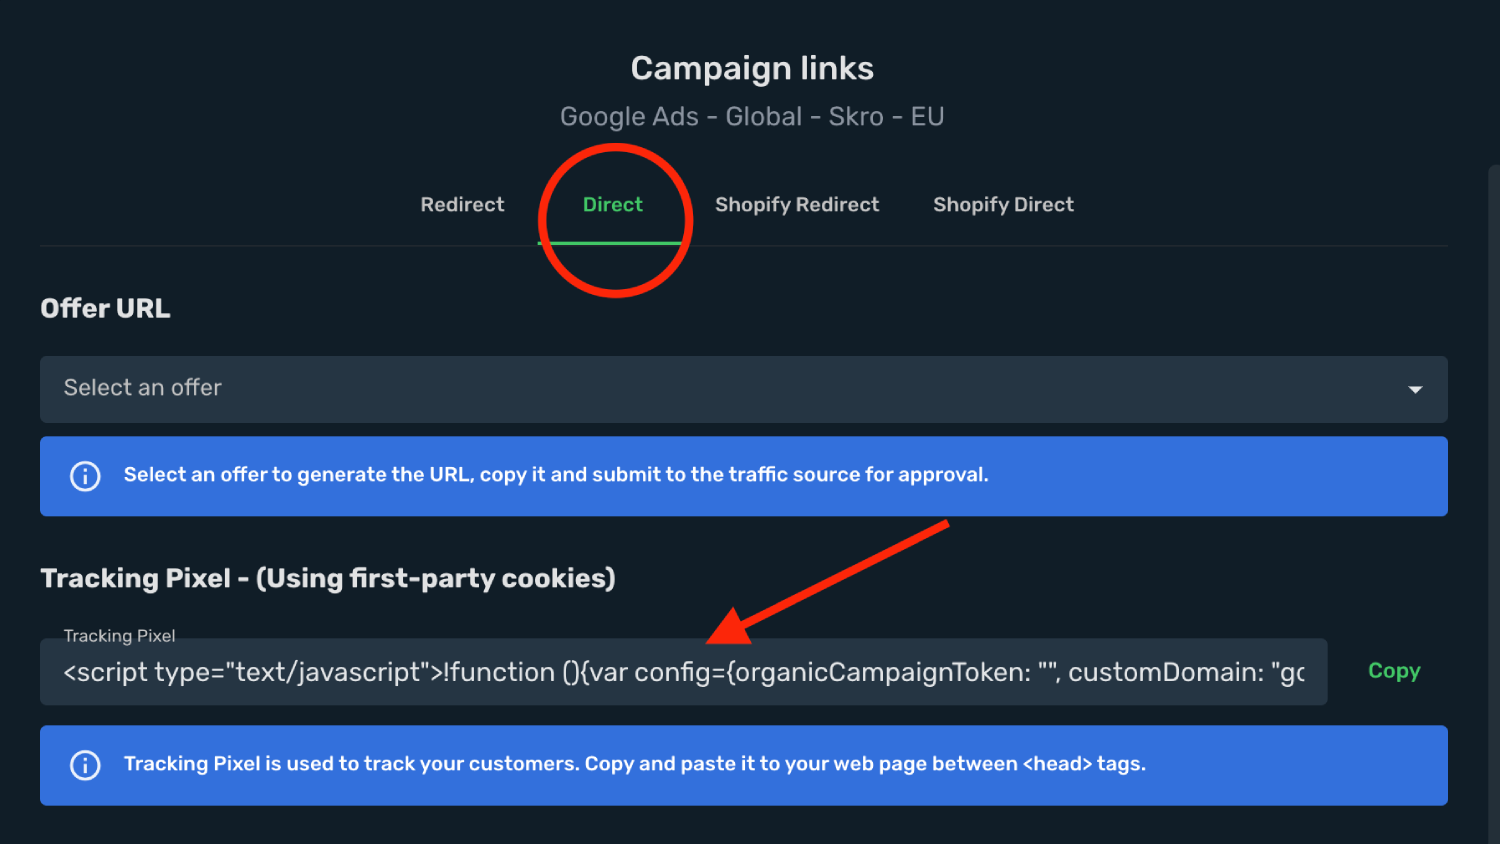
5. Copy this **Retreaver** tracking pixel to your landing page after Skro tracking pixel code.
Remember to replace the **YOUR_CAMPAIGN_KEY** element in the script with the actual **Retreaver Campaign Key**, which can be taken from your Campaign settings → Retreaver JS Settings → Code → Advanced.
```javascript
```
6. Copy Skro generated **Offer URL** with tracking params and submit to the traffic source for approval.
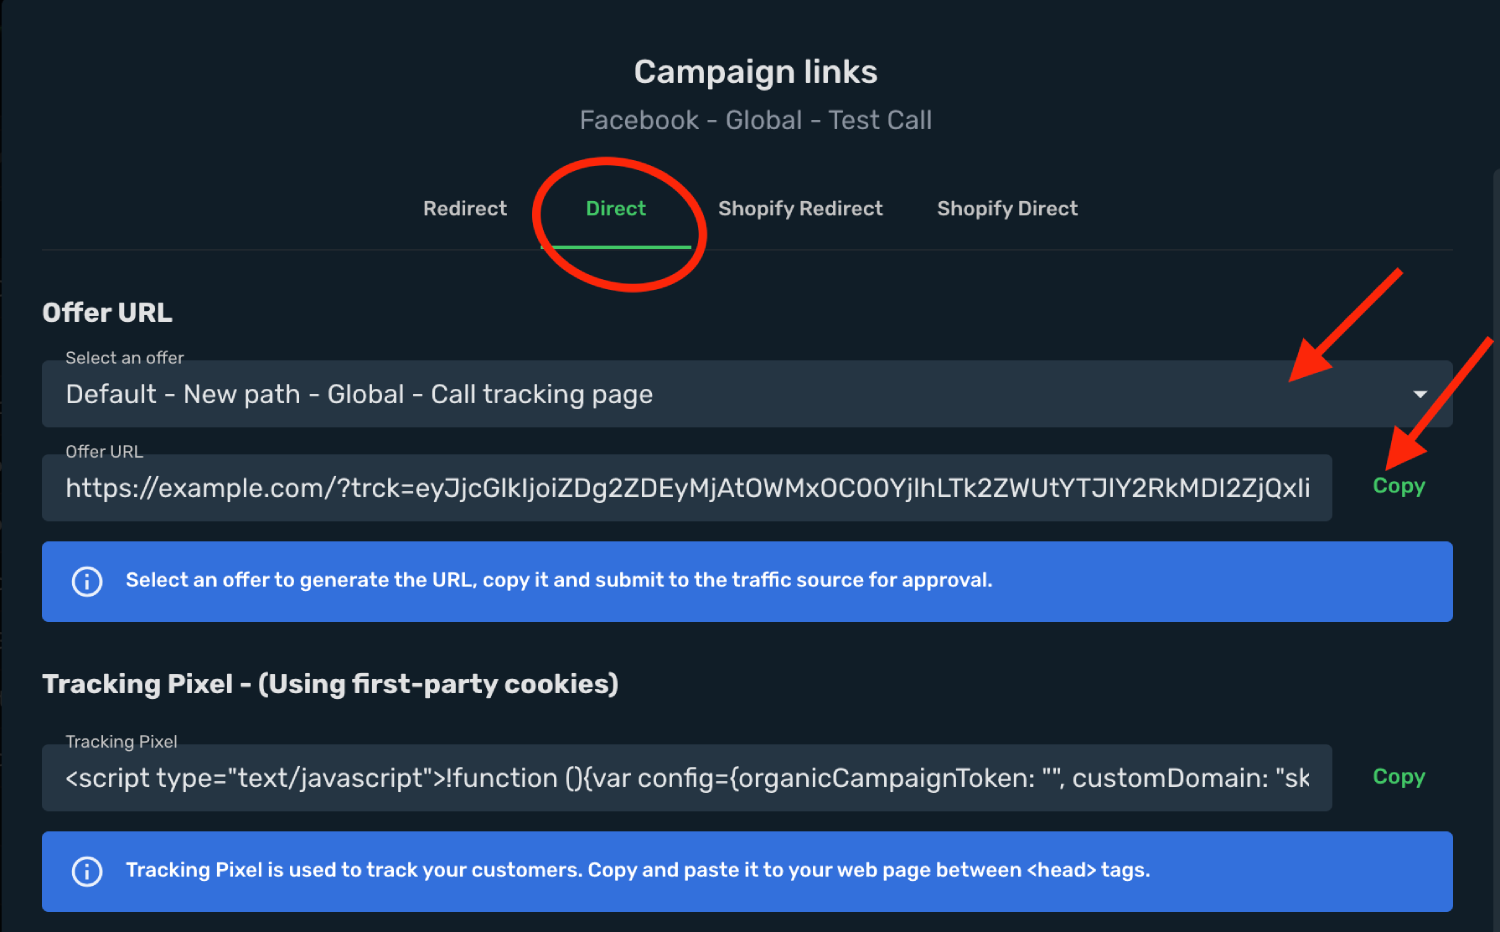
1. Add your landing page as **Offer** in Skro.
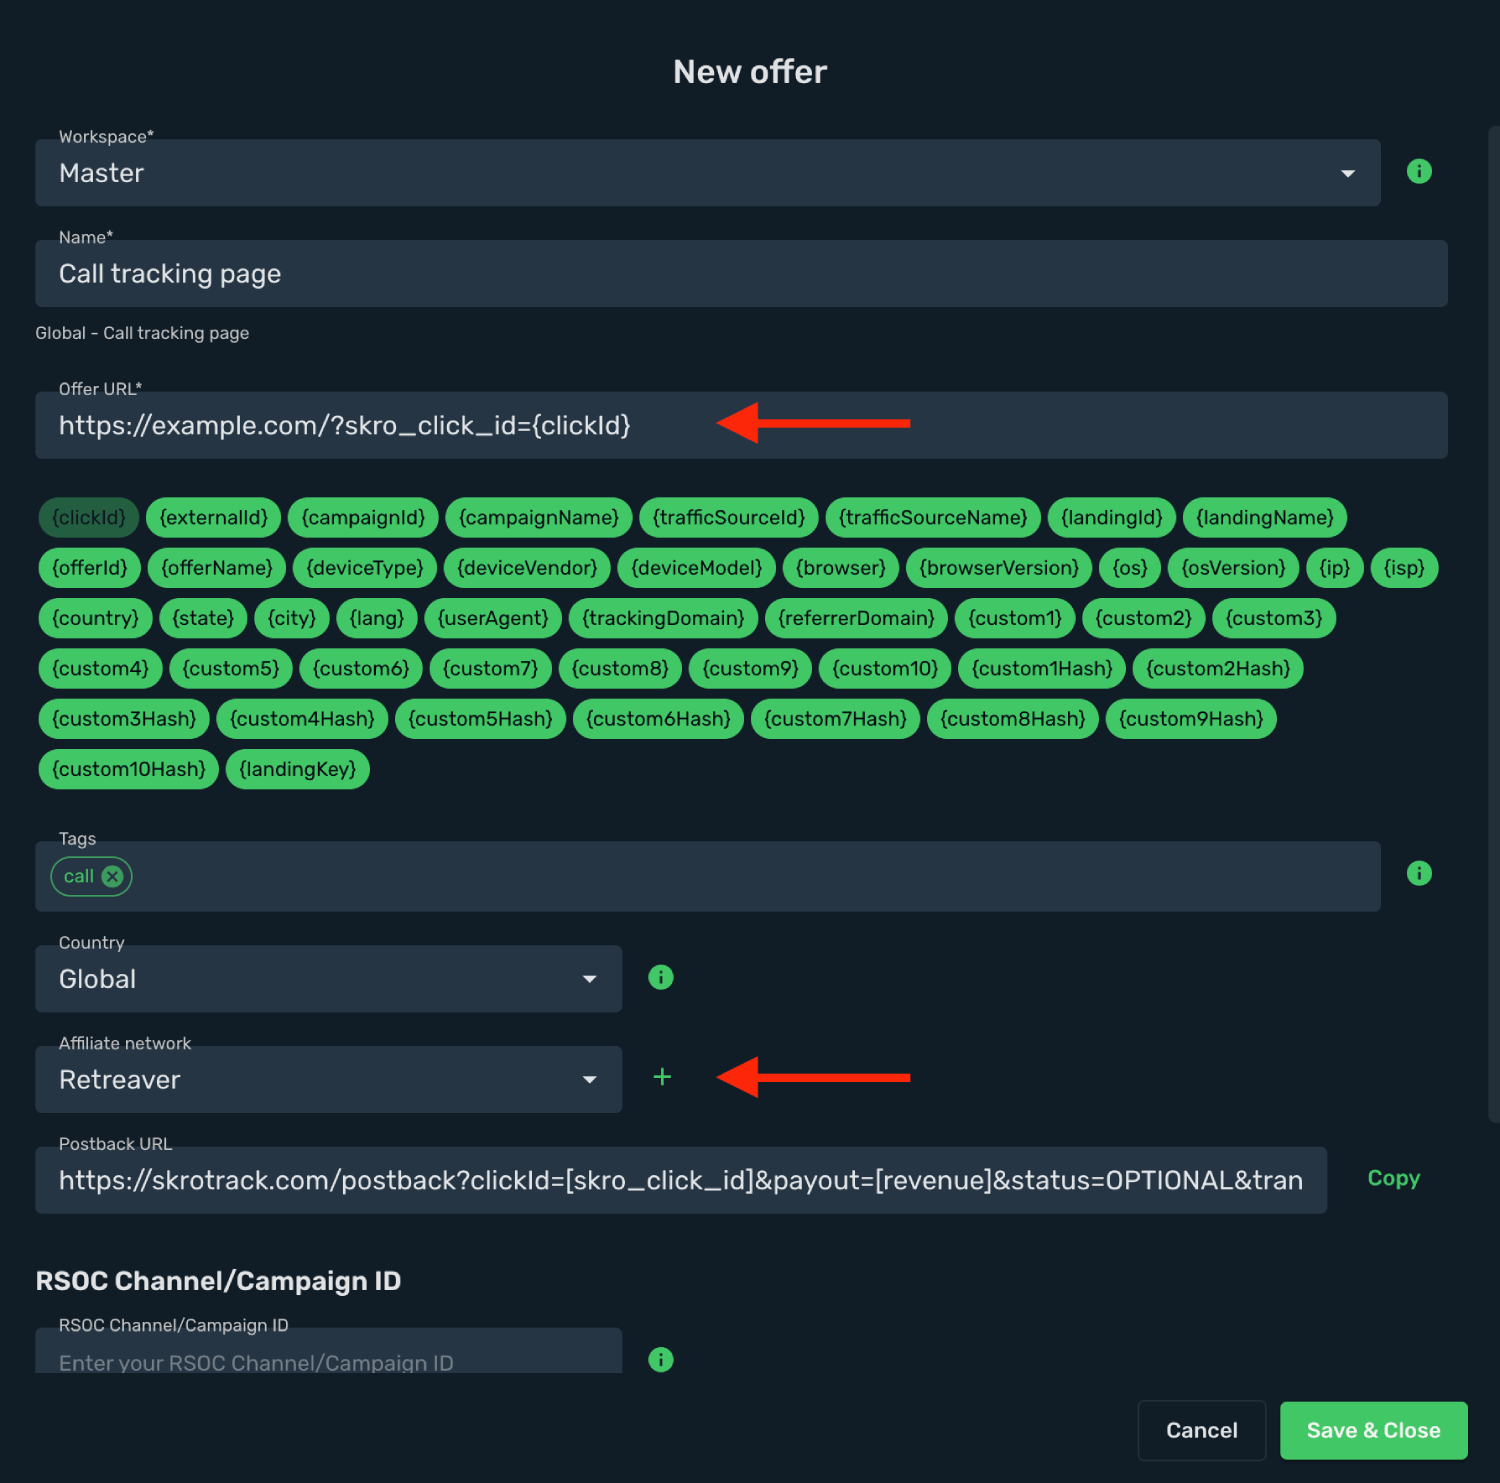
2. Select an Affiliate Network as **Retreaver**.

```text
It is very important to map Skro click id to your offer URL. You must use this parameter name and macro: &skro_click_id={clickId}
```
3. Go back to Retreaver and navigate to **Campaign settings** → **Retreaver JS Settings** → **Code** and click **Copy**. Copy that code to your landing page between HEAD tags.
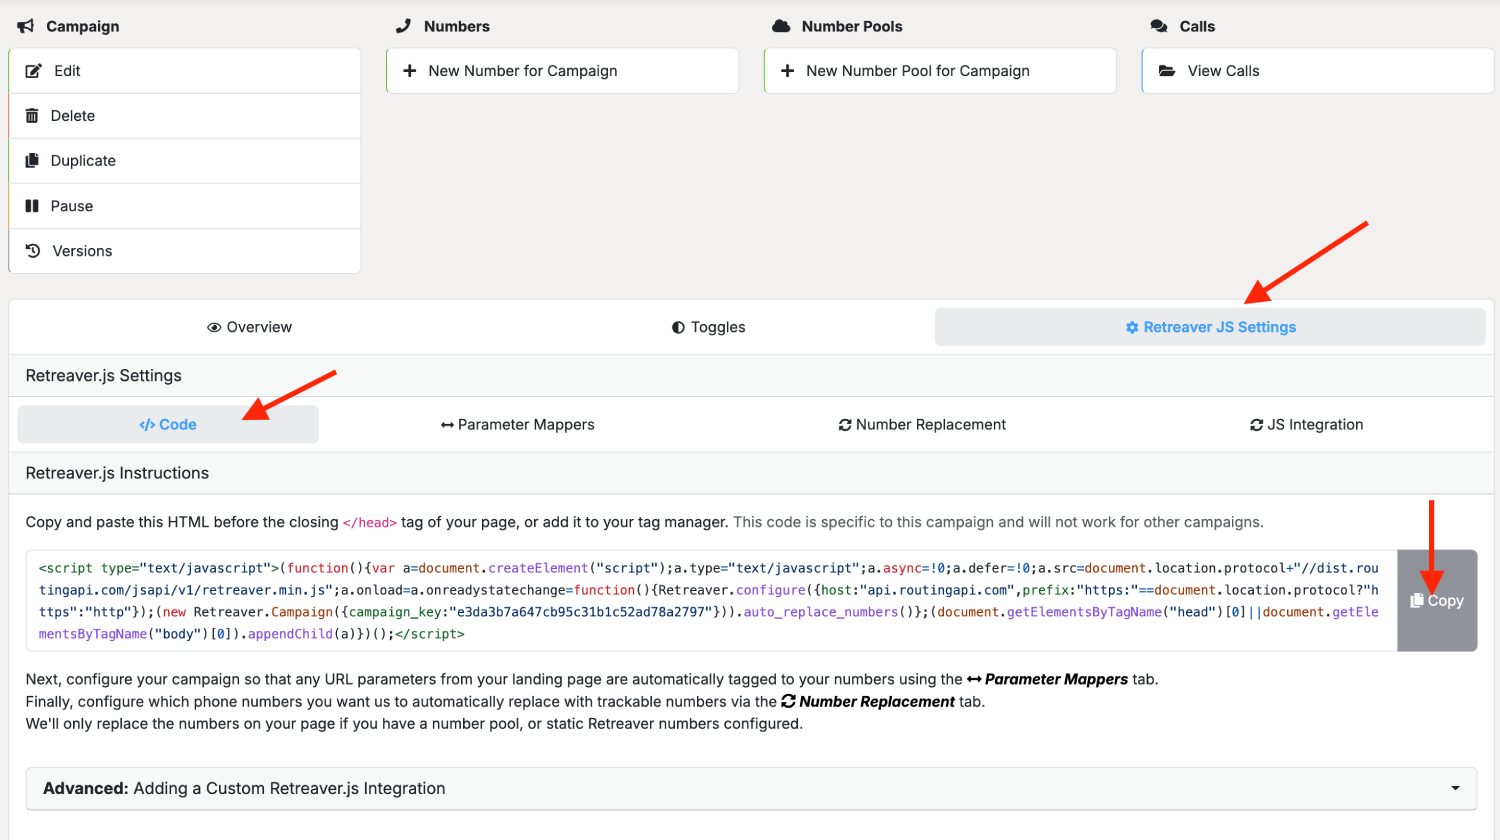
4. In Skro, go to **Campaigns** and click **Create** to add new campaign.

5. After creating the campaign, copy the **Campaign Tracking URL** and submit to the traffic source for approval.
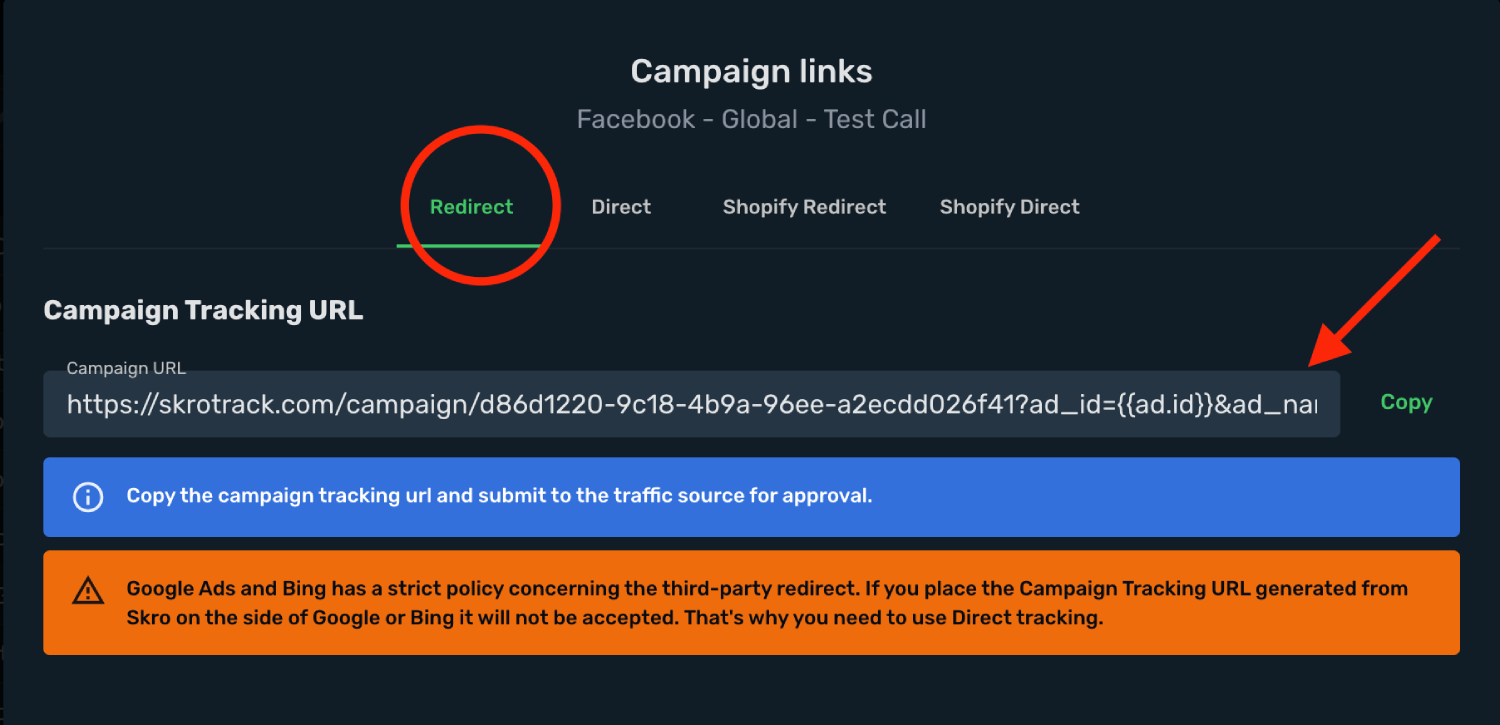
## Step 4. Set up Webhooks for Retreaver campaign [#step-4-set-up-webhooks-for-retreaver-campaign]
In this example we are going to create two custom conversion events, **Phone Call** and **Purchase**.
1. In Skro, go to **Settings** → **Custom Conversions** and click **Create**.
2. Complete the required fields and click **Save & Close**.
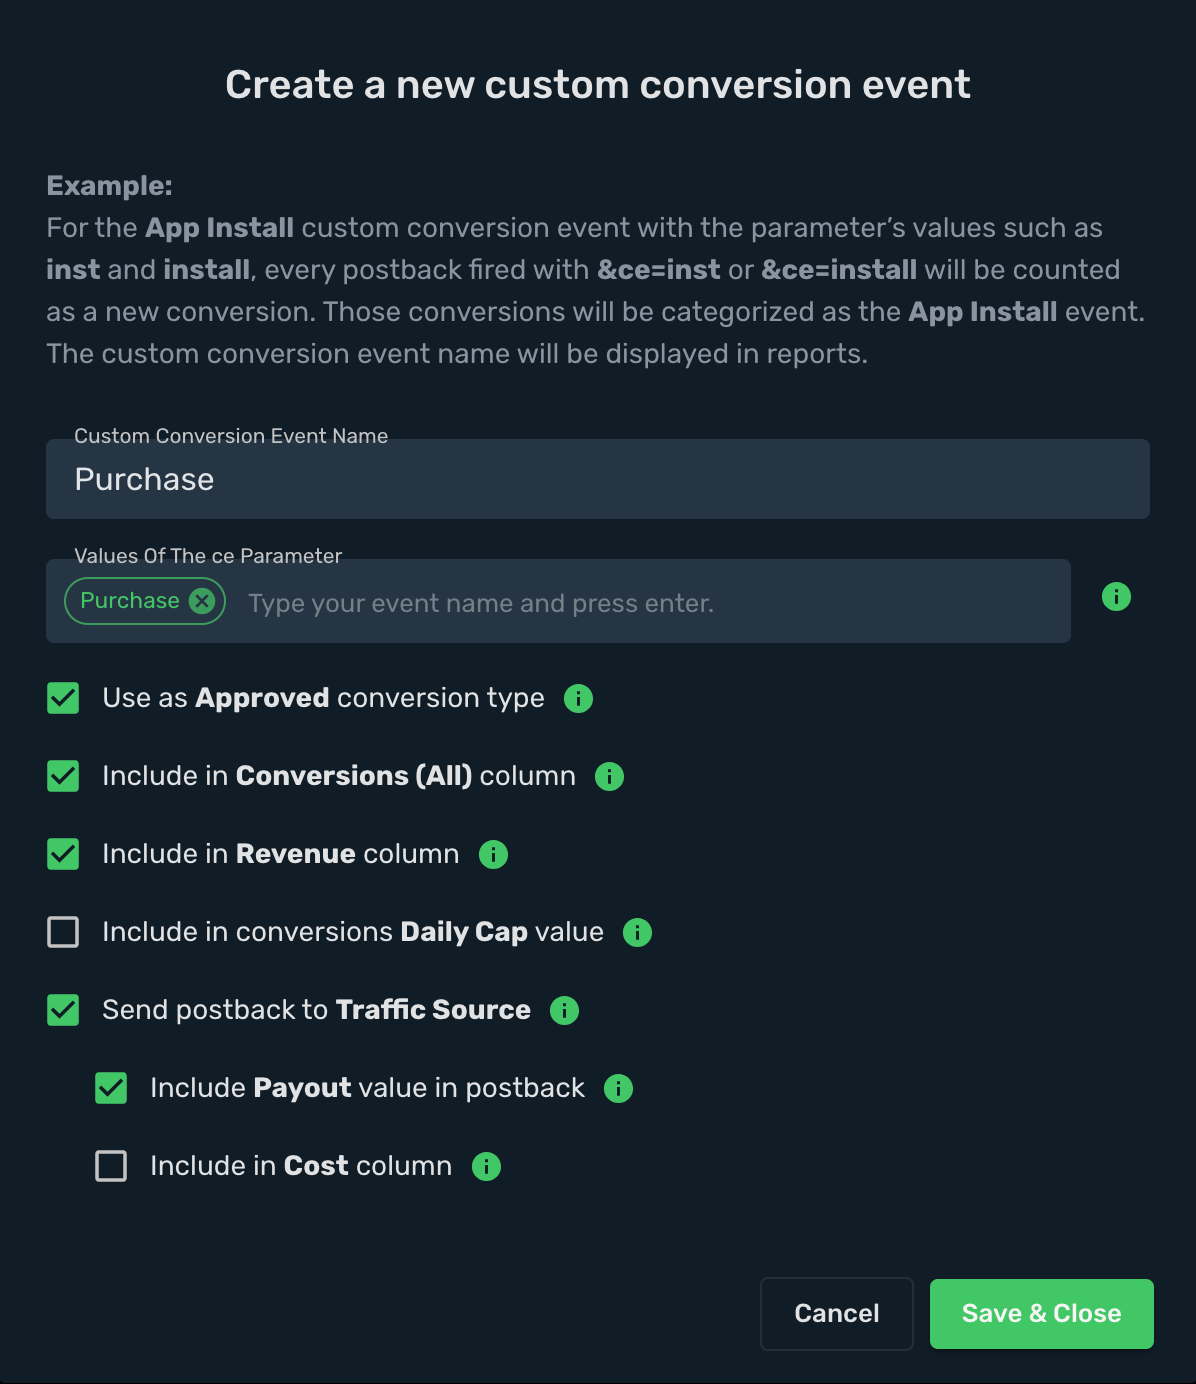
If you are using custom tracking domain then replace skrotrack.com with your custom tracking domain name.
```text
Postback URL: https://skrotrack.com/postback?clickId=[skro_click_id]&payout=[revenue]&transactionId=[call_uuid]&p1=[caller_number]&p2=[caller_zip]&ce=Purchase
```
3. In Retreaver account, go to **Campaign settings** → **Webhooks** → **Add webhook** → choose the condition **If call converted** → select **GET** request → paste the Postback URL.
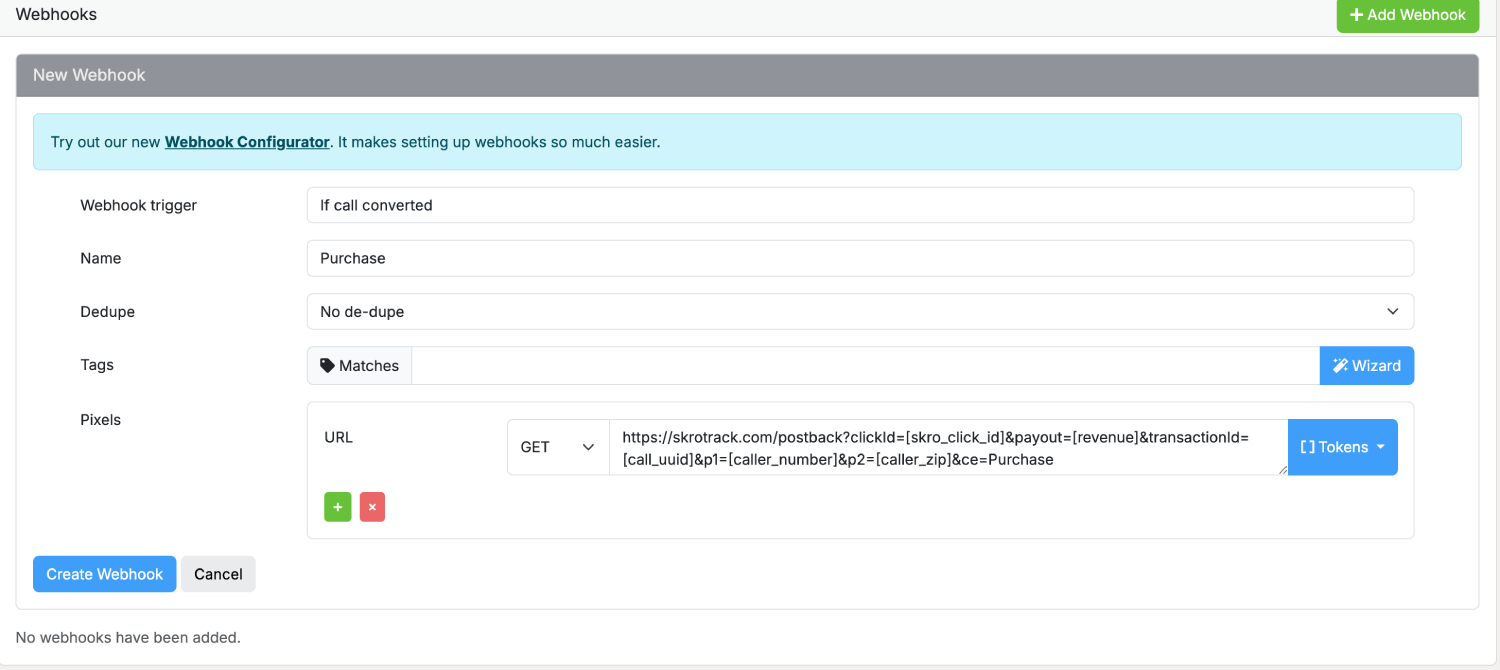
4. Create another custom conversion for **Phone Call** events.
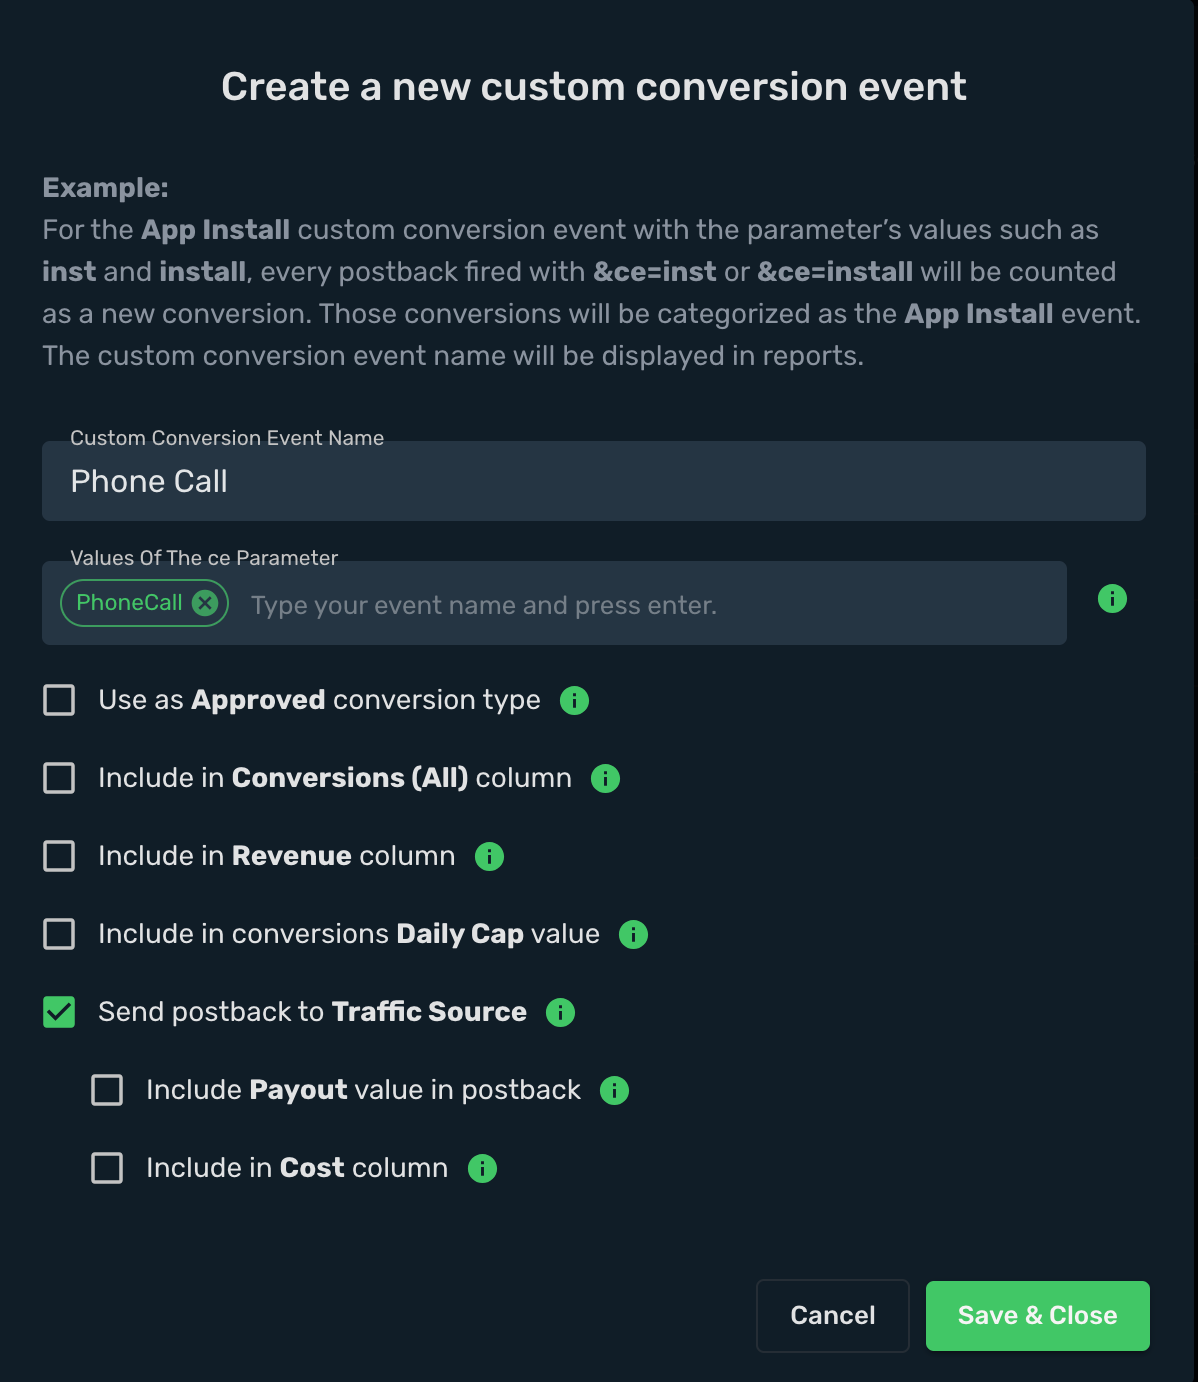
```text
Postback URL: https://skrotrack.com/postback?clickId=[skro_click_id]&transactionId=[call_uuid]&p1=[caller_number]&p2=[caller_zip]&ce=PhoneCall
```
5. In Retreaver account, go to **Campaign settings** → **Webhooks** → **Add webhook** → choose the condition **When a call comes in** → select **GET** request → paste the Postback URL.
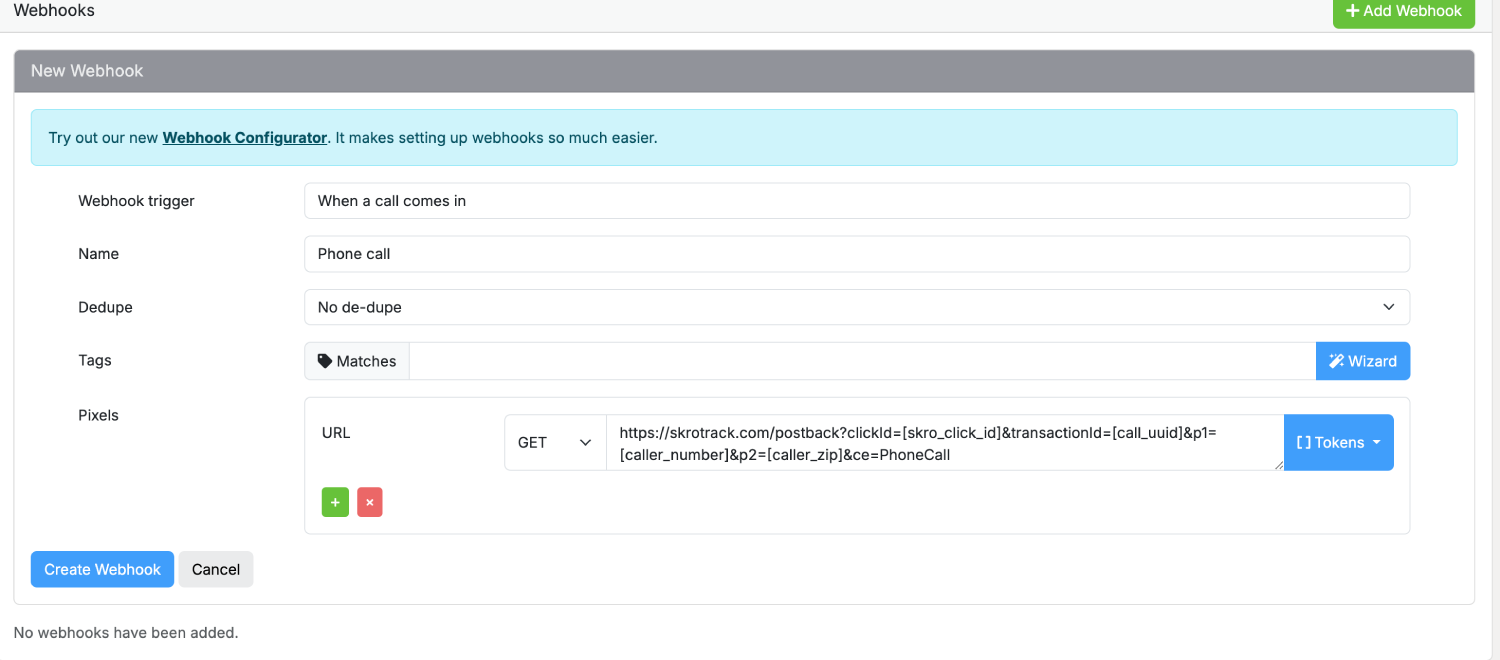
The integration is ready.
## Verify the setup [#verify-the-setup]
Follow a campaign link and complete a test conversion using your provider’s test workflow. Confirm that the original click ID reaches the provider and is returned to Skro, then check the event and revenue in your campaign report.
If data is missing, check the selected workspace, integration, campaign, and reporting date range. Compare parameter names and macro values with the examples in this guide before repeating the test.
## Related guides [#related-guides]
# Revcontent integration
Source: https://skro.eu/docs/integrations/revcontent-integration
Set up Revcontent tracking in Skro, configure traffic source parameters, and connect your advertising campaigns.
Revcontent integration gives you the ability to manage and optimize all your Revcontent ad campaigns through the Skro interface.
- Sync cost for campaigns, widgets and ads every 30 min.
- Check the status of your campaigns, widgets and ads.
- Pause or resume campaigns, widgets and ads.
- Change bidding for campaigns and widgets.
- Change budget for campaigns.
In this guide, you will learn how to set up your campaigns in Revcontent and Skro so Revcontent can pass information to Skro and back with a selected tracking method. This guide does not cover all aspects and options available when creating a campaign on these two platforms. Basic knowledge regarding setting up campaigns in Revcontent and Skro is required.
## Optimize Revcontent ads through Skro [#optimize-revcontent-ads-through-skro]
- Go to campaigns view and double-click your campaign name.
- On the campaign details view select from the first **Group By** dropdown menu **"C3: Campaign ID"**
- If you want to optimize widgets, then select on second **Group By** dropdown menu **"C1: Widget ID"**
- If you want to optimize contents, then select on second **Group By** dropdown menu **"C2: Content ID"**
**Manage Revcontent campaigns**
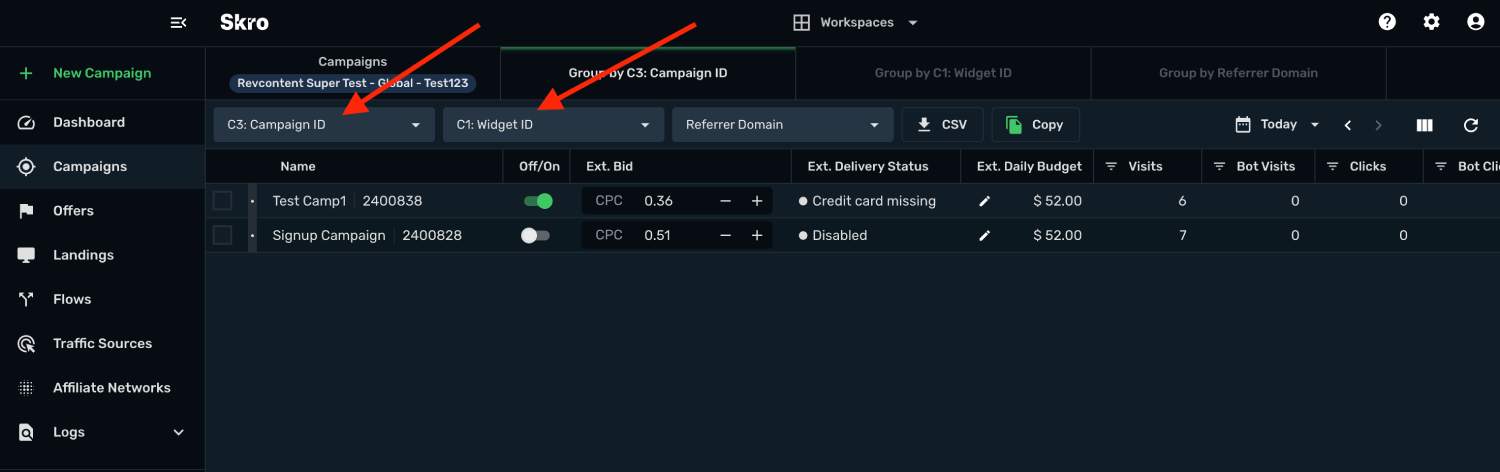
**Manage Revcontent widgets**
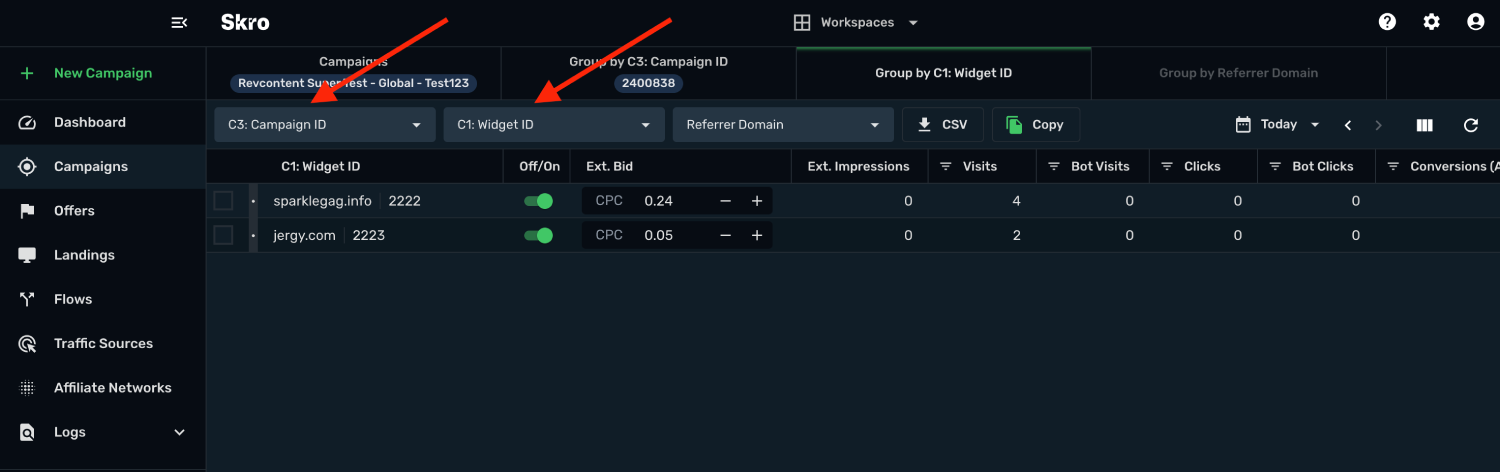
**Manage Revcontent contents**
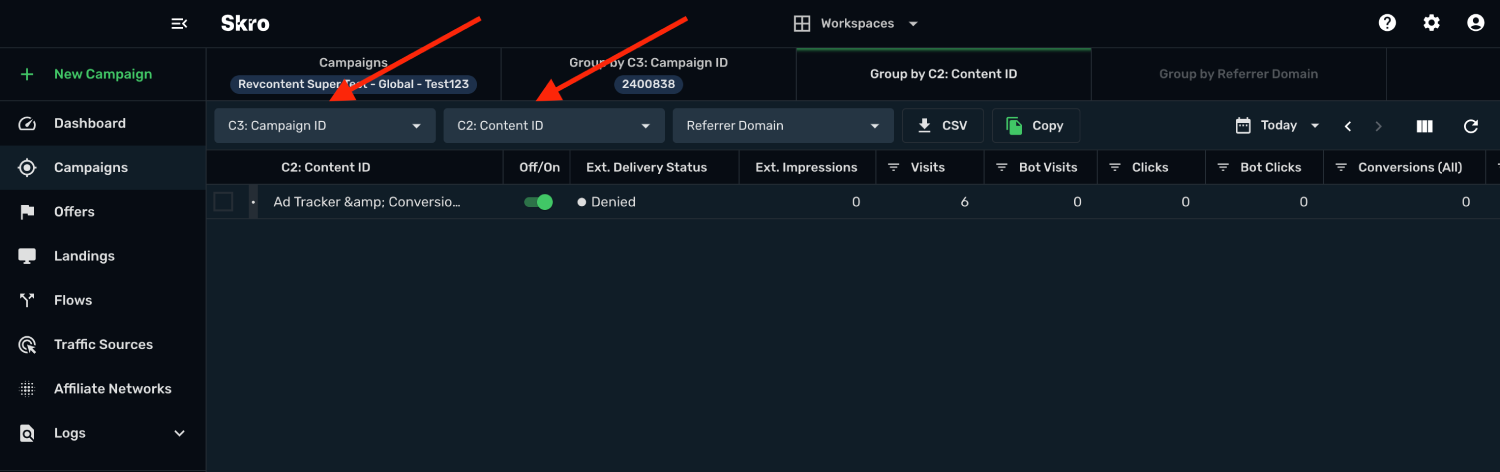
## Step 1. Get Revcontent API Credentials [#step-1-get-revcontent-api-credentials]
You can get API credentials by following the steps below:
- In Revcontent, click username on the top right corner and navigate to the **Account settings**.
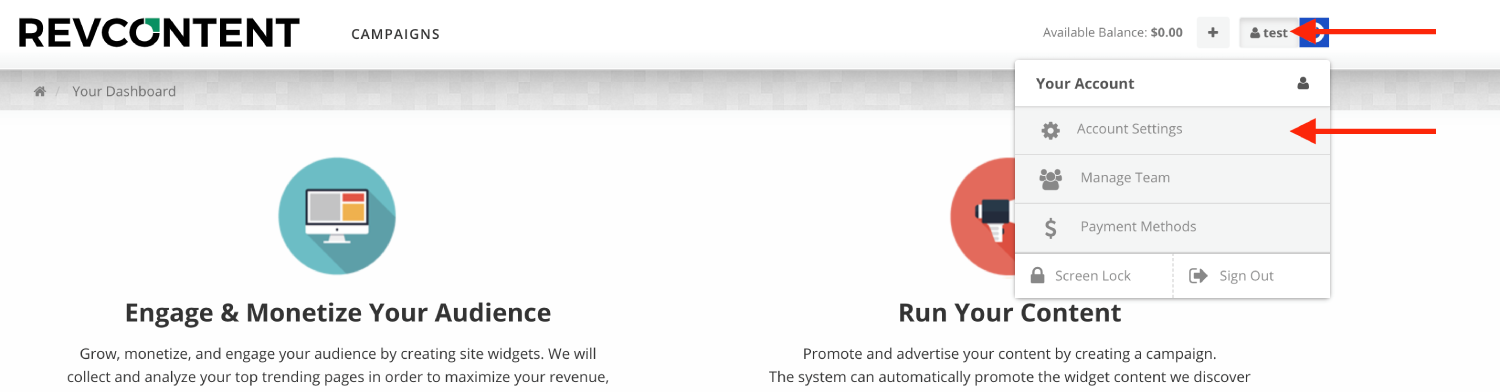
- Scroll down to the section **Stats API Credentials**. If you do not have API credentials there then please ask Revcontent to activate your API access.
- Copy the **Client ID** and **Client Secret** to any text editing tool.
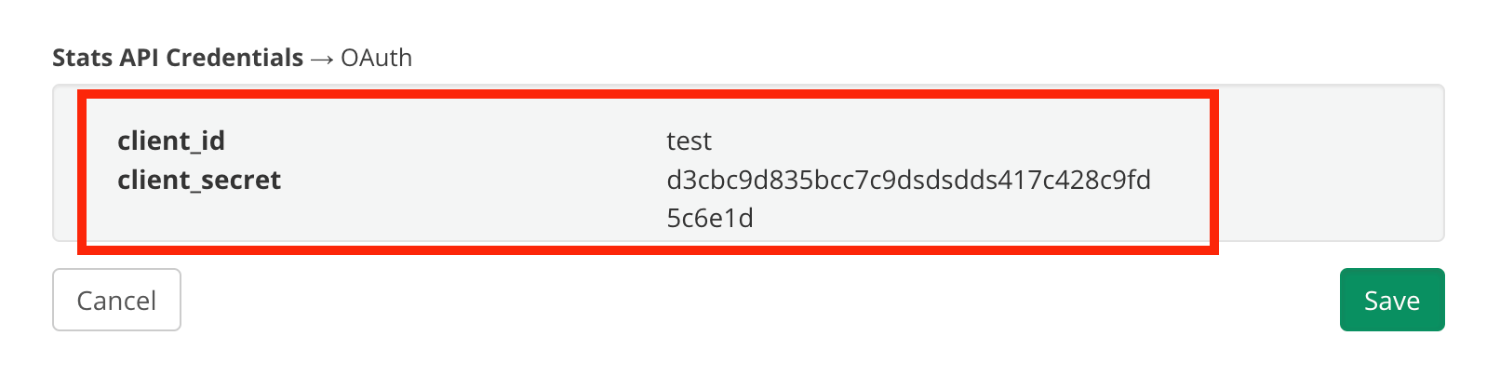
Once you have everything ready, read the further part of this guide.
## Step 2. Setup integration [#step-2-setup-integration]
- Log in to your **Skro** account.
- Navigate to **Settings → Integrations**.
- In the **Traffic Sources** section click **Add**.
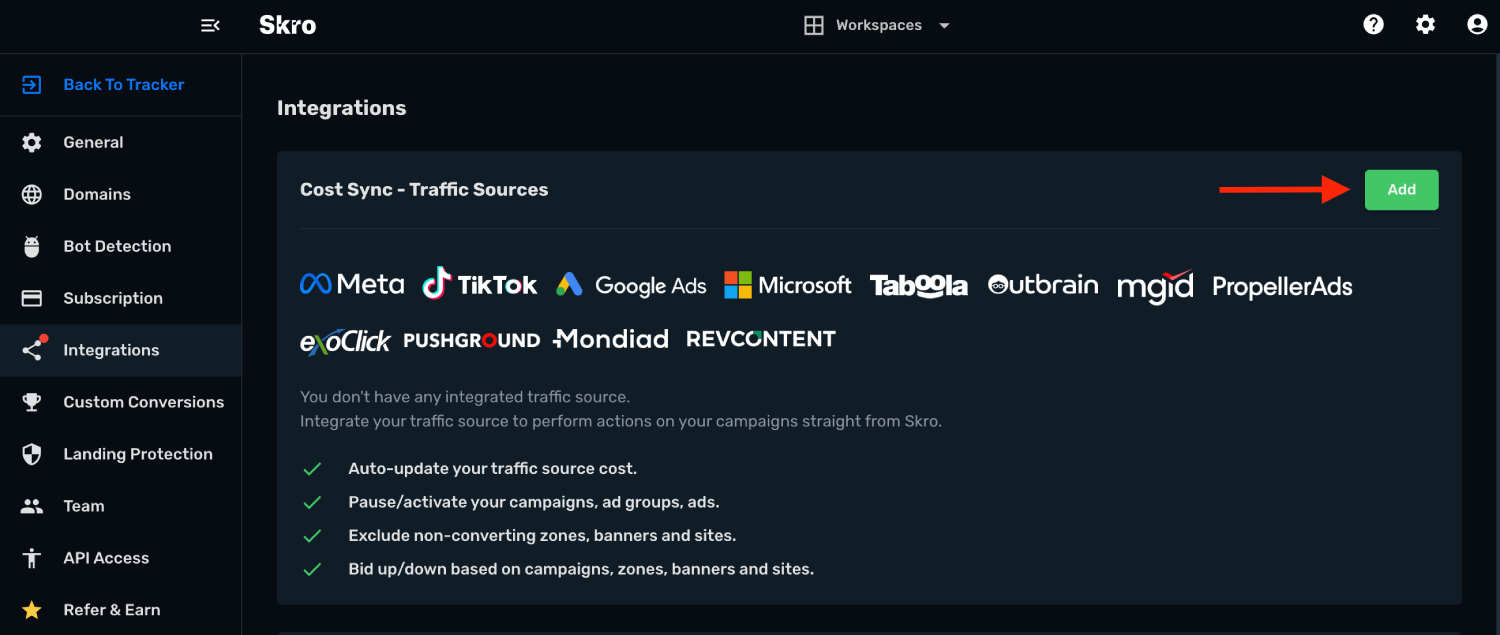
- Click **Revcontent** logo and integration form will pop up.
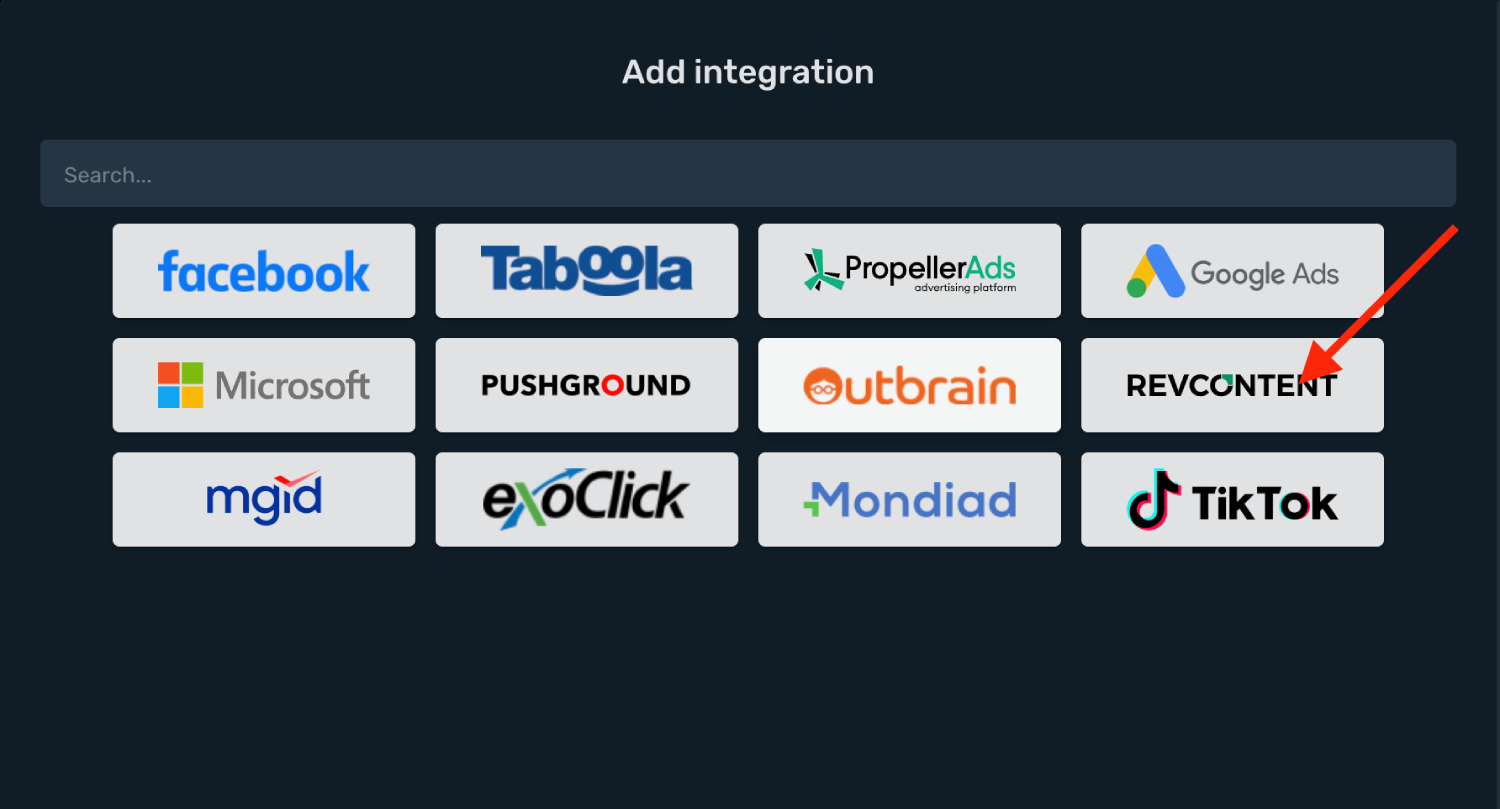
- Enter your **Integration Name**.
- Enter your Revcontent **Client ID**.
- Enter your Revcontent **Client Secret**.
- Click **Create Integration**.
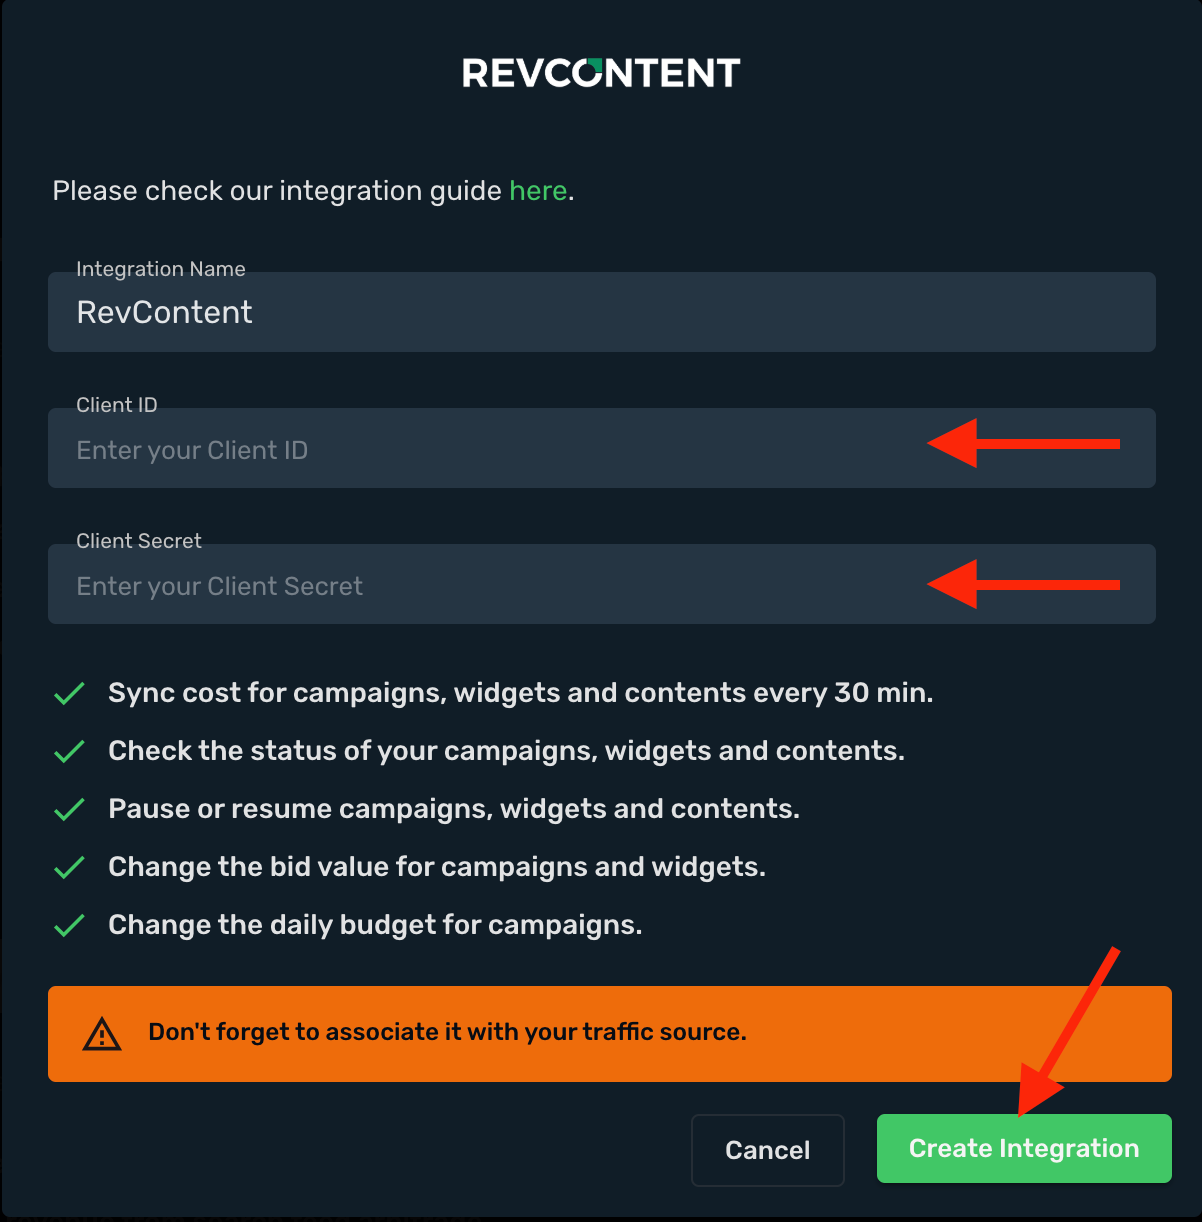
- Your Revcontent account is successfully integrated.
- You can switch on/off cost sync with given switch.

## Step 3. Associate the integration with your traffic source. [#step-3-associate-the-integration-with-your-traffic-source]
- Navigate to the **Traffic Sources** and click **Create**.

- Find **Revcontent** logo and click it.
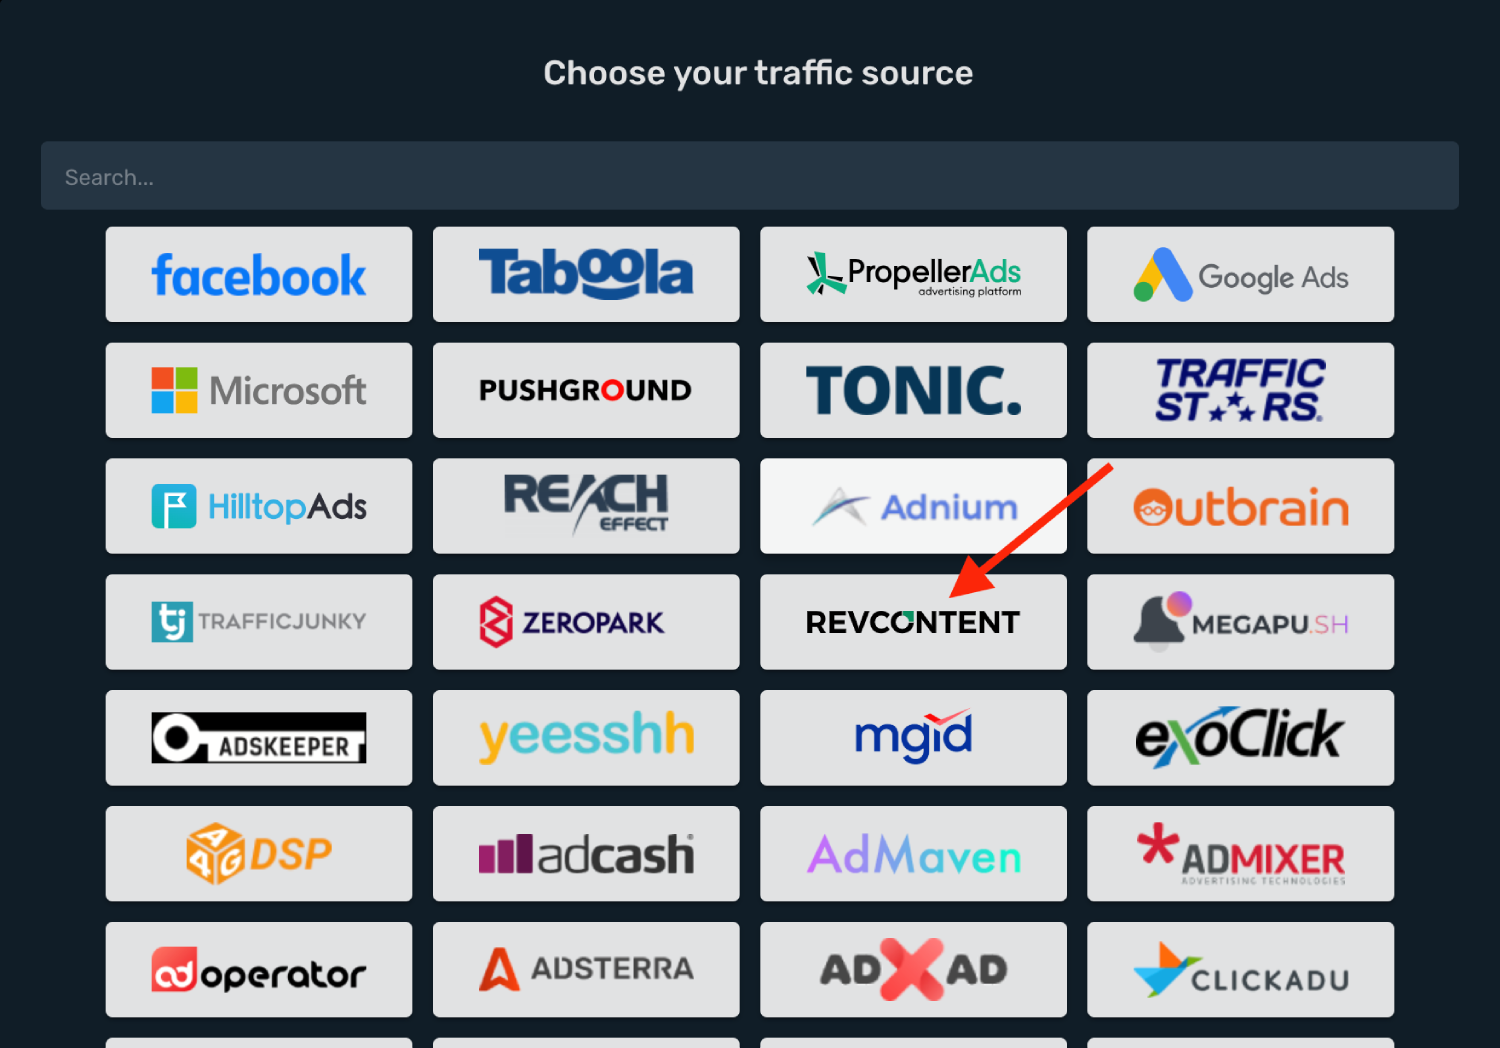
- Setup your **Postback URL**.
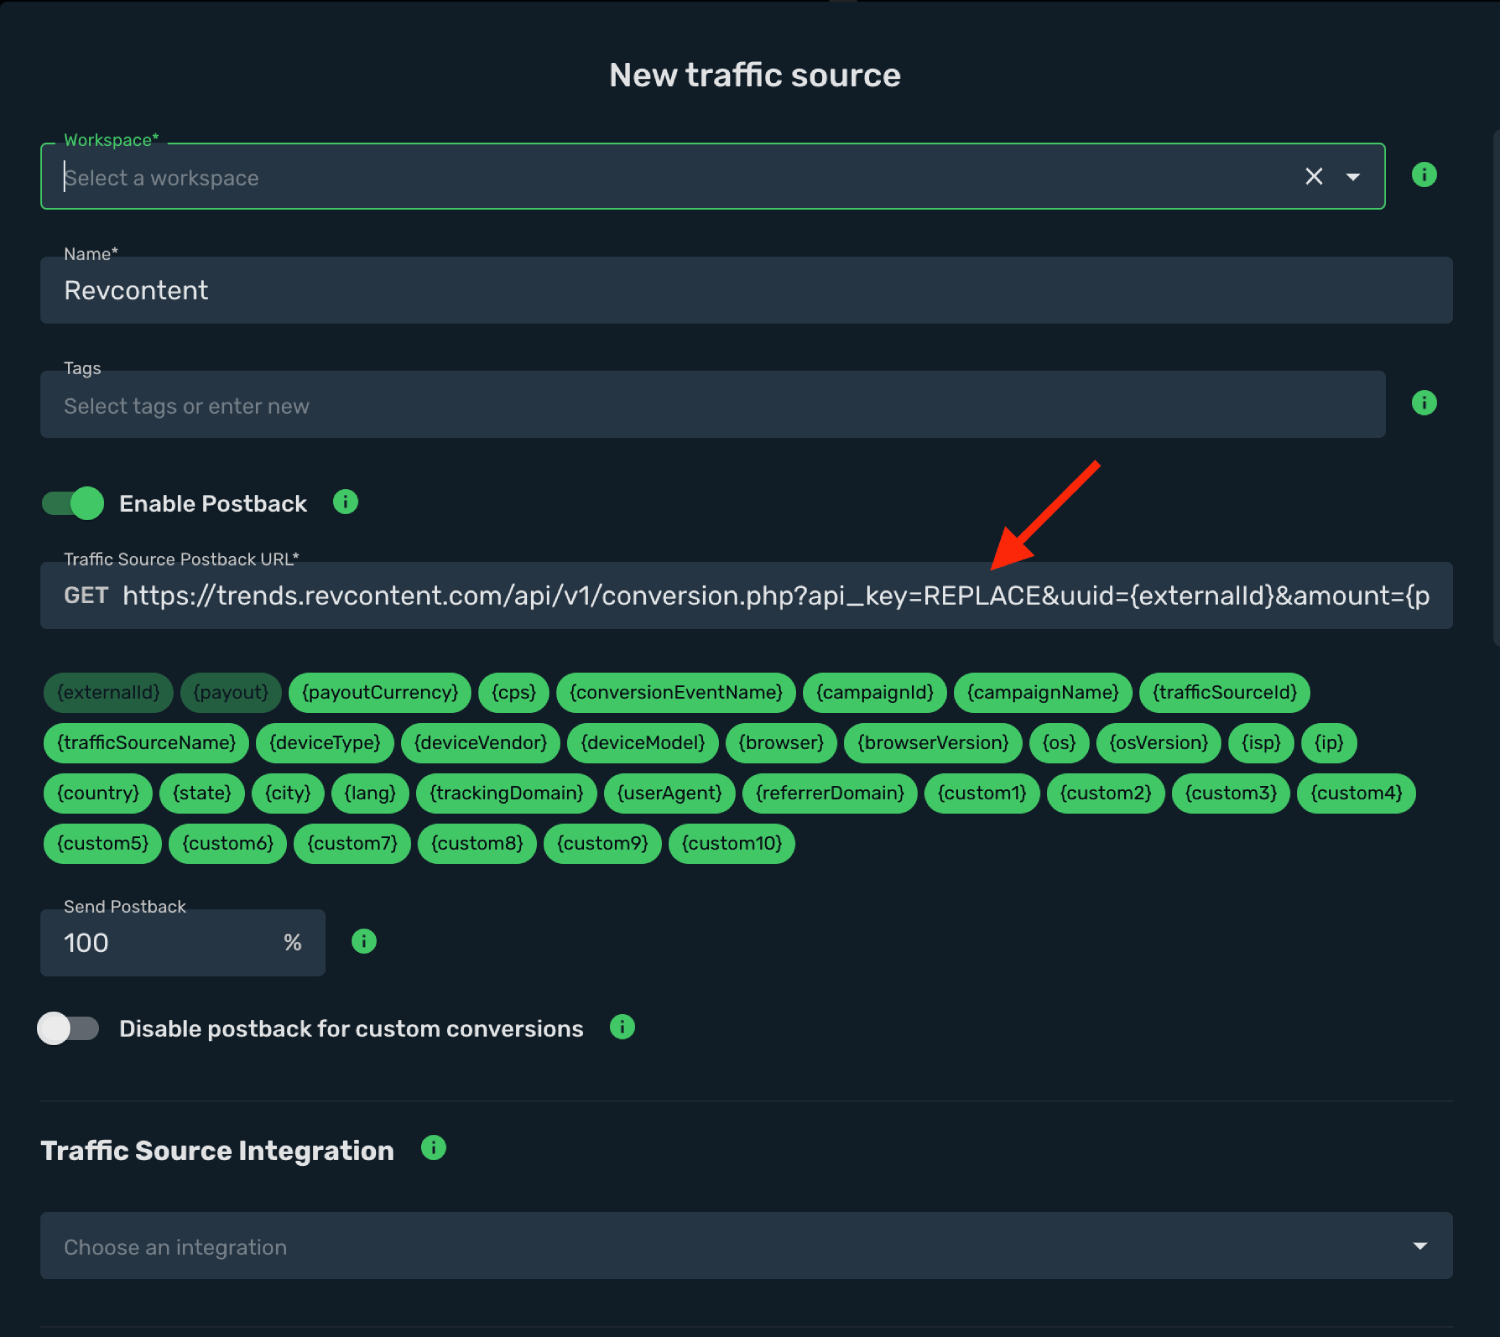
- Replace placeholder **REPLACE** with your Revcontent API key.
- Get API key from Revcontent. Click username on the top right corner and choose **Account Settings**.
- Scroll down to the **API key** section.
- Copy the key and replace the placeholder on Skro postback URL.

- Select your Revcontent integration from the dropdown menu.
- All parameters are already prefilled for you.
- Click **Save & Close**.
The integration is ready. Continue by creating a campaign for Revcontent.
## Step 4. Create a Campaign in Skro [#step-4-create-a-campaign-in-skro]
If your setup requires pre-lander then add it like that.
- Navigate to the **Landings** view and click **Create**.
- Select workspace.
- Add name.
- Add your landing URL and add macros if needed.
- Copy the **Click to offer URL** and paste it to your pre-lander which redirects you to the offer page.
- Click **Save & Close**.

The second thing you need to do is to create an offer. Offer can be your own website/product or affiliate network offer.
- Navigate to the **Offers** view and click **Create**.
- Select workspace.
- Add name.
- Add your offer URL and add macros. Don't forget to add Skro Click ID macro to your offer URL with correct parameter name.
- Click **Save & Close**.

Example of offer URL with Skro click ID macro.
`https://example.com/offer/?s2={clickId}`
- Navigate to the **Campaigns** view and click **Create**.
- Select your integrated **Traffic Source** as Revcontent.
- Cost Model should be **Auto**.
- Currency should be **USD**.
- Click **Next**.
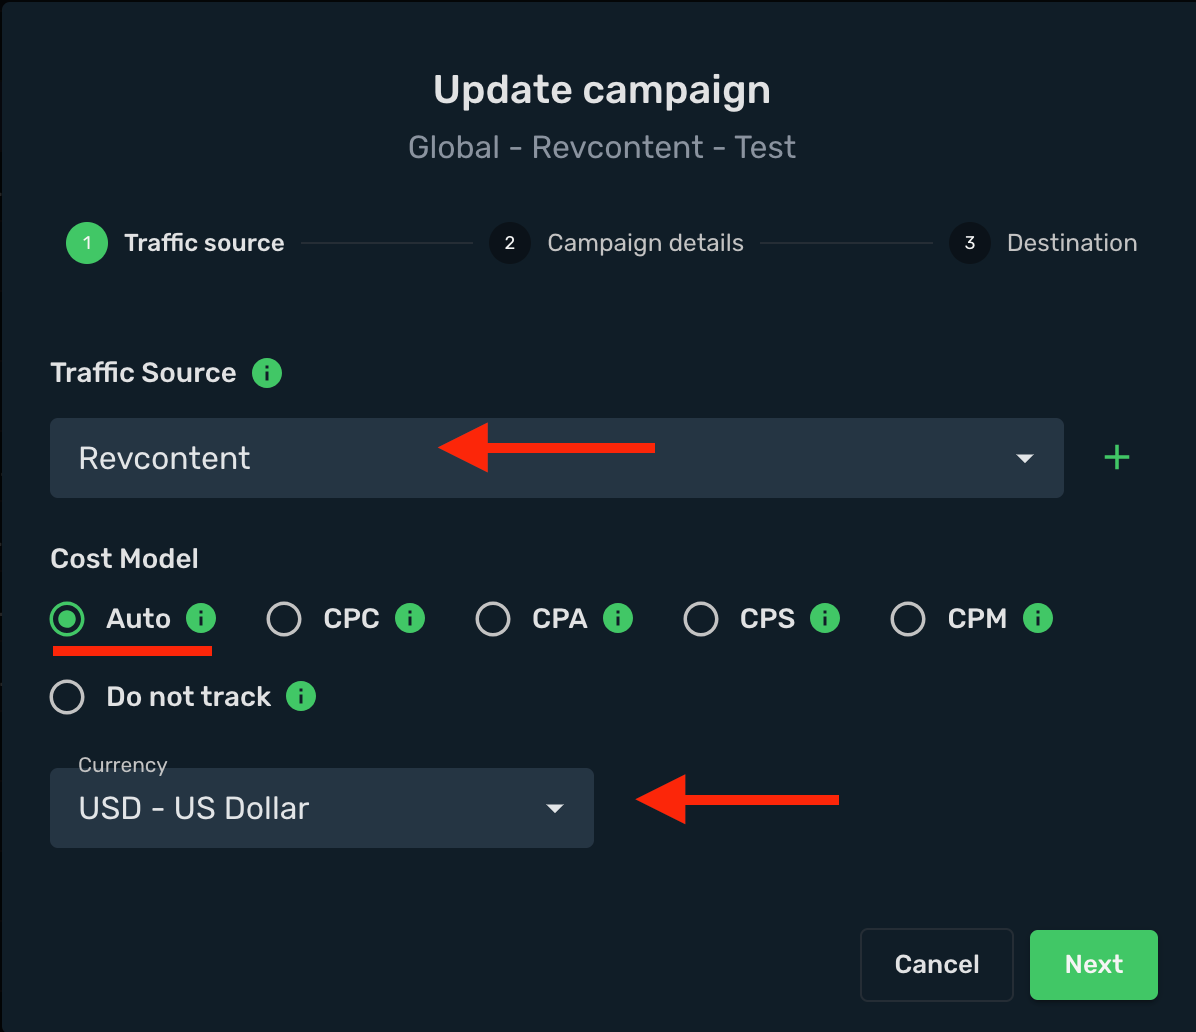
- Select workspace.
- Add descriptive name to your campaign.
- Click **Next**
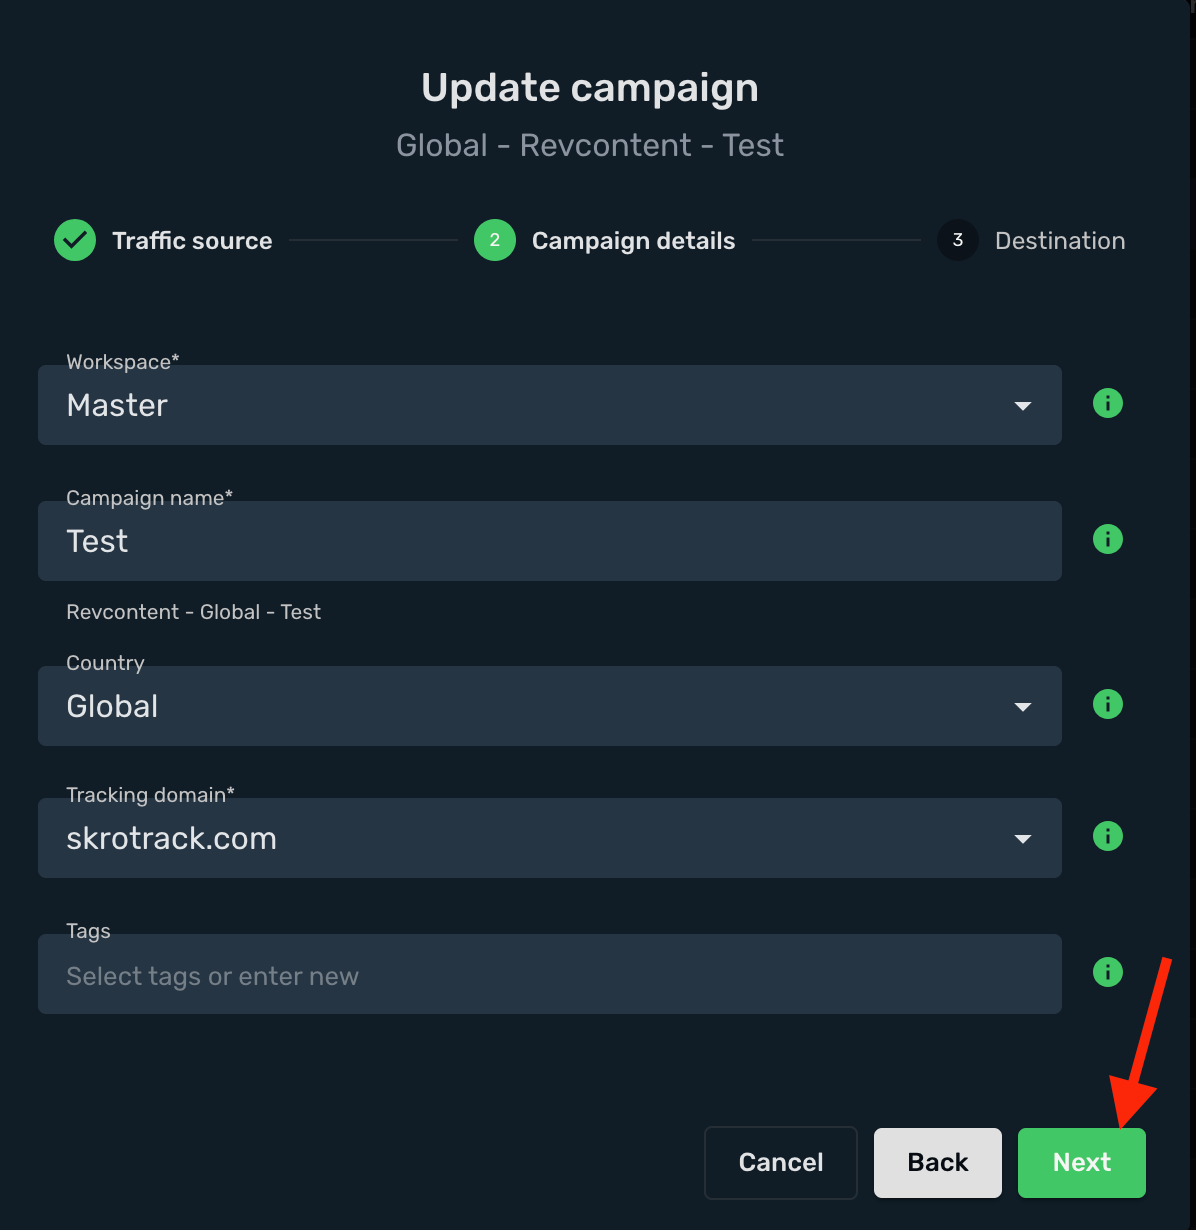
- Choose your **Destination Type**. In this example we use **flow**.
- Choose your redirect mode. In this example we use **redirect 302**.
- Choose your landing page.
In given example we use one landing and one offer setup.
- Click **Save** when you are done.
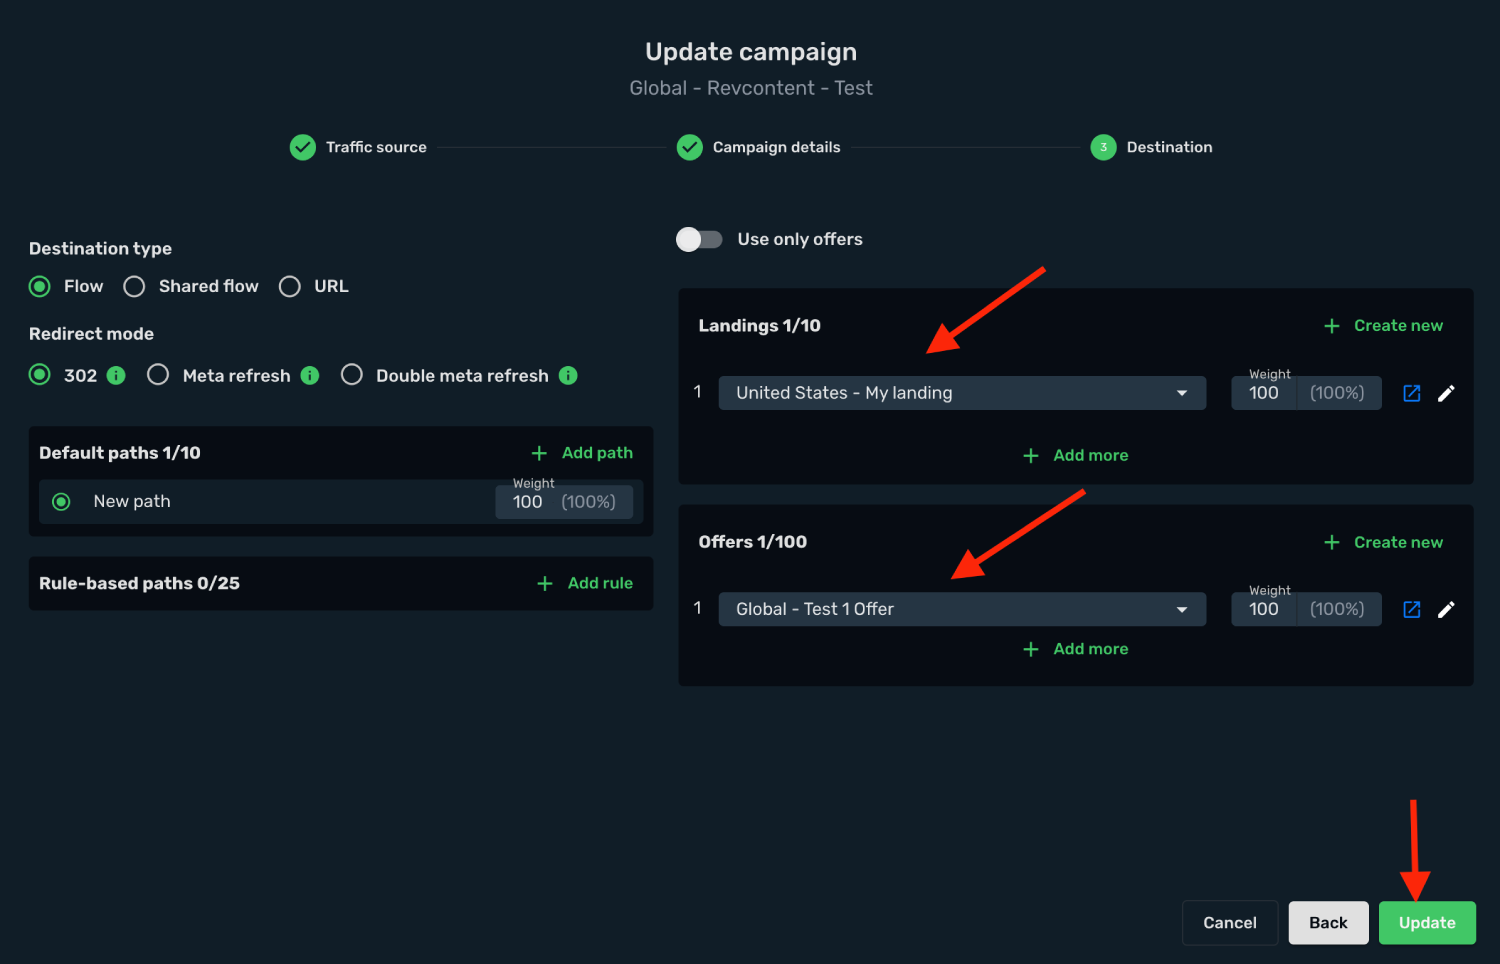
- Choose the **Redirect** method.
- If you didn't install the **Click to Offer URL** on your pre-lander, then do it now. In given example the link is **https://skrotrack.com/click**
In given example we have that kind of Skro Campaign Tracking Link:
```text
https://skrotrack.com/campaign/438b7f75-d001-479b-bc15-4e9059c9fbb6?rc_uuid=&widget_id={widget_id}&content_id={content_id}&boost_id={boost_id}&adv_targets={adv_targets}
```
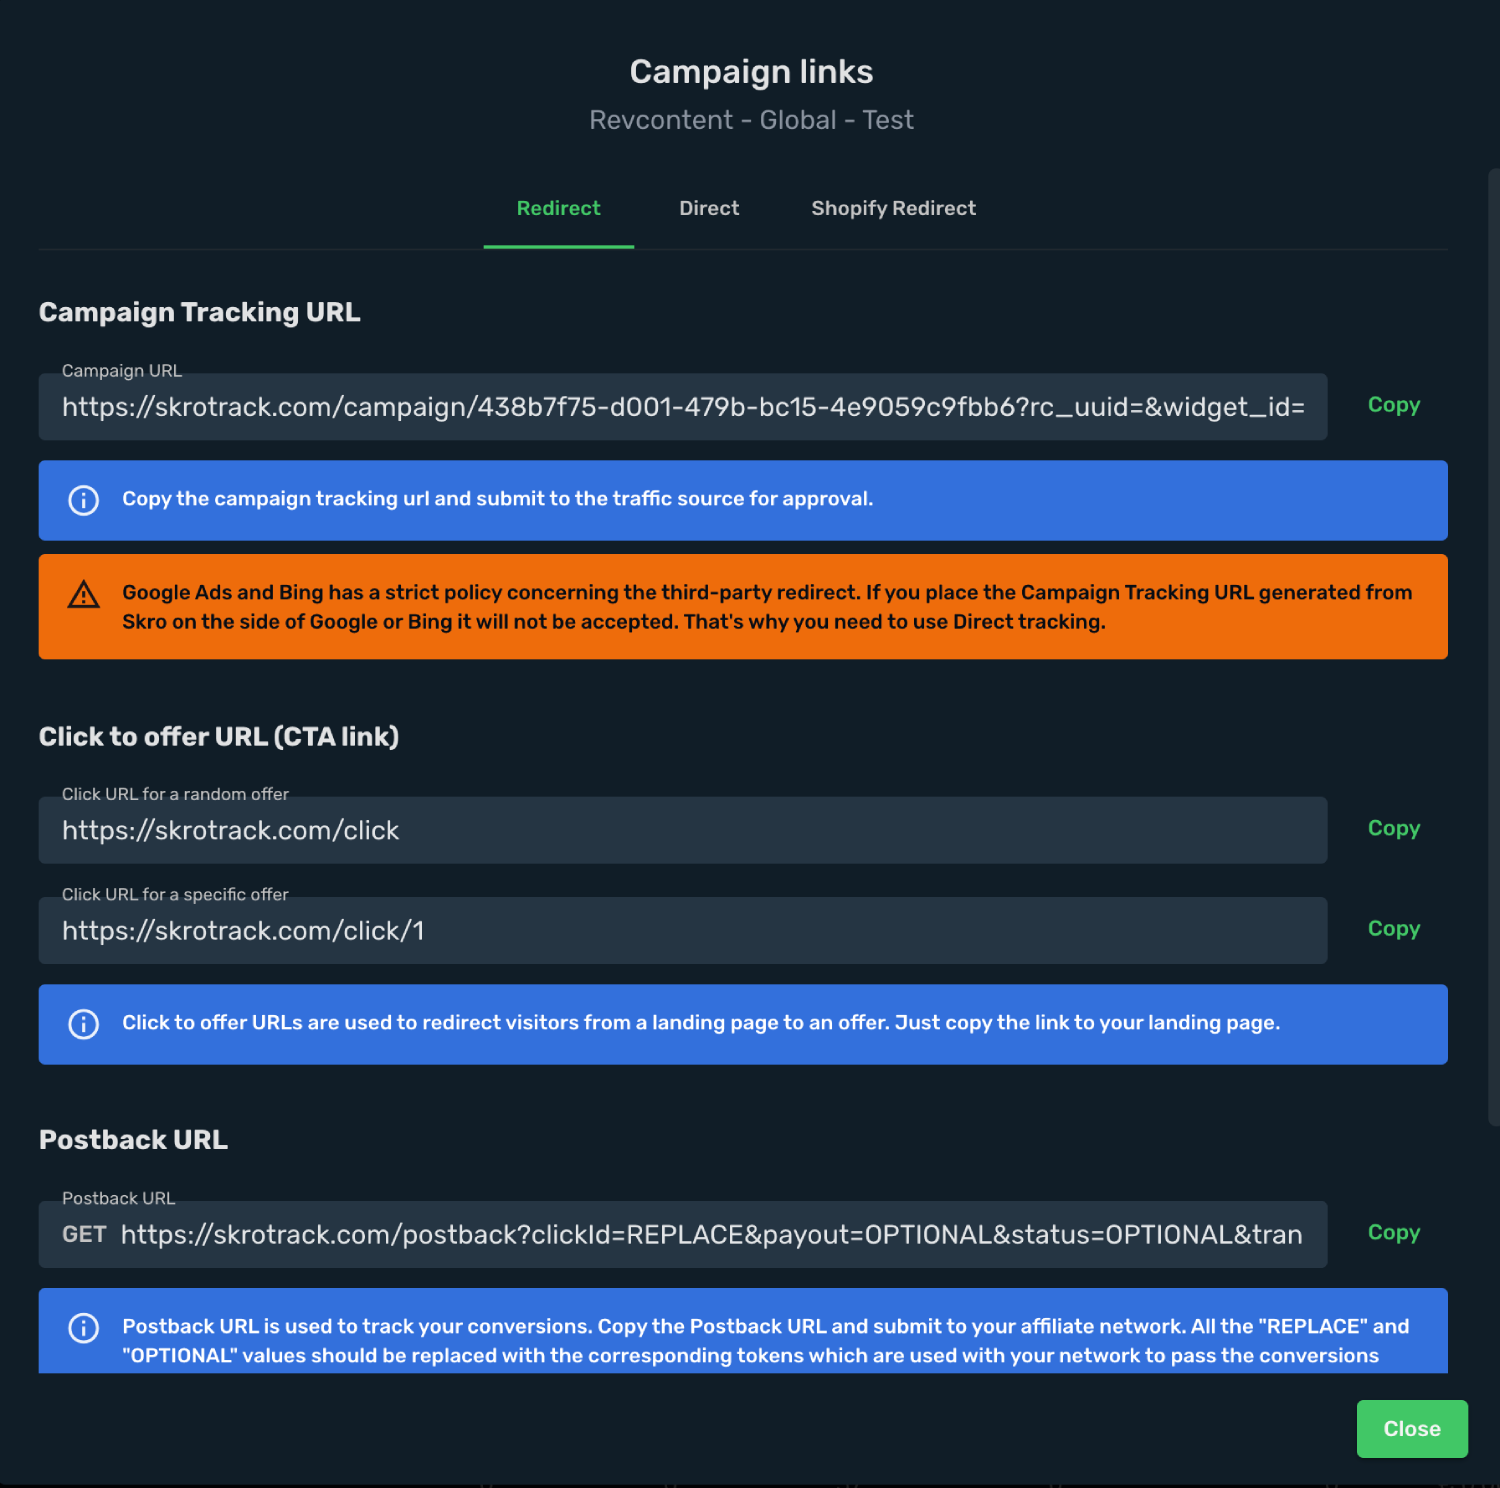
- Copy the link and paste it to Revcontent and start tracking.
## Step 5. Create a Campaign in Revcontent [#step-5-create-a-campaign-in-revcontent]
Now you have your campaign URL with tracking parameters added. In the next step you will submit it as your item's URL in Revcontent campaign setup. In order to do that, perform the following steps:
- Sign in to your Revcontent account.
- Go to the **Campaigns** view.
- Click the **Create Campaign** and setup your campaign.
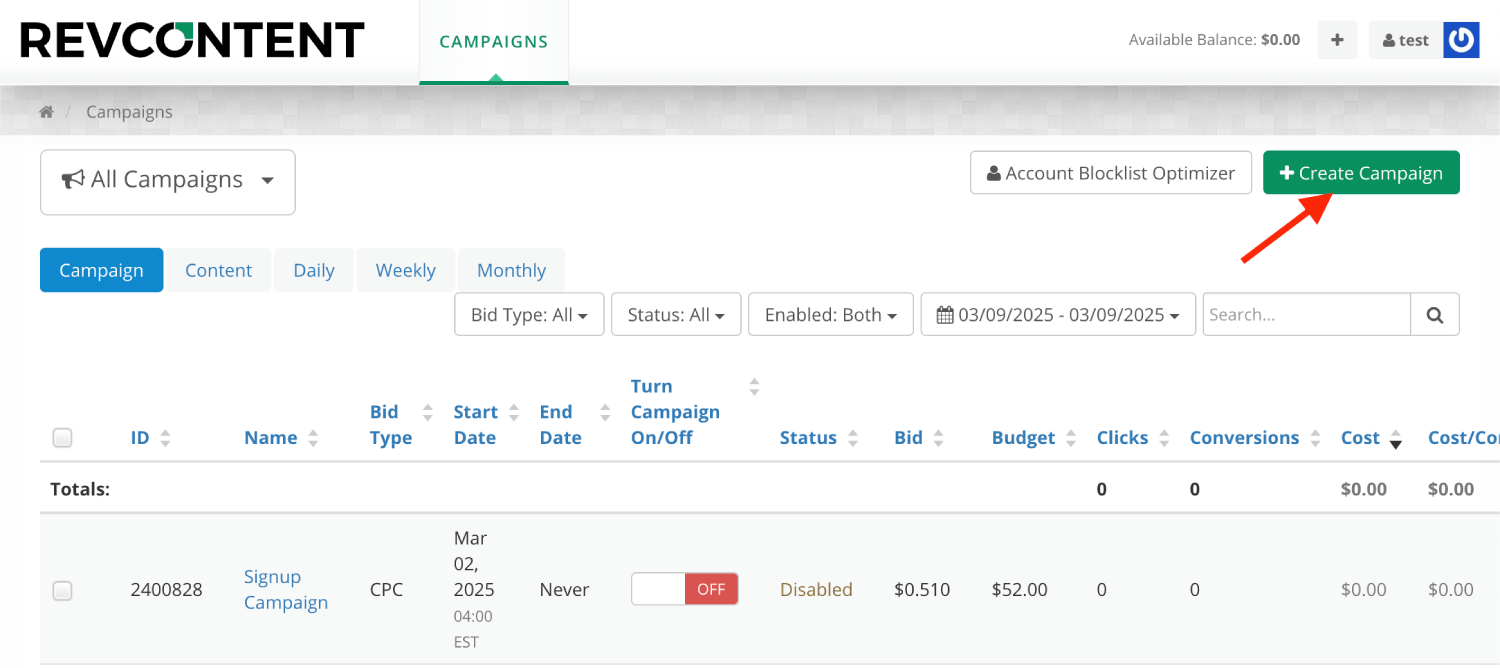
- Setup your audience and budgets.
- Click **Save**.
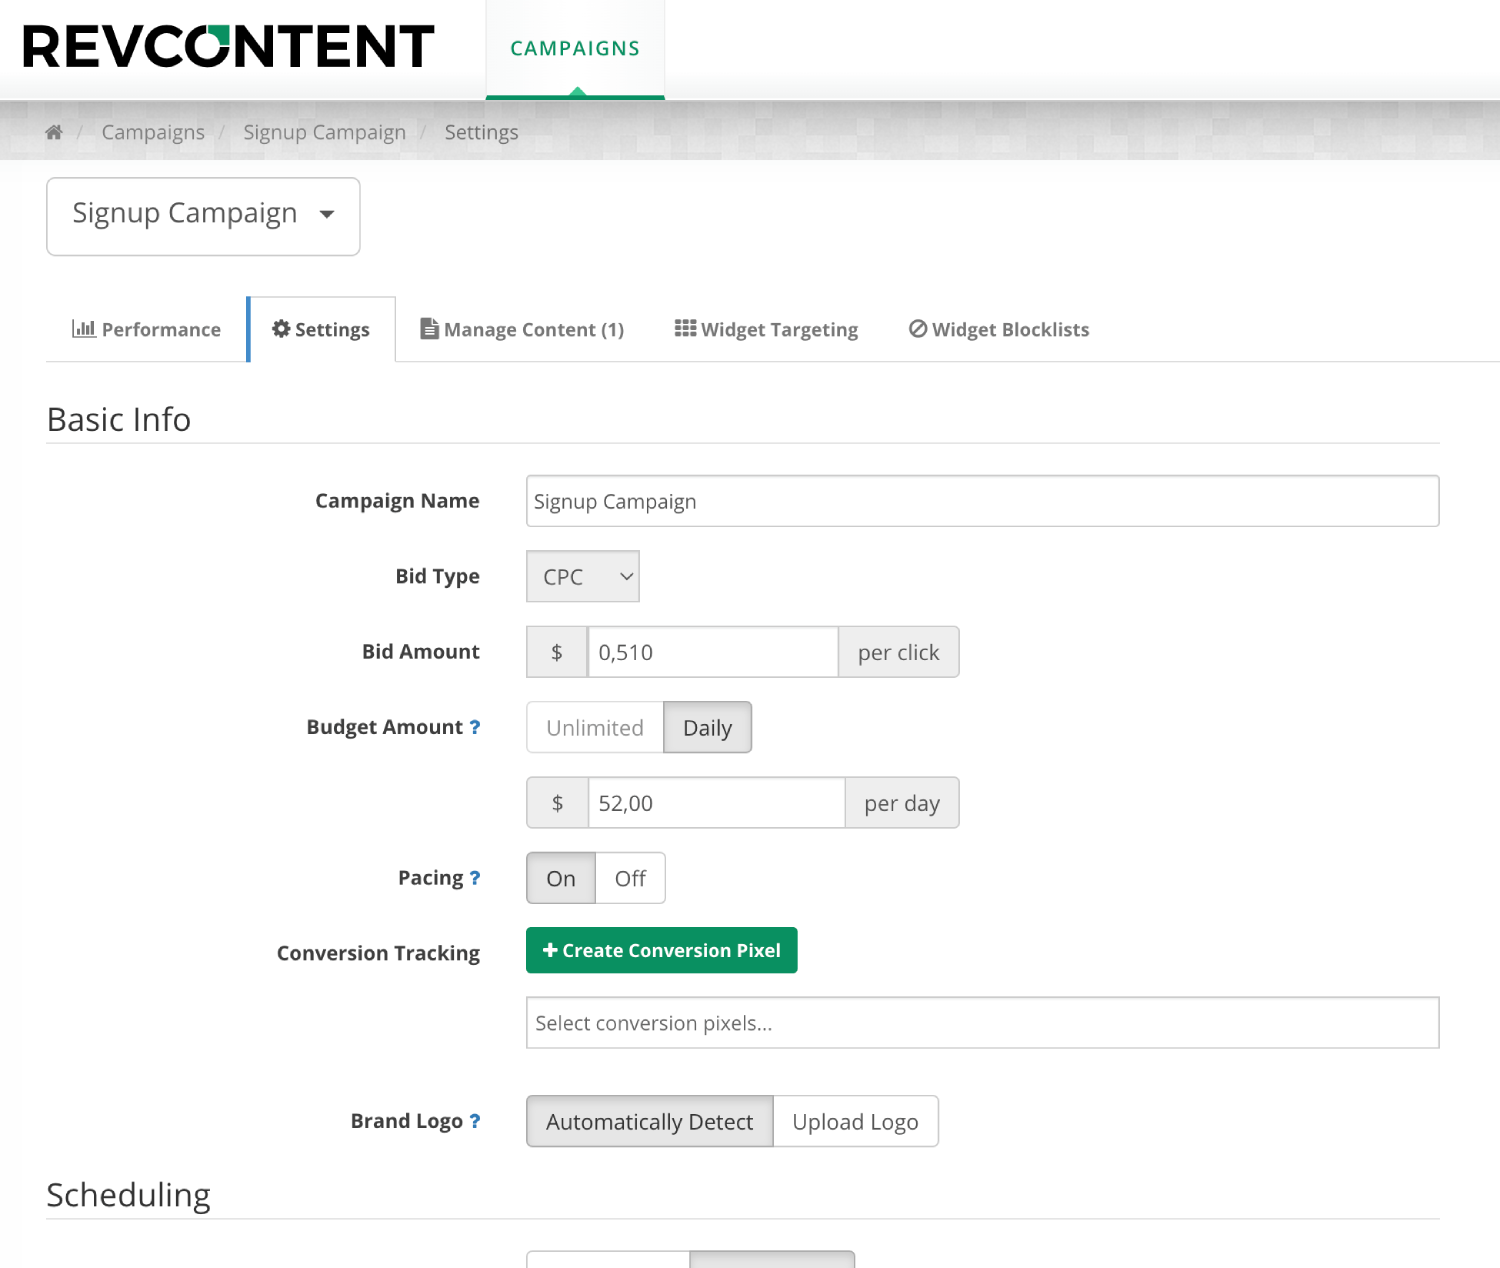
- Set up your contents.
- On the **Destination URL** goes your Skro Campaign Tracking link with params and macros.
- Click **Submit**.
This is your campaign tracking link in this example.
```text
https://skrotrack.com/campaign/438b7f75-d001-479b-bc15-4e9059c9fbb6?rc_uuid=&widget_id={widget_id}&content_id={content_id}&boost_id={boost_id}&adv_targets={adv_targets}
```
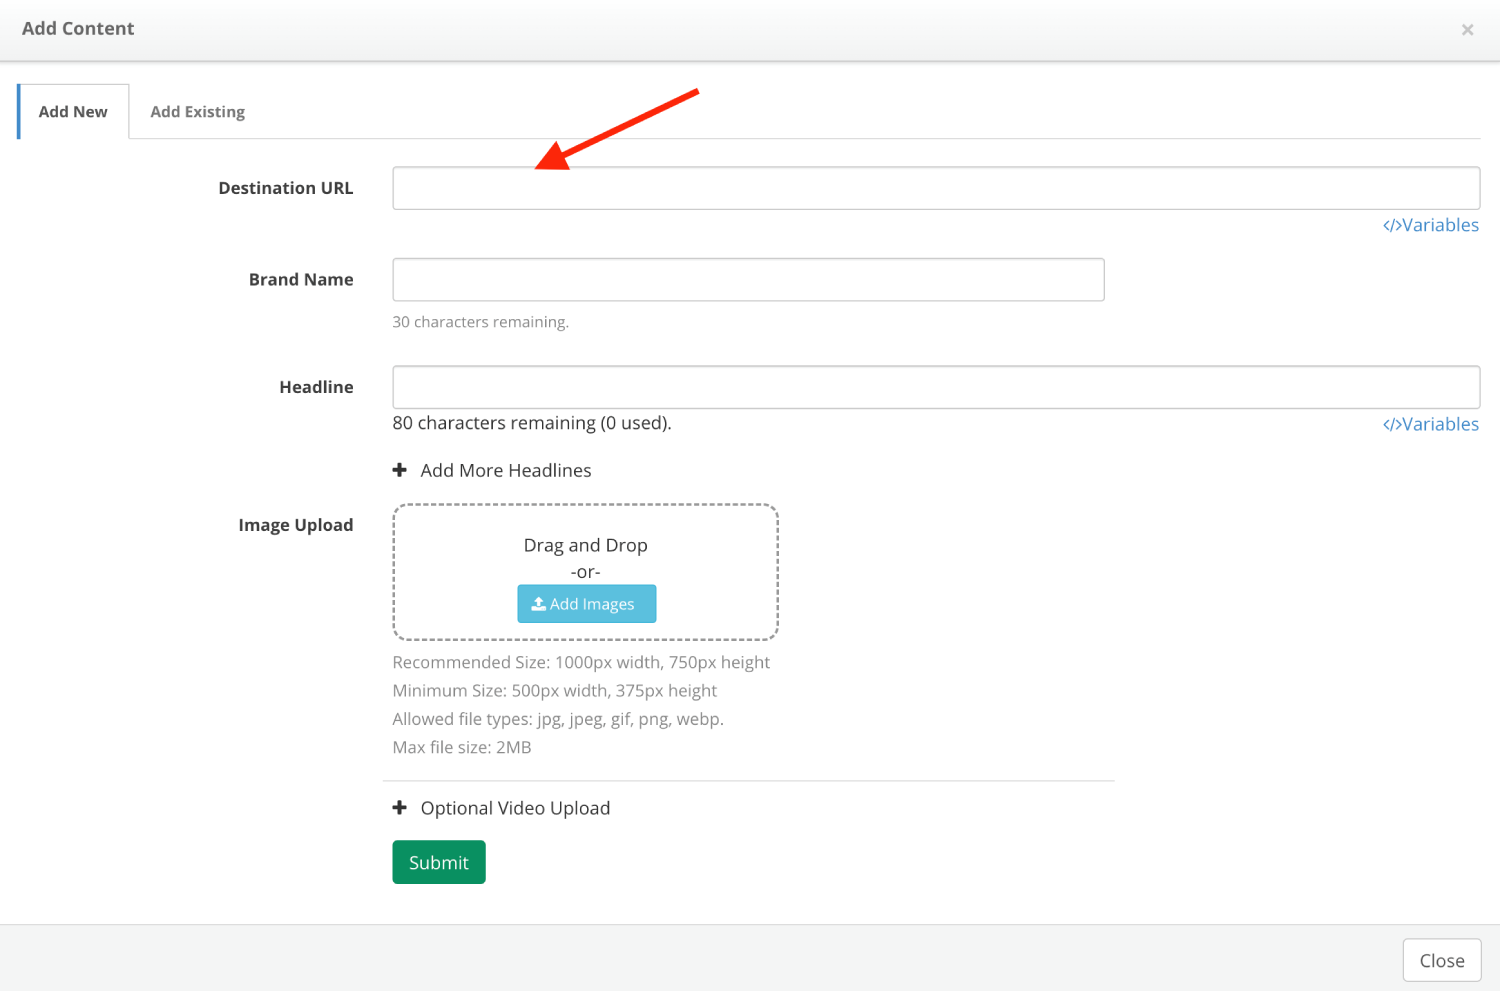
- Once your set up is done, you will need to wait when your ads are reviewed and approved.
Congratulations, you have successfully set up tracking of Revcontent traffic with Skro. Each time a visitor clicks on your ad, will be directed to your landing page with Skro's tracking parameters being passed.
## Verify the setup [#verify-the-setup]
Open the generated campaign URL and check that the visit appears in Skro. Confirm that traffic source macros resolve to actual values. If you send conversions back to the source, verify a test conversion in both systems.
If data is missing, check the selected workspace, integration, campaign, and reporting date range. Compare parameter names and macro values with the examples in this guide before repeating the test.
## Related guides [#related-guides]
# RichAds integration
Source: https://skro.eu/docs/integrations/richads-and-skro-integration
Set up RichAds tracking in Skro, configure traffic source parameters, and connect your advertising campaigns.
## Step 1. Create a RichAds traffic source and configure the postback URL [#step-1-create-a-richads-traffic-source-and-configure-the-postback-url]
1. Navigate to **Traffic Sources**.
2. Click the **Create**.
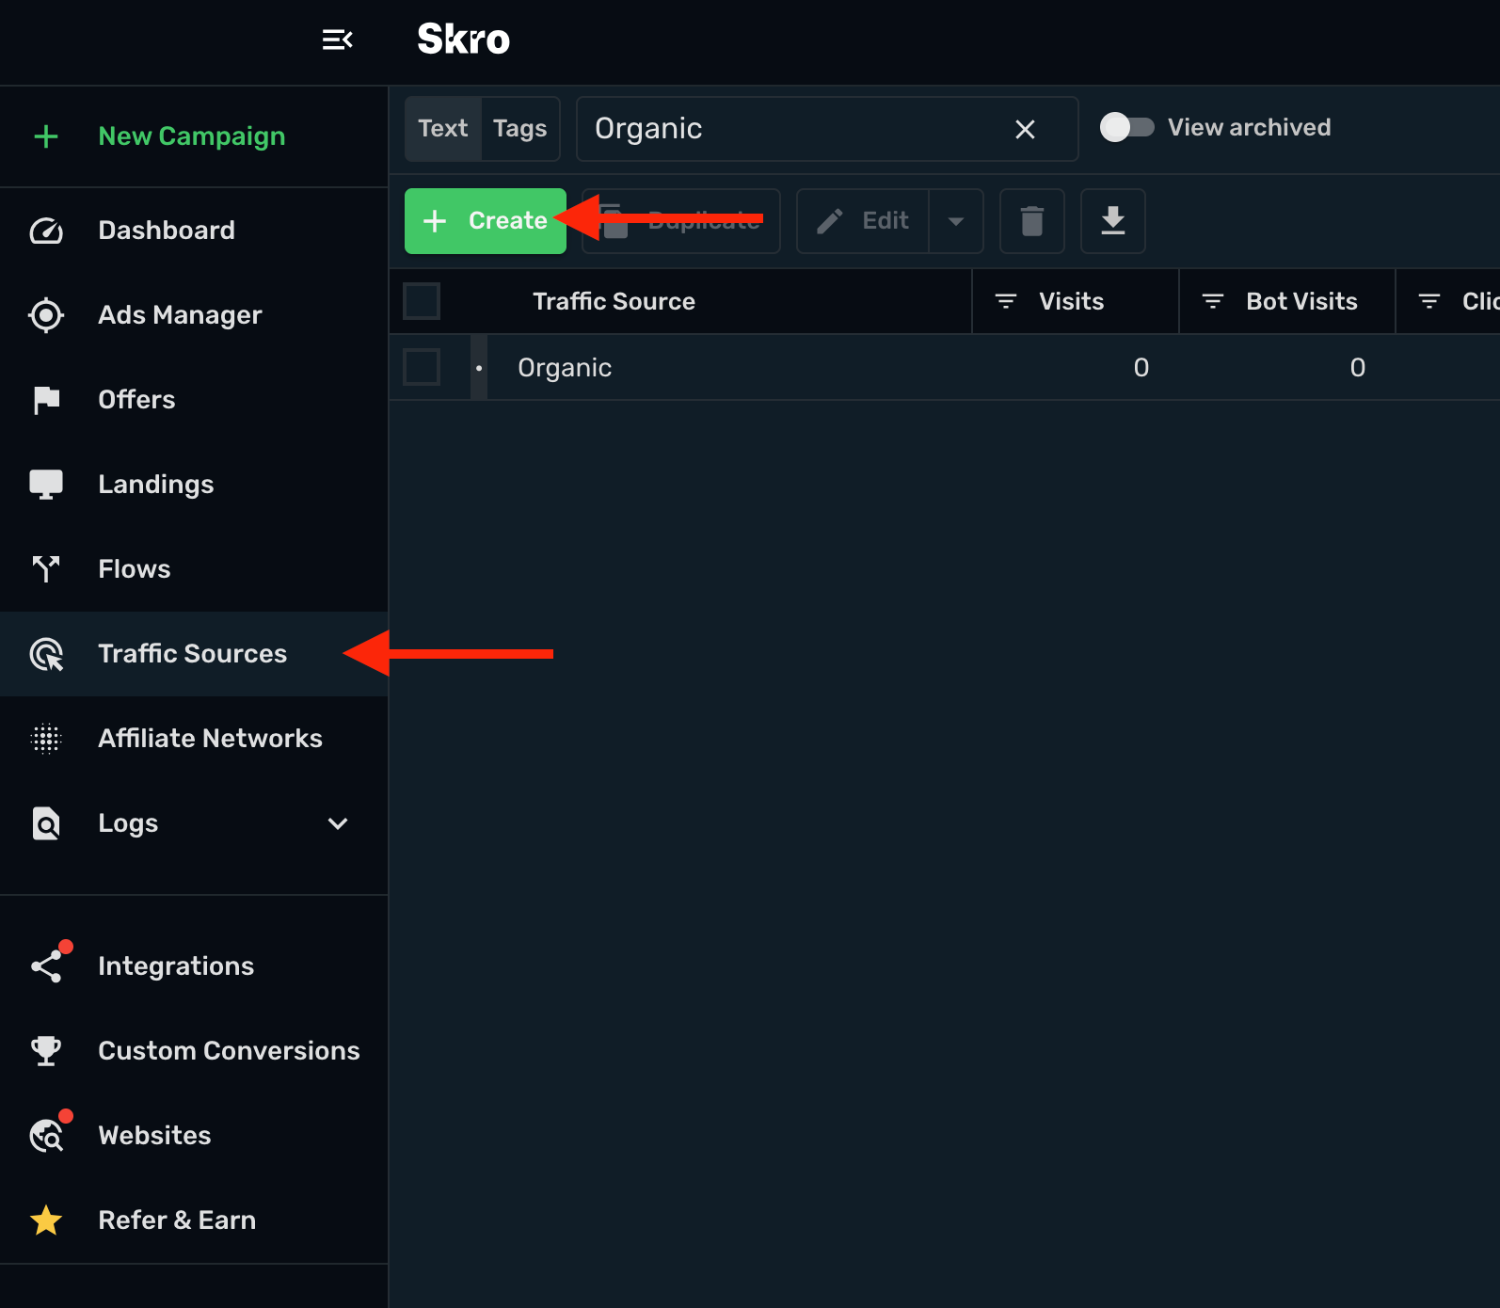
3. Search for **richads** and click the **RichAds Pops** or **RichAds Push** logo. It depends on what type of ads are you going to run.
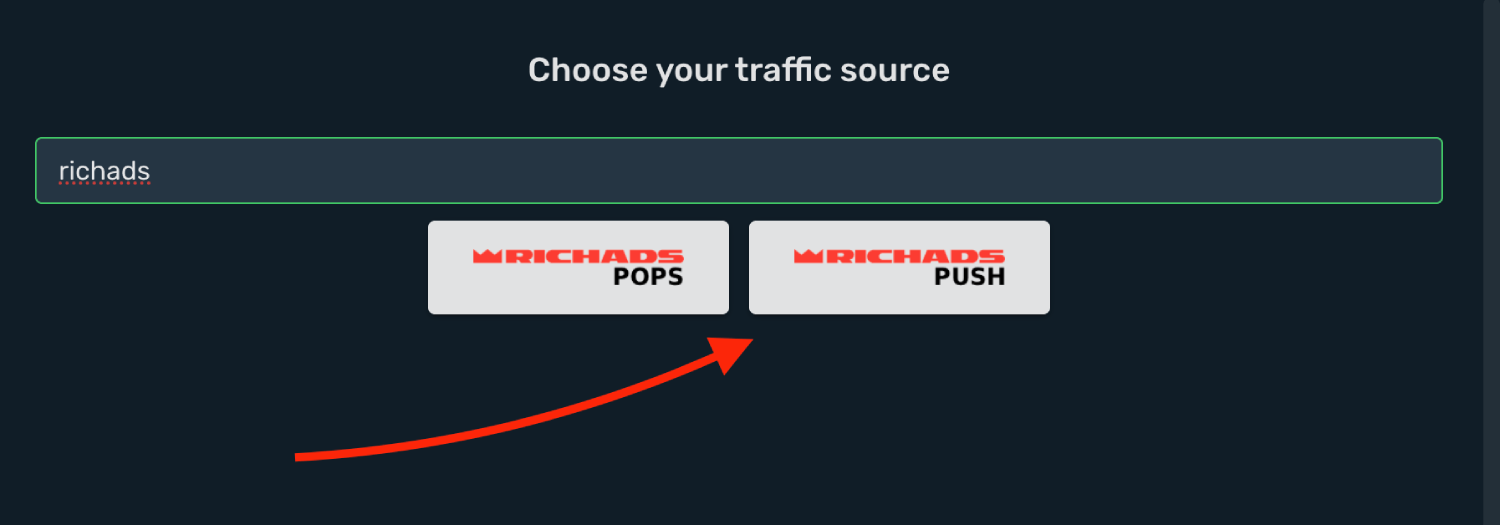
4. Choose your **Workspace** and **Traffic Source Postback URL** is already prefilled for you. But you can double check if the postback URL domain looks same.
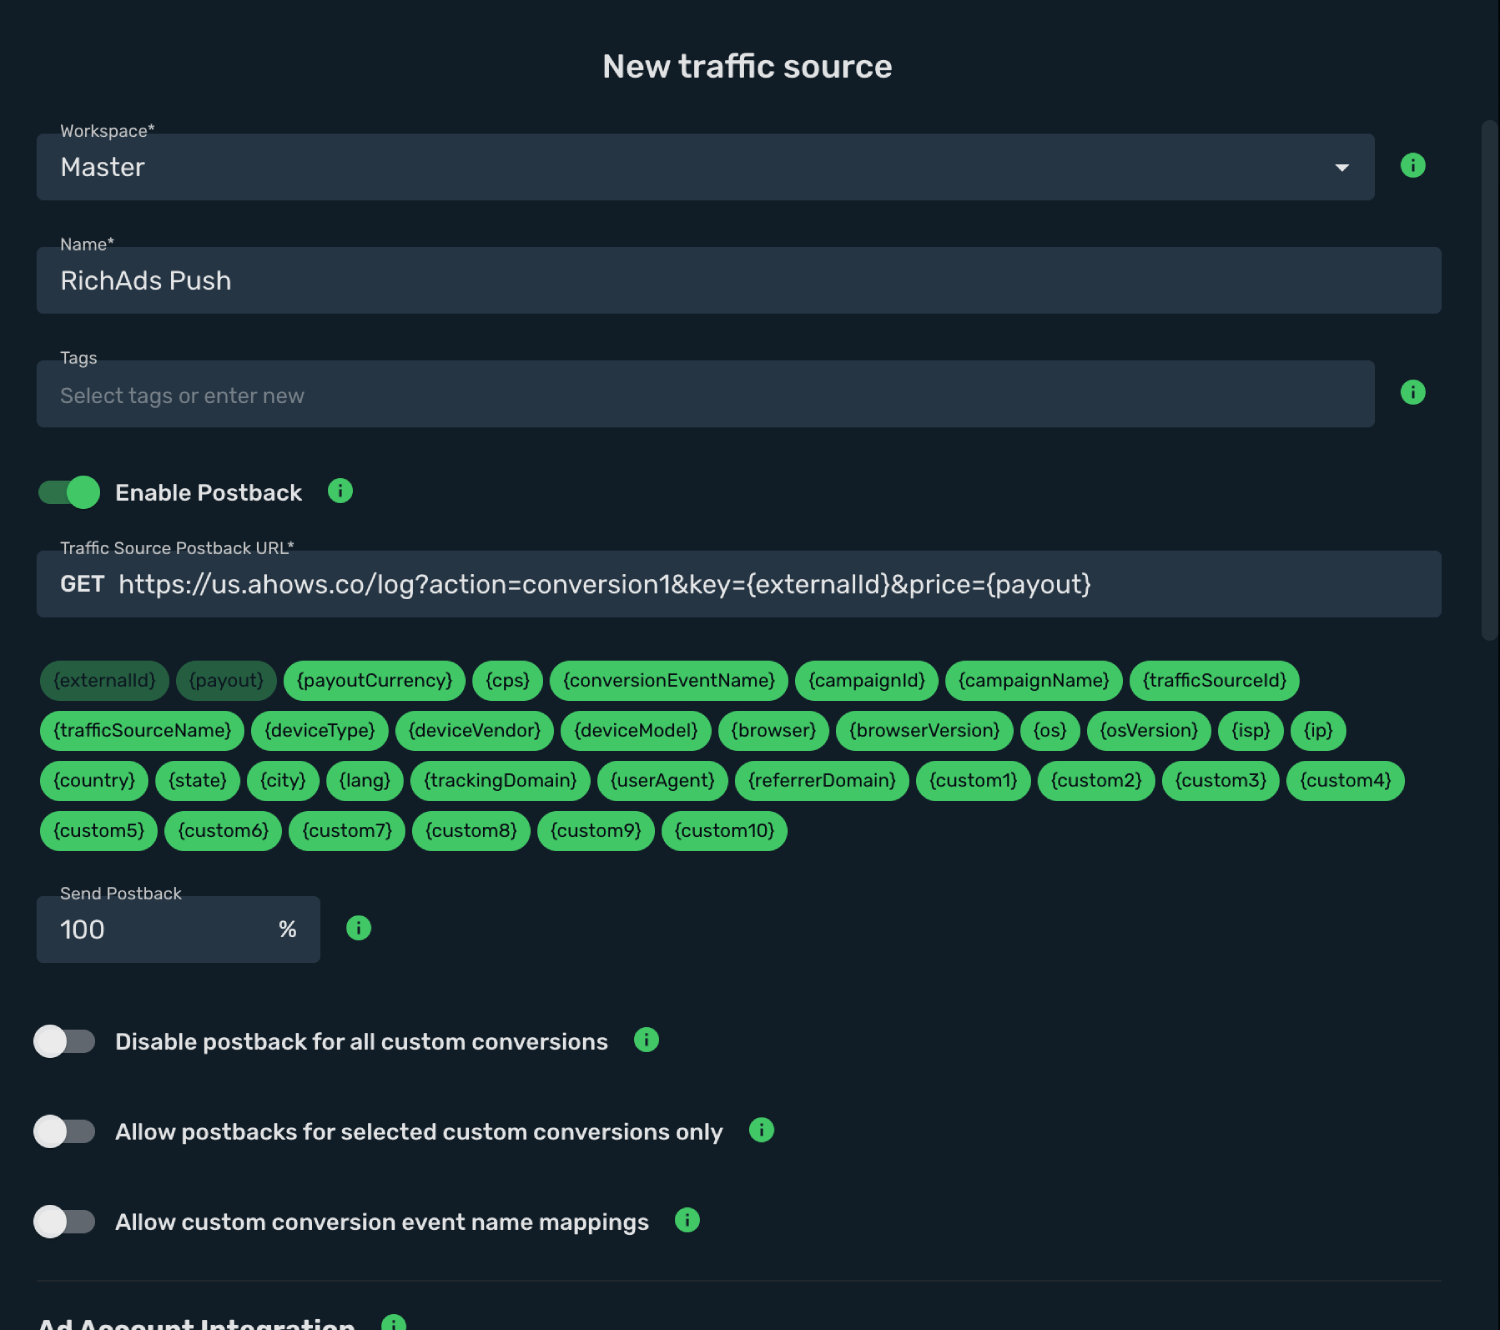
5. Log in to your **RichAds account**.
6. Go to **Tracking** → **Setup Tracker** → **Main Conversions** → **Other Trackers**.
7. Copy the **Postback URL** to your clipboard
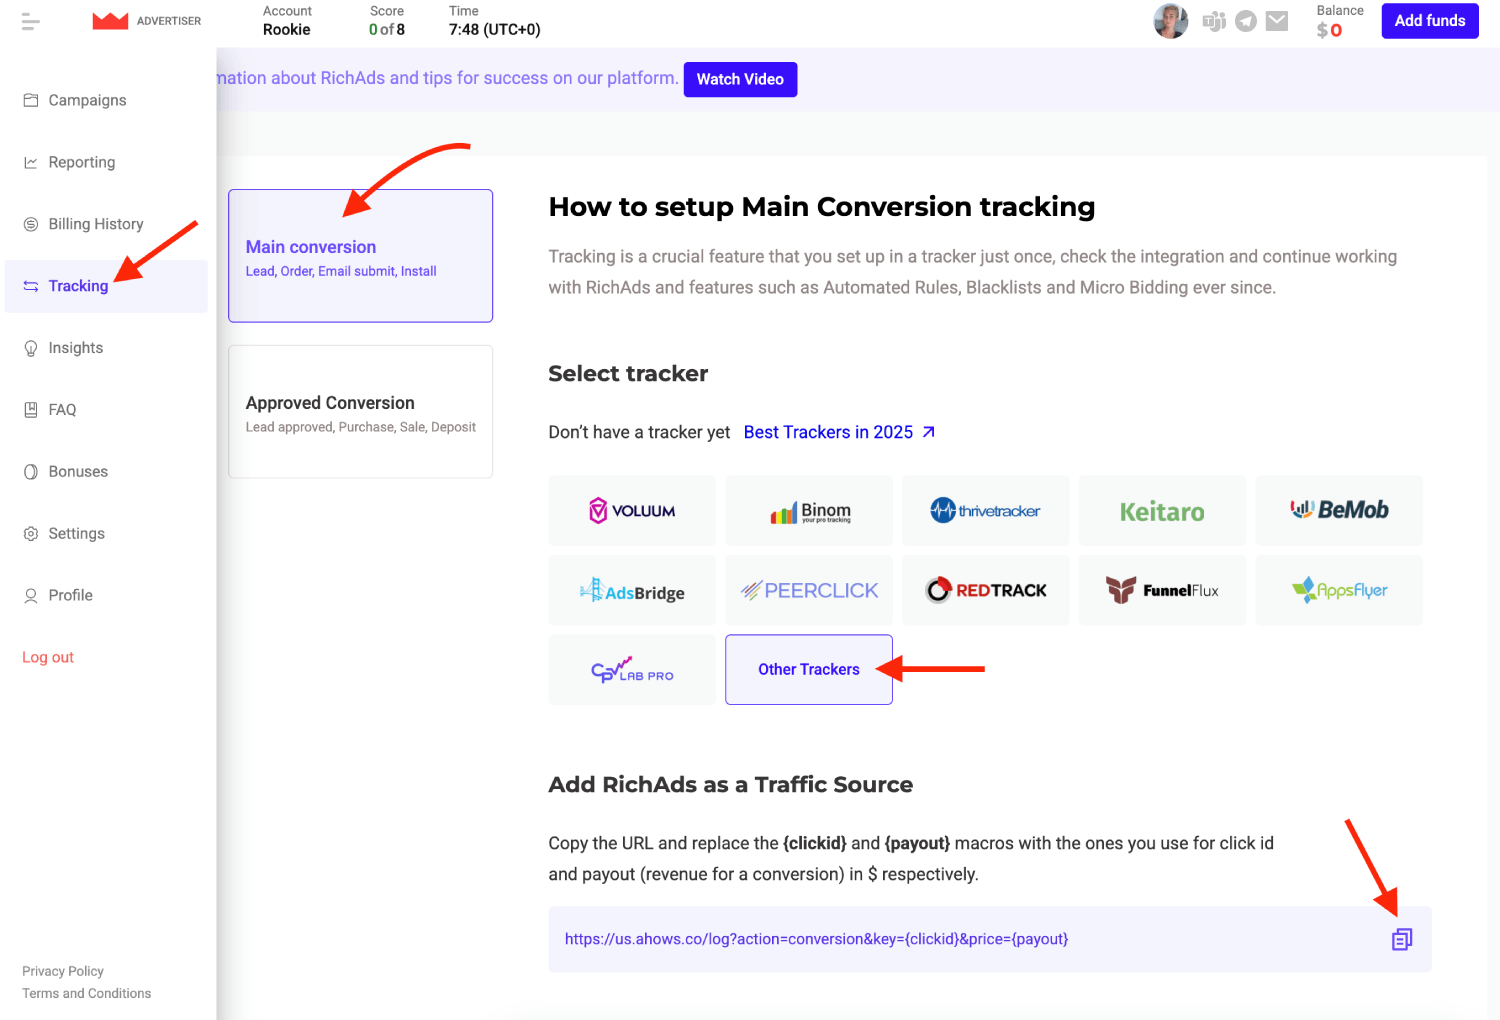
8. Go back to **Skro** and replace the postback URL with the updated values.
9. Final postback URL look similar to this:
`https://us.ahows.co/log?action=conversion1&key={externalId}&price={payout}`
**`key={externalId}`** - This macro replace RichAds click ID.
**`price={payout}`** - This macro replace conversion payout.
10. All tracking parameters are already prefilled for you.
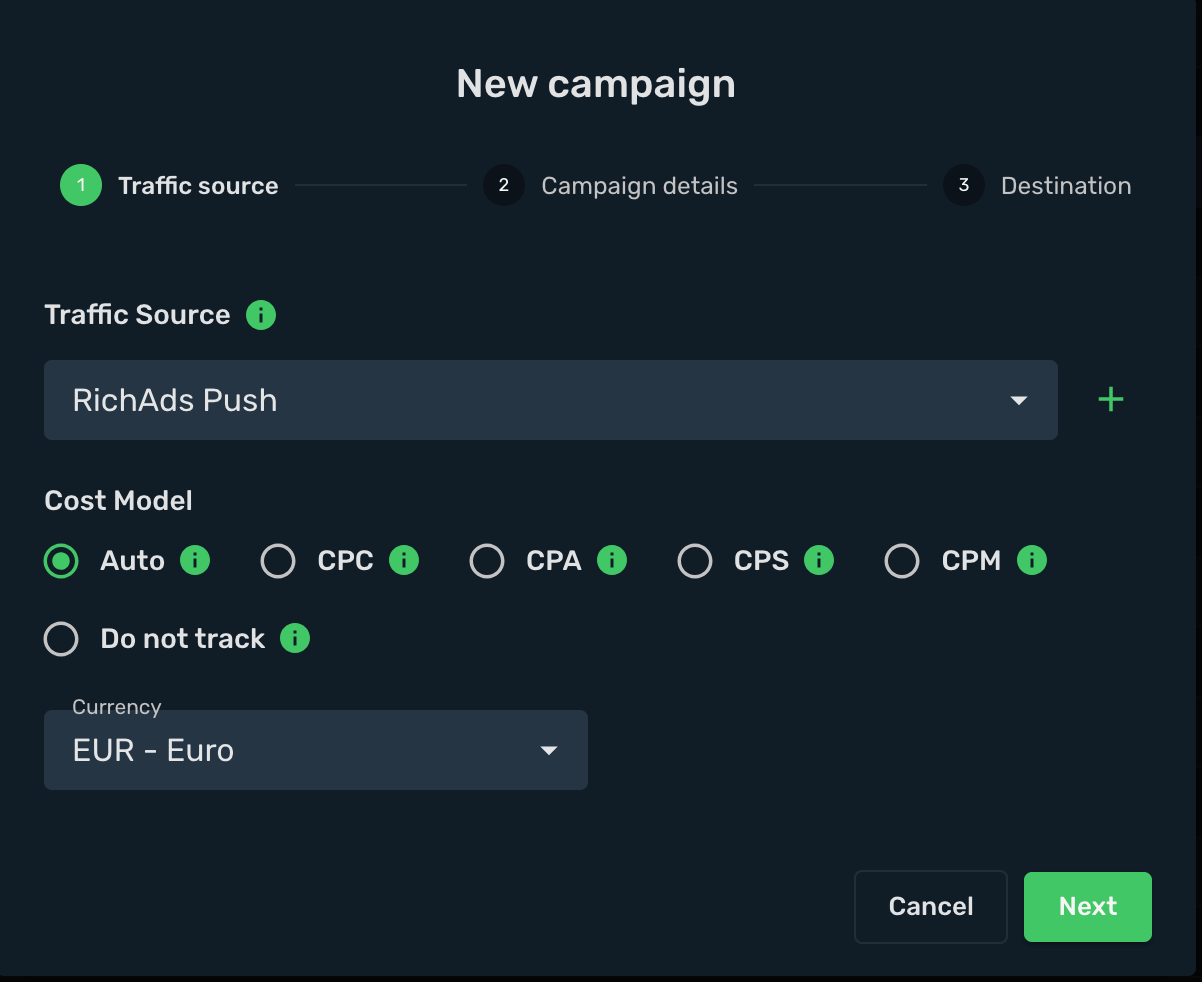
11. Click the **Save & Close**.
Integration setup is complete, and you are now ready to create your first campaign.
## Step 2. Create a campaign in Skro [#step-2-create-a-campaign-in-skro]
1. Go to **Ads Manager** and click the **Create**.
2. Select your **Traffic source** and click **Next**.

3. Select your campaign **Workspace**.
4. Enter a descriptive campaign name.
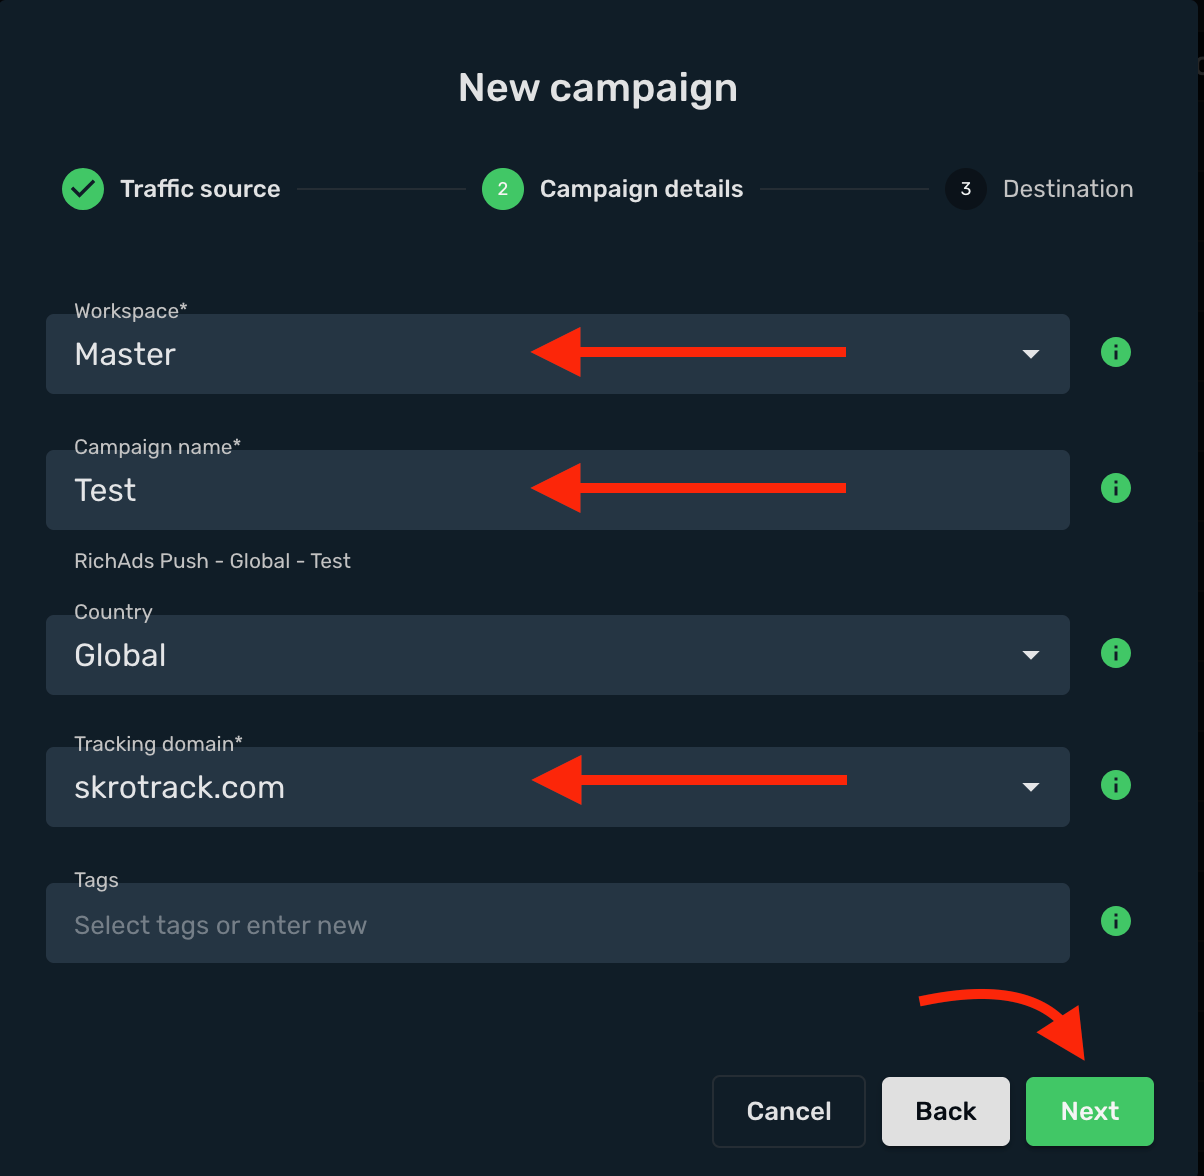
5. Select or create all your **landings** and **offers**.
6. Click the **Save**.
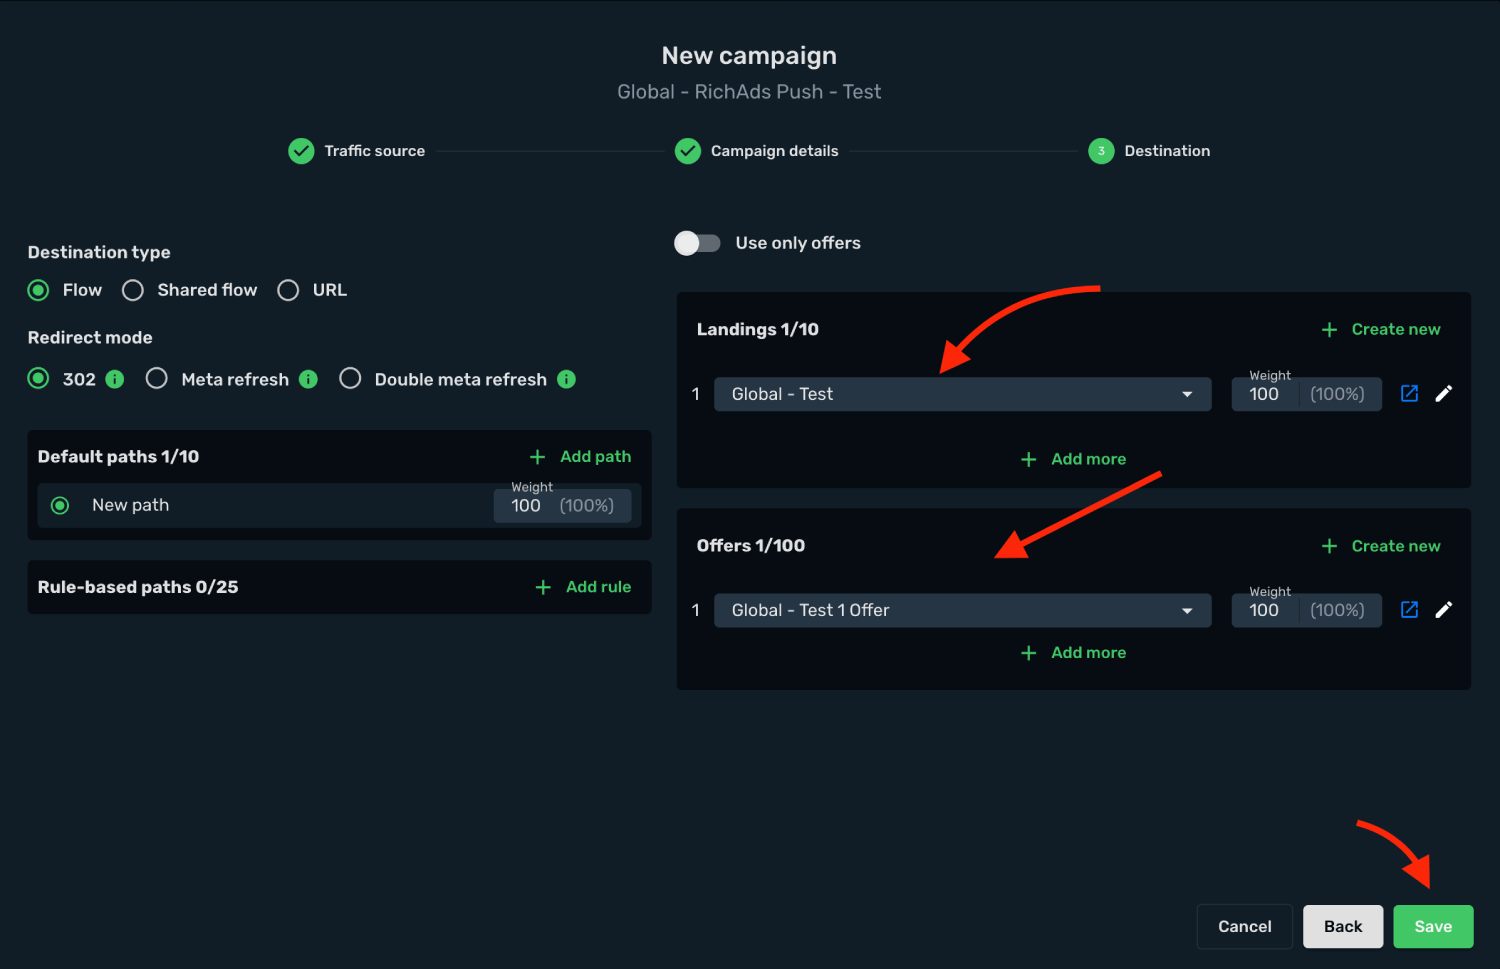
7. Copy the **Campaign Tracking URL** to clipboard.
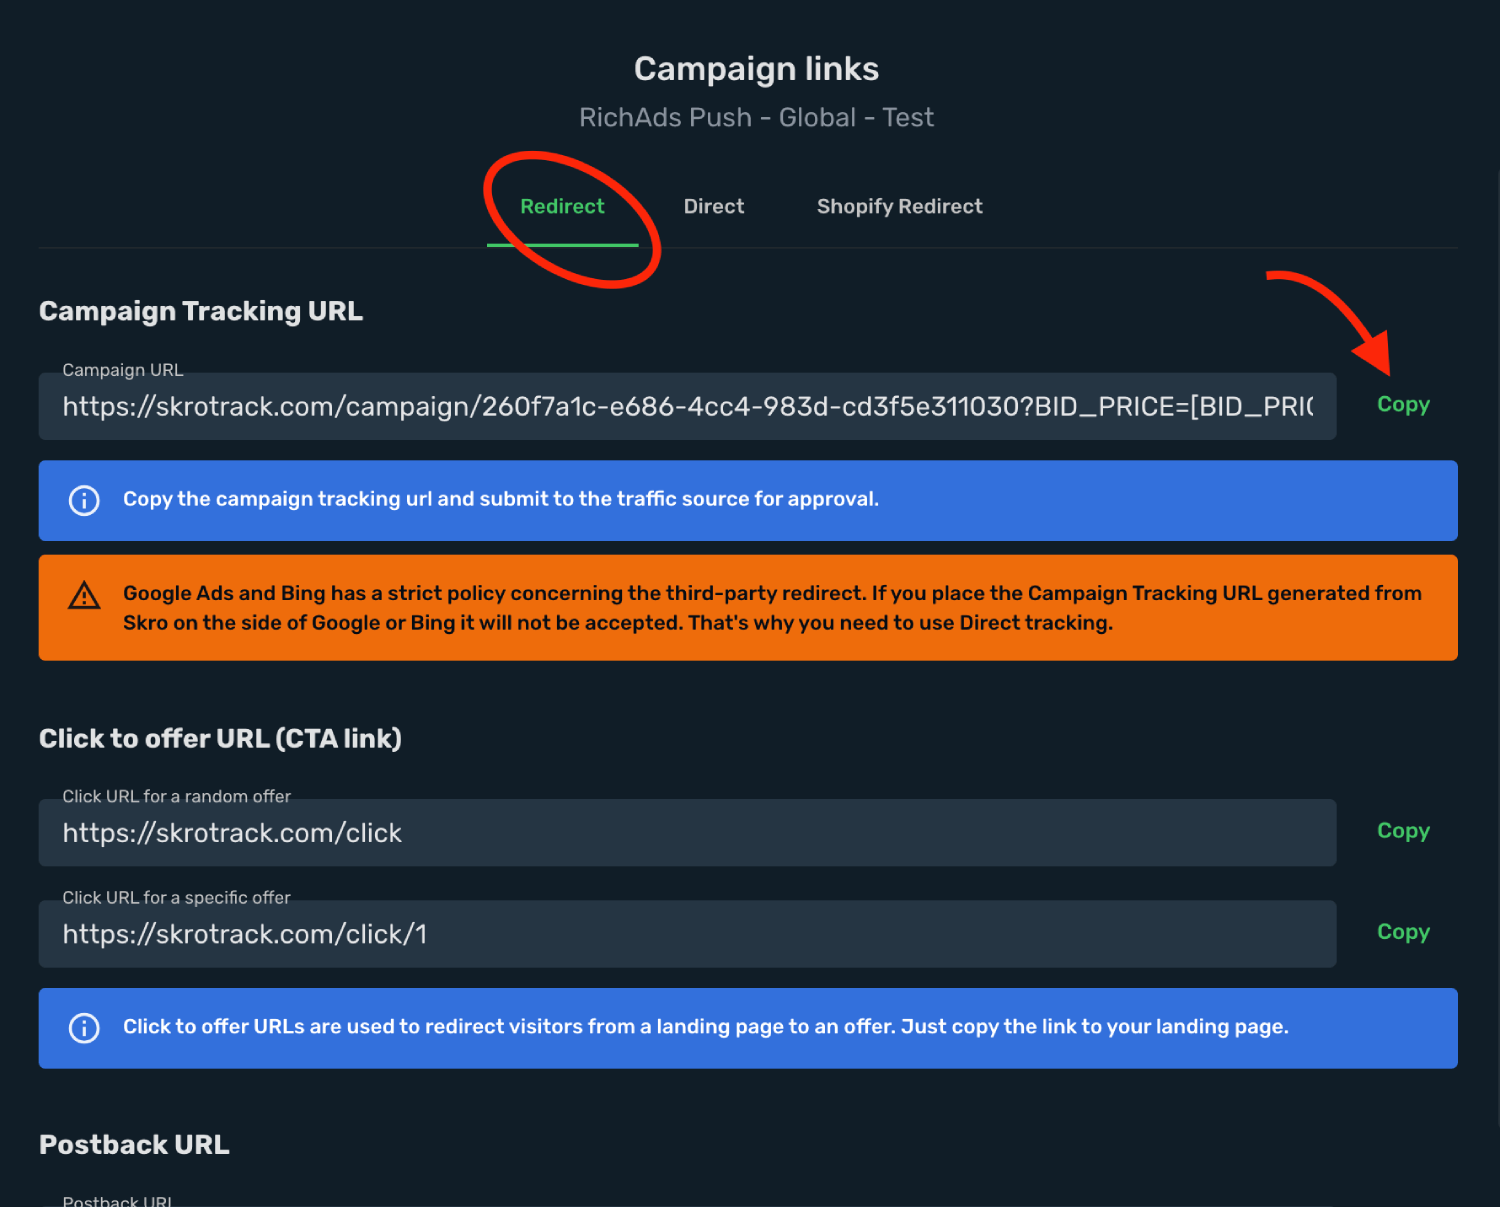
## Step 3. Create a campaign in RichAds [#step-3-create-a-campaign-in-richads]
This guide explains how to set up a high-performance campaign in RichAds using your Skro tracking link.
### Step 1: Initialize Campaign & Format [#step-1-initialize-campaign--format]
1. Log in to your **RichAds** dashboard.
2. Go to the **Campaigns** section and click the **Create Campaign**.
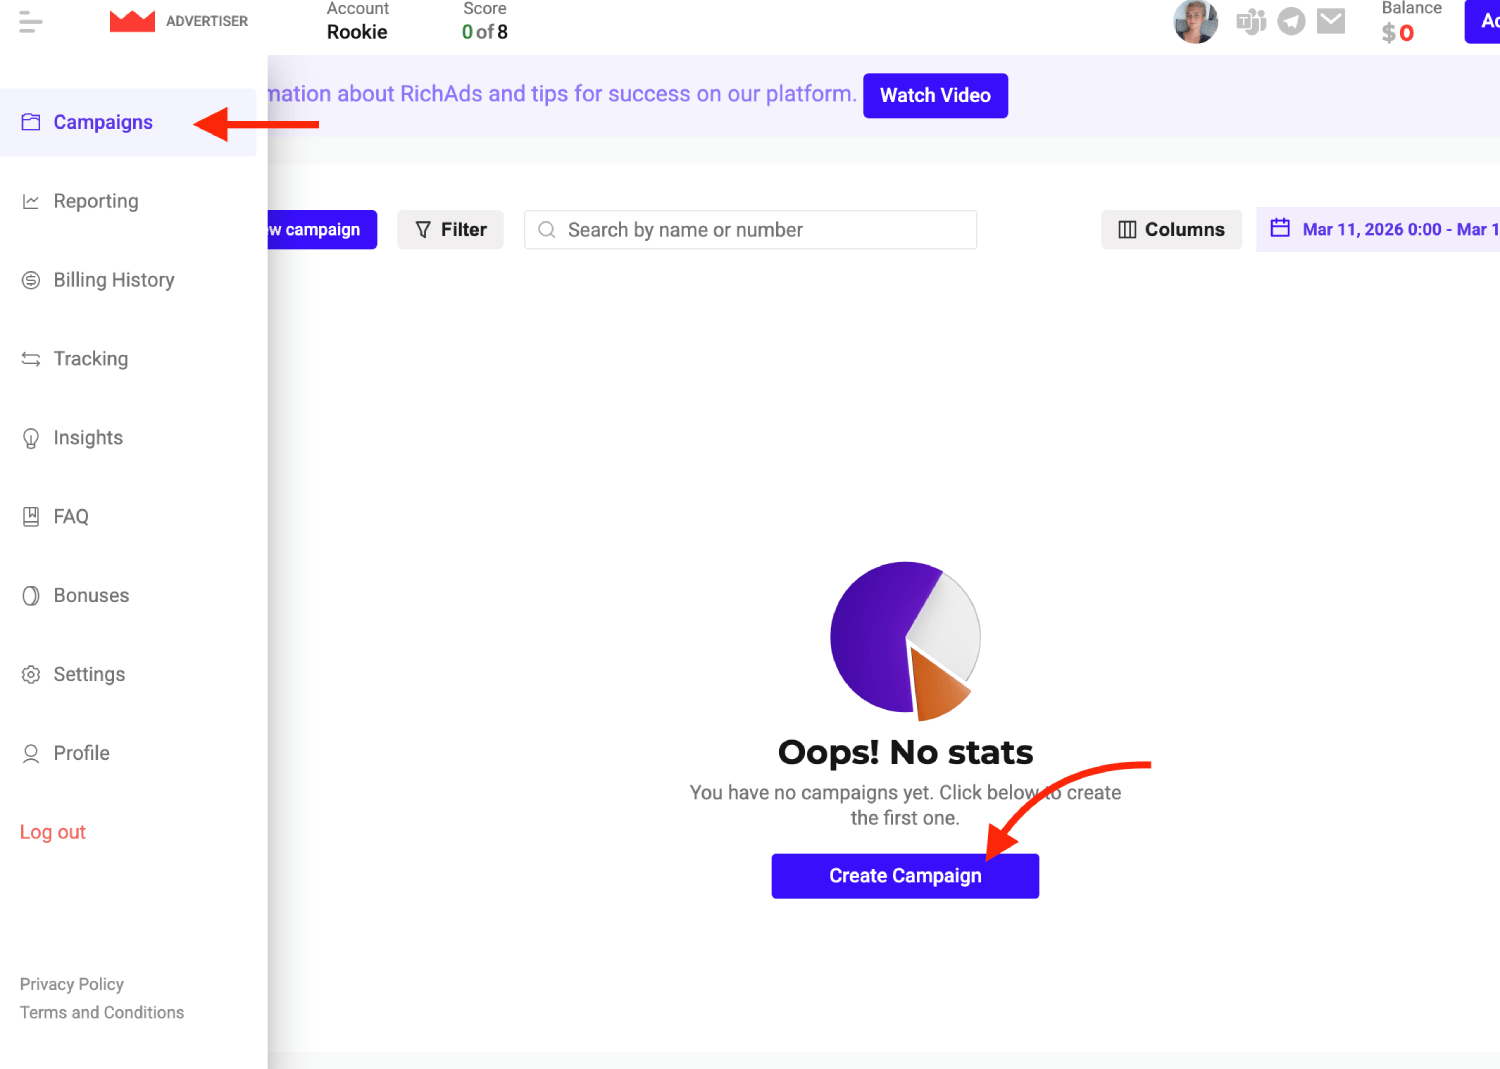
3. Select your Ad Format: Choose from Telegram, Push, Display, Pops, In-Page, Direct Click or Native.
Tip: Push is generally best for beginners due to high engagement and lower costs.
### Step 2: Set Destination & Creative [#step-2-set-destination--creative]
1. Name your campaign: Use a clear naming convention (e.g., SKRO_DE_Nutra_Push_01).
2. Target URL: Paste the **Campaign Tracking URL** you generated in Skro.
3. Creatives: Upload your images and write your headlines/descriptions. RichAds allows you to add up to 10 creatives per campaign to split-test performance.
### Step 3: Target & Bid [#step-3-target--bid]
1. Tracking: Ensure "Conversion Tracking" is active. If you set up the Postback in Skro earlier, RichAds will automatically track your ROI.
2. CPC/CPM Bid: Set your bid based on the Insights tool on the right-hand sidebar, which shows the current winning bids for your chosen GEO.
3. Targeting: Select your Country, Device (Mobile/Desktop), and OS.
### Step 4: Budget & Schedule [#step-4-budget--schedule]
1. Budget: Set a Daily Budget (minimum $25 recommended for testing) and a Total Budget.
2. Budget Mode: Choose ASAP for fast data collection or Even to spread traffic throughout the day.
3. Subscriber List: For Push campaigns, start with "Premium" sources to ensure the highest quality traffic.
Review your settings and click **Create**.
## Verify the setup [#verify-the-setup]
Open the generated campaign URL and check that the visit appears in Skro. Confirm that traffic source macros resolve to actual values. If you send conversions back to the source, verify a test conversion in both systems.
If data is missing, check the selected workspace, integration, campaign, and reporting date range. Compare parameter names and macro values with the examples in this guide before repeating the test.
## Related guides [#related-guides]
# Ringba integration
Source: https://skro.eu/docs/integrations/ringba-and-skro
Connect Ringba with Skro to associate inbound calls and conversion events with the campaigns that generated them.
## How do I track Ringba calls? [#how-do-i-track-ringba-calls]
In this guide you’ll learn how to track Ringba calls as conversions in Skro. Just follow the steps below to start tracking your Ringba calls.
## Step 1. Create a number pool in Ringba [#step-1-create-a-number-pool-in-ringba]
If you already have a number pool you want to use, you can skip this step.
1. Go to **Numbers** → **Manage Pools** → **Create Number Pool**.
2. Then, add in the details for your number pool. If you’re getting a lot of traffic to your page at the same time, you’ll want to have a higher Pool Size. This is so that each visitor can see a different number and Ringba will be able to track which visitor called which number.
## Step 2. Create a new campaign in Ringba [#step-2-create-a-new-campaign-in-ringba]
If you already have a campaign you want to track, you can skip this step.
1. Go to **Campaigns** → **Create Campaign**.
## Step 3. Create a call tracking tag and associate it with your publisher number [#step-3-create-a-call-tracking-tag-and-associate-it-with-your-publisher-number]
Fill out all the details for your new campaign, then scroll down to **Call Tracking Tags** and click **Add Call Tracking Tag**.
1. Give it a **Name**.
2. Select the **Primary Number** you want this to be associated with.
3. Switch on **Capture User Data**.
4. Select the **Number Pool** you created earlier.
The Number to Replace must match the phone number on your landing page, so it can be replaced with a different pool number for each visitor on your page. It is best if this matches the Primary Number.
5. When **Tag** is created, then you will need to add the tag to your page. Click **icon** show below to get the script.

6. Then copy the script from **Option 1** and add it to your landing page, between **BODY** tags.
If you are using **Direct** tracking method, then this script must go below your Skro tracking pixel code. See the example code below.
```javascript
```
## Step 4. Create a URL parameter to collect Skro Click ID value [#step-4-create-a-url-parameter-to-collect-skro-click-id-value]
1. Go to **Integrations** → **URL Parameters** → **Create URL Parameter**.
2. Next, enter **skro_click_id** for both the URL Parameter and Report Name sections and **User** for the Reporting Menu Name.
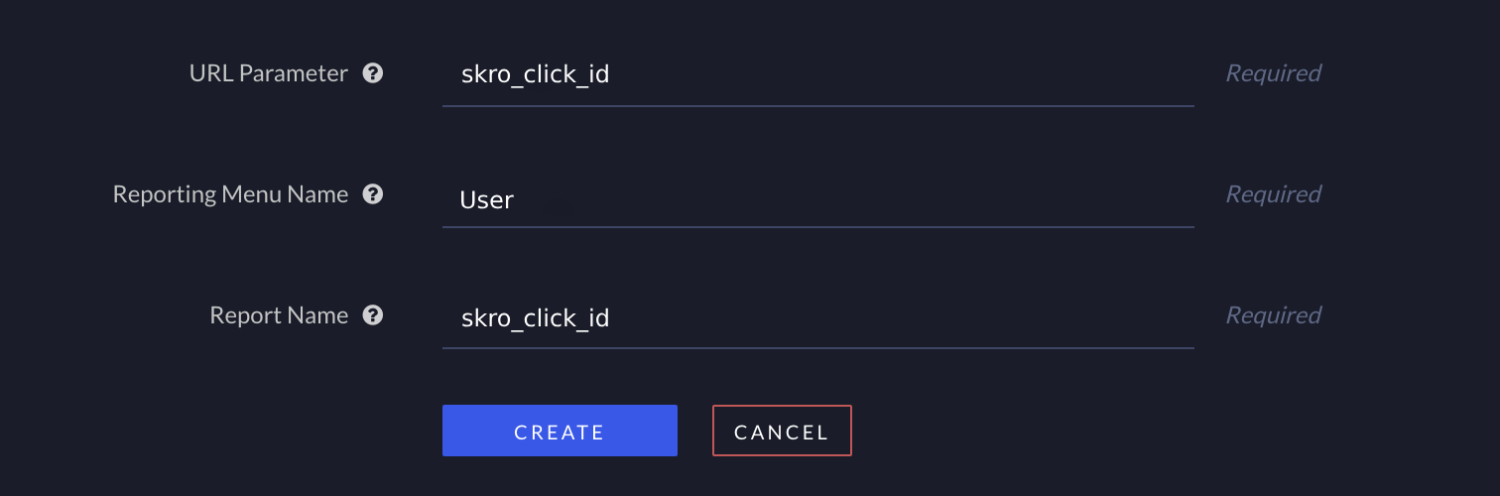
```text
– You can add multiple custom parameters to your Skro Offer URL, and all of them will be
captured by Ringba in Tags. Here is an example of an Offer URL with additional parameters and
Skro dynamic tokens: https://test.offer.com?skro_click_id={clickId}&country={country}&adName={custom1}
```
– Creating a new URL Parameter will automatically create a relevant dynamic token **[tag:User:skro_click_id]** which can be used later for Skro S2S postback.
– Additionally, you can use this data for routing logic in the Ringba platform by applying [Tag Routing Filters](https://support.ringba.com/en-us/article/tag-routing-filters-8ewcx/).
3. After this, we will need to associate the **URL Parameter** with your campaign in Ringba. To do that, go to **Campaigns** → **select your campaign** → **scroll down to URL Parameters**.
4. Click **Add URL Parameter** → **Select Existing** → select URL parameter **skro_click_id** → click **Add**.
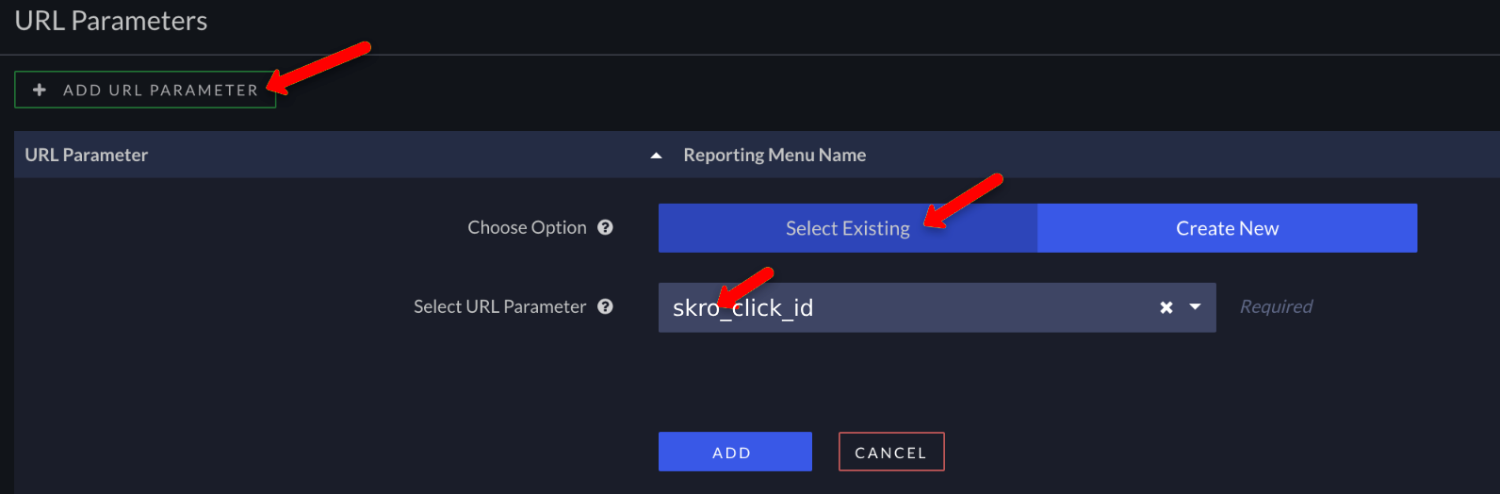
## Step 5. Add the following script to the body section of your landing page [#step-5-add-the-following-script-to-the-body-section-of-your-landing-page]
1. Copy and paste this script into **BODY** tags below Skro and Ringba scripts you added earlier. This script collects the Skro Click ID and other params and sending them to Ringba.
```javascript
```
## Step 6. Add your Skro Postback URL to Ringba [#step-6-add-your-skro-postback-url-to-ringba]
1. Go to **Integrations** → **Pixels** → **Create Pixel**.
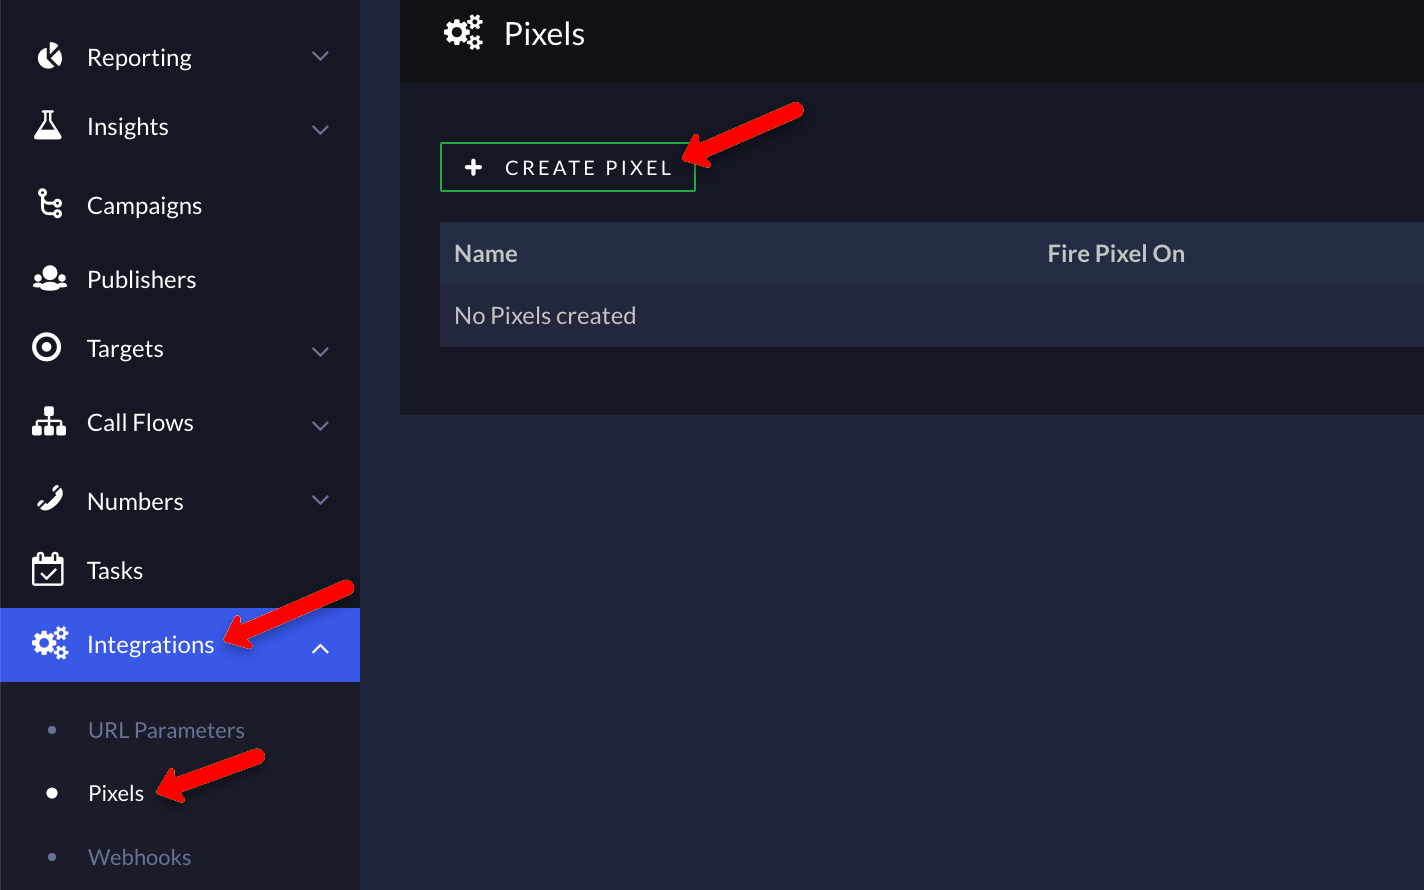
2. To track your **Sale** conversions in Skro, use this postback URL:
https://skrotrack.com/postback?clickId=[tag:User:skro_click_id]&payout=[Call:ConversionPayout]
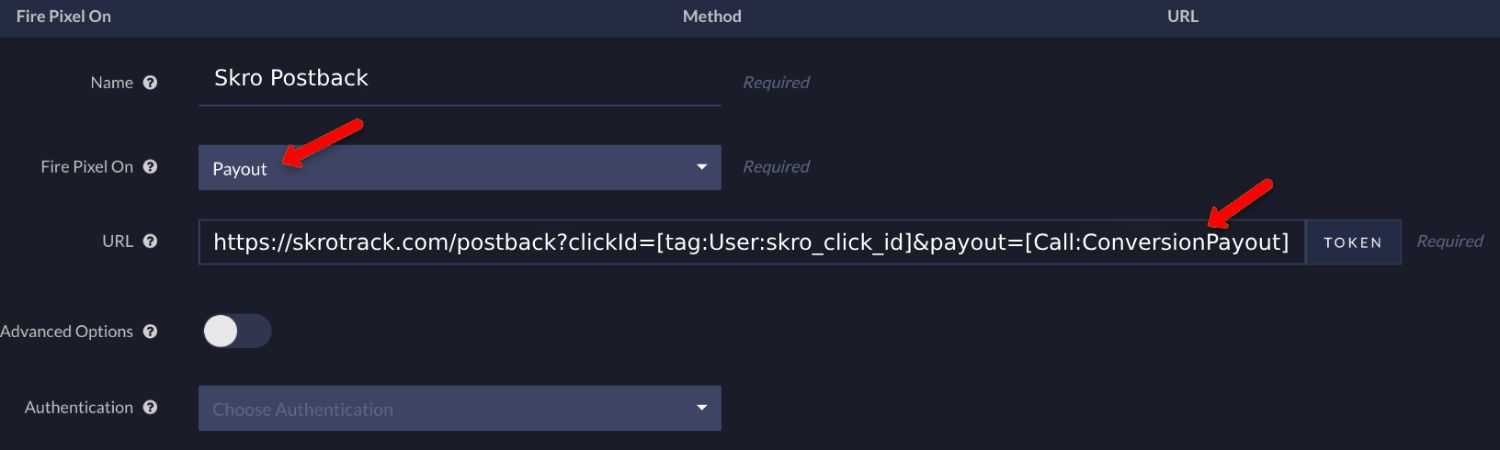
Integration is done. You are now ready to add your landing page as an **Offer** and create your first **Campaign** in Skro.
## Verify the setup [#verify-the-setup]
Follow a campaign link and complete a test conversion using your provider’s test workflow. Confirm that the original click ID reaches the provider and is returned to Skro, then check the event and revenue in your campaign report.
If data is missing, check the selected workspace, integration, campaign, and reporting date range. Compare parameter names and macro values with the examples in this guide before repeating the test.
## Related guides [#related-guides]
# ROIads integration
Source: https://skro.eu/docs/integrations/roiads-and-skro-integration
Set up ROIads tracking in Skro, configure traffic source parameters, and connect your advertising campaigns.
Welcome to the ROIads user guide. [ROIads](https://roiads.co/?utm_source=skro.eu) is a premium multiformat advertising network founded in 2023, specializing in high-converting push notifications, pop ads, in-page push, and direct click traffic. By combining global traffic reach with advanced AI bidding technology and automated CPA strategies, the platform helps advertisers scale their campaigns and maximize ROI with minimal manual optimization.
## Step 1. Create a ROIads traffic source and configure the postback URL [#step-1-create-a-roiads-traffic-source-and-configure-the-postback-url]
1. Navigate to **Traffic Sources**.
2. Click the **Create**.
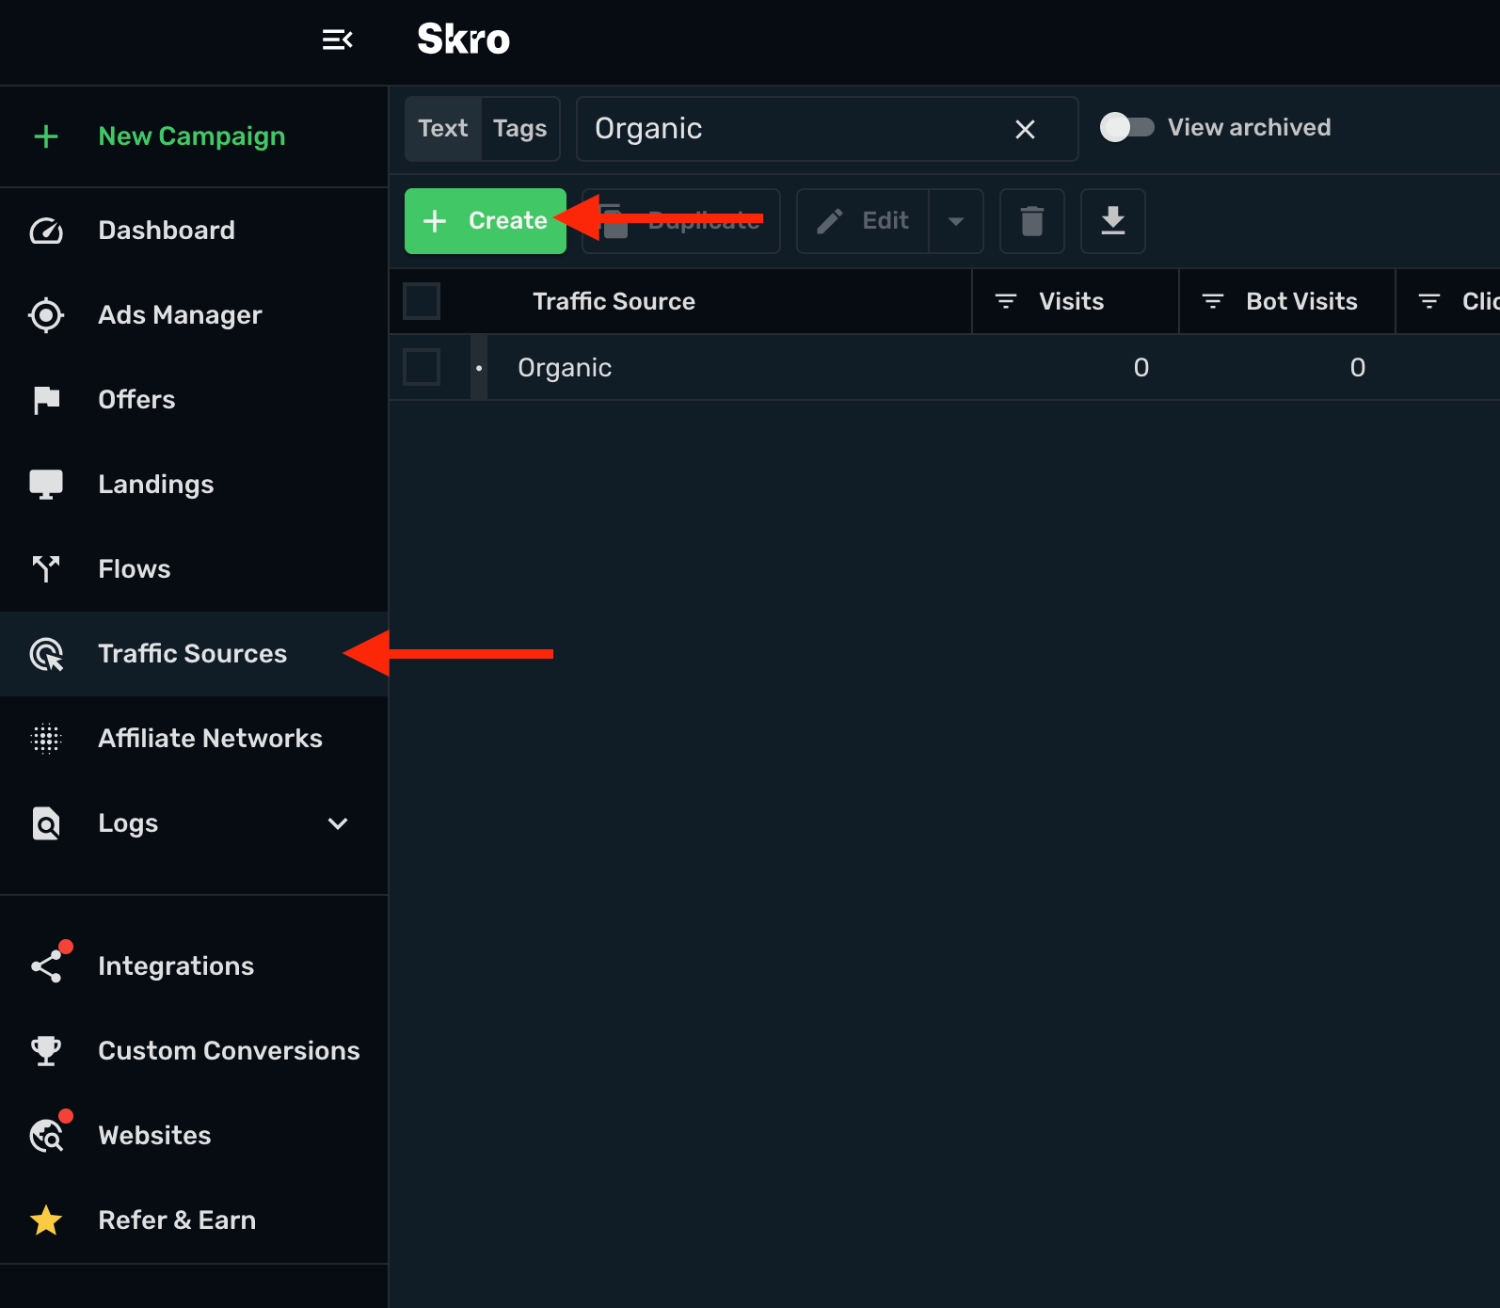
3. Search for **ROIads** and click the **ROIads** template.
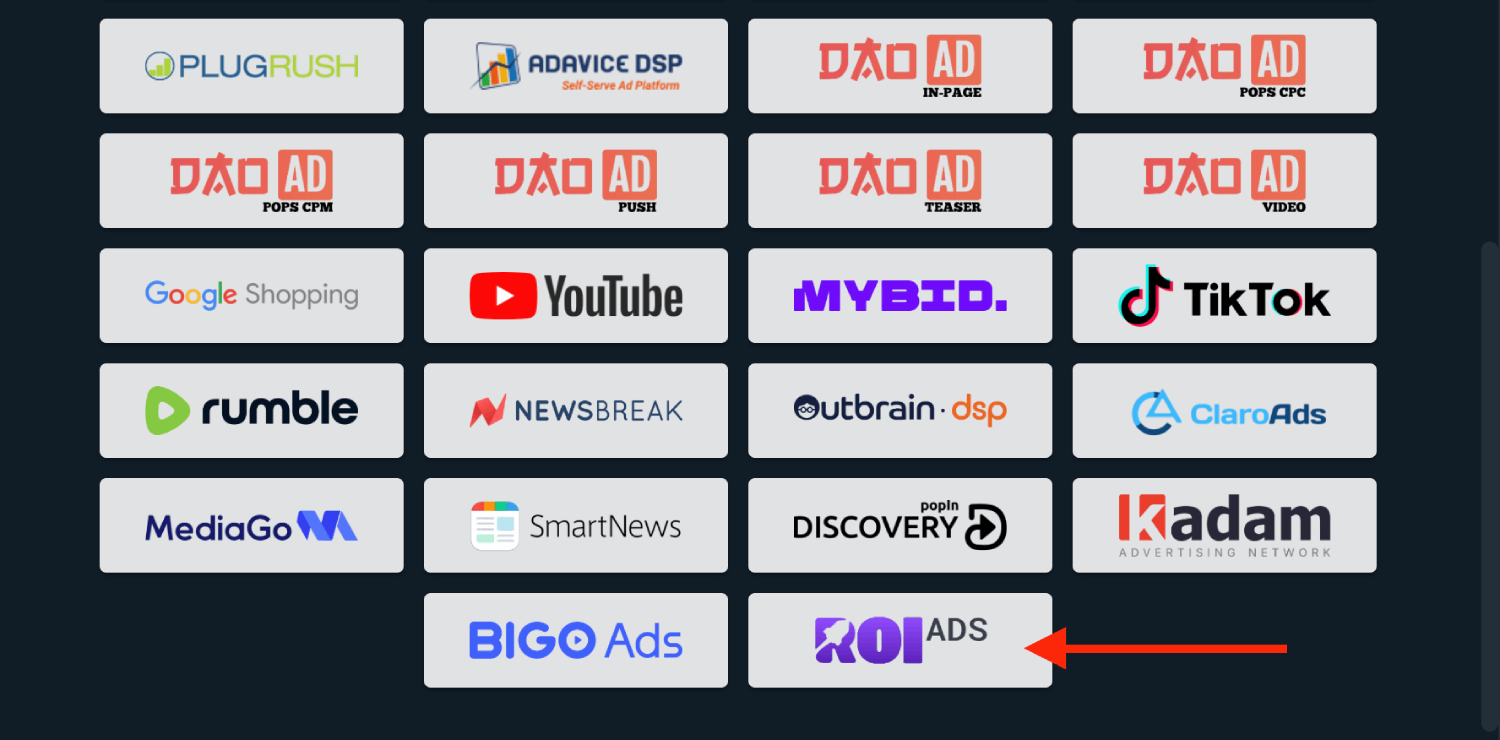
4. Postback URL is prefilled for you. You can double-check it if needed.
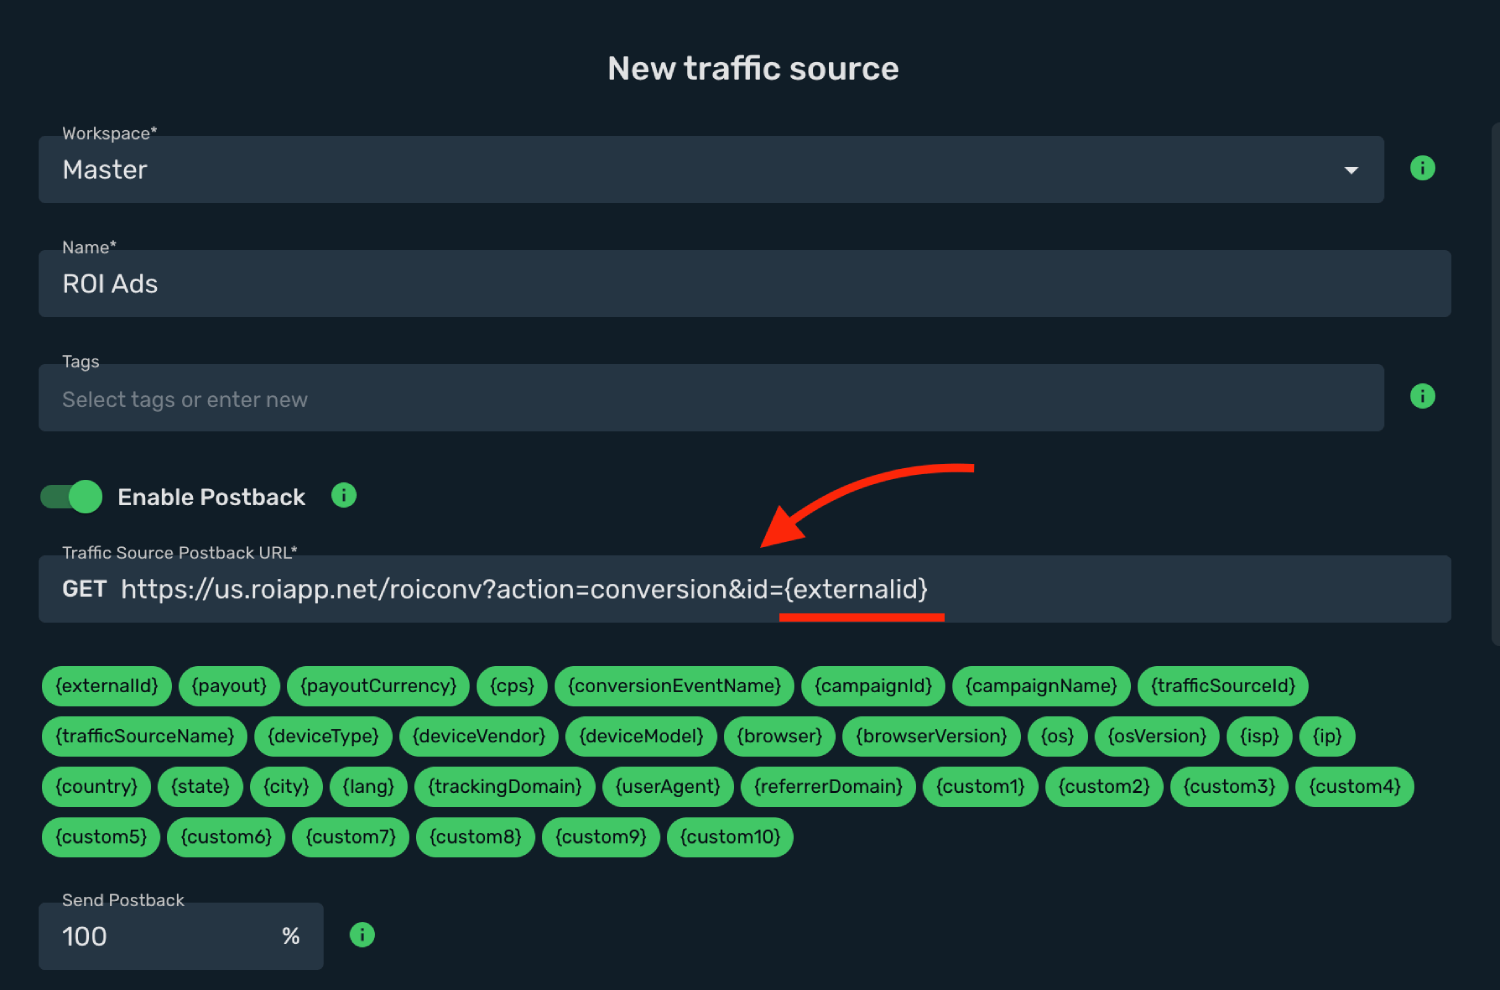
5. Log in to your **ROIads account**.
6. Go to **Tracking** section.
7. Copy the **Postback URL** to clipboard.
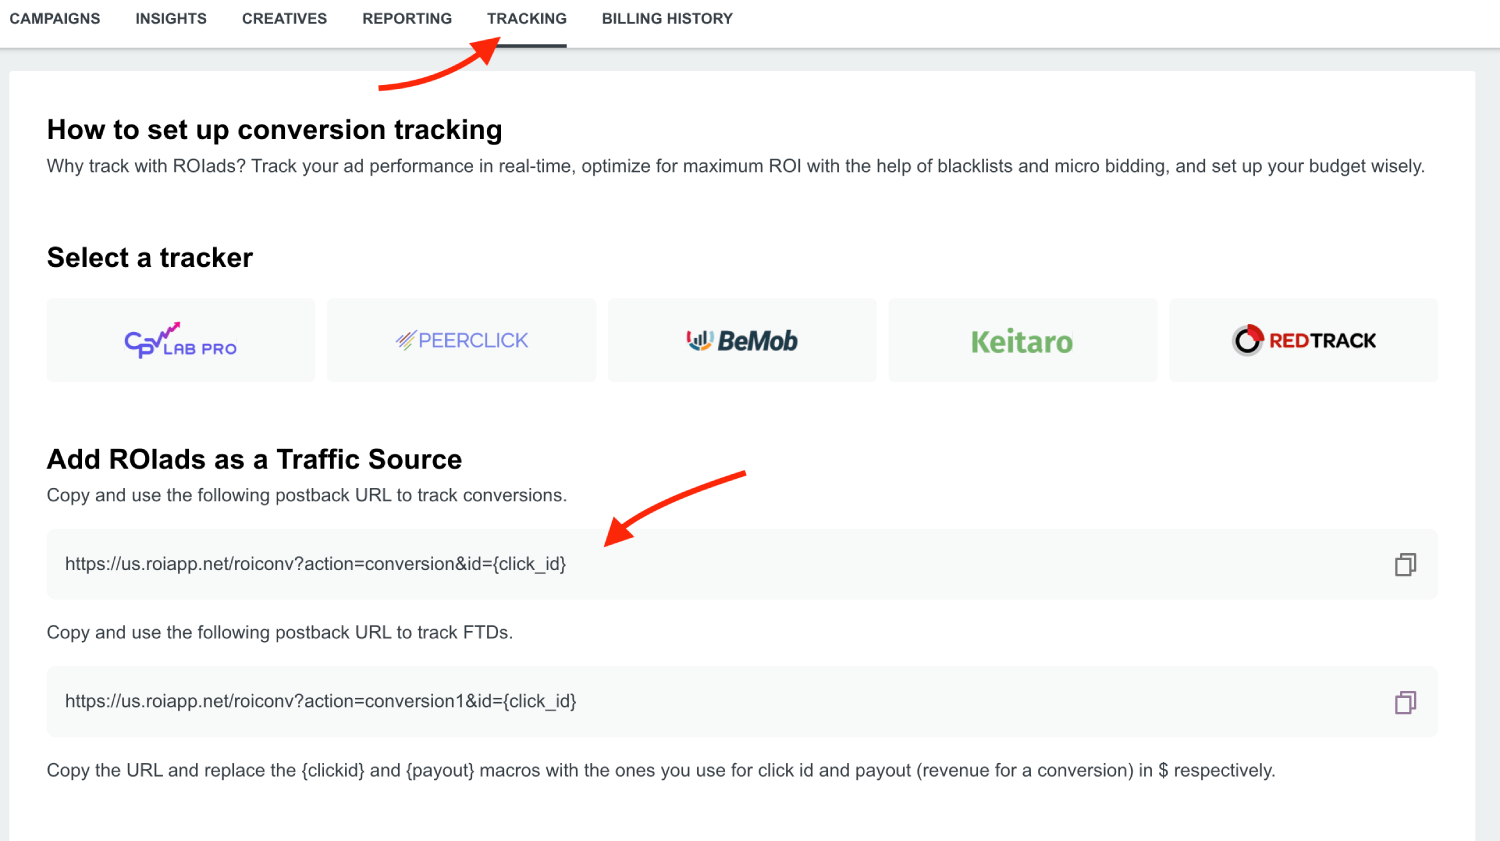
8. Go back to **Skro** and replace the postback URL with the updated values.
9. Make sure that you replace **Click ID** macro **`{click_id}`** with this → **`{externalId}`**
10. Final postback URL must look similar to this:
`https://us.roiapp.net/roiconv?action=conversion&id={externalid}`
11. All tracking parameters are already prefilled for you.
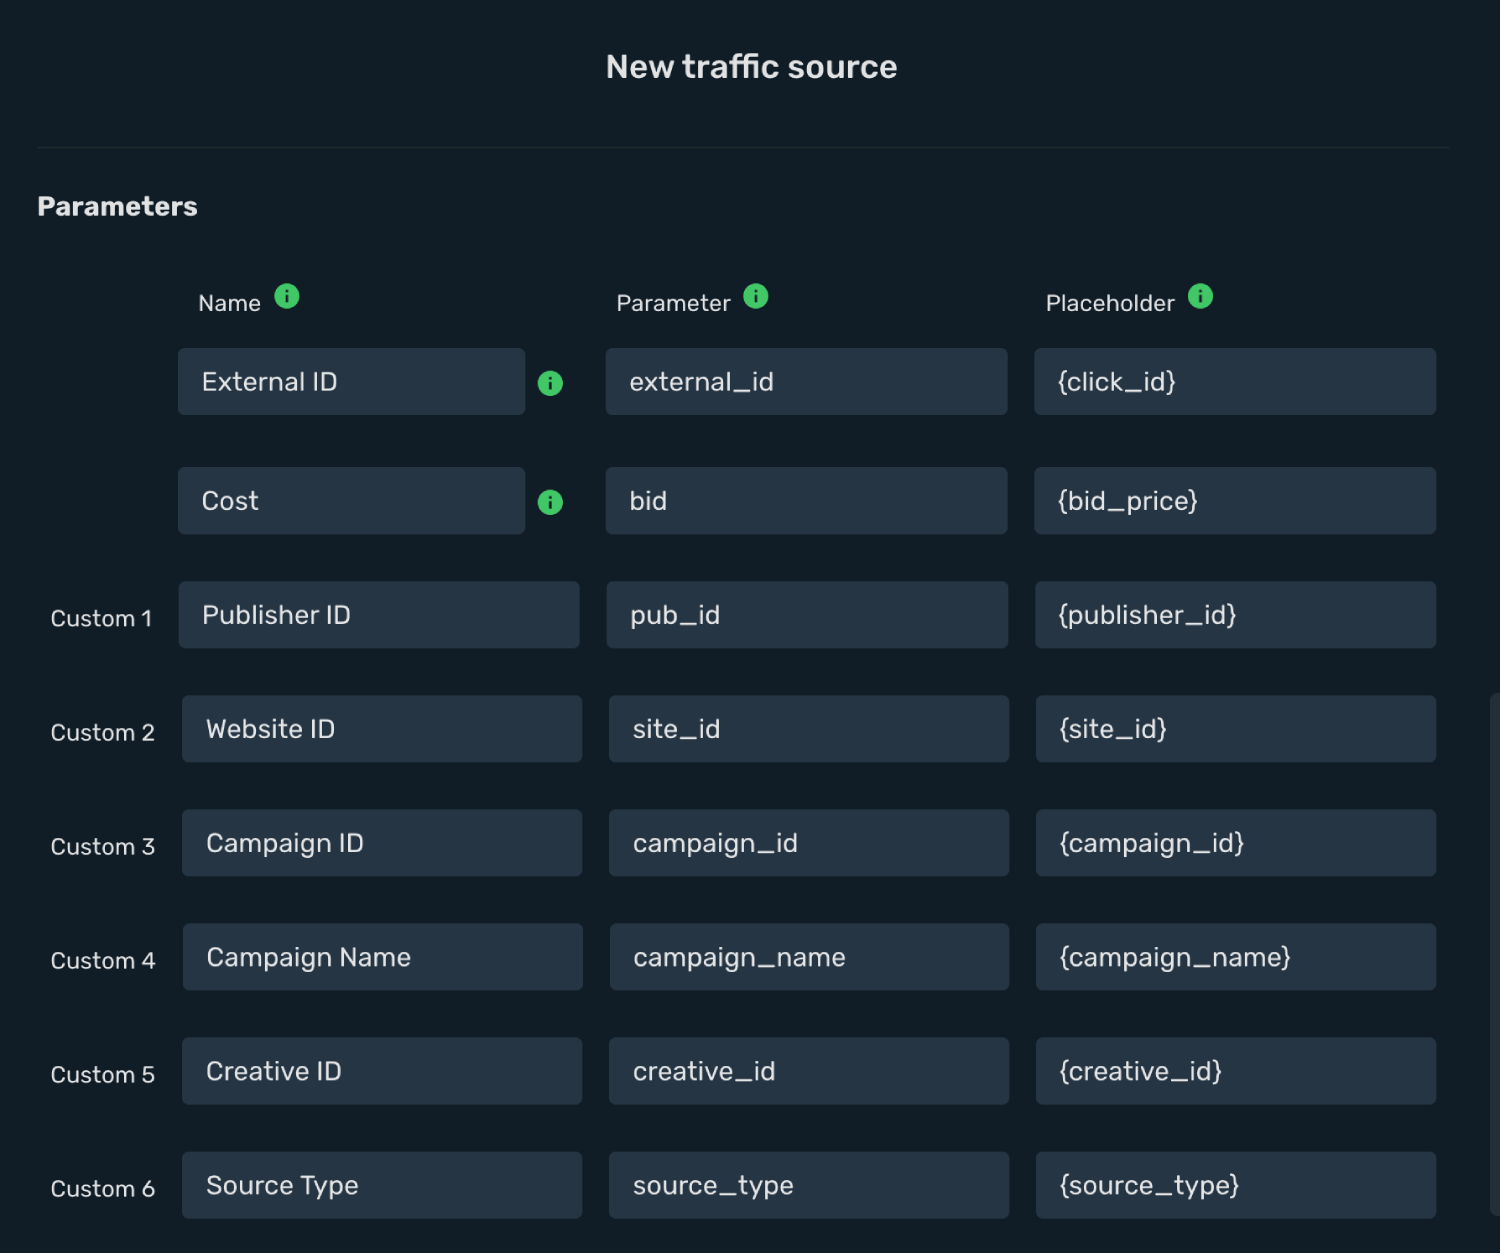
12. You can double check their macros if you go back to **ROIads** → **Tracking** and scroll down to **ROIads Macros** section.
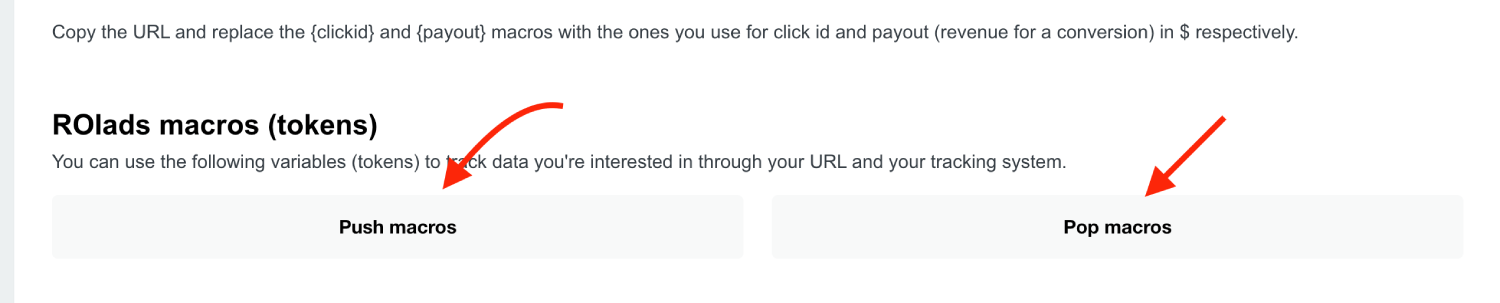
13. Click the **Save & Close**.
Integration setup is complete, and you are now ready to create your first campaign.
## Step 2. Create a campaign on Skro [#step-2-create-a-campaign-on-skro]
1. Go to **Ads Manager** and click the **Create**.
2. Select your **Traffic source** and click **Next**.
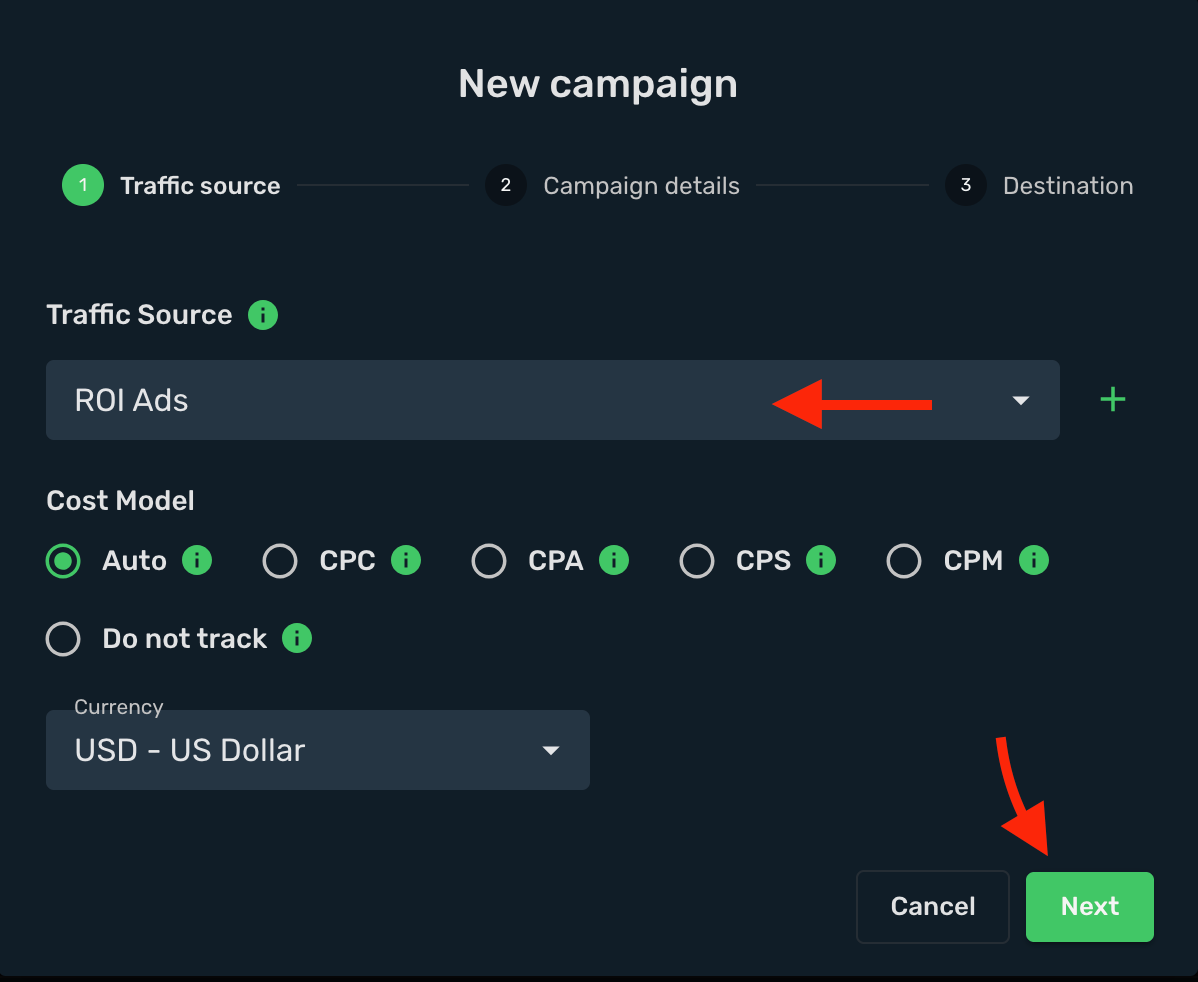
3. Select your campaign **Workspace**.
4. Enter a descriptive campaign name.
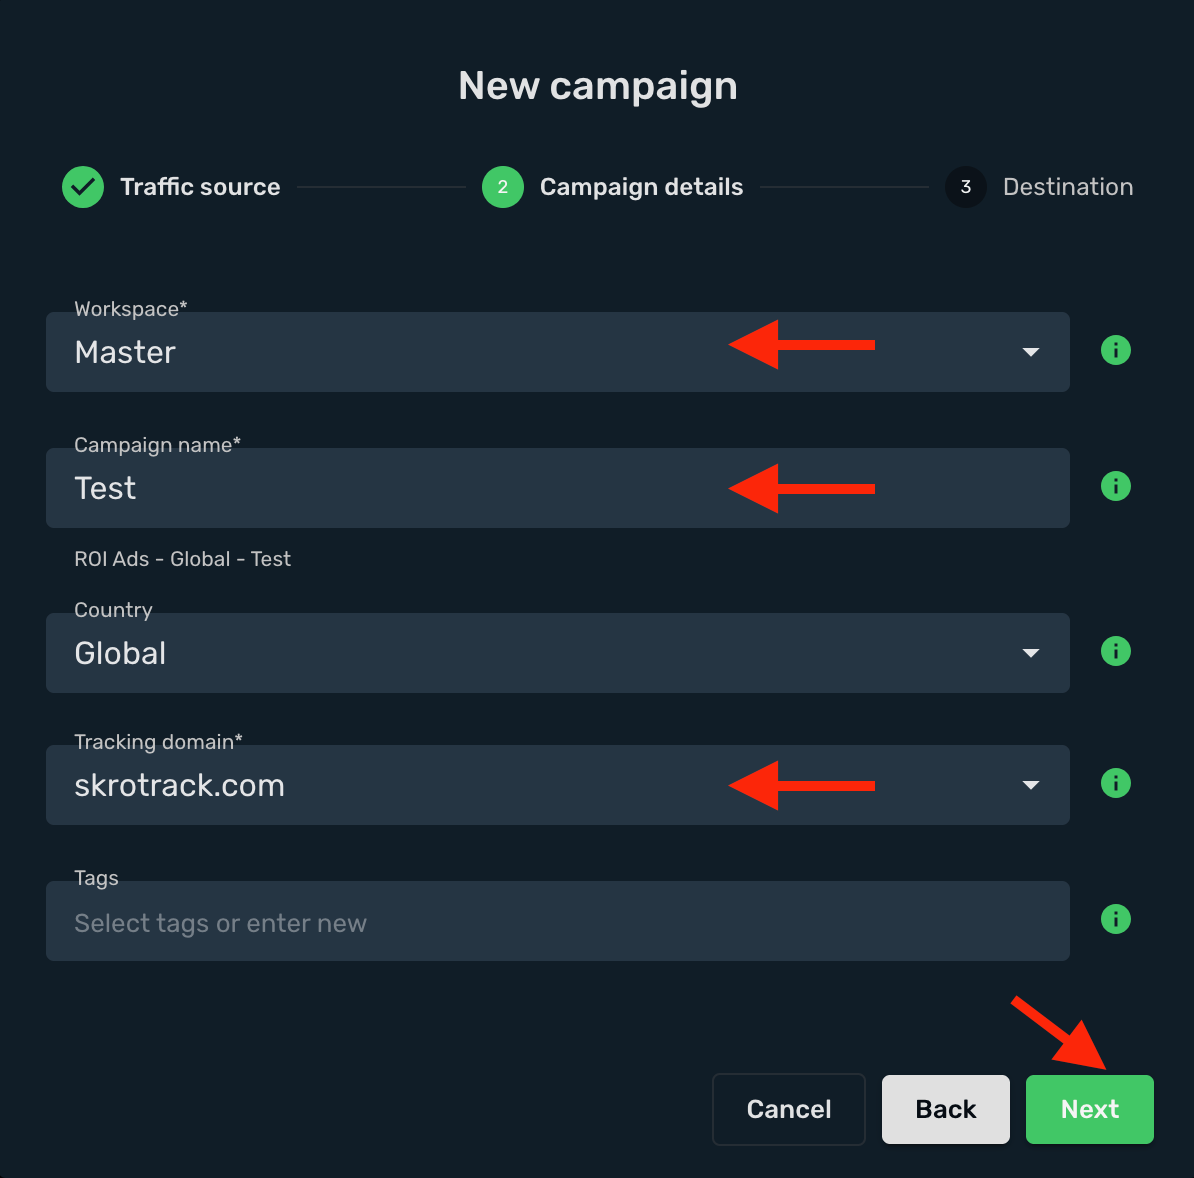
5. Select or create all your **landings** and **offers**.
6. Click the **Save**.
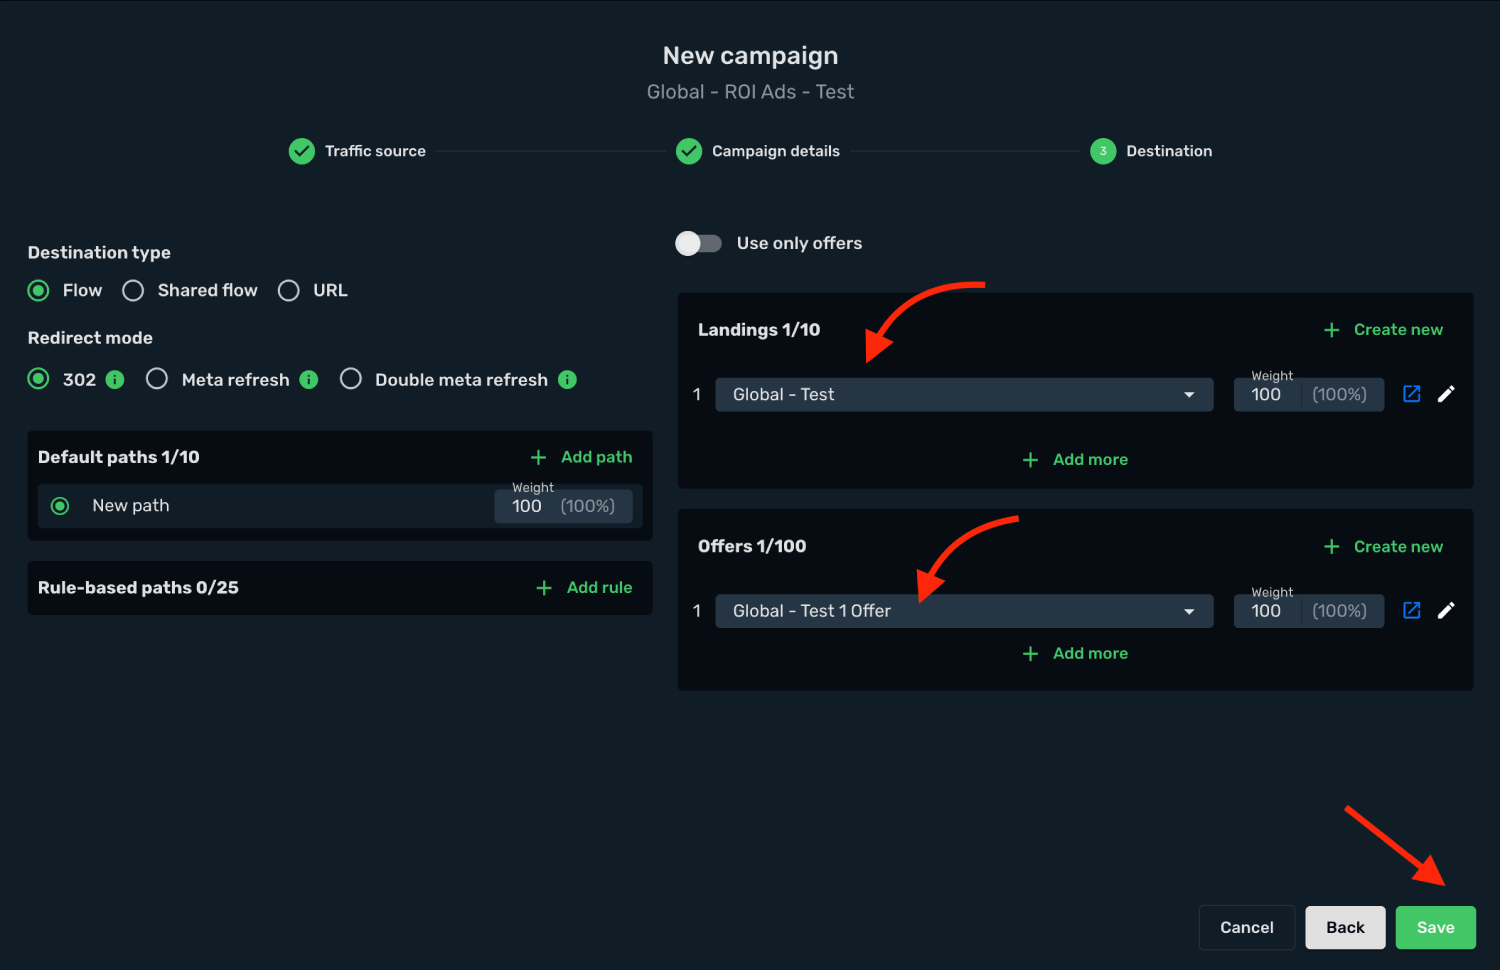
7. Copy the **Campaign Tracking URL** to clipboard.
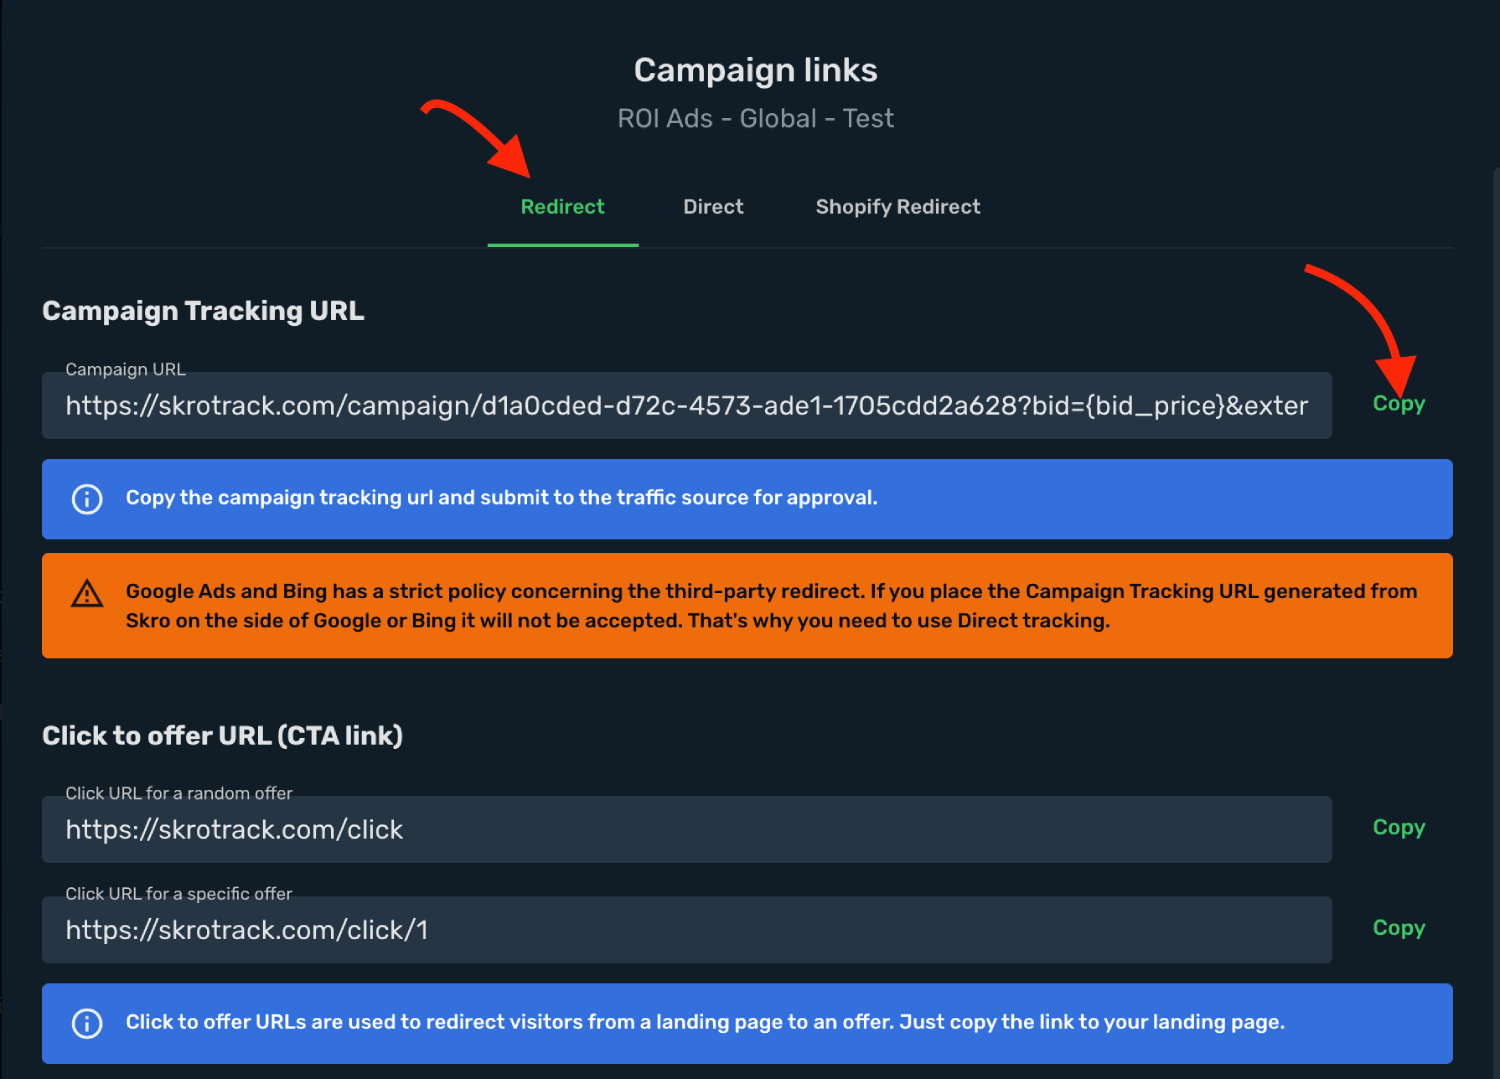
## Step 3. Create a campaign on ROIads [#step-3-create-a-campaign-on-roiads]
1. Log in to your **ROIads account**.
2. Go to the **Campaigns** section and choose your **Ad Format** (PUSH) or (POP). In our example we use PUSH ad format.
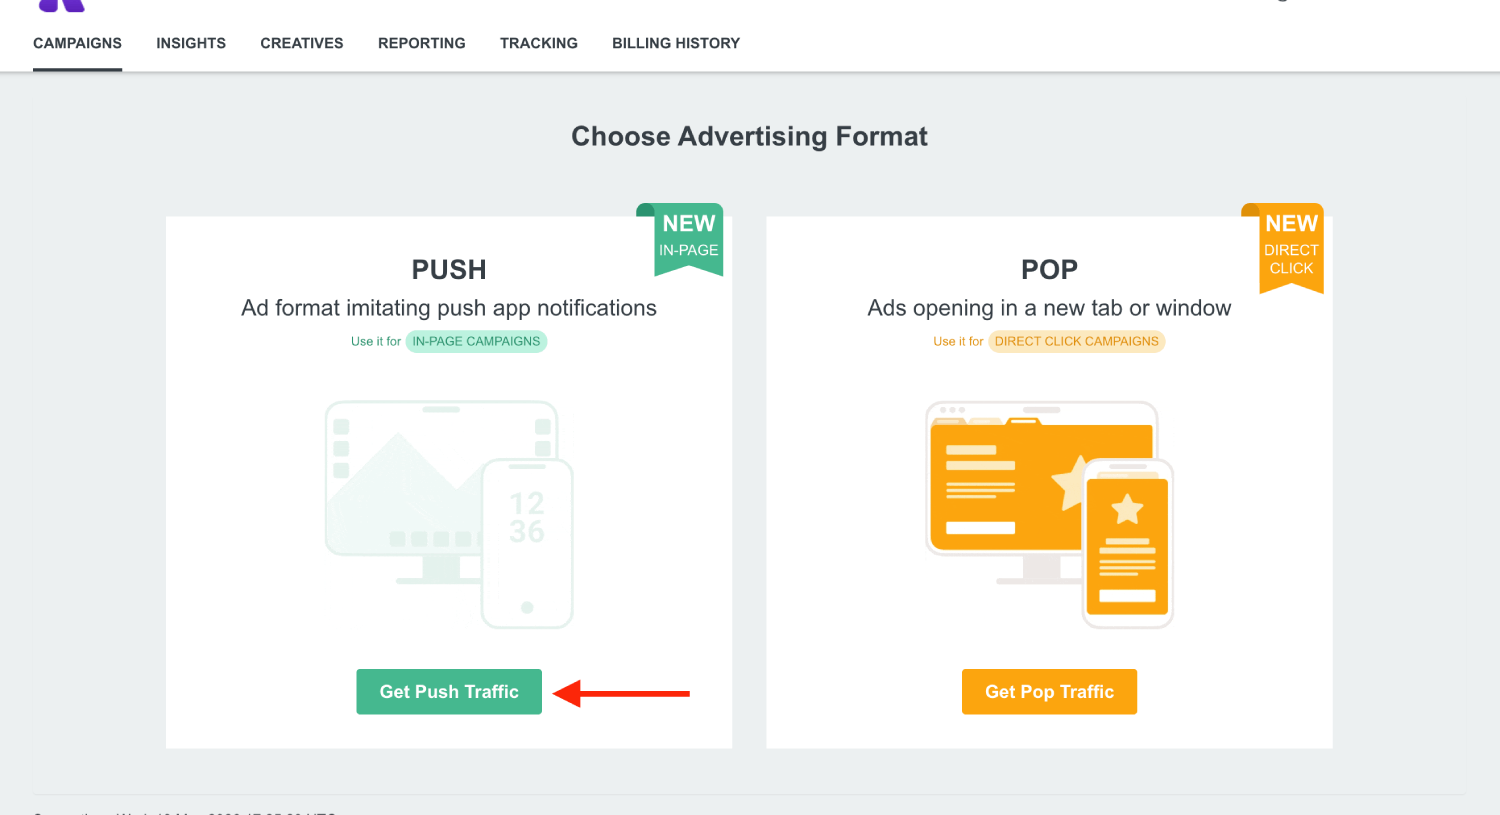
3. Add your **Campaign Name**.
4. Paste the **Skro Campaign Tracking link** into the **Destination URL** field, including all tracking parameters.
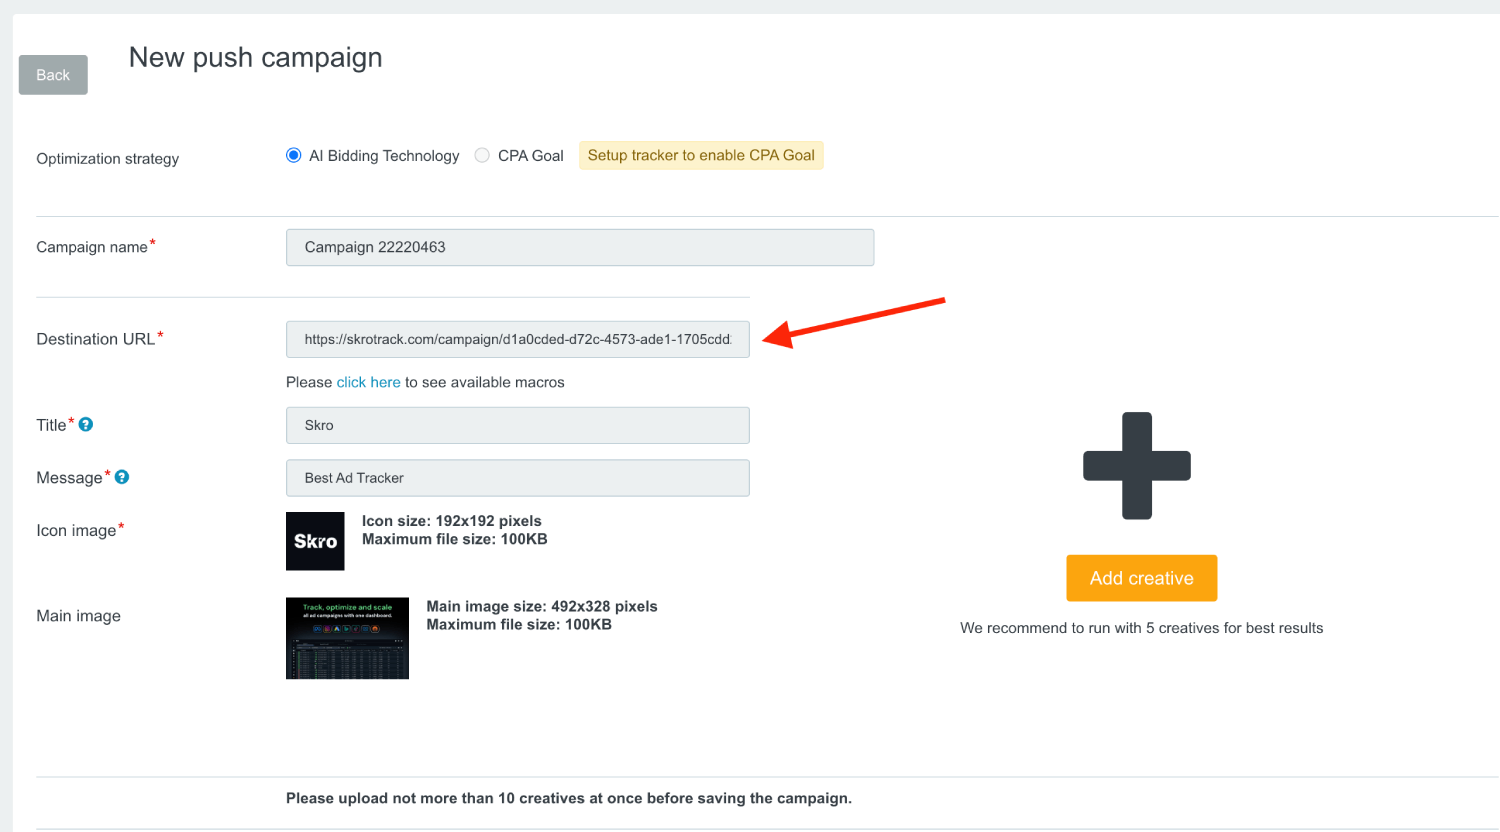
5. Create your **Creatives** and fill all other fields where needed.
6. Set your campaign **Budget**.
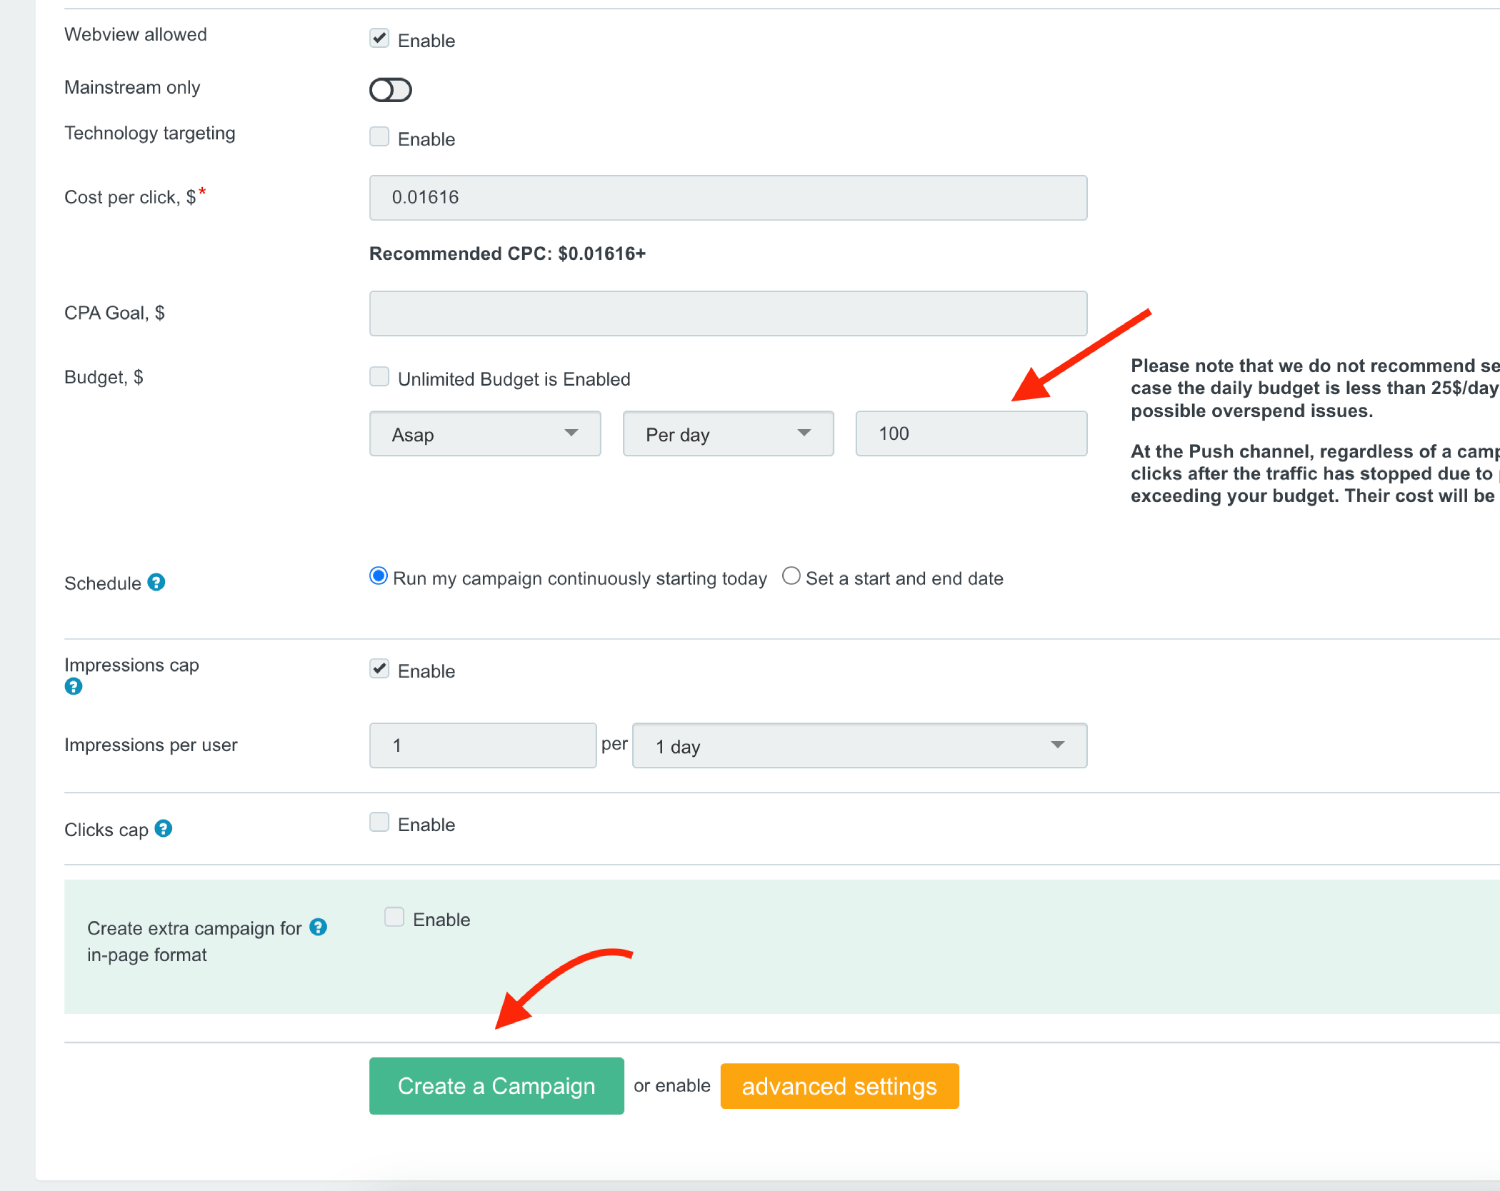
7. When you are done, click the **Create a Campaign**.
## Verify the setup [#verify-the-setup]
Open the generated campaign URL and check that the visit appears in Skro. Confirm that traffic source macros resolve to actual values. If you send conversions back to the source, verify a test conversion in both systems.
If data is missing, check the selected workspace, integration, campaign, and reporting date range. Compare parameter names and macro values with the examples in this guide before repeating the test.
## Related guides [#related-guides]
# RollerAds integration
Source: https://skro.eu/docs/integrations/rollerads-and-skro-integration
Set up RollerAds tracking in Skro, configure traffic source parameters, and connect your advertising campaigns.
Integration enables you to track all your campaigns, zones, ads, etc. Additionally, it provides a comprehensive overview of your cost and conversions for the optimization.
## Step 1. Create a RollerAds traffic source and configure the postback URL [#step-1-create-a-rollerads-traffic-source-and-configure-the-postback-url]
1. Navigate to **Traffic Sources**.
2. Click the **Create**.
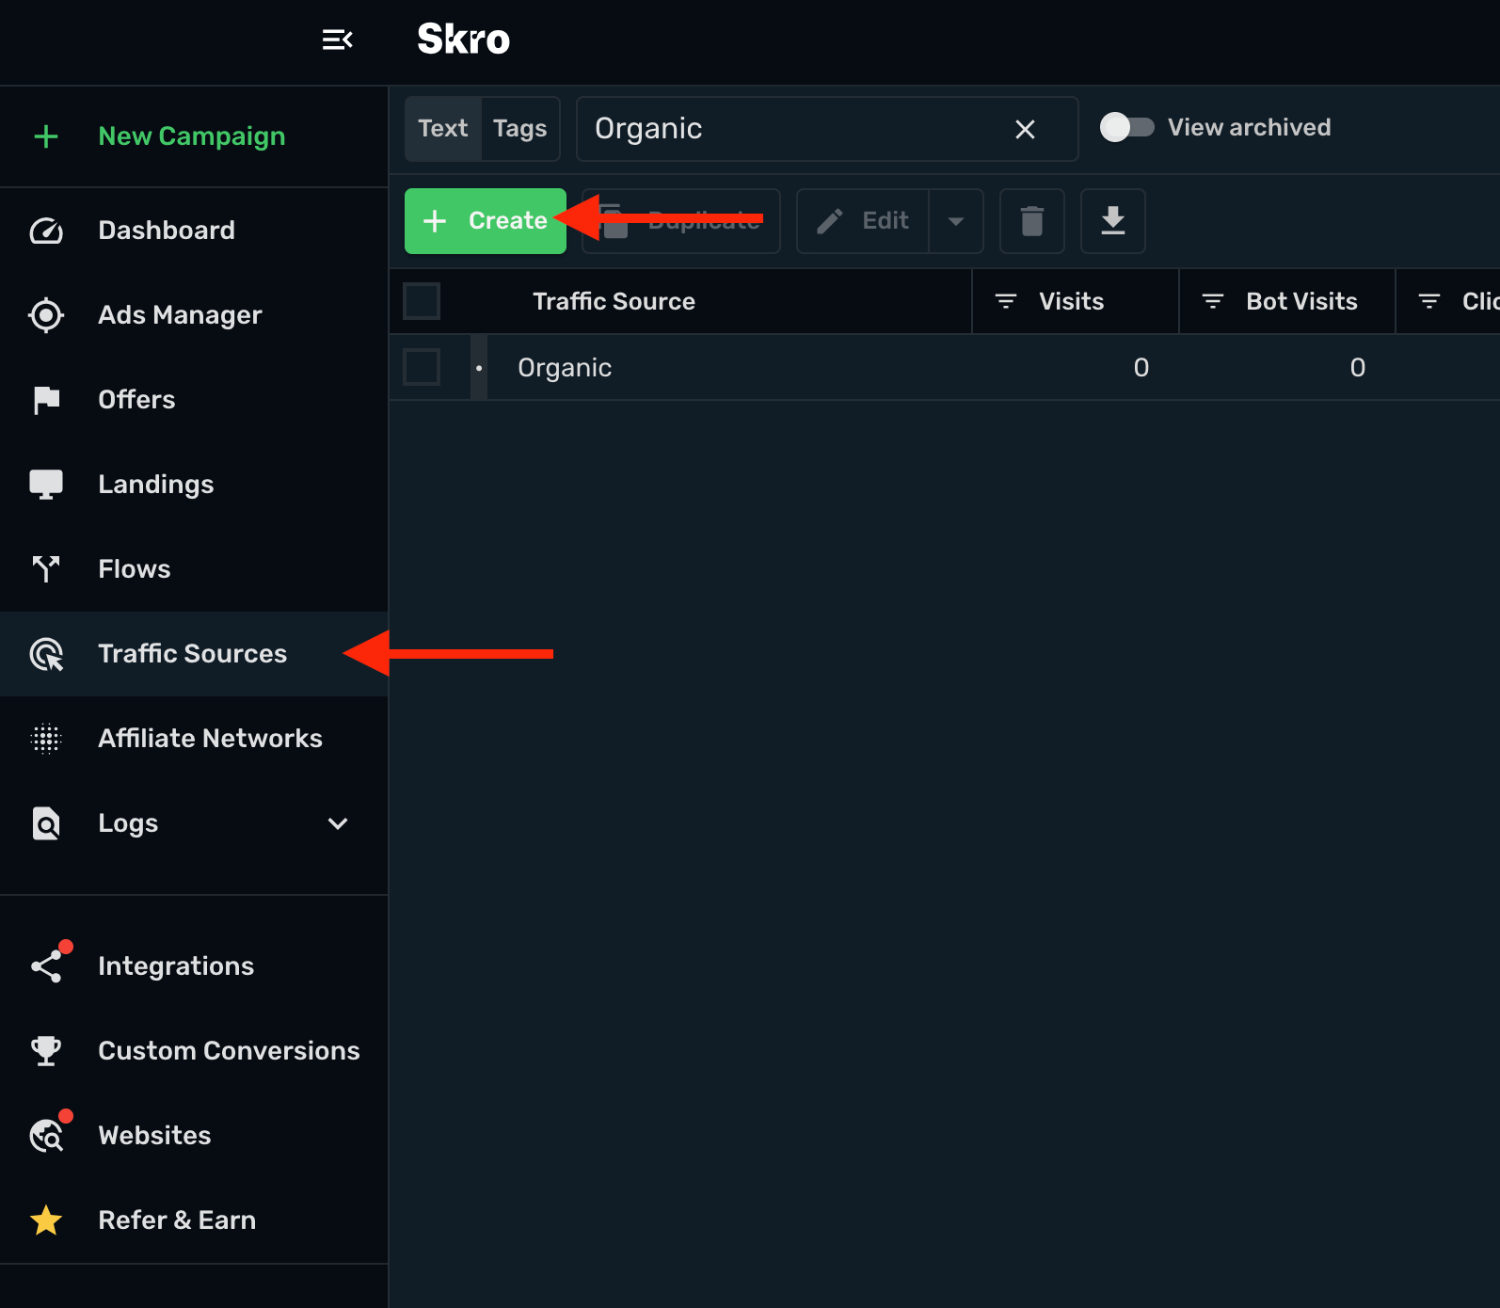
3. Search for **RollerAds** and click the **RollerAds** template.
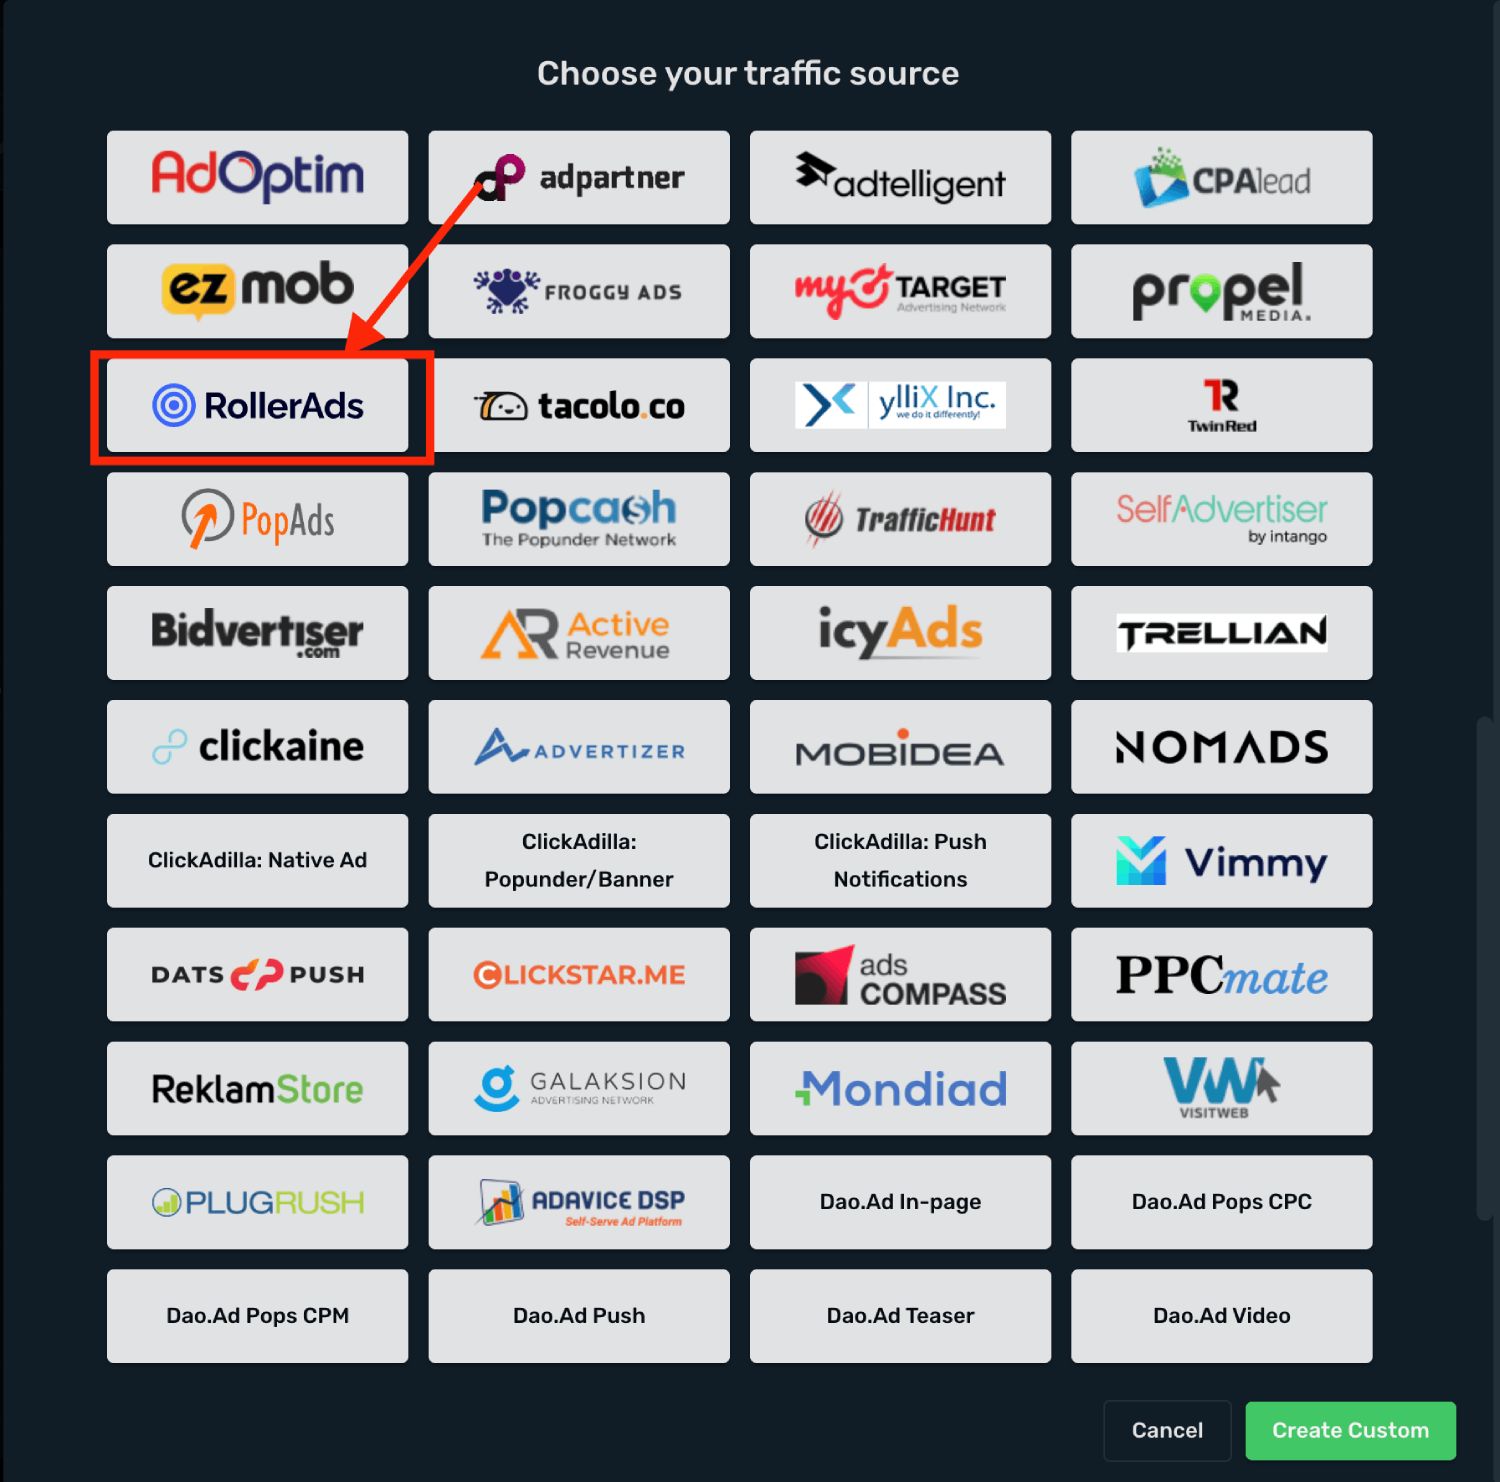
4. You need to modify **Traffic Source Postback URL**.
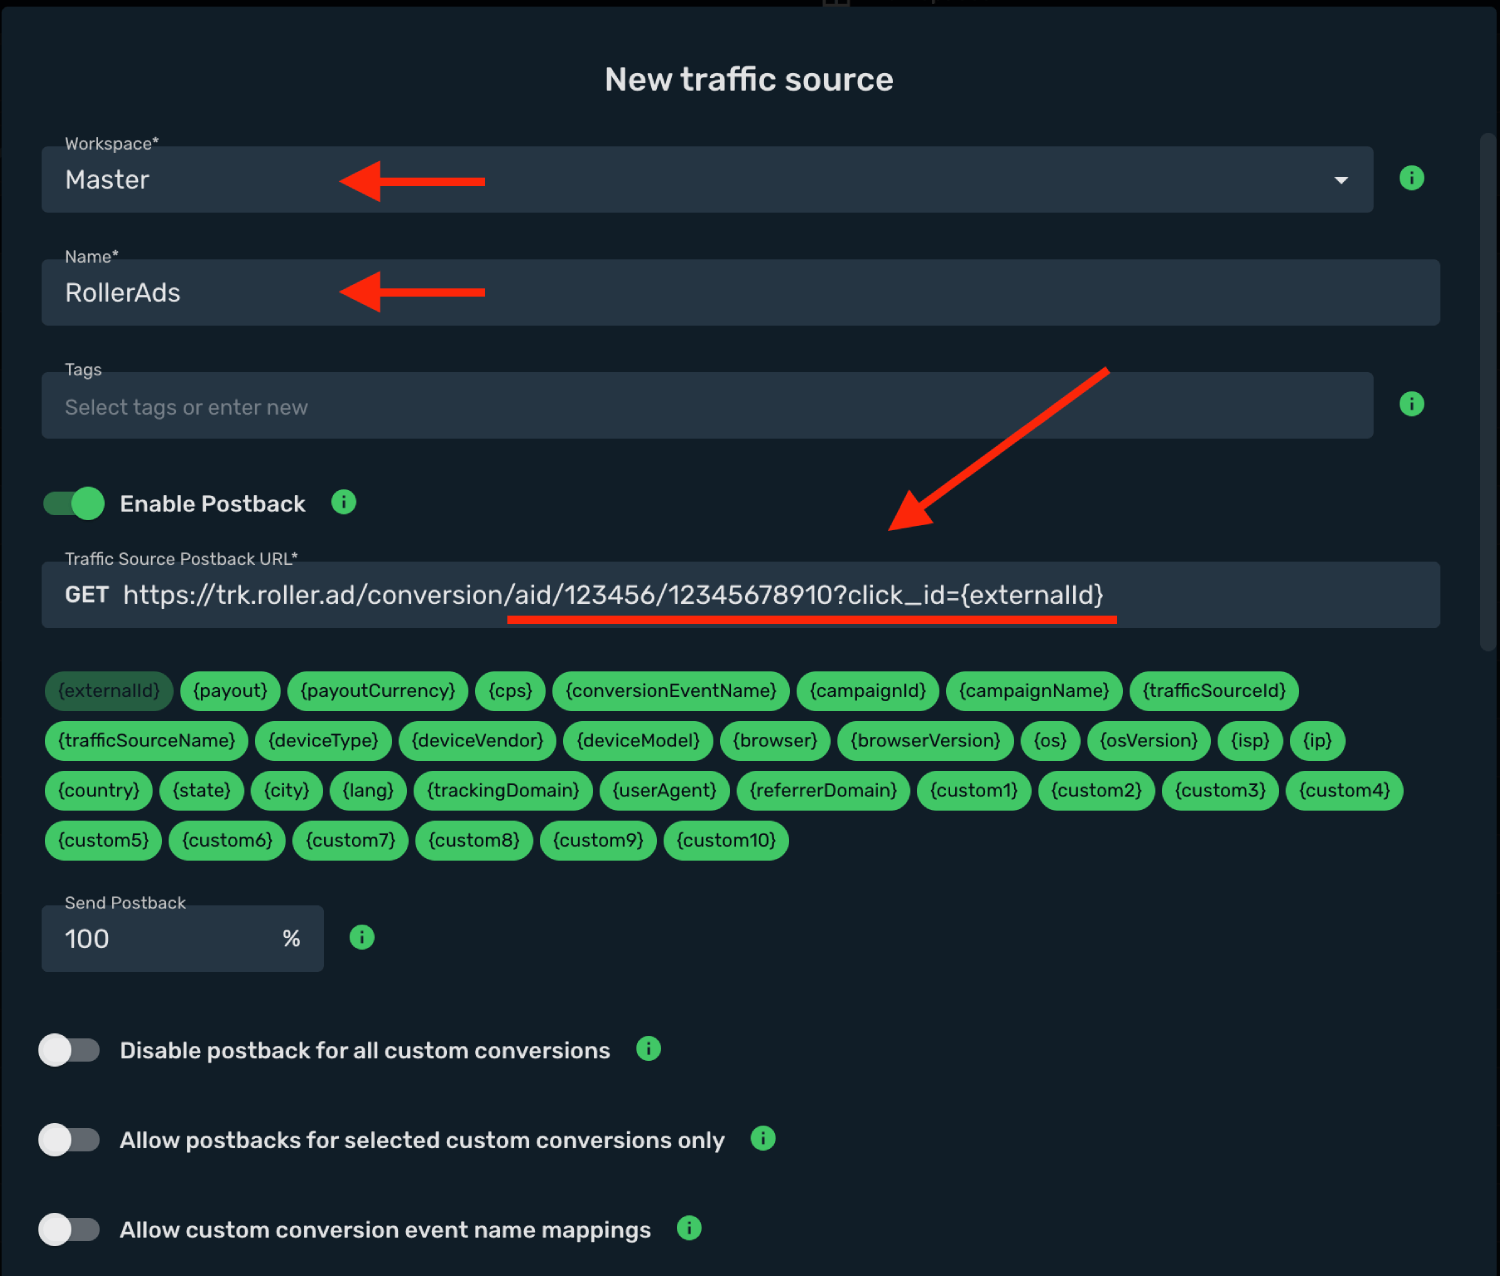
5. Log in to your **RollerAds account**.
6. Go to **Tracking** and copy the **Postback URL** to your clipboard.
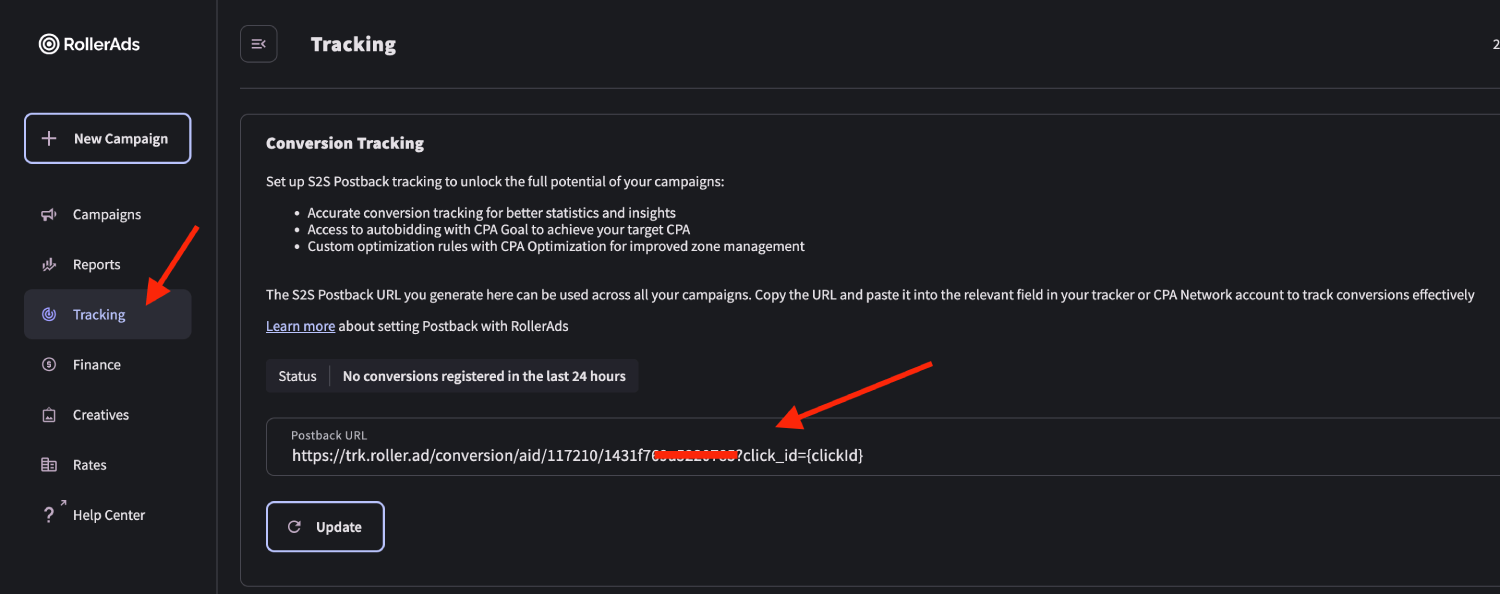
7. Go back to **Skro** and replace the postback URL with the updated values.
8. Replace the **Click ID** macro to this → **`?click_id={externalId}`**
8. Final postback URL must look similar to this:
`https://trk.roller.ad/conversion/aid/123456/12345678910?click_id={externalId}`
**`?click_id={externalId}`** - This maps RollerAds’s **click_id** parameter to the Skro **`{externalId}`** macro.
9. All tracking parameters are already prefilled for you.
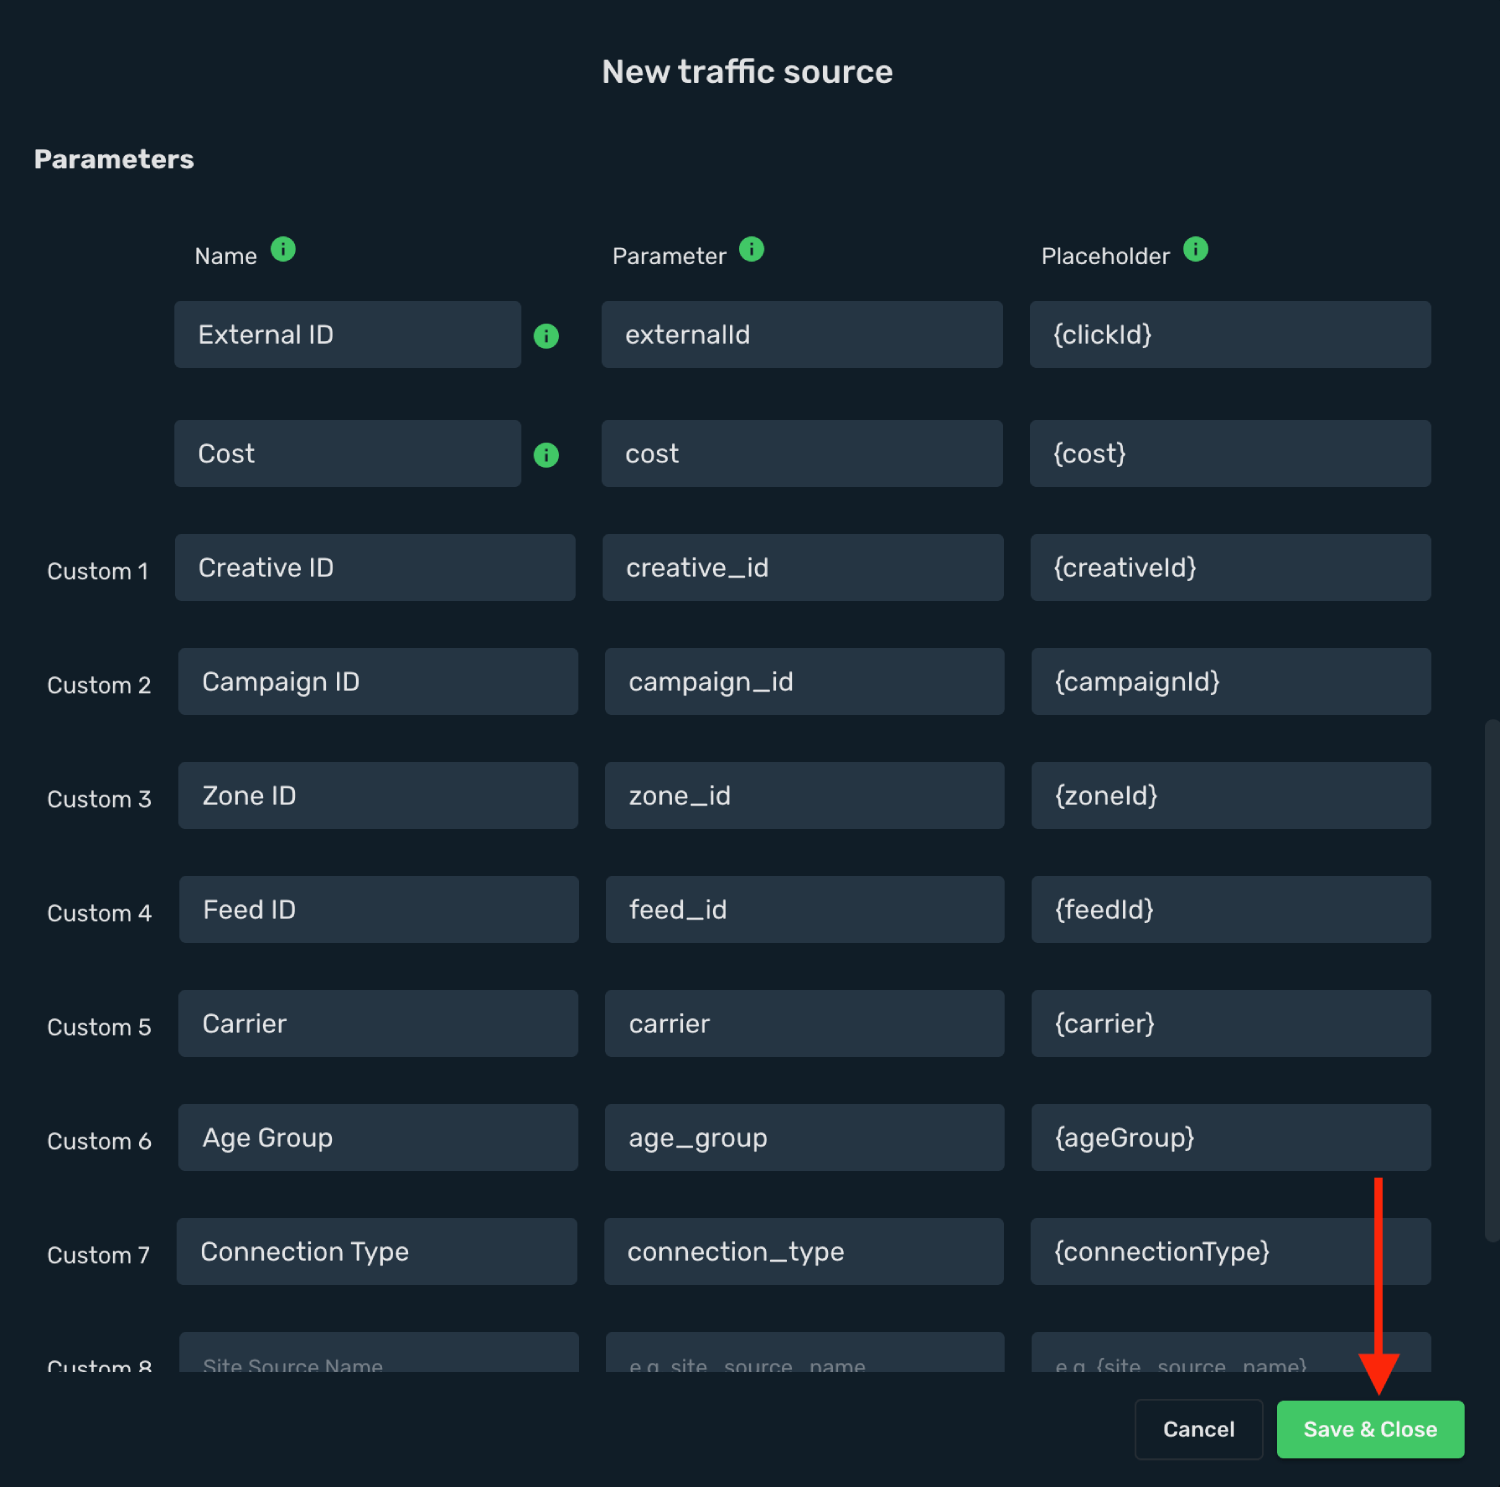
10. Click the **Save & Close**.
Integration setup is complete, and you are now ready to create your first campaign.
## Step 2. Create a campaign on Skro [#step-2-create-a-campaign-on-skro]
1. Go to **Ads Manager** and click the **Create**.
2. Select your **Traffic source** and click **Next**.
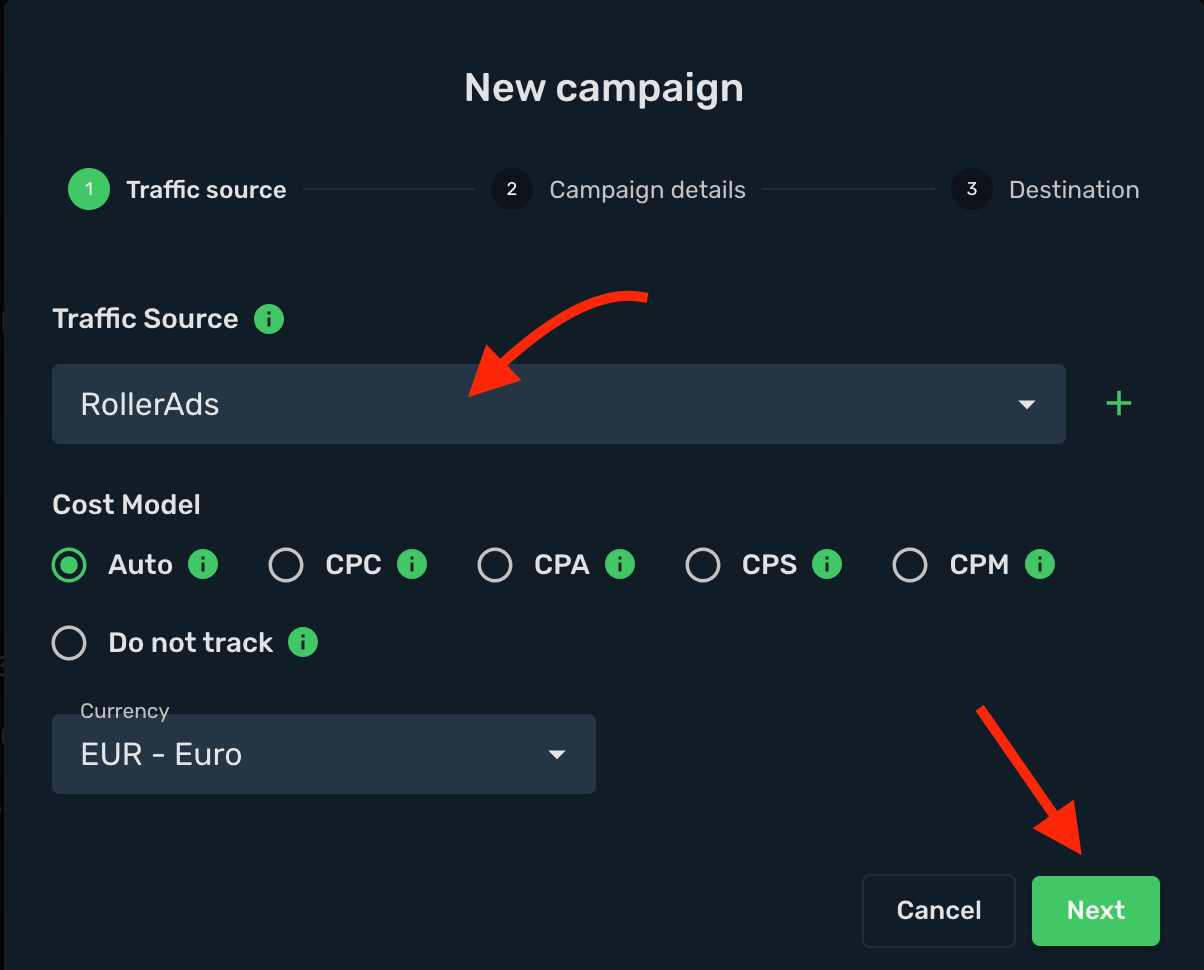
3. Select your campaign **Workspace**.
4. Enter a descriptive campaign name.
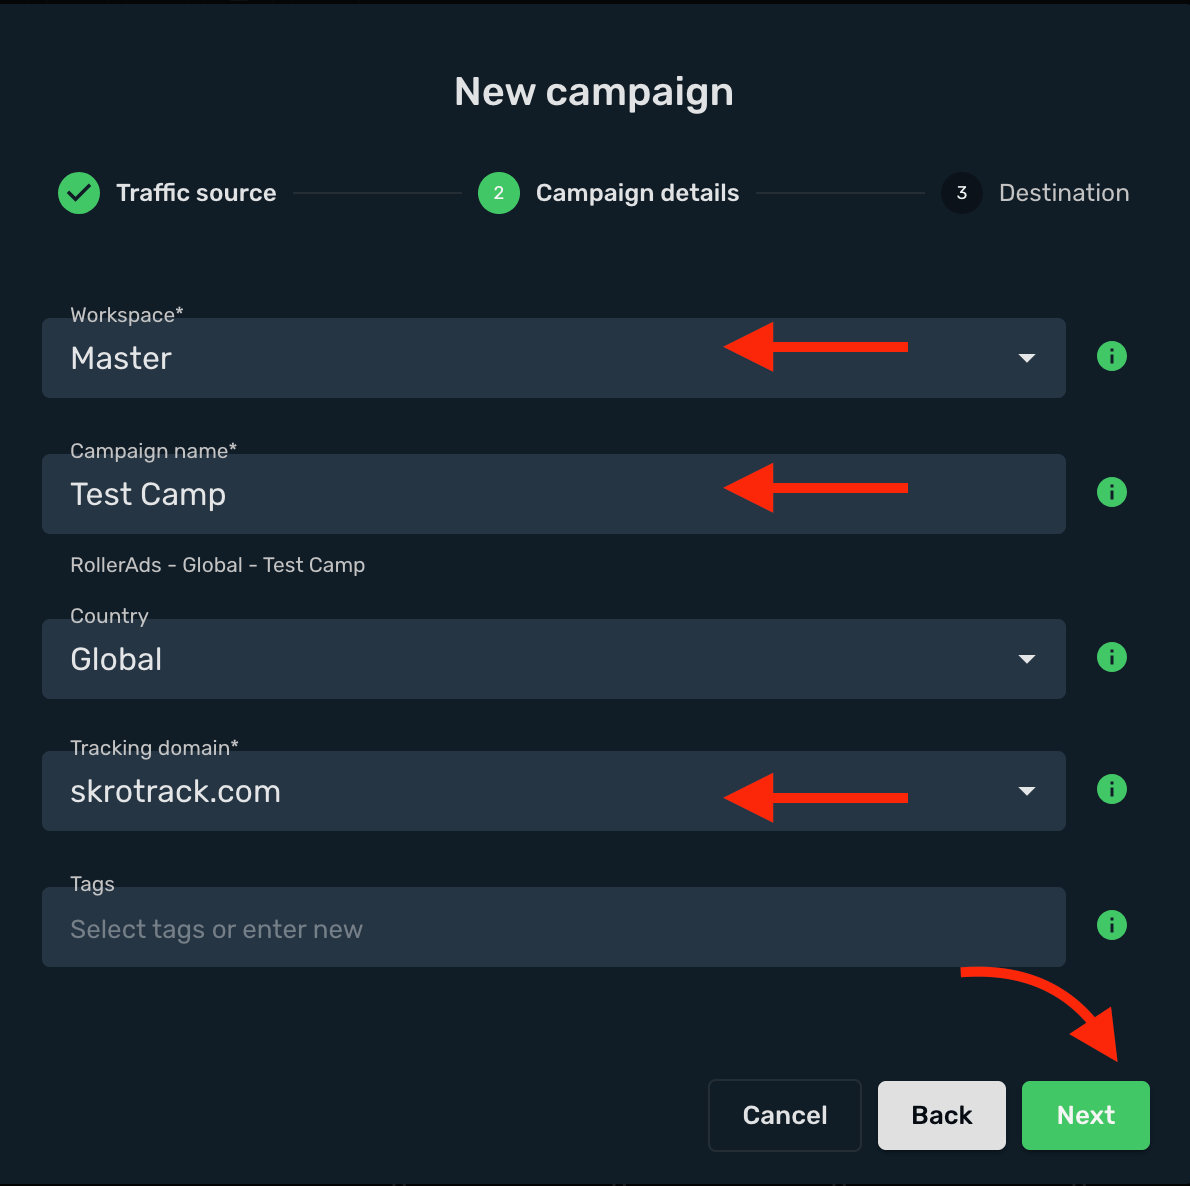
5. Select or create all your **landings** and **offers**.
6. Click the **Save**.
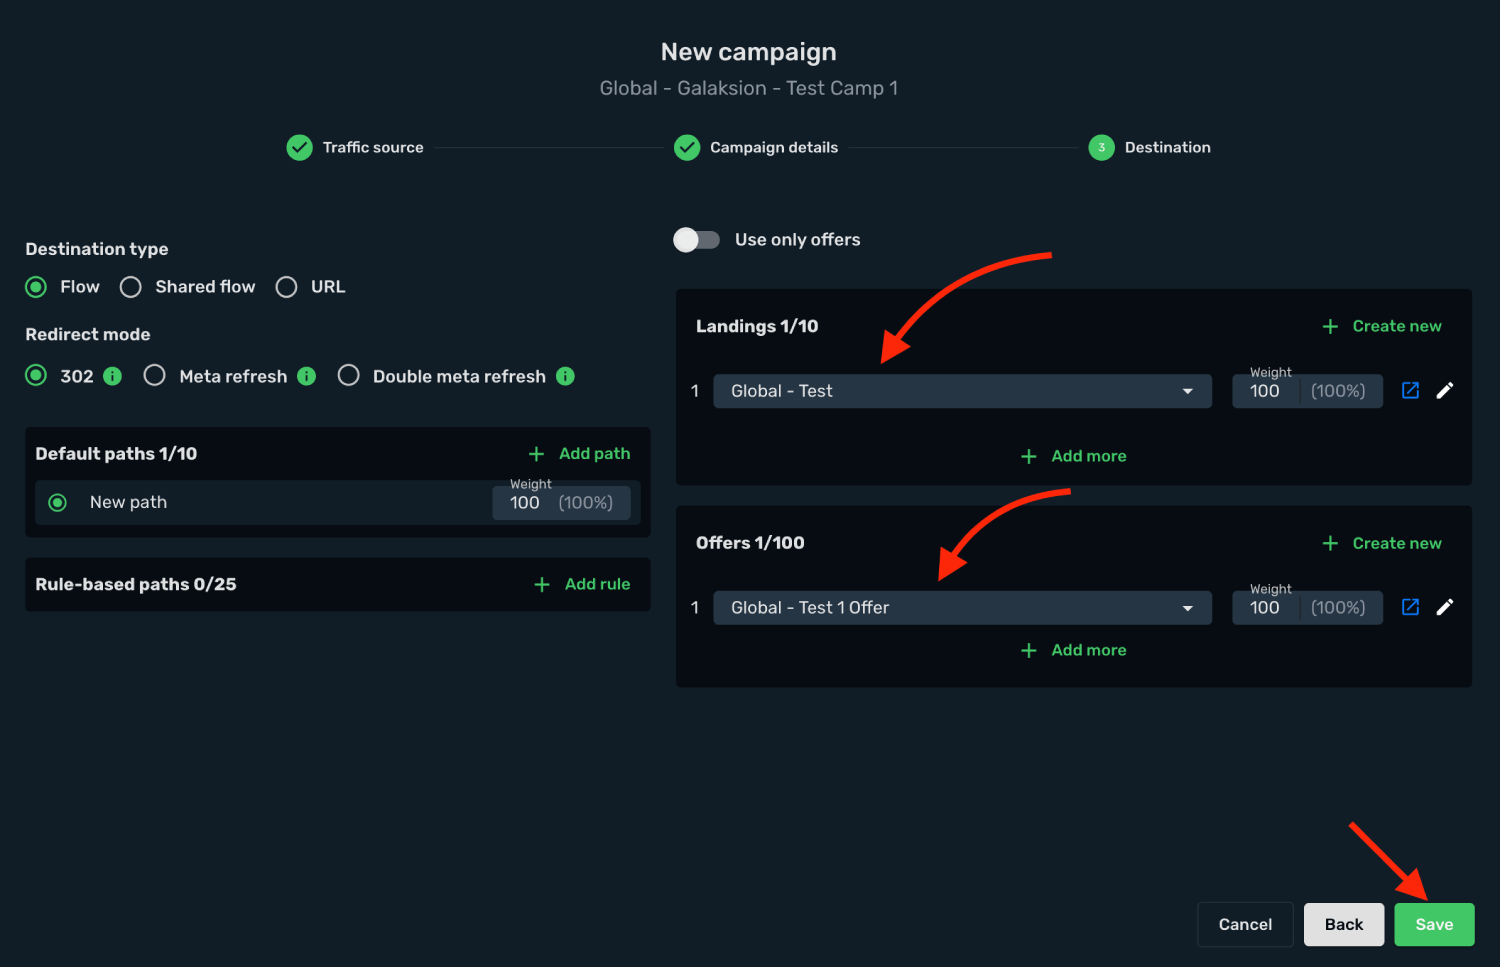
7. Copy the **Campaign Tracking URL** to clipboard.
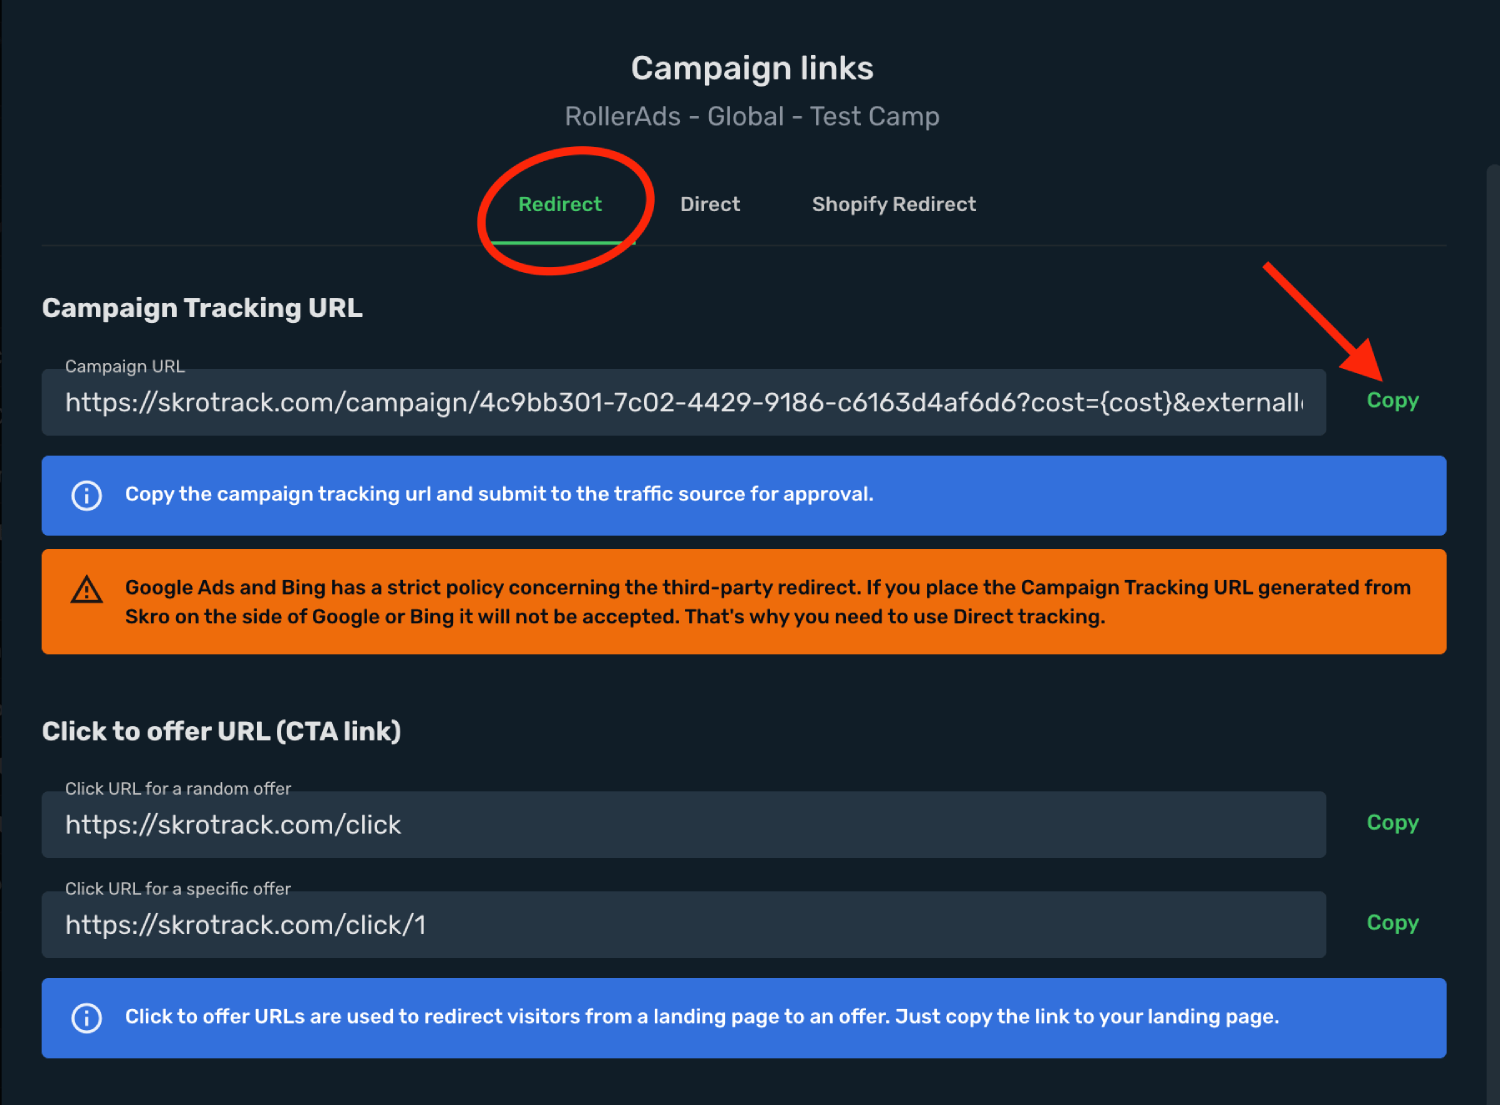
## Step 3. Create a campaign on RollerAds [#step-3-create-a-campaign-on-rollerads]
1. Log in to your **RollerAds account**.
2. Go to the **Campaigns** section.
3. Click the **+ New Campaign**.
4. Select your ad **Format** and **Bid model**.
5. Enter a descriptive campaign name.
6. Paste the **Skro campaign tracking link** into the **Target URL** field, including all tracking parameters.
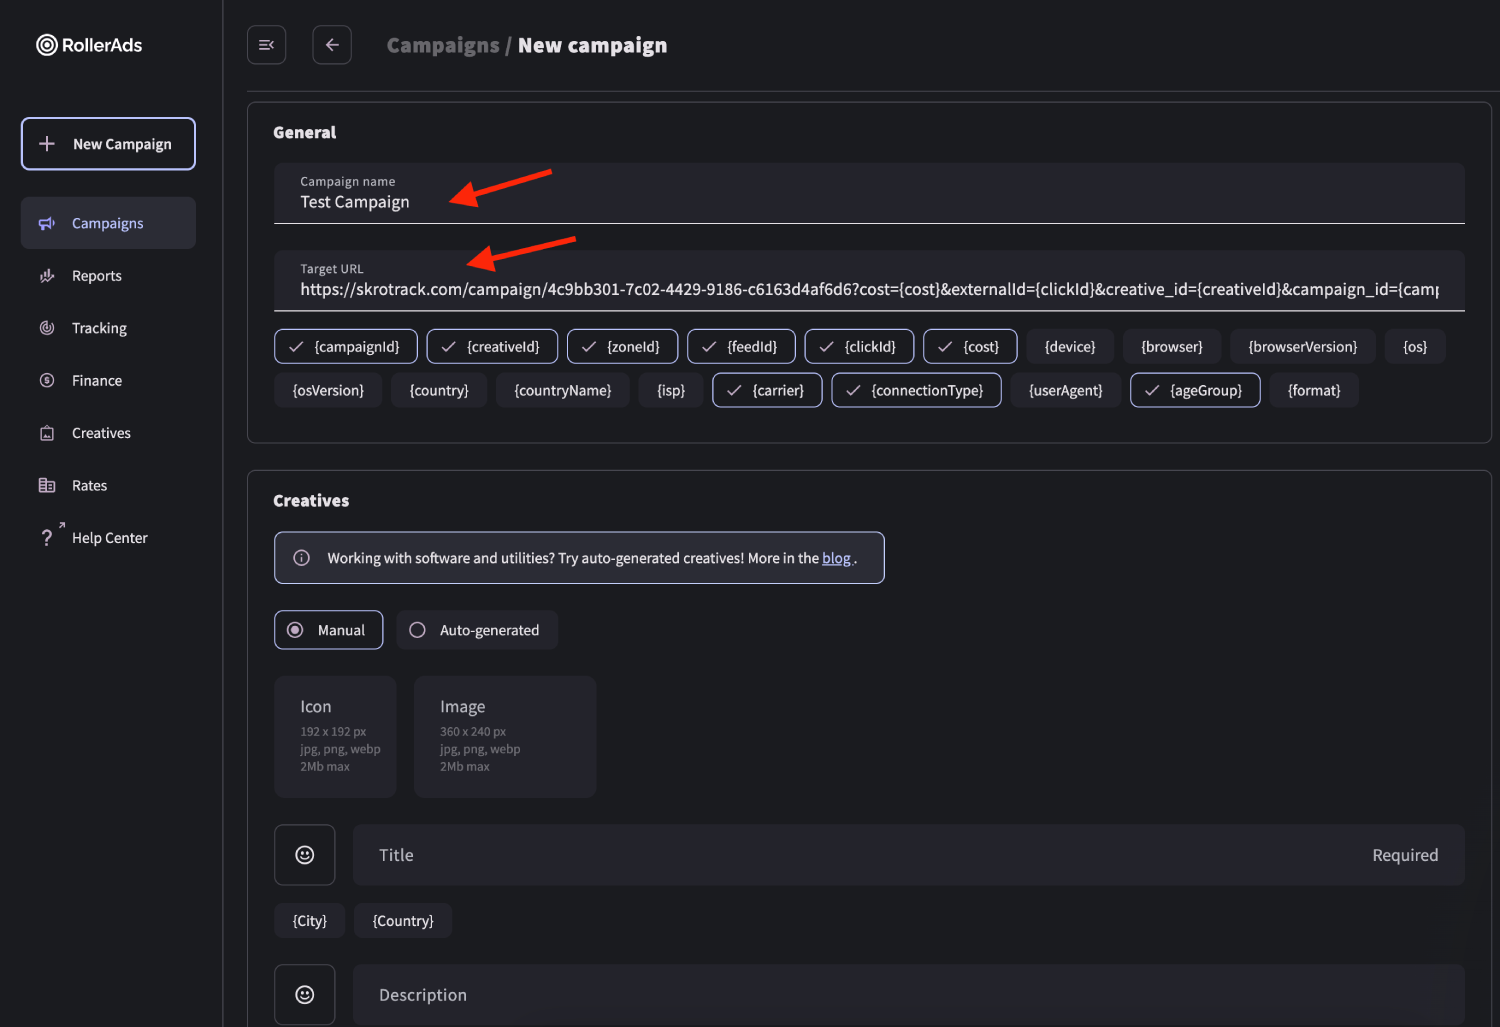
7. Create your **Creatives** and fill all other fields where needed.
8. When you are done, click the **Start Campaign**.
## Verify the setup [#verify-the-setup]
Open the generated campaign URL and check that the visit appears in Skro. Confirm that traffic source macros resolve to actual values. If you send conversions back to the source, verify a test conversion in both systems.
If data is missing, check the selected workspace, integration, campaign, and reporting date range. Compare parameter names and macro values with the examples in this guide before repeating the test.
## Related guides [#related-guides]
# Ads.com RSOC integration
Source: https://skro.eu/docs/integrations/rsoc-ads-com-and-skro-integration
Set up Ads.com RSOC in Skro and map offer identifiers for Related Search on Content revenue reporting.
## Integration benefits [#integration-benefits]
Integration enables seamless revenue data synchronization across channels, ensuring accurate tracking even after adjustments from various traffic sources. It also consolidates your ads, conversions, and revenue, giving you a clear and comprehensive view of your ad performance.
- Revenue updates every hour.
- Revenue updates for the last 3 days.
## Step 1. Add integration [#step-1-add-integration]
1. Log in to your **Skro** account.
2. Navigate to **Settings** → **Integrations**.
3. Scroll down and click **Add** in **Revenue Sync - RSOC** section.
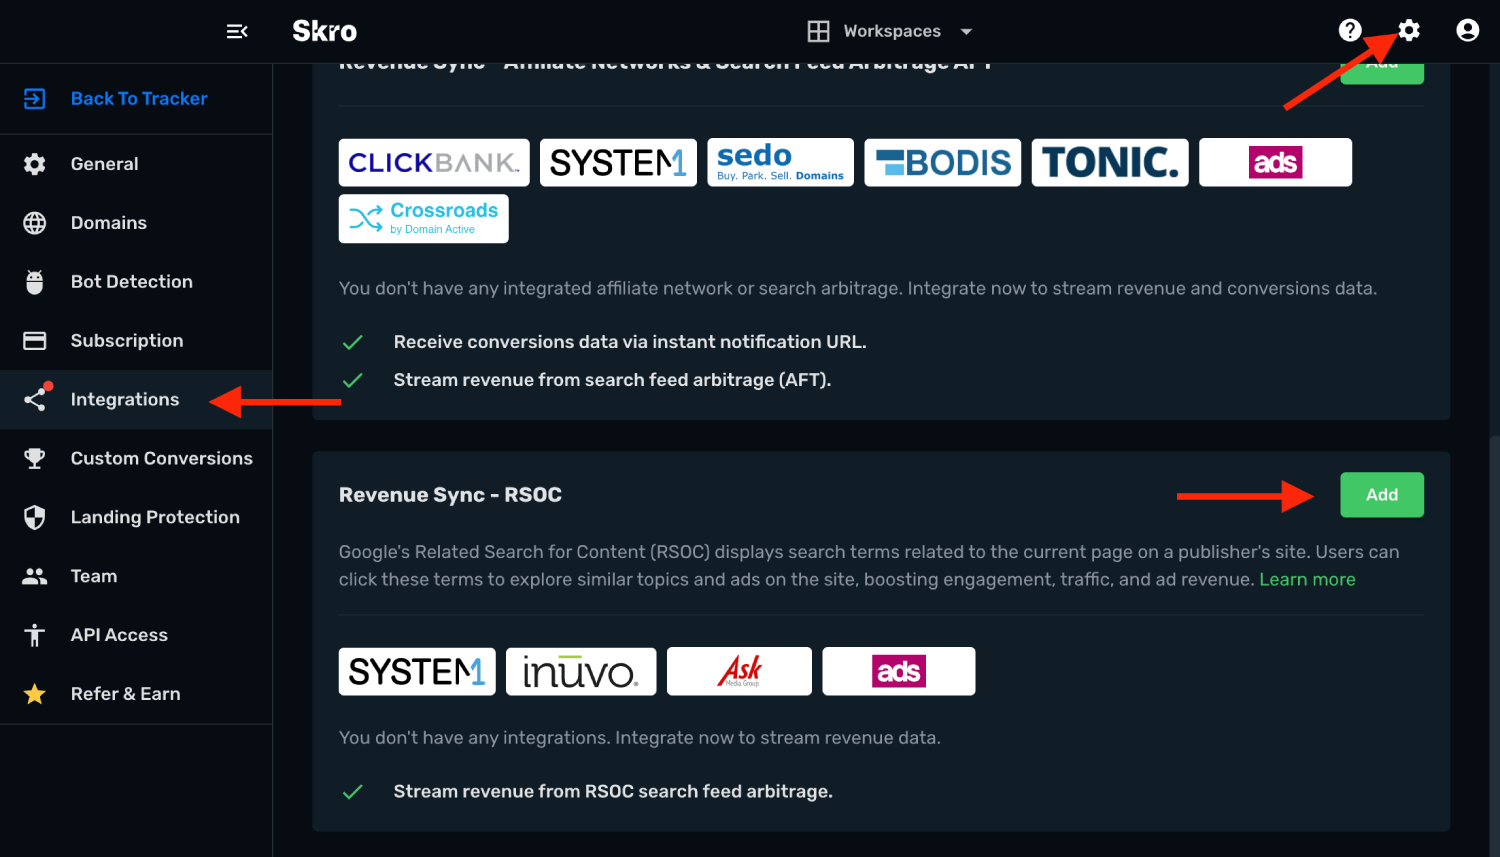
4. Click **Ads.com** logo.
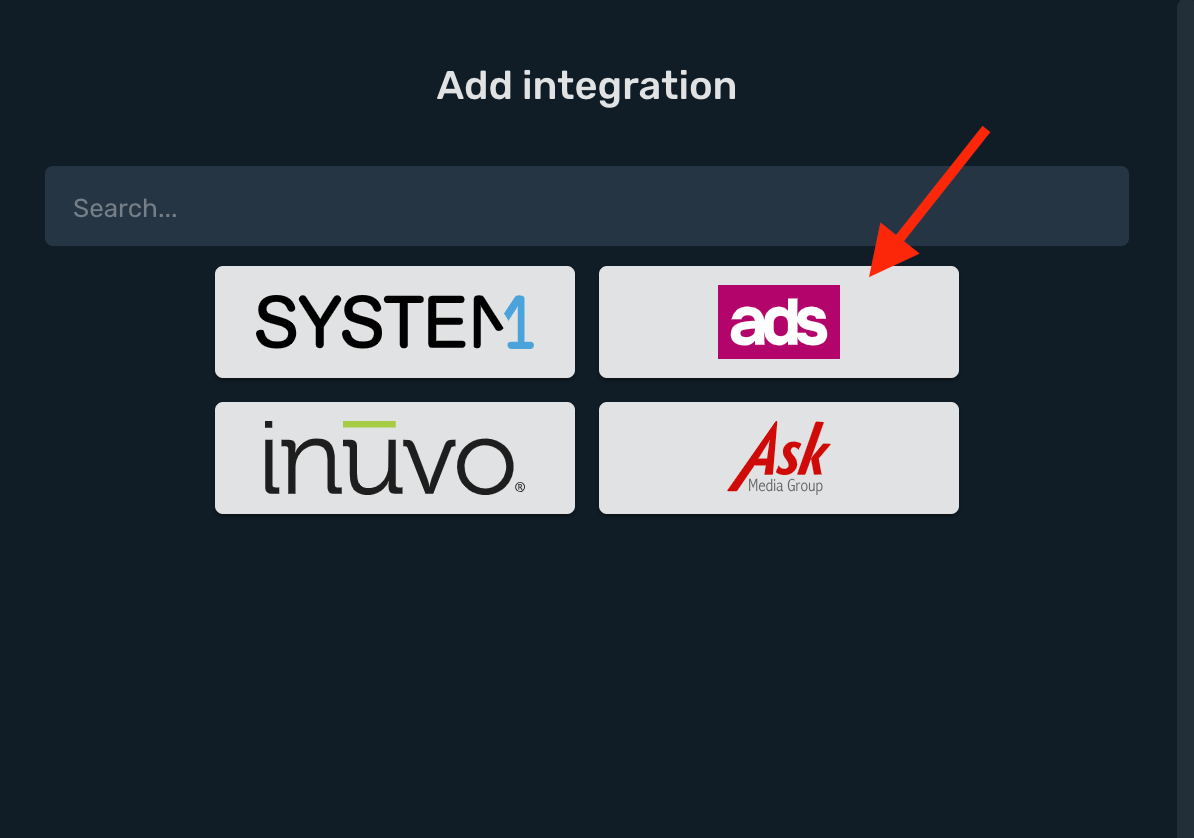
- **Integration Name** name of your integration.
- **Domain Name** is your offer domain name provided by Ads.com.
- **Username** is your Ads.com account username.
- **Password** is your Ads.com account password.
- **API Secret** is your API secret key. You will find it on Ads.com if you go to **Profile** → **Access Token** → **Your Secret Key**. Navigate to this link if you do not find it: [API KEY](https://www.ads.com/account/profile/access-token)
- **Account Currency** is the currency of the earnings.
- **Custom Conversion Event** is optional. If you are using Custom Conversion on your postback URL, then you will need to select your event here, otherwise your revenue isn't synced correctly.
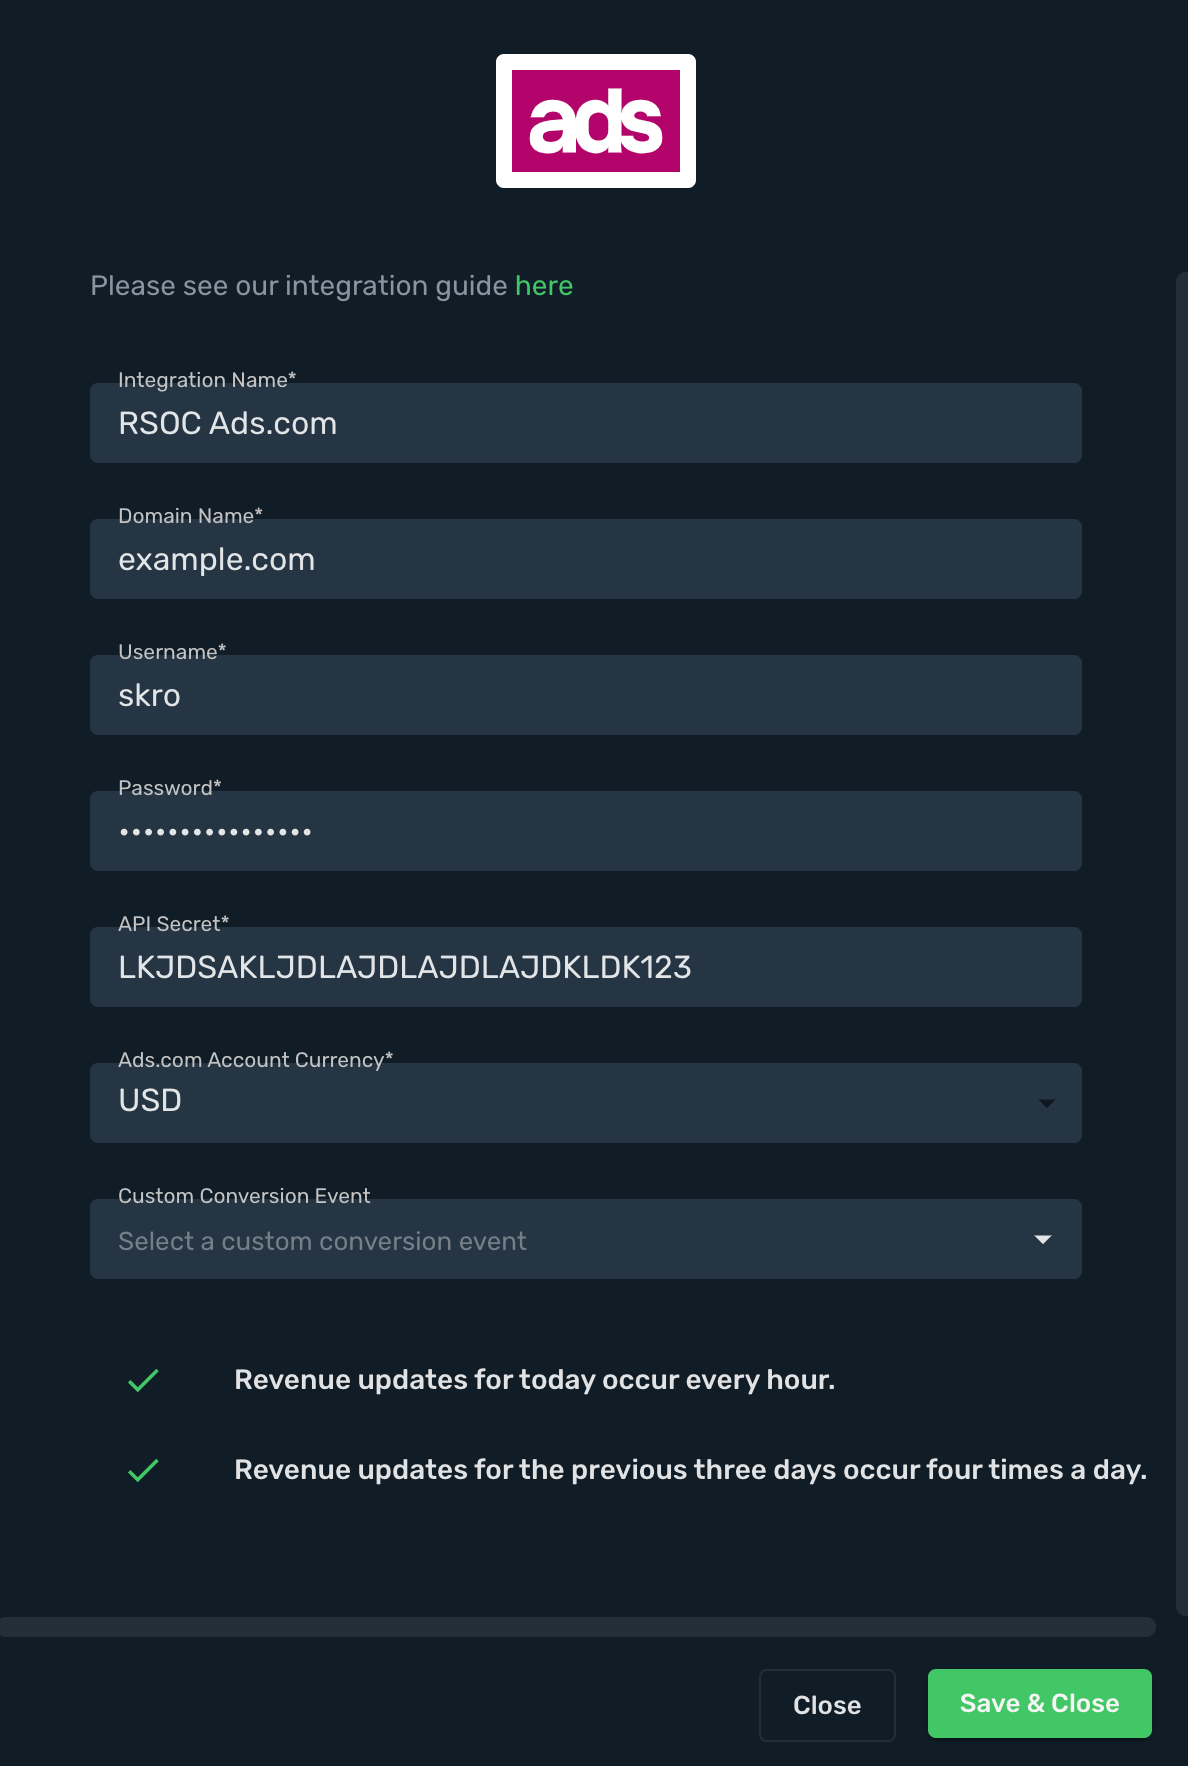
5. Complete the form and click **Save & Close**
## Step 2. Add Ads.com RSOC offer in Skro [#step-2-add-adscom-rsoc-offer-in-skro]
1. Go to **Offers**.
2. Click **Create** and complete the required fields.
3. Map your **RSOC Channel/Campaign ID** on special field to track revenue correctly.
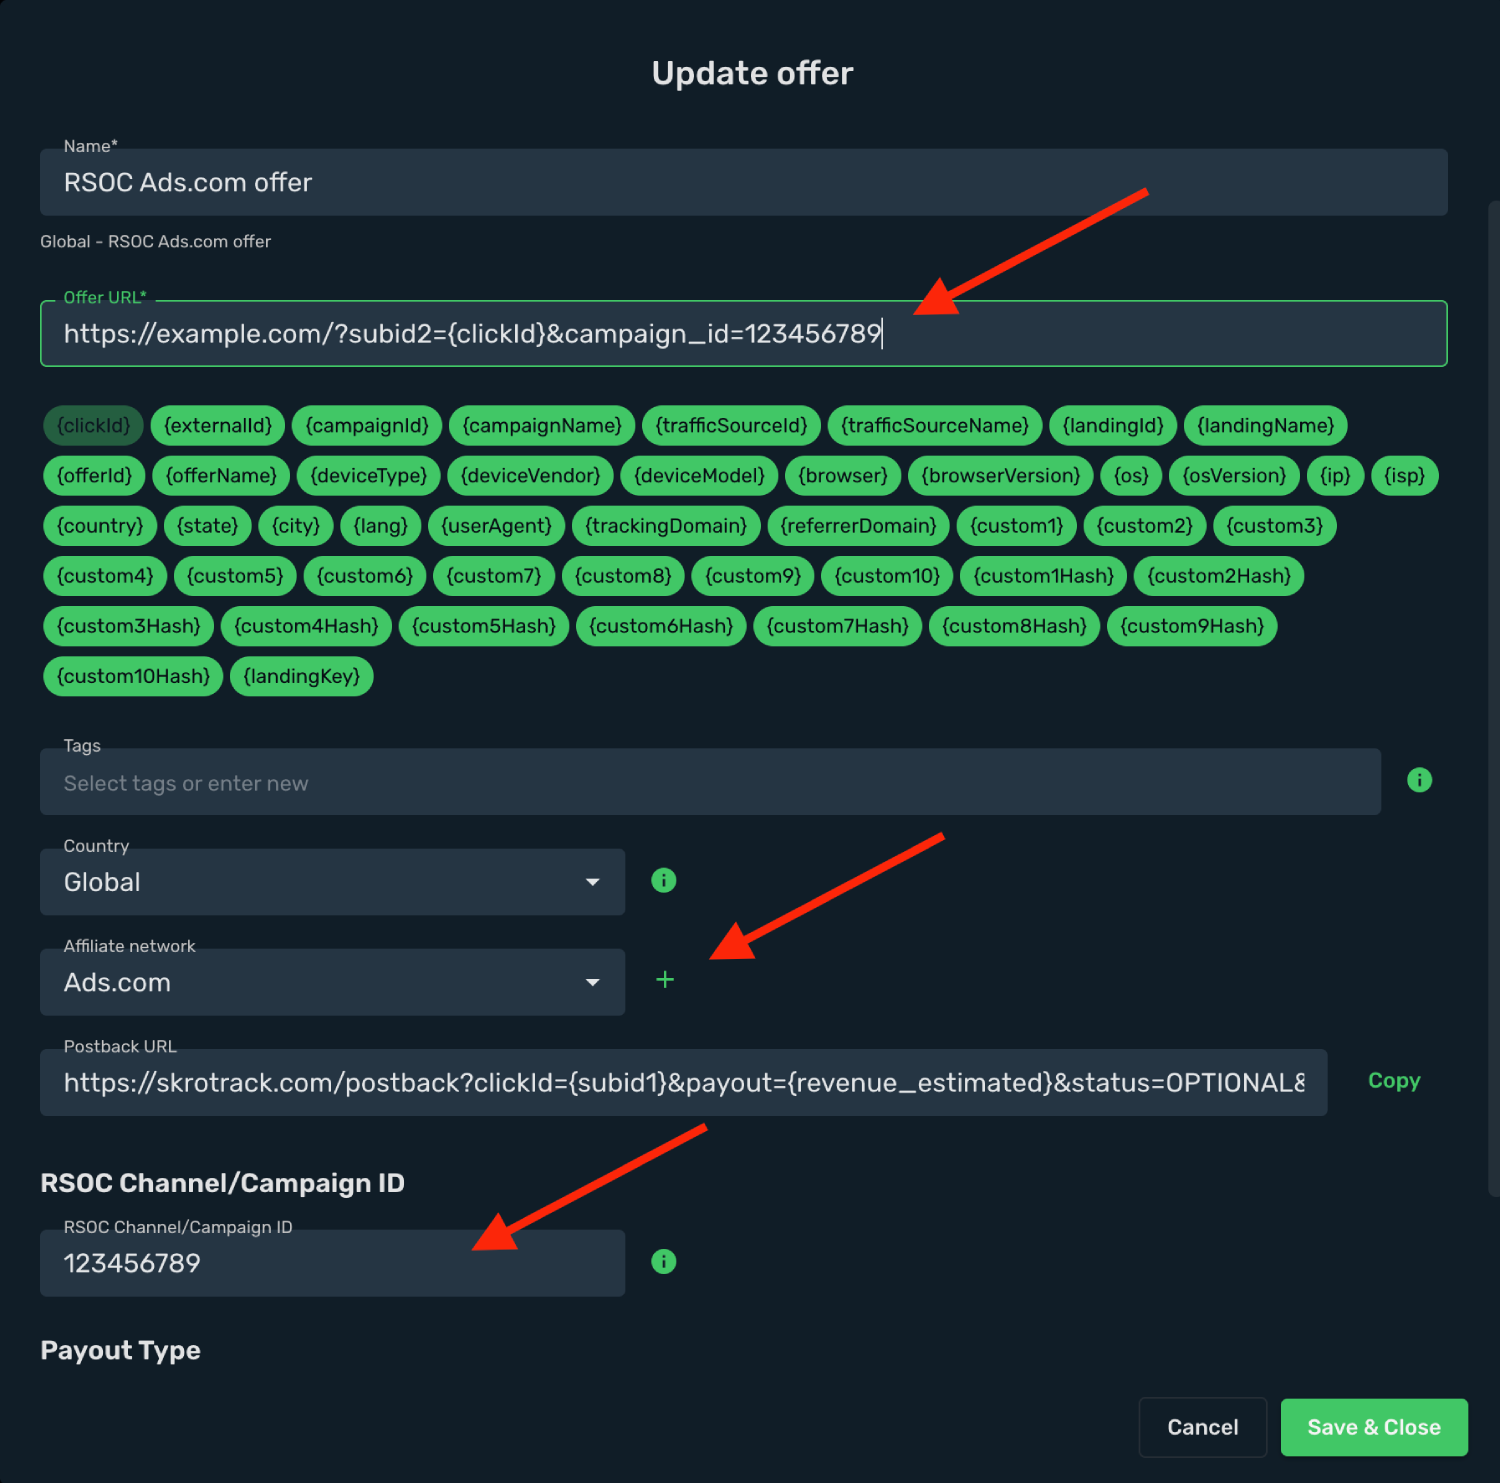
This is an example offer URL which goes to Skro:
`https://example.com/?subid2={clickId}&campaign_id=123456789`
Offer URL has 2 important parameters:
1. **&campaign_id=123456789** - is a Ads.com Channel/Campaign ID.
2. **`&subid2={clickId}`** - is a Skro Click ID to track conversions with postback URL.
`Note: If you are encoding Offer URL, do not encode Skro click ID macro {clickId}`
## Step 3. Standard Postback URL for conversions [#step-3-standard-postback-url-for-conversions]
1. Go to **Affiliate Networks** and click **Create**.
2. Search **Ads.com** and click **Ads.com logo**.
3. Copy the postback URL.
4. Switch on **Allow double conversions**.
5. When finished, click **Save & Close**.
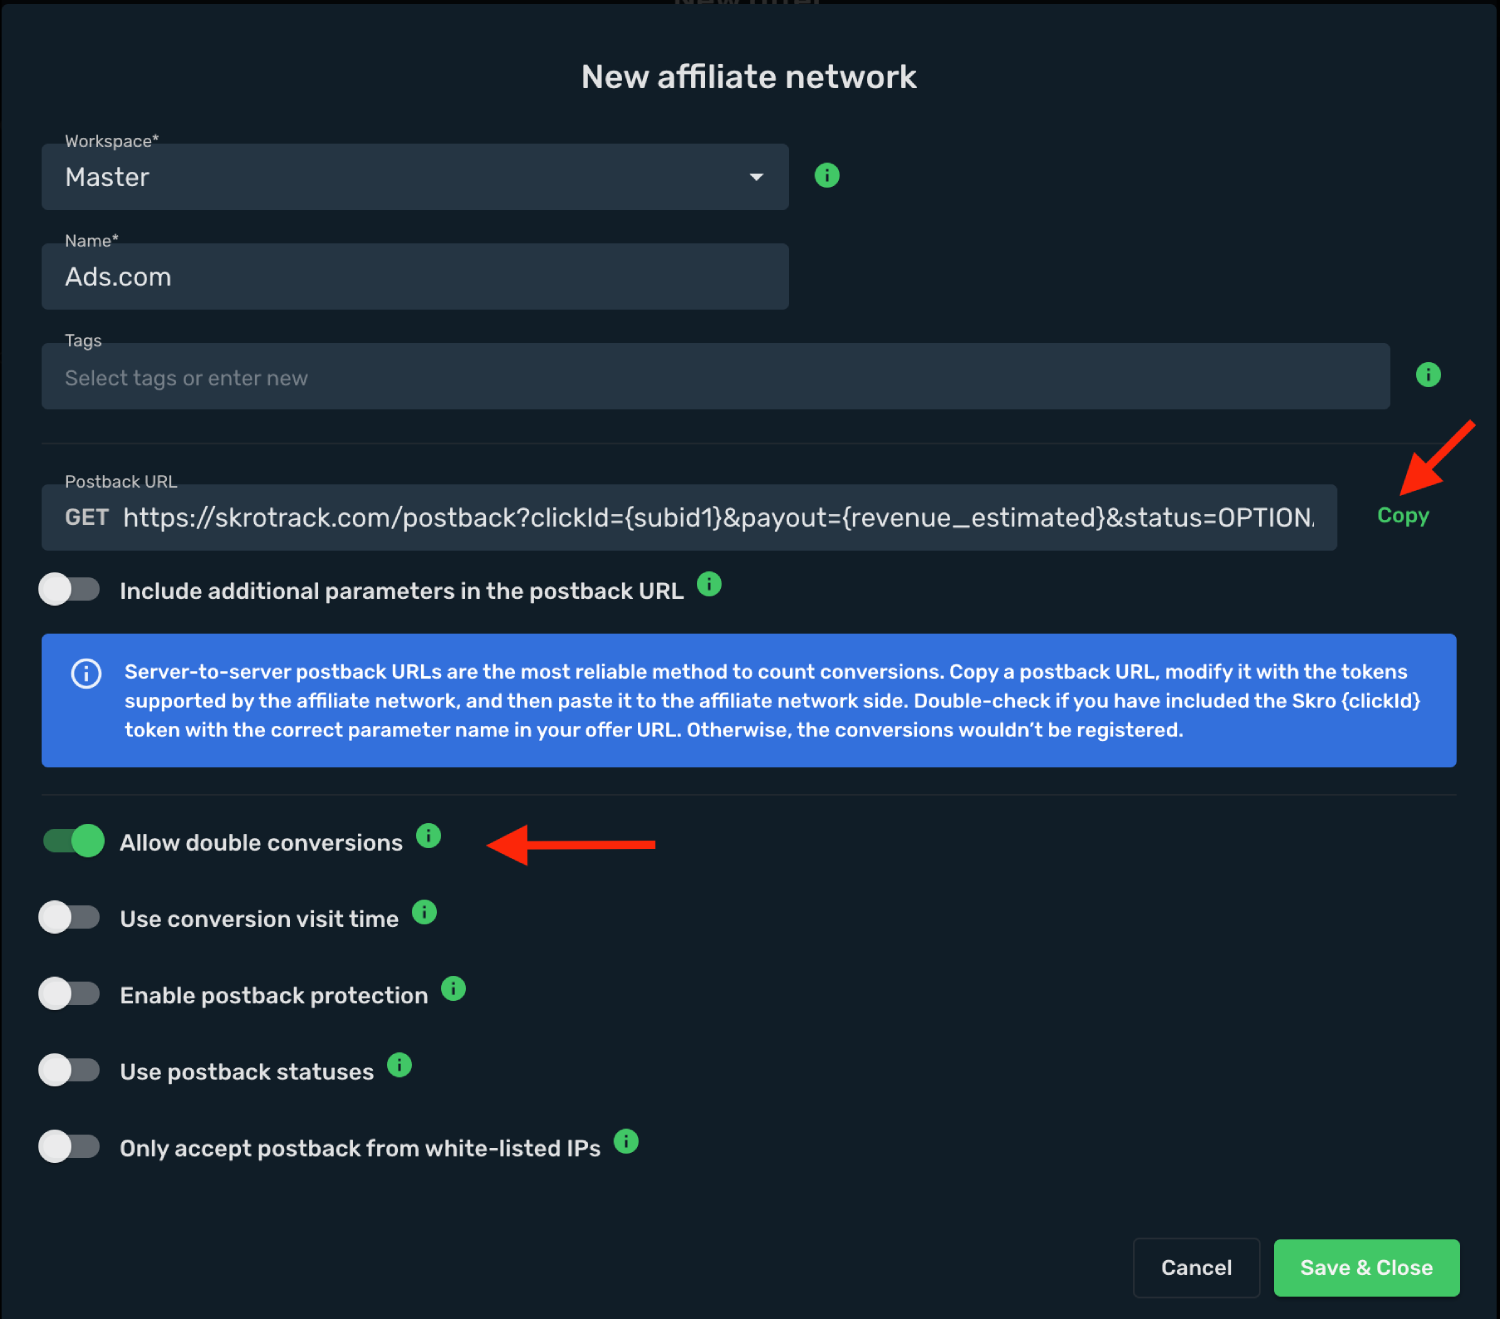
4. Go to **Ads.com** and naivigate to the **Tracking** → **Postback** and click **Create New S2S**.
5. Complete the required fields
- **Event ID:** Click
- **Event Type:** Ad Click
- **Postback URL:** `https://skrotrack.com/postback?clickId={subid2}&p1={click_term}`
6. If you are done, then click **ADD S2S**.
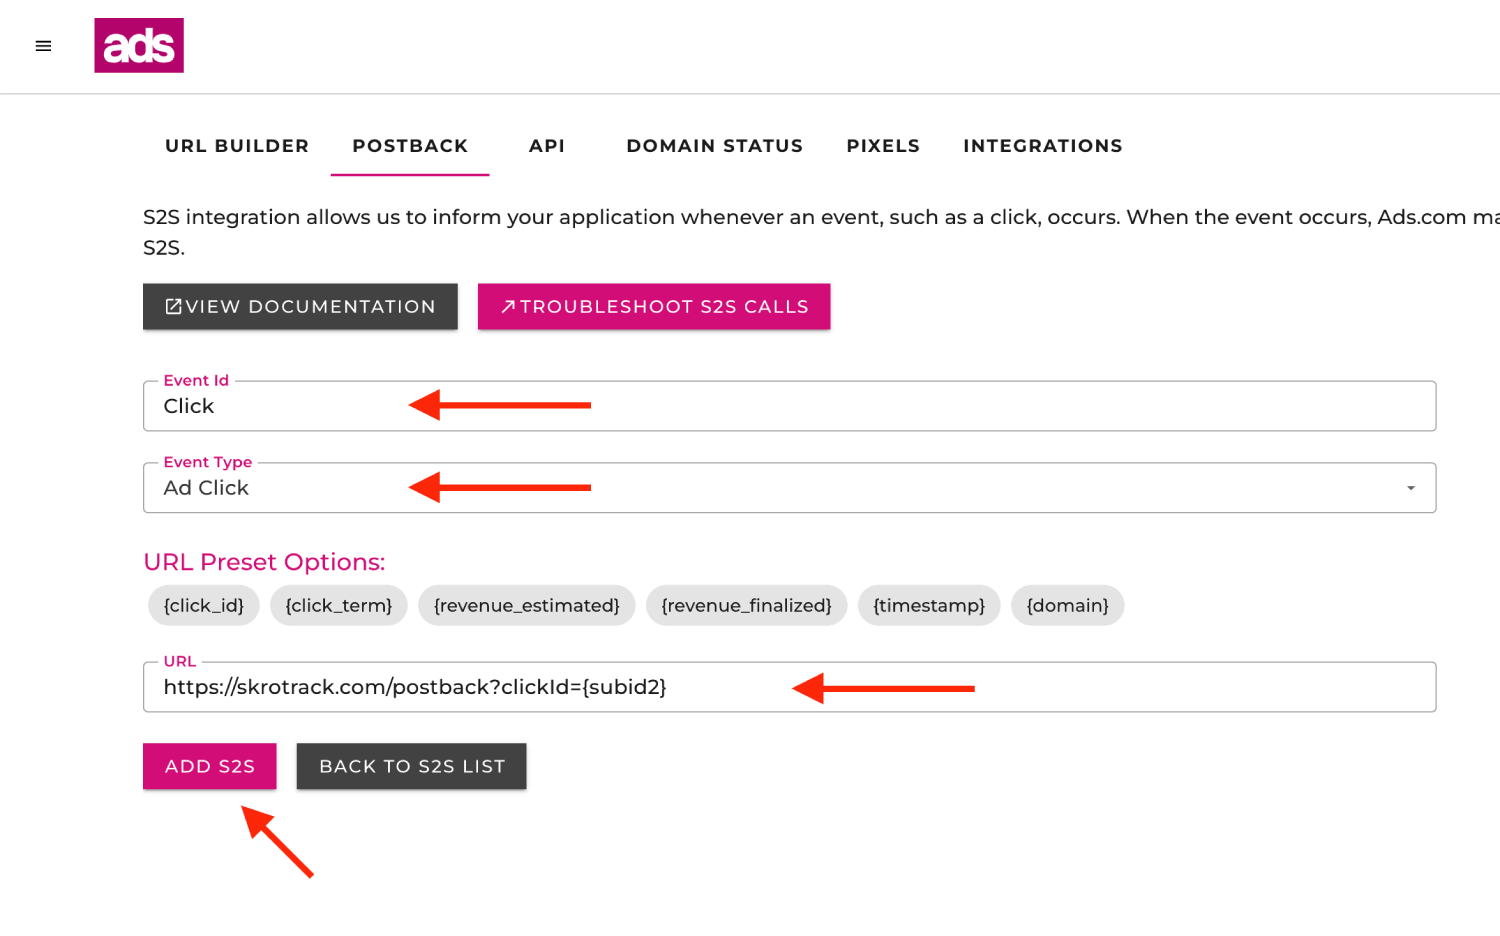
## Step 4. Use Custom Conversions for different Ads.com events (OPTIONAL) [#step-4-use-custom-conversions-for-different-adscom-events-optional]
With custom conversion events feature it is possible to track different events, revenue and clicks on a different columns. For Ads.com we are going to create event **Purchase**.
1. Go back to Skro and navigate to the **Settings** → **Custom Conversions** and click **Create**.
2. Complete the required fields and click **Save & Close**.
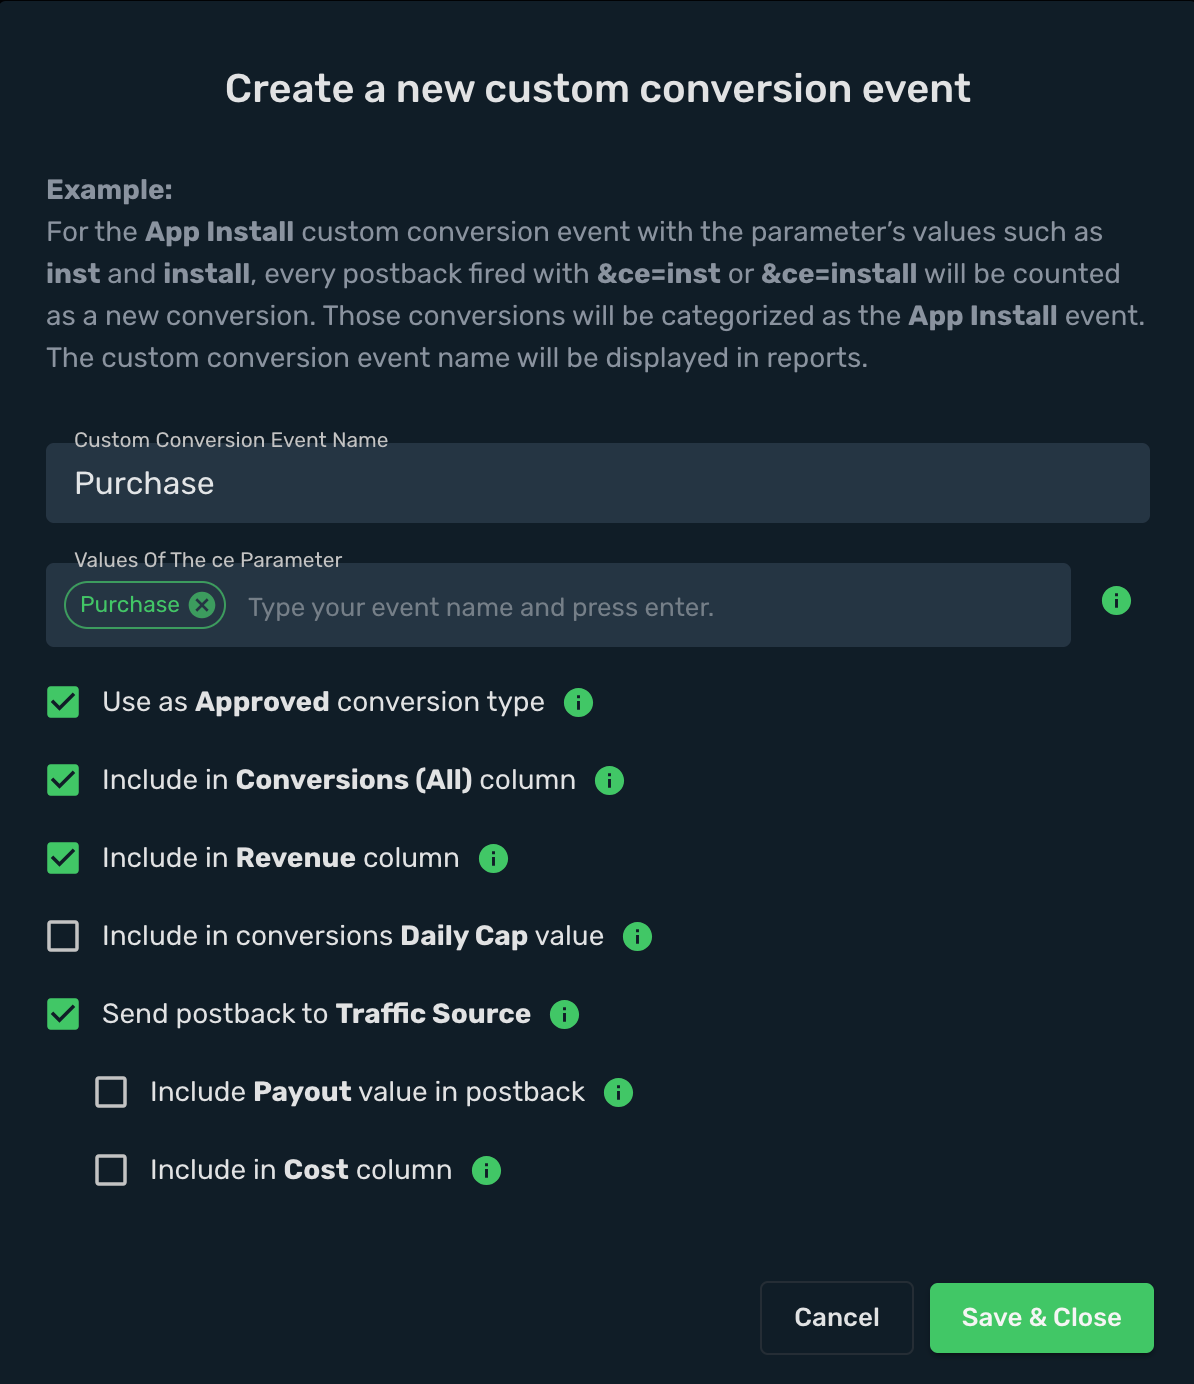
3. Go to **Ads.com** and naivigate to the **Tracking** → **Postback** and click **Create New S2S**.
4. Complete the required fields
- **Event ID:** Click
- **Event Type:** Ad Click
- **Postback URL:** `https://skrotrack.com/postback?clickId={subid2}&p1={click_term}&ce=Purchase`
5. If you are done, then click **ADD S2S**.
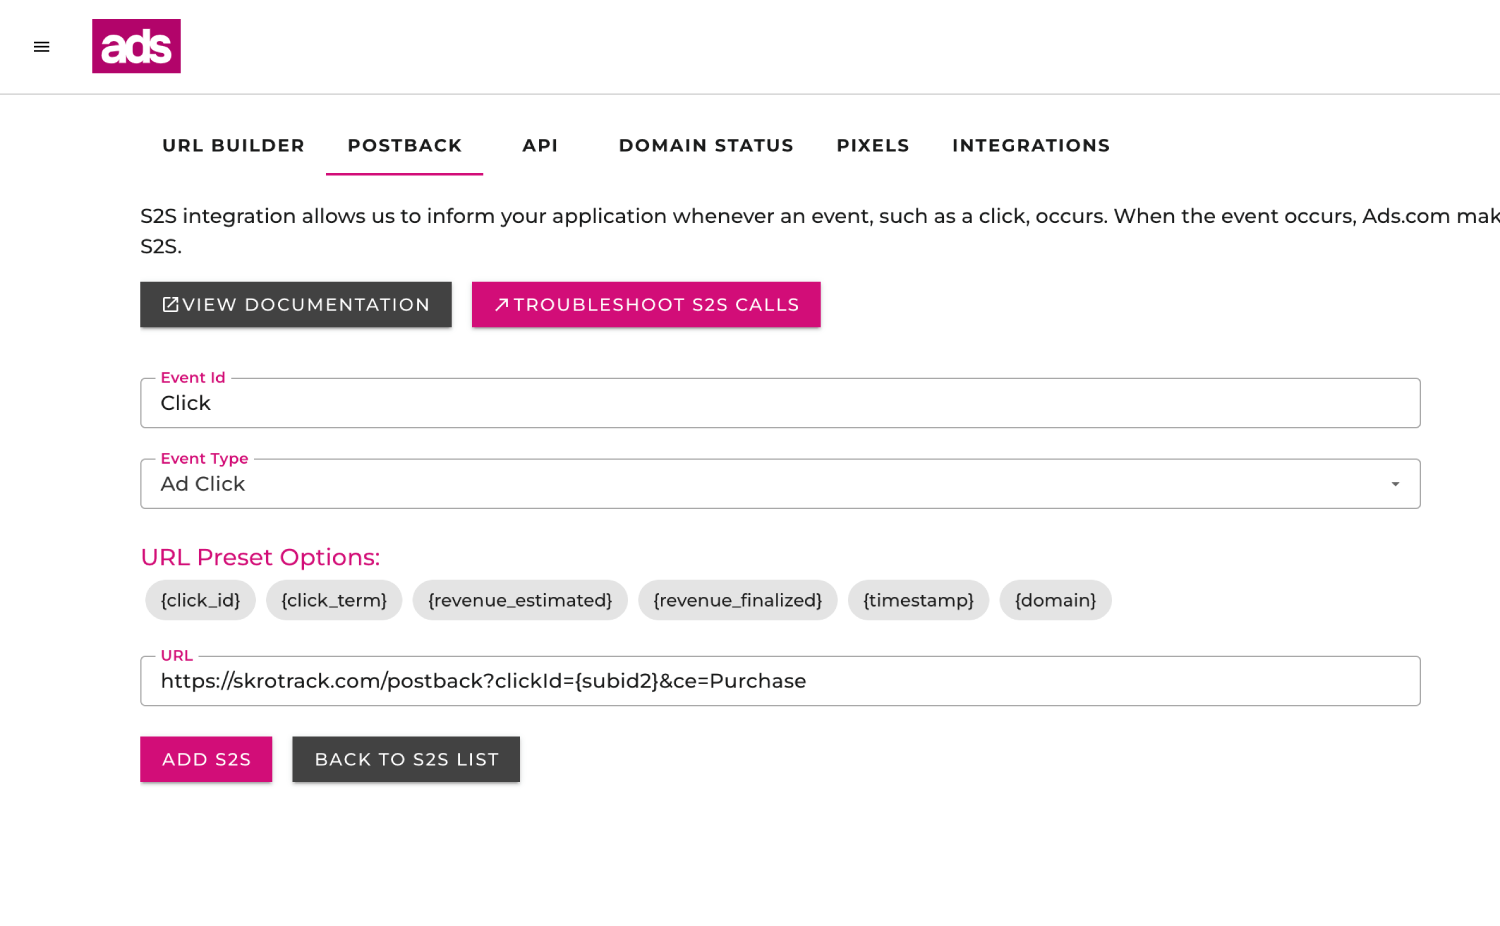
The integration is ready to synchronize earnings data.
## Verify the setup [#verify-the-setup]
Confirm that the offer identifiers match the values in your integration. After the next revenue synchronization, compare the same date range and currency in Skro and your provider account.
If data is missing, check the selected workspace, integration, campaign, and reporting date range. Compare parameter names and macro values with the examples in this guide before repeating the test.
## Related guides [#related-guides]
# Airfind RSOC integration
Source: https://skro.eu/docs/integrations/rsoc-airfind-and-skro
Set up Airfind RSOC in Skro and map offer identifiers for Related Search on Content revenue reporting.
## Integration benefits [#integration-benefits]
Integration enables seamless revenue data synchronization across channels, ensuring accurate tracking even after adjustments from various traffic sources. It also consolidates your ads, conversions, and revenue, giving you a clear and comprehensive view of your ad performance.
- Revenue updates every hour.
- Revenue updates for the last 3 days.
## Step 1. Add integration [#step-1-add-integration]
1. Log in to your **Skro** account.
2. Navigate to **Settings** → **Integrations**.
3. Scroll down and click **Add** in **Revenue Sync - RSOC** section.
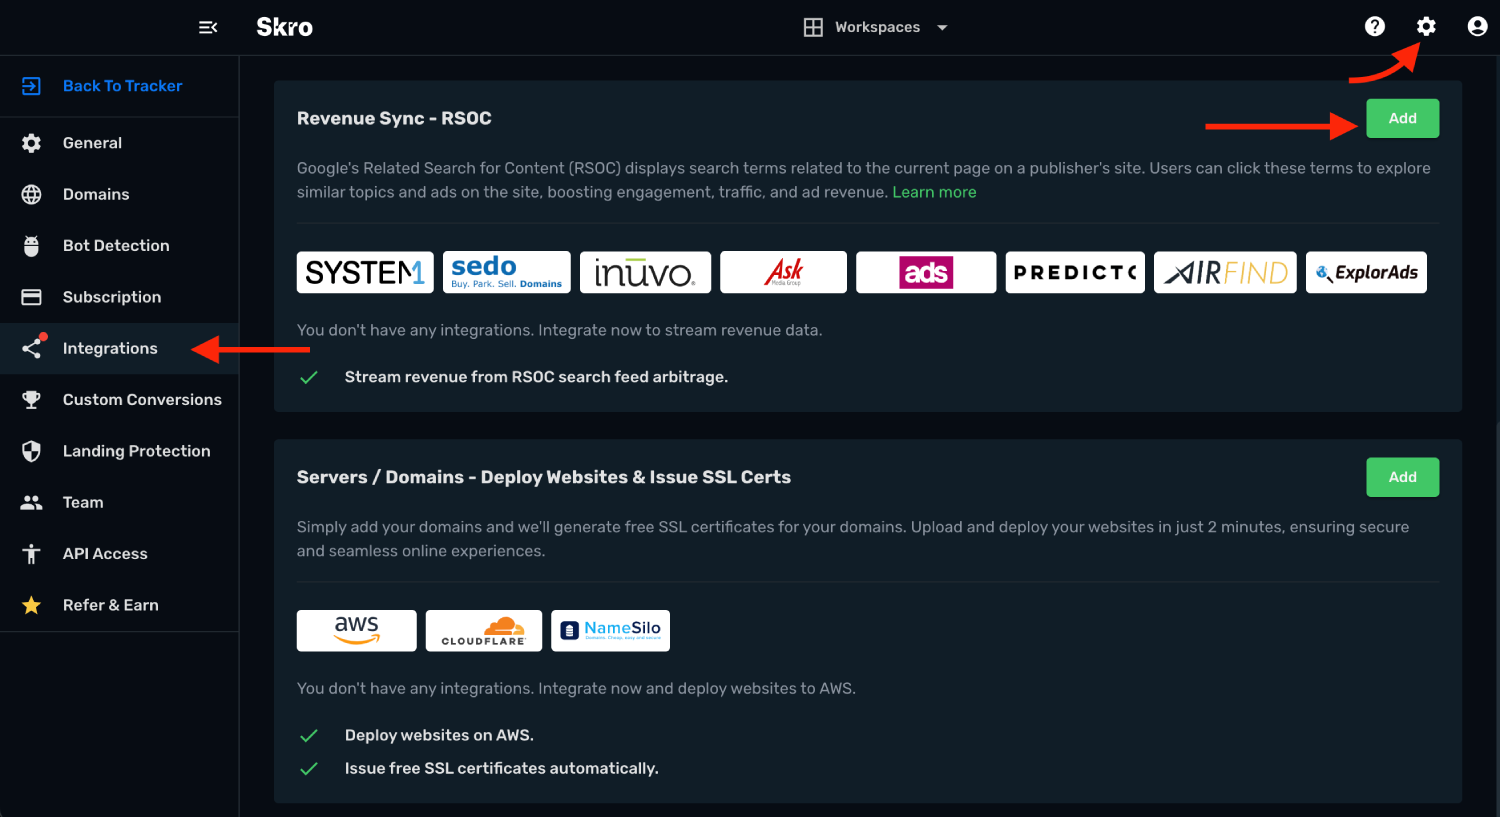
4. Click **Airfind** logo.
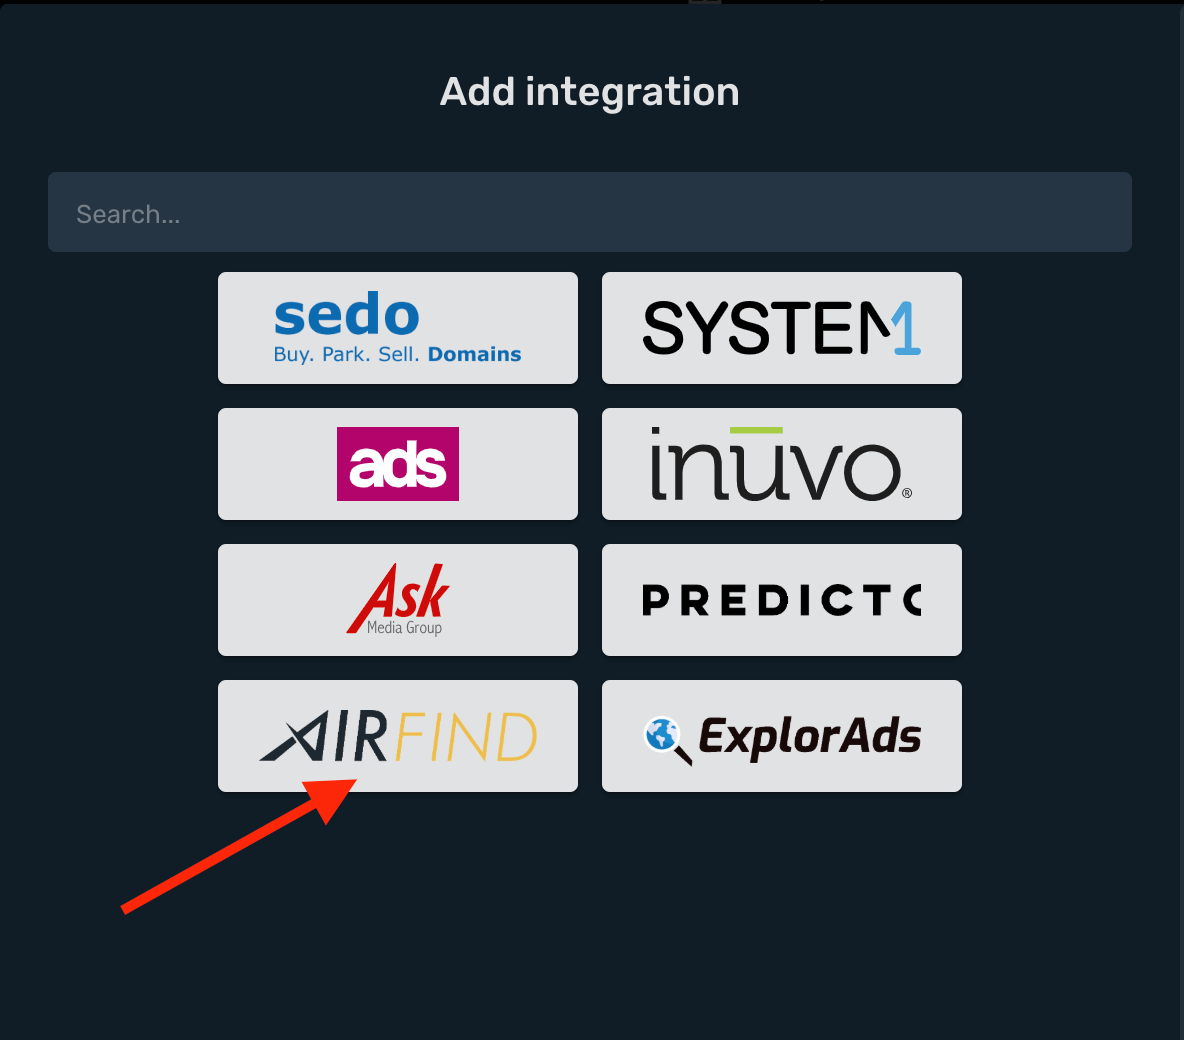
- **Integration Name** name of your integration.
- **API Key** is your Airfind API key.
- **Account Currency** is the currency of the earnings.
- **Custom Conversion Event** is optional. If you are using Custom Conversion on your postback URL, then you will need to select your event here, otherwise your revenue isn't synced correctly.
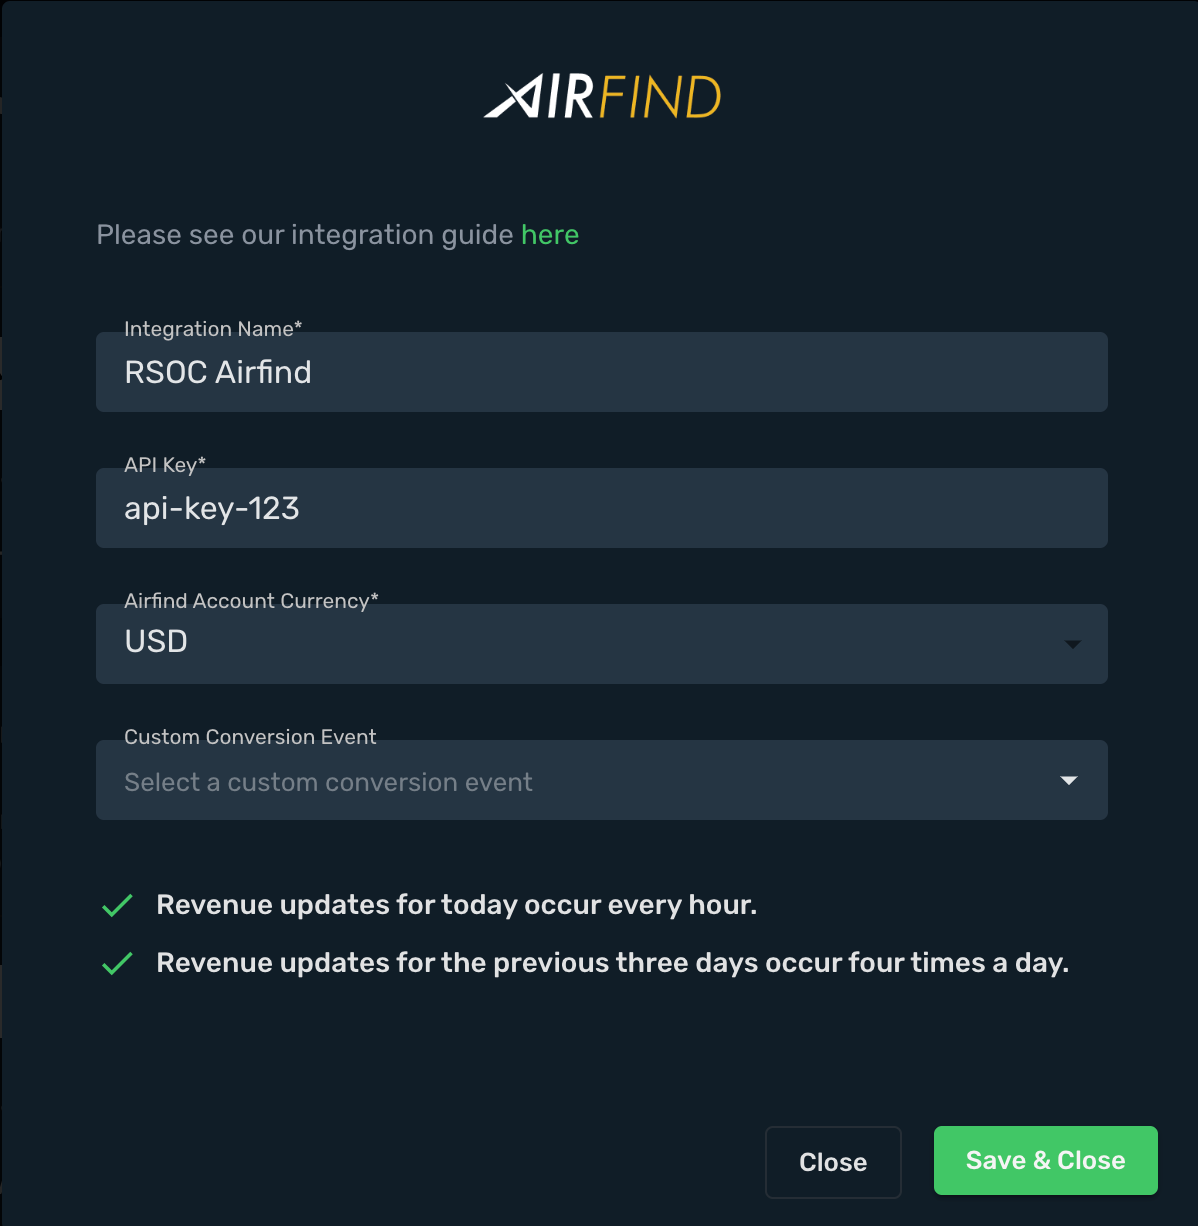
5. Complete the form and click **Save & Close**
## Step 2. Add Airfind RSOC offer in Skro [#step-2-add-airfind-rsoc-offer-in-skro]
1. Go to **Offers**.
2. Click **Create** and complete the required fields.
3. Map your **Brand ID** on special field to track revenue correctly. You should map **ONLY** Brand ID. In this example it is **LM2**
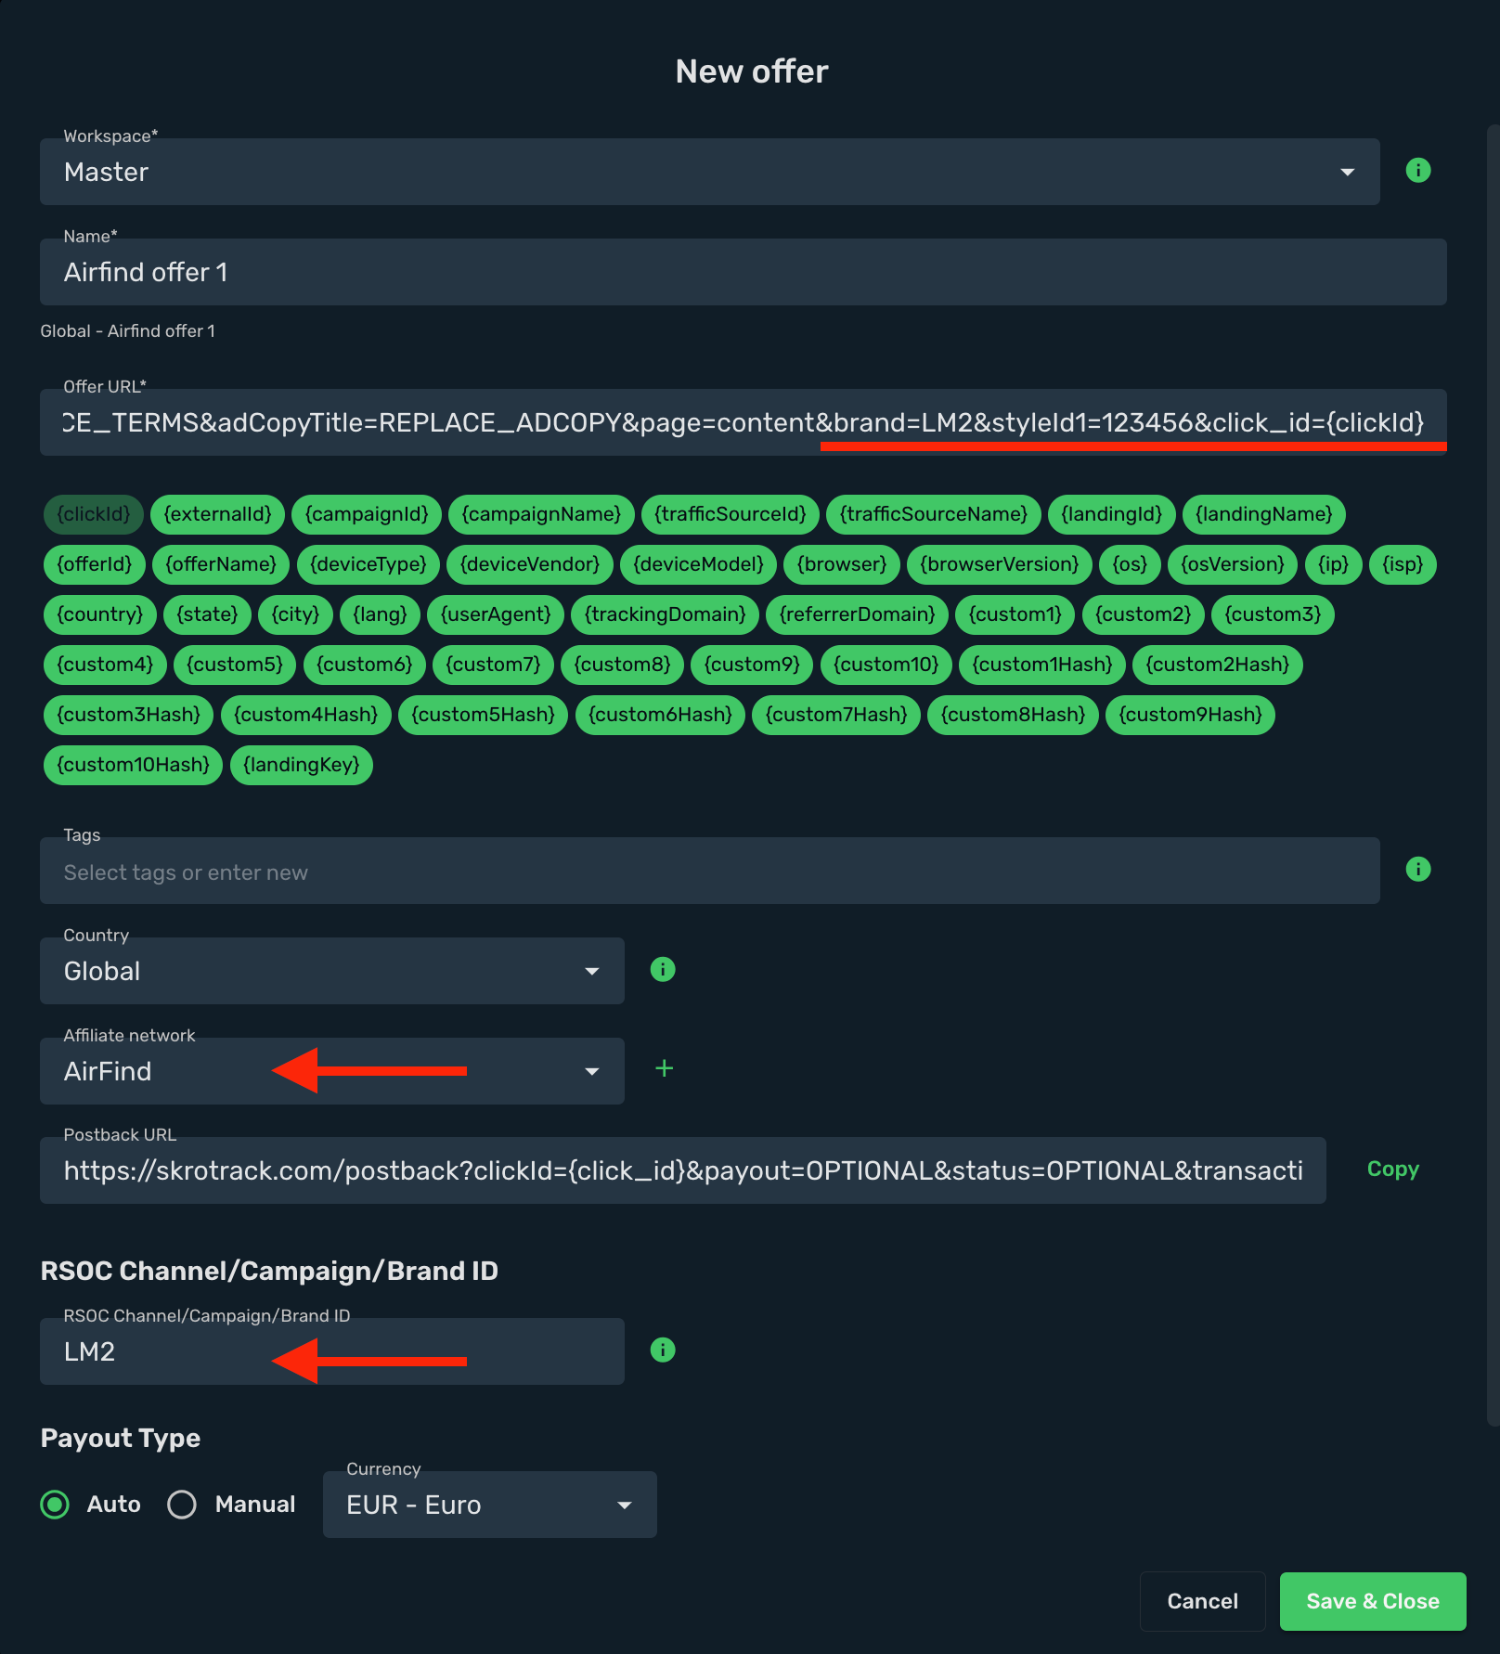
This is an example offer URL which goes to Skro:
```text
https://airfind-content.com/_content/article?variant=1&articleId=REPLACE_ARTICLE_ID&suggestedTerms=REPLACE_TERMS&adCopyTitle=REPLACE_ADCOPY&page=content&brand=LM2&styleId1=123456&click_id={clickId}
```
Offer URL has 2 important parameters:
1. **&brand=LM2** - You should pass your Brand ID in this parameter.
2. **`&click_id={clickId}`** - is a Skro Click ID to track conversions with postback URL.
3. **`&styleId1=123456`** - Add your RSOC style id there.
`Note: If you are encoding Offer URL, do not encode Skro click ID macro {clickId}`
## Step 3. Standard Postback URL for conversions [#step-3-standard-postback-url-for-conversions]
1. Go to **Affiliate Networks** and click **Create**.
2. Search **Airfind** and click **Airfind logo**.
3. Switch on **Allow double conversions**.
4. When finished, click **Save & Close**.
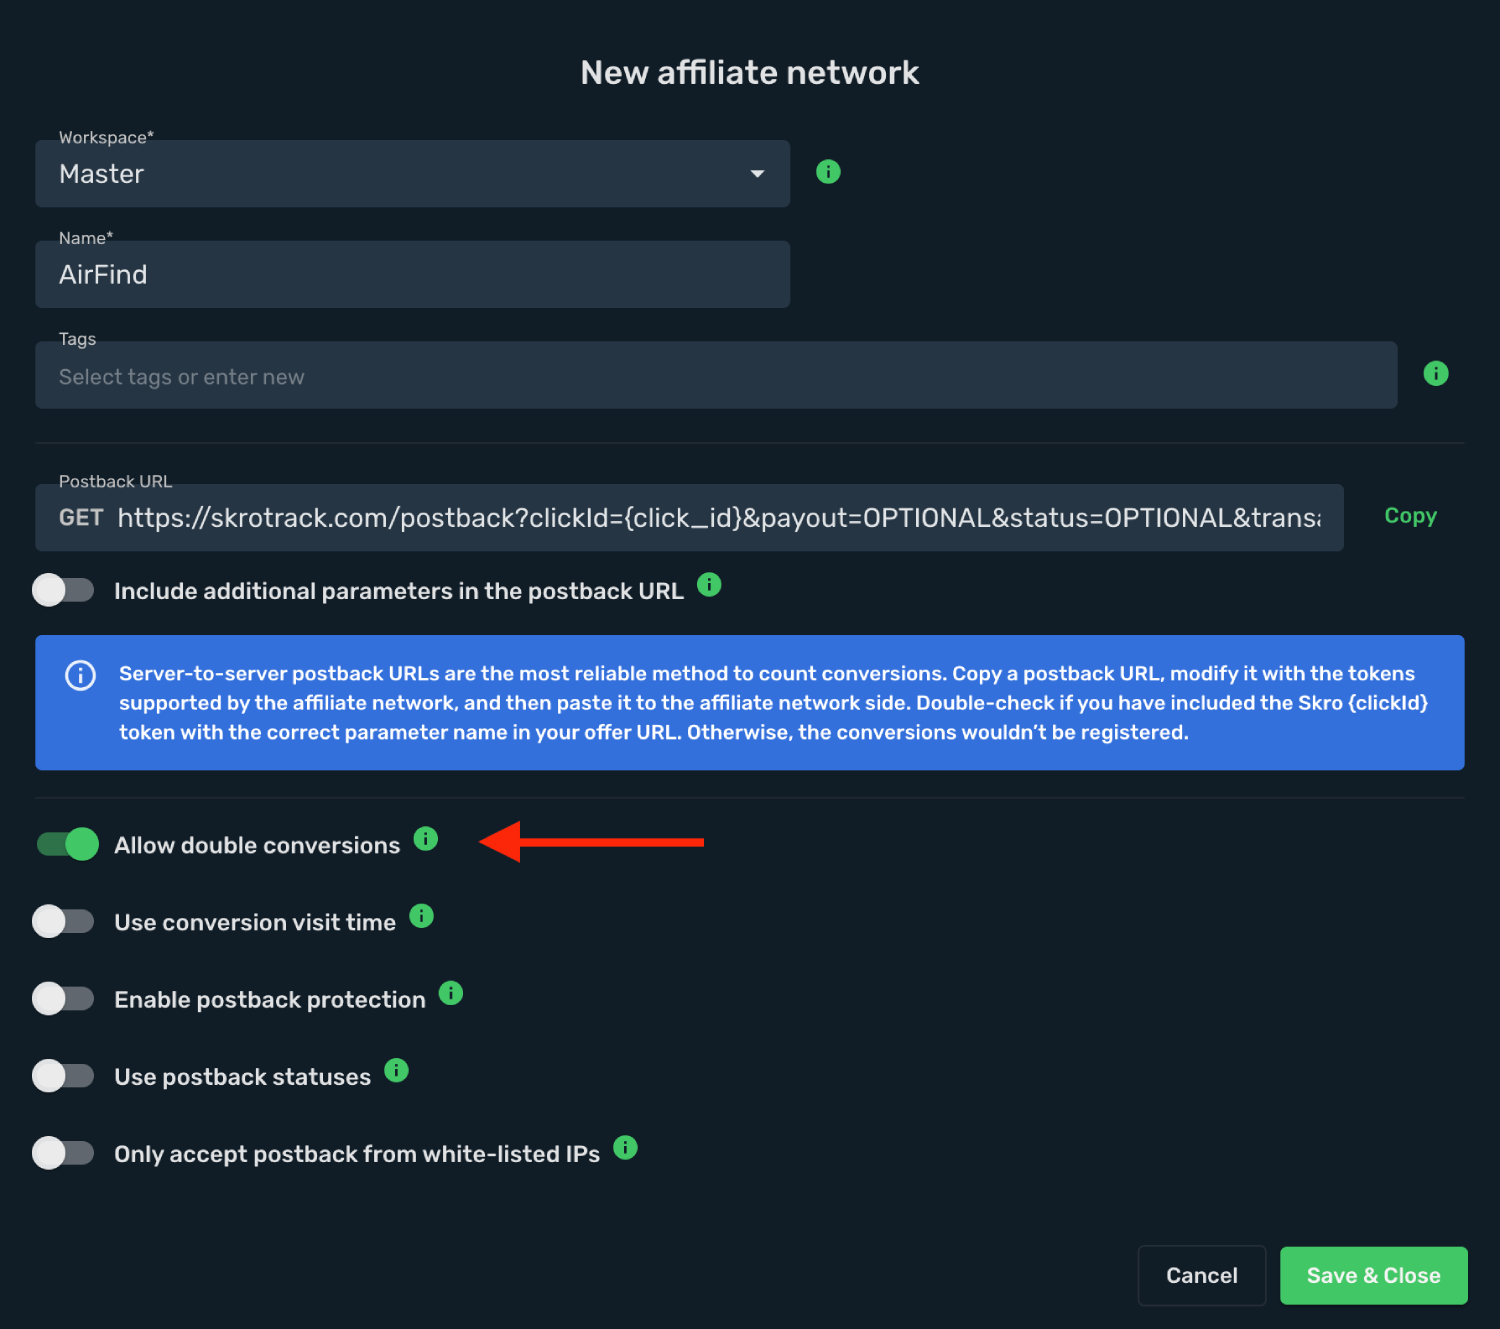
5. Copy that postback URL and give it to your account manager.
`Postback URL: https://skrotrack.com/postback?clickId={click_id}&p1={searchterm}`
## Step 4. Use Custom Conversions (OPTIONAL) [#step-4-use-custom-conversions-optional]
With custom conversion events feature it is possible to track different events, revenue and clicks on a different columns. For Airfind we are going to create event **Purchase**.
1. Go back to Skro and navigate to the **Settings** → **Custom Conversions** and click **Create**.
2. Complete the required fields and click **Save & Close**.

3. Copy that postback URL and give it to your account manager.
`Postback URL: https://skrotrack.com/postback?clickId={click_id}&p1={searchterm}&ce=Purchase`
The integration is ready to synchronize earnings data.
## Verify the setup [#verify-the-setup]
Confirm that the offer identifiers match the values in your integration. After the next revenue synchronization, compare the same date range and currency in Skro and your provider account.
If data is missing, check the selected workspace, integration, campaign, and reporting date range. Compare parameter names and macro values with the examples in this guide before repeating the test.
## Related guides [#related-guides]
# ExplorAds RSOC integration
Source: https://skro.eu/docs/integrations/rsoc-explorads-and-skro
Set up ExplorAds RSOC in Skro and map offer identifiers for Related Search on Content revenue reporting.
## Integration benefits [#integration-benefits]
Integration enables seamless revenue data synchronization across channels, ensuring accurate tracking even after adjustments from various traffic sources. It also consolidates your ads, conversions, and revenue, giving you a clear and comprehensive view of your ad performance.
- Revenue updates every hour.
- Revenue updates for the last 3 days.
## Step 1. Add integration [#step-1-add-integration]
1. Log in to your **Skro** account.
2. Navigate to **Settings** → **Integrations**.
3. Scroll down and click **Add** in **Revenue Sync - RSOC** section.

4. Click **ExplorAds** logo.
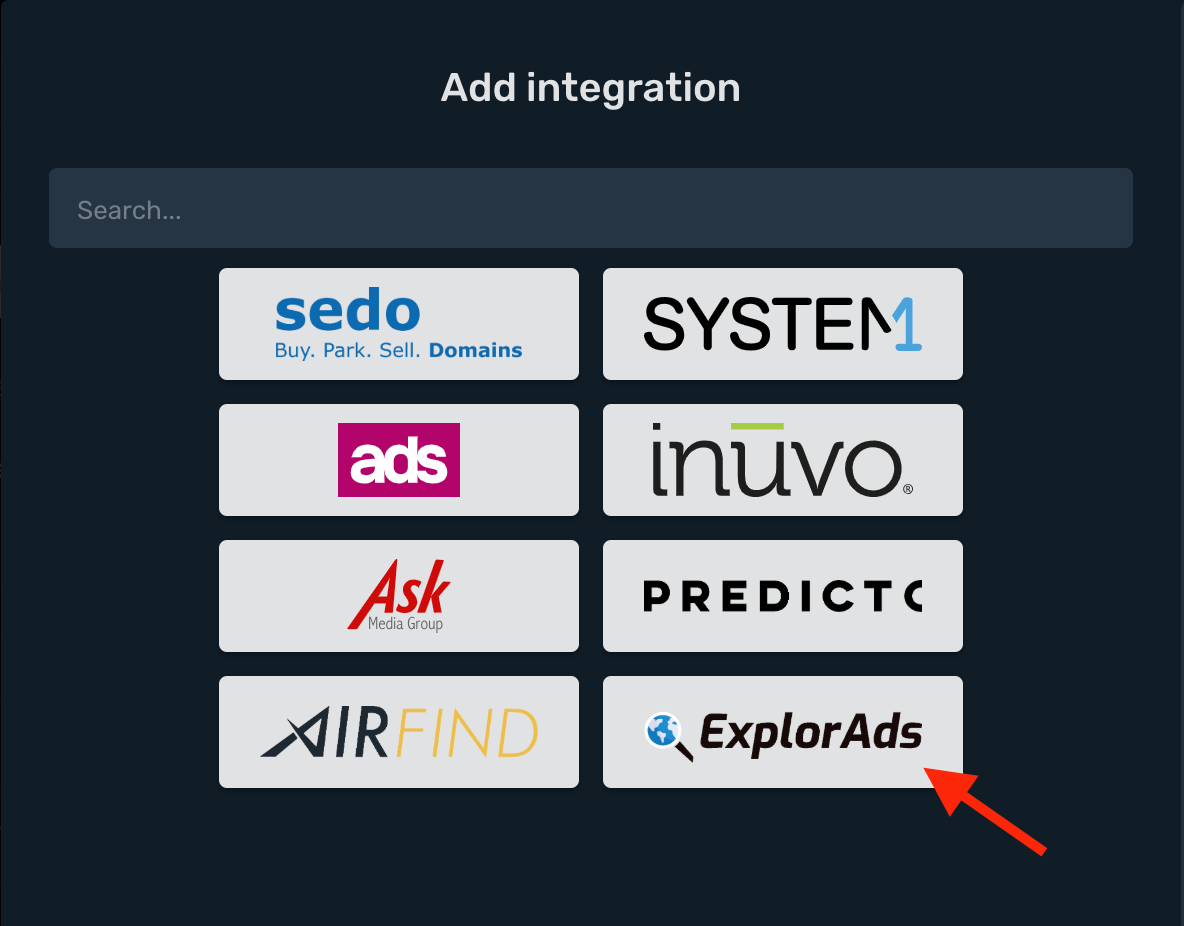
- **Integration Name** name of your integration.
- **Email** is your ExplorAds email.
- **Password** is your ExplorAds password.
- **Account Currency** is the currency of the earnings.
- **Custom Conversion Event** is optional. If you are using Custom Conversion on your postback URL, then you will need to select your event here, otherwise your revenue isn't synced correctly.
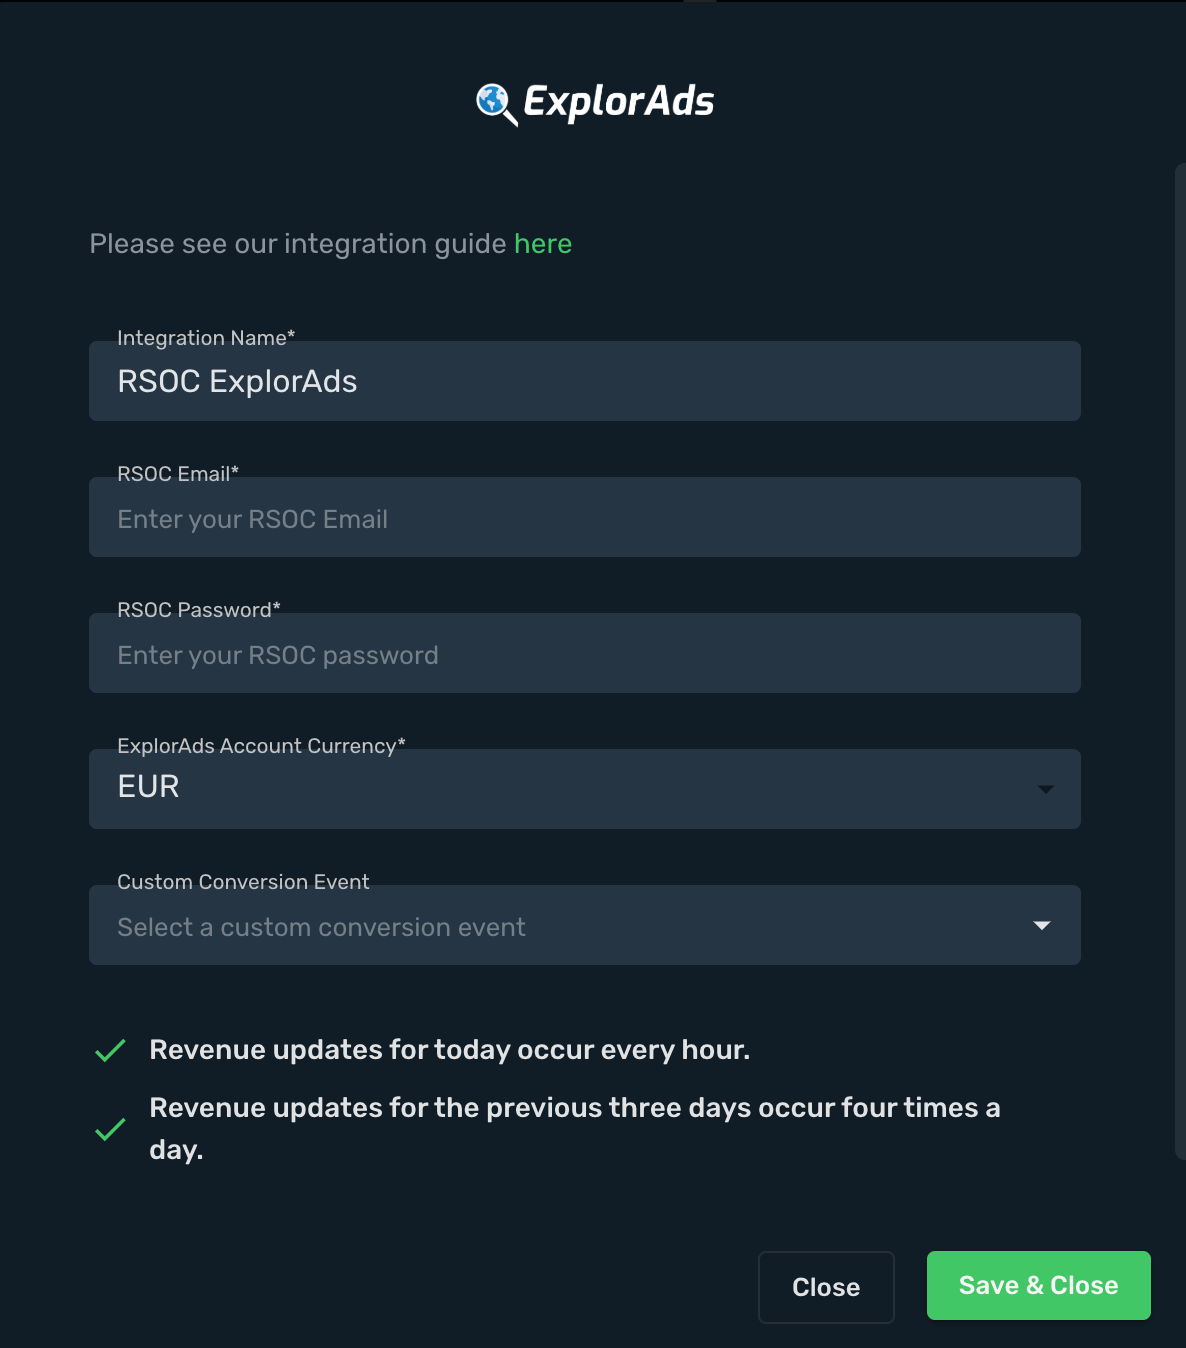
5. Complete the form and click **Save & Close**
## Step 2. Add ExplorAds RSOC offer in Skro [#step-2-add-explorads-rsoc-offer-in-skro]
1. Go to **Offers**.
2. Click **Create** and complete the required fields.
3. Map your **Channel ID** on special field to track revenue correctly. You should map **ONLY** Channel ID. In this example it is **ch12345**
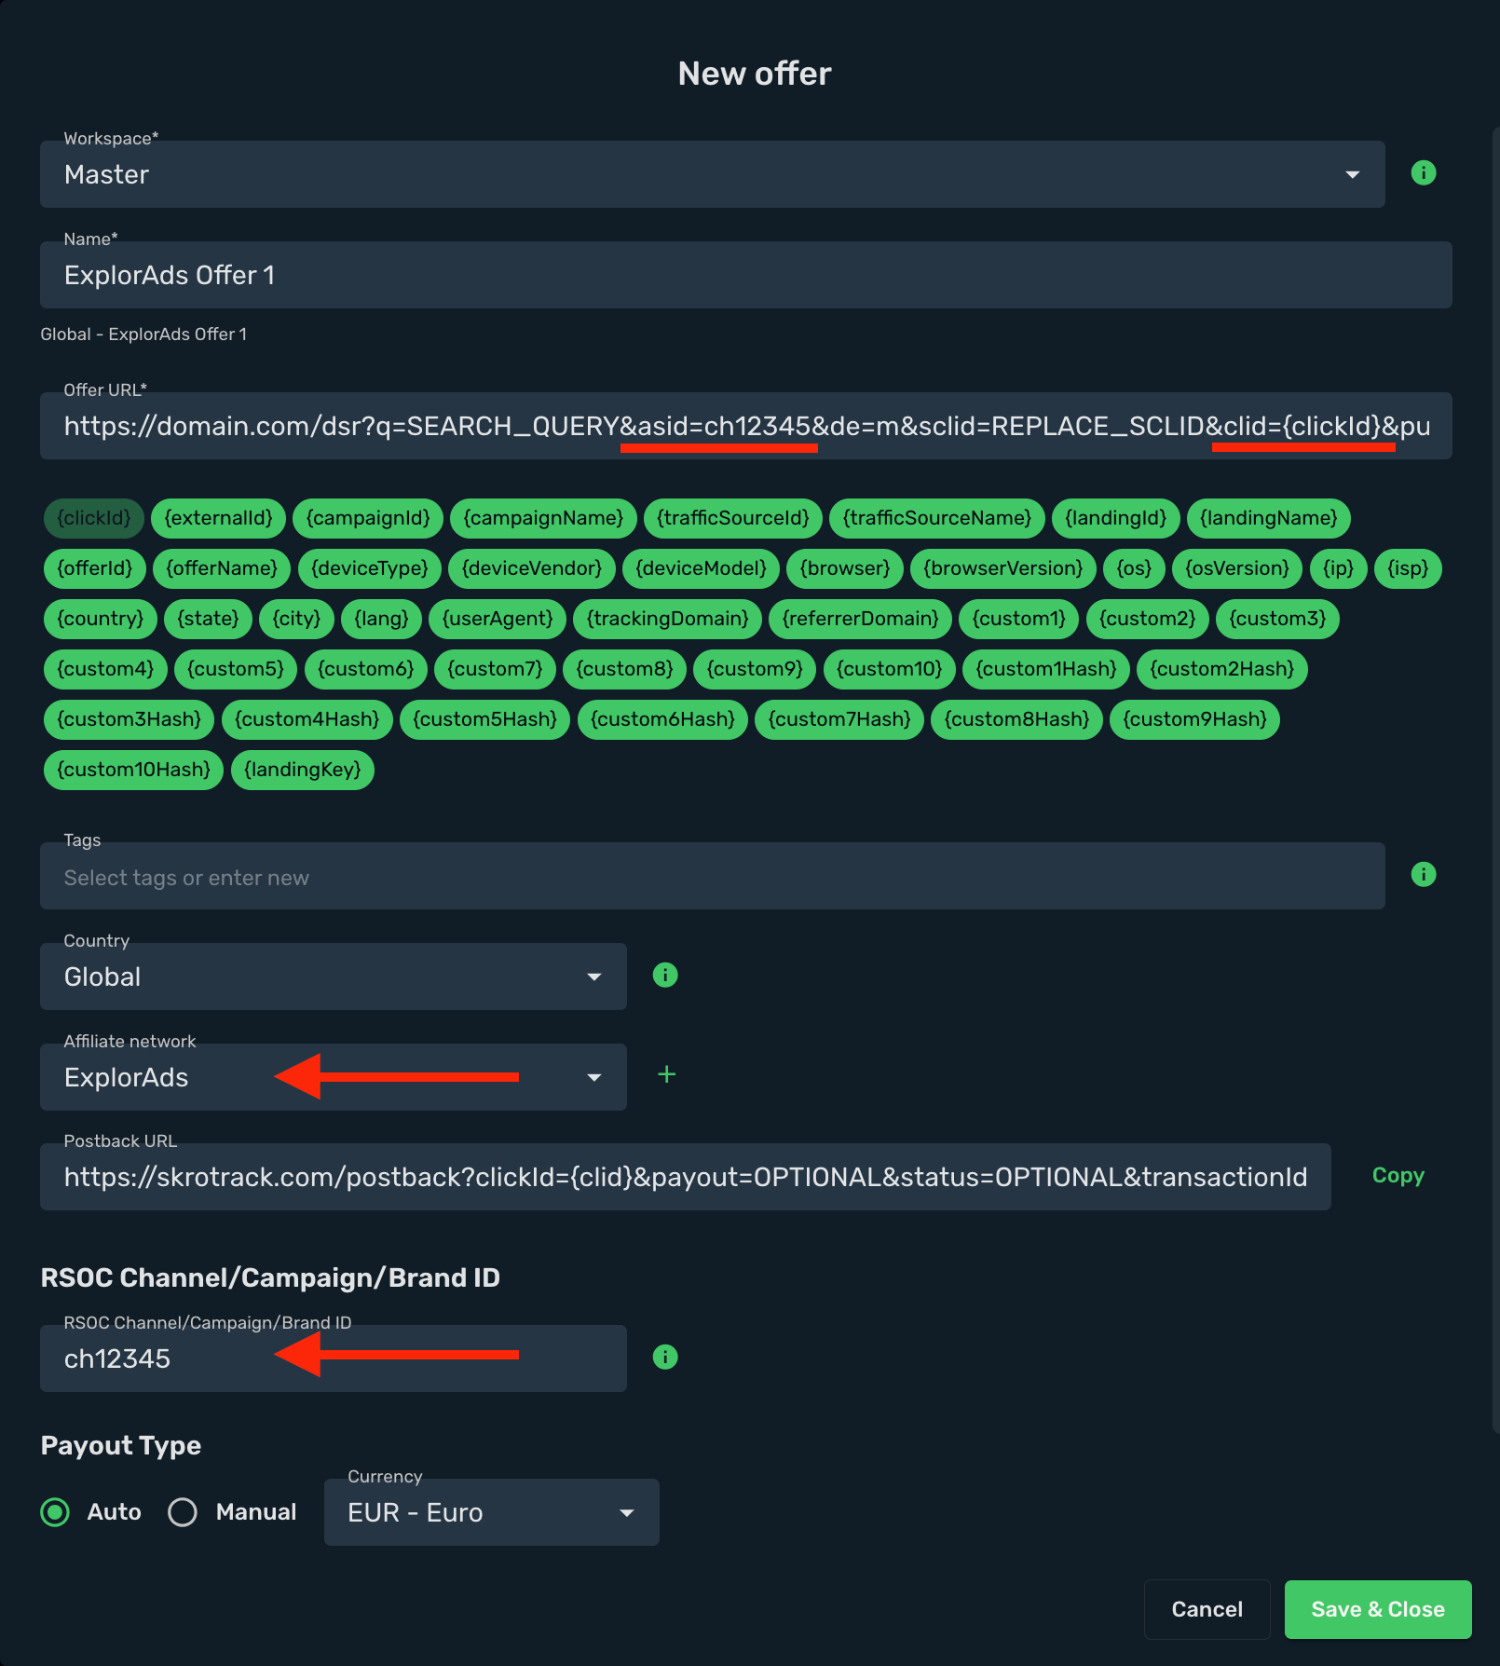
This is an example offer URL which goes to Skro:
```text
https://domain.com/dsr?q=SEARCH_QUERY&asid=m12_ch12345&de=m&sclid=REPLACE_SCLID&clid={clickId}&pub=facebook&rac=REPLACE_TITLE&tv=ea&locale=en_US&terms=ENTER_KEYWORDS
```
Offer URL has 2 important parameters:
1. **&asid=m12_ch12345** - You should pass your Channel ID in this parameter.
2. **`&clid={clickId}`** - is a Skro Click ID to track conversions with postback URL.
`Note: If you are encoding Offer URL, do not encode Skro click ID macro {clickId}`
## Step 3. Standard Postback URL for conversions [#step-3-standard-postback-url-for-conversions]
1. Go to **Affiliate Networks** and click **Create**.
2. Search **ExplorAds** and click **ExplorAds logo**.
3. Switch on **Allow double conversions**.
4. When finished, click **Save & Close**.
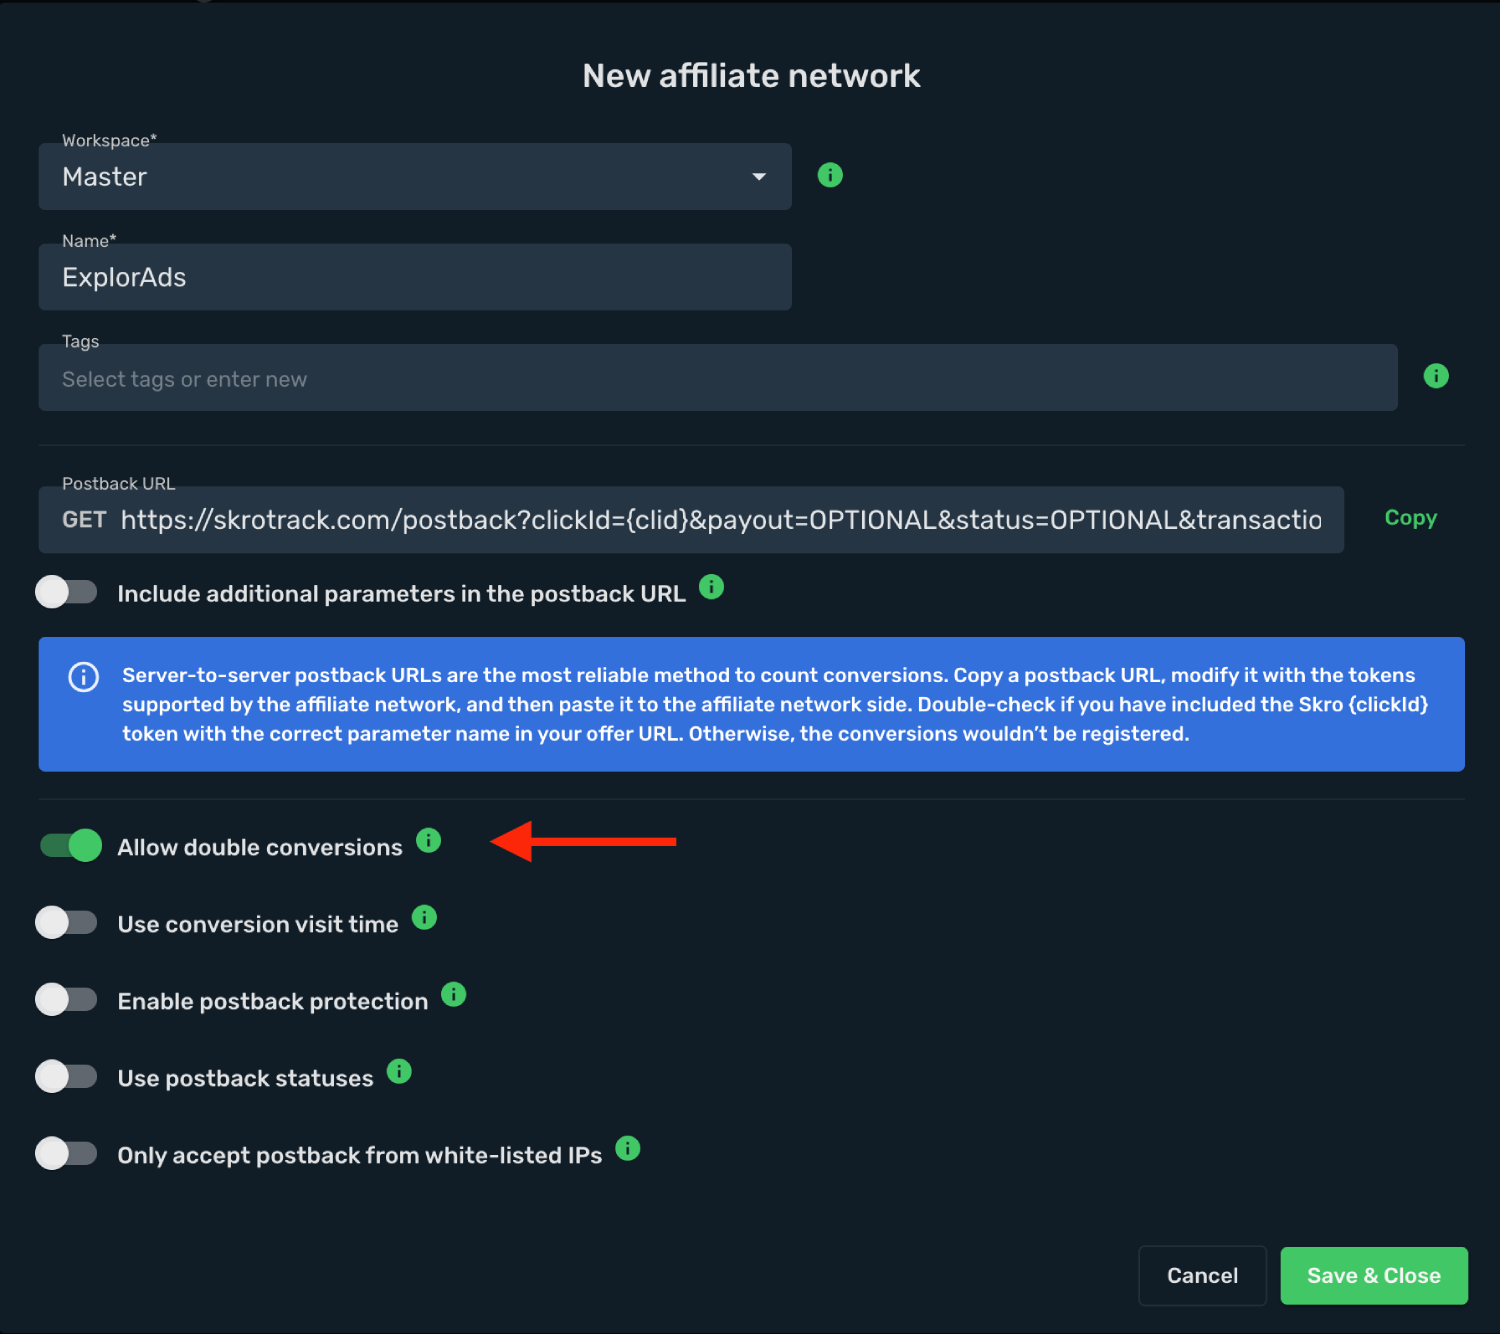
5. Copy that postback URL and give it to your account manager.
`Postback URL: https://skrotrack.com/postback?clickId={clid}&p1=REPLACE_WITH_TERMS_MACRO`
## Step 4. Use Custom Conversions (OPTIONAL) [#step-4-use-custom-conversions-optional]
With custom conversion events feature it is possible to track different events, revenue and clicks on a different columns. For ExplorAds we are going to create event **Purchase**.
1. Go back to Skro and navigate to the **Settings** → **Custom Conversions** and click **Create**.
2. Complete the required fields and click **Save & Close**.

3. Copy that postback URL and give it to your account manager.
`Postback URL: https://skrotrack.com/postback?clickId={clid}&p1=REPLACE_WITH_TERMS_MACRO&ce=Purchase`
The integration is ready to synchronize earnings data.
## Verify the setup [#verify-the-setup]
Confirm that the offer identifiers match the values in your integration. After the next revenue synchronization, compare the same date range and currency in Skro and your provider account.
If data is missing, check the selected workspace, integration, campaign, and reporting date range. Compare parameter names and macro values with the examples in this guide before repeating the test.
## Related guides [#related-guides]
# Inuvo Prism RSOC integration
Source: https://skro.eu/docs/integrations/rsoc-inuvo-prism-and-skro
Set up Inuvo Prism RSOC in Skro and map offer identifiers for Related Search on Content revenue reporting.
## Integration benefits [#integration-benefits]
Integration enables seamless revenue data synchronization across channels, ensuring accurate tracking even after adjustments from various traffic sources. It also consolidates your ads, conversions, and revenue, giving you a clear and comprehensive view of your ad performance.
- Revenue updates every hour.
- Revenue updates for the last 3 days.
## Step 1. Add integration [#step-1-add-integration]
1. Log in to your **Skro** account.
2. Navigate to **Settings** → **Integrations**.
3. Scroll down and click **Add** in **Revenue Sync - RSOC** section.
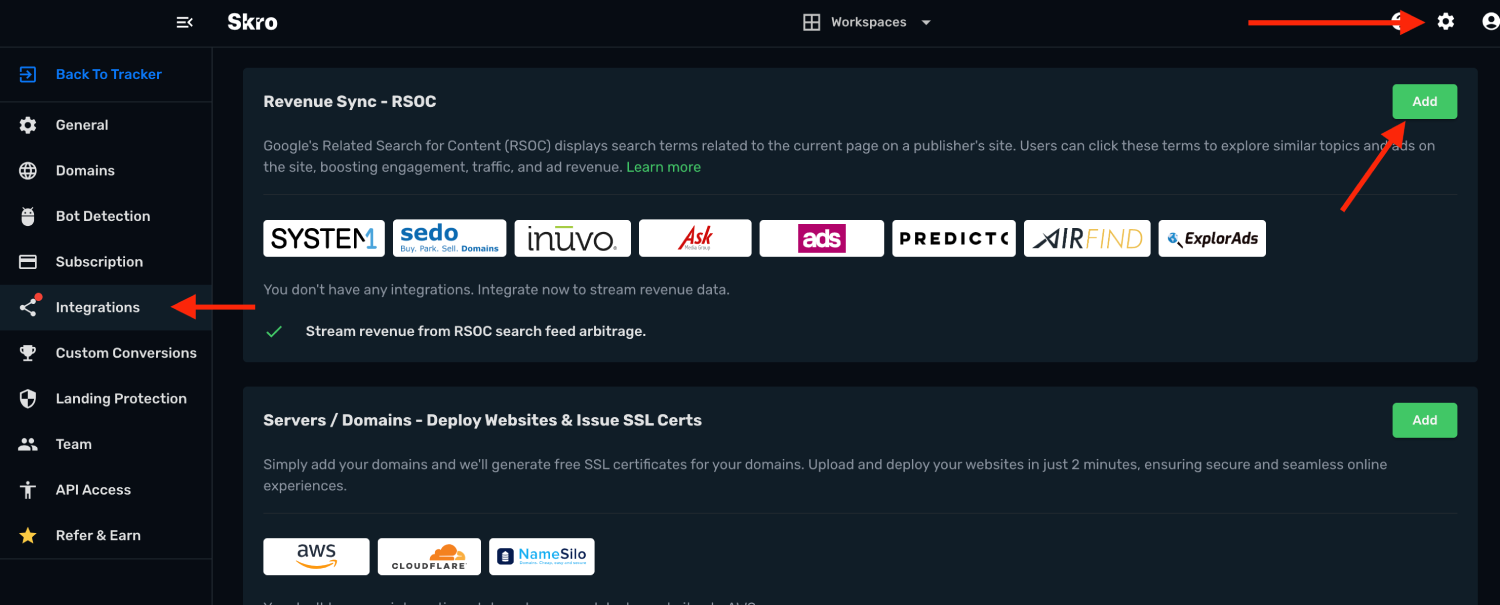
4. Click **Inuvo Prism API** logo.
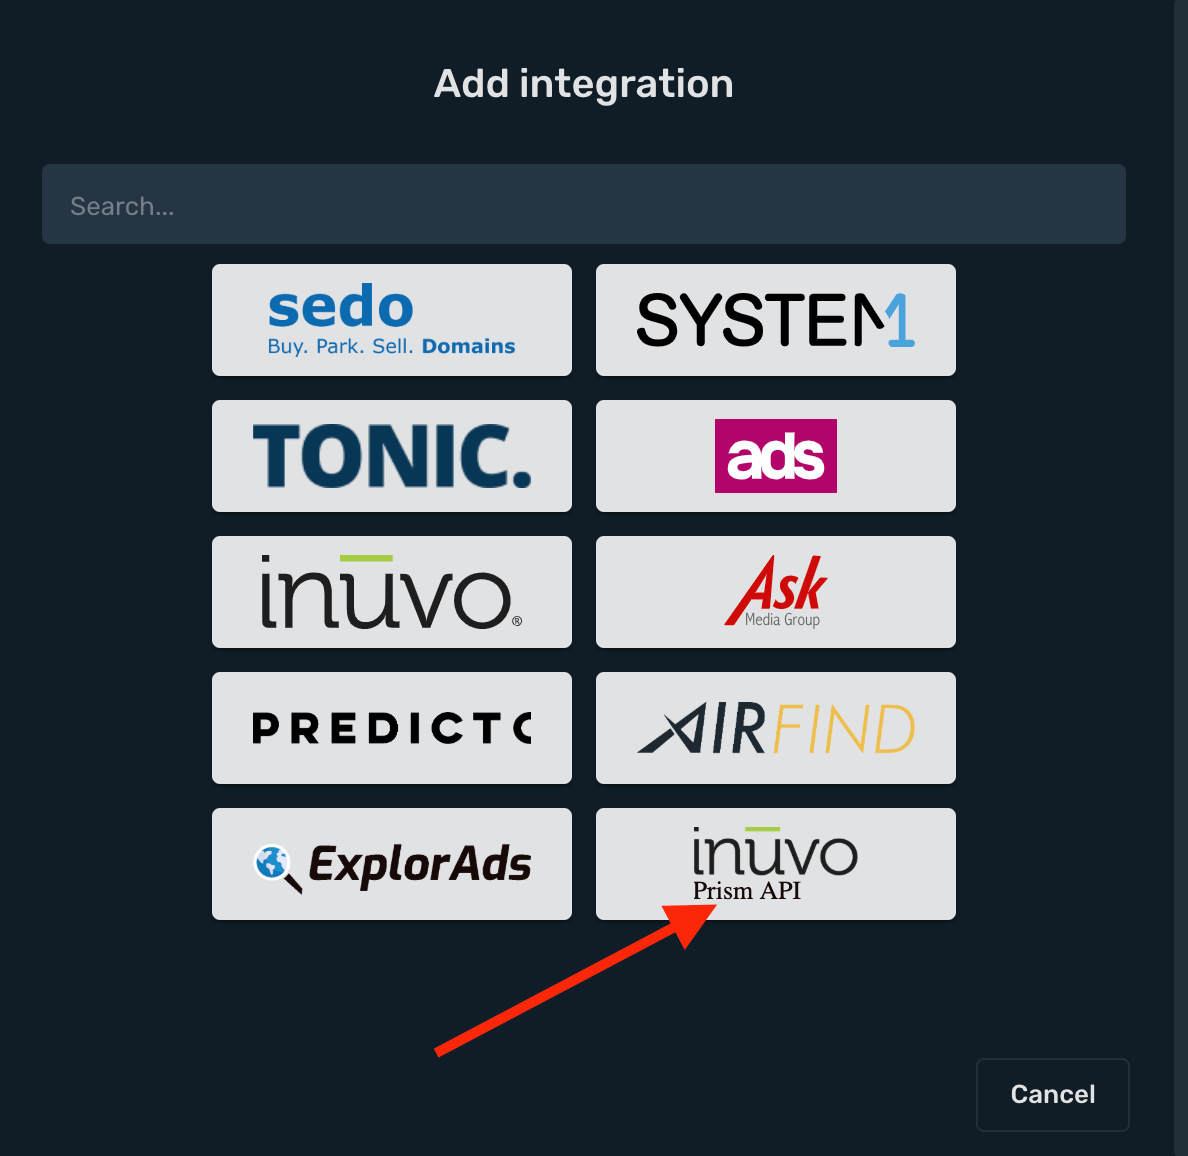
- **Integration Name** name of your integration.
- **Access Token** is your Inuvo Prism API key.
- **Account Currency** is the currency of the earnings.
- **Net Revenue %** It's a net revenue percentage. Example value: **90**
- **Custom Conversion Event** is optional. If you are using Custom Conversion on your postback URL, then you will need to select your event here, otherwise your revenue isn't synced correctly.
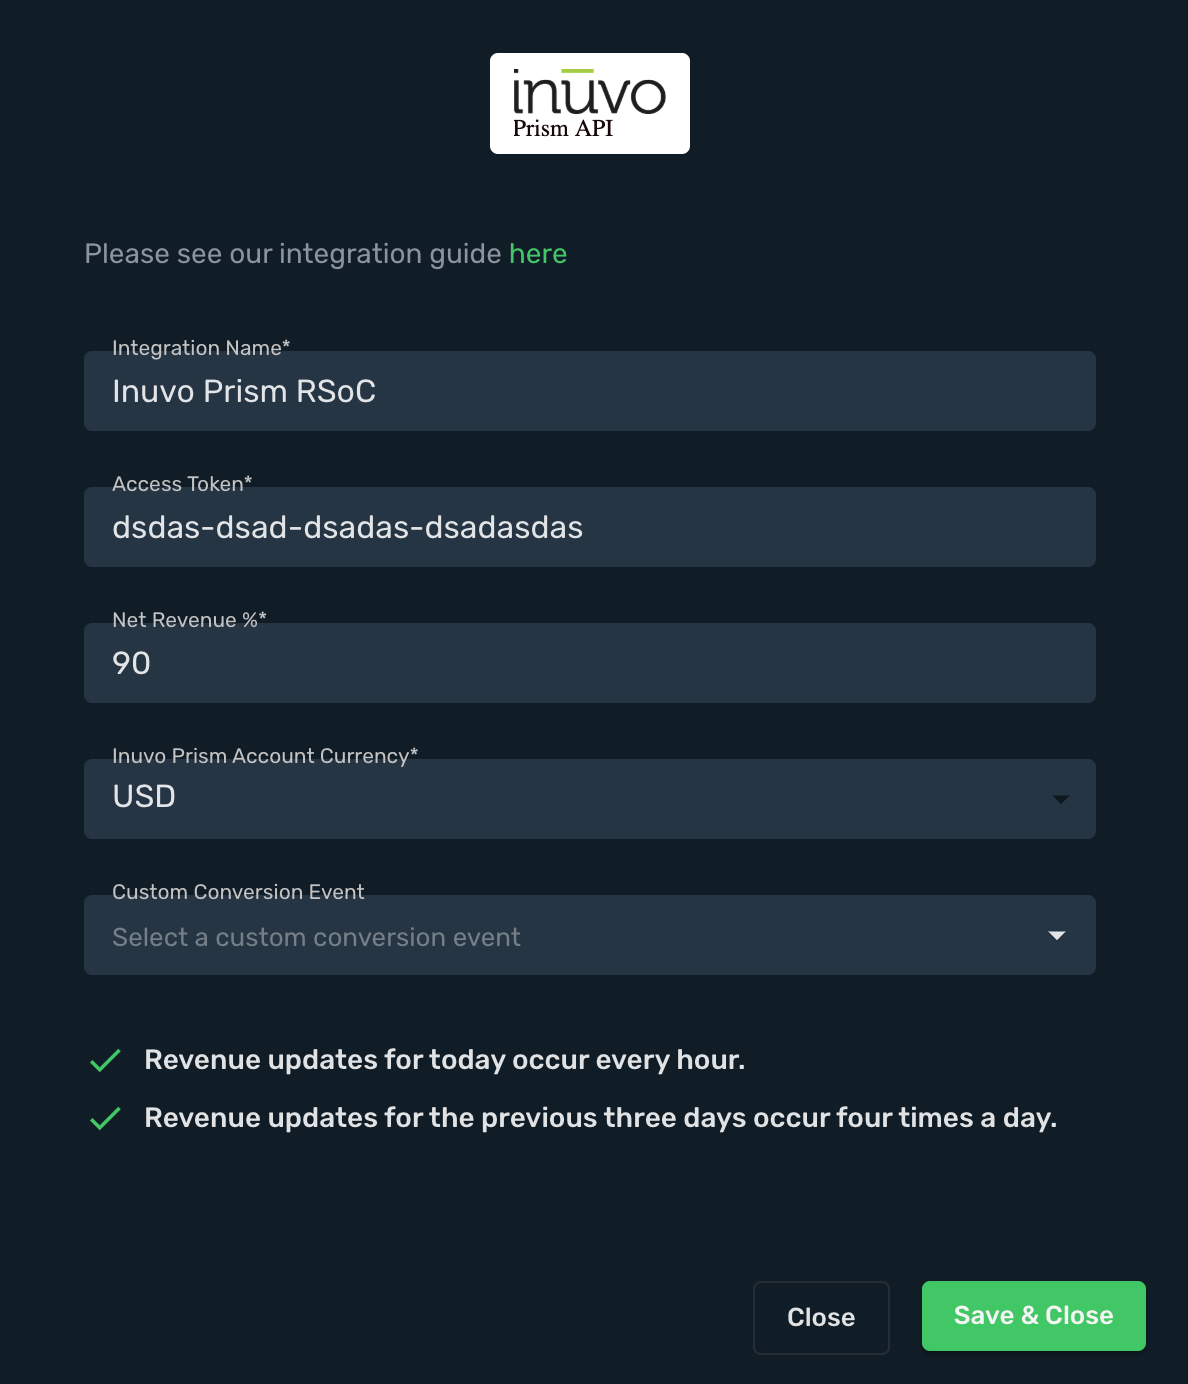
5. Complete the form and click **Save & Close**
## Step 2. Add Inuvo offer in Skro [#step-2-add-inuvo-offer-in-skro]
1. Go to **Offers**.
2. Click **Create** and complete the required fields.
3. Map your **TKID** on special field to track revenue correctly. You should map **ONLY TKID** parameter value on this **RSoC Channel/Campaign/Brand ID** field. In this example it is **online_12345**
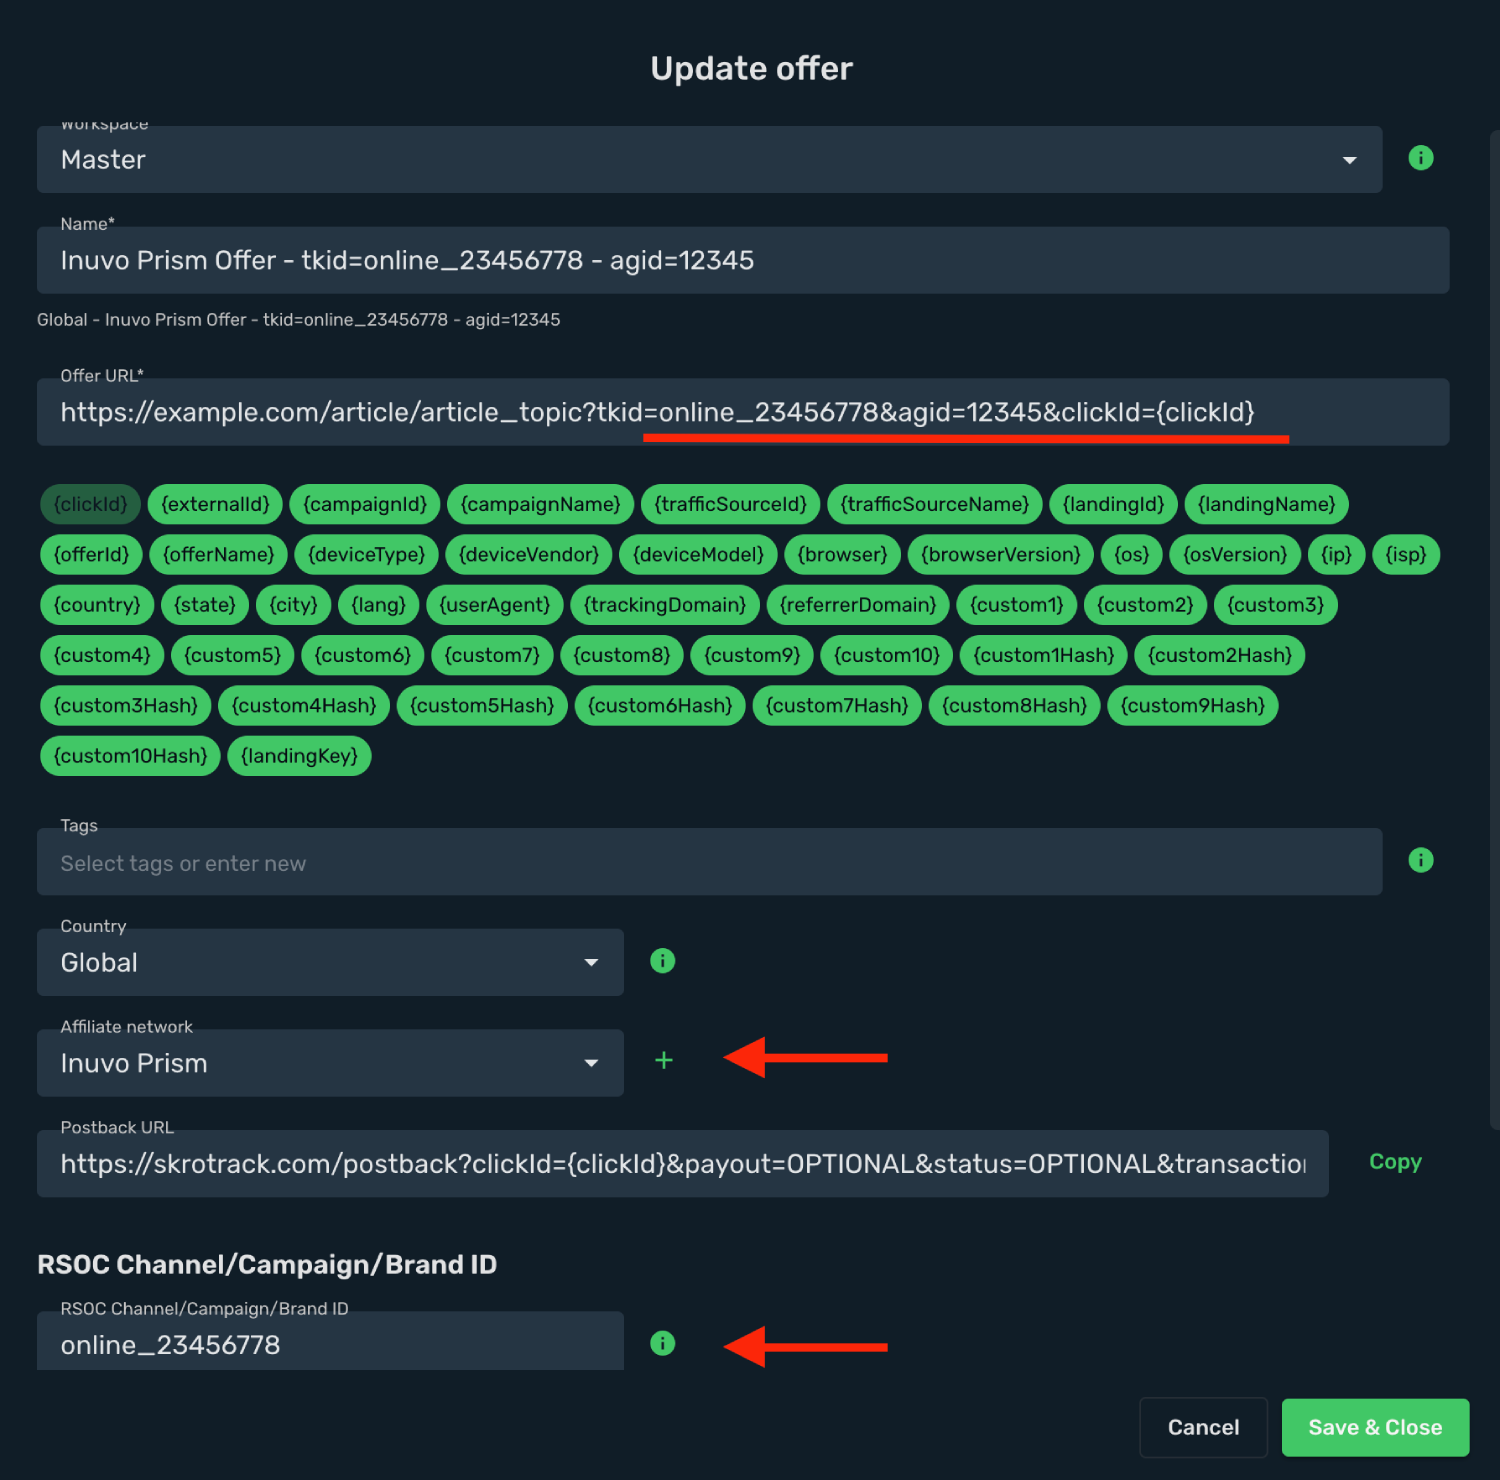
This is an example offer URL which goes to Skro:
`https://example.com/article/article_topic?tkid=online_23456778&agid=12345&clickId={clickId}`
Offer URL has 3 important parameters:
1. **&tkid=online_23456778** - You should pass your TKID in this parameter.
2. **&agid=12345** - You should pass your AGID in this parameter.
3. **`&clickId={clickId}`** - is a Skro Click ID to track conversions with postback URL.
`Note: If you are encoding Offer URL, do not encode Skro click ID macro {clickId}`
## Step 3. Standard Postback URL for conversions [#step-3-standard-postback-url-for-conversions]
1. Go to **Affiliate Networks** and click **Create**.
2. Search **Inuvo Prism** and click **Inuvo Prism API logo**.
3. Switch on **Allow double conversions**.
4. When finished, click **Save & Close**.
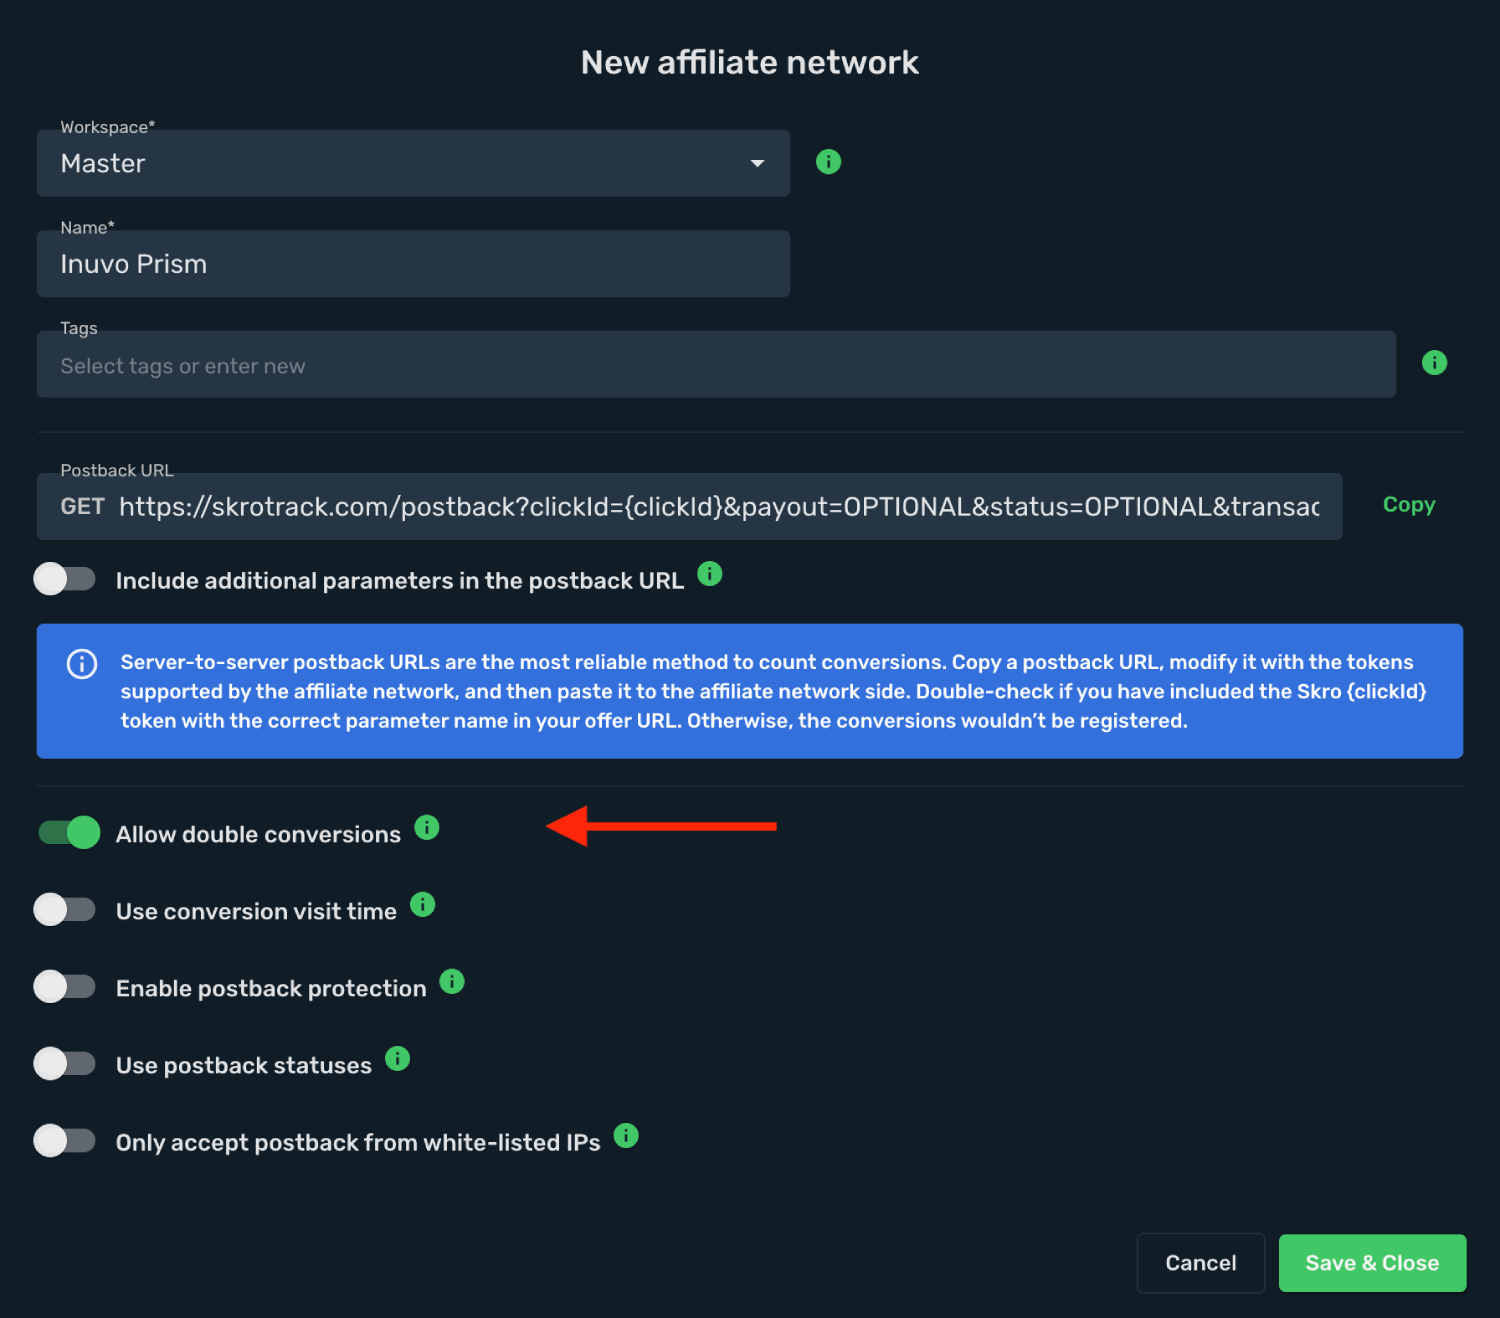
5. Copy that postback URL and give it to your account manager.
`Postback URL: https://skrotrack.com/postback?clickId={clickId}&p1={query}`
## Step 4. Use Custom Conversions (OPTIONAL) [#step-4-use-custom-conversions-optional]
With custom conversion events feature it is possible to track different events, revenue and clicks on a different columns. For Inuvo Prism we are going to create event **Purchase**.
1. Go back to Skro and navigate to the **Settings** → **Custom Conversions** and click **Create**.
2. Complete the required fields and click **Save & Close**.

3. Copy that postback URL and give it to your account manager.
`Postback URL: https://skrotrack.com/postback?clickId={clickId}&p1={query}&ce=Purchase`
The integration is ready to synchronize earnings data.
## Verify the setup [#verify-the-setup]
Confirm that the offer identifiers match the values in your integration. After the next revenue synchronization, compare the same date range and currency in Skro and your provider account.
If data is missing, check the selected workspace, integration, campaign, and reporting date range. Compare parameter names and macro values with the examples in this guide before repeating the test.
## Related guides [#related-guides]
# Predicto RSOC integration
Source: https://skro.eu/docs/integrations/rsoc-predicto-and-skro
Set up Predicto RSOC in Skro and map offer identifiers for Related Search on Content revenue reporting.
## Integration benefits [#integration-benefits]
Integration enables seamless revenue data synchronization across channels, ensuring accurate tracking even after adjustments from various traffic sources. It also consolidates your ads, conversions, and revenue, giving you a clear and comprehensive view of your ad performance.
- Revenue updates every hour.
- Revenue updates for the last 3 days.
## Step 1. Add integration [#step-1-add-integration]
1. Log in to your **Skro** account.
2. Navigate to **Settings** → **Integrations**.
3. Scroll down and click **Add** in **Revenue Sync - RSOC** section.
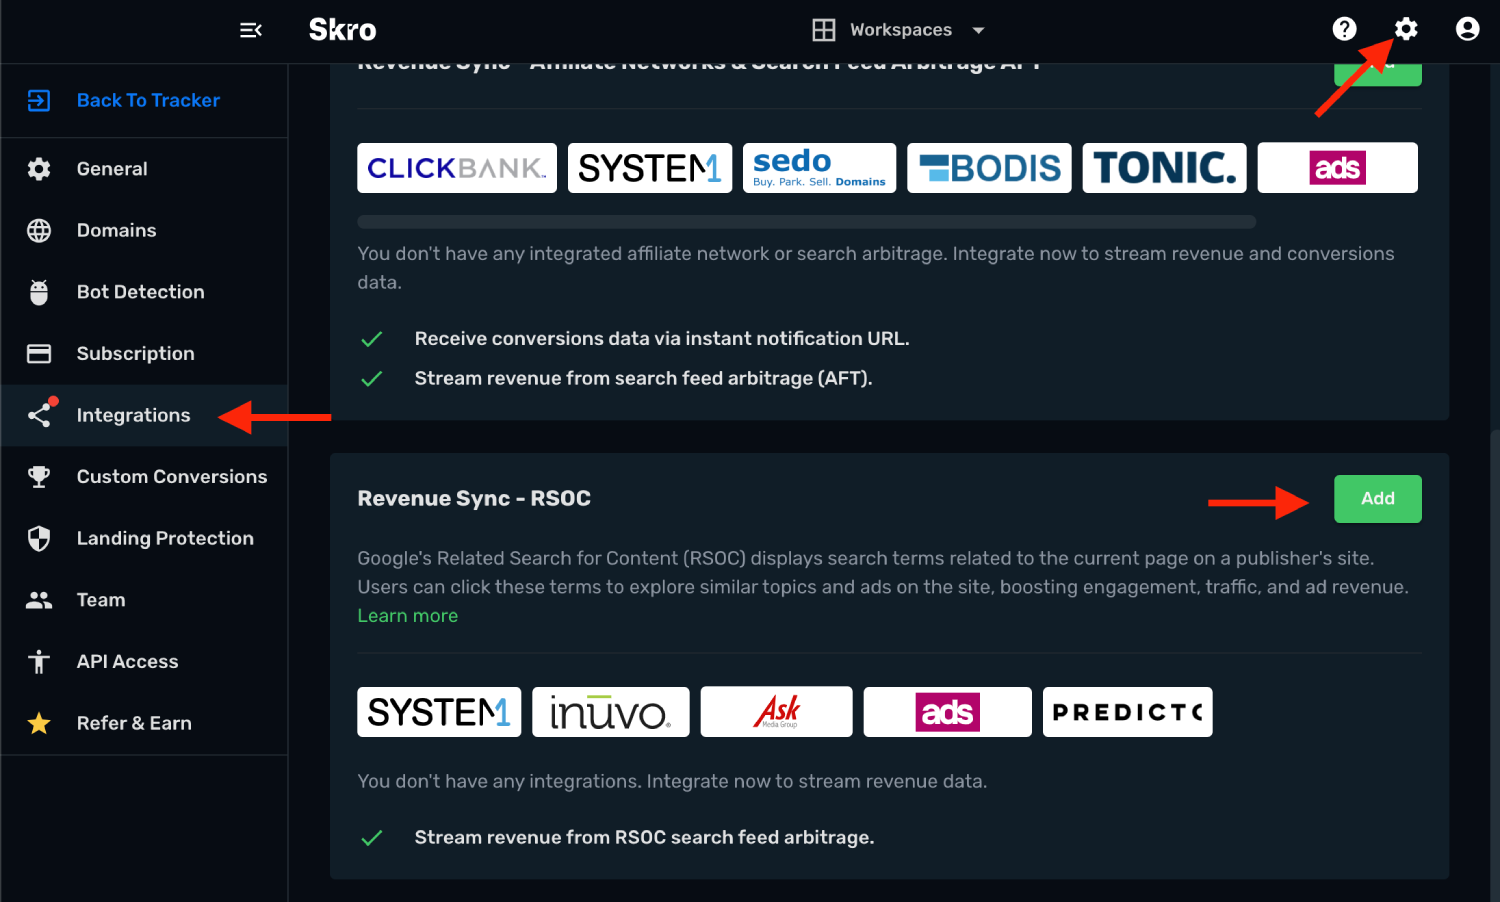
4. Click **Predicto** logo.
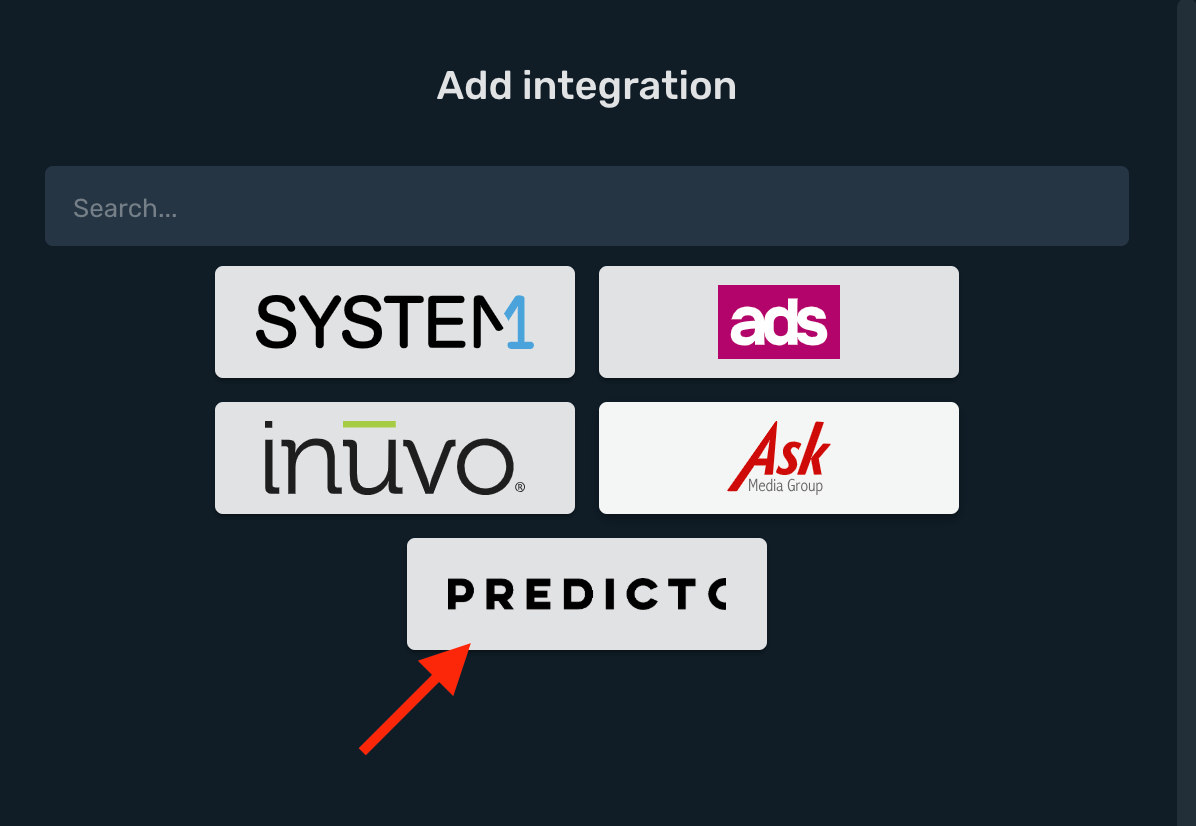
- **Integration Name** name of your integration.
- **API Key** is your Predicto API key.
- **Account Currency** is the currency of the earnings.
- **Custom Conversion Event** is optional. If you are using Custom Conversion on your postback URL, then you will need to select your event here, otherwise your revenue isn't synced correctly.
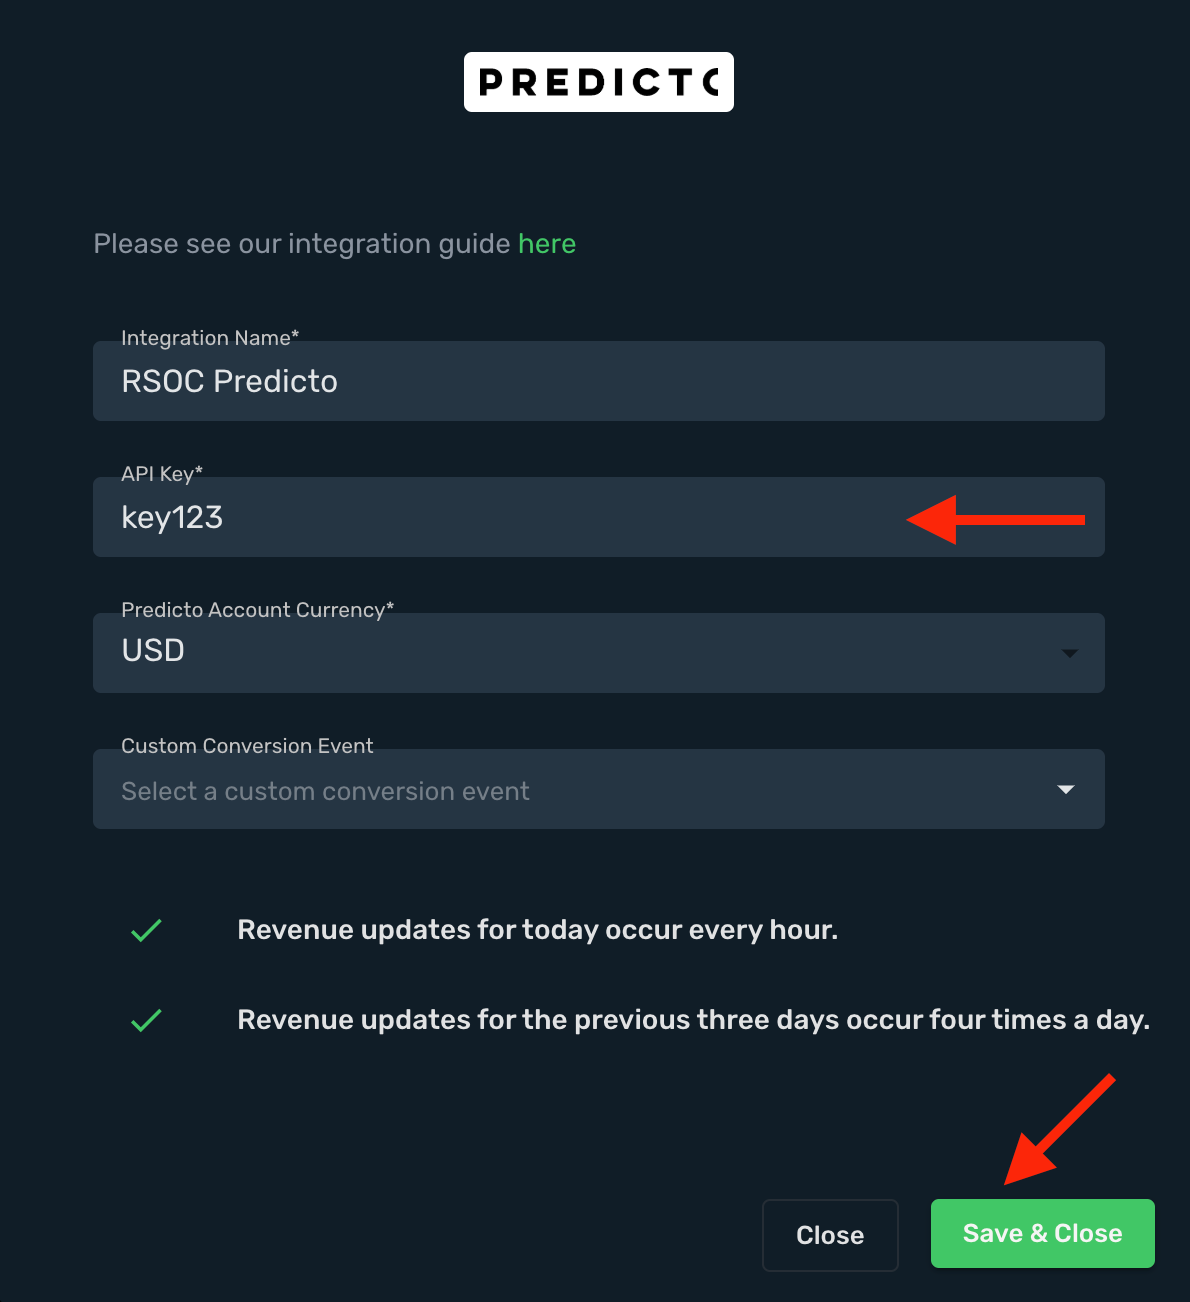
5. Complete the form and click **Save & Close**
## Step 2. Add Predicto RSOC offer in Skro [#step-2-add-predicto-rsoc-offer-in-skro]
1. Go to **Offers**.
2. Click **Create** and complete the required fields.
3. Map your **RSOC Channel/Campaign ID** on special field to track revenue correctly. You should map **ONLY** Channel ID. In this example it is **ch123**
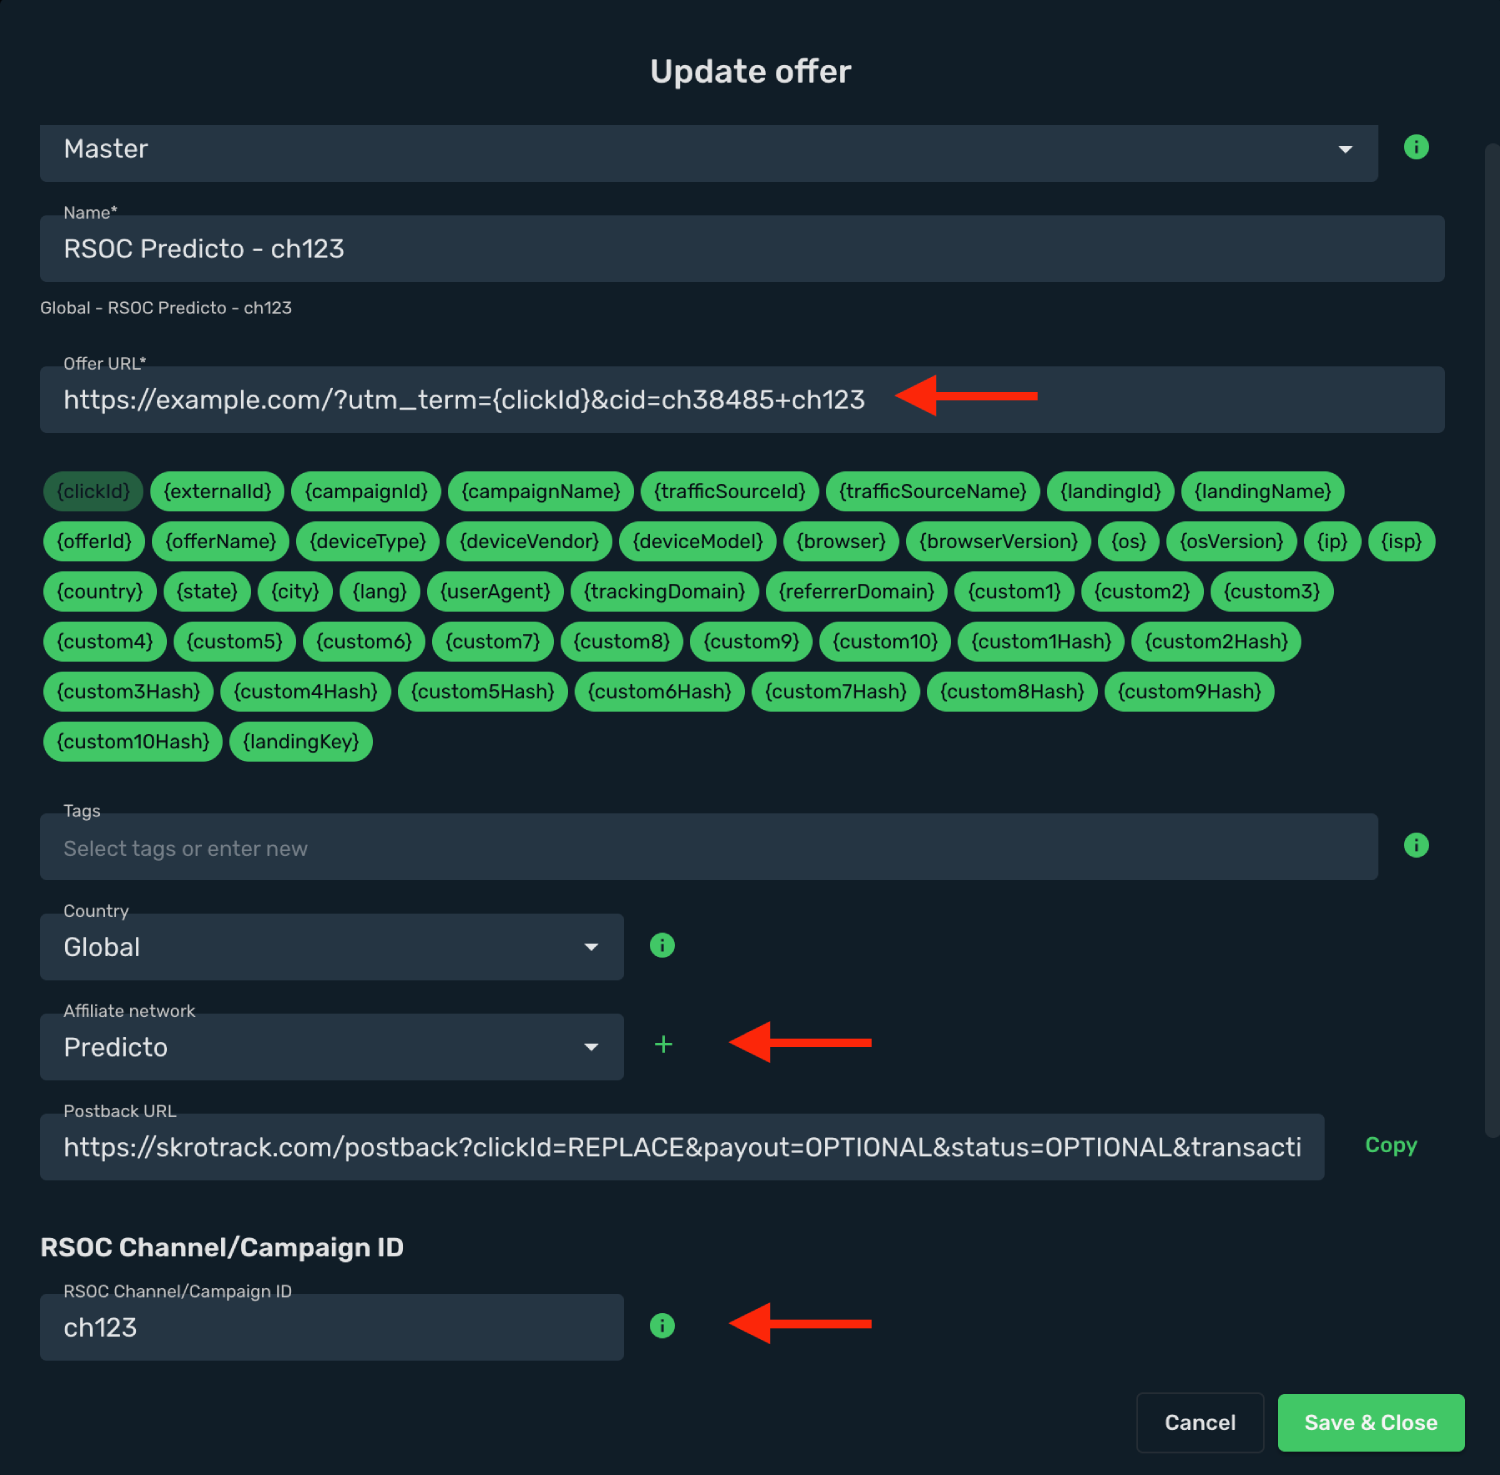
This is an example offer URL which goes to Skro:
`https://example.com/?utm_term={clickId}&cid=ch38485+ch123`
Offer URL has 2 important parameters:
1. **&cid=ch38485+ch123** - You should pass your company channel and campaign channel in this param.
2. **`&utm_term={clickId}`** - is a Skro Click ID to track conversions with postback URL.
`Note: If you are encoding Offer URL, do not encode Skro click ID macro {clickId}`
## Step 3. Standard Postback URL for conversions [#step-3-standard-postback-url-for-conversions]
1. Go to **Affiliate Networks** and click **Create**.
2. Search **Predicto** and click **Predicto logo**.
3. Copy the postback URL.
4. Switch on **Allow double conversions**.
5. When finished, click **Save & Close**.
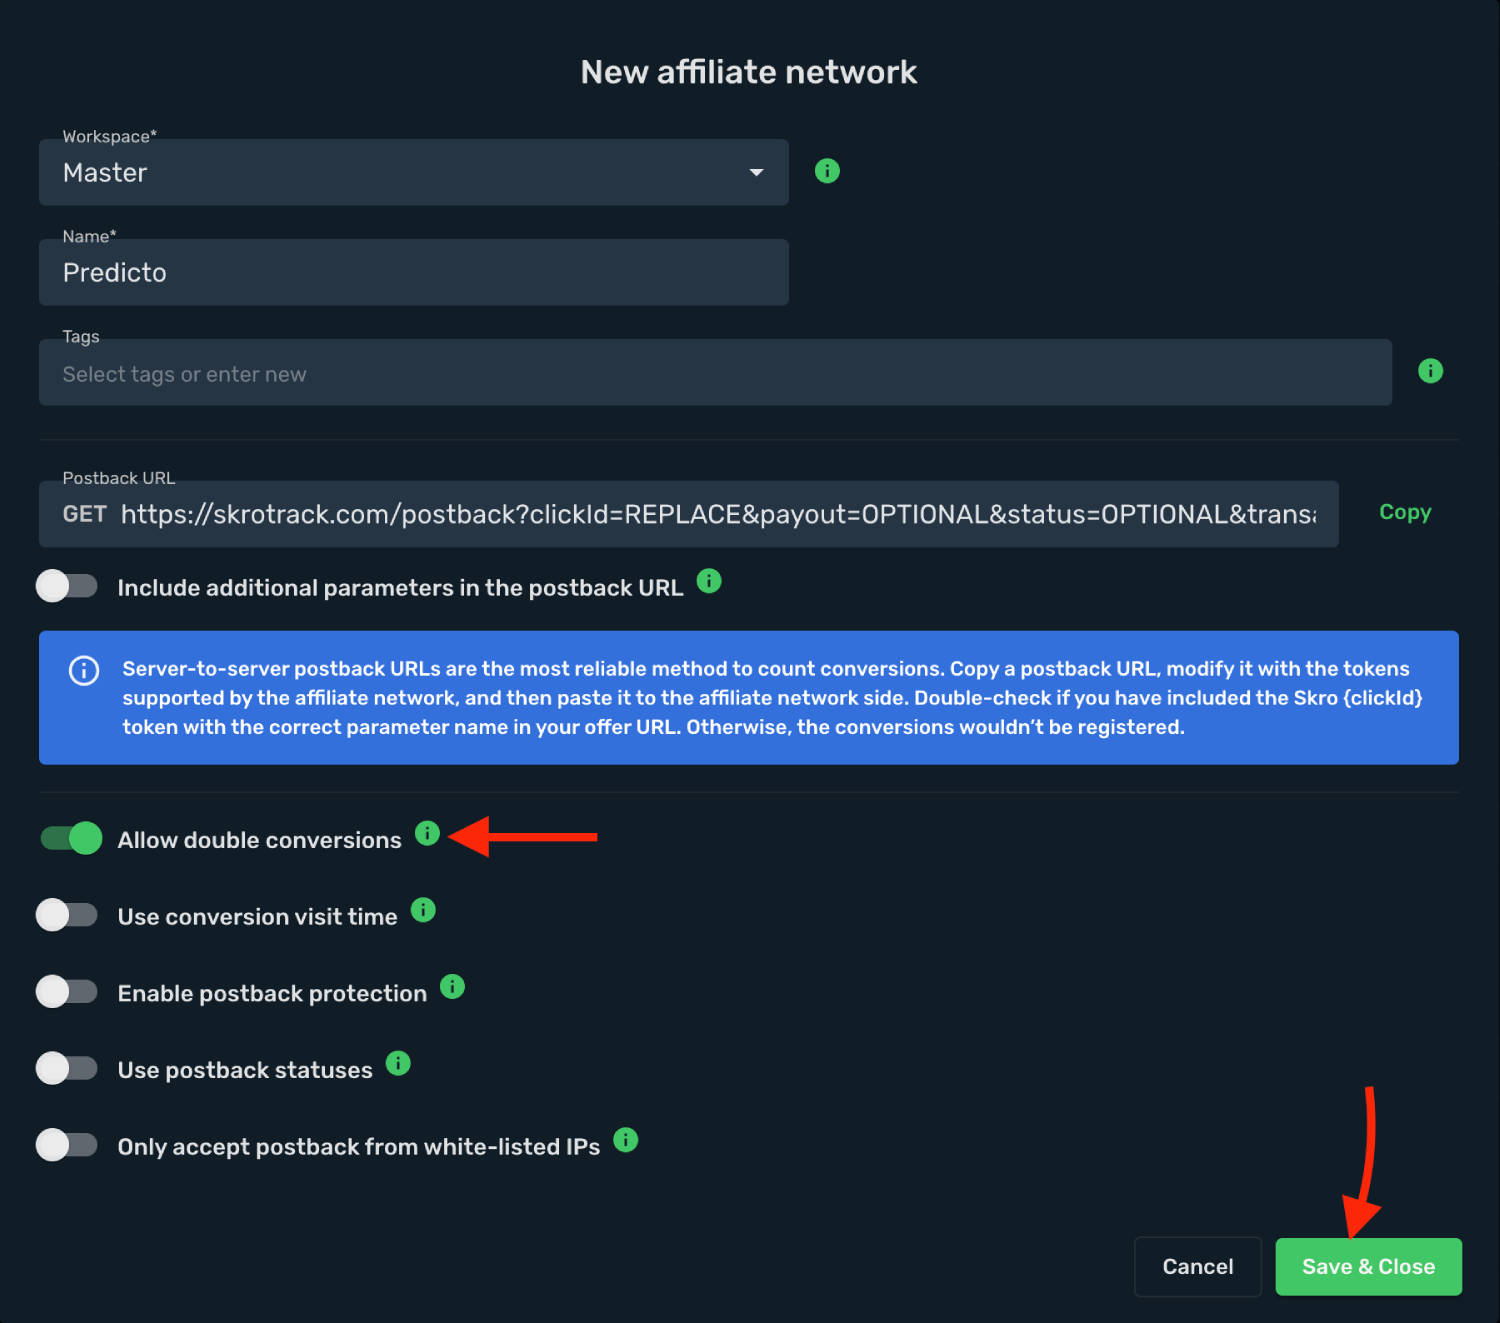
6. Give your Postback URL to your account manager and tell them which **UTM param** you are using for Skro Click ID tracking.
`Postback URL: https://skrotrack.com/postback?clickId={utm_term}&p1={term}`
## Step 4. Use Custom Conversions (OPTIONAL) [#step-4-use-custom-conversions-optional]
With custom conversion events feature it is possible to track different events, revenue and clicks on a different columns. For Predicto we are going to create event **Purchase**.
1. Go back to Skro and navigate to the **Settings** → **Custom Conversions** and click **Create**.
2. Complete the required fields and click **Save & Close**.

3. Give your Postback URL to your account manager and tell them which **UTM param** you are using for Skro Click ID tracking.
`Postback URL: https://skrotrack.com/postback?clickId={utm_term}&p1={term}&ce=Purchase`
The integration is ready to synchronize earnings data.
## Verify the setup [#verify-the-setup]
Confirm that the offer identifiers match the values in your integration. After the next revenue synchronization, compare the same date range and currency in Skro and your provider account.
If data is missing, check the selected workspace, integration, campaign, and reporting date range. Compare parameter names and macro values with the examples in this guide before repeating the test.
## Related guides [#related-guides]
# Sedo RSOC integration
Source: https://skro.eu/docs/integrations/rsoc-sedo-and-skro
Set up Sedo RSOC in Skro and map offer identifiers for Related Search on Content revenue reporting.
## Integration benefits [#integration-benefits]
Integration enables seamless revenue data synchronization across channels, ensuring accurate tracking even after adjustments from various traffic sources. It also consolidates your ads, conversions, and revenue, giving you a clear and comprehensive view of your ad performance.
- Revenue updates every hour.
- Revenue updates for the last 3 days.
## Step 1. Add integration [#step-1-add-integration]
1. Log in to your **Skro** account.
2. Navigate to **Settings** → **Integrations**.
3. Scroll down and click **Add** in **Revenue Sync - RSOC** section.
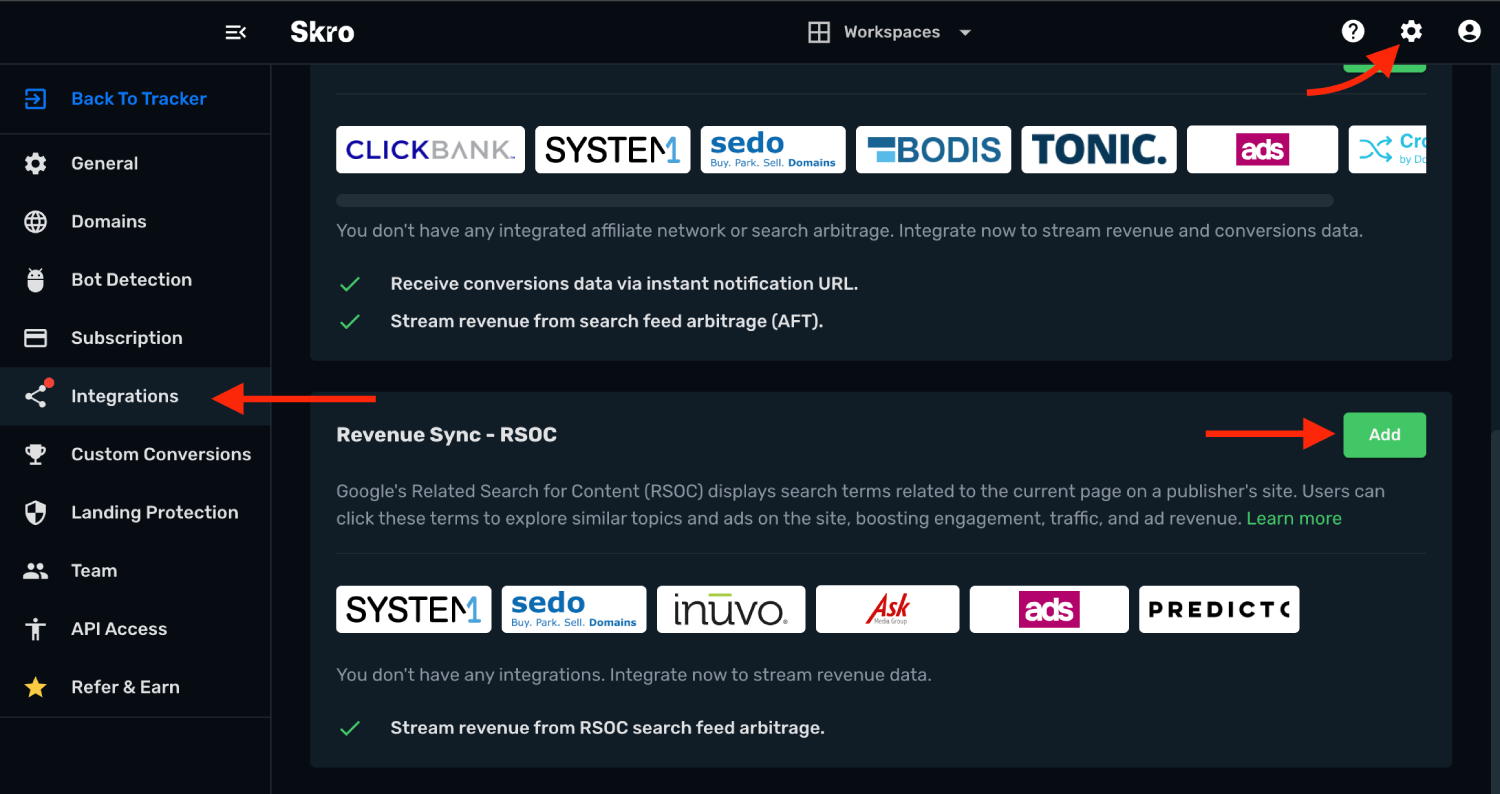
4. Click **Sedo** logo.
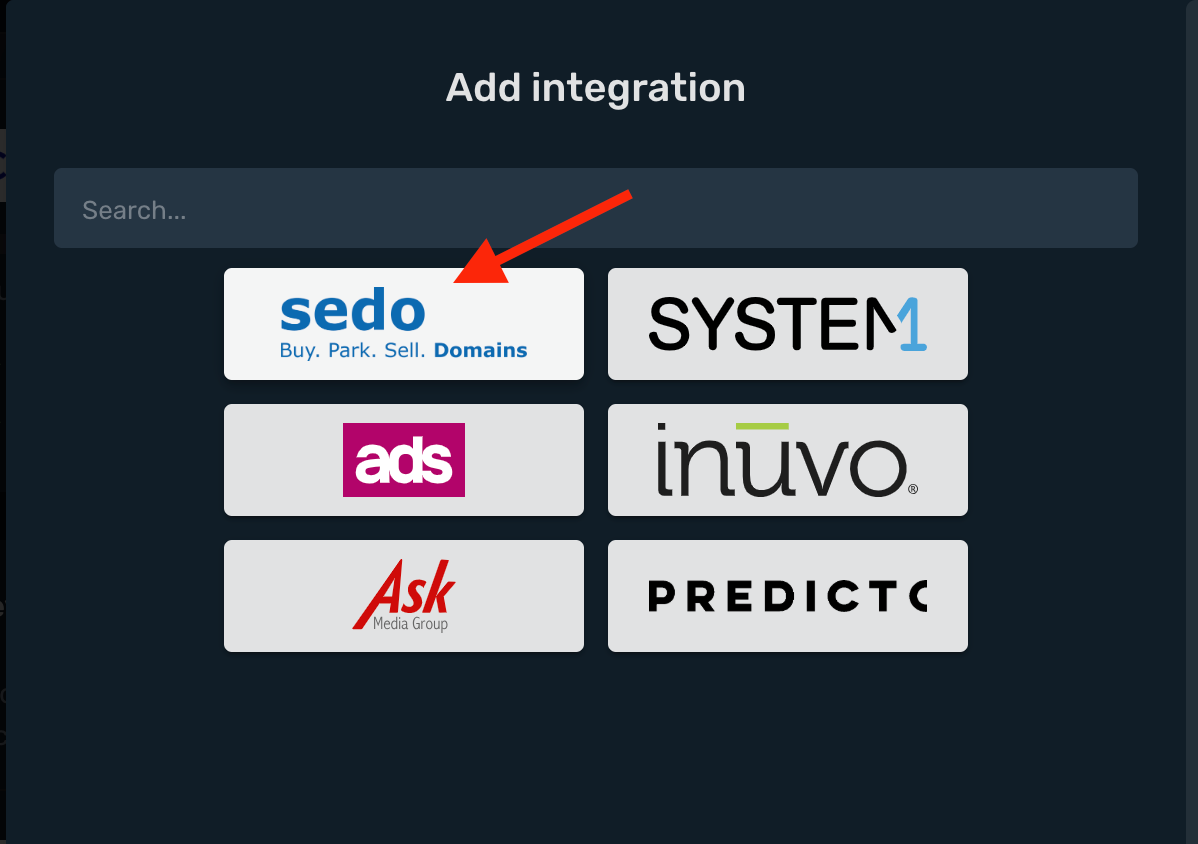
- **Integration Name** name of your integration.
- **RSOC Username** is your Sedo RSOC login.
- **RSOC Password** is your Sedo RSOC login password.
- **Account Currency** is the currency of the earnings.
- **Custom Conversion Event** is optional. If you are using Custom Conversion on your postback URL, then you will need to select your event here, otherwise your revenue isn't synced correctly.
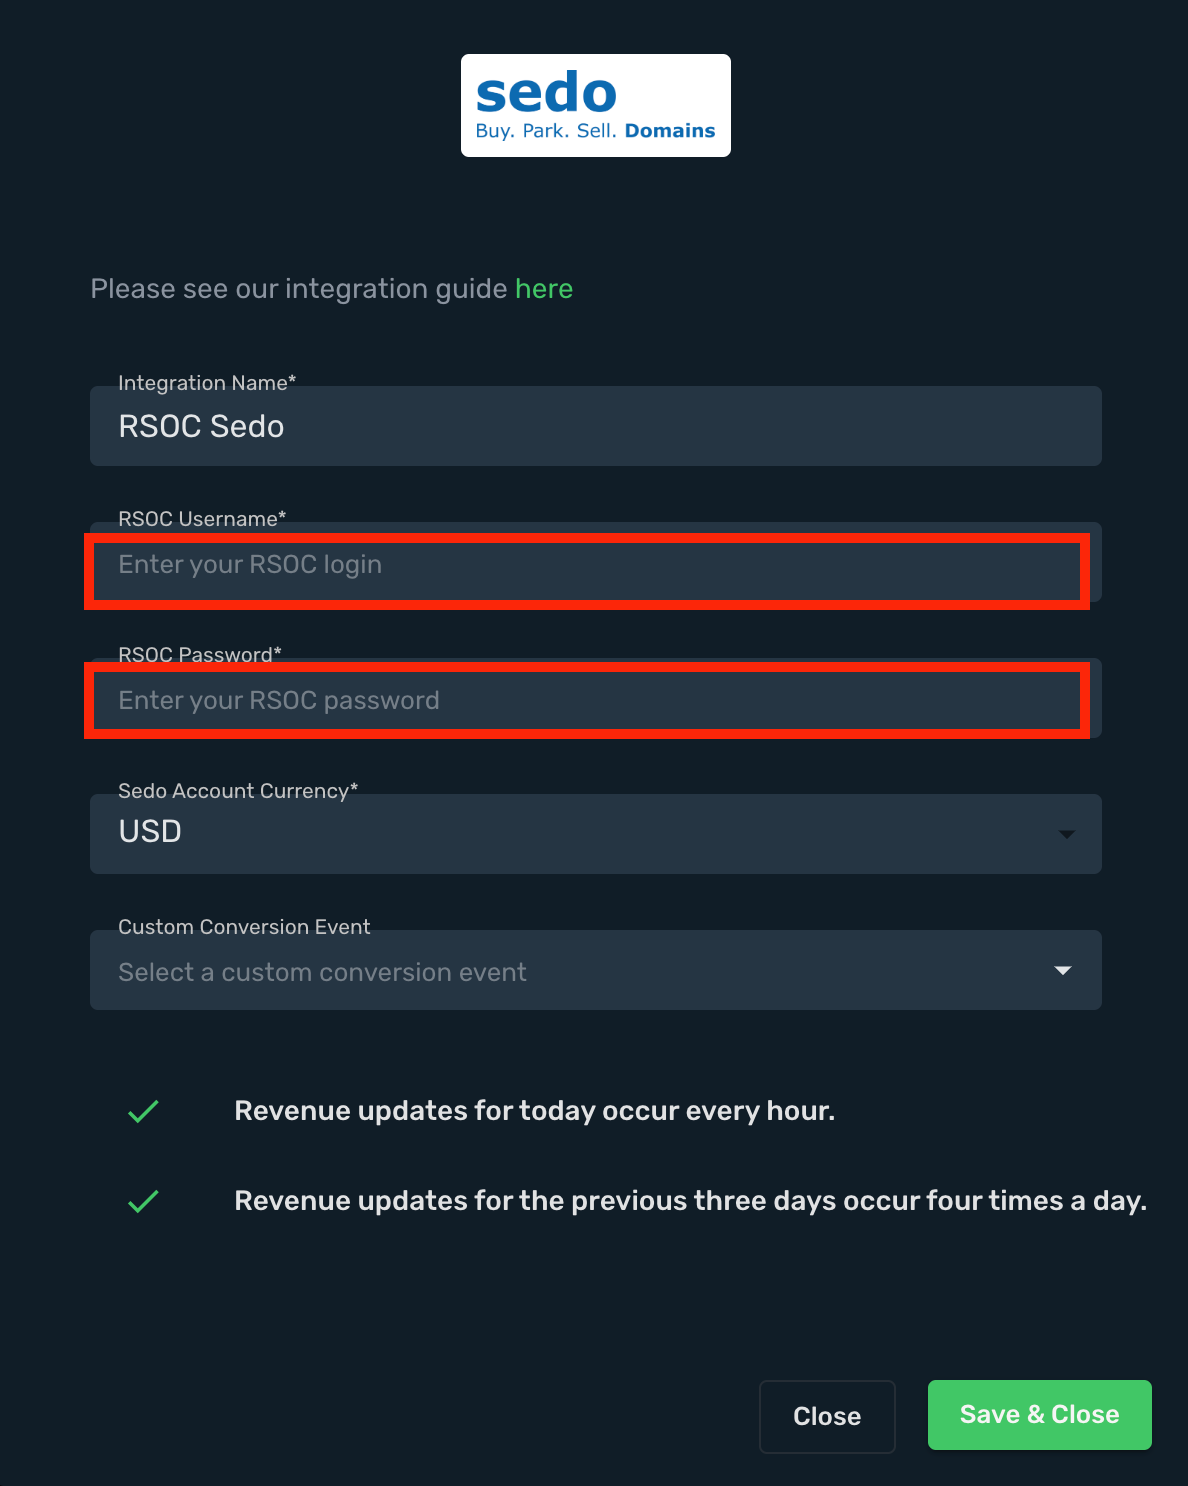
5. Complete the form and click **Save & Close**
## Step 2. Add Sedo RSOC offer in Skro [#step-2-add-sedo-rsoc-offer-in-skro]
1. Go to **Offers**.
2. Click **Create** and Complete the required fields.
3. Map your **RSOC Channel/Campaign ID** on special field to track revenue correctly. In this example it is **1234567**
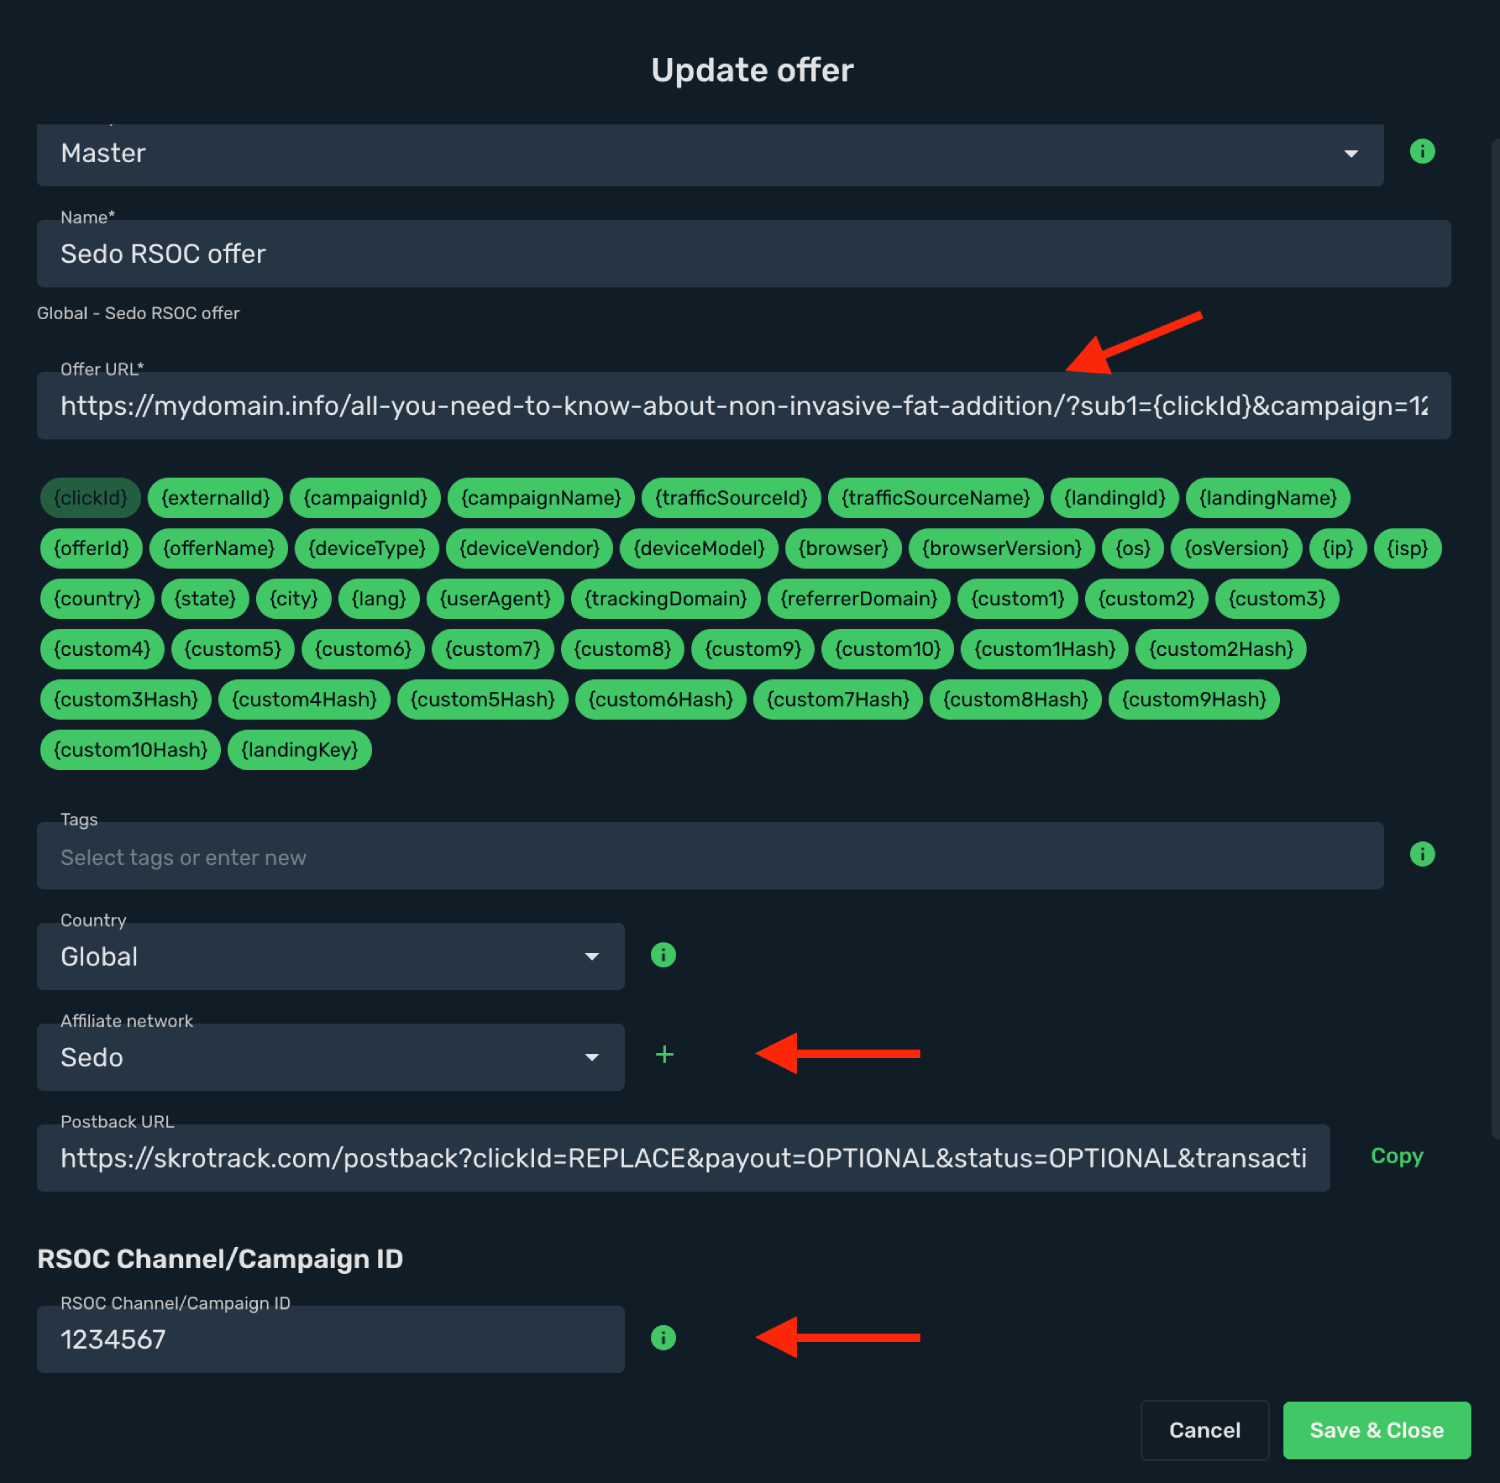
This is an example offer URL which goes to Skro:
```text
https://mydomain.info/all-you-need-to-know-about-non-invasive-fat-addition/?click_id={clickId}&campaign=1234567&adtitle=belly%20fat%20removal&terms=term1%2Cterm2%2Cterm3&count=3&style=blue
```
Offer URL has 2 important parameters:
1. **&campaign=1234567** - You should pass your Campaign ID in this param.
2. **`&click_id={clickId}`** - You should pass Skro Click ID to track conversions with postback.
`Note: If you are encoding Offer URL, do not encode Skro click ID macro {clickId}`
## Step 3. Standard Postback URL for conversions [#step-3-standard-postback-url-for-conversions]
1. Go to **Affiliate Networks** and click **Create**.
2. Search **Sedo** and click **Sedo logo**.
3. Copy the postback URL.
4. Switch on **Allow double conversions**.
5. When finished, click **Save & Close**.
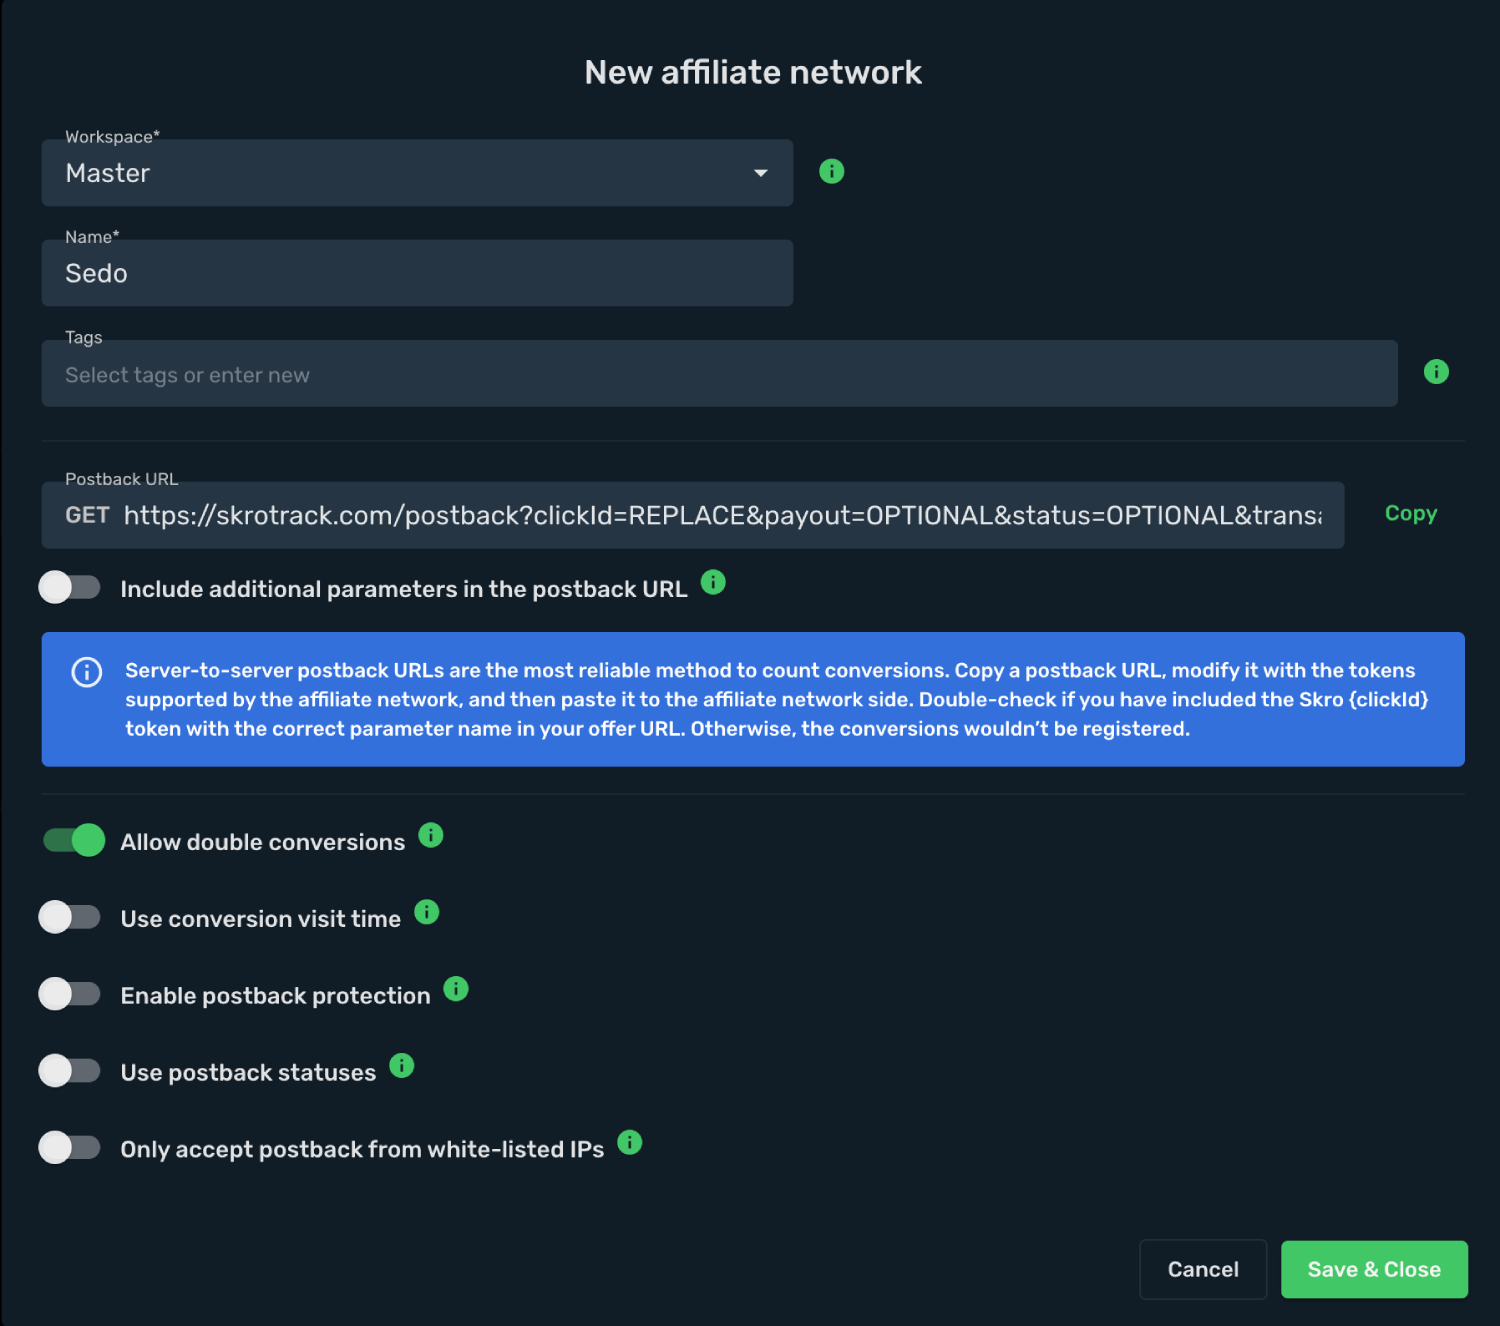
6. Set up your Postback URL.
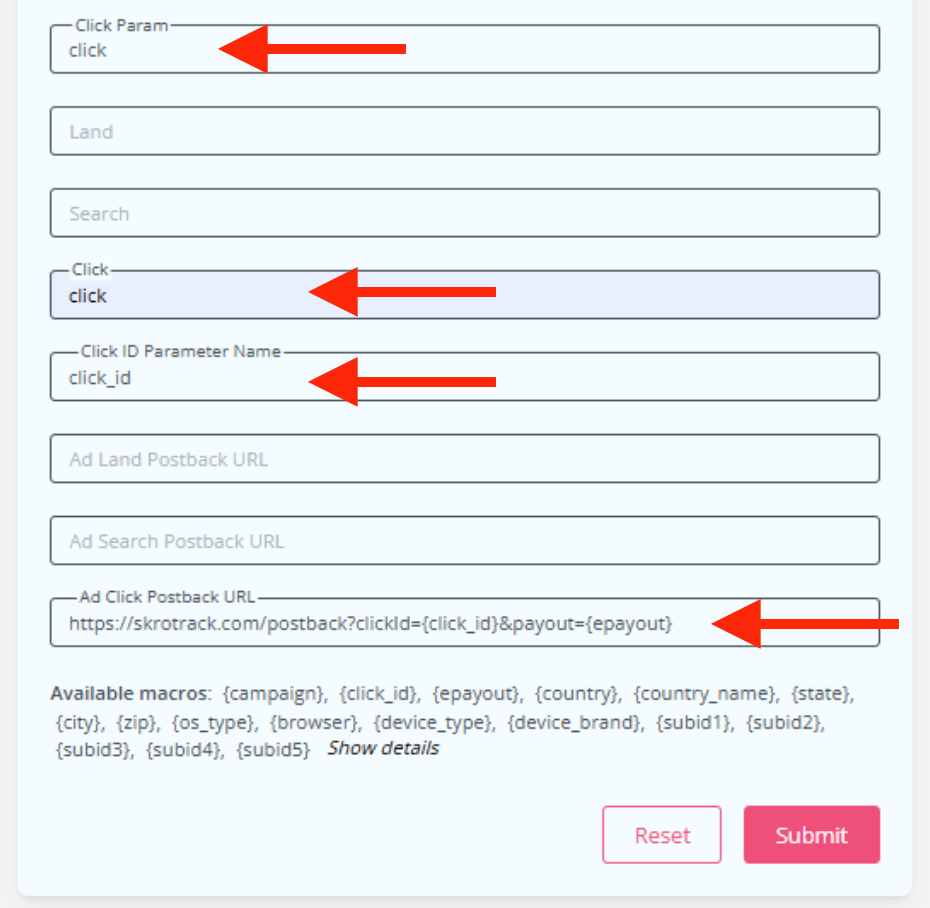
`Postback URL: https://skrotrack.com/postback?clickId={click_id}&payout={epayout}&p1=KEYWORD_MACRO`
## Step 4. Use Custom Conversions (OPTIONAL) [#step-4-use-custom-conversions-optional]
With custom conversion events feature it is possible to track different events, revenue and clicks on a different columns. For Predicto we are going to create event **Purchase**.
1. Go back to Skro and navigate to the **Settings** → **Custom Conversions** and click **Create**.
2. Complete the required fields and click **Save & Close**.
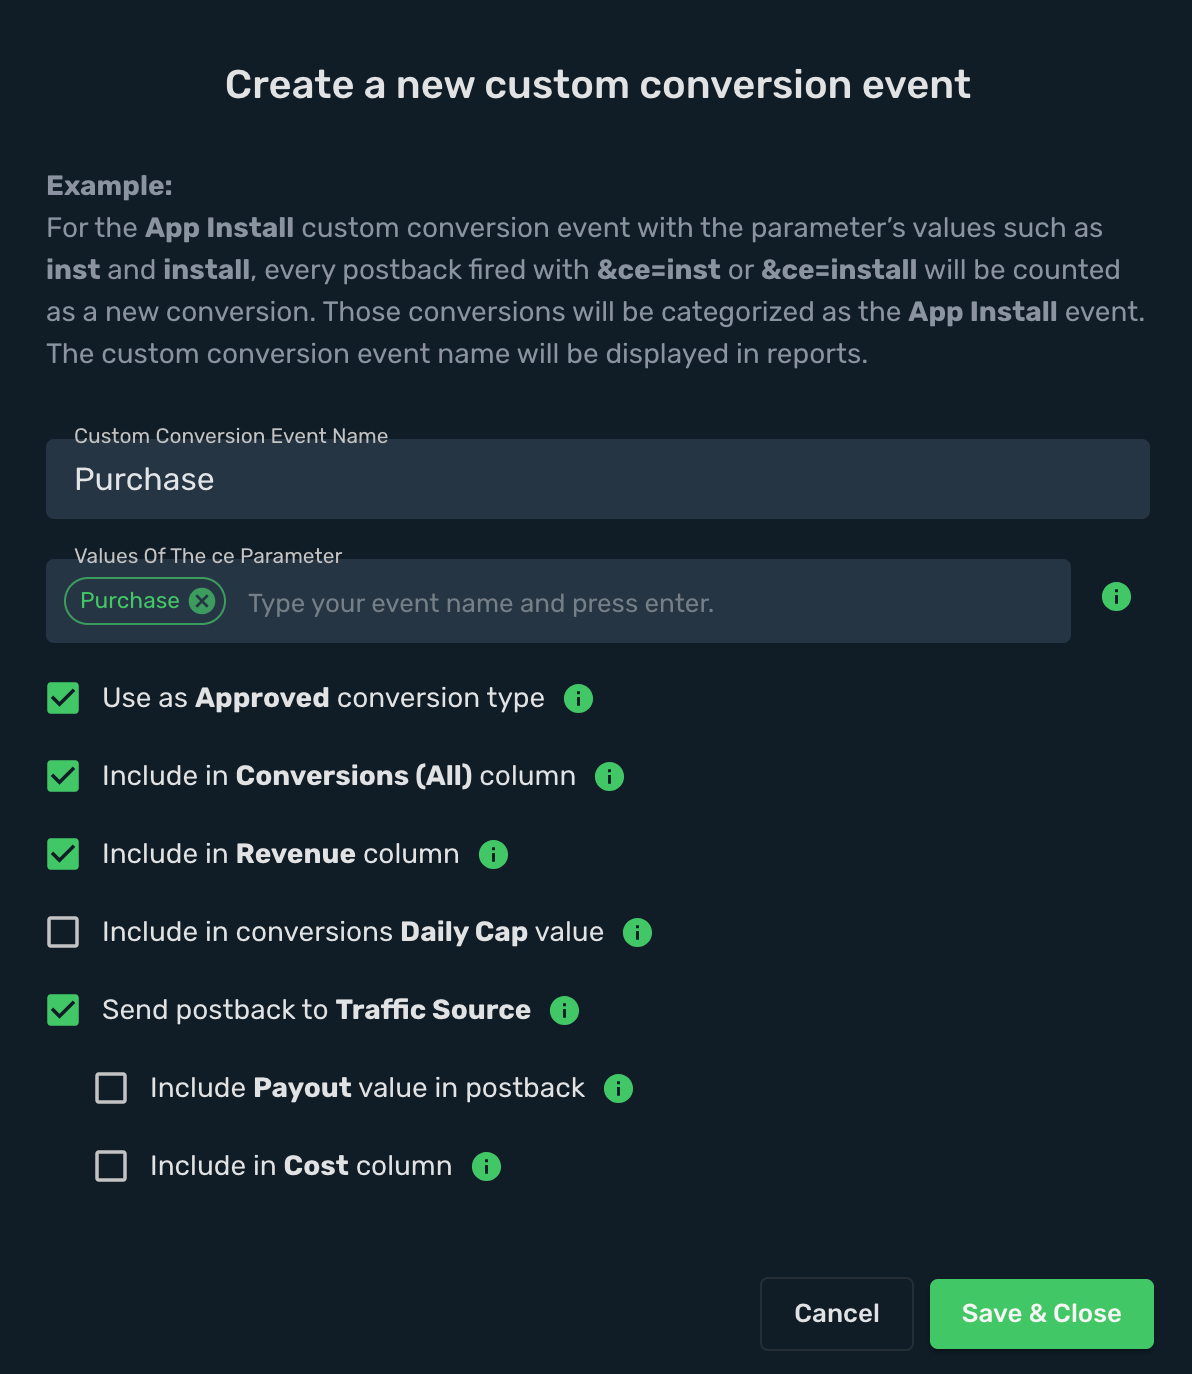
3. Set up your Postback URL on Sedo TMP.

`Postback URL: https://skrotrack.com/postback?{click_id}&payout={epayout}&p1=KEYWORD_MACRO&ce=Purchase`
The integration is ready to synchronize earnings data.
## Verify the setup [#verify-the-setup]
Confirm that the offer identifiers match the values in your integration. After the next revenue synchronization, compare the same date range and currency in Skro and your provider account.
If data is missing, check the selected workspace, integration, campaign, and reporting date range. Compare parameter names and macro values with the examples in this guide before repeating the test.
## Related guides [#related-guides]
# Tonic RSOC integration
Source: https://skro.eu/docs/integrations/rsoc-tonic-and-skro
Set up Tonic RSOC in Skro and map offer identifiers for Related Search on Content revenue reporting.
## Integration benefits [#integration-benefits]
Integration enables seamless revenue data synchronization across channels, ensuring accurate tracking even after adjustments from various traffic sources. It also consolidates your ads, conversions, and revenue, giving you a clear and comprehensive view of your ad performance.
- Revenue updates every hour.
- Revenue updates for the last 3 days.
## Step 1. Add integration [#step-1-add-integration]
1. Log in to your **Skro** account.
2. Navigate to **Settings** → **Integrations**.
3. Scroll down and click **Add** in **Revenue Sync - RSOC** section.

4. Click **Tonic** logo.
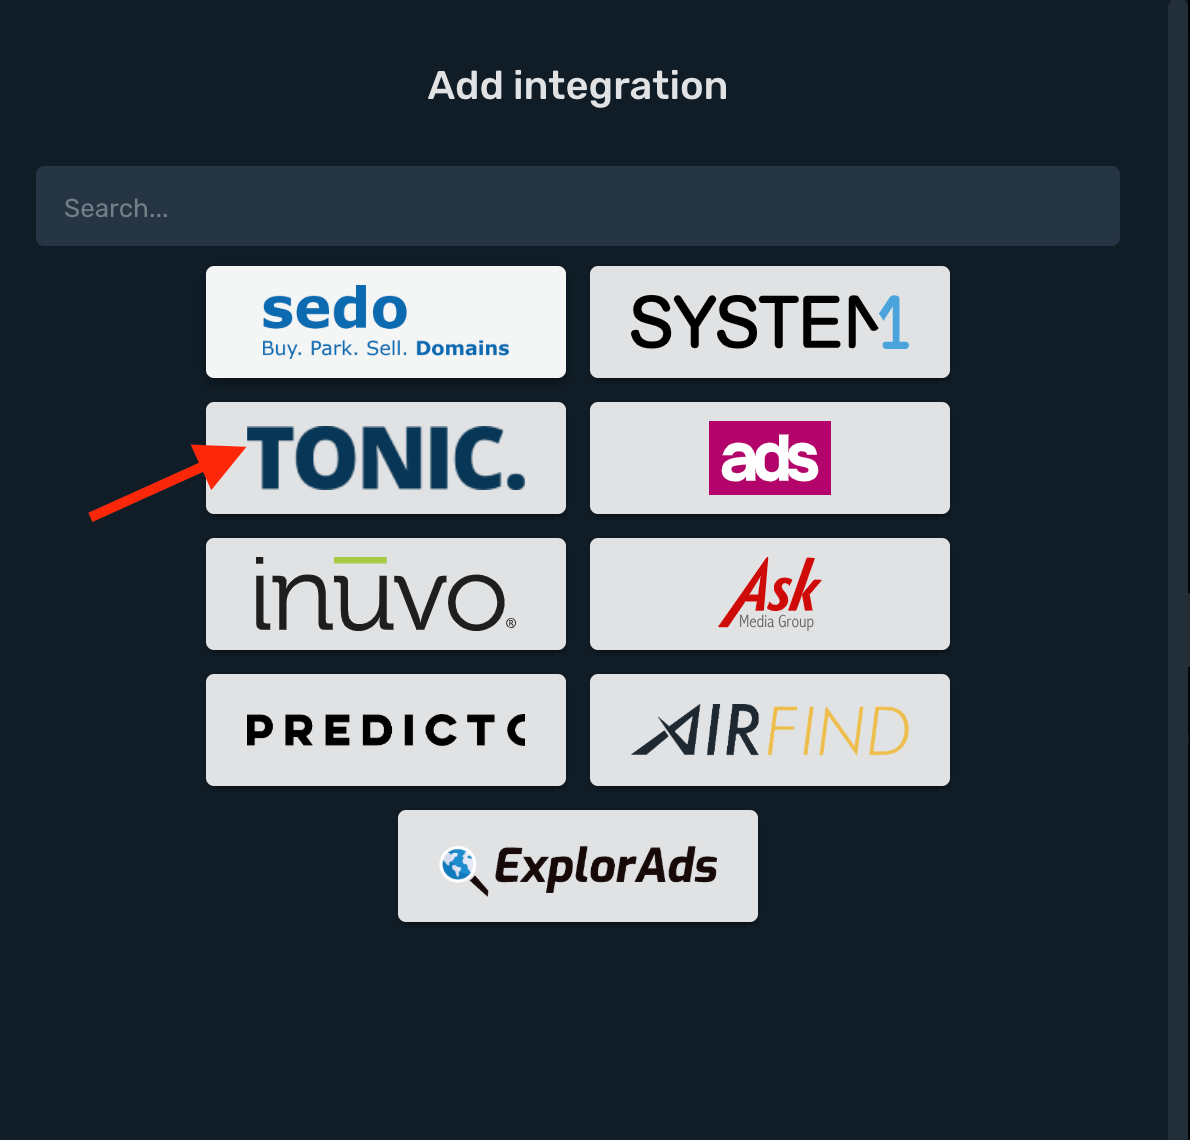
- **Integration Name** name of your integration.
- **Consumer Key** is your Tonic Consumer key.
- **Consumer Secret** is your Tonic Consumer Secret.
- **Account Currency** is the currency of the earnings.
- **Custom Conversion Event** is optional. If you are using Custom Conversion on your postback URL, then you will need to select your event here, otherwise your revenue isn't synced correctly.
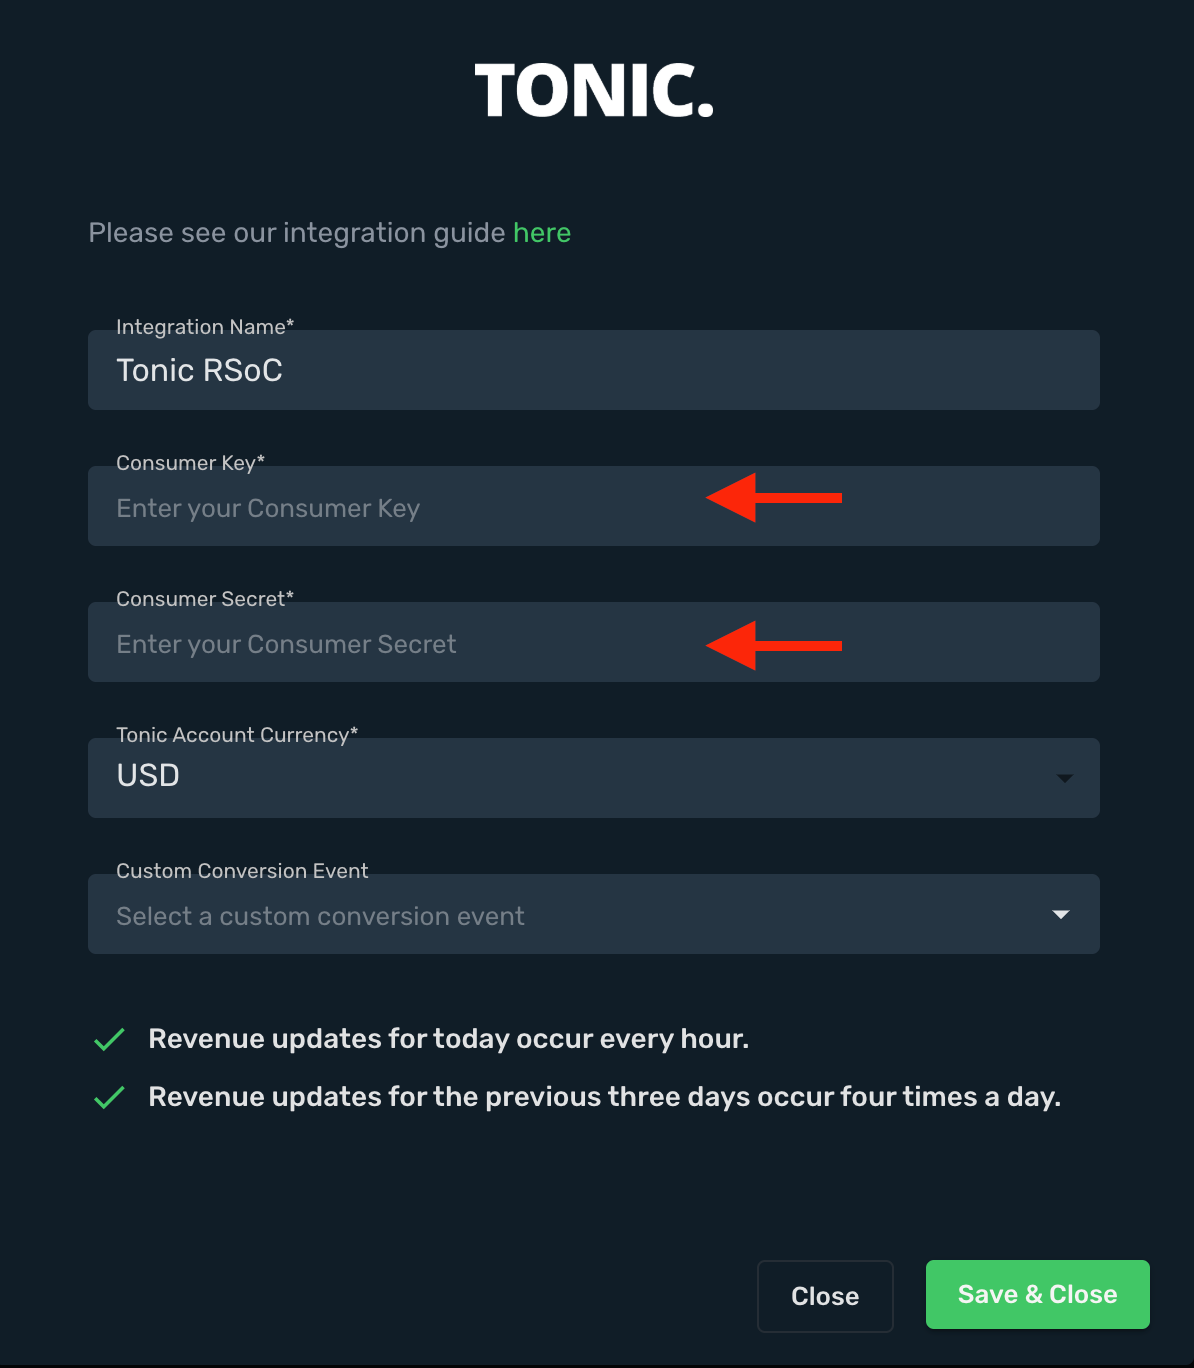
5. Complete the form and click **Save & Close**
## Step 2. Add Tonic RSoC offer in Skro [#step-2-add-tonic-rsoc-offer-in-skro]
1. Go to **Tonic** and create your new campaign.
2. Copy this campaign link and go back to Skro.
3. Go to **Offers**.
4. Click **Create** and complete the required fields.
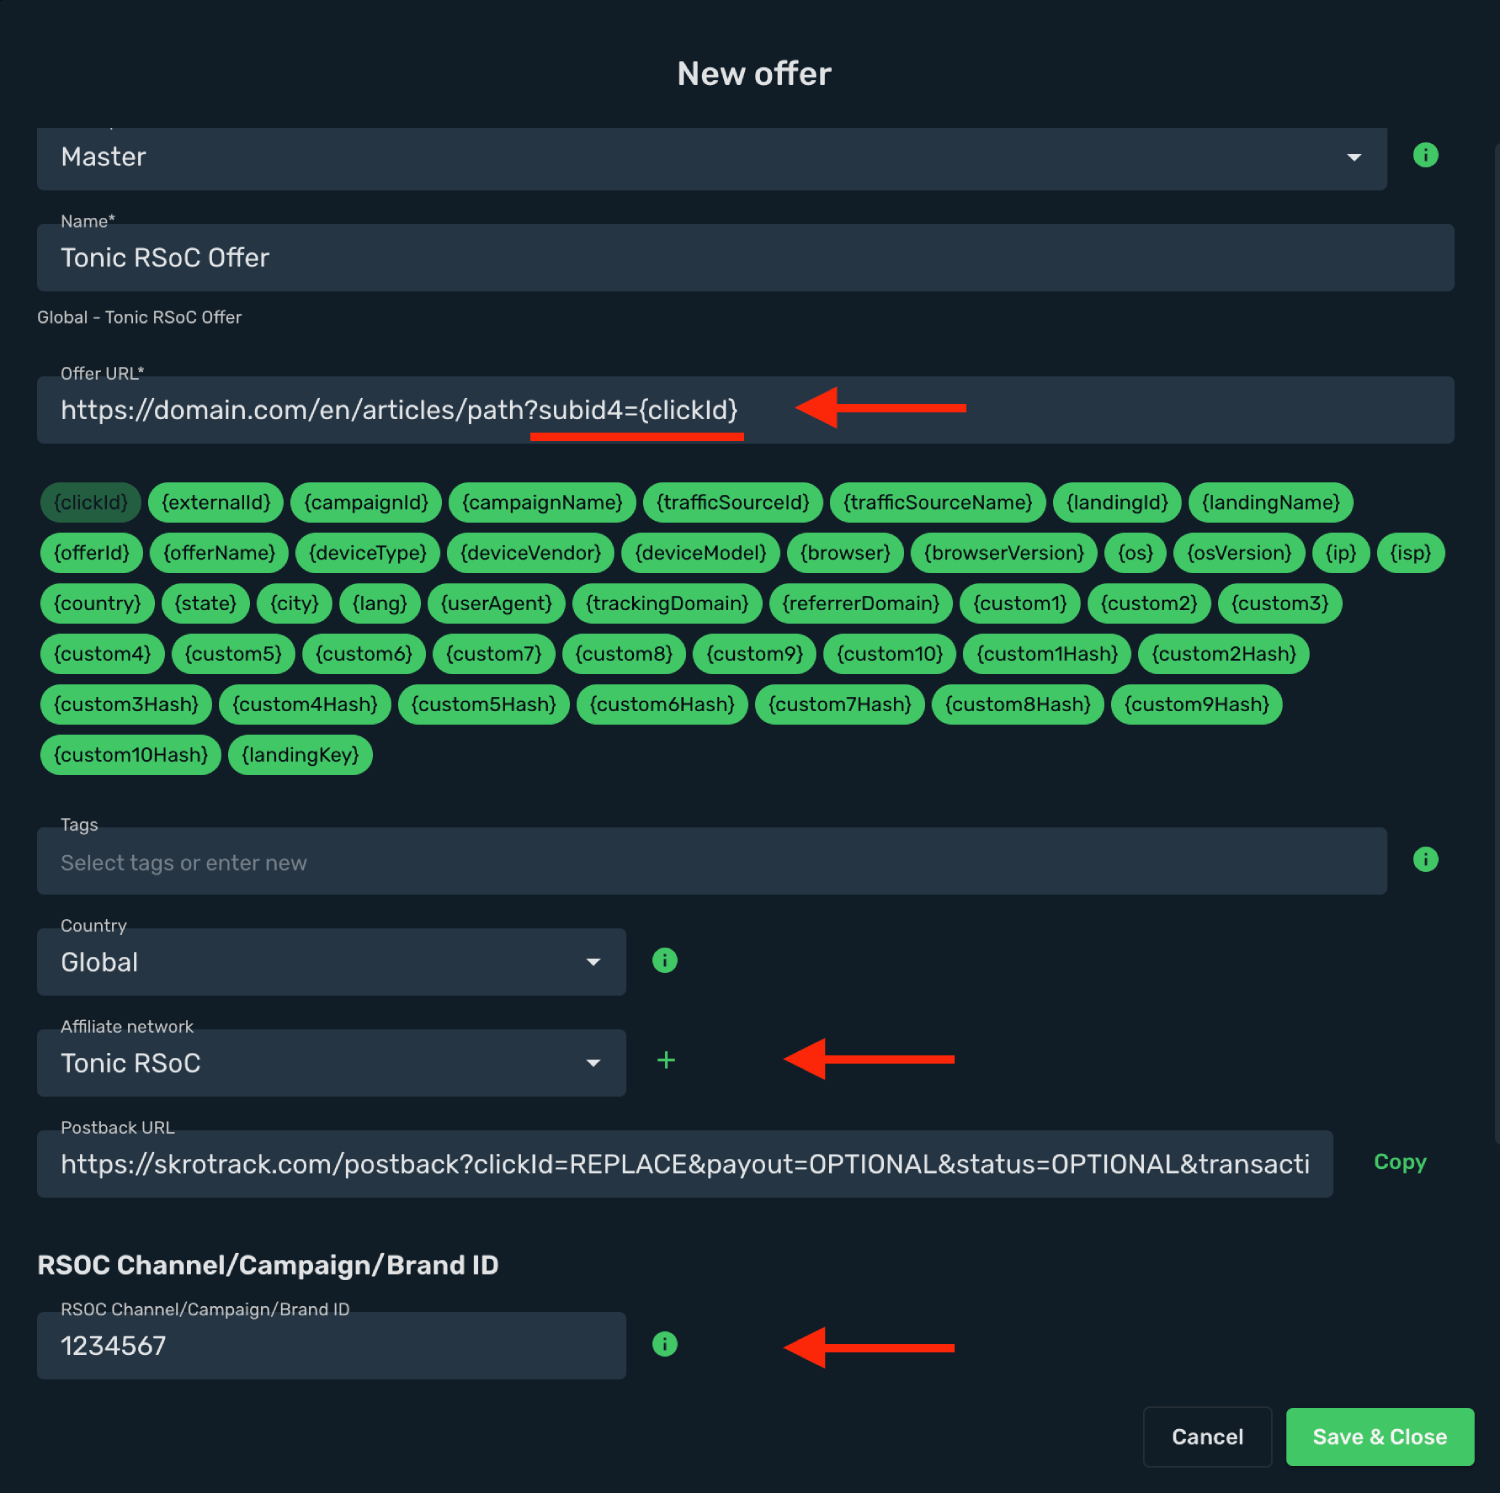
5. Map your **Campaign ID** on field **RSoC Channel/Campaign/Brand ID** to track revenue correctly. In this example it is **1234567**
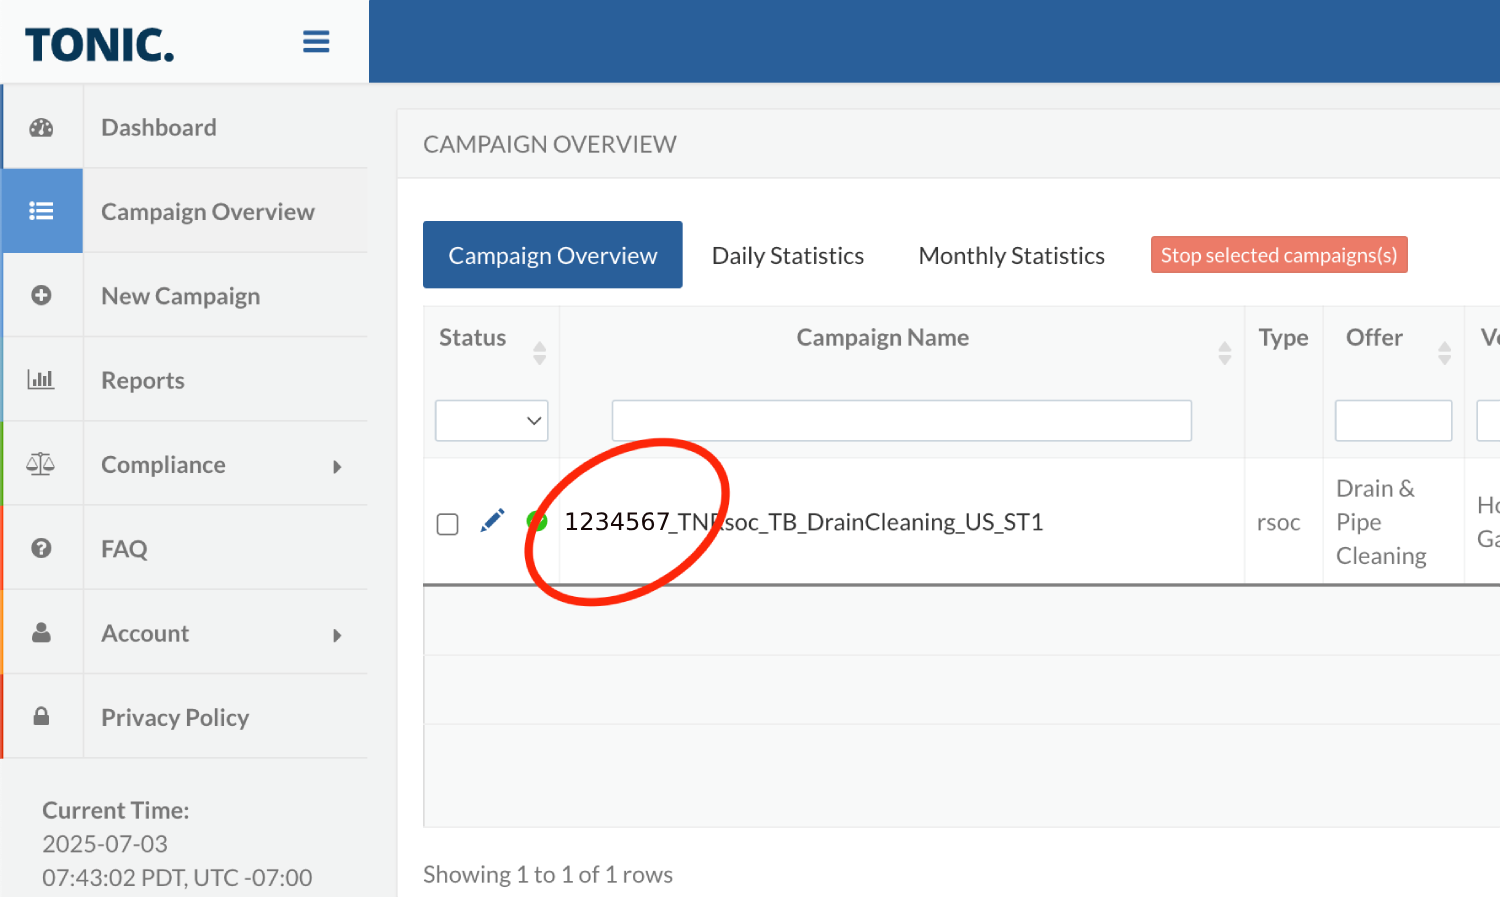
This is an example offer URL which goes to Skro:
`https://domain.com/en/articles/path?subid4={clickId}`
Offer URL has 1 important parameter:
1. **`&subid4={clickId}`** - is a Skro Click ID to track conversions with postback URL.
`Note: If you are encoding Offer URL, do not encode Skro click ID macro {clickId}`
## Step 3. Standard Postback URL for conversions [#step-3-standard-postback-url-for-conversions]
1. Go to **Affiliate Networks** and click **Create**.
2. Search **Tonic** and click **Tonic logo**.
3. Switch on **Allow double conversions**.
4. When finished, click **Save & Close**.
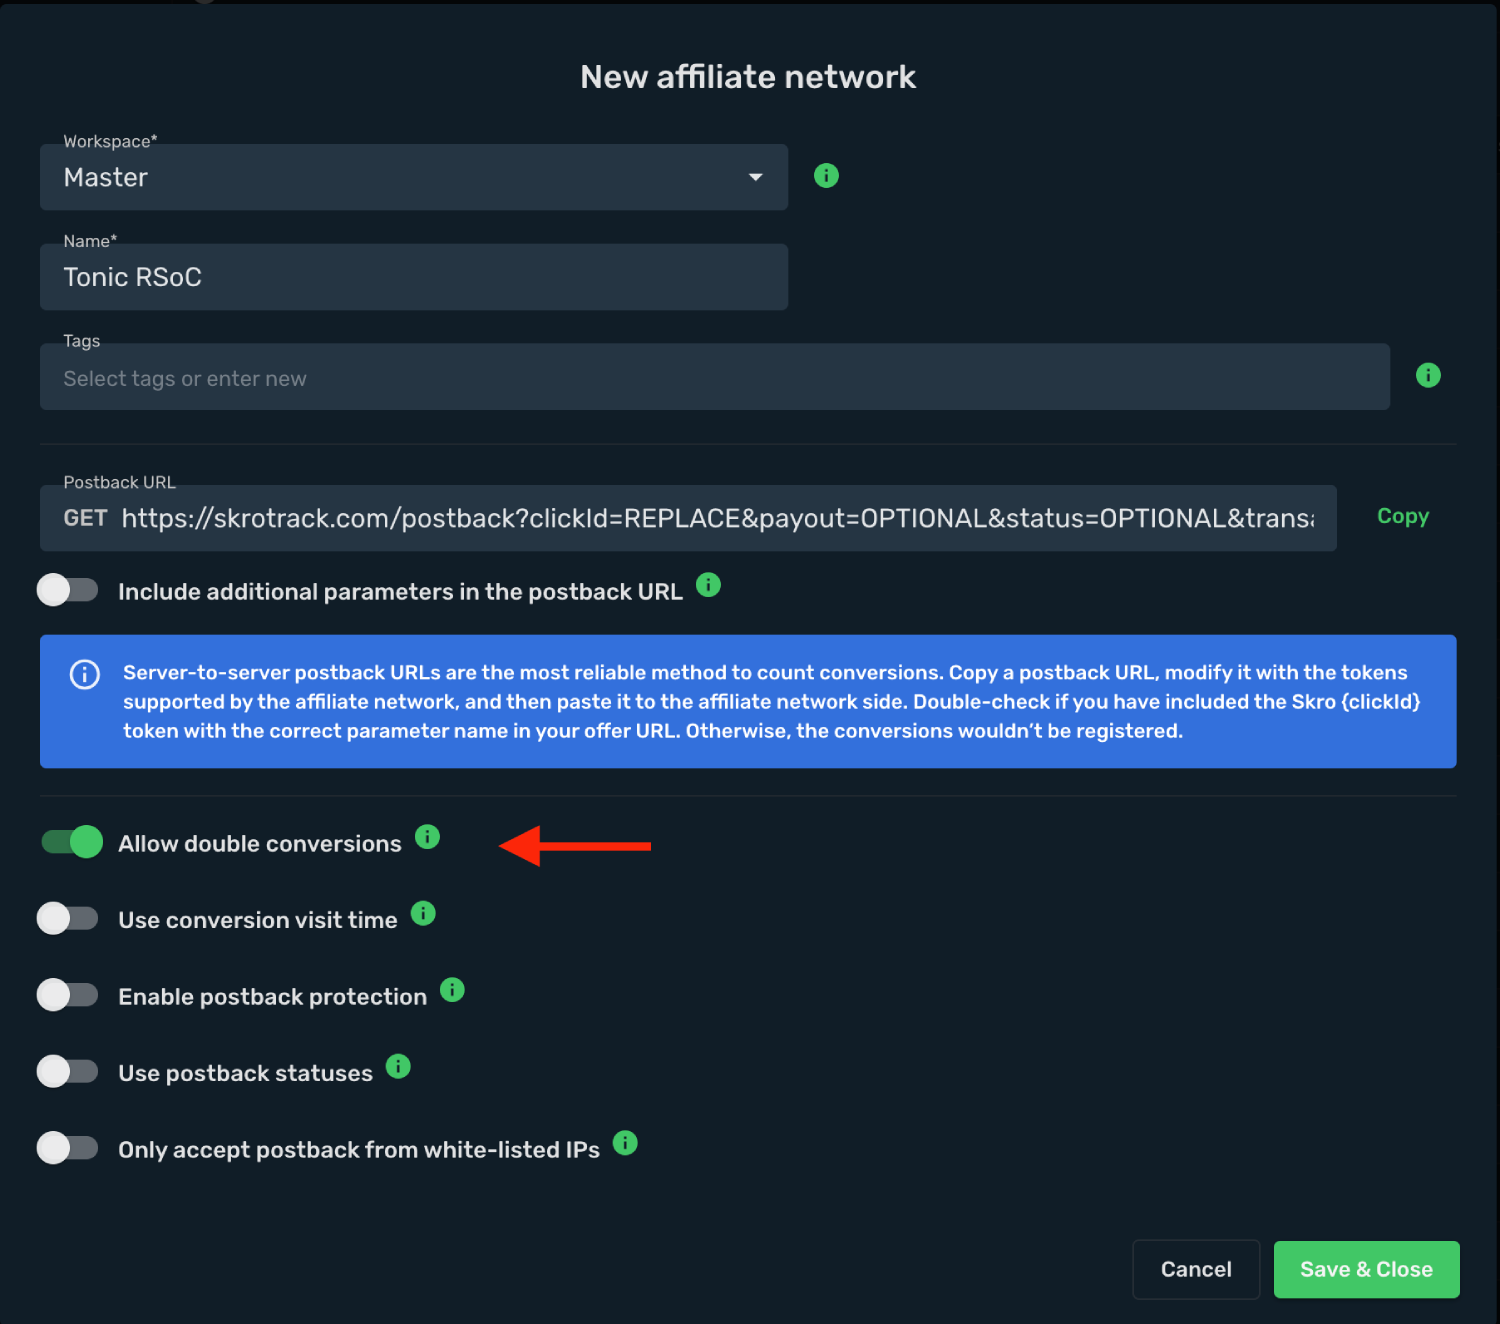
5. Copy that postback URL:
`Postback URL: https://skrotrack.com/postback?clickId={subid4}&p1={keyword}`
6. Go back to **Tonic** → **Account** → **Settings** → **Server 2 server calls** and add your postback URL on **Click** field:
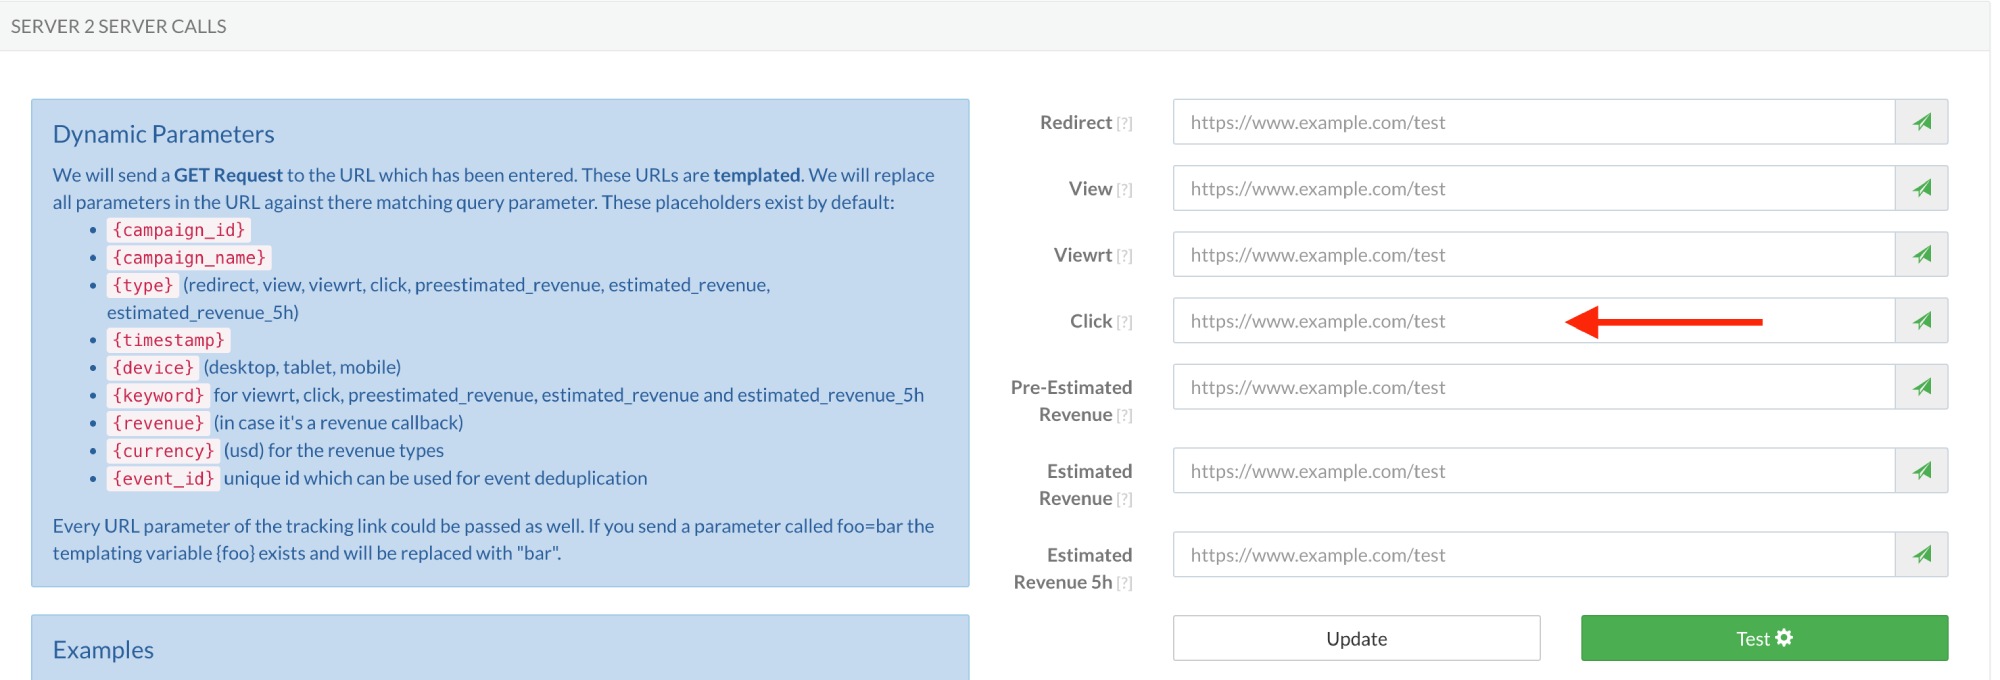
## Step 4. Use Custom Conversions (OPTIONAL) [#step-4-use-custom-conversions-optional]
With custom conversion events feature it is possible to track different events, revenue and clicks on a different columns. For Tonic we are going to create event **Purchase**.
1. Go back to Skro and navigate to the **Settings** → **Custom Conversions** and click **Create**.
2. Complete the required fields and click **Save & Close**.

3. Copy that postback URL and give it to your account manager.
`Postback URL: https://skrotrack.com/postback?clickId={subid4}&p1={keyword}&ce=Purchase`
The integration is ready to synchronize earnings data.
## Verify the setup [#verify-the-setup]
Confirm that the offer identifiers match the values in your integration. After the next revenue synchronization, compare the same date range and currency in Skro and your provider account.
If data is missing, check the selected workspace, integration, campaign, and reporting date range. Compare parameter names and macro values with the examples in this guide before repeating the test.
## Related guides [#related-guides]
# Sedo direct tracking with Meta
Source: https://skro.eu/docs/integrations/sedo-facebook-direct-integration
Connect Sedo direct tracking with Meta with Skro and configure the identifiers used to synchronize search arbitrage revenue.
Sedo stands for "Search Engine for Domain Offers" and their online platform currently provides not only a convenient searchable domain marketplace, but also extensive services for domain buyers and sellers: from domain parking to value appraisals all the way up to the brokerage and marketing of domains by our professional brokerage team.
Our integration with Sedo gives you the ability to sync earnings data that has been adjusted after Sedo first postback.
- Update revenue of the previous 3 days once a day.
## Step 1. How to add Sedo integration? [#step-1-how-to-add-sedo-integration]
- Log in to your **Skro** account.
- Navigate to **Settings** → **Integrations**.
- Click **Add** in Affiliate Network & Arbitrages section.
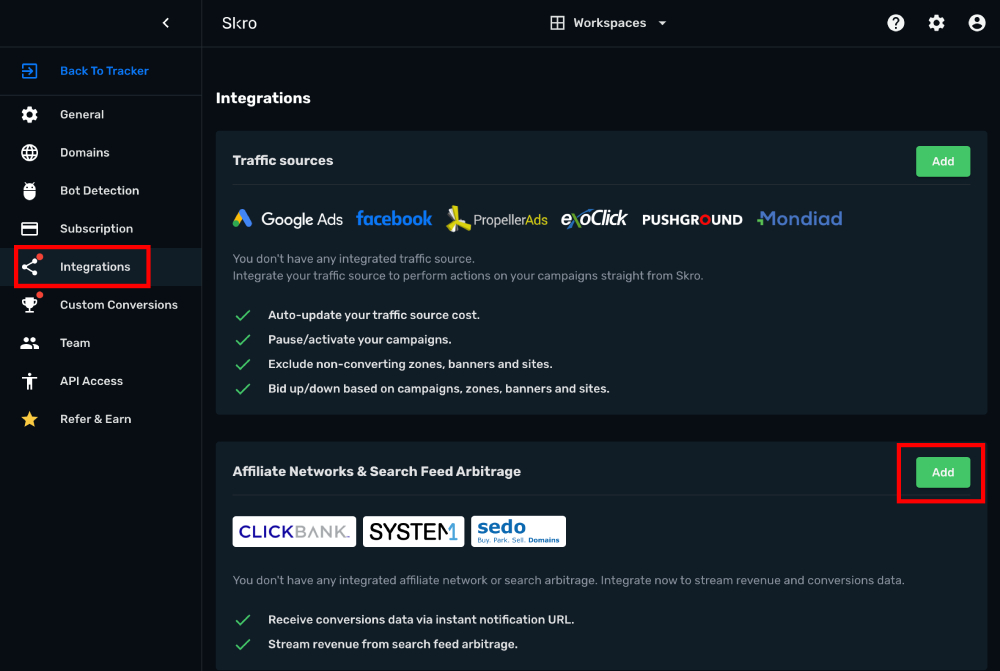
- Click **Sedo** logo.
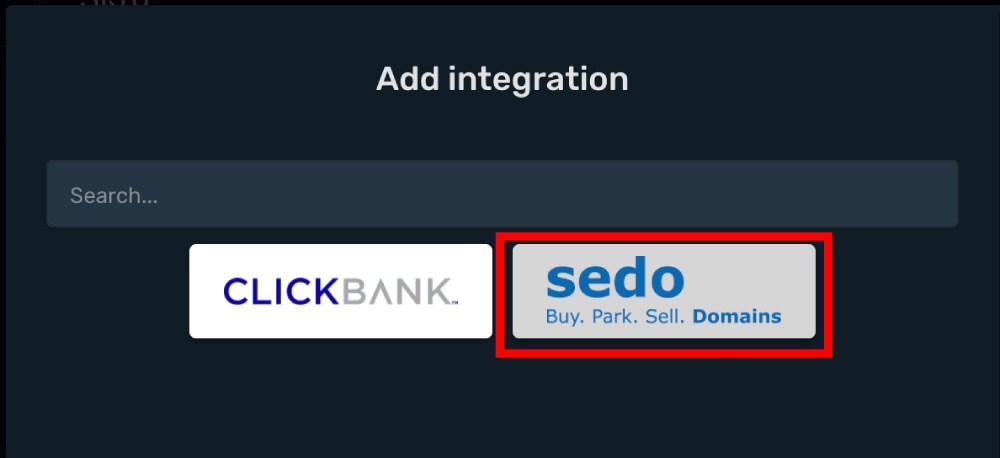
- **PartnerID** and **SignKey** info you must ask from your Sedo account manager or write to Sedo support.
- **Username** and **Password** is your Sedo login credentials.
- **Sedo Account Currency** is the currency of the parking earnings.
- **Custom Conversion Event** is optional, but you can see a revenue and conversions info in a different columns in your Skro reports.
- **Click ID Param** is the parameter what you use in your offer URL to send Skro Click ID.
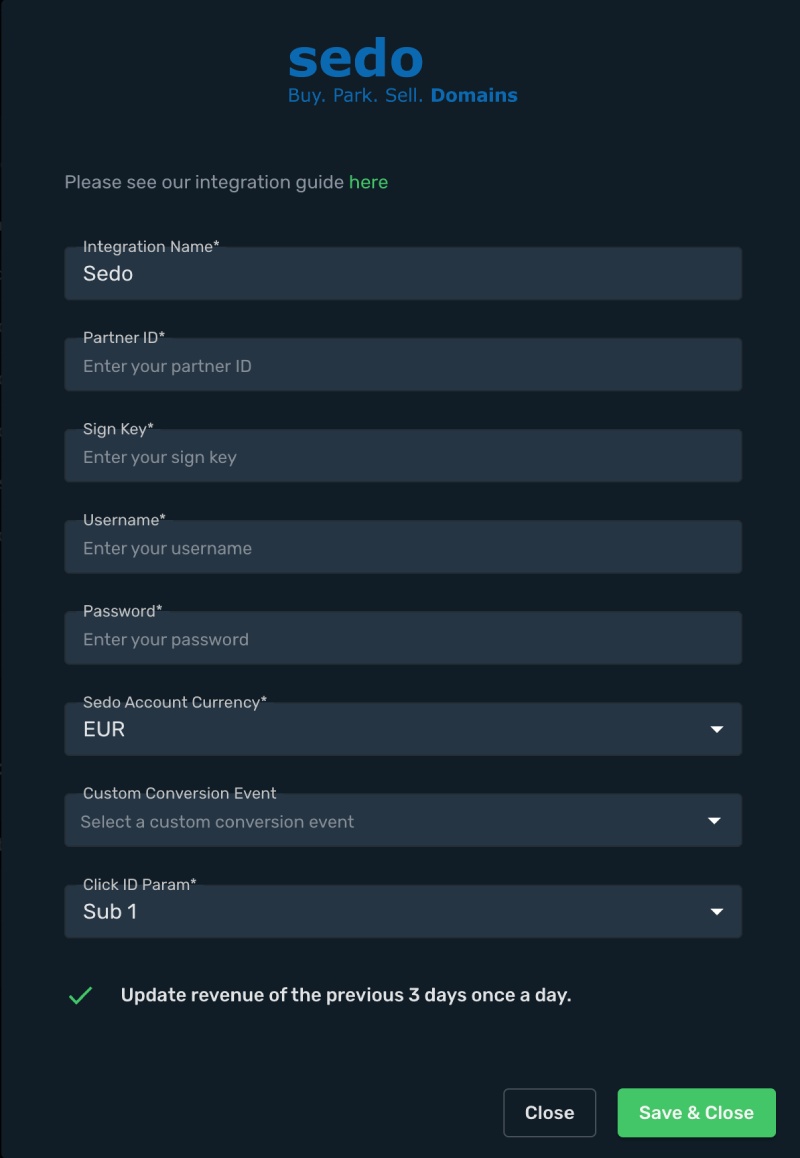
- Complete the form and click **Save & Close**
## Step 2. How to set up Sub ID values for Direct tracking? [#step-2-how-to-set-up-sub-id-values-for-direct-tracking]
First, you need to link the **Arbitrage Integration** with your Facebook traffic source for a proper **Direct** tracking.
- Go to **Traffic Sources**.
- Click **Create** and select **Facebook** template.
- Complete the required fields.
- Select your **Traffic Source Integration**.
- Select your **Arbitrage Integration.**
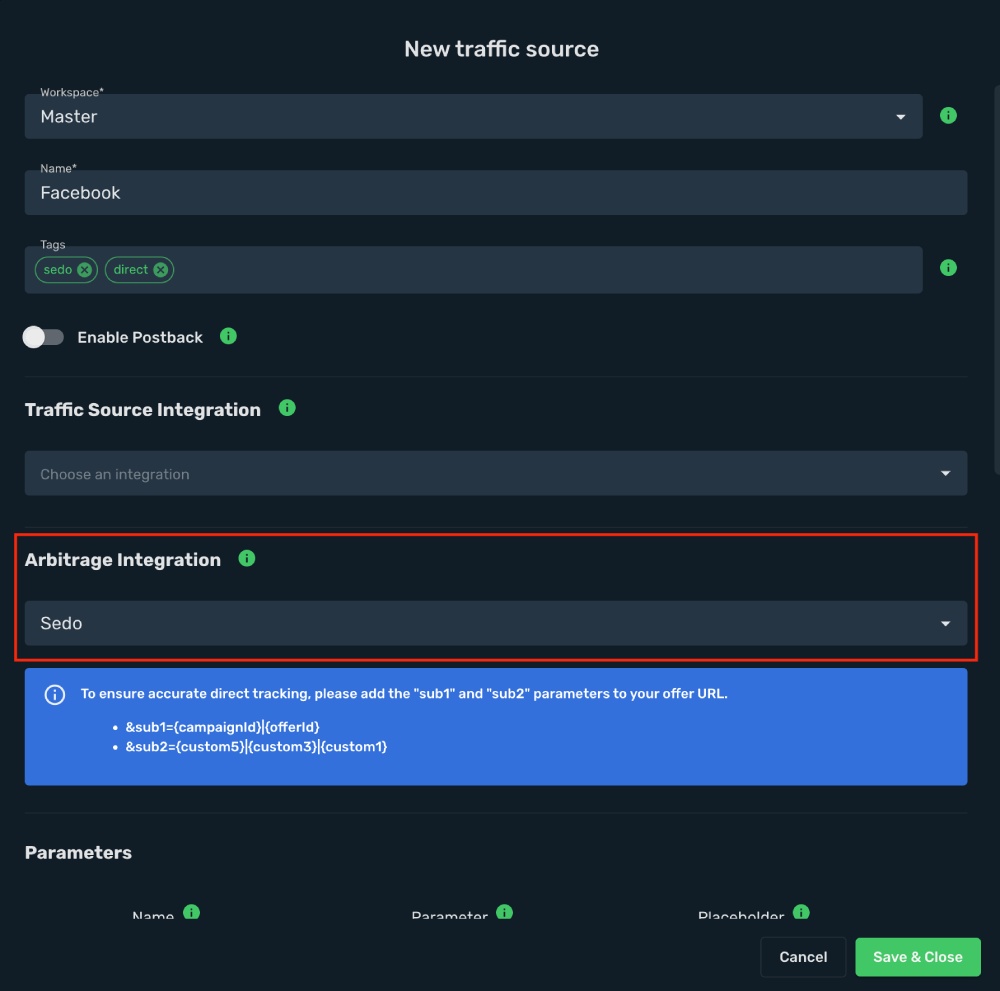
- Click **Save & Close**
To ensure accurate direct tracking with Facebook/Meta Ads, please add the "sub1" and "sub2" parameters to your offer URL.
- **`&sub1={campaignId}|{offerId}`**
- **`&sub2={custom5}|{custom3}|{custom1}`**
- Go to **Offers** and click **Create**
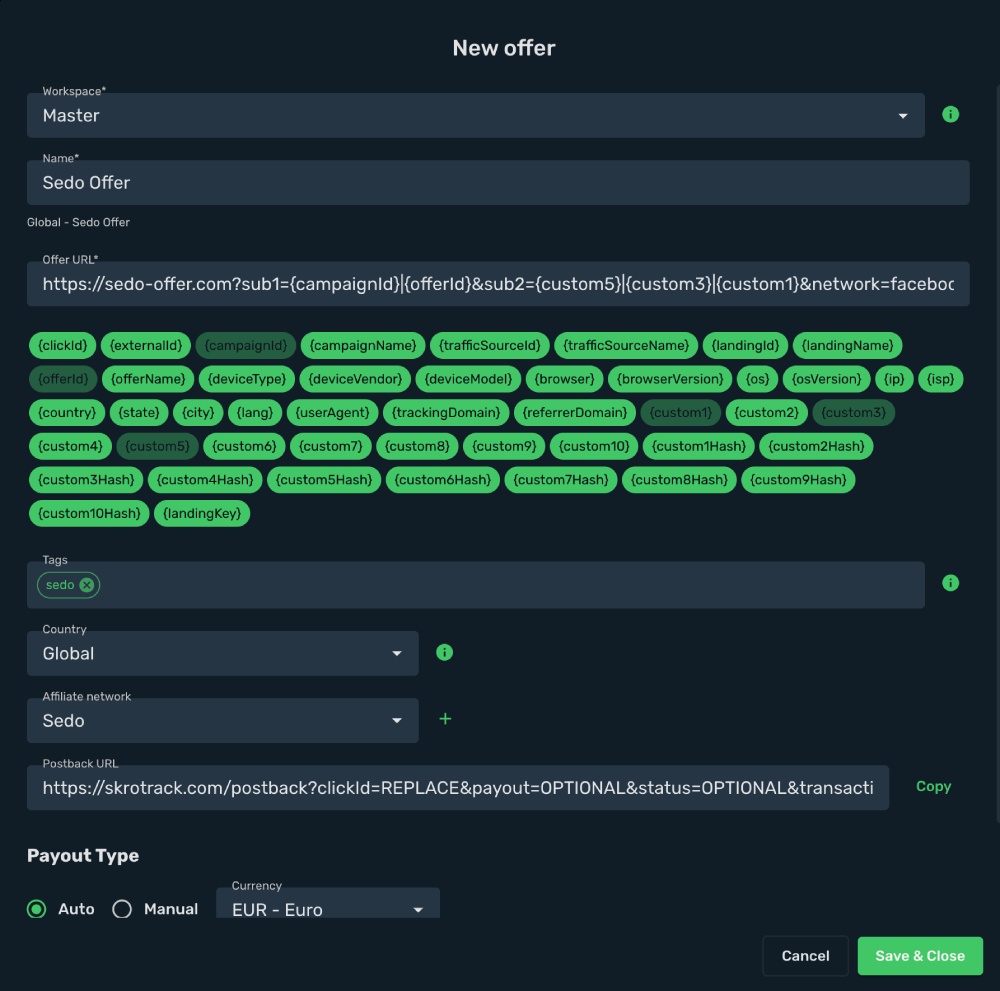
This is an example url:
```text
https://sedo-offer.com?sub1={campaignId}|{offerId}&sub2={custom5}|{custom3}|{custom1}&network=facebook&site=my-site&adtitle=my-ad-title
```
- Click **Save & Close**
The integration is ready to synchronize earnings data. with **Direct** tracking.
## Verify the setup [#verify-the-setup]
Confirm that the offer identifiers match the values in your integration. After the next revenue synchronization, compare the same date range and currency in Skro and your provider account.
If data is missing, check the selected workspace, integration, campaign, and reporting date range. Compare parameter names and macro values with the examples in this guide before repeating the test.
## Related guides [#related-guides]
# Sedo Integration
Source: https://skro.eu/docs/integrations/sedo-integration
Connect Sedo Integration with Skro and configure the identifiers used to synchronize search arbitrage revenue.
Sedo stands for "Search Engine for Domain Offers" and their online platform currently provides not only a convenient searchable domain marketplace, but also extensive services for domain buyers and sellers: from domain parking to value appraisals all the way up to the brokerage and marketing of domains by our professional brokerage team.
Our integration with Sedo gives you the ability to sync earnings data that has been adjusted after Sedo first postback.
- Update revenue of the previous 3 days once a day.
## Add integration [#add-integration]
- Log in to your **Skro** account.
- Navigate to **Settings** → **Integrations**.
- Click **Add** in Affiliate Network & Arbitrages section.

- Click **Sedo** logo.

- **PartnerID** and **SignKey** info you must ask from your Sedo account manager or write to Sedo support.
- **Username** and **Password** is your Sedo login credentials.
- **Sedo Account Currency** is the currency of the parking earnings.
- **Custom Conversion Event** is optional, but you can see a revenue and conversions info in a different columns in your Skro reports.
- **Click ID Param** is the parameter what you use in your offer URL to send Skro Click ID.

- Complete the form and click **Save & Close**
## Step 1. How to set up Sub ID value with Skro Click ID macro? [#step-1-how-to-set-up-sub-id-value-with-skro-click-id-macro]
- Go to **Offers** and click **Create**
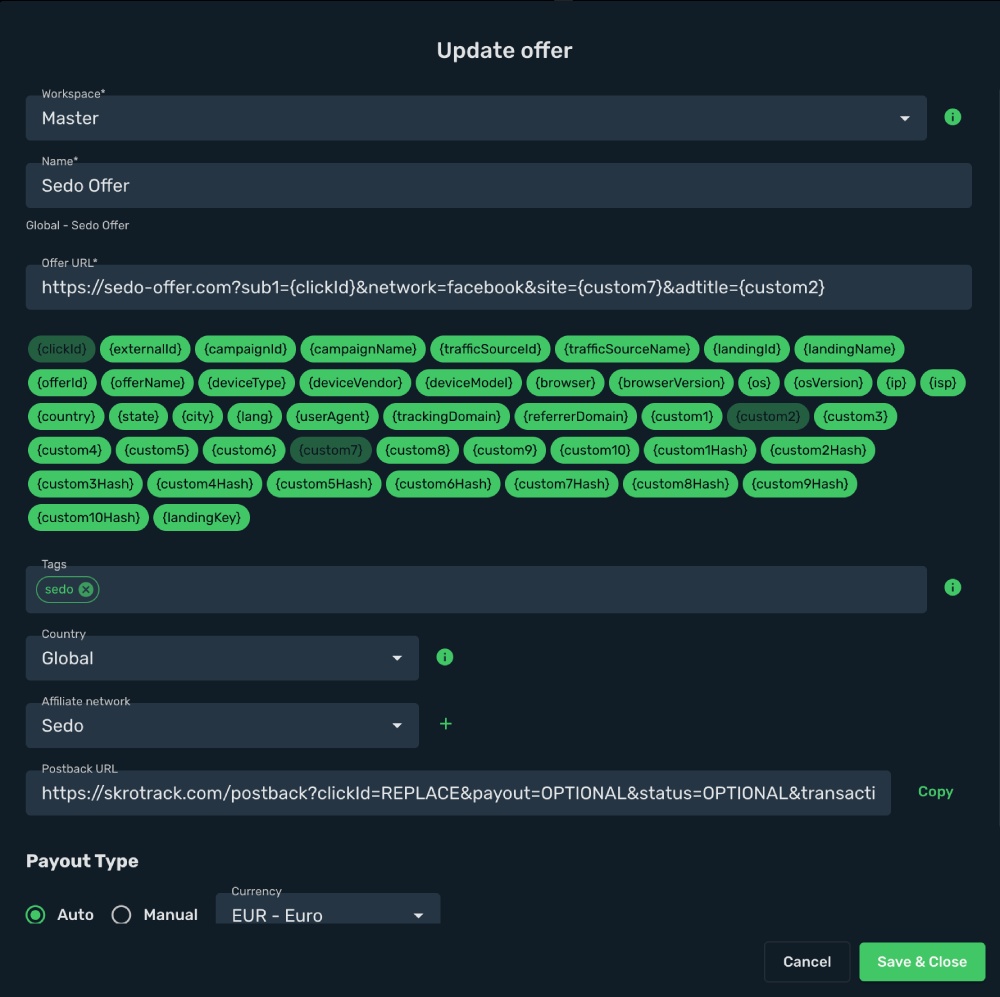
This is an example Sedo URL with correct macros for Facebook traffic source:
`https://sedo-offer.com?sub1={clickId}&network=facebook&site={custom7}&adtitle={custom2}`
- Click **Save & Close**
The integration is ready to synchronize earnings data.
## Verify the setup [#verify-the-setup]
Confirm that the offer identifiers match the values in your integration. After the next revenue synchronization, compare the same date range and currency in Skro and your provider account.
If data is missing, check the selected workspace, integration, campaign, and reporting date range. Compare parameter names and macro values with the examples in this guide before repeating the test.
## Related guides [#related-guides]
# Shopify integration
Source: https://skro.eu/docs/integrations/shopify-and-skro-integration
Connect Shopify with Skro to track store events, attribute purchases, and report campaign revenue.
Use this guide to connect your Shopify store with Skro and attribute store events to your advertising campaigns.
- See the true ROI of every ad
- Track every PageView, ViewContent, AddToCart, InitiateCheckout and Purchase event
- Compare advertising costs with attributed revenue
- Send supported conversion events to Facebook and TikTok
- Track even Organic traffic
This guide will teach you how to set up Custom Conversions, integrate Shopify, and track campaigns for both paid ads and organic traffic. Please note: this guide does not cover every option available in Skro or your traffic source. You should already have basic knowledge of creating campaigns in both Skro and your traffic source.
## Step 1. Set up custom conversion events [#step-1-set-up-custom-conversion-events]
Skro supports two types of conversion events:
- **Standard Event** – Tracks a single event only.
- **Custom Conversion Events** – Tracks multiple events. (Note: Skro’s custom conversions are not the same as Facebook’s Custom Conversions. You can use standard events as custom conversions in Skro.)
Let’s create five custom conversion events that are compatible with both Facebook and TikTok ads.
1. In **Skro**, go to **Custom Conversions** → **Create**.

2. Create an event called **AddToCart**.
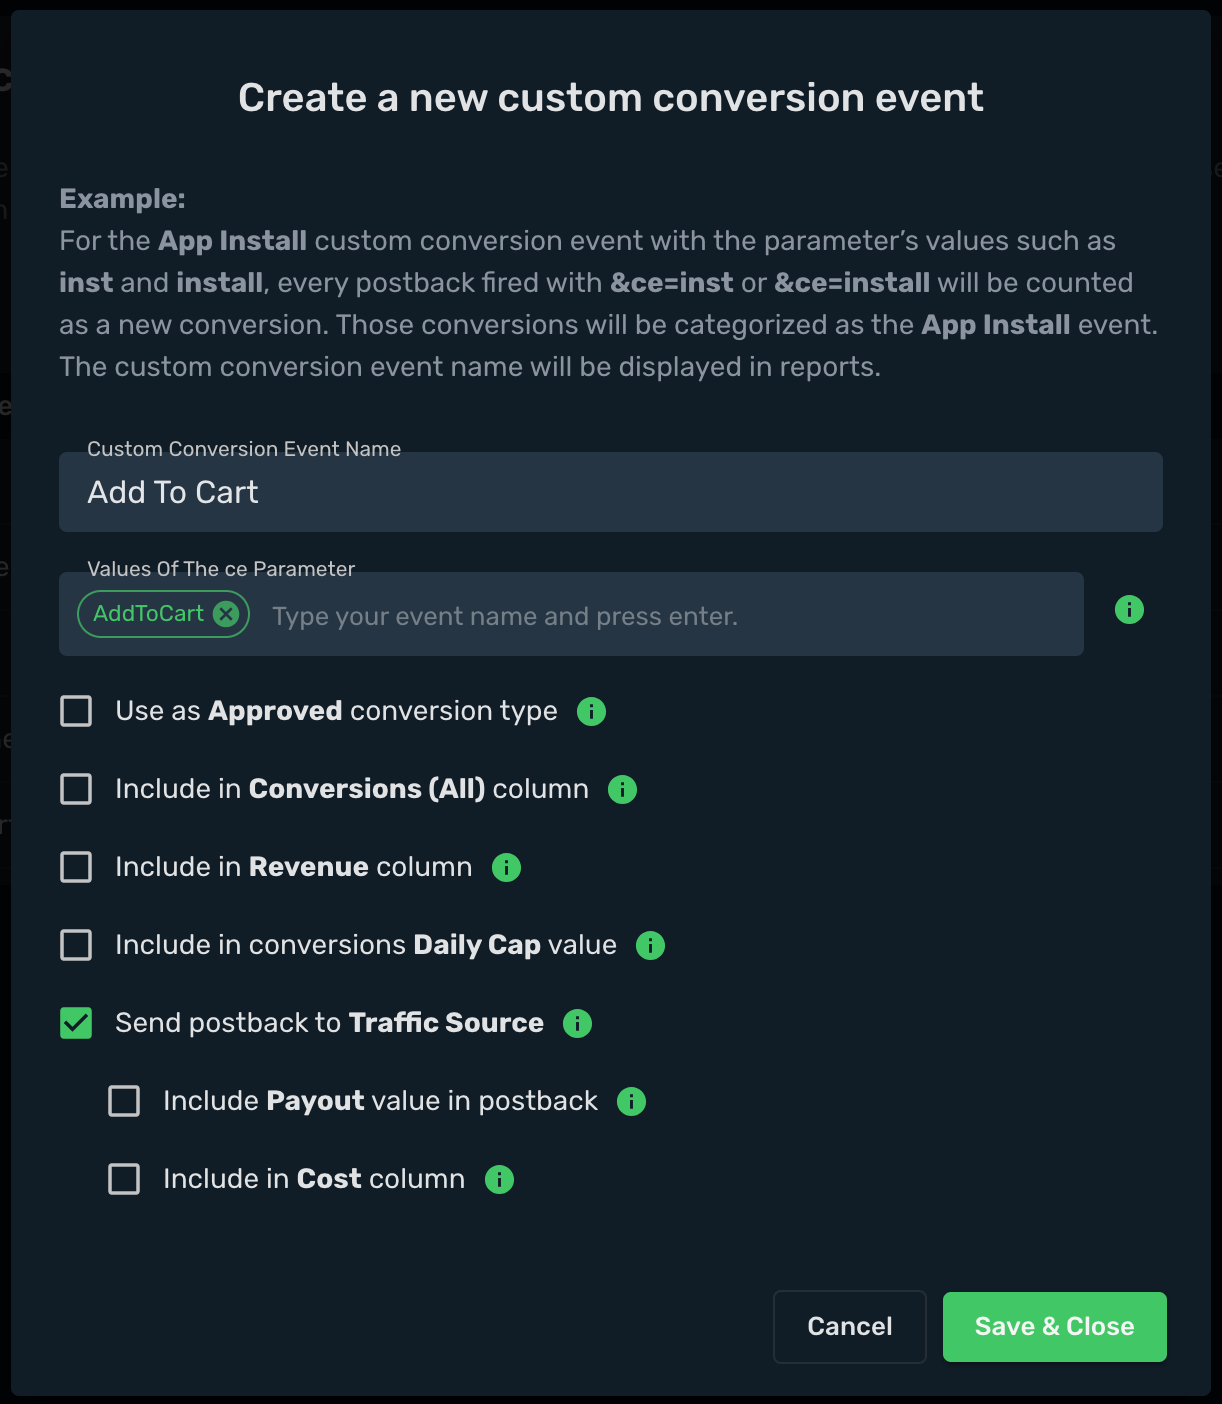
3. Create an event called **InitiateCheckout**.

4. Create an event called **Purchase**.

5. Create an event called **PageView**.
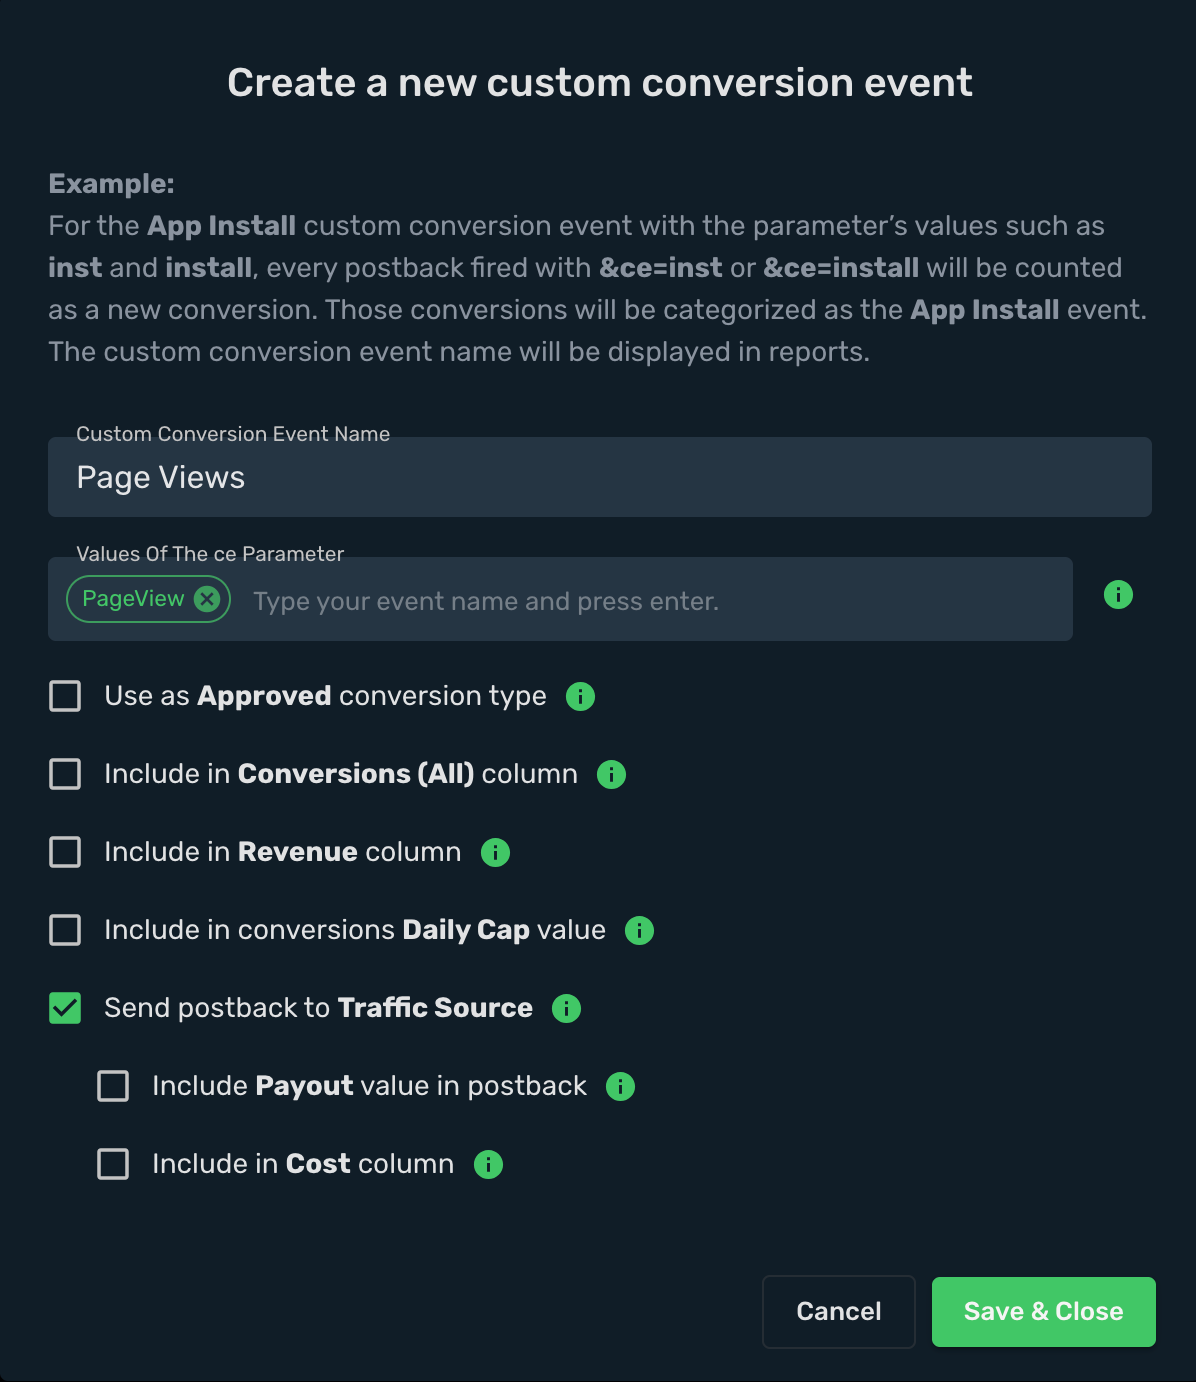
6. Create an event called **ViewContent**.
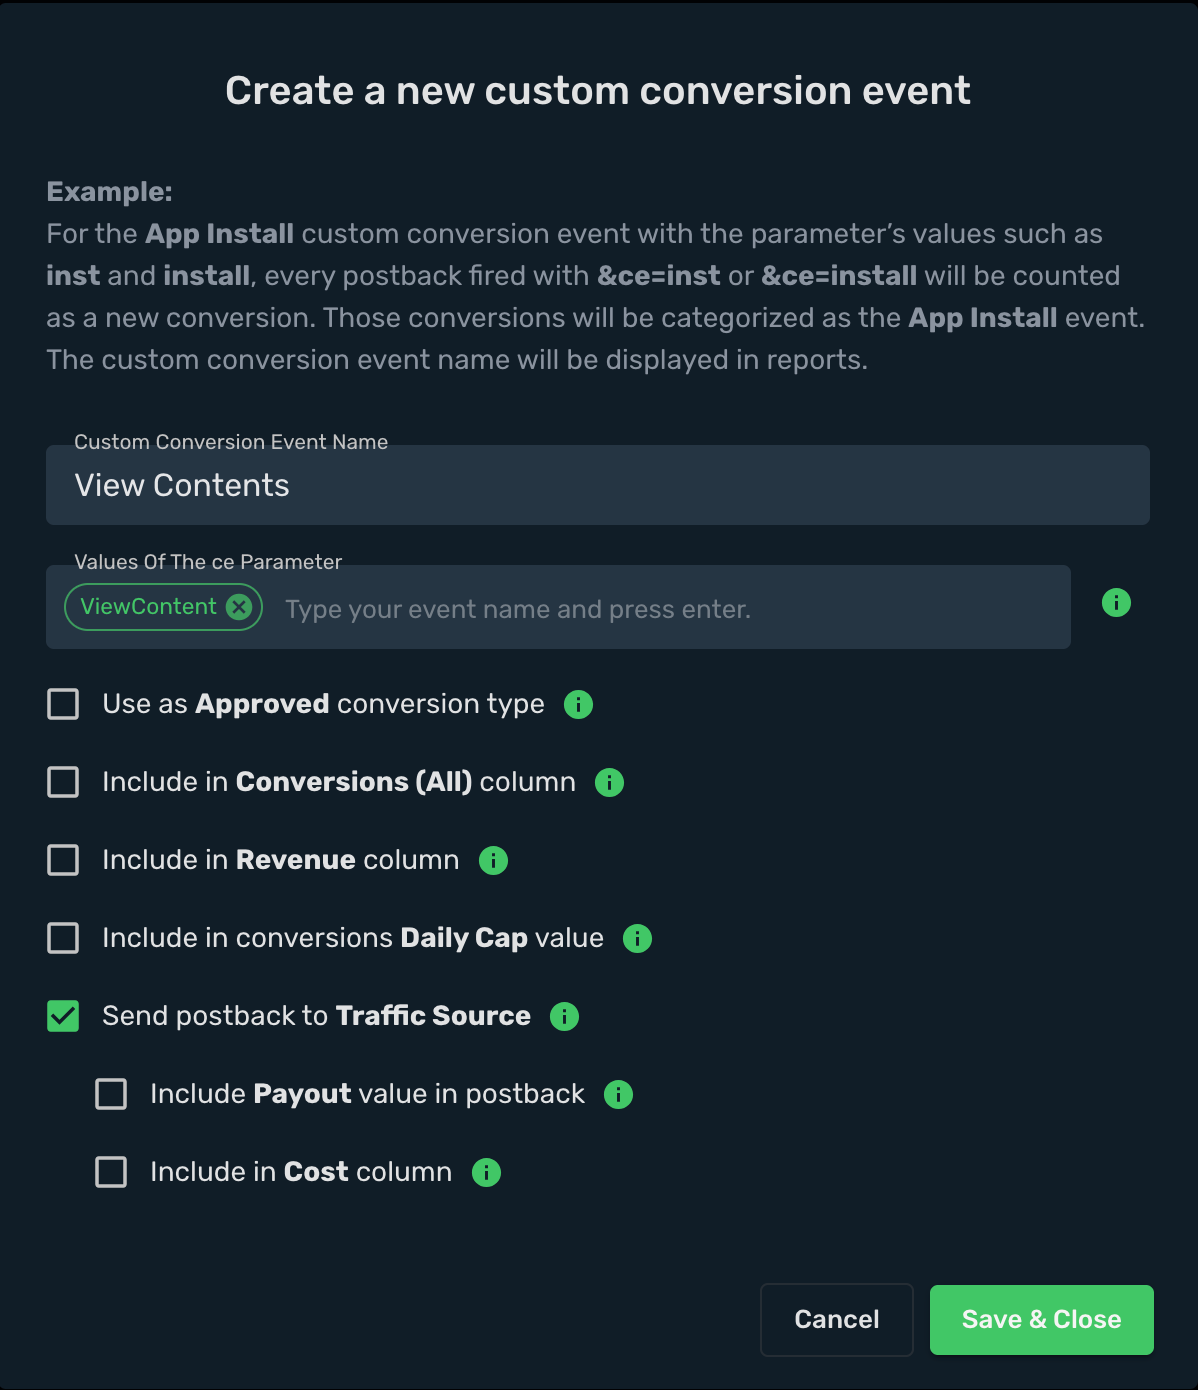
You can use different event names if your traffic source requires them. For example, instead of **Purchase** you might use **sale**. Keep in mind that event names are case-sensitive and must match exactly in both Skro and your traffic source.
## Step 2. Add Shopify integration [#step-2-add-shopify-integration]
1. Go to **Settings** → **Integrations** in Skro.
2. In the **Revenue Sync** section, click **Add**.
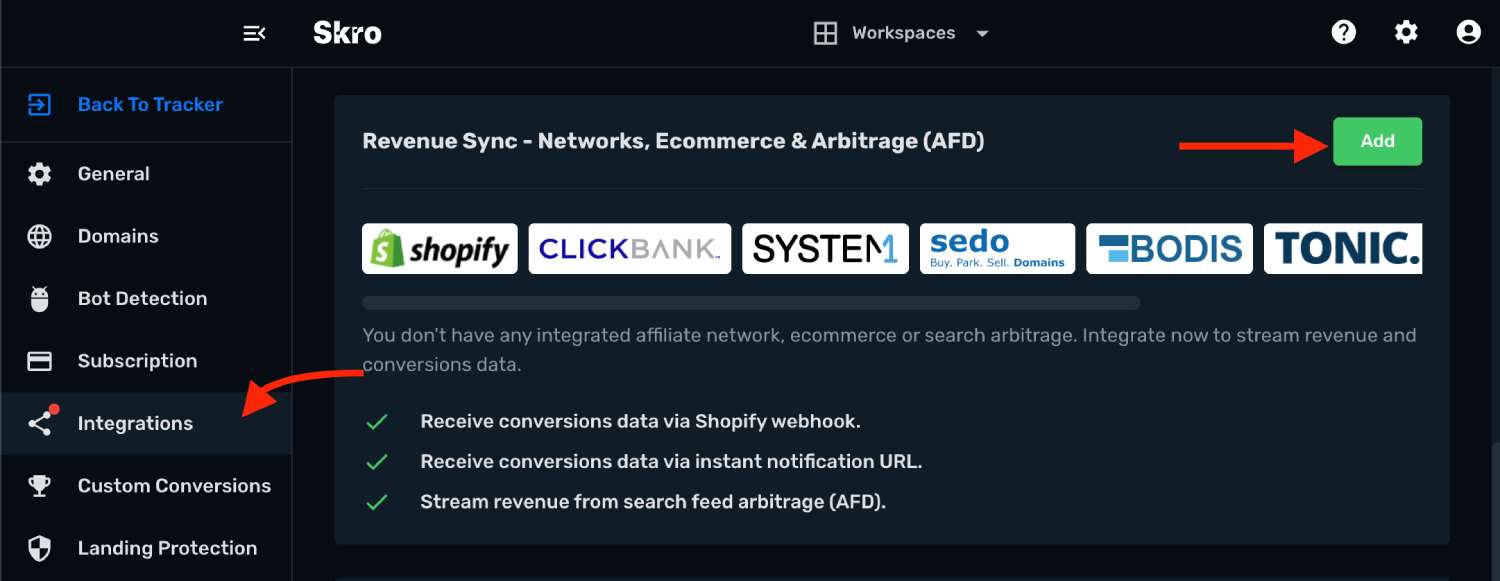
3. Click the **Shopify** template. The integration form will open.
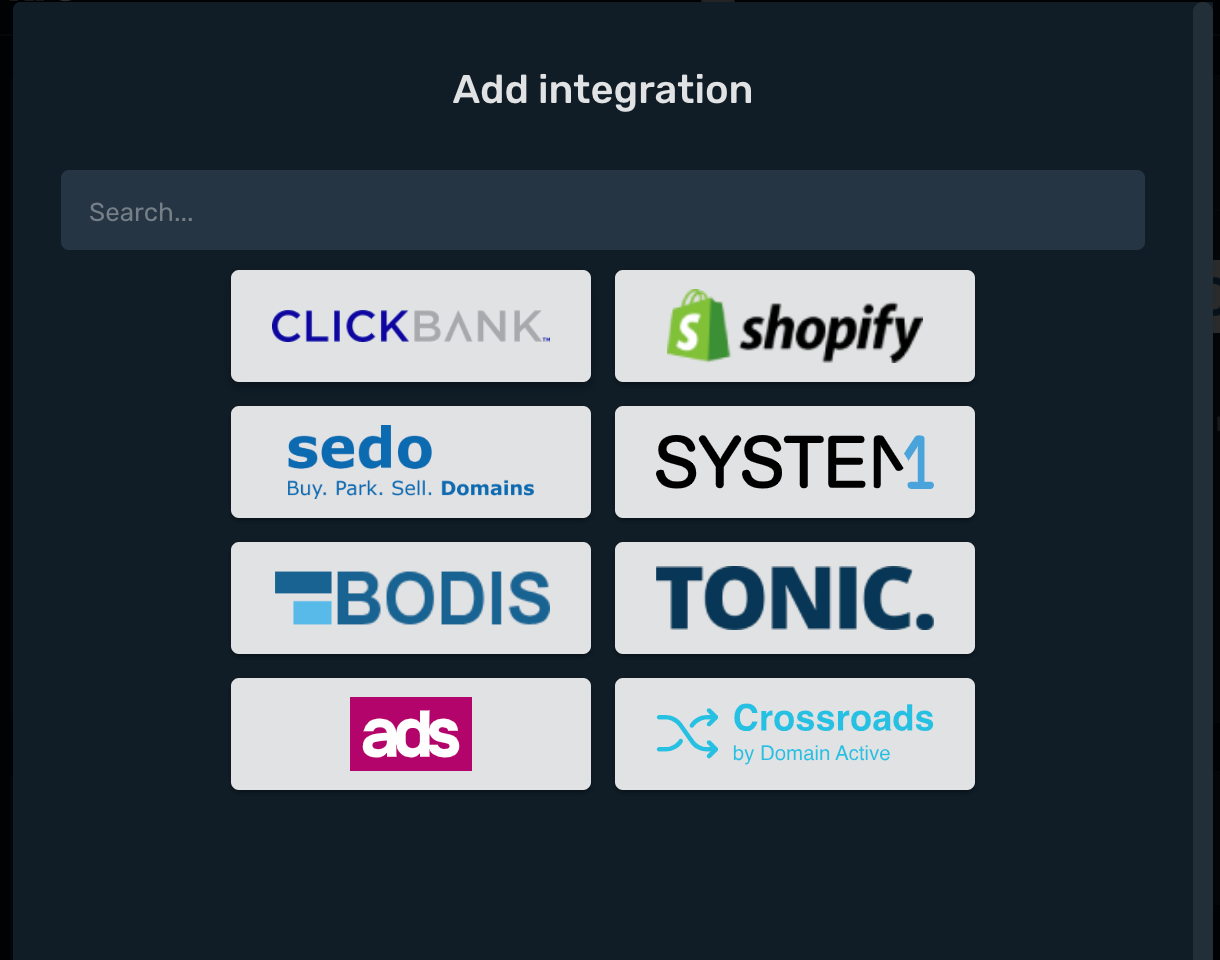
4. Enter your Shopify store name.
5. Enter your **Shop ID**. You can find it in your **Shopify admin** → **Settings**. It looks like this: **xxxxx.myshopify.com**.
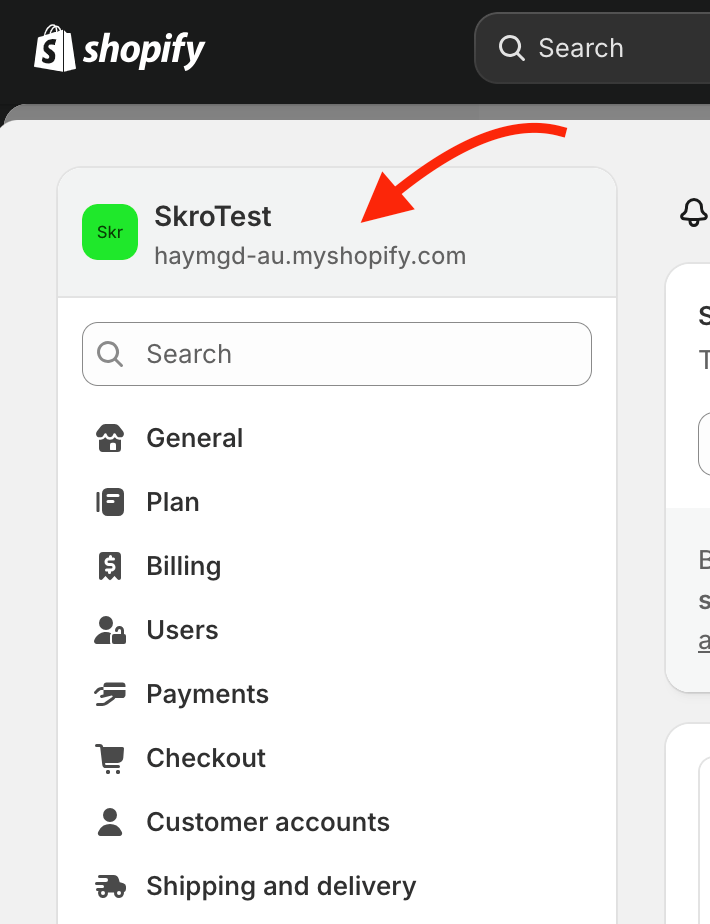
6. Enter your **Shopify Webhook ID**. In your **Shopify admin** go to **Settings → Notifications → Webhooks**, copy your webhook token, and paste it into Skro.
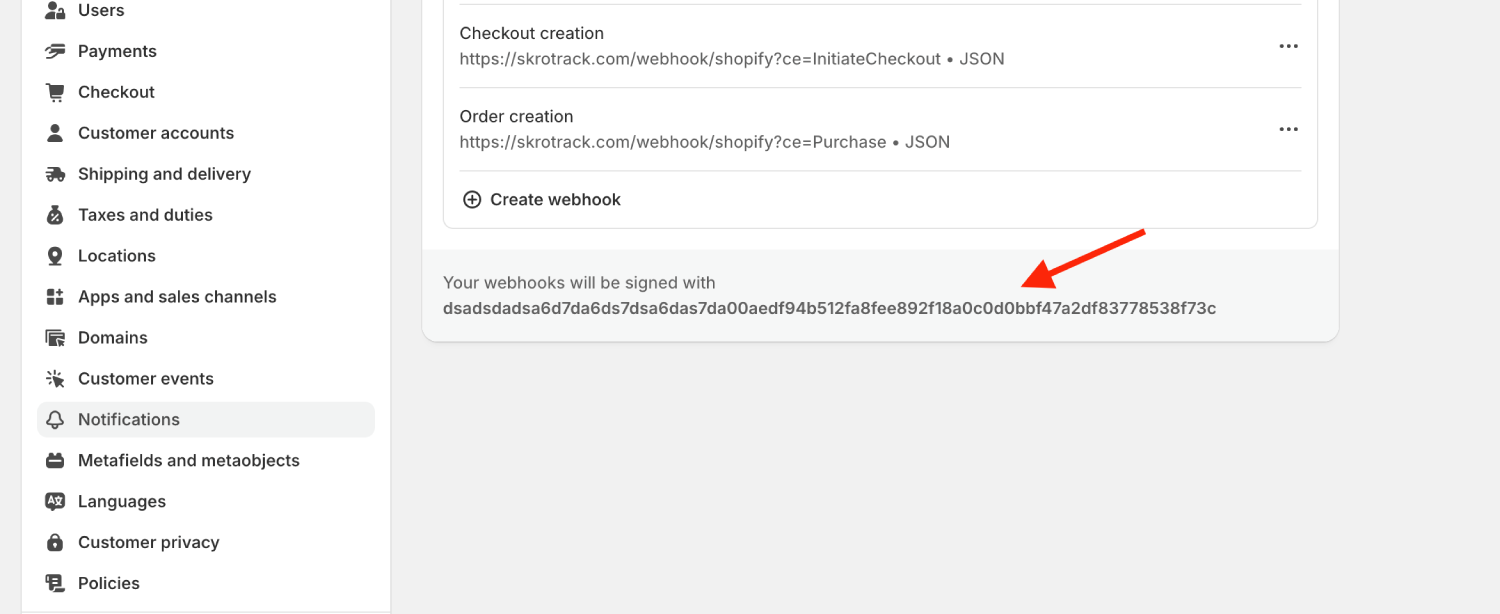
7. When finished, click **Save & Close**.
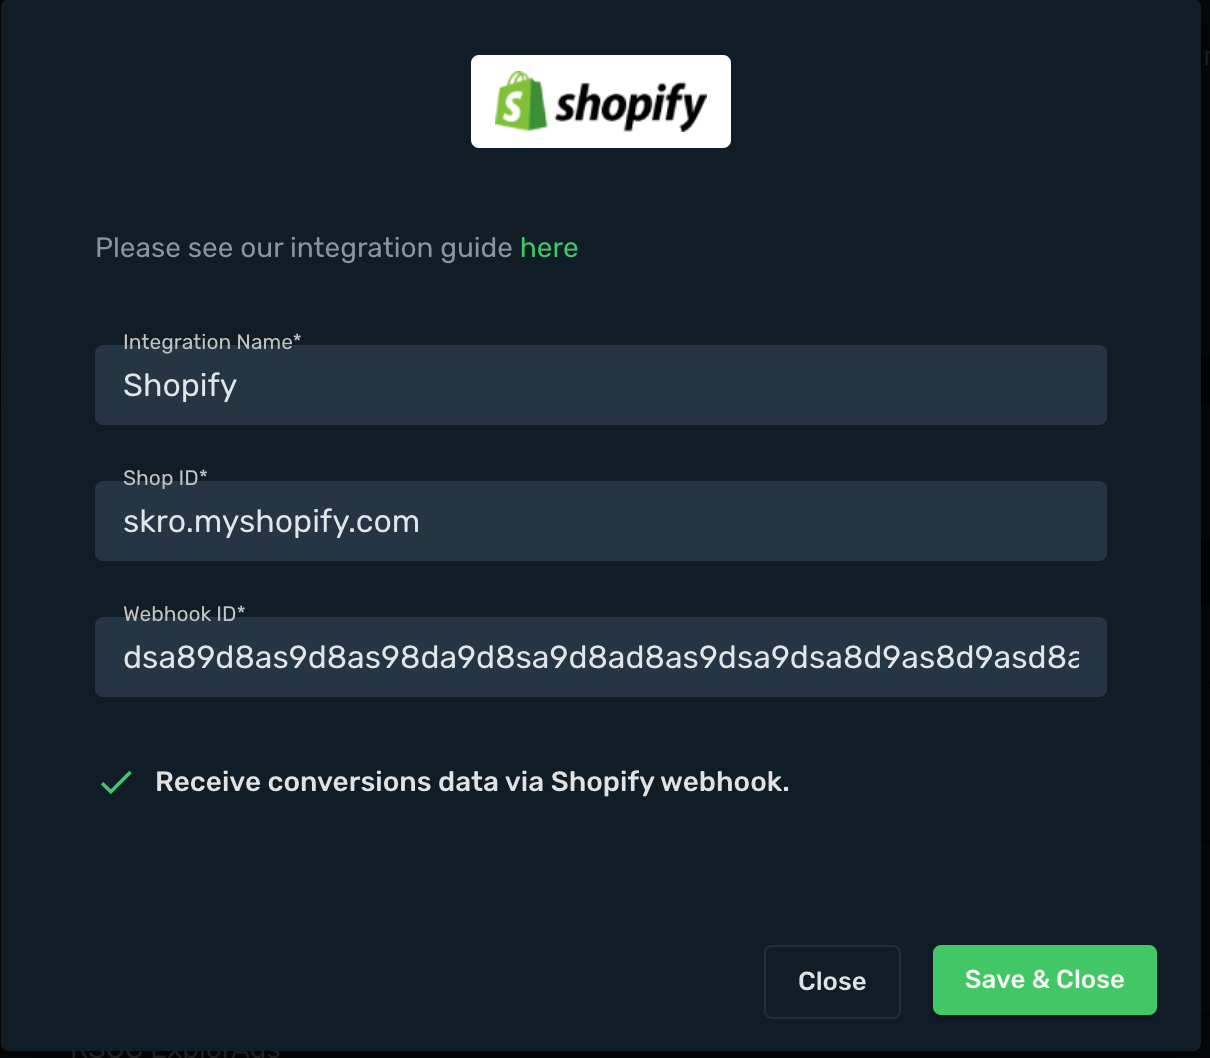
Your Shopify integration is now successfully connected.
## Step 3. Set up Shopify Webhooks [#step-3-set-up-shopify-webhooks]
Choose a supported webhook API version. Shopify versions webhook payloads along with its APIs; see [Shopify API versioning](https://shopify.dev/docs/api/usage/versioning) when reviewing your configuration.
1. Go to your **Shopify admin → Settings → Notifications → Webhooks** and click **Create Webhook**.
2. Create a webhook for **Checkout creation**:
- Event: Checkout creation
- Format: JSON
- URL: https://skrotrack.com/webhook/shopify?ce=InitiateCheckout
- Webhook API version: select a supported version in Shopify
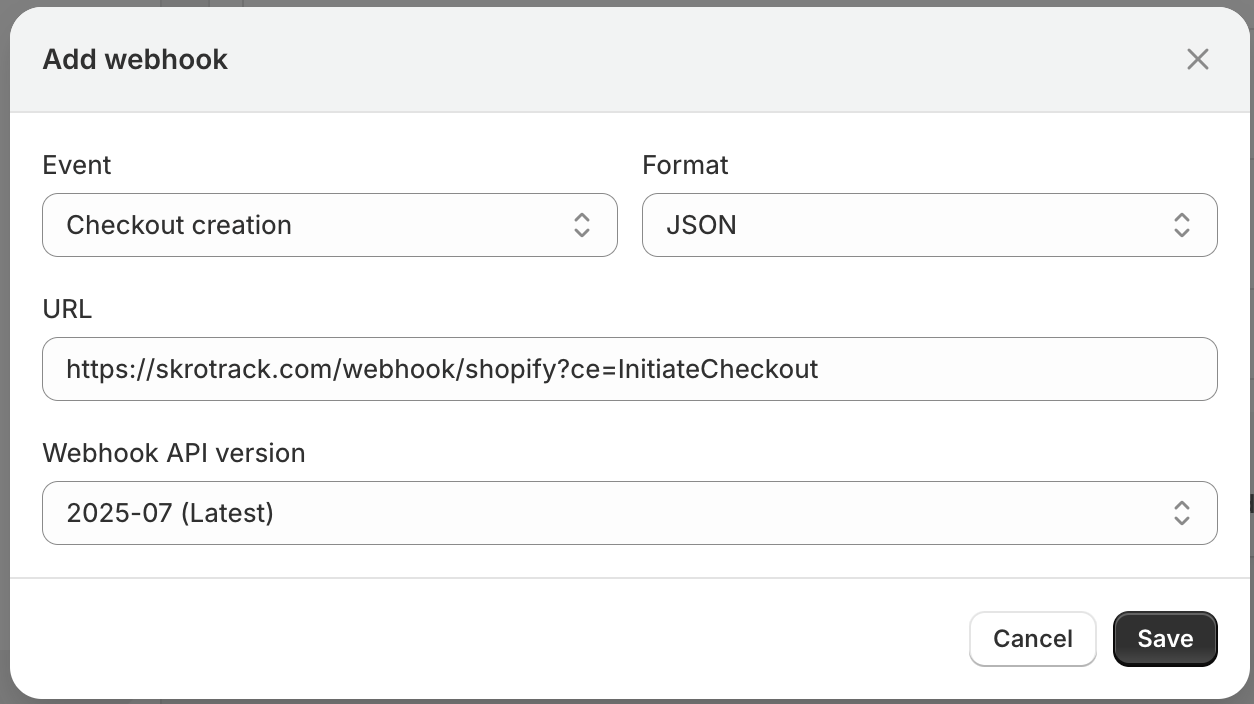
3. Create another webhook for **Order creation**:
- Event: Order creation
- Format: JSON
- URL: https://skrotrack.com/webhook/shopify?ce=Purchase
- Webhook API version: select a supported version in Shopify
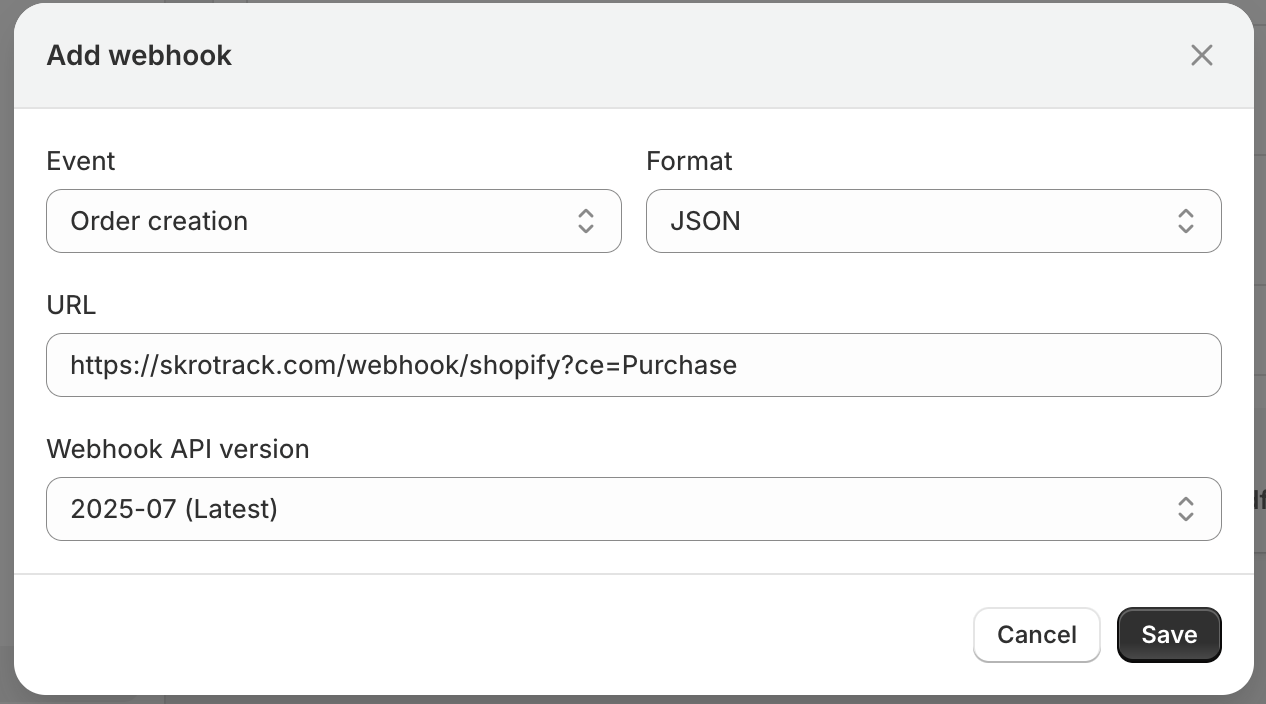
4. (Optional) If you prefer not to use Skro Custom Conversions for the **Purchase** event and instead use a standard postback, configure your webhook like this. The conversion event name will be taken from your campaign (Step 1).

5. Standard postback webhook setup:
- Event: Order creation
- Format: JSON
- URL: https://skrotrack.com/webhook/shopify
- Webhook API version: select a supported version in Shopify
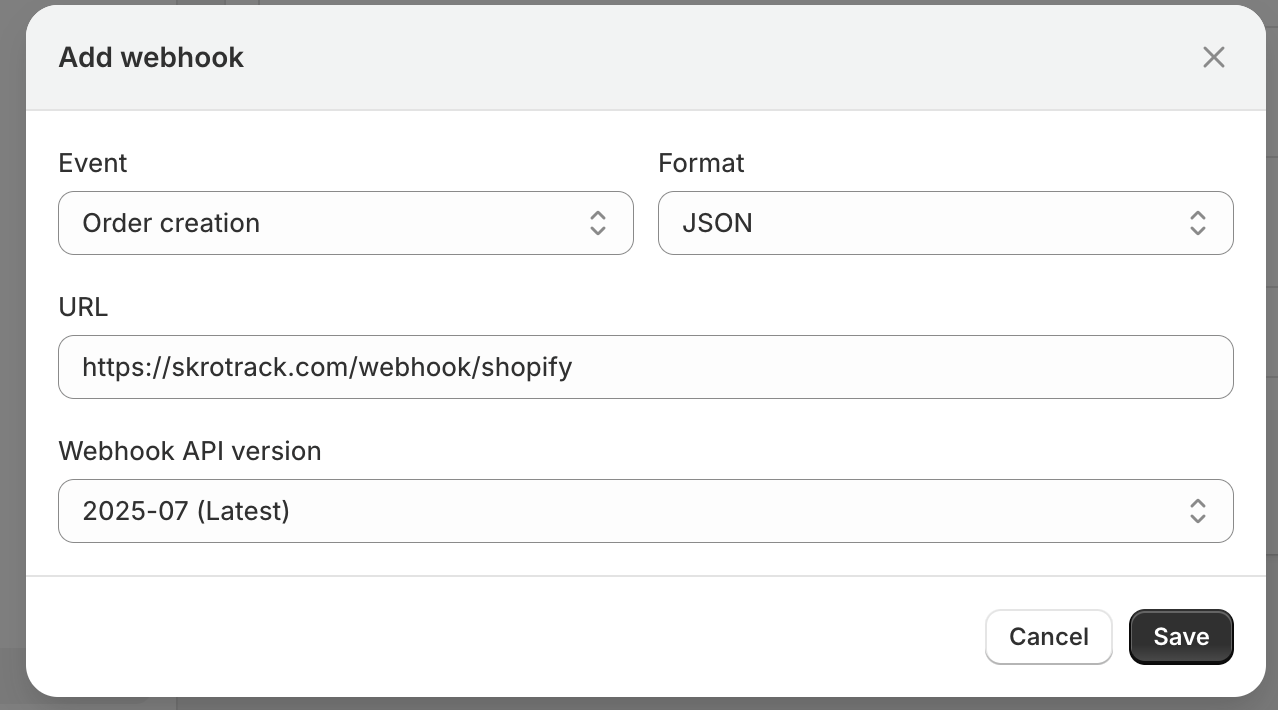
You can replace **skrotrack.com** with your own custom tracking domain.
## Step 4. Add custom pixels for other events [#step-4-add-custom-pixels-for-other-events]
### AddToCart Event [#addtocart-event]
You can't track **AddToCart** events with Webhook, that is why it is needed to install custom tracking pixel.
1. Go to your **Shopify admin → Settings → Customer Events** and click **Add custom pixel**.
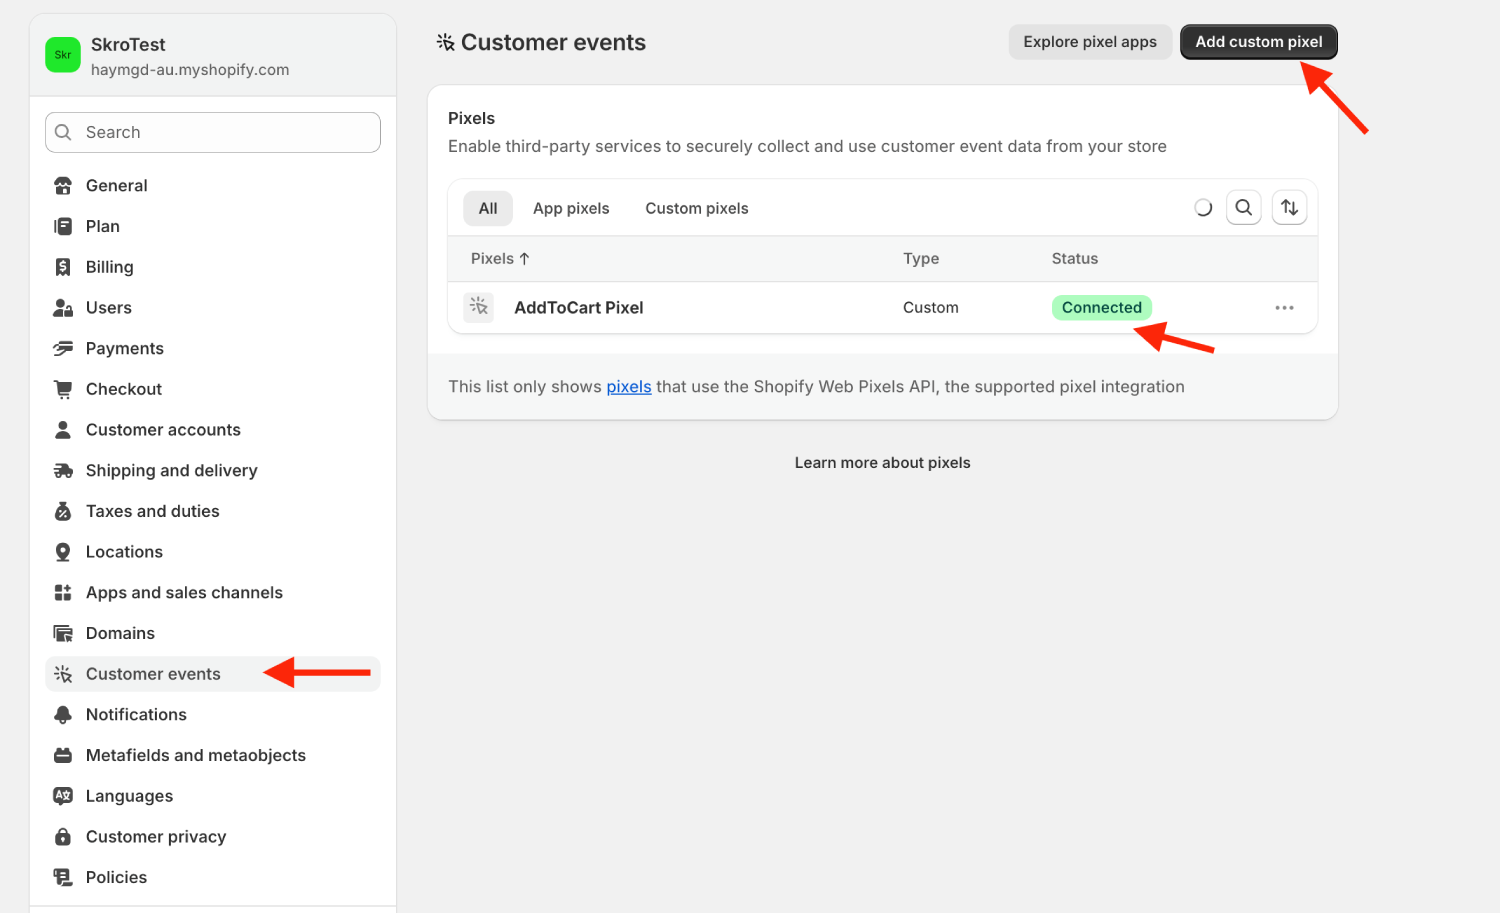
2. Add your pixel name: **Add To Cart Pixel**
3. **Analytics** and **Marketing** needs to be selected.
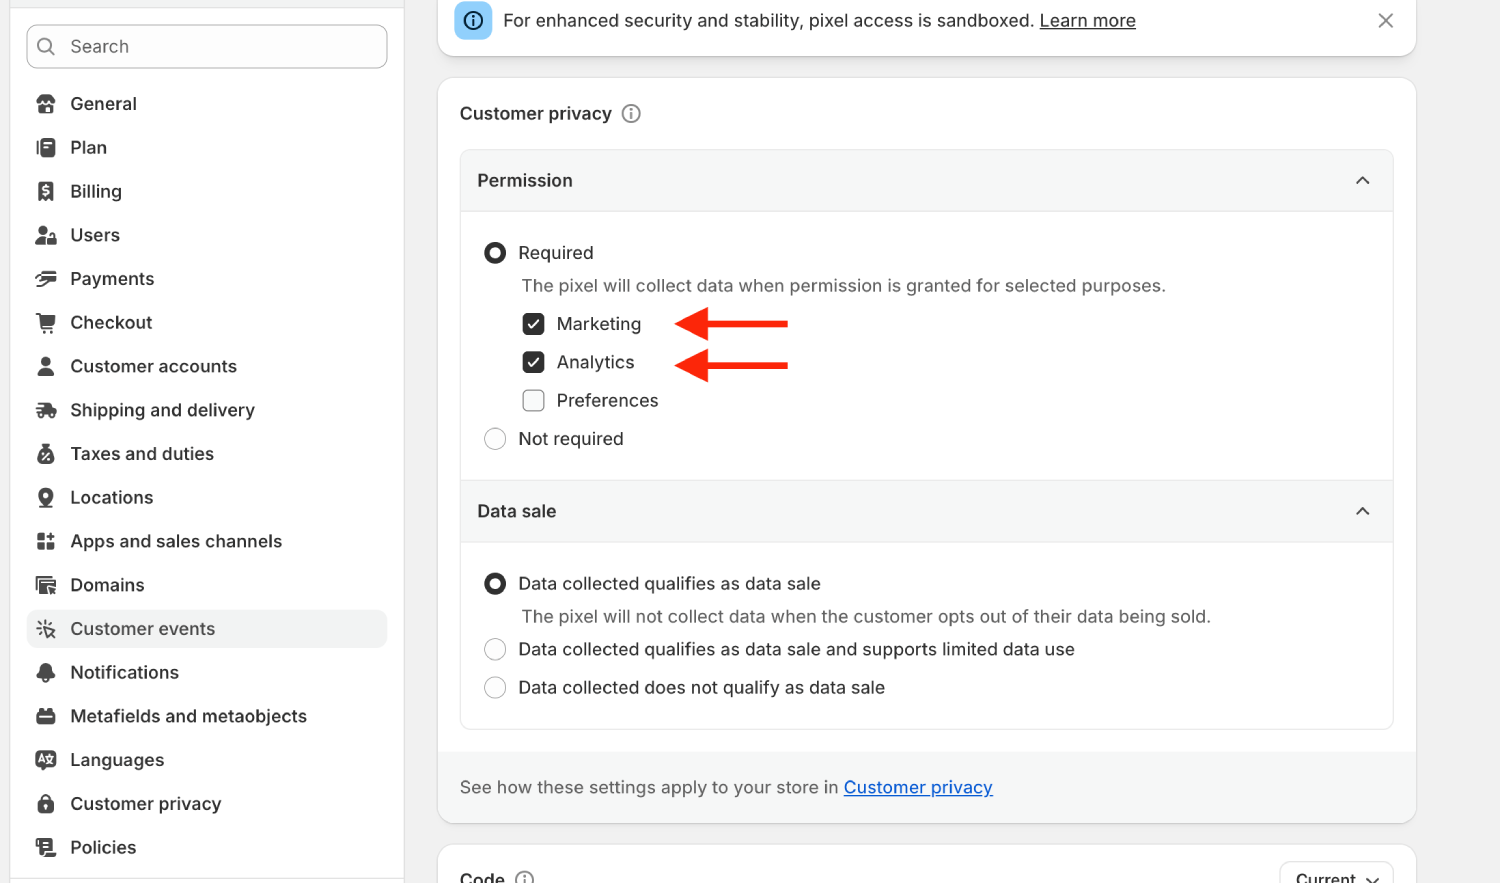
4. Place the custom tracking pixel code to track **Add To Cart** events.
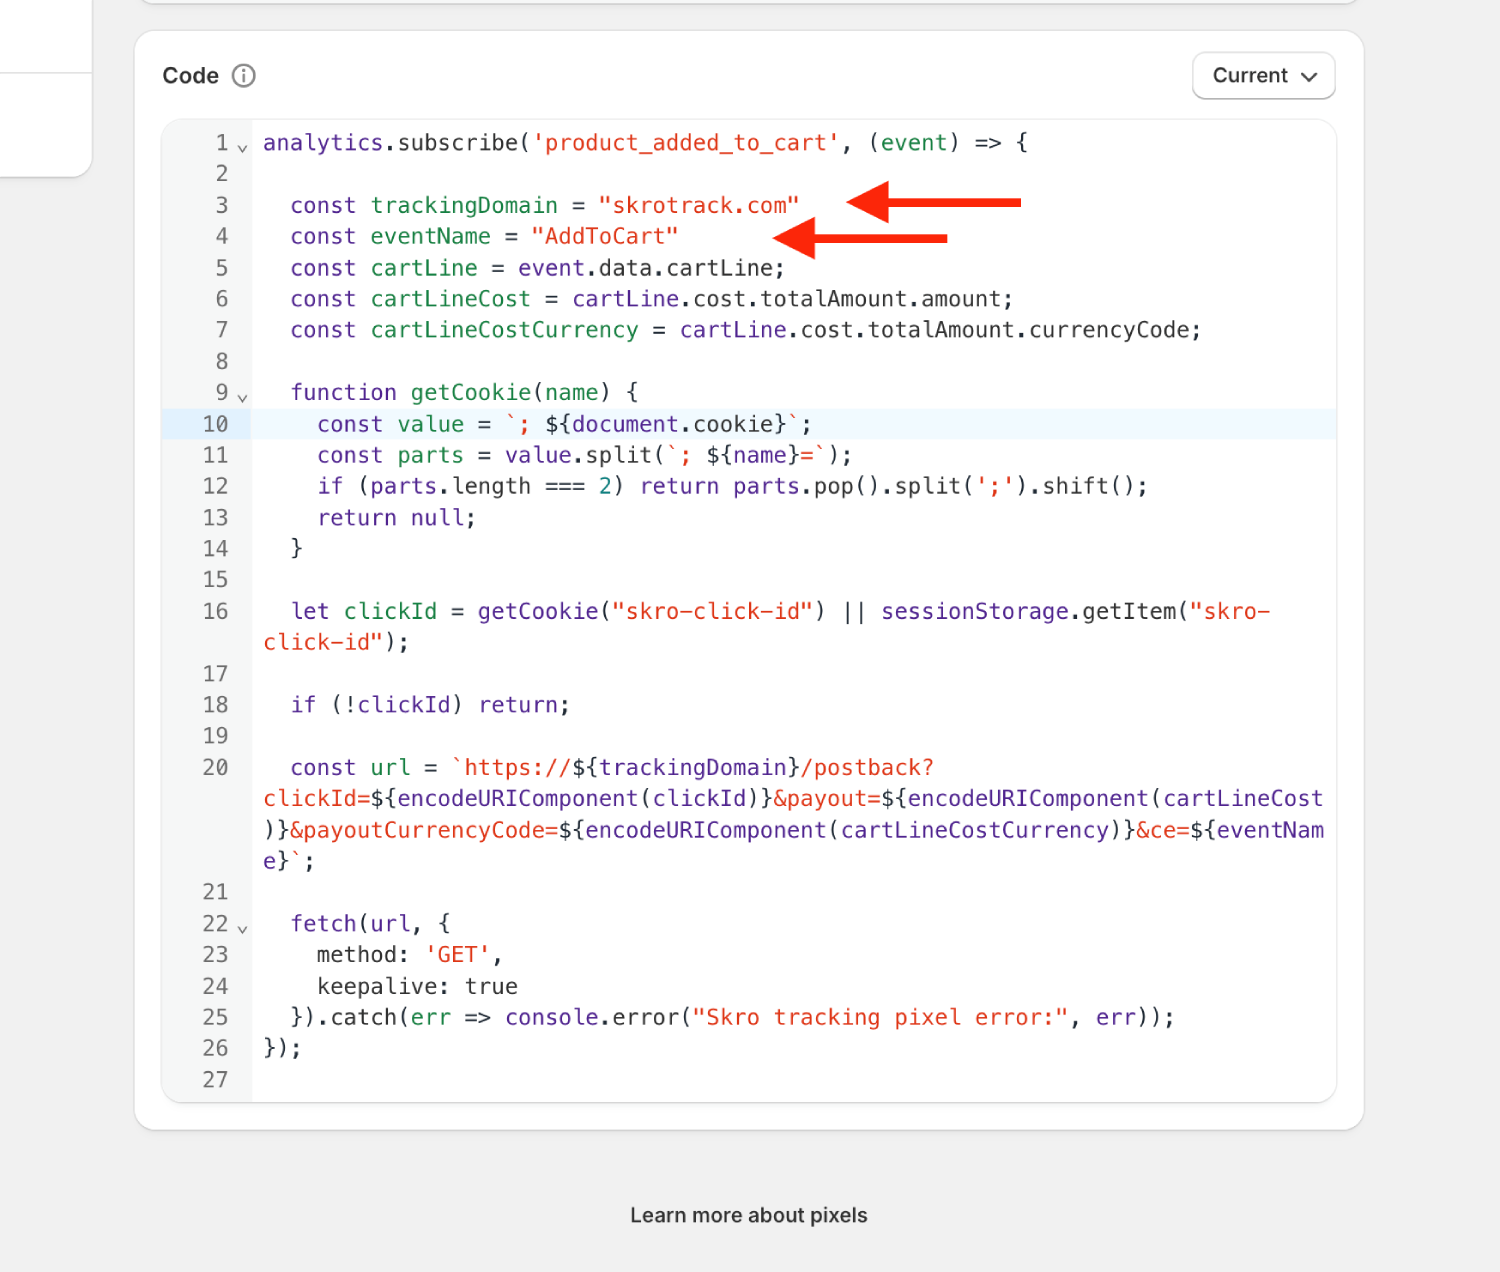
5. Copy the pixel code. You can use your own custom tracking domain and if your event name is different, then change it.
```javascript
analytics.subscribe('product_added_to_cart', (event) => {
const trackingDomain = "skrotrack.com"
const eventName = "AddToCart"
const cartLine = event.data.cartLine;
const cartLineCost = cartLine.cost.totalAmount.amount;
const cartLineCostCurrency = cartLine.cost.totalAmount.currencyCode;
function getCookie(name) {
const value = `; ${document.cookie}`;
const parts = value.split(`; ${name}=`);
if (parts.length === 2) {
return parts.pop().split(';').shift();
}
return null;
}
let clickId = getCookie("skro-click-id") || sessionStorage.getItem("skro-click-id");
if (!clickId) {
return;
}
const url = `https://${trackingDomain}/postback?clickId=${encodeURIComponent(clickId)}&payout=${encodeURIComponent(cartLineCost)}&payoutCurrencyCode=${encodeURIComponent(cartLineCostCurrency)}&ce=${eventName}`;
fetch(url, {method: 'GET', keepalive: true}).catch(err => console.error("Skro tracking pixel error:", err));
});
```
6. Click **Save** and **Connect** this pixel with your store.
### PageView event [#pageview-event]
1. Add new pixel with name: **Page View Pixel**
2. Copy the pixel code. You can use your own custom tracking domain and if your event name is different, then change it.
```javascript
analytics.subscribe('page_viewed', (event) => {
const urlParams = new URLSearchParams(window.location.search);
const clickId = urlParams.get('skrocid');
const trackingDomain = "skrotrack.com"
const eventName = "PageView"
if (!clickId) {
return;
}
const url = `https://${trackingDomain}/postback?clickId=${encodeURIComponent(clickId)}&ce=${eventName}`;
fetch(url, {method: 'GET',keepalive: true}).catch(err => console.error("Skro tracking pixel error:", err));
});
```
3. Click **Save** and **Connect** this pixel with your store.
### ViewContent event [#viewcontent-event]
1. Add new pixel with name: **View Content Pixel**
2. Copy the pixel code. You can use your own custom tracking domain and if your event name is different, then change it.
```javascript
analytics.subscribe('product_viewed', (event) => {
const urlParams = new URLSearchParams(window.location.search);
let clickId = urlParams.get('skrocid');
const productTitle = event?.data?.productVariant?.product?.title || "Unknown product name";
const trackingDomain = "skrotrack.com"
const eventName = "ViewContent"
function getCookie(name) {
const value = `; ${document.cookie}`;
const parts = value.split(`; ${name}=`);
if (parts.length === 2) {
return parts.pop().split(';').shift();
}
return null;
}
if (!clickId) {
clickId = getCookie("skro-click-id") || sessionStorage.getItem("skro-click-id");
}
if (!clickId){
return;
}
const url = `https://${trackingDomain}/postback?clickId=${encodeURIComponent(clickId)}&ce=${eventName}&p1=${encodeURIComponent(productTitle)}`;
fetch(url, {method: 'GET',keepalive: true}).catch(err => console.error("Skro tracking pixel error:", err));
});
```
3. Click **Save** and **Connect** this pixel with your store.
## Step 5. Create a Campaign in Skro [#step-5-create-a-campaign-in-skro]
1. In Skro, go to the **Affiliate Networks** view, click **Create**, select **Shopify**, and fill in the details.
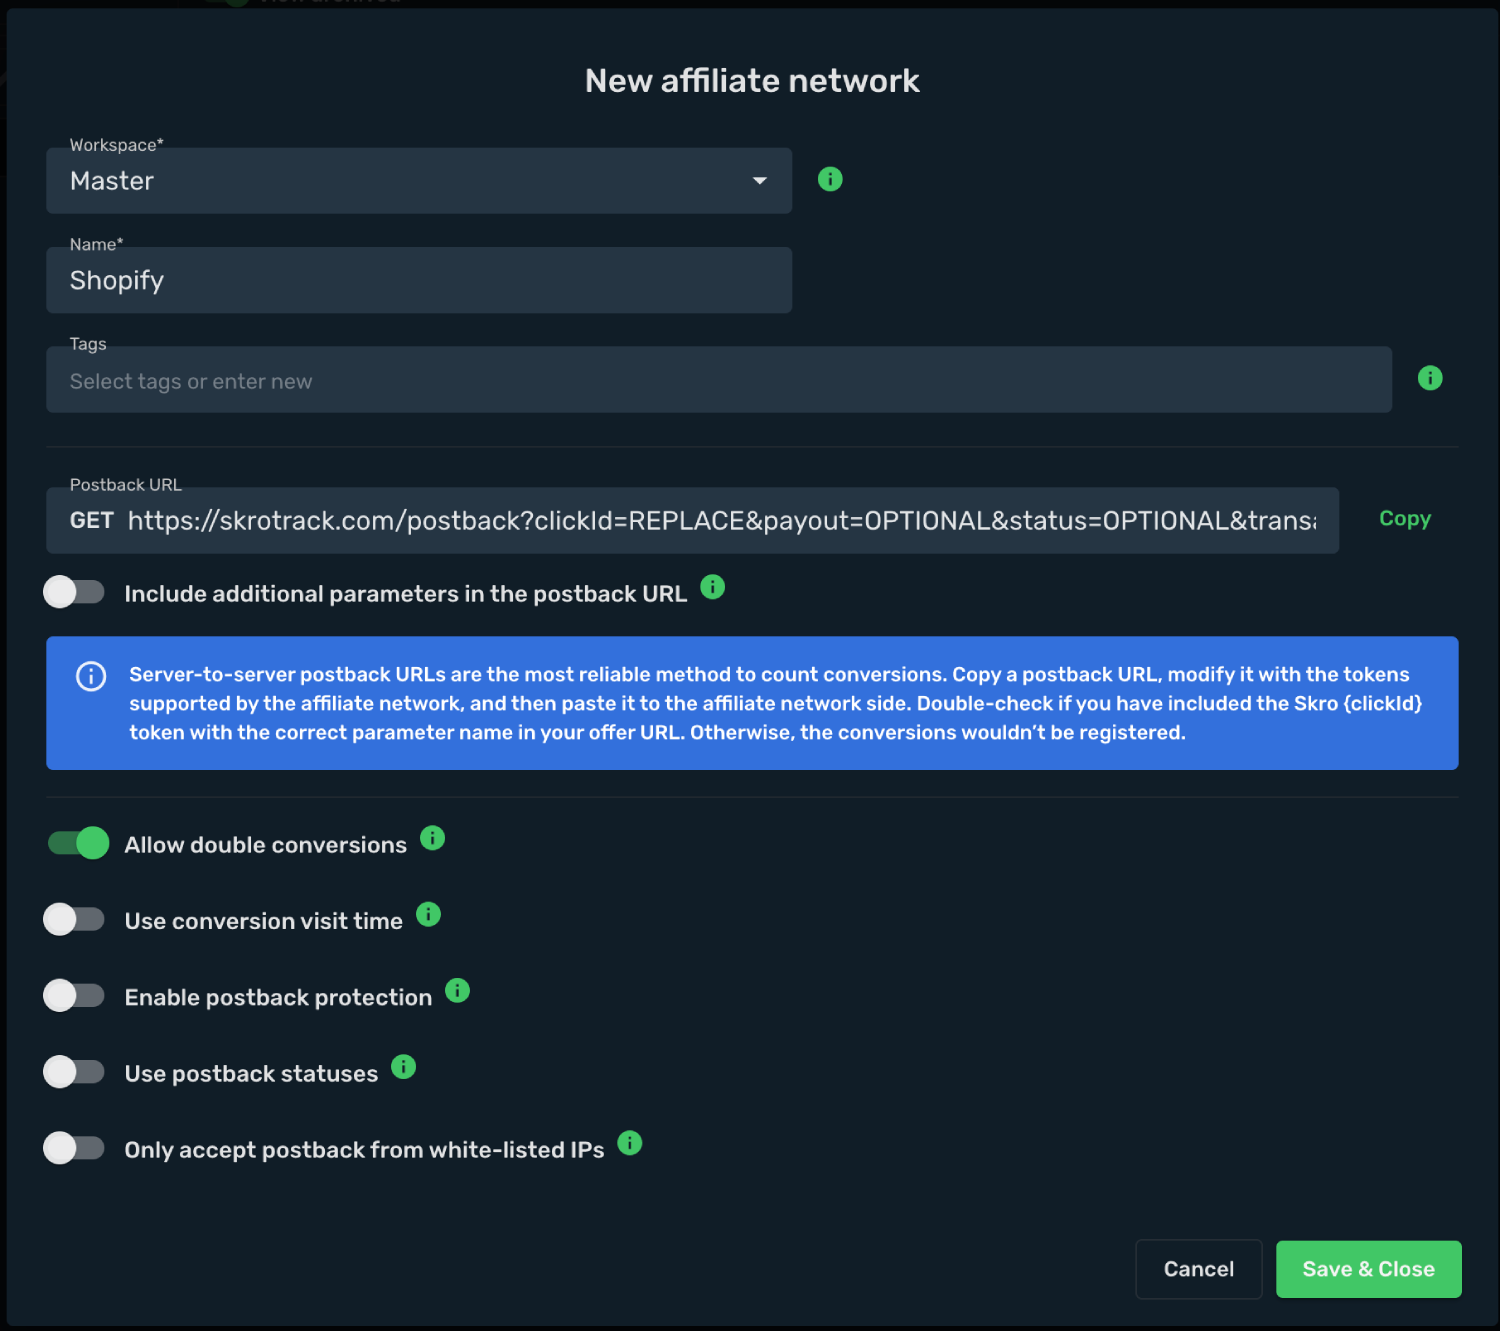
2. Add your store as an offer. Go to the **Offers** view, click **Create**, and enter your Shopify store details.
3. Select a workspace.
4. Enter a name for your store.
5. Enter your store URL with the Skro Click ID parameter: **`?skrocid={clickId}`**
`https://skro.myshopify.com/?skrocid={clickId}`
6. Select **Shopify** as the affiliate network.
7. Click **Save & Close**.
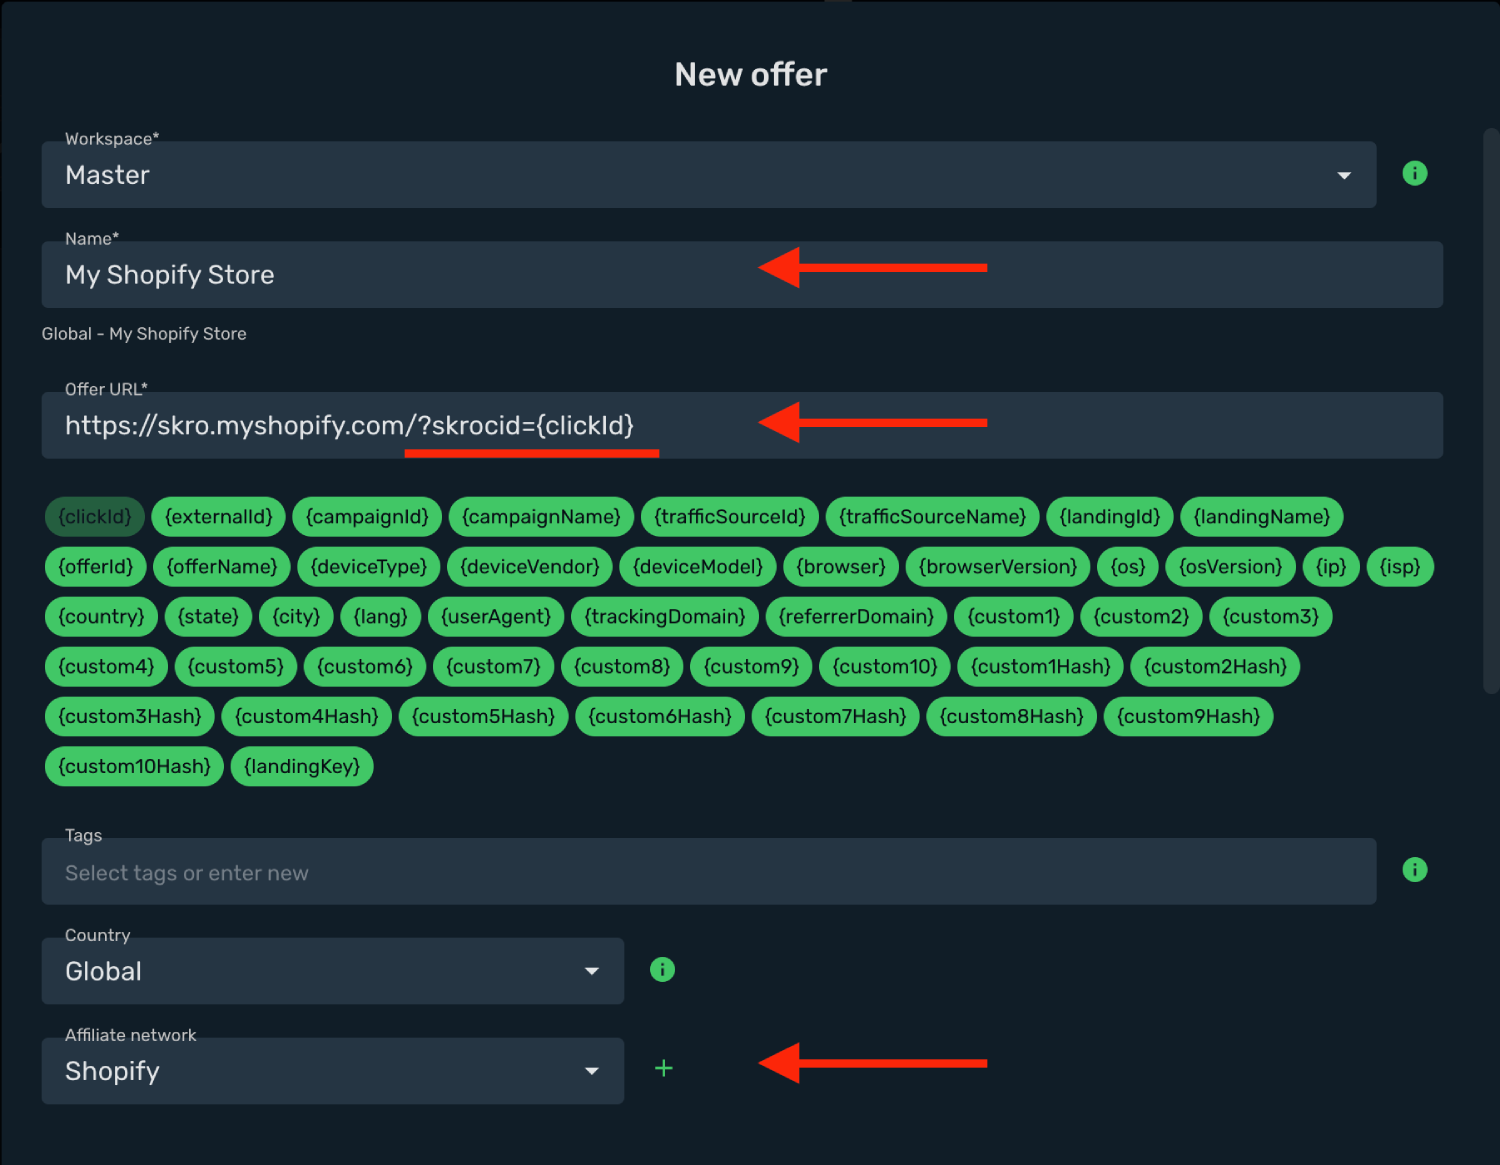
8. (Optional) If you use a pre-lander, go to the **Landings** view, click **Create**, and add your landing page.
9. Navigate to the **Ads Manager** view and click **Create**.
10. Select your integrated **Traffic Source** (e.g. Facebook).
11. Select your **Conversion Event Name**. This must match exactly (case-sensitive) between Skro and your traffic source.
12. Select your **Conversion Pixel**. This is required for sending conversion data back to your traffic source.
13. Set **Cost Model** to **Auto**.
14. Select your cost currency.
15. Click **Next**.

16. Choose a workspace.
17. Add a descriptive campaign name.
18. Click **Next**.

19. Choose your **Destination Type** (in this example: **flow**).
20. Select your redirect mode (in this example: **302 redirect**).
21. Select your landing setup (in this example: **use only offers**).
22. Select your offer (your Shopify store).
23. Click **Save**.

24. Choose your tracking method: **Shopify Redirect** or **Shopify Direct**. (In this example we use **Shopify Redirect**.)
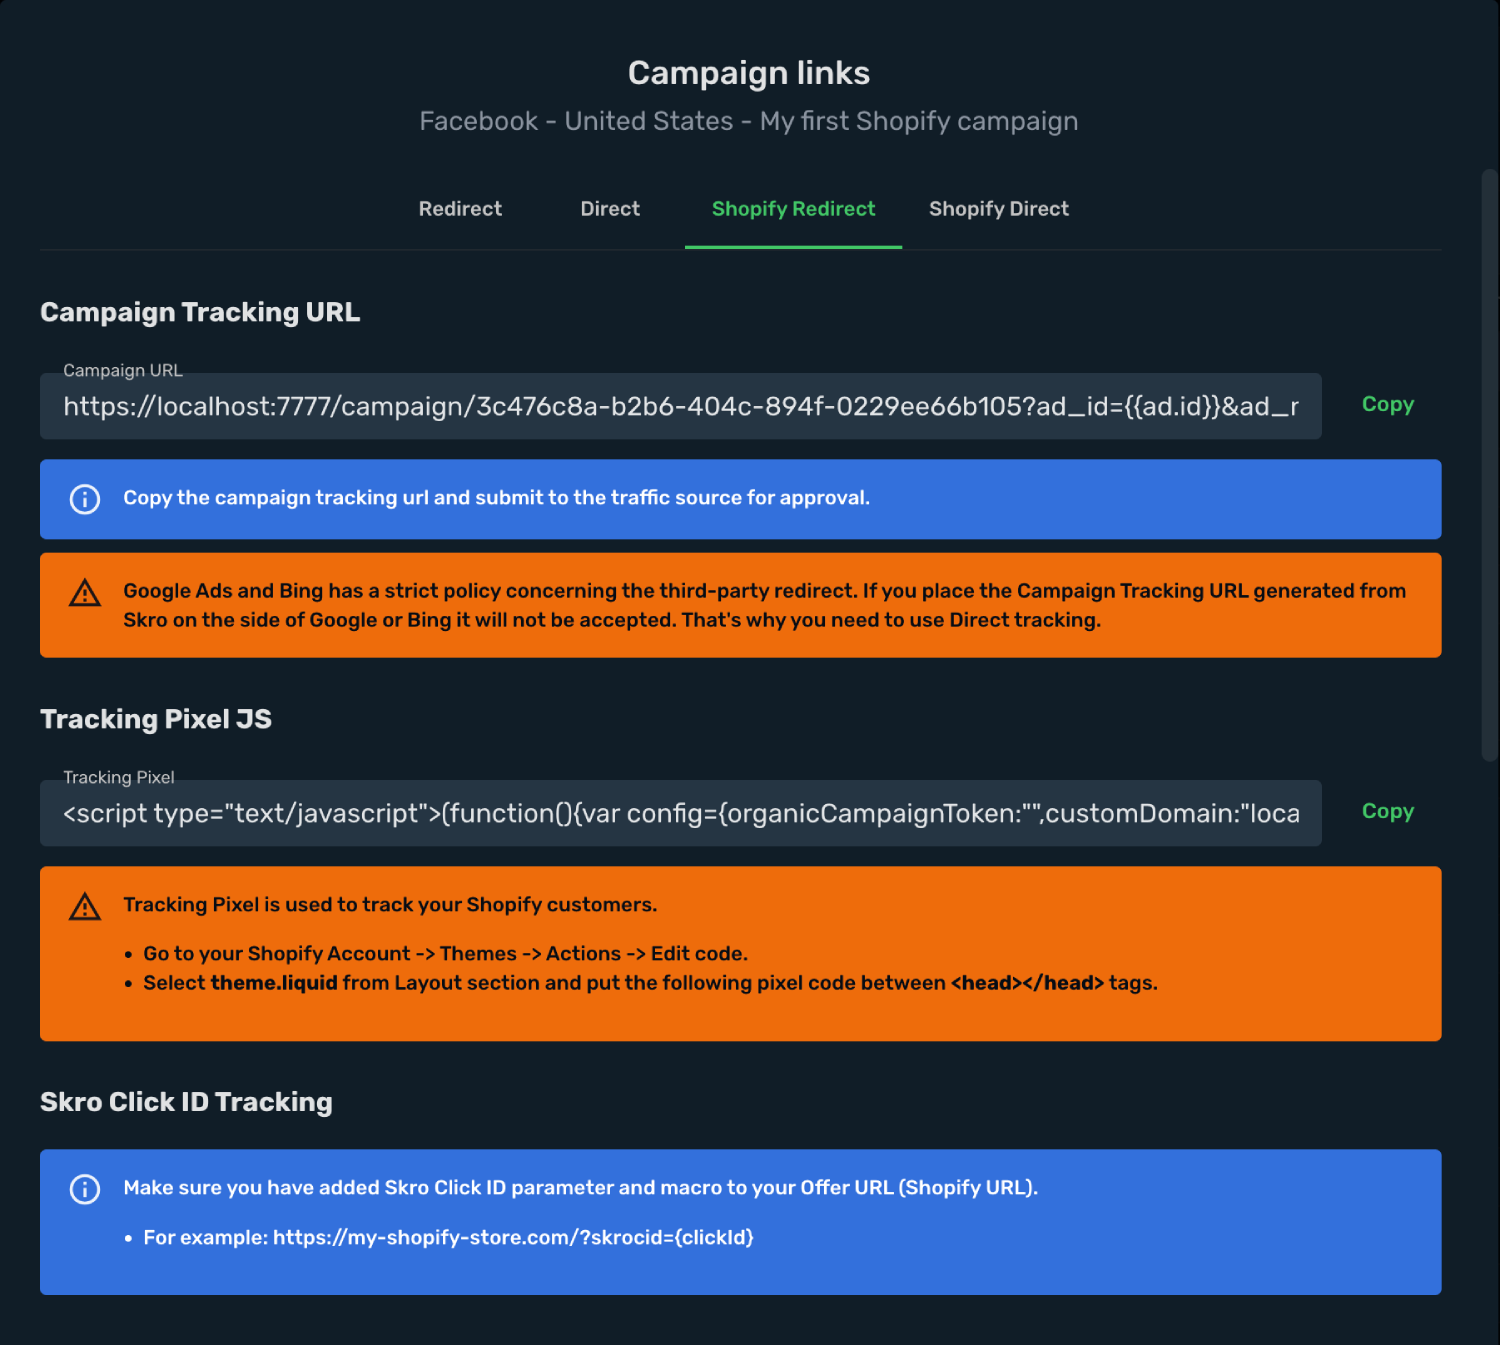
25. Copy your Skro **Tracking Pixel JS** and return to Shopify Admin.
26. In Shopify admin, go to **Themes → Actions → Edit Code**.
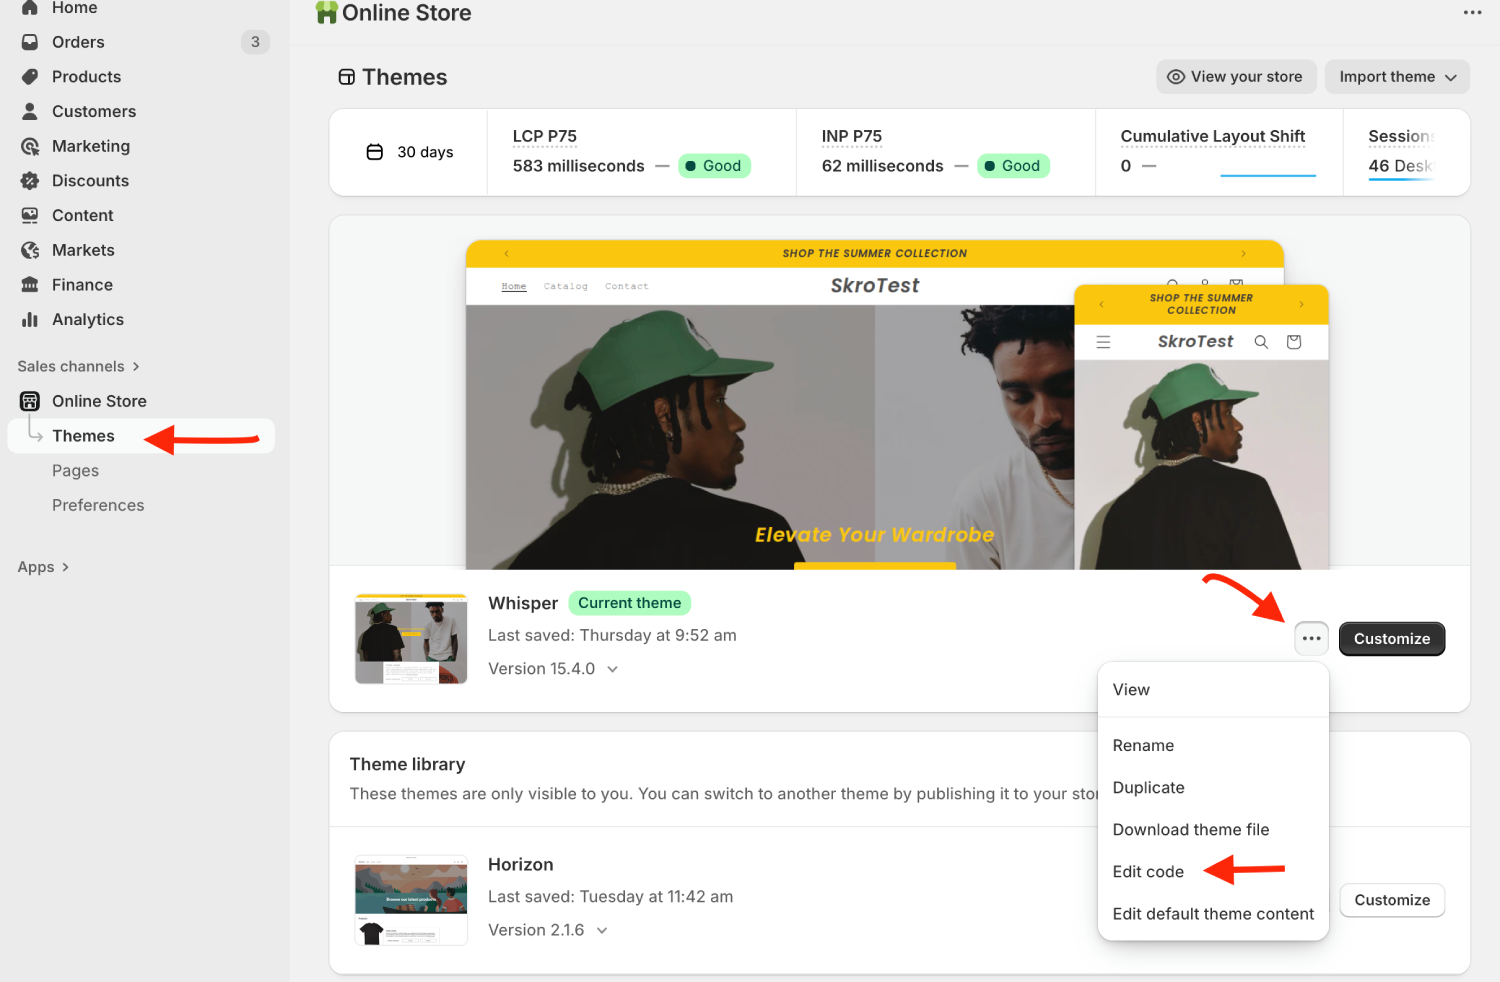
27. Open the **theme.liquid** file.
28. Paste the Skro tracking pixel inside the `` section.
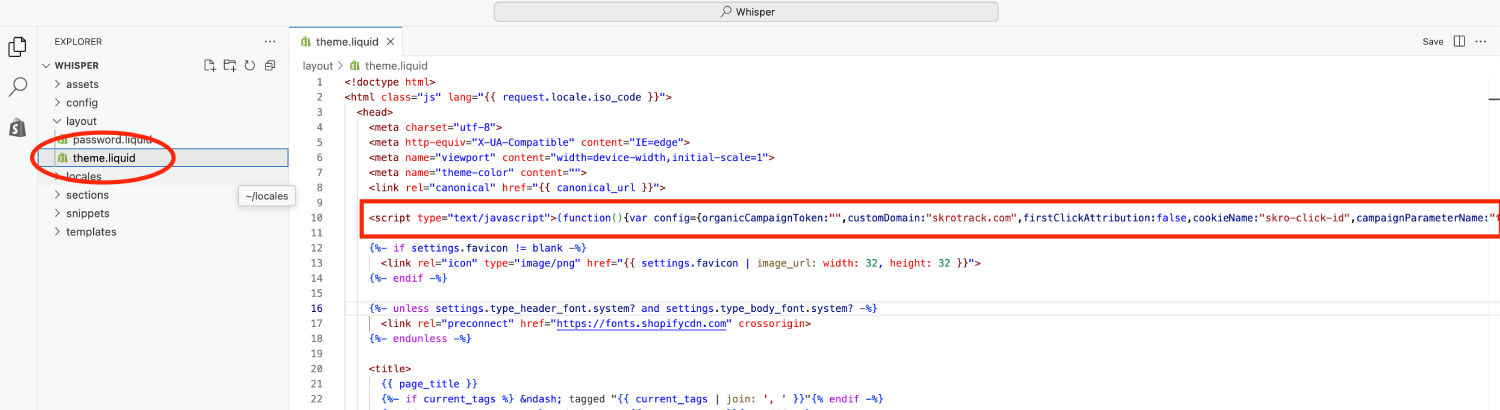
Your Shopify integration is complete! You can now use the Skro Campaign Tracking URL in Facebook Ads (or any other traffic source). Remember: all traffic must go through your Skro campaign link, otherwise the tracking will not work.
## Step 6. Track Shopify Organic Traffic [#step-6-track-shopify-organic-traffic]
1. In **Skro**, go to **Ads Manager** and duplicate your existing campaign.
2. Create a new traffic source named **Organic**.
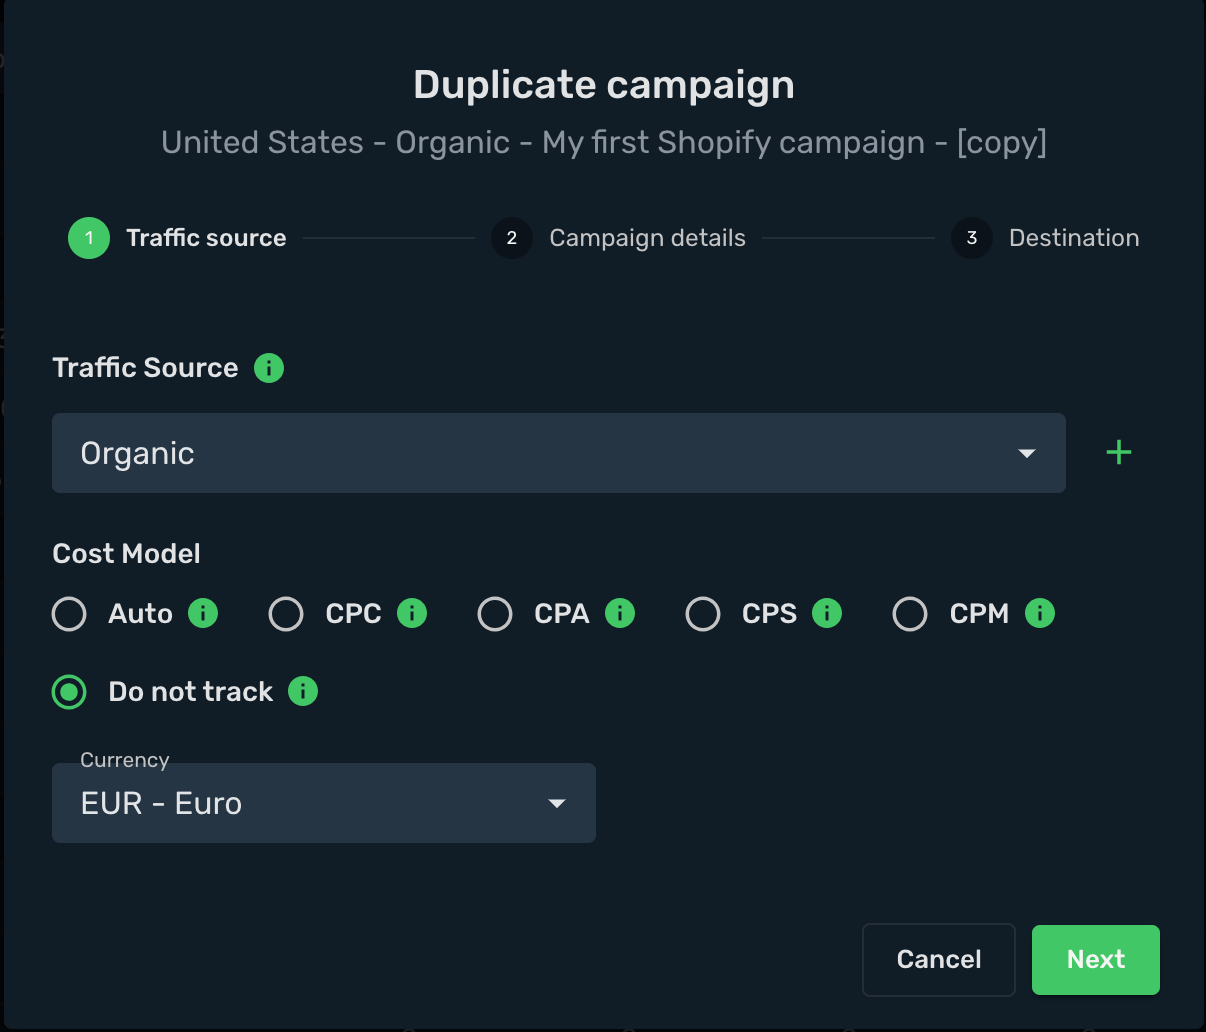
3. Select your store as the offer and click **Save**.

4. Choose **Shopify Direct** and select your **Store** from **Offer URL** dropdown menu.
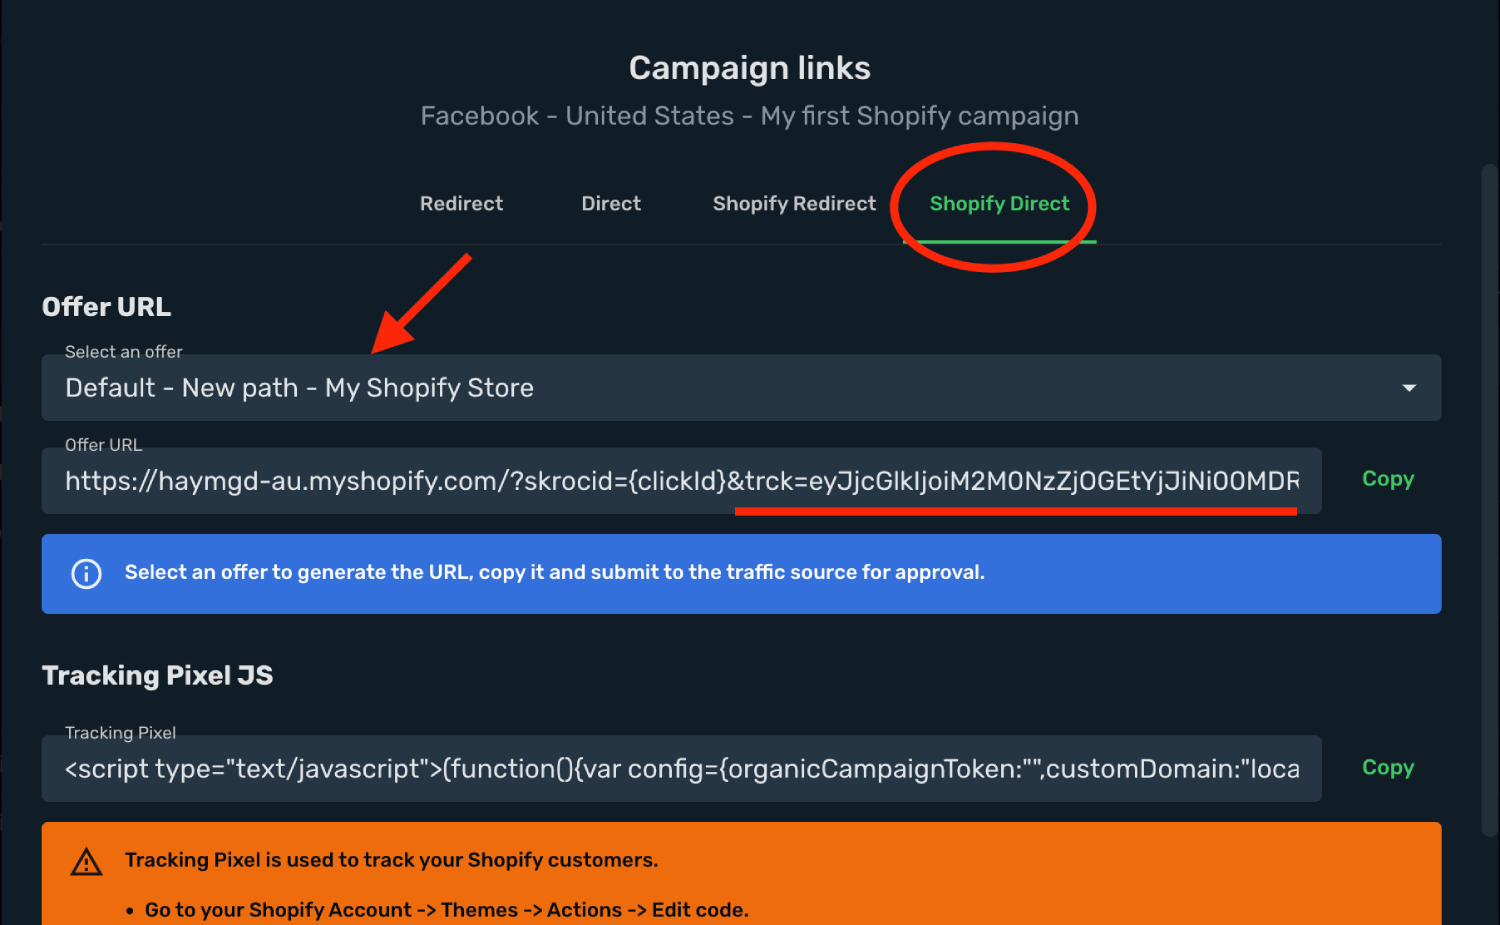
Here’s an example of a tracking link for an organic campaign:
```text
https://skro.myshopify.com/?skrocid={clickId}&trck=eyJjcGlkIjoiM2M0NzZjOGEtYjJiNi00MDRjLTg5NGYtMDIyOWVlNjZiMTA1IiwiciI6MCwicCI6MCwibyI6MH0=&ad_id={{ad.id}}&ad_name={{ad.name}}&adset_id={{adset.id}}&adset_name={{adset.name}}&campaign_id={{campaign.id}}&campaign_name={{campaign.name}}&placement={{placement}}&site_source_name={{site_source_name}}
```
The important part is the **trck** parameter value. In this example it looks like:
eyJjcGlkIjoiM2M0NzZjOGEtYjJiNi00MDRjLTg5NGYtMDIyOWVlNjZiMTA1IiwiciI6MCwicCI6MCwibyI6MH0=
5. Copy this **trck** parameter value. Then, in your **Shopify admin → Theme → Actions → Edit Code**, open **theme.liquid**.
6. At the top of your Skro tracking pixel, find the config parameter named **organicCampaignToken** and paste the copied token value there.
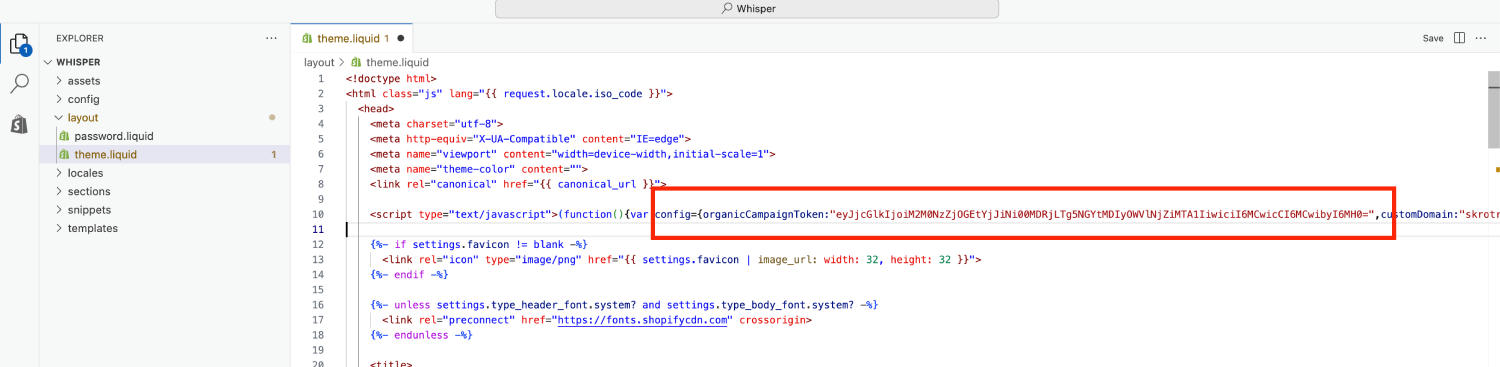
## Verify the setup [#verify-the-setup]
Follow a campaign link and complete a test conversion using your provider’s test workflow. Confirm that the original click ID reaches the provider and is returned to Skro, then check the event and revenue in your campaign report.
If data is missing, check the selected workspace, integration, campaign, and reporting date range. Compare parameter names and macro values with the examples in this guide before repeating the test.
## Related guides [#related-guides]
# SmartNews integration
Source: https://skro.eu/docs/integrations/smartnews-and-skro
Set up SmartNews tracking in Skro, configure traffic source parameters, and connect your advertising campaigns.
SmartNews is a Japan‑based news aggregation app founded in 2012 by Ken Suzuki and Kaisei Hamamoto. It delivers personalized, curated news from over 3,000 trusted publishers, using a blend of algorithmic analysis and editorial oversight to surface high-quality stories.Designed for mobile-first consumption, SmartNews pushes breaking news, local alerts, and editor-selected features for a smooth reading experience, with over 400,000 articles delivered daily. The platform is largely ad-supported but also offers premium options like the SmartNews+ subscription service for in-depth content from leading media partners.
SmartNews integration gives you the ability to manage and optimize all your ad campaigns through the Skro interface.
- Sync cost on ad level every 30 min.
- Check delivery status of campaigns, ad groups and ads.
- Pause or resume campaigns, ad groups and ads.
- Change daily budget for campaigns directly from Skro.
- Check the status of your campaigns, ad groups and ads.
- Import dynamic columns like CPM, Link CPC, Link CTR, Impressions, Link EPC and Link Clicks.
In this guide, you will learn how to set up your campaigns in SmartNews and Skro so SmartNews can pass information to Skro and back with a selected tracking method. This guide does not cover all aspects and options available when creating a campaign on these two platforms. Basic knowledge regarding setting up campaigns in SmartNews and Skro is required.
## Manage SmartNews campaigns through the Skro UI [#manage-smartnews-campaigns-through-the-skro-ui]
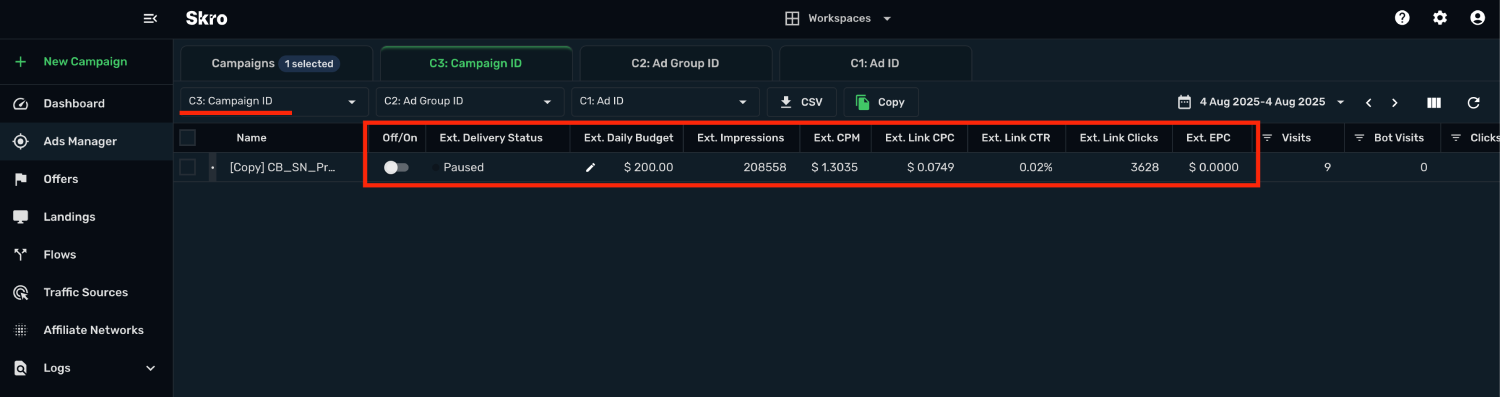
## Manage SmartNews ad groups through the Skro UI [#manage-smartnews-ad-groups-through-the-skro-ui]
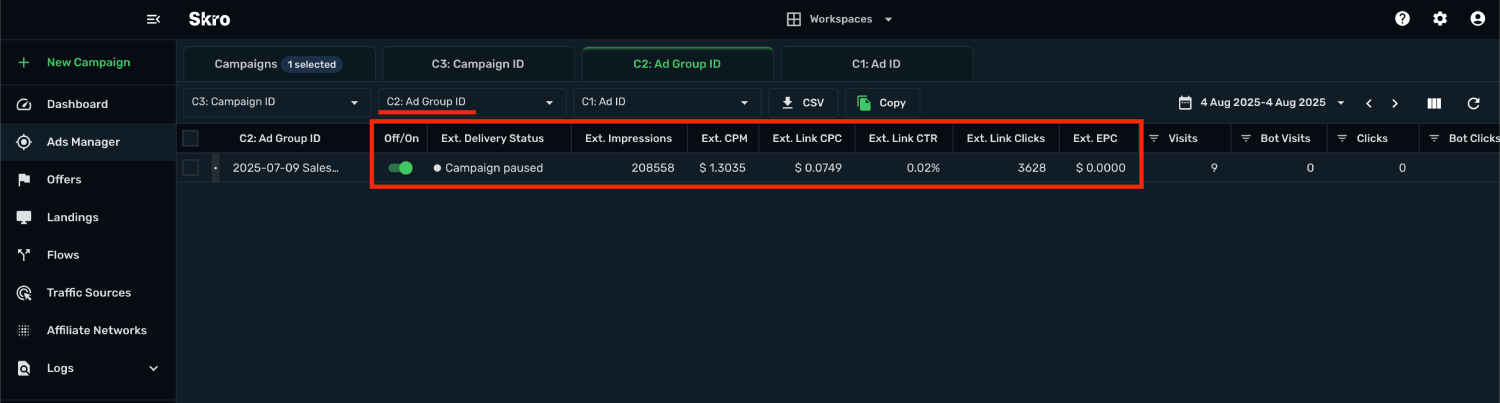
## Manage SmartNews ads through the Skro UI [#manage-smartnews-ads-through-the-skro-ui]
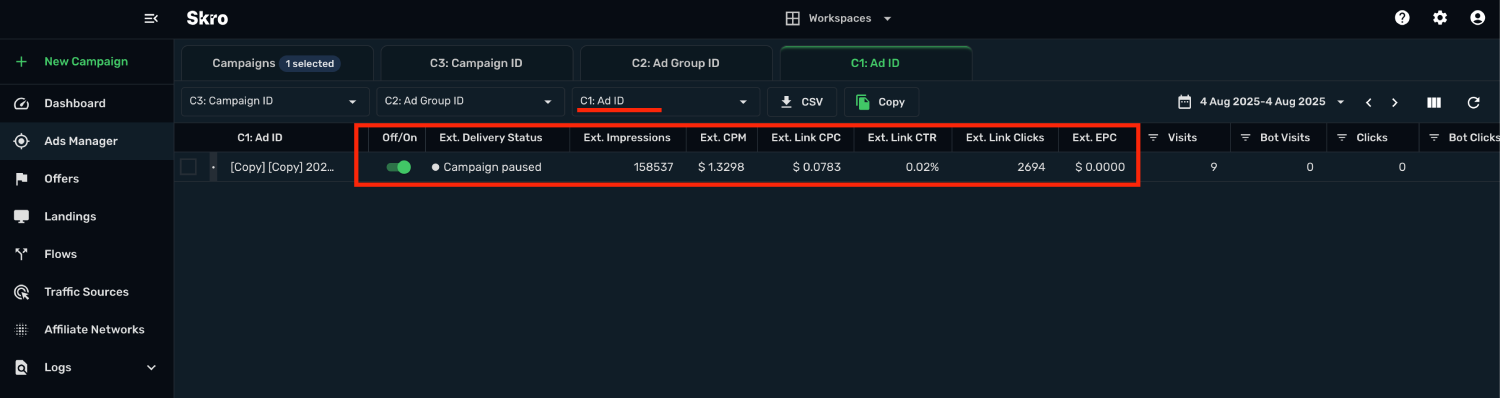
## Step 1. Get SmartNews Business ID [#step-1-get-smartnews-business-id]
SmartNews **Business ID**. You can get that by following the steps below:
1. Go to **SmartNews** → **Business Manager**
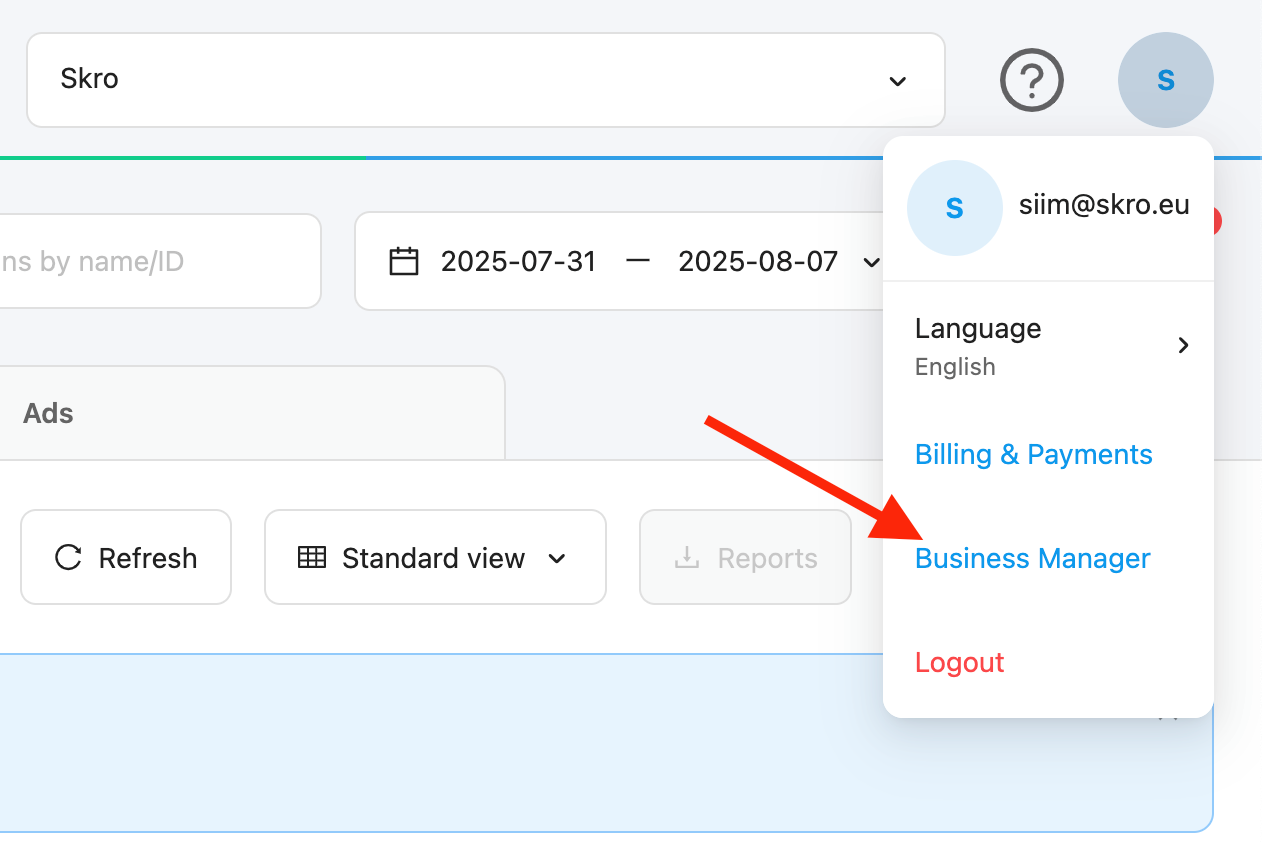
2. Click **Business name** and copy the Business ID.
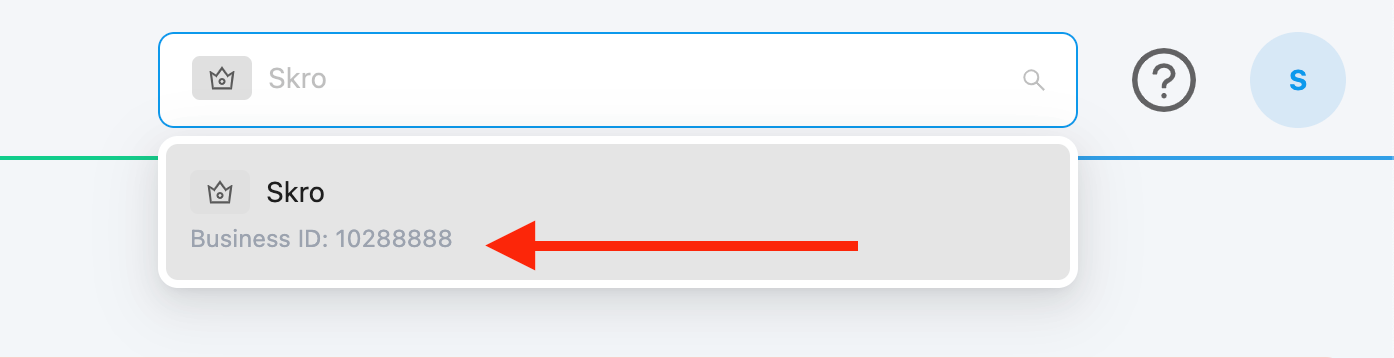
3. Once you have everything ready, read the further part of this guide.
## Step 2. Add integration [#step-2-add-integration]
1. Log in to your **Skro** account.
2. Navigate to **Settings → Integrations**.
3. In the **Traffic Sources** section click **Add**.

4. Click **SmartNews** logo and integration form will pop up.
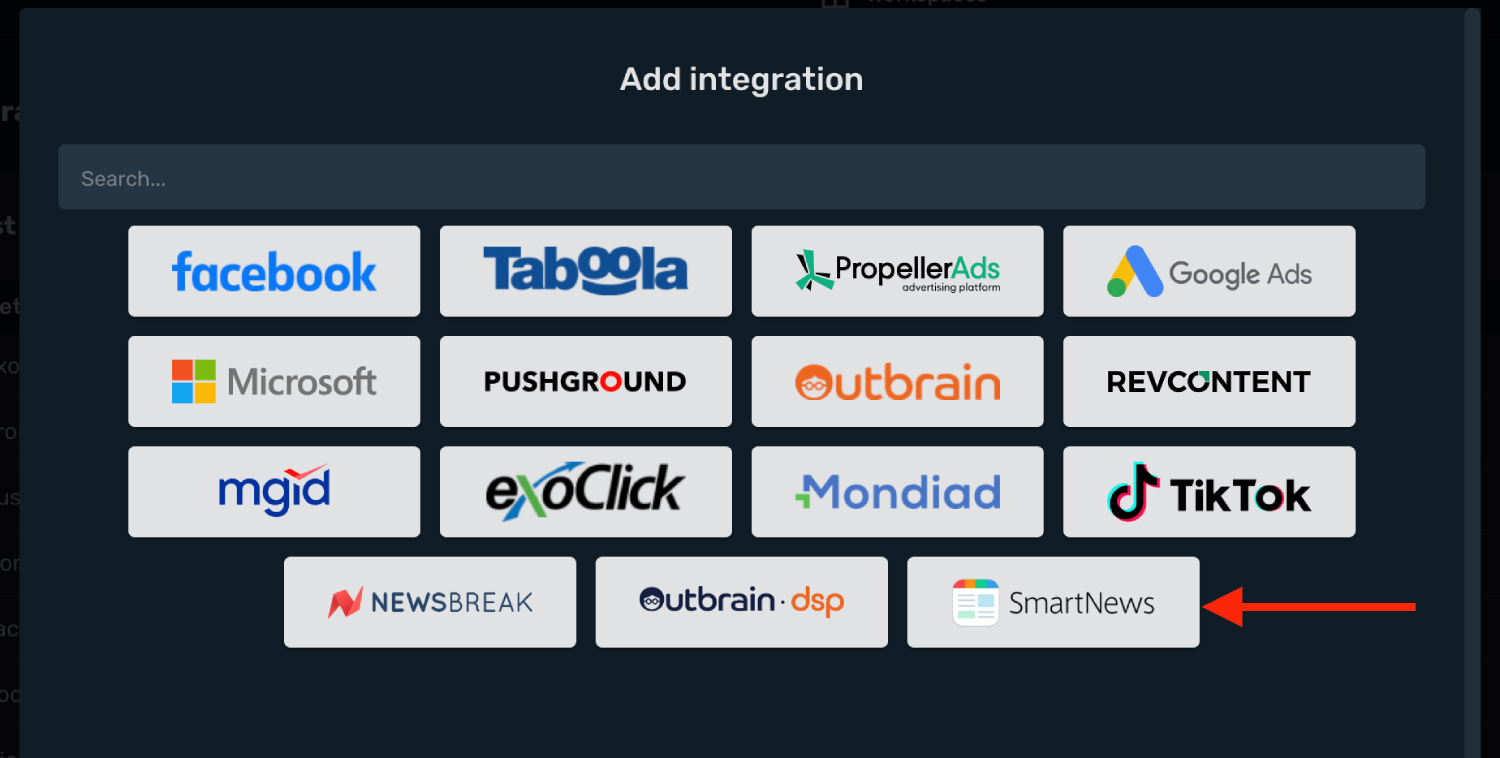
5. Copy our **Developer App ID**.
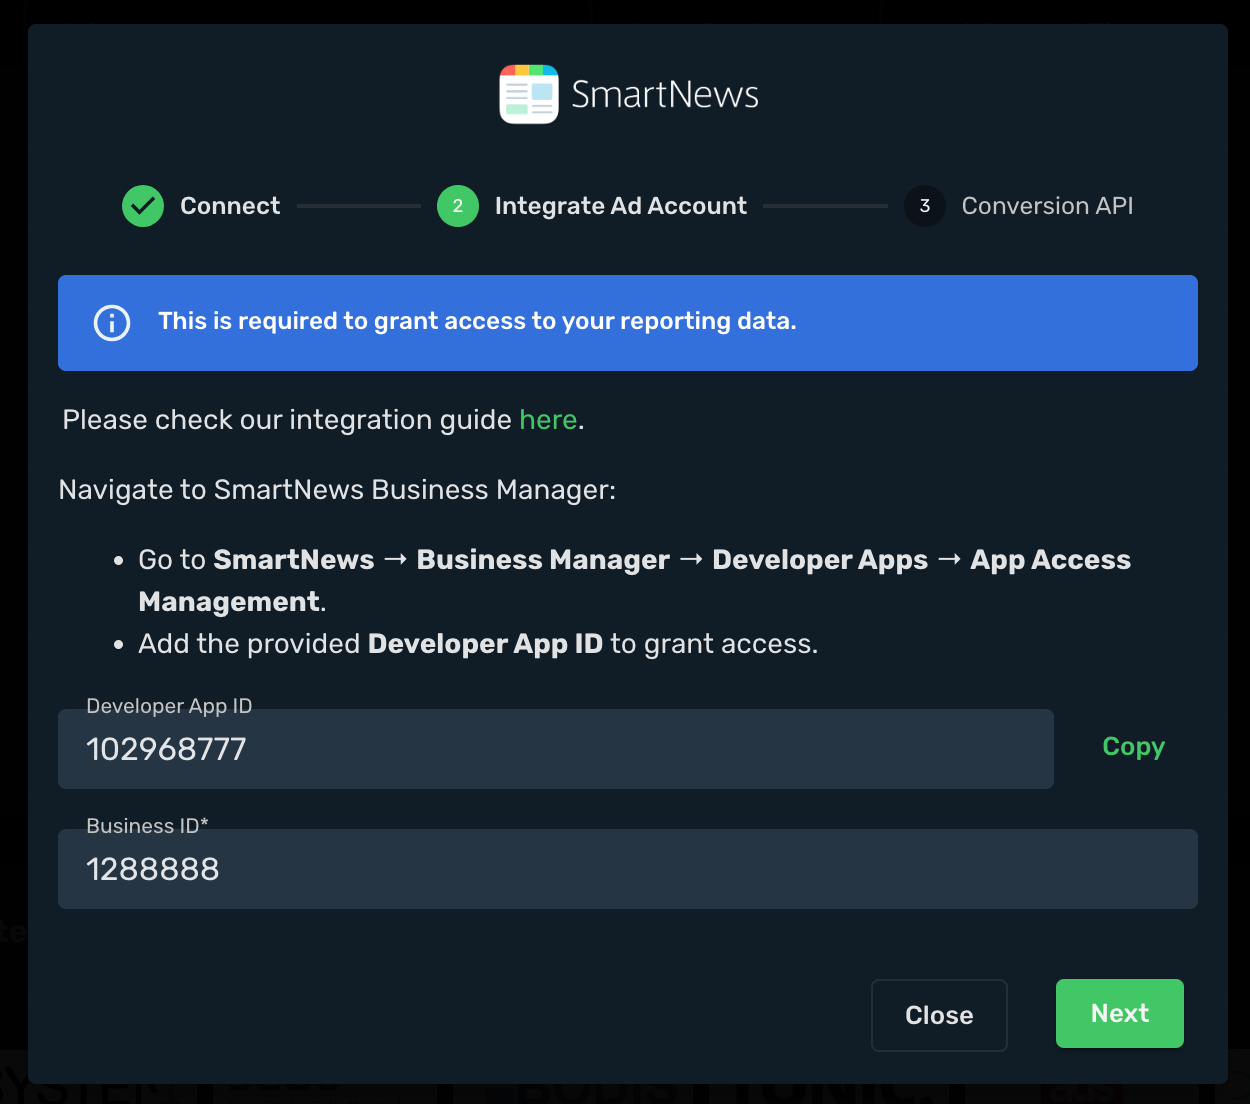
6. Go to **SmartNews** → **Business Manager** → **Developer Apps** → **App Access Management** and click **+ Add developer app**.
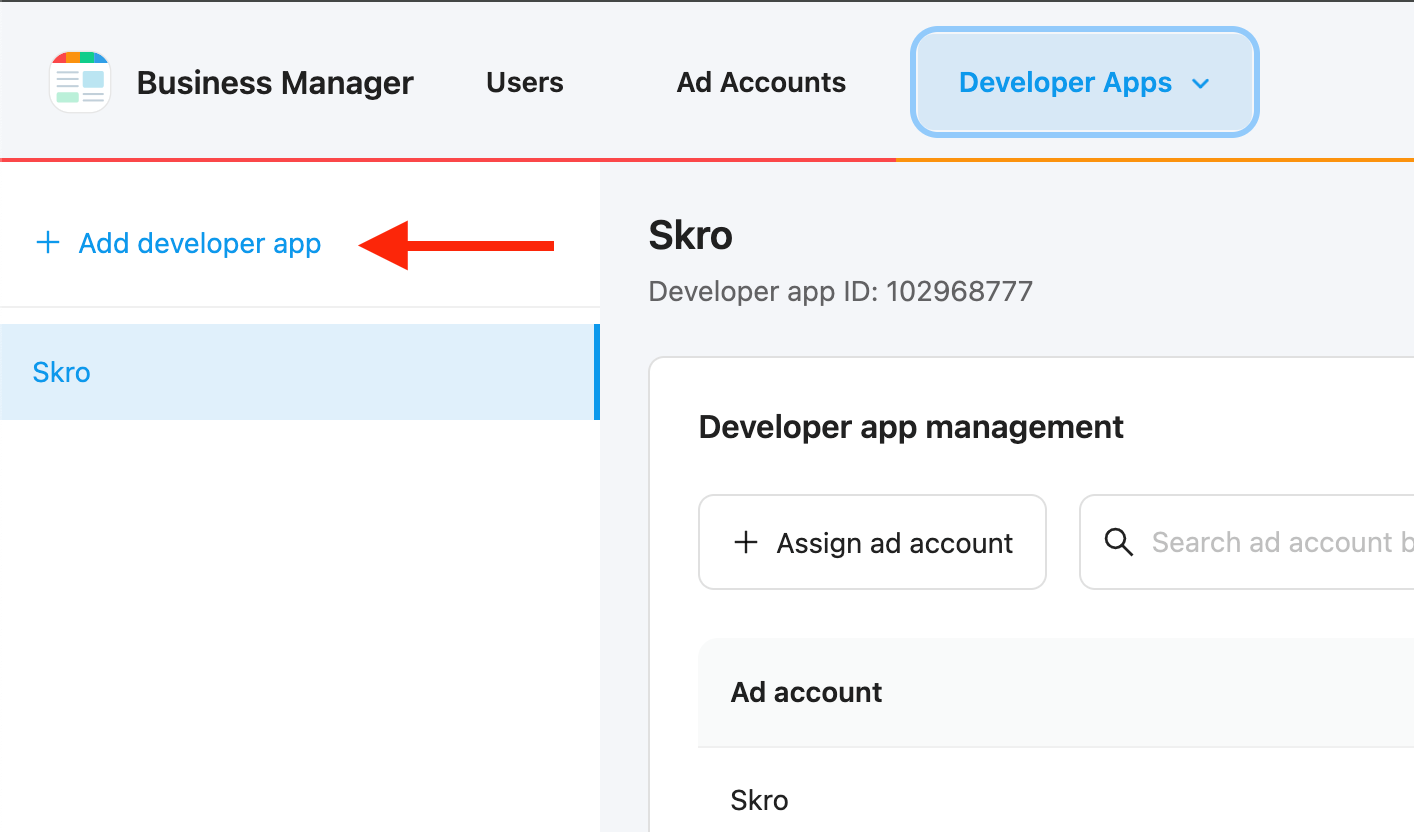
7. Add the provided **Developer App ID** and click **Next**.
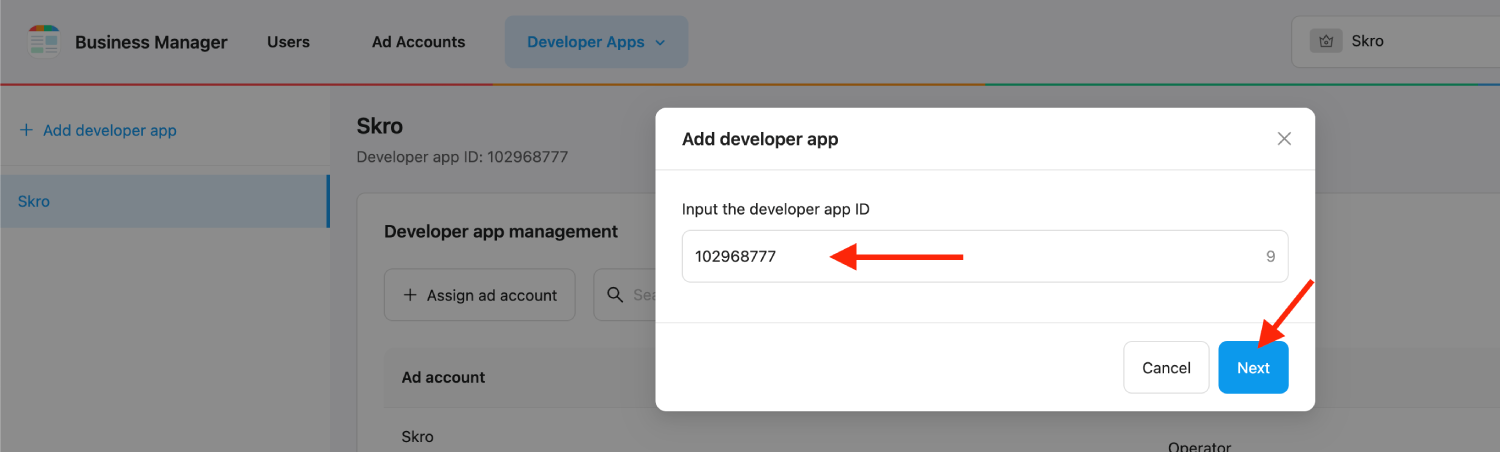
8. Grant access to your business.
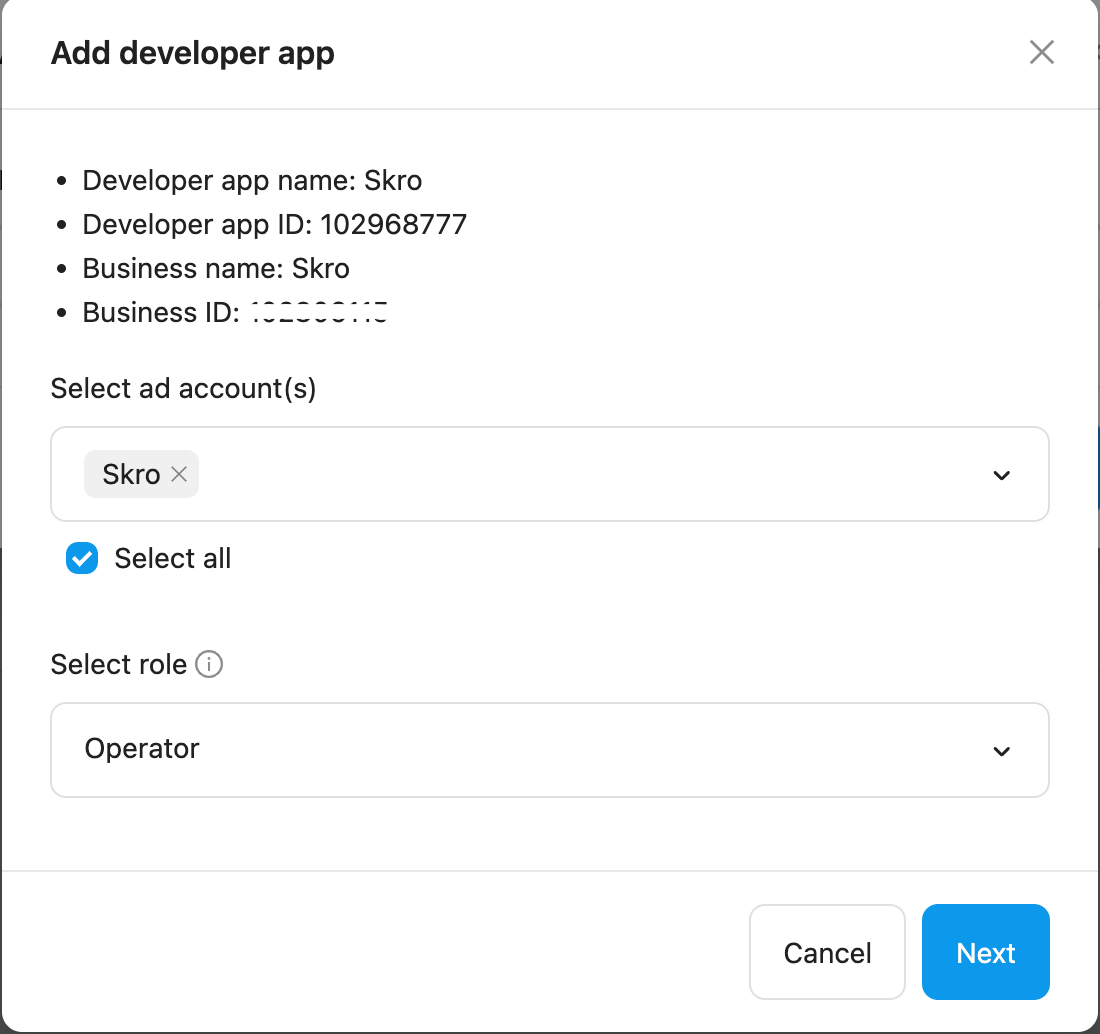
9. Go back to Skro and enter your SmartNews **Business ID** and click **Next**.

10. Integrate your **SmartNews Ad Account**. Choose your ad account and click **Integrate**.
11. Choose your ad account **Currency** and **Timezone**. These are needed for correct cost sync.
12. Click **Next**.
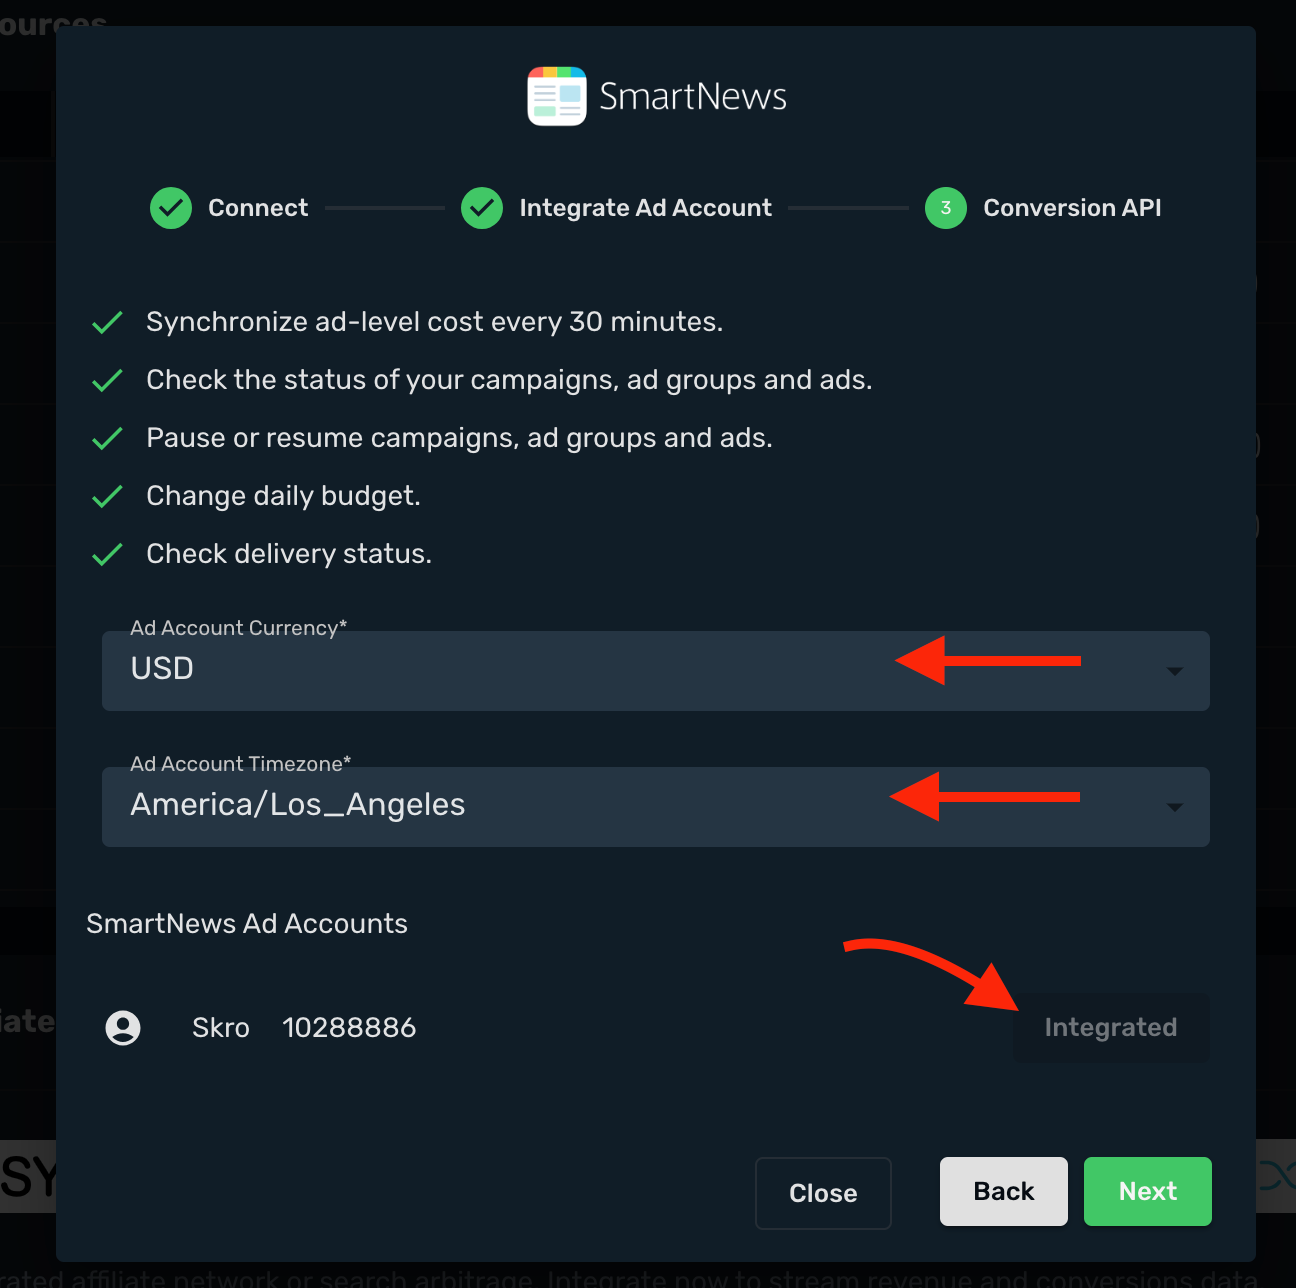
13. If you want to send conversions info back to SmartNews, then you will need to enable **Conversion API.**
Set up Conversion Events Names:
- **Conversion Event Name** - must be the same as you use in SmartNews. When creating a Skro campaign you will need to specify which conversion goal to send to.
- **Include Conversion Payout** - If checked, we will send conversion revenue to SmartNews.
Set up SmartNews Pixel
- **Pixel Name** - Give a name to your Pixel.
- **Pixel ID** - Go back to **SmartNews** → **Ads Manager** → **Events** and create new pixel if you do not have any and copy the **Pixel ID**.
- 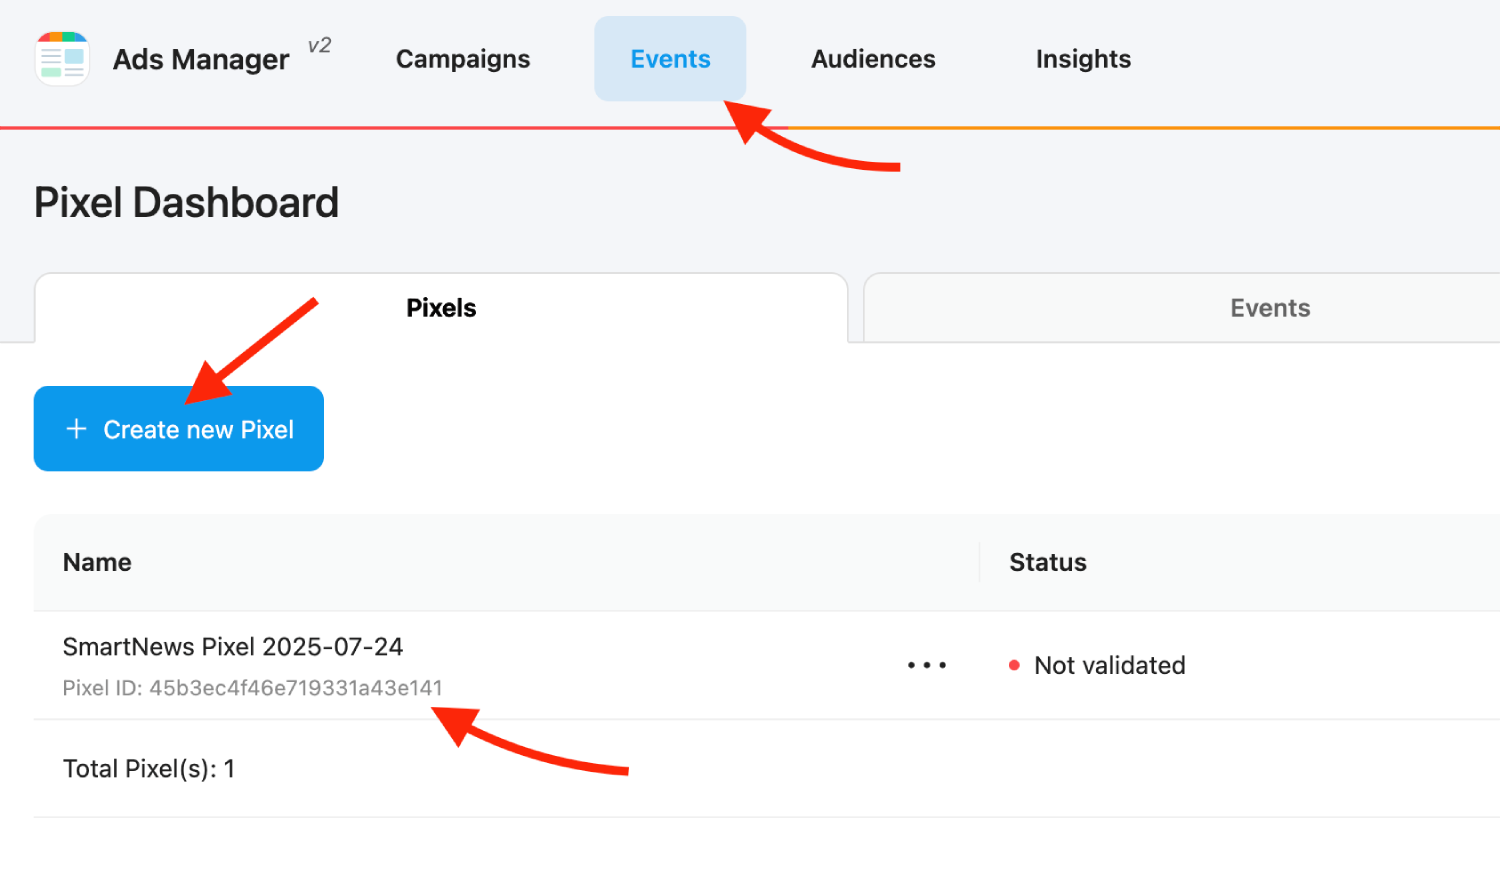
- **Conversion API Access Token** - You will get your token if you go to **SmartNews** → **Business Manager** → **Developer Apps** → **Conversion API** and download the JSON file and open it to get **access token**.
- 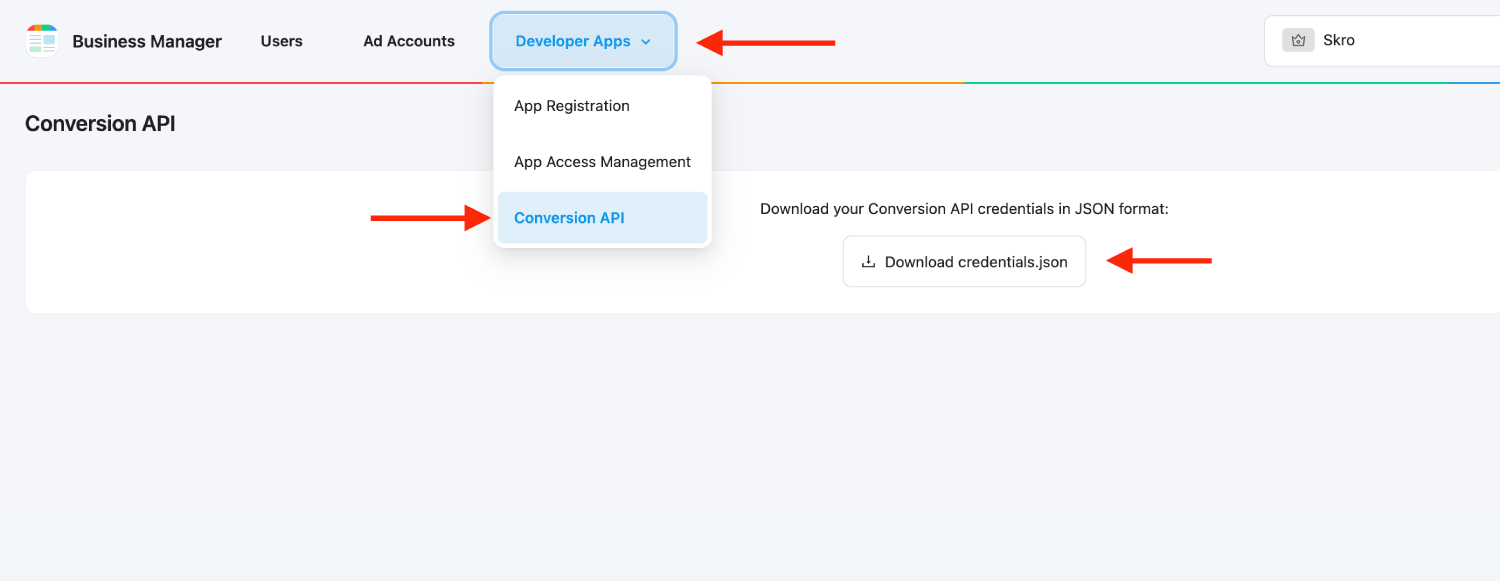
14. Go back to Skro and paste your Pixel ID and Access Token and click **Click & Save**.
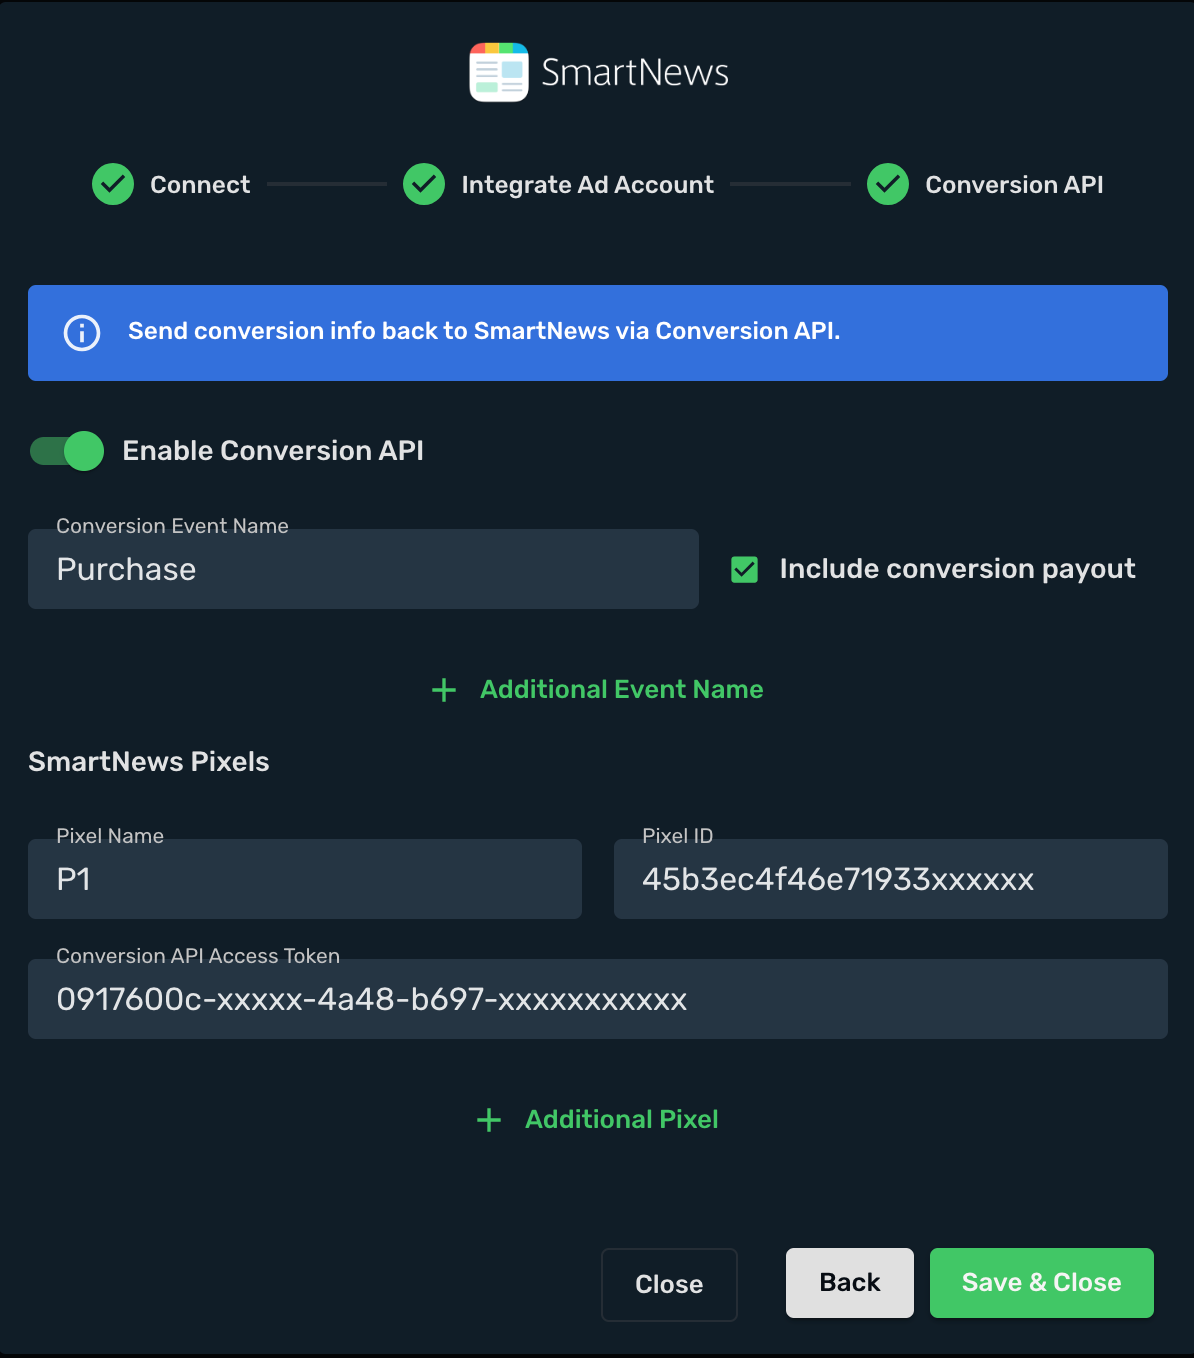
15. Your SmartNews ad account is successfully integrated.
16. You can switch on/off cost sync with given switch.

## Step 3. Associate integration with traffic source [#step-3-associate-integration-with-traffic-source]
1. Go to **Traffic Sources** and click **Create**.
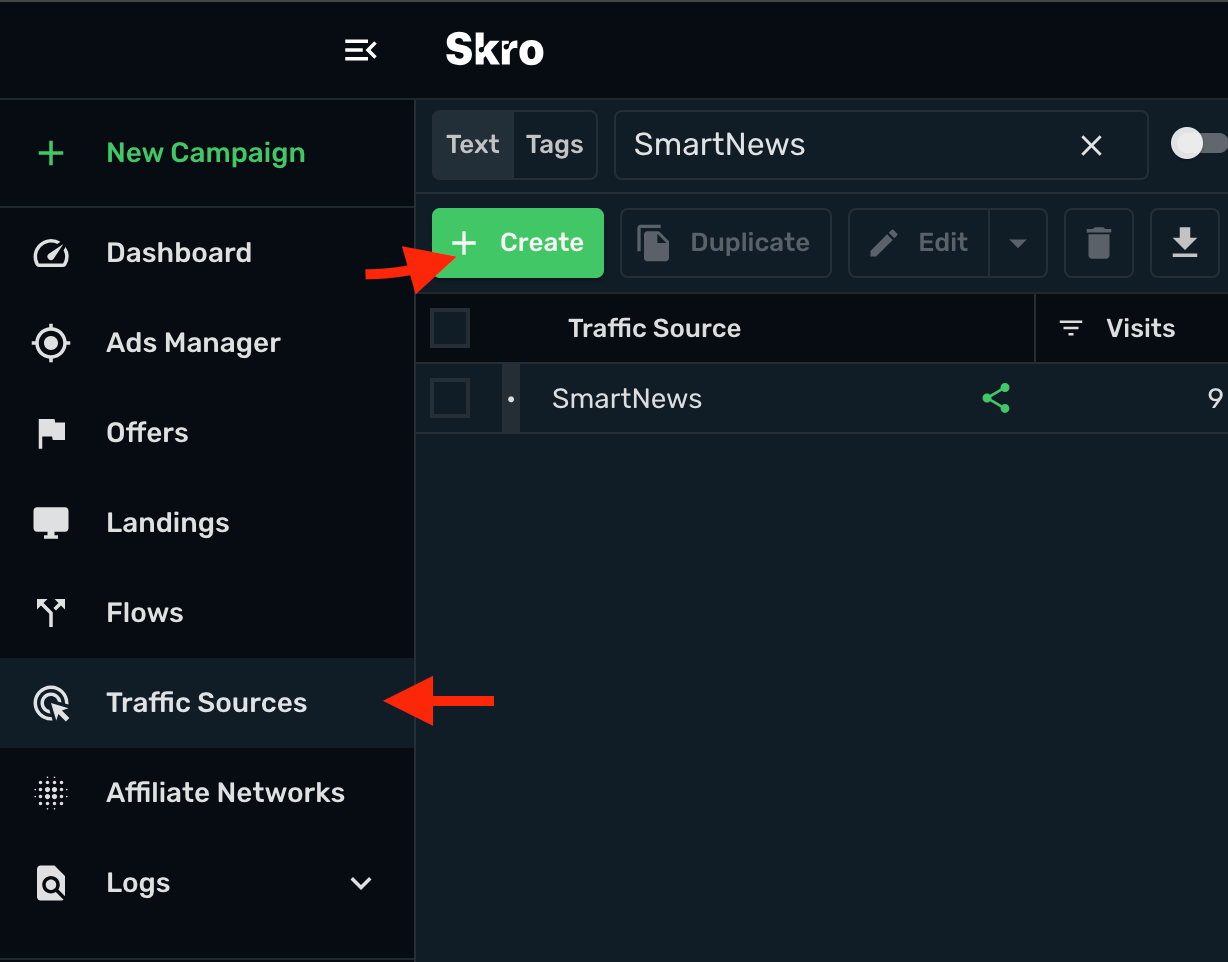
2. Click **SmartNews** logo.
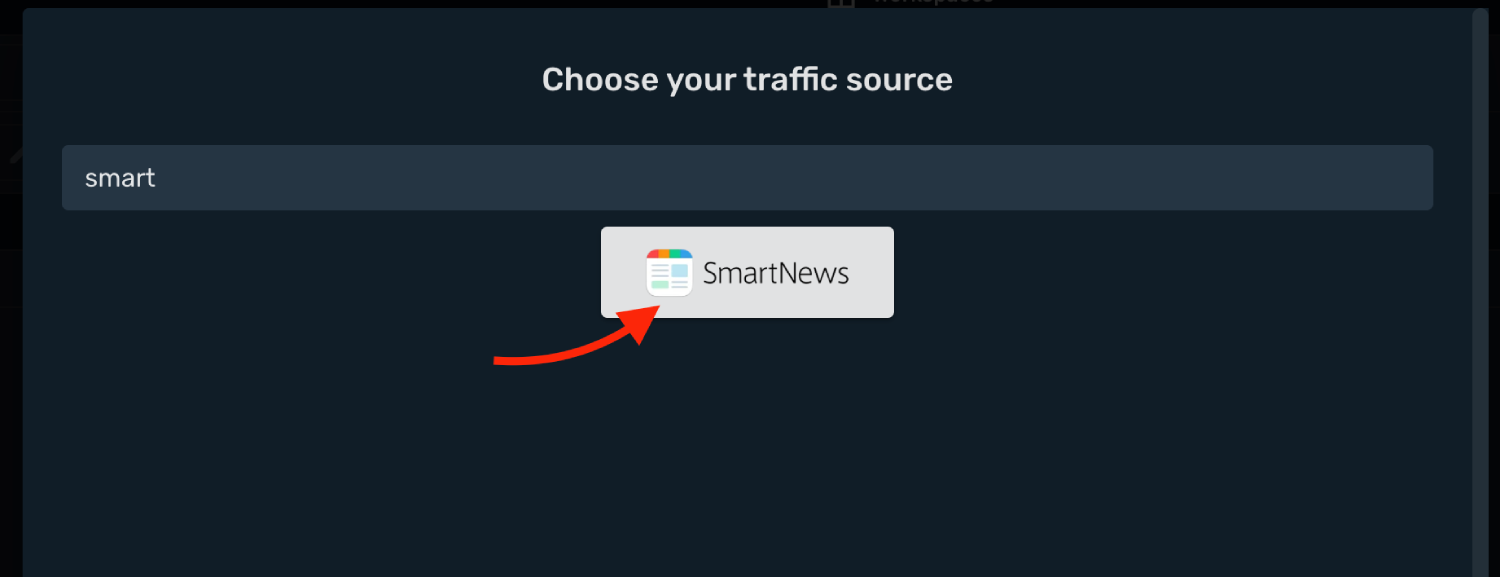
3. Select your SmartNews integration from the dropdown menu.
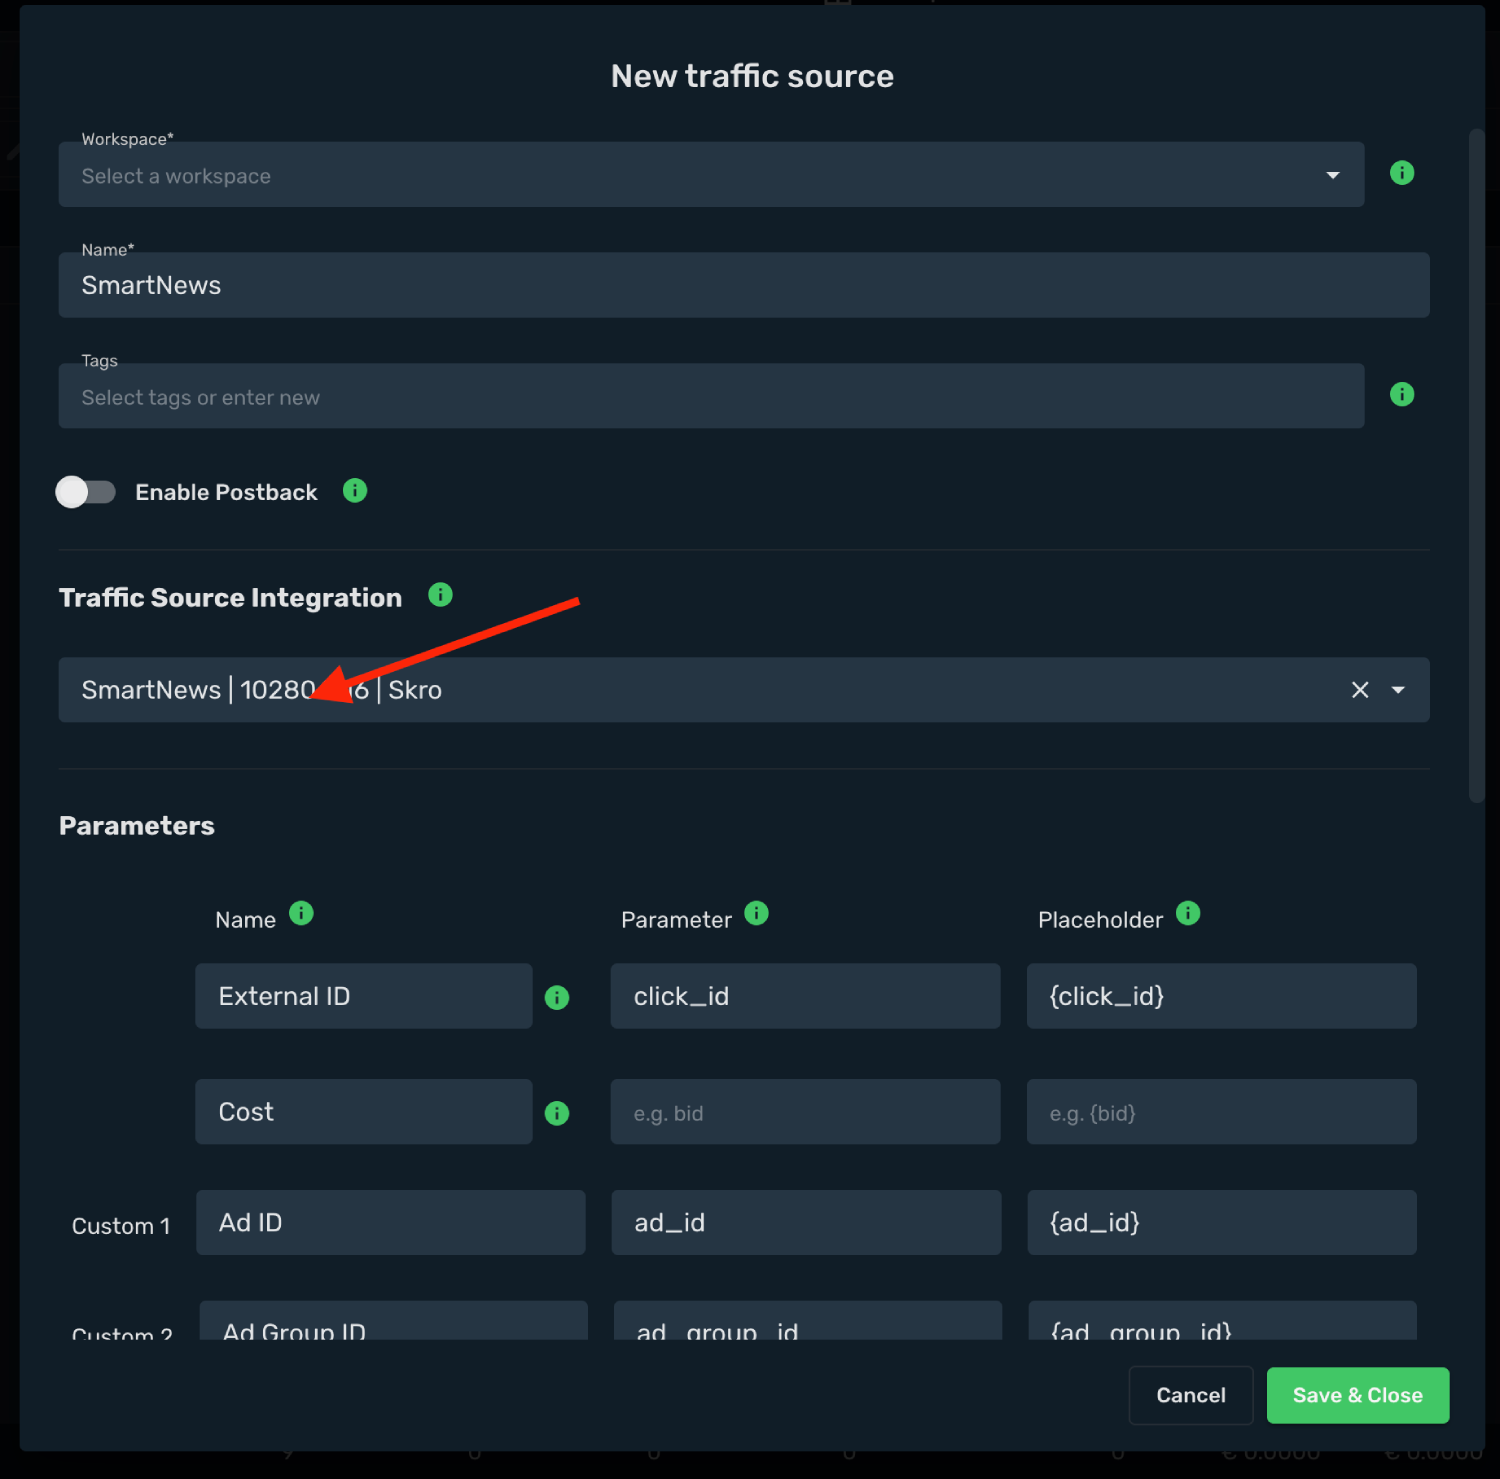
5. All parameters are already prefilled for you.
6. Click **Save & Close**.
7. The integration is ready. Continue by creating a campaign for SmartNews.
## Step 4. Create a Campaign in Skro [#step-4-create-a-campaign-in-skro]
1. If your set up needs pre-lander then go to **Landings** view and click **Create** to add your landing page.
2. To add your offer link go to **Offers** view and click **Create** and add your offer.
4. Select workspace.
5. Add name.
6. Add your offer URL and add macros.
7. Click **Save & Close**.

8. Navigate to the **Campaigns** view and click **Create**.
9. Select your integrated **Traffic Source** as SmartNews.
10. Select your **Conversion Event Name**. That is needed to send conversion info back to SmartNews.
11. Select your **Conversion Pixel**. That is needed to send conversion info back to SmartNews.
12. Cost Model should be **Auto**.
13. Select your cost currency.
14. Click **Next**
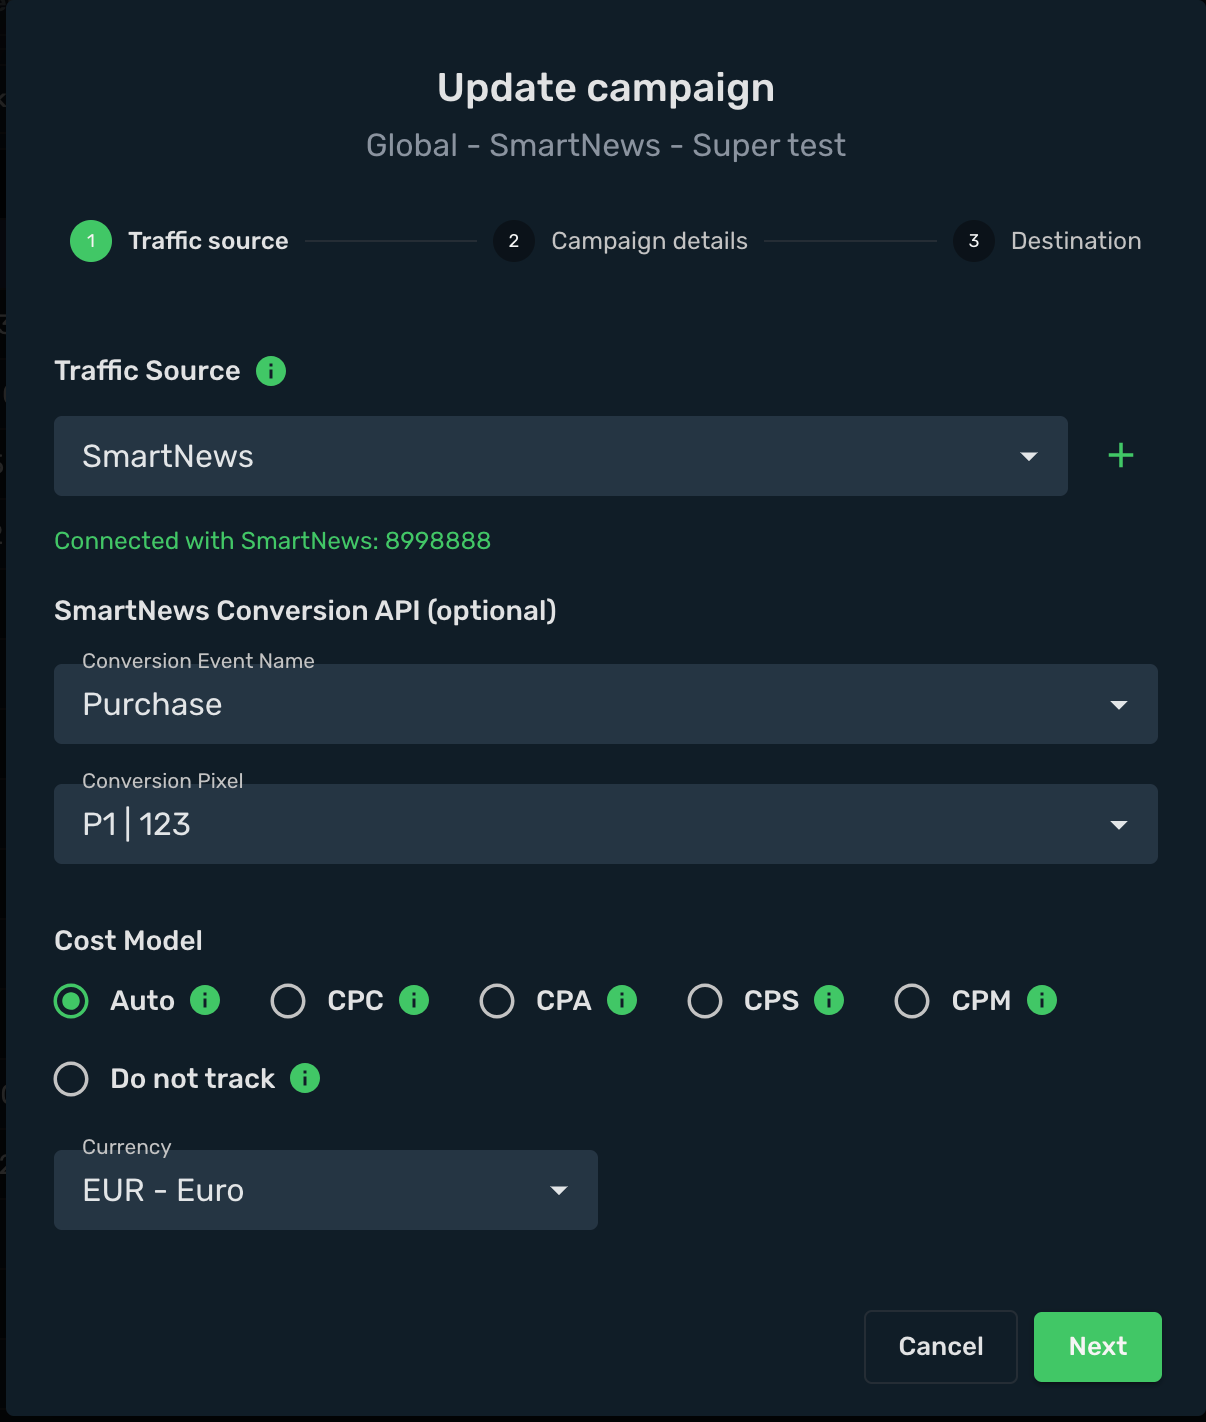
15. Select workspace.
16. Add descriptive name to your campaign.
17. Click **Next**

18. Choose your **Destination Type**. In this example we use **flow**.
19. Choose your redirect mode. In this example we use **redirect 302**.
20. Select your landings. In this example we **use only offers**.
21. Select your offers.
22. Click **Save**.

23. Choose **Redirect** tracking method.
24. Copy your **Campaign Tracking URL** to clipboard.
In given example we have that kind of URL:
```text
https://skrotrack.com/campaign/0c13bc46-4080-4d67-be92-8a6ec2ea75f5?click_id={click_id}&ad_id={ad_id}&ad_group_id={ad_group_id}&campaign_id={campaign_id}&ad_account_id={ad_account_id}
```
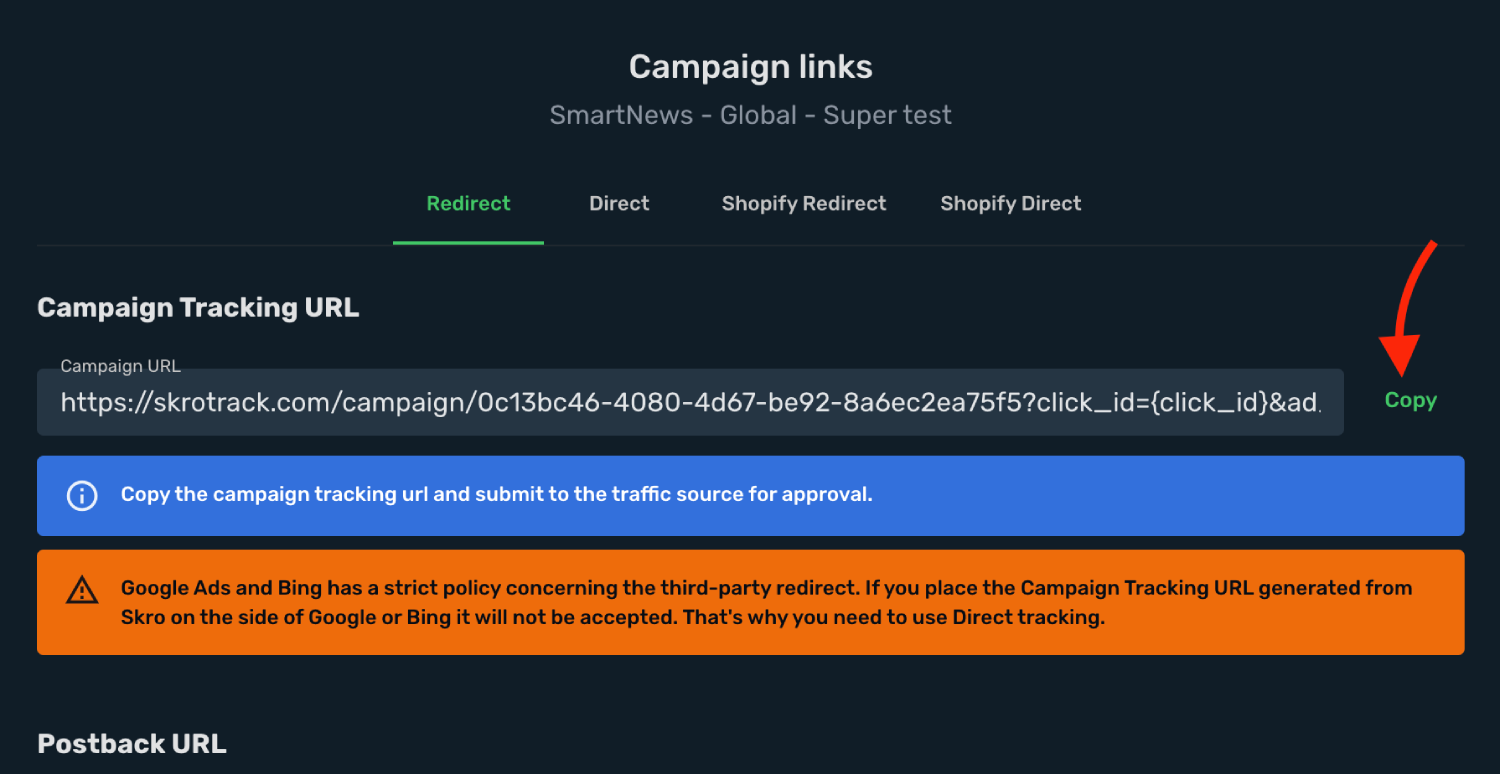
## Step 5. Create a Campaign in SmartNews [#step-5-create-a-campaign-in-smartnews]
Now you have your Campaign Tracking URL with tracking parameters added. In the next step you will submit it as your ad URL in SmartNews campaign setup. In order to do that, perform the following steps:
1. Sign in to your SmartNews account.
2. Go to **Ads Manager** campaigns view.
3. Click **+ Create Campaign** and set up your campaign.
4. Add your campaign name and click **Save and Next**.
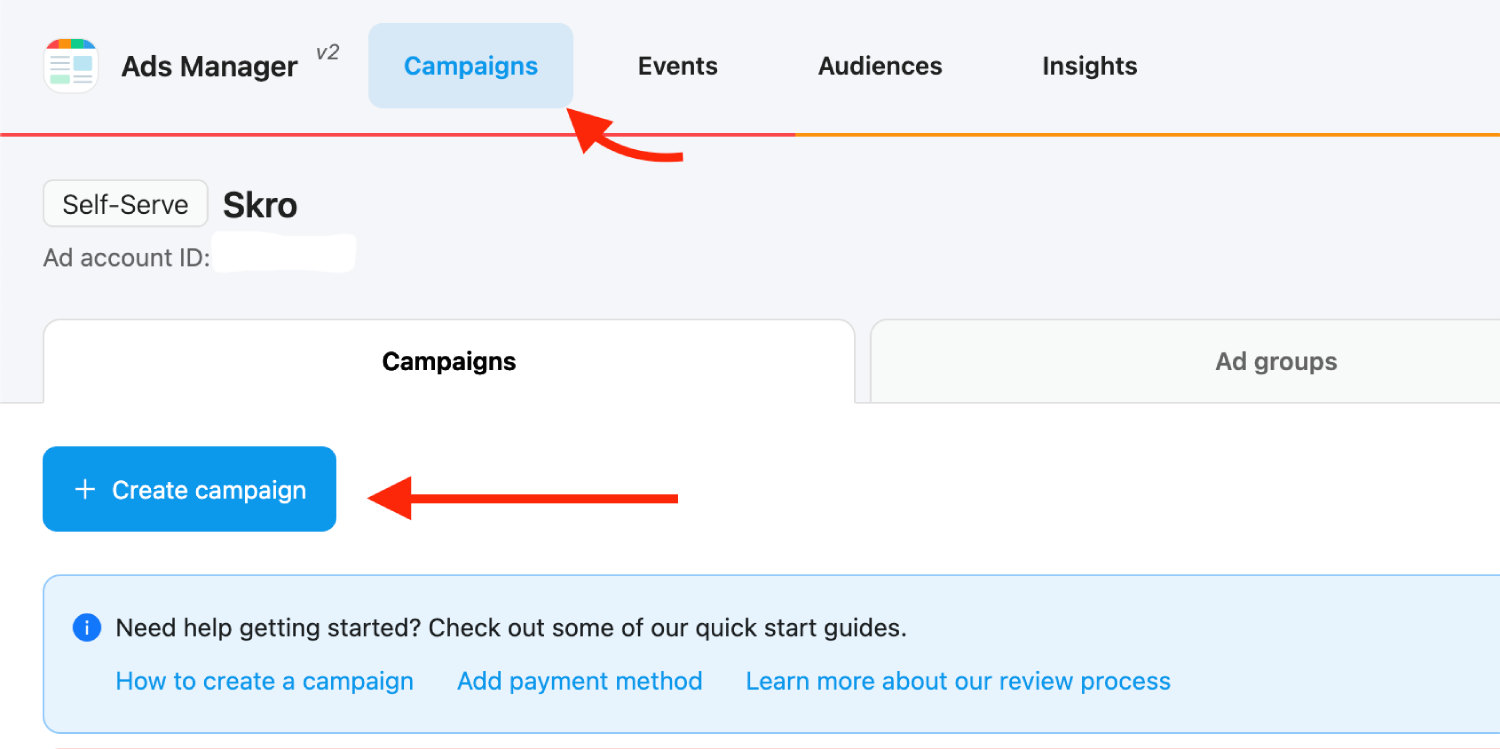
5. Set up your **Ad Group**.
6. Set up your **Ad**.
7. Add Skro tracking link with params into **Destination URL** field.
```text
https://skrotrack.com/campaign/0c13bc46-4080-4d67-be92-8a6ec2ea75f5?click_id={click_id}&ad_id={ad_id}&ad_group_id={ad_group_id}&campaign_id={campaign_id}&ad_account_id={ad_account_id}
```
8. Click **Submit** when ever you are ready.
Congratulations, you have successfully set up tracking of SmartNews traffic with Skro. Each time a visitor clicks on your ad, will be directed to your offer page with Skro's tracking parameters being passed.
## Verify the setup [#verify-the-setup]
Open the generated campaign URL and check that the visit appears in Skro. Confirm that traffic source macros resolve to actual values. If you send conversions back to the source, verify a test conversion in both systems.
If data is missing, check the selected workspace, integration, campaign, and reporting date range. Compare parameter names and macro values with the examples in this guide before repeating the test.
## Related guides [#related-guides]
# System1 Integration
Source: https://skro.eu/docs/integrations/system1-integration
Connect System1 Integration with Skro and configure the identifiers used to synchronize search arbitrage revenue.
## What we do [#what-we-do]
We combine our best-in-class technology & data science to operate one of the world’s most advanced Responsive Acquisition Marketing Platforms (RAMP). RAMP enables us to build powerful brands across multiple consumer verticals, develop & grow our suite of privacy-focused products, and deliver high-intent customers to our advertising partners.
## Integration [#integration]
Skro integration with System1 gives you the ability to sync earnings data that has been adjusted after different traffic sources.
- Update revenue of the previous 2 days once a day.
## Step 1. Add integration [#step-1-add-integration]
- Log in to your **Skro** account.
- Navigate to **Settings** → **Integrations**.
- Click **Add** in Affiliate Networks & Search Feed Arbitrage section.

- Click **System1** logo.
- **API Key** info you must ask from your System1 account manager or write to System1 support.
- **System1 Account Currency** is the currency of the earnings.
- **Custom Conversion Event** is optional, but you can see a revenue and conversions info in a different columns in your Skro reports.
- **Click ID Param** is the parameter what you use in your offer URL to send Skro Click ID.
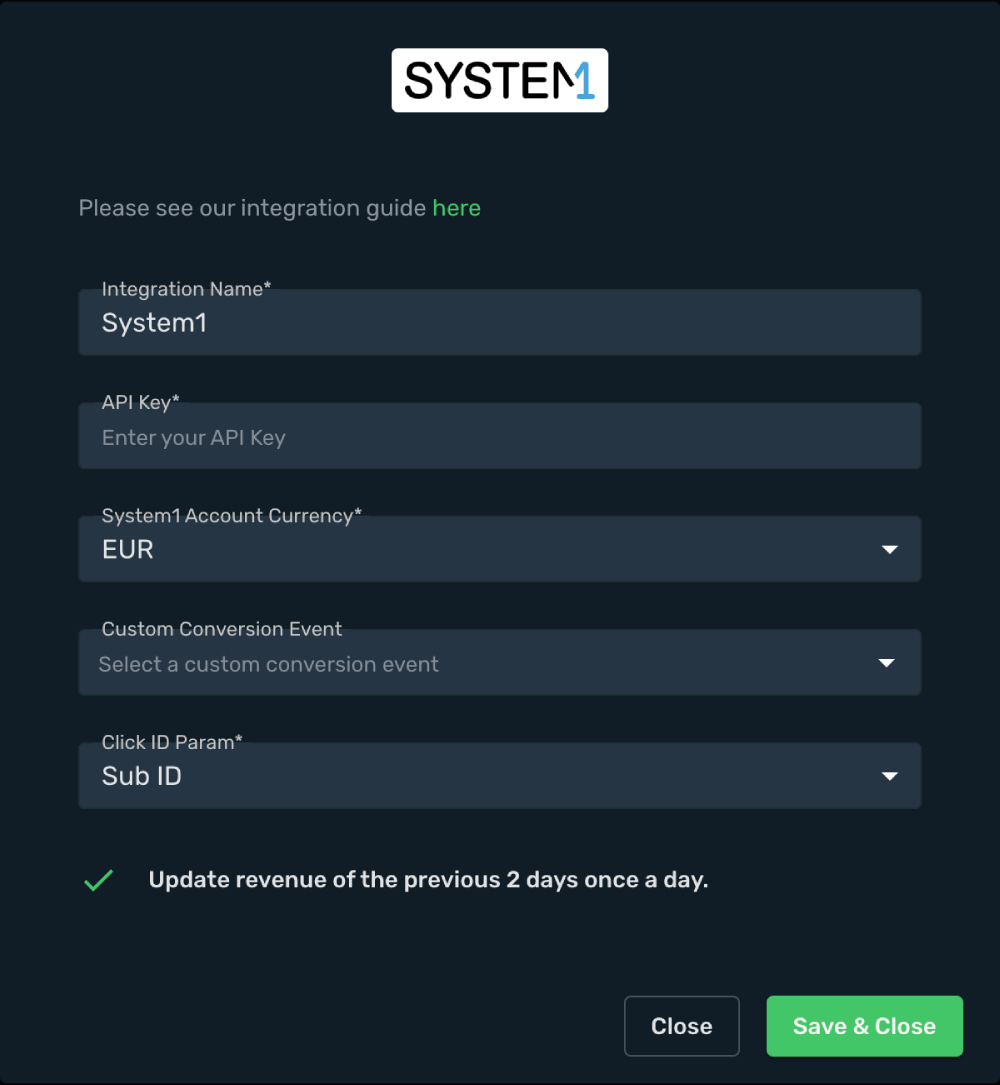
- Complete the form and click **Save & Close**
The integration is ready to synchronize earnings data.
## Step 2. Create a Custom Conversions for System1 events. [#step-2-create-a-custom-conversions-for-system1-events]
With custom conversion events feature it is possible to track different types of conversions. For System1 we are going to use 2 different types of conversions: **Search** and **Purchase**.
- Go to **Custom Conversions** [here](https://app.skro.eu/settings/custom-events)
- Click **Create** and add **Search** event.
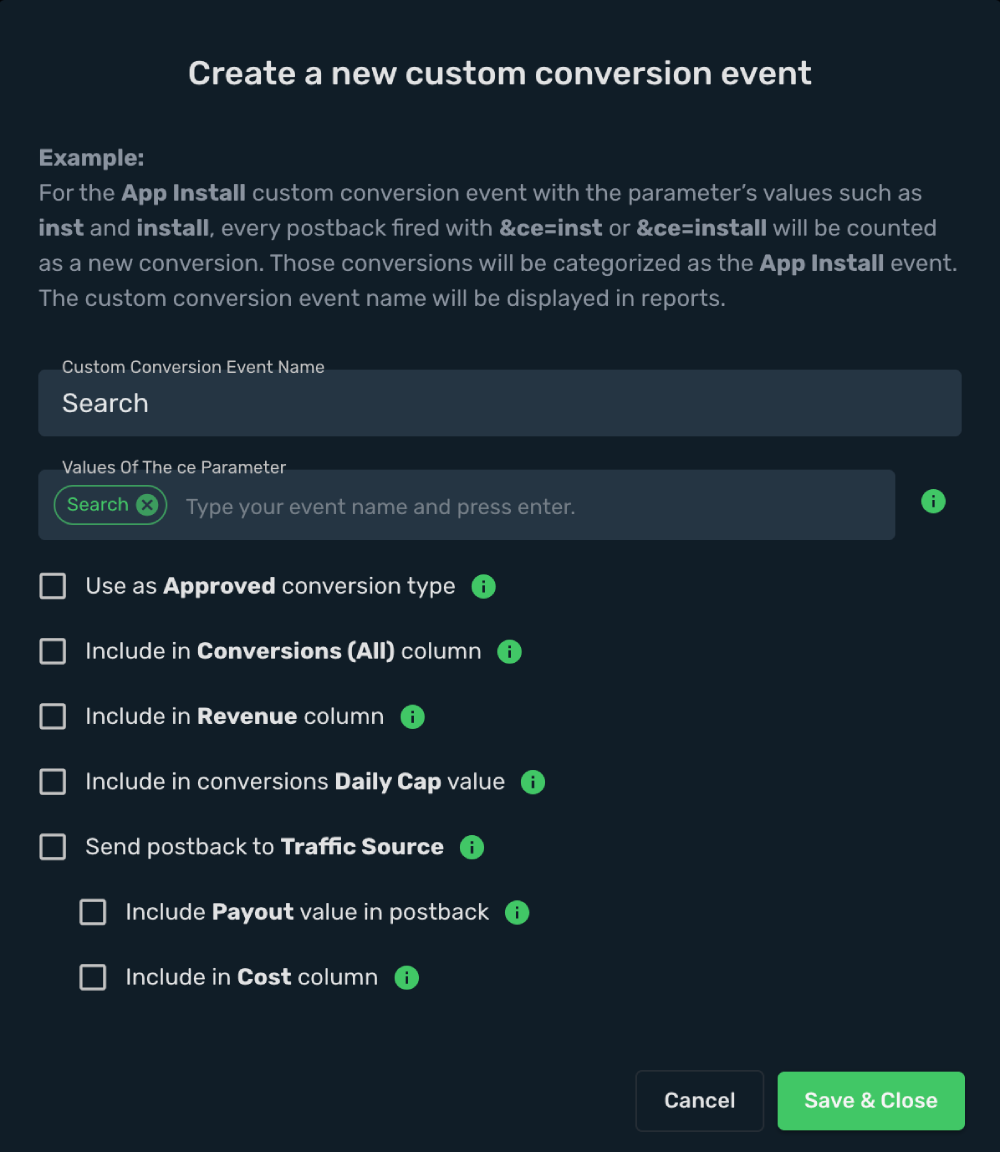
That postback goes to your offer URL:
`&search_track_url = https://your_tracking_domain/postback?clickId={clickId}&ce=Search`
- Create another event to track revenue (clicks) on your System1 offer page. Create an event name **Purchase**.
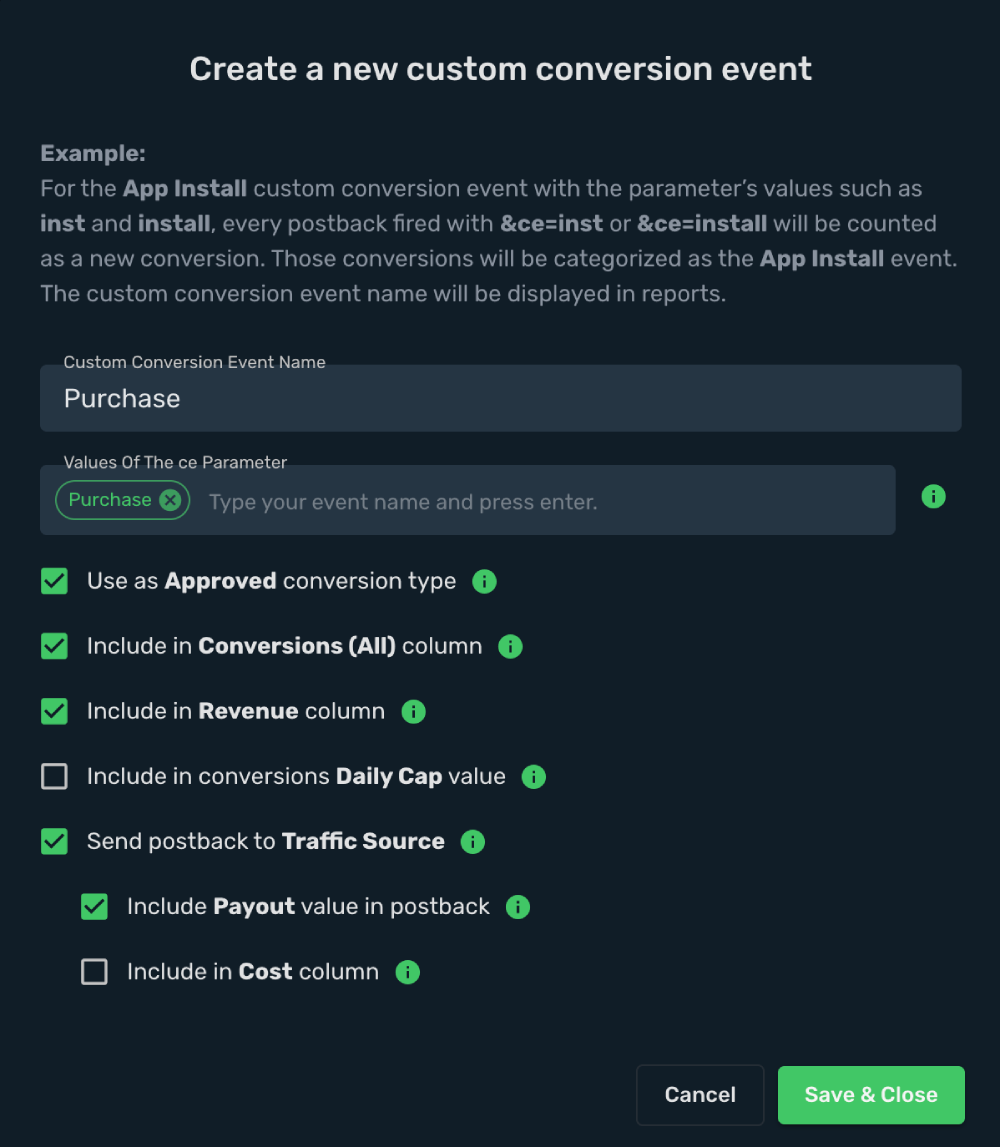
That postback goes to your offer URL:
`&click_track_url = https://your_tracking_domain/postback?clickId={clickId}&ce=Purchase`
```text
Note: Always make sure to encode the postback URLs, before appending them to your offer URL. Do not encode Skro click id macro {clickId}
```
## Step 3. How to add System1 offer to Skro? [#step-3-how-to-add-system1-offer-to-skro]
- Go to **Offers**.
- Click **Create** and add your offer URL and fill other fields.
This is an example offer URL which goes to Skro:
```text
http://free-online-courses-us-1.com/?forcekeyA=digital+marketing+online+course&forcekeyB=digital+marketing+degree+online&forcekeyC=how+to+be+successful+in+digital+marketing&forcekeyD=free+online+courses&forcekeyE=digital+marketing+course&sub_id={clickId}&ref=tiktok-{custom7}&rskey=digital+marketing+course&headline=digital+marketing+courses&search_track_url=https%3A%2F%2Fskrotrack.com%2Fpostback%3FclickId%3D{clickId}%26ce%3DSearch&click_track_url=https%3A%2F%2Fskrotrack.com%2Fpostback%3FclickId%3D{clickId}%26ce%3DPurchase
```
Encoded System1 offer URL which goes to System1:
```text
http%3A%2F%2Ffree-online-courses-us-1.com%2F%3FforcekeyA%3Ddigital%2Bmarketing%2Bonline%2Bcourse%26forcekeyB%3Ddigital%2Bmarketing%2Bdegree%2Bonline%26forcekeyC%3Dhow%2Bto%2Bbe%2Bsuccessful%2Bin%2Bdigital%2Bmarketing%26forcekeyD%3Dfree%2Bonline%2Bcourses%26forcekeyE%3Ddigital%2Bmarketing%2Bcourse%26sub_id%3D%7BclickId%7D%26ref%3Dtiktok-%7Bcustom7%7D%26rskey%3Ddigital%2Bmarketing%2Bcourse%26headline%3Ddigital%2Bmarketing%2Bcourses%26search_track_url%3Dhttps%253A%252F%252Fskrotrack.com%252Fpostback%253FclickId%253D%7BclickId%7D%2526ce%253DSearch%26click_track_url%3Dhttps%253A%252F%252Fskrotrack.com%252Fpostback%253FclickId%253D%7BclickId%7D%2526ce%253DPurchase
```
## Verify the setup [#verify-the-setup]
Confirm that the offer identifiers match the values in your integration. After the next revenue synchronization, compare the same date range and currency in Skro and your provider account.
If data is missing, check the selected workspace, integration, campaign, and reporting date range. Compare parameter names and macro values with the examples in this guide before repeating the test.
## Related guides [#related-guides]
# System1 RSOC integration
Source: https://skro.eu/docs/integrations/system1-rsoc-integration
Set up System1 RSOC in Skro and map offer identifiers for Related Search on Content revenue reporting.
## What we do [#what-we-do]
We combine our best-in-class technology & data science to operate one of the world’s most advanced Responsive Acquisition Marketing Platforms (RAMP). RAMP enables us to build powerful brands across multiple consumer verticals, develop & grow our suite of privacy-focused products, and deliver high-intent customers to our advertising partners.
## System1 RSOC Integration [#system1-rsoc-integration]
Skro integration with System1 RSOC gives you the ability to sync earnings data that has been adjusted after different traffic sources.
Moreover, there are constraints concerning channel names, as each RSOC provider sets a daily limit on the number of unique channel names. For more details on these restrictions, consult your account manager or check the provider's documentation.
- Revenue updates every hour.
- Revenue updates for the previous 2 days once a day.
## Step 1. Add integration [#step-1-add-integration]
- Log in to your **Skro** account.
- Navigate to **Settings** → **Integrations**.
- Scroll down and click **Add** in **RSOC Revenue Sync** section.
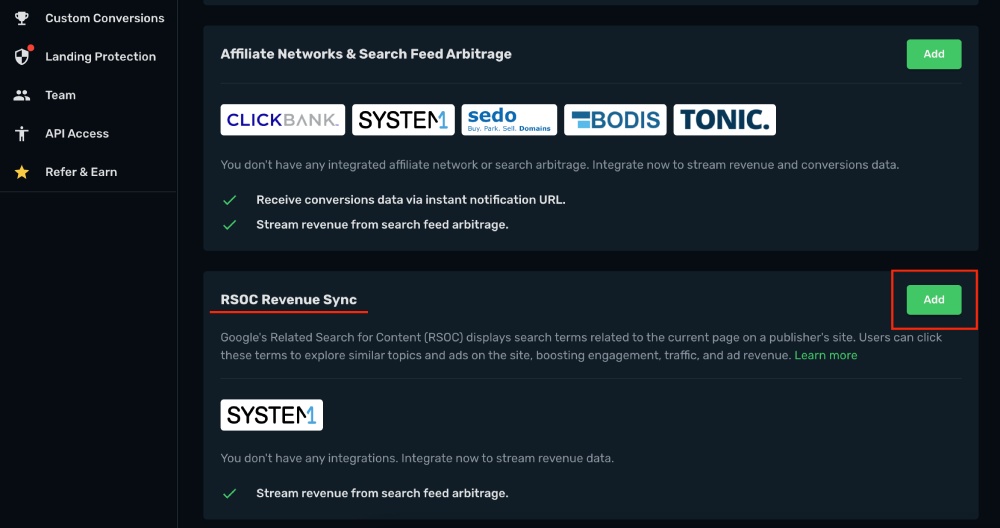
- Click **System1** logo.
- **Integration name** Give a name to your integration.
- **API Key** info you must ask from your System1 account manager or write to System1 support.
- **System1 Account Currency** is the currency of the earnings.
- **Custom Conversion Event** is optional, but you can see a revenue and conversions info in a different columns in your Skro reports.
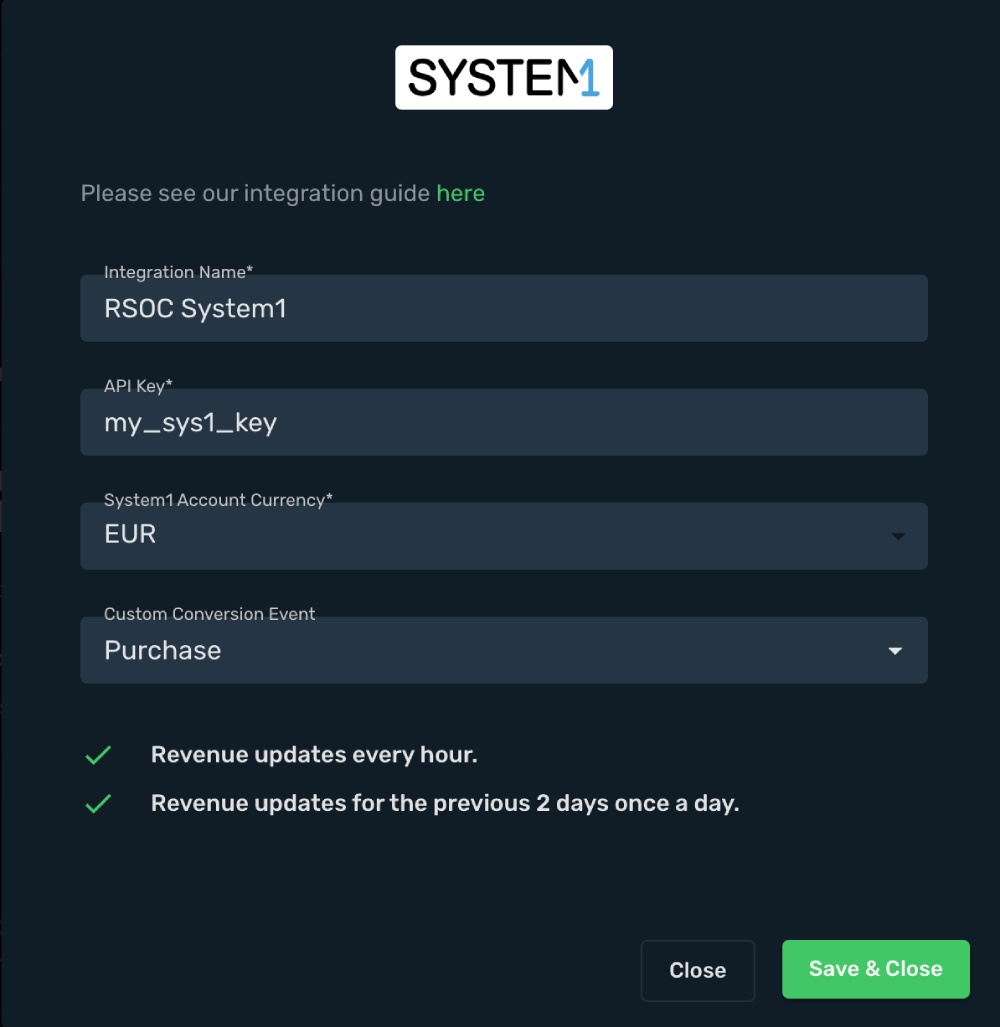
- Complete the form and click **Save & Close**
## Step 2. Create a Custom Conversions for System1 events. [#step-2-create-a-custom-conversions-for-system1-events]
With custom conversion events feature it is possible to track different types of conversions. For System1 we are going to use 2 different types of conversions: **Search** and **Purchase**.
- Go to **Custom Conversions** [here](https://app.skro.eu/settings/custom-events)
- Click **Create** and add **Search** event.

That postback goes to your offer URL:
`&search_track_url = https://your_tracking_domain/postback?clickId={clickId}&ce=Search`
- Create another event to track revenue (clicks) on your System1 offer page. Create an event name **Purchase**.

That postback goes to your offer URL:
`&click_track_url = https://your_tracking_domain/postback?clickId={clickId}&ce=Purchase`
```text
Note: Always make sure to encode the postback URLs, before appending them to your offer URL. Do not encode Skro click id macro {clickId}
```
## Step 3. How to set up Sub ID for revenue sync? [#step-3-how-to-set-up-sub-id-for-revenue-sync]
Here you will need to choose between 2 options:
- Sync cost only by Skro Campaign ID. Your Sub ID macro will be **`&subid={campaignId}`**
- Sync cost by Skro Campaign ID and additionally Traffic Source Campaign ID, AdSet ID or Ad ID.
**For example:**
If your traffic source is Facebook and you want to sync revenue by Skro Campaign ID and FB AdSet ID, then your Sub ID macro will be **`&subid={campaignId}_c3_{custom3}`**
- **`{campaignId}`** - It's a Skro Campaign ID macro.
- **c3** - It's a Traffic Source custom parameter name. Value can be c1 - c10. It depends on which number of custom parameter you want to track.
- **`{custom3}`** - It's a FB AdSet ID macro.
## Step 4. How to add System1 RSOC offer URL into Skro? [#step-4-how-to-add-system1-rsoc-offer-url-into-skro]
- Go to **Offers**.
- Click **Create** and add your offer URL and fill other fields.
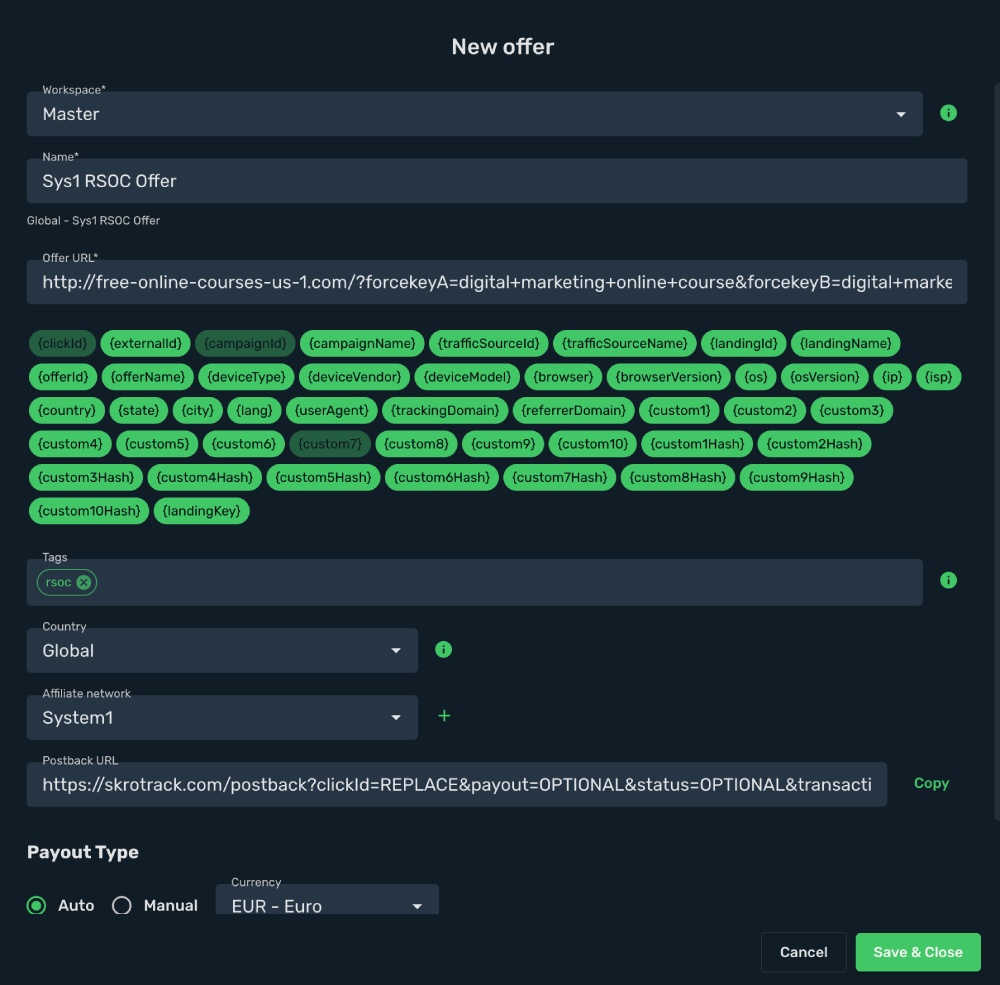
This is an example offer URL which goes to Skro:
```text
http://free-online-courses-us-1.com/?forcekeyA=digital+marketing+online+course&forcekeyB=digital+marketing+degree+online&forcekeyC=how+to+be+successful+in+digital+marketing&forcekeyD=free+online+courses&forcekeyE=digital+marketing+course&subid={campaignId}&ref=tiktok-{custom7}&rskey=digital+marketing+course&headline=digital+marketing+courses&search_track_url=https%3A%2F%2Fyour_tracking_domain%2Fpostback%3FclickId%3D{clickId}%26ce%3DSearch%26protectionToken%3DxyUHBuwKZT&click_track_url=https%3A%2F%2Fyour_tracking_domain%2Fpostback%3FclickId%3D{clickId}%26ce%3DPurchase
```
Encoded System1 offer URL which goes to System1:
```text
http%3A%2F%2Ffree-online-courses-us-1.com%2F%3FforcekeyA%3Ddigital%2Bmarketing%2Bonline%2Bcourse%26forcekeyB%3Ddigital%2Bmarketing%2Bdegree%2Bonline%26forcekeyC%3Dhow%2Bto%2Bbe%2Bsuccessful%2Bin%2Bdigital%2Bmarketing%26forcekeyD%3Dfree%2Bonline%2Bcourses%26forcekeyE%3Ddigital%2Bmarketing%2Bcourse%26subid%3D%7BcampaignId%7D%26ref%3Dtiktok-%7Bcustom7%7D%26rskey%3Ddigital%2Bmarketing%2Bcourse%26headline%3Ddigital%2Bmarketing%2Bcourses%26search_track_url%3Dhttps%253A%252F%252Fyour_tracking_domain%252Fpostback%253FclickId%253D%7BclickId%7D%2526ce%253DSearch%2526protectionToken%253DxyUHBuwKZT%26click_track_url%3Dhttps%253A%252F%252Fyour_tracking_domain%252Fpostback%253FclickId%253D%7BclickId%7D%2526ce%253DPurchase
```
This example has Facebook and TikTok compatibility with Conversion API.
The integration is ready to synchronize earnings data.
## Verify the setup [#verify-the-setup]
Confirm that the offer identifiers match the values in your integration. After the next revenue synchronization, compare the same date range and currency in Skro and your provider account.
If data is missing, check the selected workspace, integration, campaign, and reporting date range. Compare parameter names and macro values with the examples in this guide before repeating the test.
## Related guides [#related-guides]
# Taboola integration
Source: https://skro.eu/docs/integrations/taboola-integration
Set up Taboola tracking in Skro, configure traffic source parameters, and connect your advertising campaigns.
[Taboola](https://taboola.com) integration gives you the ability to manage and optimize all your Taboola ad campaigns through the Skro interface.
- Sync cost for campaigns, ads and sites every 30 min.
- Check the status of your campaigns, ads and sites.
- Pause or resume campaigns, ads and sites.
In this guide, you will learn how to set up your campaigns in Taboola and Skro so Taboola can pass information to Skro and back with a selected tracking method. This guide does not cover all aspects and options available when creating a campaign on these two platforms. Basic knowledge regarding setting up campaigns in Taboola and Skro is required.

## Step 1. Ask Taboola Credentials [#step-1-ask-taboola-credentials]
Contact your Account Manager or Taboola support, saying you want to integrate with their backstage API, ask them provide **Client ID** and **Client Secret** of your account. You will need it when setup Taboola integration in Skro.
## Step 2. Create a Conversion [#step-2-create-a-conversion]
A conversion event name is needed for Skro to send conversions to Taboola. We should get a conversion event name in this section.
- Sign in to your Taboola account.
- Navigate to the **Tracking**.
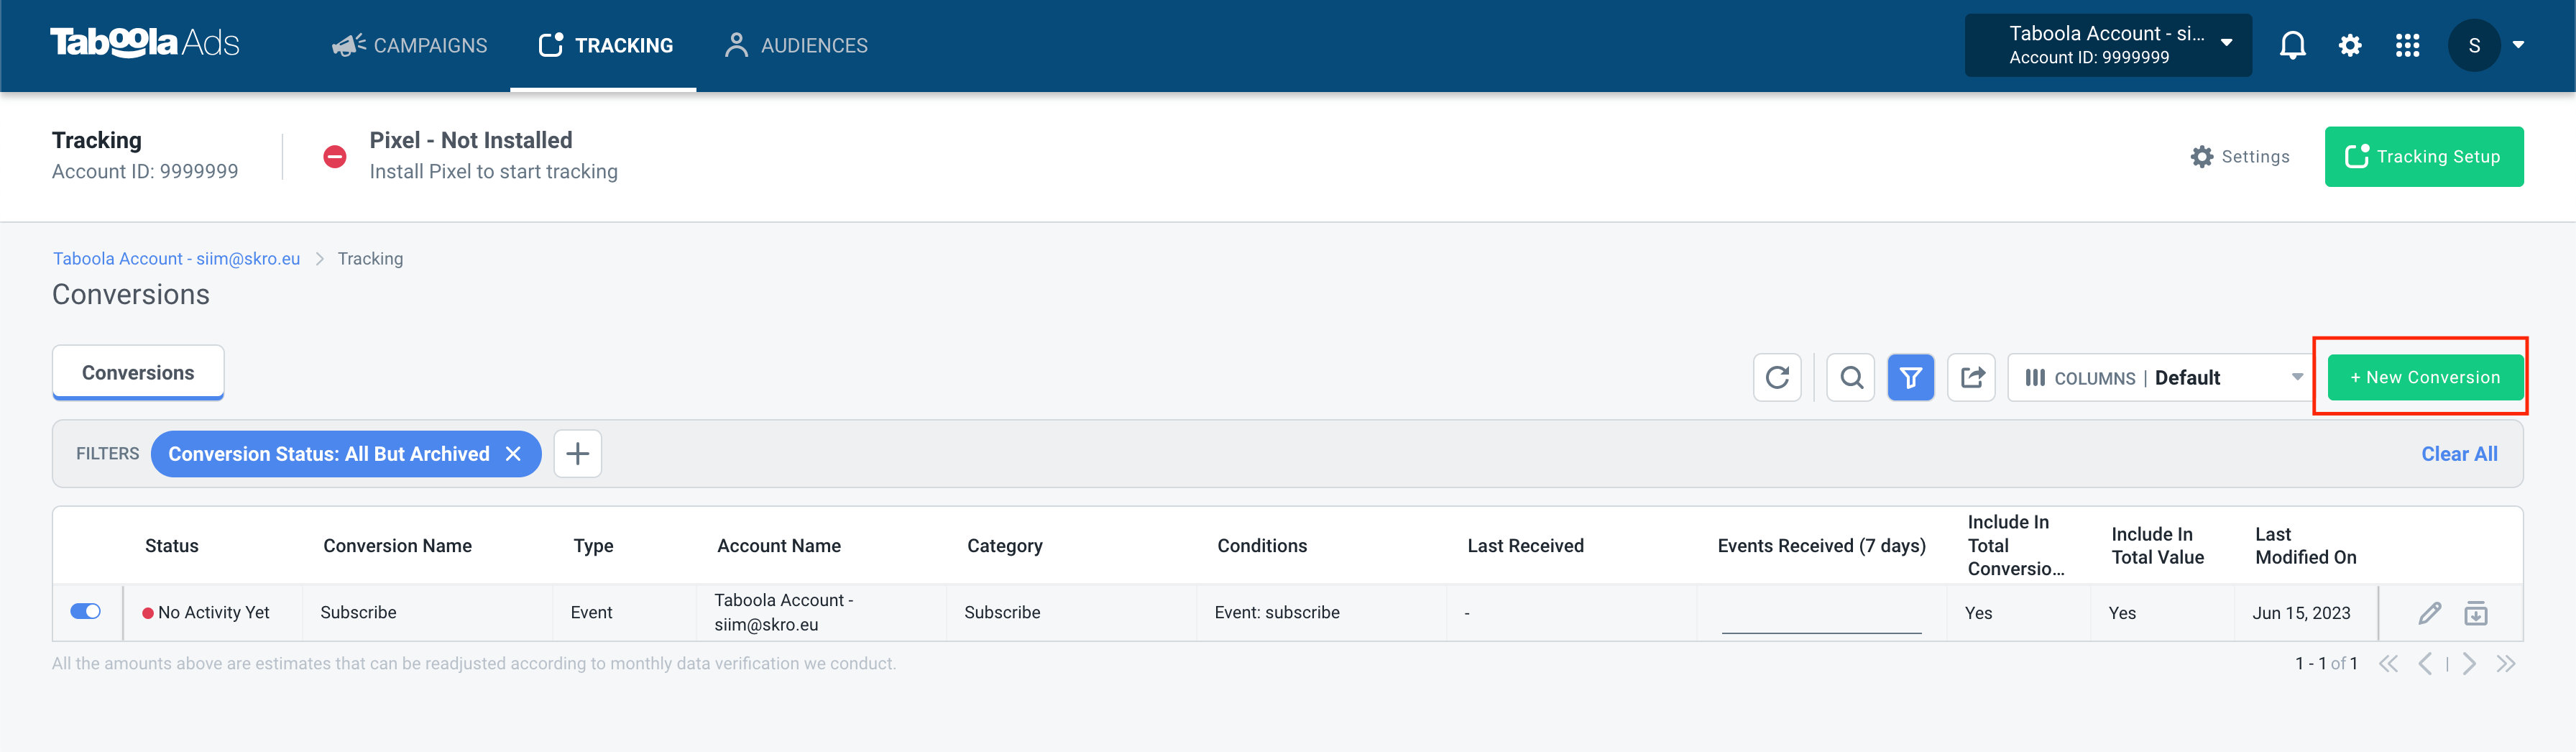
- Click **+ New Conversion**.
- Enter your conversion name.
- Set conversion type **Event**.
- Select your conversion category.
- Type your **Conversion Event Name**. (You will need that name when creating an integration in Skro.)
- Click **Create**.
## Step 3. Setup integration [#step-3-setup-integration]
- Log in to your **Skro** account.
- Navigate to **Settings → Integrations**.
- In the **Traffic Sources** section click **Add**.
- Click **Taboola** logo and integration form will pop up.
- Enter your **Integration Name**.
- Enter your Taboola **Client ID**. Get this value from your account manager or taboola support.
- Enter your Taboola **Client Secret**. Get this value from your account manager or taboola support.
- Click **Next**.
- If you want to send conversions info back to Taboola, then you will need to enable **Conversion API.**
- **Conversion Event Name** - must be the same as you typed in Taboola. When creating Skro campaign you will need to specify which conversion goal to send to.
- **Include Conversion Payout** - If checked, we will send conversion revenue and currency to Taboola.
- Click **Save & Close**.
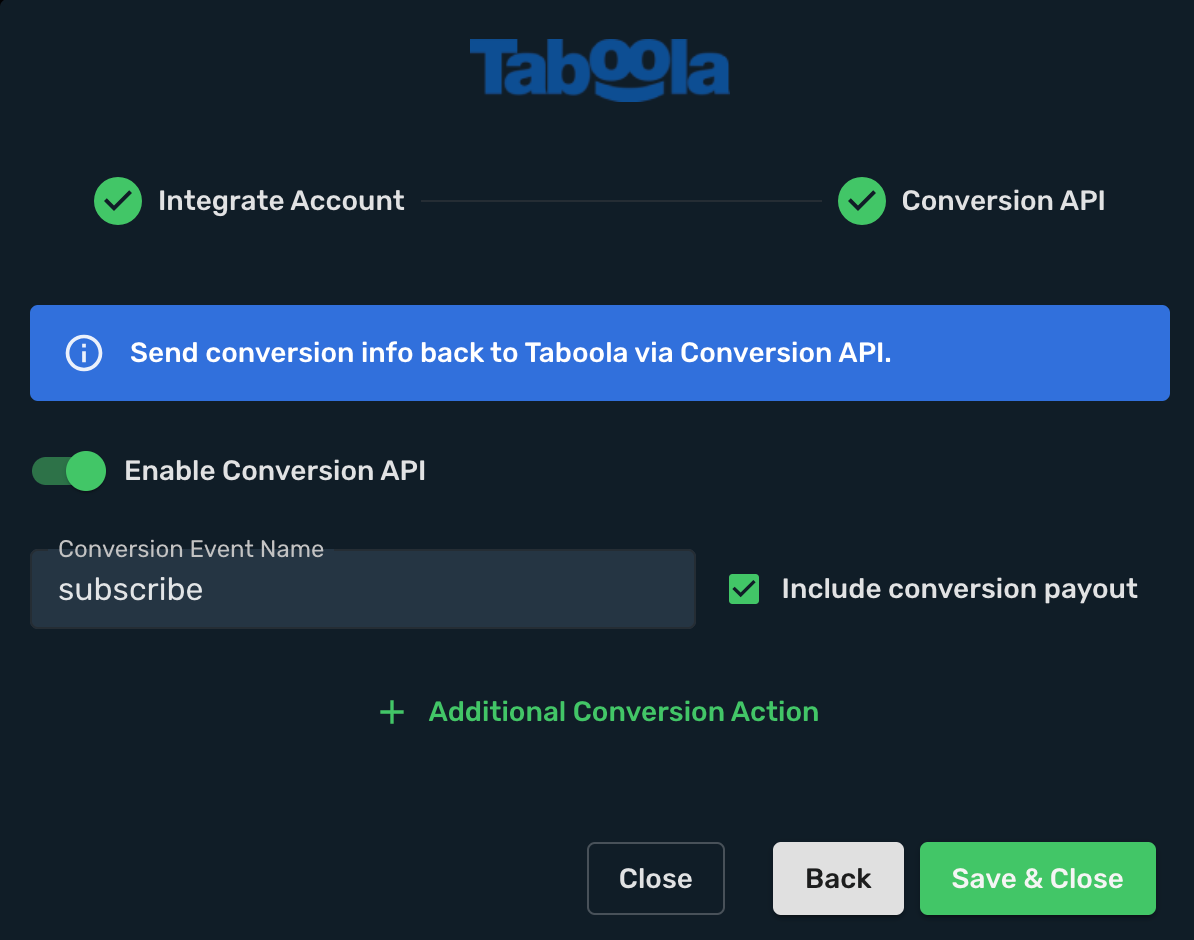
- You Taboola account is successfully integrated.
- You can switch on/off cost sync with given switch.
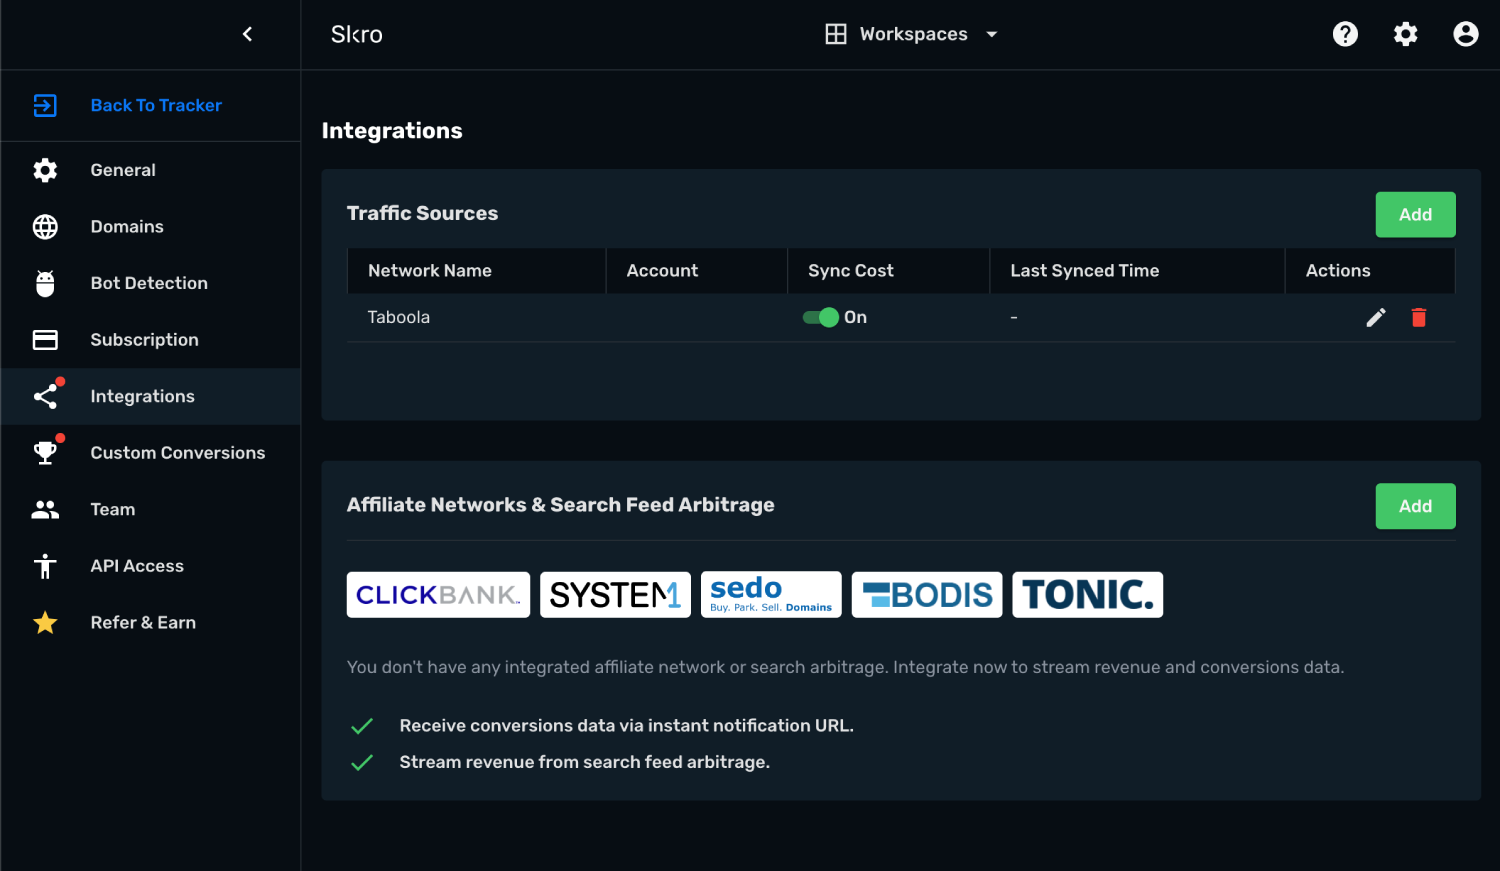
## Step 4. Associate the integration with your traffic source [#step-4-associate-the-integration-with-your-traffic-source]
- Navigate to the **Traffic Sources** and click **Create**.

- Click **Taboola** logo.
- Postback URL is already set with correct macros.
- Select your Taboola integration from the dropdown menu.
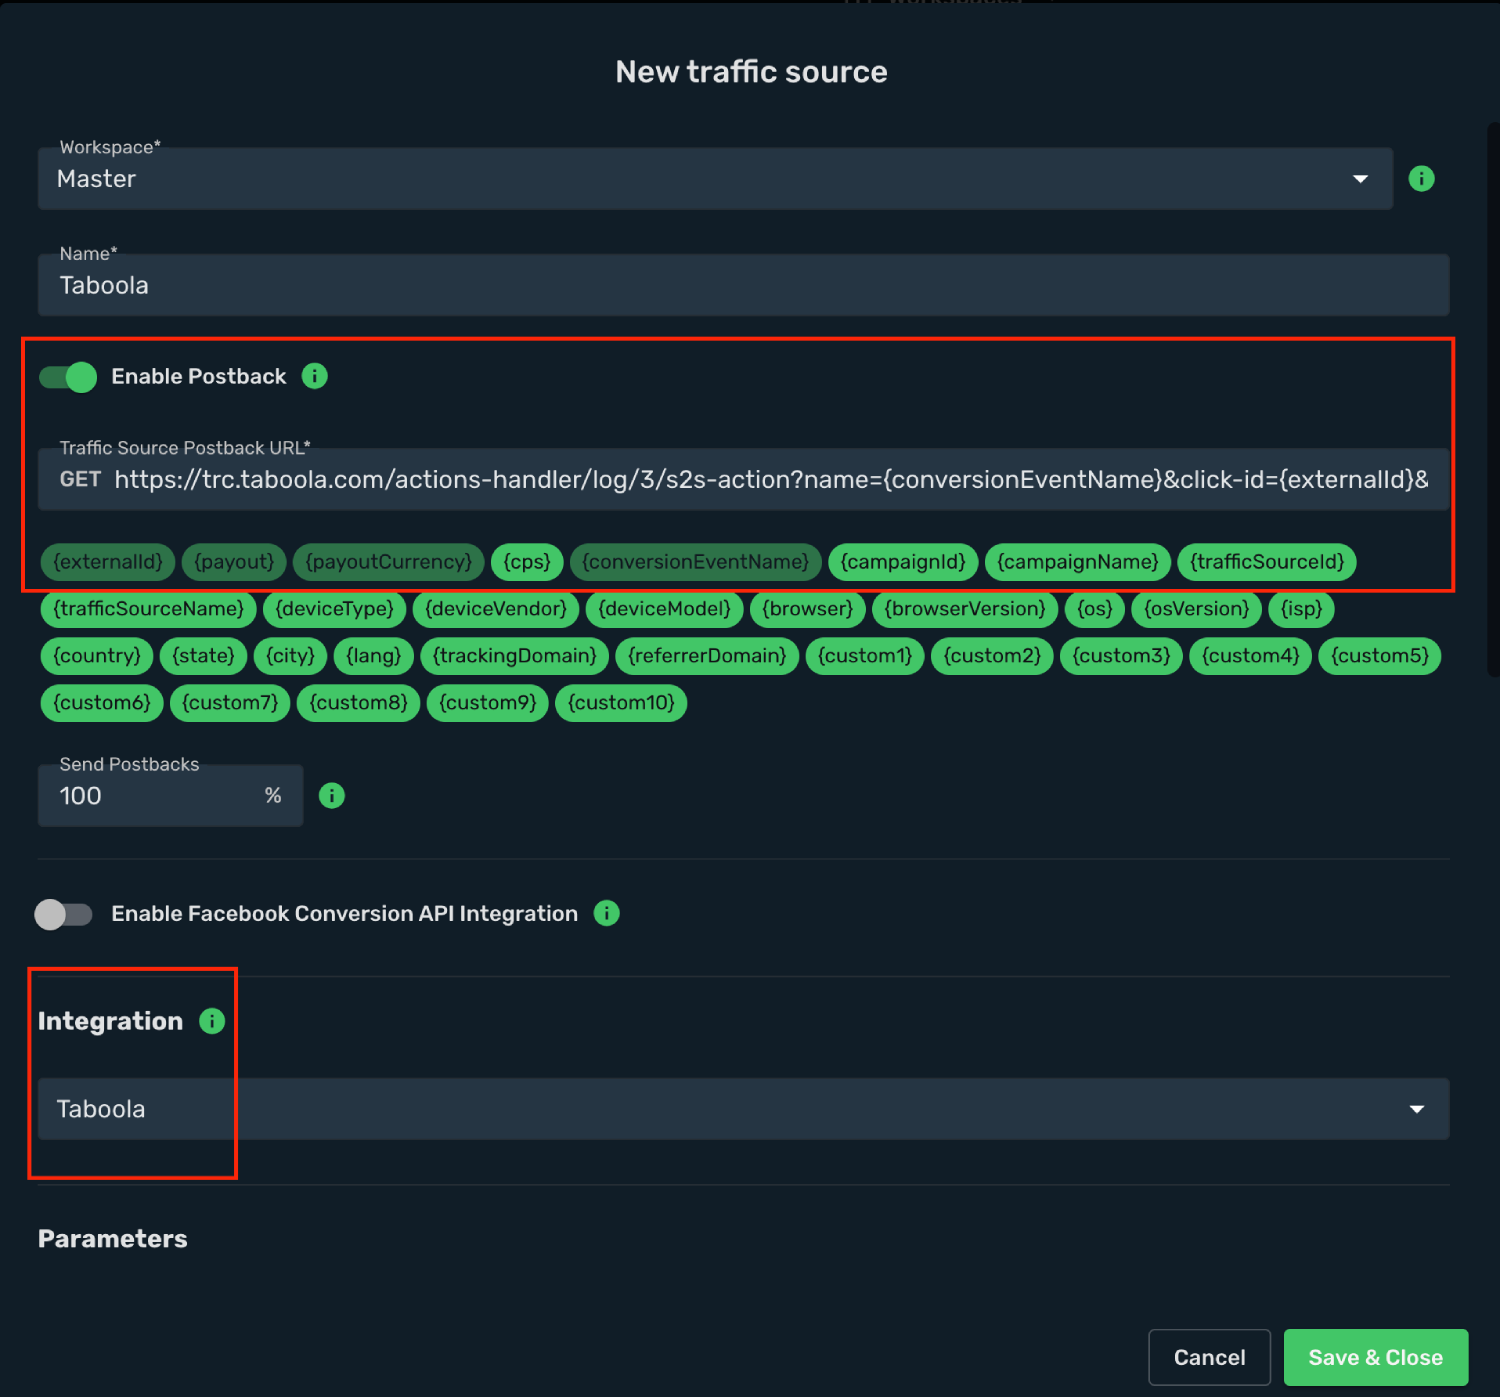
- All parameters are already prefilled for you.
- Click **Save & Close**.
The integration is ready. Continue by creating a campaign for Taboola.
## Step 5. Create a Campaign in Skro [#step-5-create-a-campaign-in-skro]
First you will need to add your offer.
- Navigate to the **Offers** view and click **Create**.
- Select workspace.
- Add name.
- Add your offer URL and add macros if needed.
- Click **Save & Close**.

- Navigate to the **Campaigns** view and click **Create**.
- Select your integrated **Traffic Source** as Taboola.
- Select your **Conversion Event Name**. That is needed to send conversion info back to Taboola.
- Cost Model should be **Auto**.
- Select your cost currency.
- Click **Next**
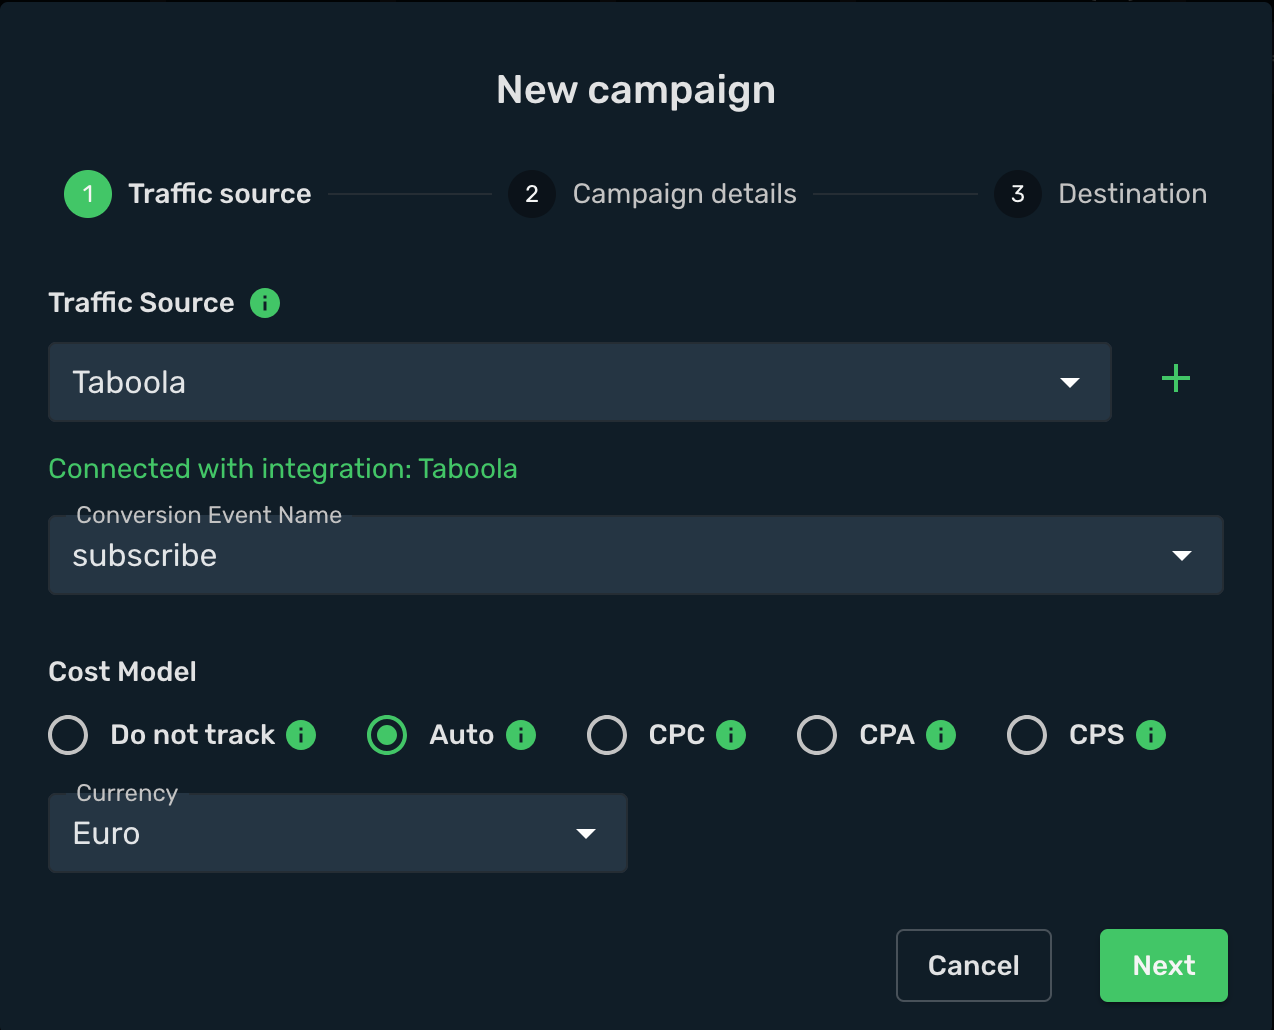
- Select workspace.
- Add descriptive name to your campaign.
- Click **Next**
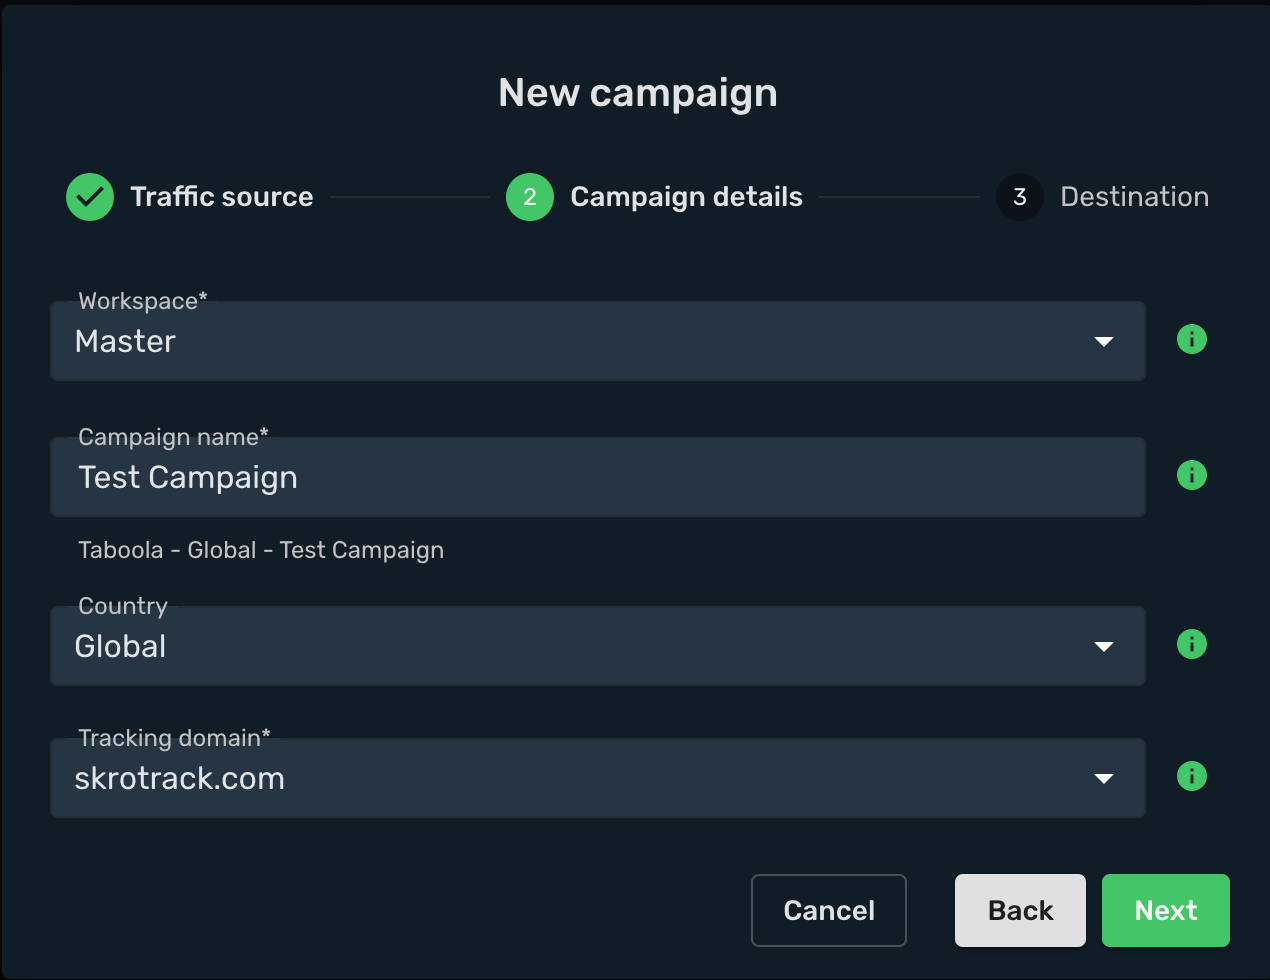
- Choose your **Destination Type**. In this example we use **flow**
- Choose your redirect mode. In this example we use **redirect 302**
- In given example we use only offers, Switch on **Use only offers** and select your offer. With Taboola you are allowed to use **Redirect** tracking method, so you can add multiple landing pages and offers to your campaign.
- Click **Save**
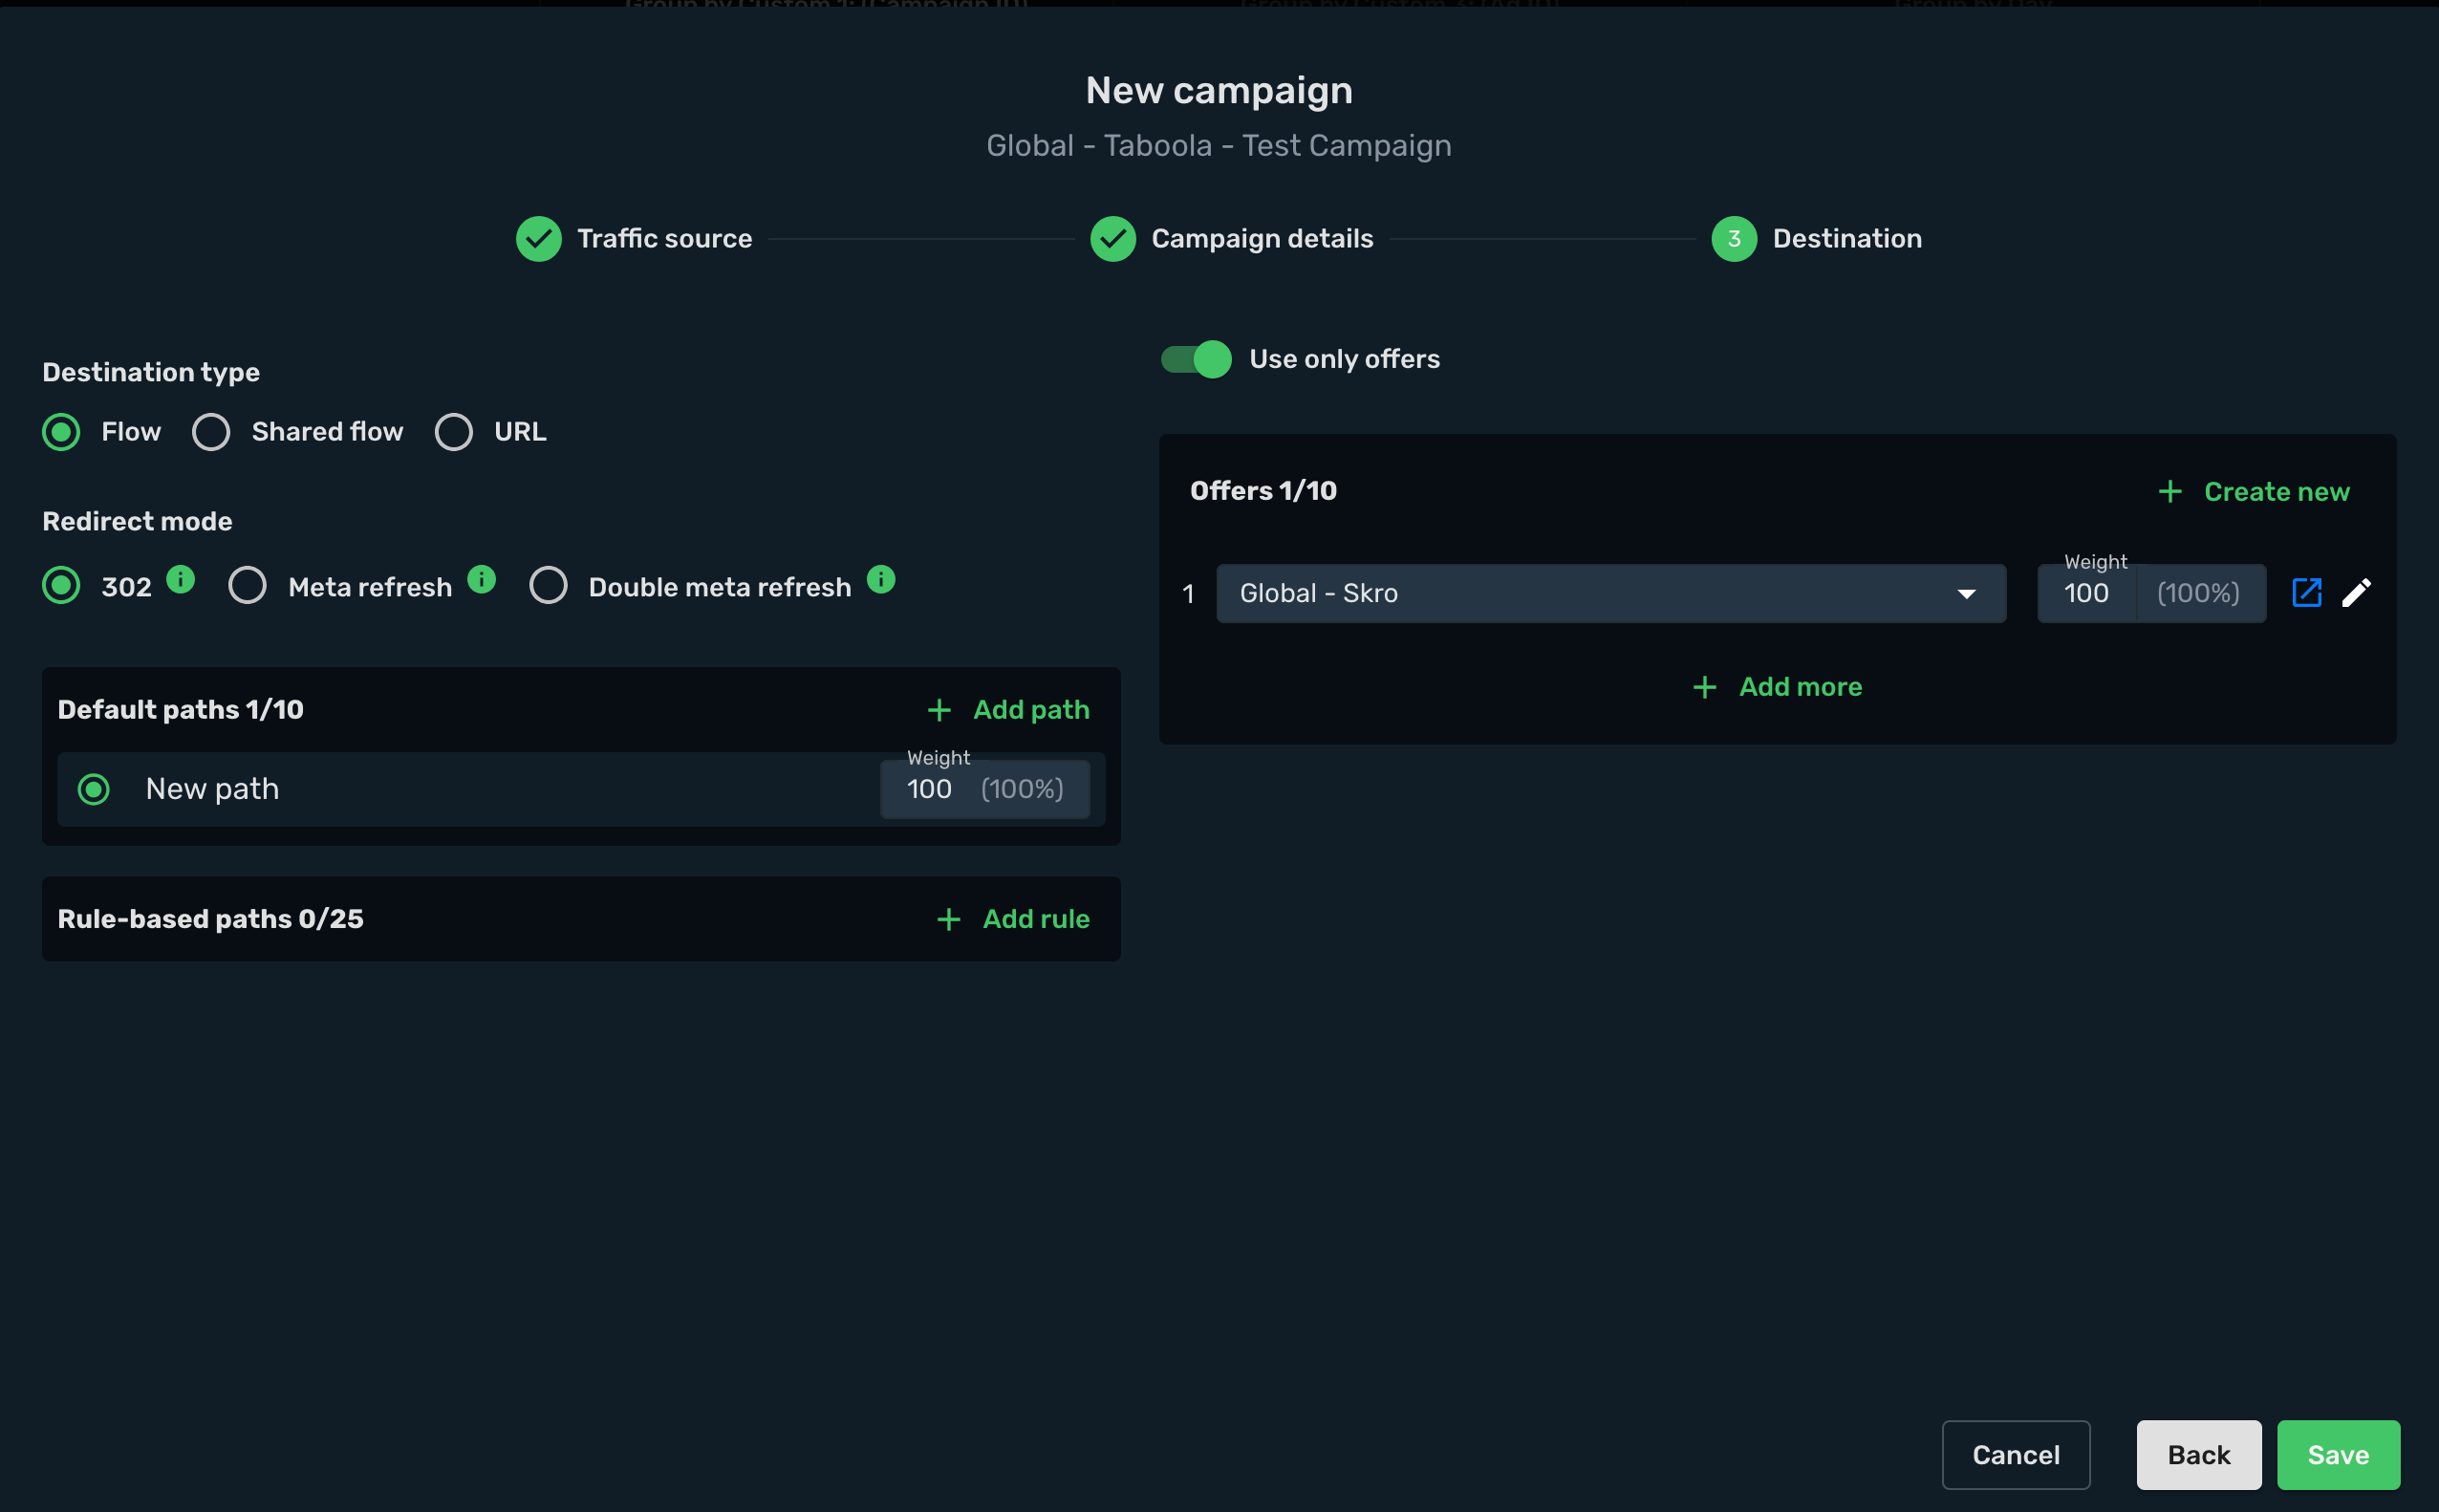
- Choose the **Redirect** method.
- Copy and paste the Campaign Tracking URL to Taboola.
In given example we have that kind of URL:
```text
https://skrotrack.com/campaign/f83916ca-a95b-4641-8d9b-4d252f82e64b?click_id={click_id}&campaign_id={campaign_id}&site_id={site_id}&ad_id={campaign_item_id}&site={site}&thumbnail={thumbnail}&title={title}&platform={platform}&campaign_name={campaign_name}&site_domain={site_domain}
```
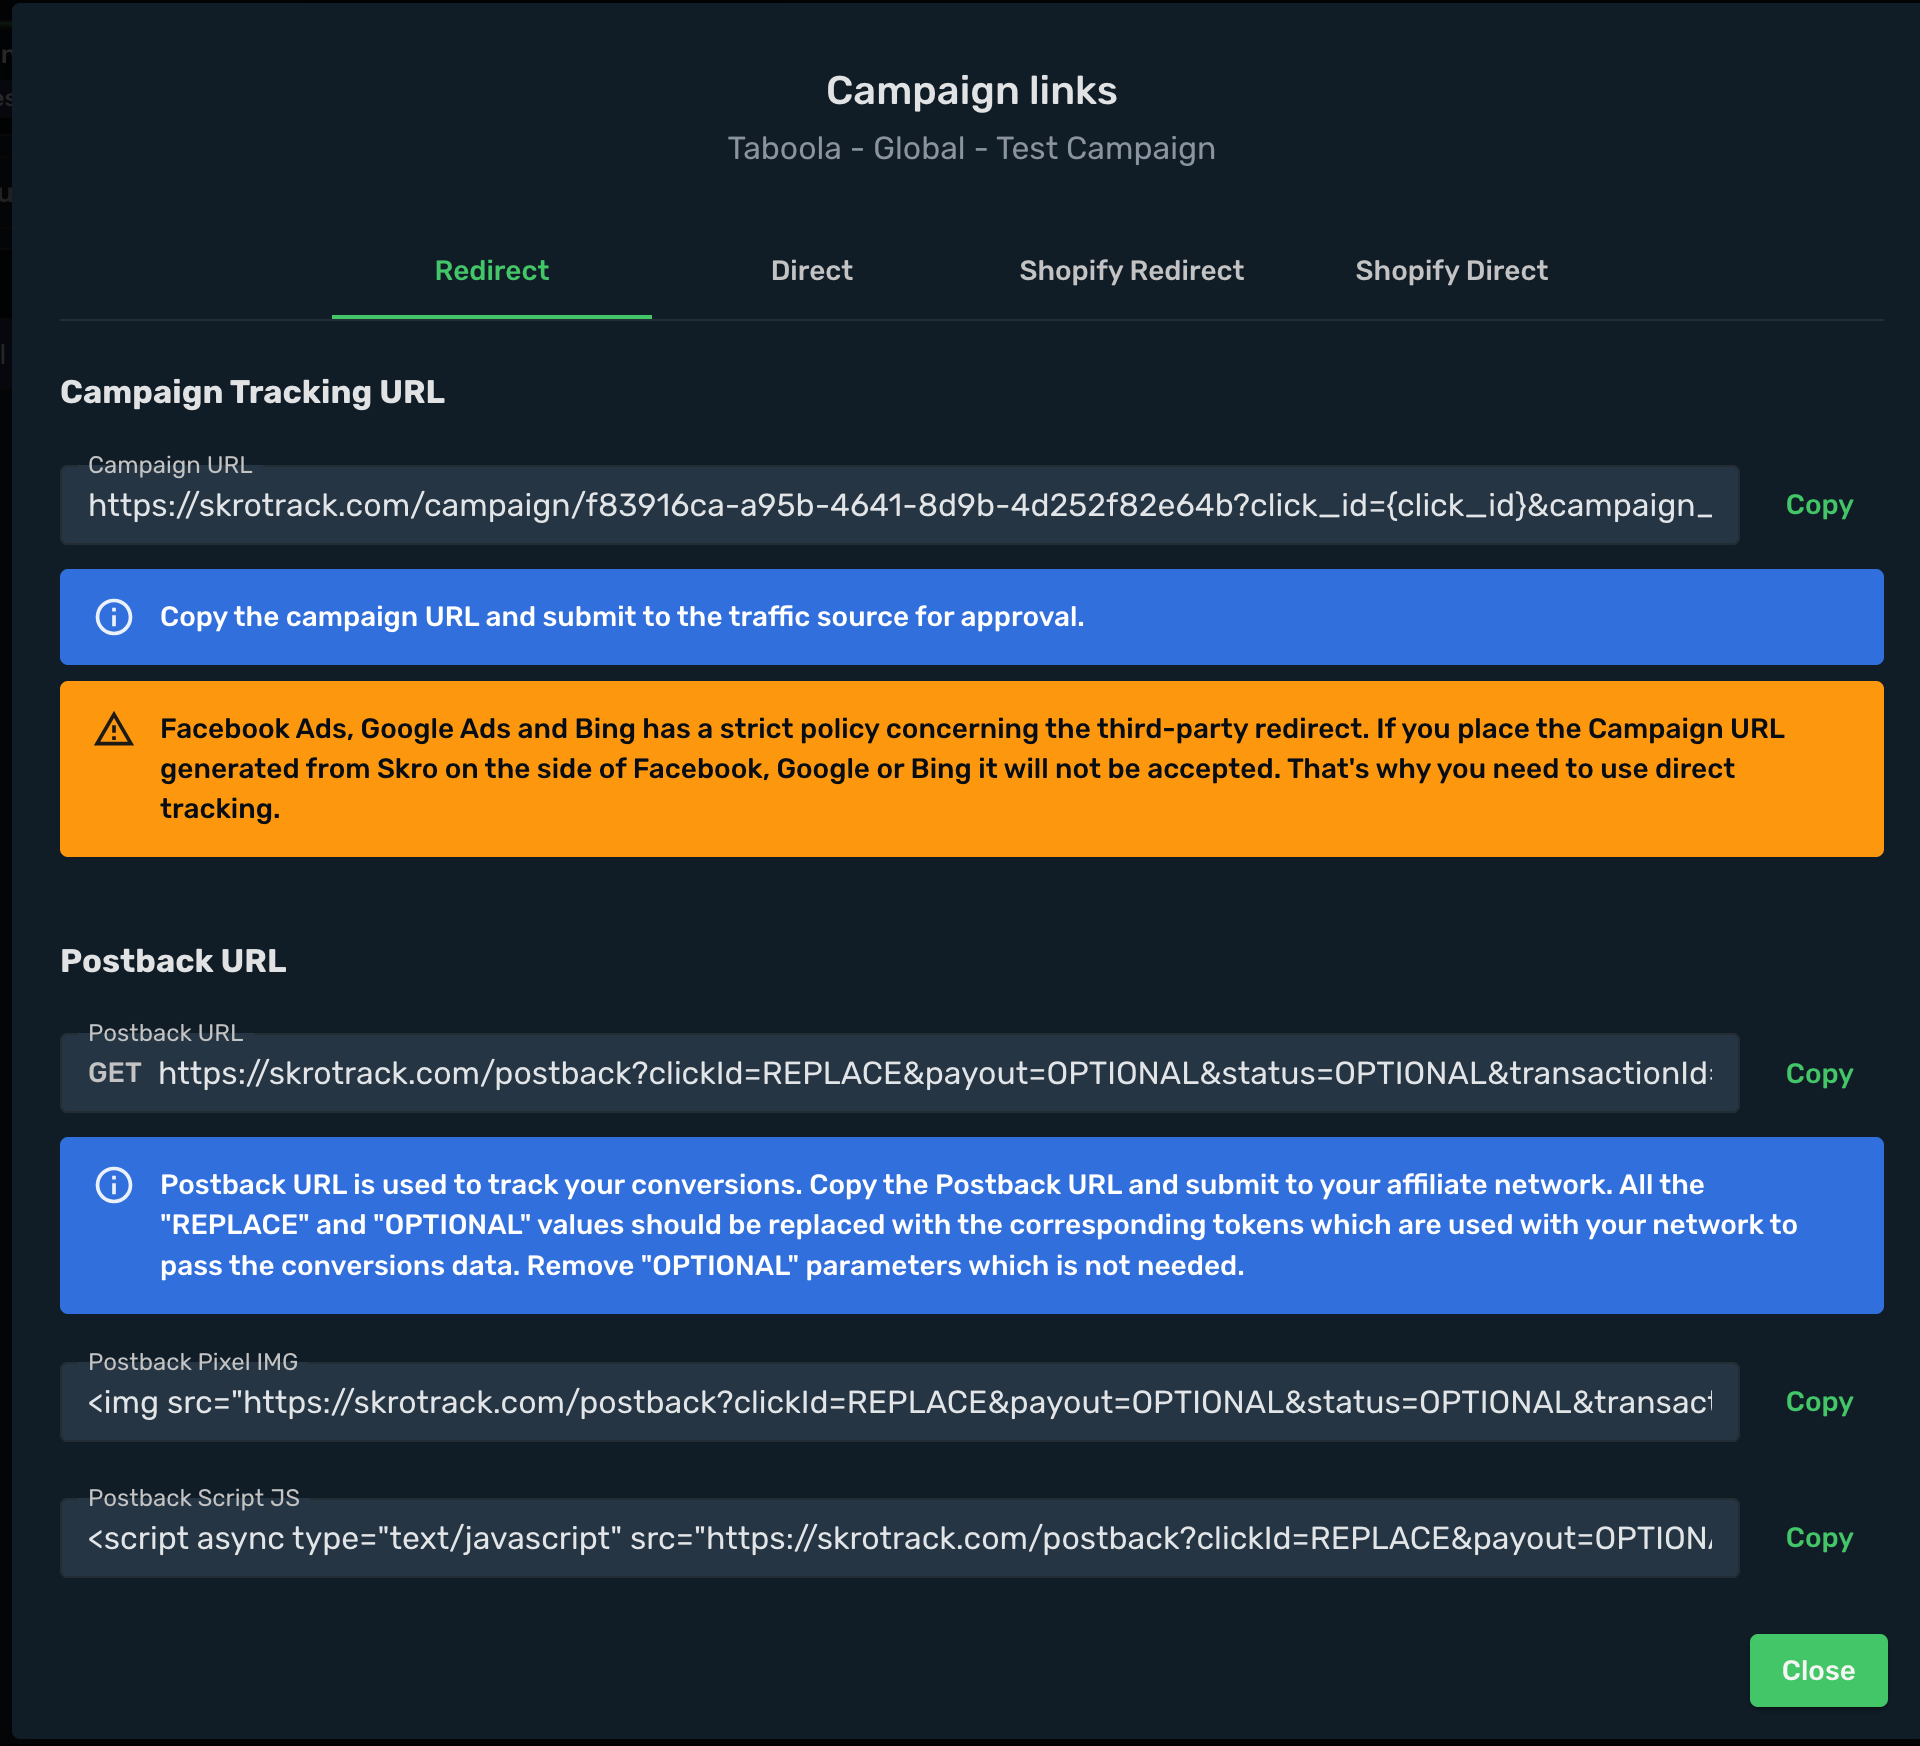
## Step 6. Create a Campaign in Taboola [#step-6-create-a-campaign-in-taboola]
Now you have your campaign URL with tracking parameters added. In the next step you will submit it as your item's URL in Taboola's campaign inventory setup. In order to do that, perform the following steps:
- Sign in to your Taboola account.
- Go to the Campaigns tab.
- Click the **Create** and select the Campaign option from the drop-down menu.
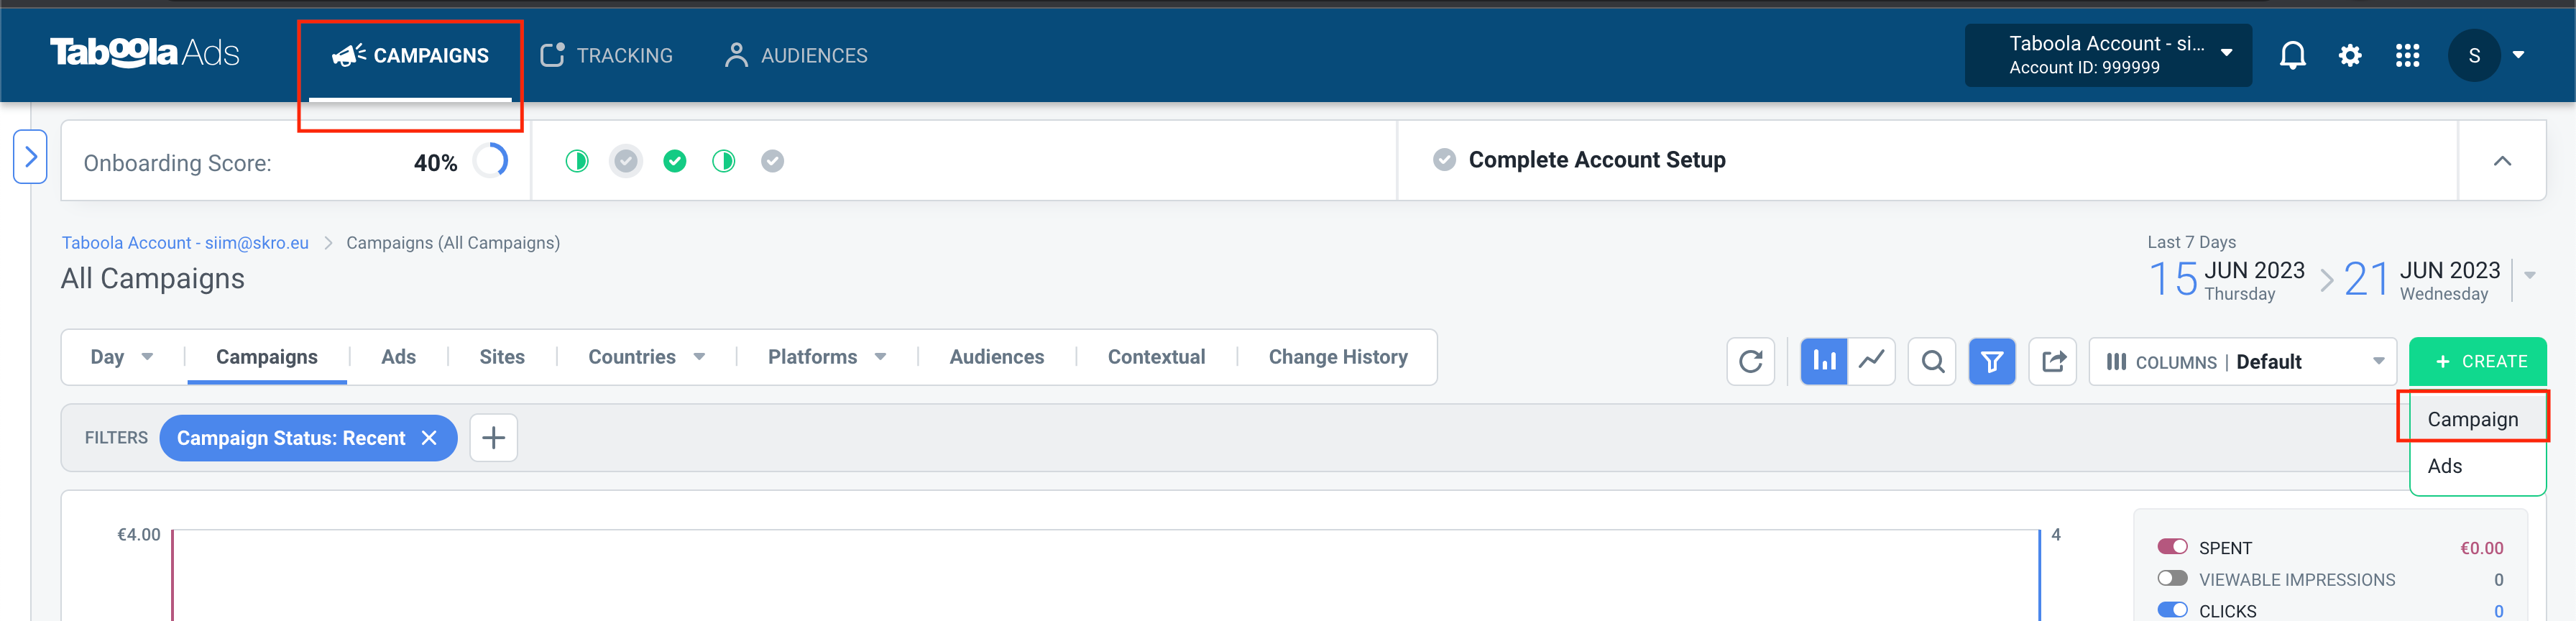
**Campaign Settings** - Provide all required information. This includes:
- Campaign Setup.
- Bidding And Conversion Goal.
- Schedule.
- Campaign Targeting
- Audience Targeting.
- Click **Next**.
**Budget and Bidding** - Provide all required information. This includes:
- Budget
- Tracking
- Profile
You do not need to add anything in the Tracking codes section. All Taboola parameter are already included in the campaign tracking URL that will be added on item level.
Once you have provided the required information, click the **Create & Add Ads**. The Create ads view will appear.
**Create Ads** - Provide a target URL and a creative. In order to do so, perform the steps below:
- Paste the copied campaign tracking URL from Skro into the **Landing page URL** text field.
- Upload a creative or choose one from the stock photo library, provide headlines. Once you set up your ad, click the **Submit**.
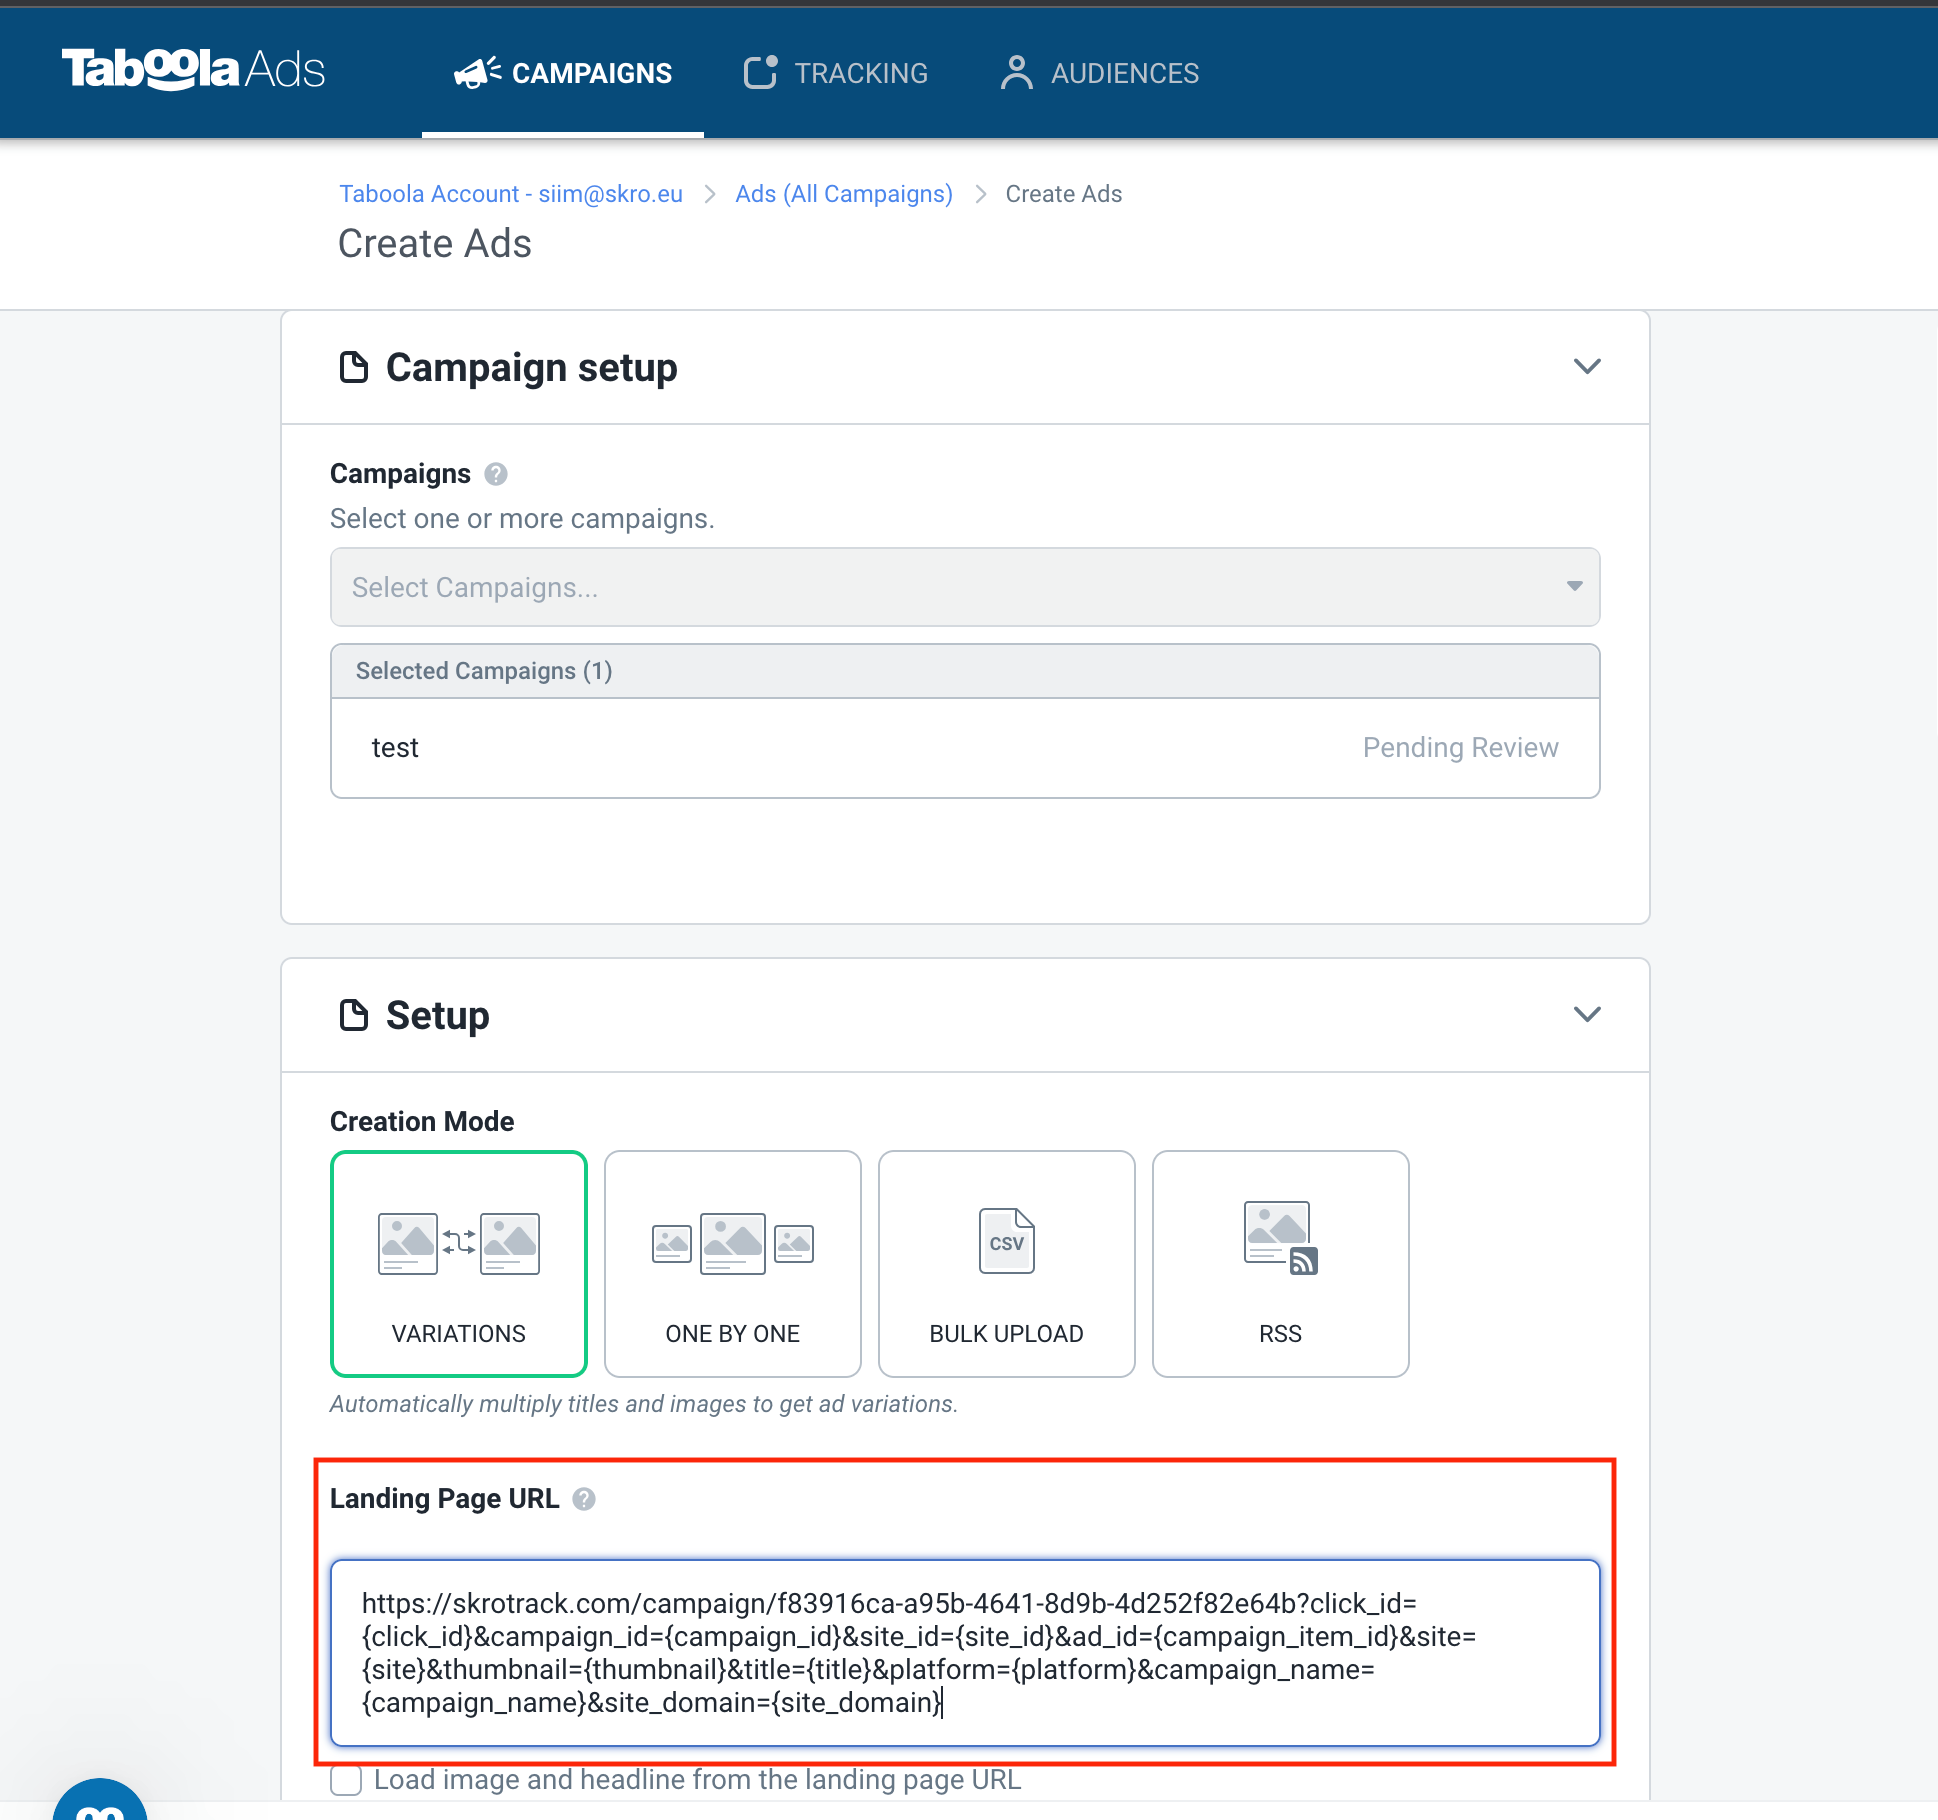
Congratulations, you have successfully set up tracking of Taboola traffic with Skro. Each time a visitor clicks on your ad, will be directed to your landing page with Skro's tracking parameters being passed.
## Verify the setup [#verify-the-setup]
Open the generated campaign URL and check that the visit appears in Skro. Confirm that traffic source macros resolve to actual values. If you send conversions back to the source, verify a test conversion in both systems.
If data is missing, check the selected workspace, integration, campaign, and reporting date range. Compare parameter names and macro values with the examples in this guide before repeating the test.
## Related guides [#related-guides]
# TacoLoco integration
Source: https://skro.eu/docs/integrations/tacoloco-and-skro-integration
Set up TacoLoco tracking in Skro, configure traffic source parameters, and connect your advertising campaigns.
## Step 1. Create a TacoLoco traffic source and configure the postback URL [#step-1-create-a-tacoloco-traffic-source-and-configure-the-postback-url]
1. Go to **Traffic Sources** and click **+ Create**.
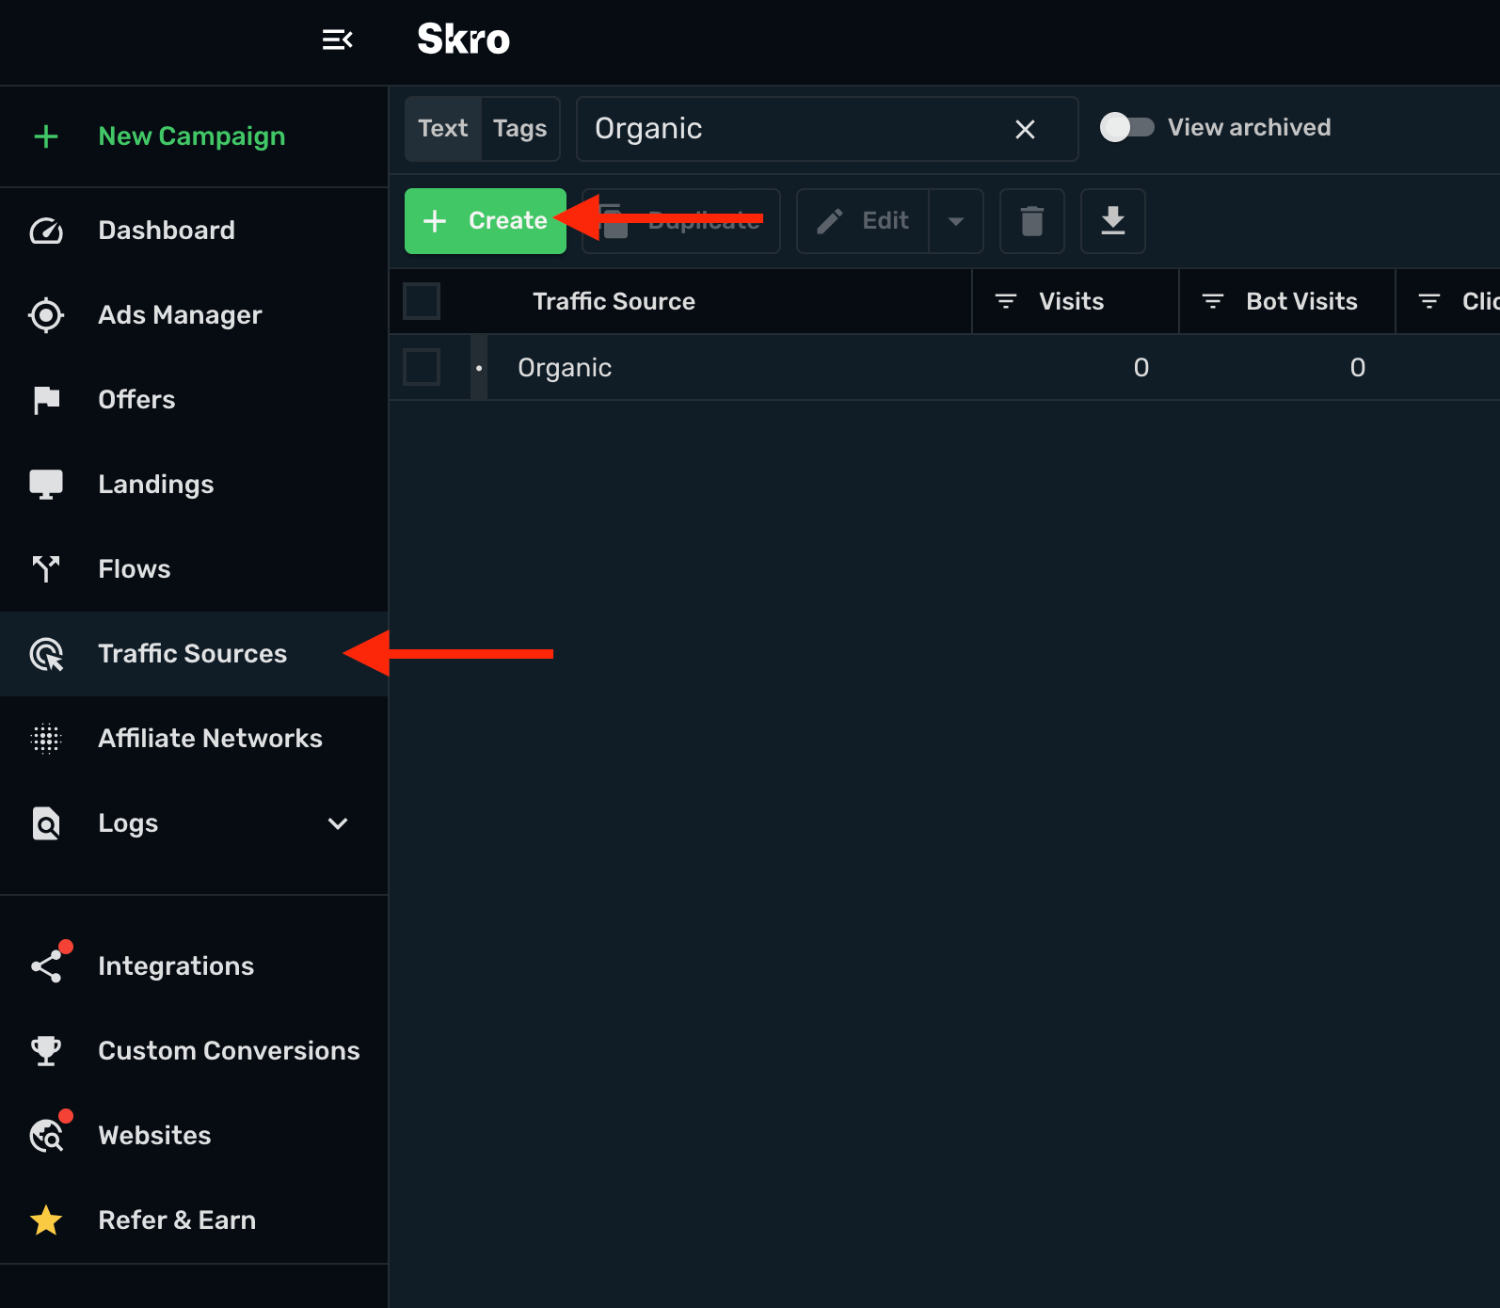
2. Search for **tacoloco** and click the **TacoLoco** template.
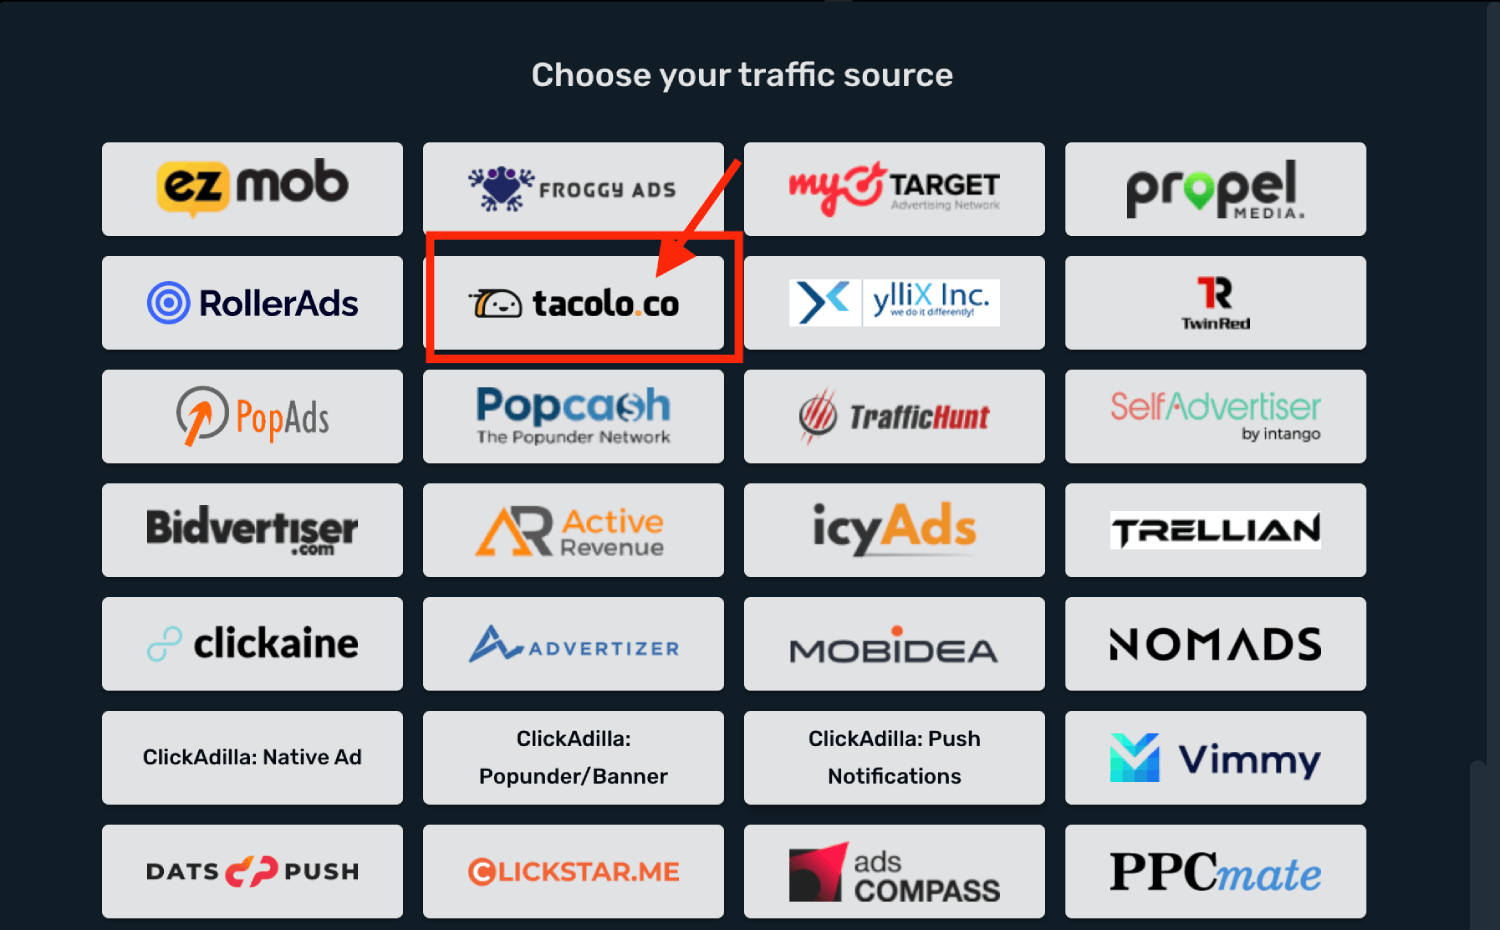
3. You need to modify **Traffic Source Postback URL**.
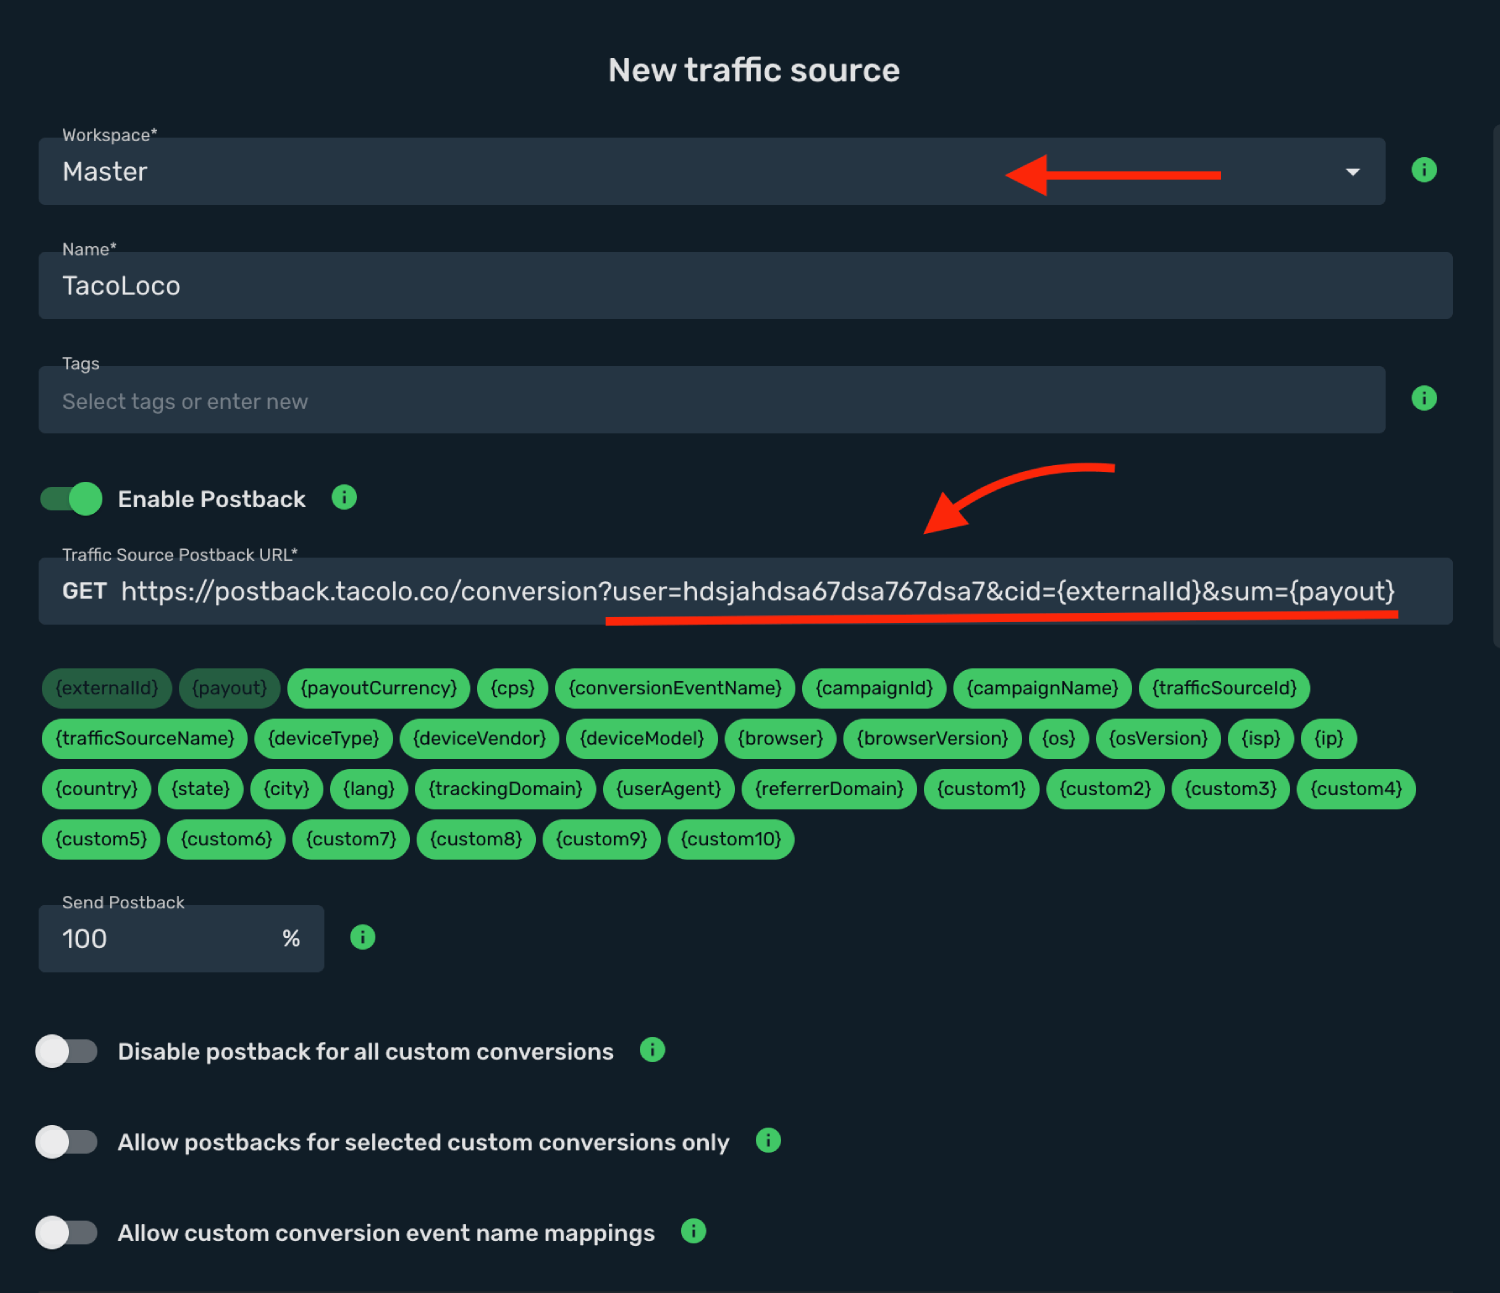
4. Log in to your **TacoLoco account**.
5. Go to **Profile** and enable **S2S Postback**.
6. Copy the **Postback URL** to your clipboard
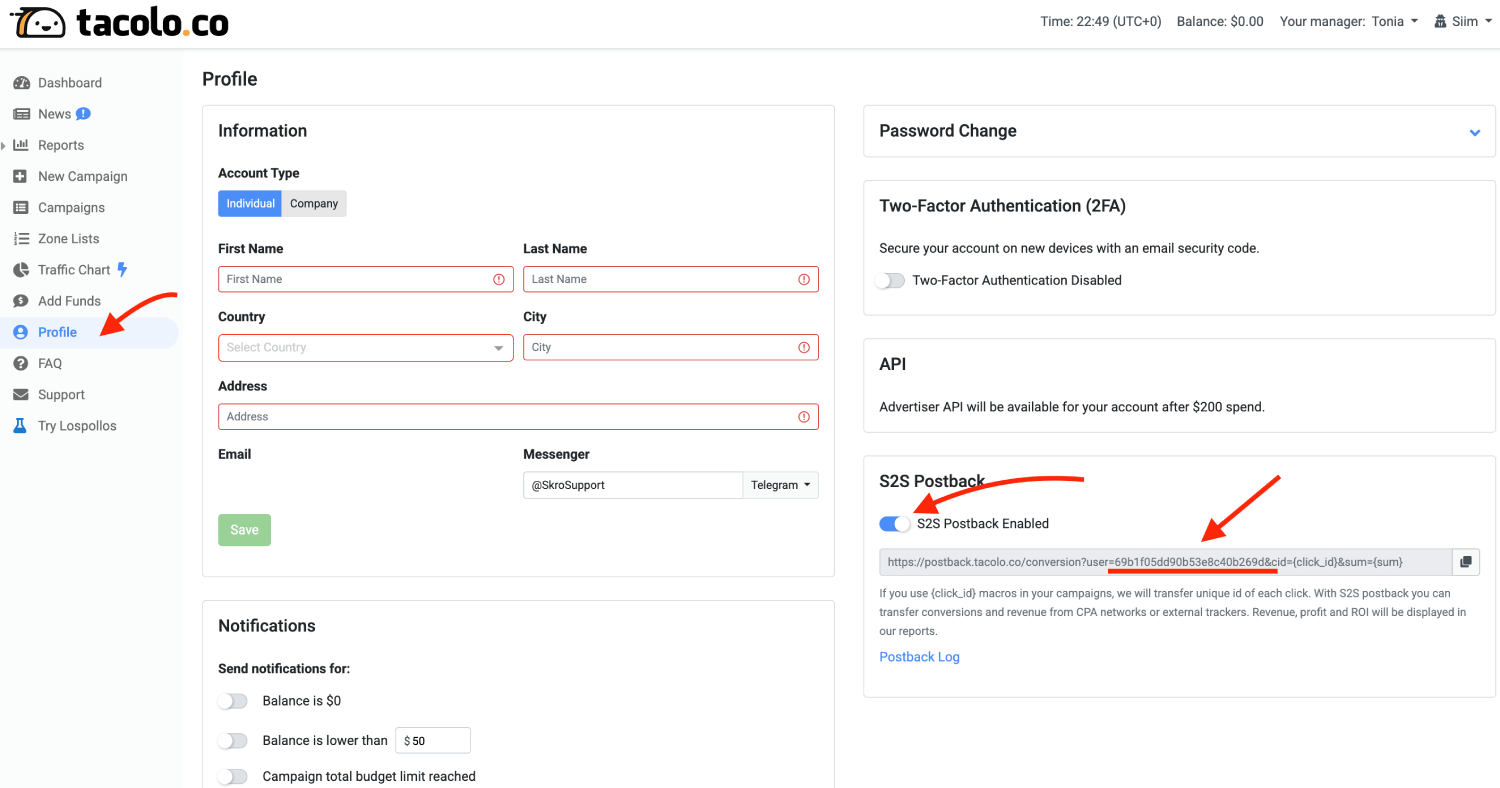
7. Go back to **Skro** and replace the postback URL with the updated values.
8. Replace the **user** parameter value with real token value **`?user=hdsjahdsa67dsa767dsa7`**
9. Final postback URL must look similar to this:
`https://postback.tacolo.co/conversion?user=hdsjahdsa67dsa767dsa7&cid={externalId}&sum={payout}`
**`user=hdsjahdsa67dsa767dsa7`** - TacoLoco User ID.
**`cid={externalId}`** - TacoLoco Click ID with Skro specific token.
**`sum={payout}`** - Conversion Payout with Skro specific token.
10. All tracking parameters are already prefilled for you.
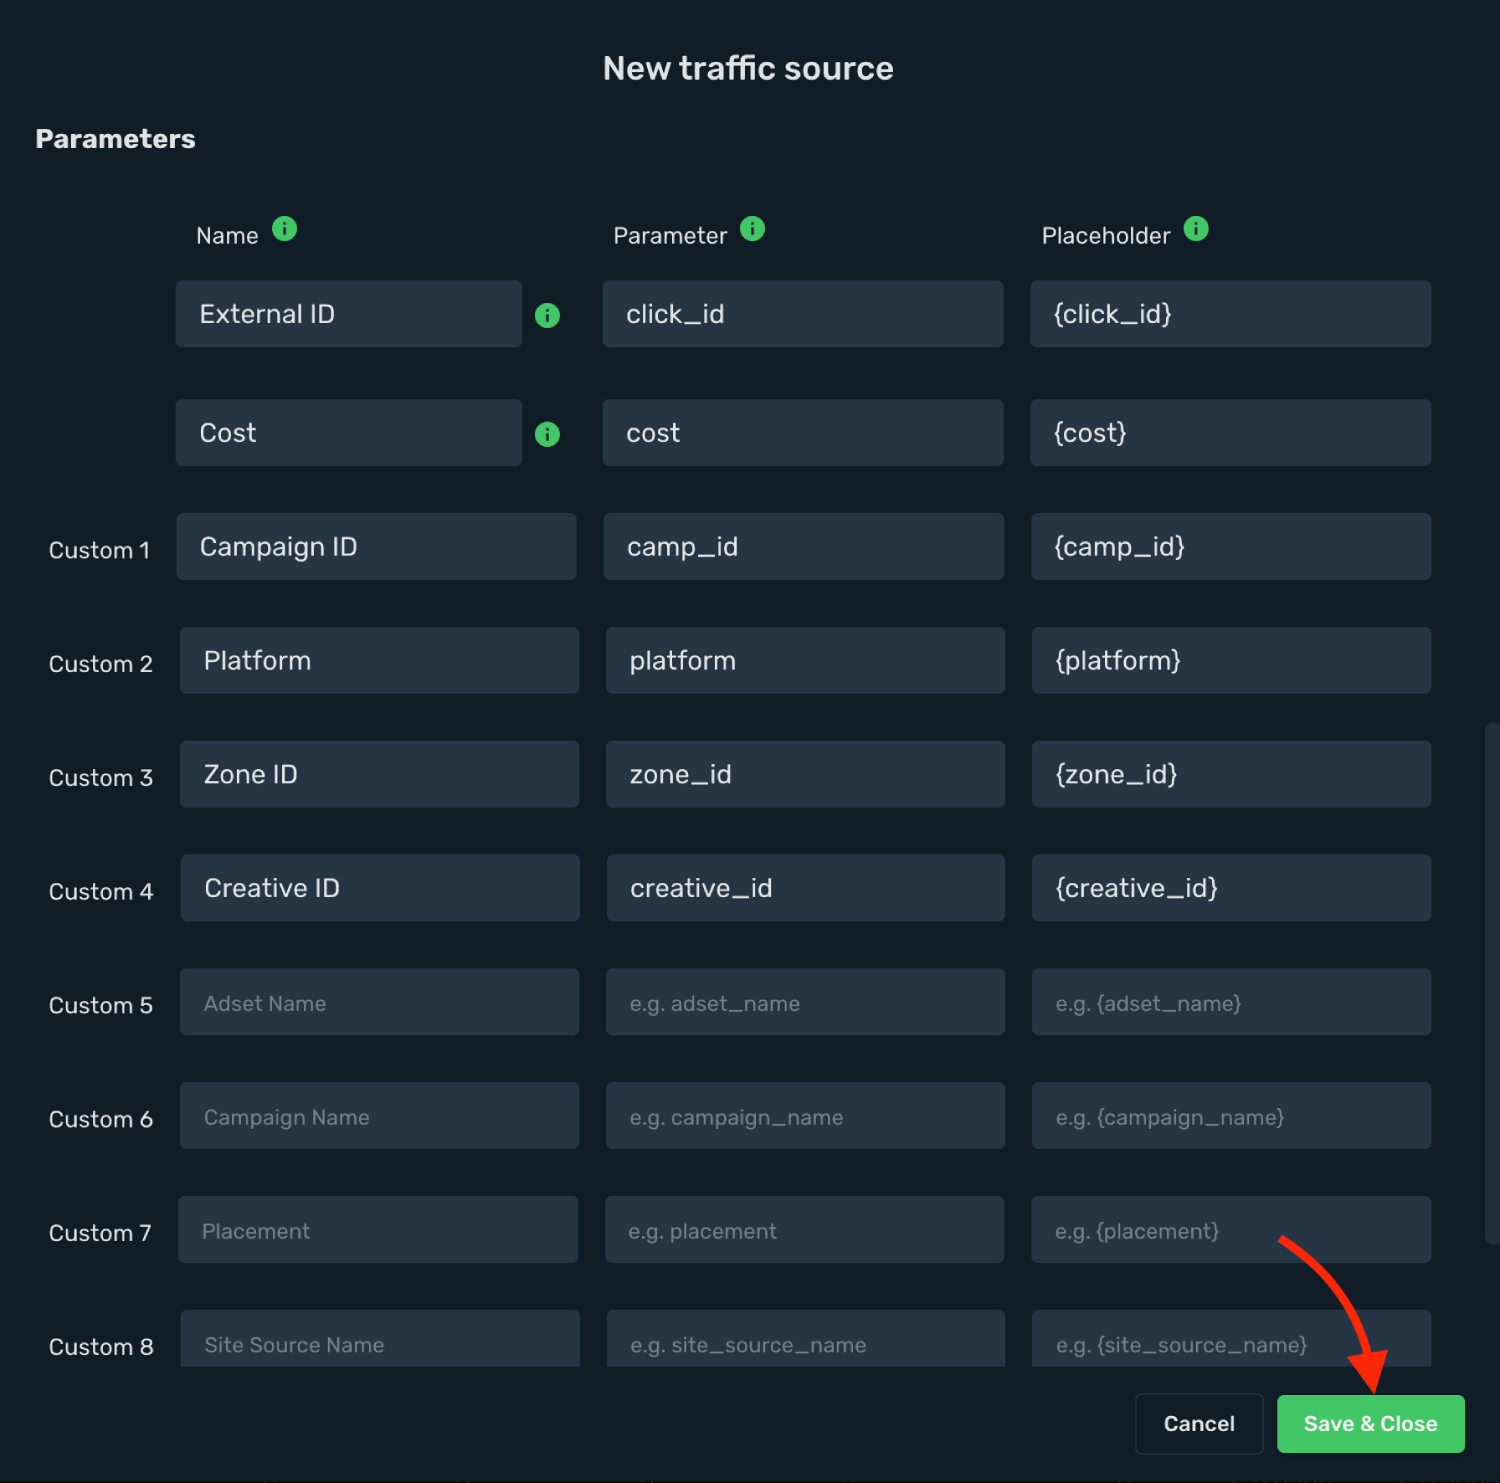
11. Click **Save & Close**.
Integration setup is complete, and you are now ready to create your first campaign.
## Step 2. Create a campaign in Skro [#step-2-create-a-campaign-in-skro]
1. Go to **Ads Manager** and click the **Create**.
2. Select your **Traffic source** and click **Next**.
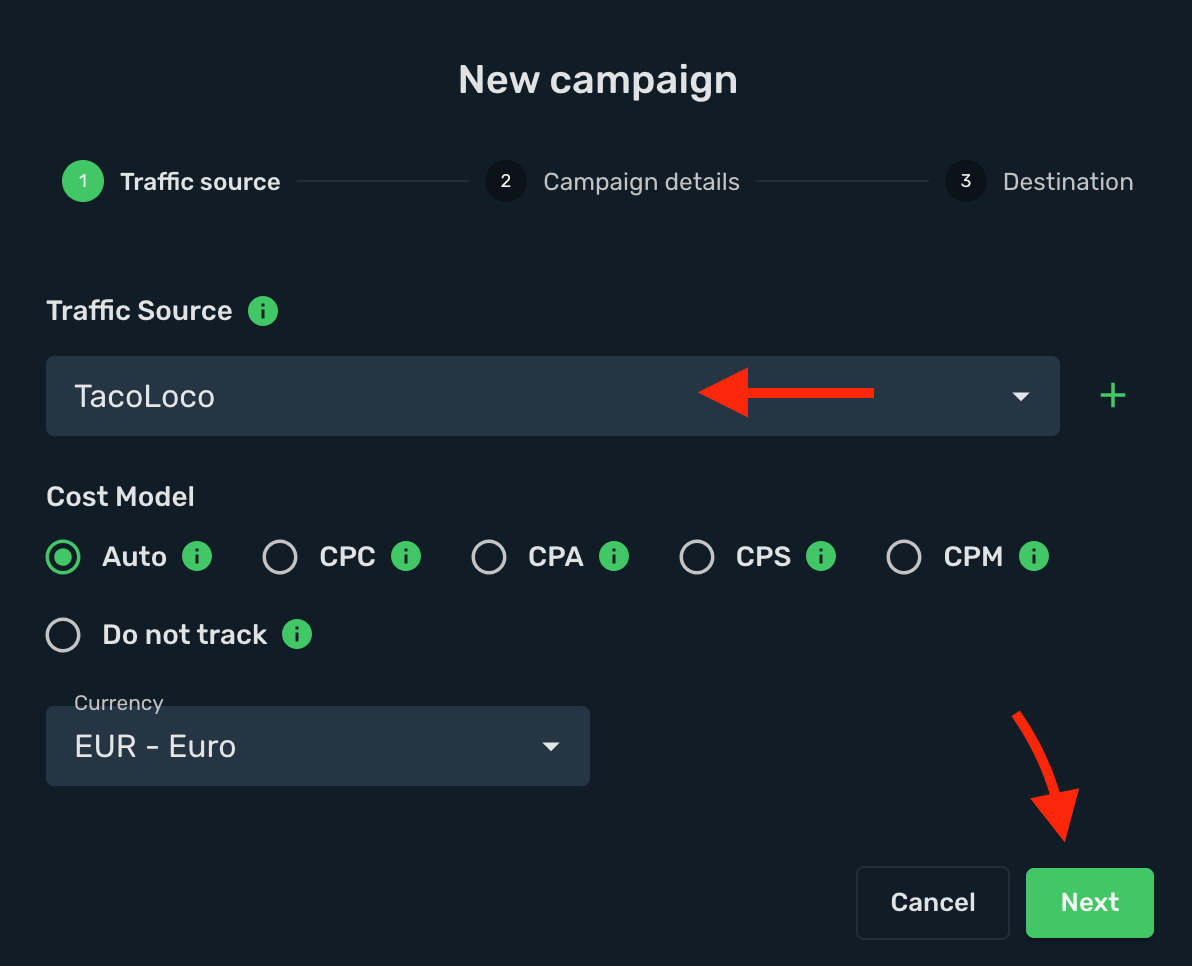
3. Select a **Workspace** for your campaign.
4. Give a **name** and click **Next**.
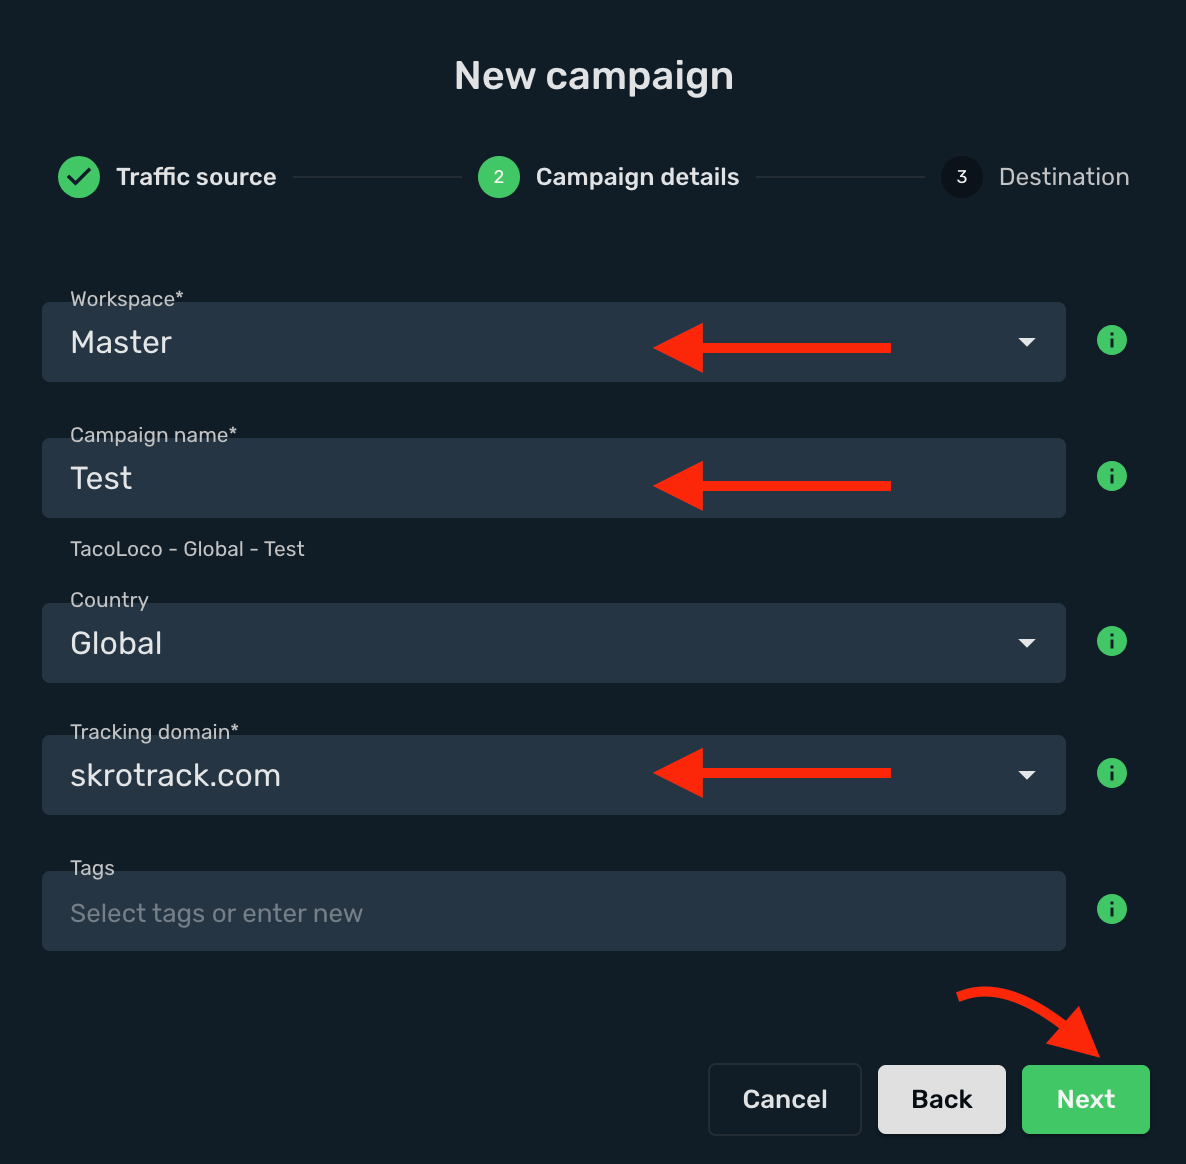
5. Select or create all your **landings** and **offers**.
6. Click the **Save**.
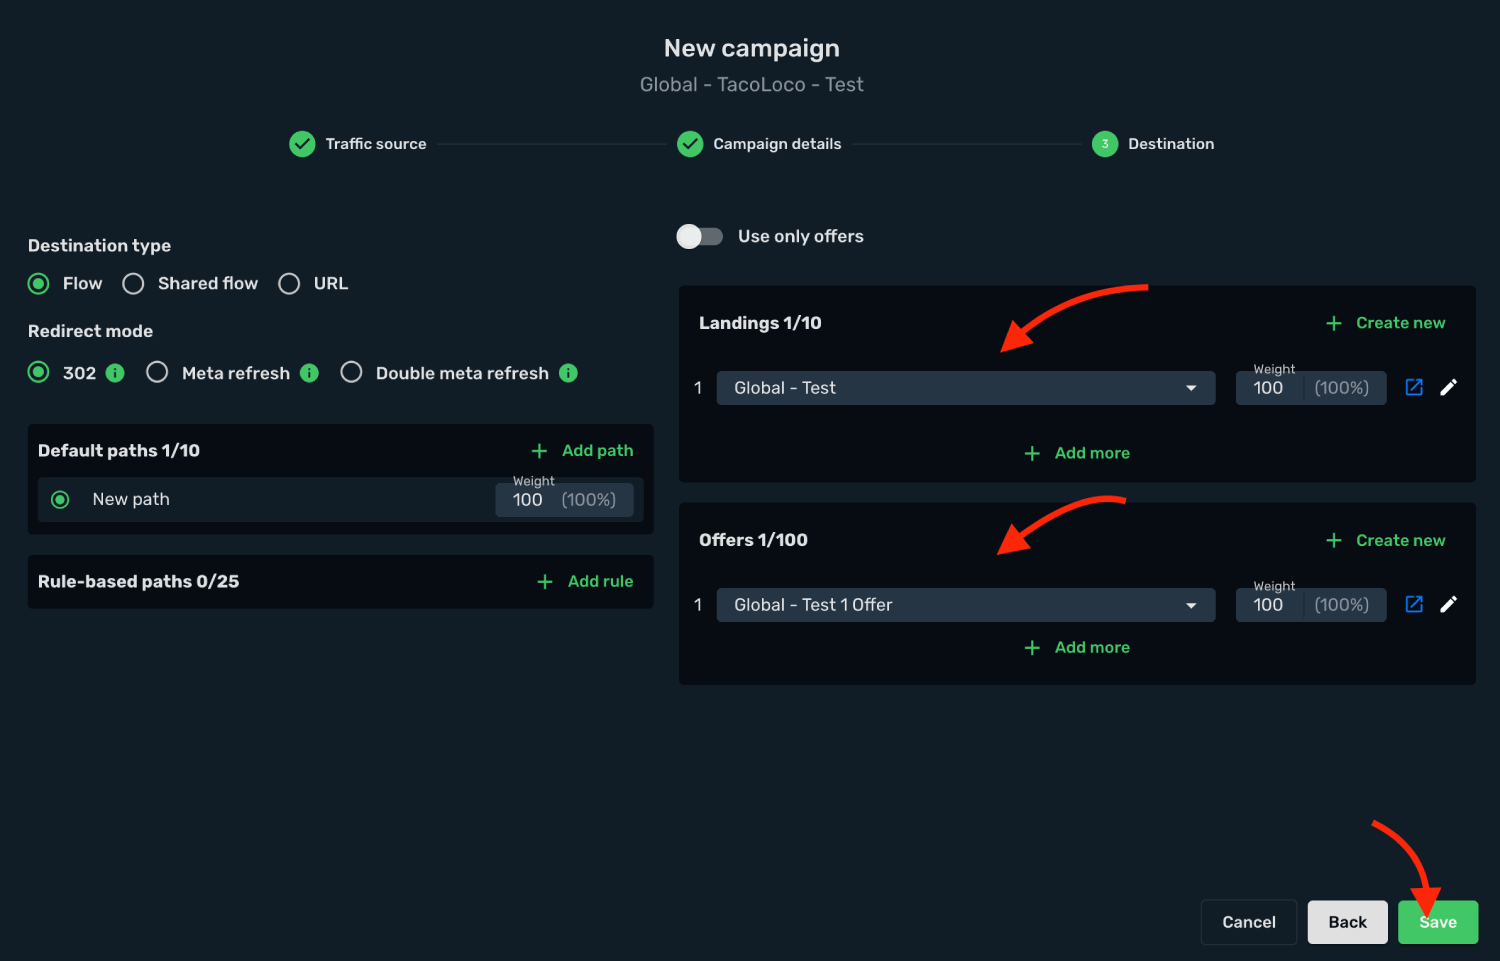
7. Copy the **Campaign Tracking URL** to clipboard.
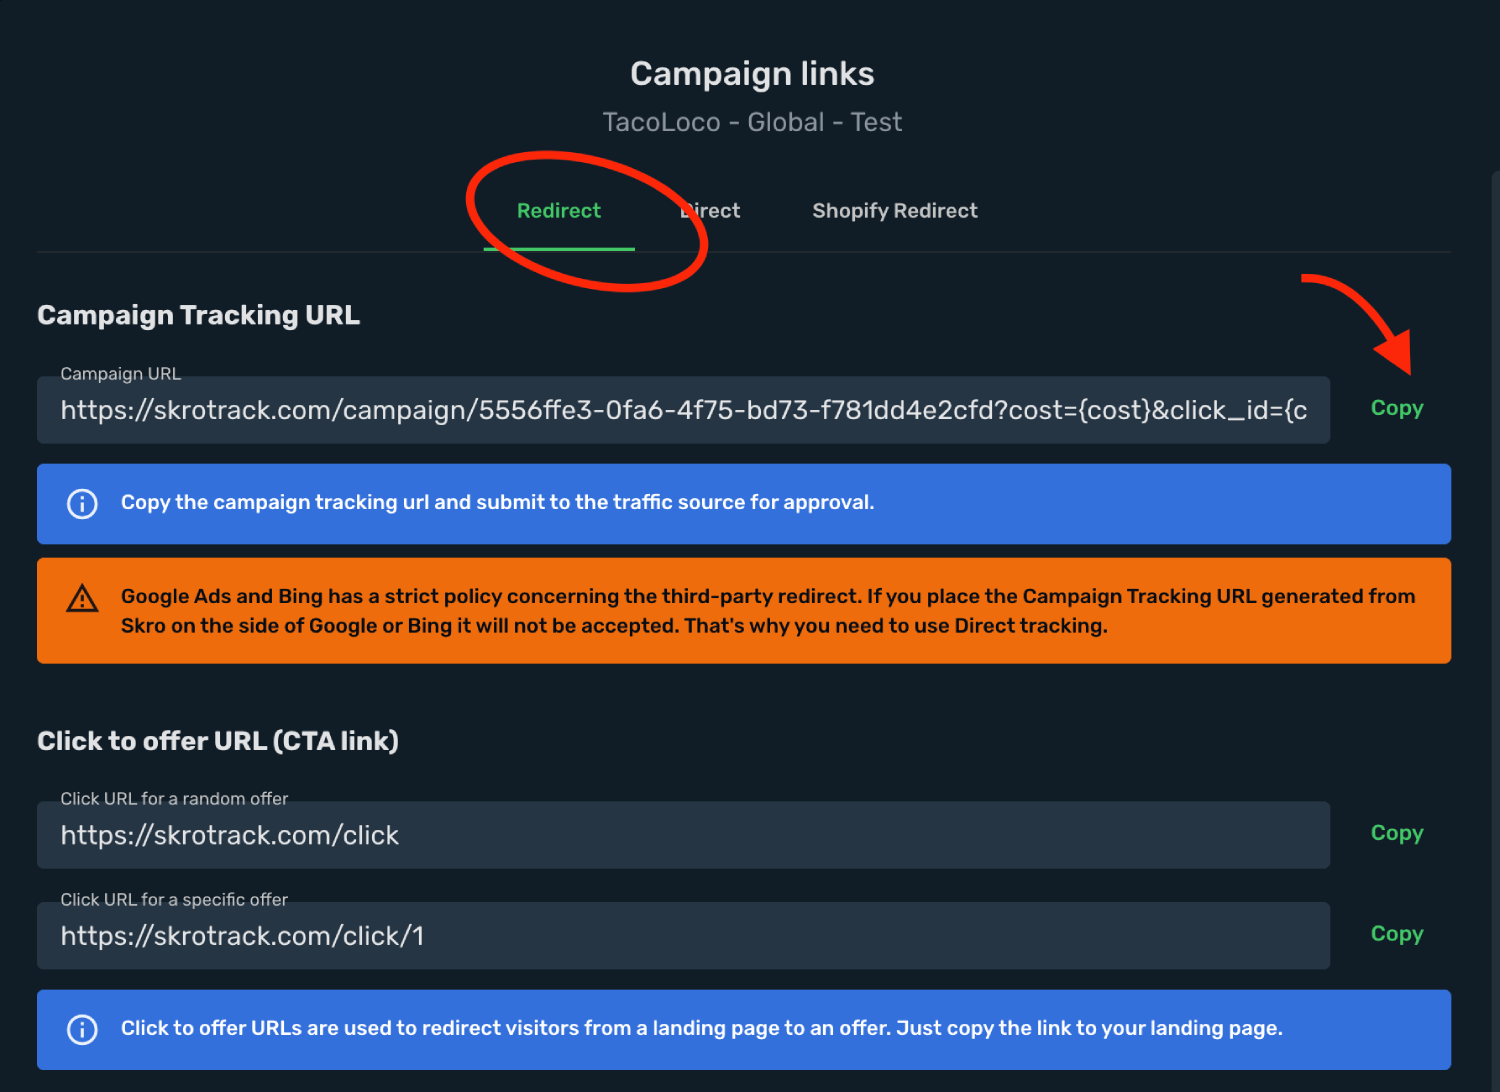
## Step 3. Create a campaign in TacoLoco [#step-3-create-a-campaign-in-tacoloco]
1. Log in to your **TacoLoco** account.
2. Click **New Campaign** on the sidebar.
3. Add your **Campaign Name** and select the **Ad Format** and paste the **Skro campaign tracking link** into the **Target URL** field, including all tracking parameters.
4. Create all your **Creatives**.
5. Set up the **Targeting & Bid**
6. Complete the remaining campaign settings, then click **Create Campaign**.
## Verify the setup [#verify-the-setup]
Open the generated campaign URL and check that the visit appears in Skro. Confirm that traffic source macros resolve to actual values. If you send conversions back to the source, verify a test conversion in both systems.
If data is missing, check the selected workspace, integration, campaign, and reporting date range. Compare parameter names and macro values with the examples in this guide before repeating the test.
## Related guides [#related-guides]
# TikTok integration
Source: https://skro.eu/docs/integrations/tiktok-integration
Set up TikTok tracking in Skro, configure traffic source parameters, and connect your advertising campaigns.
[TikTok](https://tiktok.com) integration gives you the ability to manage and optimize all your ads through the Skro UI.
- Send conversions to TikTok to feed their AI and optimize audiences.
- Sync ad spend every 30 minutes to Skro, so you get accurate reporting.
- Check the delivery status and manage the status of Campaigns, Ad Groups and Ads directly from Skro UI.
- Change Daily Budget directly from Skro UI.
- Import dynamic columns like CPM, Link CPC, Link CTR, Impressions, Link EPC and Link Clicks from TikTok to Skro.
In this guide, you will learn how to set up your campaigns in TikTok and Skro so TikTok can pass information to Skro and back with a selected tracking method. This guide does not cover all aspects and options available when creating a campaign on these two platforms. Basic knowledge regarding setting up campaigns in TikTok and Skro is required.
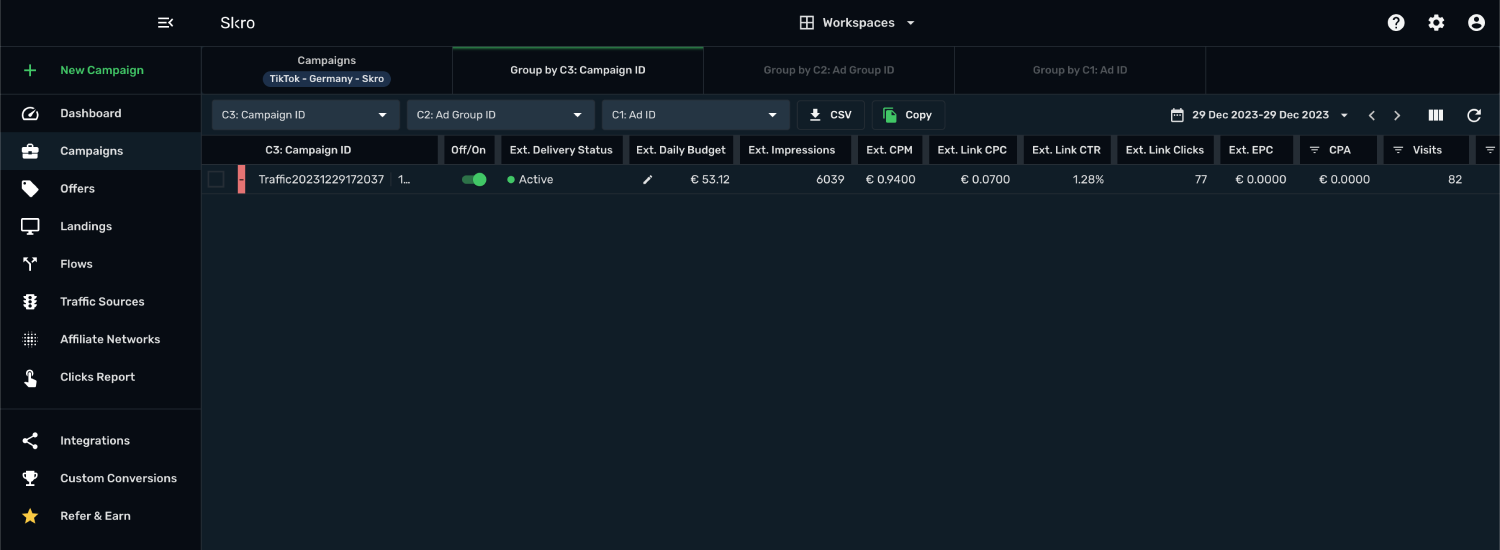
## Step 1. Set up TikTok integration [#step-1-set-up-tiktok-integration]
1. Log in to your **Skro** account.
2. Navigate to **Settings** → **Integrations**.
3. In the **Traffic Sources** section click **Add**.
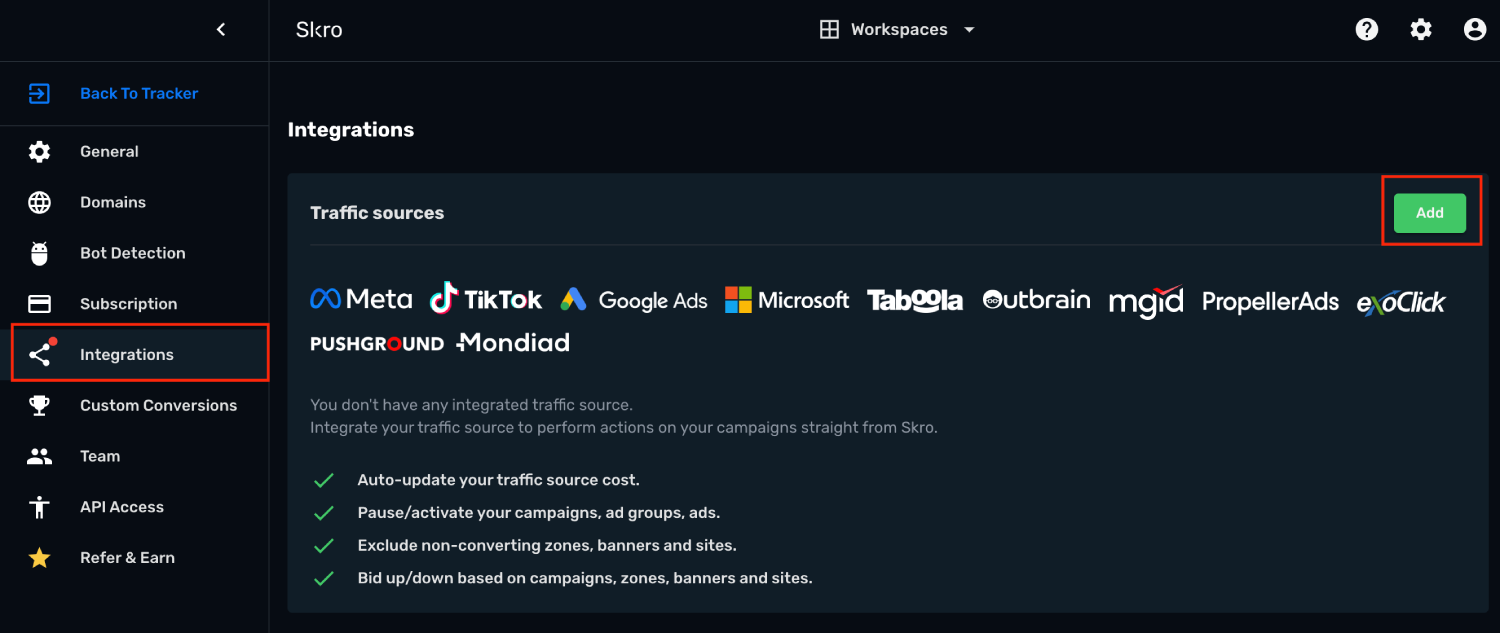
4. Click **TikTok** logo and you will be redirected to TikTok Ads.
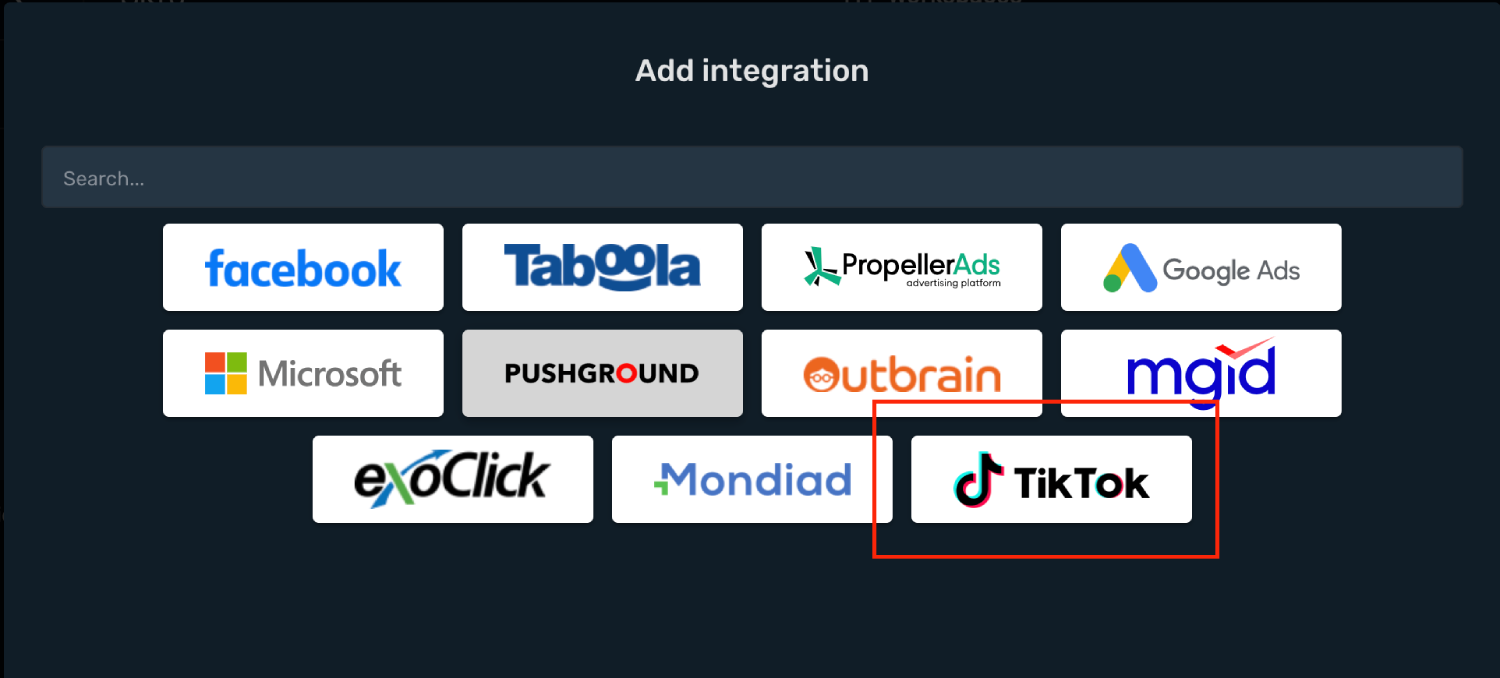
5. Sign in to the account you want to integrate.
6. Review the requested permissions.
7. Click **Confirm** and you will be redirected back to Skro.
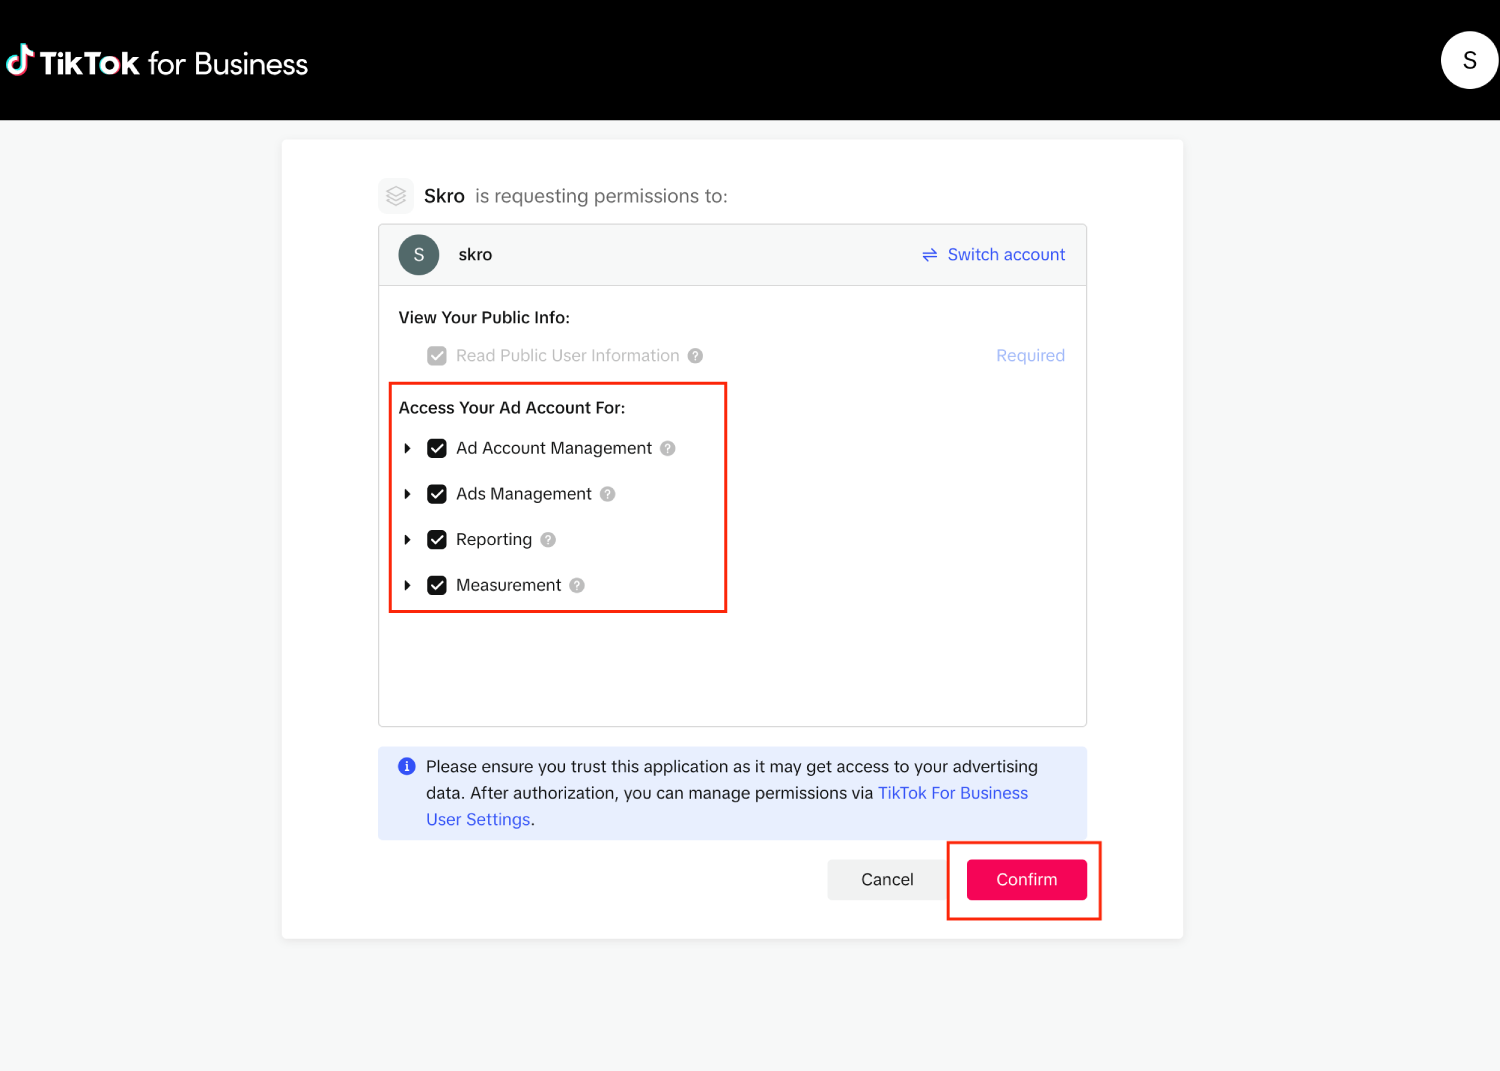
8. Choose the TikTok ad account you want to integrate. If you have multiple ad accounts, you need to integrate them separately.
9.Click **Next**.
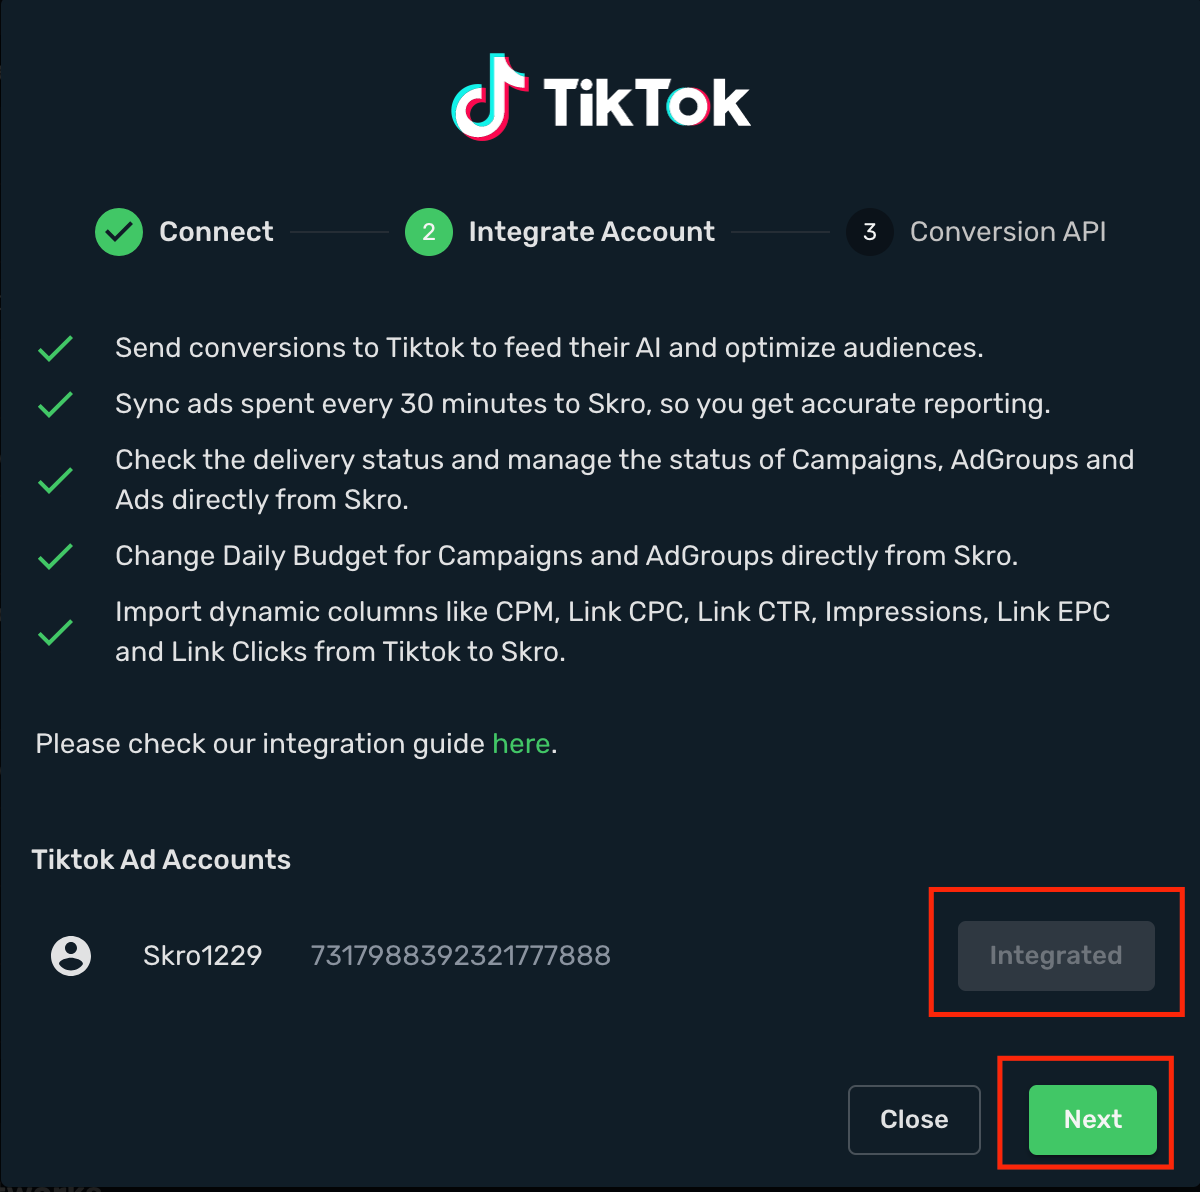
## Step 2. Set up Conversion API [#step-2-set-up-conversion-api]
1. If you want to send conversion info back to TikTok, then you will need to enable **Conversion API.**
**TikTok Conversion Events**
1. **Conversion Event Name** - Define all your events that you want to track with CAPI (CompleteRegistration, CompletePayment, Subscribe etc.). When creating a campaign in Skro, then you will need to specify which conversion event you want to track. (If you want to track multiple events, then you will need to use our Custom Conversions and fire the pixel where needed. For example: AddToCart, ViewContent etc.).
2. **Include Conversion Payout** - If checked, we will send conversion revenue and currency to TikTok.
**Facebook Pixels**
1. **Pixel Name** - Just give a name to your pixel.
2. **Pixel ID** - Your TikTok pixel ID what you are going to use when creating a campaign in TikTok and Skro. Go to TikTok Ads Manager and click **Tools** → **Events** → **Web Events** and copy your pixel ID. For example IDCM7EMDJC77UVR5LM77GO
3. **Conversion API Access Token** - Go to TikTok Ads Manager and click **Tools** → **Events** → **Web Events** Select your pixel and go to **Settings**. Scroll down and you will see **Events API** section. Click **Generate Access Token**.
2. Copy and paste that token into Skro.
3. Click **Save & Close**.
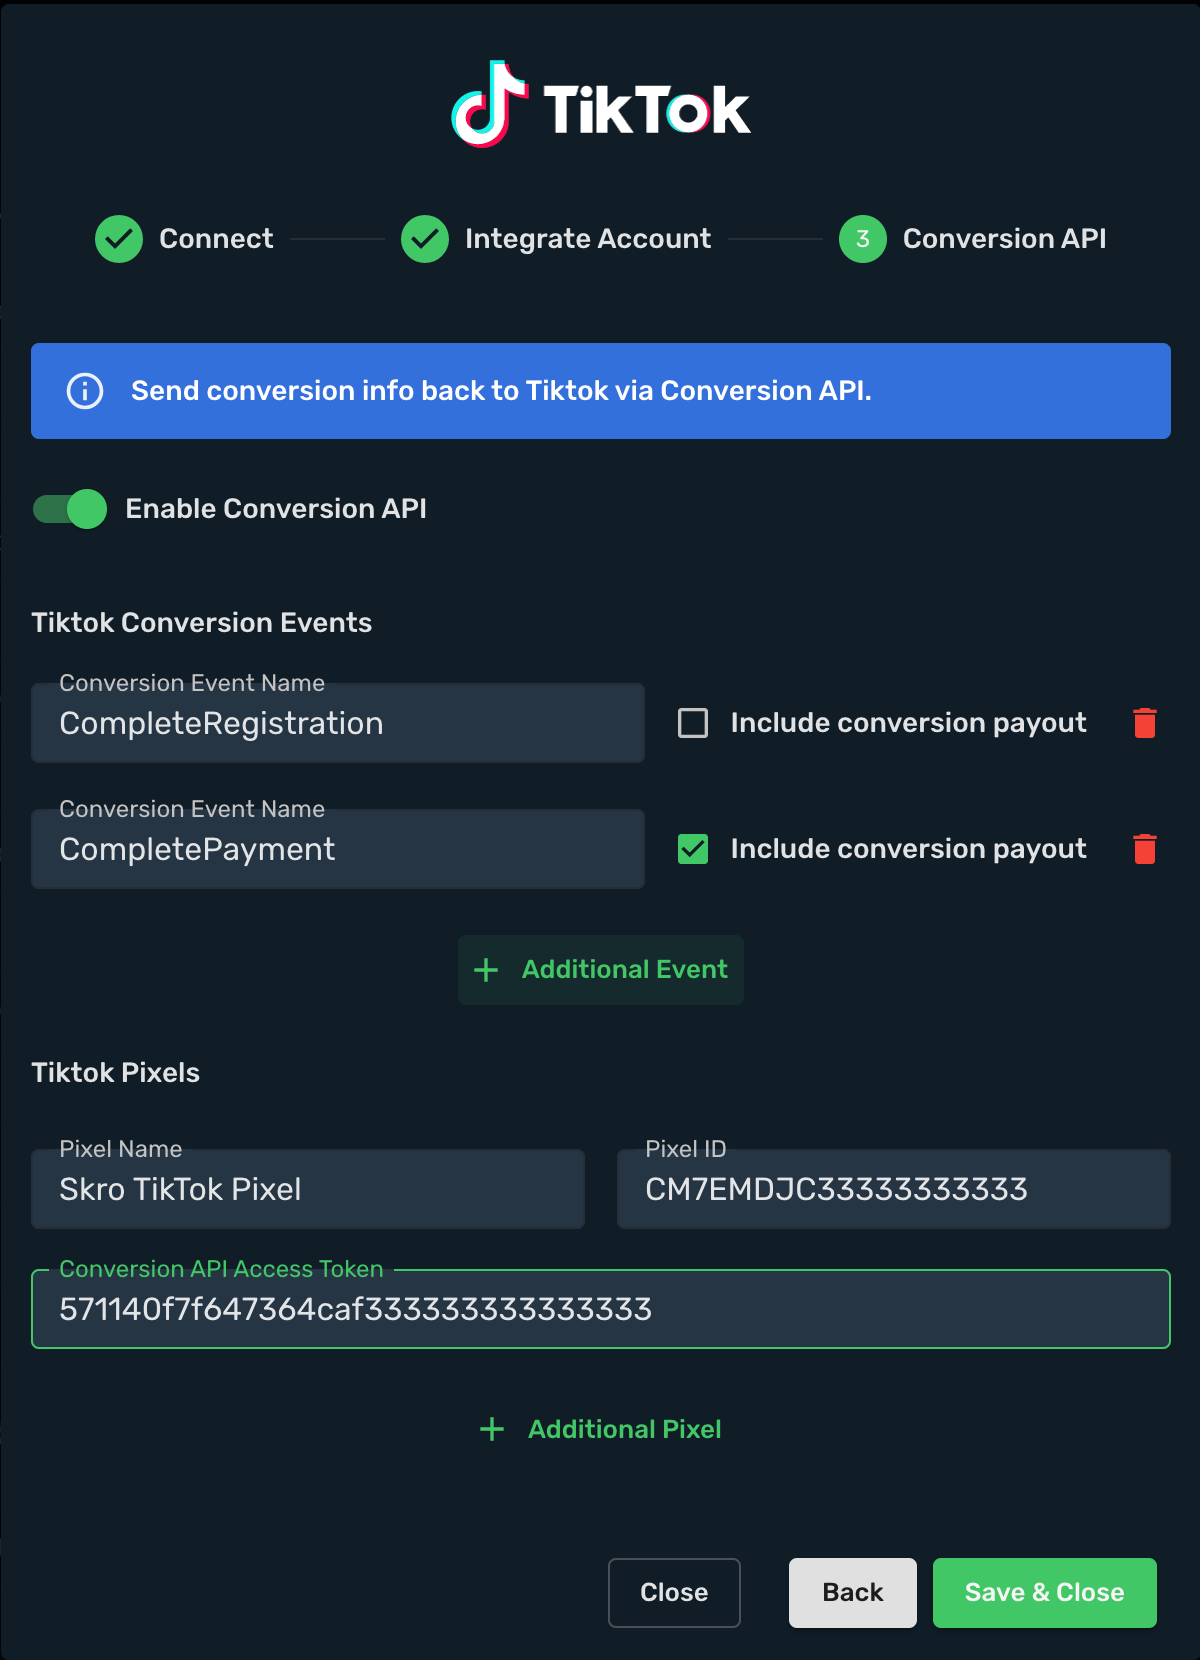
Your **TikTok** ad account has been successfully integrated.
- You can turn on/off your cost sync.
- Edit, delete or renew your integration access token.
- Renewing your access token is needed because sometimes TikTok will revoke your access token for some reason and your cost sync will not work.
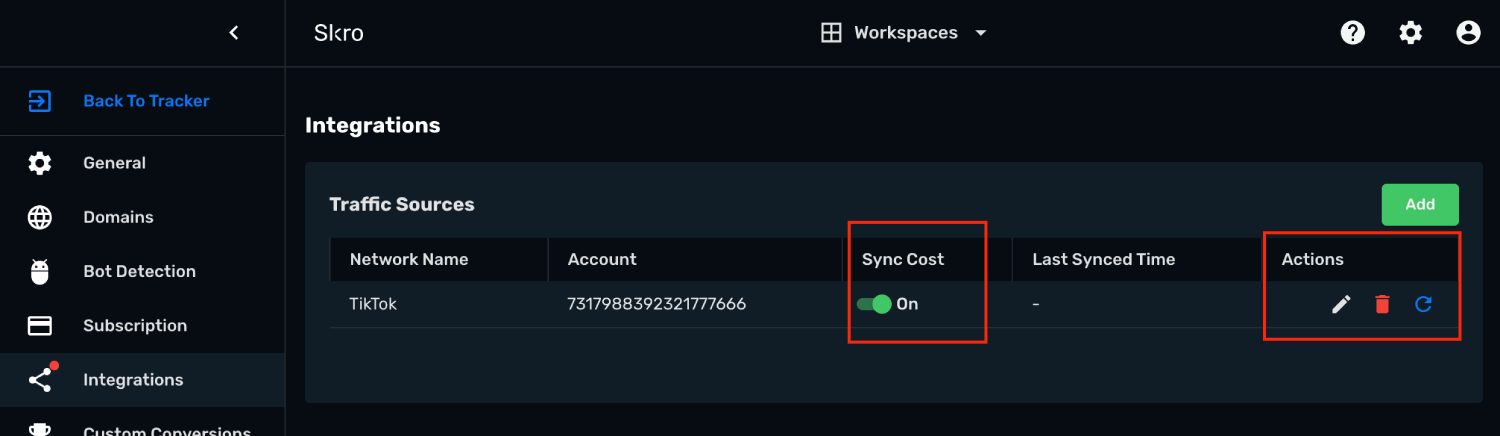
## Step 3. Associate the integration with your traffic source. [#step-3-associate-the-integration-with-your-traffic-source]
1. Navigate to the **Traffic Sources** and click **Create**.

2. Click **TikTok** logo.
3. Choose and select your TikTok integration from dropdown menu.
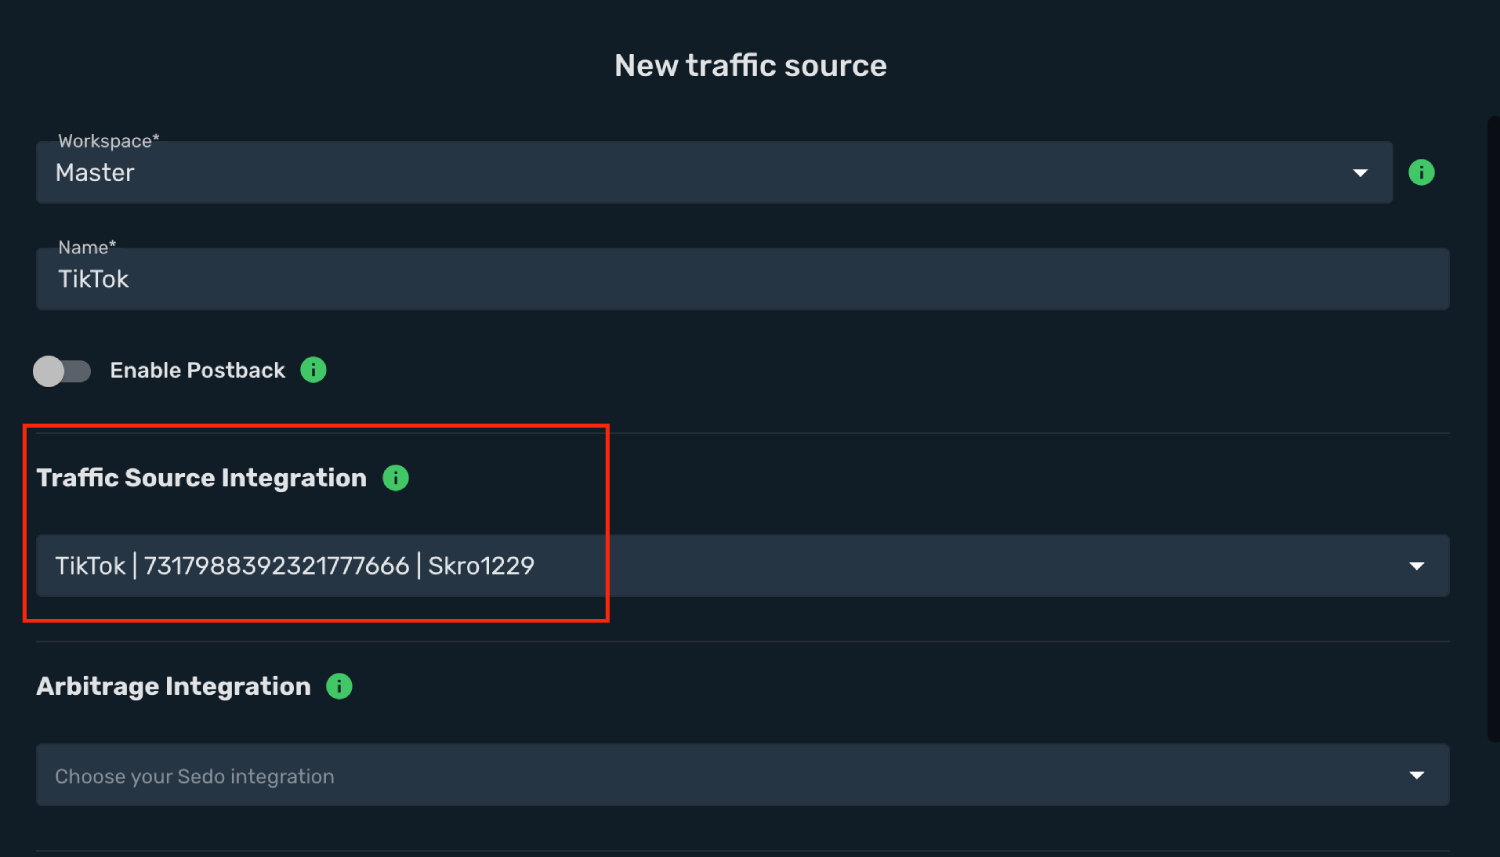
4. All parameters are already prefilled for you.
5. Click **Save & Close**.
The integration is ready. Continue by creating a campaign for TikTok.
## Step 4. How to create a Campaign in Skro [#step-4-how-to-create-a-campaign-in-skro]
### (OPTIONAL) Add your landing page as (pre-lander) before your actual offer page. [#optional-add-your-landing-page-as-pre-lander-before-your-actual-offer-page]
1. Go to **Landings** and click **Create**.
2. Select workspace.
3. Add name.
4. Add your landing page URL and macros if needed.
5. Copy **Click to Offer URL** and add it to your landing page as CTA link.
6. Click **Save & Close**.

### Add offer page. [#add-offer-page]
1. Navigate to the **Offers** view and click **Create**.
2. Select workspace.
3. Add name.
4. Add your offer URL and add macros if needed. Usually you need to map Skro Click ID macro for same specific parameter name to use postback for conversions.
5. Click **Save & Close**.

### Create a campaign [#create-a-campaign]
1. Go to **Ads Manager** and click **Create**.
2. Select your integrated **Traffic Source** as TikTok.
3. Select your **Conversion Event Name**. That is needed to send conversion info back to TikTok.
4. Select your **Conversion Pixel**. That is needed to send conversion info back to TikTok.
5. Cost Model should be **Auto**.
6. Select your cost currency.
7. Click **Next**
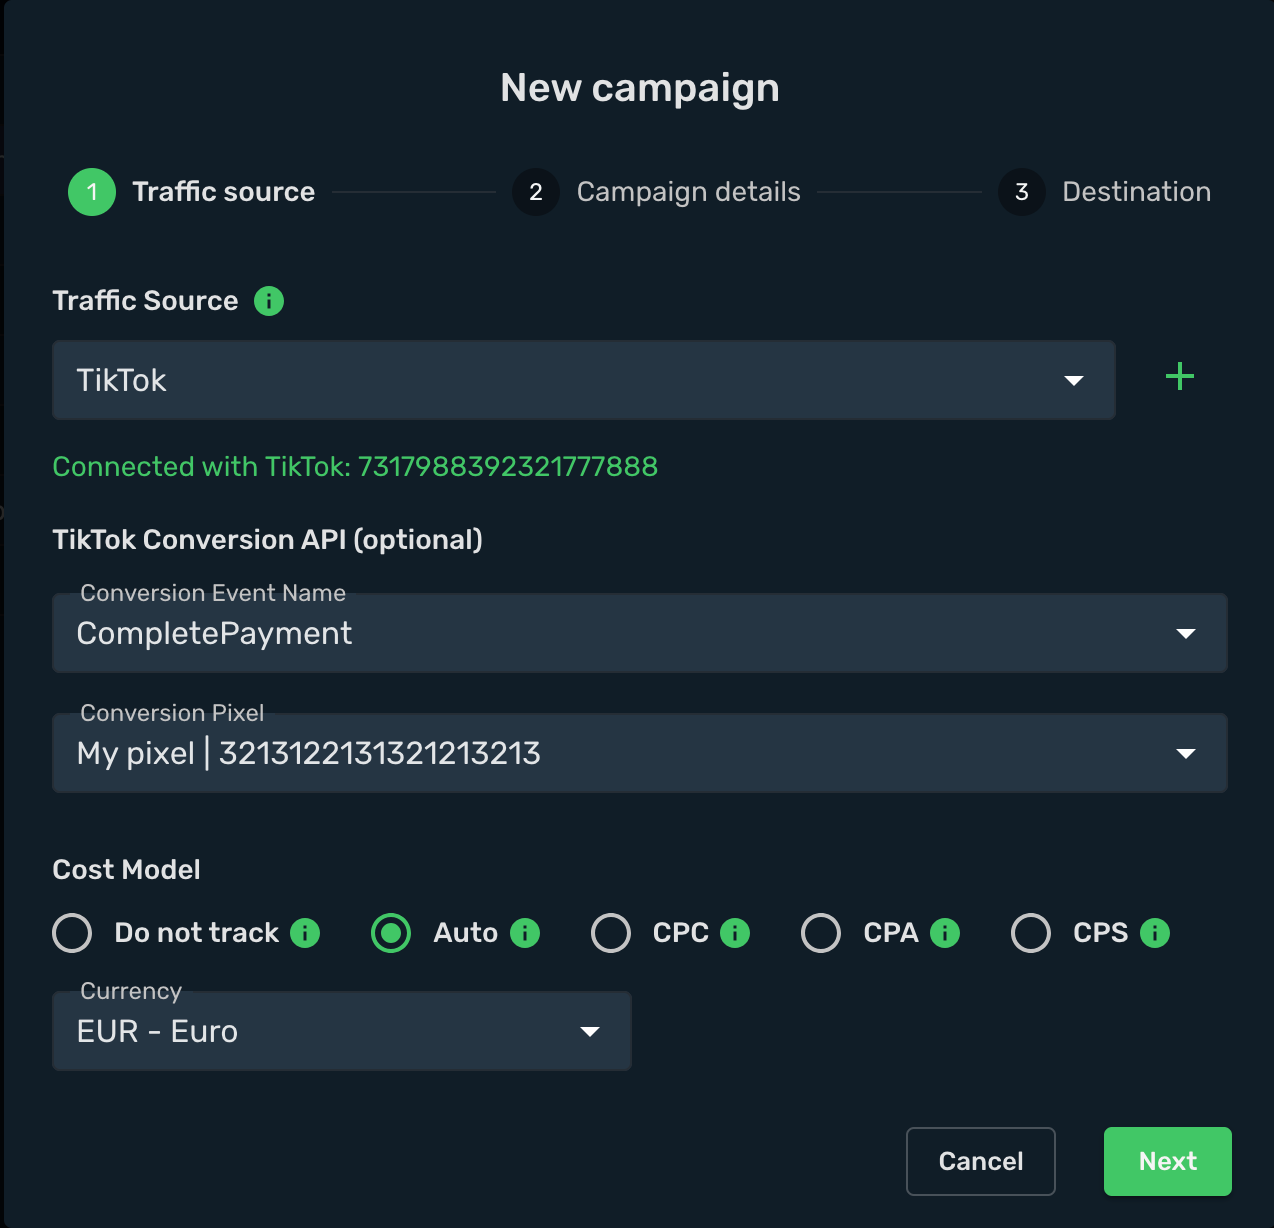
8. Select workspace.
9. Add name to your campaign.
10. Click **Next**
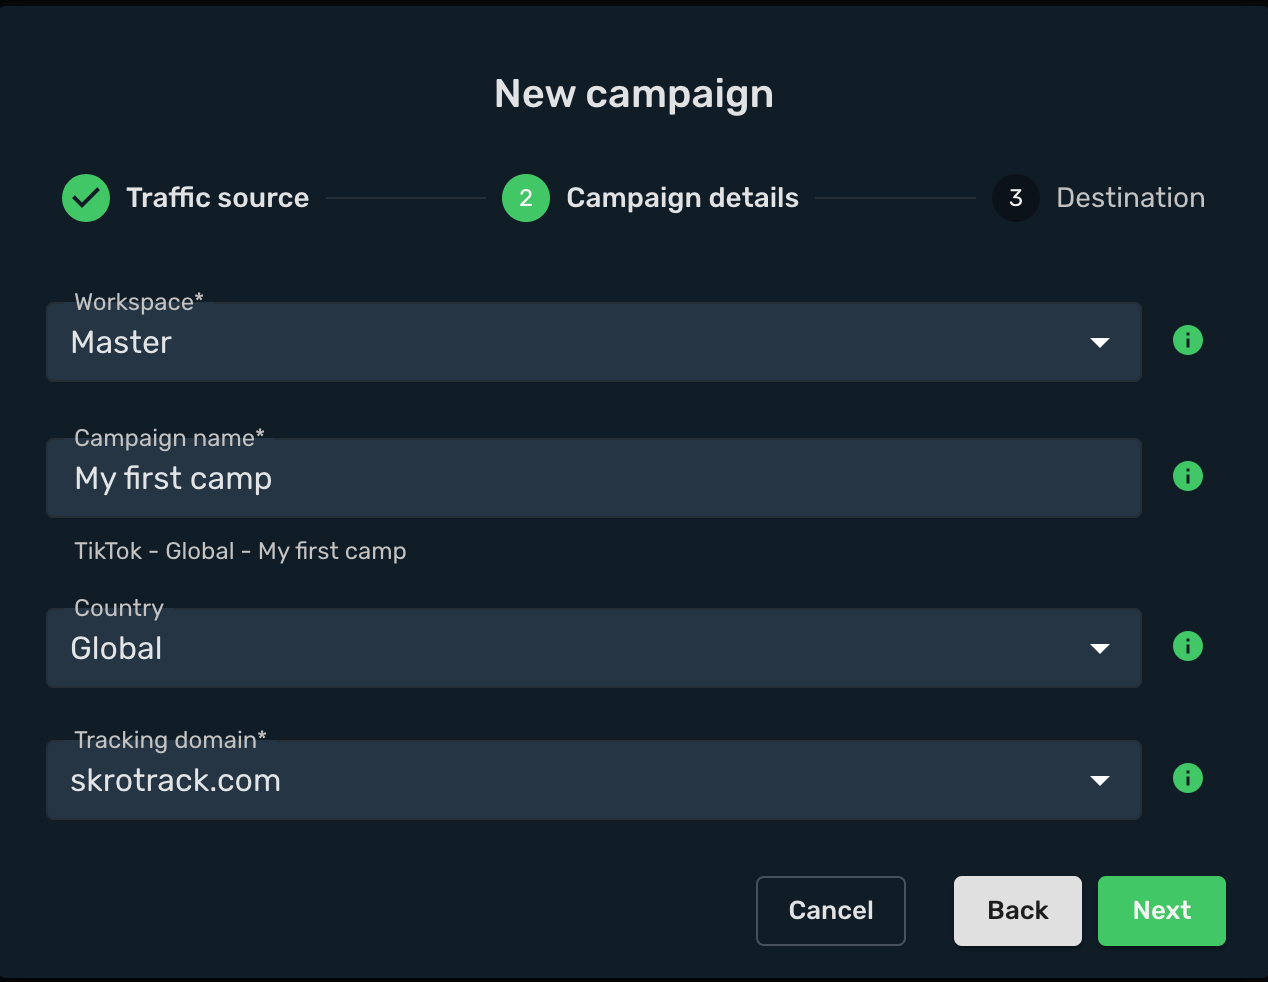
11. Choose your **Destination Type**. In this example we use **flow**
12. Choose your redirect mode. In this example we use **redirect 302**
13. Select your landing.
14. Select your offer(s).
15. Click **Save**
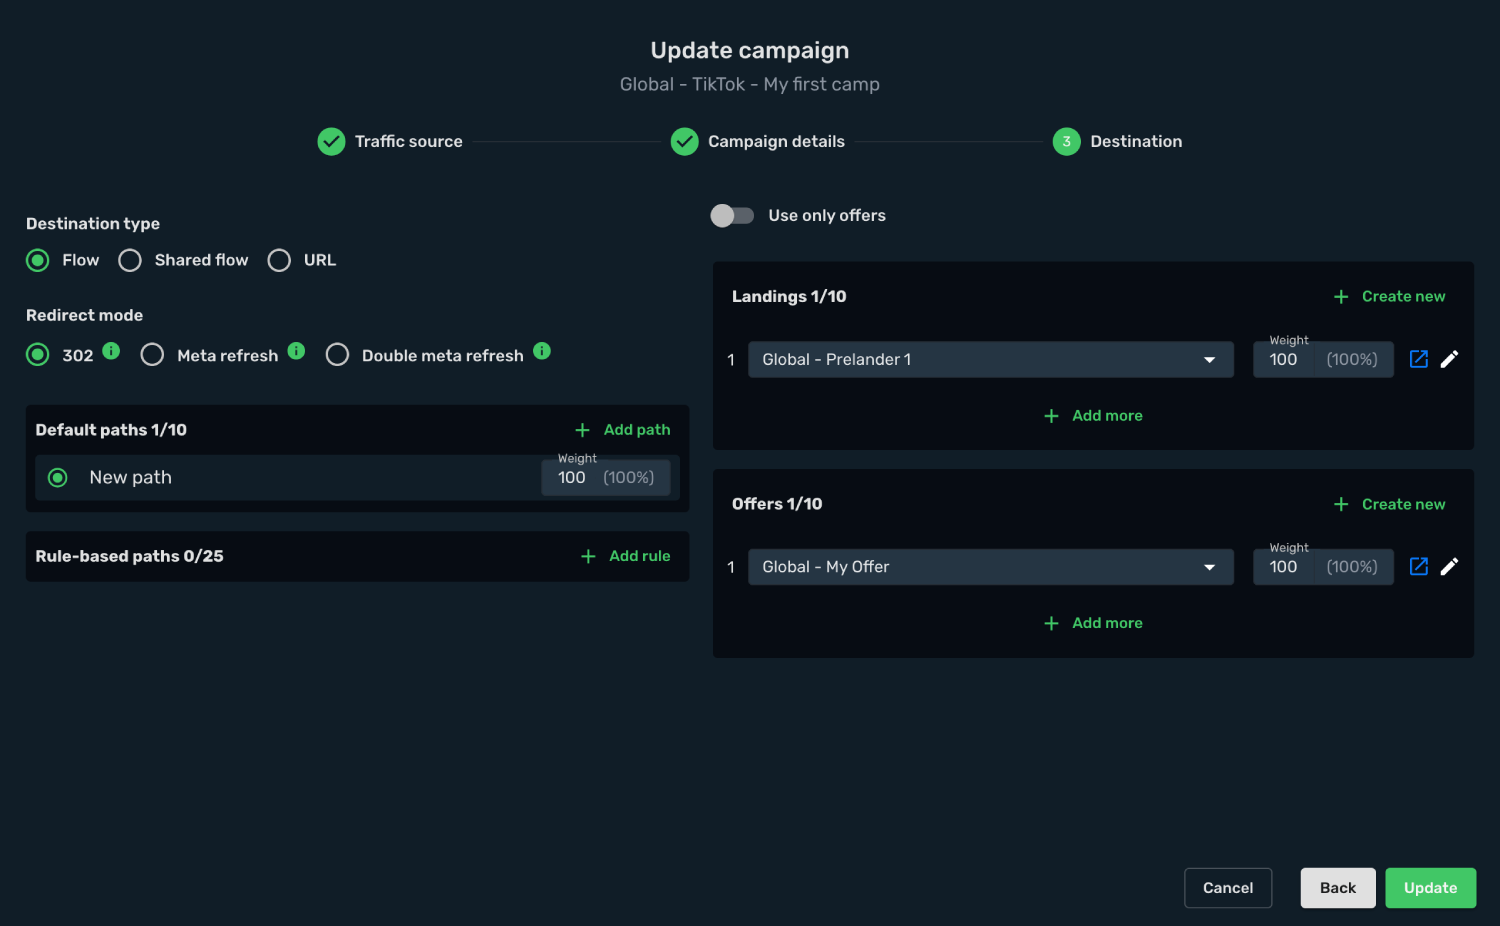
### REDIRECT tracking method - Landing and Offers [#redirect-tracking-method---landing-and-offers]
1. Choose **Redirect** tracking method.
2. Copy your campaign tracking link into clipboard.
```text
https://mytrackingdomain/campaign/91bf83a6-1153-4cab-a659-vf3232323232?ttclid=__CLICKID__&ad_id=__CID__&ad_group_id=__AID__&campaign_id=__CAMPAIGN_ID__&ad_name=__CID_NAME__&ad_group_name=__AID_NAME__&campaign_name=__CAMPAIGN_NAME__&placement=__PLACEMENT__
```
4. Make sure you have **Click To Offer** link correctly set on your landing page. This link will redirect your user to your offer page. Tracking domain must be same on your Skro campaign link and on your CTA link.
Make sure you have set up Skro Click ID macro on your offer url for conversion tracking.
### DIRECT tracking method - Only Offer [#direct-tracking-method---only-offer]
1. Choose **Direct** tracking method and select your offer page.
2. Copy your tracking link into clipboard.
```text
https://mytrackingdomain?trck=eyJjcGlkIjoiMzBhNWFhMGQtNjU4YS00ZWY2LWFhOTEtMDQ5YzUxNzQ5MDlhIiwiciI6MCwicCI6MCwibyI6MH0=&ttclid=__CLICKID__&ad_id=__CID__&ad_group_id=__AID__&campaign_id=__CAMPAIGN_ID__&ad_name=__CID_NAME__&ad_group_name=__AID_NAME__&campaign_name=__CAMPAIGN_NAME__&placement=__PLACEMENT__
```
3. Copy and paste Skro **Tracking Pixel** to your website between HEAD tags.
4. Copy and paste Skro **Thank You page JS pixel** to your website after successful payment or registration.
### DIRECT tracking method - Landing and Offers [#direct-tracking-method---landing-and-offers]
1. Choose **Direct** tracking method and select your landing page.
2. Copy your tracking link into clipboard.
```text
https://mytrackingdomain?trck=eyJjcGlkIjoiMzBhNWFhMGQtNjU4YS00ZWY2LWFhOTEtMDQ5YzUxNzQ5MDlhIiwiciI6MCwicCI6MCwibyI6MH0=&ttclid=__CLICKID__&ad_id=__CID__&ad_group_id=__AID__&campaign_id=__CAMPAIGN_ID__&ad_name=__CID_NAME__&ad_group_name=__AID_NAME__&campaign_name=__CAMPAIGN_NAME__&placement=__PLACEMENT__
```
3. Copy and paste Skro **Tracking Pixel** to your website between HEAD tags.
4. Make sure you have **Click To Offer** link correctly set on your landing page. This link will redirect your user to your offer page.
Make sure you have set up Skro Click ID macro on your offer url for conversion tracking.
## Step 5. Create a Campaign in TikTok [#step-5-create-a-campaign-in-tiktok]
There are multiple campaign types that you can create with TikTok. Campaign types determine how your ad will be promoted.
In order to create a TikTok ad campaign, please follow the steps below:
1. Sign in to your TikTok ads manager account.
2. Create a new campaign.
3. Select your campaign type, tracking event, pixel, audience, placements, budget etc.
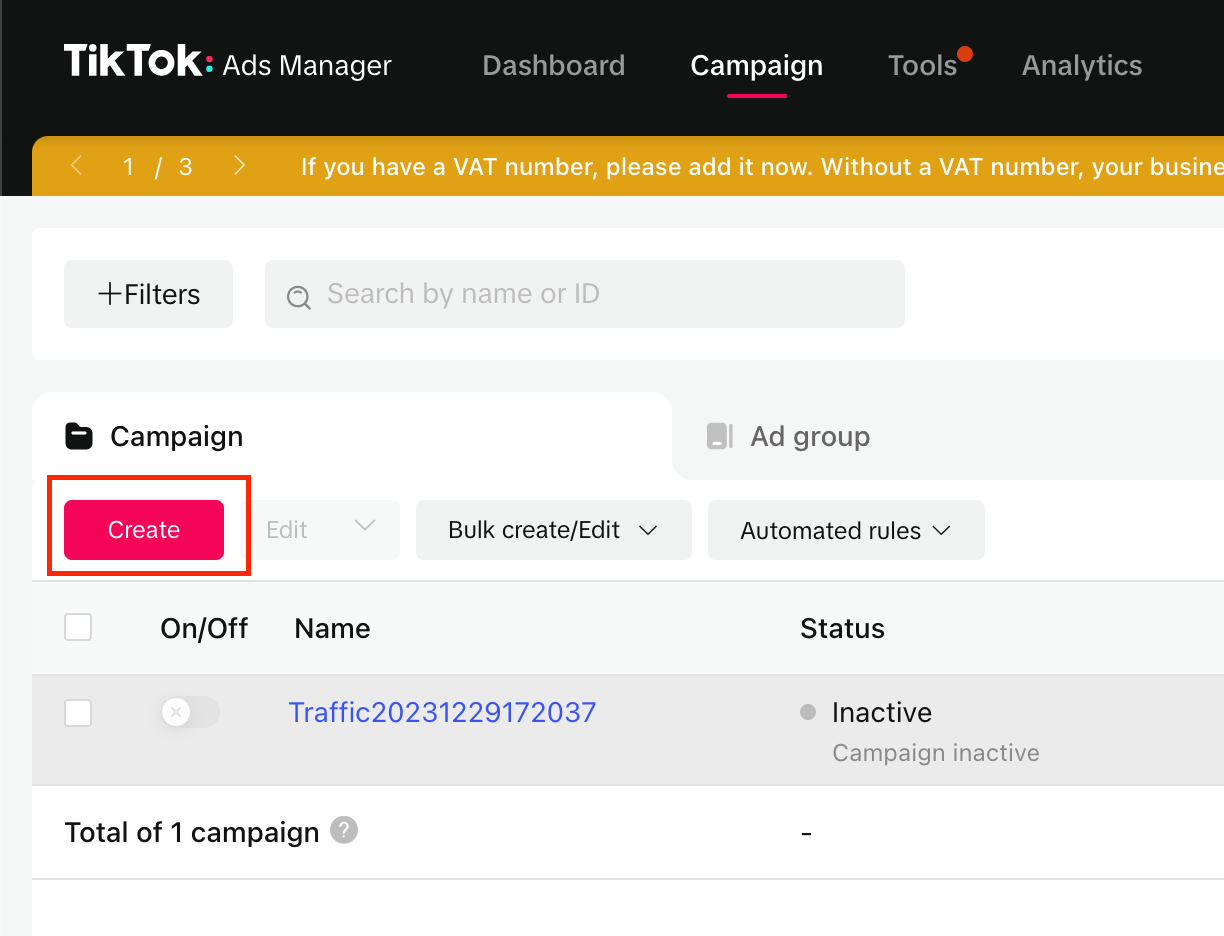
**Example**:
4. The complete **Redirect** tracking URL that you have copied from Skro should look like this:
```text
https://mytrackingdomain/campaign/91bf83a6-1153-4cab-a659-vf3232323232?ttclid=__CLICKID__&ad_id=__CID__&ad_group_id=__AID__&campaign_id=__CAMPAIGN_ID__&ad_name=__CID_NAME__&ad_group_name=__AID_NAME__&campaign_name=__CAMPAIGN_NAME__&placement=__PLACEMENT__
```
5. On the ad level you have to provide your tracking link.
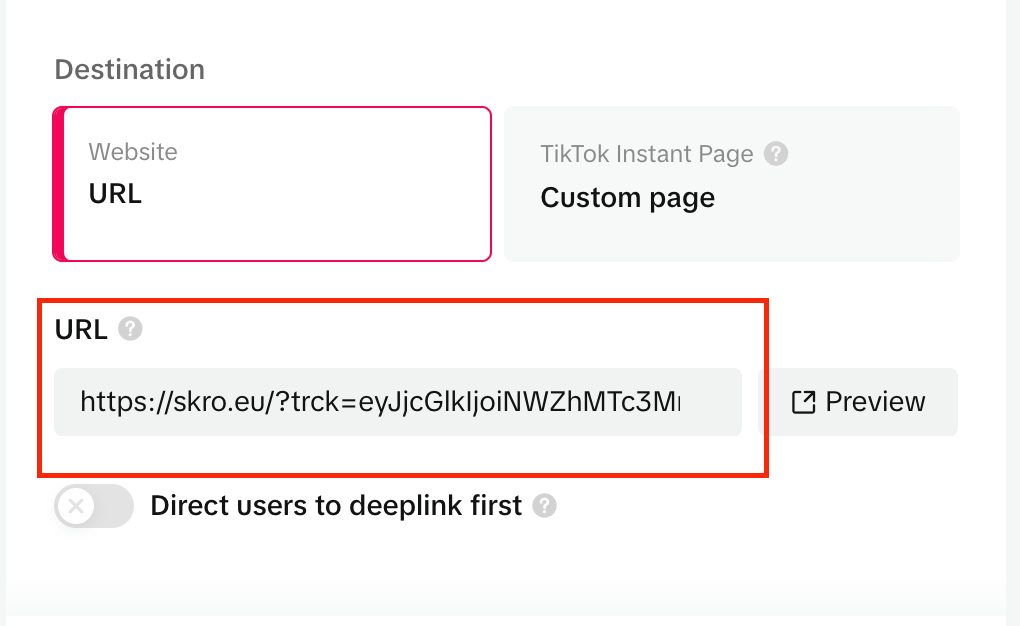
6. Click **Publish** when you are done.
Congratulations, you have successfully set up tracking of TikTok traffic with Skro. Each time a visitor clicks on your ad, will be directed to your landing page with Skro's tracking parameters being passed. On a landing page, the direct tracking script will launch and send an HTTPS request to Skro with information about a visit and other information passed from TikTok.
## Step 6. Additional Conversion API Parameters [#step-6-additional-conversion-api-parameters]
**Requirements:** TikTok Ad Account and Conversion API Integration.
If you need to send additional information via TikTok Conversion API, then you can use the following parameters:
- **sourceDomain** - It is used if you want to hide your real source domain. By default it is used your landing or offer domain as source domain and this info is sent back to TikTok.
- **eventId** - You can send your Event ID if you want to avoid duplication. For example, if you are using TikTok JS Pixel and Conversion API together and both fires the same event.
## Verify the setup [#verify-the-setup]
Open the generated campaign URL and check that the visit appears in Skro. Confirm that traffic source macros resolve to actual values. If you send conversions back to the source, verify a test conversion in both systems.
If data is missing, check the selected workspace, integration, campaign, and reporting date range. Compare parameter names and macro values with the examples in this guide before repeating the test.
## Related guides [#related-guides]
# Tonic Integration
Source: https://skro.eu/docs/integrations/tonic-integration
Connect Tonic Integration with Skro and configure the identifiers used to synchronize search arbitrage revenue.
## Integration [#integration]
Skro integration with Tonic gives you the ability to sync revenue data that has been adjusted after different traffic sources.
- Update revenue date every hour.
## Add integration [#add-integration]
- Log in to your **Skro** account.
- Navigate to **Settings** → **Integrations**.
- Click **Add** in Affiliate Networks & Search Feed Arbitrage section.

- Click **Tonic** logo.
- **API Username** is an API token. Log in to your Tonic Publisher account then go to **Account** → **Settings** → **API Access**
- **API Password** is an API secret. Log in to your Tonic Publisher account then go to **Account** → **Settings** → **API Access**
- **Tonic Account Currency** is the currency of the earnings.
- **Custom Conversion Event** is optional, but you can see a revenue and conversions info in a different columns in your Skro reports.
- **Click ID Param** is the parameter what you use in your offer URL to send Skro Click ID.
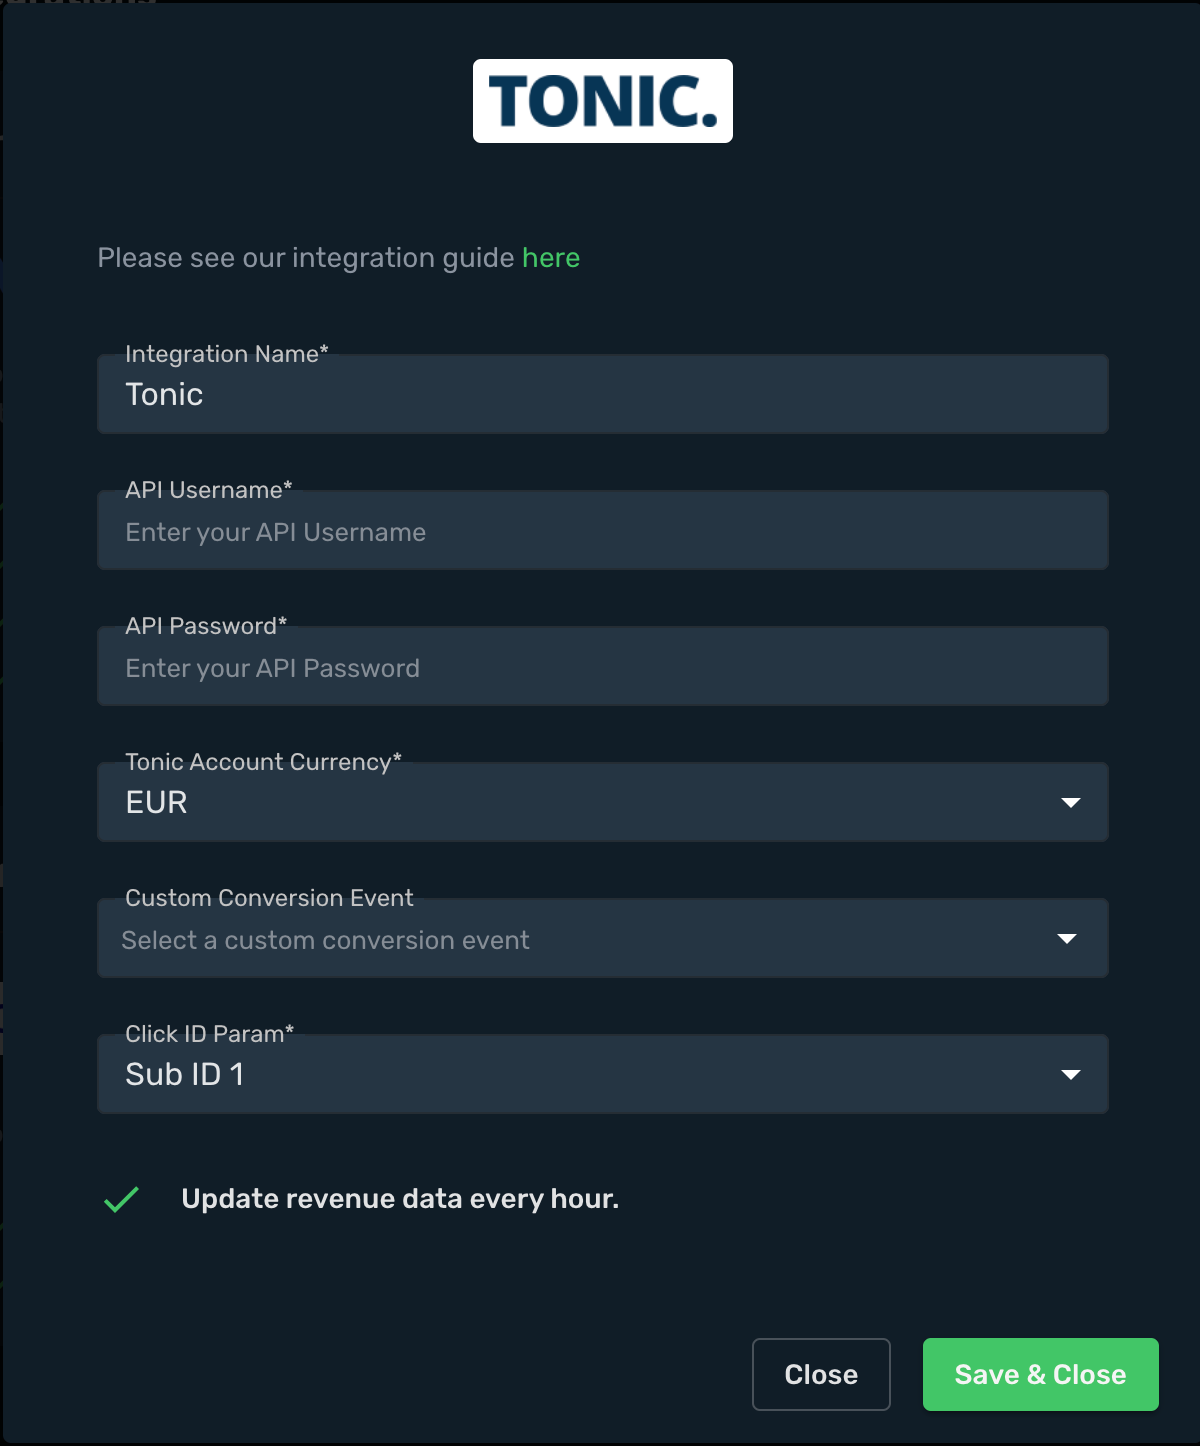
- Complete the form and click **Save & Close**
The integration is ready to synchronize earnings data.
## Verify the setup [#verify-the-setup]
Confirm that the offer identifiers match the values in your integration. After the next revenue synchronization, compare the same date range and currency in Skro and your provider account.
If data is missing, check the selected workspace, integration, campaign, and reporting date range. Compare parameter names and macro values with the examples in this guide before repeating the test.
## Related guides [#related-guides]
# Traffic Company integration
Source: https://skro.eu/docs/integrations/traffic-company-integration
Connect Traffic Company to Skro, map click IDs, and configure postbacks to attribute conversions and revenue to your campaigns.
## Step 1. Add affiliate network to Skro [#step-1-add-affiliate-network-to-skro]
1. Go to **Affiliate Networks** and click **Create**.
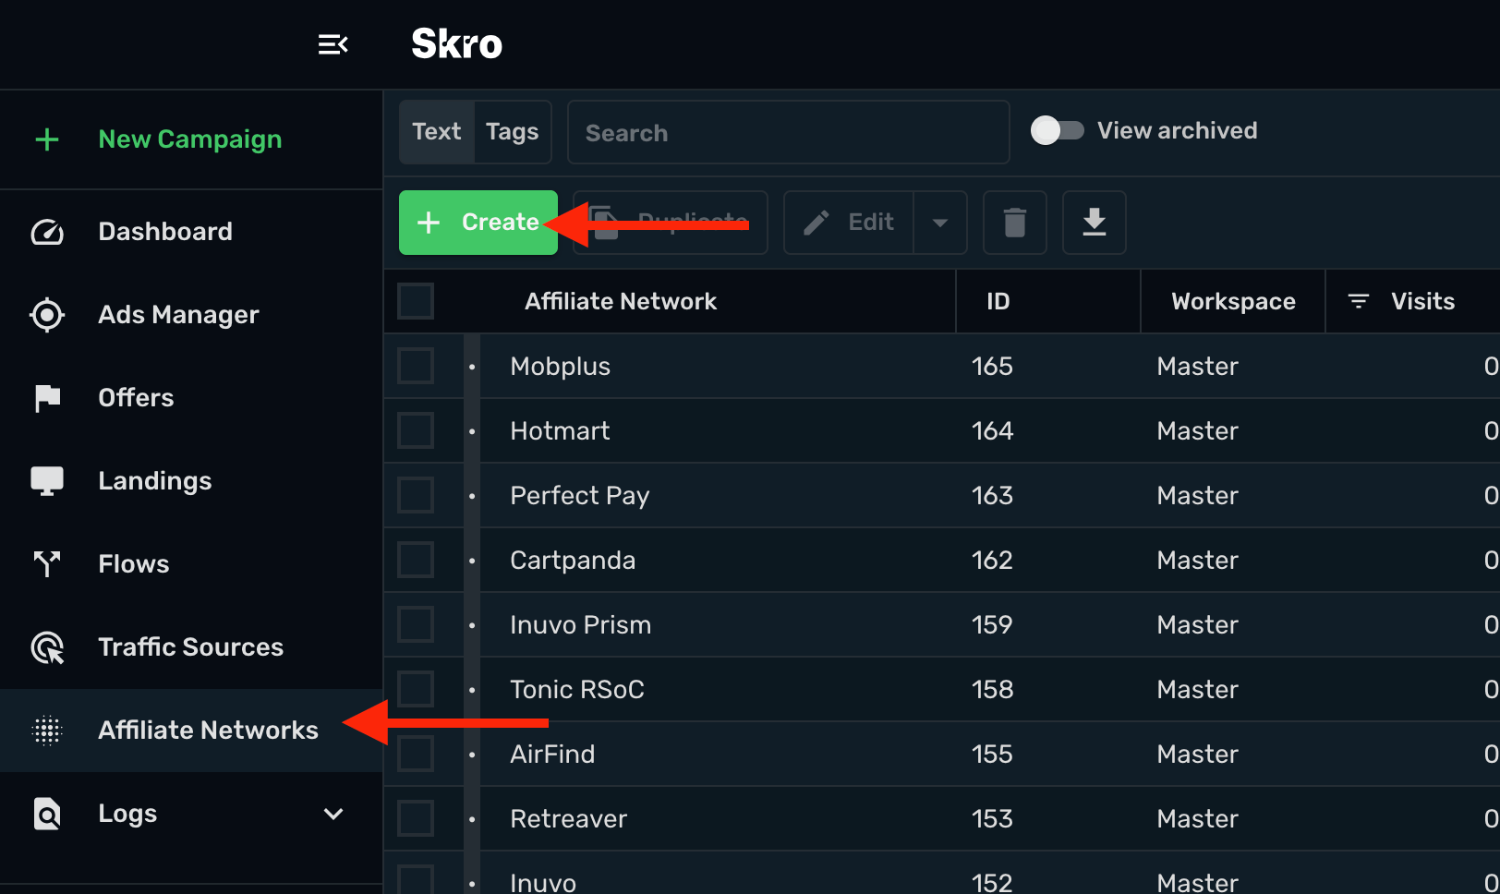
2. Search Traffic Company and select the **Traffic Company** template.
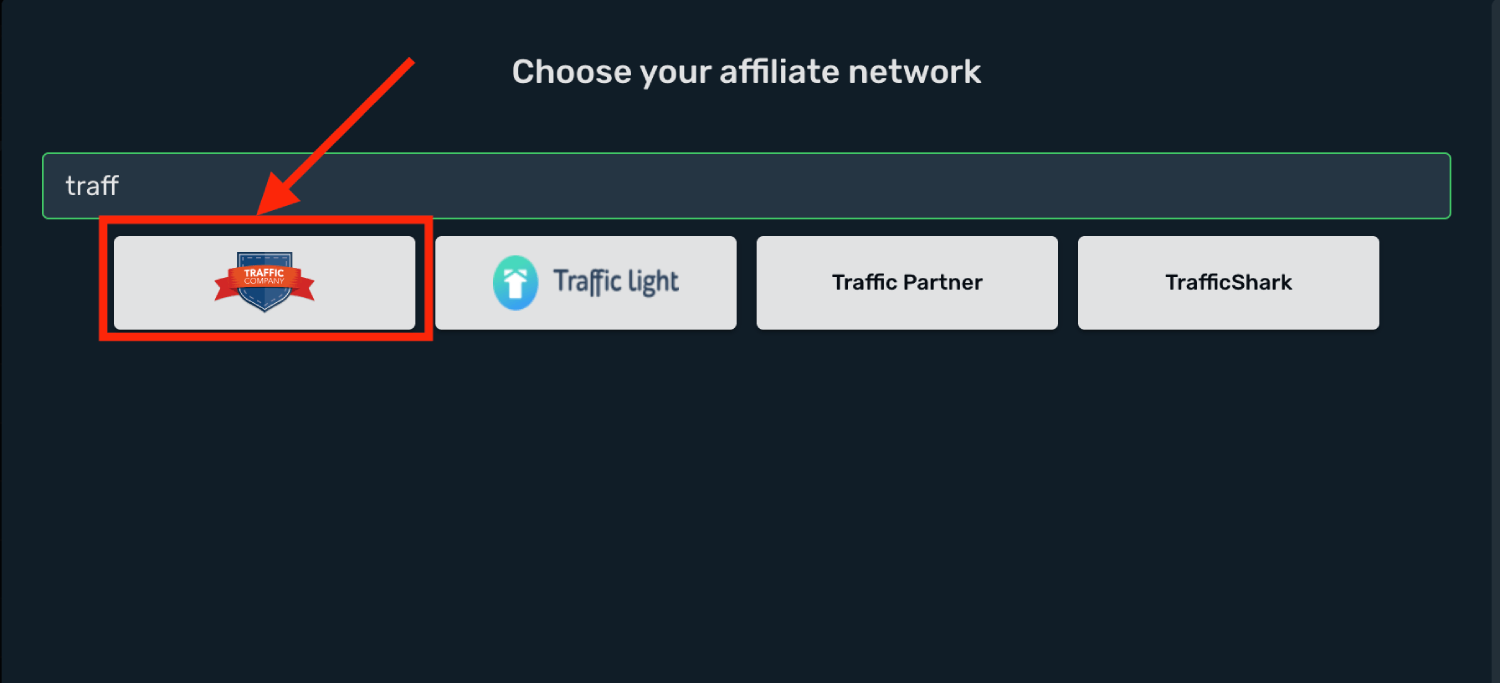
3. Select your **Workspace** and **Copy** postback URL to your clipboard.
4. Click **Save & Close**.
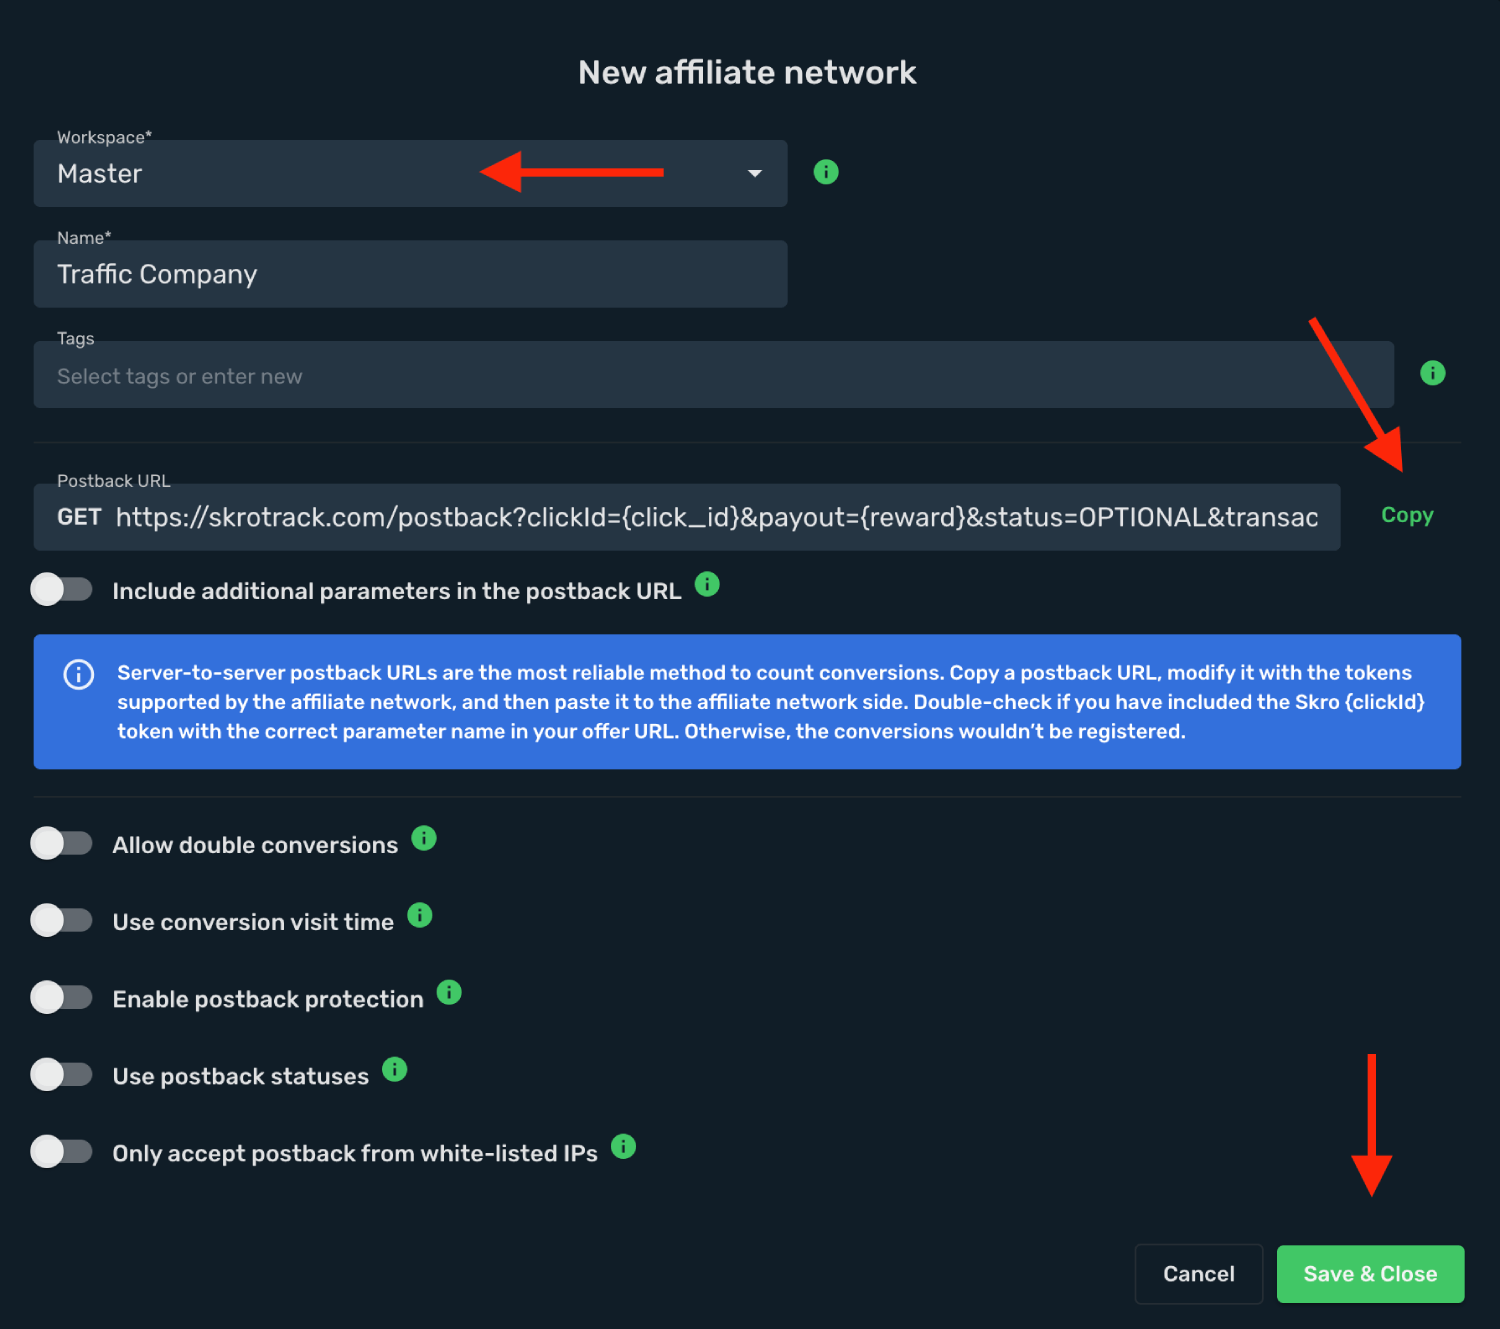
The Traffic Company affiliate network is now saved in Skro. Use the copied postback URL in Traffic Company in the next step.
## Step 2. Setting up a postback URL [#step-2-setting-up-a-postback-url]
1. Log in to **Traffic Company** account.
2. Click **Your email** → **Account** → **Postback** → **Edit postback settings**.
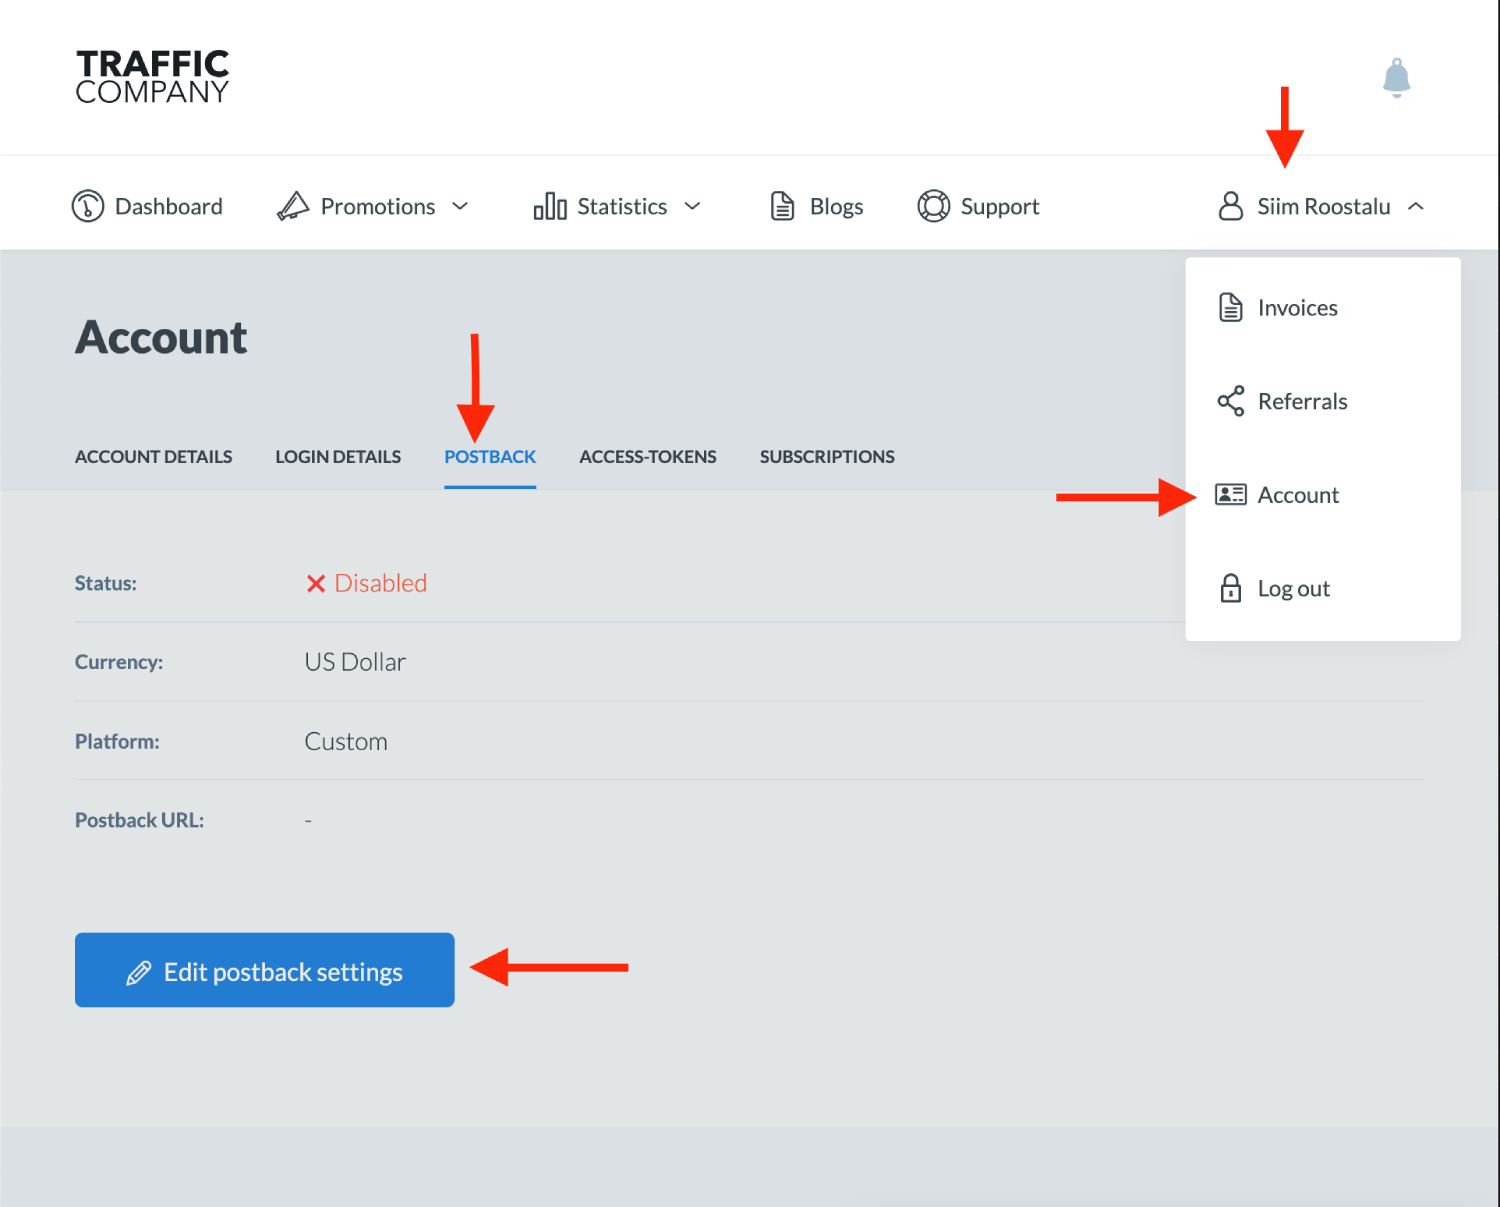
3. Click **Skro** logo.
4. Select payout **Currency**.
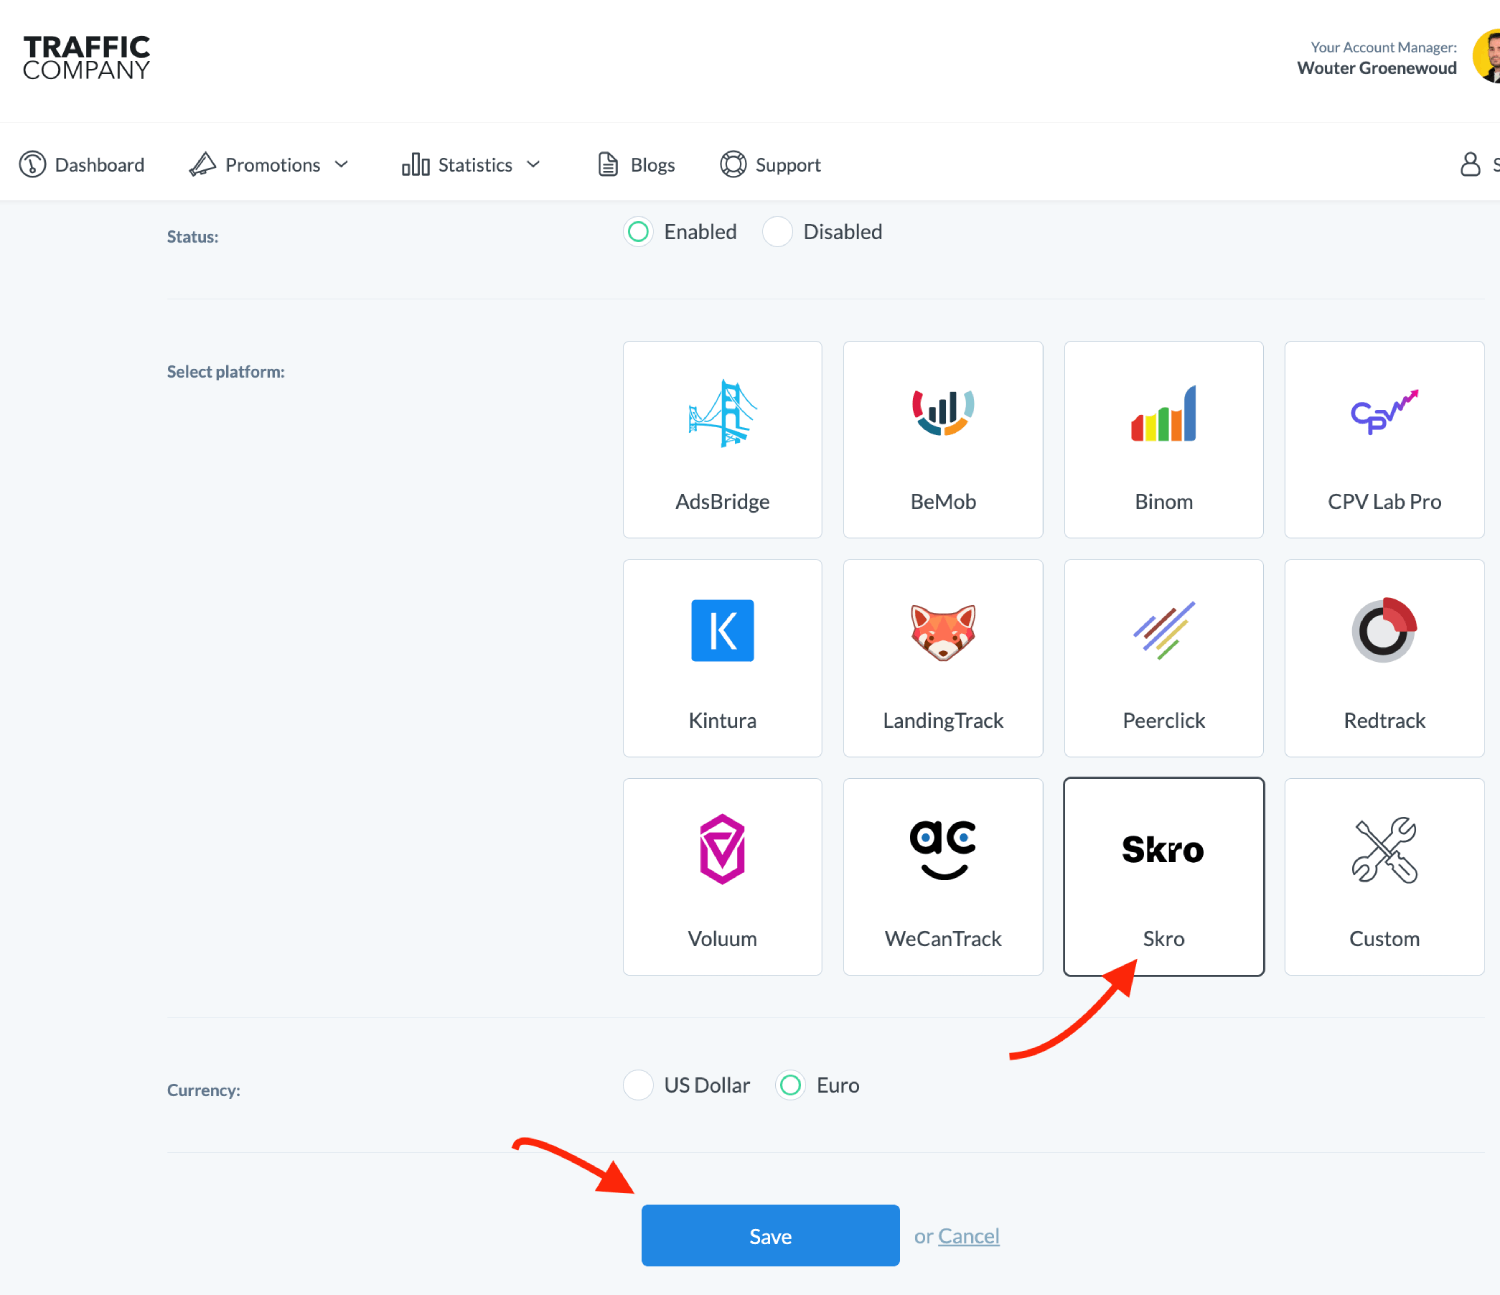
5. Click **Save** to store the settings.
### Global Postback [#global-postback]
`https://skrotrack.com/postback?clickId={click_id}&payout={reward}&transactionId={transaction_id}`
## Step 3. Get an offer from Traffic Company [#step-3-get-an-offer-from-traffic-company]
1. Access **Promotions** section on the panel.
2. Go to **Offers wall**.
3. Select the required category from the list.
4. Click the desired offer.
5. Press **Create link**.
6. Copy the generated offer link.
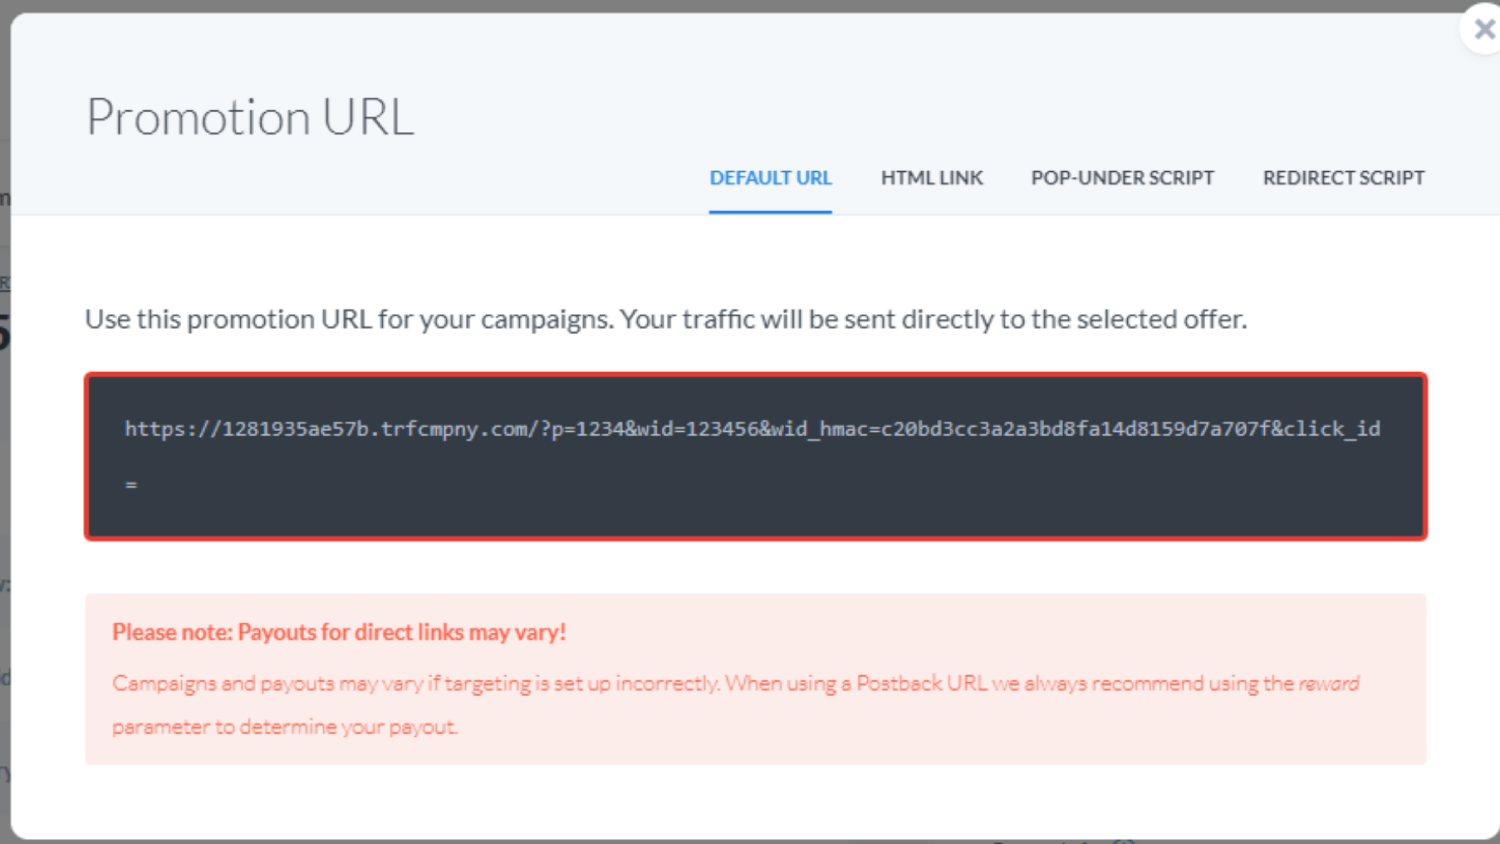
## Step 4. Add offer to Skro [#step-4-add-offer-to-skro]
1. Go back to Skro and navigate to the **Offers** and click **Create**.
2. Choose your workspace.
3. Give a name to your offer.
4. Grab the offer link from Traffic Company and add it to Offer URL field and change the macros to this **`&click_id={clickId}`**
**`{clickId}`** - The Skro click ID macro for conversion tracking.
**Example Offer URL:**
`https://example_trficcompany.com/?p=11111&wid=222222&wid_hmac=32323232dsadsa&click_id={clickId}`
5. Choose Traffic Company from the **Affiliate Network** select box.
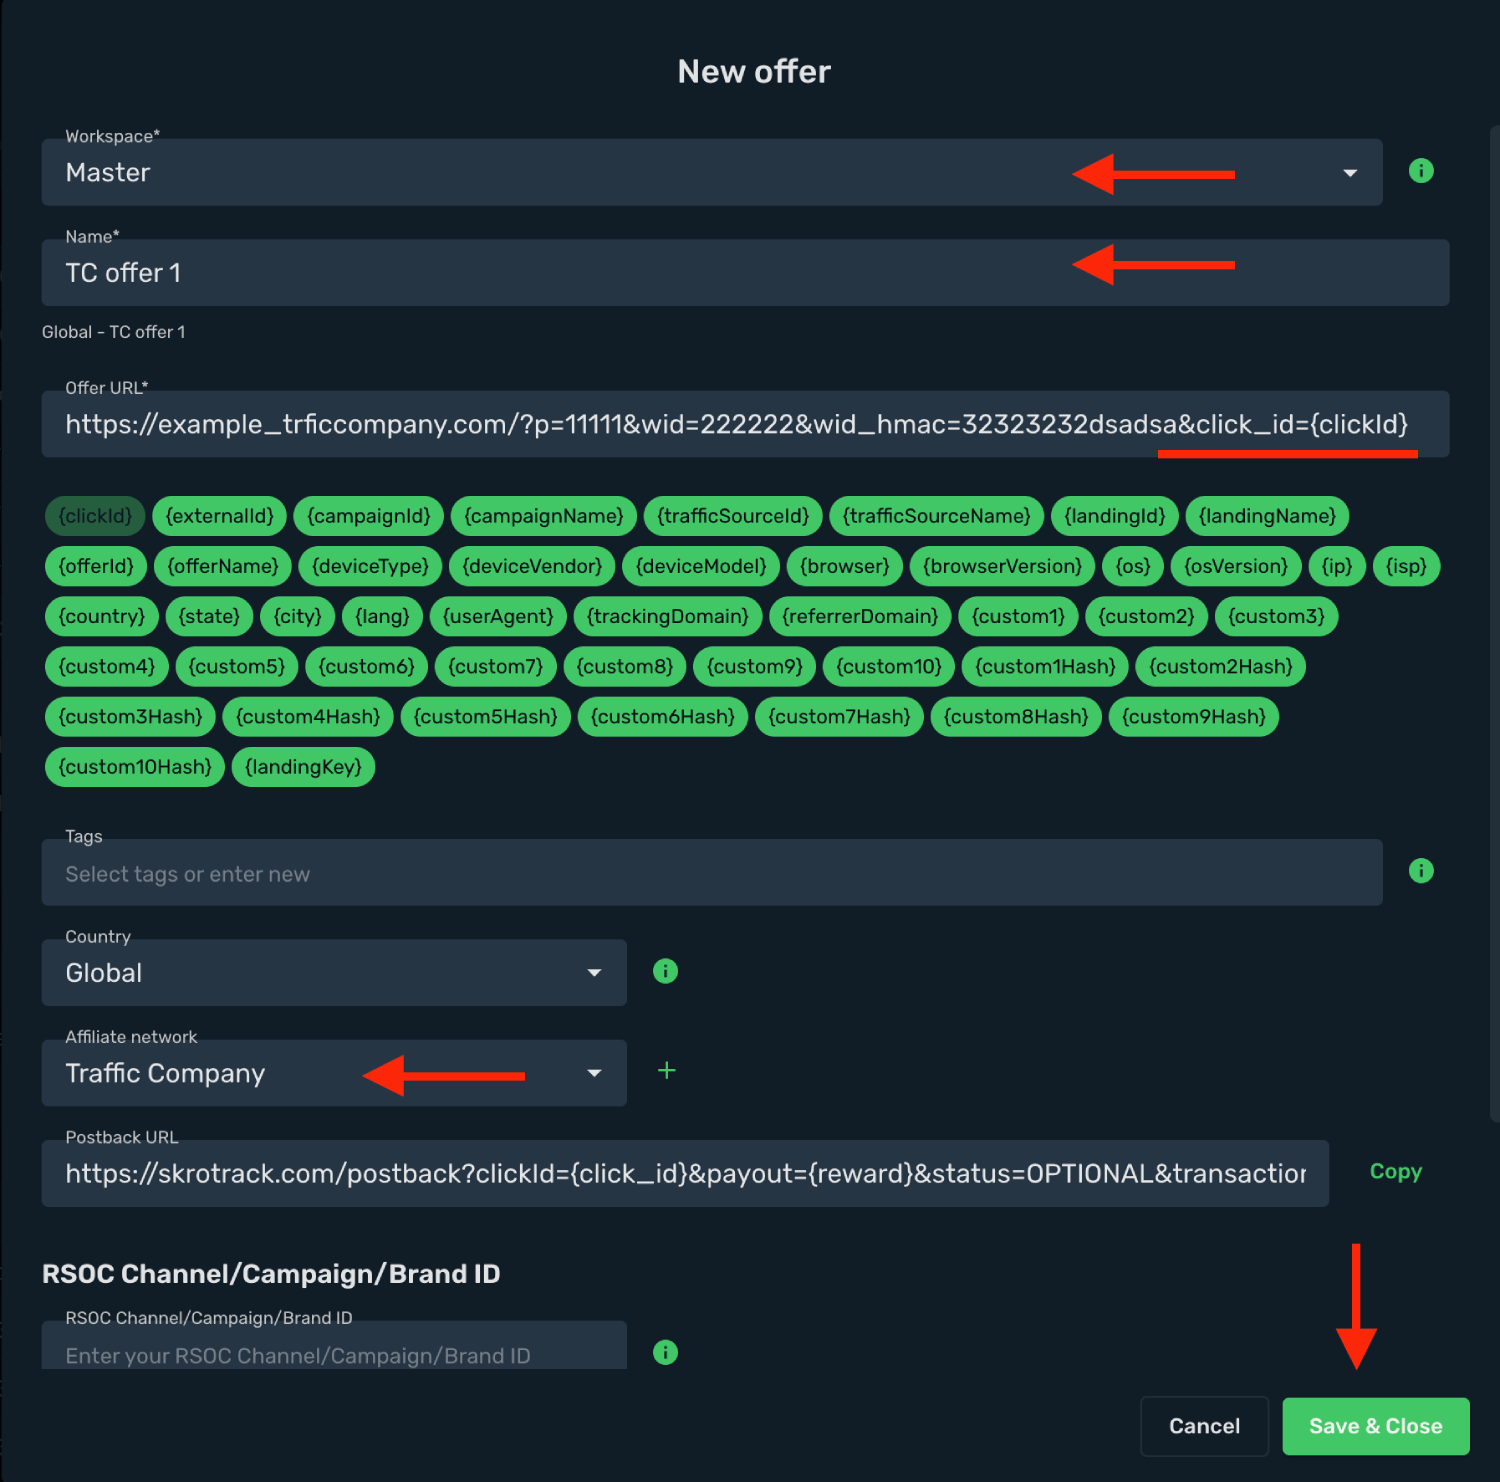
6. Click **Save & Close**.
## Step 5. Create a campaign on Skro [#step-5-create-a-campaign-on-skro]
1. Start with the following guide:
## Verify the setup [#verify-the-setup]
Follow a campaign link and complete a test conversion using your provider’s test workflow. Confirm that the original click ID reaches the provider and is returned to Skro, then check the event and revenue in your campaign report.
If data is missing, check the selected workspace, integration, campaign, and reporting date range. Compare parameter names and macro values with the examples in this guide before repeating the test.
## Related guides [#related-guides]
# Traffic Nomads integration
Source: https://skro.eu/docs/integrations/traffic-nomads-and-skro-integration
Set up Traffic Nomads tracking in Skro, configure traffic source parameters, and connect your advertising campaigns.
## Step 1. Create an Traffic Nomads traffic source and configure the postback URL [#step-1-create-an-traffic-nomads-traffic-source-and-configure-the-postback-url]
1. Go to **Traffic Sources** and click **+ Create**.
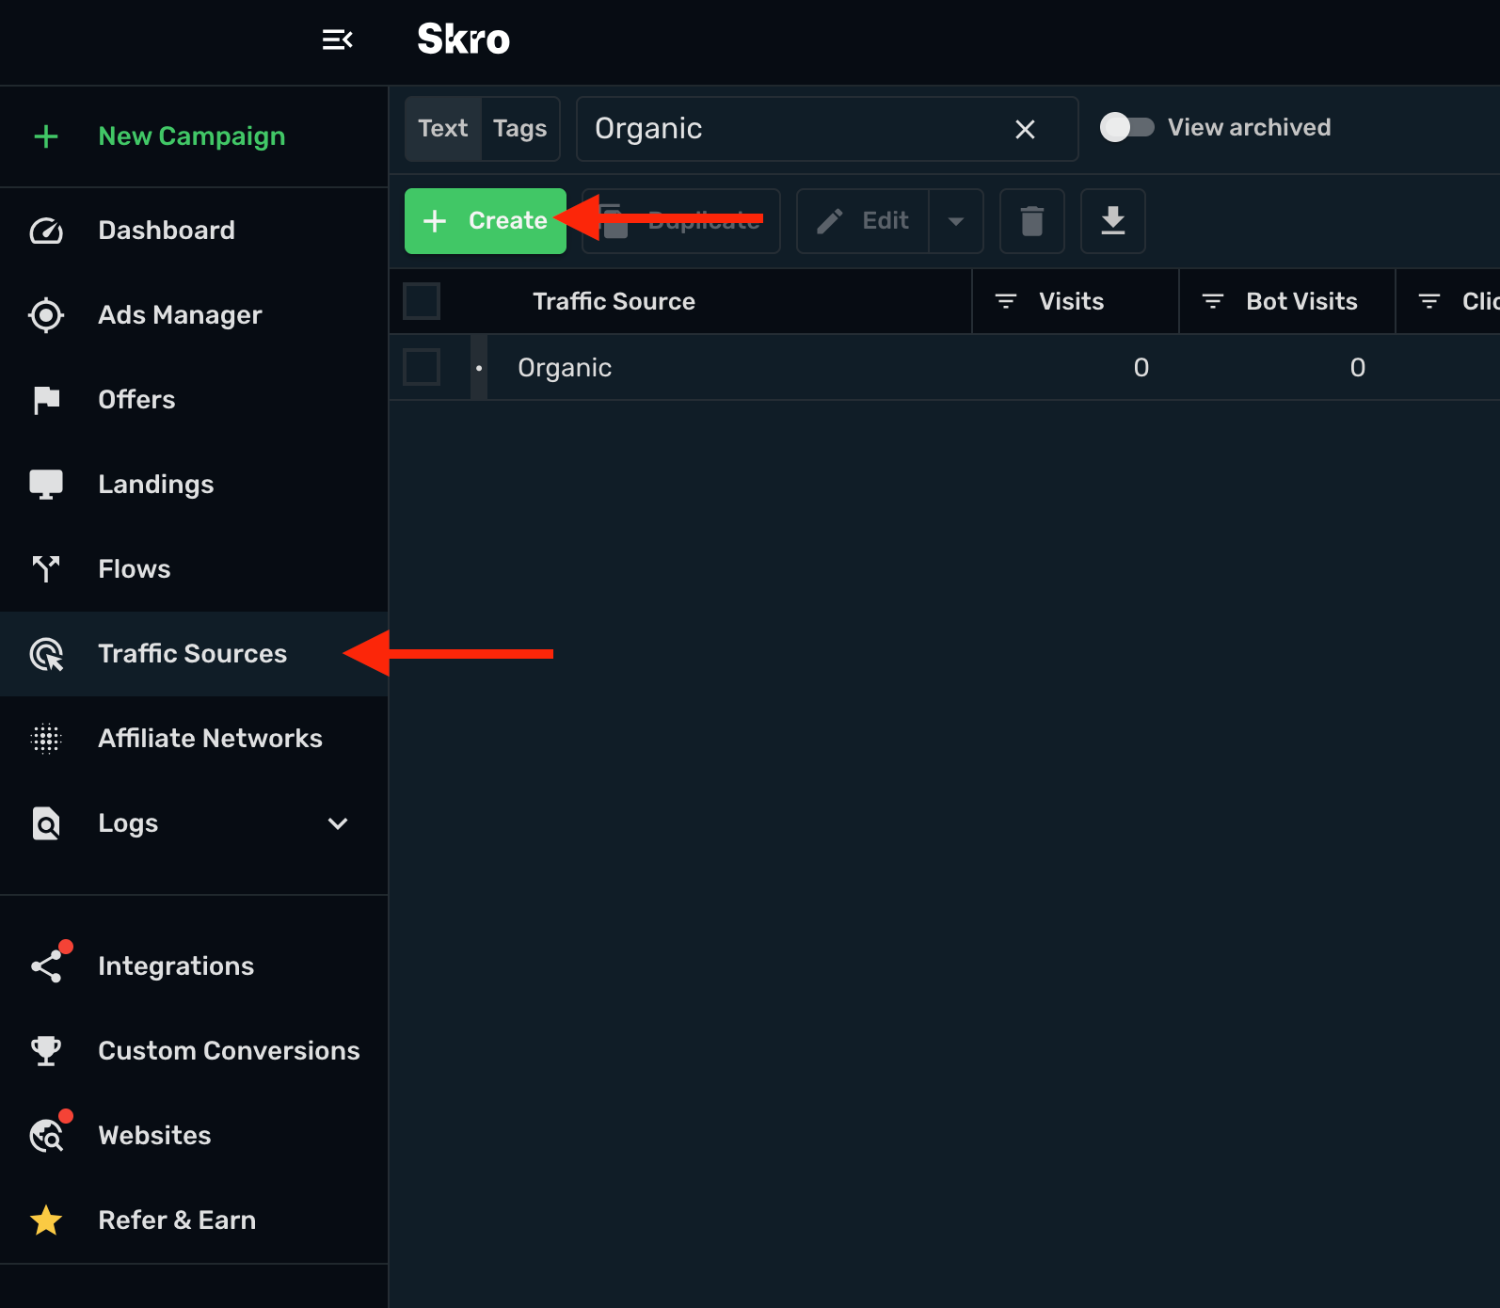
2. Search for **trafficnomads** and click the **Traffic Nomads** template.
3. Select the target **Workspace** and set other fields where needed. **Postback URL** is already prefilled for you.
4. If you want you can double check if postback URL looks still the same.
5. Log in to your **Traffic Nomads** account and go to **Tracking** section.
6. Final postback URL must look similar to this:
`https://node2.trafficnomads.com/conv/?clickid={externalId}&payout={payout}`
**`clickid={externalId}`** - Traffic Nomads Click ID parameter with Skro macro.
**`payout={payout}`** - Traffic Nomads Payout parameter with Skro macro.
7. All tracking parameters are already prefilled for you.
8. Click **Save & Close**.
Integration setup is complete, and you are now ready to create your first campaign.
## Step 2. Create a campaign in Skro [#step-2-create-a-campaign-in-skro]
1. Go to **Ads Manager** and click the **Create**.
2. Select your **Traffic source** and click **Next**.
3. Select the target **Workspace** for your campaign.
4. Give a **name** to your campaign and click **Next**.
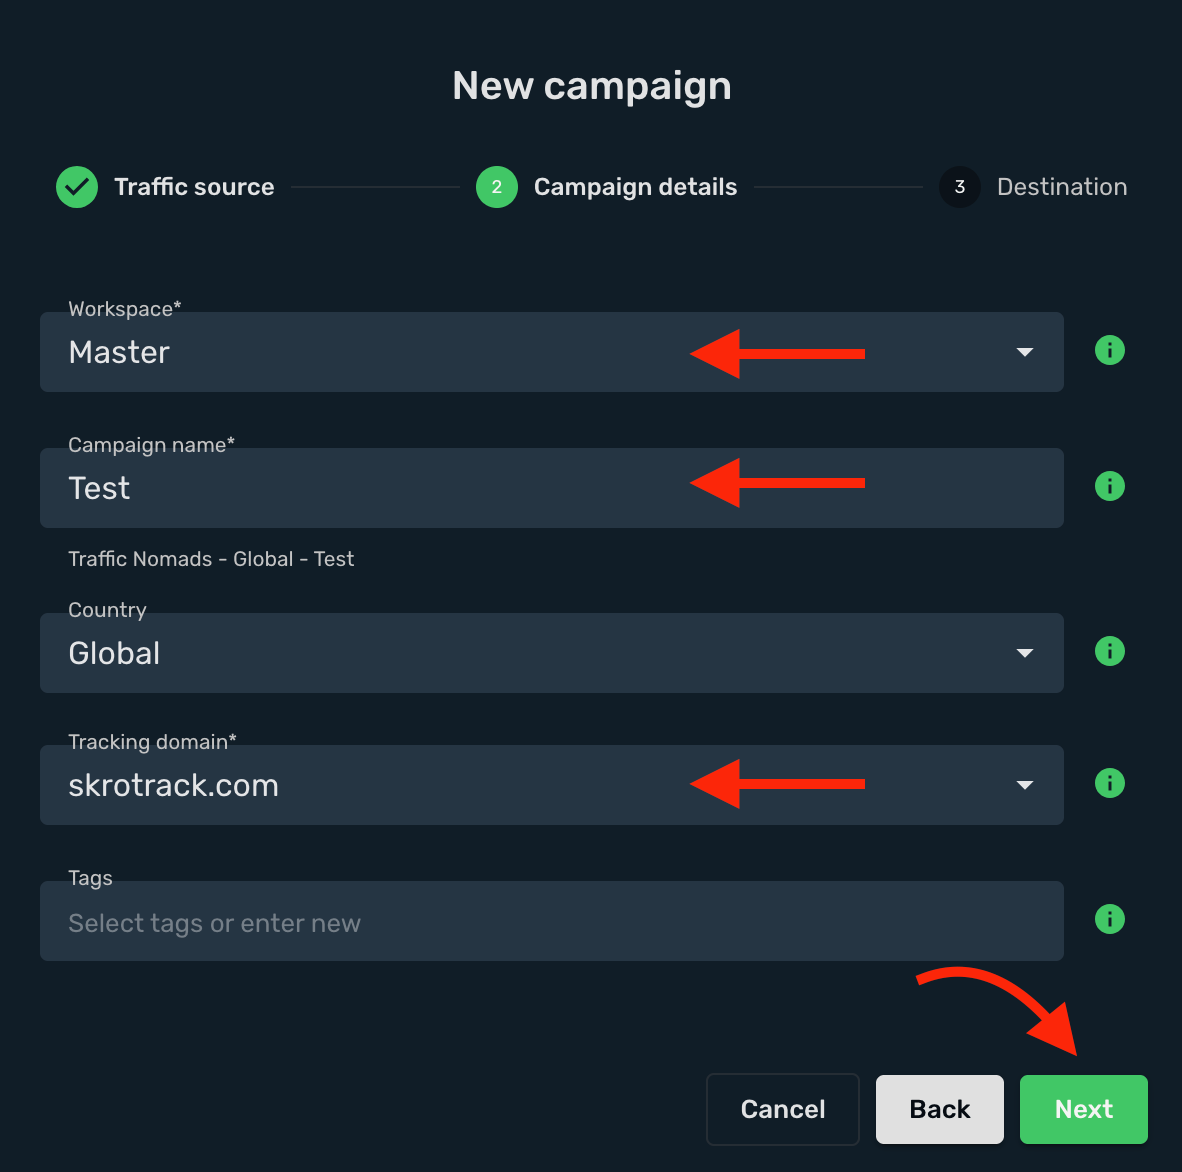
5. Select or create all your **landings** and **offers**.
6. When you are done, click the **Save**.
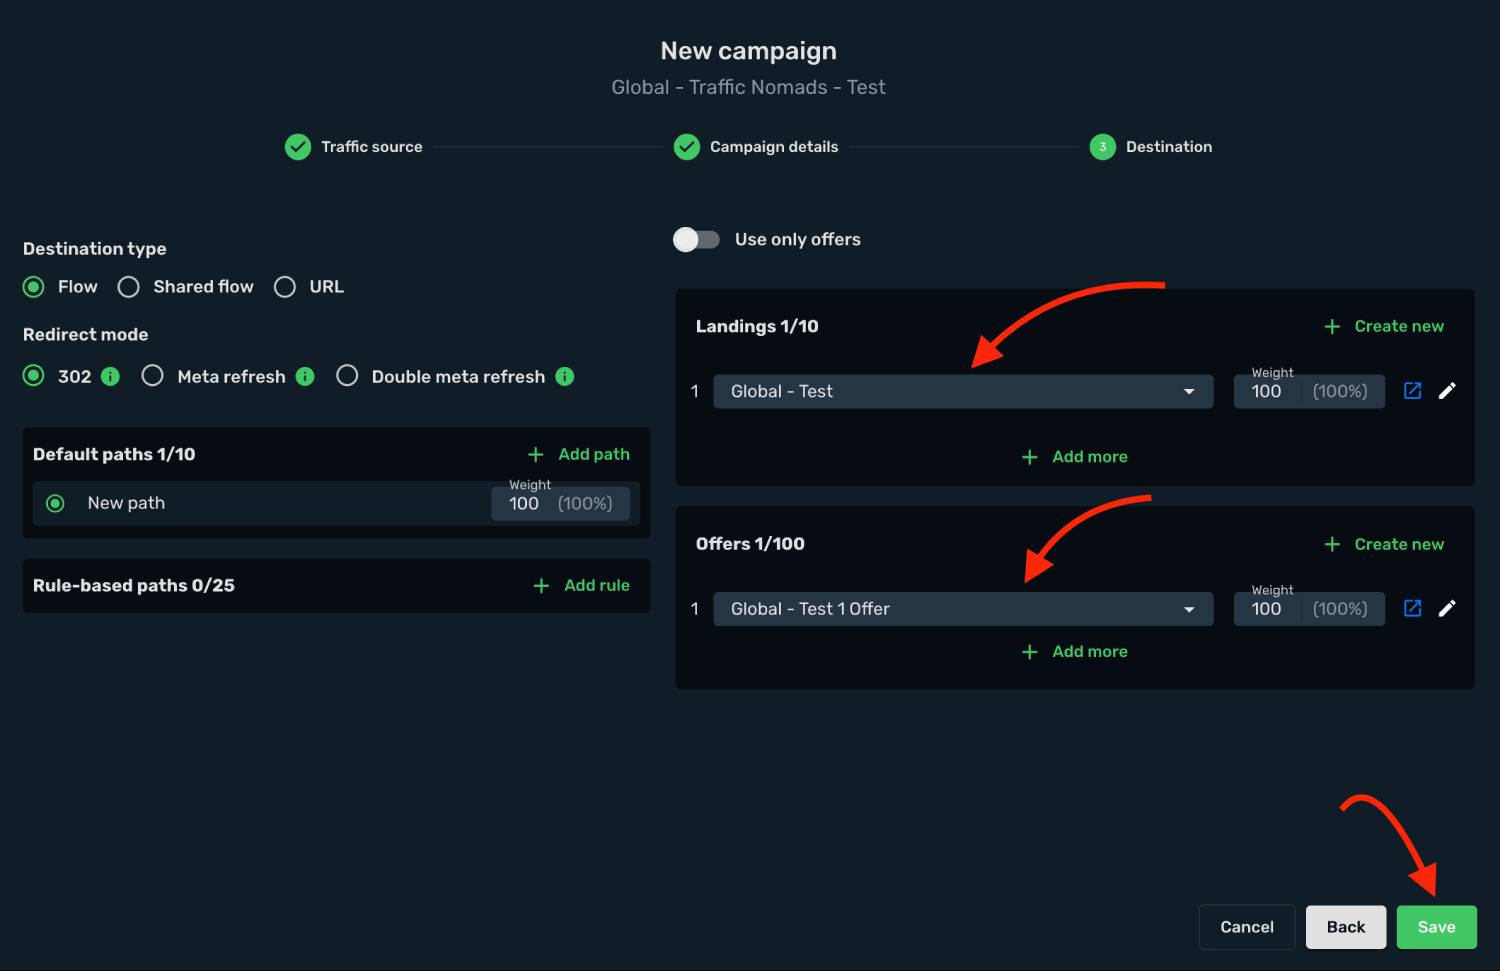
7. Copy the **Campaign Tracking URL** to clipboard.
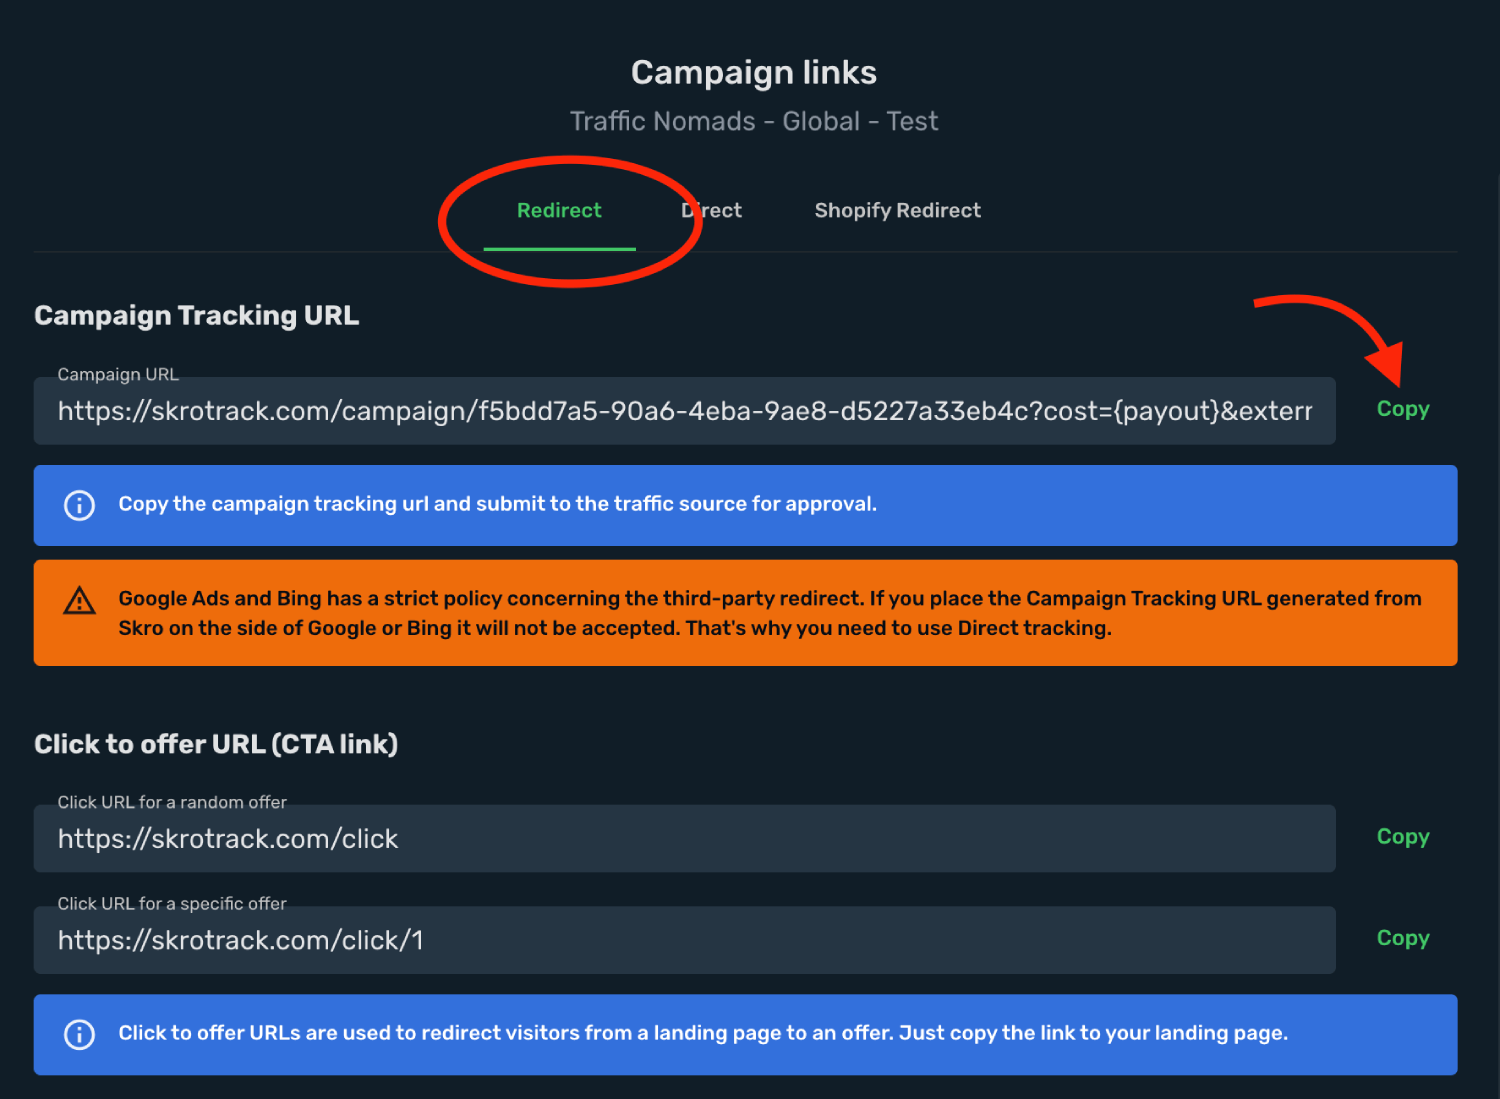
## Step 3. Create a campaign in Traffic Nomads [#step-3-create-a-campaign-in-traffic-nomads]
1. Log in to your **Traffic Nomads** account.
2. Go to the **Campaigns** section and click the **Create Campaign**.
3. Give a **name** to your campaign.
4. Select your **Ad Format** and **Category**.
5. Click **Next Step**.
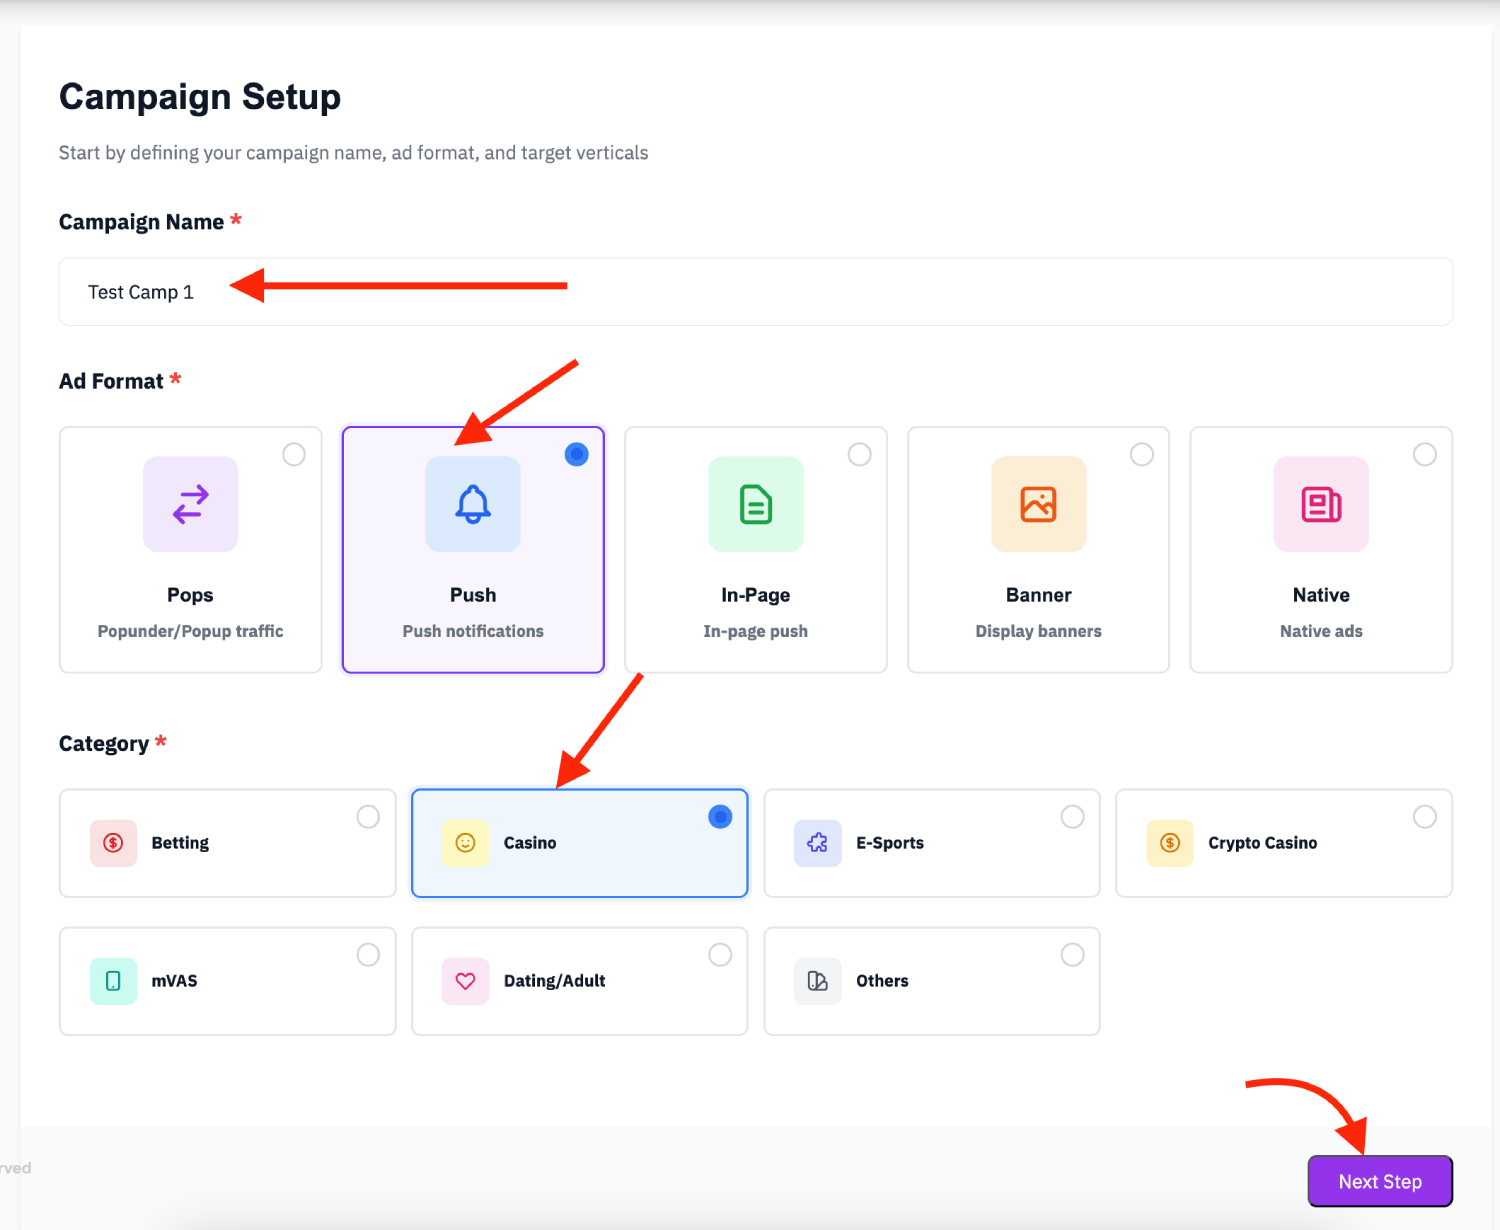
6. Select your **Geo targeting** and fill other fields where needed.
7. Click **Next Step**.
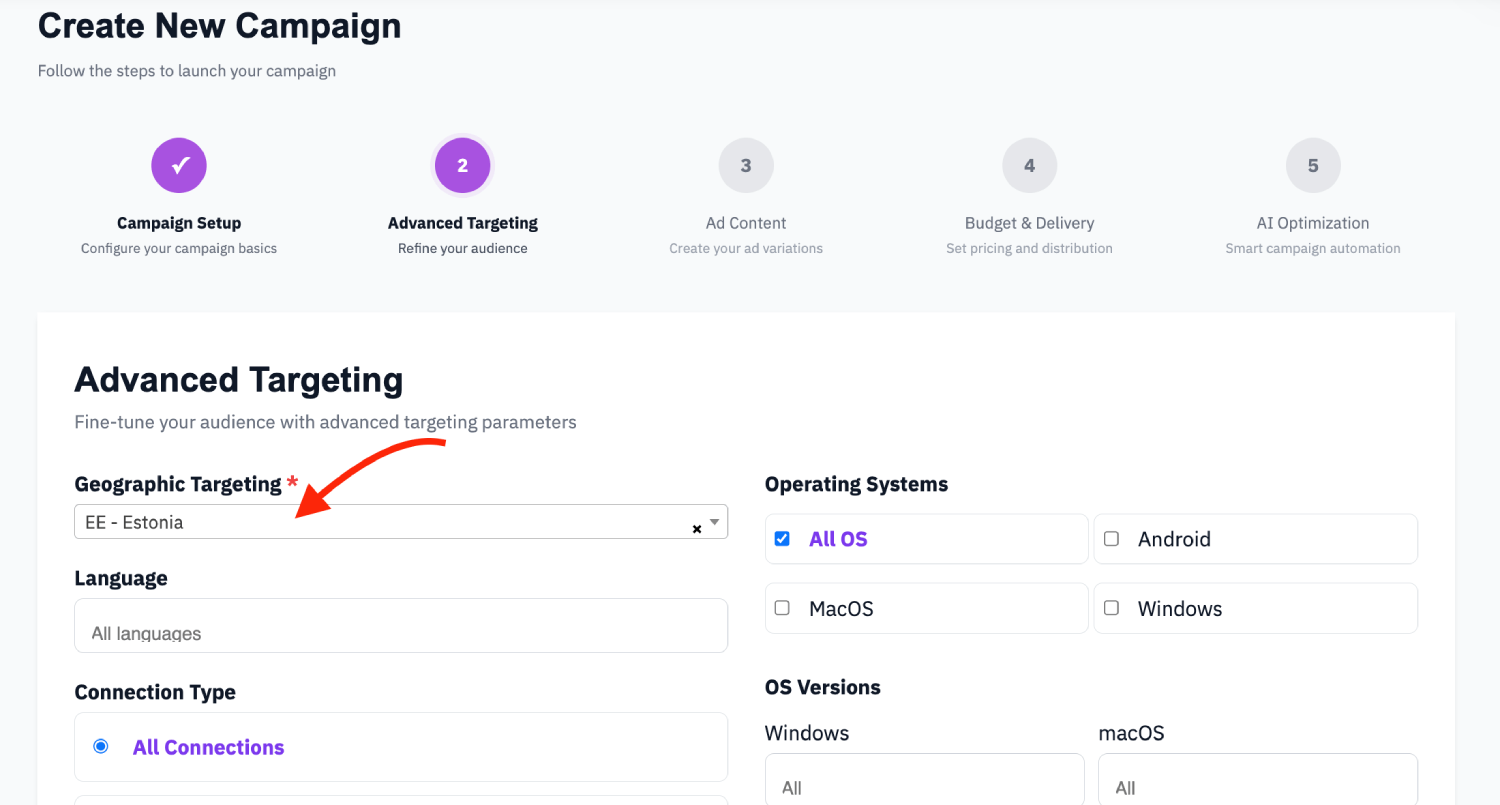
8. Create your **Creatives** and set **Description** and **Title**.
9. Paste the **Skro campaign tracking link** into the **Landing Page URL** field, including all tracking parameters.
10. Click **Next Step**.
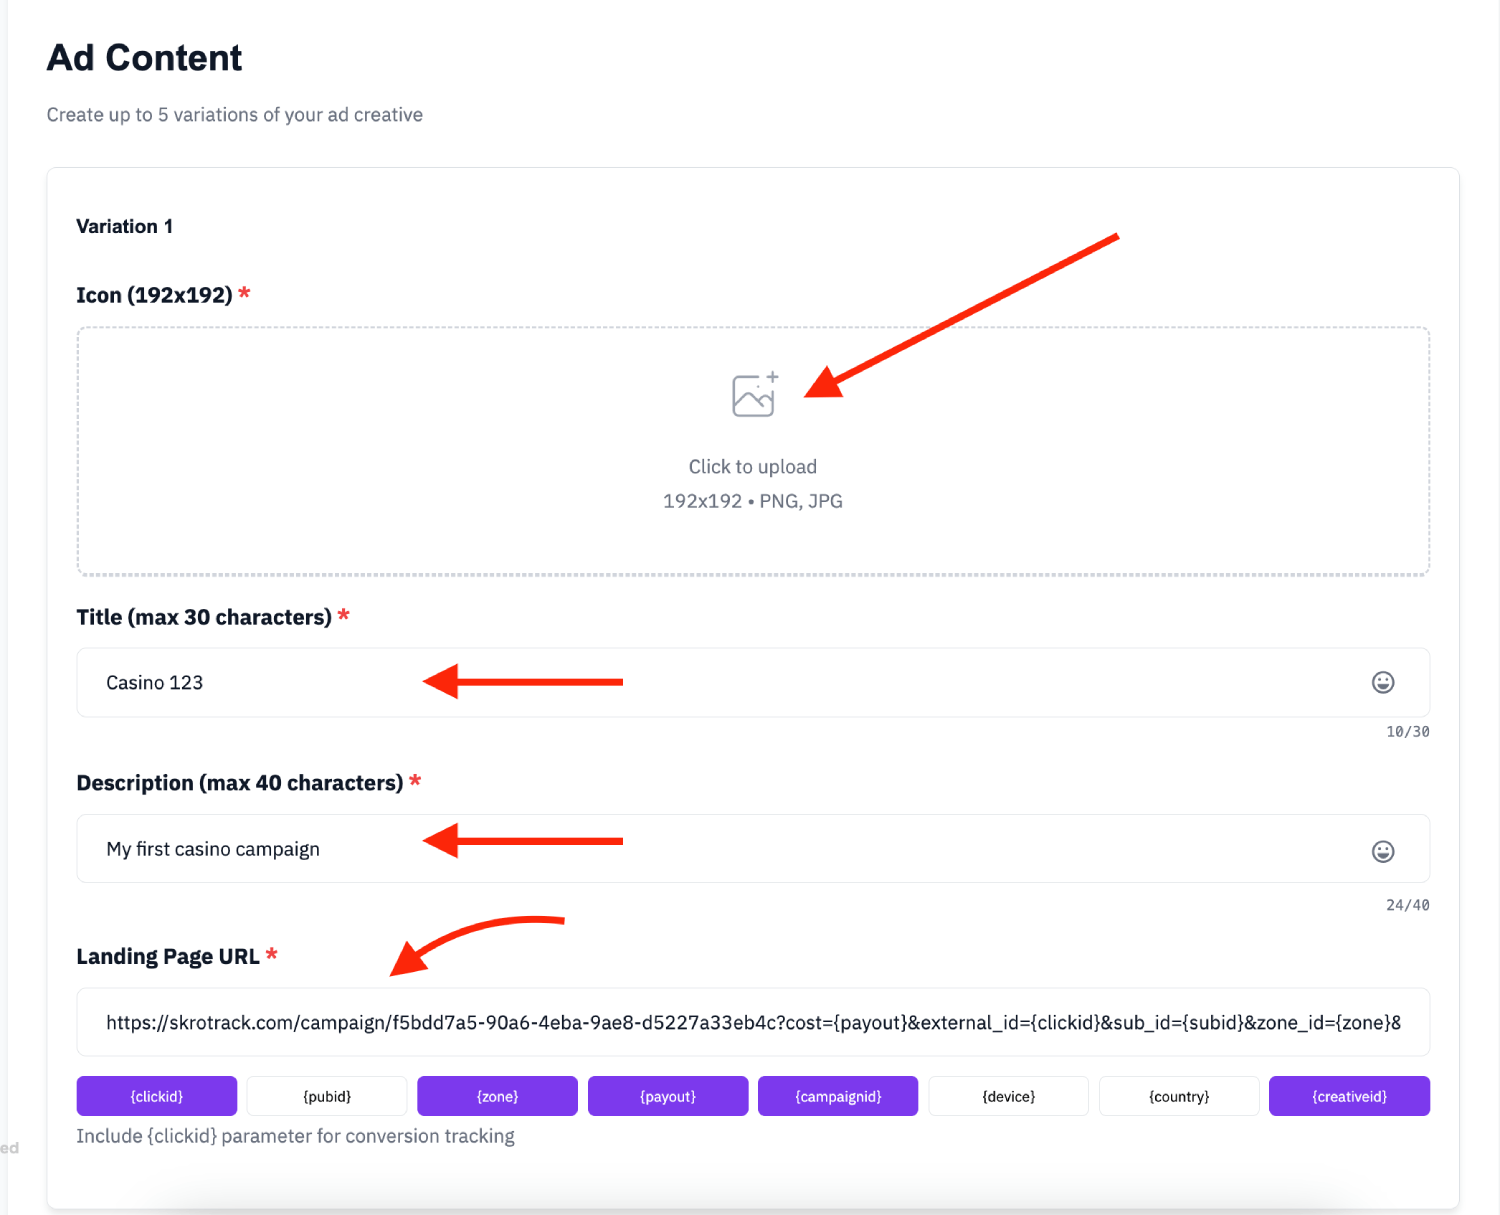
11. Set your **Budget & Delivery**.
12. Click **Next Step**.
13. Fill all other fields where needed and when you are done, click **Create**.
14. After your campaign is approved on the side of Traffic Nomads, you can start driving traffic to your campaign and track all the data with Skro.
## Verify the setup [#verify-the-setup]
Open the generated campaign URL and check that the visit appears in Skro. Confirm that traffic source macros resolve to actual values. If you send conversions back to the source, verify a test conversion in both systems.
If data is missing, check the selected workspace, integration, campaign, and reporting date range. Compare parameter names and macro values with the examples in this guide before repeating the test.
## Related guides [#related-guides]
# TrafficJunky integration
Source: https://skro.eu/docs/integrations/trafficjunky-and-skro-integration
Set up TrafficJunky tracking in Skro, configure traffic source parameters, and connect your advertising campaigns.
Integration enables you to track all your campaigns, zones, ads, etc. Additionally, it provides a comprehensive overview of your cost and conversions for the optimization.
## Step 1. Create a TrafficJunky traffic source and configure the postback URL [#step-1-create-a-trafficjunky-traffic-source-and-configure-the-postback-url]
1. Navigate to **Traffic Sources**.
2. Click the **Create**.
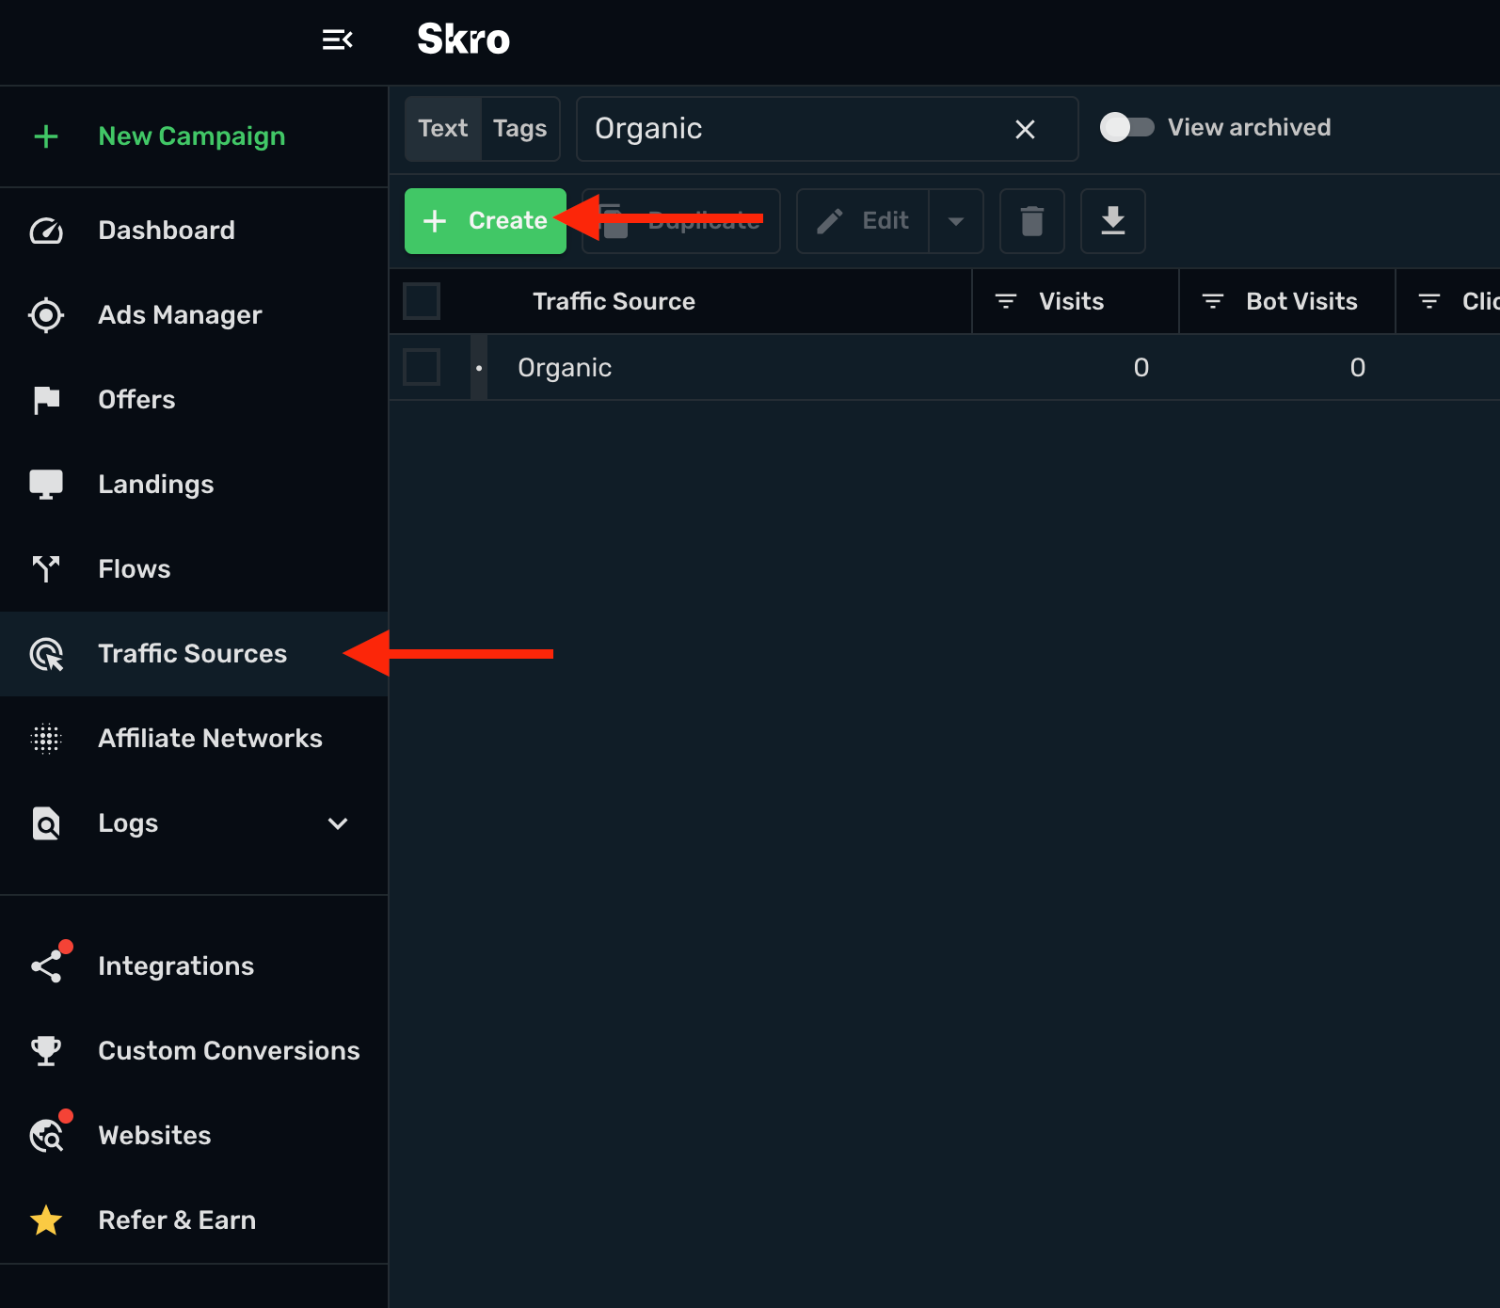
3. Search for **TrafficJunky** and click the **TrafficJunky** template.
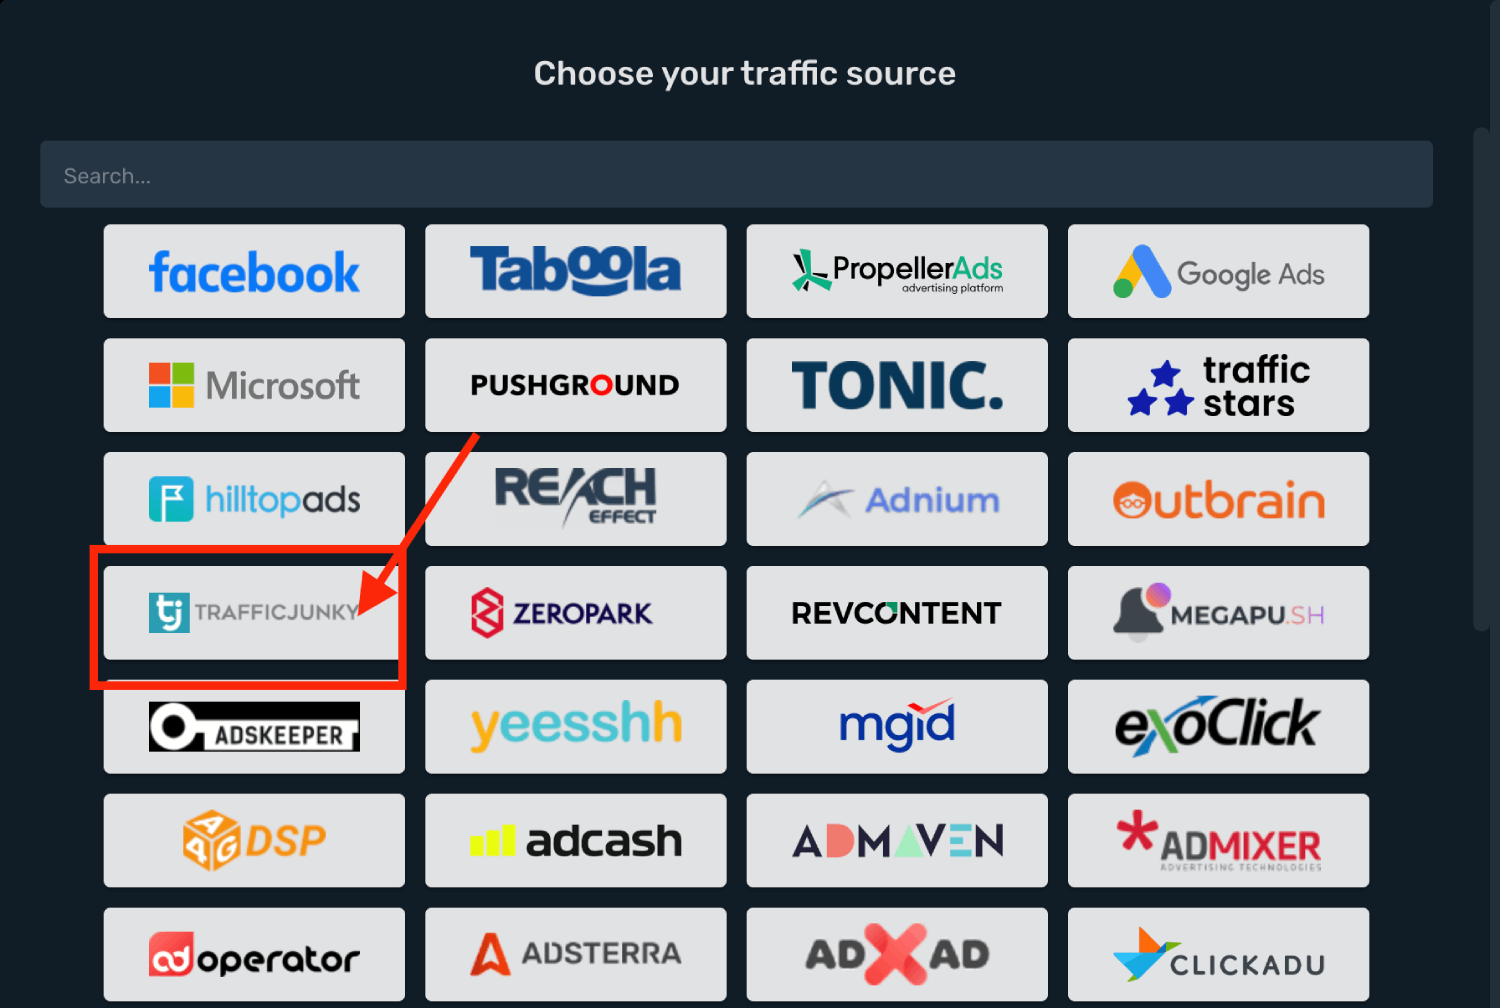
4. Select **Workspace** and modify **Traffic Source Postback URL** parameters.
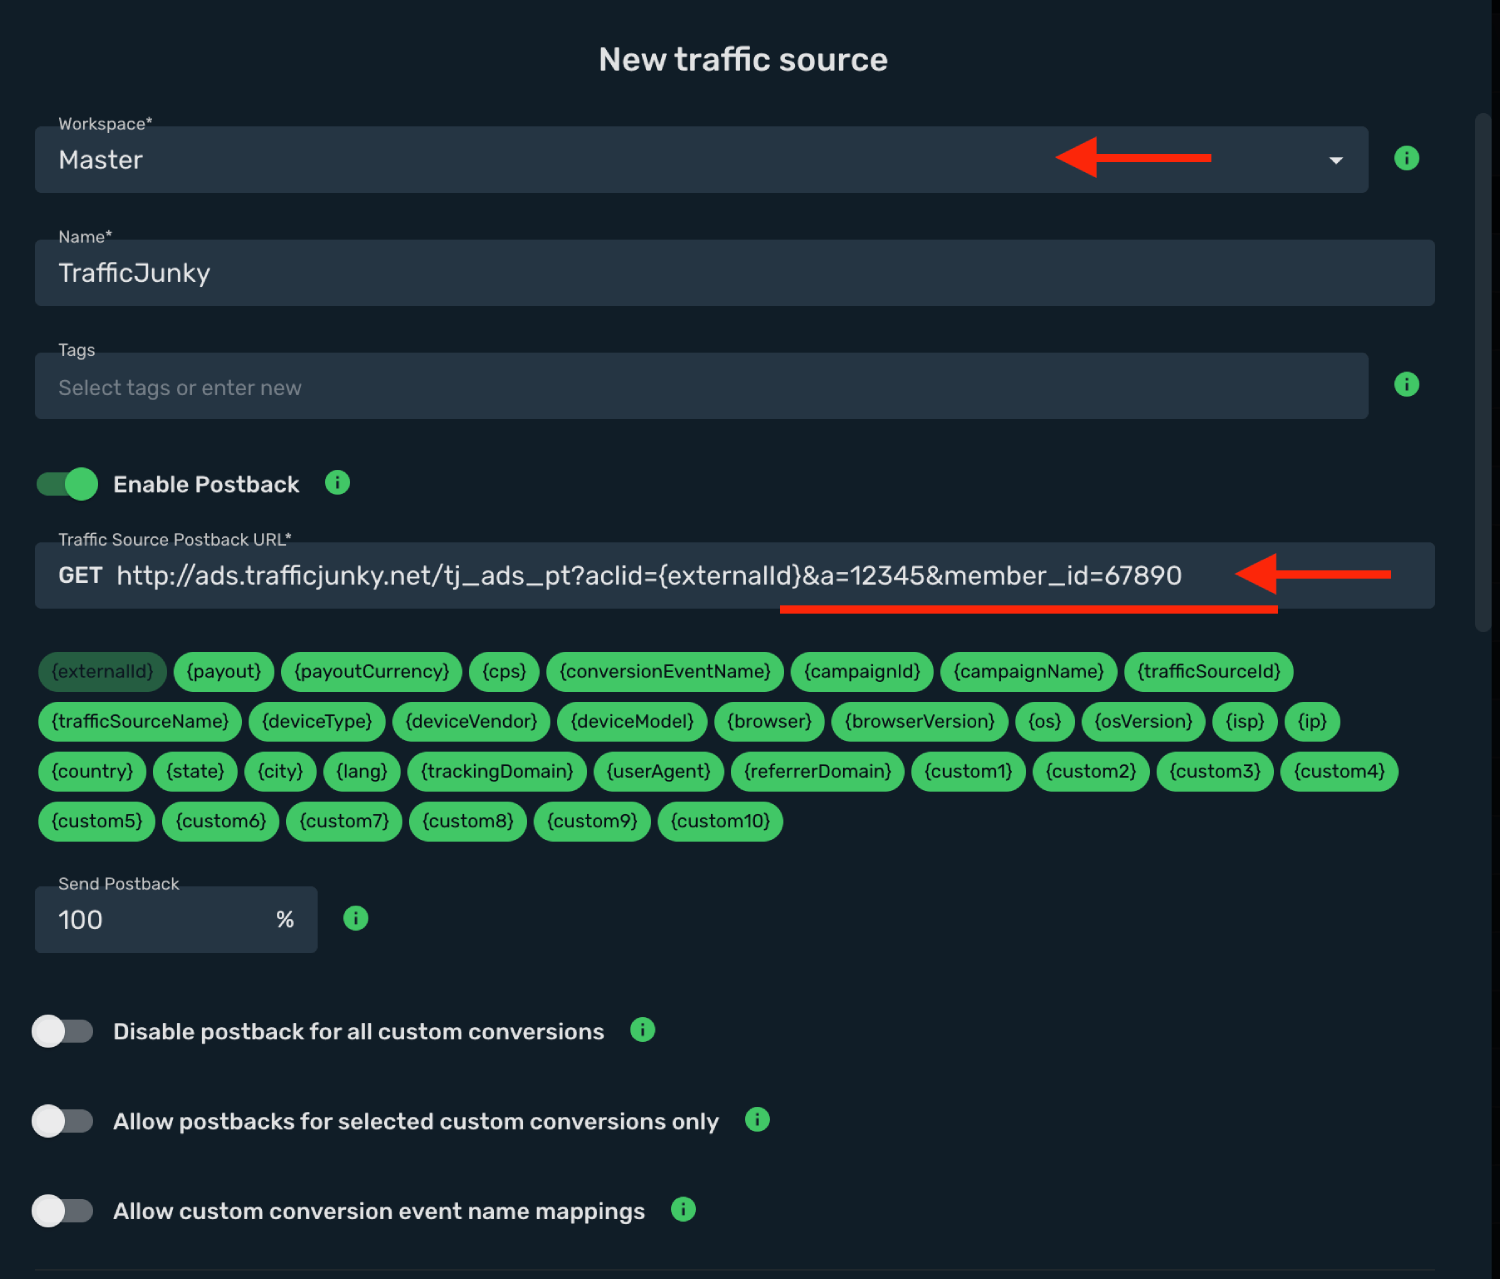
5. Log in to your **TrafficJunky** account.
6. Go to **Tools** → **Tracking Tools** → **Conversion Tracker** → **Manage Trackers** and click the **+ New Conversion Tracker**.
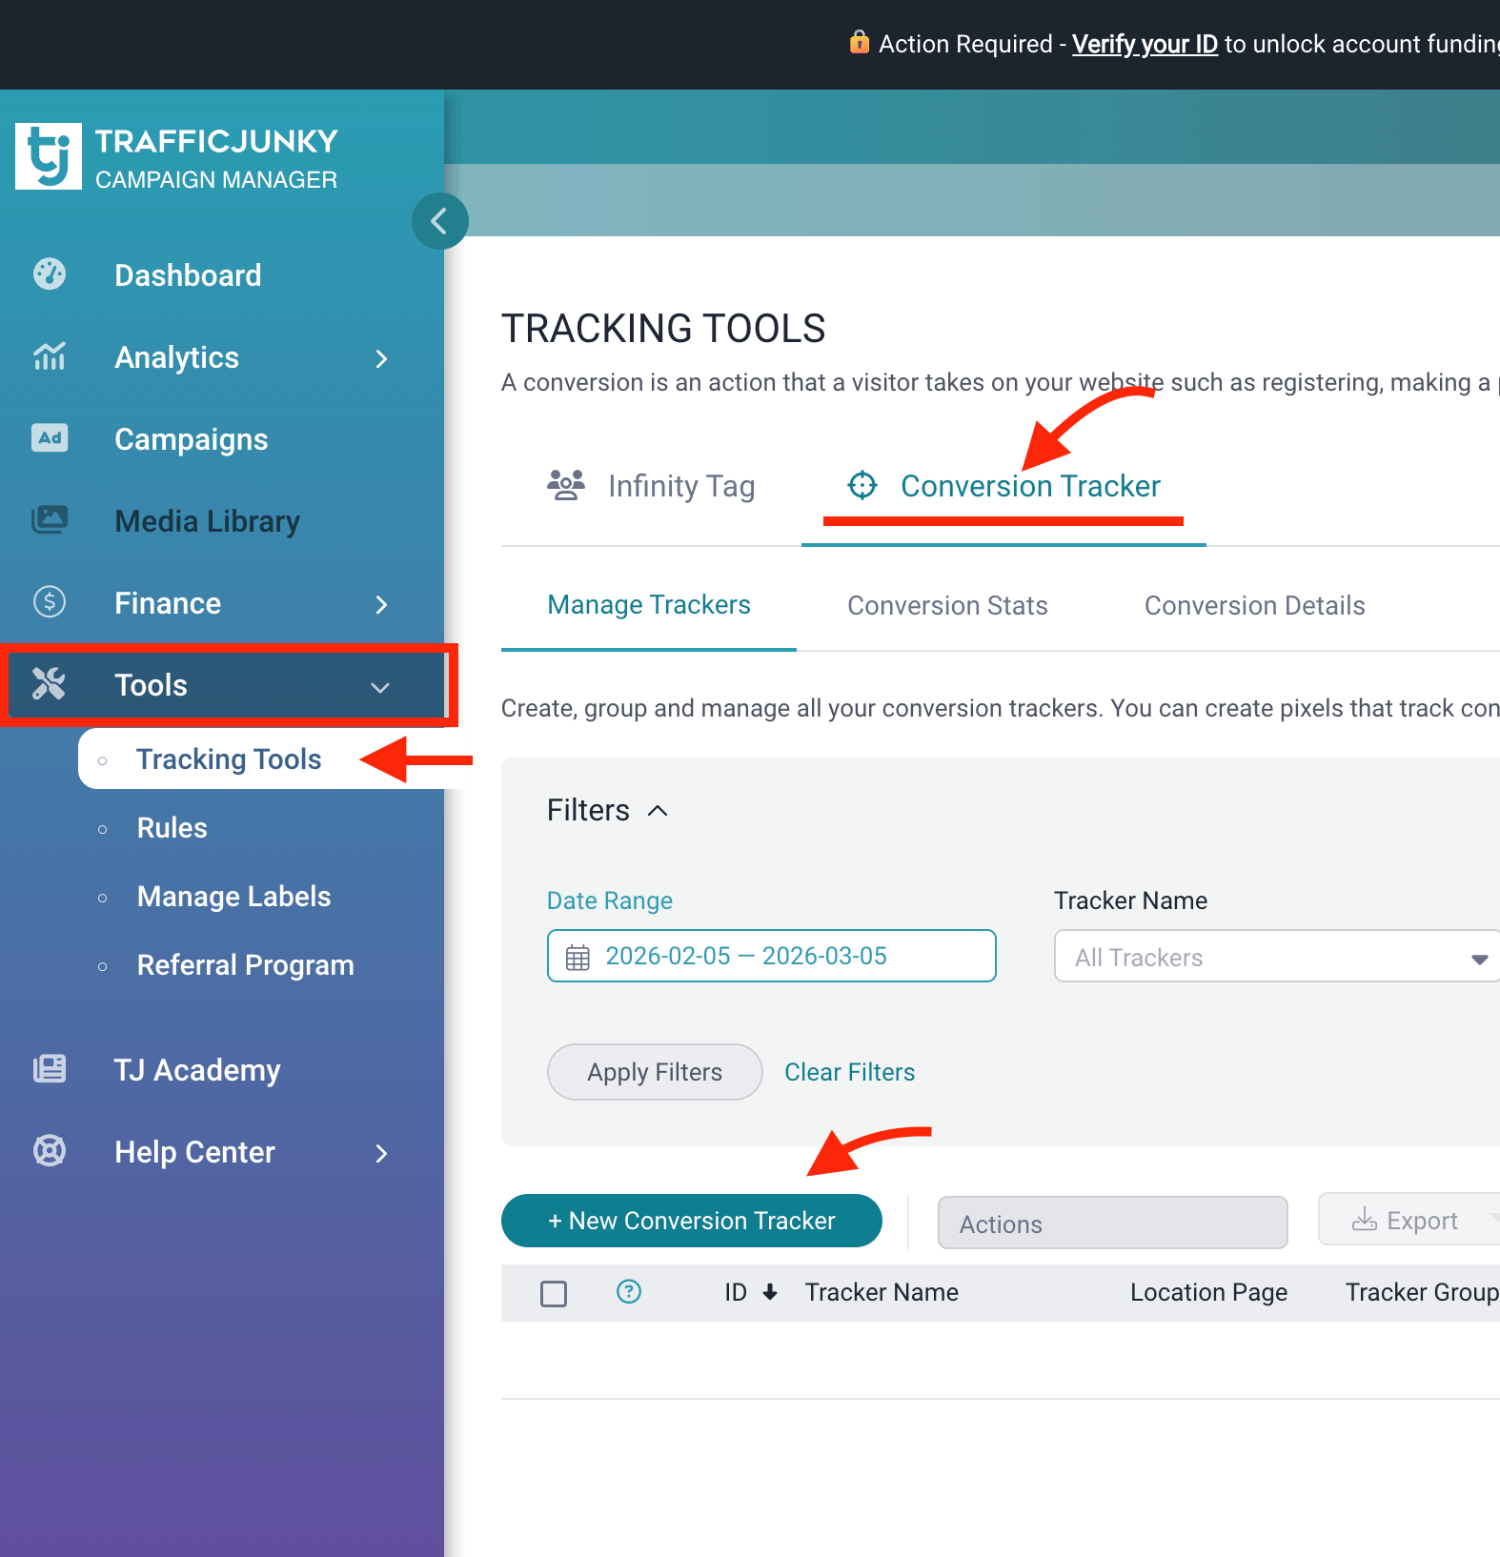
7. Add tracker **Name**.
8. Select your **Event** you want to track and click the **Add Tracker**.
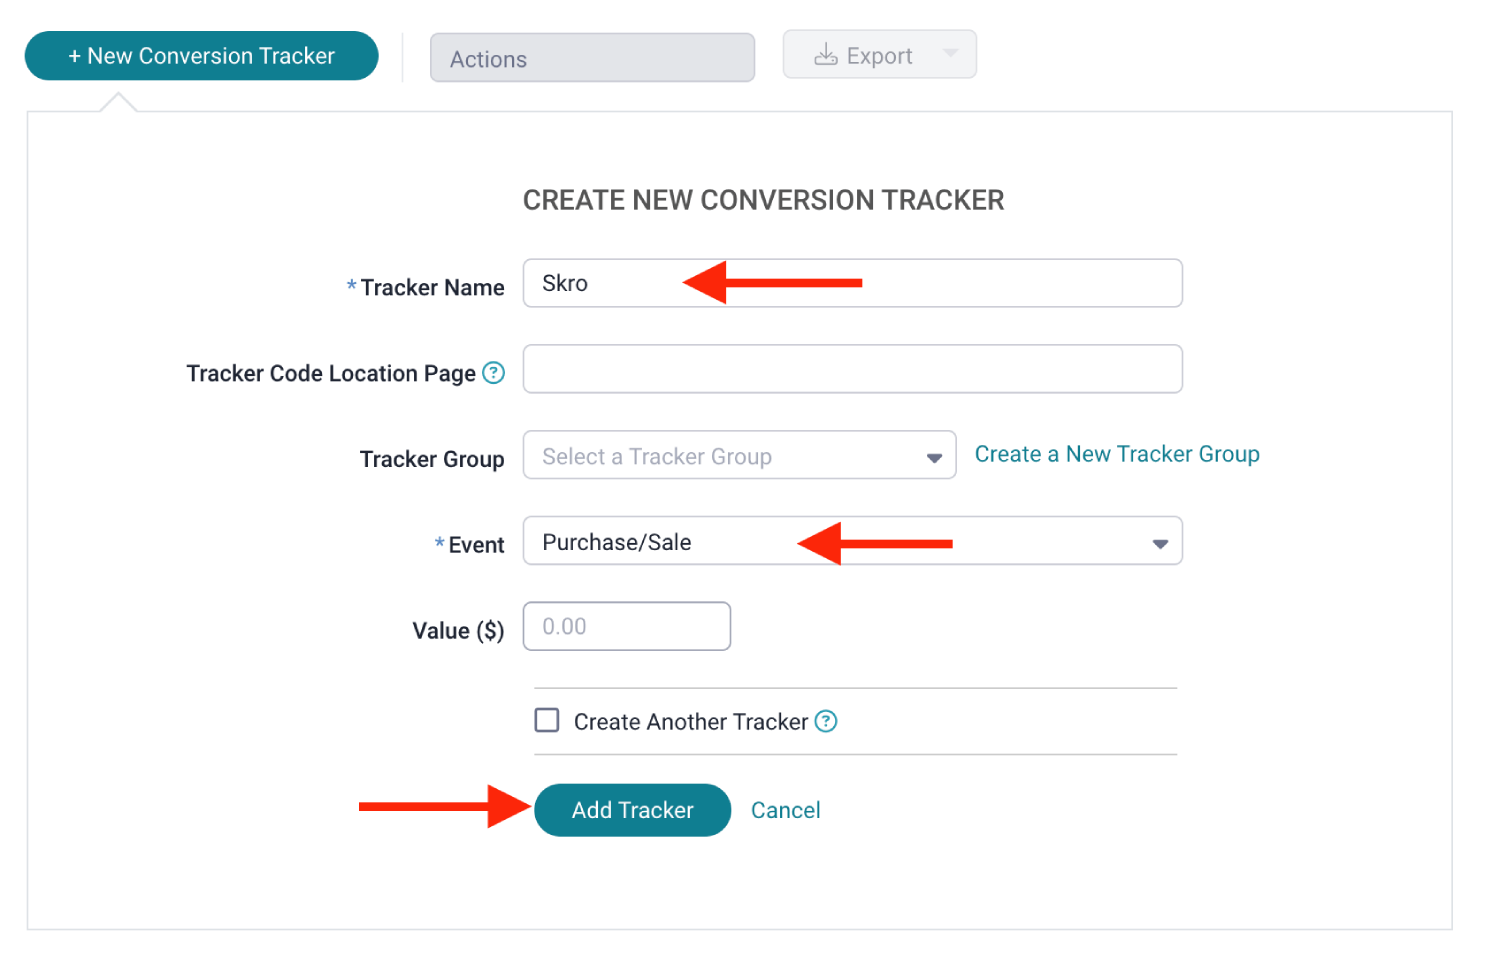
9. Click the **View code**.
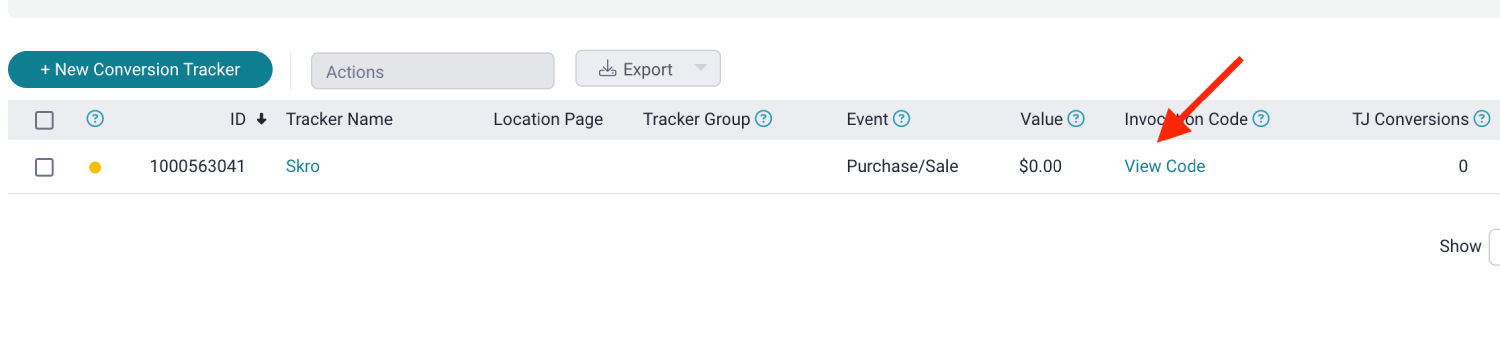
10. Click the **Postback URL** tab and copy the following parameter values:
- a=12345
- member_id=67890
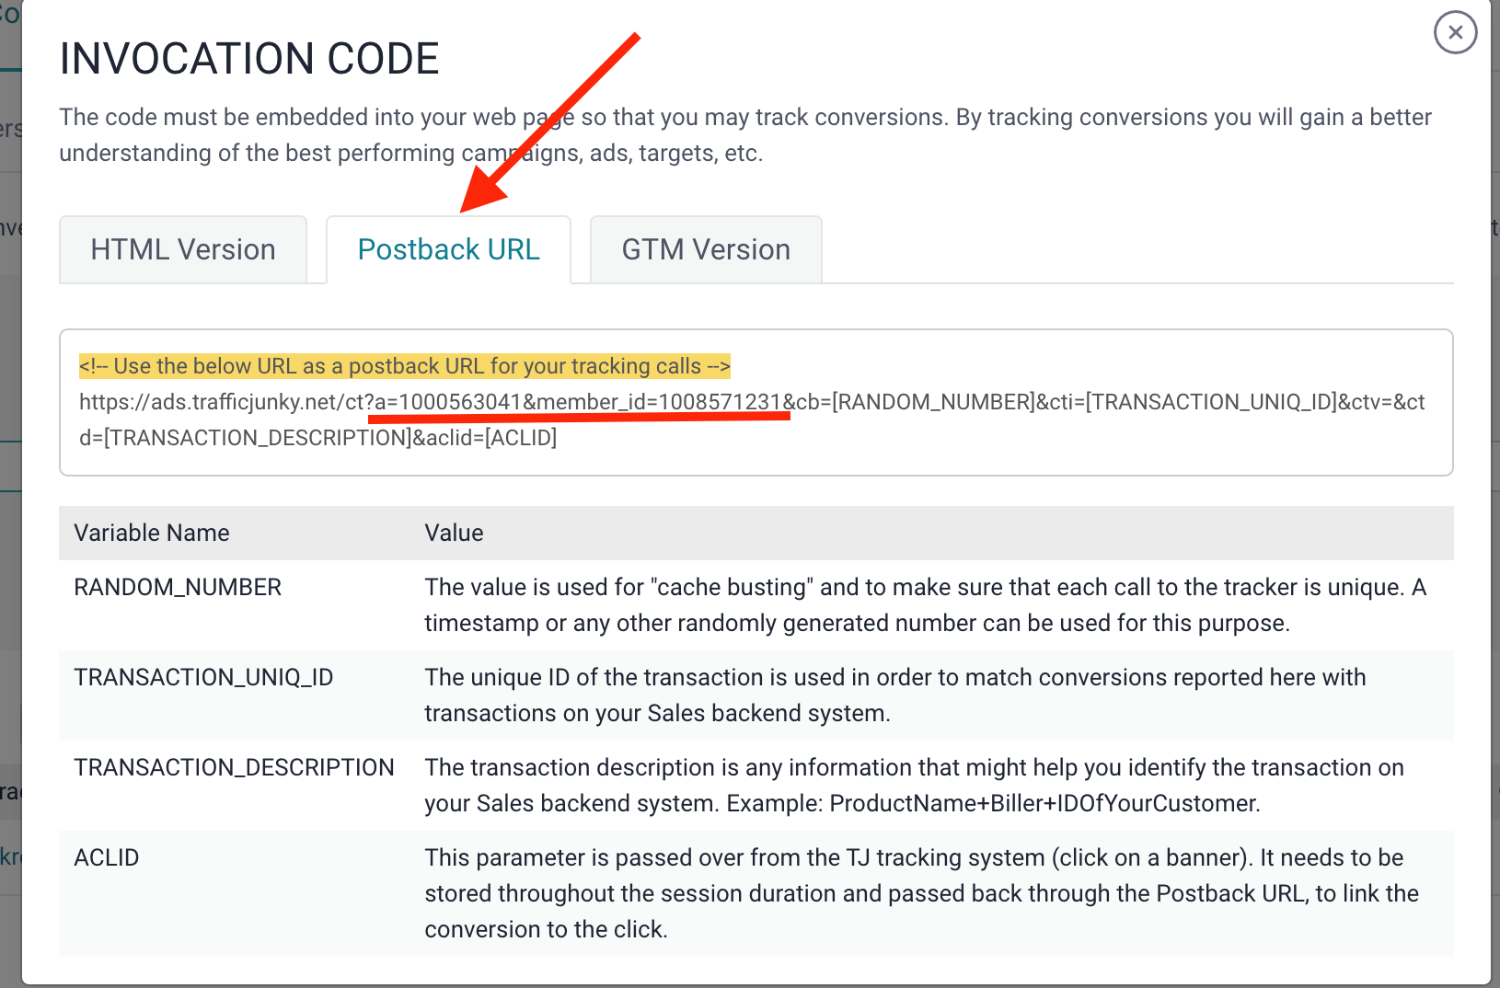
11. Go back to **Skro** and replace the postback URL parameter values where needed.
12. Final postback URL must look similar to this:
`https://ads.trafficjunky.net/ct?aclid={externalId}&a=12345&member_id=67890`
13. All tracking parameters are already prefilled for you.
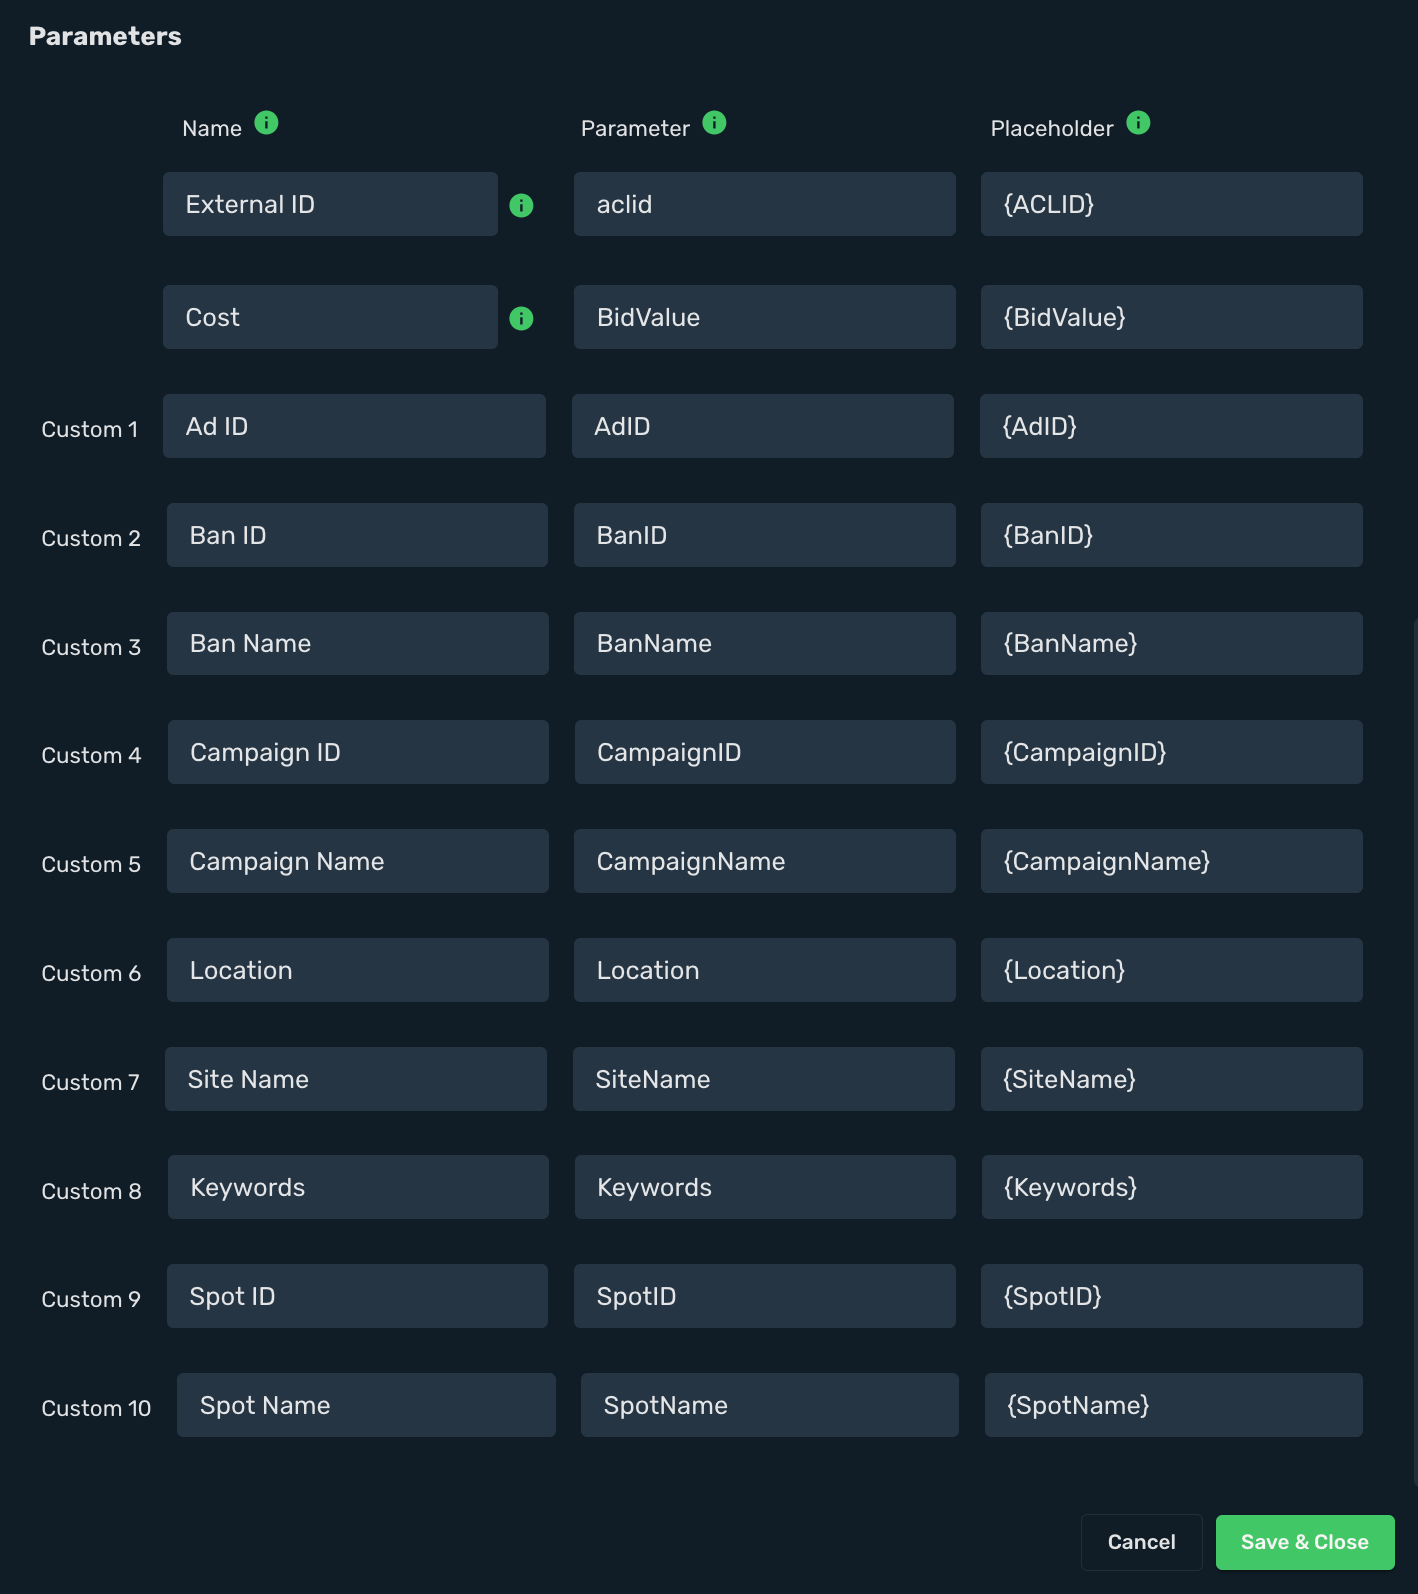
14. Click the **Save & Close**.
Integration setup is complete, and you are now ready to create your first campaign.
## Step 2. Create a campaign on Skro [#step-2-create-a-campaign-on-skro]
1. Go to **Ads Manager** and click the **Create**.
2. Select your **Traffic source** and click **Next**.
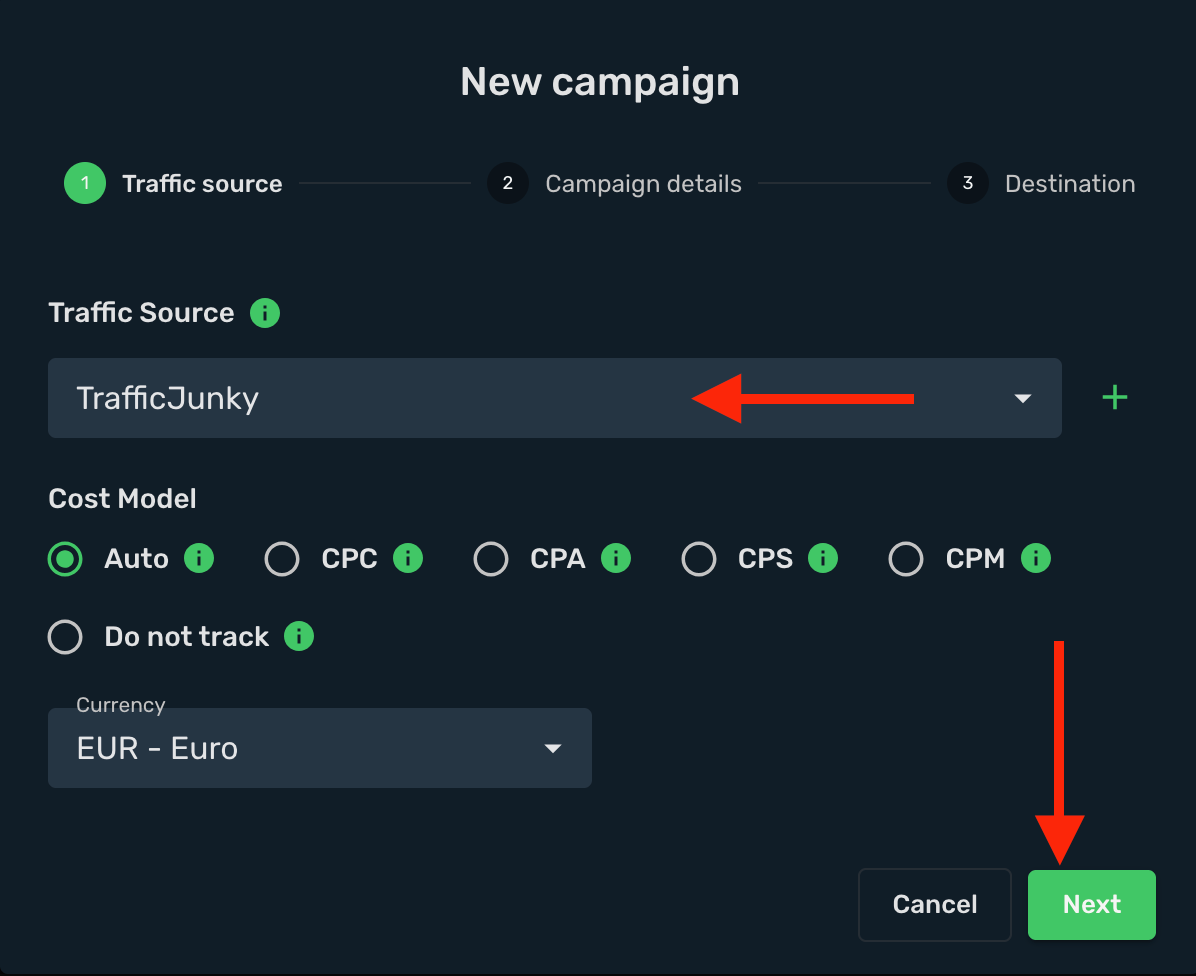
3. Select your campaign **Workspace**.
4. Enter a descriptive campaign name.
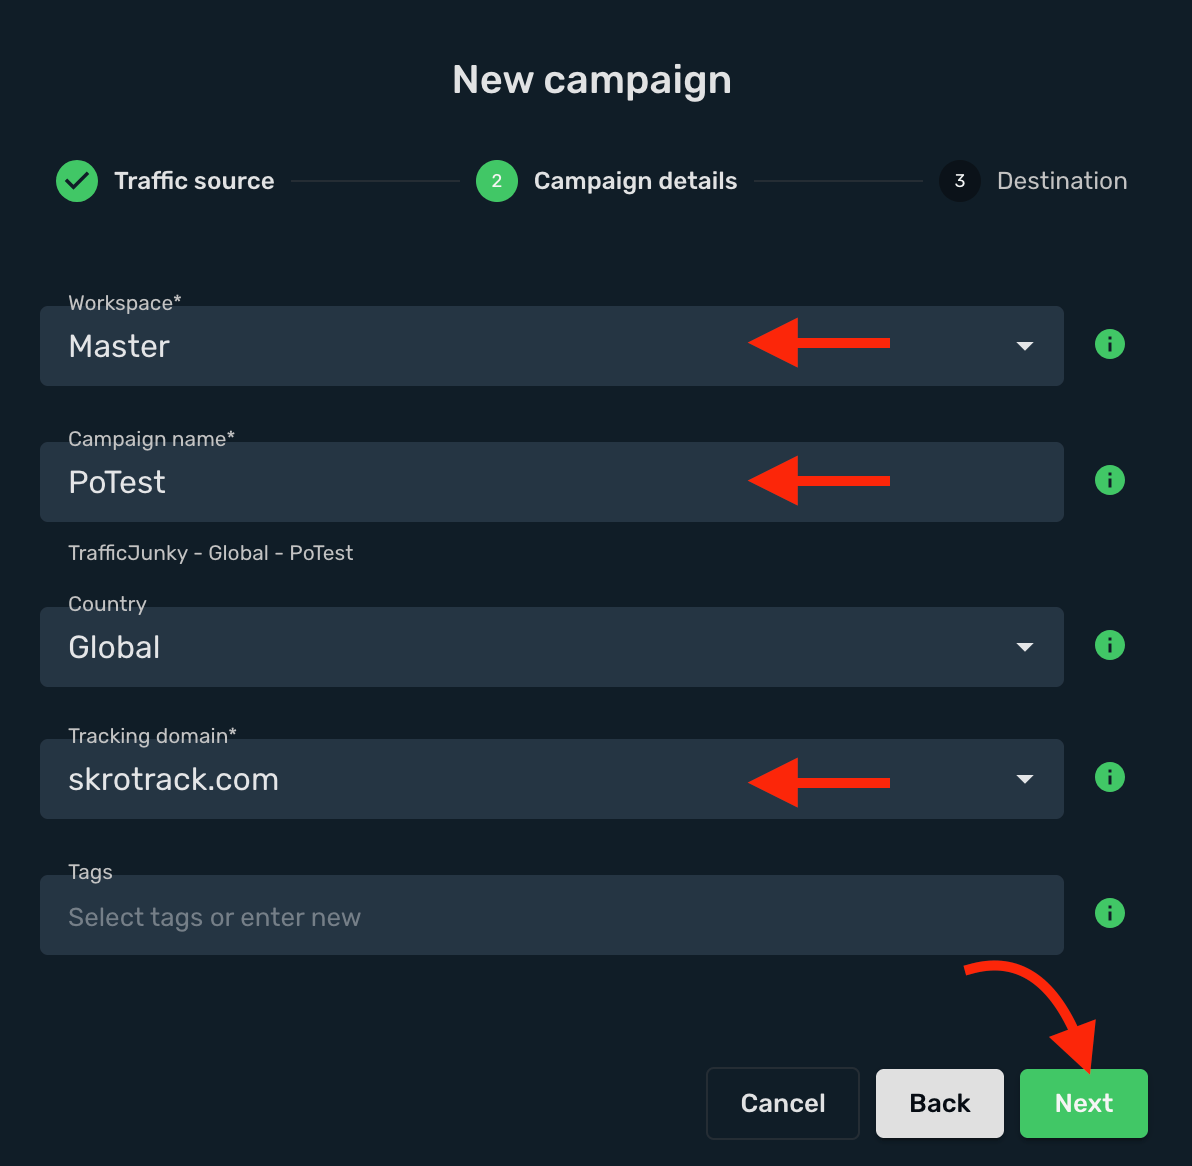
5. Select or create all your **landings** and **offers**.
6. Click the **Save**.
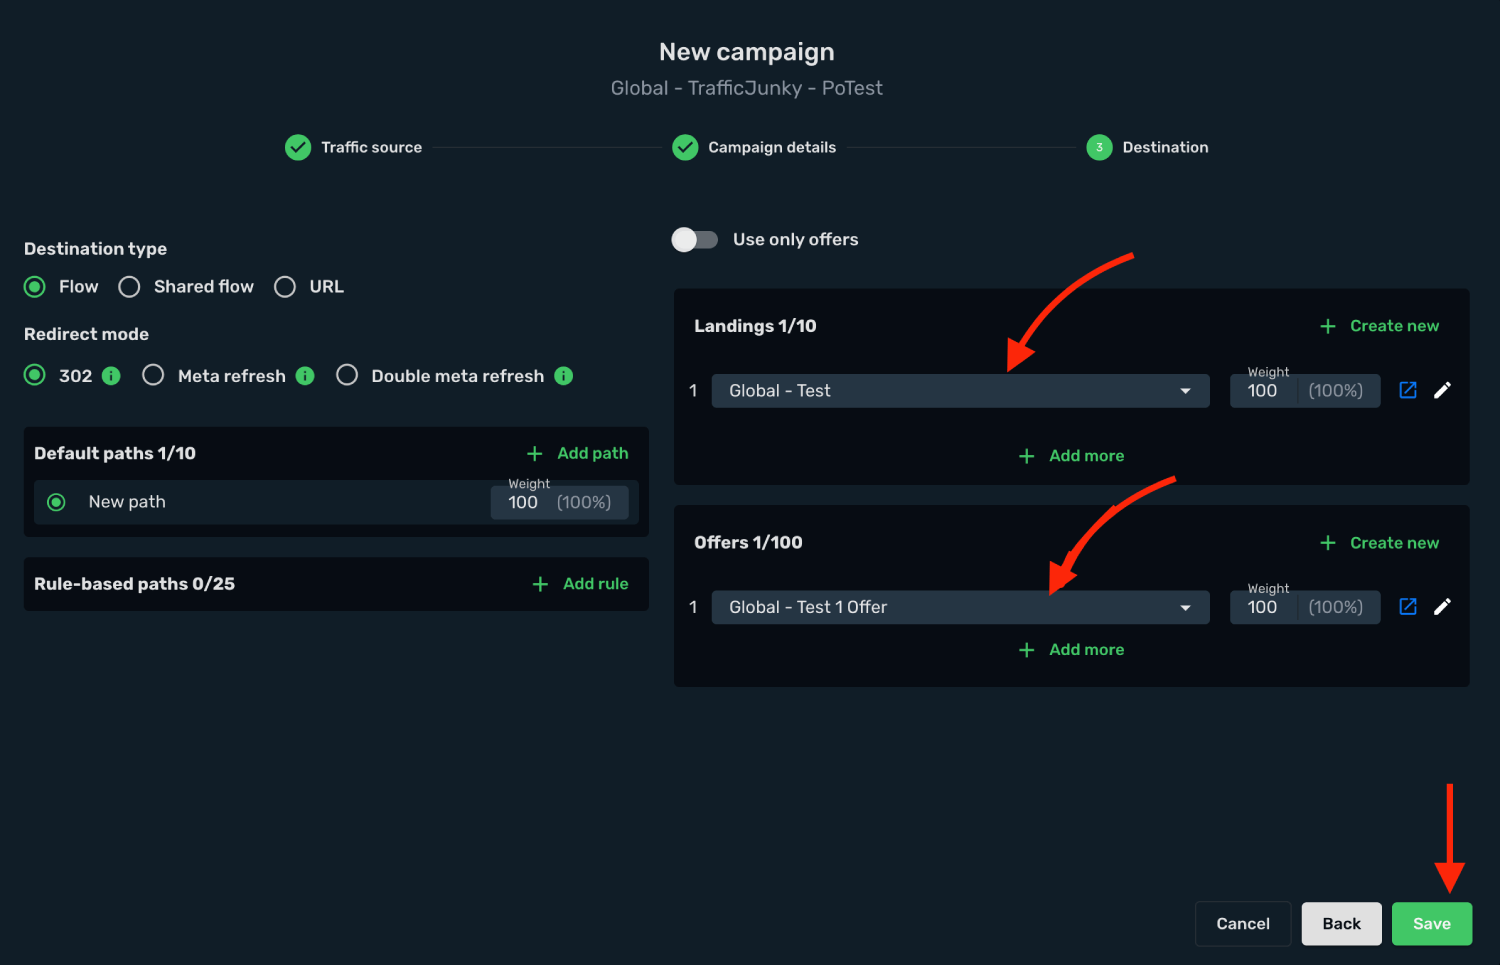
7. Copy the **Campaign Tracking URL** to clipboard.
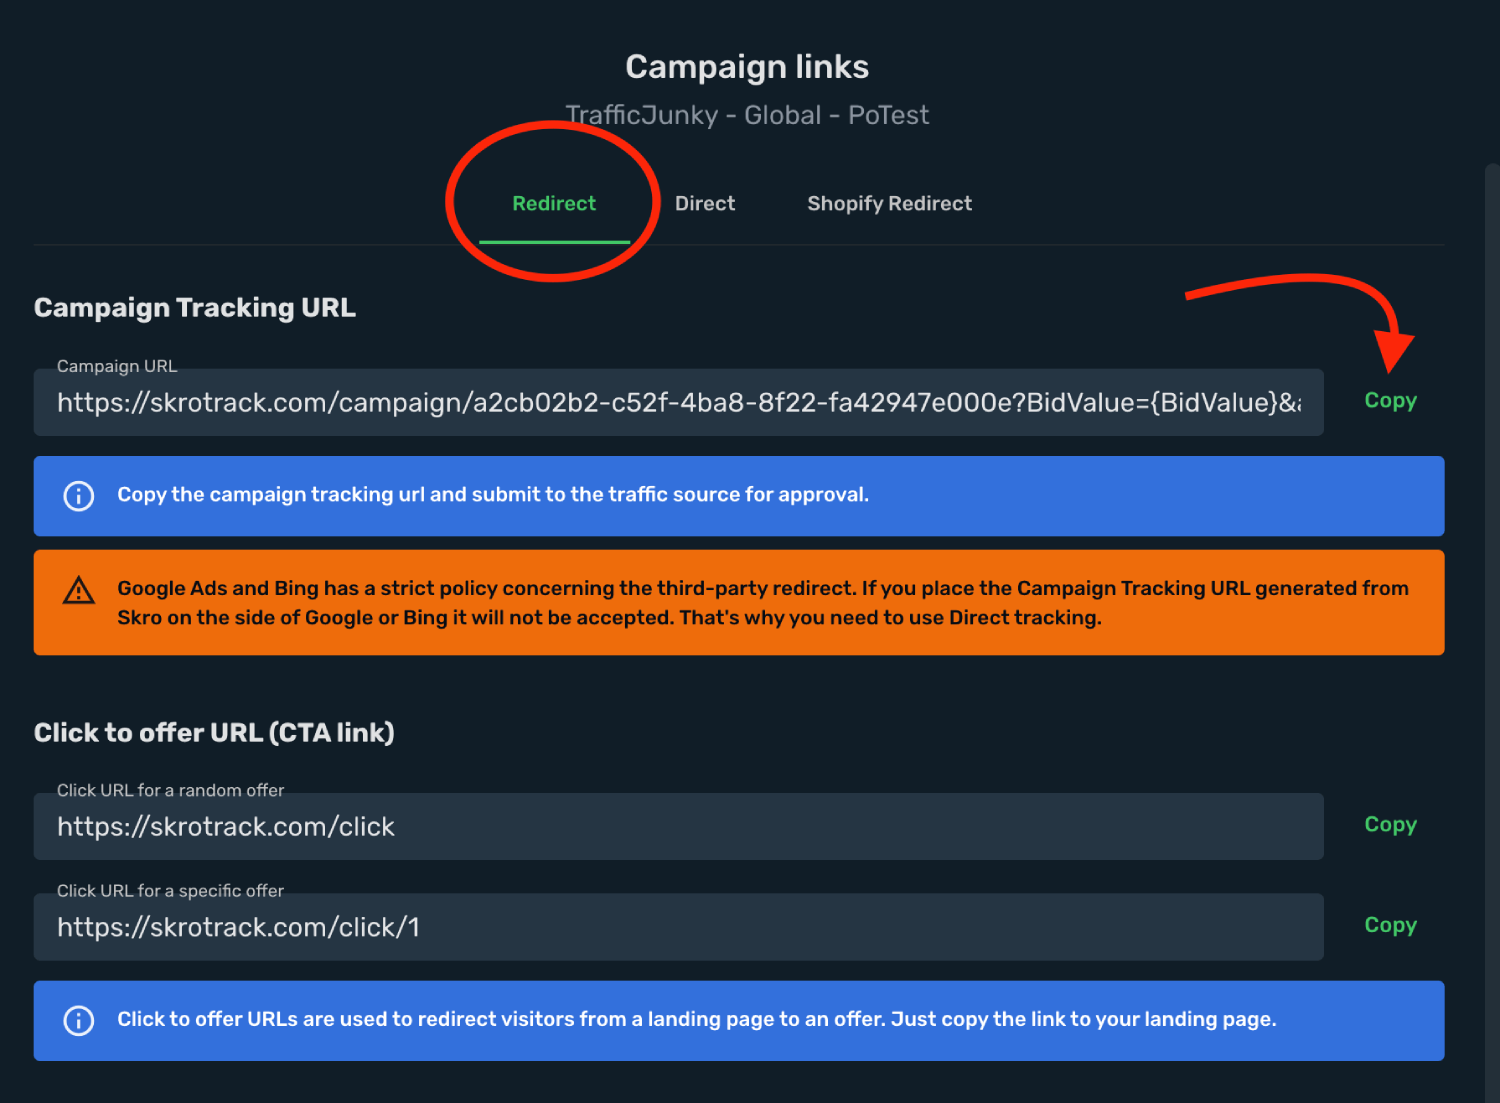
## Step 3. Create a campaign on TrafficJunky [#step-3-create-a-campaign-on-trafficjunky]
Now, move to the TrafficJunky platform to launch your ads using the Skro link.
1. Log in to your **TrafficJunky** account.
2. Go to the **Campaigns** section and click **Create Campaign**.
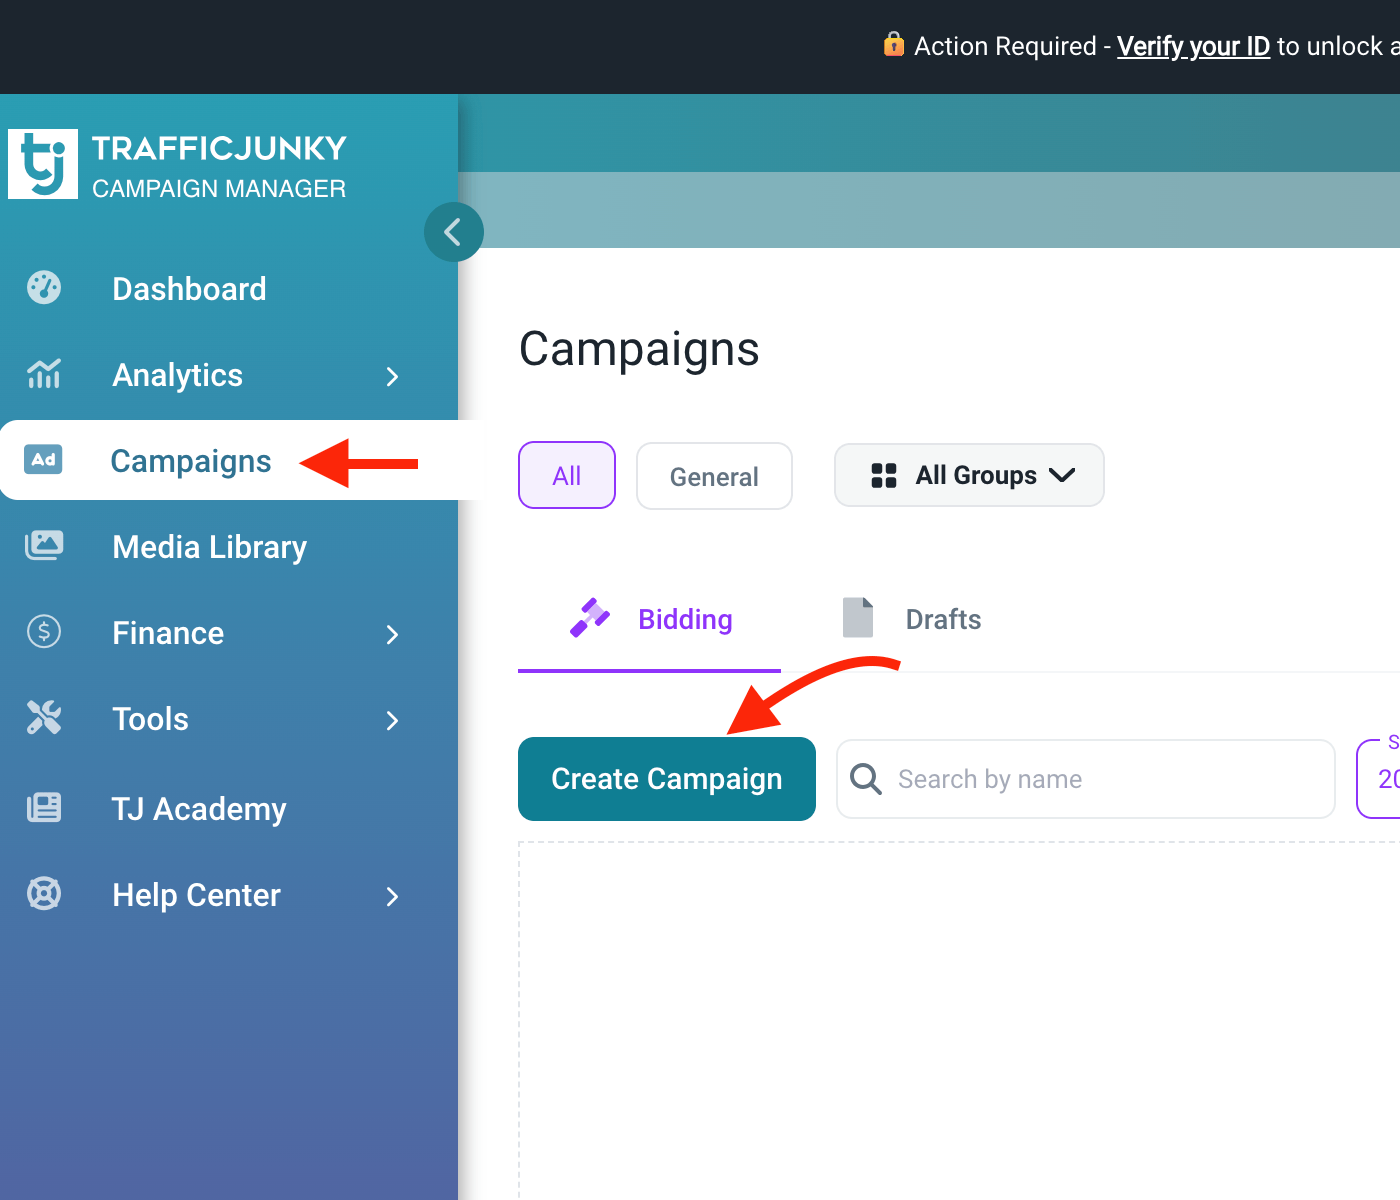
3. Enter a descriptive campaign name. and select your ad format (e.g., 300x250 Banner).
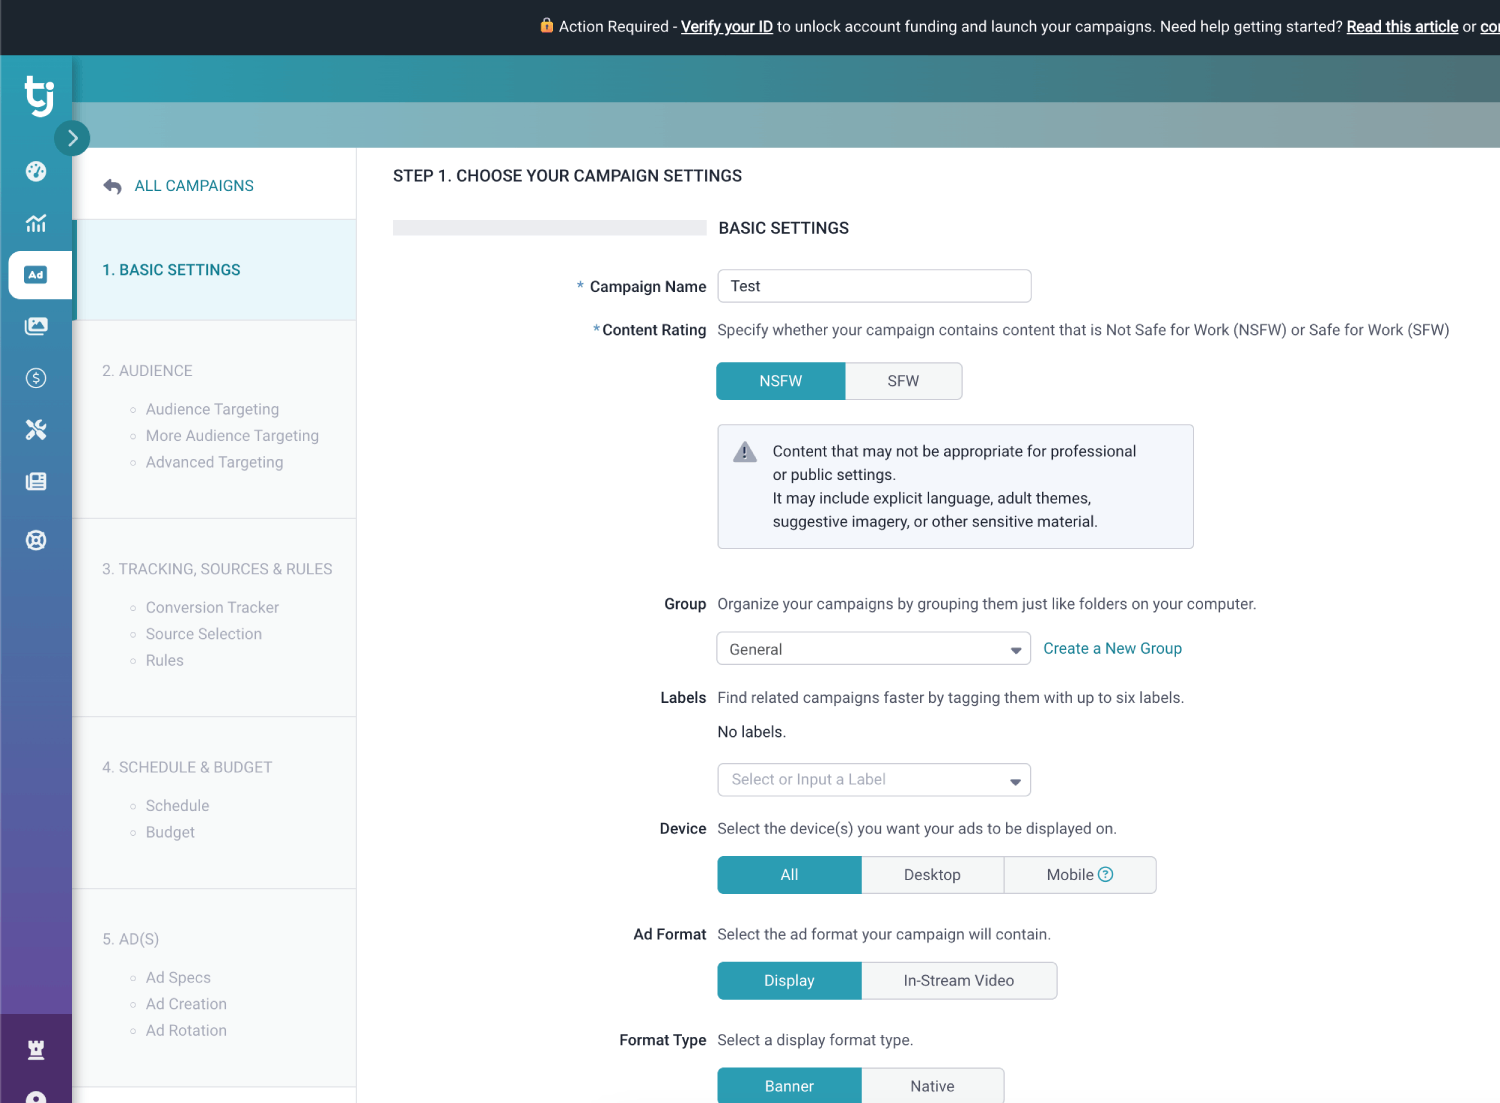
4. Add your target location and set bidding.
5. Select your conversion tracker as Skro.
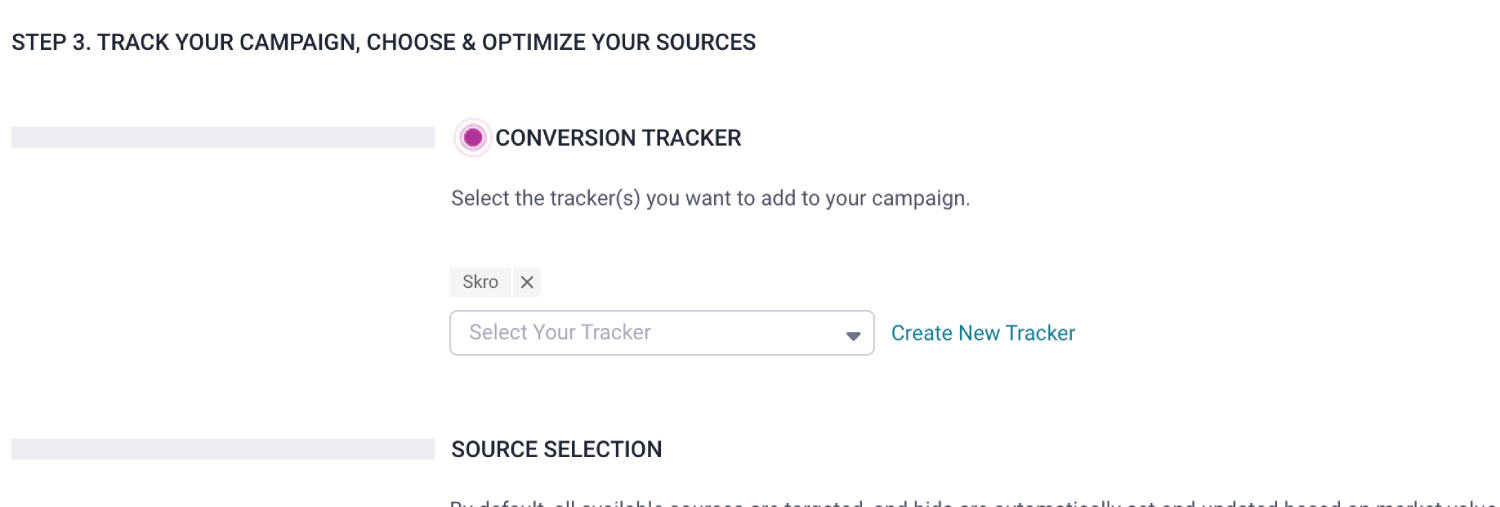
6. In the Target URL field for your ads, paste the Campaign URL you copied from Skro.
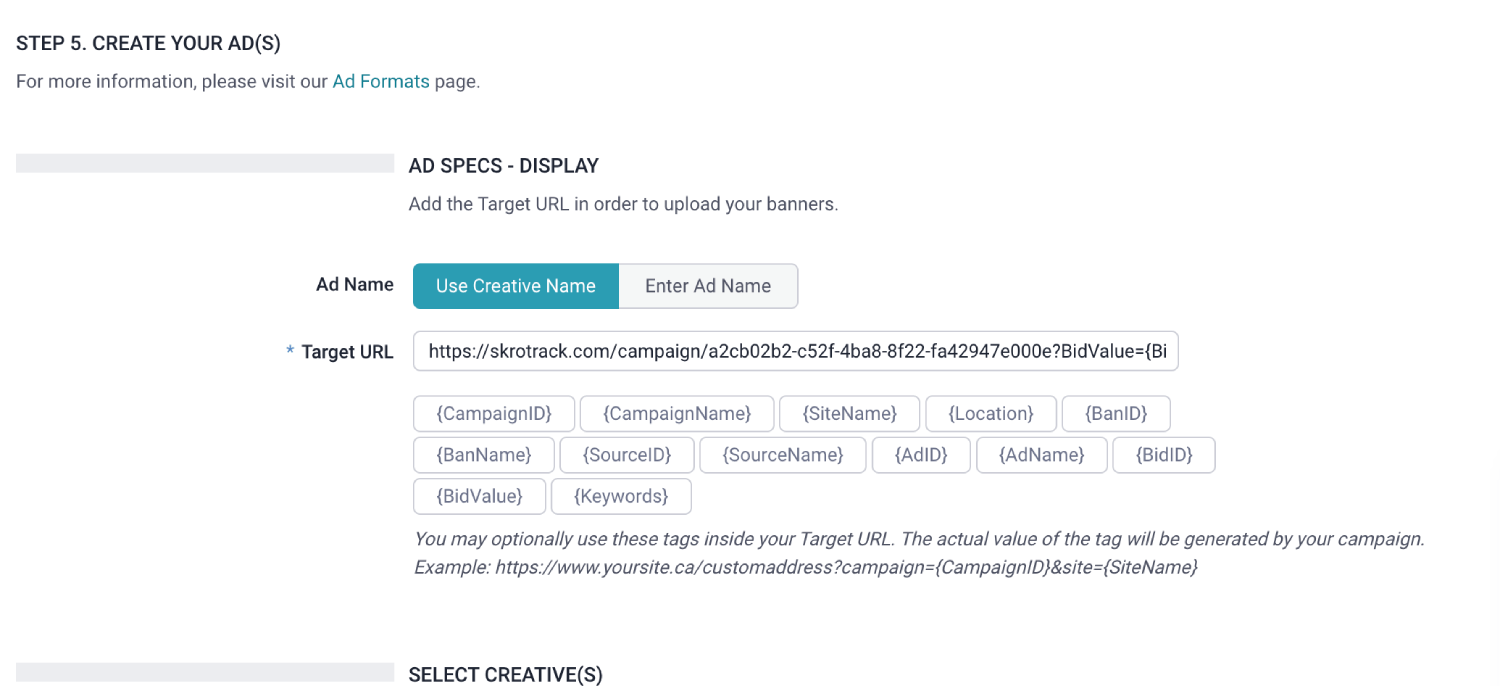
7. When you are done, submit your campaign for review. Once approved, traffic will begin flowing through Skro.
## Verify the setup [#verify-the-setup]
Open the generated campaign URL and check that the visit appears in Skro. Confirm that traffic source macros resolve to actual values. If you send conversions back to the source, verify a test conversion in both systems.
If data is missing, check the selected workspace, integration, campaign, and reporting date range. Compare parameter names and macro values with the examples in this guide before repeating the test.
## Related guides [#related-guides]
# TrafficStars integration
Source: https://skro.eu/docs/integrations/trafficstars-and-skro-integration
Set up TrafficStars tracking in Skro, configure traffic source parameters, and connect your advertising campaigns.
Integration enables you to track all your campaigns, zones, ads, etc. Additionally, it provides a comprehensive overview of your cost and conversions for the optimization.
## Step 1. Create a TrafficStars traffic source and configure the postback URL [#step-1-create-a-trafficstars-traffic-source-and-configure-the-postback-url]
1. Navigate to **Traffic Sources**.
2. Click the **Create**.
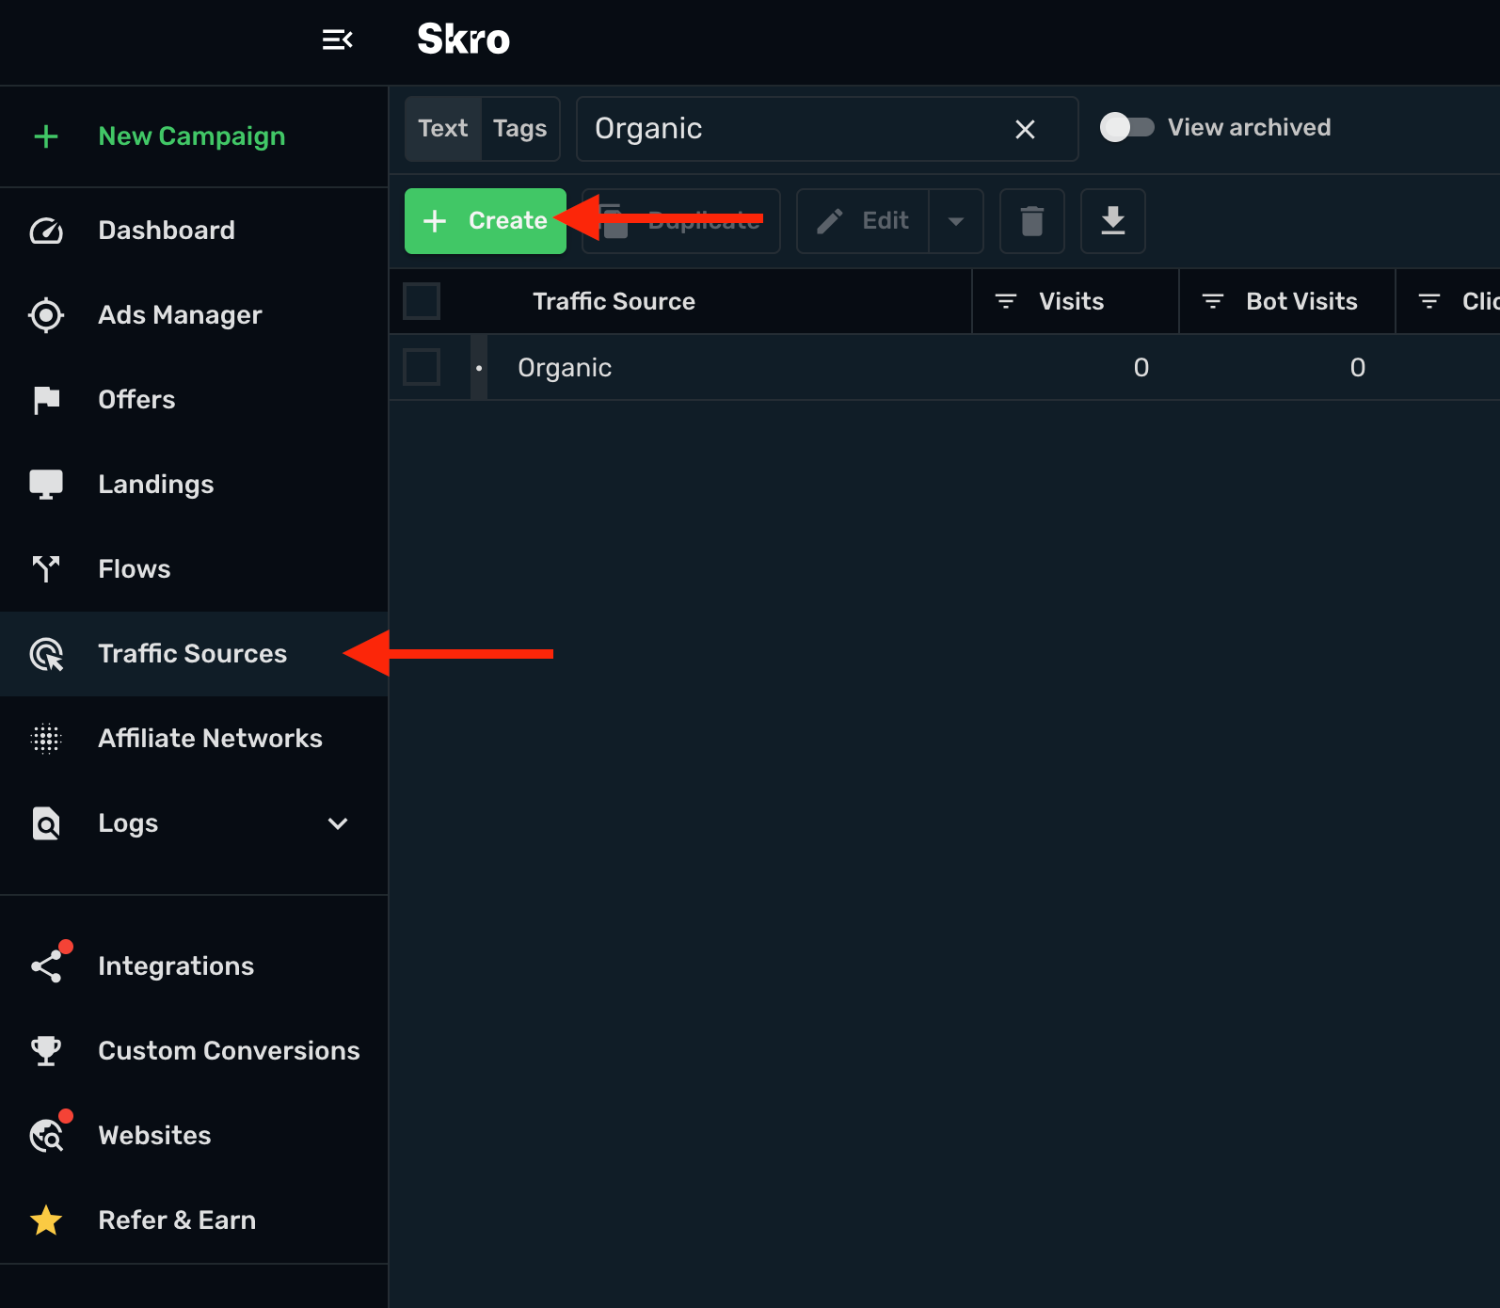
3. Search for **TrafficStars** and click the **TrafficStars** template.
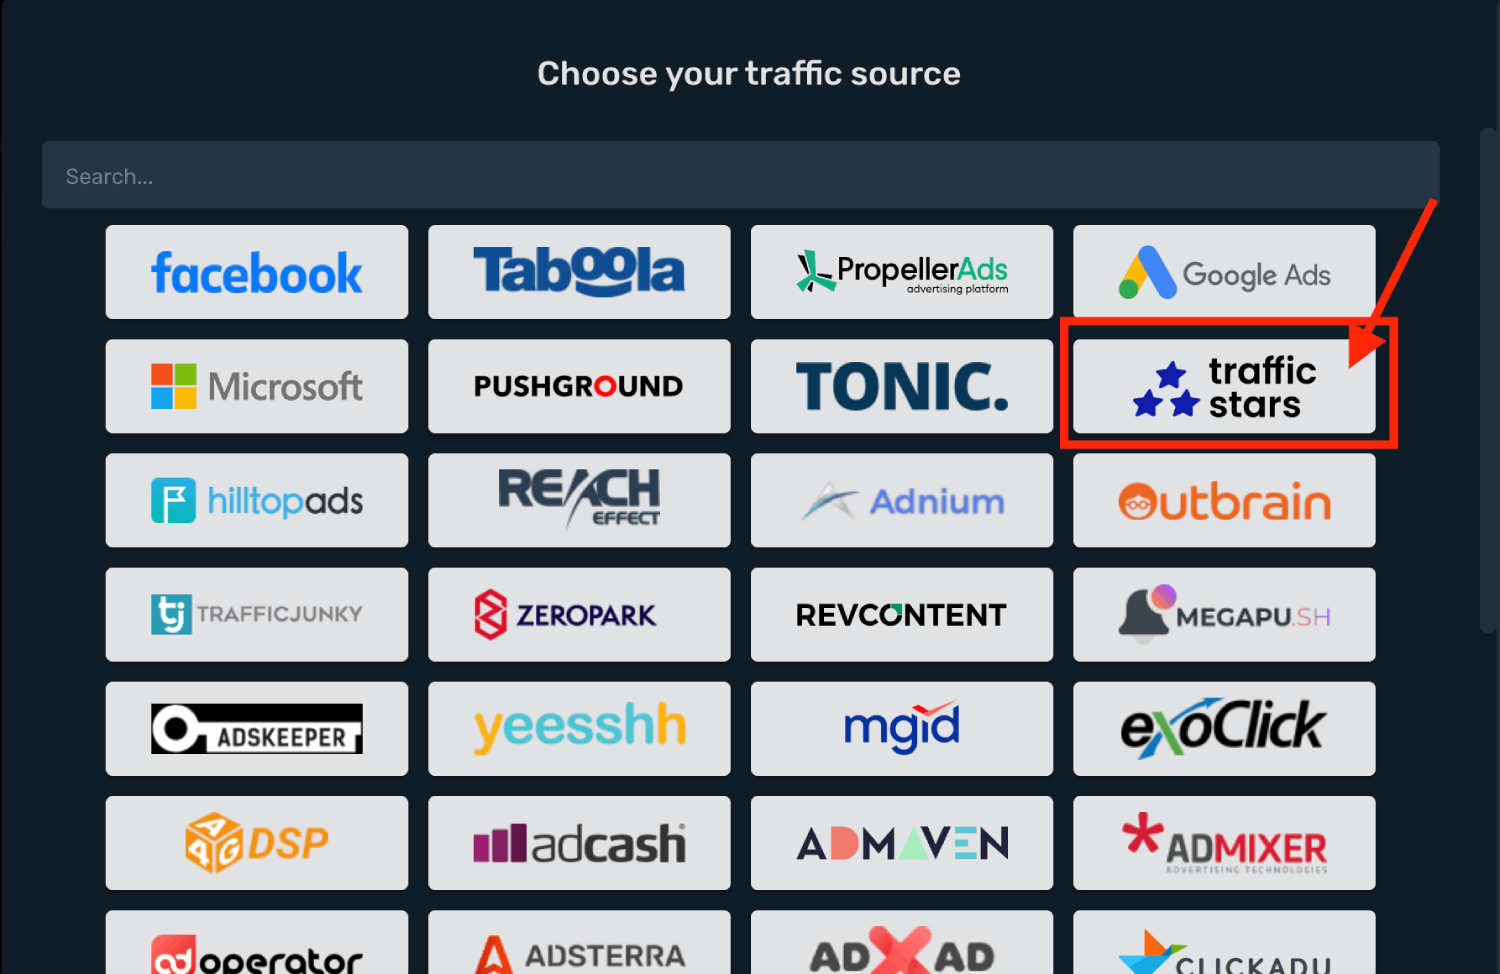
4. You need to modify **Traffic Source Postback URL**.
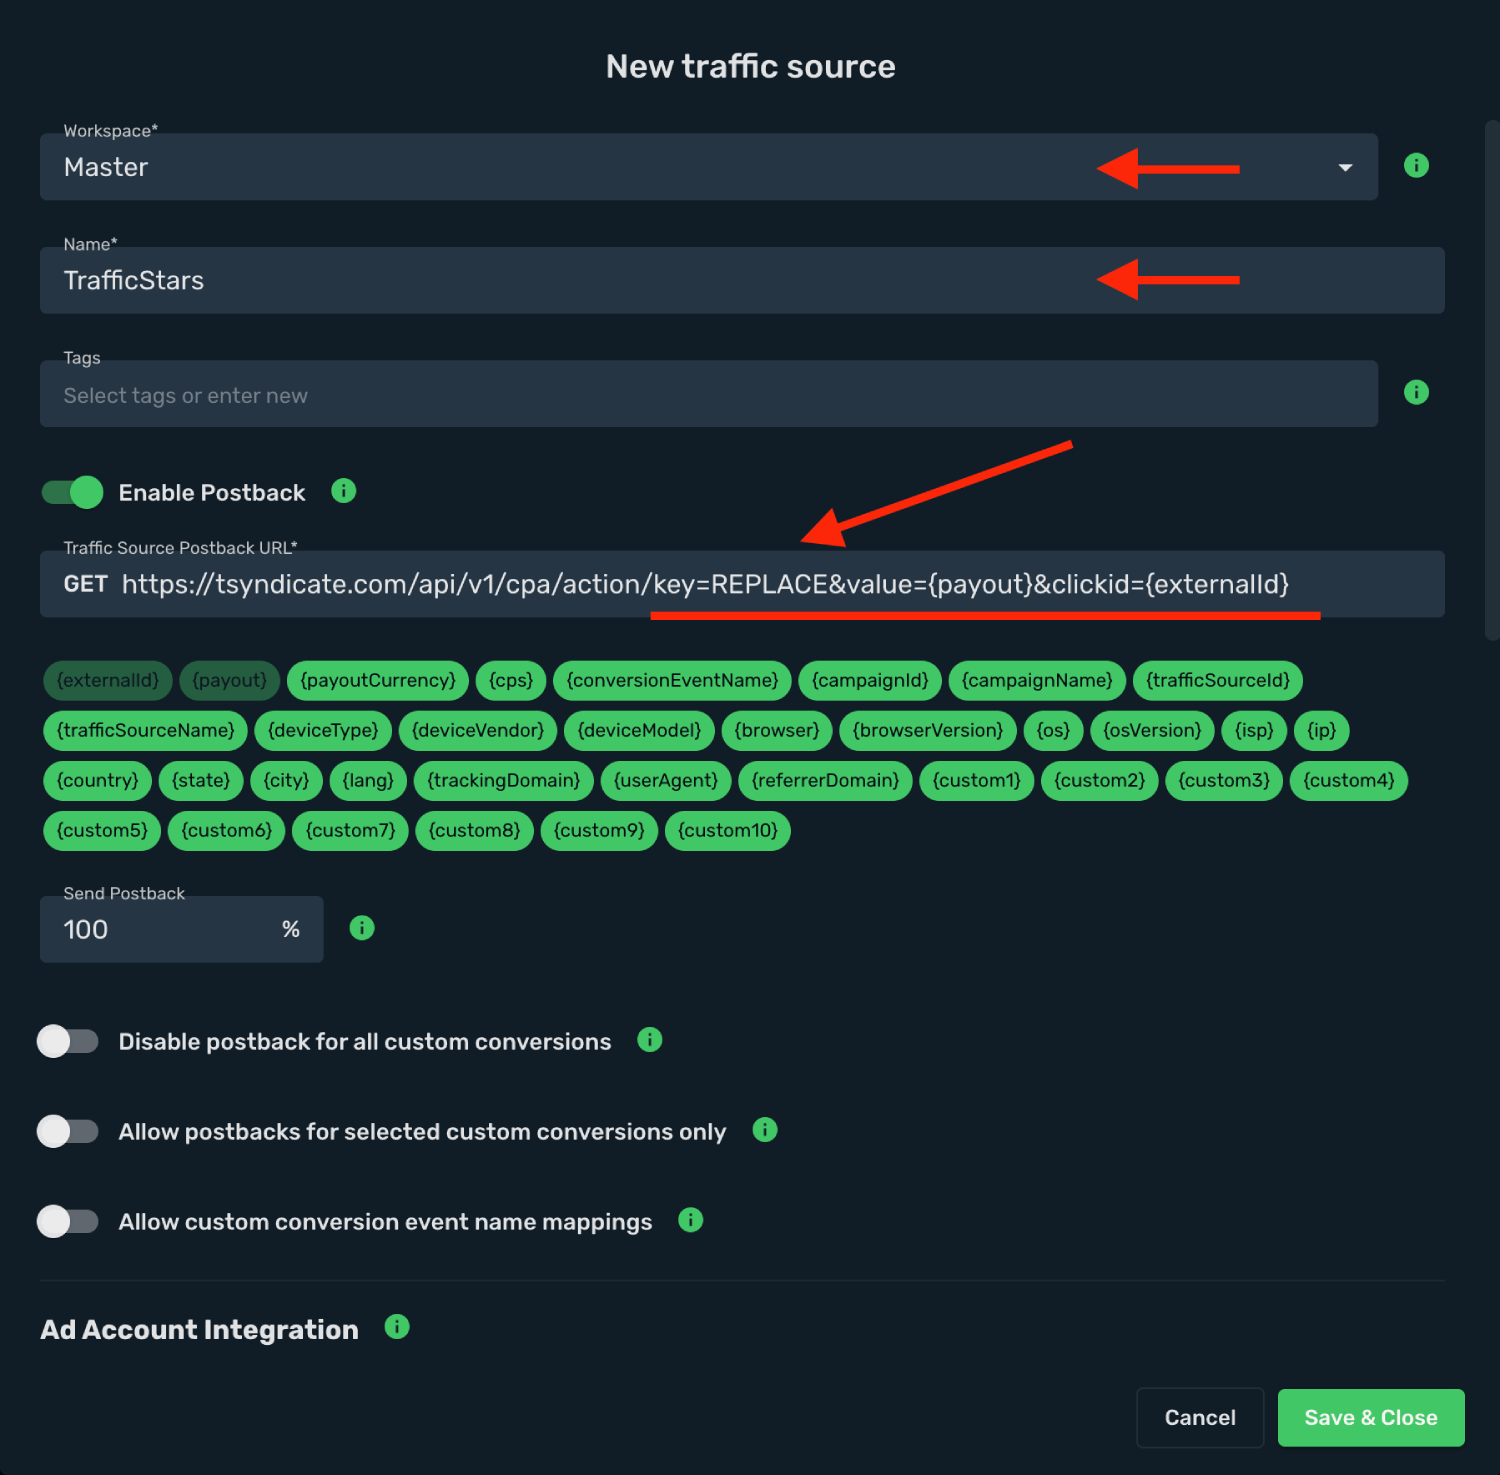
5. Log in to your **TrafficStars account**.
6. Go to **Goals & Postbacks** → **Postback**.
7. Choose tool as **S2S Tracking**.
8. Choose postback type as **Simple**.
9. Click the **Skro** in tracking system section.
10. Copy the **Postback URL** to clipboard
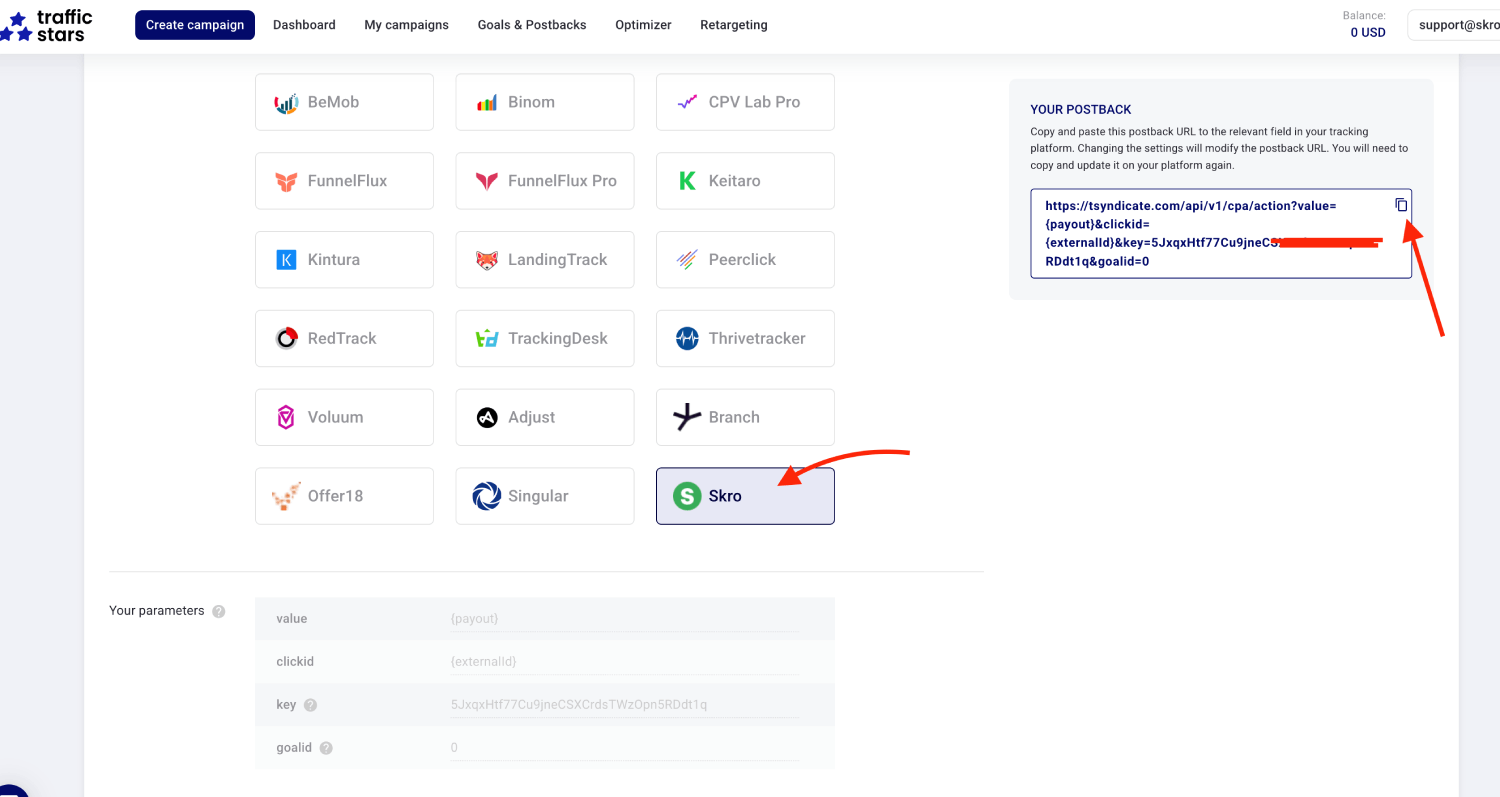
11. Go back to **Skro** and replace the postback URL with the updated values.
12. Replace the **key** parameter value with real token value **`?key=123456789`**
13. Final postback URL must look similar to this:
`https://tsyndicate.com/api/v1/cpa/action?key=123456789&value={payout}&clickid={externalId}&goalid=0`
**`clickid={externalId}`** - TrafficStars Click ID parameter with Skro macro.
**`value={payout}`** - TrafficStars Payout parameter with Skro macro.
14. All tracking parameters are already prefilled for you.
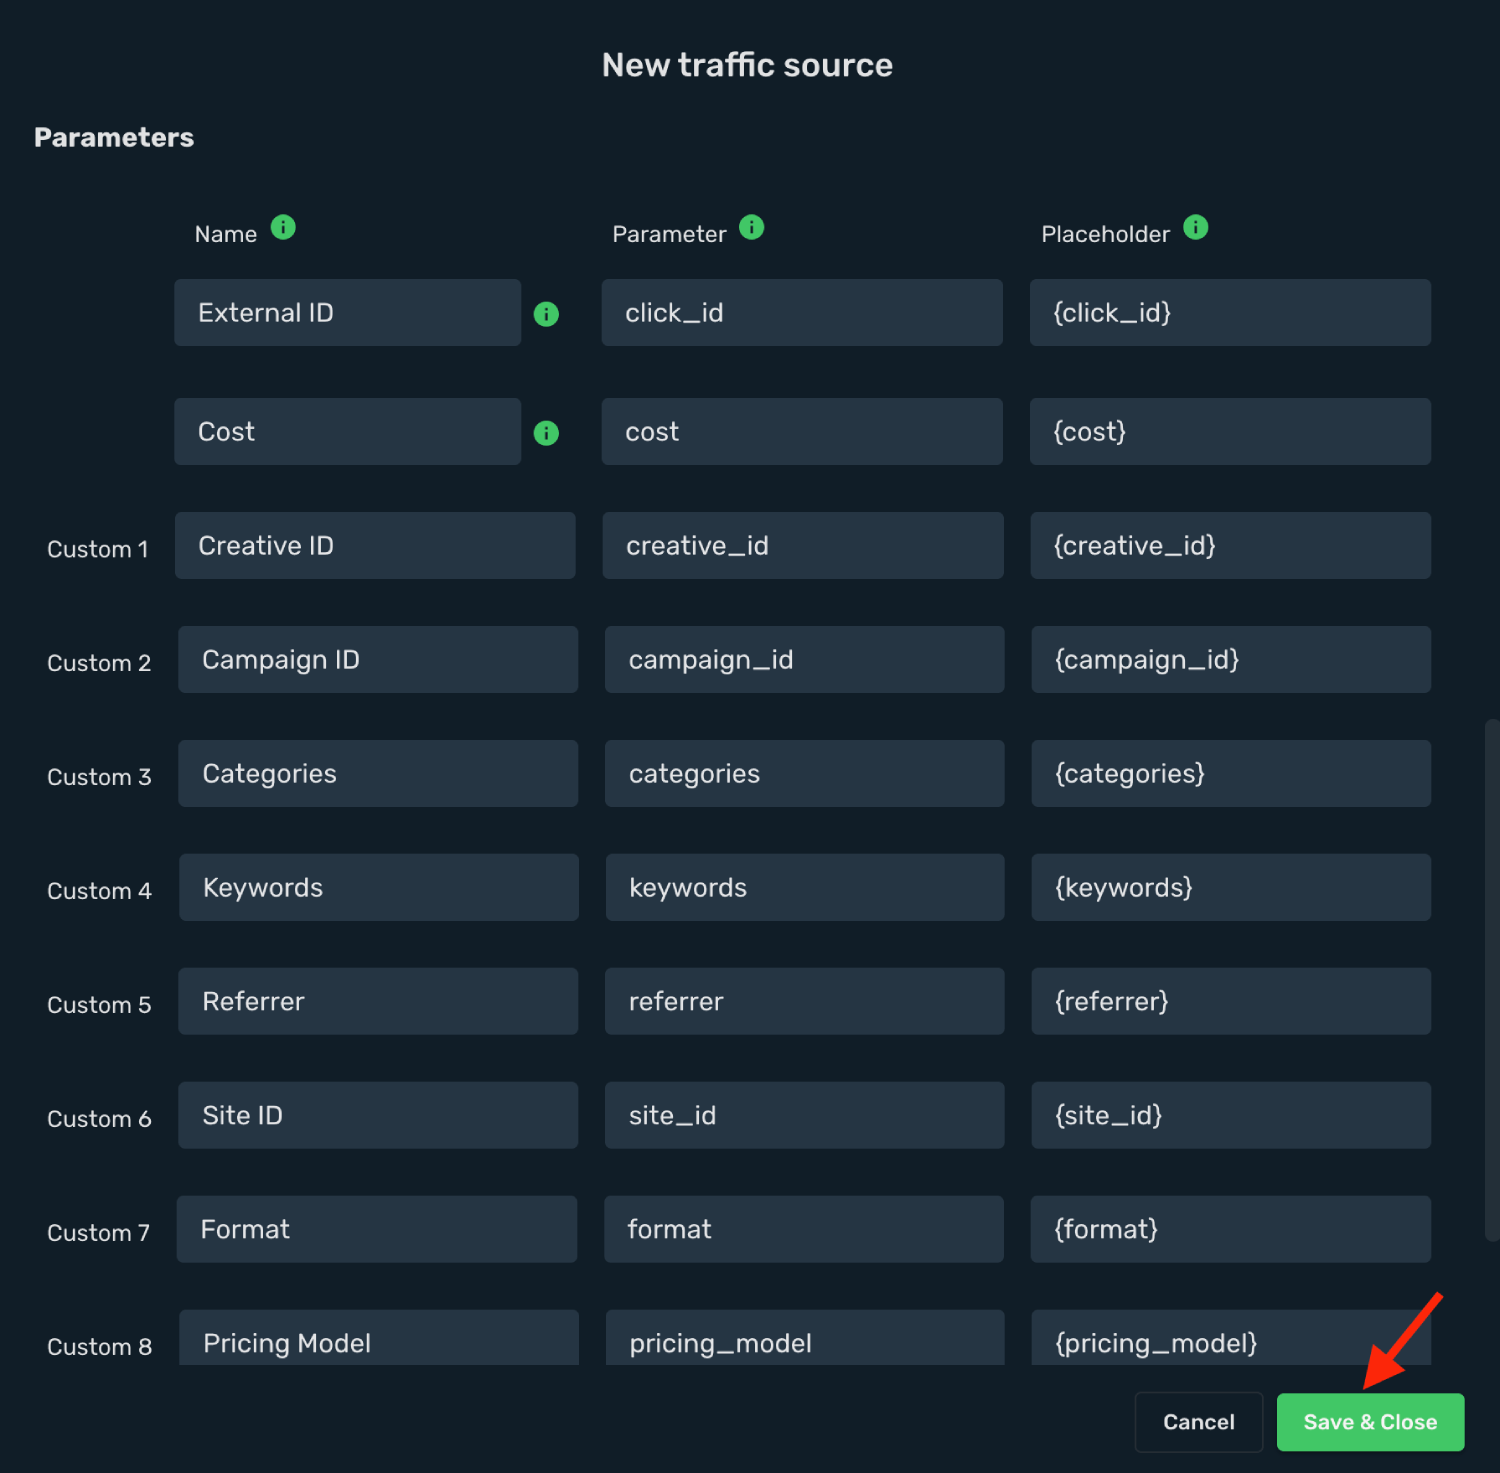
15. Click **Save & Close**.
Integration setup is complete, and you are now ready to create your first campaign.
## Step 2. Create a campaign on Skro [#step-2-create-a-campaign-on-skro]
1. Go to **Ads Manager** and click the **Create**.
2. Select your **Traffic source** and click **Next**.
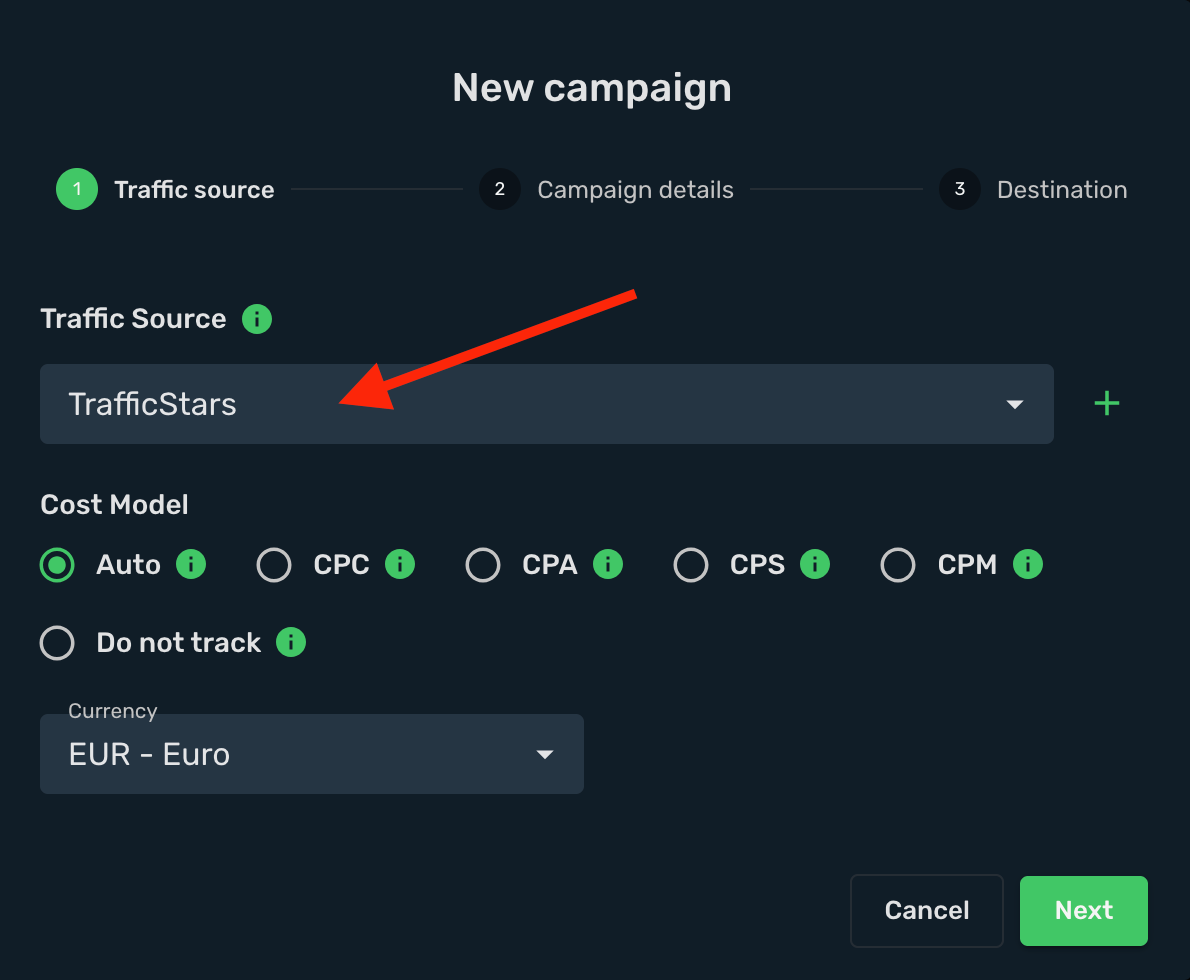
3. Select your campaign **Workspace**.
4. Enter a descriptive campaign name.
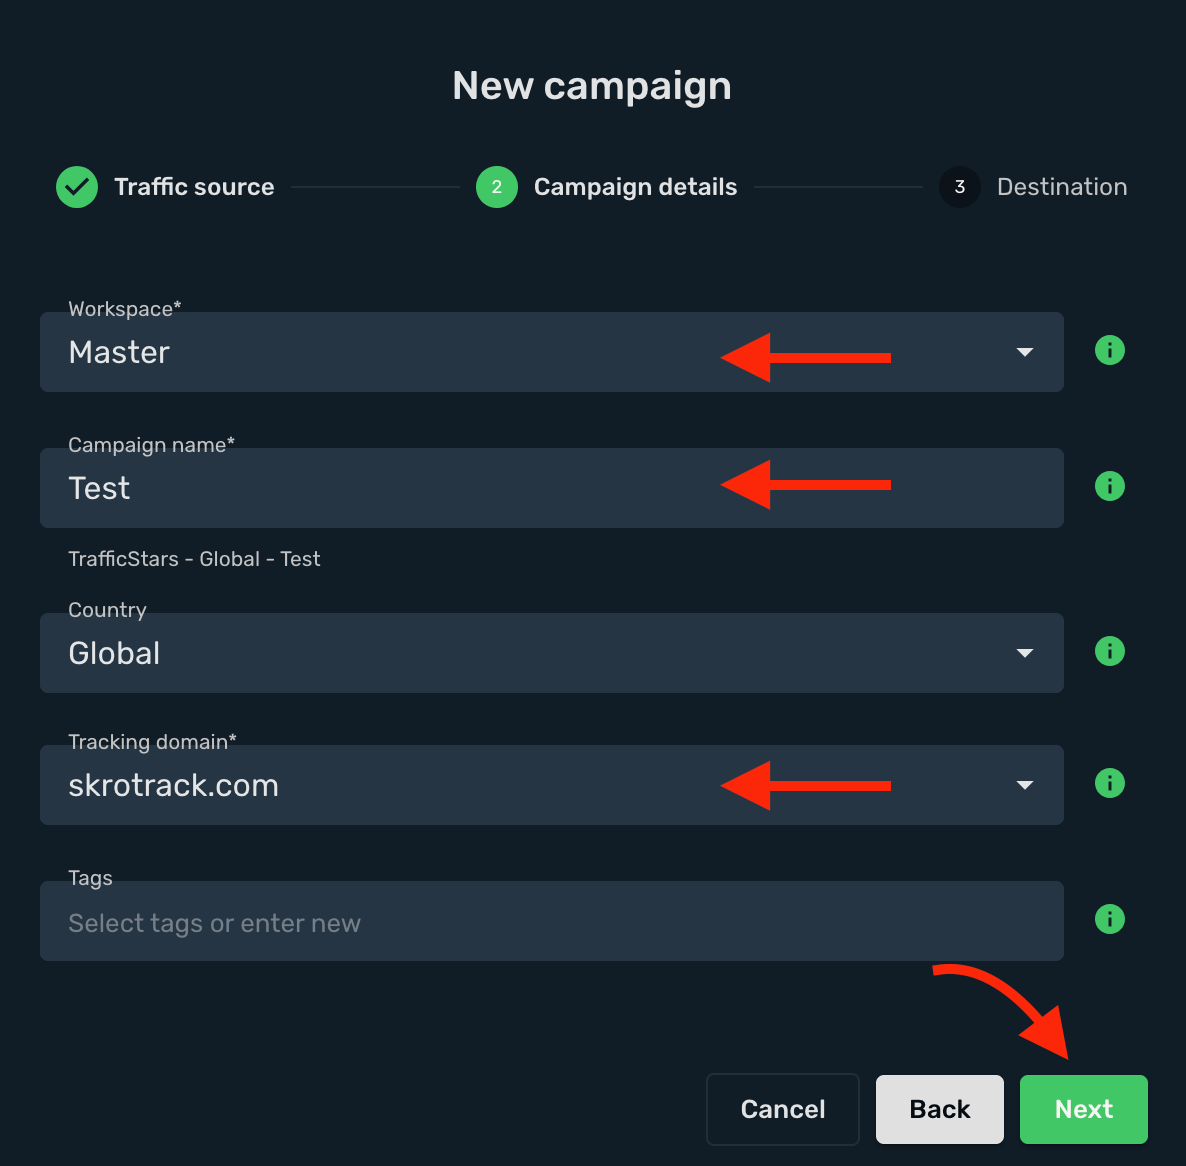
5. Select or create all your **landings** and **offers**.
6. Click the **Save**.
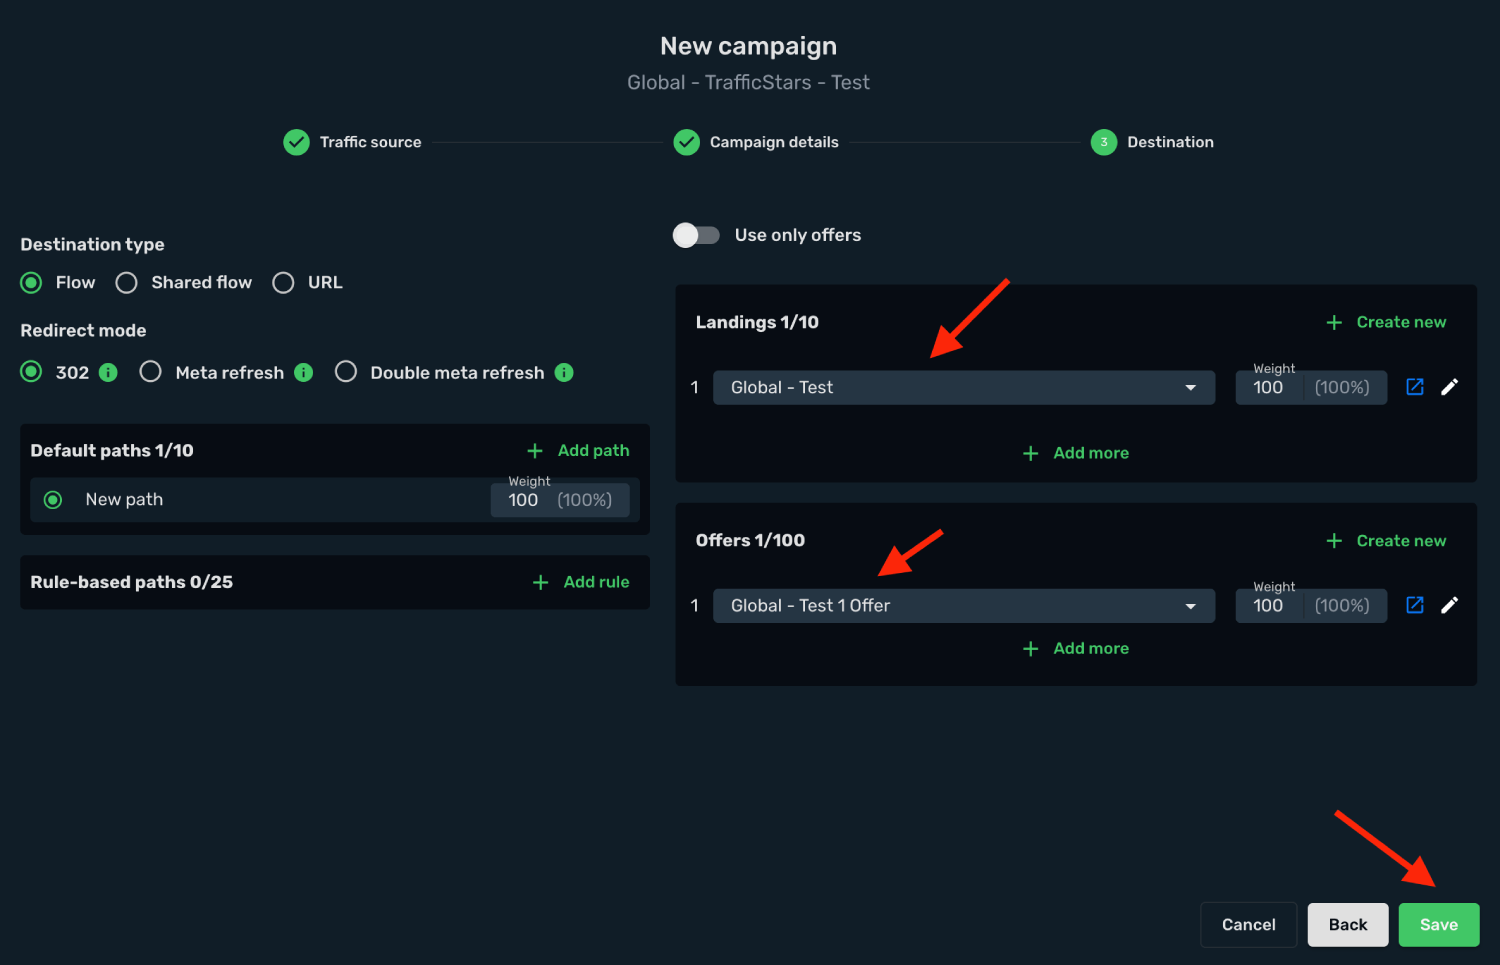
7. Copy the **Campaign Tracking URL** to clipboard.
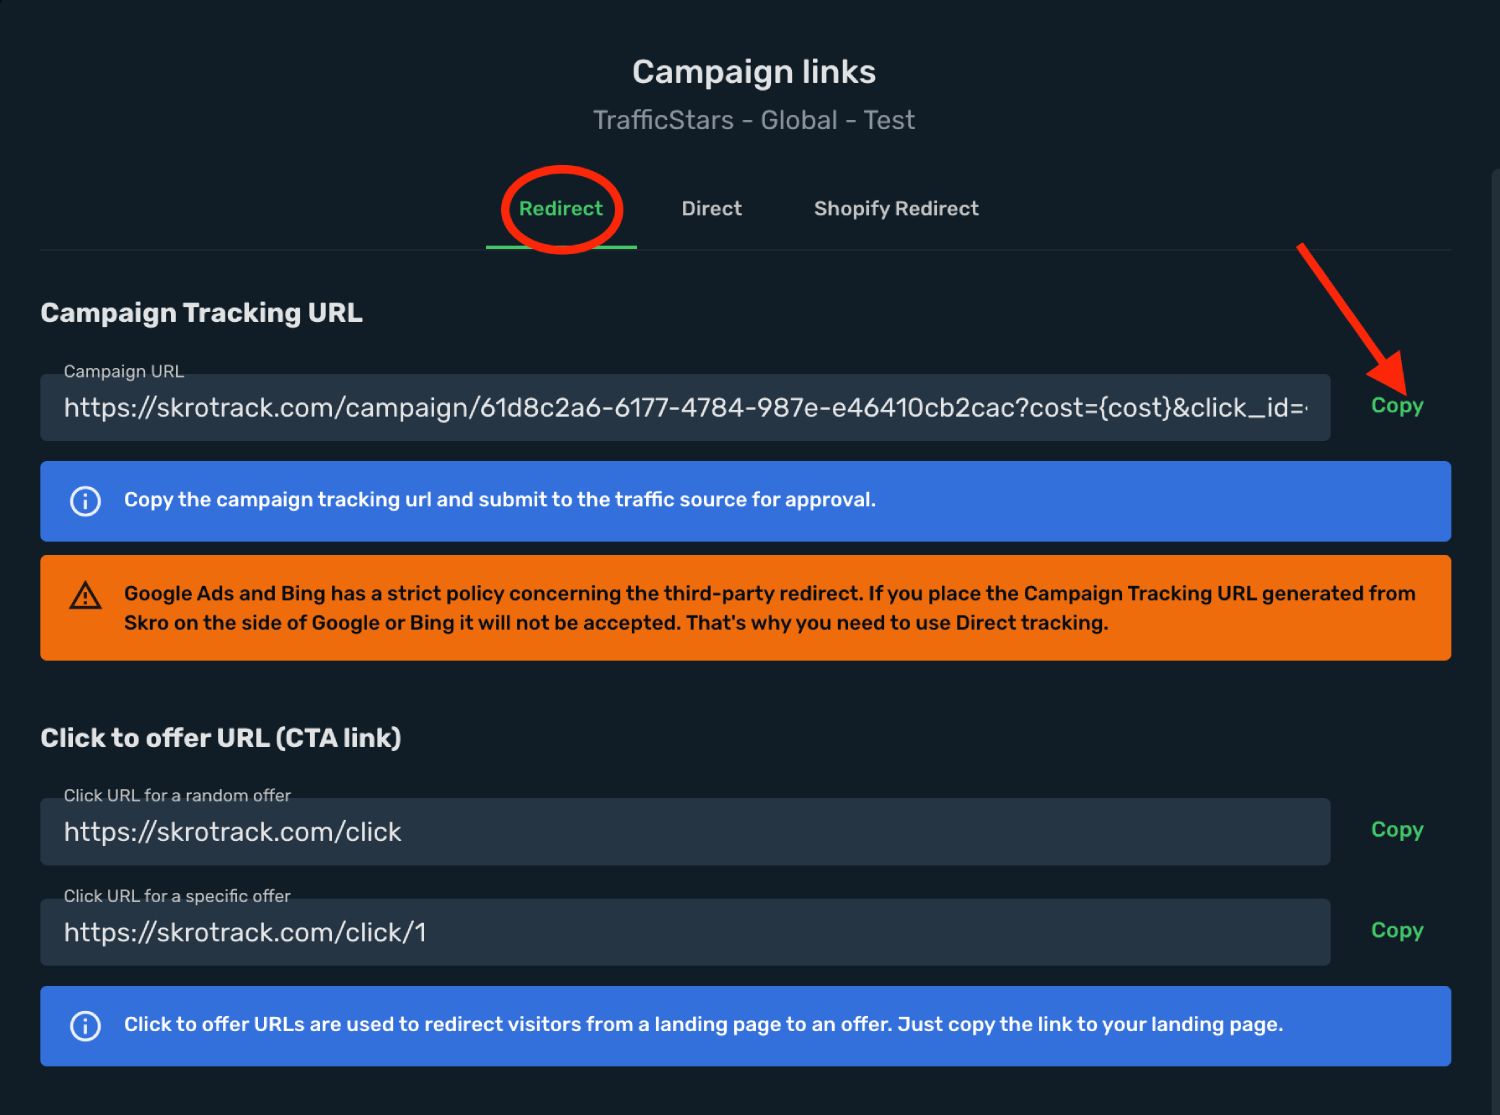
## Step 3. Create a campaign on TrafficStars [#step-3-create-a-campaign-on-trafficstars]
1. Log in to your **TrafficStars account**.
2. Go to the **My Campaigns** section and click the **Create Campaign**.
3. Add your **Campaign Name** and select the **Ad Format** and click **Next**.
4. Set your **Audience and Pricing** and click **Next**.
5. Create your **Creatives** and fill all other fields where needed.
6. Paste the **Skro campaign tracking link** into the **Creative URL** field, including all tracking parameters.
8. When you are done, click the **Publish**.
## Verify the setup [#verify-the-setup]
Open the generated campaign URL and check that the visit appears in Skro. Confirm that traffic source macros resolve to actual values. If you send conversions back to the source, verify a test conversion in both systems.
If data is missing, check the selected workspace, integration, campaign, and reporting date range. Compare parameter names and macro values with the examples in this guide before repeating the test.
## Related guides [#related-guides]
# Tune integration
Source: https://skro.eu/docs/integrations/tune-and-skro
Connect Tune to Skro, map click IDs, and configure postbacks to attribute conversions and revenue to your campaigns.
## Step 1. Add affiliate network to Skro [#step-1-add-affiliate-network-to-skro]
1. Go to **Affiliate Networks** and click **Create**.
2. Search Tune and select the **Tune** template.
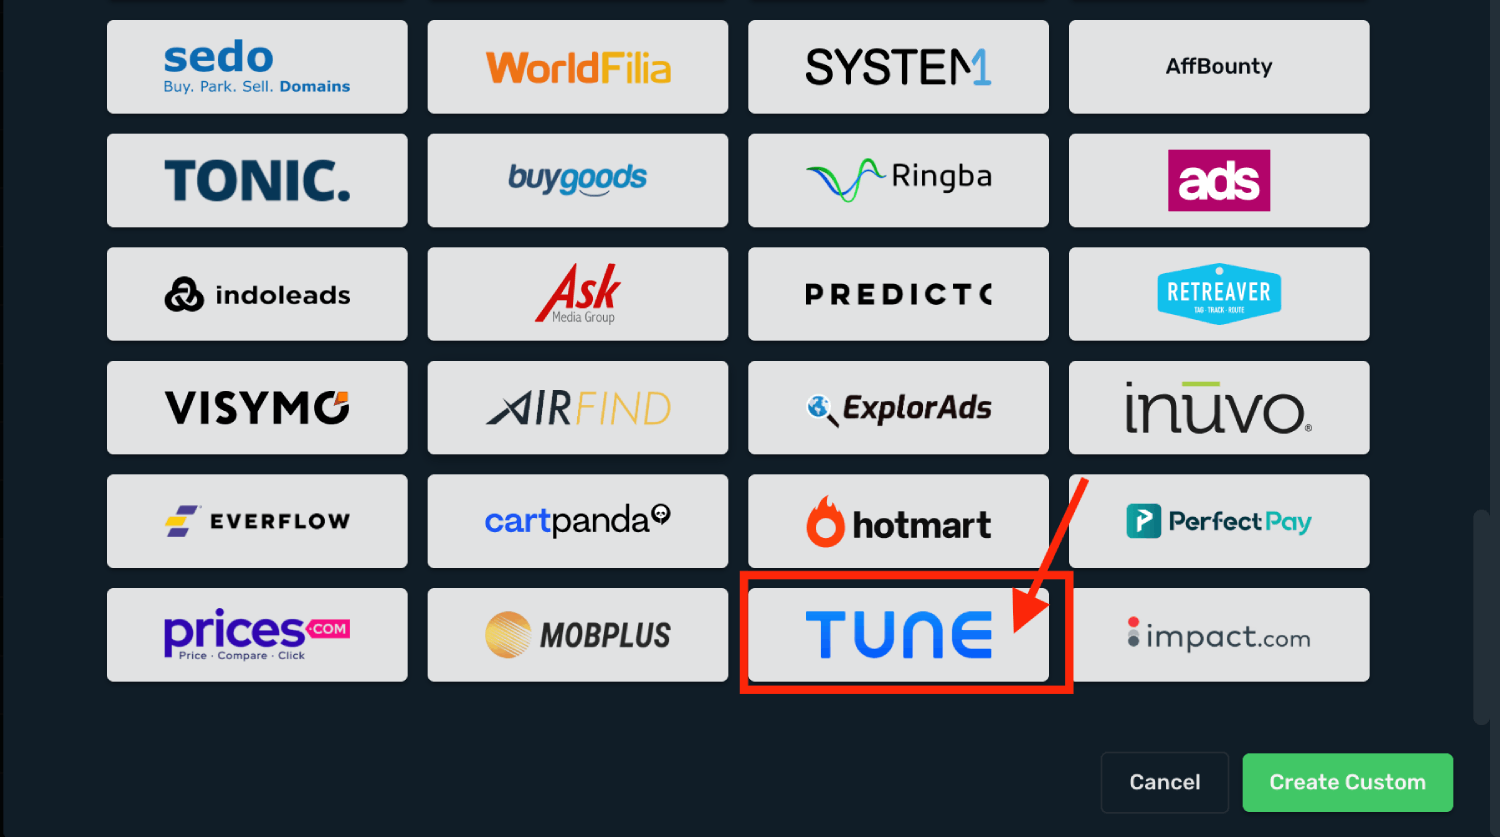
3. Select your **Workspace** and **Copy** postback URL to your clipboard.
4. Click **Save & Close**.
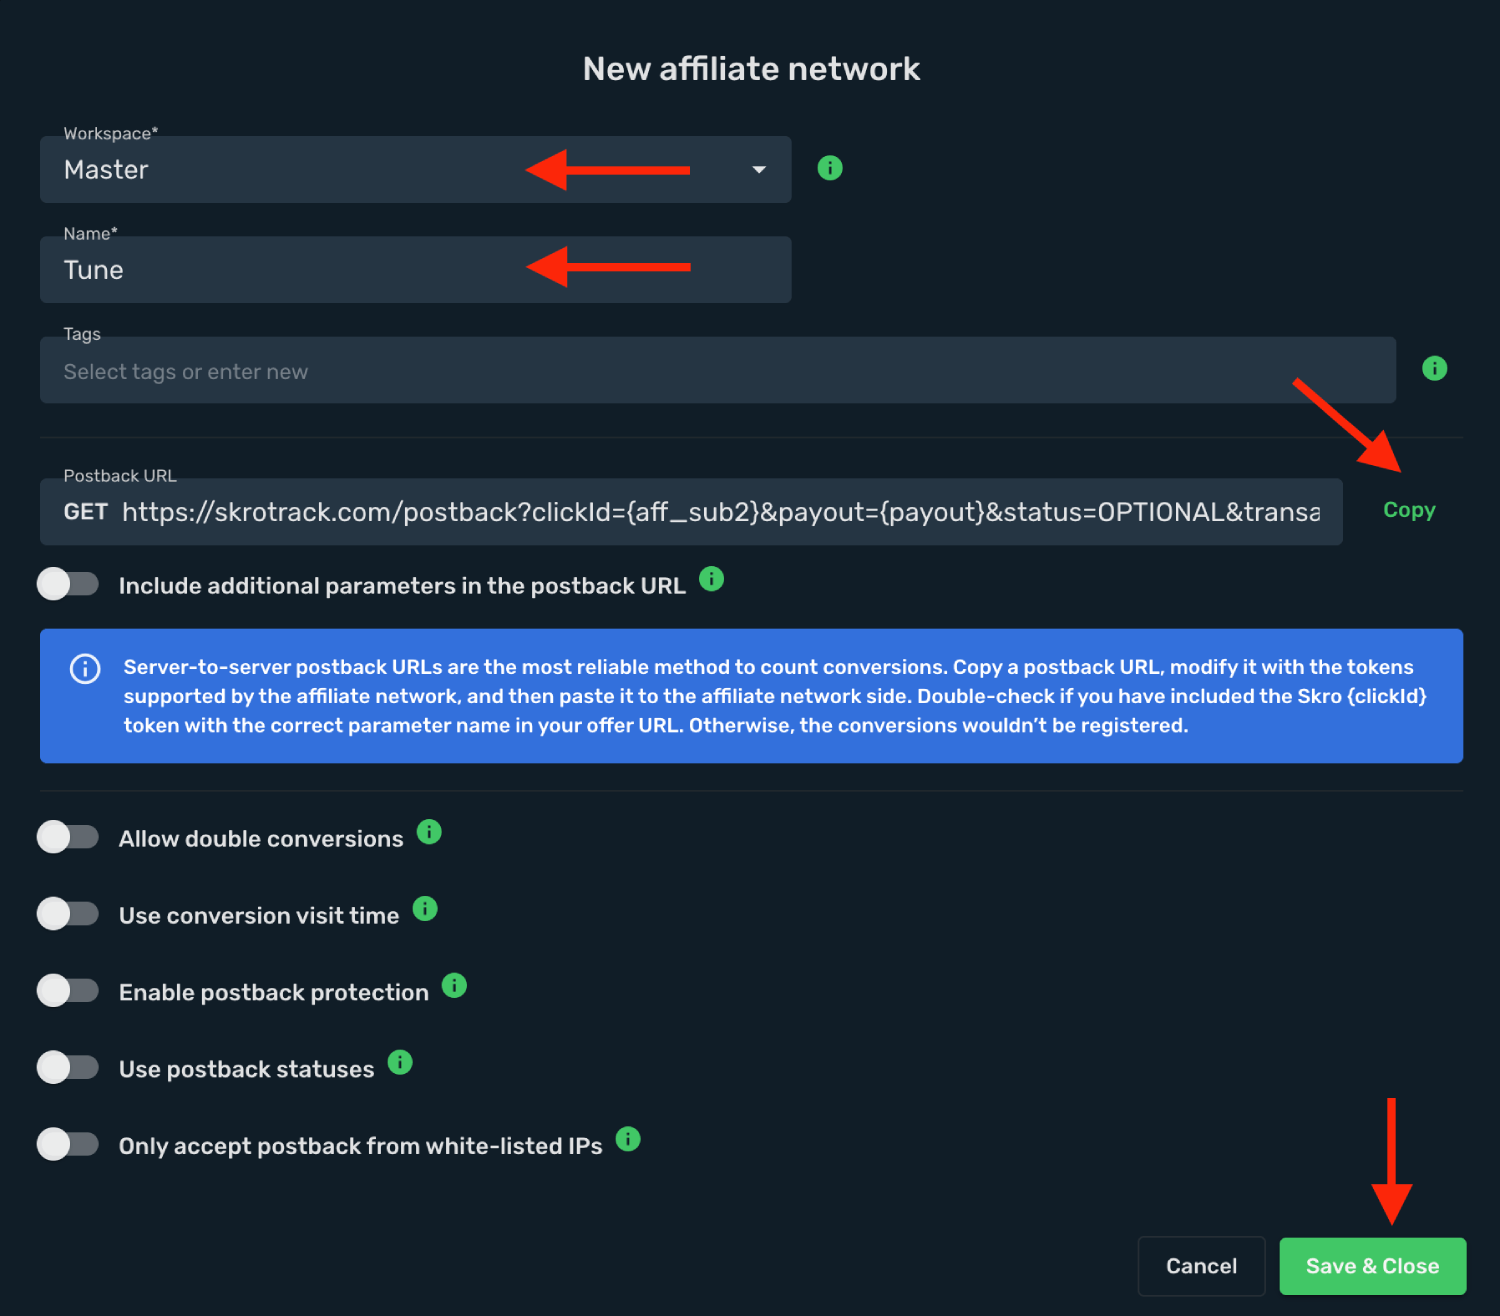
The Tune affiliate network is now saved in Skro. Use the copied postback URL in Tune in the next step.
## Step 2. Setting up a postback URL [#step-2-setting-up-a-postback-url]
1. Log in to **Tune** account.
2. Go to the **Partners** → **Conversion Pixels/URLs**.
3. Click **Add a Conversion Pixel/URL**.
4. Paste the **postback URL** copied from Skro and click **Save**.
**Global Postback**
`https://skrotrack.com/postback?clickId={aff_sub2}&payout={payout}`
## Step 3. Get an offer from Tune [#step-3-get-an-offer-from-tune]
1. Log in to **Tune** account.
2. Go to **Offers** → **Manage Offers**.
3. Select your offer from the list and click **Details**.
4. Copy the offer link.
## Step 4. Add offer to Skro [#step-4-add-offer-to-skro]
1. Go back to Skro and navigate to the **Offers** and click **Create**.
2. Choose your workspace.
3. Give a name to your offer.
4. Grab the offer link from Tune and add it to Offer URL field and change the macros to this **`&aff_sub2={clickId}`**
**`{clickId}`** - The Skro click ID macro for conversion tracking.
**Example Offer URL:**
`https://yourofferlink.com/?aff_sub2={clickId}`
5. Choose Tune from the **Affiliate Network** select box.
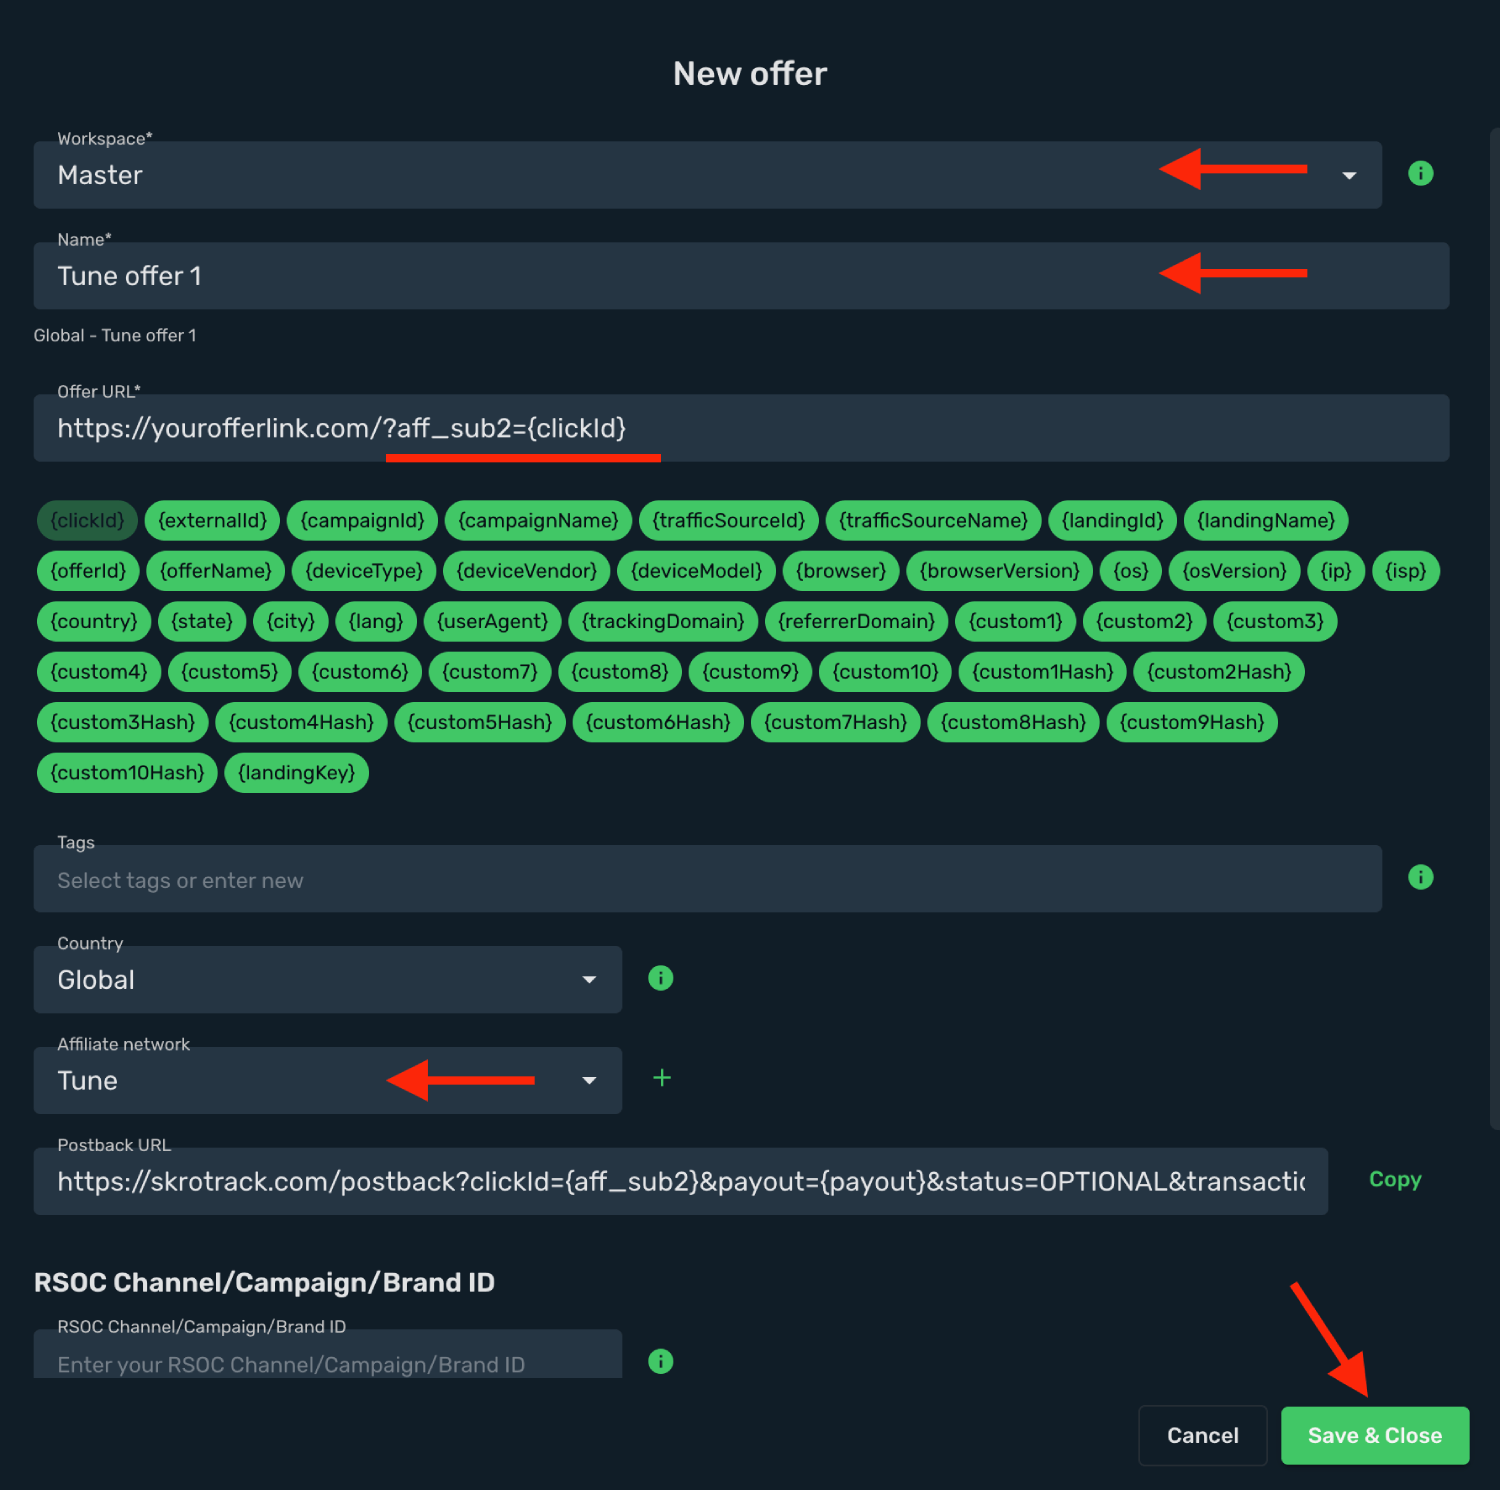
6. Click **Save & Close**.
## Step 5. Create a campaign on Skro [#step-5-create-a-campaign-on-skro]
1. Start with the following guide:
## Verify the setup [#verify-the-setup]
Follow a campaign link and complete a test conversion using your provider’s test workflow. Confirm that the original click ID reaches the provider and is returned to Skro, then check the event and revenue in your campaign report.
If data is missing, check the selected workspace, integration, campaign, and reporting date range. Compare parameter names and macro values with the examples in this guide before repeating the test.
## Related guides [#related-guides]
# Yeesshh integration
Source: https://skro.eu/docs/integrations/yeesshh-and-skro-integration
Set up Yeesshh tracking in Skro, configure traffic source parameters, and connect your advertising campaigns.
## Step 1. Create an Yeesshh traffic source and configure the postback URL [#step-1-create-an-yeesshh-traffic-source-and-configure-the-postback-url]
1. Go to **Traffic Sources** and click **+ Create**.
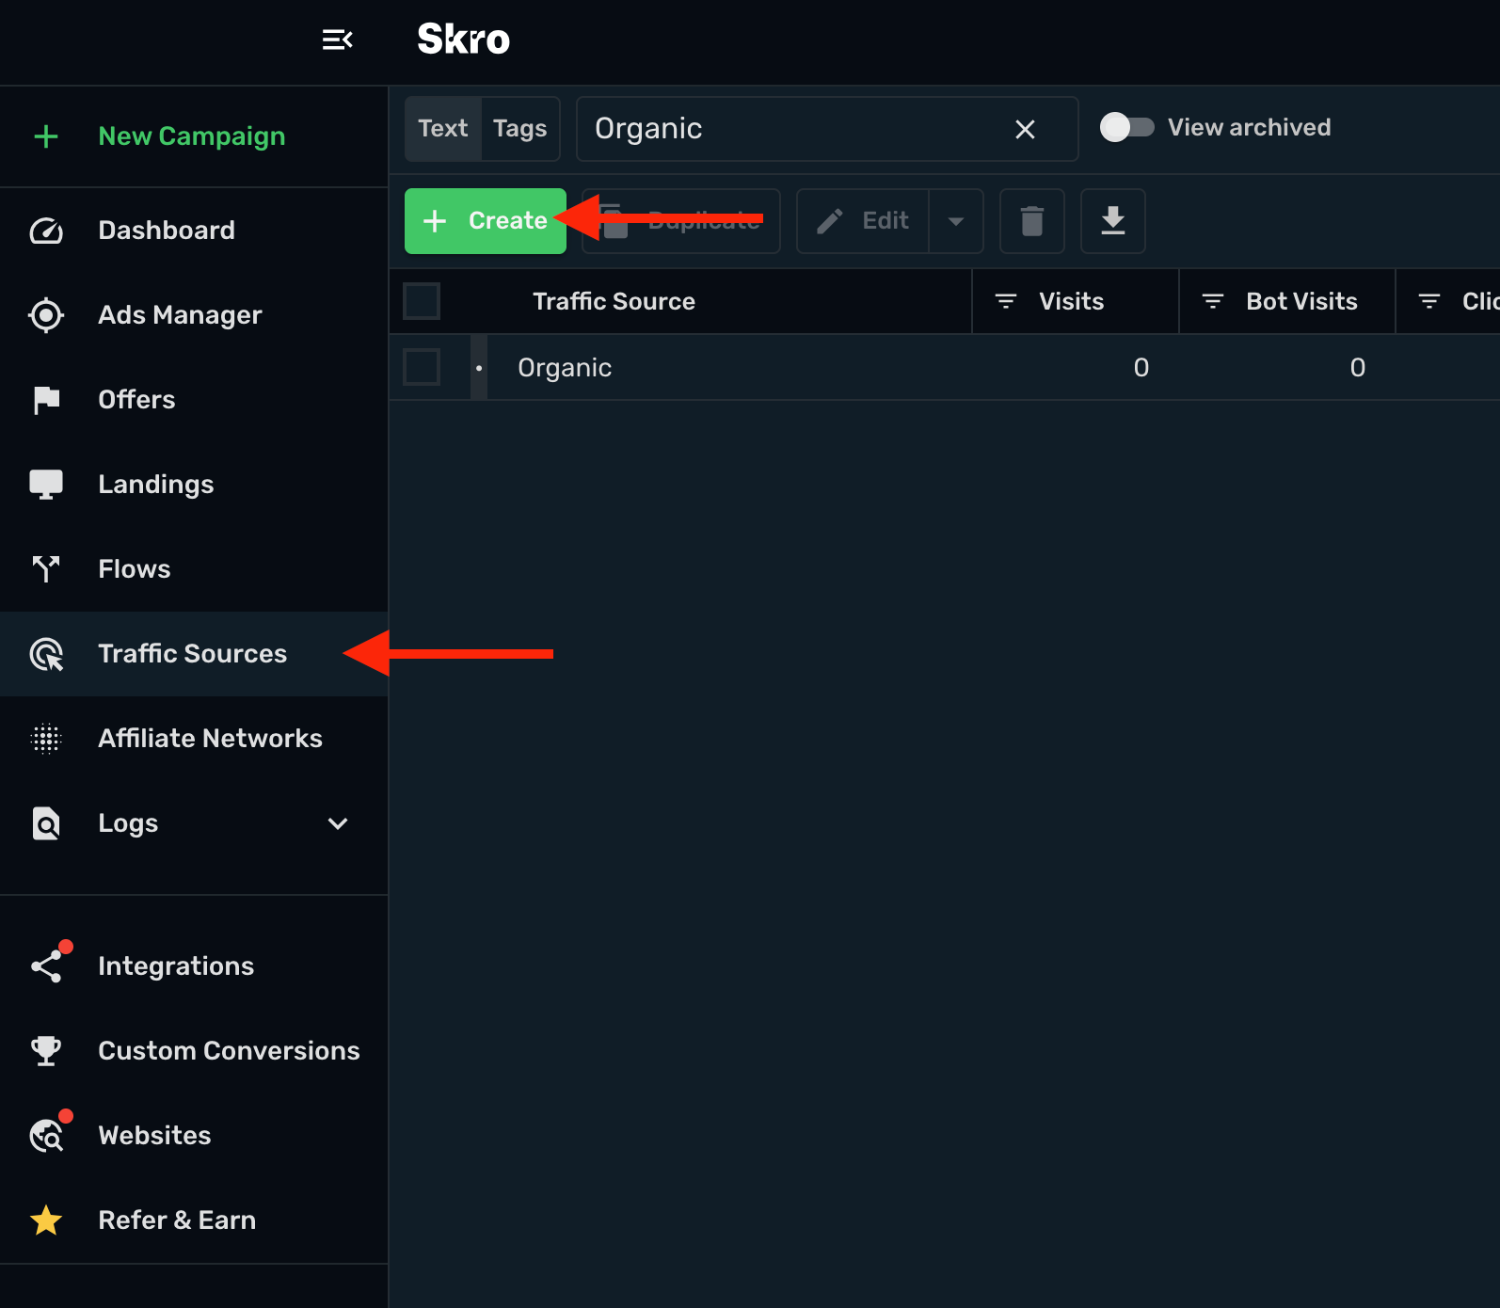
2. Search for **yeesshh** and click the **Yeesshh** template.
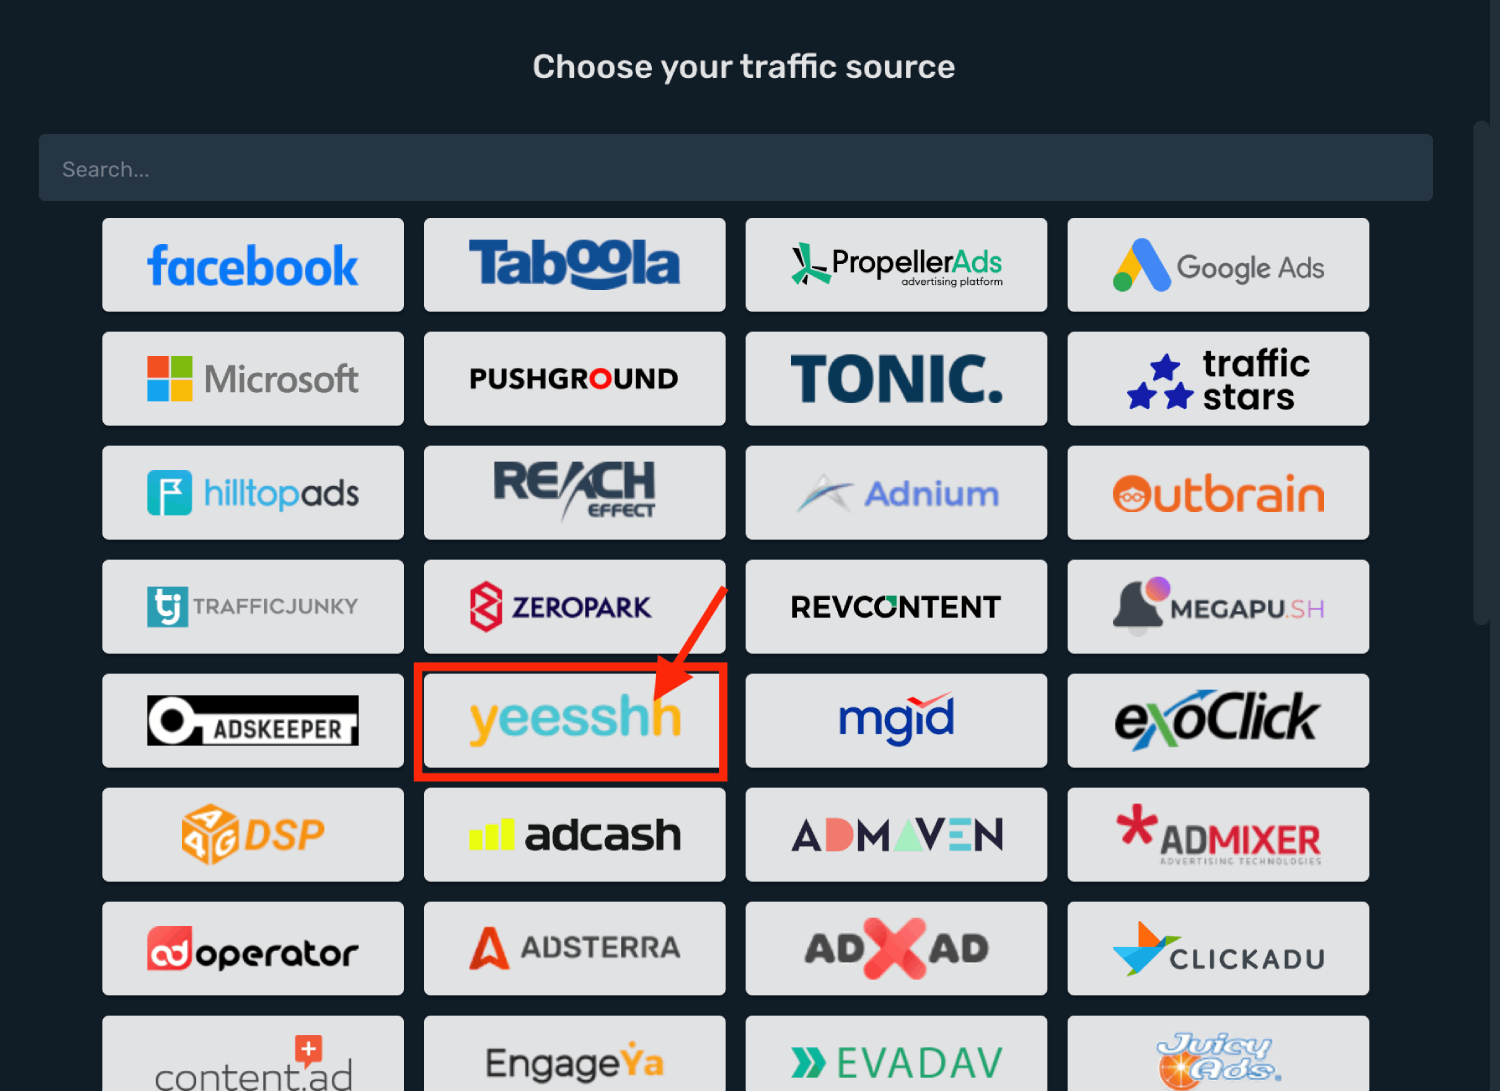
3. Select the target **Workspace** and set other fields where needed. **Postback URL** is already prefilled for you.
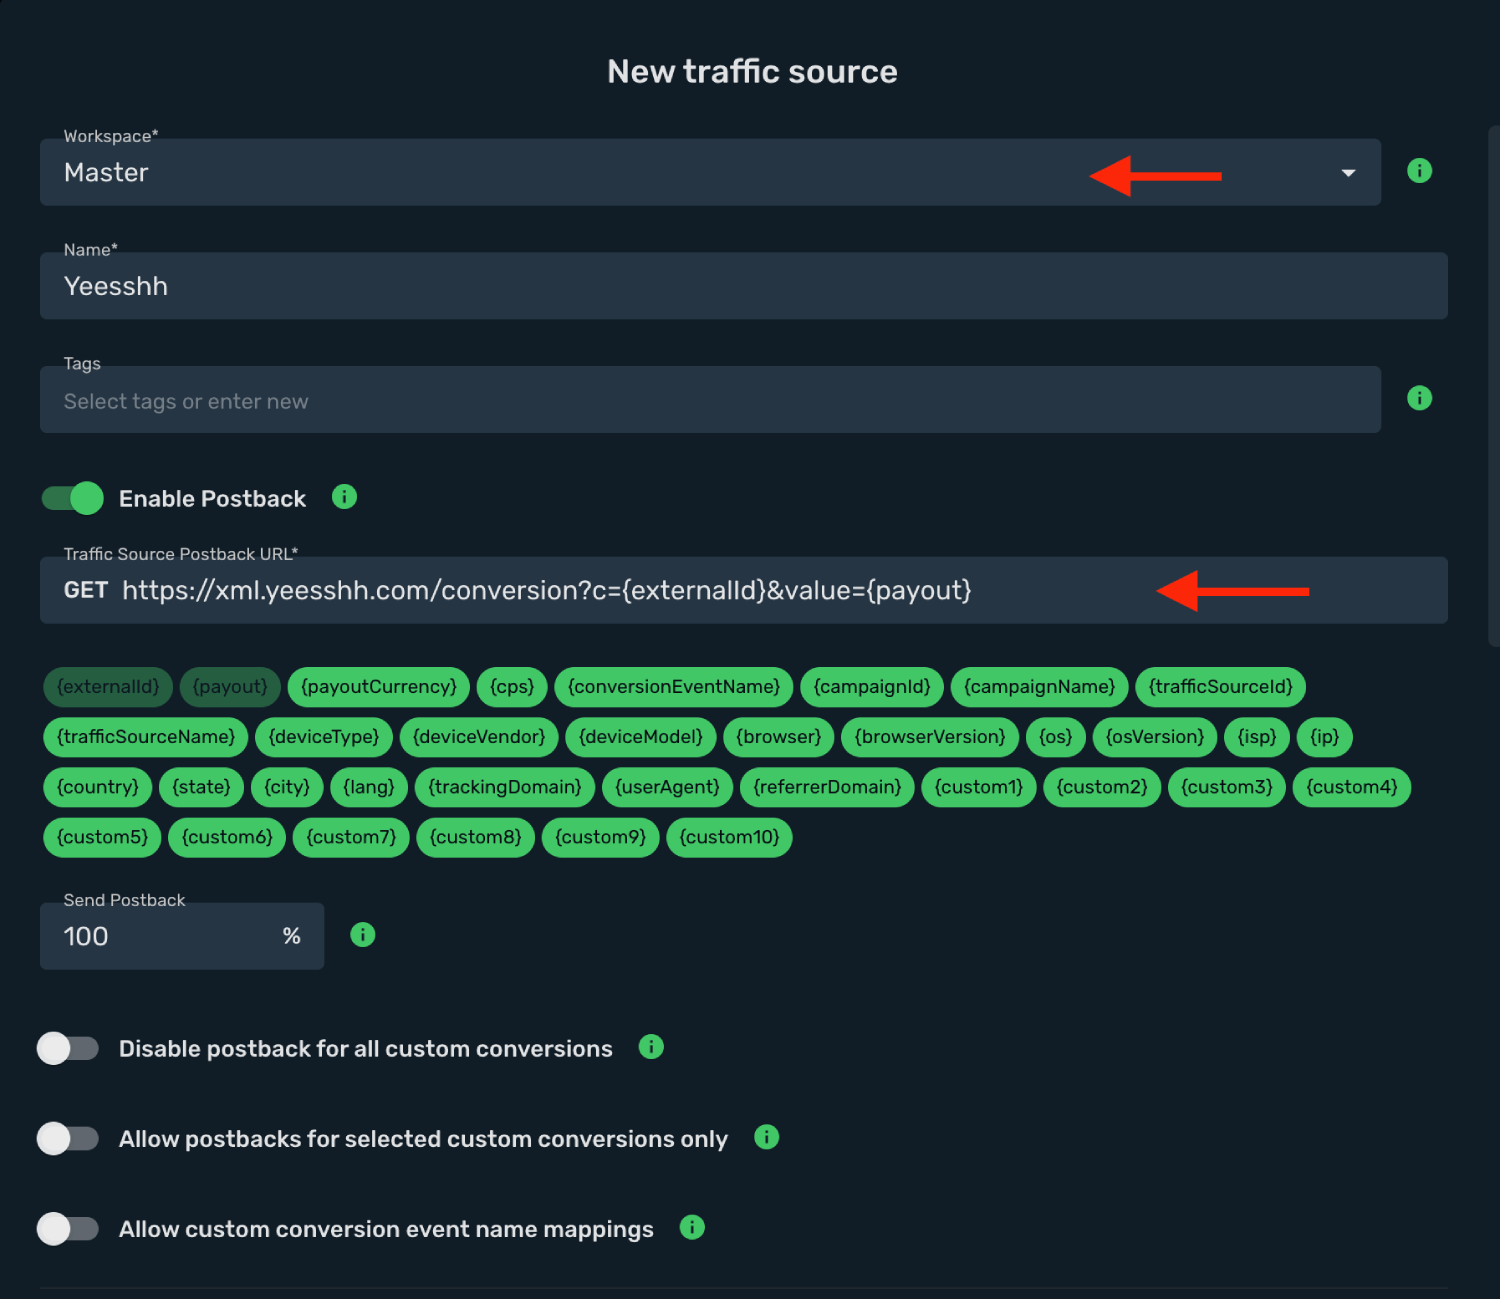
4. Final postback URL must look similar to this:
`https://xml.yeesshh.com/conversion?c={externalId}&value={payout}`
**`c={externalId}`** - Yeesshh Click ID parameter with Skro macro.
**`value={payout}`** - Yeesshh Payout parameter with Skro macro.
5. All tracking parameters are already prefilled for you.
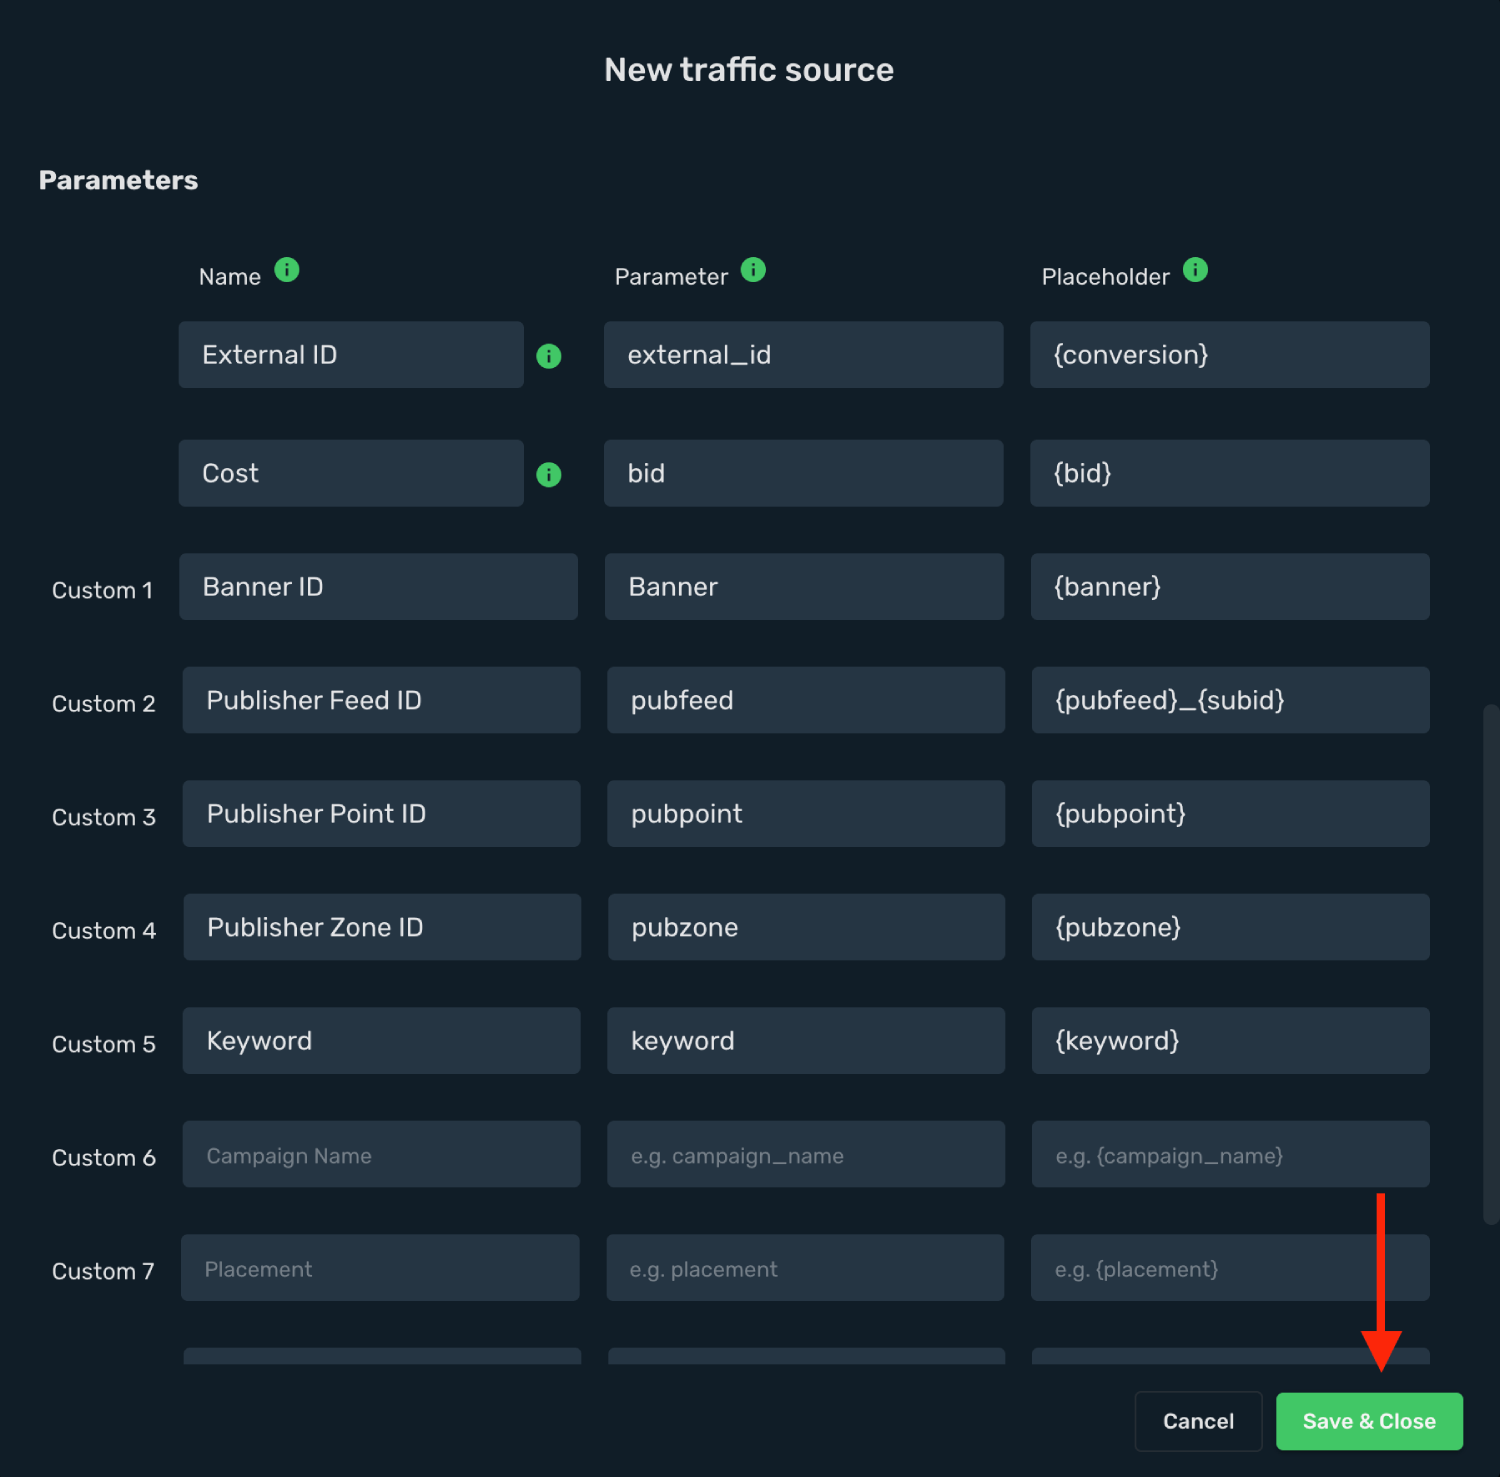
6. Click **Save & Close**.
Integration setup is complete, and you are now ready to create your first campaign.
## Step 2. Create a campaign in Skro [#step-2-create-a-campaign-in-skro]
1. Go to **Ads Manager** and click the **Create**.
2. Select your **Traffic source** and click **Next**.
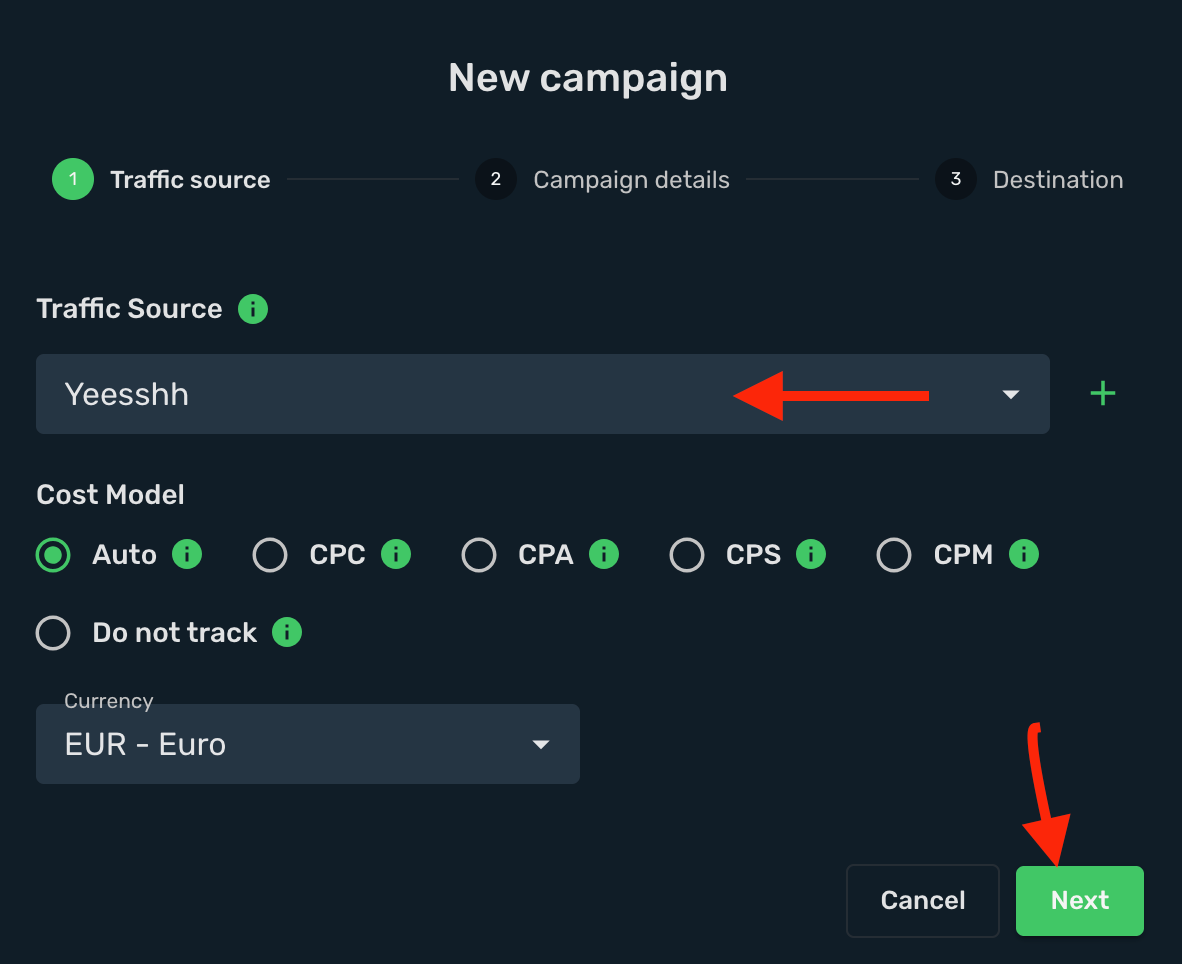
3. Select the target **Workspace** for your campaign.
4. Give a **name** to your campaign and click **Next**.
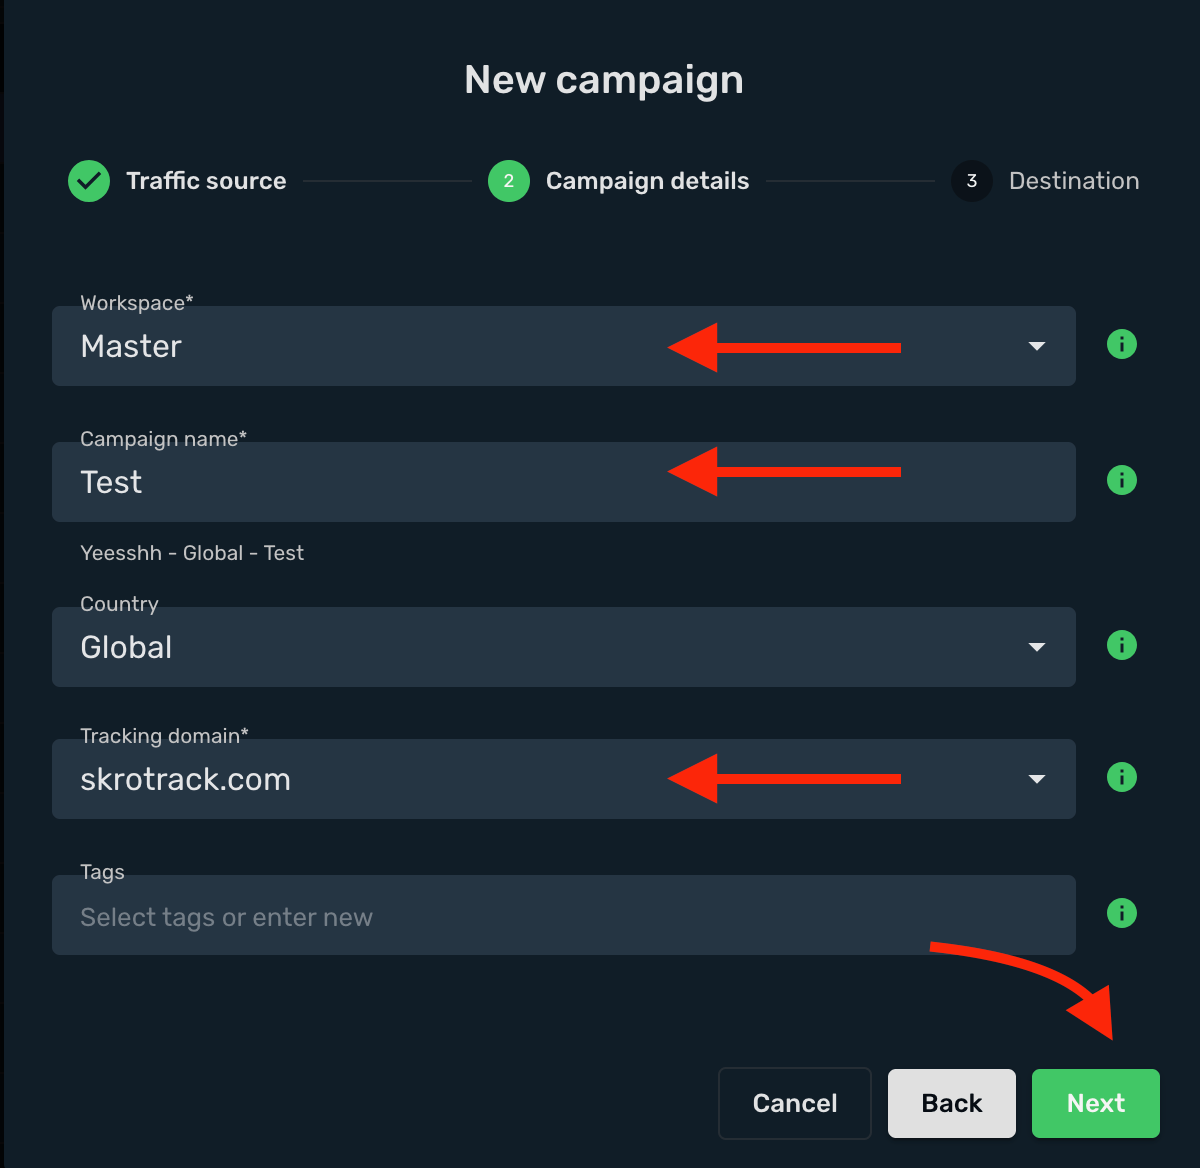
5. Select or create all your **landings** and **offers**.
6. When you are done, click the **Save**.
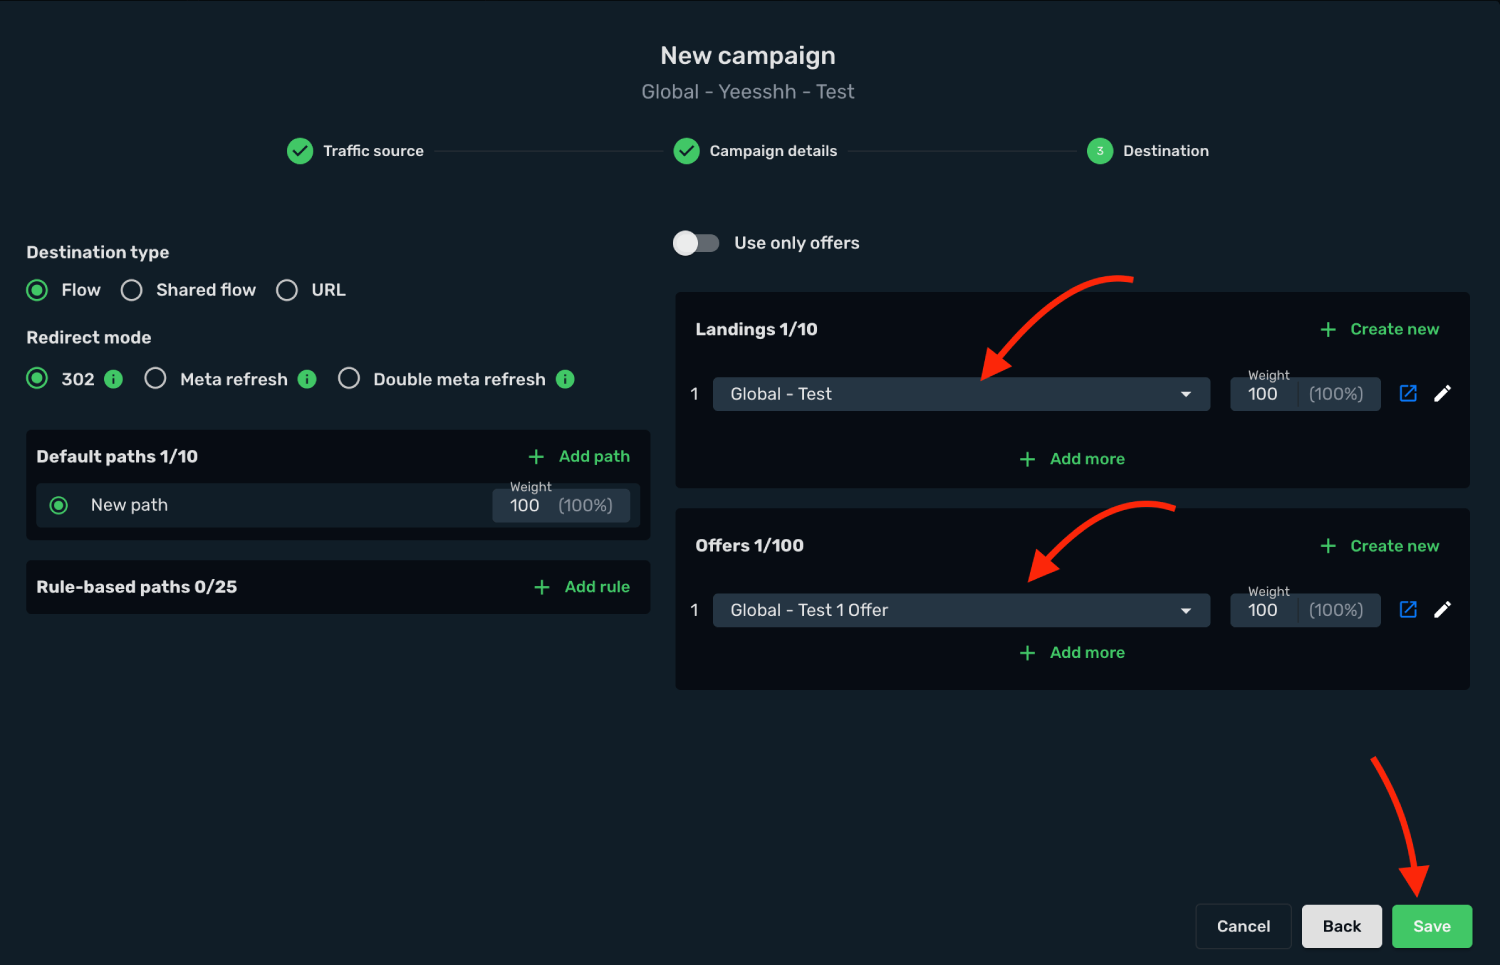
7. Copy the **Campaign Tracking URL** to clipboard.
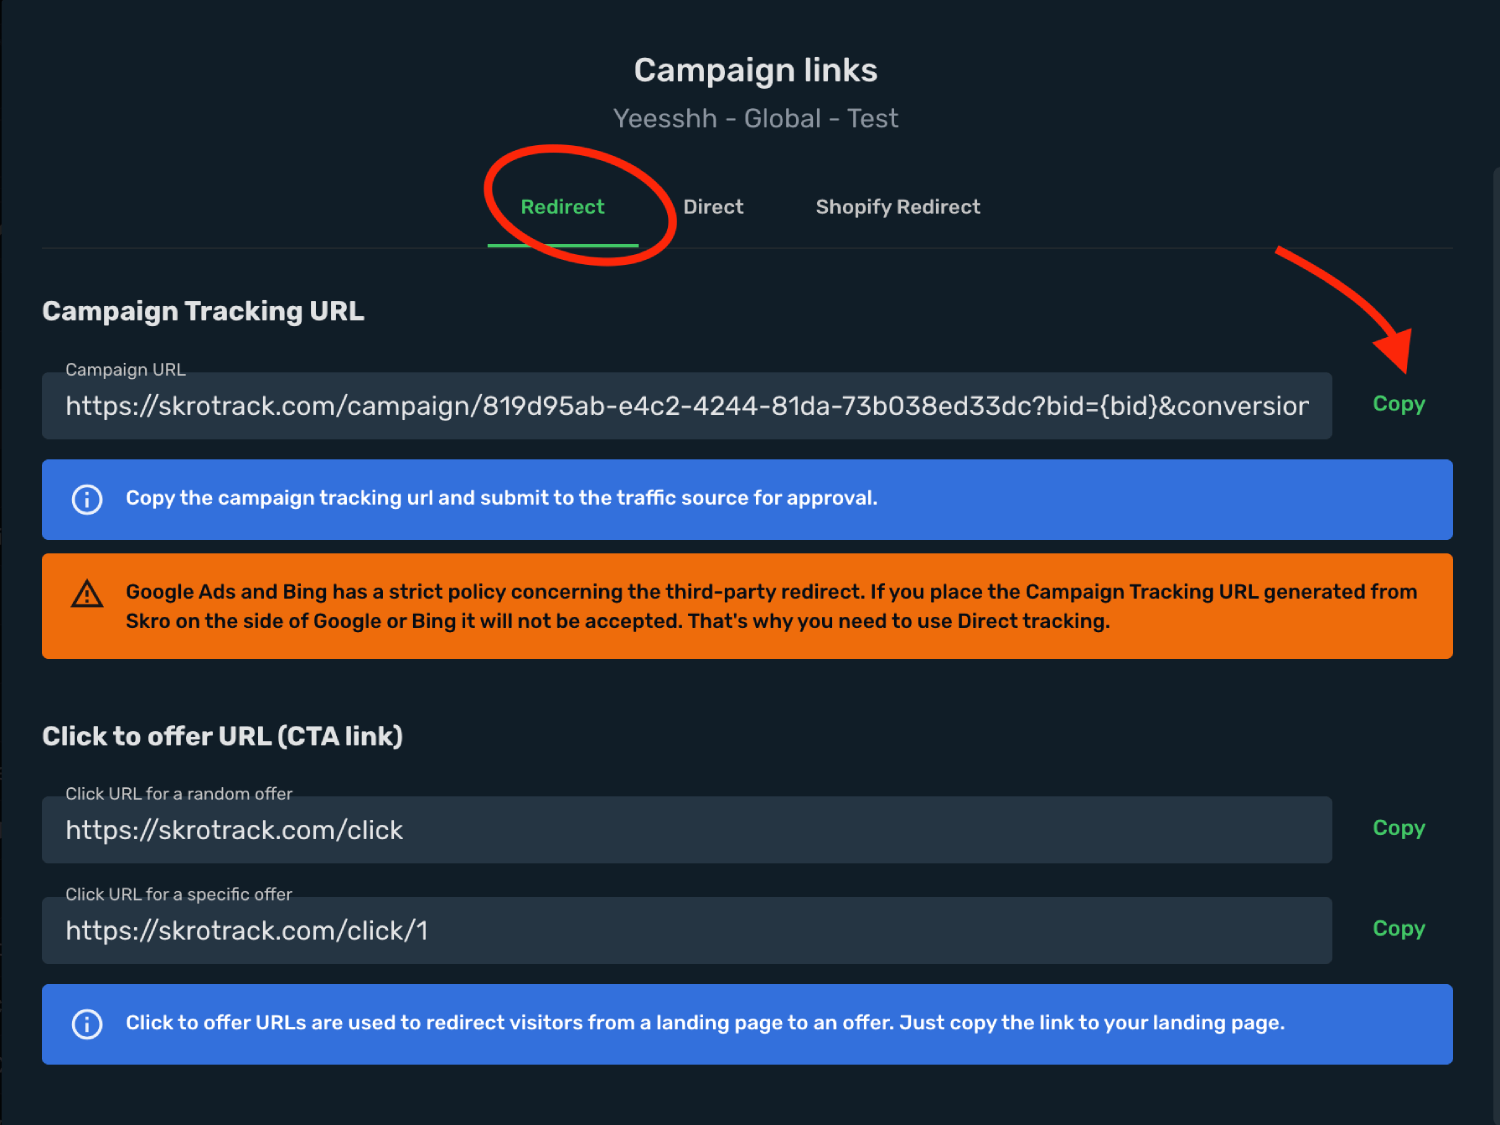
## Step 3. Create a campaign in Yeesshh [#step-3-create-a-campaign-in-yeesshh]
1. Log in to your **Yeesshh** account.
2. Go to the **Campaigns** section and click the **New Campaign**.
3. Give a **name** to your campaign.
4. Select your **Campaign Status** and **Device** and **Campaign Type**.
5. Click **Next**.
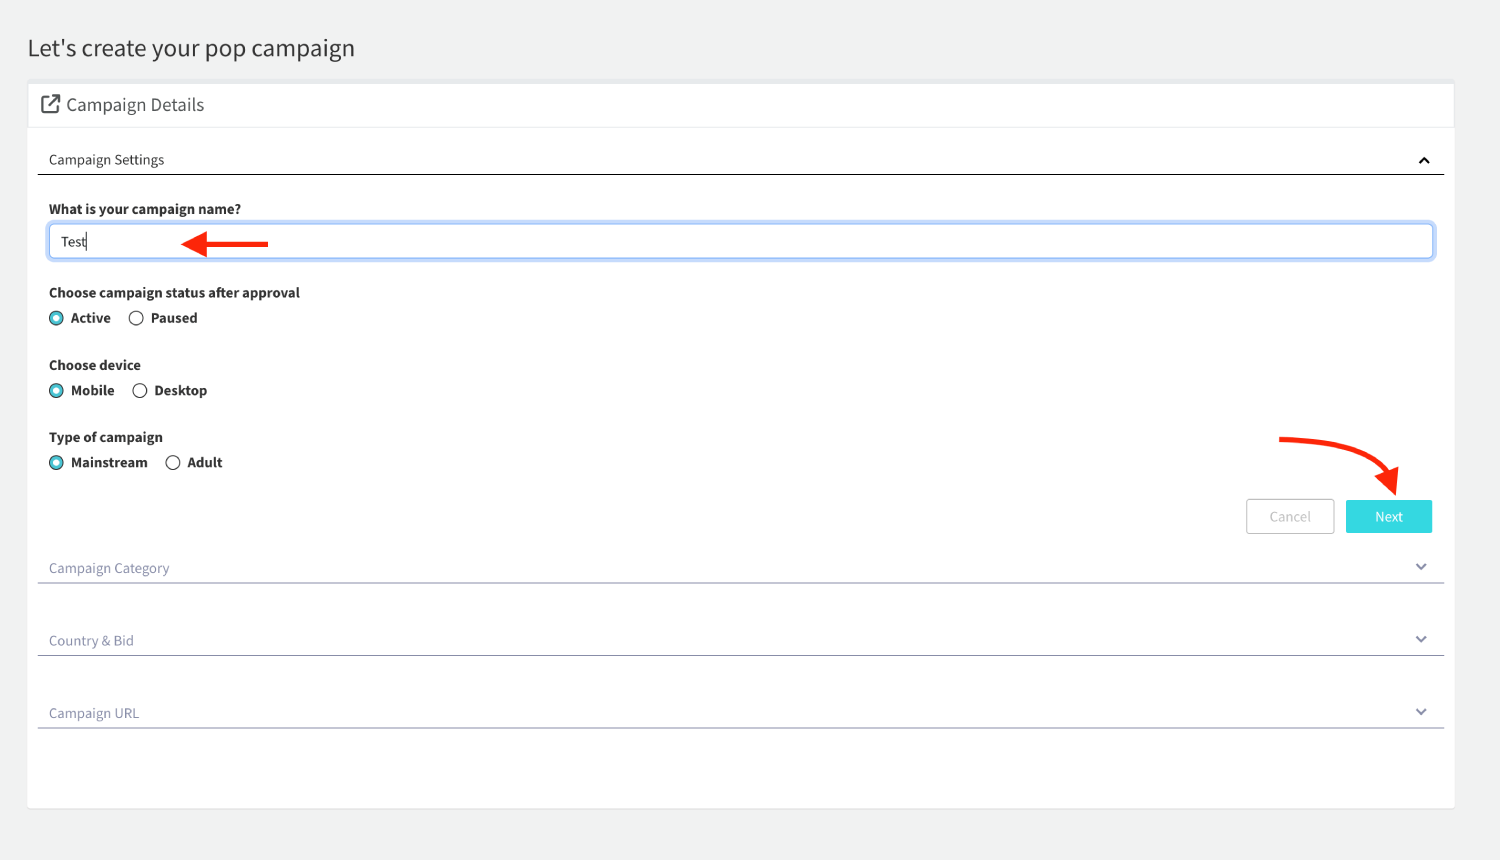
6. Select your **Traffic Type**.
7. Click **Next**.
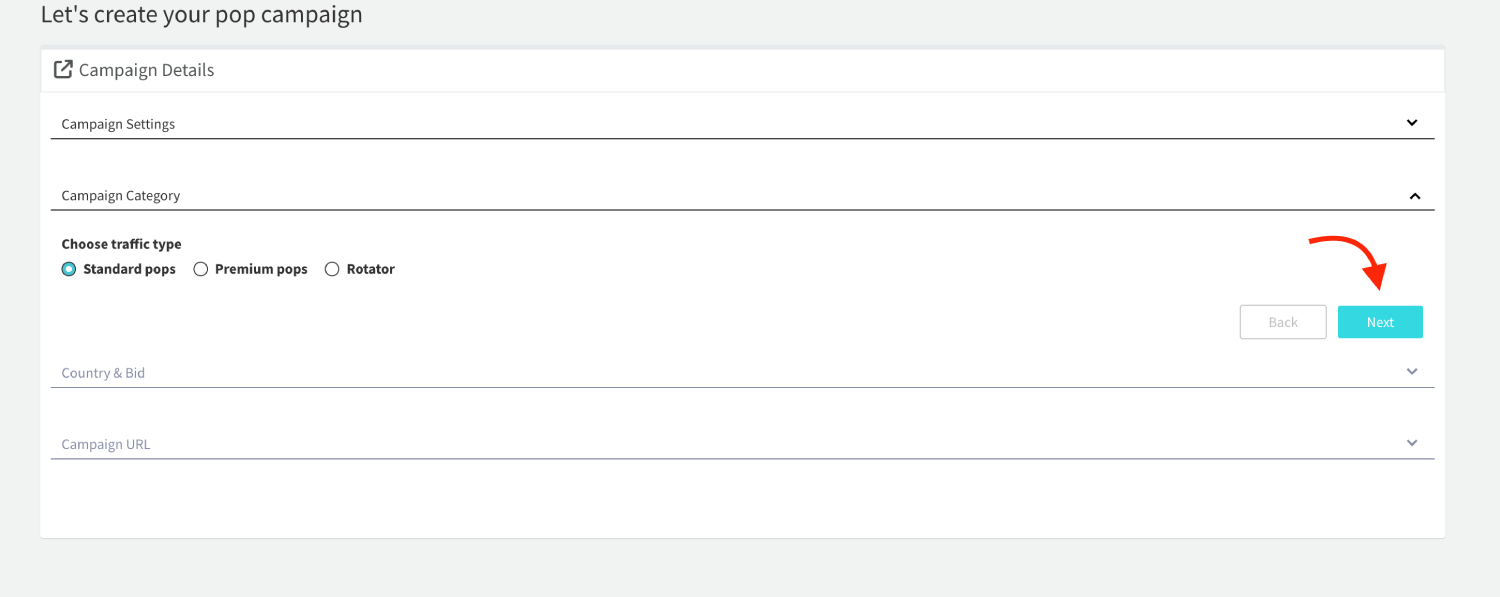
8. Select your **Country** and set **Budget**.
9. Click **Next**.
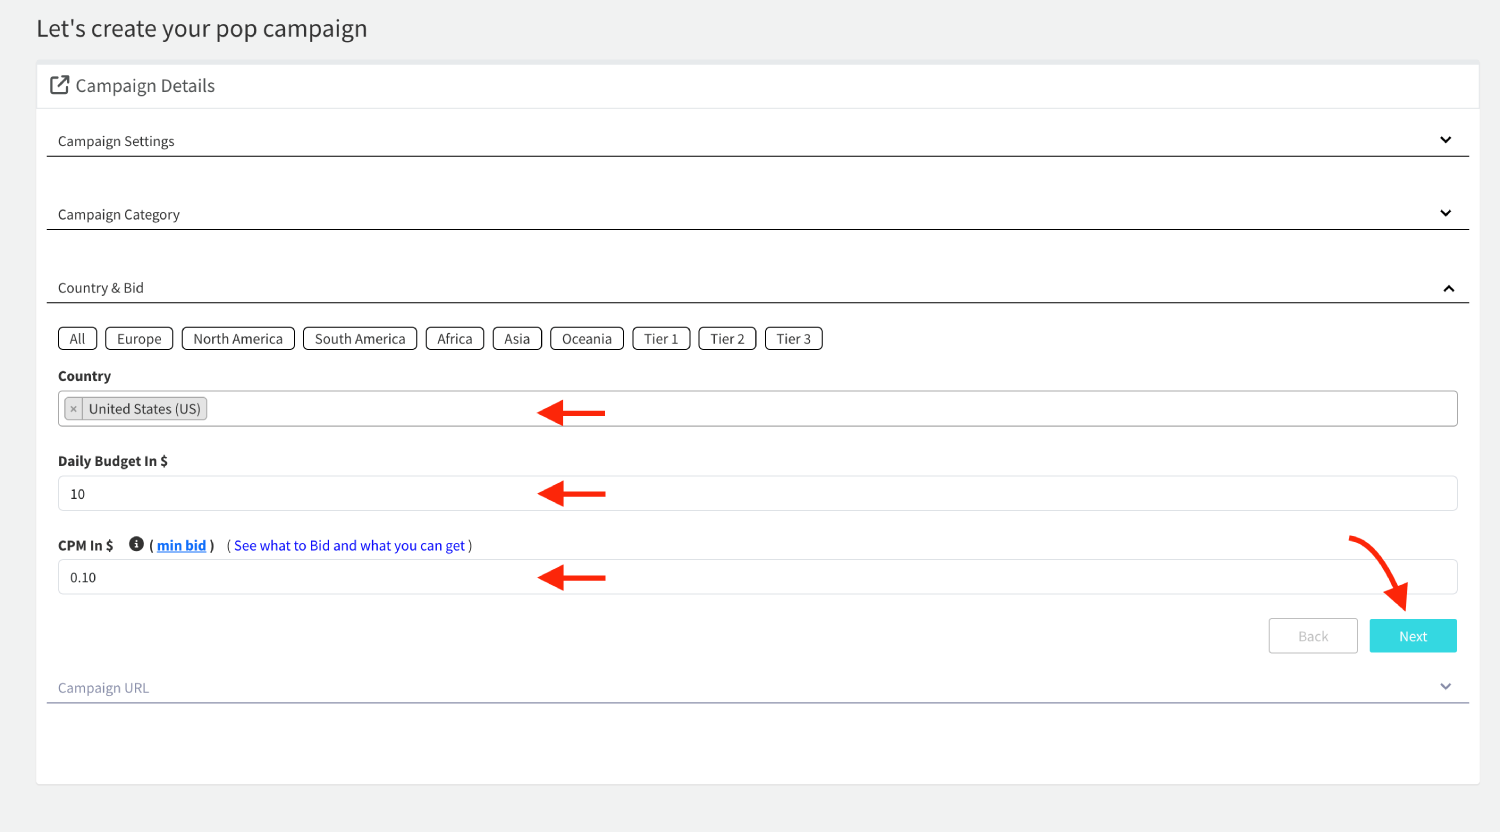
10. Paste the **Skro campaign tracking link** into the **Campaign's URL** field, including all tracking parameters.
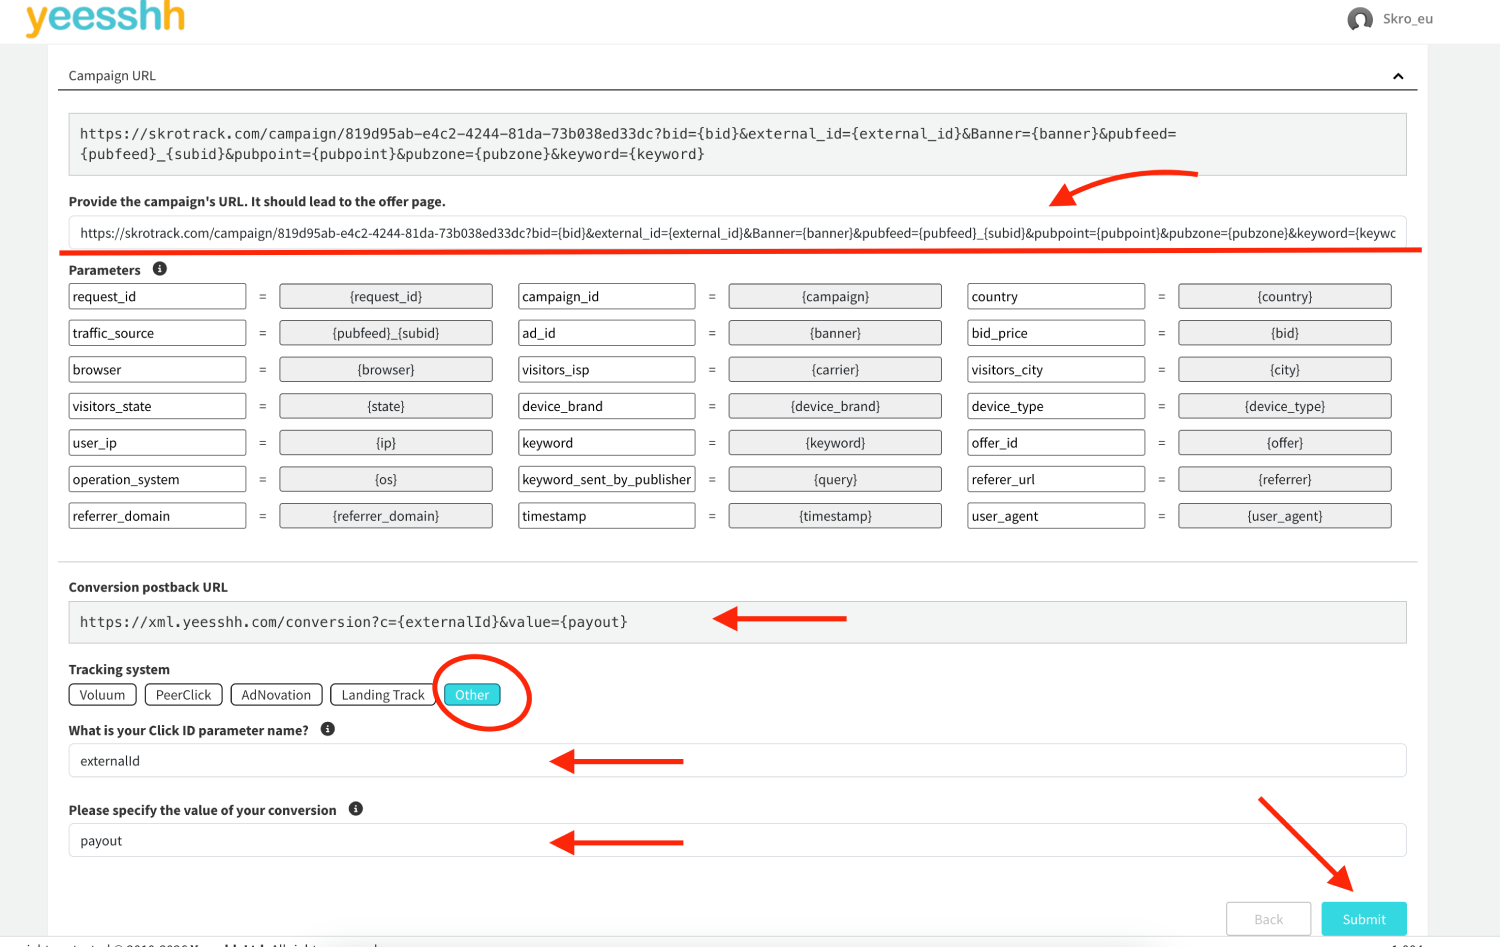
11. Fill all other fields where needed and when you are done, click **Submit**.
12. After your campaign is approved on the side of Yeesshh, you can start driving traffic to your campaign and track all the data with Skro.
## Verify the setup [#verify-the-setup]
Open the generated campaign URL and check that the visit appears in Skro. Confirm that traffic source macros resolve to actual values. If you send conversions back to the source, verify a test conversion in both systems.
If data is missing, check the selected workspace, integration, campaign, and reporting date range. Compare parameter names and macro values with the examples in this guide before repeating the test.
## Related guides [#related-guides]
# YTZ integration
Source: https://skro.eu/docs/integrations/ytz-integration
Connect YTZ to Skro, map click IDs, and configure postbacks to attribute conversions and revenue to your campaigns.
## Step 1. Add affiliate network to Skro [#step-1-add-affiliate-network-to-skro]
1. Go to **Affiliate Networks** and click **Create**.
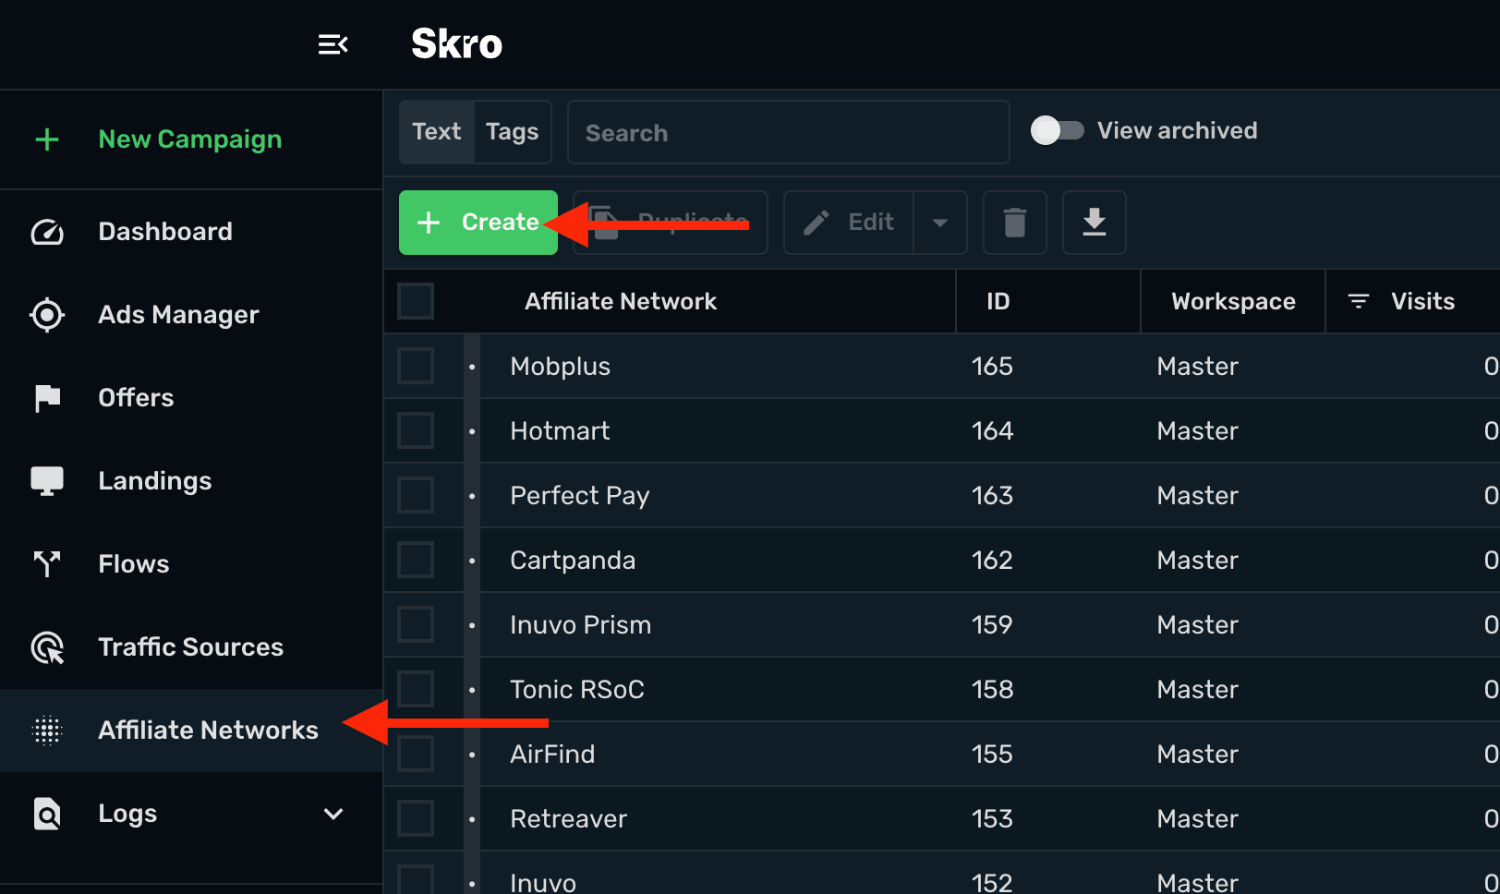
2. Search YTZ and select the **YTZ** template.
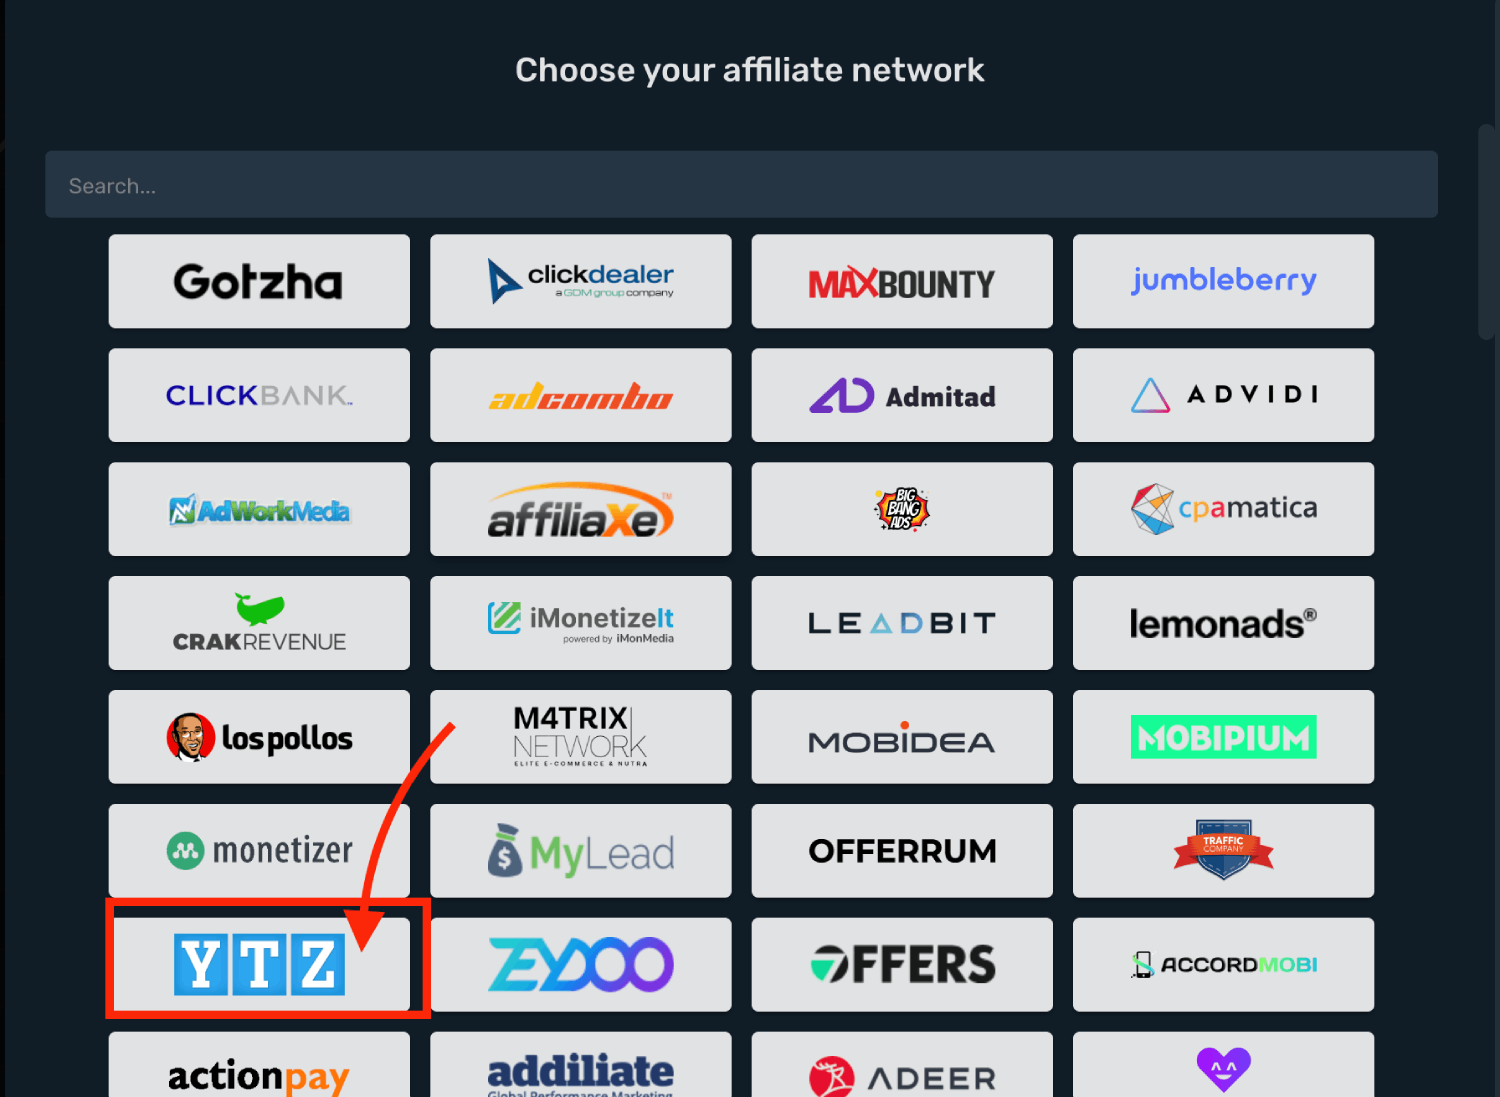
3. Select your **Workspace** and **Copy** postback URL to your clipboard.
4. Click **Save & Close**.
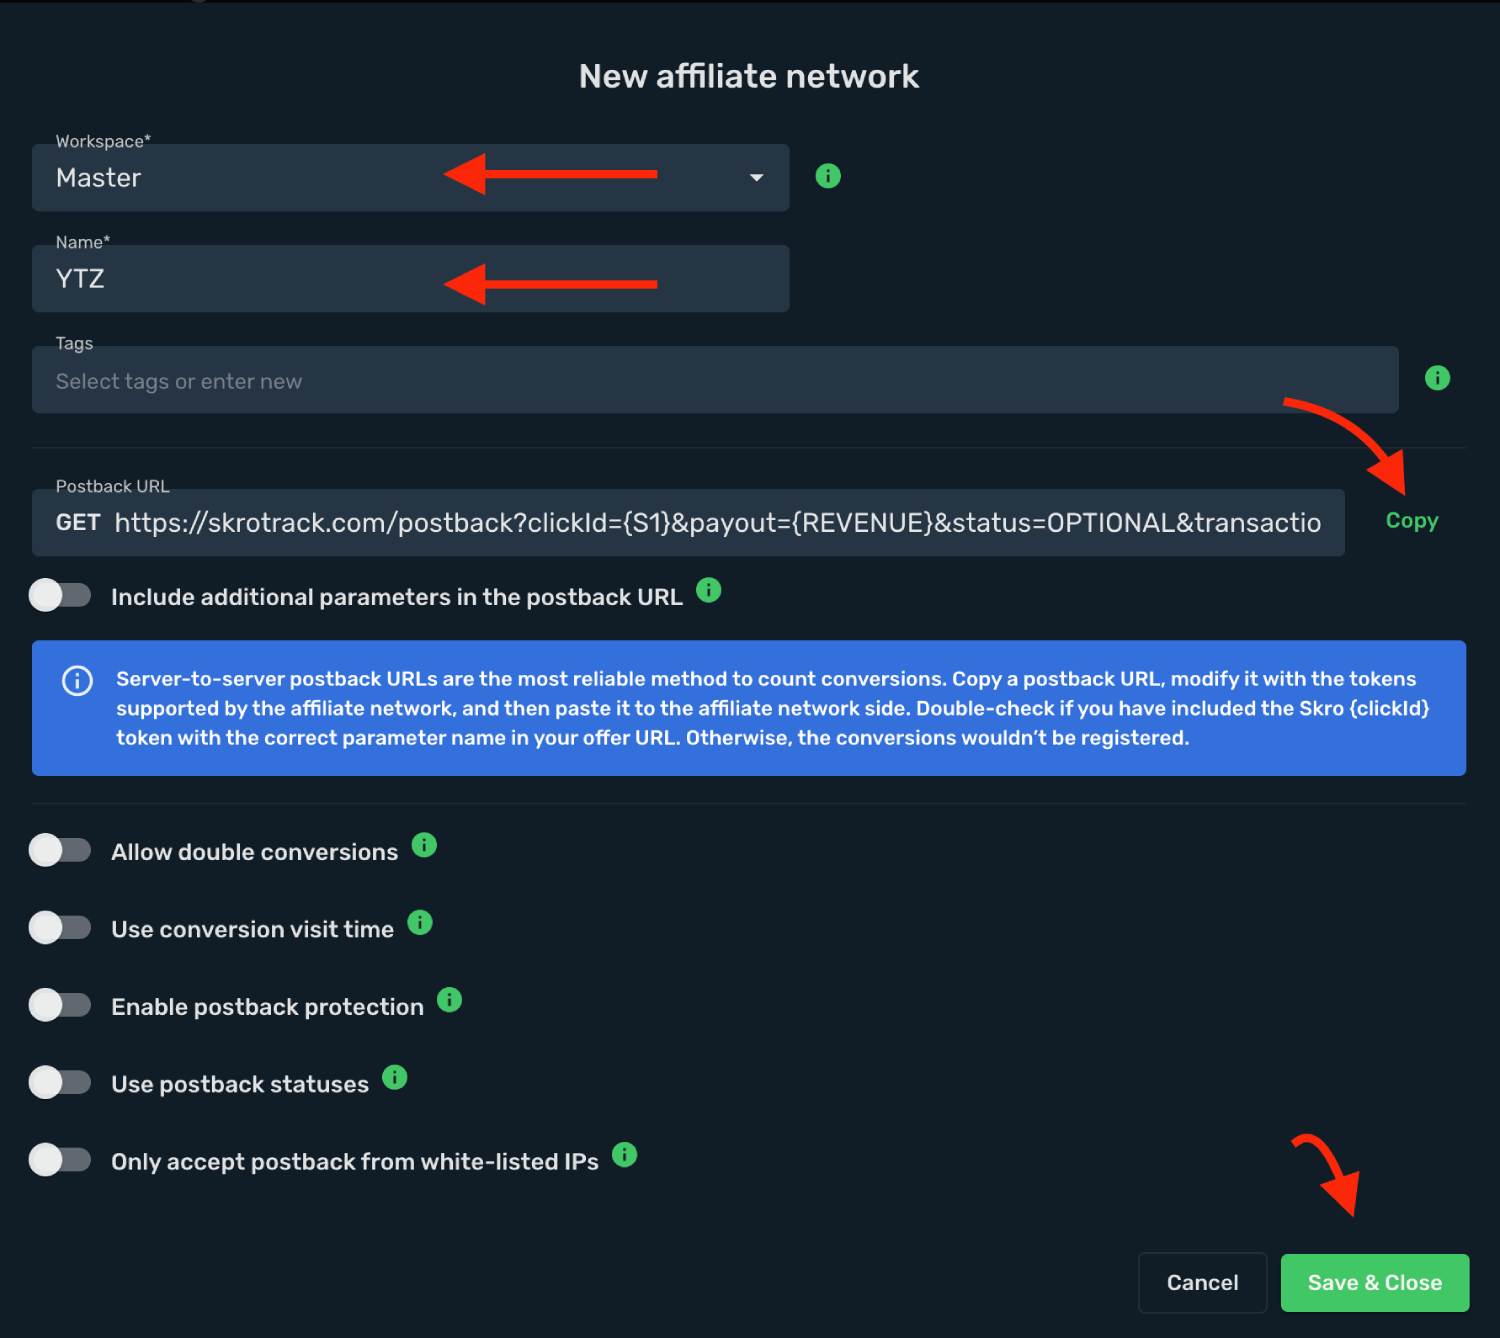
The YTZ affiliate network is now saved in Skro. Use the copied postback URL in YTZ in the next step.
## Step 2. Setting up a postback URL [#step-2-setting-up-a-postback-url]
1. Log in to **YTZ** account.
2. Go to the **Postback** section.
3. Click + on the far right to Add Account Level Postback.
4. Make sure you select correct protocol **https://**
5. Paste your postback URL in the box.
6. Click **Create Postback**.
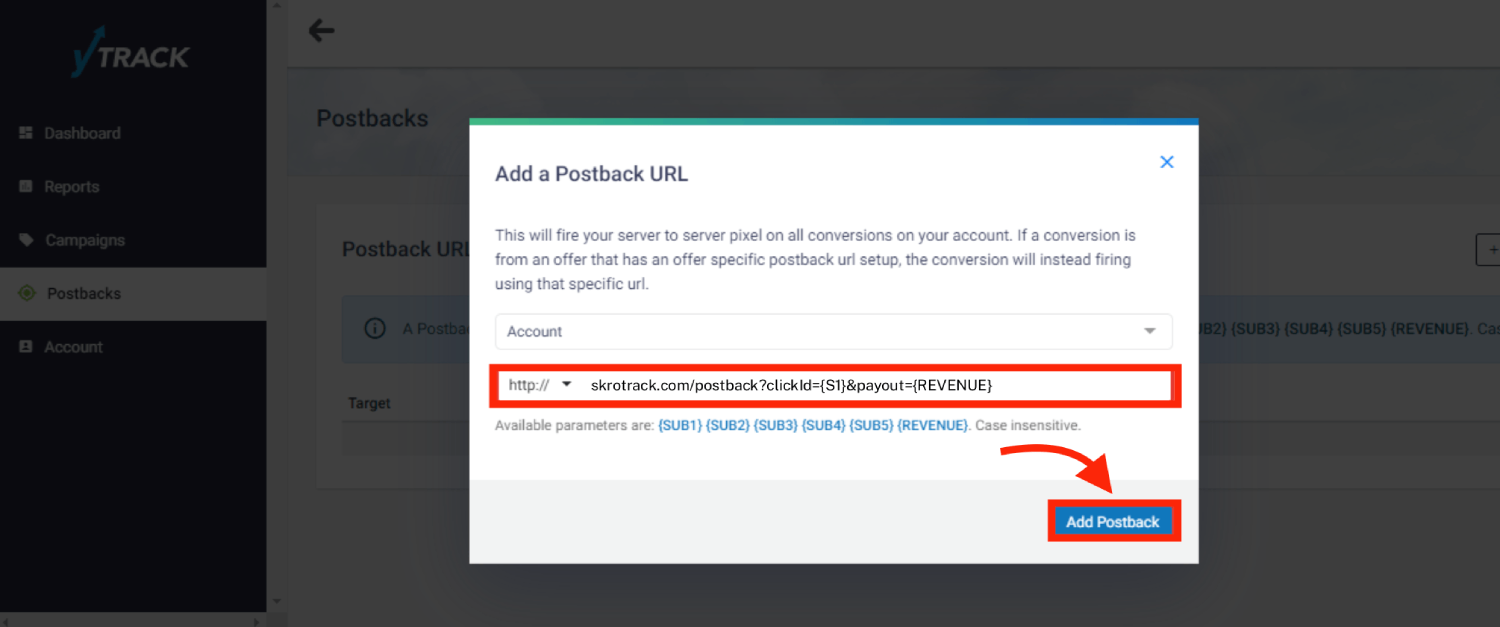
**Global Postback**
`https://skrotrack.com/postback?clickId={S1}&payout={REVENUE}`
## Step 3. Get an offer from YTZ [#step-3-get-an-offer-from-ytz]
1. Go to **Campaigns** section on the panel.
2. Select your offer from the list and click it.
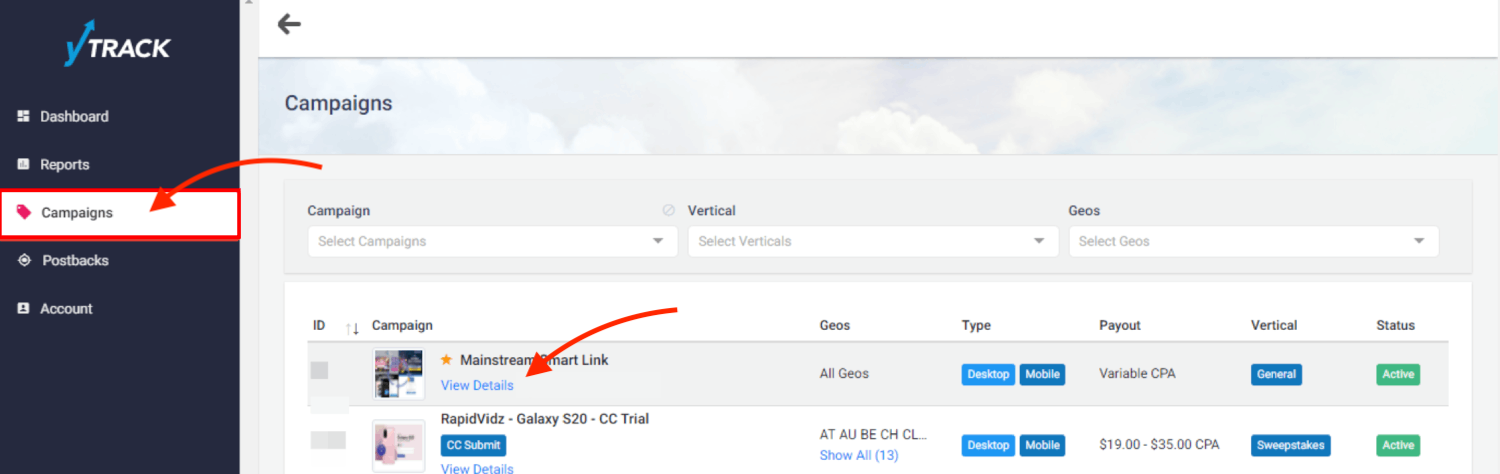
3. Copy Offer URL.
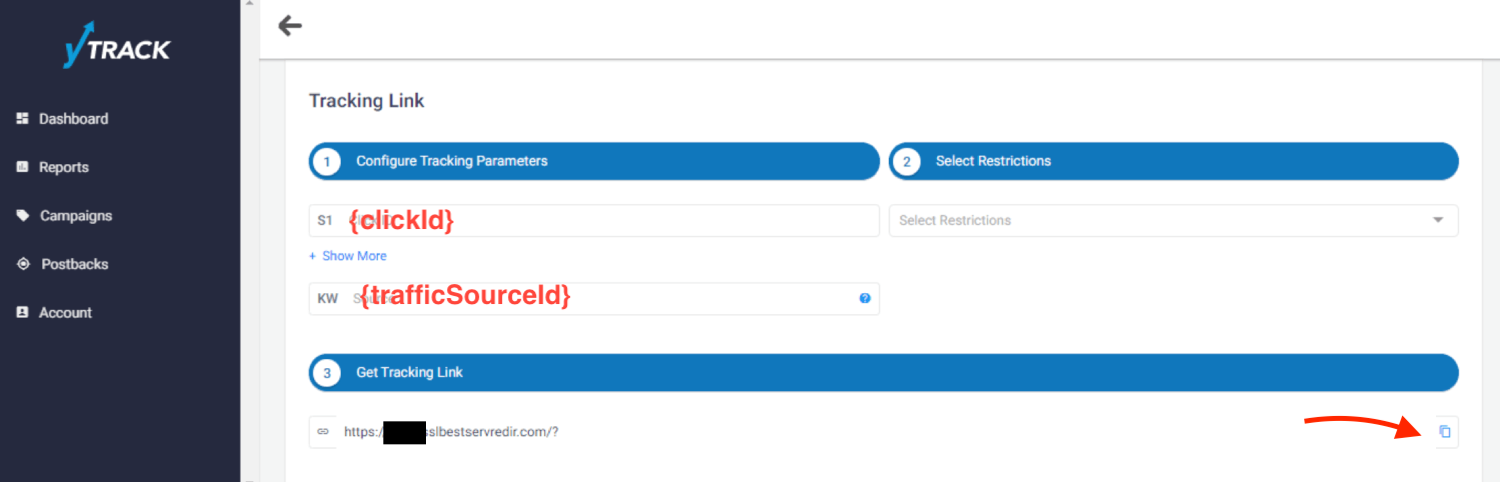
## Step 4. Add offer to Skro [#step-4-add-offer-to-skro]
1. Go back to Skro and navigate to the **Offers** and click **Create**.
2. Choose your workspace.
3. Give a name to your offer.
4. Grab the offer link from YTZ and add it to Offer URL field and change the macros to this **`kw={trafficSourceId}&s1={clickId}`**
**`{clickId}`** - The Skro click ID macro for conversion tracking.
**`{trafficSourceId}`** - It's your traffic source ID.
**Example Offer URL:**
`https://cmsa.trck.com/?kw={trafficSourceId}&s1={clickId}`
5. Choose YTZ from the **Affiliate Network** select box.
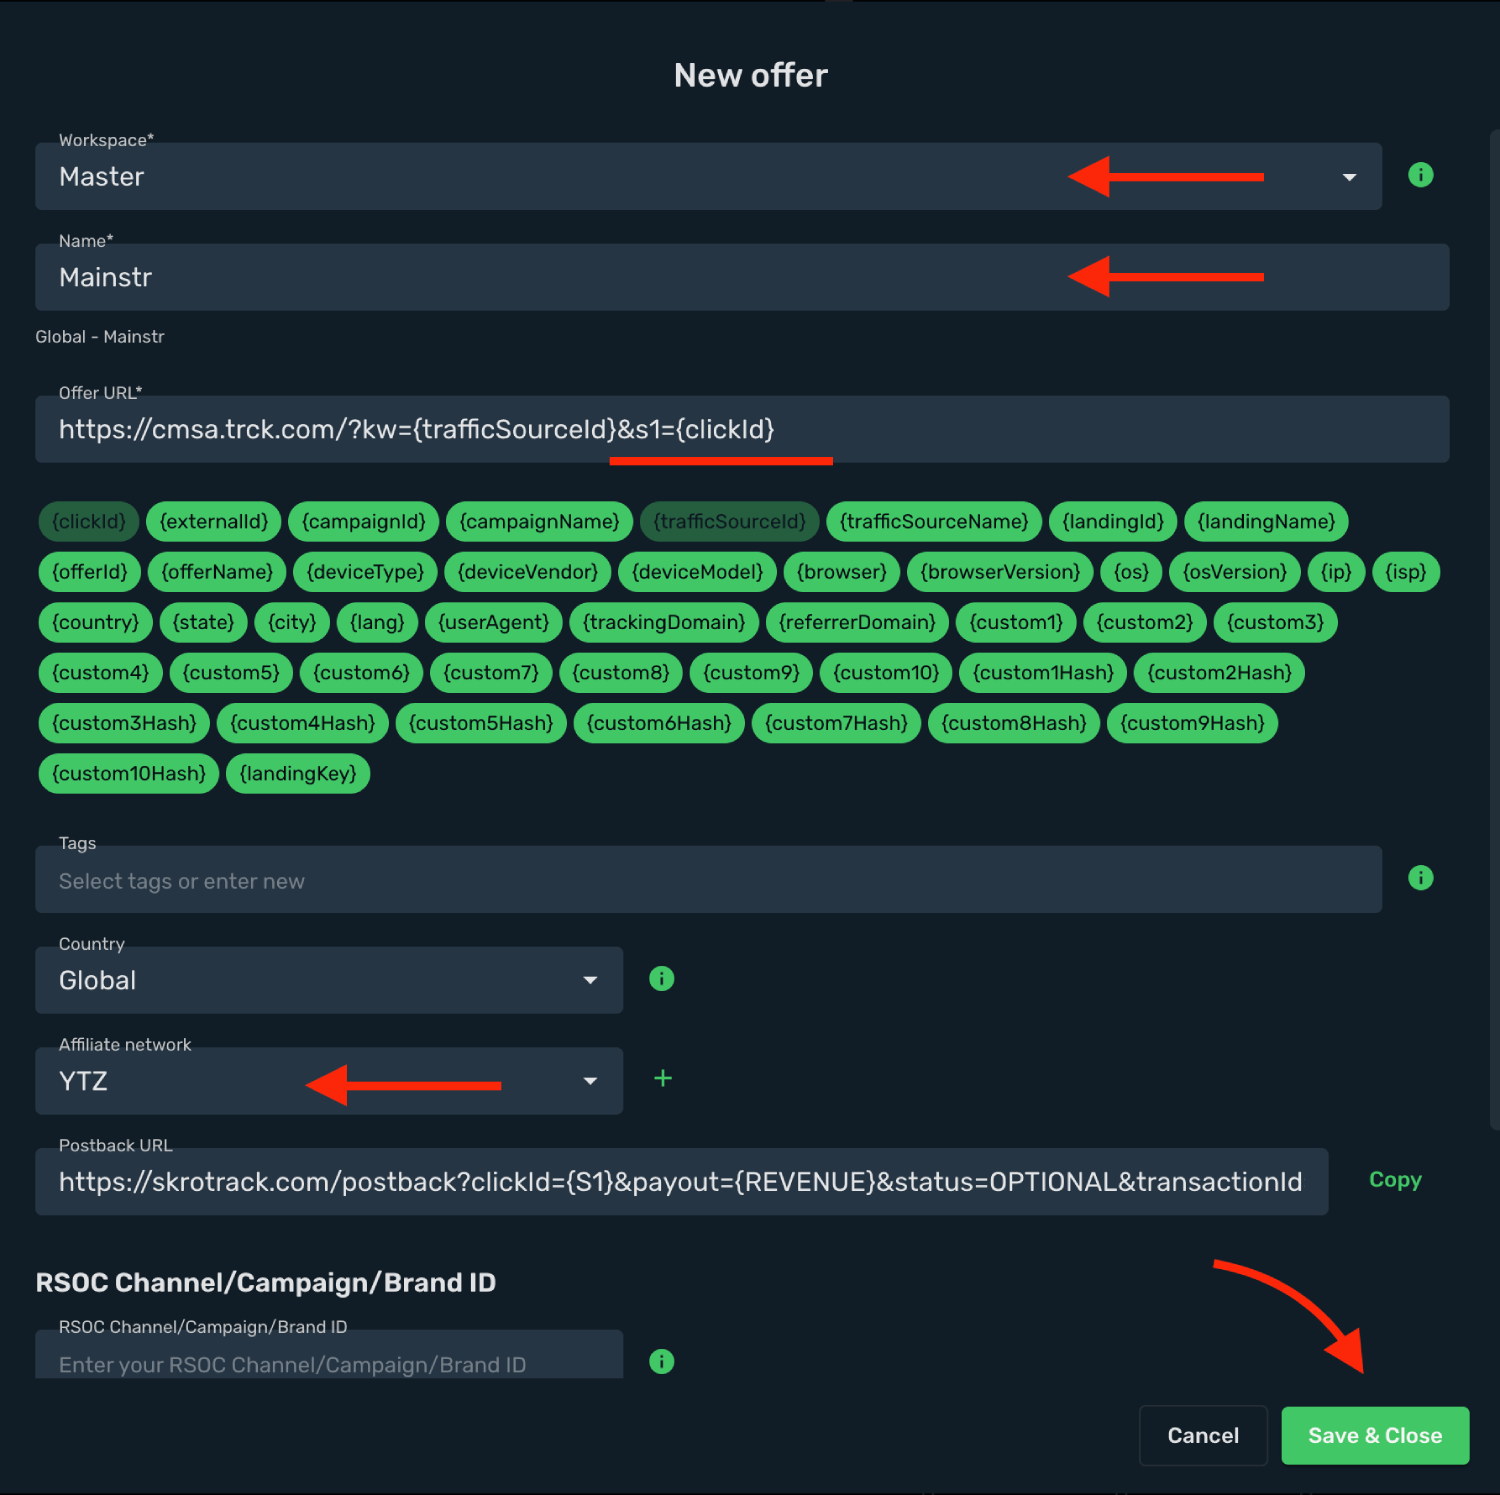
6. Click **Save & Close**.
## Step 5. Create a campaign on Skro [#step-5-create-a-campaign-on-skro]
1. Start with the following guide:
## Verify the setup [#verify-the-setup]
Follow a campaign link and complete a test conversion using your provider’s test workflow. Confirm that the original click ID reaches the provider and is returned to Skro, then check the event and revenue in your campaign report.
If data is missing, check the selected workspace, integration, campaign, and reporting date range. Compare parameter names and macro values with the examples in this guide before repeating the test.
## Related guides [#related-guides]
# Zeydoo integration
Source: https://skro.eu/docs/integrations/zeydoo-integration
Connect Zeydoo to Skro, map click IDs, and configure postbacks to attribute conversions and revenue to your campaigns.
## Step 1. Add affiliate network to Skro [#step-1-add-affiliate-network-to-skro]
1. Go to **Affiliate Networks** and click **Create**.
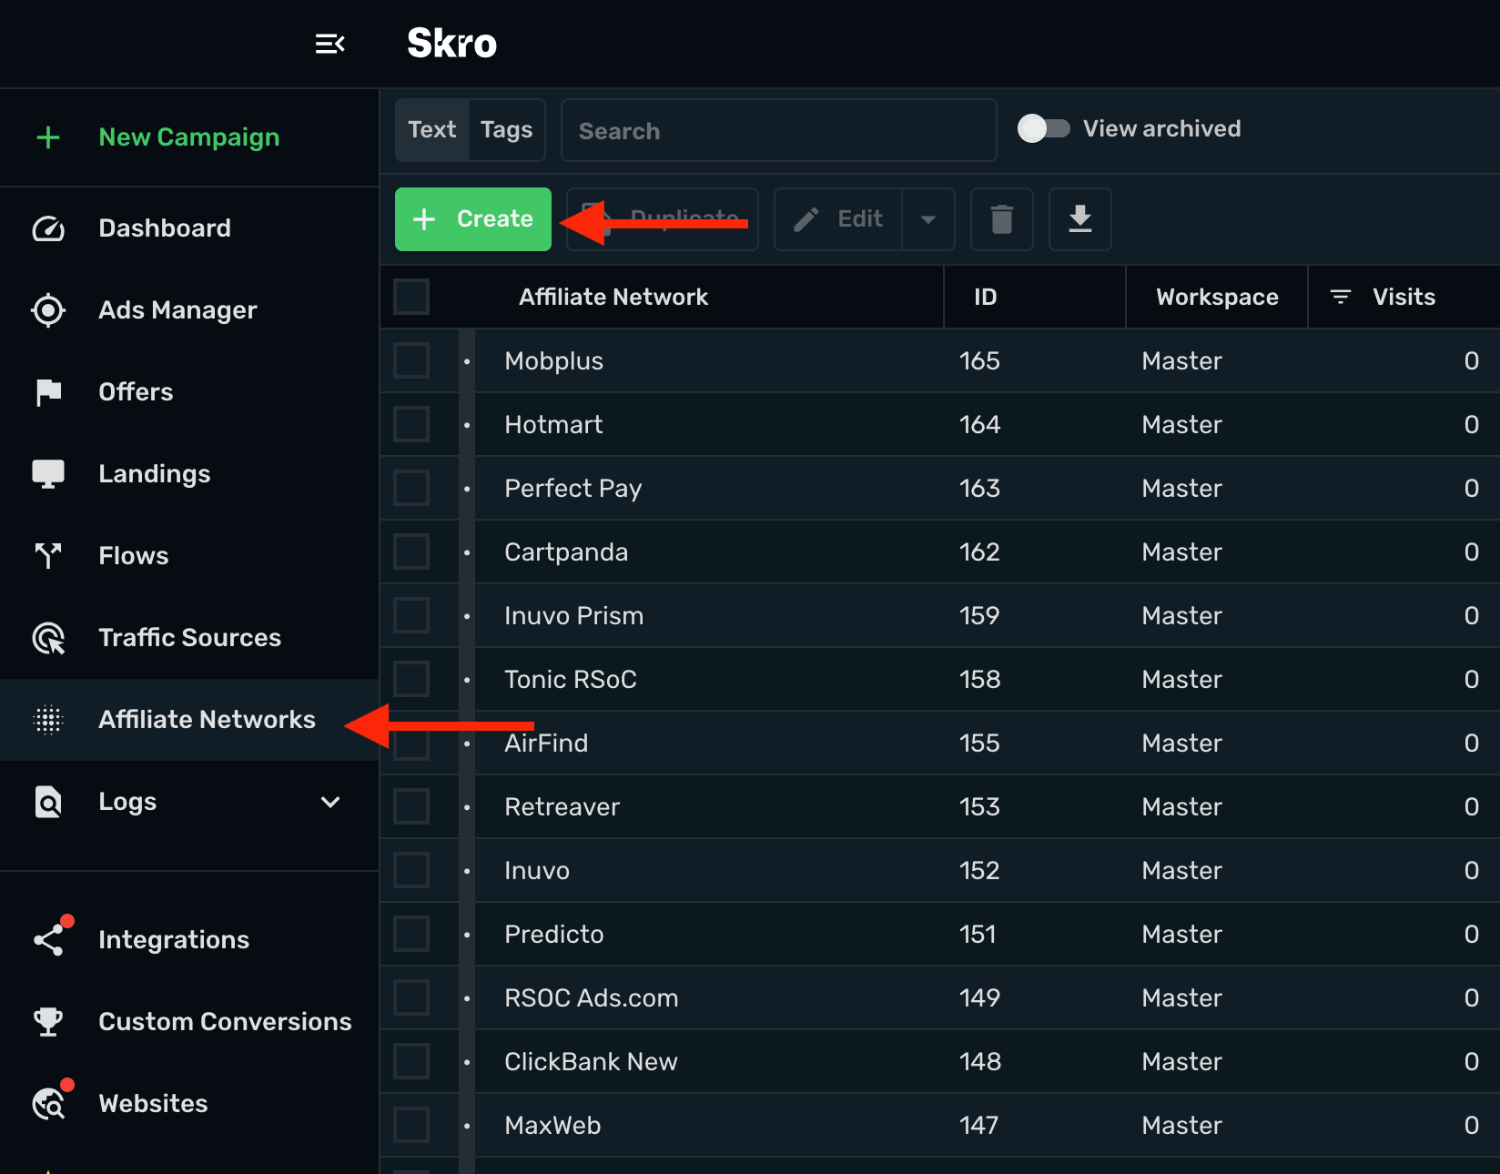
2. Search Zeydoo and select the **Zeydoo** template.
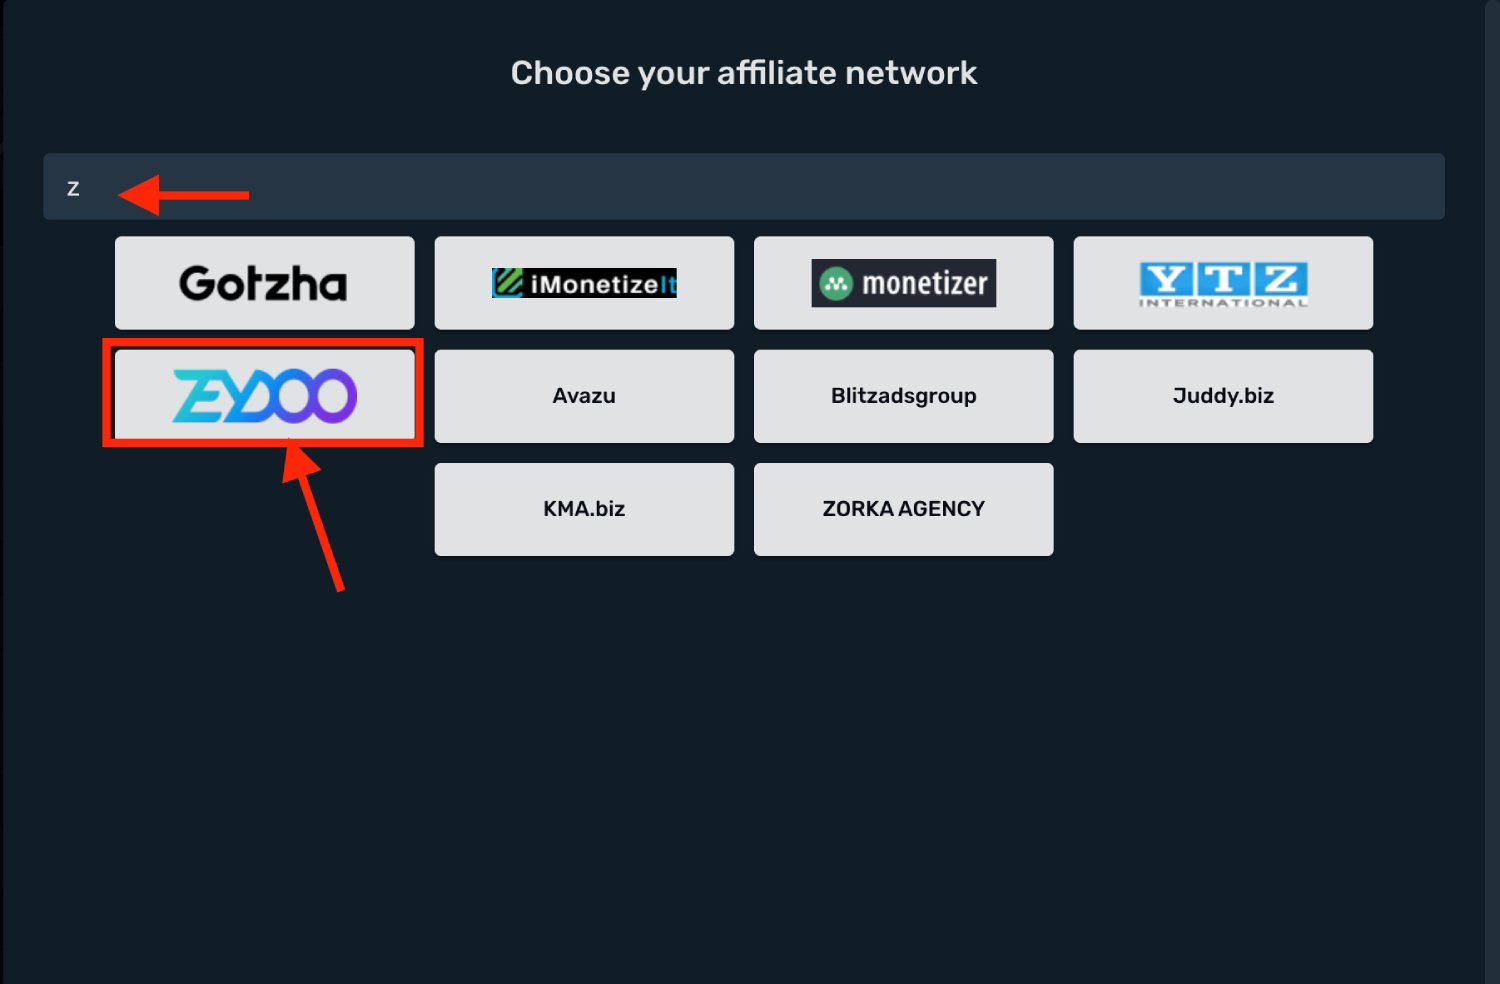
3. Select your **Workspace** and **Copy** postback URL to your clipboard.
4. Click **Save & Close**.
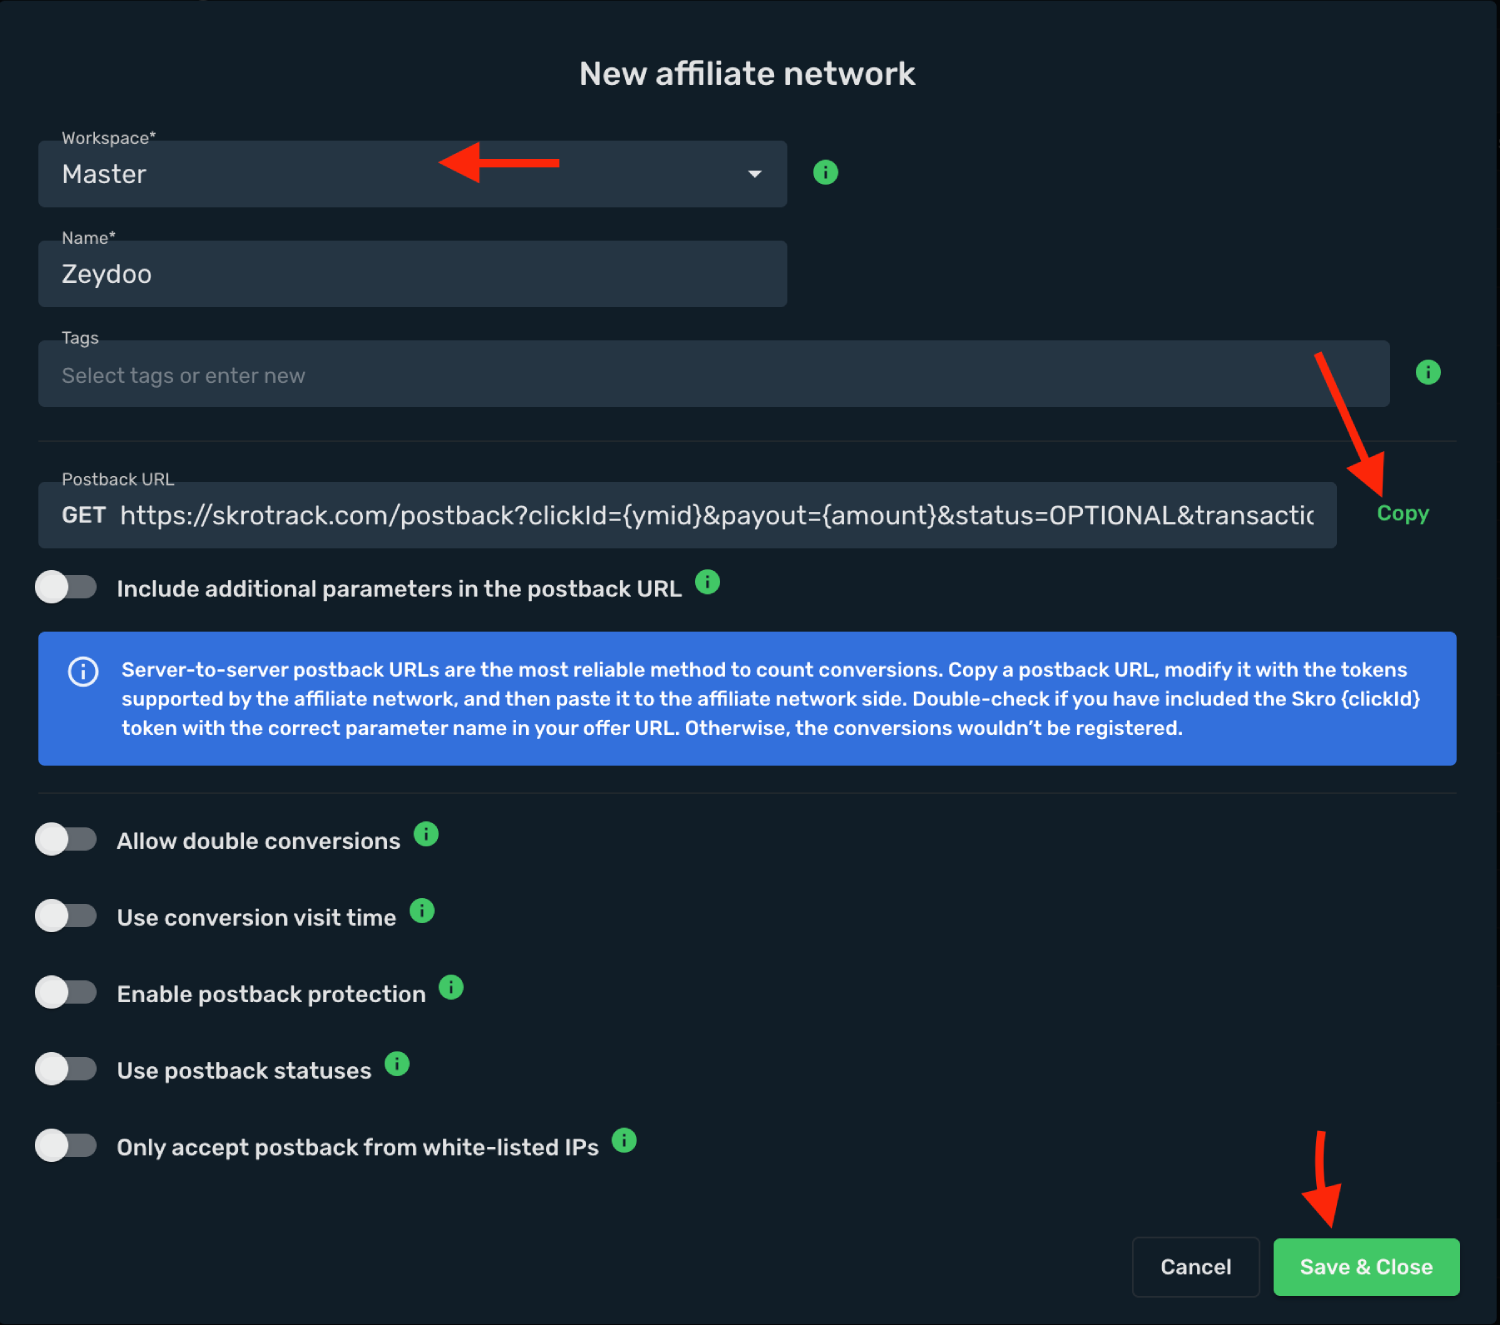
The Zeydoo affiliate network is now saved in Skro. Use the copied postback URL in Zeydoo in the next step.
## Step 2. Setting up a postback URL and Getting an offer from Zeydoo [#step-2-setting-up-a-postback-url-and-getting-an-offer-from-zeydoo]
1. Log in to your Zeydoo account.
2. Go to the **Postback**.
3. Add your postback name.
4. Paste the Postback URL that you have copied from Skro in the Postback URL text field.
5. Click the **Add Postback**.
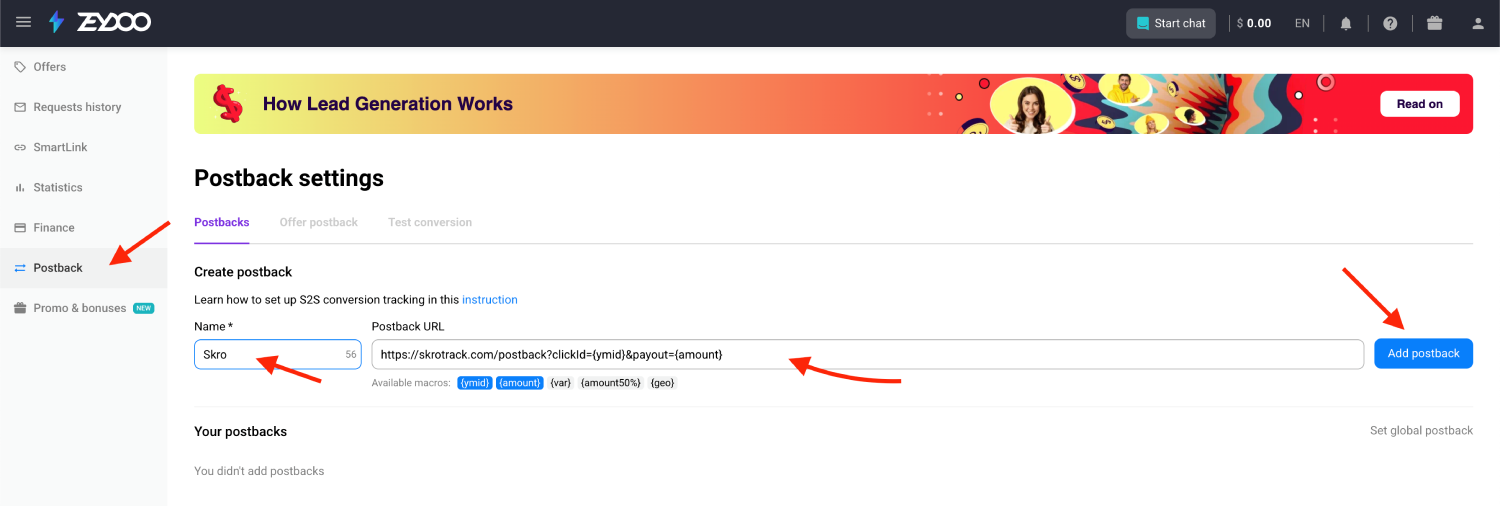
6. Set it as your Global postback.
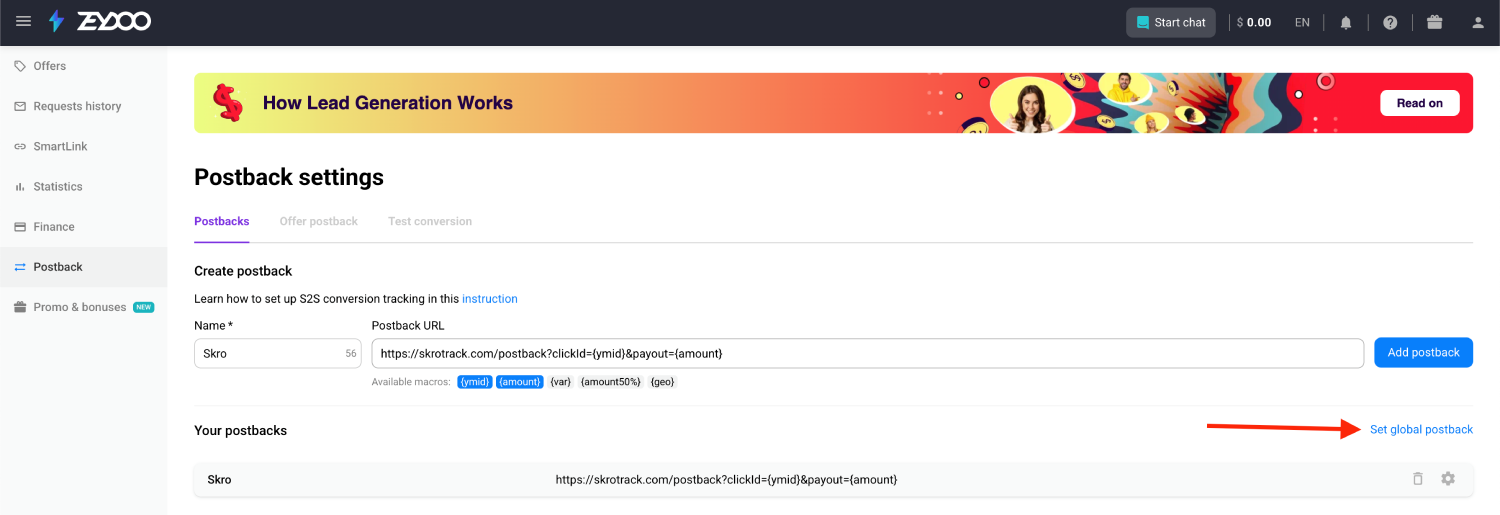
7. Select your postback and click **Save changes**.
8. Go to **Offers** and find an offer you want to promote. Note that you have to be approved before you will be able to run some offers.
9. Add your **traffic source** and then you will be able to generate offer link.
10. Copy the offer URL to the clipboard.
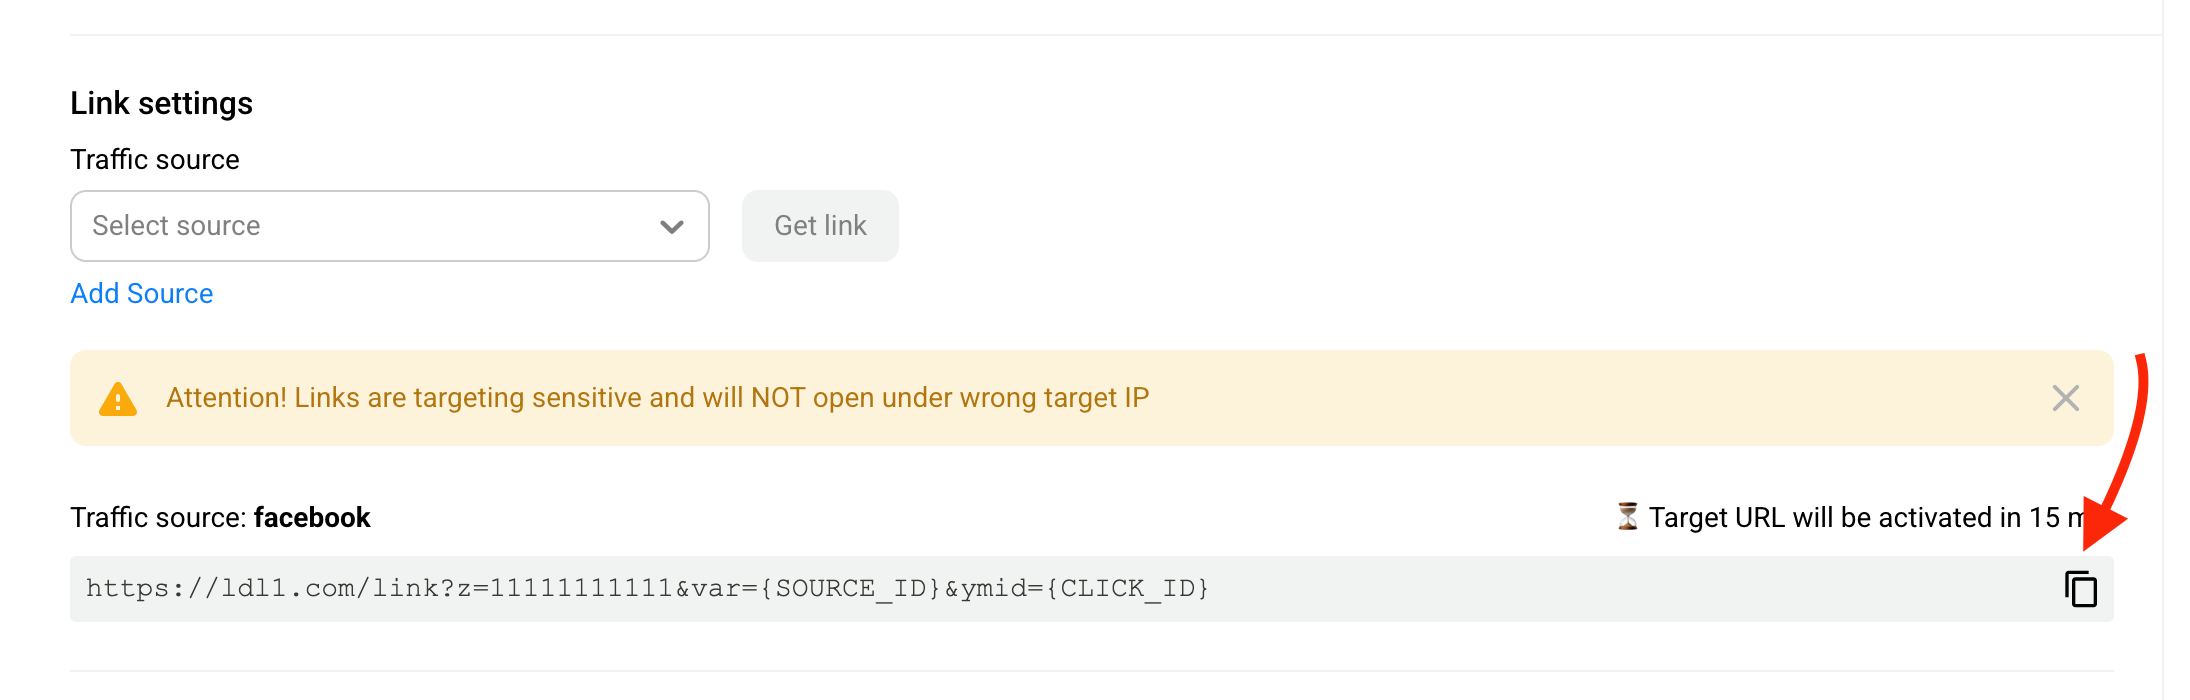
## Step 3. Add offer to Skro [#step-3-add-offer-to-skro]
1. Go to **Offers** → **Create**
2. Choose your workspace.
3. Add name.
4. Grab the offer link from Zeydoo and add it to Offer URL field and change the macros to this **`&var={custom1}&ymid={clickId}`**.
**`{clickId}`** - The Skro click ID macro.
**`{custom1}`** - That's traffic source **Ad ID / Site ID** or any other source mapping. It depends on traffic source.
5. Choose Zeydoo as Affiliate Network.
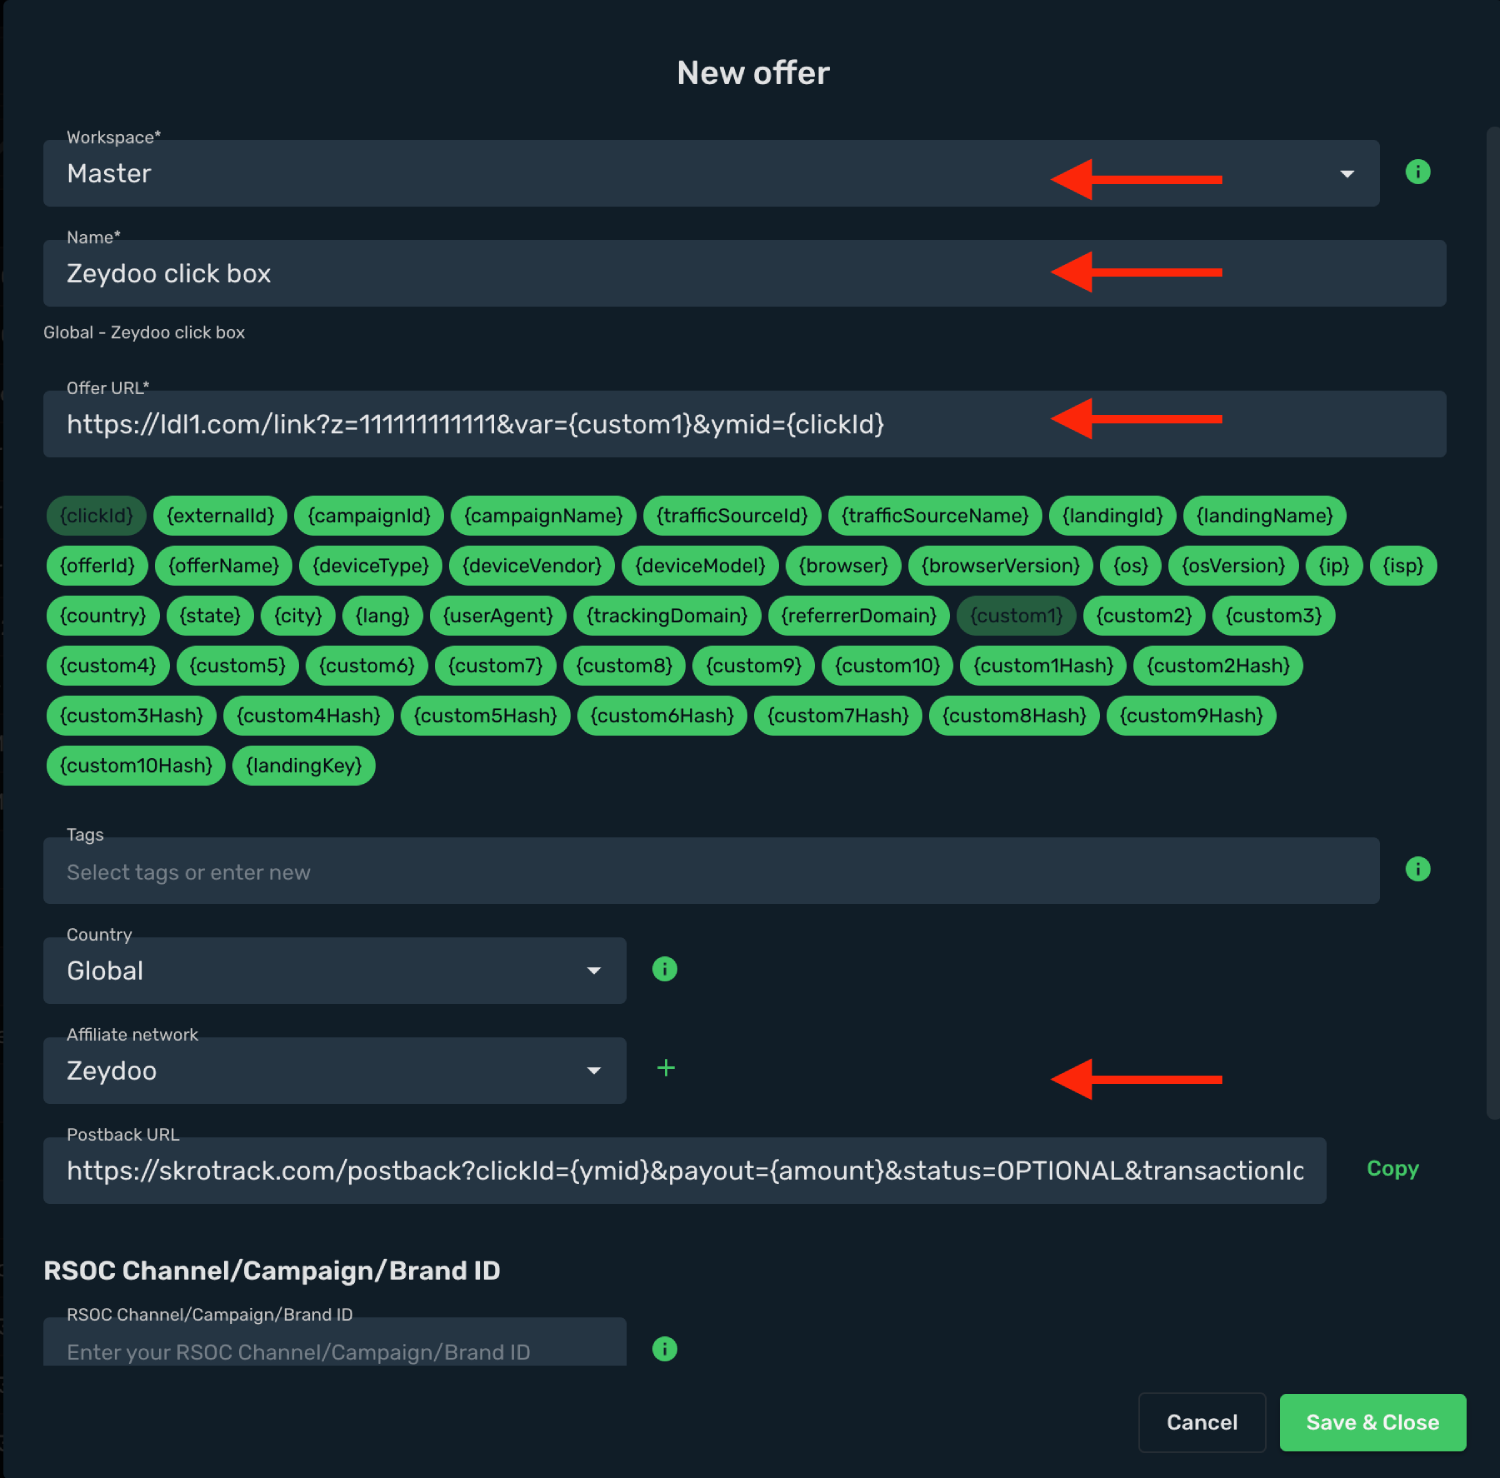
## Step 4. Create campaign [#step-4-create-campaign]
1. Start with traffic source. In this example, we have direct link to Facebook integration guide.
## Verify the setup [#verify-the-setup]
Follow a campaign link and complete a test conversion using your provider’s test workflow. Confirm that the original click ID reaches the provider and is returned to Skro, then check the event and revenue in your campaign report.
If data is missing, check the selected workspace, integration, campaign, and reporting date range. Compare parameter names and macro values with the examples in this guide before repeating the test.
## Related guides [#related-guides]
# Custom conversions
Source: https://skro.eu/docs/postback/custom-conversions
Create custom conversion events in Skro, choose how they affect reports, and map event names for each traffic source.
Custom conversions let you report separate events such as registrations, purchases, upsells, and deposits. Send the event value in the `ce` parameter of your Skro postback URL.
```text
https://skrotrack.com/postback?clickId=REPLACE&ce=InitiateCheckout
```
Your subscription determines how many custom events you can create, up to 20. Use a single-word event value and match its spelling and capitalization across your setup.
Skro custom conversions are configured independently of the custom conversion features in Meta or TikTok. A Skro custom event can map to a standard event supported by your traffic source.
## Event settings [#event-settings]
These settings determine how an event appears in reports and whether it is sent to the traffic source.
| Setting | Effect |
| --- | --- |
| **Custom Conversion Event Name** | Sets the column title in reporting views. |
| **Values of the CE parameter** | Defines the accepted `ce` values. You can add multiple values for providers that use different names. |
| **Use as Approved conversion type** | Includes the event in **Conversions (Approved)** and the CR, CV, and AP calculations. |
| **Include in Conversions (All) column** | Includes the event in the total conversion count. |
| **Include in Revenue column** | Includes the event’s payout in revenue. |
| **Include in conversions Daily Cap value** | Counts the event toward the offer’s configured daily conversion cap. |
| **Send postback to Traffic Source** | Sends the event to the traffic source through its postback or conversion API integration. |
| **Include Payout value in postback** | Includes the payout when sending the event to the traffic source. |
| **Include in Cost column** | Includes the event in cost calculations for CPA and CPS (RevShare) campaign cost models. |
## Create conversion events [#create-conversion-events]
### 1. Open Custom Conversions [#1-open-custom-conversions]
In Skro, go to **Custom Conversions** and select **Create**.

### 2. Create an AddToCart event [#2-create-an-addtocart-event]
Set the event name and accepted `ce` value to **AddToCart**, then choose the reporting options you need.

```text
https://skrotrack.com/postback?clickId=REPLACE&ce=AddToCart
```
### 3. Create an InitiateCheckout event [#3-create-an-initiatecheckout-event]
Create a second event with the value **InitiateCheckout**.

```text
https://skrotrack.com/postback?clickId=REPLACE&ce=InitiateCheckout
```
### 4. Create a Purchase event [#4-create-a-purchase-event]
Create an event with the value **Purchase**. Configure its revenue and approved-conversion settings to match your reporting needs.

Include the revenue and transaction identifier when reporting a purchase:
```text
https://skrotrack.com/postback?clickId=REPLACE&payout=REPLACE&transactionId=REPLACE&ce=Purchase
```
Replace each placeholder with the appropriate value or provider macro. See the [postback parameter reference](/docs/postback/parameters-in-postback-urls) for field descriptions.
## Map event names for a traffic source [#map-event-names-for-a-traffic-source]
Use custom conversion mappings when traffic sources expect different event names for the same internal Skro event. Your incoming postback can keep one `ce` value while Skro sends the mapped event name to each source.
1. Go to **Traffic Sources** and edit the relevant source.
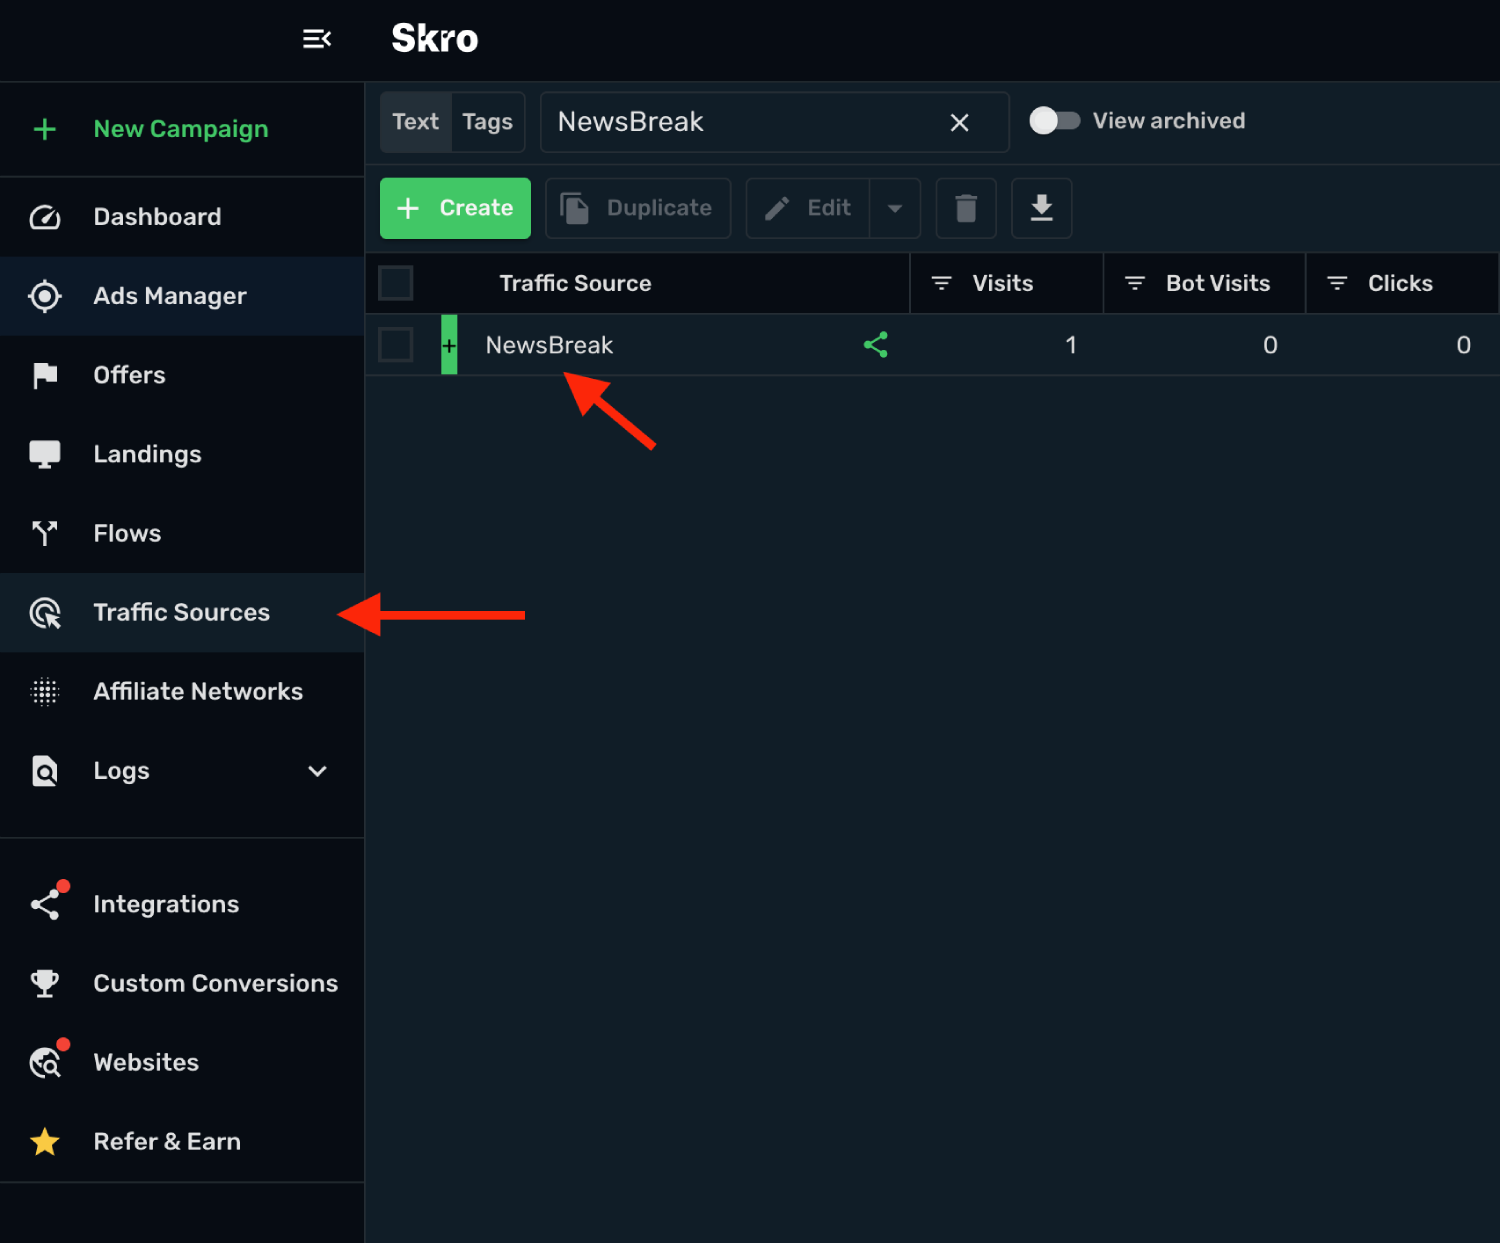
2. Enable **Allow custom conversion event name mappings**.
3. Select **Add Mapping**. You can configure up to 20 mappings.
4. Choose the **Custom Conversion** and enter the **New Event Name** required by the traffic source.
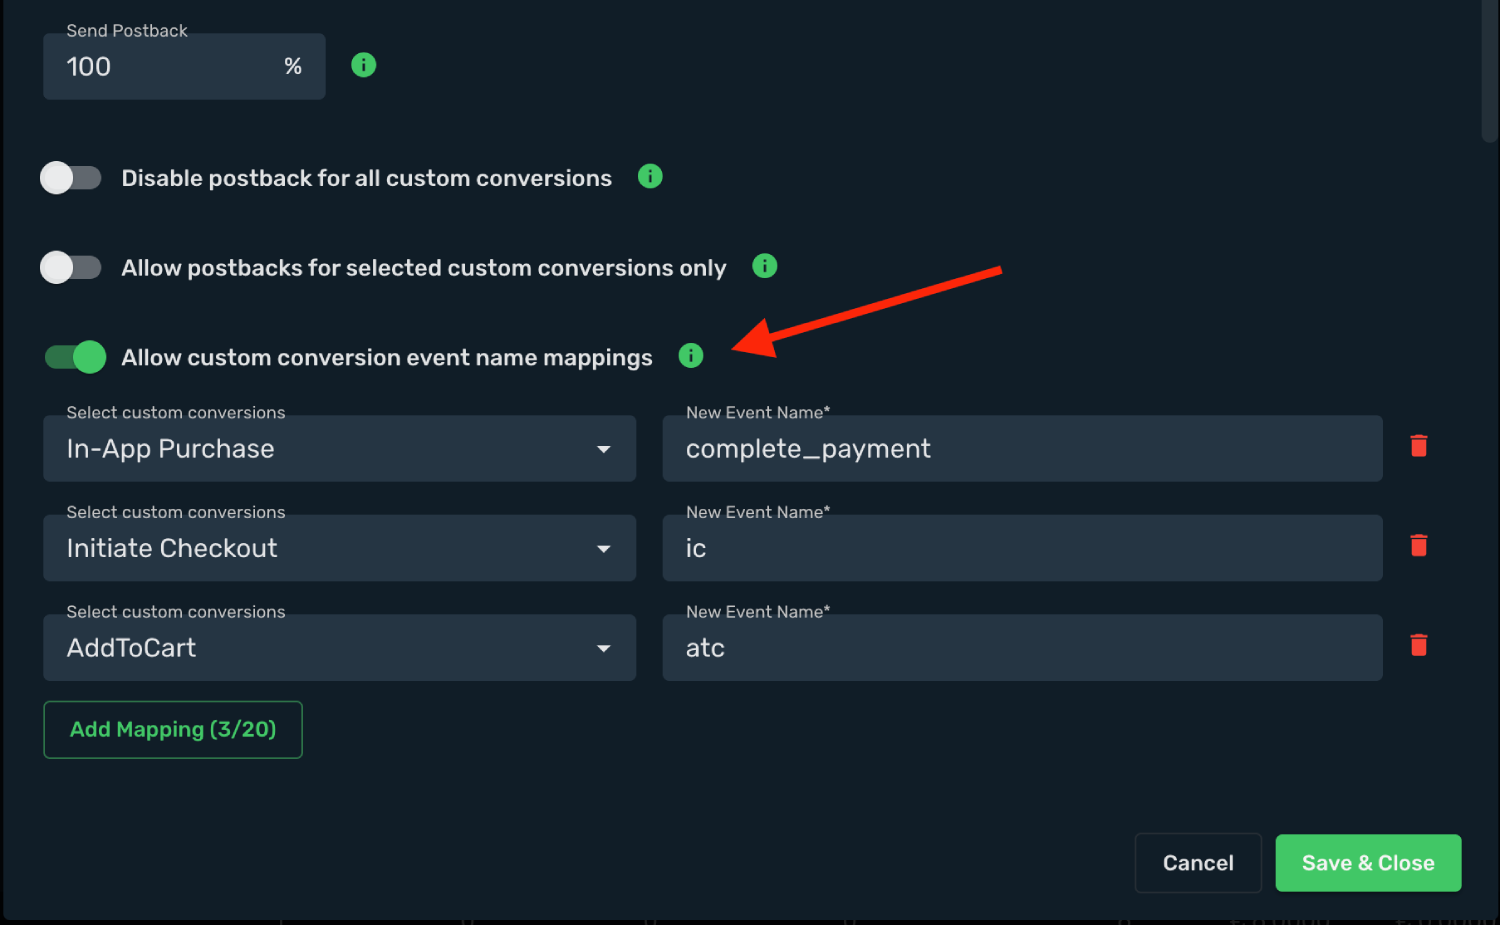
### Example: Meta and NewsBreak [#example-meta-and-newsbreak]
Suppose a conversion arrives with `ce=Purchase`. The same internal event can be sent as:
| Traffic source | Outgoing event name |
| --- | --- |
| Meta | `Purchase` |
| NewsBreak | `complete_payment` |
The incoming postback remains the same:
```text
https://skrotrack.com/postback?clickId=REPLACE&payout=REPLACE&transactionId=REPLACE&ce=Purchase
```
## Verify your events [#verify-your-events]
Trigger a test event using a real Skro click ID. Confirm that the event appears in its reporting column, contributes to the intended totals, and uses the expected outgoing event name in the traffic source.
If the event is missing, check that the incoming `ce` value matches one of the event’s configured values. If it appears in Skro but not in the source, check **Send postback to Traffic Source**, the selected integration, and any event-name mapping.
## Related guides [#related-guides]
# Postback URL parameters
Source: https://skro.eu/docs/postback/parameters-in-postback-urls
Reference for Skro postback parameters: click IDs, revenue, transaction IDs, conversion status, currencies, custom events, and platform-specific data.
A server-to-server (S2S) postback reports a conversion to Skro. The request must include the Skro click ID associated with the original visit. Additional parameters describe the event, revenue, and transaction.
## Basic postback URL [#basic-postback-url]
```text
https://skrotrack.com/postback?clickId=REQUIRED&payout=OPTIONAL&status=OPTIONAL&transactionId=OPTIONAL
```
Use the postback URL generated by your affiliate network template in Skro. Replace example values with the provider’s supported macros. If you use a custom tracking domain, use that domain in place of `skrotrack.com`.
Pass Skro’s `{clickId}` macro to the offer, then use the provider’s corresponding macro to return that same value in the postback. A provider’s own click identifier is not interchangeable with the Skro click ID.
## Parameter reference [#parameter-reference]
| Parameter | Purpose |
| --- | --- |
| `clickId` | Required. Identifies the original Skro click. |
| `payout` | Revenue amount for the conversion. |
| `status` | Conversion status supplied by the affiliate network. |
| `transactionId` | Identifier for an individual transaction or conversion step. |
| `payoutCurrencyCode` | Currency code for the reported revenue. |
| `protectionToken` | Secret token when postback protection is enabled. |
| `ce` | Value that identifies a configured custom conversion event. |
| `p1`–`p5` | Additional values to record with the conversion. |
## clickId [#clickid]
Skro generates a click ID for a campaign visit. Pass it to the offer using the parameter supported by your network. For example, if the network accepts the value in `s2`:
```text
https://example.com/offer?s2={clickId}
```
When a conversion occurs, the network sends the stored value back as `clickId`. Skro uses it to attribute the conversion to the original campaign and visit attributes, including location, device, and operating system.
Check your network’s guide or ask your account manager which macro returns the stored value.
## payout [#payout]
Use `payout` to report revenue per conversion. With **Auto** payout tracking, populate it with the network’s revenue macro or a fixed value. **Manual** payout tracking uses the payout configured in Skro.
## status [#status]
Use `status` to report the conversion’s stage, such as a lead awaiting approval or an approved conversion. Your affiliate network must provide a status value or macro.
Configure the status mappings in your Skro affiliate network settings. Templates such as AdCombo include predefined mappings and a postback macro.
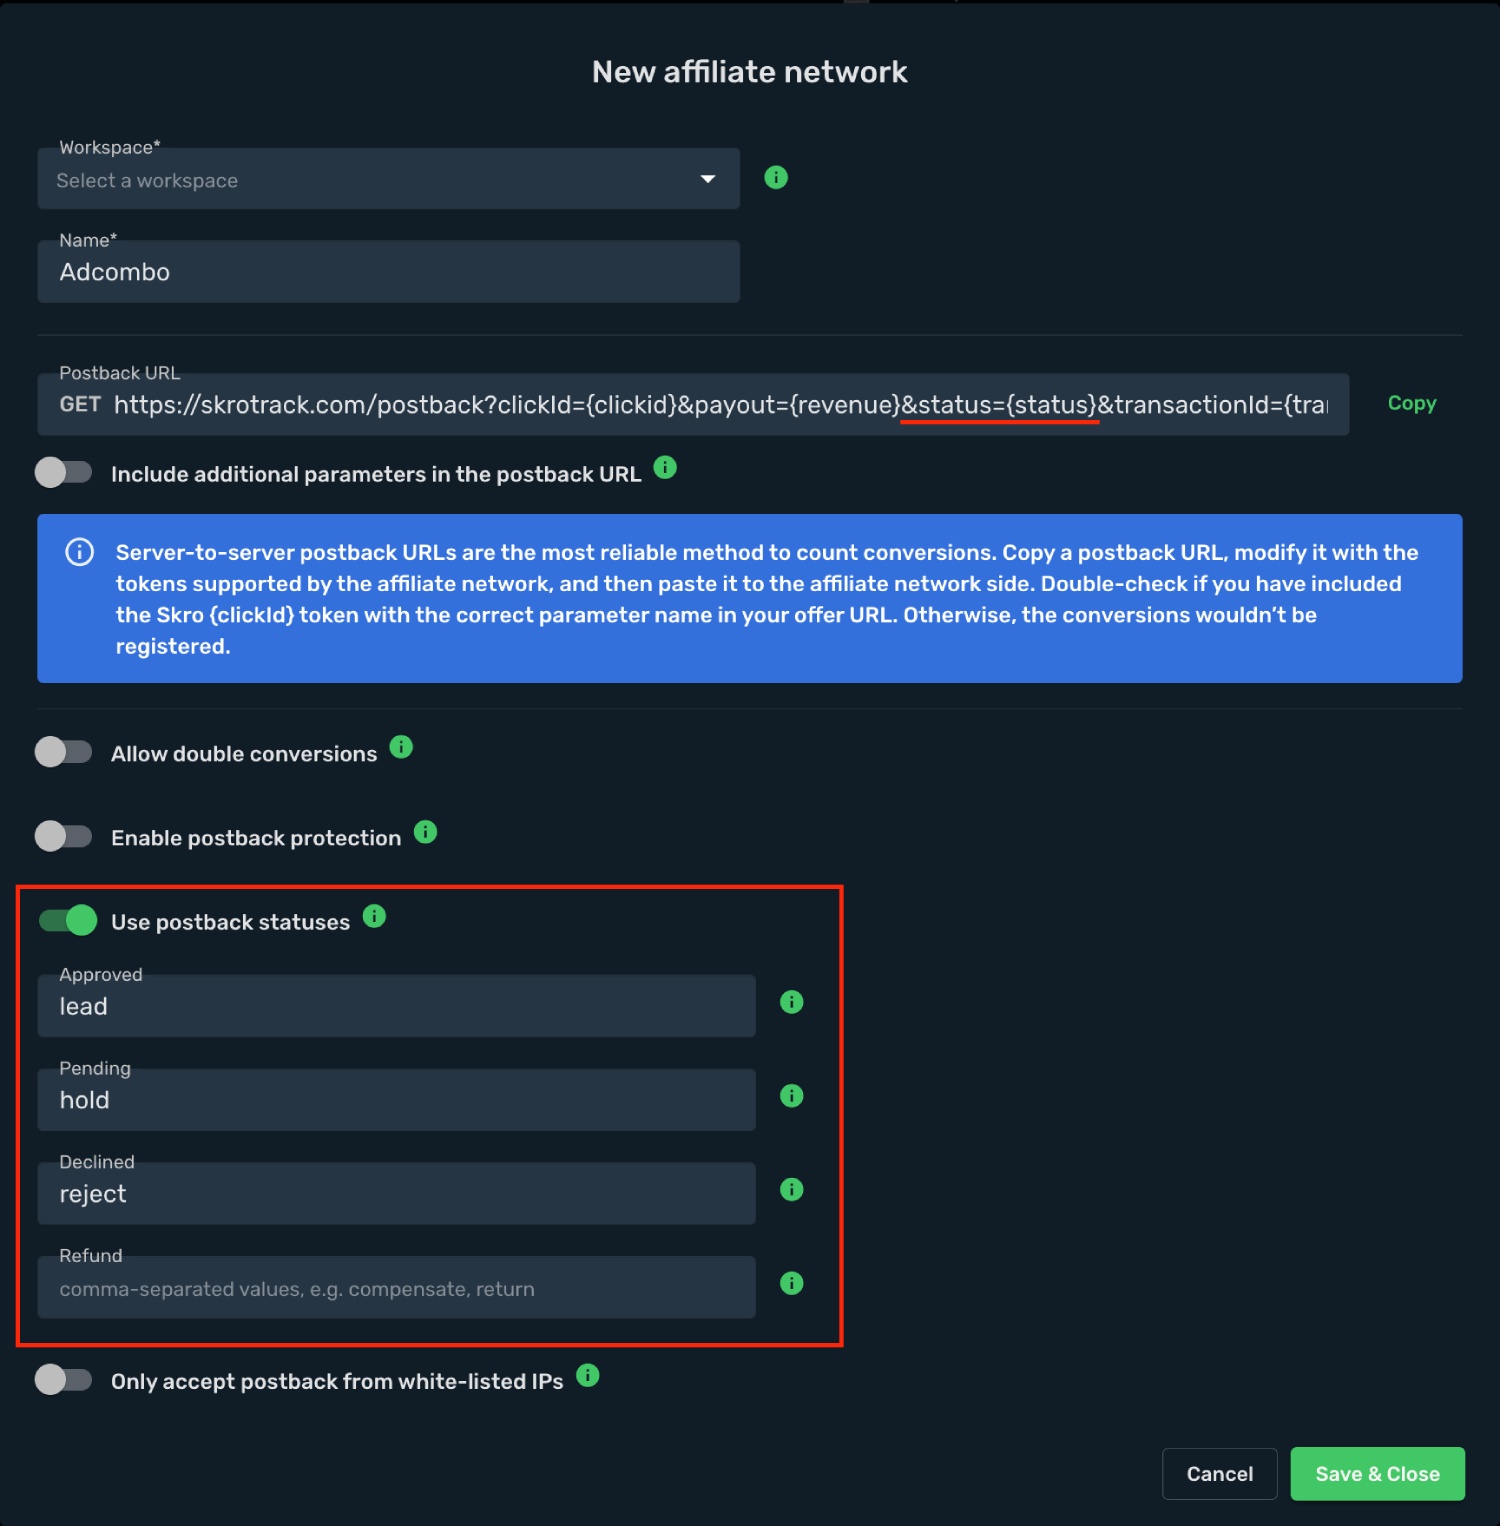
## transactionId [#transactionid]
Use `transactionId` to identify individual transactions associated with a click. This is useful when a visitor completes multiple conversion steps, purchases, or upsells.
Pass the network’s transaction macro or a transaction identifier from your own system. Choose a value that identifies the conversion being reported.
## payoutCurrencyCode [#payoutcurrencycode]
Pass the currency of the revenue amount, for example `USD`, `EUR`, or `GBP`. A currency supplied in the postback takes priority over the configured default currency.
## protectionToken [#protectiontoken]
Enable postback protection in the affiliate network settings, then include the configured token in the postback URL.
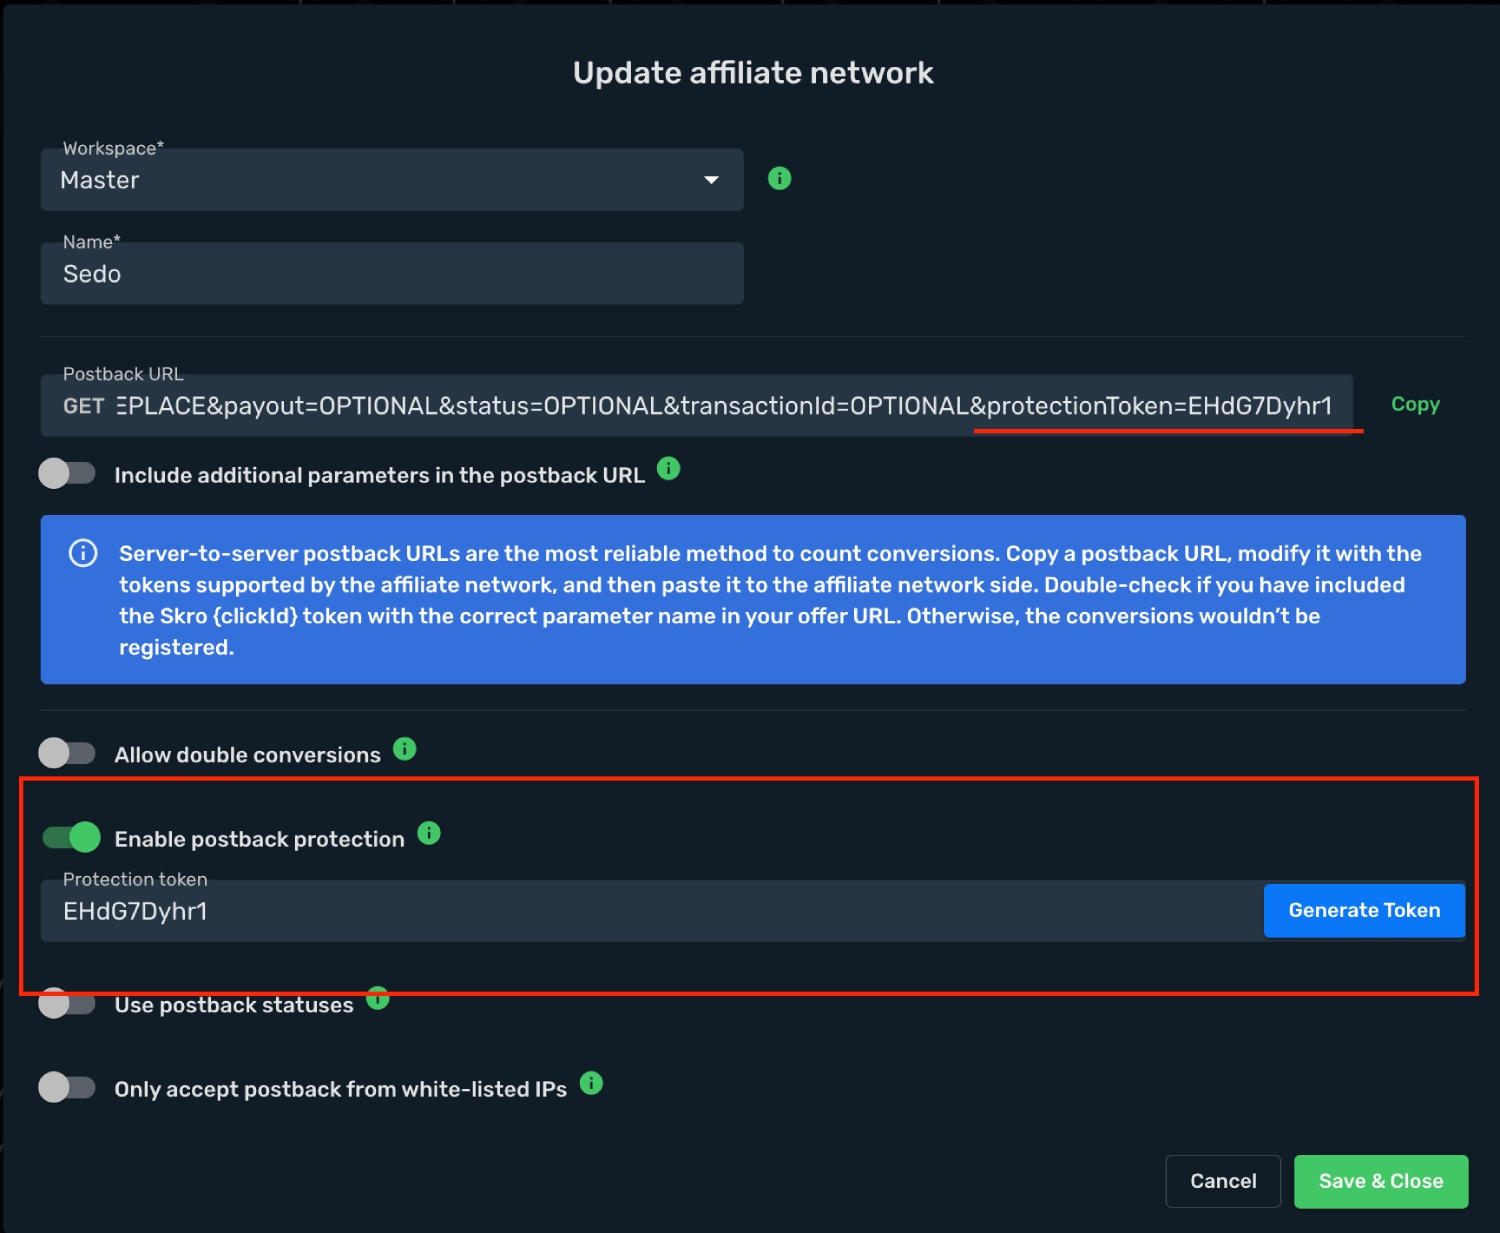
```text
https://skrotrack.com/postback?clickId=REPLACE&payout=5&protectionToken=YOUR_PROTECTION_TOKEN
```
Use your own token from Skro; the value above is a placeholder.
## ce: custom conversion events [#ce-custom-conversion-events]
Use `ce` to distinguish events such as installs, registrations, purchases, deposits, and upsells. Configure the accepted values in **Custom Conversions** before sending them. Your subscription determines the available number of events, up to 20.
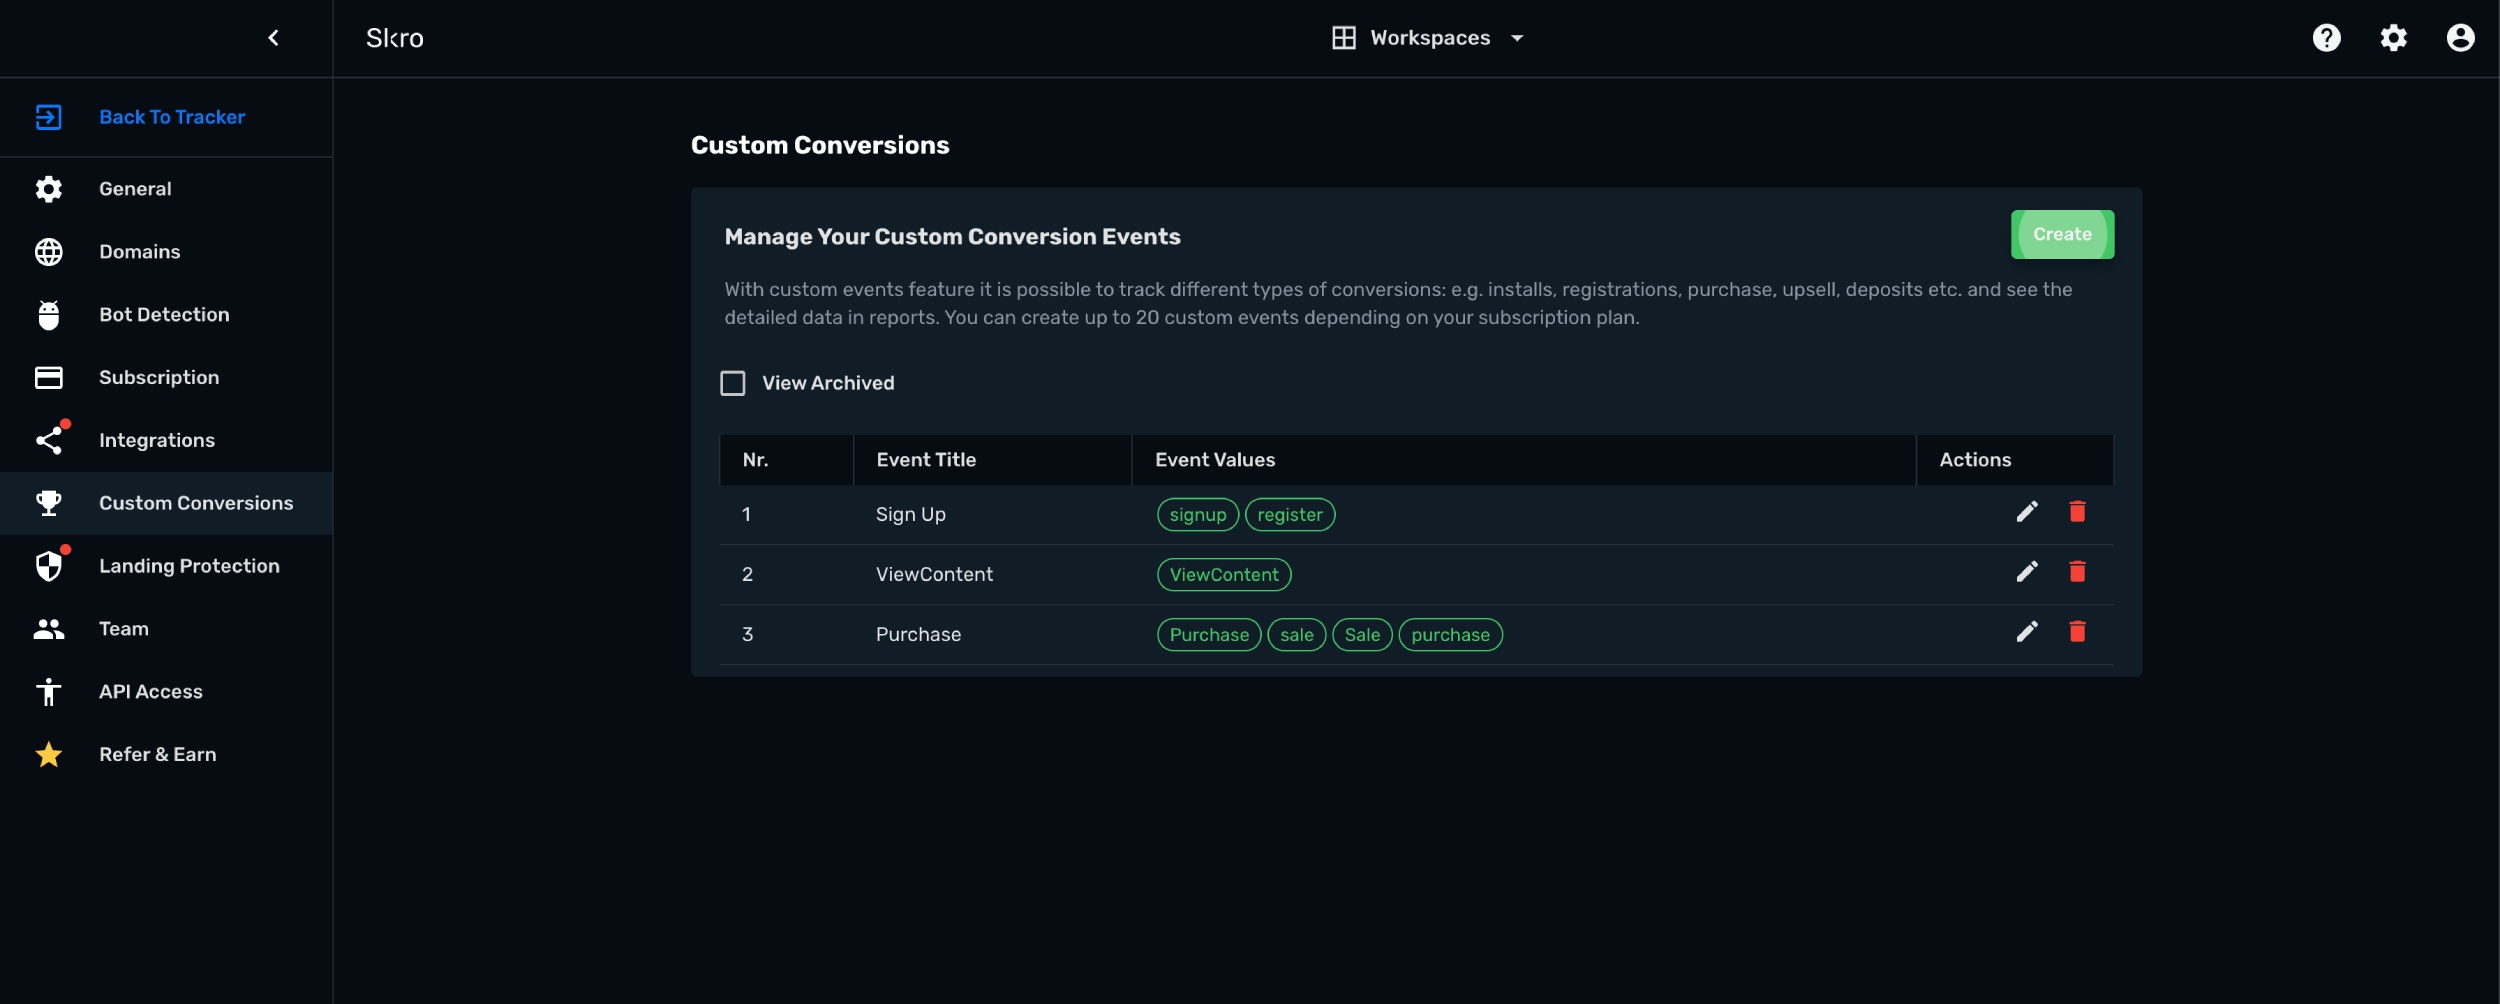
For example, an **App Install** event can accept both `inst` and `install`. A postback containing either value is categorized under the configured event:
```text
https://skrotrack.com/postback?clickId=REPLACE&payout=5&ce=install
```
See [Custom conversions](/docs/postback/custom-conversions) for reporting options and traffic source event mappings.
## p1–p5: additional data [#p1p5-additional-data]
Use `p1` through `p5` to store additional information supplied by the network. Assign each parameter a supported macro or value.
```text
https://skrotrack.com/postback?clickId=REPLACE&payout=OPTIONAL&status=OPTIONAL&transactionId=OPTIONAL&p1=OPTIONAL&p2=OPTIONAL&p3=OPTIONAL&p4=OPTIONAL&p5=OPTIONAL
```
## Meta Conversions API parameters [#meta-conversions-api-parameters]
Connect your Meta ad account and Conversions API integration before using these fields.
| Parameter | Value |
| --- | --- |
| `firstName` | Customer’s first name; Roman alphabet characters are recommended. |
| `lastName` | Customer’s last name; Roman alphabet characters are recommended. |
| `email` | Customer’s email address. |
| `phone` | Customer’s phone number. |
| `zip` | Postal code in lowercase, without spaces or dashes. Use five digits for US ZIP codes. |
| `fbLoginId` | Meta app-scoped login ID. |
| `fbp` | Browser ID from the `_fbp` cookie on your domain. |
| `sourceDomain` | Overrides the source domain sent to the traffic source; the landing or offer domain is used by default. |
| `eventId` | Identifier used to match the browser and server copies of the same event for deduplication. |
```text
https://skrotrack.com/postback?clickId=REPLACE&payout=10&firstName=John&lastName=Doe&email=john@example.com&zip=12345&fbLoginId=APP_SCOPED_ID&fbp=fb.1.1596403881668.1116446470&sourceDomain=example.com&eventId=EVENT_ID
```
For details, see [additional Meta conversion parameters](/docs/facebook/how-to-send-additional-parameters-via-facebook-meta-conversion-api).
## TikTok conversion parameters [#tiktok-conversion-parameters]
Connect your TikTok ad account and conversion integration before using these fields.
| Parameter | Purpose |
| --- | --- |
| `sourceDomain` | Overrides the source domain sent to TikTok; the landing or offer domain is used by default. |
| `eventId` | Identifies the same event across browser and server tracking for deduplication. |
## Google Ads conversion parameters [#google-ads-conversion-parameters]
Connect your Google Ads account and conversion integration before using these fields.
| Parameter | Purpose |
| --- | --- |
| `transactionId` | Used as the order identifier for the Google Ads conversion. |
| `userConsent` | When `true`, Skro passes granted values for **Ad User Data** and **Ad Personalization**. Supply the value that reflects the user’s consent. |
```text
https://skrotrack.com/postback?clickId=REPLACE&payout=10&transactionId=order12345&userConsent=true
```
## Verify a postback [#verify-a-postback]
1. Open a campaign link and obtain a real Skro click ID from the resulting visit.
2. Confirm that the offer receives that value in the network’s configured parameter.
3. Trigger a test conversion using the network’s test workflow.
4. Check the conversion, event name, revenue, currency, and status in the Skro campaign report.
If a conversion is missing, check the click ID mapping, protection token, and custom event value first. For network-specific macros, follow the matching guide in the [integration directory](/docs/integrations).
# Automated bot detection
Source: https://skro.eu/docs/skro-automated-bot-detection
Understand how Skro identifies suspicious traffic and choose whether to mark, block, or redirect detected bot visits.
## Protect Your Campaigns from Invalid Traffic [#protect-your-campaigns-from-invalid-traffic]
Bots, crawlers, spiders, proxies, and VPN services can negatively impact campaign performance by generating invalid clicks, skewing statistics, consuming budgets, and making optimization decisions less accurate.
To help advertisers maintain clean and reliable traffic, Skro includes an intelligent Automated Bot Detection system that continuously identifies and classifies suspicious traffic before it affects your campaigns.
Our detection engine analyzes multiple signals, including:
- Browser User Agent
- IP Address reputation
- ASN (Autonomous System Number)
- Known crawler networks
- Cloud hosting providers
- VPN and proxy networks
The system currently maintains a database of more than 26,000 known IP addresses and continuously monitors traffic from major search engine crawlers, cloud providers, hosting companies, proxy services, and VPN networks.
## Detected Networks and Services [#detected-networks-and-services]
Skro automatically identifies traffic originating from:
- Googlebot
- Bingbot
- Applebot
- Meta
- Amazon Web Services (AWS)
- Google Cloud Platform (GCP)
- Microsoft Azure
- DigitalOcean
- Oracle Cloud
- Hetzner
- OVHcloud
- Cloudflare
- Google Ads Fetchers
- Google Special Crawlers
- Vultr
- Linode
- Scaleway
- Tor Exit Nodes
- NordVPN
- ExpressVPN
- Surfshark
- CyberGhost VPN
- Private Internet Access (PIA)
## Bot Handling Actions [#bot-handling-actions]
When bot traffic is detected, you can choose how Skro should handle the request.
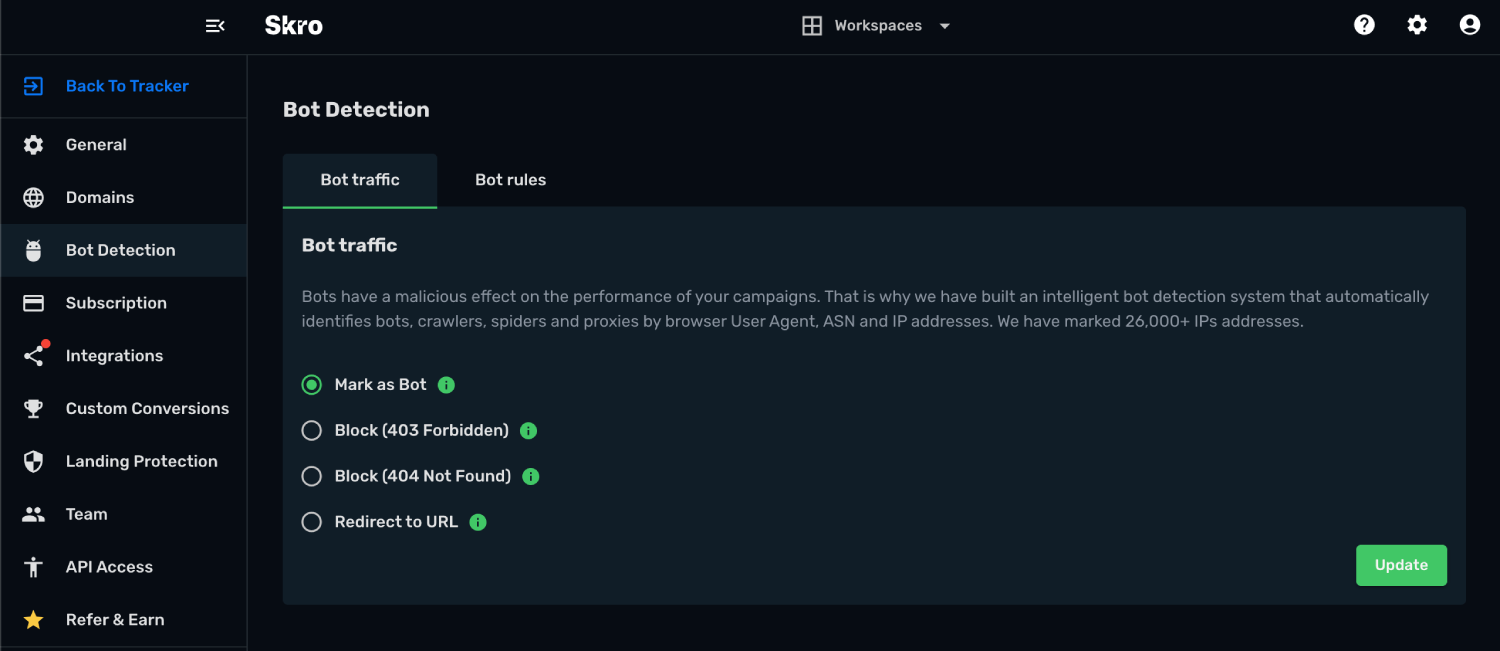
### Mark as Bot [#mark-as-bot]
Detected traffic is marked as bot traffic but is still processed normally.
**Behavior:**
- Clicks and visits are recorded in statistics.
- Traffic can be analyzed and reported separately.
- Campaign rules can route bot traffic to dedicated paths.
- Useful for monitoring and analysis purposes.
### Block (403 Forbidden) [#block-403-forbidden]
The connection is immediately terminated and the visitor receives a **403 Forbidden** response.
**Behavior:**
- Access is denied.
- Traffic is not recorded in campaign statistics.
- Prevents bots from interacting with your campaigns.
### Block (404 Not Found) [#block-404-not-found]
The connection is immediately terminated and the visitor receives a **404 Not Found** response.
**Behavior:**
- The requested resource appears unavailable.
- Traffic is not recorded in campaign statistics.
- Useful when you prefer not to reveal that access was intentionally blocked.
### Redirect to URL [#redirect-to-url]
Detected bot traffic is redirected to a destination URL of your choice.
**Behavior:**
- Bots are redirected before reaching the campaign.
- Traffic is not recorded in campaign statistics.
- Useful for sending bots to a safe destination or decoy page.
## Why Use Automated Bot Detection? [#why-use-automated-bot-detection]
By filtering invalid traffic before it reaches your campaigns, Automated Bot Detection helps:
- Improve data accuracy
- Protect advertising budgets
- Reduce fraudulent clicks
- Improve campaign optimization
- Keep reports clean and actionable
- Gain greater visibility into traffic quality
With Automated Bot Detection enabled, you can focus on real users while Skro automatically handles unwanted traffic in the background.
## Related guides [#related-guides]
# Custom bot rules
Source: https://skro.eu/docs/skro-custom-bot-rules
Create custom bot detection rules in Skro using campaign-specific conditions and choose how matching traffic is handled.
## Create Custom Rules to Identify Bot Traffic [#create-custom-rules-to-identify-bot-traffic]
While Skro's Automated Bot Detection system automatically identifies known bots, crawlers, proxies, VPNs, and suspicious networks, Bot Rules provide additional control over how traffic is classified.
Bot Rules allow you to create custom conditions that identify suspicious traffic patterns specific to your campaigns. This helps prevent invalid traffic from contaminating your statistics, improving data accuracy and campaign optimization.
Rules are evaluated in real-time as visitors enter your campaigns.
When a visitor matches a Bot Rule, the traffic is automatically classified as bot traffic and follows the Bot Detection action configured in your account.
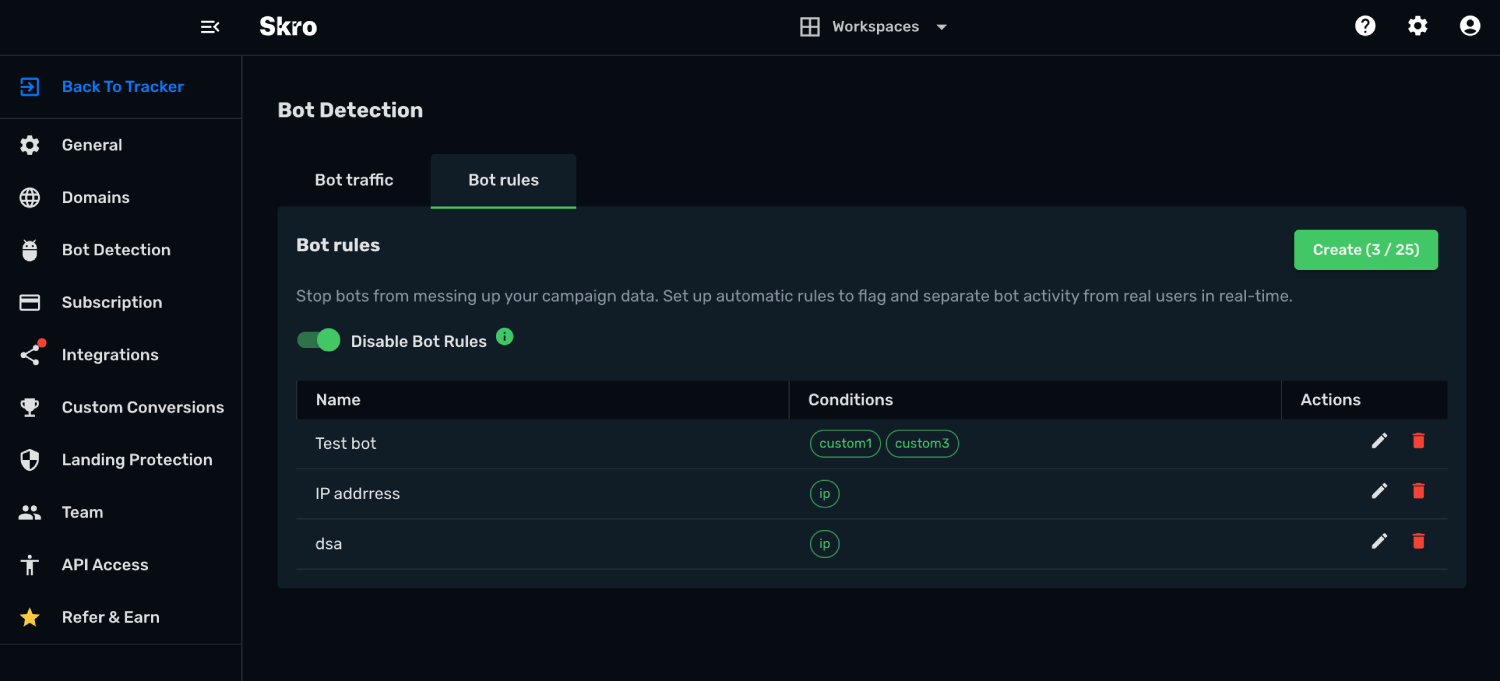
## Available Rule Conditions [#available-rule-conditions]
You can create custom bot detection rules using the following visitor attributes:
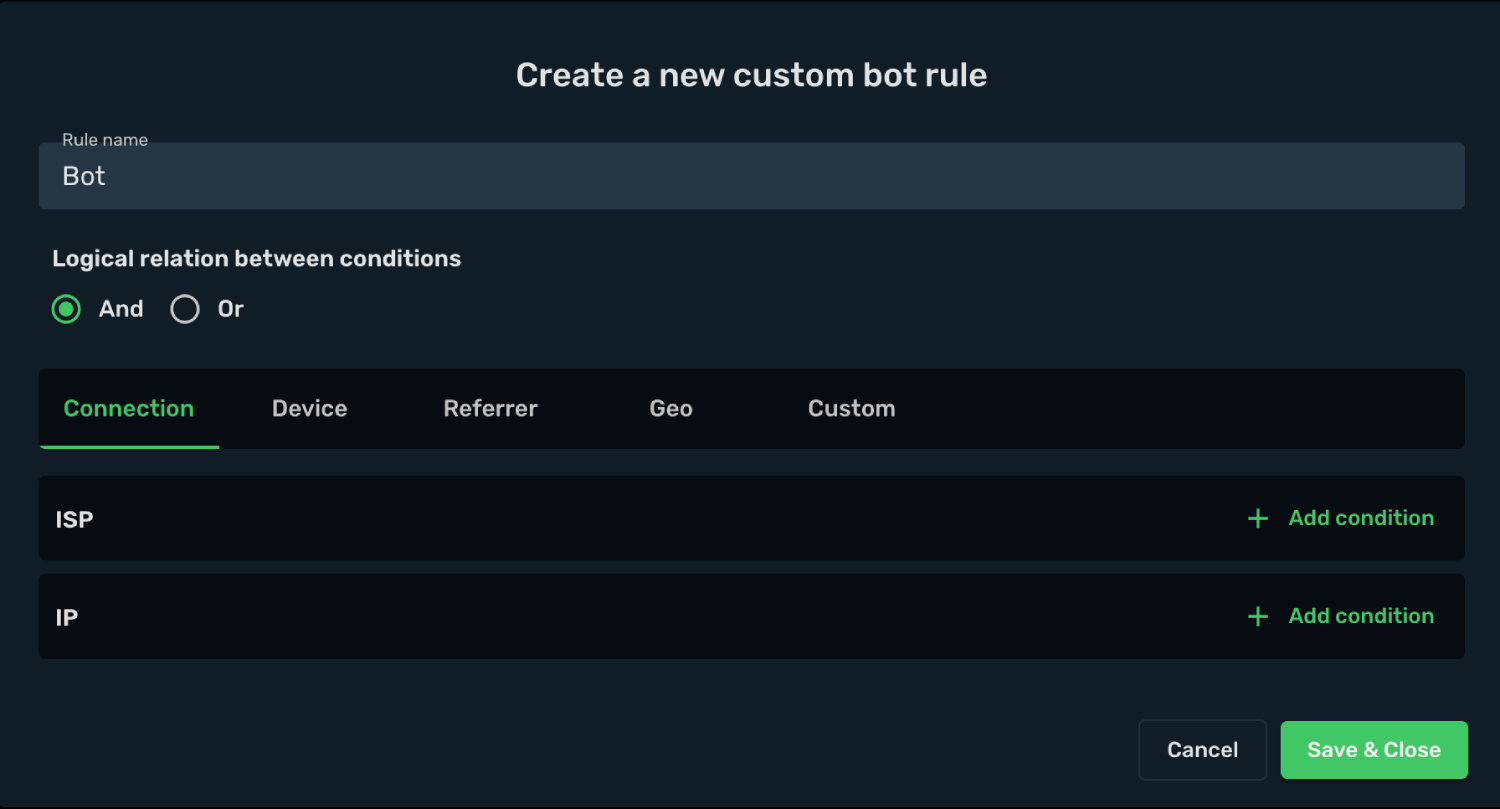
- ISP
- IP Address
- Operating System (OS)
- Browser
- Device Type
- Device Vendor
- Browser Language
- User Agent
- Referrer
- Referrer Domain
- Country
- Custom1
- Custom2
- Custom3
- Custom4
- Custom5
- Custom6
- Custom7
- Custom8
- Custom9
- Custom10
## Rule Logic [#rule-logic]
Multiple conditions can be combined using logical operators.
### AND Logic [#and-logic]
The visitor must match **all conditions** in the rule.
**Example:**
- Country = United States
- Browser = Chrome
- Device Type = Mobile
Result: A visitor is classified as bot traffic only if all three conditions are true.
### OR Logic [#or-logic]
The visitor must match **at least one condition** in the rule.
**Example:**
- ISP = Hosting Provider
- Country = Unknown
- Browser Language = Empty
Result: A visitor is classified as bot traffic if any one of the conditions is true.
## Rule Examples [#rule-examples]
### Example 1: Detect Traffic from a Data Center [#example-1-detect-traffic-from-a-data-center]
**Condition:**
- ISP = DigitalOcean
**Logic:** OR
Any visitor using the specified hosting provider will be classified as bot traffic.
### Example 2: Detect Suspicious Browser Configurations [#example-2-detect-suspicious-browser-configurations]
**Conditions:**
- Browser Language = Empty
- Referrer Domain = Empty
**Logic:** AND
Visitors matching both conditions will be classified as bot traffic.
### Example 3: Detect Traffic by Country and Device Type [#example-3-detect-traffic-by-country-and-device-type]
**Conditions:**
- Country = Example Country
- Device Type = Desktop
**Logic:** AND
Only visitors matching both conditions will be classified as bot traffic.
## Rule Limits [#rule-limits]
Each account can create up to **25 custom Bot Rules**.
This allows you to build highly targeted detection strategies while maintaining optimal system performance.
## Best Practices [#best-practices]
- Start with broad rules and refine them over time.
- Monitor traffic patterns before creating aggressive rules.
- Use AND logic when you need precise matching.
- Use OR logic when you want to capture a wider range of suspicious traffic.
- Regularly review identified bot traffic to ensure legitimate users are not being flagged.
## Benefits of Bot Rules [#benefits-of-bot-rules]
Custom Bot Rules help you:
- Improve traffic quality
- Maintain accurate reporting
- Reduce invalid traffic
- Protect advertising budgets
- Identify suspicious traffic patterns
- Gain deeper insight into visitor behavior
By combining Automated Bot Detection with custom Bot Rules, you can create a more effective traffic filtering strategy and ensure your campaign data remains clean and reliable.
## Related guides [#related-guides]
# Set up a tracking domain with Cloudflare
Source: https://skro.eu/docs/tracking-domain/cloudflare-and-skro
Configure a custom tracking subdomain in Cloudflare, add the CNAME record required by Skro, and verify the connection.
Use a custom tracking domain for your campaign links. This guide uses `go.example.com` and points it to `skrotrack.com`.
You need access to your domain’s DNS settings and the **Settings → Domains** section in Skro. Use a subdomain, such as `go.example.com`, for this setup.
## Step 1. Add the domain in Skro [#step-1-add-the-domain-in-skro]
1. In Skro, open **Settings → Domains**.
2. Find **Tracking Domains** and add `go.example.com`.
3. Review the CNAME configuration shown for your domain.
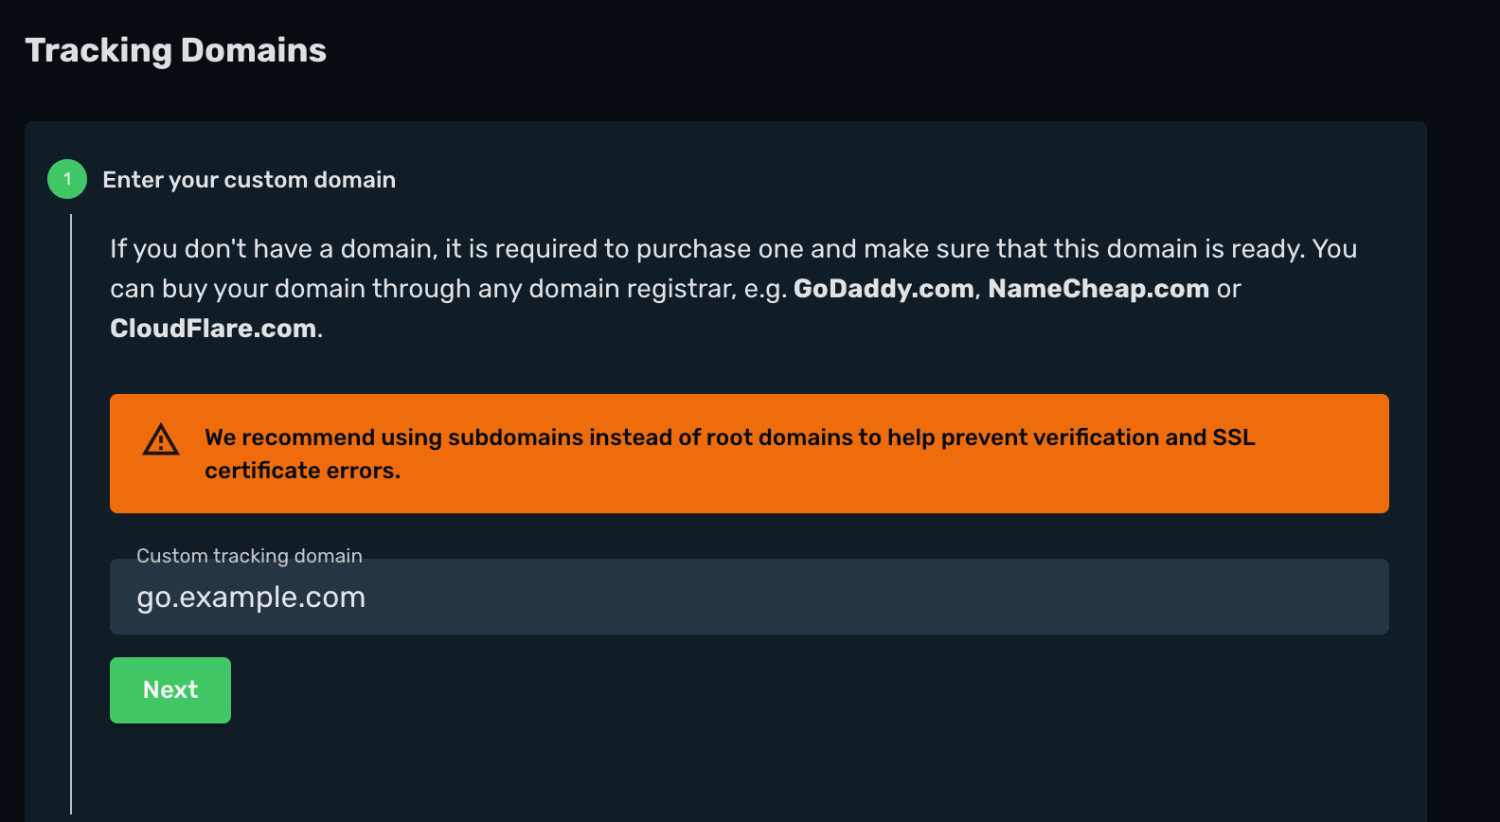
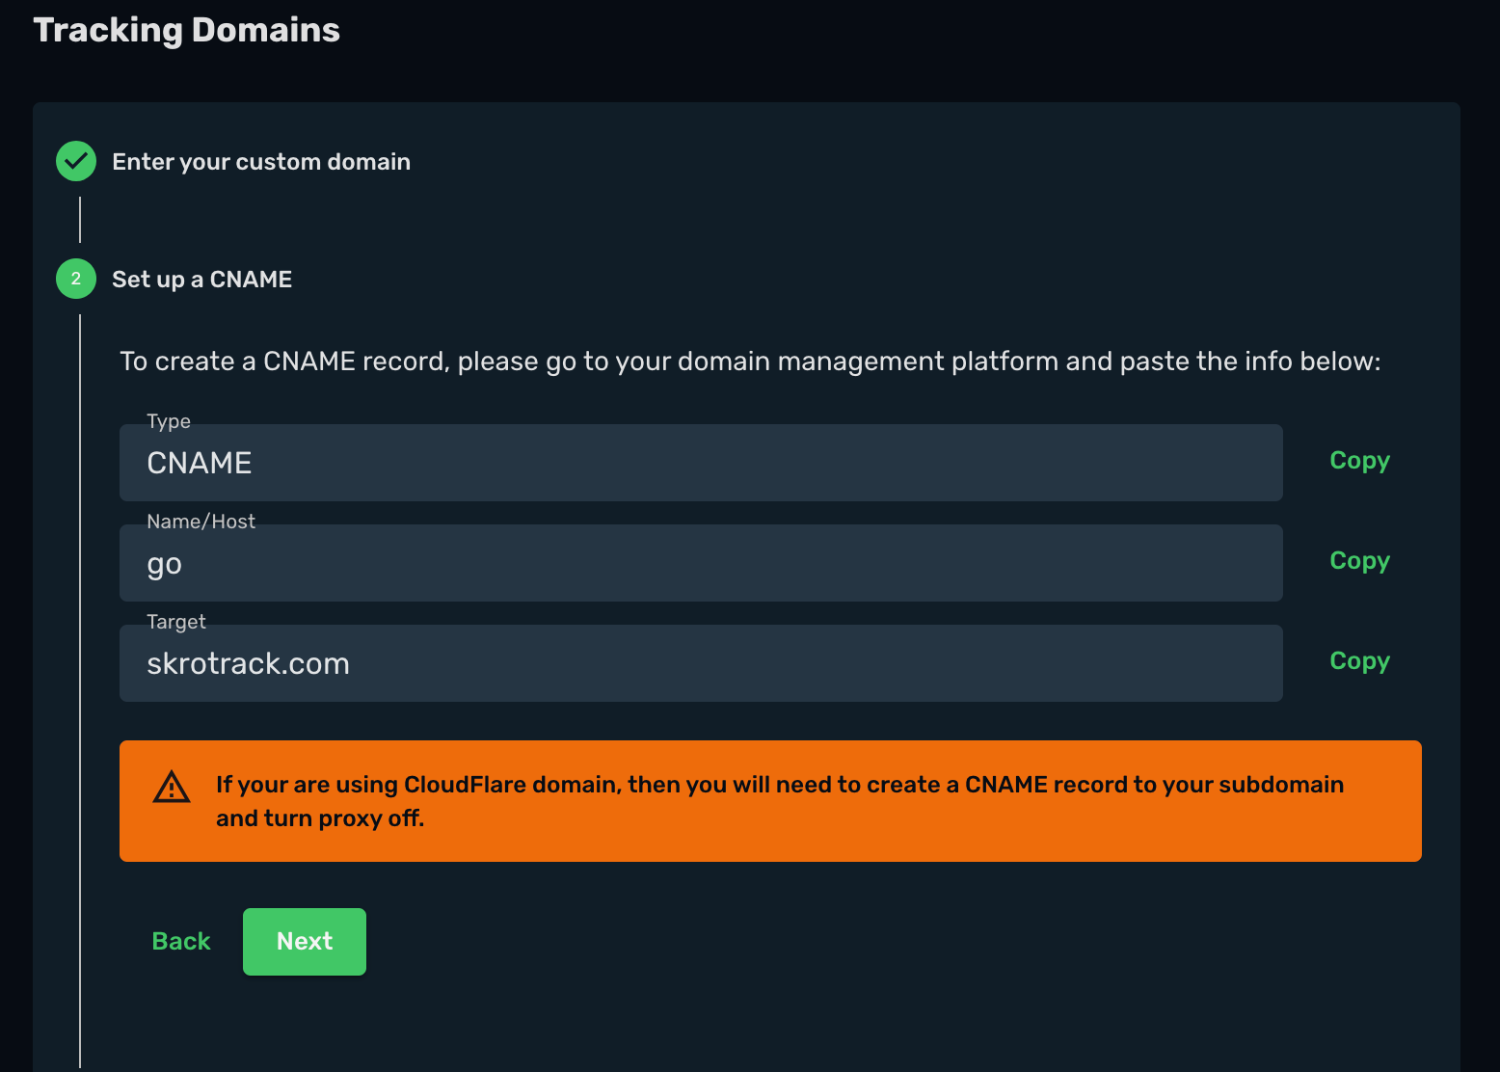
## Step 2. Create the CNAME record in Cloudflare [#step-2-create-the-cname-record-in-cloudflare]
1. Sign in to Cloudflare and select the domain.
2. Open **DNS → Records → Add Record**.
3. Enter these values:
| Field | Value |
| --- | --- |
| **Type** | CNAME |
| **Name** | `go` |
| **Target** | `skrotrack.com` |
| **Proxy status** | Off / DNS only |
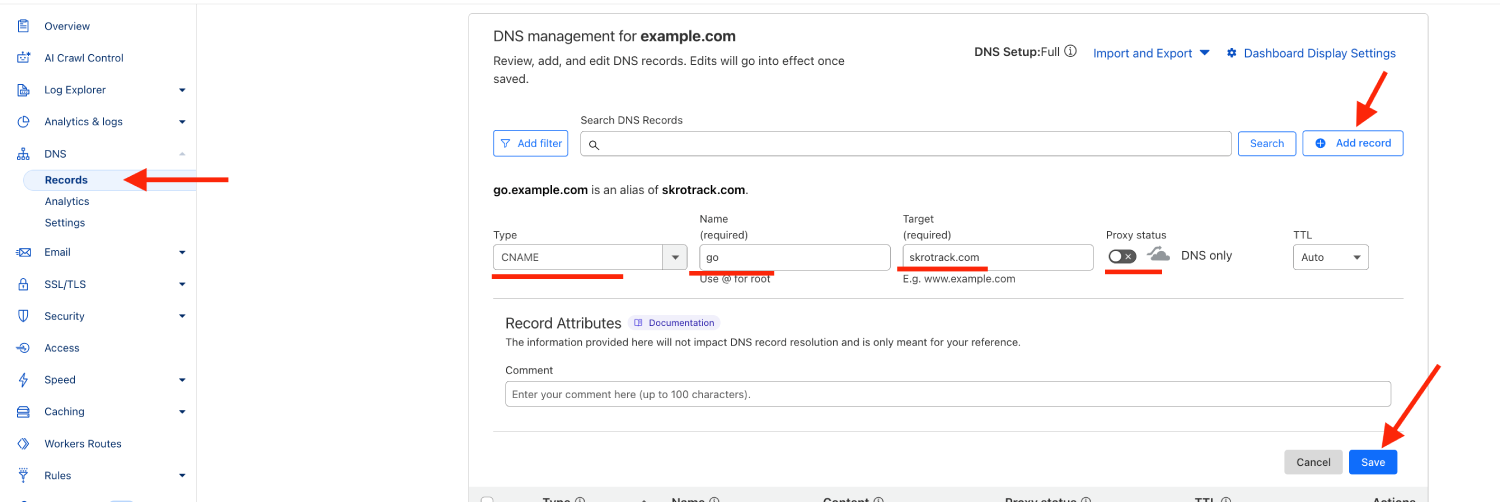
4. Save the DNS record.
## Step 3. Verify the domain [#step-3-verify-the-domain]
Allow time for the DNS change to propagate, then return to **Tracking Domains** in Skro and verify the domain.
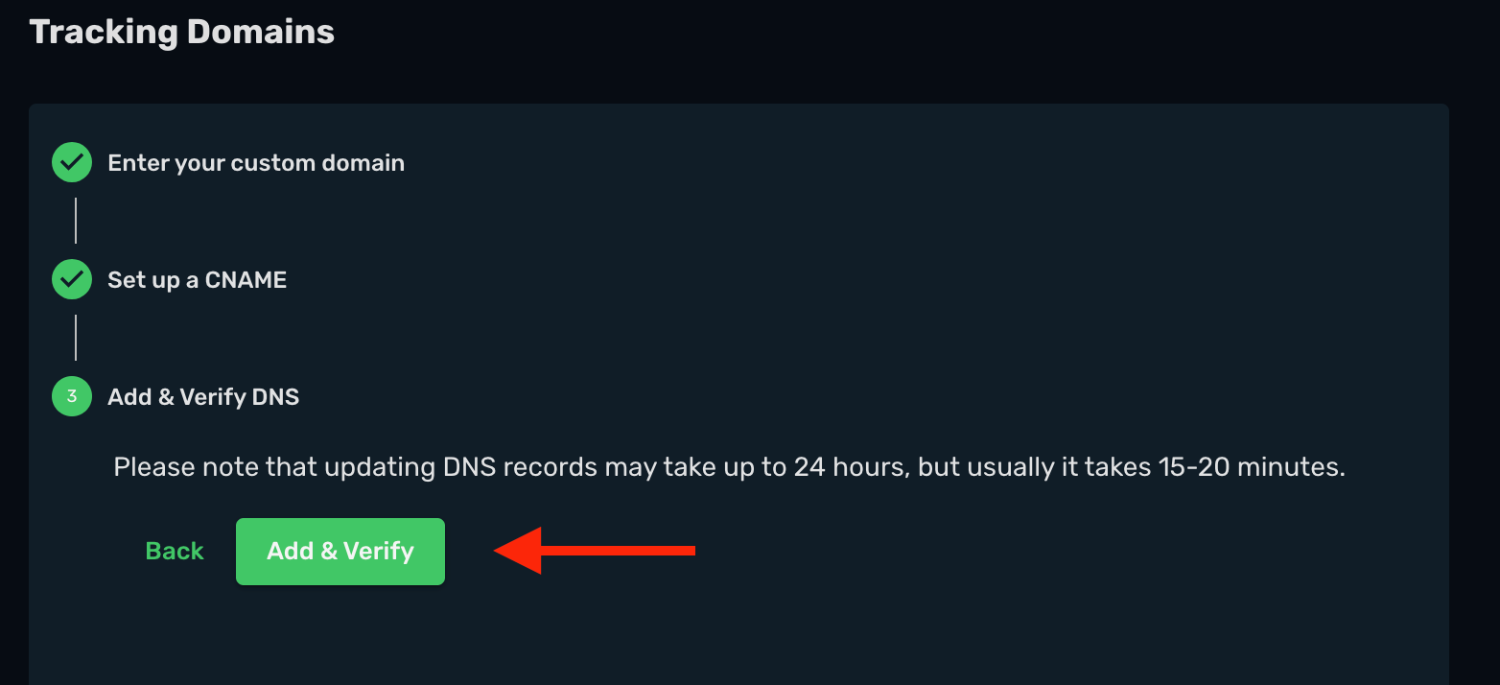
## Troubleshooting [#troubleshooting]
Check that the record uses the correct subdomain and CNAME target. Keep the Cloudflare proxy disabled for this record. If verification fails immediately after saving, wait for DNS propagation and try again.
## Related guides [#related-guides]
# Set up a tracking domain with Namecheap
Source: https://skro.eu/docs/tracking-domain/namecheap-and-skro
Configure a custom tracking subdomain in Namecheap, add the CNAME record required by Skro, and verify the connection.
Use a custom tracking domain for your campaign links. This guide uses `go.example.com` and points it to `skrotrack.com`.
You need access to your domain’s DNS settings and the **Settings → Domains** section in Skro. Use a subdomain, such as `go.example.com`, for this setup.
## Step 1. Add the domain in Skro [#step-1-add-the-domain-in-skro]
1. In Skro, open **Settings → Domains**.
2. Find **Tracking Domains** and add `go.example.com`.
3. Review the CNAME configuration shown for your domain.


## Step 2. Create the CNAME record in Namecheap [#step-2-create-the-cname-record-in-namecheap]
1. Sign in to Namecheap.
2. Open **Domain List** and select **Manage** for your domain.
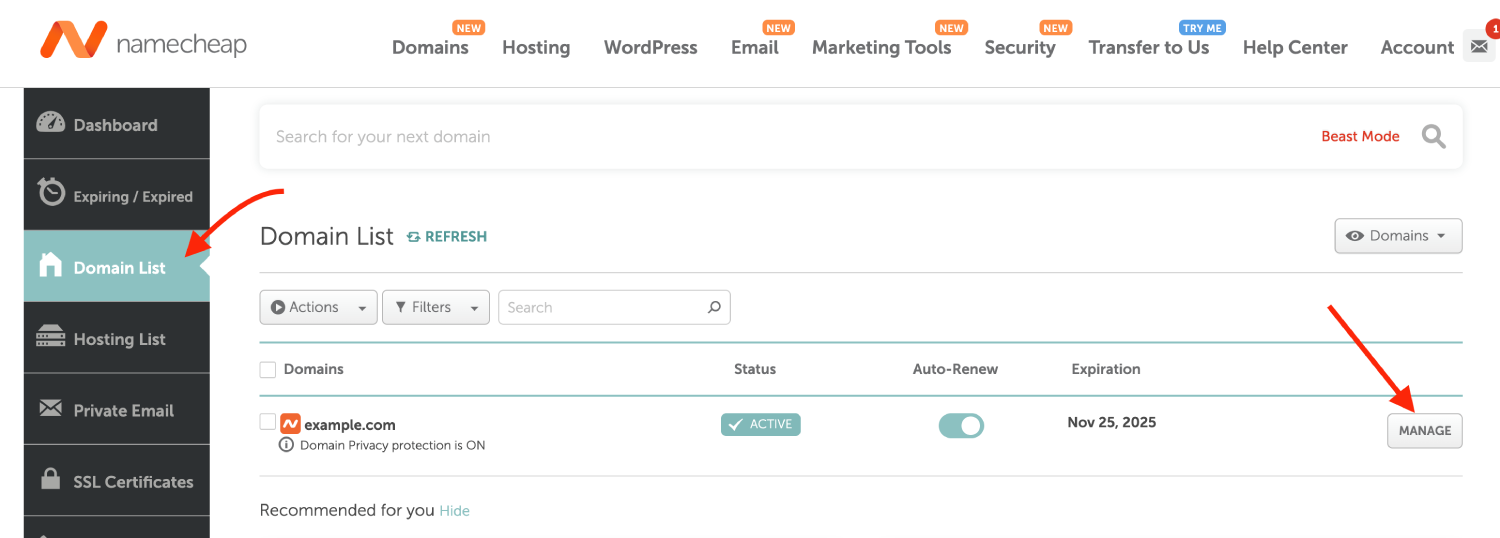
3. Open **Advanced DNS** and add a CNAME record:
| Field | Value |
| --- | --- |
| **Type** | CNAME Record |
| **Host** | `go` |
| **Value** | `skrotrack.com` |
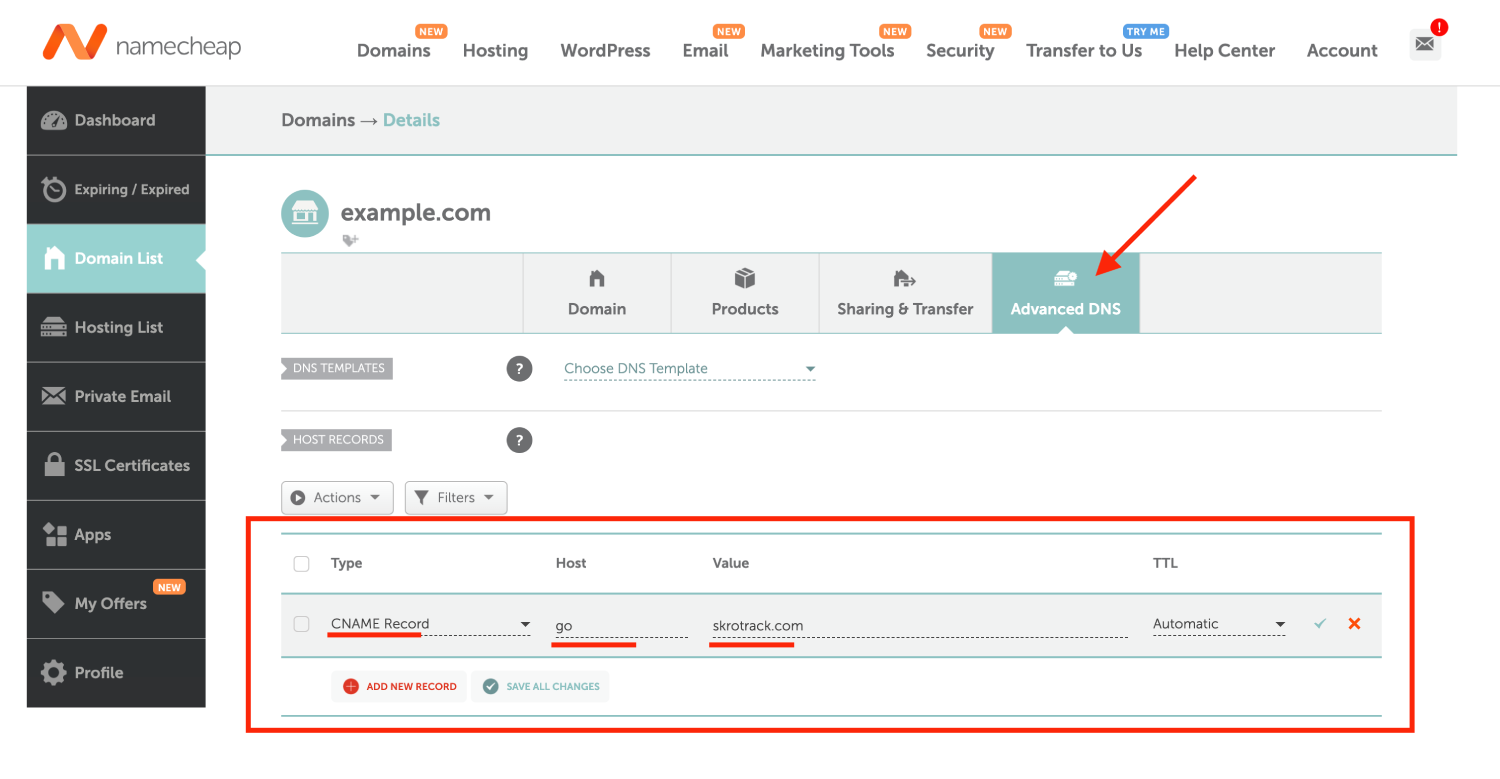
4. Save the DNS record.
## Step 3. Verify the domain [#step-3-verify-the-domain]
Allow time for the DNS change to propagate, then return to **Tracking Domains** in Skro and verify the domain.

## Troubleshooting [#troubleshooting]
Check that the record uses the correct subdomain and CNAME target. If verification fails immediately after saving, wait for DNS propagation and try again.
## Related guides [#related-guides]
---
# Meta Ads automation & performance rules
Source: https://skro.eu/automation
Turn repeated campaign decisions into rules. Use your Skro performance metrics to pause or enable Meta ads, adjust daily budgets, or notify your team when a condition needs attention.
## You know the decision. Make it repeatable.
Checking the same campaigns throughout the day takes time. Skro brings your conditions, reporting periods, and chosen actions into the workspace where you already review performance.
### Set the conditions
Combine up to five conditions with AND or OR logic. Use cost, revenue, profit, CPA, ROAS, conversions, and supported custom-event metrics.
### Choose when to act
Evaluate metrics on your chosen frequency or schedule an action. Set continuous, date-range, or weekly run windows around your workflow.
### Keep the limits in your hands
Adjust campaign or ad set daily budgets by a percentage or fixed amount, with a maximum or minimum daily budget. Review action results in the logs.
## From rule to result, in one view.
Keep active rules together, see the latest execution status, and open action logs when you need the details. Start with notifications, review the matches, then choose whether to enable changes.
- Pause and enable campaigns, ad sets, or ads
- Increase or decrease campaign and ad set daily budgets
- Inspect successful, failed, and skipped actions
## Build a rule around a decision you already make.
1. **Connect Meta** — Use an integrated Meta traffic source and choose your campaign, ad set, or ad scope.
2. **Define the rule** — Choose conditions or a schedule, a reporting period, a frequency, and the action you want.
3. **Review and refine** — Begin with notification-only mode. Check the results and action logs before introducing budget or status changes.
## Questions
### Which ad platforms support automation?
Skro automation currently supports Meta Ads. Other connected sources can be tracked and reported on, but are not advertised as supporting this rules engine.
### Is automation included in Free?
Automation is included on Starter, Pro, Team, and Enterprise. It is not available on the Free plan. Ads Manager itself is included on every plan.
### Can I review a rule without changing ads?
Yes. Select Send notification only and enable in-app notifications. The rule checks its conditions and notifies you without changing campaign status or budgets.
### Can a rule change an individual ad’s budget?
Budget actions apply to campaigns and ad sets. Individual ads support status actions and notifications. Choose budget limits in the ad account’s currency.
## Setup guides
- [Create your first automation rule](https://skro.eu/docs/facebook/meta-ads-automation): Conditions, schedules, budget limits, and action logs.
- [Connect Meta Ads](https://skro.eu/docs/integrations/facebook-meta-ads-integration): Connect an ad account and configure campaign tracking.
- [Optimize Meta ads in Skro](https://skro.eu/docs/facebook/how-to-optimize-facebook-meta-ads-directly-from-skro): Manage campaign, ad set, and ad status and budgets.
---
# Ads Manager for campaign control
Source: https://skro.eu/ads-manager
Put campaign costs, conversion revenue, and the controls to act in one workspace. Compare your traffic sources, drill into performance, and manage supported ad entities from the same reporting view.
## Your decisions need more than a spend column.
An ad platform can tell you what you spent. Your conversion source tells you what came back. Skro brings those numbers together so a campaign decision starts with attributed results.
### Compare the campaigns that matter
Review visits, conversions, revenue, cost, profit, and ROI. Use traffic-source and workspace filters to focus on the campaigns you manage.
### Move from overview to detail
Use reporting tabs or a tree view to explore campaigns, ad sets, ads, and supported placement dimensions. Keep the context as you go deeper.
### Act where you analyze
Change status, daily budgets, or bids where the connected integration supports them. Meta supports campaign, ad set, and ad status controls; budget actions apply at the supported levels.
## A reporting view you can work from.
Choose your columns, compare results, and inspect integrated campaign details. The available controls depend on the traffic source, the entity level, and your integration permissions.
- Campaign performance beside attributed conversion revenue
- Status controls and supported budget or bid changes
- Custom columns, tags, filters, and CSV export
## Go from connected account to informed action.
1. **Connect your sources** — Configure the ad account integration and map the tracking parameters used by your campaigns.
2. **Bring in conversions** — Use a network postback, store webhook, or supported conversion integration to connect revenue to the click.
3. **Review, then act** — Filter your reporting view, drill down, and use the controls supported by that source and entity.
## Questions
### Is Ads Manager included on Free?
Yes. Ads Manager is included on every Skro plan. Event volume, integrations, users, and reporting history vary by plan.
### Does every source have the same controls?
No. Campaign control depends on the integration. For example, Meta and TikTok expose supported status and daily-budget actions, while native sources can have their own campaign, placement, or bid controls.
### Can I compare multiple campaigns?
Yes. Use traffic-source and workspace filters, select campaigns, and explore their grouped reports using tabs or tree views.
### How is Ads Manager different from automation?
Ads Manager lets you review results and make supported changes yourself. Meta automation runs configured conditions or schedules and is included on paid plans.
## Setup guides
- [Optimize Meta ads in Skro](https://skro.eu/docs/facebook/how-to-optimize-facebook-meta-ads-directly-from-skro): Manage campaign, ad set, and ad status and budgets.
- [Connect Meta Ads](https://skro.eu/docs/integrations/facebook-meta-ads-integration): Connect an ad account and configure campaign tracking.
- [Explore all integrations](https://skro.eu/docs/integrations): Find your traffic source, network, store, or call platform.
---
# Ad tracking & conversion attribution
Source: https://skro.eu/ad-tracking
Connect the traffic you buy to the conversions and revenue it produces. Track campaigns with redirect or direct links, carry click IDs through your funnel, and compare results across your traffic sources.
## A click is the beginning of the story.
When ad spend, landing-page activity, and offer payouts live apart, it is difficult to see what deserves more budget. Skro connects the steps around the original tracking click.
### Choose the tracking flow
Use redirect tracking, a direct destination with the supported tracking script, or an S2S conversion workflow. Configure a custom tracking domain and SSL for your setup.
### Keep the useful context
Pass source parameters and sub-IDs into your campaign. Analyze results by campaign, offer, landing, country, device, browser, and custom tracking values.
### Count the events that matter
Separate purchases, leads, registrations, upsells, and other custom events. Choose how each event contributes to reporting totals and outgoing source postbacks.
## Turn campaign traffic into a decision-ready report.
Bring conversion revenue and advertising cost into the same view. Explore profit, ROI, conversion rate, and the dimensions that explain the result instead of treating all visits alike.
- Supported automatic cost integrations and flexible cost models
- First-click, last-click, and last-paid-click attribution options
- Click, conversion, and outgoing postback logs for investigation
## Connect three parts of your funnel.
1. **Capture the visit** — Create a campaign, configure the source parameters, and select a tracking method for your destination.
2. **Preserve the click ID** — Pass the Skro click ID into the offer, checkout, CRM, or call platform so the conversion can refer back to it.
3. **Return the conversion** — Send the event and payout through a postback or supported webhook, then verify the result in reporting.
## Questions
### Do I need to redirect every visitor?
No. Skro supports redirect and direct tracking approaches. Direct setups use the supported scripts and URL parameters described in the integration guides.
### Can I track several events from one funnel?
Yes. Define custom conversions, pass their event values, and use transaction IDs and event settings to distinguish the events in your setup.
### Can I use my own domain?
Yes. Skro supports custom tracking domains and SSL. Configure DNS and follow the provider-specific domain guide before using the links.
### Where do campaign costs come from?
Use supported traffic-source cost integrations or the campaign’s configured cost model. Review the source setup, currency, and reporting period when comparing cost and revenue.
## Setup guides
- [Understand postback parameters](https://skro.eu/docs/postback/parameters-in-postback-urls): Pass click IDs, payouts, transaction IDs, and event names.
- [Set up custom conversions](https://skro.eu/docs/postback/custom-conversions): Define funnel events and control reporting and source mappings.
- [Use your own tracking domain](https://skro.eu/docs/tracking-domain/cloudflare-and-skro): Configure DNS and SSL for your tracking links.
---
# Cookieless conversion tracking with S2S postbacks
Source: https://skro.eu/cookieless-tracking
Use a Skro click ID to connect a conversion back to its campaign. Server-to-server postbacks return the event from your network, checkout, or backend without relying on a third-party cookie in that callback.
## Make the conversion callback a direct connection.
A browser pixel is not the only way to record a conversion. When your destination retains the click ID, it can send the event and payout directly to Skro after the action happens.
### Carry an ID through the funnel
Pass the Skro click ID in the destination URL or the supported checkout field. The receiving system needs to preserve it so its callback can identify the visit.
### Return events server to server
Configure a postback or supported webhook to send the click ID, event, transaction ID, and payout. Conversion recording happens through that request.
### Use browser tools where they fit
Direct tracking and store scripts can also use first-party cookies or session storage. Choose the documented setup for your funnel rather than assuming every tracking mode is entirely cookie-free.
## The same campaign reporting. A different event path.
S2S conversions join your campaign data alongside cost and source parameters. Inspect individual conversion and postback logs when you need to trace an event through the setup.
- A click ID connects the event to the original campaign
- Postbacks can include event name, currency, and transaction ID
- Browser scripts and server callbacks can work together
## Build a reliable click-ID handoff.
1. **Track the original visit** — Create the campaign and select the correct tracking link or direct setup.
2. **Store the reference** — Make sure the network, checkout, or backend receives and retains the Skro click ID.
3. **Send and verify the callback** — Return a test event through the postback endpoint and check its attribution, payout, and reporting column.
## Questions
### Does cookieless mean every Skro script avoids cookies?
No. Click-ID S2S conversion callbacks do not require third-party cookies, but some browser tracking and ecommerce scripts use first-party cookies and session storage.
### What if the destination does not keep the click ID?
The standard S2S workflow needs the original Skro click ID. Follow the destination’s integration guide and test that it survives the handoff before sending paid traffic.
### Is this a consent bypass?
No. Server-side tracking does not remove consent requirements. Configure the applicable consent and source parameters for your tracking setup.
### Can I use this with affiliate offers?
Yes, when the network supports passing the click ID and returning it in a postback. Skro includes setup guides and templates for many affiliate networks.
## Setup guides
- [Understand postback parameters](https://skro.eu/docs/postback/parameters-in-postback-urls): Pass click IDs, payouts, transaction IDs, and event names.
- [Use your own tracking domain](https://skro.eu/docs/tracking-domain/cloudflare-and-skro): Configure DNS and SSL for your tracking links.
- [Connect ClickBank](https://skro.eu/docs/integrations/clickbank-integration): Attribute purchase and upsell events to the original click.
---
# Conversion API & server-side event delivery
Source: https://skro.eu/conversion-api
Connect the conversions recorded in Skro with your ad platforms. Configure supported server-side integrations, choose the events to send, and map event names around the outcomes that matter to your campaigns.
## A conversion should inform your next campaign decision.
Your network or store may know a purchase happened before the ad platform does. Skro can receive that event, attribute it to the campaign, and send a supported conversion back through the configured source integration.
### Connect the source integration
Configure the traffic source’s supported conversion API and the required pixel, data source, conversion action, or account credentials.
### Choose what to send
Use custom conversion settings and source mappings to control outgoing event names and whether an event sends a source postback.
### Investigate the delivery
Follow outgoing postback records and integration responses. Check event data and source configuration when the platform does not receive the result you expect.
## One internal event. The right name for each source.
Keep a clear event model in Skro while mapping outgoing names to source requirements. Postbacks can carry supported conversion values and additional matching parameters when your setup provides them.
- Meta, TikTok, Google Ads, Microsoft Ads, and SmartNews integrations
- Event-name mappings and controls for custom conversions
- Conversion and outgoing postback logs for troubleshooting
## Close the loop from conversion source to ad platform.
1. **Receive the conversion** — Your network, store, or backend sends Skro the click ID and the conversion details.
2. **Apply your event settings** — Skro records the event using your conversion definition, payout settings, and source mappings.
3. **Deliver to the source** — The enabled integration sends supported event data to the ad platform; verify the result in both systems.
## Questions
### Which platforms are supported?
Skro has conversion delivery integrations for Meta, TikTok, Google Ads, Microsoft Ads, and SmartNews. Each integration has its own configuration and supported event requirements.
### Can I send only selected events?
Yes. Custom conversions have outgoing-postback controls, and traffic-source settings allow you to configure which custom events are sent and how they are named.
### Can I send store and call conversions?
Yes, when the event is correctly attributed in Skro and the source integration supports the event data. Follow the relevant store or call-platform guide before enabling delivery.
### Does server-side delivery guarantee platform attribution?
No. Delivery and attribution still depend on valid click and matching data, event timing, consent settings, source configuration, and the ad platform’s own requirements.
## Setup guides
- [Set up Meta Conversions API](https://skro.eu/docs/facebook/how-to-integrate-facebook-capi): Configure your data source and send supported events.
- [Set up custom conversions](https://skro.eu/docs/postback/custom-conversions): Define funnel events and control reporting and source mappings.
- [Understand postback parameters](https://skro.eu/docs/postback/parameters-in-postback-urls): Pass click IDs, payouts, transaction IDs, and event names.
---
# Campaign reporting, dashboards & ROI analysis
Source: https://skro.eu/reporting
Start with a performance overview, then explore the campaigns, offers, sources, and audience dimensions behind the result. Keep cost, conversion revenue, profit, and ROI in the same reporting workspace.
## The total tells you what happened. Detail tells you where.
Two campaigns can reach the same revenue with very different costs. A single source can perform differently by country, device, or placement. Skro lets you inspect those differences before making the next decision.
### Start with the overview
See key totals, daily performance, geographic traffic, and top campaigns and offers on the dashboard. Choose metrics that fit the question you are asking.
### Explore the useful dimensions
Group reports by campaign, offer, landing, country, device, browser, time, source parameters, and supported postback fields. Use multiple levels to narrow the view.
### Make the report your own
Choose and arrange columns, apply filters, use custom formulas where your plan supports them, and export the view or access reports through the API.
## A dashboard that leads somewhere useful.
Compare revenue and profit over time, explore the traffic map, and review campaign and offer rankings. Move into detailed reports when a trend needs an explanation.
- Daily charts with selectable metrics and chart types
- Country totals and rankings alongside campaign performance
- Reporting history and custom columns according to your plan
## Move from a broad question to a useful answer.
1. **Set the context** — Choose workspaces, dates, timezone, currency, and traffic-source filters.
2. **Break the result down** — Select grouping levels and columns to compare the campaigns or dimensions you need.
3. **Share or act** — Export a CSV, use reporting API access, or move to supported campaign controls with the same performance context.
## Questions
### Which metrics can I report on?
Skro includes visits, clicks, conversion counts, revenue, cost, profit, ROI, ROAS, and other performance metrics. Custom conversion events add their own event counts and revenue.
### Can I see data by country or device?
Yes. The reporting API and UI support geographic, device, browser, source, campaign, and custom-parameter dimensions. Available metrics vary for some grouping types.
### Can I export reports?
Yes. Skro supports CSV exports and reporting API access. Set the same date range, filters, and currency when comparing exported results.
### How much reporting history is included?
History varies by plan, from 3 months on Free to 24 months on Enterprise. The pricing page lists the event allowance and history for each plan.
## Setup guides
- [Set up custom conversions](https://skro.eu/docs/postback/custom-conversions): Define funnel events and control reporting and source mappings.
- [Explore all integrations](https://skro.eu/docs/integrations): Find your traffic source, network, store, or call platform.
- [Understand postback parameters](https://skro.eu/docs/postback/parameters-in-postback-urls): Pass click IDs, payouts, transaction IDs, and event names.
---
# Call tracking attribution with Ringba & Retreaver
Source: https://skro.eu/call-tracking
Connect call events and their payouts to the campaigns that generated them. Use Skro with Ringba or Retreaver to preserve the original click ID and bring call conversions into your performance reporting.
## Your call platform has the result. Your campaign needs it too.
When a visitor picks up the phone, the conversion moves beyond the landing page. Passing the Skro click ID into the call tracking setup lets the later event refer back to the campaign.
### Connect the call journey
Configure your number pool, tracking tag, and URL parameters in the call platform using the integration guide for your flow.
### Return the event that matters
Send call or purchase events and their payout through supported postbacks or webhooks. Define separate custom events if the workflow needs multiple stages.
### Compare calls with campaign cost
Bring attributed call events and revenue into the same reports as your other conversions, then evaluate campaign profit and ROI.
## A phone call belongs in the campaign report.
Review call-driven outcomes alongside advertising cost and the source parameters captured on the visit. Use event definitions to keep an initial call distinct from a revenue-producing outcome.
- Setup guides for Ringba and Retreaver
- Click-ID mapping and event-specific callbacks
- Supported outgoing conversion delivery when configured
## Connect the click to the call outcome.
1. **Pass the click ID** — Carry the Skro click ID from your campaign into the call platform’s tracking parameters.
2. **Configure the callback** — Map the call event, transaction reference, and payout in the platform’s postback or webhook settings.
3. **Verify a test call** — Check the resulting Skro conversion, event column, and payout before evaluating campaign performance.
## Questions
### Does Skro replace Ringba or Retreaver?
No. Those services handle the call tracking setup. Skro connects their supported callbacks with campaign attribution, revenue, and reporting.
### Can I separate calls from purchases?
Yes. Define distinct custom events and configure the call platform to send the appropriate event values for your workflow.
### Can call events go back to an ad platform?
Attributed events can use Skro’s supported conversion integrations when configured with valid event and source data. Follow the integration requirements for the destination platform.
### Can another call platform work?
A platform that retains the Skro click ID and sends it in a compatible postback can use the S2S workflow. Ringba and Retreaver have dedicated setup guides.
## Setup guides
- [Connect Ringba](https://skro.eu/docs/integrations/ringba-and-skro): Carry the Skro click ID into your call tracking workflow.
- [Connect Retreaver](https://skro.eu/docs/integrations/retreaver-and-skro): Track calls and purchase events with Retreaver webhooks.
- [Set up custom conversions](https://skro.eu/docs/postback/custom-conversions): Define funnel events and control reporting and source mappings.
---
# AWS Website Deployment & Landing Page Hosting
Source: https://skro.eu/website-deployment
Publish static websites and landing pages from the Skro dashboard to your own AWS account. Get global delivery, your own domain, and HTTPS with cost-efficient hosting that scales with your traffic.
## More campaigns. Less hosting overhead.
Your next landing page should be easy to launch and affordable to run. Skro brings website uploads, domains, certificates, and deployment status into the dashboard you already use for your campaigns.
### Publish from one familiar dashboard
Upload your website as a ZIP, choose its domain, and deploy through Skro. Keep your websites organized by workspace alongside your campaign workflow.
### Keep your hosting lean
Use S3 storage and CloudFront delivery for static pages, with no dedicated web server to maintain. Your AWS costs follow your usage and configuration.
### Make every visit feel professional
Serve your pages on your own domain over HTTPS. CloudFront delivers content through its global network, bringing your pages closer to your visitors.
## Your websites belong in your campaign workspace.
Manage domains, uploaded websites, and deployments from Skro. Check deployment status and upload a new ZIP when your next version is ready.
- Choose a workspace and connected AWS account
- Manage your domains and SSL certificate setup
- Publish updates by uploading a new website ZIP
## From website files to a live campaign destination.
1. **Connect your AWS account** — Add the AWS integration in Skro using the setup guide. Your website files and delivery resources are created in your own AWS account.
2. **Bring your domain** — Add your domain and verify it for HTTPS. Use Route 53, Cloudflare, or NameSilo for supported DNS automation, or add the records manually.
3. **Upload, deploy, and update** — Upload a ZIP containing your static website and index.html. Select the domain, deploy, and check its status. Upload a new ZIP whenever you need to update the site.
## Questions
### What kinds of websites can I deploy?
Deploy static websites and landing pages built from HTML, CSS, JavaScript, and supported image files. Upload your files as a ZIP containing index.html. Server applications and CMS backends need separate hosting.
### Do I need my own AWS account?
Yes. Connect your AWS account to Skro before deploying. Skro uses Amazon S3 for website files, CloudFront for delivery, and AWS Certificate Manager for HTTPS certificates.
### How much does website hosting cost?
Static hosting can have low running costs, especially for lightweight pages. Your bill depends on storage, requests, traffic, delivery locations, and enabled AWS features. AWS charges are separate from your Skro subscription; use the current AWS pricing pages and calculator to estimate your setup.
### Which Skro plans include deployment?
Website deployment is available on paid plans. Starter includes 3 deployments, Pro includes 25, Team includes 50, and Enterprise includes unlimited deployments. See the pricing comparison for the current plan allowances. AWS usage is billed separately.
### Can I use my own domain and HTTPS?
Yes. Add your domain in Skro and complete DNS validation for its certificate. Skro supports DNS automation through AWS Route 53, Cloudflare, and NameSilo, with manual DNS configuration available for other providers.
### How do I update a published website?
Open Websites → S3 Buckets in Skro, select your website, and use Upload to submit its new ZIP. Follow the deployment guide to verify the updated site.
## Setup guides
- [Connect AWS to Skro](https://skro.eu/docs/deploy-website/aws-api-integration): Prepare your AWS access and add the deployment integration.
- [Set up your domain and HTTPS](https://skro.eu/docs/deploy-website/how-to-setup-domain-to-get-ssl-certificate): Add your domain, verify DNS, and issue its SSL certificate.
- [Deploy and update your website](https://skro.eu/docs/deploy-website/how-to-deploy-website): Prepare your ZIP, deploy to your domain, and publish updates.
---
# iGaming campaign tracking & custom conversion events
Source: https://skro.eu/use-cases/igaming
Connect operator or affiliate-network callbacks to the original tracking click. Separate registration from first-deposit and other configured events so your reporting reflects the outcomes you choose to measure.
## Different events deserve different weight.
A registration and a first deposit tell you different things about a campaign. A single conversion total can hide that distinction. Skro gives each configured event its own reporting definition.
### Define your funnel events
Create Registration, FTD, or other custom conversions supported by your operator’s callbacks. Choose which events count toward conversion totals and outgoing postbacks.
### Connect operators through postbacks
Pass the Skro click ID as the program’s supported reference and map the return callback’s event, transaction ID, payout, and currency.
### Compare performance by source
Review event counts and revenue across campaigns, offers, countries, and source parameters. Use the same reporting view to compare acquisition cost with returned payouts.
## Evaluate acquisition with the right conversion context.
Use custom event columns to distinguish funnel stages. The event definitions, reporting totals, and callback values stay under your control rather than being fixed to a single conversion label.
- Separate event counts and event revenue
- Configured cost and payout currency handling
- Meta rules can use supported custom-event metrics
## Connect the outcomes your operator can return.
1. **Map the callback** — Confirm which reference, event, payout, and transaction fields your operator or network supports.
2. **Define the events** — Create the Skro custom conversions and send test callbacks for each stage.
3. **Review campaign quality** — Compare costs and attributed events using reports, then select the source events and rules appropriate for your setup.
## Questions
### Is there a dedicated integration for every operator?
No. Use the operator’s supported click-ID and postback workflow or an available network template. Test the callback fields before relying on campaign reports.
### Can registration and FTD use the same click ID?
Yes. Skro custom events allow multiple defined outcomes to be associated with the tracking click. Configure event and transaction references for the operator’s workflow.
### Can I send deposit events to ad platforms?
Use supported conversion delivery only where the event, campaign, and destination platform allow it. Configure the correct event mapping and consent data; a tracking connection does not establish ad-platform eligibility.
### Can I automate around a custom event?
Meta automation supports available custom-event count and revenue metrics on paid plans. It currently applies to integrated Meta campaigns, ad sets, and ads.
## Setup guides
- [Set up custom conversions](https://skro.eu/docs/postback/custom-conversions): Define funnel events and control reporting and source mappings.
- [Understand postback parameters](https://skro.eu/docs/postback/parameters-in-postback-urls): Pass click IDs, payouts, transaction IDs, and event names.
- [Create your first automation rule](https://skro.eu/docs/facebook/meta-ads-automation): Conditions, schedules, budget limits, and action logs.
---
# Lead generation attribution & call conversion tracking
Source: https://skro.eu/use-cases/lead-gen
Connect the original ad click to the outcomes returned by your form backend, lead buyer, or call platform. Separate a new lead from a qualified or revenue-producing event in your campaign reports.
## A form submission is one step in the funnel.
The lead’s value may only become clear after qualification, a phone call, or a sale. Skro can receive those later events when your backend or provider preserves the click ID and returns a compatible callback.
### Define stages for your funnel
Use custom conversions for Lead, QualifiedLead, Sale, or your own event values. Control how each stage contributes to conversion and revenue totals.
### Bring calls into the workflow
Connect Ringba or Retreaver callbacks and distinguish call activity from purchase or payout events using the dedicated setup guides.
### Give sources useful feedback
Send configured events through supported Conversion API integrations. Map outgoing event names around the source’s requirements.
## Look past lead volume when reviewing campaigns.
Compare cost with the event counts and returned payouts that represent lead quality in your setup. Use source parameters and grouping levels to investigate differences across campaigns and traffic.
- Custom event columns for different funnel outcomes
- Postbacks from a compatible backend or lead provider
- Event-name mapping and source delivery controls
## Build a connection from click to qualified outcome.
1. **Keep the reference** — Pass the Skro click ID into the form or call workflow and retain it with the lead.
2. **Return later outcomes** — Configure your backend or provider to send the appropriate custom event and payout as the lead progresses.
3. **Compare and refine** — Review stage counts, campaign costs, and revenue. Choose which supported events should go back to the ad source.
## Questions
### Does Skro include a CRM?
Skro handles tracking, attribution, and campaign reporting. Your CRM or lead system needs to retain the click ID and send compatible postbacks for later outcomes.
### Can I track qualified leads separately?
Yes. Create a custom conversion for the stage and send its configured event value when your backend or lead provider reports that outcome.
### Can I include phone calls?
Yes. Skro has Ringba and Retreaver guides for carrying the click ID into the call setup and returning call or purchase events.
### Can I optimize on the later event?
You can report on that event and use supported source delivery or Meta rule metrics when configured. Availability depends on the integration and the event data you provide.
## Setup guides
- [Set up custom conversions](https://skro.eu/docs/postback/custom-conversions): Define funnel events and control reporting and source mappings.
- [Connect Ringba](https://skro.eu/docs/integrations/ringba-and-skro): Carry the Skro click ID into your call tracking workflow.
- [Set up Meta Conversions API](https://skro.eu/docs/facebook/how-to-integrate-facebook-capi): Configure your data source and send supported events.
---
# Campaign tracking & reporting for agencies
Source: https://skro.eu/use-cases/agencies
Organize client campaigns, traffic sources, and offers into workspaces. Give team members the access they need and use a consistent tracking and reporting workflow across your accounts.
## Growth should not mean rebuilding every report.
Different clients bring different sources, conversion systems, and reporting questions. A shared platform helps the team keep campaign setup and performance review consistent while organizing the work by workspace.
### Organize client workspaces
Create a workspace for the client or business unit. Keep its campaign and tracking assets together, with domains configured for the setup.
### Assign team access
Use team membership, roles, and workspace assignments to control which areas your colleagues can access. Team and Enterprise plans include multiple users.
### Review performance consistently
Choose dates, source filters, grouping levels, and columns for each review. Export reporting data when a client or internal workflow needs it.
## Spend less time reconciling the same campaign story.
Bring integrated costs and conversion revenue together, then filter the reporting context around the client workspaces you need. Move to supported campaign controls without losing the attribution view.
- Campaign and source filtering across selected workspaces
- CSV export and reporting API access
- Meta automation on paid plans for repeatable campaign decisions
## Create a repeatable client onboarding flow.
1. **Organize the workspace** — Set up the client workspace, tracking domains, and assigned team members.
2. **Connect the systems** — Configure traffic sources and the client’s network, store, or backend callbacks.
3. **Review and maintain** — Verify test events, establish a reporting view, and introduce supported campaign controls or rules where useful.
## Questions
### Can clients have separate workspaces?
Yes. Workspaces organize campaign and tracking assets, and team members can be assigned workspace access. Configure roles and assignments around your access requirements.
### Which plans include multiple users?
Team includes 5 users and Enterprise includes 10 users in the current pricing. Review the pricing page for plan limits and available add-ons.
### Is there a separate client portal?
This page describes Skro’s workspaces, member access, and reporting features. Use CSV exports or the reporting API for additional client-facing workflows.
### Can different clients use different conversion sources?
Yes. Configure the supported network, store, postback, or call-platform workflow for each client’s setup and verify the source-specific event data.
## Setup guides
- [Explore all integrations](https://skro.eu/docs/integrations): Find your traffic source, network, store, or call platform.
- [Set up custom conversions](https://skro.eu/docs/postback/custom-conversions): Define funnel events and control reporting and source mappings.
- [Create your first automation rule](https://skro.eu/docs/facebook/meta-ads-automation): Conditions, schedules, budget limits, and action logs.
---
# Tracking & campaign operations for media buying teams
Source: https://skro.eu/use-cases/media-buying-operators
Bring campaign reporting, source integrations, and repeatable Meta actions into the team’s workspace. Keep the numbers and the next action close as your buyers test, review, and scale their campaigns.
## A larger operation needs a shared view of performance.
When buyers use different reports and workflows, comparing campaigns takes longer than it should. Skro gives the team a consistent place to track outcomes, inspect details, and act on supported sources.
### Organize the team’s assets
Use workspaces to organize campaigns, offers, and traffic sources. Assign members and roles around the responsibilities of your team.
### Build a common reporting language
Compare cost, event counts, revenue, profit, and ROI with the same date range, currency, and reporting definitions. Use source and workspace filters to narrow the view.
### Repeat the decisions that recur
Use Meta rules for supported status, budget, or notification actions. Define conditions, reporting periods, and run windows, then review the action logs.
## Start with the operation. Drill into the campaign.
The dashboard brings together daily performance, geographic traffic, and rankings. Detailed reports and supported source controls help turn a broad review into a focused action.
- Shared reporting context with workspace and source filters
- Tabs and tree views for deeper investigation
- Event-based plan allowances, with larger Team and Enterprise tiers
## Give the team a workflow it can repeat.
1. **Set access and structure** — Create workspaces and assign the team members who need to use them.
2. **Standardize campaign setup** — Map source parameters, define custom events, and verify conversion callbacks across your funnels.
3. **Review and automate** — Use reporting views for campaign reviews and introduce Meta rules around decisions the team has already validated.
## Questions
### Can I organize campaigns by team or buyer?
Use workspace organization and member assignments to structure access and campaign assets. Configure the grouping around your team’s operating model.
### Is automation available across every traffic source?
The current rules engine supports Meta Ads. Other integrations offer their own reporting and supported manual campaign controls.
### Can the team export performance data?
Yes. CSV exports and reporting API access support workflows outside the Skro interface. Keep reporting filters and currency consistent when comparing results.
### Which plan fits a larger team?
Team and Enterprise include multiple users and larger event allowances. The pricing page lists the current user count, event capacity, integrations, and reporting history.
## Setup guides
- [Create your first automation rule](https://skro.eu/docs/facebook/meta-ads-automation): Conditions, schedules, budget limits, and action logs.
- [Optimize Meta ads in Skro](https://skro.eu/docs/facebook/how-to-optimize-facebook-meta-ads-directly-from-skro): Manage campaign, ad set, and ad status and budgets.
- [Explore all integrations](https://skro.eu/docs/integrations): Find your traffic source, network, store, or call platform.
---
# Ad tracking & attribution for affiliates
Source: https://skro.eu/use-cases/media-buying-affiliates
Track paid traffic through landing pages and offers, receive network conversions, and compare payouts with campaign cost. Keep your testing workflow connected from the first click to the returned event.
## Every test needs a result you can trace.
A network payout alone does not tell you which traffic to buy again. Skro connects the conversion with the click and source parameters so you can compare offers, landing pages, and campaigns with useful context.
### Connect the network workflow
Use an available template or configure the network’s click-ID parameter and postback. Skro includes guides for ClickBank, Hotmart, and many other programs.
### Build and test your flow
Organize offers and landings, use weighted distribution or rule-based routing, and configure the tracking method that fits the campaign.
### Look at profit alongside traffic
Bring source costs and returned payouts into reporting. Compare by campaign, offer, country, device, or custom source values, then inspect the underlying events.
## A campaign report built around the offer’s return.
Use event and payout data from your conversion source beside advertising cost. Keep different funnel outcomes distinct with custom conversions and source-specific event mappings.
- Flexible cost models and supported automatic cost integrations
- Custom conversion events and multiple payout currencies
- Traffic-quality controls, source parameters, and tracking logs
## Set up the test before spending on it.
1. **Connect the offer** — Add the network and destination, including the required Skro click-ID parameter.
2. **Launch a verified flow** — Create the campaign, choose its tracking method, and check that a test conversion returns correctly.
3. **Review the result** — Compare costs and payouts across your reporting dimensions, then adjust the next test or use supported campaign controls.
## Questions
### Which networks can I connect?
Use the integration directory for dedicated guides, or configure a compatible network postback with the original Skro click ID. Templates simplify supported provider setups.
### Can I track purchases and upsells separately?
Yes. Custom conversion events can distinguish those stages when the network or checkout sends the corresponding callbacks.
### Can I rotate landing pages or offers?
Skro supports flows, weighted traffic distribution, and routing rules. Configure the relevant destination and conditions around your campaign setup.
### Can I automate my campaigns?
Meta Ads automation is available on paid plans. Configure an integrated Meta source, then use supported performance conditions or schedules.
## Setup guides
- [Connect ClickBank](https://skro.eu/docs/integrations/clickbank-integration): Attribute purchase and upsell events to the original click.
- [Understand postback parameters](https://skro.eu/docs/postback/parameters-in-postback-urls): Pass click IDs, payouts, transaction IDs, and event names.
- [Set up custom conversions](https://skro.eu/docs/postback/custom-conversions): Define funnel events and control reporting and source mappings.
---
# Ecommerce tracking for Shopify, Hotmart & Cartpanda
Source: https://skro.eu/use-cases/ecom-dtc
Connect storefront and checkout events to the campaigns that generated them. Skro supports Shopify, Hotmart, and Cartpanda workflows so order or payout data can join your advertising cost and conversion reporting.
## The store has the order. Your campaign needs the connection.
A useful ROAS view needs both advertising cost and attributed conversion revenue. Preserve the tracking reference into checkout, then return the event through the workflow supported by your commerce platform.
### Connect the platform you sell on
Use Shopify storefront and webhook setup, Hotmart completed-purchase webhooks, or Cartpanda S2S postbacks. Each platform has its own documented event path.
### Separate the funnel stages
Track supported checkout, purchase, and upsell events using custom conversions. Choose which events contribute to total revenue and conversions to fit your setup.
### Return useful conversion feedback
Configure supported source APIs and outgoing event mappings. Match the event name and conversion data to the destination platform’s requirements.
## Order outcomes beside the cost of acquiring them.
Review revenue, campaign cost, profit, and ROAS in the same reporting workspace. Use custom event columns to understand the supported stages of your commerce funnel.
- Shopify order attribution using the preserved Skro click ID
- Hotmart PURCHASE_COMPLETE webhook workflow
- Cartpanda checkout, purchase, and upsell postbacks
## Connect the checkout to your campaign.
1. **Choose the platform guide** — Follow the Shopify, Hotmart, or Cartpanda instructions for the events you want to track.
2. **Preserve the click reference** — Configure the destination parameters or storefront script so the event can return the Skro click ID.
3. **Verify and report** — Run a test event, check attribution and payout, and enable supported source delivery when the setup is ready.
## Questions
### Do all three platforms track the same events?
No. Shopify supports its documented storefront and webhook flows, Hotmart’s guide covers completed purchases, and Cartpanda supports the documented checkout, purchase, and upsell callbacks.
### Can I track digital products as well as physical goods?
Yes. Hotmart and Cartpanda workflows can support digital-product offers, while Shopify connects supported storefront and order events. Follow the platform-specific setup.
### Does Shopify tracking use browser storage?
The documented Shopify scripts use first-party cookies and session storage to preserve the click reference. The order webhook then returns conversion data server to server.
### Can purchases be sent back to Meta or TikTok?
Yes, through correctly configured supported source integrations with valid event and matching data. Define the custom conversion and outgoing event mapping for the workflow.
## Setup guides
- [Connect Shopify](https://skro.eu/docs/integrations/shopify-and-skro-integration): Connect storefront activity and order webhooks to your campaigns.
- [Connect Hotmart](https://skro.eu/docs/integrations/hotmart-and-skro): Attribute completed purchases with the Hotmart webhook.
- [Connect Cartpanda](https://skro.eu/docs/integrations/cartpanda-and-skro): Track checkout, purchases, and upsells through S2S postbacks.
---
# RSOC Tracking & Revenue Sync for Search Arbitrage
Source: https://skro.eu/use-cases/rsoc-search-arbitrage
Sync revenue from your RSOC providers and bring it together with campaign costs in Skro. Compare performance across providers and traffic sources to see which campaigns are profitable.
## Ad spend is only half the picture.
Your traffic sources report costs while your search providers report earnings. Revenue can also change after an initial postback. Bring those numbers into the same reporting workflow to understand campaign profitability as provider data is updated.
### Sync revenue from your providers
Connect System1, Ads.com, Inuvo Prism, Airfind, ExplorAds, Predicto, Sedo, or Tonic. Use each provider’s integration to synchronize reported earnings and supported revenue adjustments.
### Compare earnings with campaign costs
Review revenue alongside campaign spend, profit, and ROI. Compare offers and traffic sources using consistent date ranges and reporting currencies.
### Connect the right reporting identifiers
Map the channel, campaign, brand, or offer identifier required by your provider. Track supported interaction events through postbacks alongside the revenue synchronization workflow.
## Make campaign decisions with revenue in view.
Use Skro reports to compare acquisition cost with synchronized earnings. Group results by campaign, offer, and traffic source to investigate which parts of your search arbitrage operation are profitable.
- Provider earnings and campaign costs in one reporting workspace
- Revenue mapping using each provider’s supported identifiers
- Profit and ROI comparisons across campaigns and traffic sources
## Connect your provider. Map revenue. Review profit.
1. **Connect the RSOC provider** — Choose your provider in Settings → Integrations and enter the credentials, account currency, and event settings described in its guide.
2. **Map the offer identifiers** — Match the provider’s channel, campaign, brand, or offer identifier to the corresponding Skro offer field. Configure supported postbacks for interaction events.
3. **Verify revenue and compare results** — After synchronization, compare Skro with your provider using the same date range and currency. Review campaign costs, revenue, and profit together.
## Questions
### What is RSOC?
RSOC stands for Related Search on Content. A visitor selects a related search term on a content page and reaches search results where relevant ads can appear. Skro connects campaign tracking with the revenue data returned by supported providers.
### Which RSOC providers can I connect?
Skro has documented RSOC revenue-sync integrations for System1, Ads.com, Inuvo Prism, Airfind, ExplorAds, Predicto, Sedo, and Tonic. Select a provider logo above to open its setup guide.
### Is synchronized revenue available for each individual click?
The reporting detail depends on your provider. Some integrations synchronize revenue using aggregate channel, campaign, brand, or offer identifiers. Click-level interaction postbacks and revenue synchronization are separate parts of the setup.
### How often does revenue synchronize?
The synchronization schedule and the period covered by revenue updates depend on the integration. Follow your provider’s guide and allow for later adjustments when comparing reports.
### Can I track search interactions separately from revenue?
Where your provider supports the required postbacks, use custom conversion events to separate search interactions and monetization events. Select the matching custom conversion event in the revenue-sync integration when required by its guide.
## Setup guides
- [Explore RSOC provider setup guides](https://skro.eu/docs/integrations/about-rsoc): Understand the campaign flow and choose your provider’s revenue-sync guide.
- [Set up custom conversion events](https://skro.eu/docs/postback/custom-conversions): Separate supported interaction events and revenue in your reports.
- [Map postback parameters](https://skro.eu/docs/postback/parameters-in-postback-urls): Configure click IDs, event names, payouts, and currencies for supported callbacks.
# Pay2.House — Skro partner
Source: https://skro.eu/partners/pay2-house
Pay2.House is a virtual card service designed for advertising payments on Facebook Ads, Google Ads, and TikTok Ads.
Its cards can also be used for subscriptions and online services, including ChatGPT, Claude, Gemini, Apple Developer, AWS, and Microsoft Azure.
Available BIN regions include the United States, Canada, Estonia, Singapore, and Hong Kong. Pay2.House supports USDT TRC20 balance top-ups and offers an API for connecting card operations with your own systems.
## Partner offer: $15 bonus balance
Use promo code SKRO with Pay2.House to receive $15 in bonus balance.
Promo code: SKRO
[Visit partner](https://pay2.house/p/ciWeD5HS?utm_source=skro)
# affLIFT — Skro partner
Source: https://skro.eu/partners/afflift
affLIFT brings affiliate marketers together to exchange ideas about traffic sources, landing pages, tracking, and campaign optimization. Its forum combines practical guides, case studies, and member-led campaign follow-alongs.
Skro has an official thread on affLIFT where we share product updates and discuss our tracker with the community. Explore the forum to learn from other marketers, or visit our thread to join the conversation.
Some forum content requires a paid affLIFT membership. Check the forum for current access options.
[Visit partner](https://afflift.com/?utm_source=skro.eu&utm_medium=find_us_logo&utm_campaign=trackers&utm_content=en)
# AffiliateFix — Skro partner
Source: https://skro.eu/partners/affiliatefix
AffiliateFix is a forum for affiliate marketers, media buyers, networks, and service providers. Its discussions cover traffic generation, campaign tracking, marketing tools, and the day-to-day questions that come with running an affiliate business.
Skro is listed in the AffiliateFix resource directory and has an official discussion thread. Visit the community to discover relevant tools, connect with other marketers, and follow the updates we share about Skro.
[Visit partner](https://affiliatefix.com/?utm_source=skro.eu&utm_medium=find_us_logo&utm_campaign=trackers&utm_content=en)
---
# Affiliate tracking: from the first click to real campaign profit
Source: https://skro.eu/blog/affiliate-marketing-tracking-guide
Connect ad spend, click IDs, approved conversions, and affiliate payouts. Build a tracking workflow that helps you decide what to test, pause, or scale.
A campaign can generate plenty of clicks and still lose money. A network can report conversions that have not yet been approved. And a signup, a purchase, and an upsell can all be counted as events even though they do not represent the same business outcome.
Useful affiliate tracking connects those pieces. You need to know which campaign generated a click, which conversion belongs to that click, how much revenue should count, and what you spent to acquire it. This article walks through that workflow in Skro, then shows how to turn the resulting reports into decisions.
## 1. Define the outcome before the campaign [#1-define-the-outcome-before-the-campaign]
Start with the offer's payout model and approval process. Decide what you will treat as a successful conversion: an approved lead, a completed purchase, or another payable event. Record the payout currency and whether the amount is fixed or varies by transaction.
A registration might be useful for diagnosing the funnel without being a revenue event. If you combine it with paid conversions in one total, a high conversion count can hide weak economics. Keep intermediate events visible, but decide deliberately which events contribute to approved conversions and revenue.
In Skro, [custom conversion settings](/docs/postback/custom-conversions) control how events contribute to reporting totals. Configure those settings around your offer's actual business rules.
## 2. Make each click traceable [#2-make-each-click-traceable]
The click ID is the link between the visit recorded by Skro and the outcome reported later by your affiliate network. When someone follows a tracked campaign link, pass the Skro click ID into the network's supported sub-ID or tracking field. The network must return that same value when it reports the conversion.
The field name and macro depend on the provider. Use the [integration guide for your affiliate network](/docs/integrations), rather than assuming a parameter used by one network will work for another.
Your goal is a verifiable chain:
1. The traffic source identifies the campaign, ad set, ad, or placement where supported and configured.
2. Skro records the visit and its click ID.
3. The offer URL passes that click ID to the network.
4. The network returns it with the conversion and payout.
Avoid putting personal information such as names, email addresses, or phone numbers into campaign names or sub-ID fields. Tracking identifiers should identify the interaction you need to reconcile.
## 3. Return the conversion with a postback [#3-return-the-conversion-with-a-postback]
A server-to-server postback lets the network report an outcome to Skro. The request needs the original click ID; depending on your setup, it can also include a payout, transaction ID, and custom event name.
Here is the shape of a purchase postback:
```text
https://skrotrack.com/postback?clickId=REPLACE&payout=REPLACE&transactionId=REPLACE&ce=Purchase
```
This is a template, not a ready-to-use provider URL. Replace the placeholders with the network's documented macros and use the event name configured in your Skro account. The [postback parameter reference](/docs/postback/parameters-in-postback-urls) explains the supported fields.
Include a transaction identifier when your provider supplies one, and check how it identifies separate purchases or events. An order ID reused across an initial purchase and an upsell may need different handling from two distinct purchases. Test retries and repeated event delivery against your specific integration; do not assume every provider handles them the same way.
## 4. Keep event counts and revenue meaningful [#4-keep-event-counts-and-revenue-meaningful]
Before using conversion totals to judge a campaign, inspect the settings behind them. In Skro, an event can contribute to **Conversions (All)**, **Conversions (Approved)**, and **Revenue** according to its configuration.
If the network sends approval-status updates, configure its status mappings in your affiliate network settings too. Calling an event `Purchase` does not, by itself, prove that the network has approved it. The [postback status parameter](/docs/postback/parameters-in-postback-urls#status) explains how these updates are mapped.
Consider a funnel with three events:
| Event | What it tells you | Reporting decision to make |
| --- | --- | --- |
| Registration | Someone entered the funnel. | Should it be diagnostic only, or is it payable? |
| Approved purchase | A purchase met the offer's requirements. | Should it count as approved and contribute its payout? |
| Upsell | An existing buyer purchased something additional. | Is the payout incremental, and should the event count as another conversion? |
Do not count the same revenue twice. If a later event contains a cumulative order value, adding it to a previously reported value can overstate revenue. Confirm whether each payout is incremental or cumulative before choosing the event settings.
An event can also be mapped to an outgoing traffic-source event. That is a separate configuration from deciding how it contributes to your Skro totals. Review [custom event mappings](/docs/postback/custom-conversions#map-event-names-for-a-traffic-source) if the source expects a different event name.
## 5. Compare approved payouts with campaign cost [#5-compare-approved-payouts-with-campaign-cost]
Once conversions can be matched to clicks, bring cost into the same review. Align the reporting period, currency, and account timezone before comparing Skro with the traffic source or affiliate network. Confirm that your chosen cost integration or cost configuration is returning the values you expect.
The following numbers are an illustrative example, not a customer result:
| Metric | Example | Calculation |
| --- | --- | --- |
| Campaign cost | €200 | Advertising spend in the selected period |
| Approved conversions | 20 | The events you configured as approved |
| Attributed revenue | €350 | The payouts included in revenue |
| Advertising profit | €150 | €350 − €200 |
| CPA | €10 | €200 ÷ 20 approved conversions |
| ROAS | 1.75 | €350 ÷ €200 |
| ROI | 75% | €150 ÷ €200 × 100 |
This advertising profit is not your business's net profit. Payment fees, refunds, creative production, team costs, taxes, and other expenses may sit outside the campaign cost you are comparing.
Use [Skro reporting](/reporting) to review available dimensions and separate stronger segments from weaker ones. A profitable campaign total can still contain an unprofitable ad set, placement, or country. Check the segments supported by your tracking setup before expanding spend.
## 6. Validate the full path before scaling [#6-validate-the-full-path-before-scaling]
Run a controlled test through the actual campaign flow. Seeing a conversion in the network is only part of the check; you also need to verify the return trip to Skro.
1. Follow a tracked campaign link and confirm that Skro records the visit.
2. Check that the network receives the click ID in the intended field.
3. Trigger a test conversion using the provider's supported test process.
4. Inspect the incoming conversion and its click ID, event name, payout, and transaction ID.
5. Confirm that the event contributes to the intended conversion and revenue columns.
6. If you forward the event to a traffic source, inspect the outgoing delivery separately.
If the event is missing, start with the click ID and network macro. If it appears in the wrong column, compare the incoming `ce` value with the configured custom event. If the payout is wrong, check the provider's value, currency, and event meaning before changing campaign budgets.
Approval delays also matter. A campaign with recent spend and conversions that arrive later can look worse than it ultimately performs. Compare sufficiently mature reporting periods, and understand the delay in your own offer flow.
## 7. Automate only after the data is dependable [#7-automate-only-after-the-data-is-dependable]
Once you trust the workflow, consider which decisions are repeatable. Skro's automation currently supports **Meta Ads** and is included on paid plans. It can evaluate metric conditions or scheduled actions for supported campaigns, ad sets, and ads.
For example, you could monitor ad sets where both `Cost > 50` and `Conversions Approved = 0`. Those are example thresholds in the ad account's currency, not universal recommendations. Choose values and a reporting period that fit your payout, test budget, and conversion delay.
Begin with **Send notification only** and a small selected scope. Review which entities match before switching to a pause or budget action. Budget changes apply to campaigns and ad sets, not individual ads, and require the appropriate budget limits.
Follow the [Meta Ads automation guide](/docs/facebook/meta-ads-automation) for conditions, run windows, schedules, and action logs. A rule executes the logic you configure; it does not determine whether the underlying tracking data is complete.
## A practical review routine [#a-practical-review-routine]
Keep your review consistent enough that you can compare one period with the next:
- **Check data first.** Look for missing costs, unexpected event names, payout changes, or a broken postback flow.
- **Review mature outcomes.** Separate recent activity from conversions that have had time to be approved.
- **Inspect the segments.** Compare the available campaign, ad set, ad, placement, or geographic breakdowns.
- **Record one hypothesis.** Write down what you expect a bid, budget, creative, or offer change to achieve.
- **Recheck after the change.** Use a comparable period and account for reporting delays.
The aim is a workflow you can explain: where the click came from, which outcome it produced, what that outcome was worth, and what it cost. With that foundation, your next campaign decision has something solid behind it.
## Continue with the setup guides [#continue-with-the-setup-guides]
- [Find your affiliate network integration](/docs/integrations).
- [Understand postback parameters](/docs/postback/parameters-in-postback-urls).
- [Configure custom conversions](/docs/postback/custom-conversions).
- [Build your first Meta Ads automation rule](/docs/facebook/meta-ads-automation).
For help with your own setup, [contact Skro support](/contact) or message [@SkroSupport on Telegram](https://t.me/SkroSupport).
---
# Meta Conversions API: better signals for better ad decisions
Source: https://skro.eu/blog/meta-conversions-api-guide
Learn how Meta CAPI supports conversion measurement, how to prevent duplicate events, and how to connect and validate server-side tracking in Skro.
A customer completes a purchase. Your checkout records it, but the browser event never reaches Meta. Your business has the sale; the advertising platform may have an incomplete picture of the outcome.
Meta's Conversions API, usually called CAPI, provides a server-side route for sending conversion events. It can help improve the signals available for measurement and optimization. The value depends on what you send, how you identify the event, and whether the receiving account can use it correctly.
For Skro users, the practical question is how to connect a real conversion to the right campaign and send a useful event to Meta. This guide explains that flow, shows how to avoid duplicate counts, and separates better reporting from an actual improvement in business results.
## 1. What changes when you add CAPI? [#1-what-changes-when-you-add-capi]
A browser pixel sends events from the visitor's browser. A server-side integration sends an event from a connected system. In a Skro workflow, a conversion is recorded in Skro and the configured Meta integration sends the corresponding event to the selected pixel.
That gives you another delivery path when a browser request is missing or unreliable. It also gives you a way to report an outcome received through a supported postback or integration, rather than relying entirely on a page visit at the moment of conversion.
The source event still has to exist. CAPI cannot reconstruct a purchase your checkout never recorded, repair a missing Skro click ID automatically, or turn a registration into a paid order. Start with a reliable incoming conversion flow, then validate the outgoing Meta event.
Keep the distinction between the two systems clear:
- **Skro attribution** connects the incoming conversion to a tracked visit and campaign.
- **Meta event delivery** sends the configured conversion information to the selected Meta pixel.
- **Meta reporting and optimization** use that information within Meta's own processing and attribution settings.
An event appearing in Skro does not, by itself, confirm that Meta received it. Check both sides.
## 2. Focus on four signal-quality checks [#2-focus-on-four-signal-quality-checks]
Meta's own optimization guidance emphasizes event coverage, event quality, deduplication, and data freshness. Those are useful checks before judging a CAPI setup by its reported ROAS. [Meta Blueprint: Optimize Meta Conversions API](https://www.facebookblueprint.com/student/activity/566594-optimize-meta-conversions-api).
| Check | Practical question |
| --- | --- |
| Coverage | Are the intended real-world outcomes reaching the connected pixel? |
| Matching information | Does each event contain the supported identifiers your collection flow actually provides? |
| Deduplication | Can corresponding browser and server copies be recognized as the same action? |
| Freshness | Are events being sent promptly, with the correct occurrence time? |
Event Match Quality can help you review the matching information received by Meta. Treat it as a diagnostic alongside event receipt and your own business records. A higher score alone does not prove that campaign profitability improved.
In Skro, [additional Meta conversion parameters](/docs/facebook/how-to-send-additional-parameters-via-facebook-meta-conversion-api) include supported customer fields, `fbp`, and an event identifier. Follow the documented formats and use genuine values from your conversion flow. Respect the consent and data-use settings in that flow; do not invent identifiers to fill empty fields.
## 3. Give the same action the same event ID [#3-give-the-same-action-the-same-event-id]
If the browser pixel and CAPI both report one purchase, the objective is one counted purchase. Configure the corresponding copies with the same event name and matching event identifier, and send them to the same intended pixel.
The names of the identifier fields differ by interface:
| Where the identifier is supplied | Field |
| --- | --- |
| Meta browser Pixel event options | `eventID` |
| Meta CAPI event | `event_id` |
| Skro incoming postback | `eventId` |
Skro's [Meta parameter guide](/docs/facebook/how-to-send-additional-parameters-via-facebook-meta-conversion-api#match-browser-and-server-events) describes using the same identifier for browser and server copies. Meta's [deduplication reference](https://developers.facebook.com/docs/marketing-api/conversions-api/deduplicate-pixel-and-server-events/) provides the provider-side details.
For example, the browser copy of a purchase could use:
```javascript
fbq('track', 'Purchase', {
value: 49.00,
currency: 'EUR'
}, {
eventID: 'purchase_order_2048'
});
```
The corresponding incoming Skro postback could include:
```text
https://skrotrack.com/postback?clickId=REPLACE&ce=Purchase&payout=49&eventId=purchase_order_2048
```
These are illustrative fragments, not a complete integration. Replace the click ID with the original tracked visit's value, configure the `Purchase` event and outgoing mapping in Skro, and confirm the payout currency in your setup. Use your configured tracking domain where applicable.
A different purchase needs its own event identifier. A retry of the same event should retain its identifier. Also keep these concepts separate: a **click ID** identifies the tracked interaction, a **transaction ID** identifies a transaction in your conversion flow, and the **event ID** identifies the event copies you want to match. One click can lead to several distinct purchases or events.
## 4. Connect Meta Conversions API in Skro [#4-connect-meta-conversions-api-in-skro]
Begin with the [Meta Ads integration](/docs/integrations/facebook-meta-ads-integration). Then follow the [Skro CAPI setup guide](/docs/facebook/how-to-integrate-facebook-capi):
1. Open **Settings → Integrations** and edit the connected Facebook (Meta) integration.
2. Open the **Conversion API** step and enable it.
3. Configure the conversion events you intend to send, such as `Lead`, `Purchase`, or `Subscribe`.
4. Choose **Include Conversion Payout** if that event should carry its revenue and currency.
5. Add a descriptive **Pixel Name**, the intended **Pixel ID**, and the **Conversion API Access Token** generated through the Meta setup flow.
6. Save the integration and confirm that the relevant traffic source and campaign use the intended configuration.
The access token belongs in the integration's access-token field. The example postback above does not require you to append that token to its URL.
For multiple event types, review [custom conversions and event-name mappings](/docs/postback/custom-conversions). Decide separately which events contribute to Skro's approved conversions and revenue, and which events should be sent to the traffic source. A funnel event can be useful for diagnosis without being a payable conversion.
## 5. Validate one conversion from end to end [#5-validate-one-conversion-from-end-to-end]
Use a controlled conversion through your provider's supported test process before relying on a large volume of events.
**Check the incoming conversion in Skro.** Confirm its click ID, event name, payout, currency, and transaction reference. Make sure it appears in the intended reporting columns.
**Check the destination in Meta Events Manager.** Confirm that the event reaches the intended pixel and is identified as the event type you configured. Review the diagnostics associated with the event and the browser/server connection methods in your setup.
**Check corresponding copies.** If both the pixel and CAPI report the action, compare their event name and event identifier. Verify the receiving system's deduplication result instead of treating two received copies as two sales.
**Check the value.** A correctly delivered `Purchase` with the wrong value or currency can still produce misleading revenue reporting. Compare it with the underlying order or payable conversion.
When something is missing, investigate the earliest broken step. A conversion absent from Skro points you toward the incoming flow. A conversion present in Skro but missing from Meta points you toward the selected integration, pixel, event mapping, access, or delivery diagnostics.
## 6. Separate reporting gains from sales growth [#6-separate-reporting-gains-from-sales-growth]
Adding a delivery path can change how many existing conversions are reported. That does not mean the business generated the same number of additional sales.
Consider a purely illustrative scenario: 100 real purchases, each worth €50, with €2,000 in advertising spend. Assume all purchases are eligible for the comparison and the reporting period and attribution definitions stay consistent.
| Metric | Before the tracking change | After the tracking change |
| --- | --- | --- |
| Real purchases | 100 | 100 |
| Actual purchase revenue | €5,000 | €5,000 |
| Advertising spend | €2,000 | €2,000 |
| Purchases recorded in the compared report | 70 | 95 |
| Revenue recorded in that report | €3,500 | €4,750 |
| Reported ROAS | 1.75 | 2.38 |
The report is more complete in this example, while actual revenue is unchanged. The figures are not a recovery-rate benchmark or a forecast for your campaigns.
To assess ad-delivery impact, look beyond the increase in recorded events. Use a controlled comparison where possible, or comparable reporting periods with enough mature outcomes. Record changes to budget, creative, audience, offer, and attribution settings so that you can interpret the result.
Use [Skro reporting](/reporting) to keep campaign cost, attributed conversions, and revenue in view. Compare Meta and Skro with an understanding of each system's attribution rules, timezones, reporting periods, and conversion definitions. An exact match between every headline total should not be your only validation test.
## 7. Avoid the mistakes that make CAPI less useful [#7-avoid-the-mistakes-that-make-capi-less-useful]
- **Sending every funnel stage as a purchase.** A signup, checkout start, and completed payment represent different outcomes. Map them deliberately.
- **Generating unrelated IDs for corresponding copies.** Two independently generated identifiers do not establish that the browser and server events describe the same action.
- **Reusing one ID across different purchases.** Keep distinct business events distinguishable.
- **Adding a second sender without checking the first.** If a store app or another integration already sends CAPI events, document which sender owns each event and test the combined setup. Do not assume duplicate server submissions are handled automatically.
- **Ignoring event delays.** A late approval or queued delivery can change how a recent reporting period looks. Check the source timing and delivery flow before changing campaign budgets.
- **Treating a successful API response as a performance result.** Receipt, matching, attribution, and business impact are separate things to verify.
## Build a flow you can explain [#build-a-flow-you-can-explain]
A useful CAPI setup has a clear chain: a real outcome is recorded, linked to the correct Skro interaction, mapped to the intended Meta event, and checked in the receiving pixel. Matching identifiers and meaningful values make that chain easier to validate.
Start with one important event. Confirm its path and its relationship to the browser copy. Then expand the setup and measure what changed in both reporting and business results.
## Setup guides and references [#setup-guides-and-references]
- [Set up Meta Conversions API in Skro](/docs/facebook/how-to-integrate-facebook-capi).
- [Send additional Meta conversion parameters](/docs/facebook/how-to-send-additional-parameters-via-facebook-meta-conversion-api).
- [Configure custom conversions](/docs/postback/custom-conversions).
- [Understand postback parameters](/docs/postback/parameters-in-postback-urls).
- [Explore Skro's Conversion API solution](/conversion-api).
- [Meta Blueprint: Optimize Meta Conversions API](https://www.facebookblueprint.com/student/activity/566594-optimize-meta-conversions-api).
- [Meta: Deduplicate Pixel and Server Events](https://developers.facebook.com/docs/marketing-api/conversions-api/deduplicate-pixel-and-server-events/).
Need help with your event mapping or pixel configuration? [Contact Skro support](/contact) or message [@SkroSupport on Telegram](https://t.me/SkroSupport).