

ROIads integration
Set up ROIads tracking in Skro, configure traffic source parameters, and connect your advertising campaigns.
Welcome to the ROIads user guide. ROIads is a premium multiformat advertising network founded in 2023, specializing in high-converting push notifications, pop ads, in-page push, and direct click traffic. By combining global traffic reach with advanced AI bidding technology and automated CPA strategies, the platform helps advertisers scale their campaigns and maximize ROI with minimal manual optimization.
Step 1. Create a ROIads traffic source and configure the postback URL
-
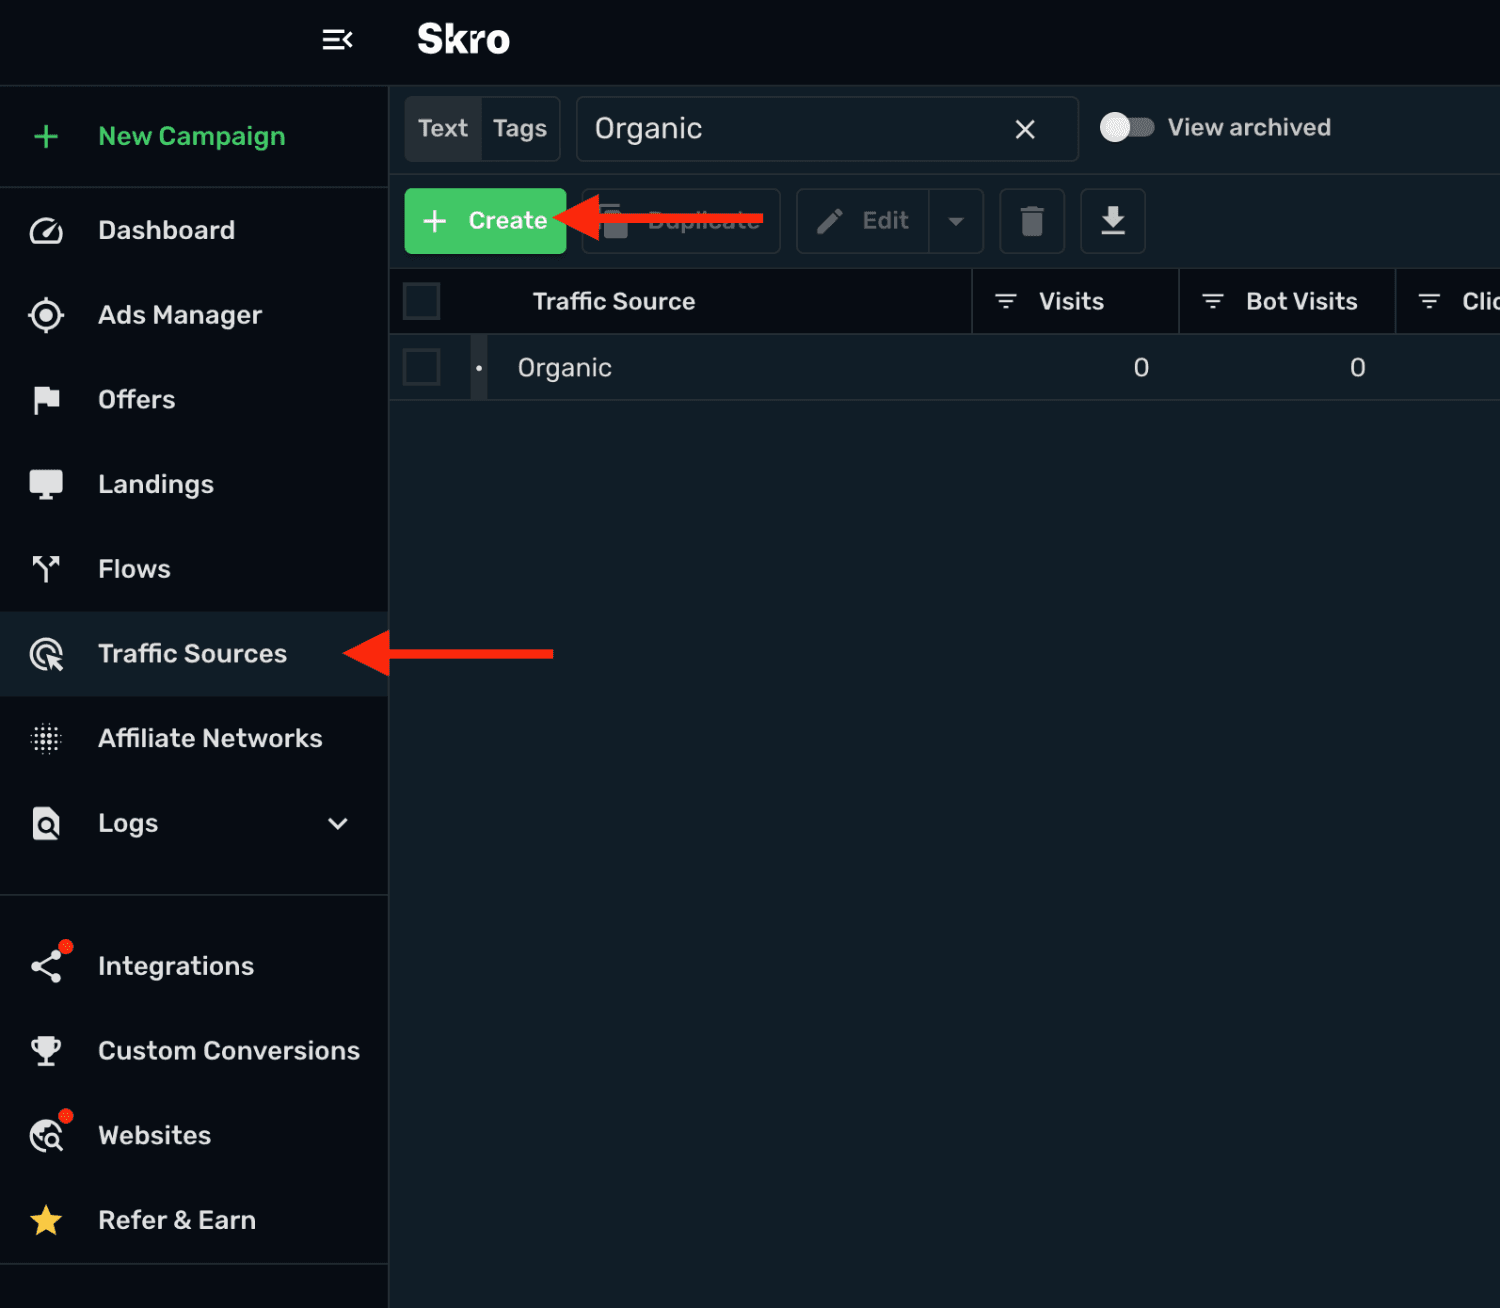
Navigate to Traffic Sources.
-
Click the Create.
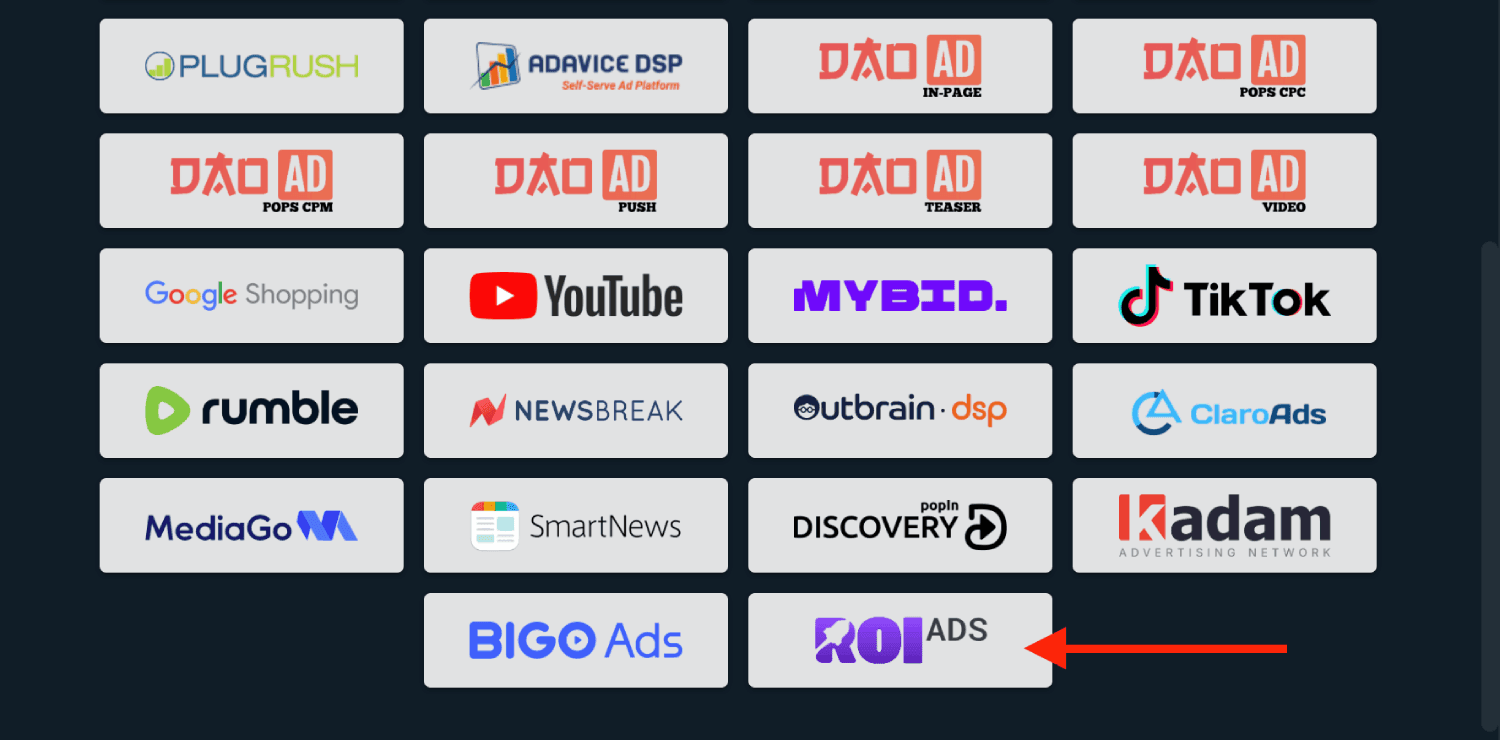
- Search for ROIads and click the ROIads template.
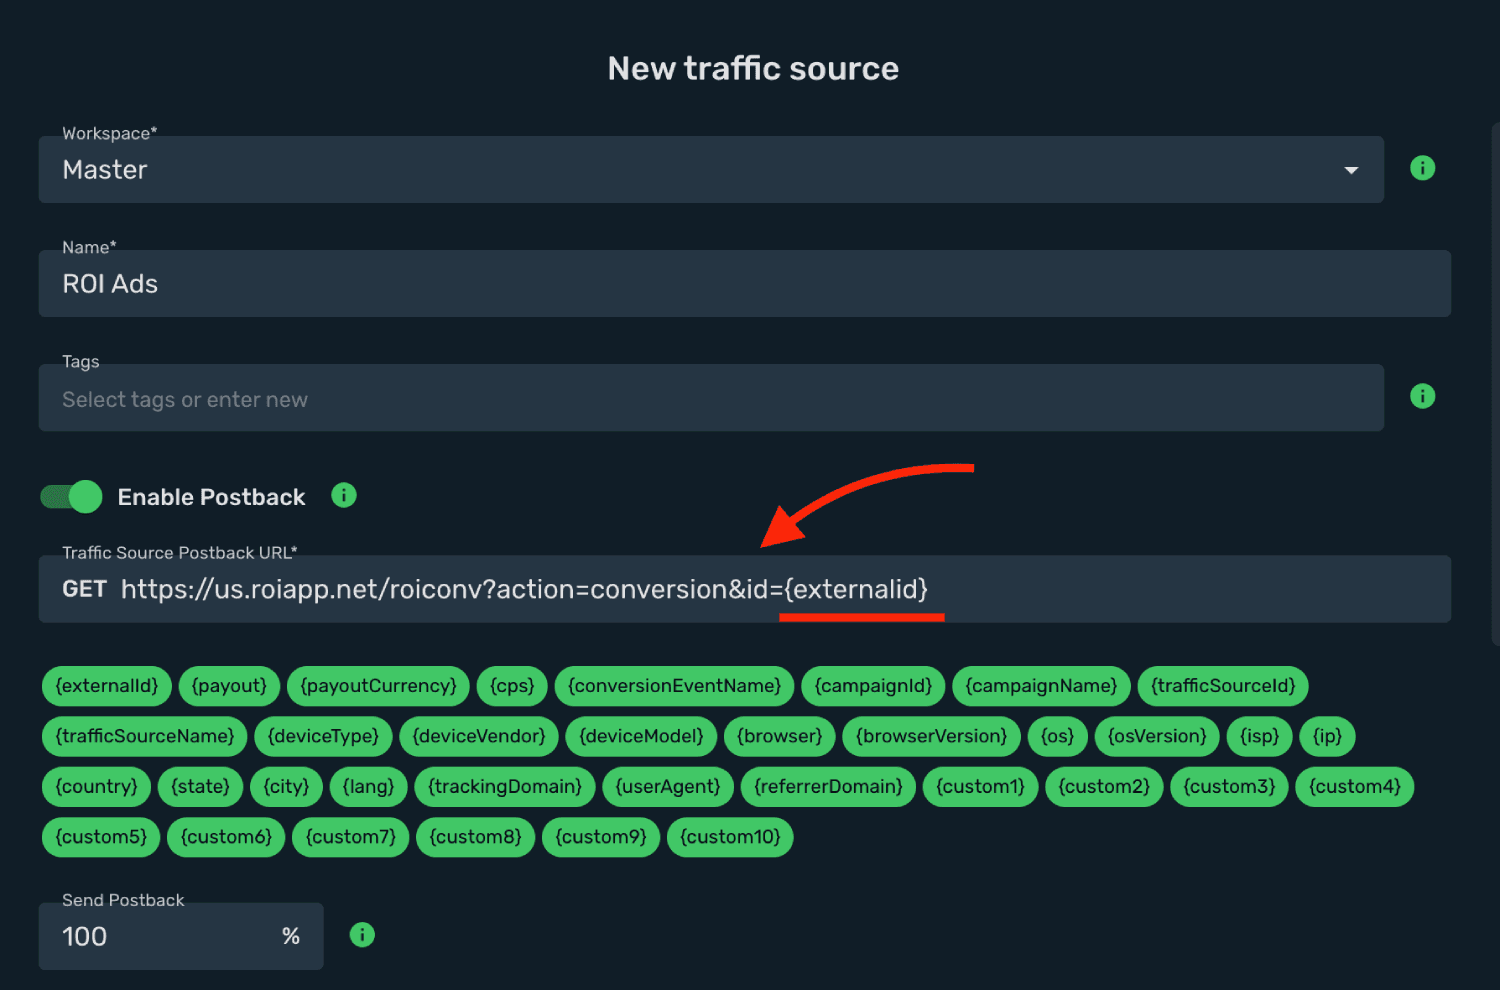
- Postback URL is prefilled for you. You can double-check it if needed.
-
Log in to your ROIads account.
-
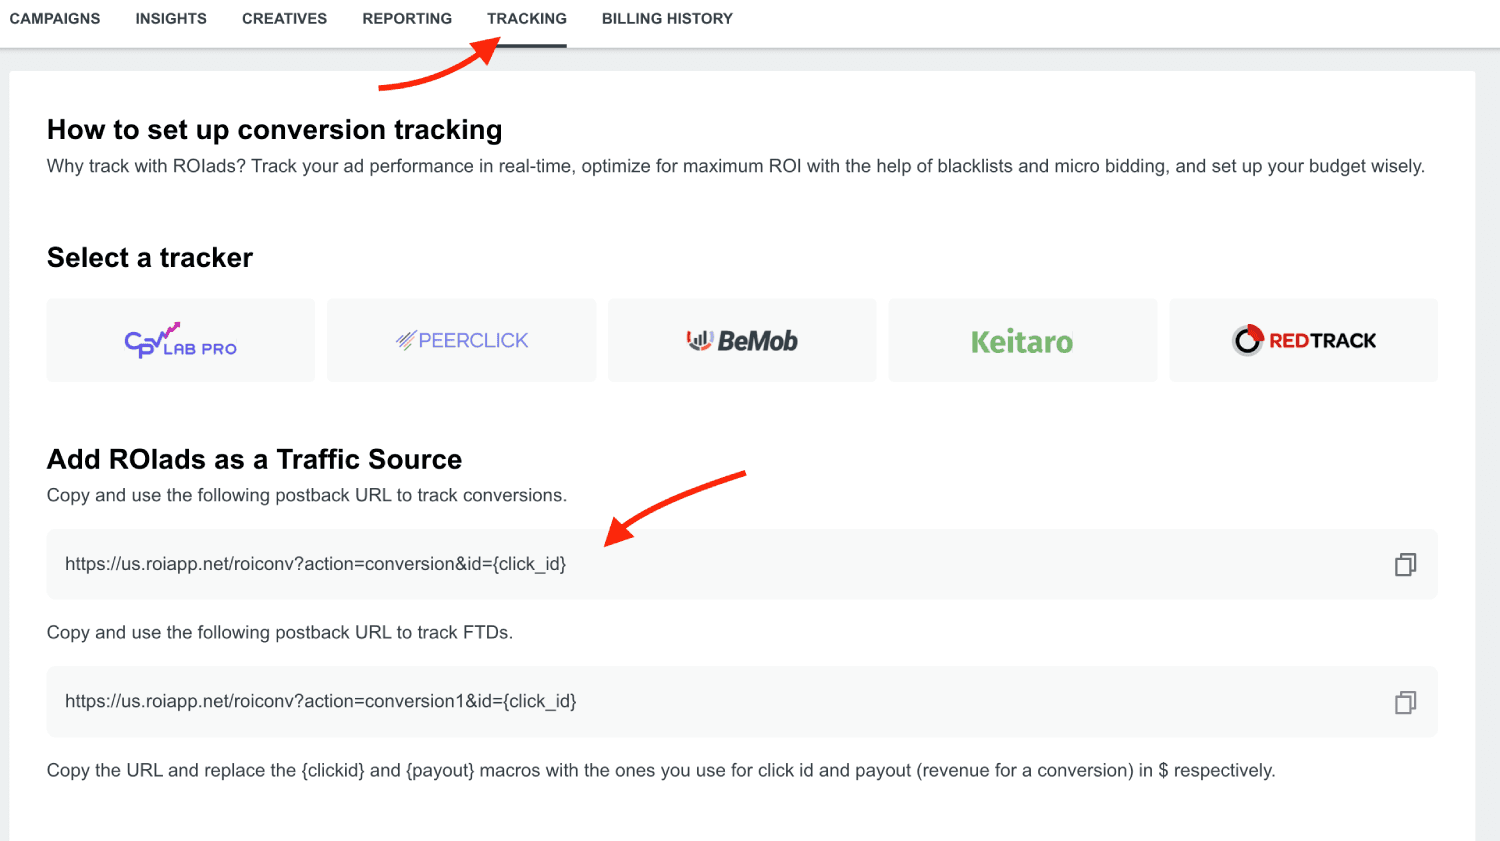
Go to Tracking section.
-
Copy the Postback URL to clipboard.
-
Go back to Skro and replace the postback URL with the updated values.
-
Make sure that you replace Click ID macro
{click_id}with this →{externalId} -
Final postback URL must look similar to this:
https://us.roiapp.net/roiconv?action=conversion&id={externalid}
- All tracking parameters are already prefilled for you.
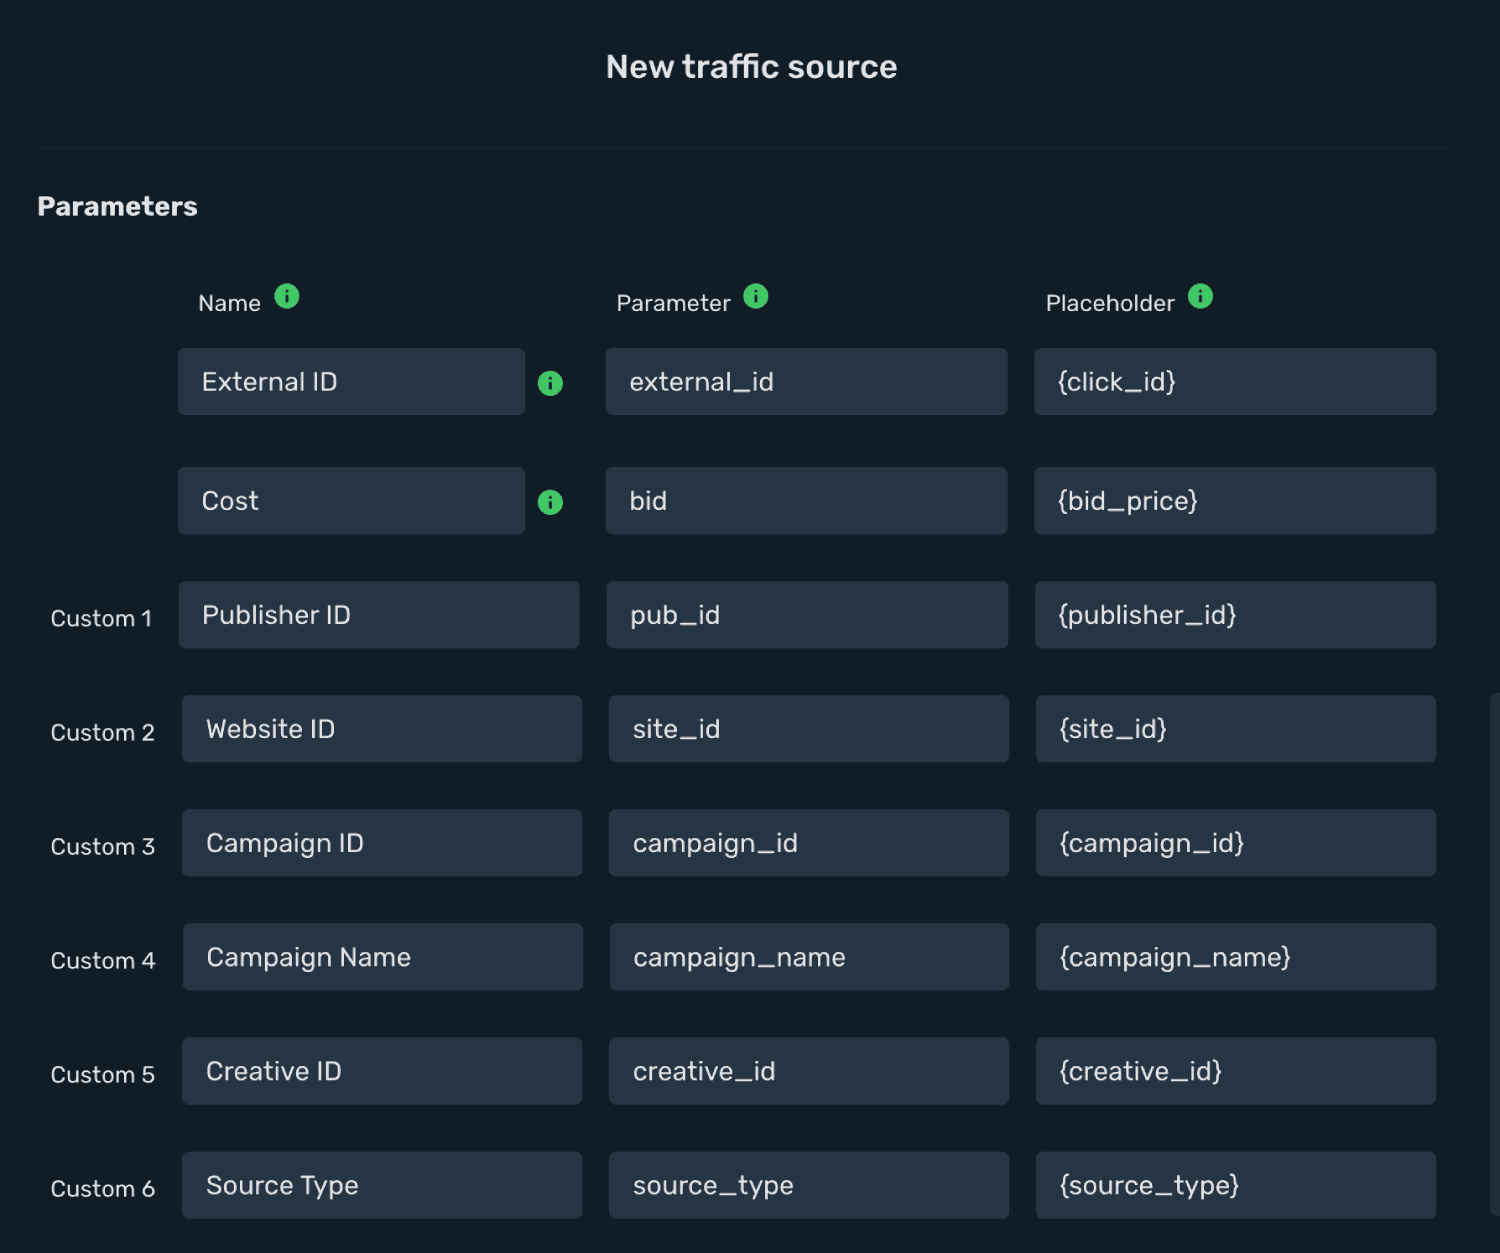
- You can double check their macros if you go back to ROIads → Tracking and scroll down to ROIads Macros section.
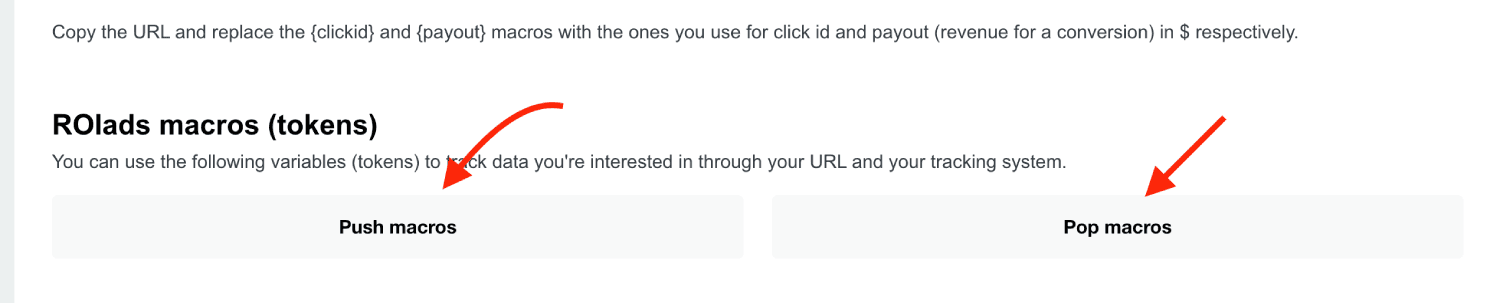
- Click the Save & Close.
Integration setup is complete, and you are now ready to create your first campaign.
Step 2. Create a campaign on Skro
-
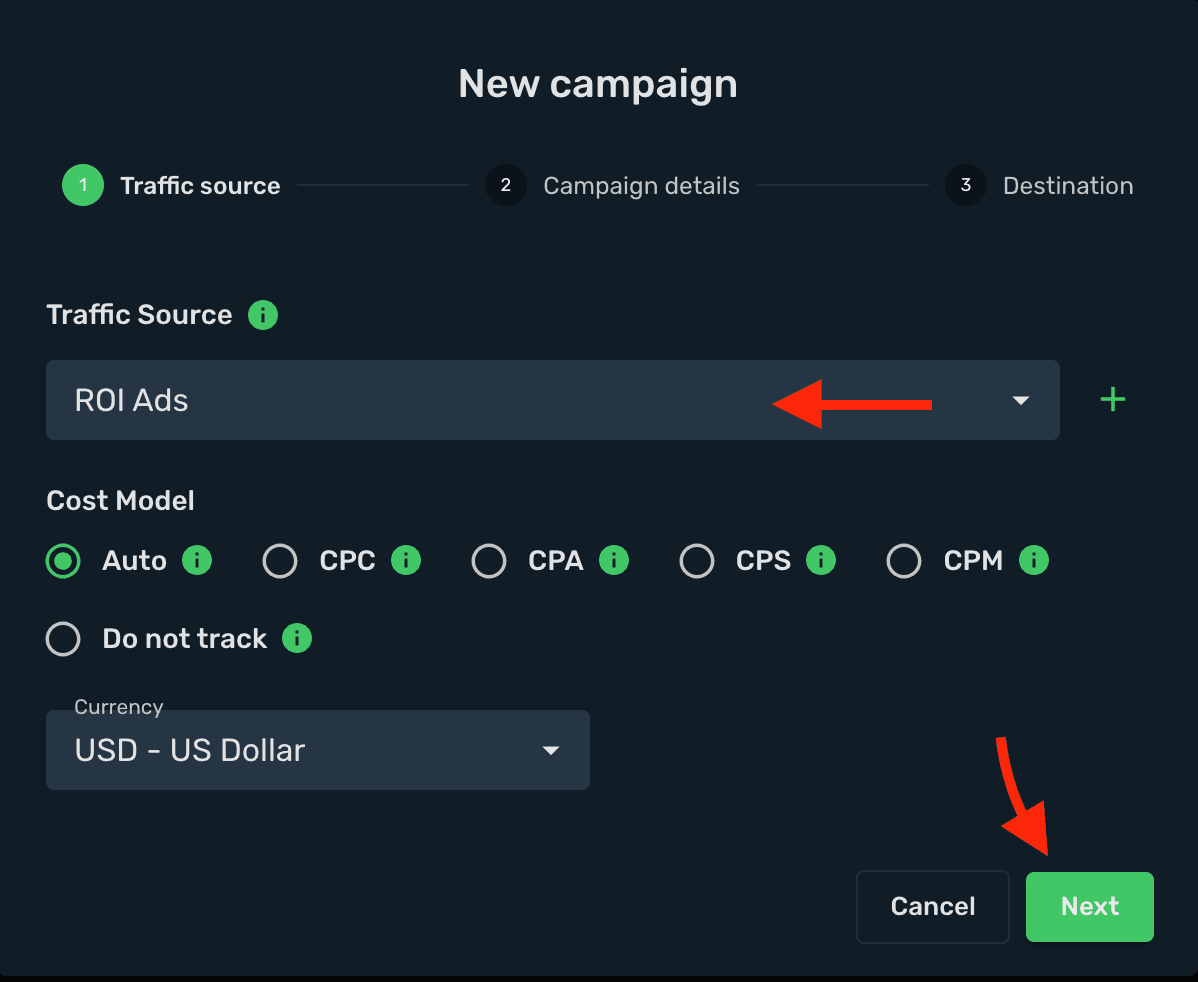
Go to Ads Manager and click the Create.
-
Select your Traffic source and click Next.
-
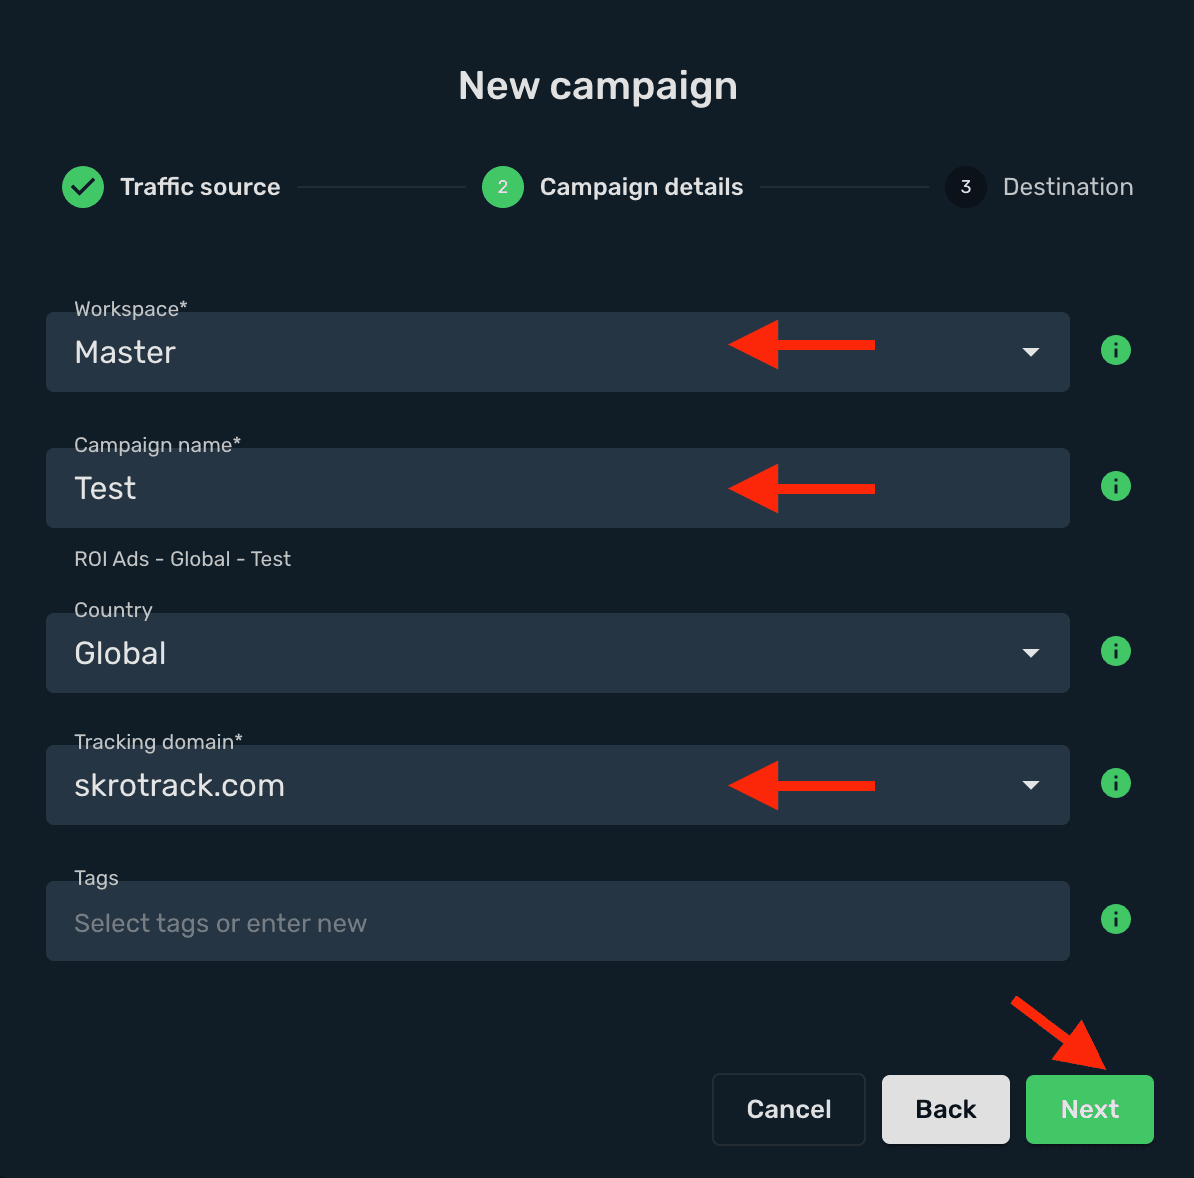
Select your campaign Workspace.
-
Enter a descriptive campaign name.
-
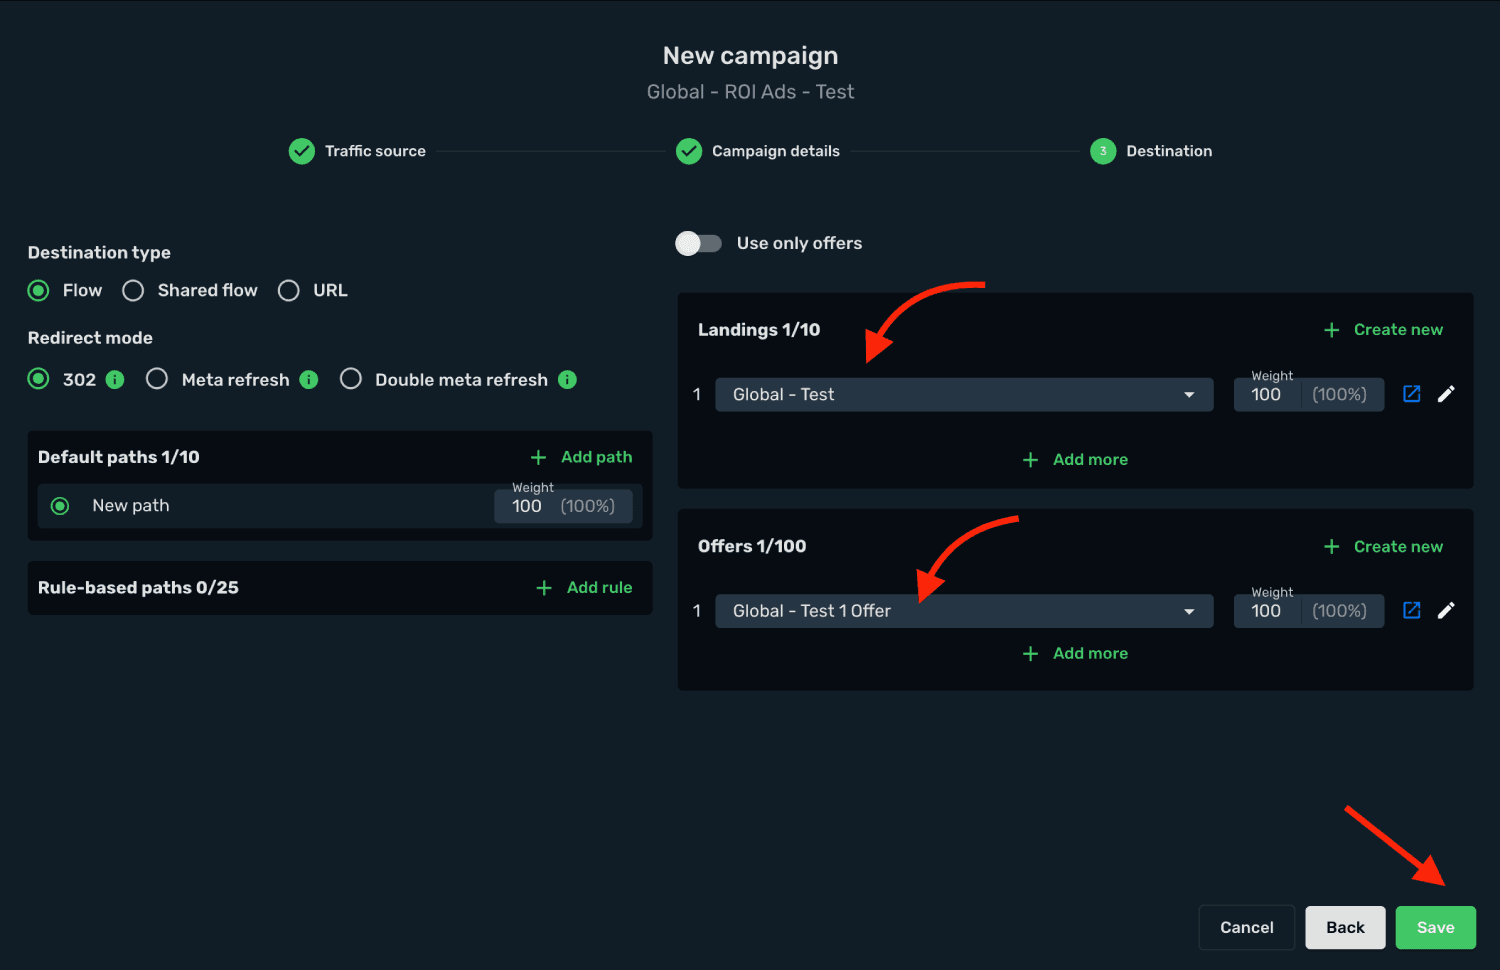
Select or create all your landings and offers.
-
Click the Save.
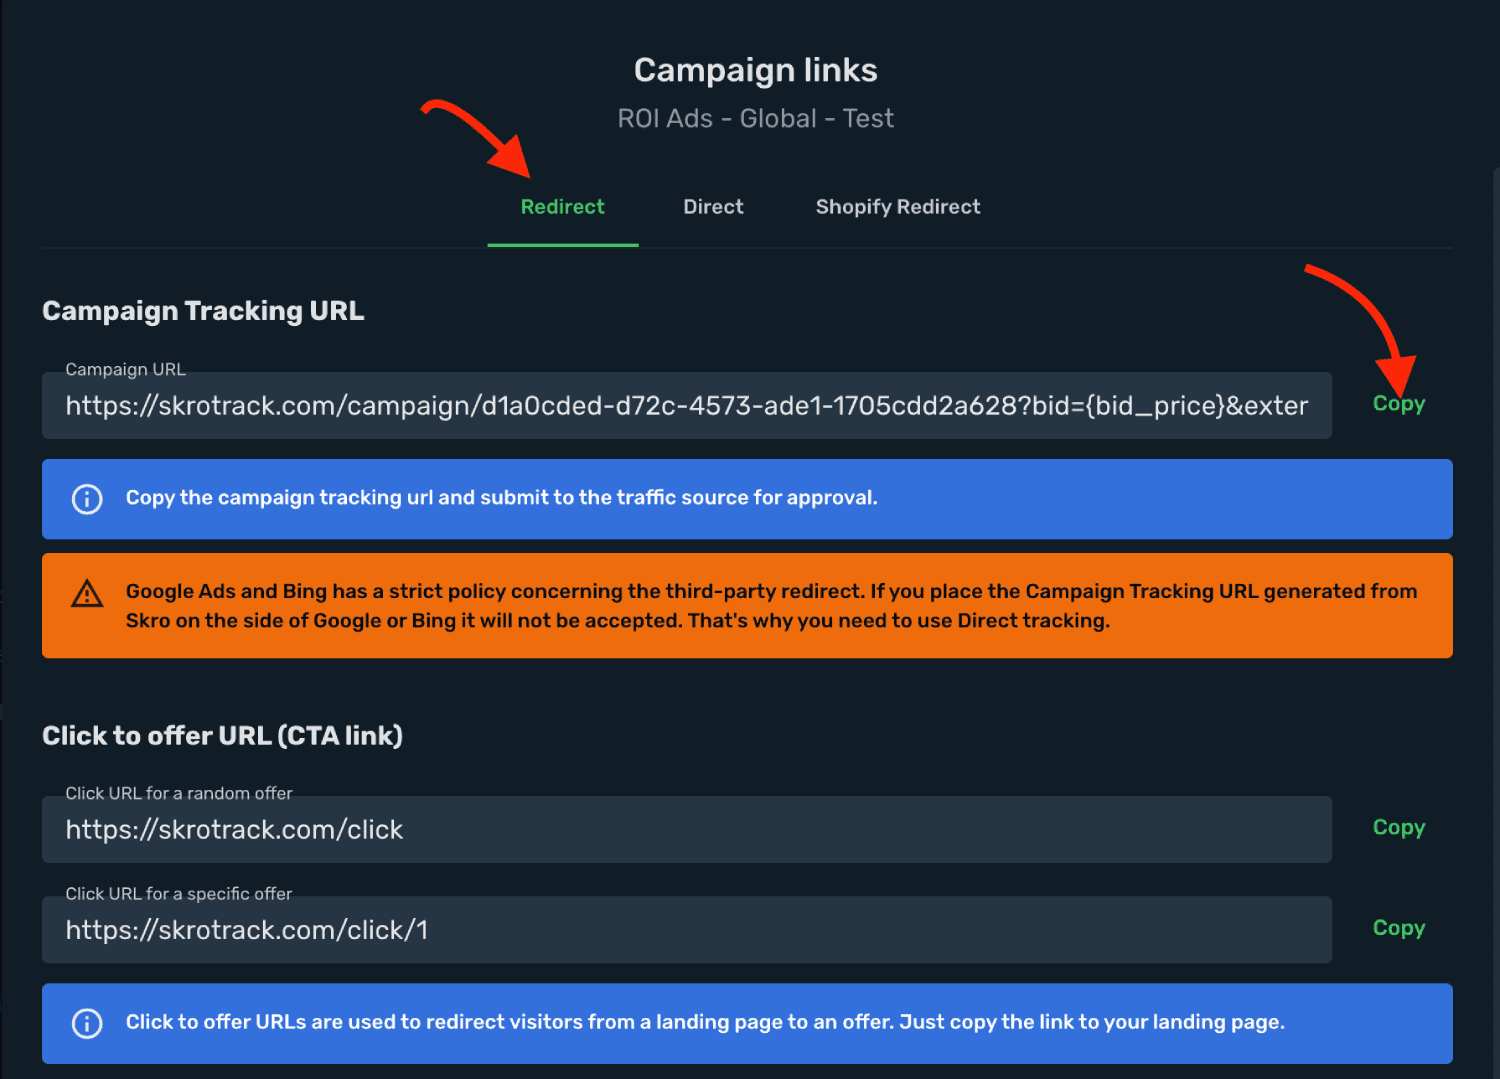
- Copy the Campaign Tracking URL to clipboard.
Step 3. Create a campaign on ROIads
-
Log in to your ROIads account.
-
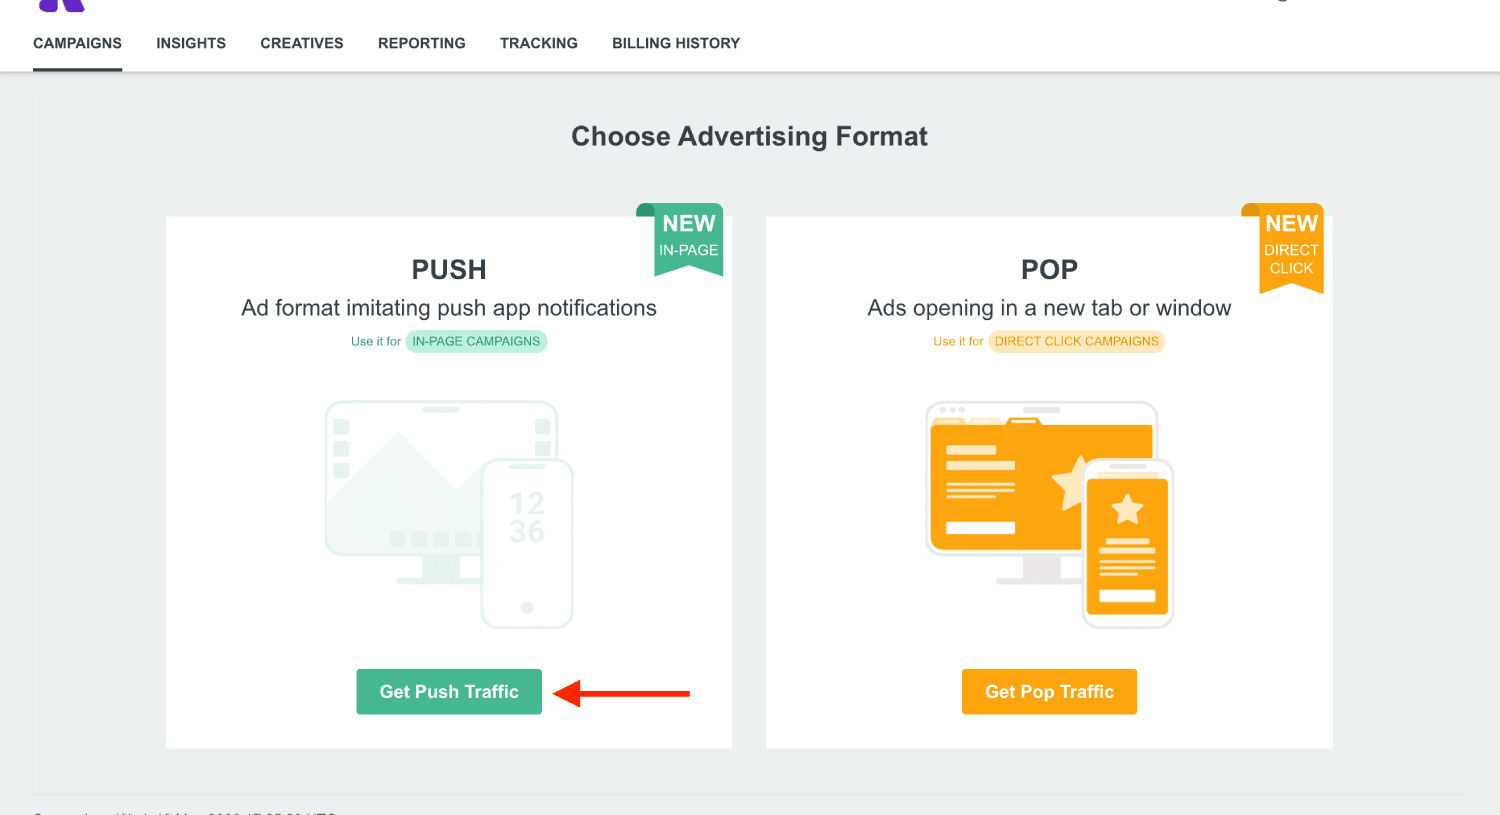
Go to the Campaigns section and choose your Ad Format (PUSH) or (POP). In our example we use PUSH ad format.
-
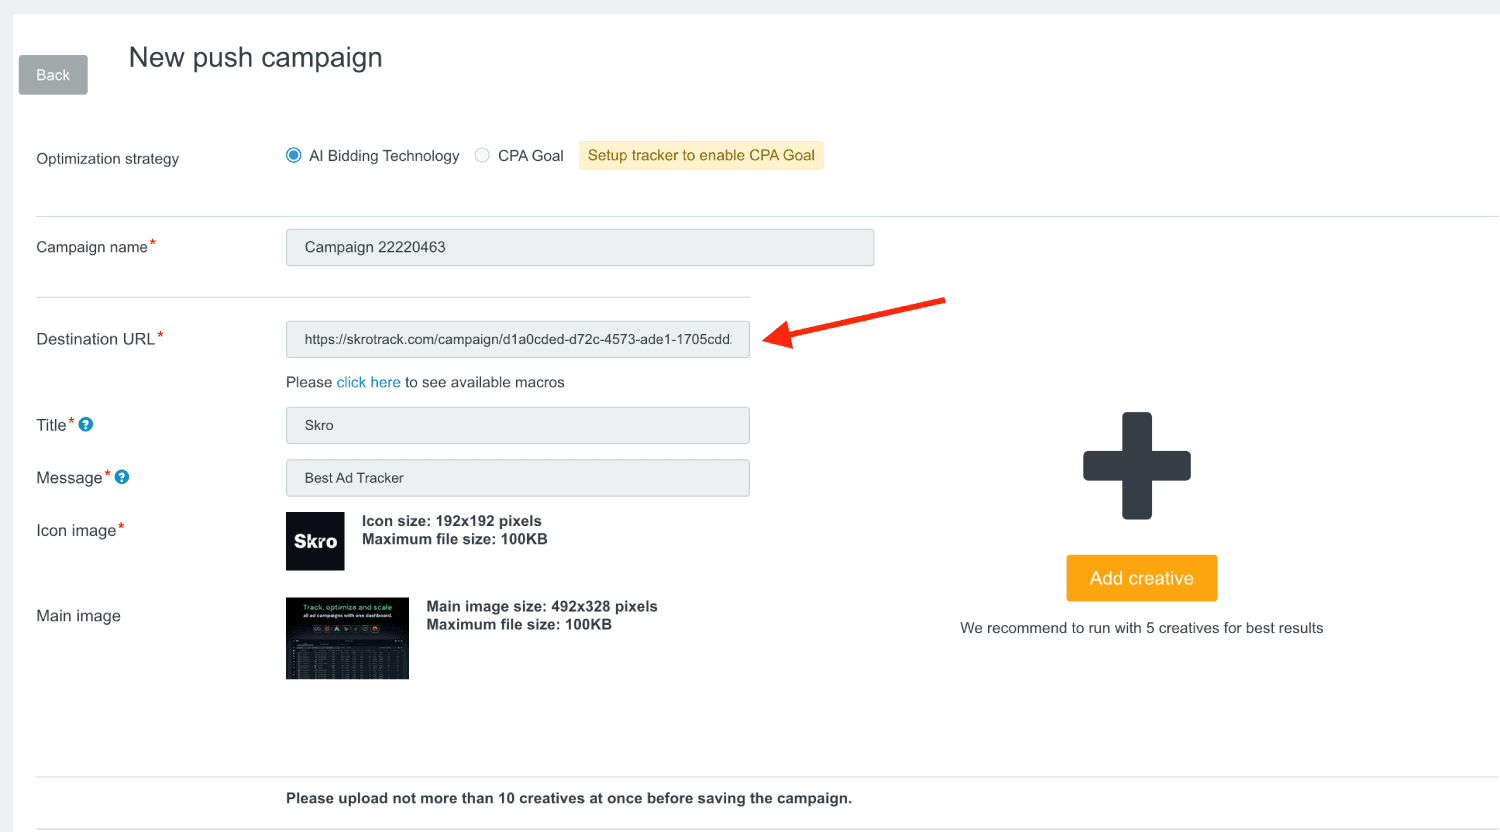
Add your Campaign Name.
-
Paste the Skro Campaign Tracking link into the Destination URL field, including all tracking parameters.
-
Create your Creatives and fill all other fields where needed.
-
Set your campaign Budget.
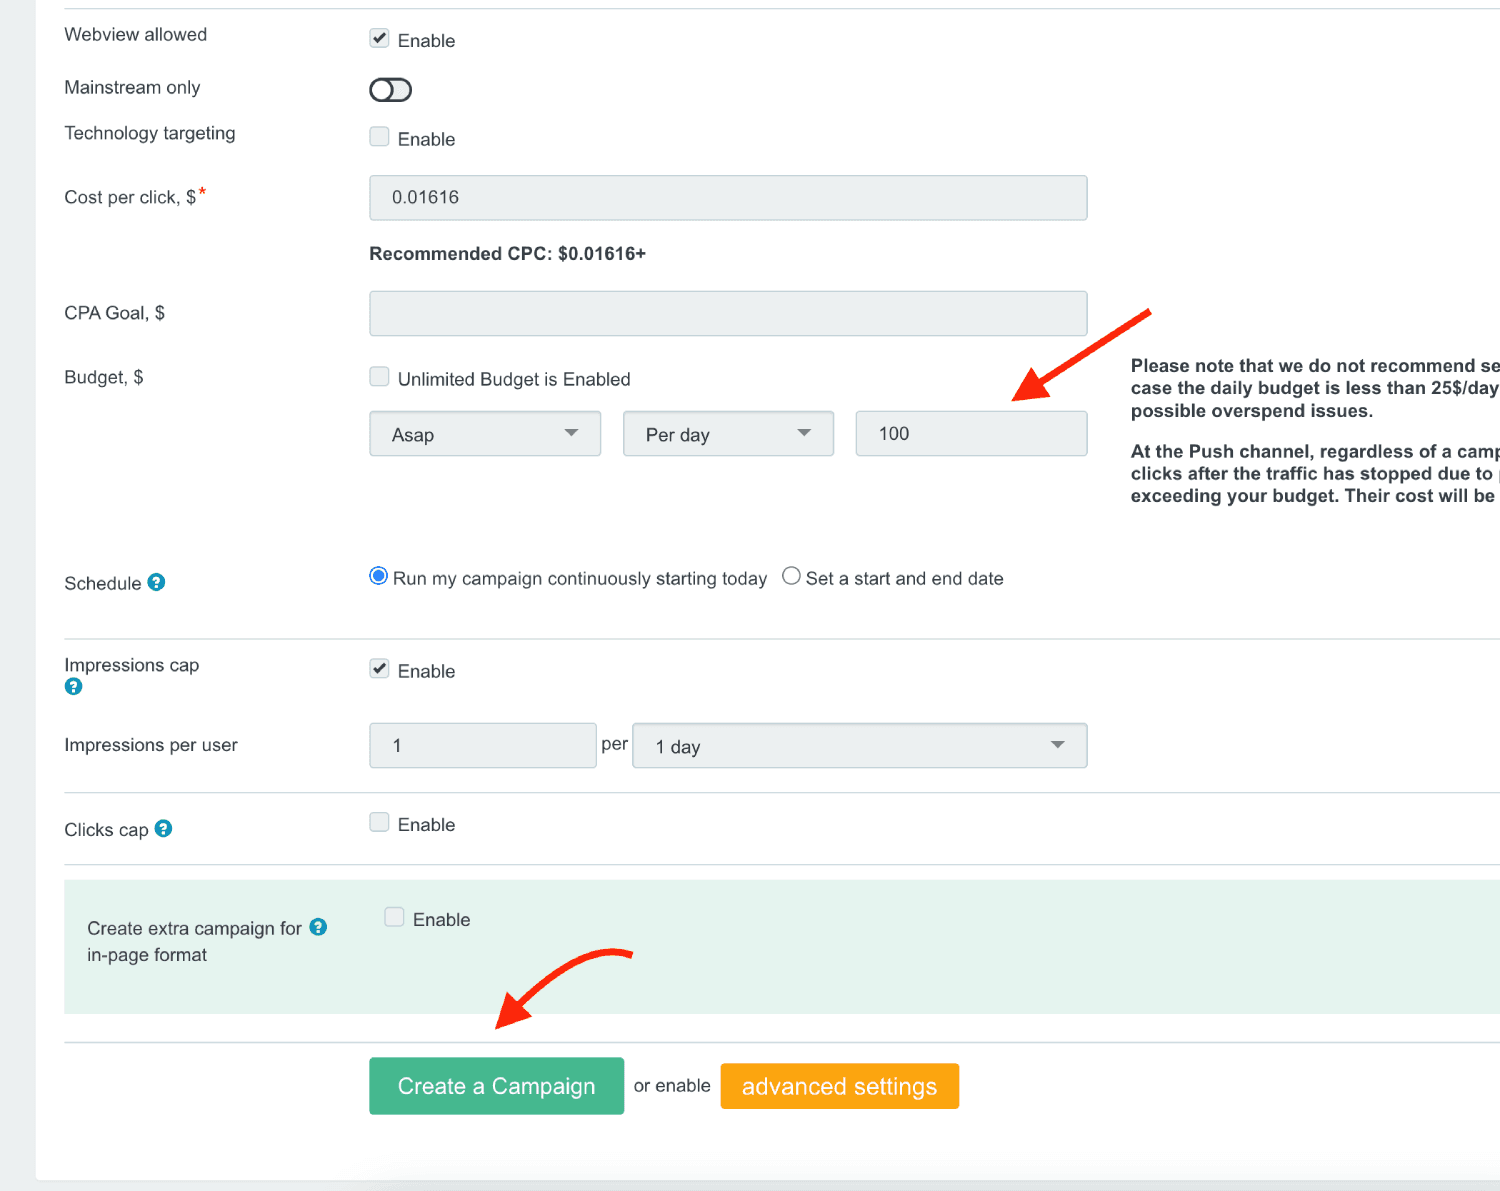
- When you are done, click the Create a Campaign.
Verify the setup
Open the generated campaign URL and check that the visit appears in Skro. Confirm that traffic source macros resolve to actual values. If you send conversions back to the source, verify a test conversion in both systems.
Troubleshooting
If data is missing, check the selected workspace, integration, campaign, and reporting date range. Compare parameter names and macro values with the examples in this guide before repeating the test.
Related guides
Need help with this guide? Contact Skro support.